With the ribs for the ailerons prepared, time for me to complete and rivet the ribs and the skins to make a complete Aileron.
The instruction manual on the Aileron is still a bit light, so I first had to figure out the order of things. After first doing it wrong and placing the balance tube in first, I realized that this doesn’t allow to place the ribs. So back out with tube, and in with the ribs first.
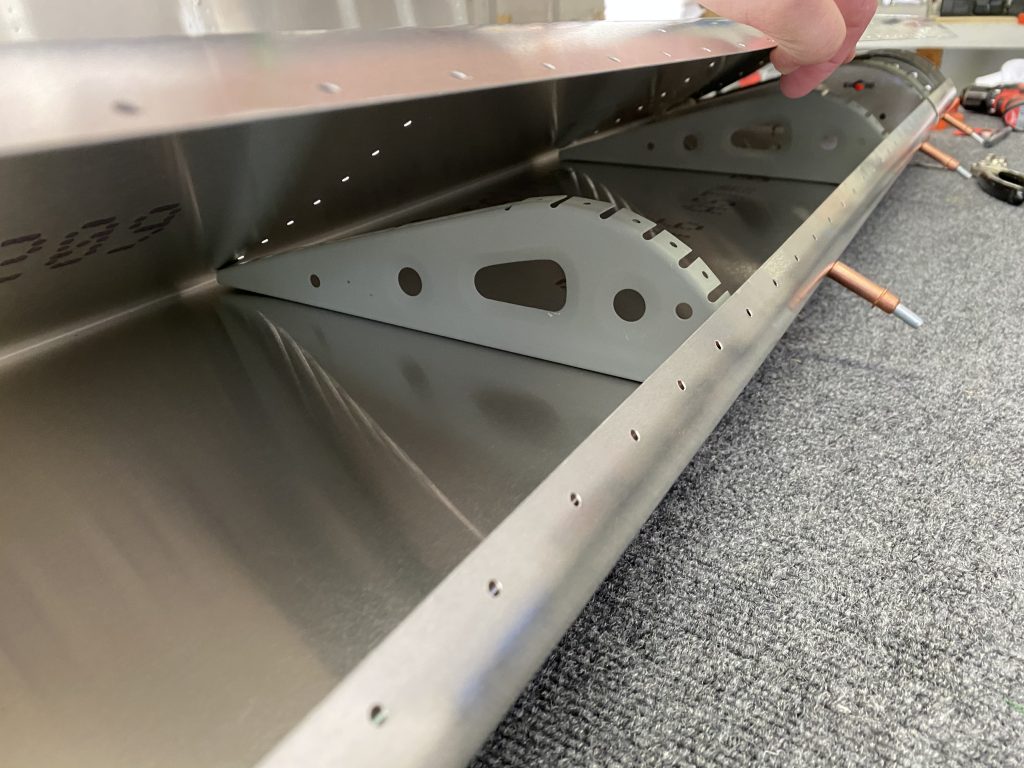
After I aligned all the ribs I inserted the balance tube and lined it up with the rivet holes. Then I clecoed both sides to start riveting the top and bottom of the skins.
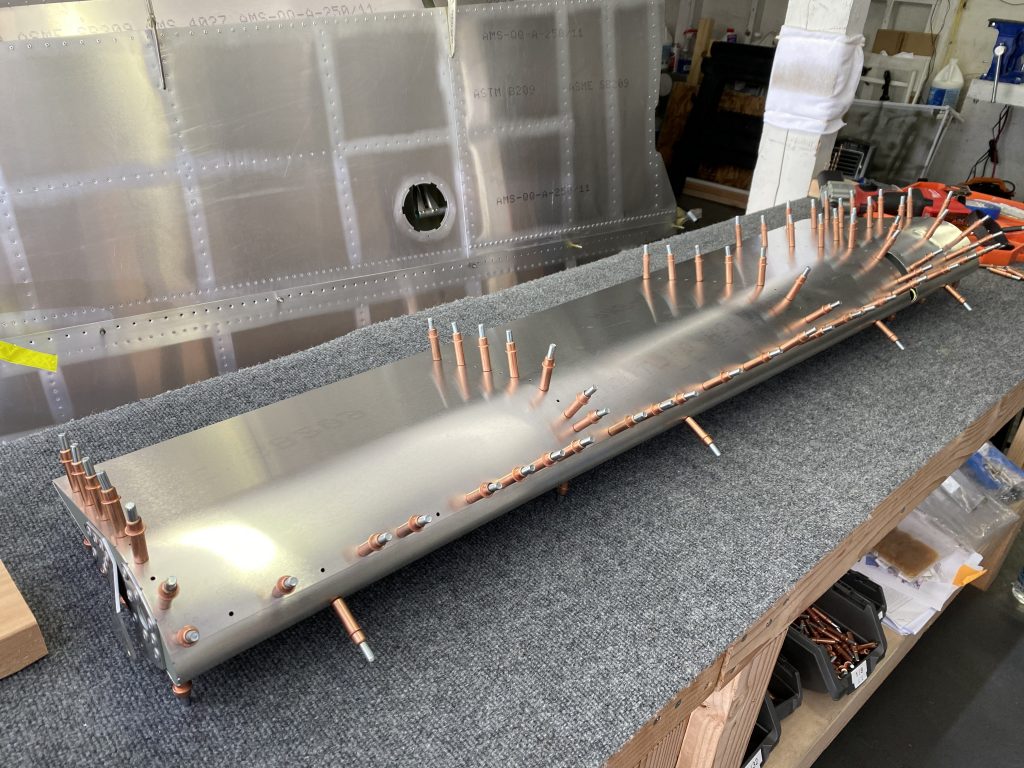
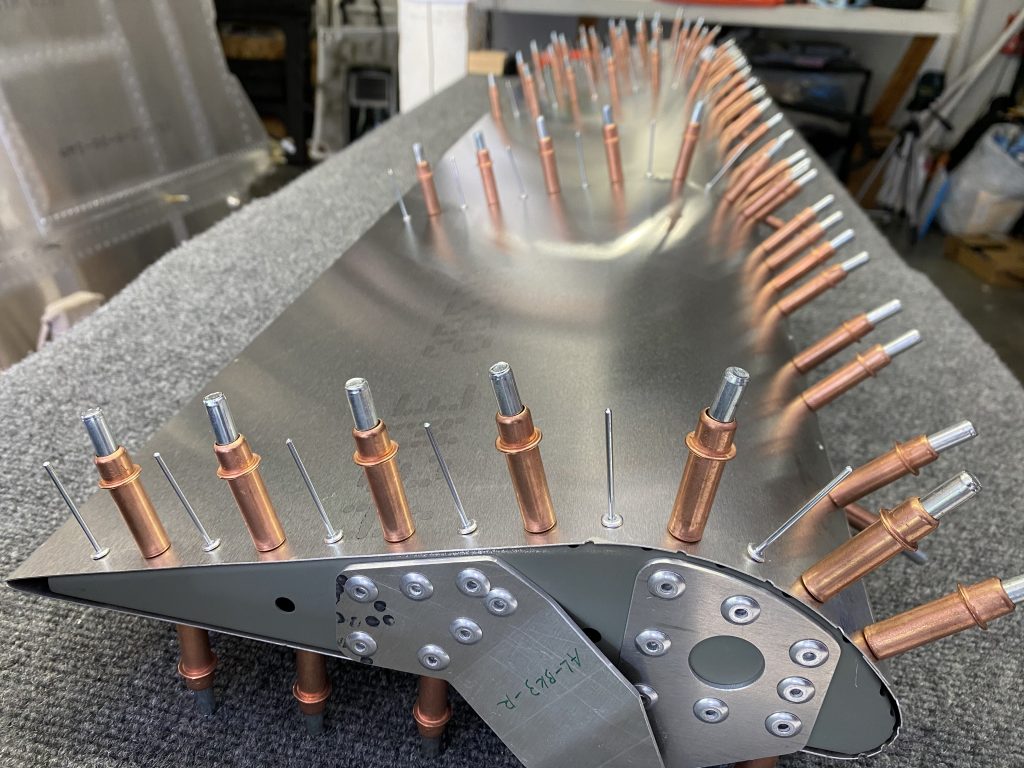
After I was done with riveting the top and bottom of the skins, I took off the clecos from the front and did a test fit on the wings to check the alignment.
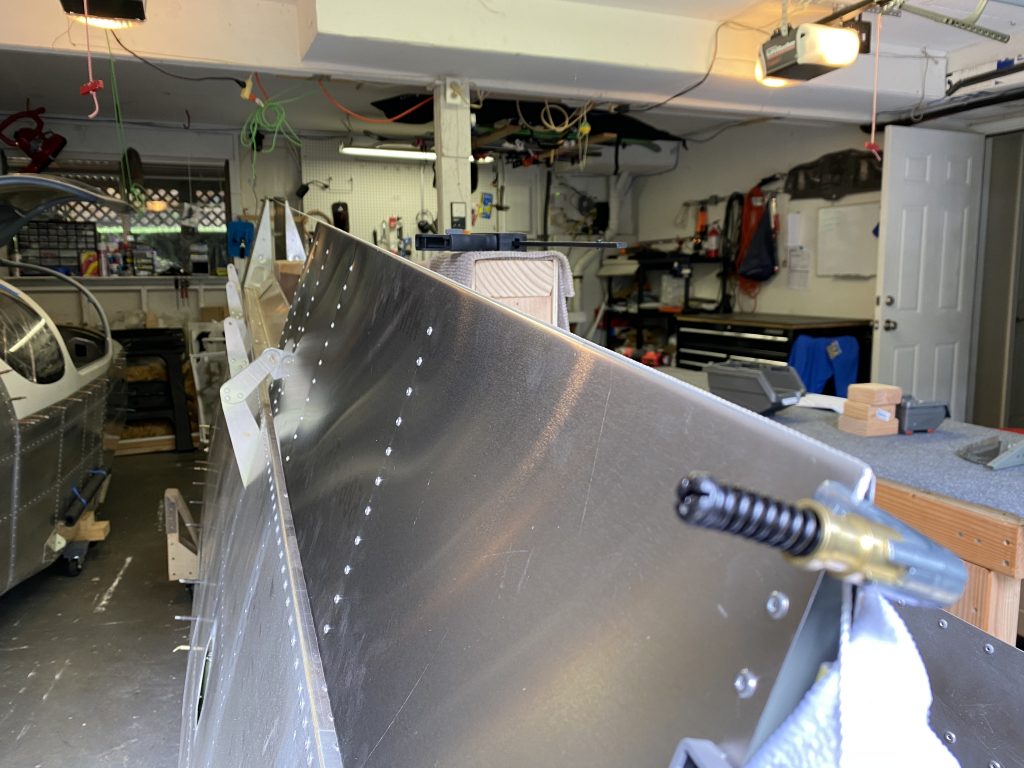
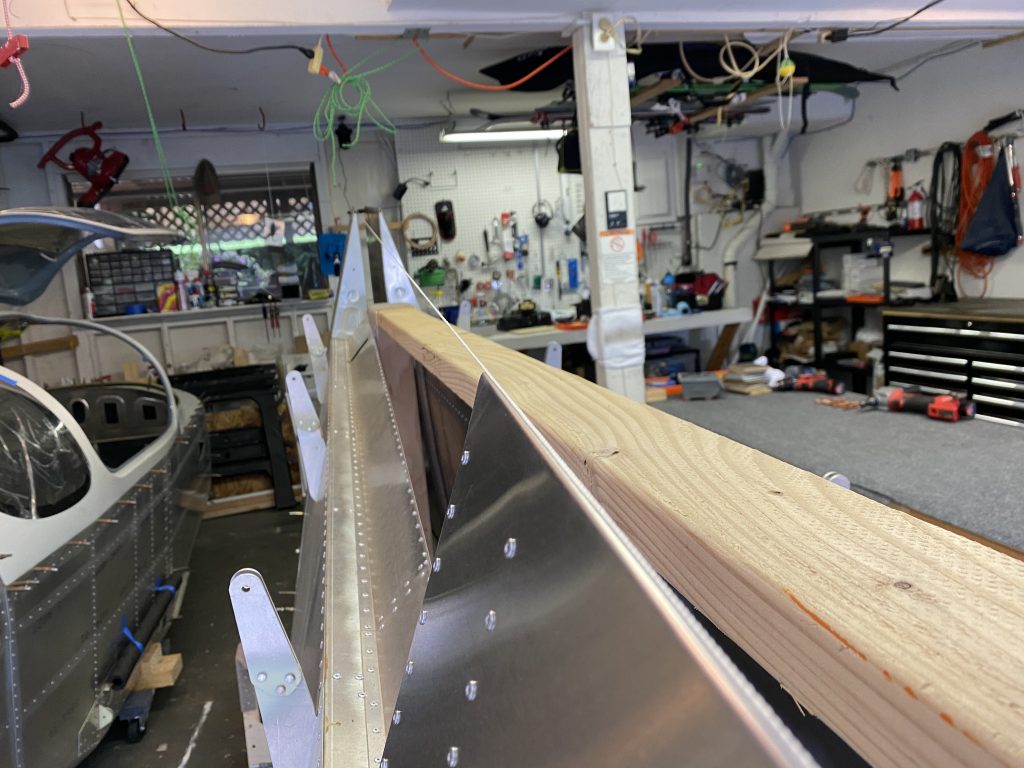
Everything looks good, so I clecoed the front line again and started riveting to finish the Aileron.
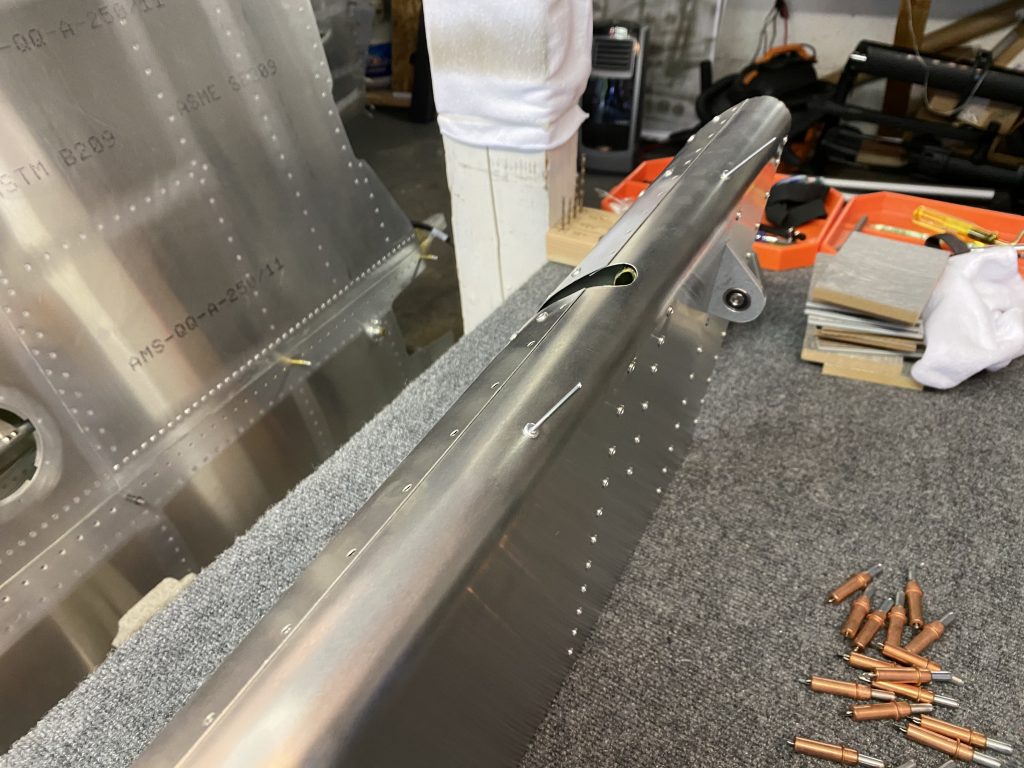
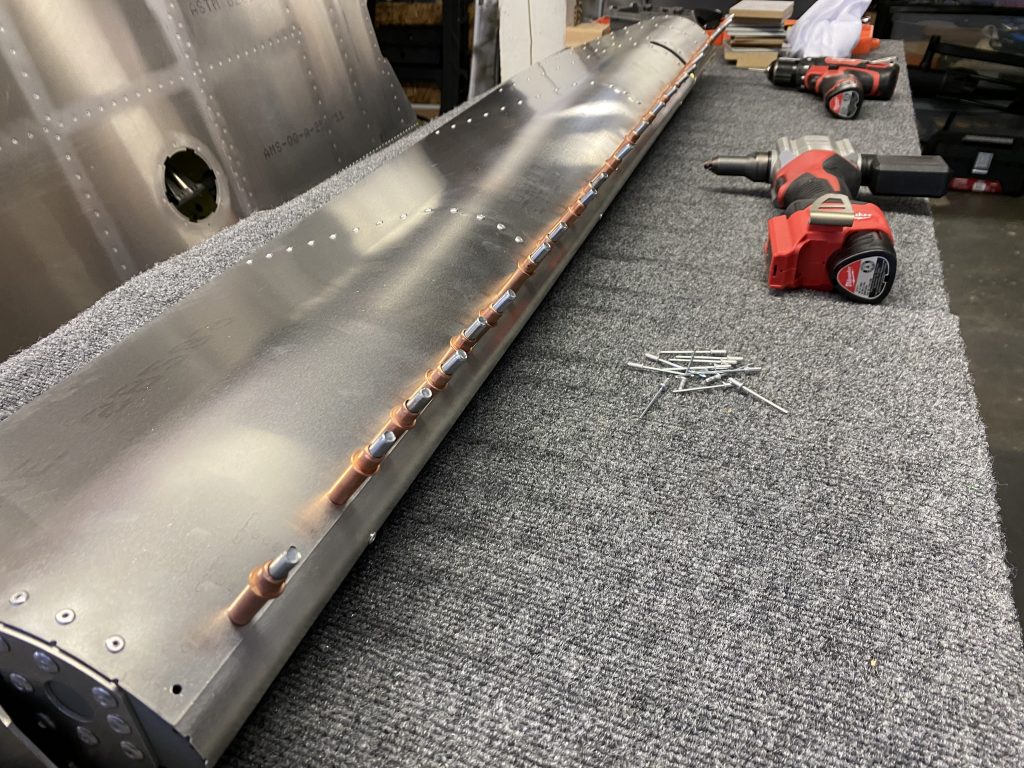
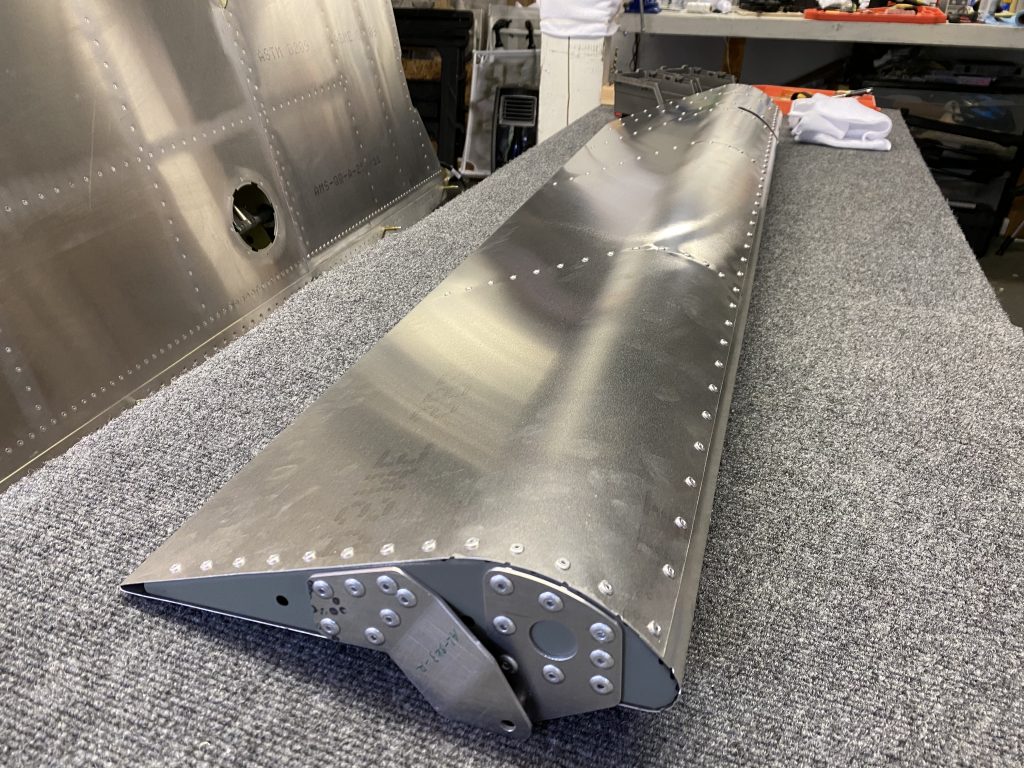
And here’s the completed right Aileron:

Pingback: Building the Left Aileron - Philip's Sling TSi Build Log