
After a bit of a hiatus, back to building.
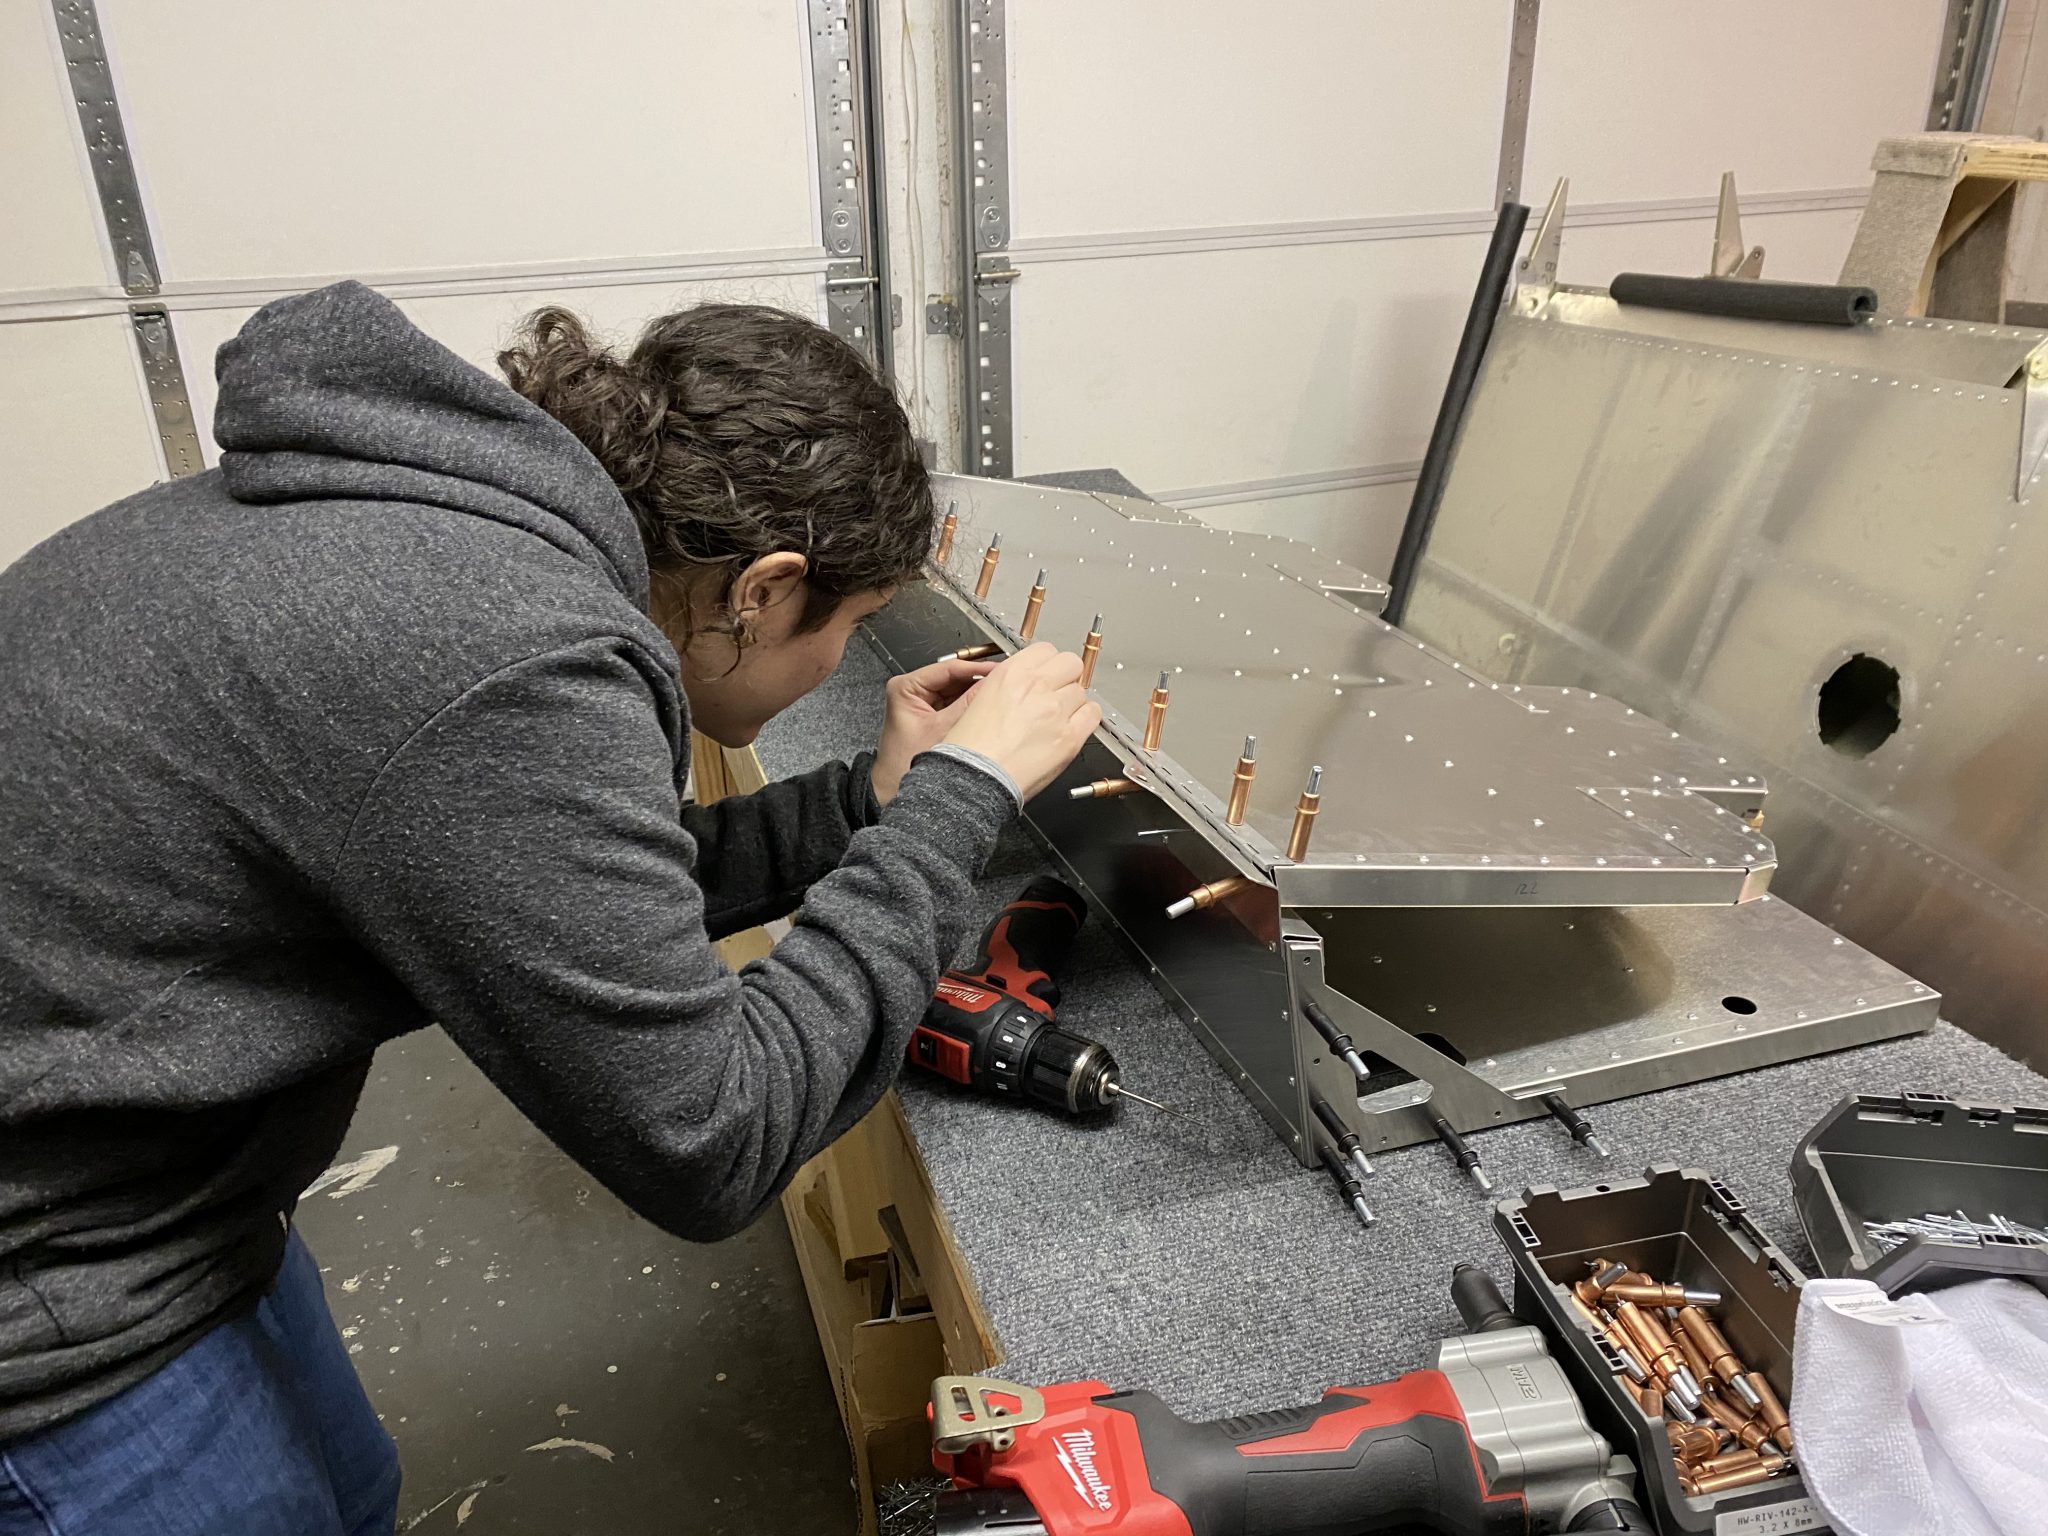
With the help of my other half, we completed the bottom part of the rear seats and put it all together to finish it. This was truly one of those tasks where 4 hands can finish it all in half the time.
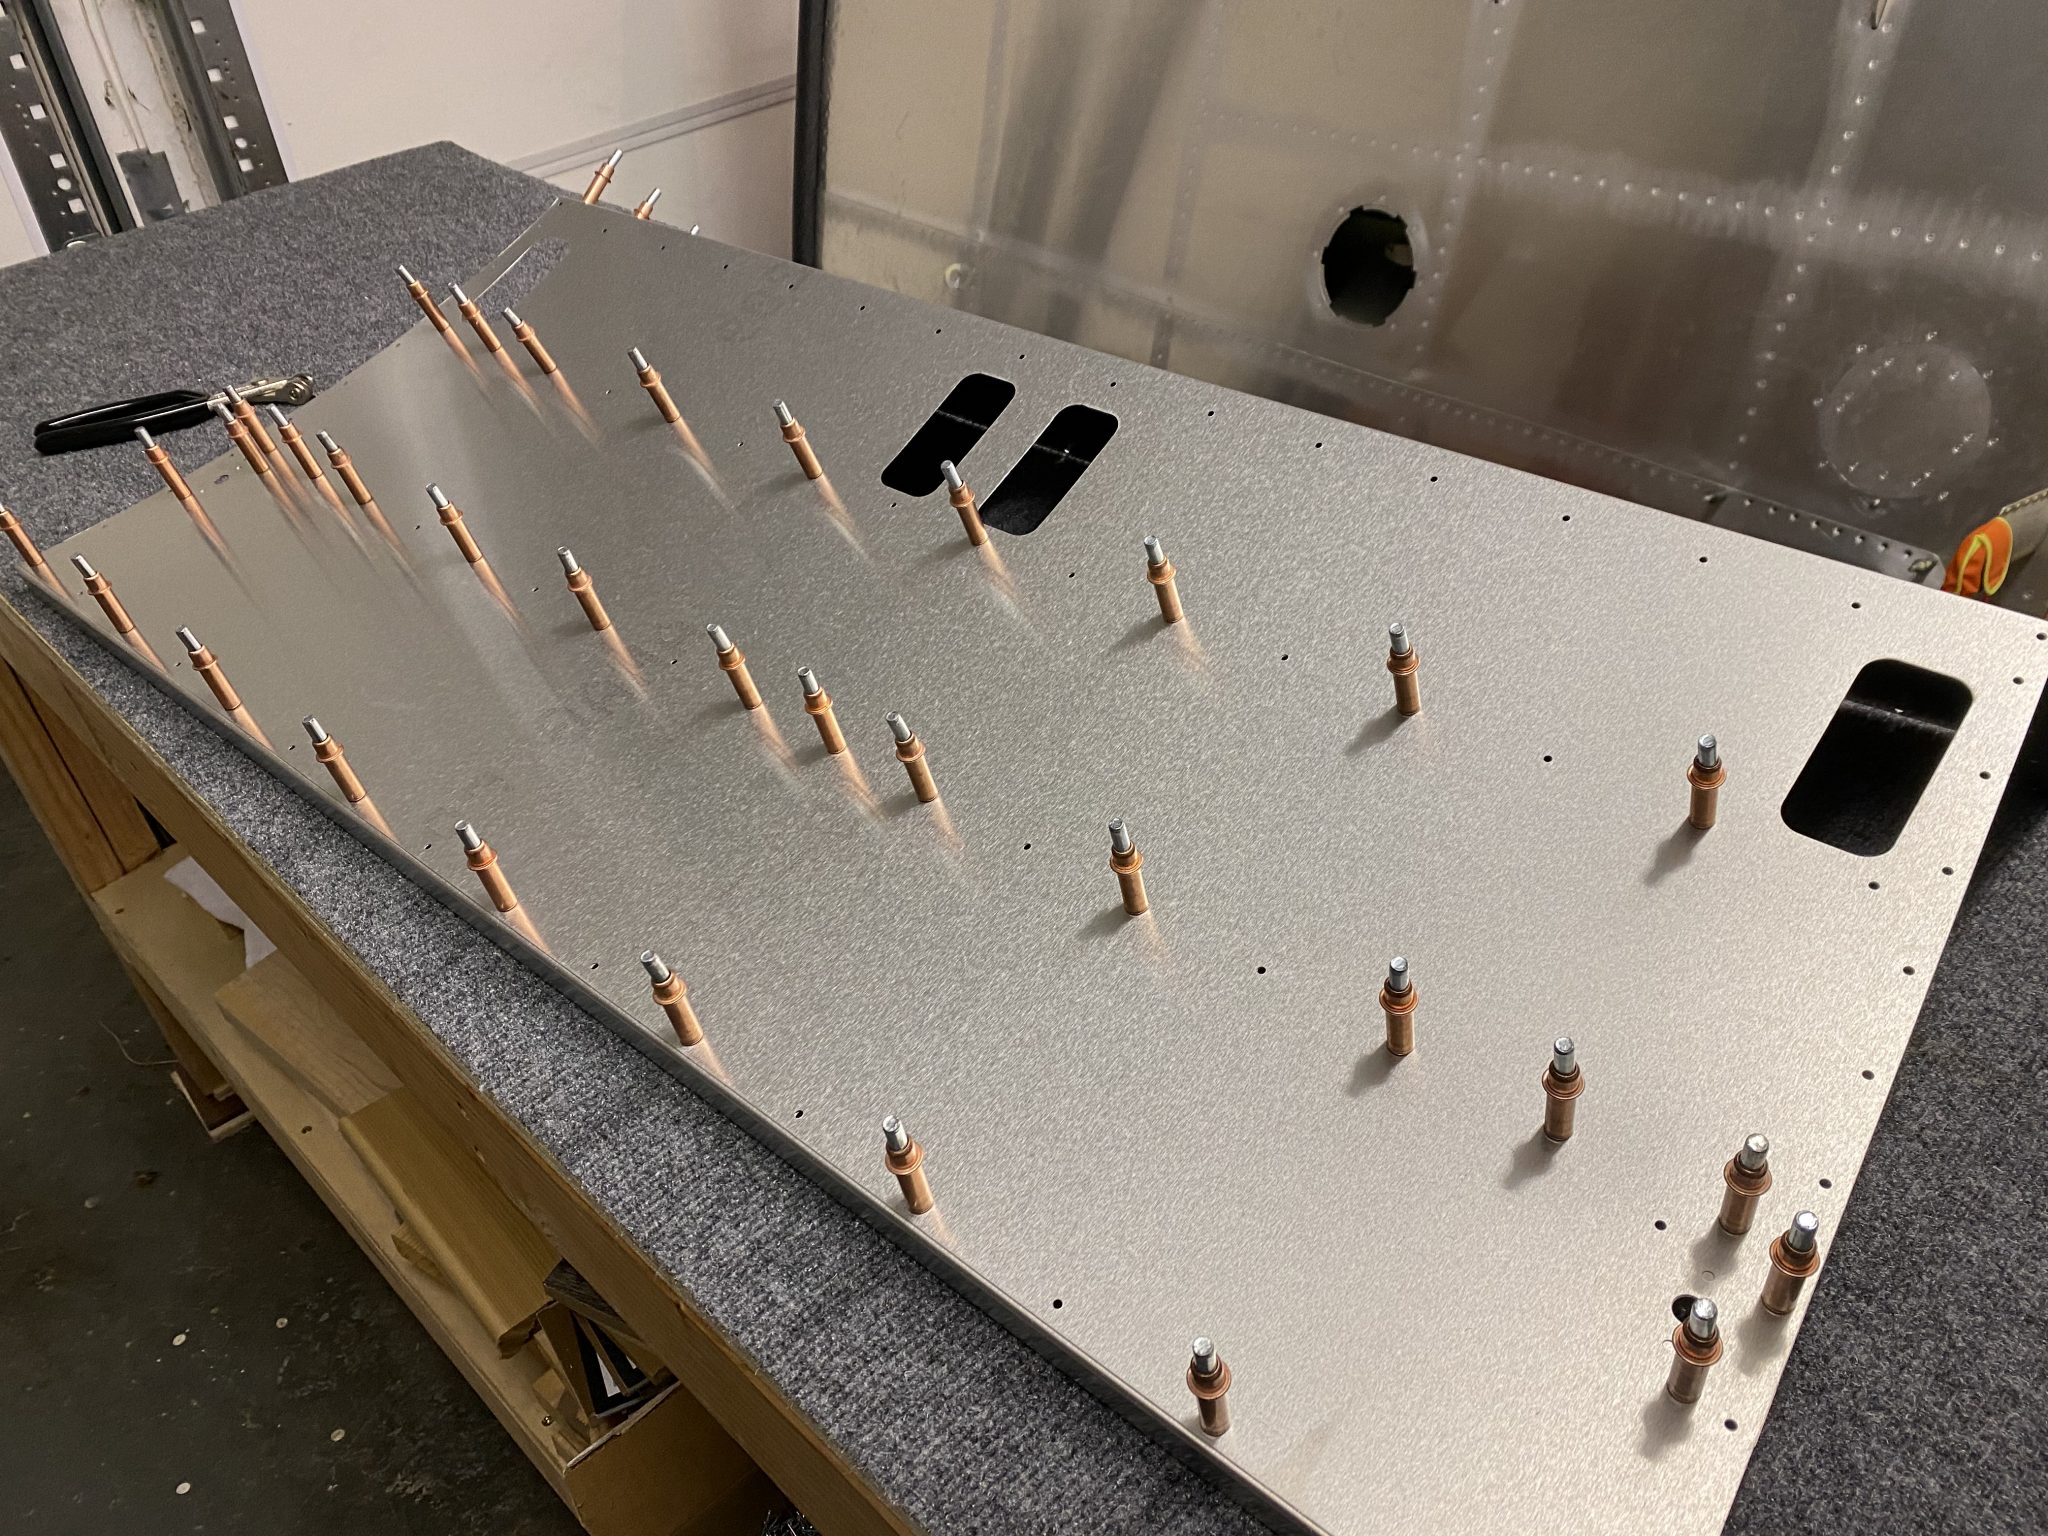
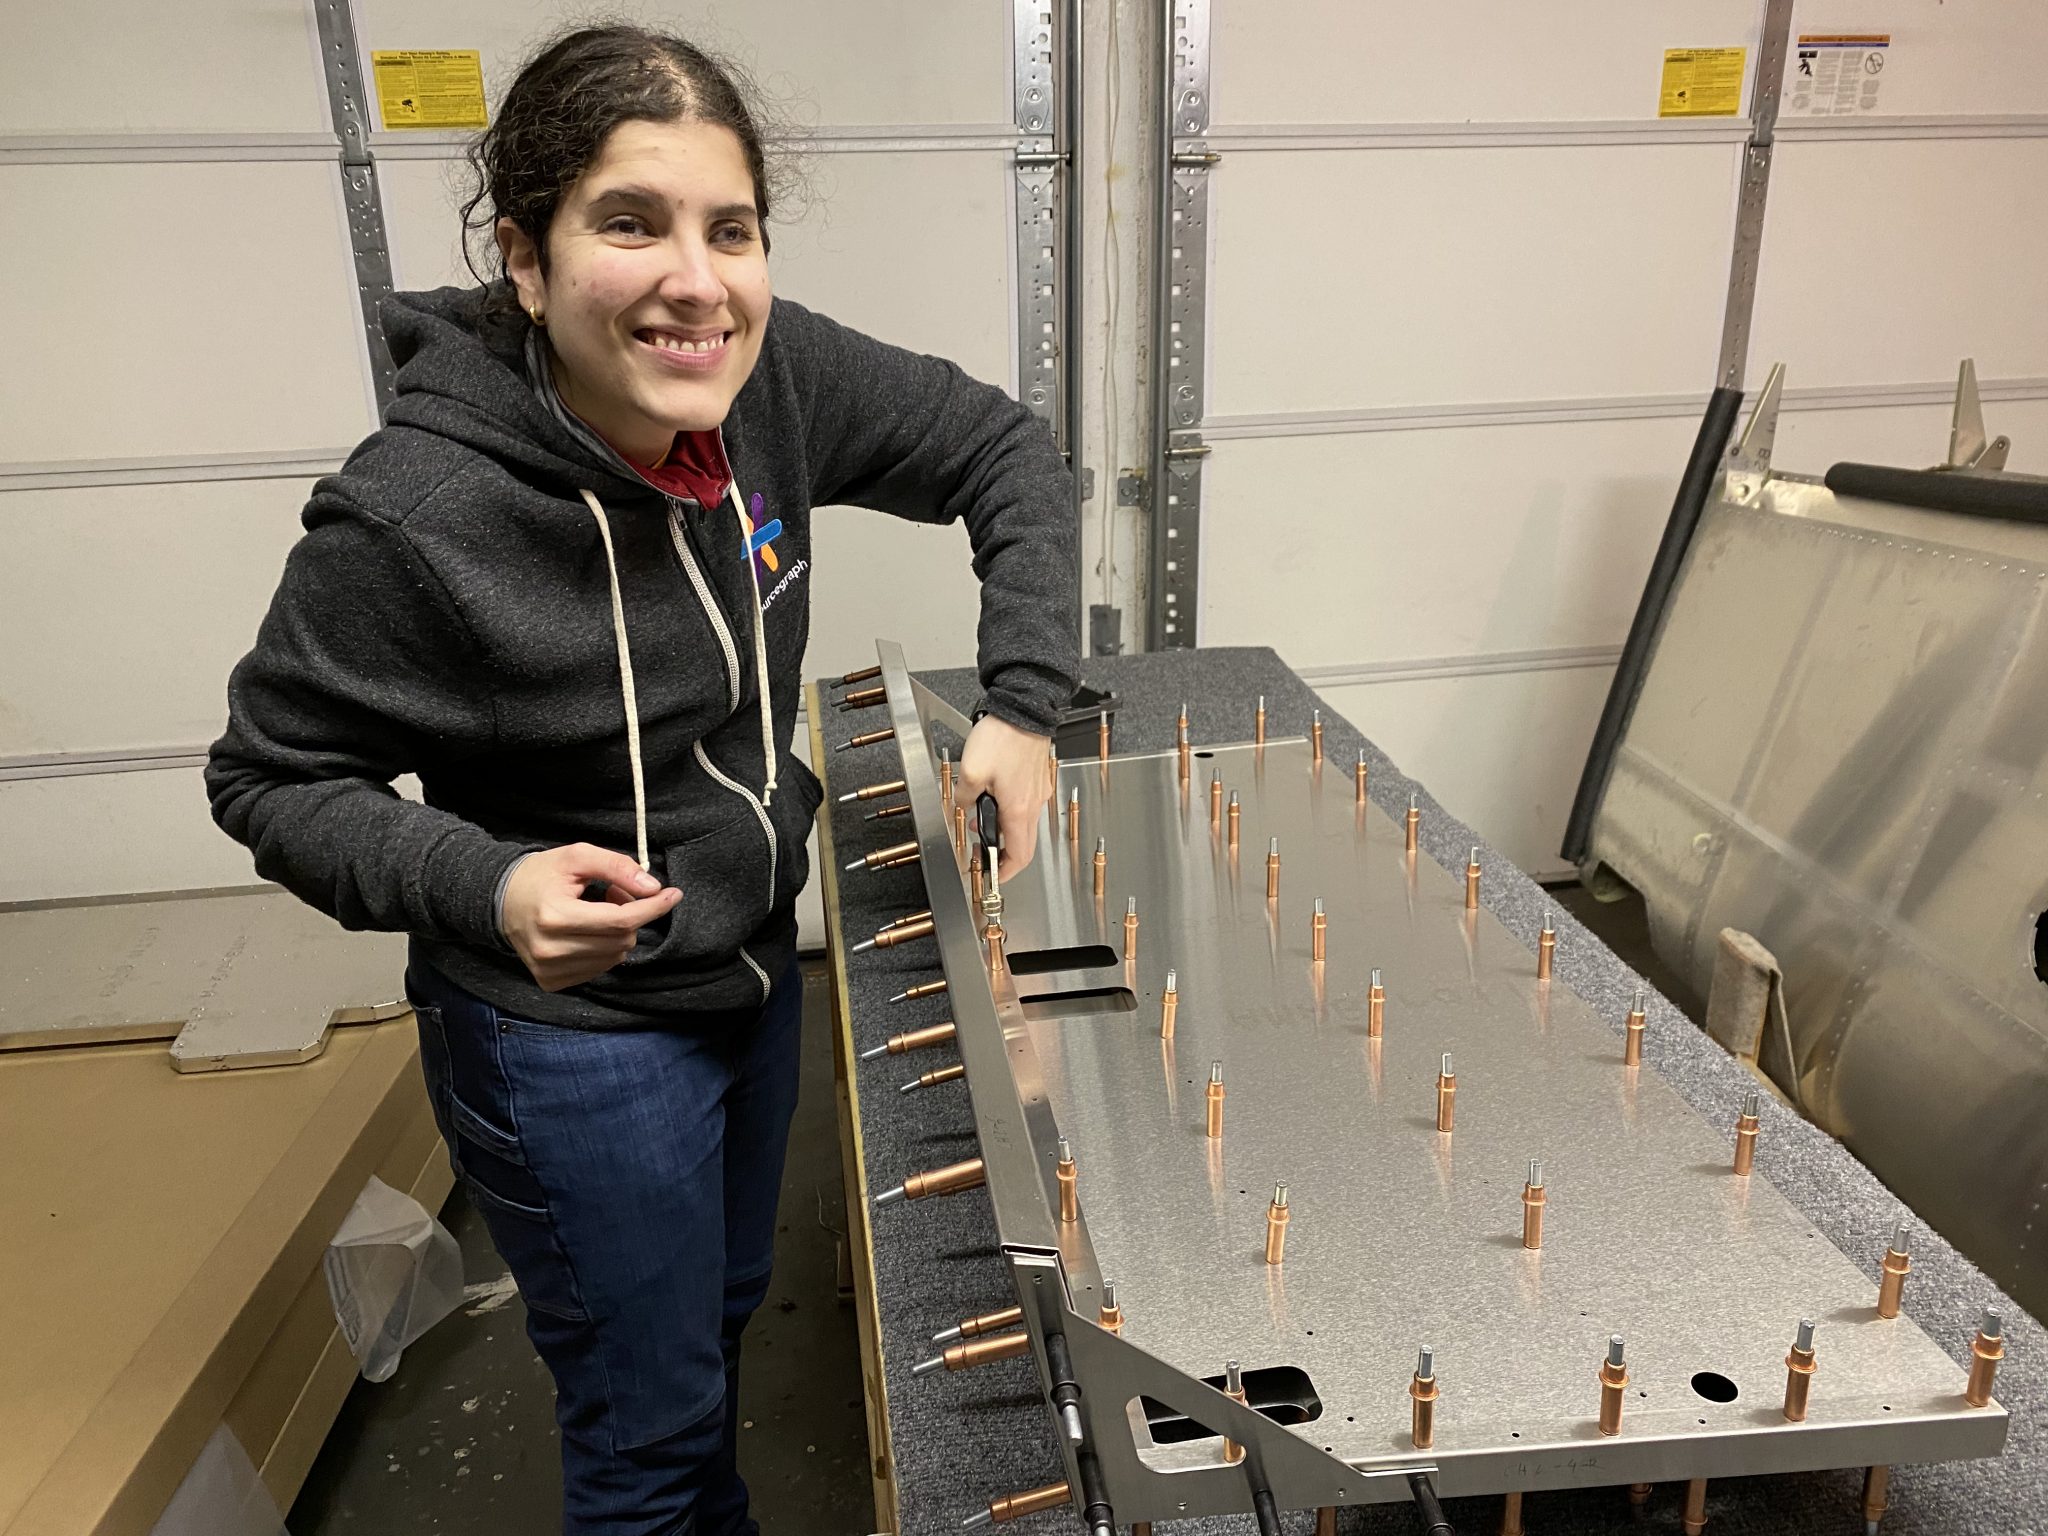
With everything clecoed together and fitted, time for some rivets.
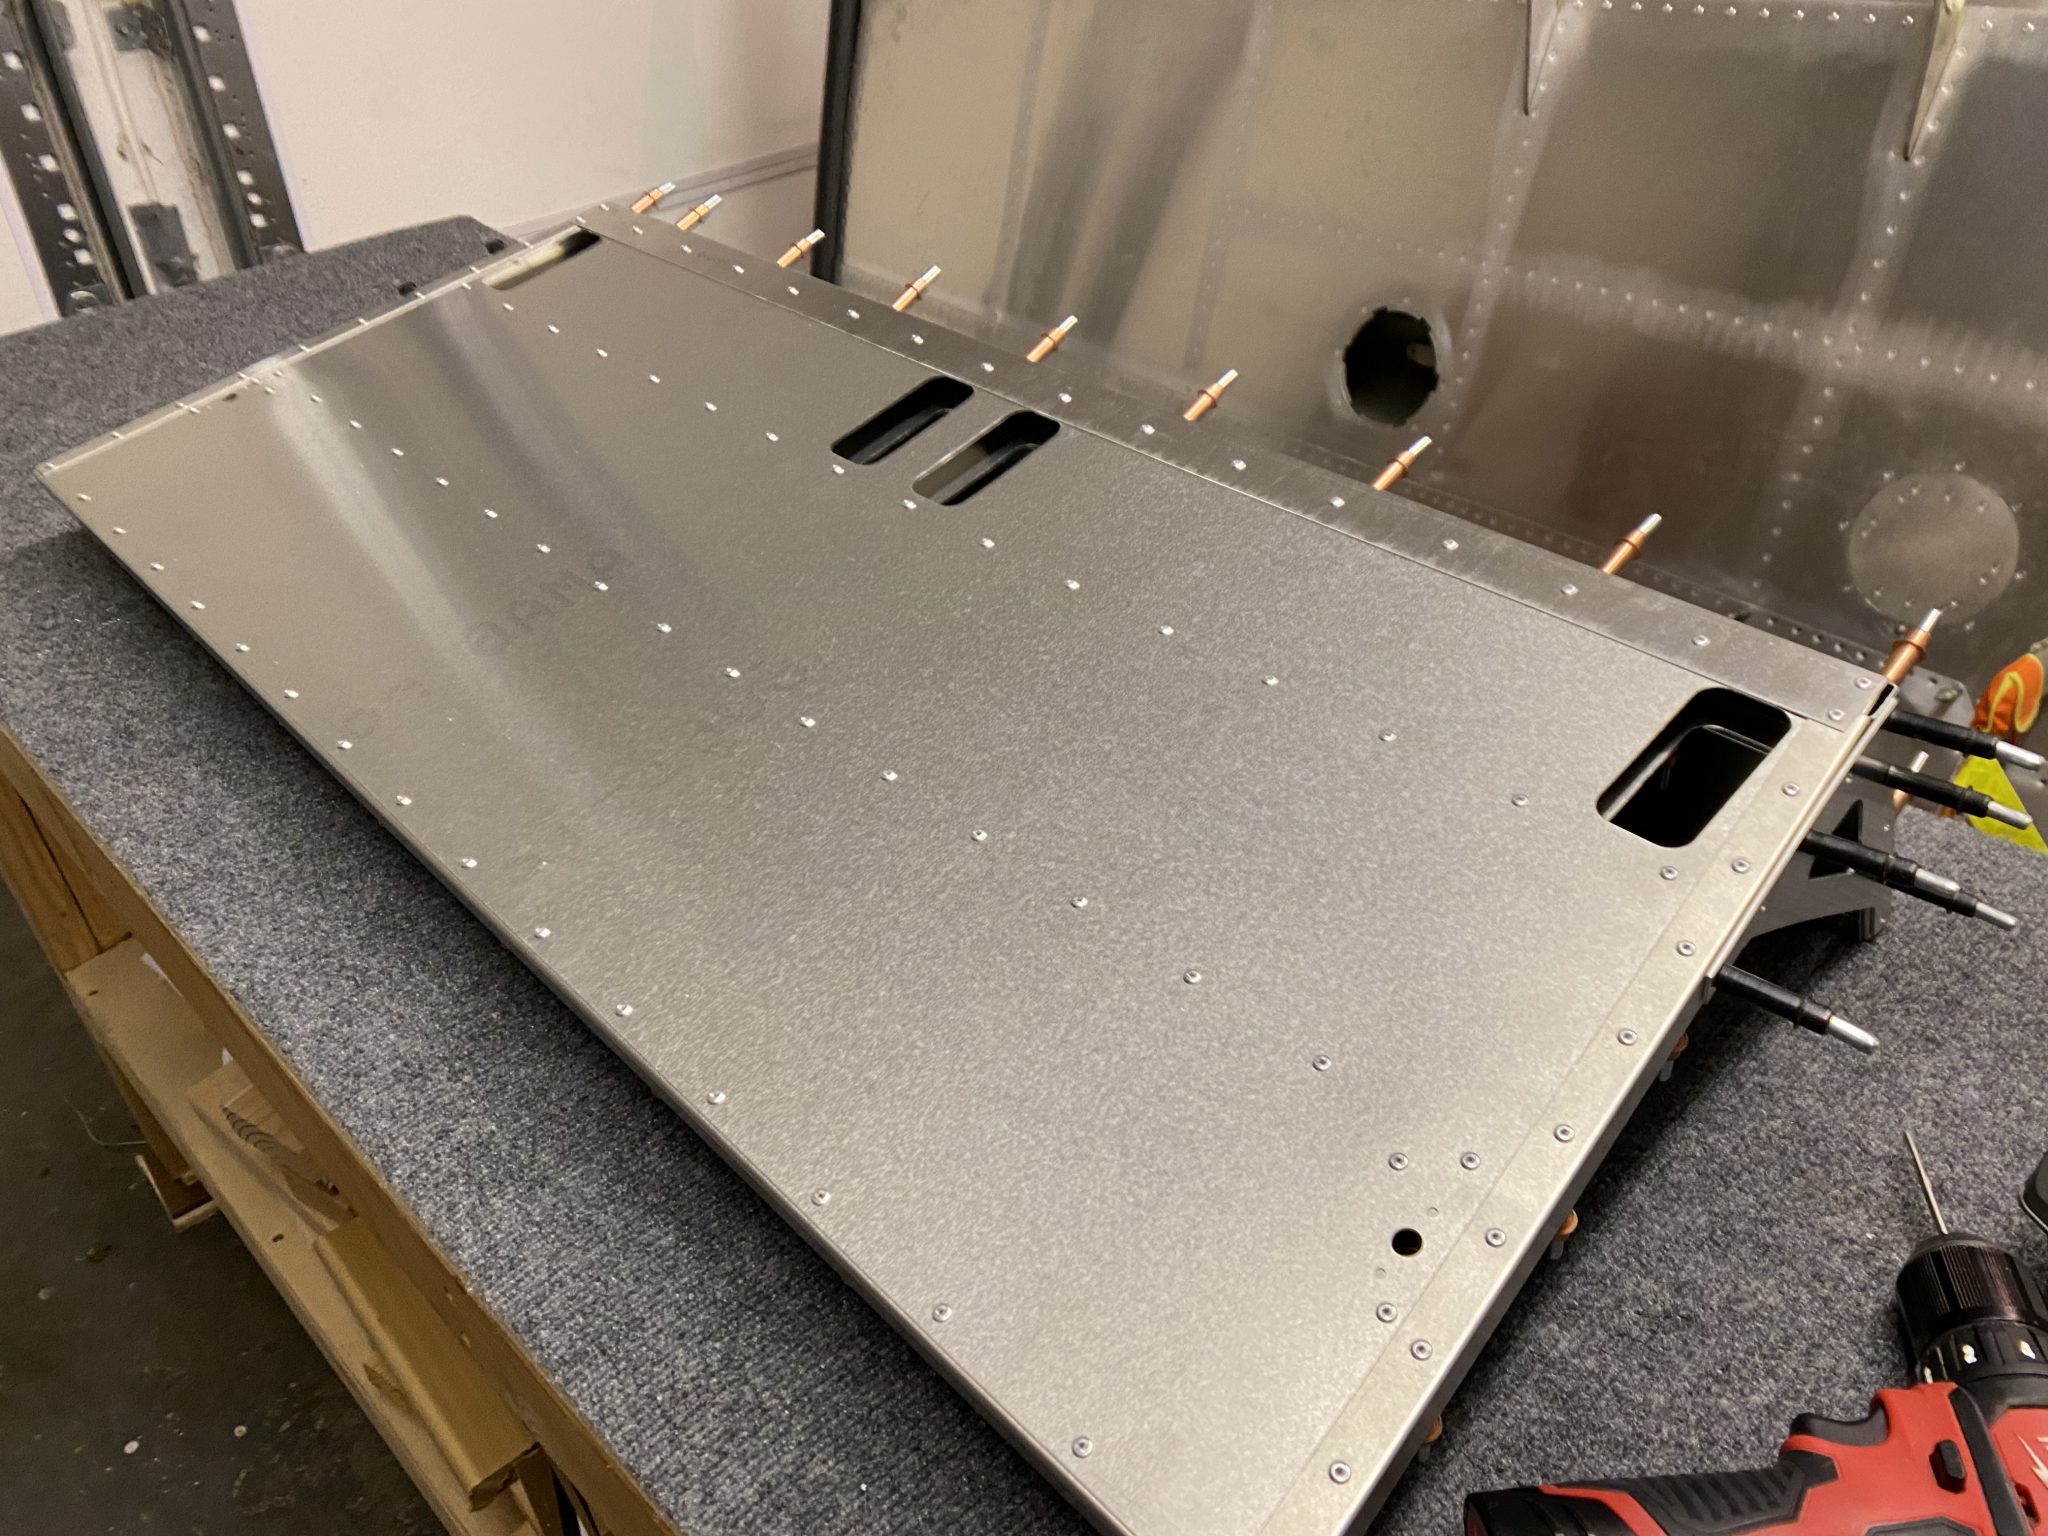
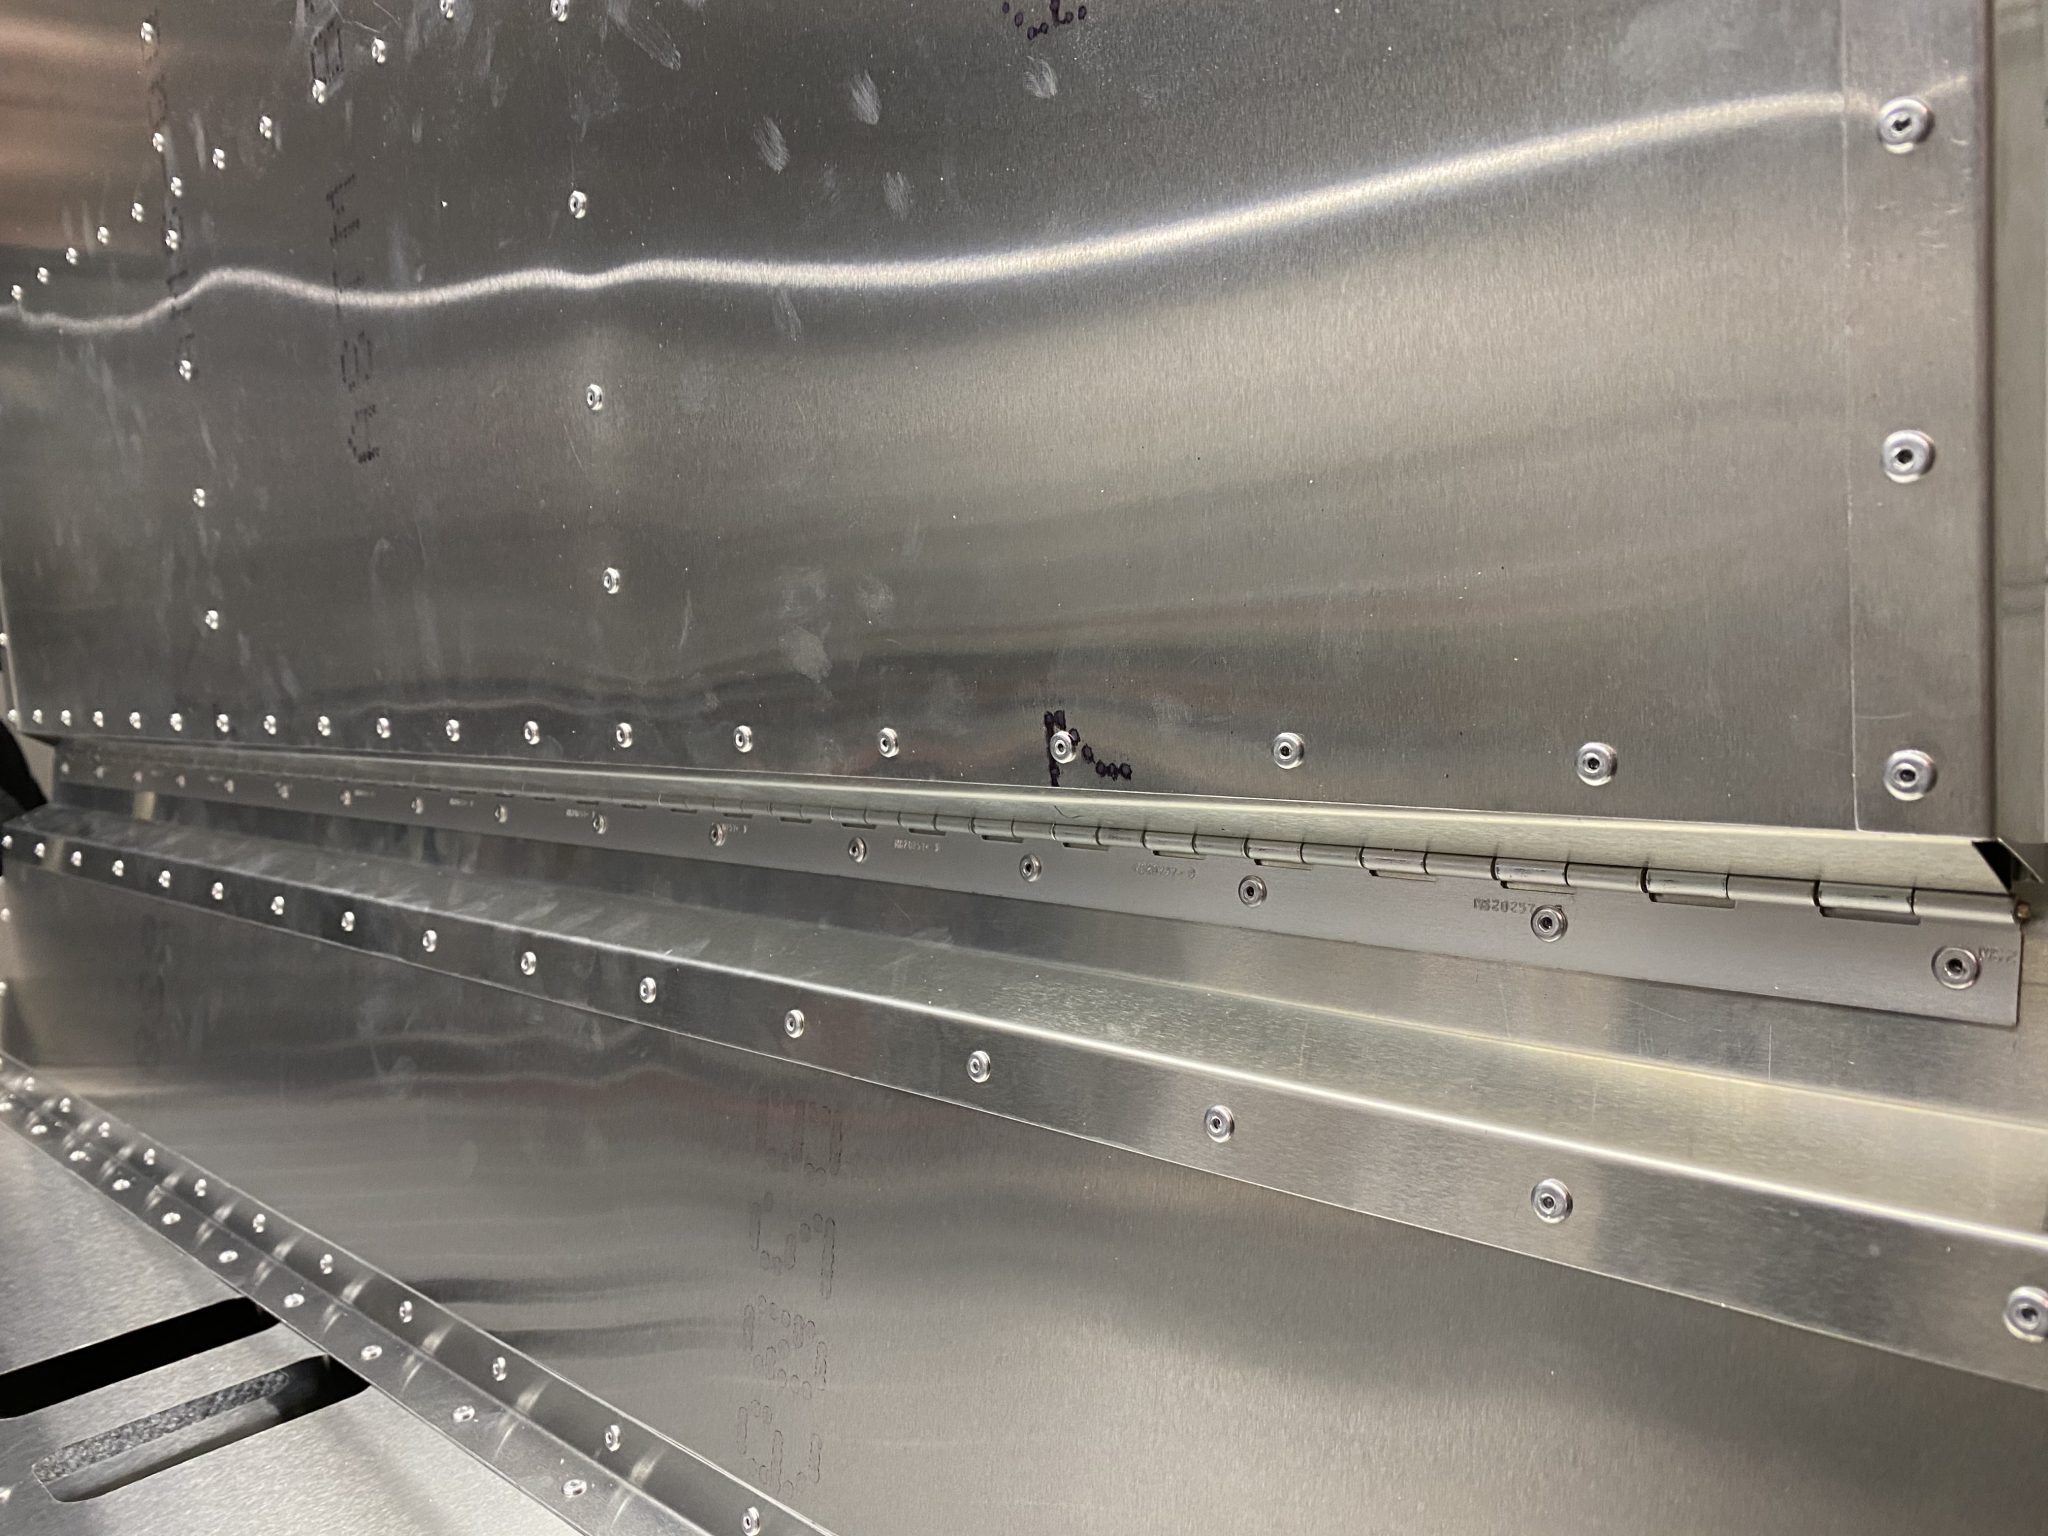
Once that was all riveted together, we combined the bottom and top bench with the hinge.
One piece of note here as the instructions don’t quite call out what orientation the hinge should be put in place. I did a lot of test fitting to get the ideal hinge-fit for this.
Based on my testing, here’s what I did:
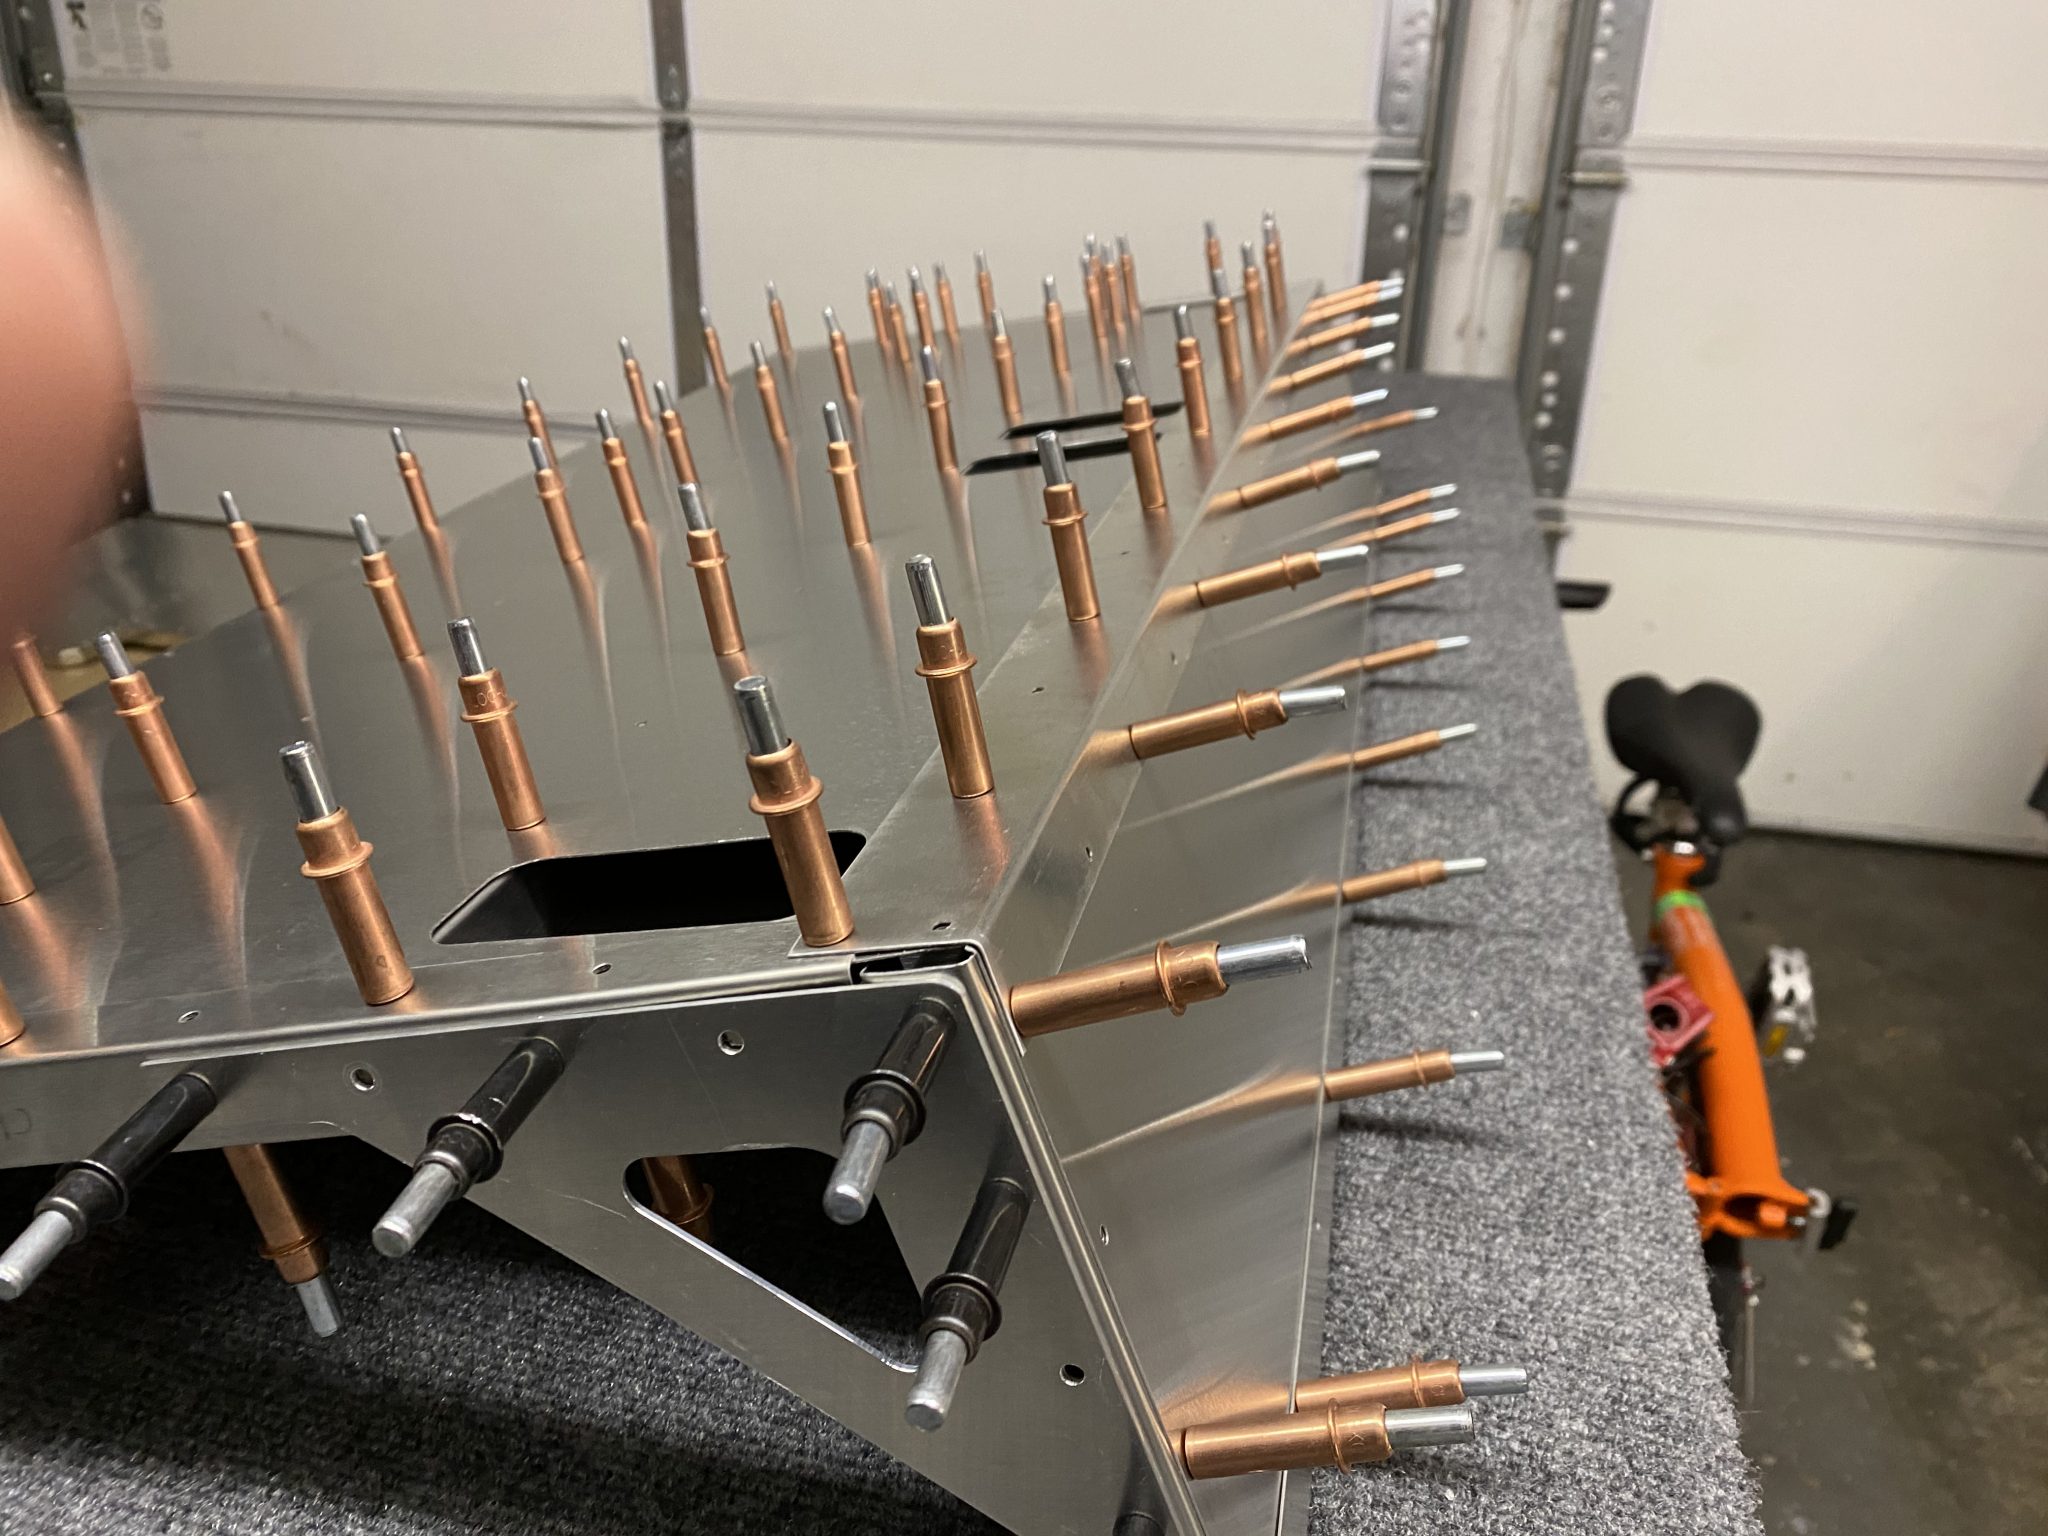
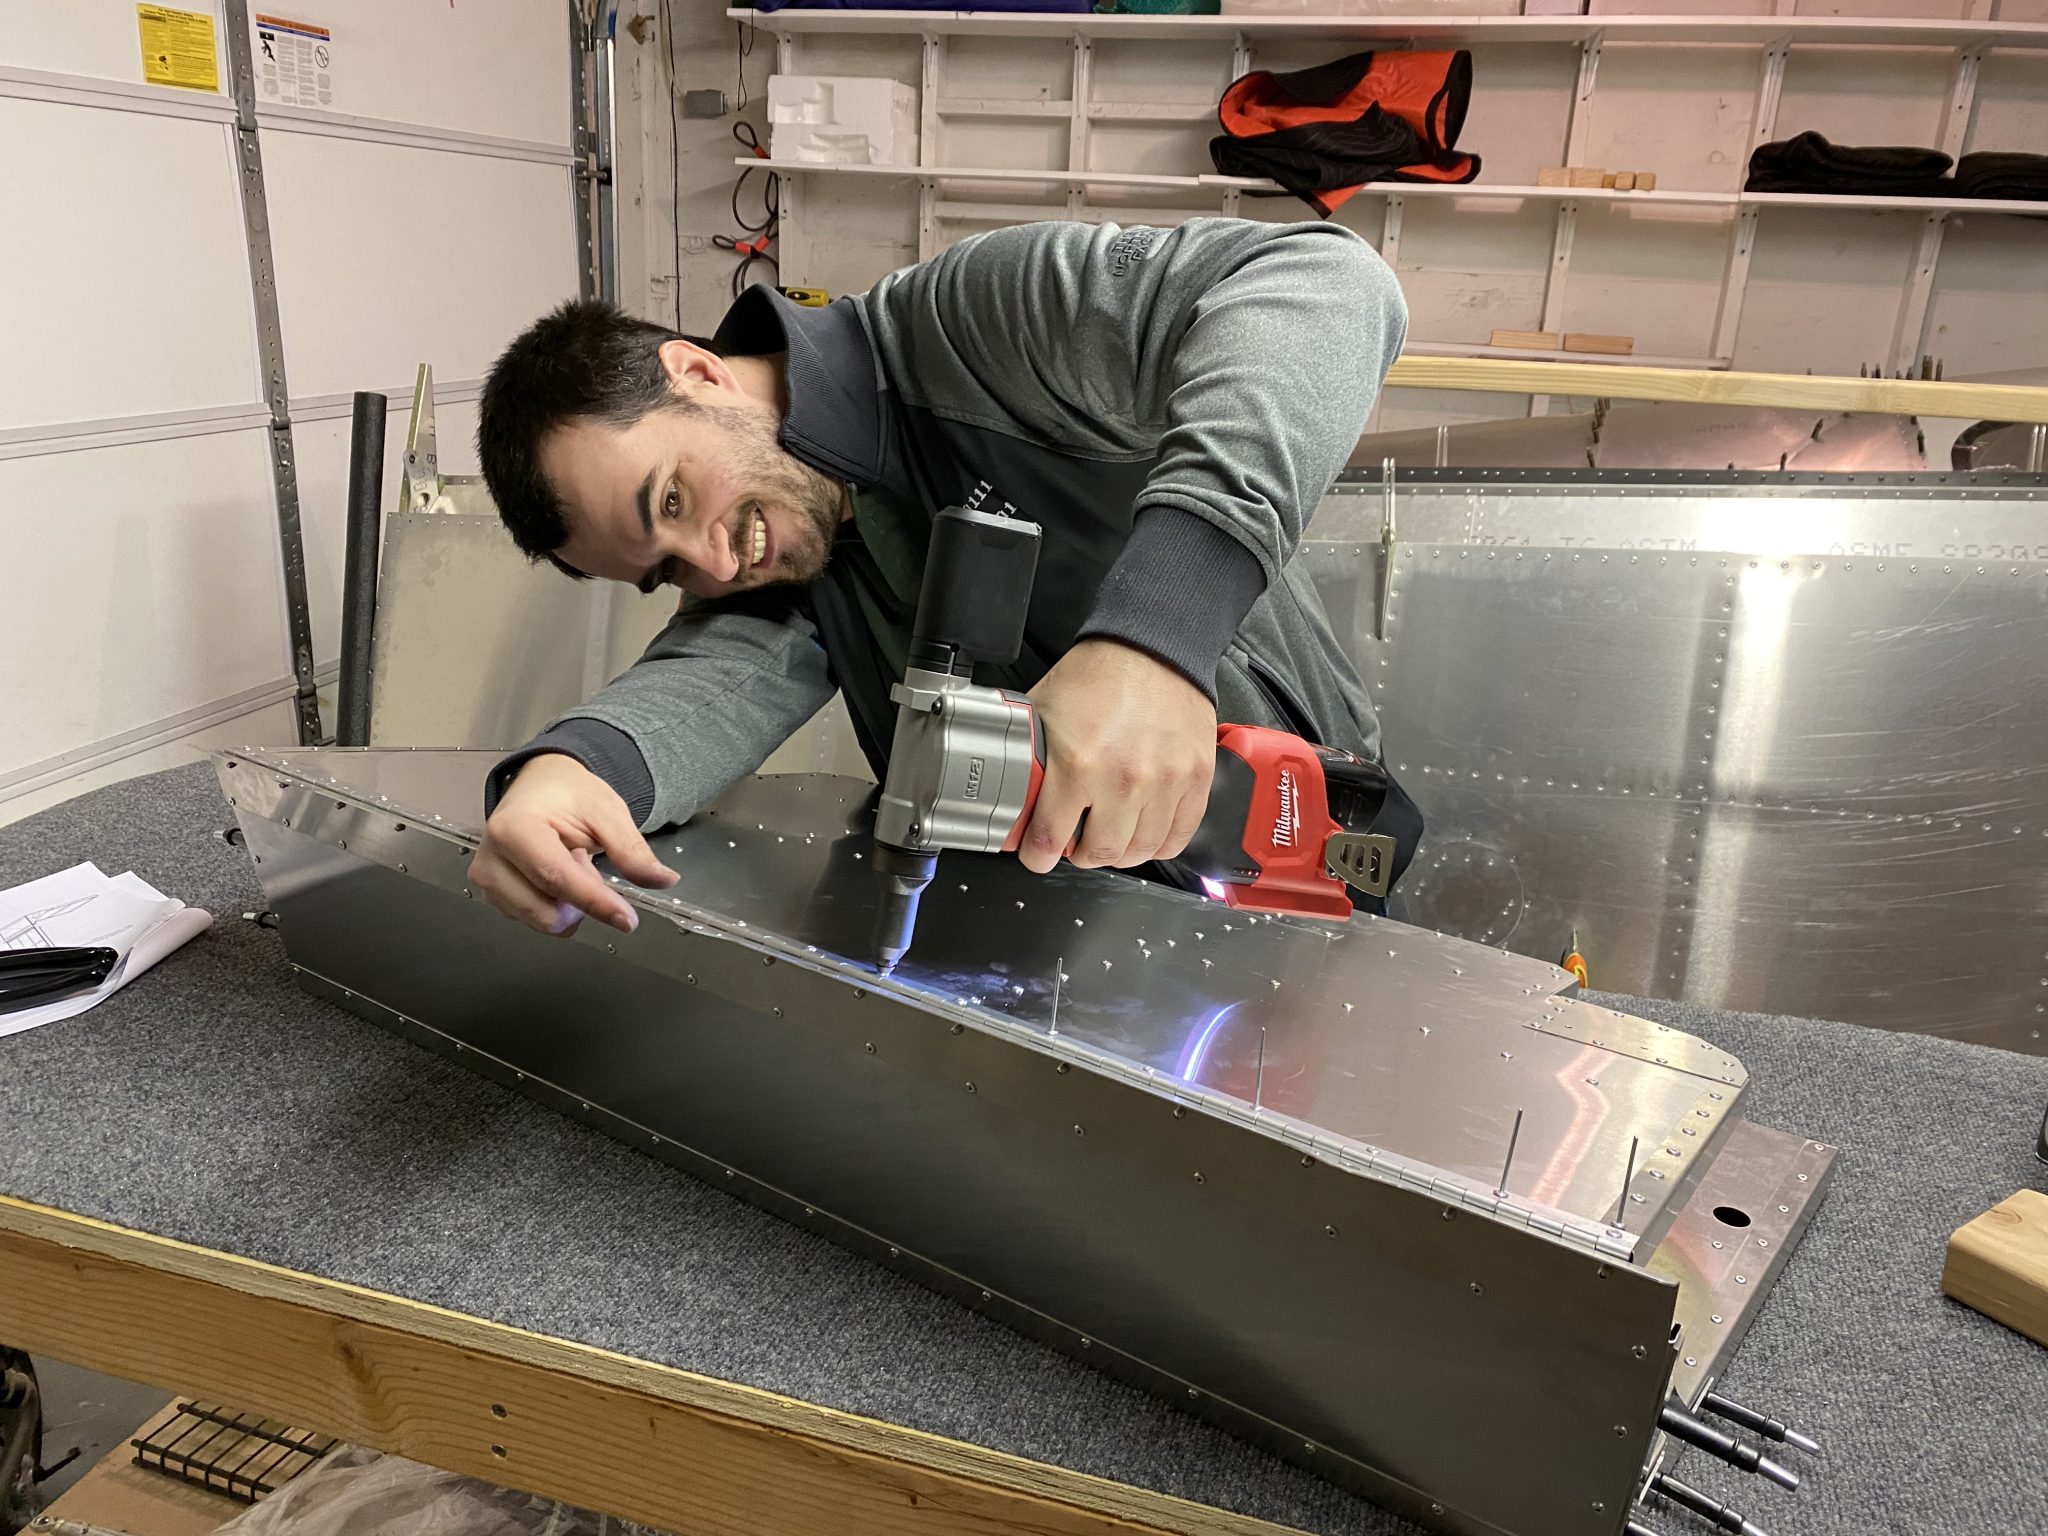
I riveted the top bench from the back as seen in the above picture. And the bottom bench from the front to back, in order for the bench to be able to fold forward completely without interference like this:
And here’s the happy completed picture:
