
My Sling TSi airplane kit has finally made its way to my garage and arrived yesterday from The Airplane Factory in South Africa. Since I ordered the entire kit in one go as a quick build, it was shipped in one large 20 foot container directly to my house. The container arrived about two weeks ago in the port, but then the Seattle Snowpocalypse happened and we had the heaviest snow in February for over 70 years. The Seattle area is very hilly and so the sudden large amounts of snow and the hills made for impossible driving conditions and so while I couldn’t get a truck to deliver the airplane, instead we went skiing on our road sometime last week since our hill has a pretty steep incline.

Luckily it stopped snowing by Tuesday and warmed a bit and the City managed to start plowing neighborhoods and we could drive again by Thursday, so I called the Freight company and told them they can now give it a shot to deliver and the scheduled the delivery for Monday, which worked out great.
Unloading an airplane from a container
I set up my GoPro to try to capture the unloading process, it worked out fairly well to capture everything, so here it goes:
If this wasn’t enough, then here’s the complete story:
The Truck with the 20 foot container arrived just as my friends, who graciously were on standby the past two weeks to help, were arriving to help me unload and we went to work. The first order of business was to figure out the order to unload the container.
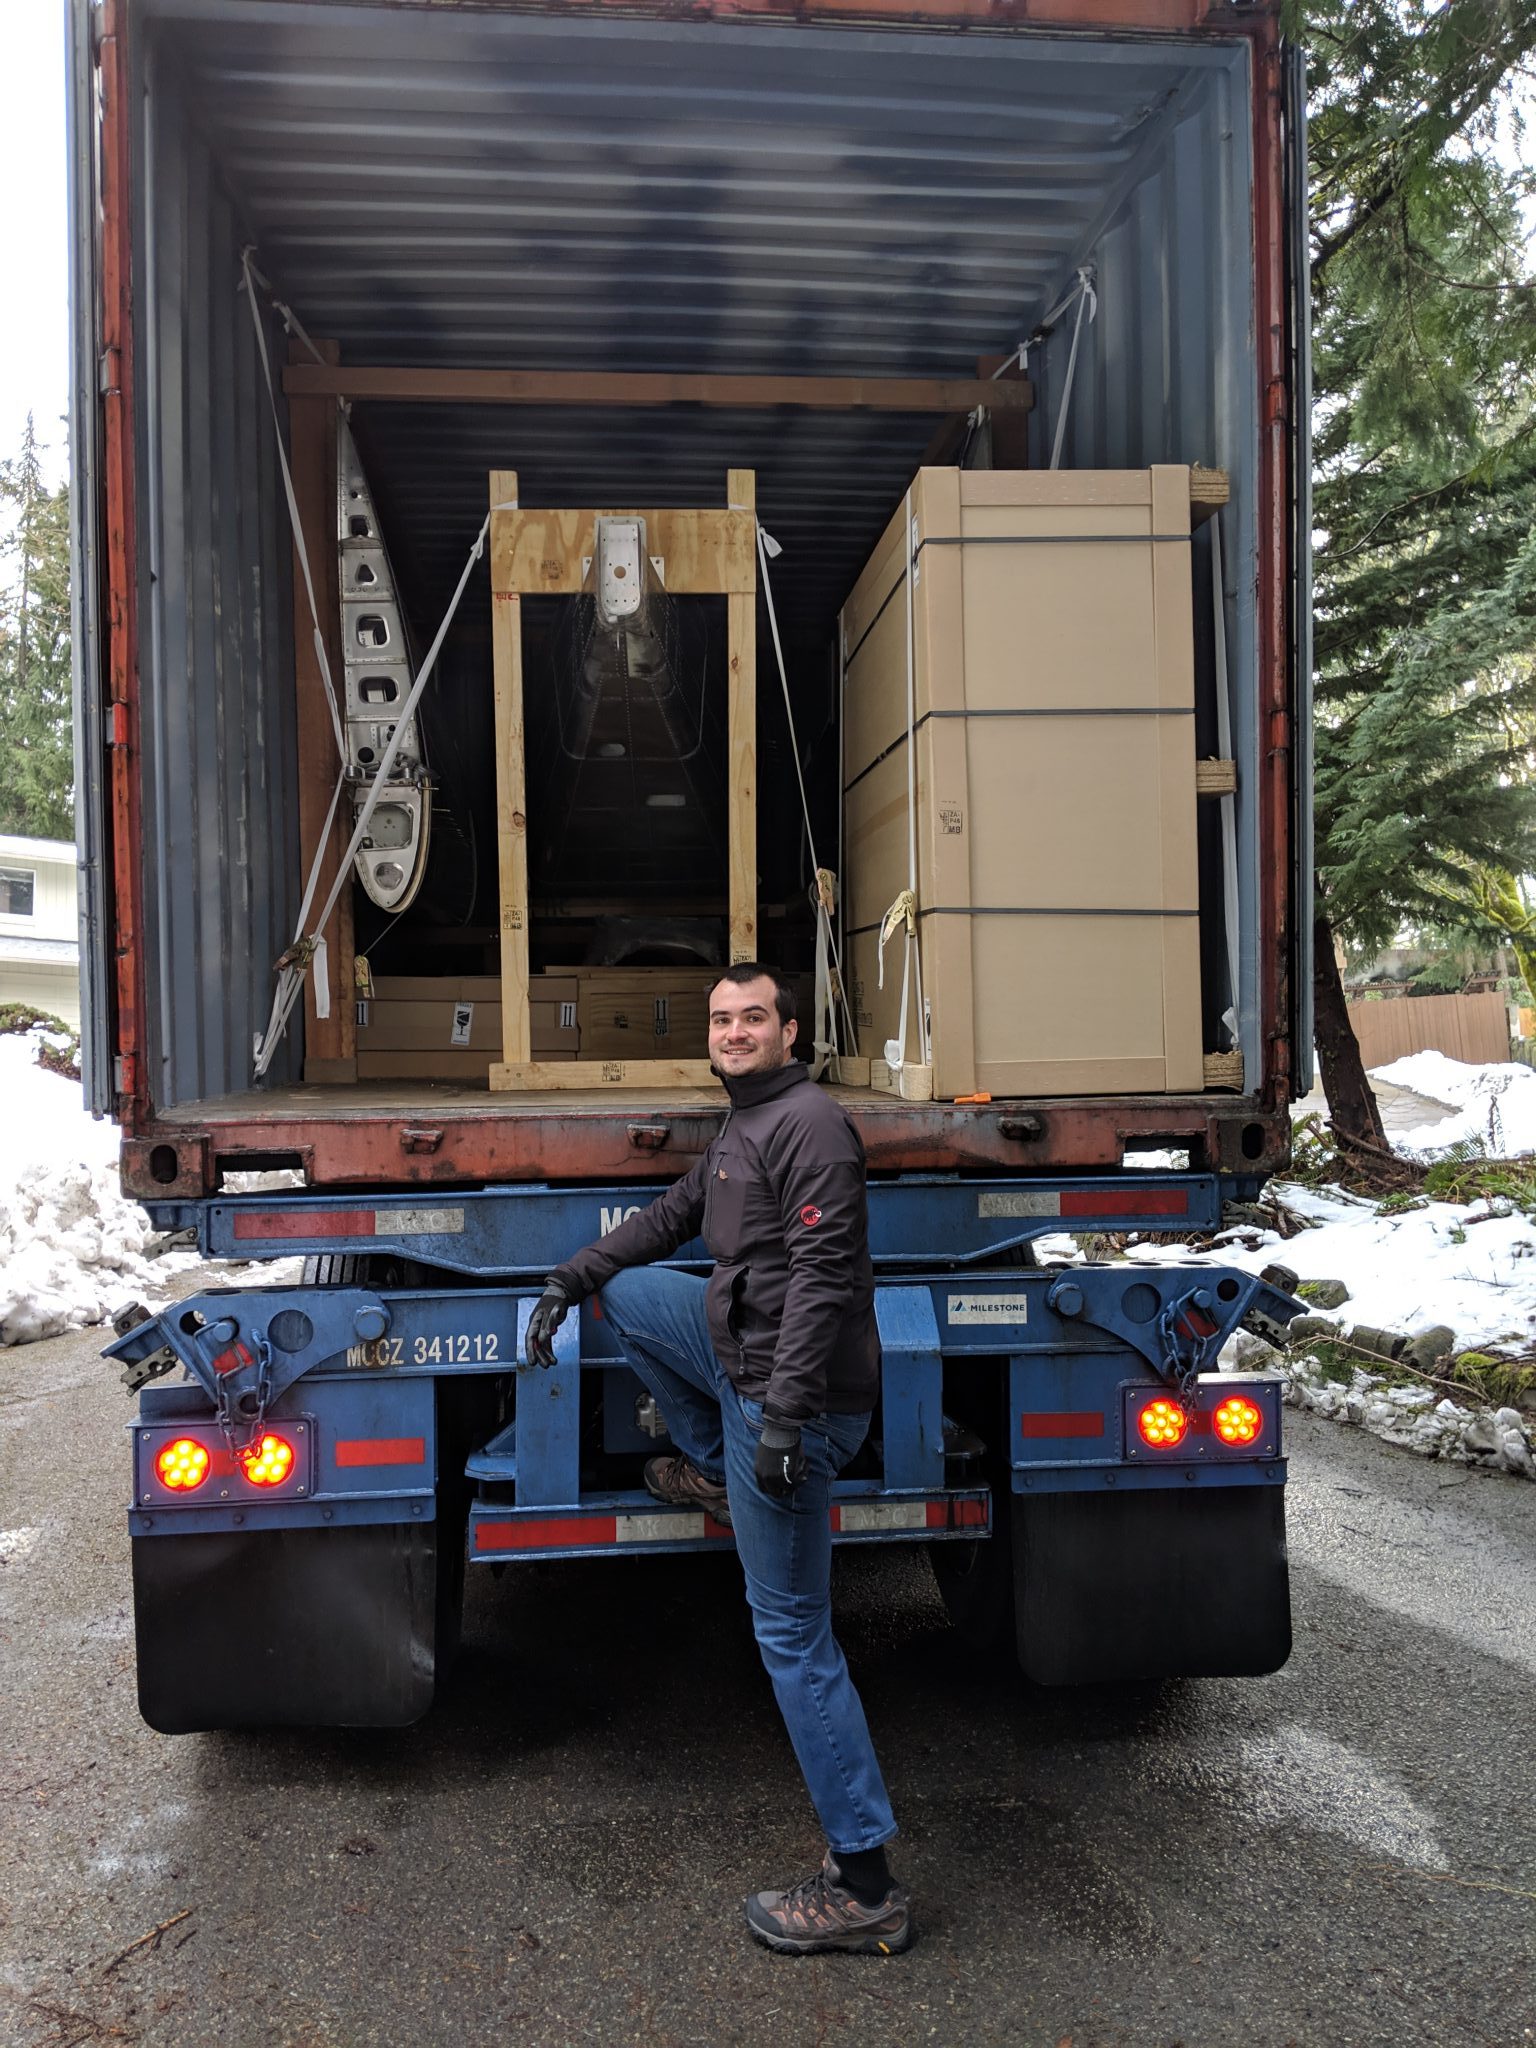

After taking out the big box with the Finishing kit on the side, we juggled around a bit to see if we could take the boxes on the bottom out, but they were blocked by the Fuselage Tail support, so we figured that we should take out the Fuselage next.
The wood that the Factory used to build the framing is of some impressive quality and the heavy screws driven into them were very tight, so it took some loosening by hand before even my impact driver could undo the screws, so I grabbed my trusty Milwaukee M12 Hackzall and made due process so we could get on with unloading and then undo the rest of the structure later. That and heavy use of my Utility Knife to cut through the many support straps that held down the structure.
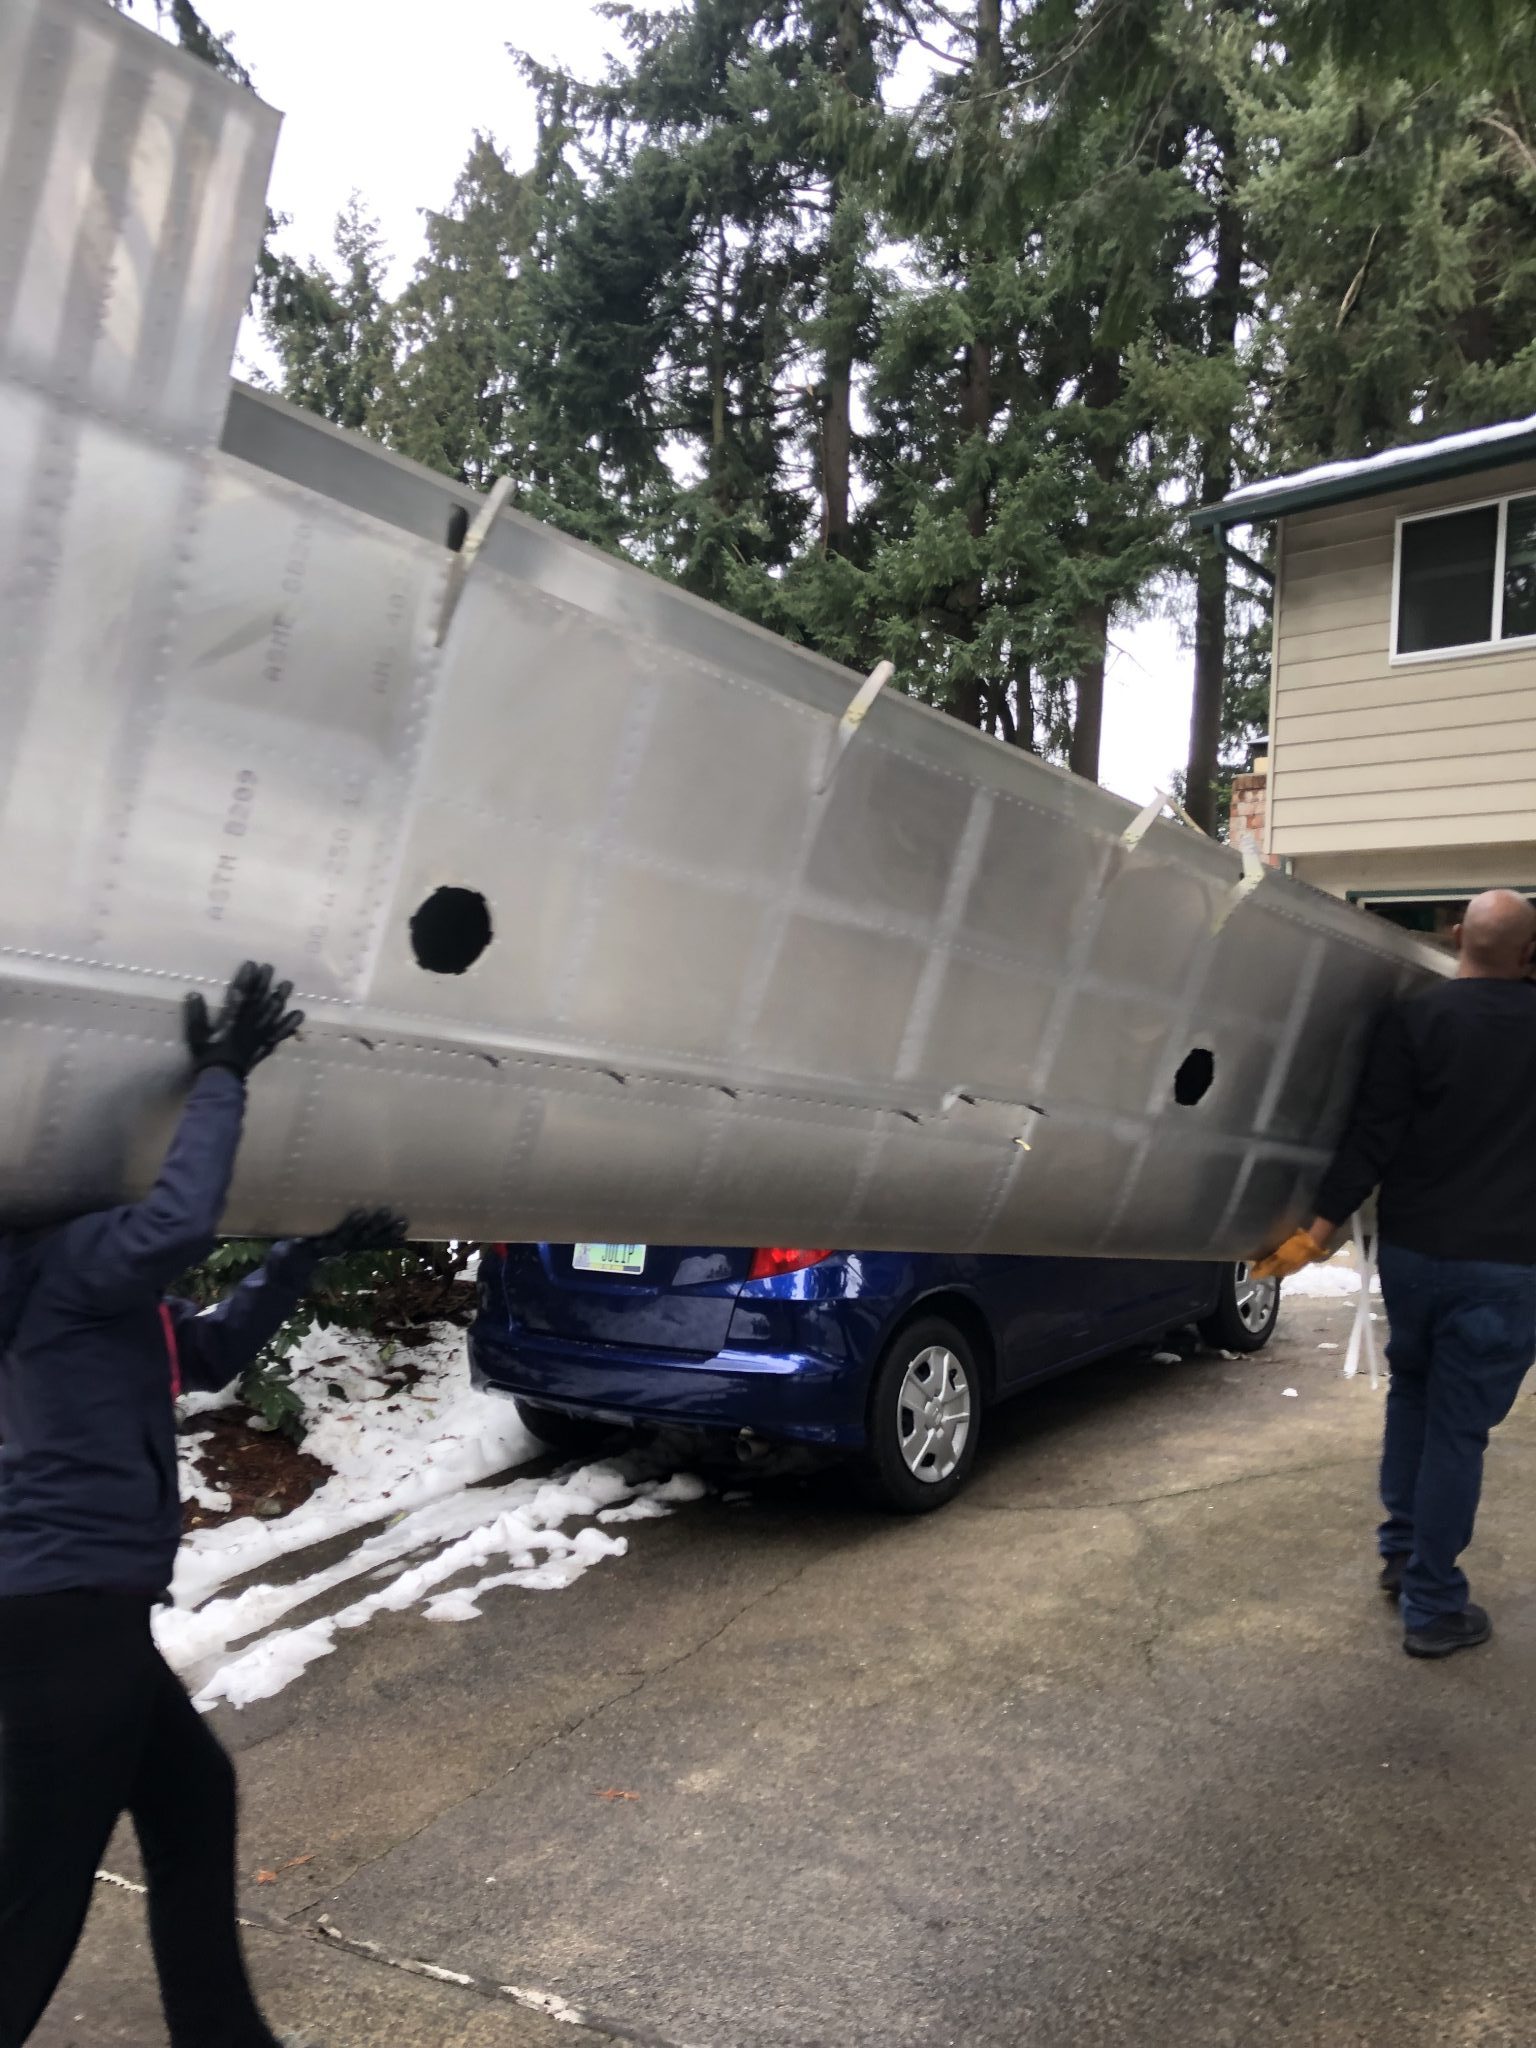
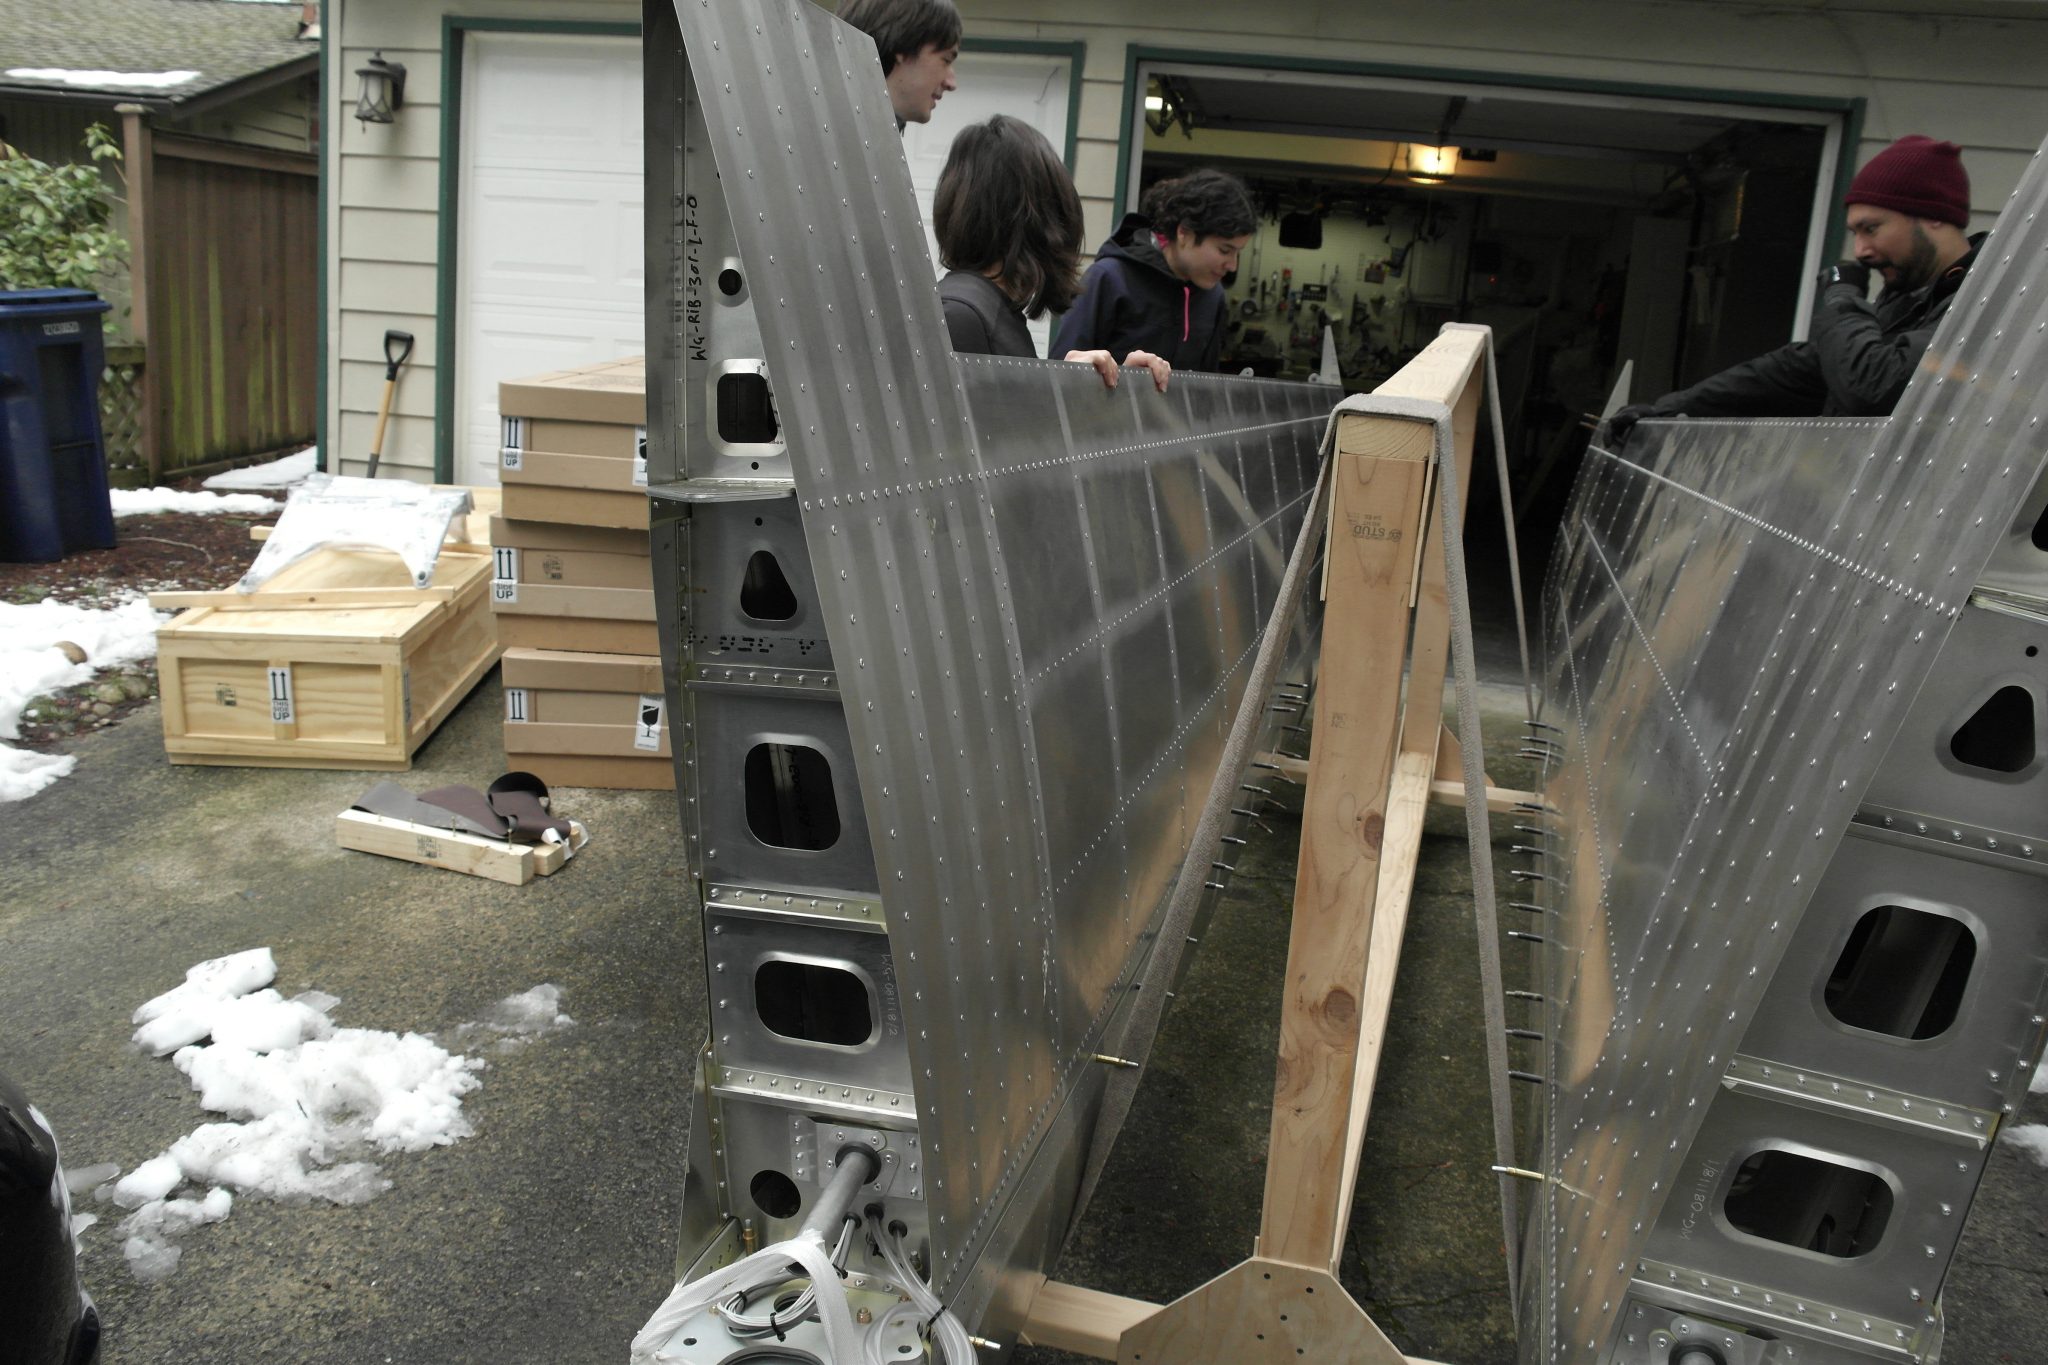
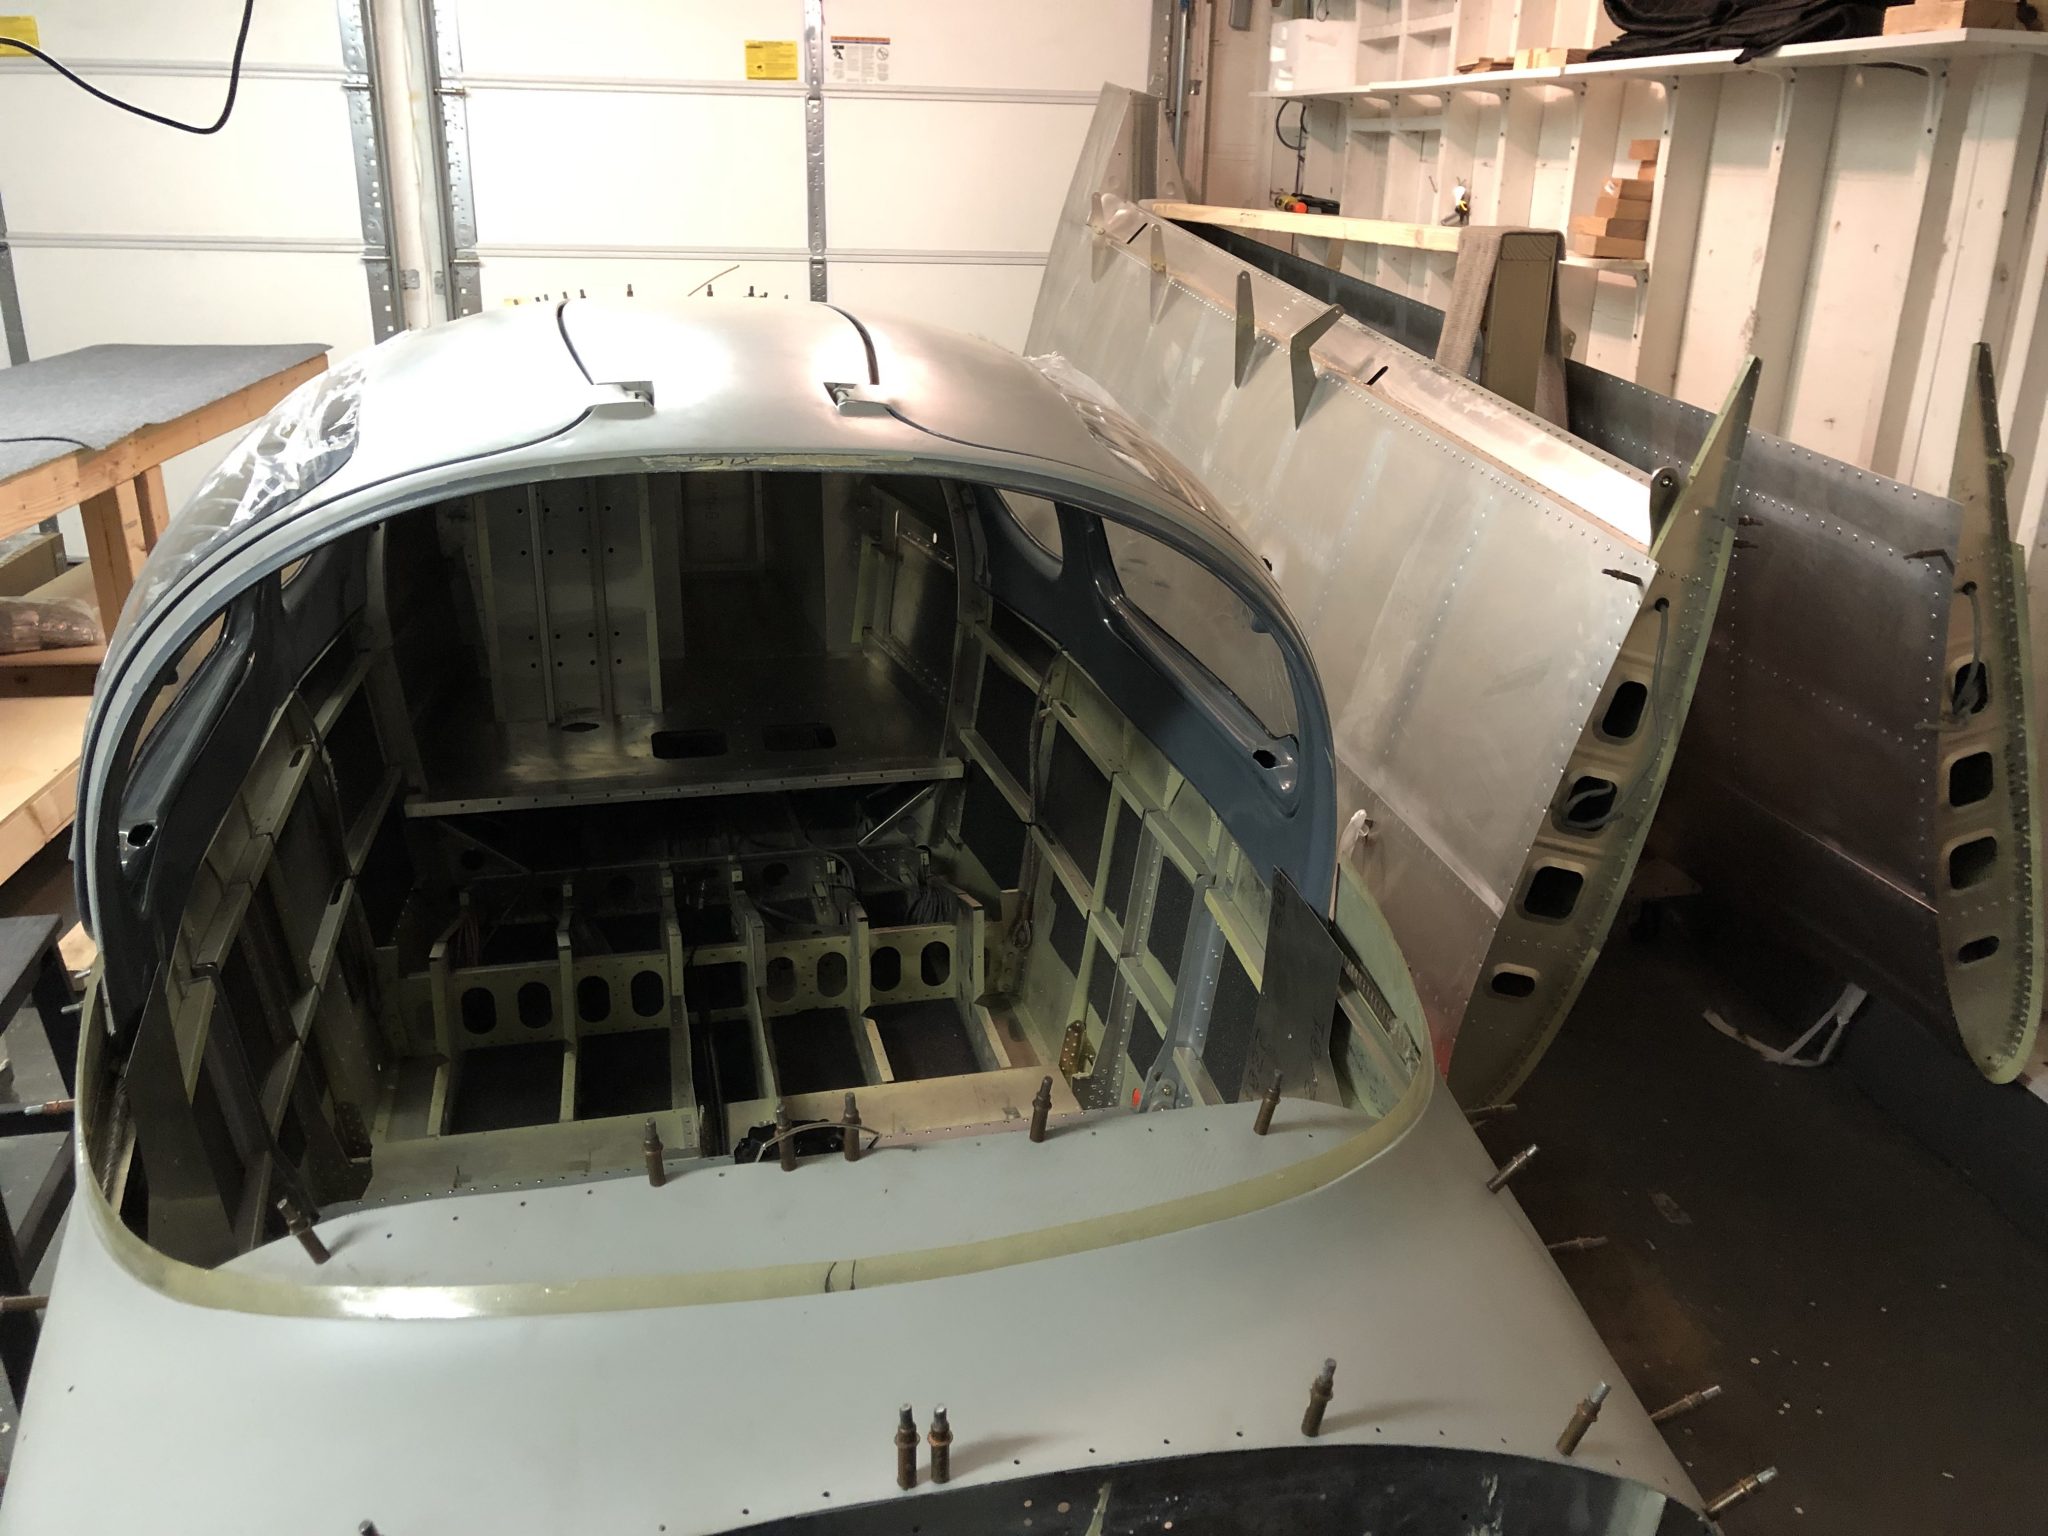
After we got the Fuselage out, it was time for the boxes that were stored under the Fuselage, followed by the Wings.
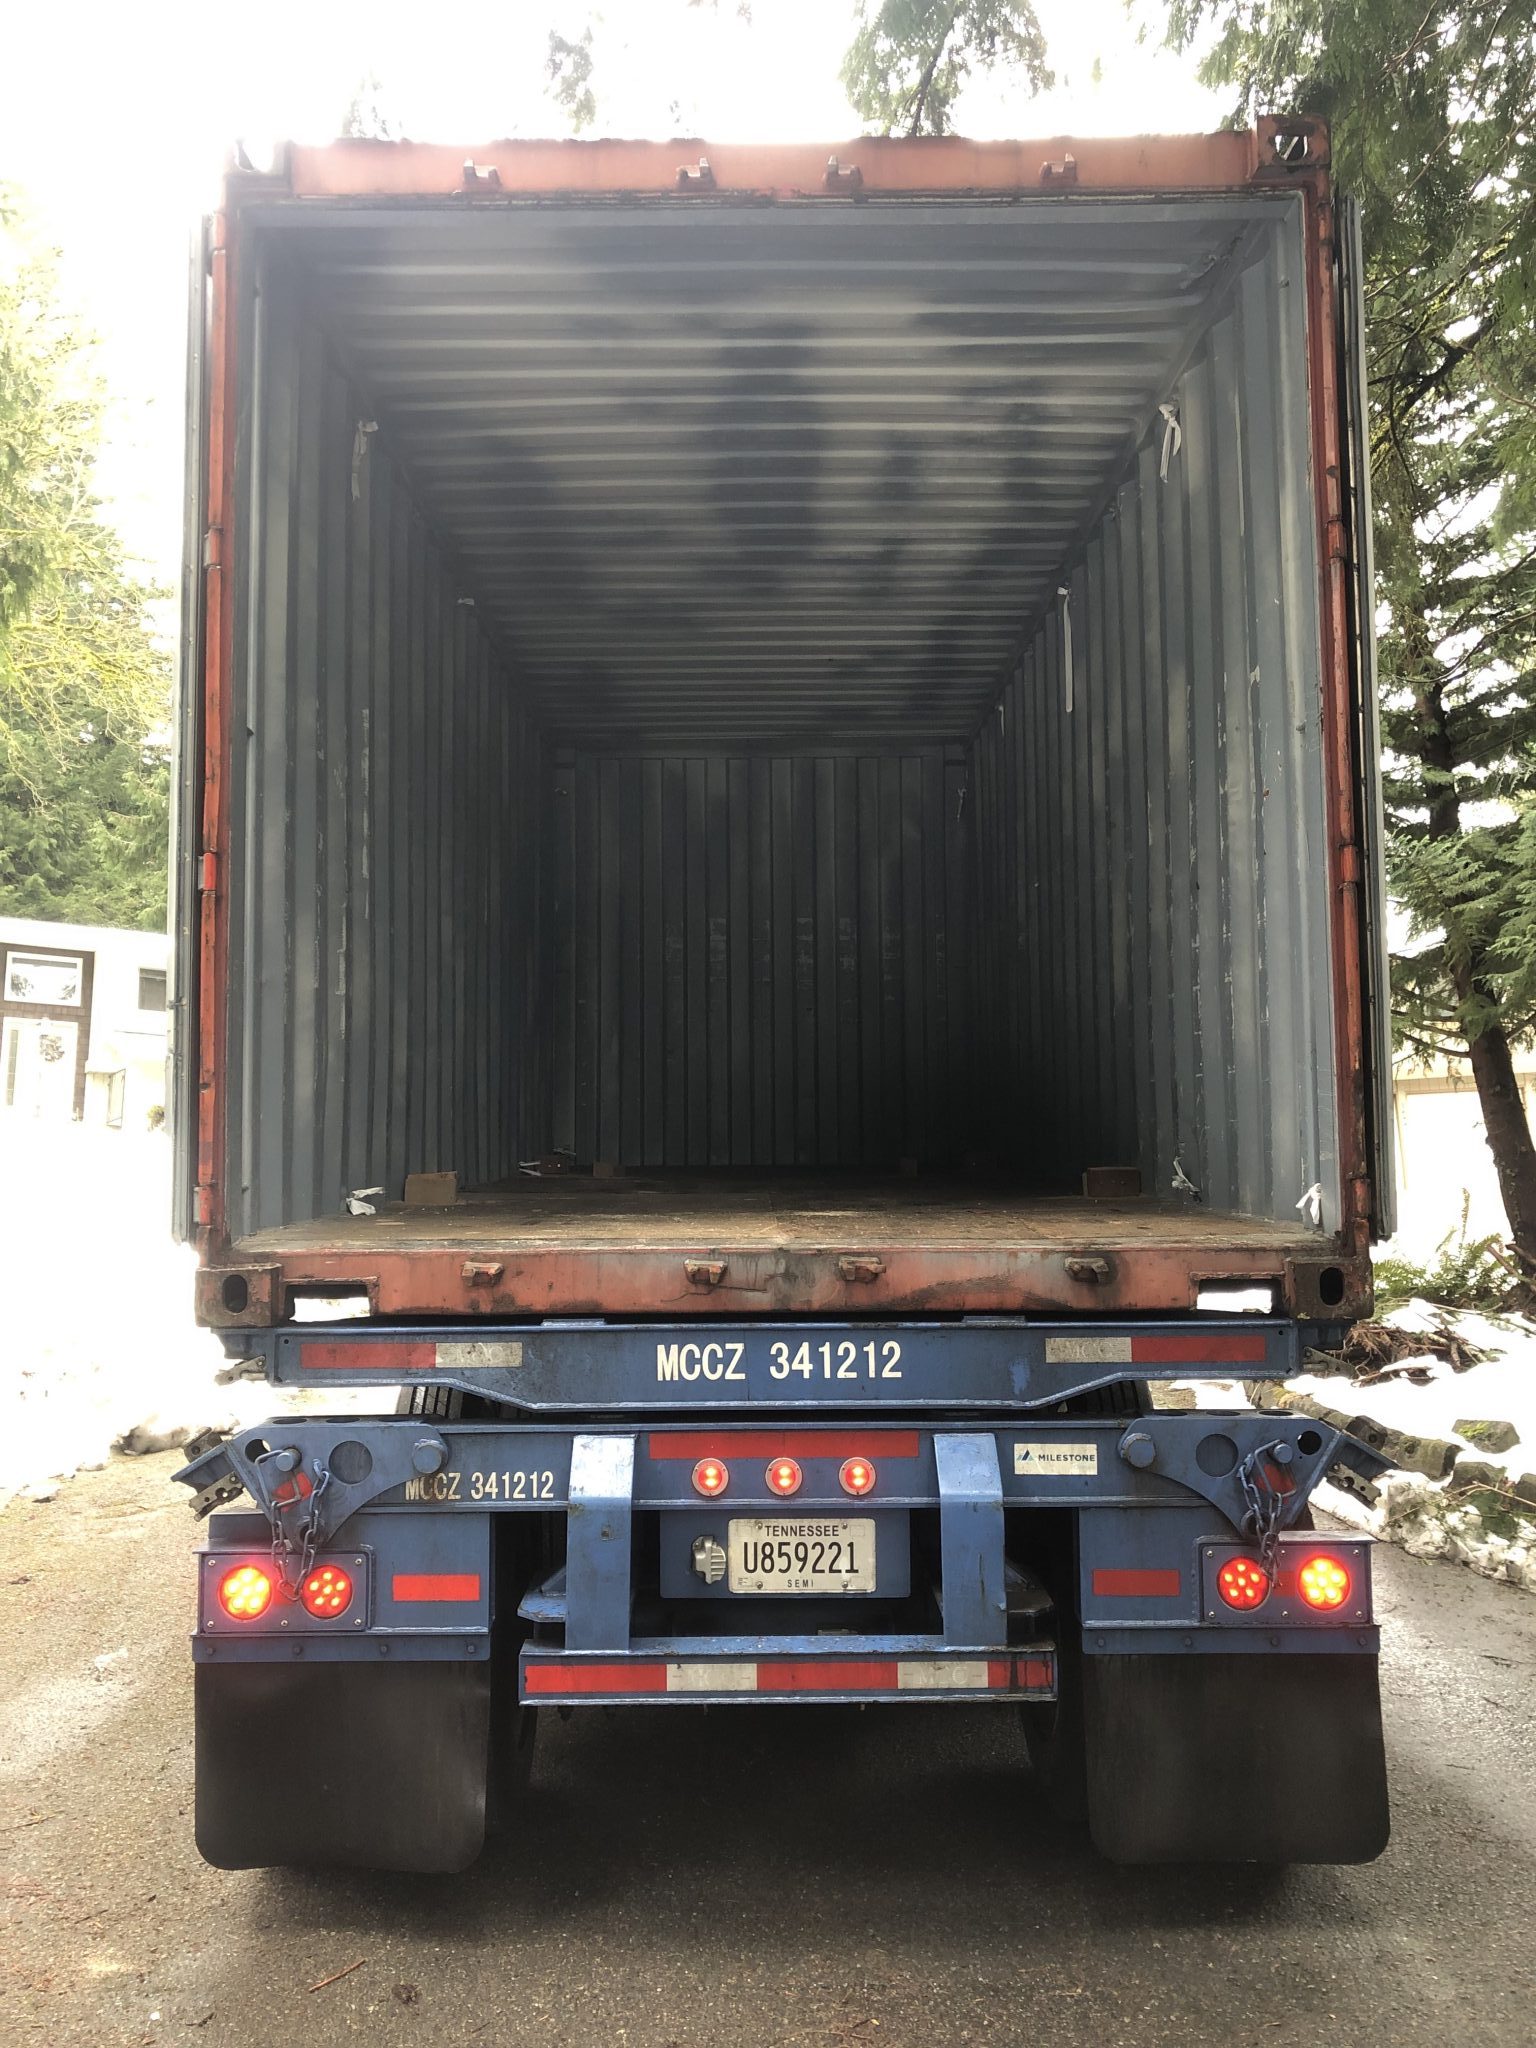
After all that was said and done, we took down the rest of the wood framing in the container so the container was truly empty in the end:
We moved the boxes into our basement multi function room, next to our LEGO collection – building your own airplane is kind of like LEGO right?
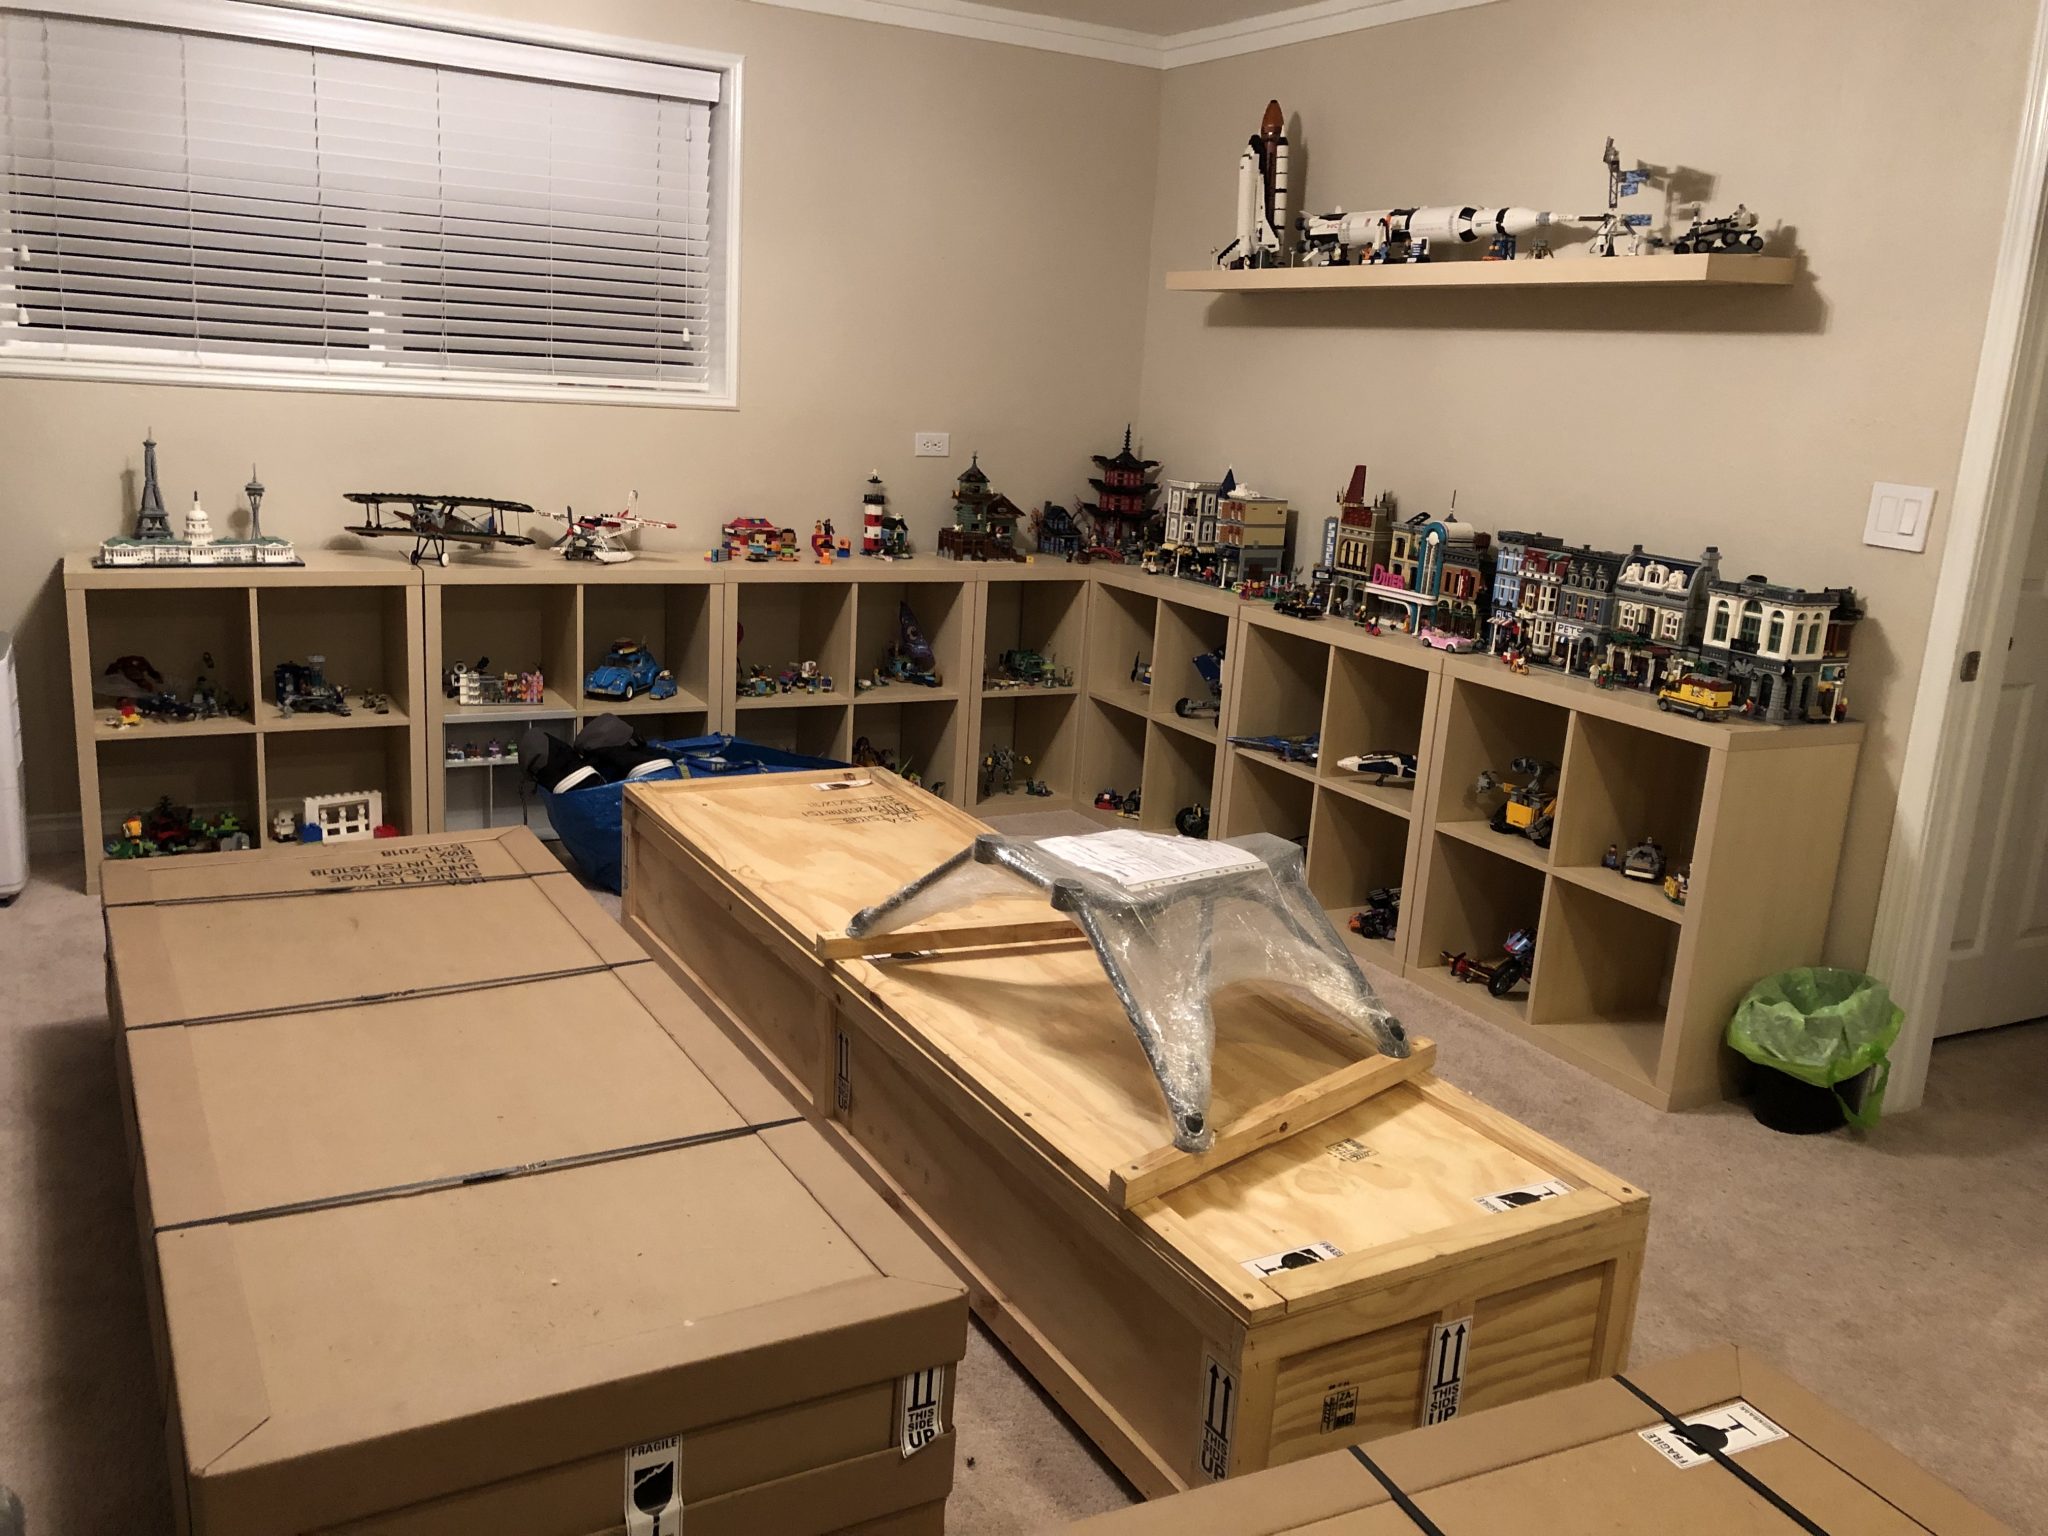
And the Fuselage and Wings found their home in the Garage on one side, leaving me with the other side as work space, plus I can easily move the wings around since I have wheels on the wing rack.
Cleaning up and taking inventory
I felt like the tail should have some extra support, so I quickly built a small stool for the tail to rest on, in addition to the existing framing that it came in, here is a quick timelapse of me cleaning up the workshop and building the stool:
Stool for the Tail to rest on: 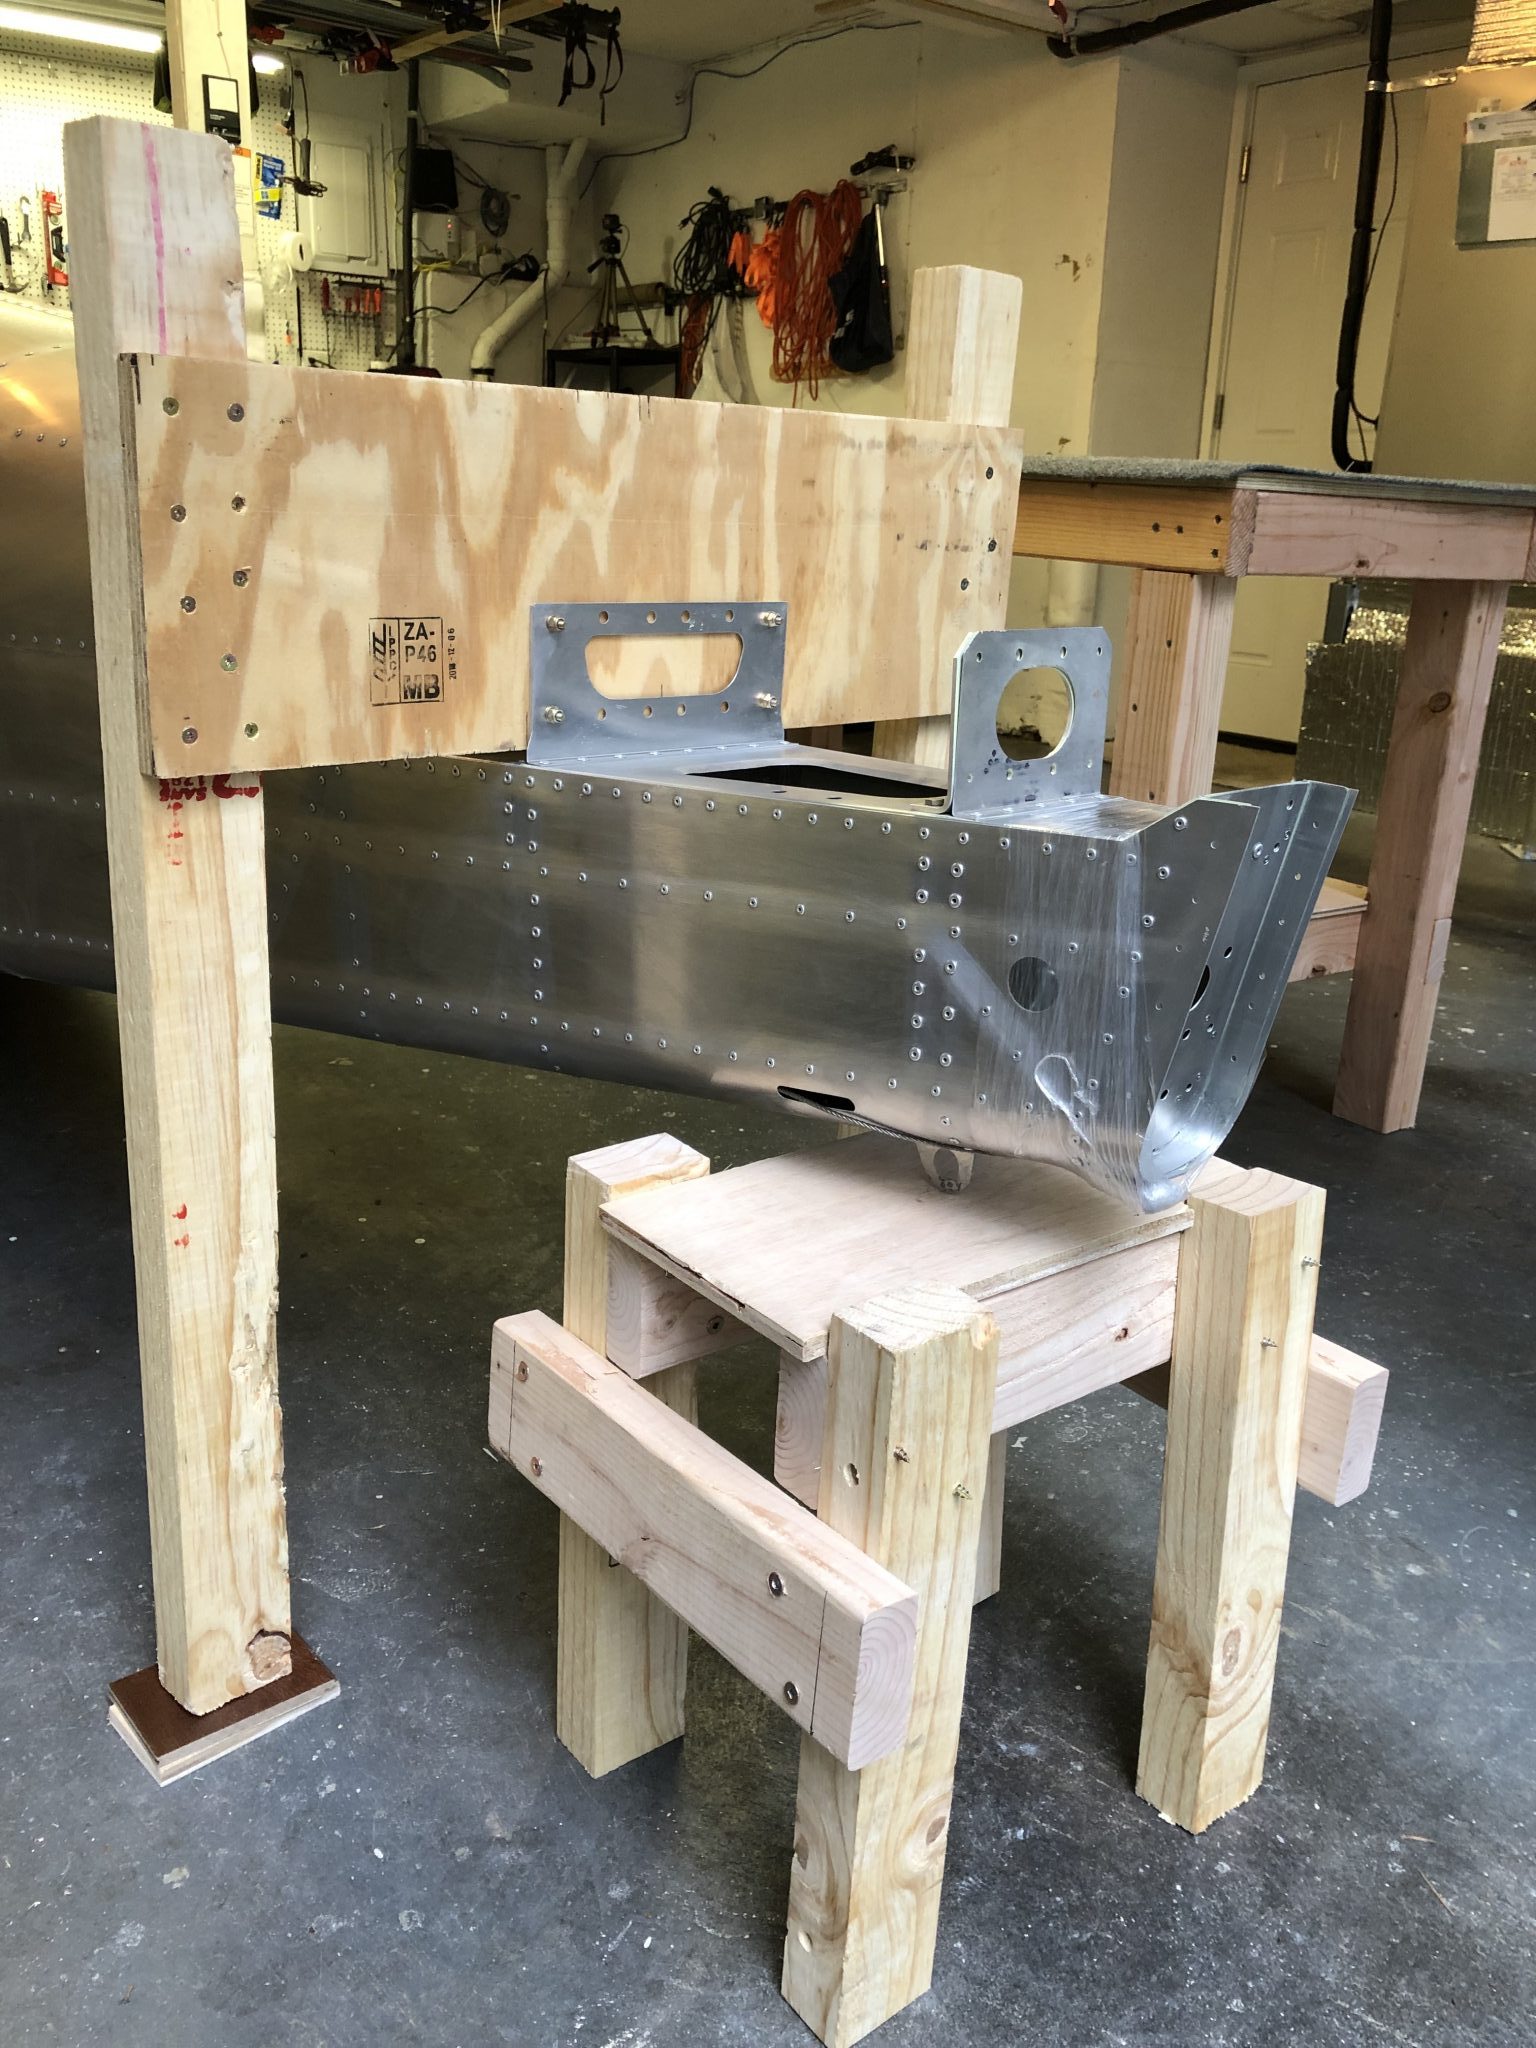
After that was done, I asked Juliana to come down to the Garage as I was pretending to fly the airplane as any reasonable person with a new toy in their garage would do:

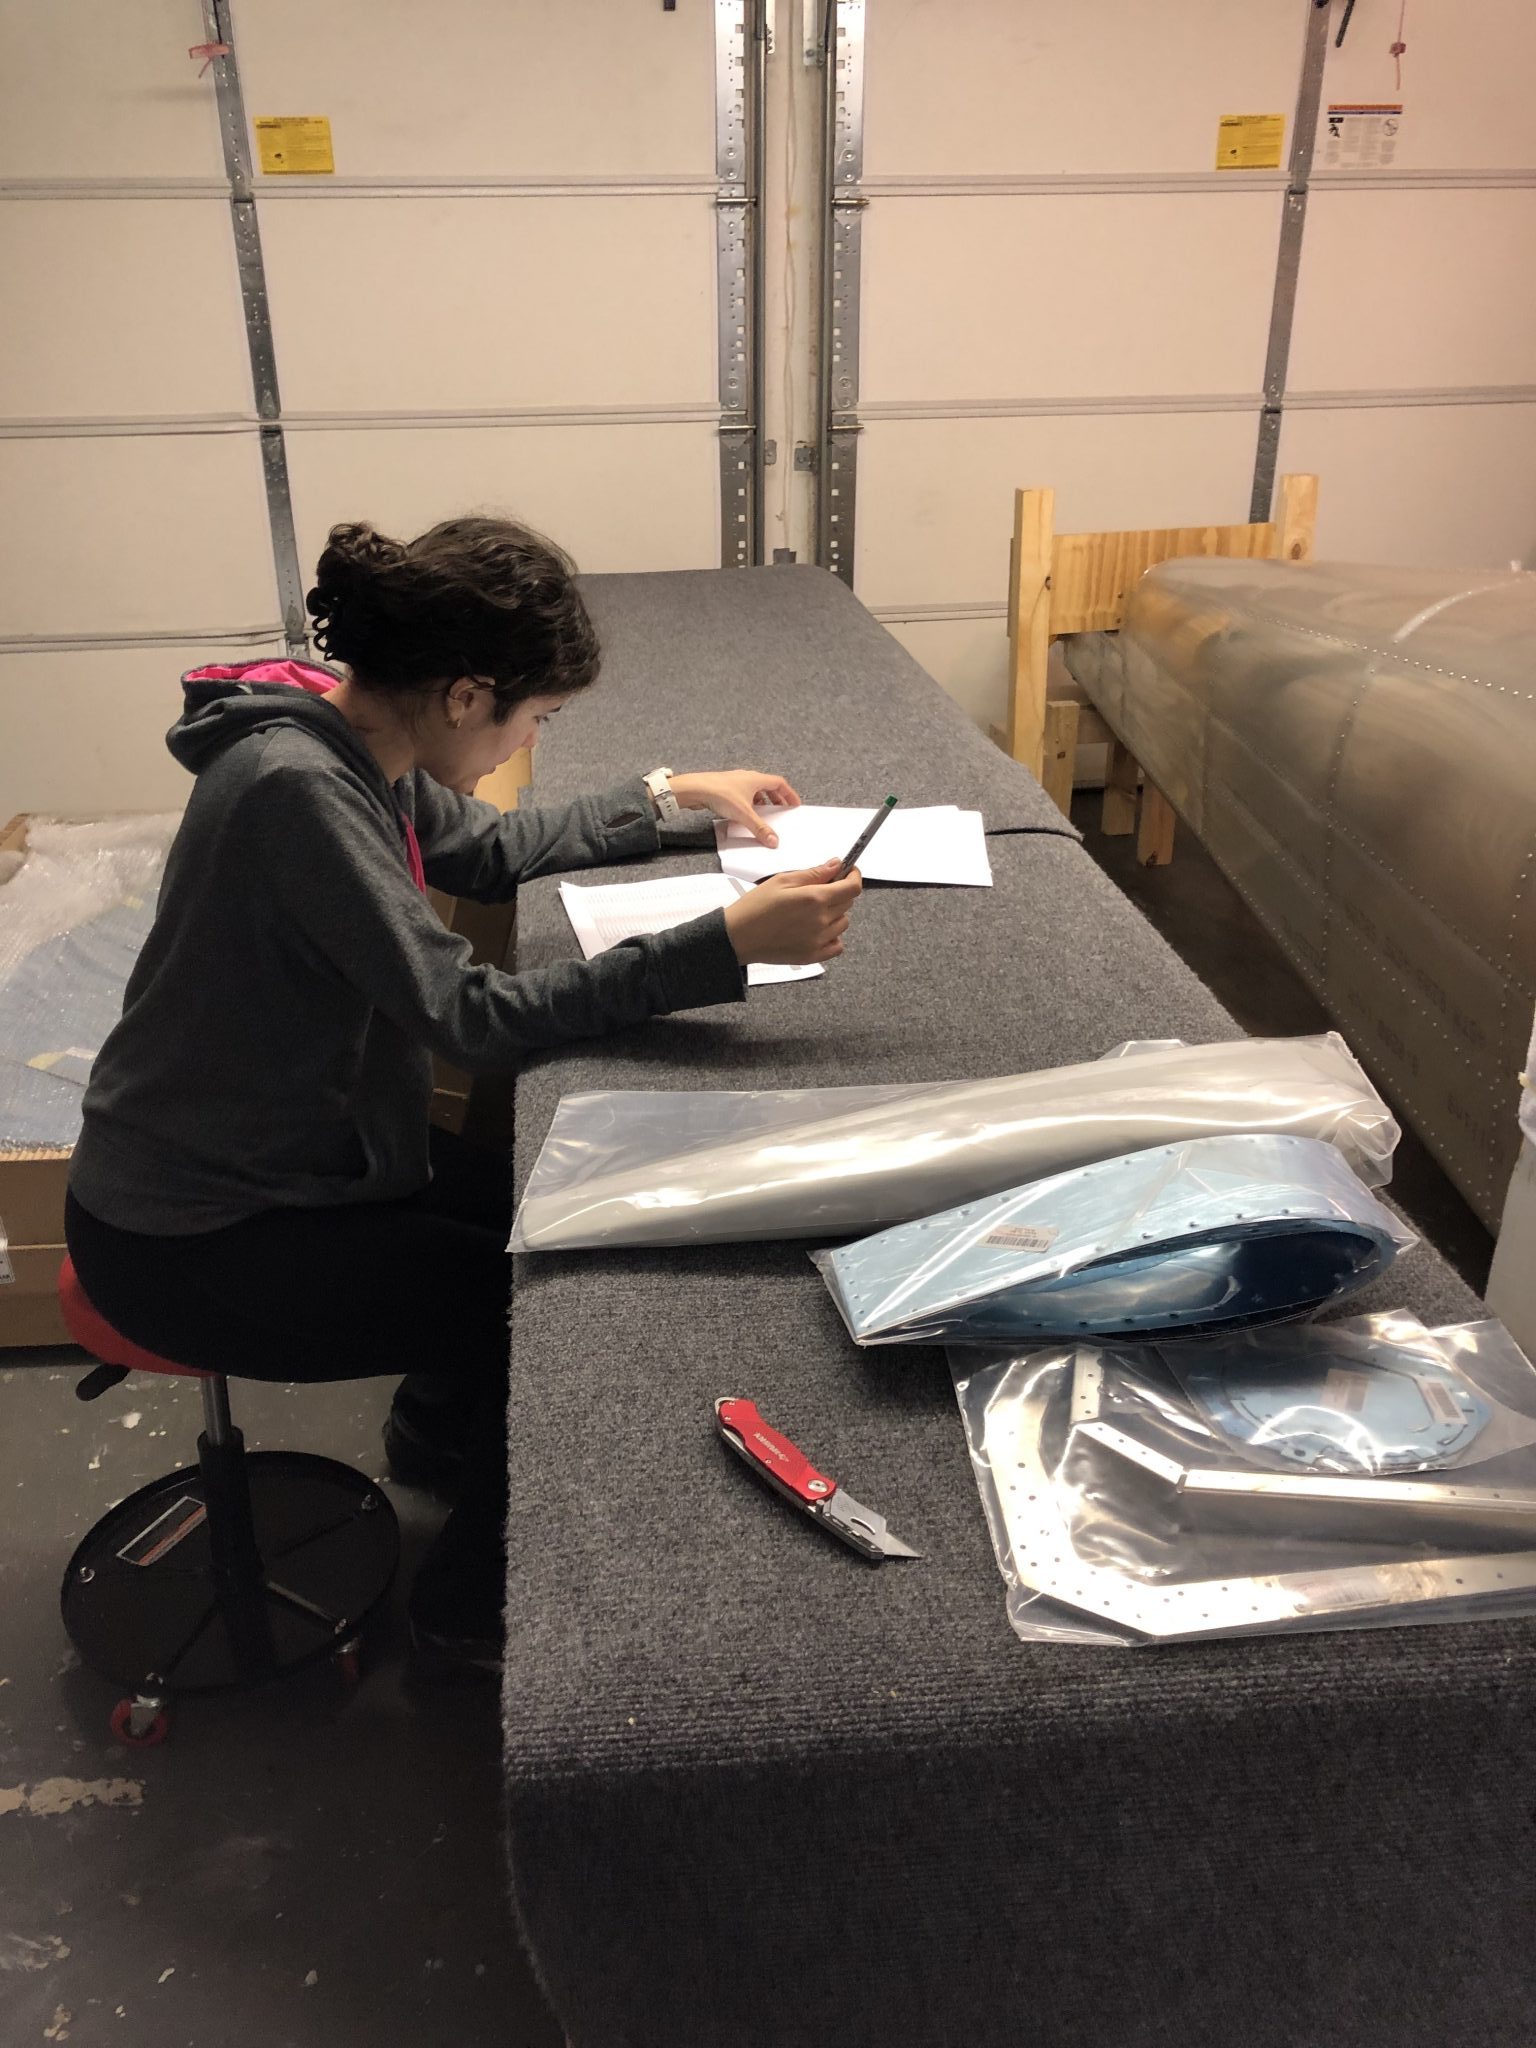
And then we opened the Empennage box and started taking inventory so I can stop building wooden tables and stools and start building an airplane:
Now it’s time to build an airplane!