
As I mentioned a while back, I am going to use a servo to control the butterfly valve that controls the flow of outside air for the cabin instead of the manual “school bus handlebar” that the kit is designed with.
With the assembly of the Rudder pedals that sit right below it done, I now moved on to actually putting this together.
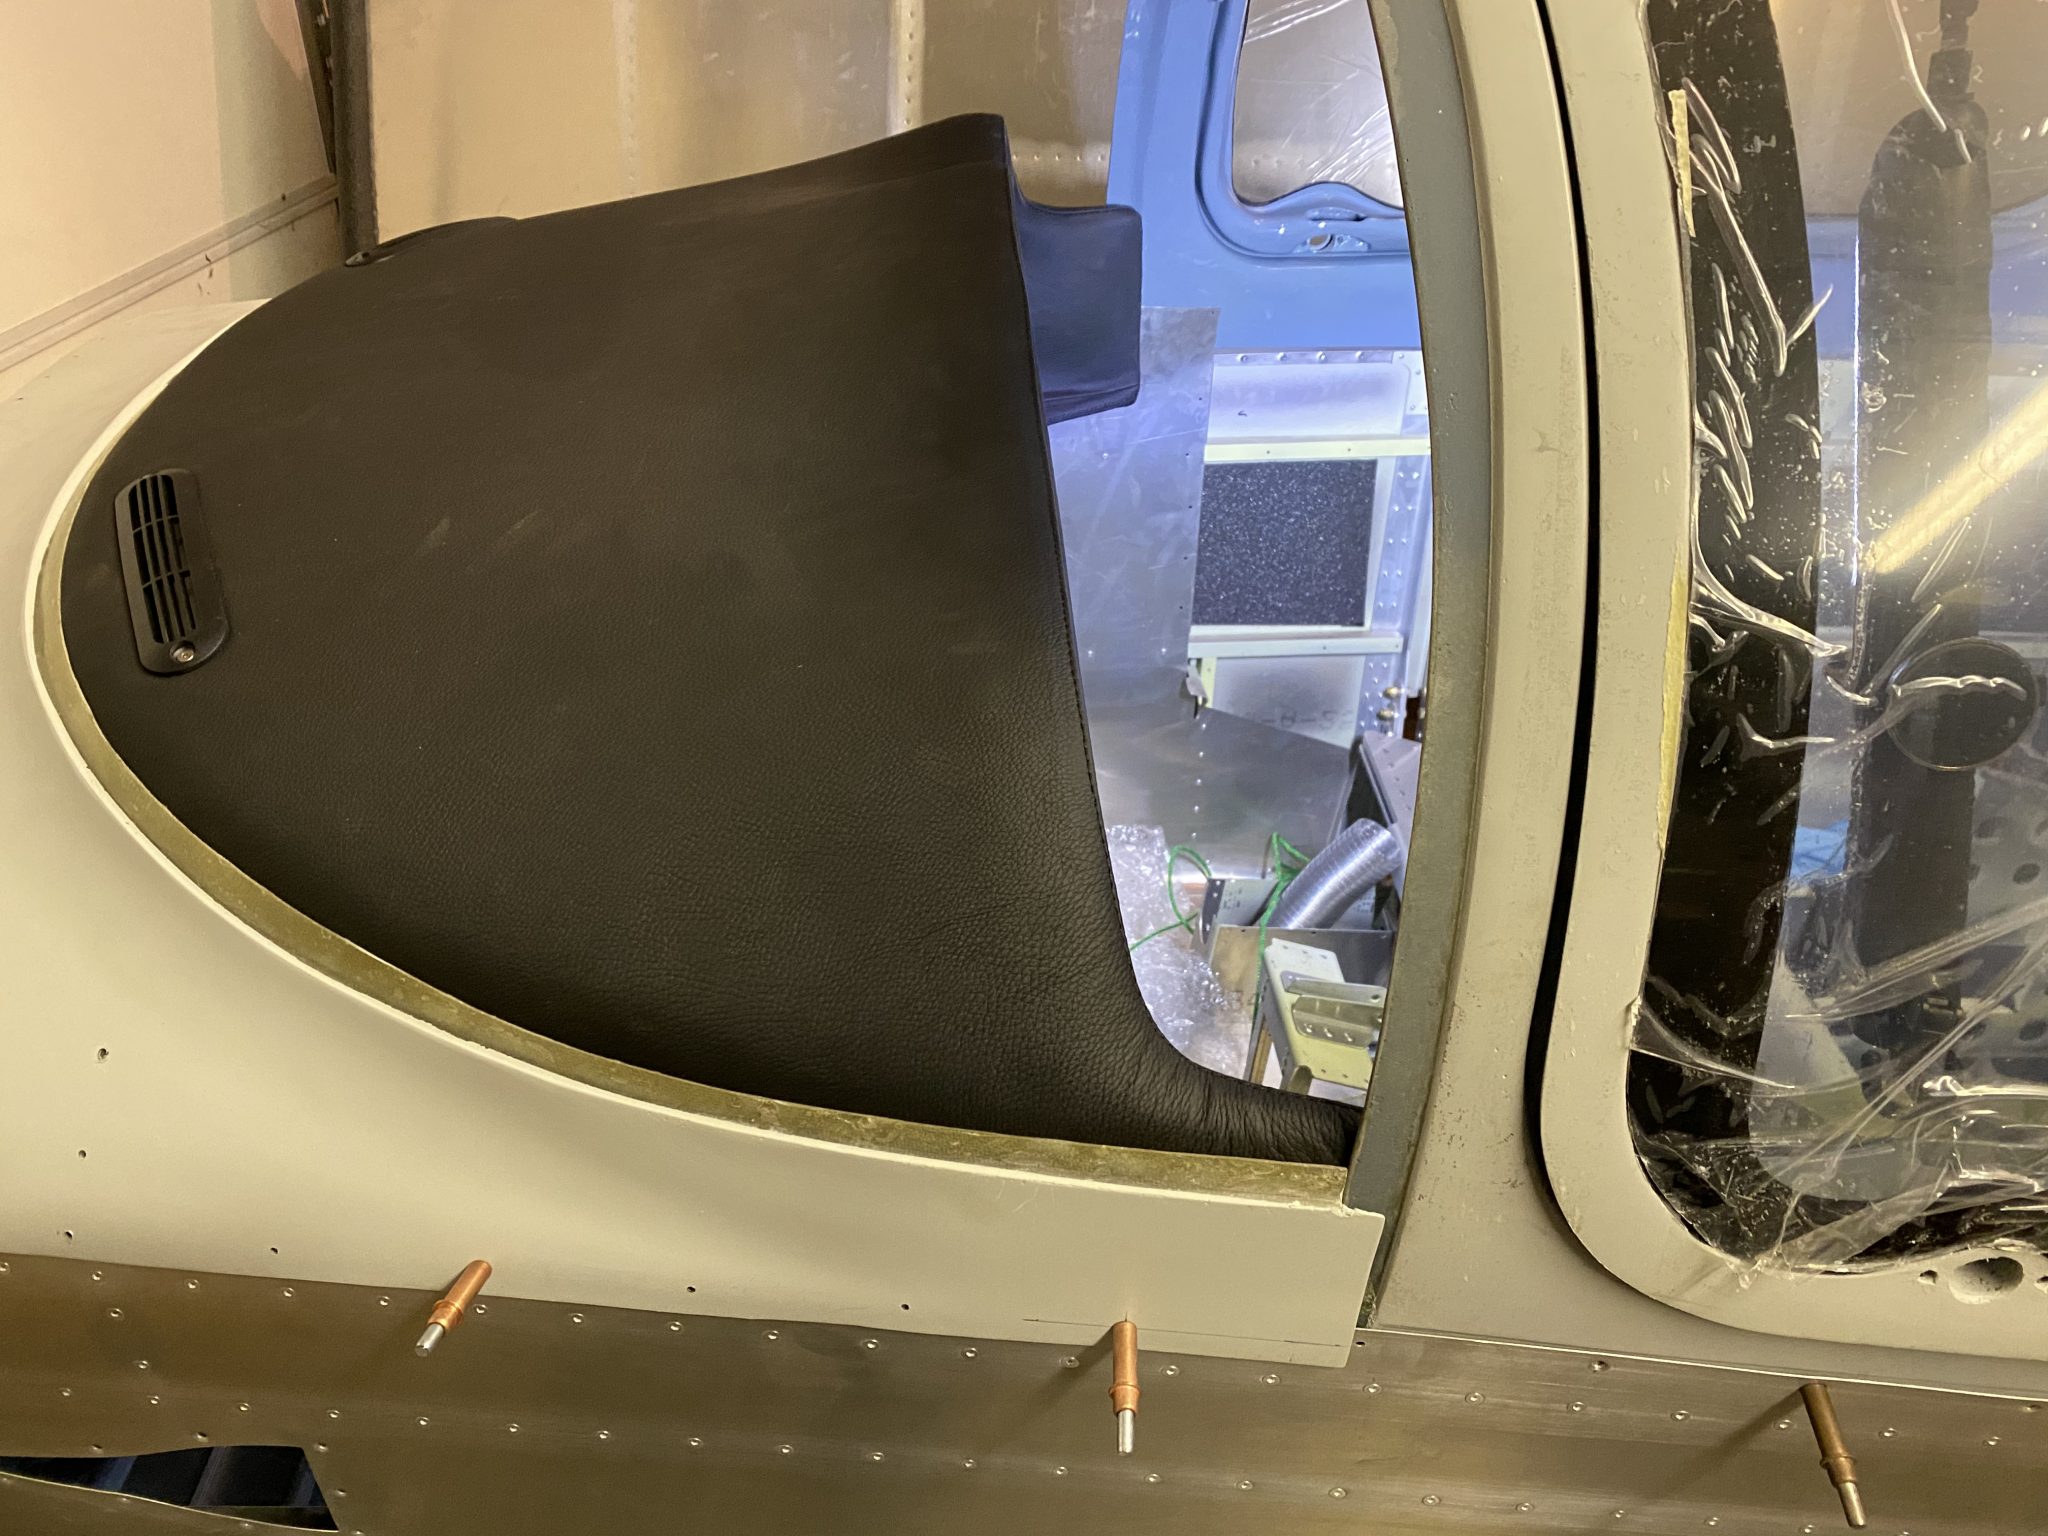
I temporarily placed the dash in place to make sure there won’t be any interference with the bracket I designed for the servo mount.
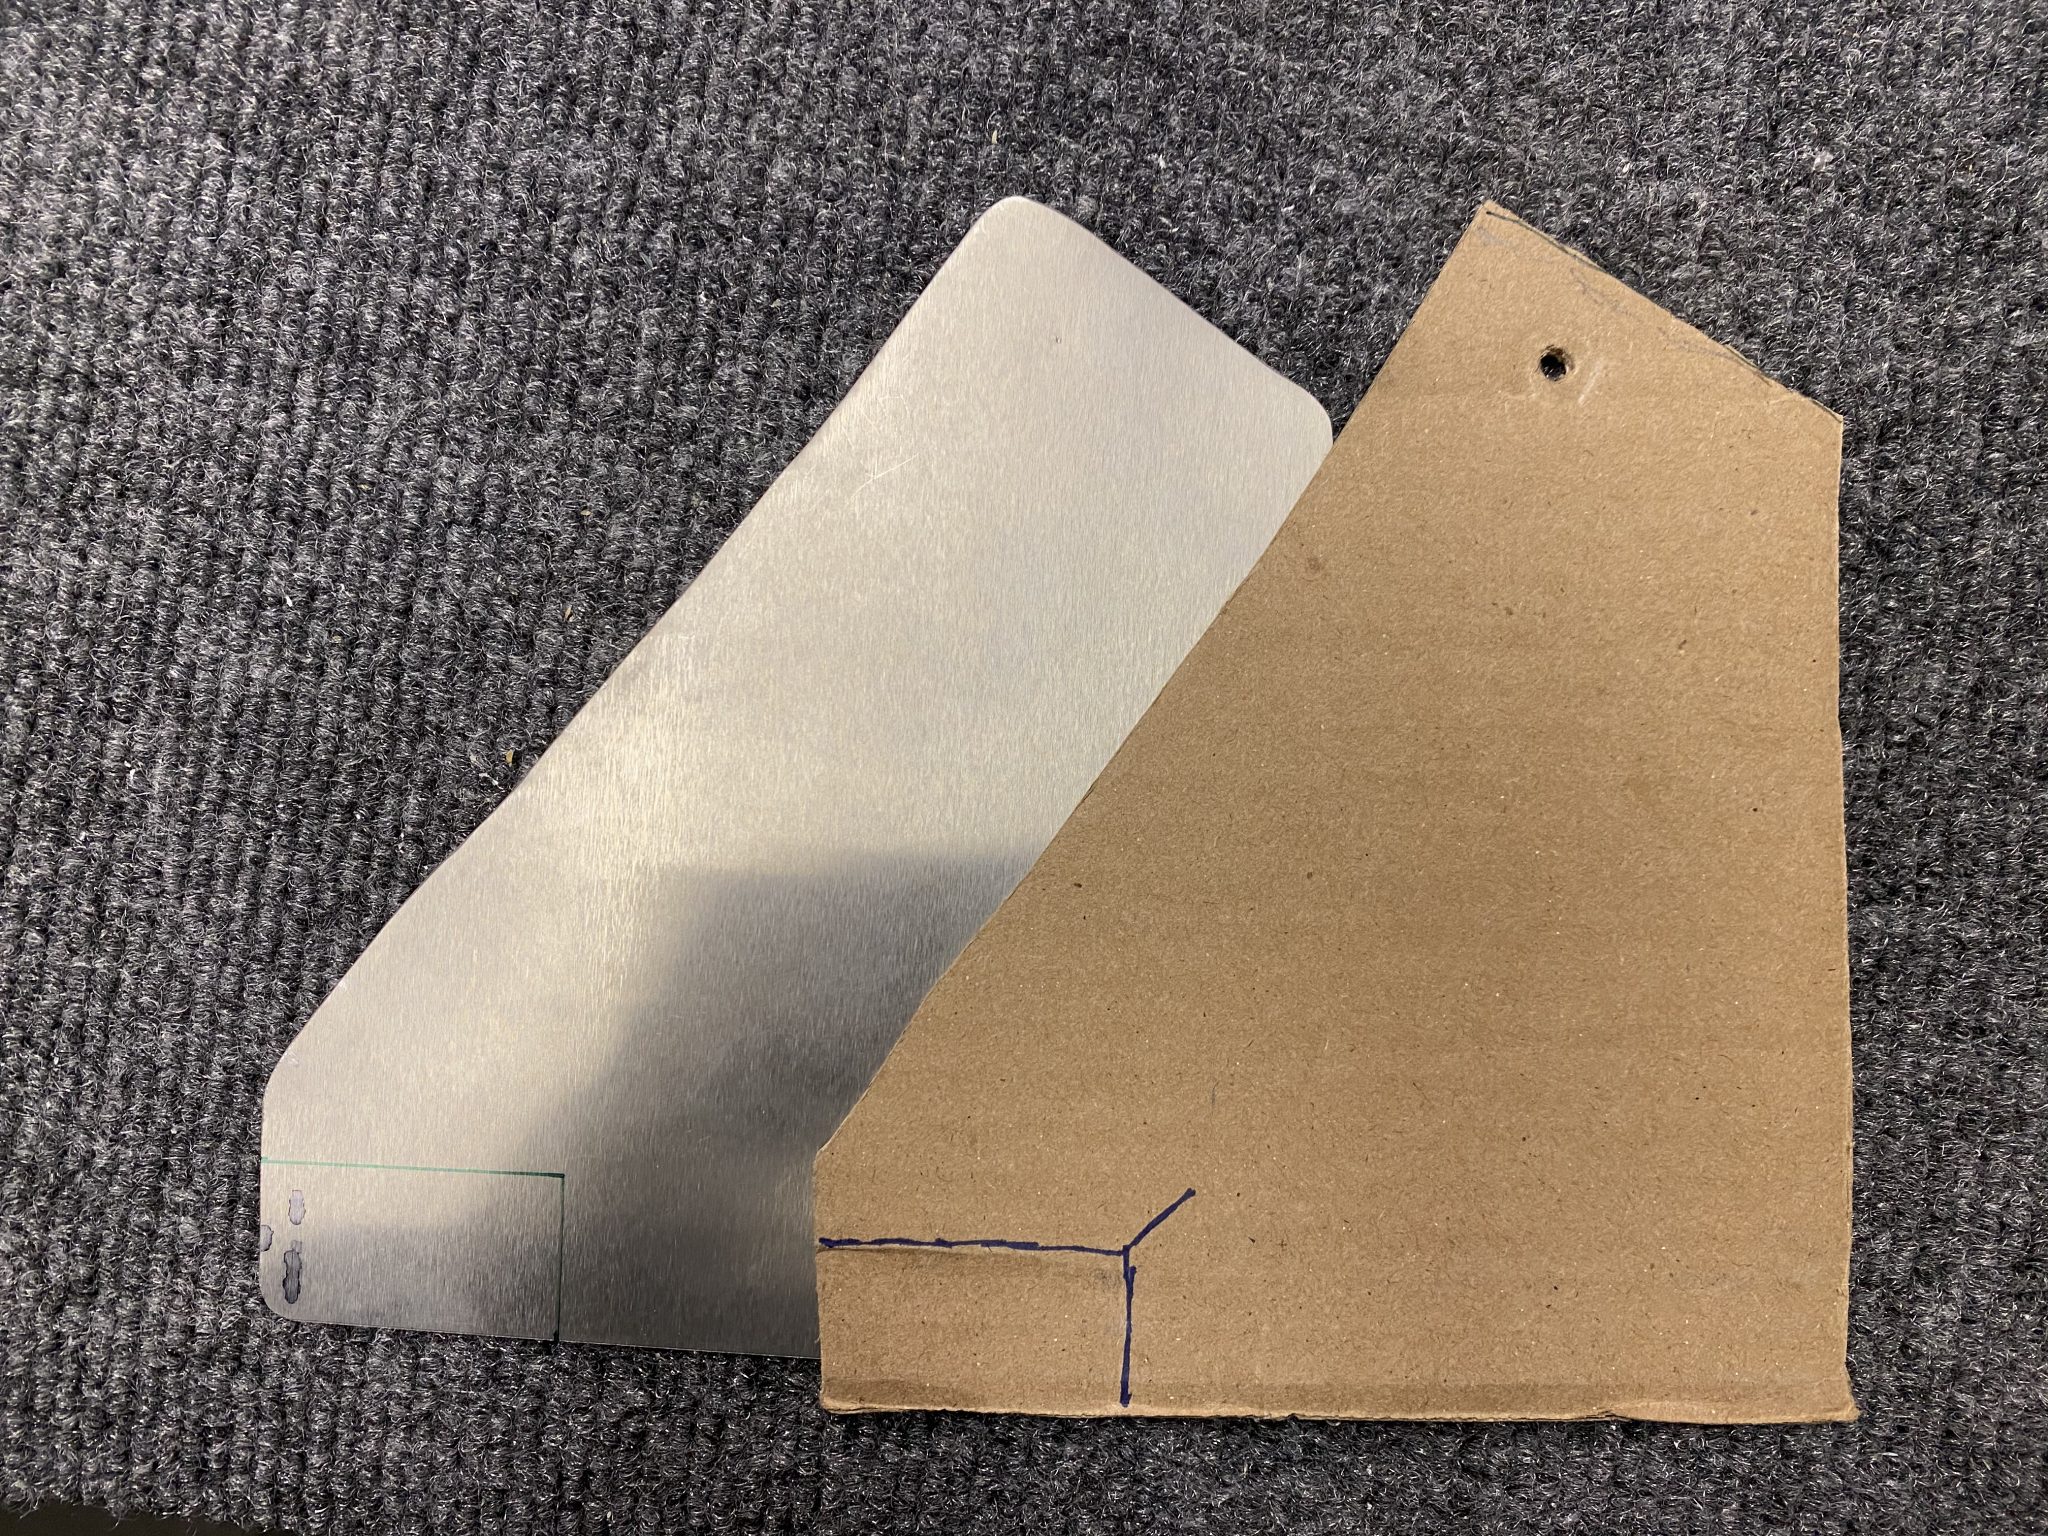
All looked good, so I moved on to fabricating the bracket I designed earlier out of cardboard.
I decided to use some 0.032in thick aluminum to give the mount some stability and rigidity.
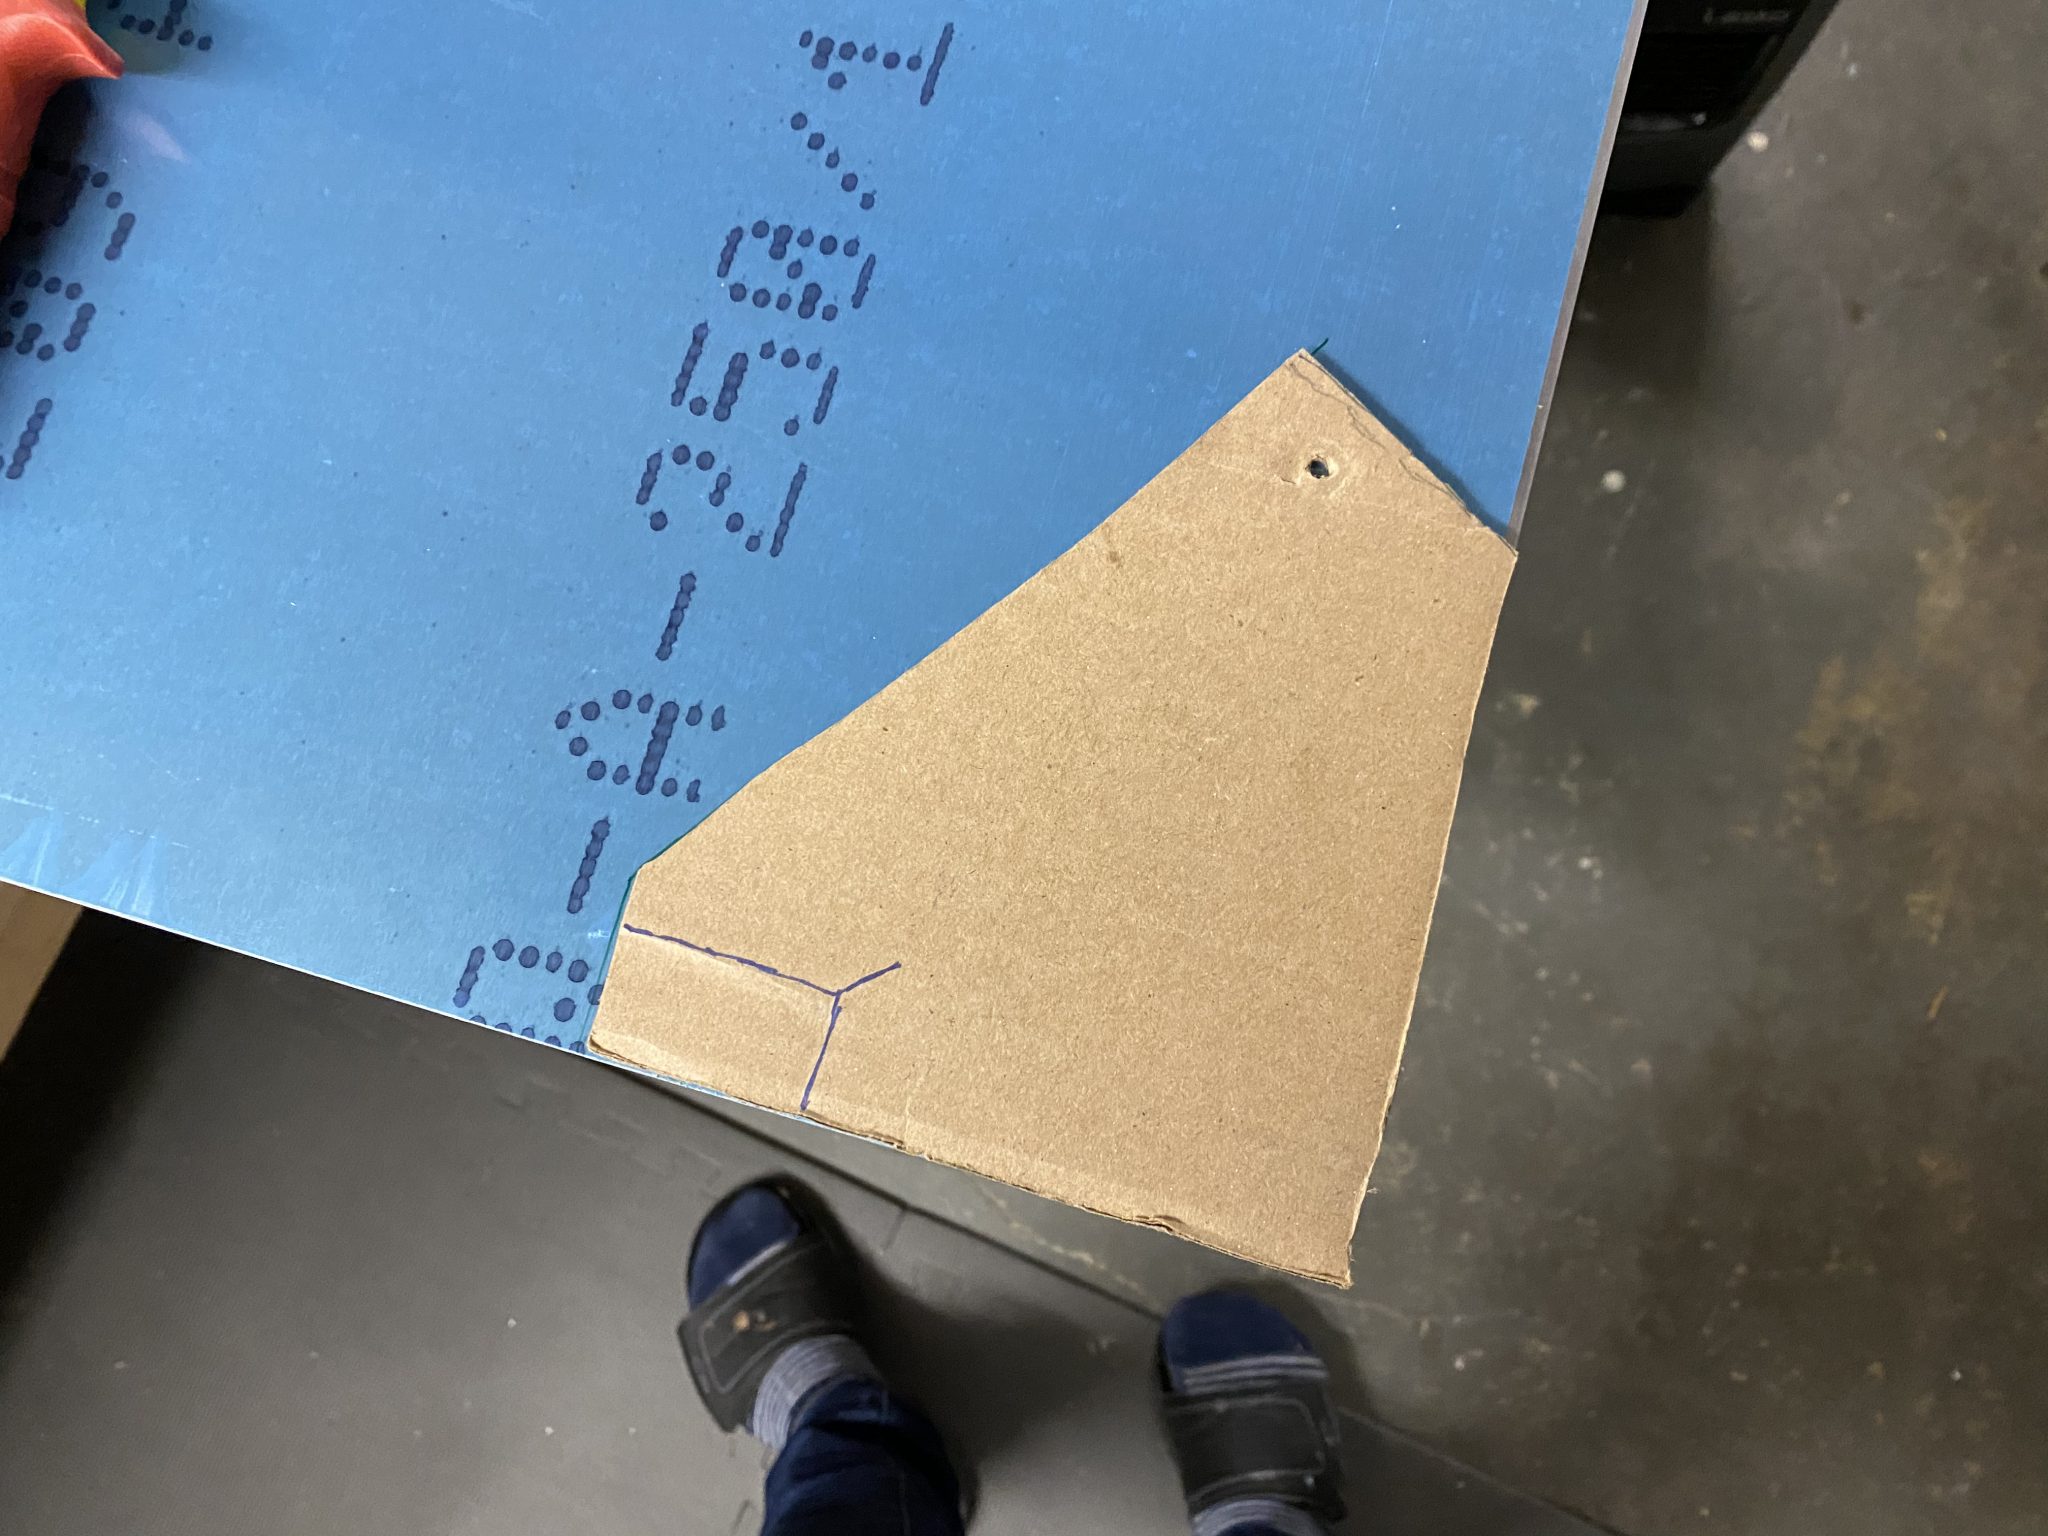

After that I match drilled the hole for the servo mount through the template, marking the hole using a center punch.
Then I mounted the bracket in the plane using some clamping clecos in order to match drill the holes from the air vent.
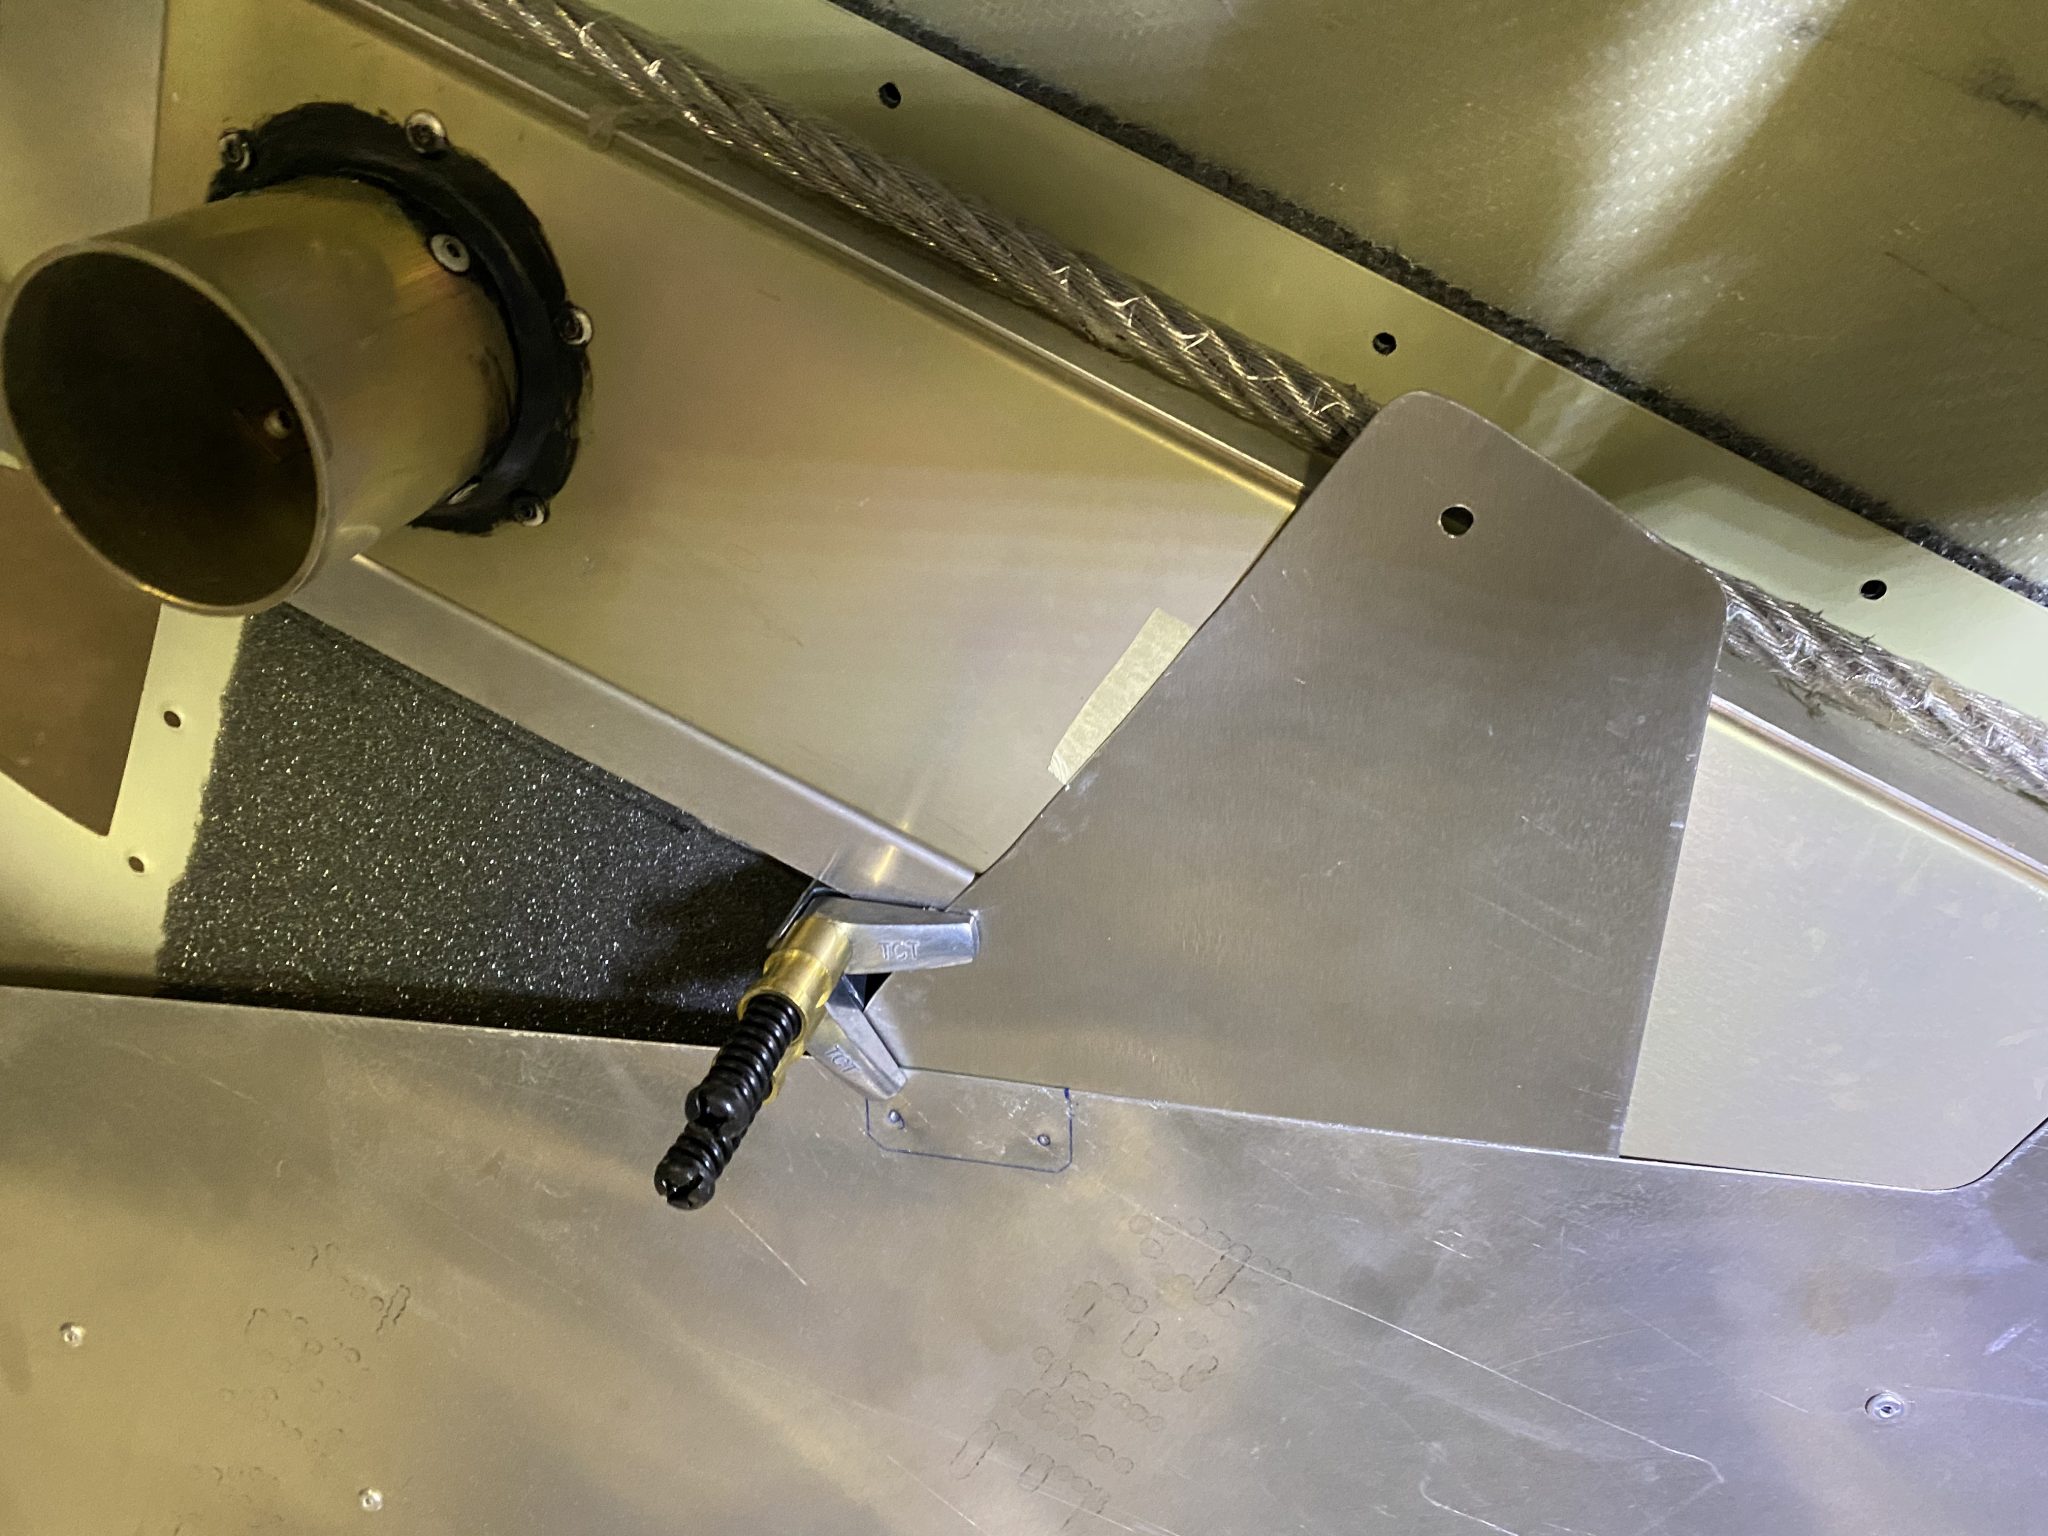
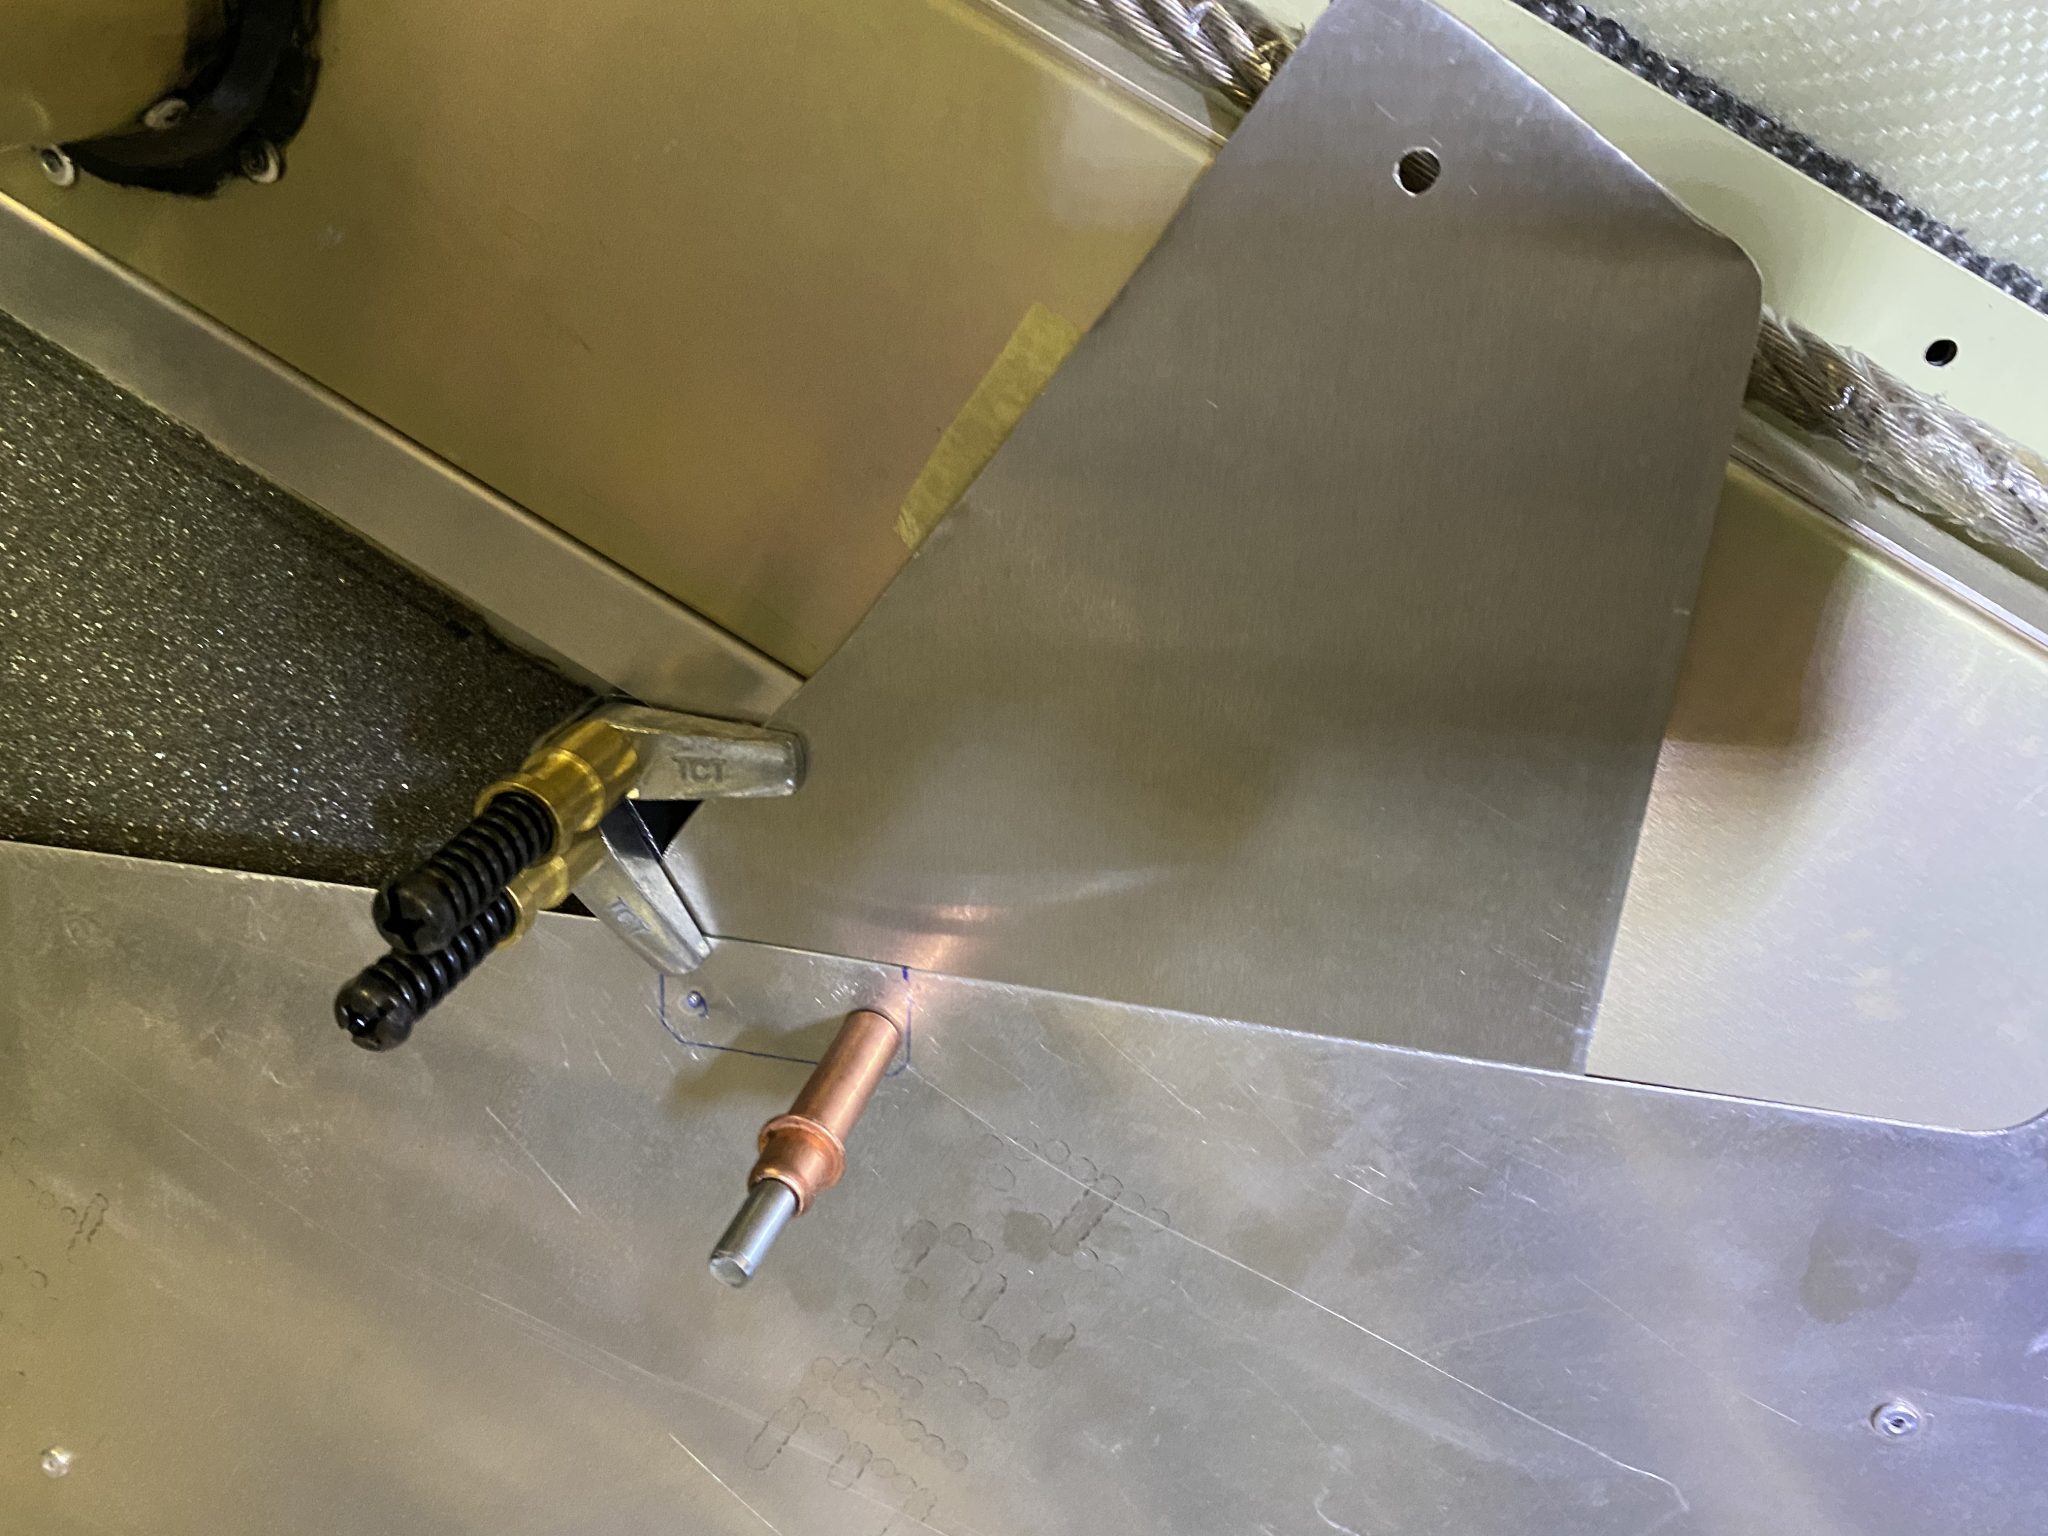
With both holes drilled I then clecoed the air vent in and mounted the servo for final testing.

I’ll shorten the screw of the servo mount as it’s a bit longer than it needs to be as can be seen above so it won’t interfere with the parachute cable.
Here’s a video of it in action:
Now I just need to replicate it for the left side and then I need to install it permanently.
Pingback: More Cabin air servo work - Philip's Sling TSi Build Log