
Last week I finally received the cabin air parts after the lockdown in the past few months that put a hold at the factory for sending out new parts, but they are back up and running.
The cabin heat assembly for the TSi has a mixture of forced air from a NACA duct getting air from the outside when the plane is moving, together with an actual radiator heater, for those times where you don’t want cold outside air and instead heat it. To shut out the outside air, the TSi has a butterfly valve that’s operated by a handle from the panel.
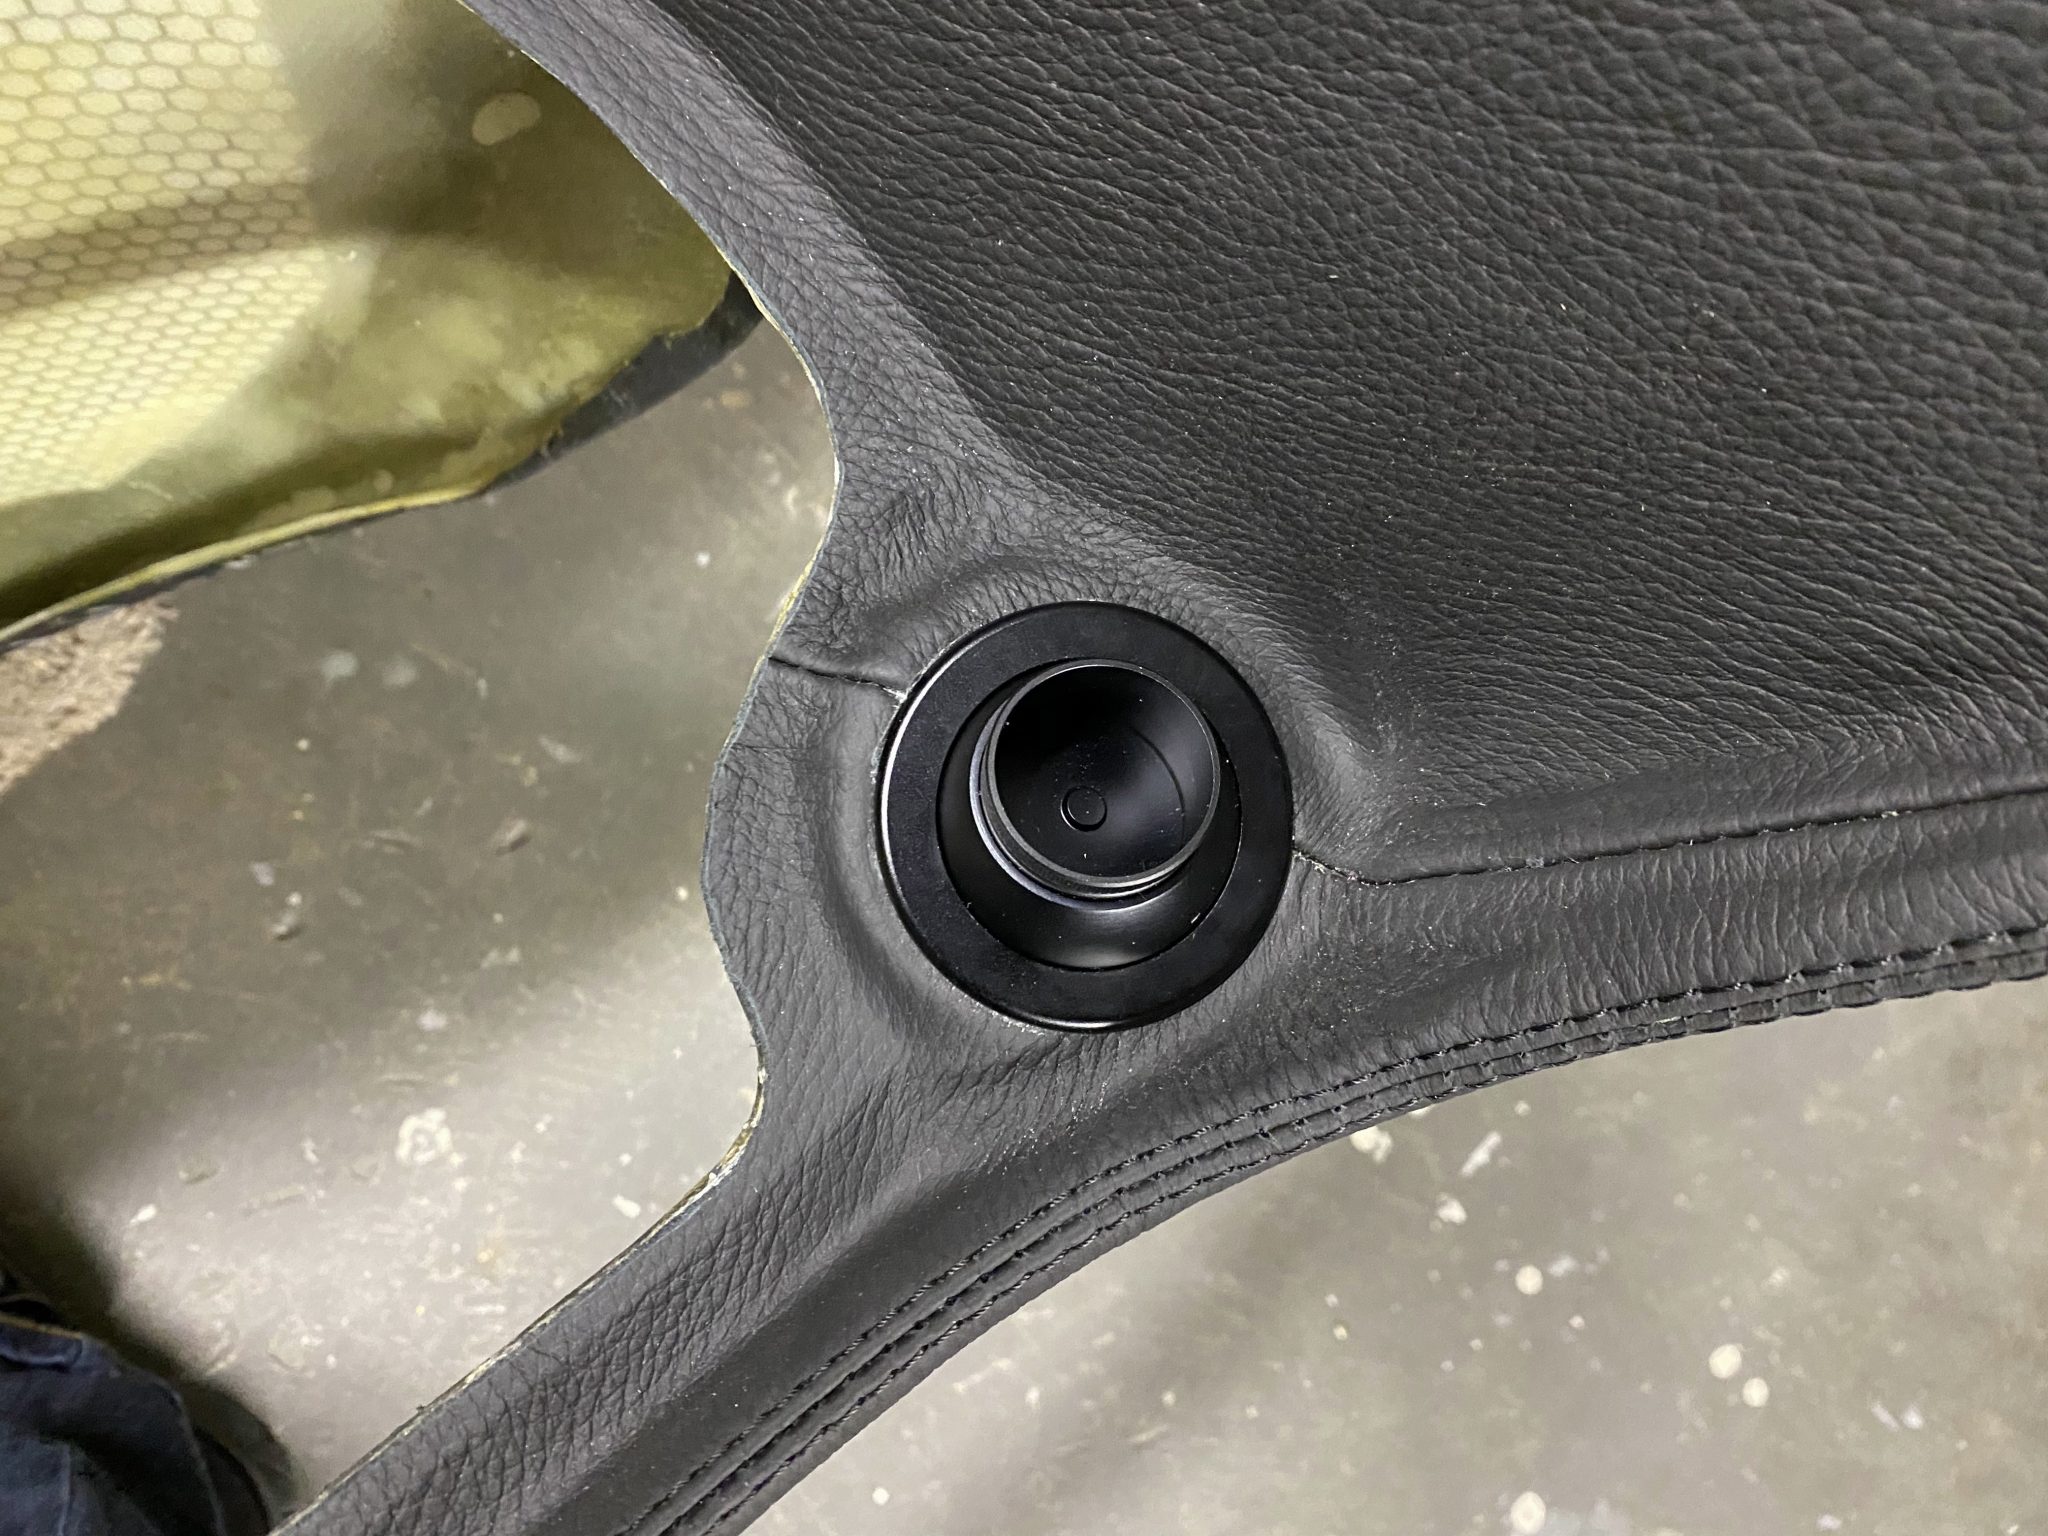
I am planning to replace the manual handle with a servo instead and also replace the front standard plastic vents that come with the kit, with some ball vents typical in airplanes.
I got the Aveo Air Maxi Vents in black since the front is black leather, so it blends in nicely.
Butterfly valve servo
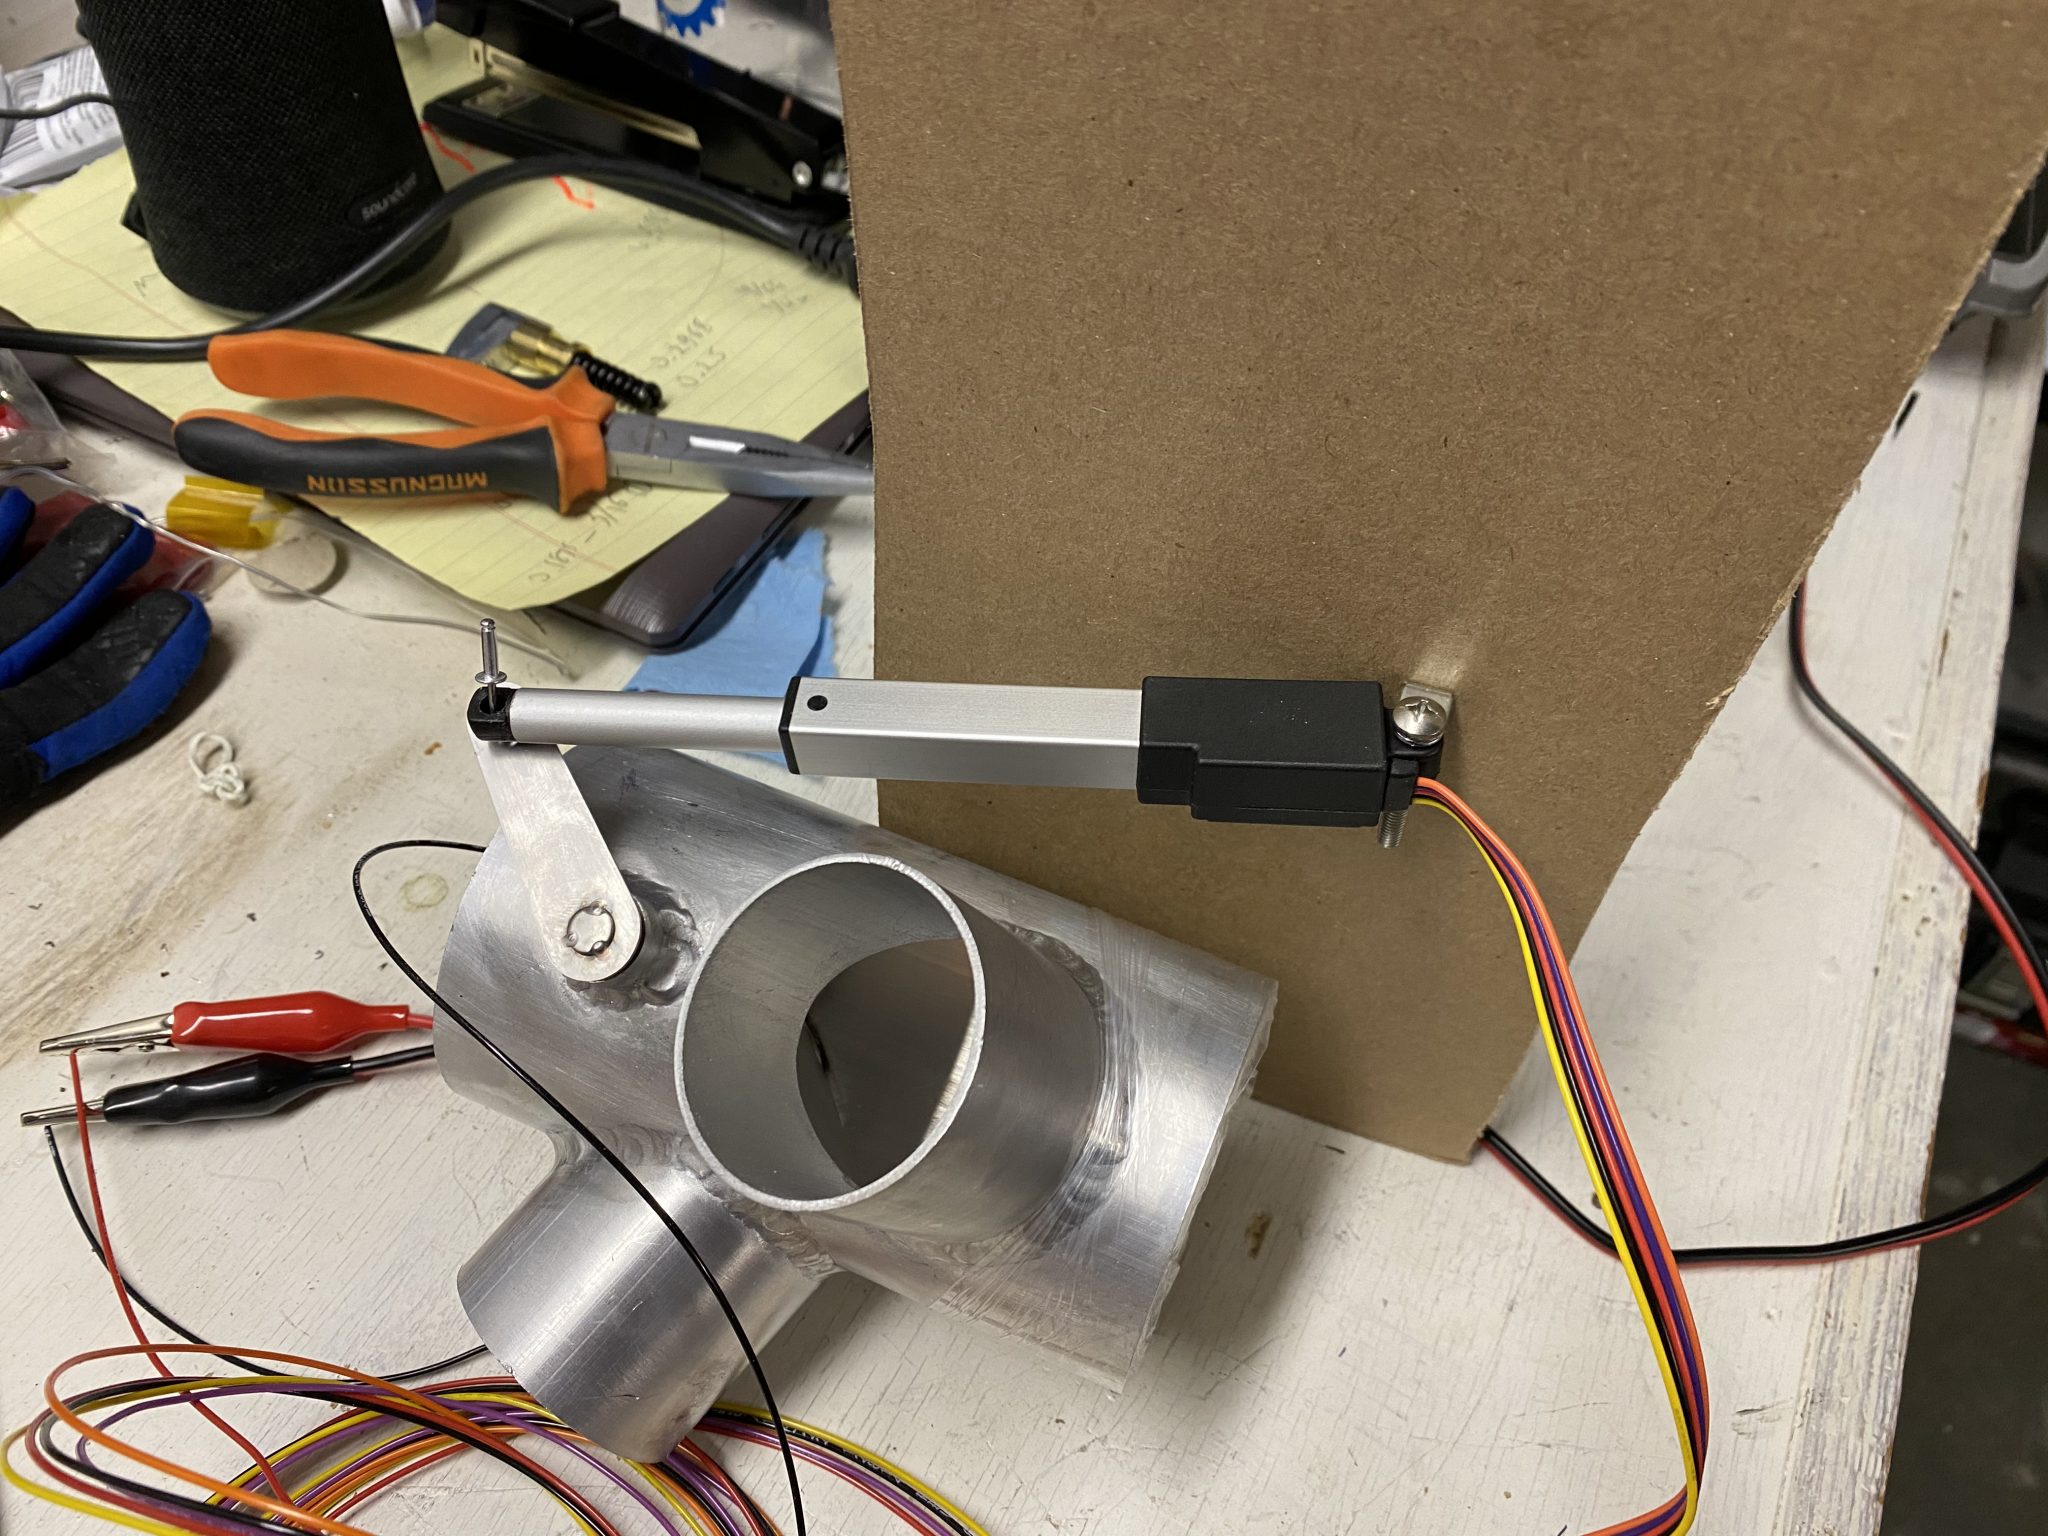
The servo I’m going to use is from TCW that comes with a linear servo from Actuonix, together with TCW’s control board with the control knob to operate the servo.
The first thing I had to figure out is the travel of the butterfly valve, it is around 40mm long. I made a small cardboard panel, clamped it to the bracket of the box that houses the butterfly valve. Based on the maximum extension I then mounted the back of the servo onto my cardboard panel. Then I tested that retracting and extending works correctly from that position and made small adjustments to the travel distance.
Here’s a small video of testing the operation:
With the operation figured out, then I went to check for alignments in the cabin.
First I had to figure out where exactly the vent box sits inside the cabin. Some quick measuring for the distance based on the construction manual.
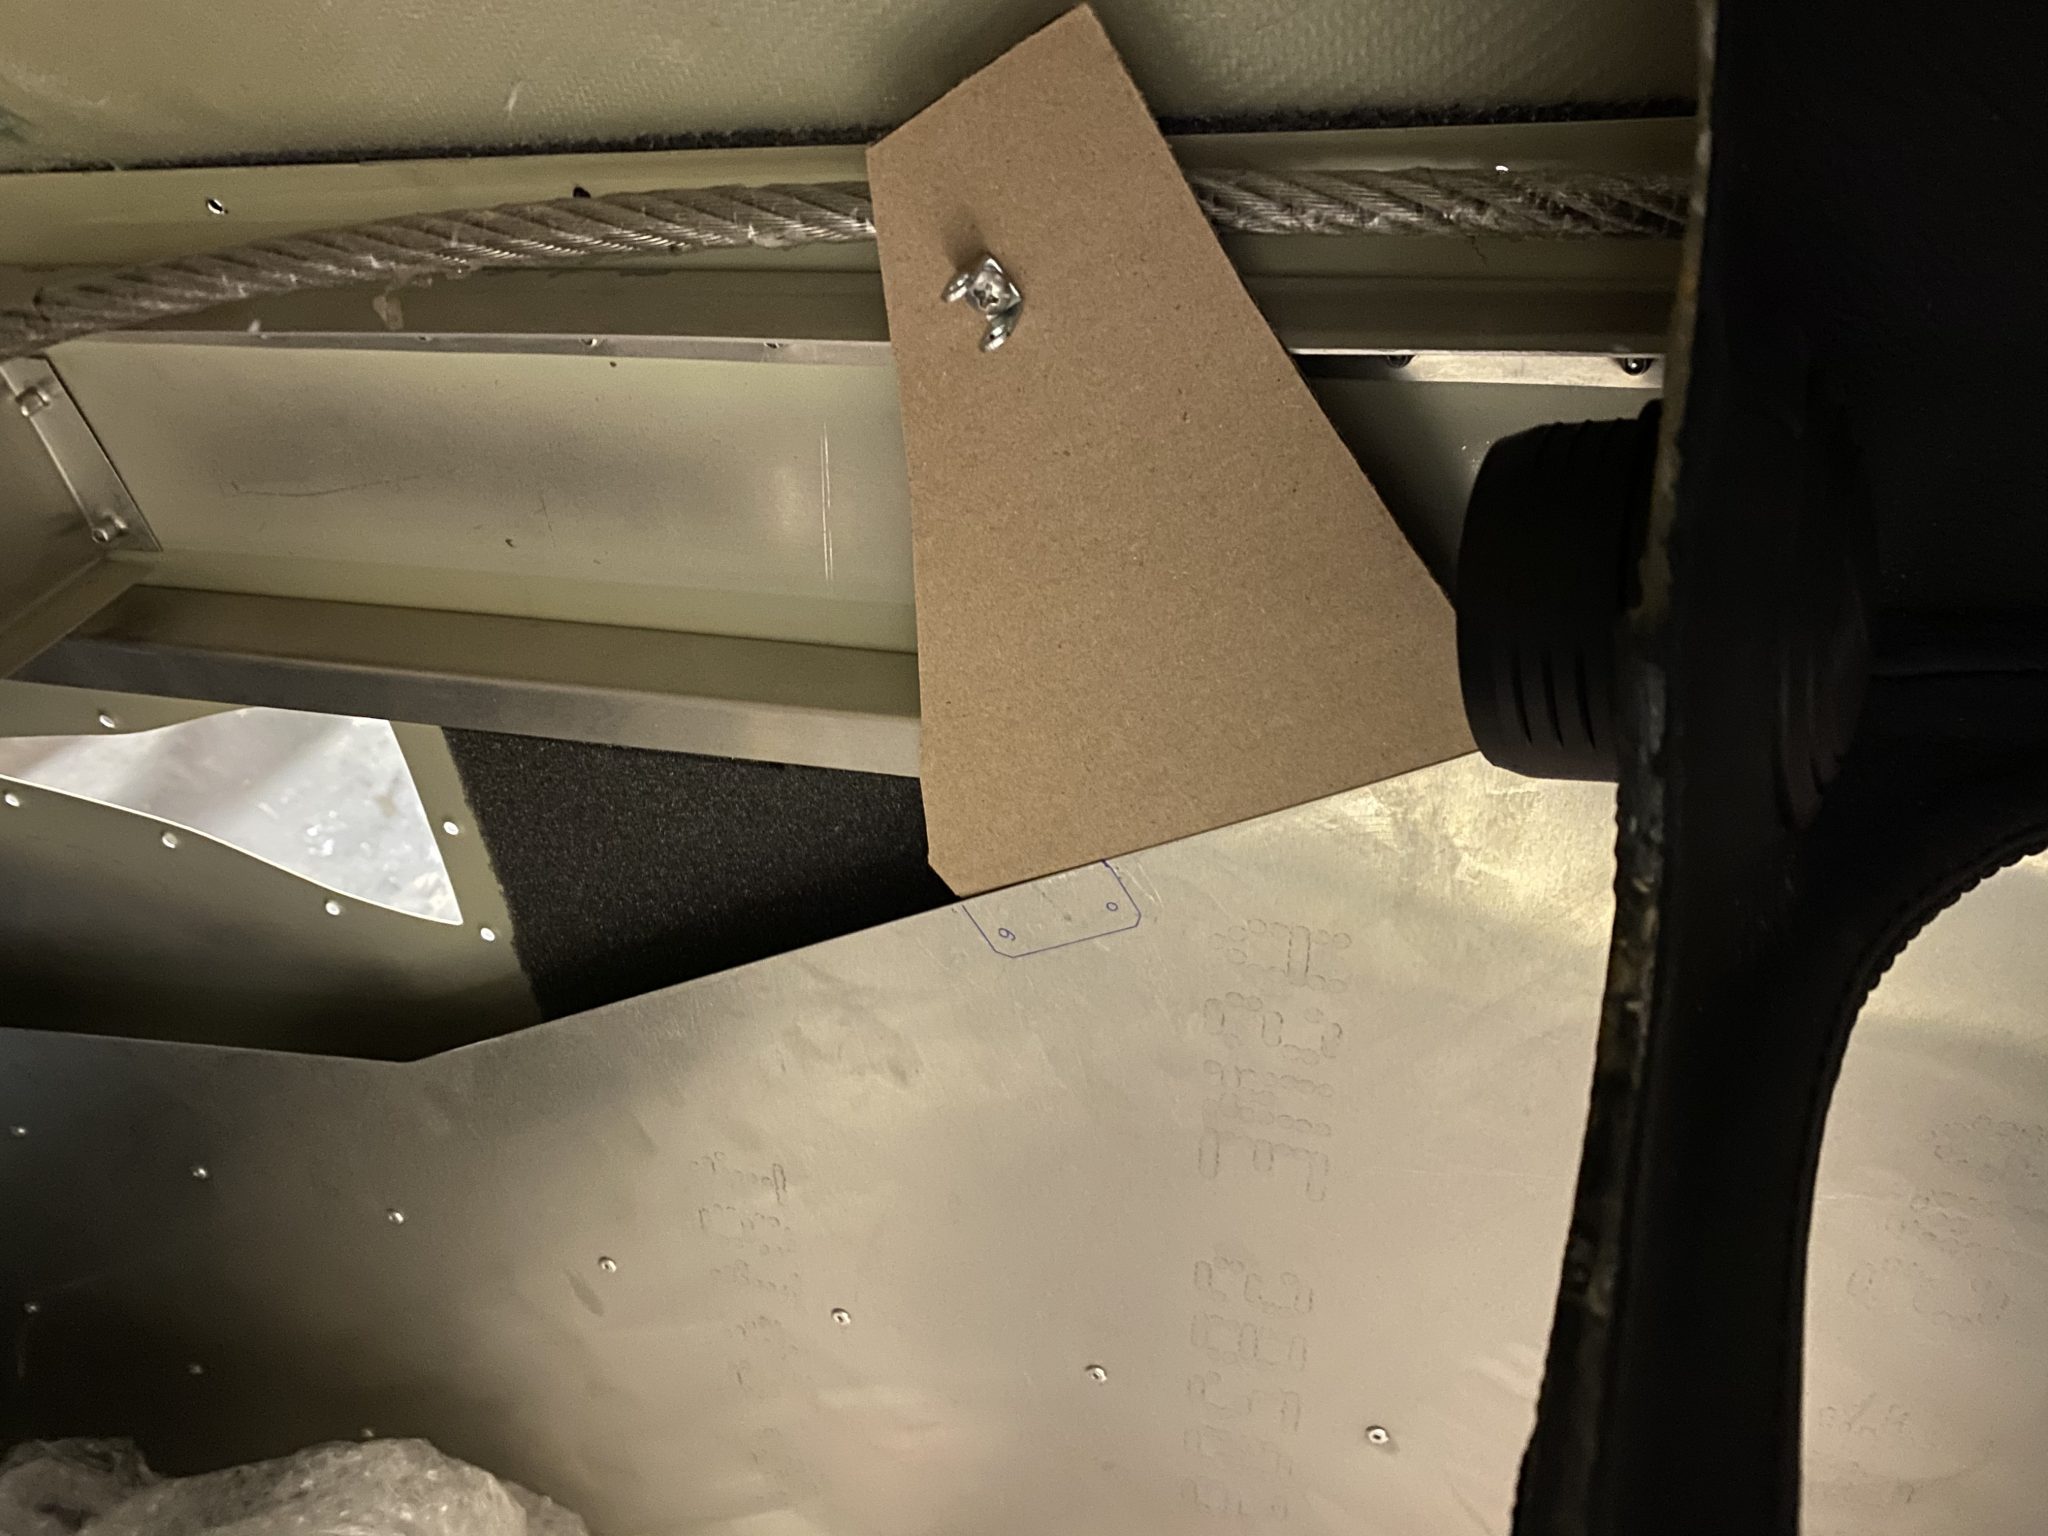
Then I put in the channel that moves air to the rear passenger seats to make sure there is no interference wit the operation.
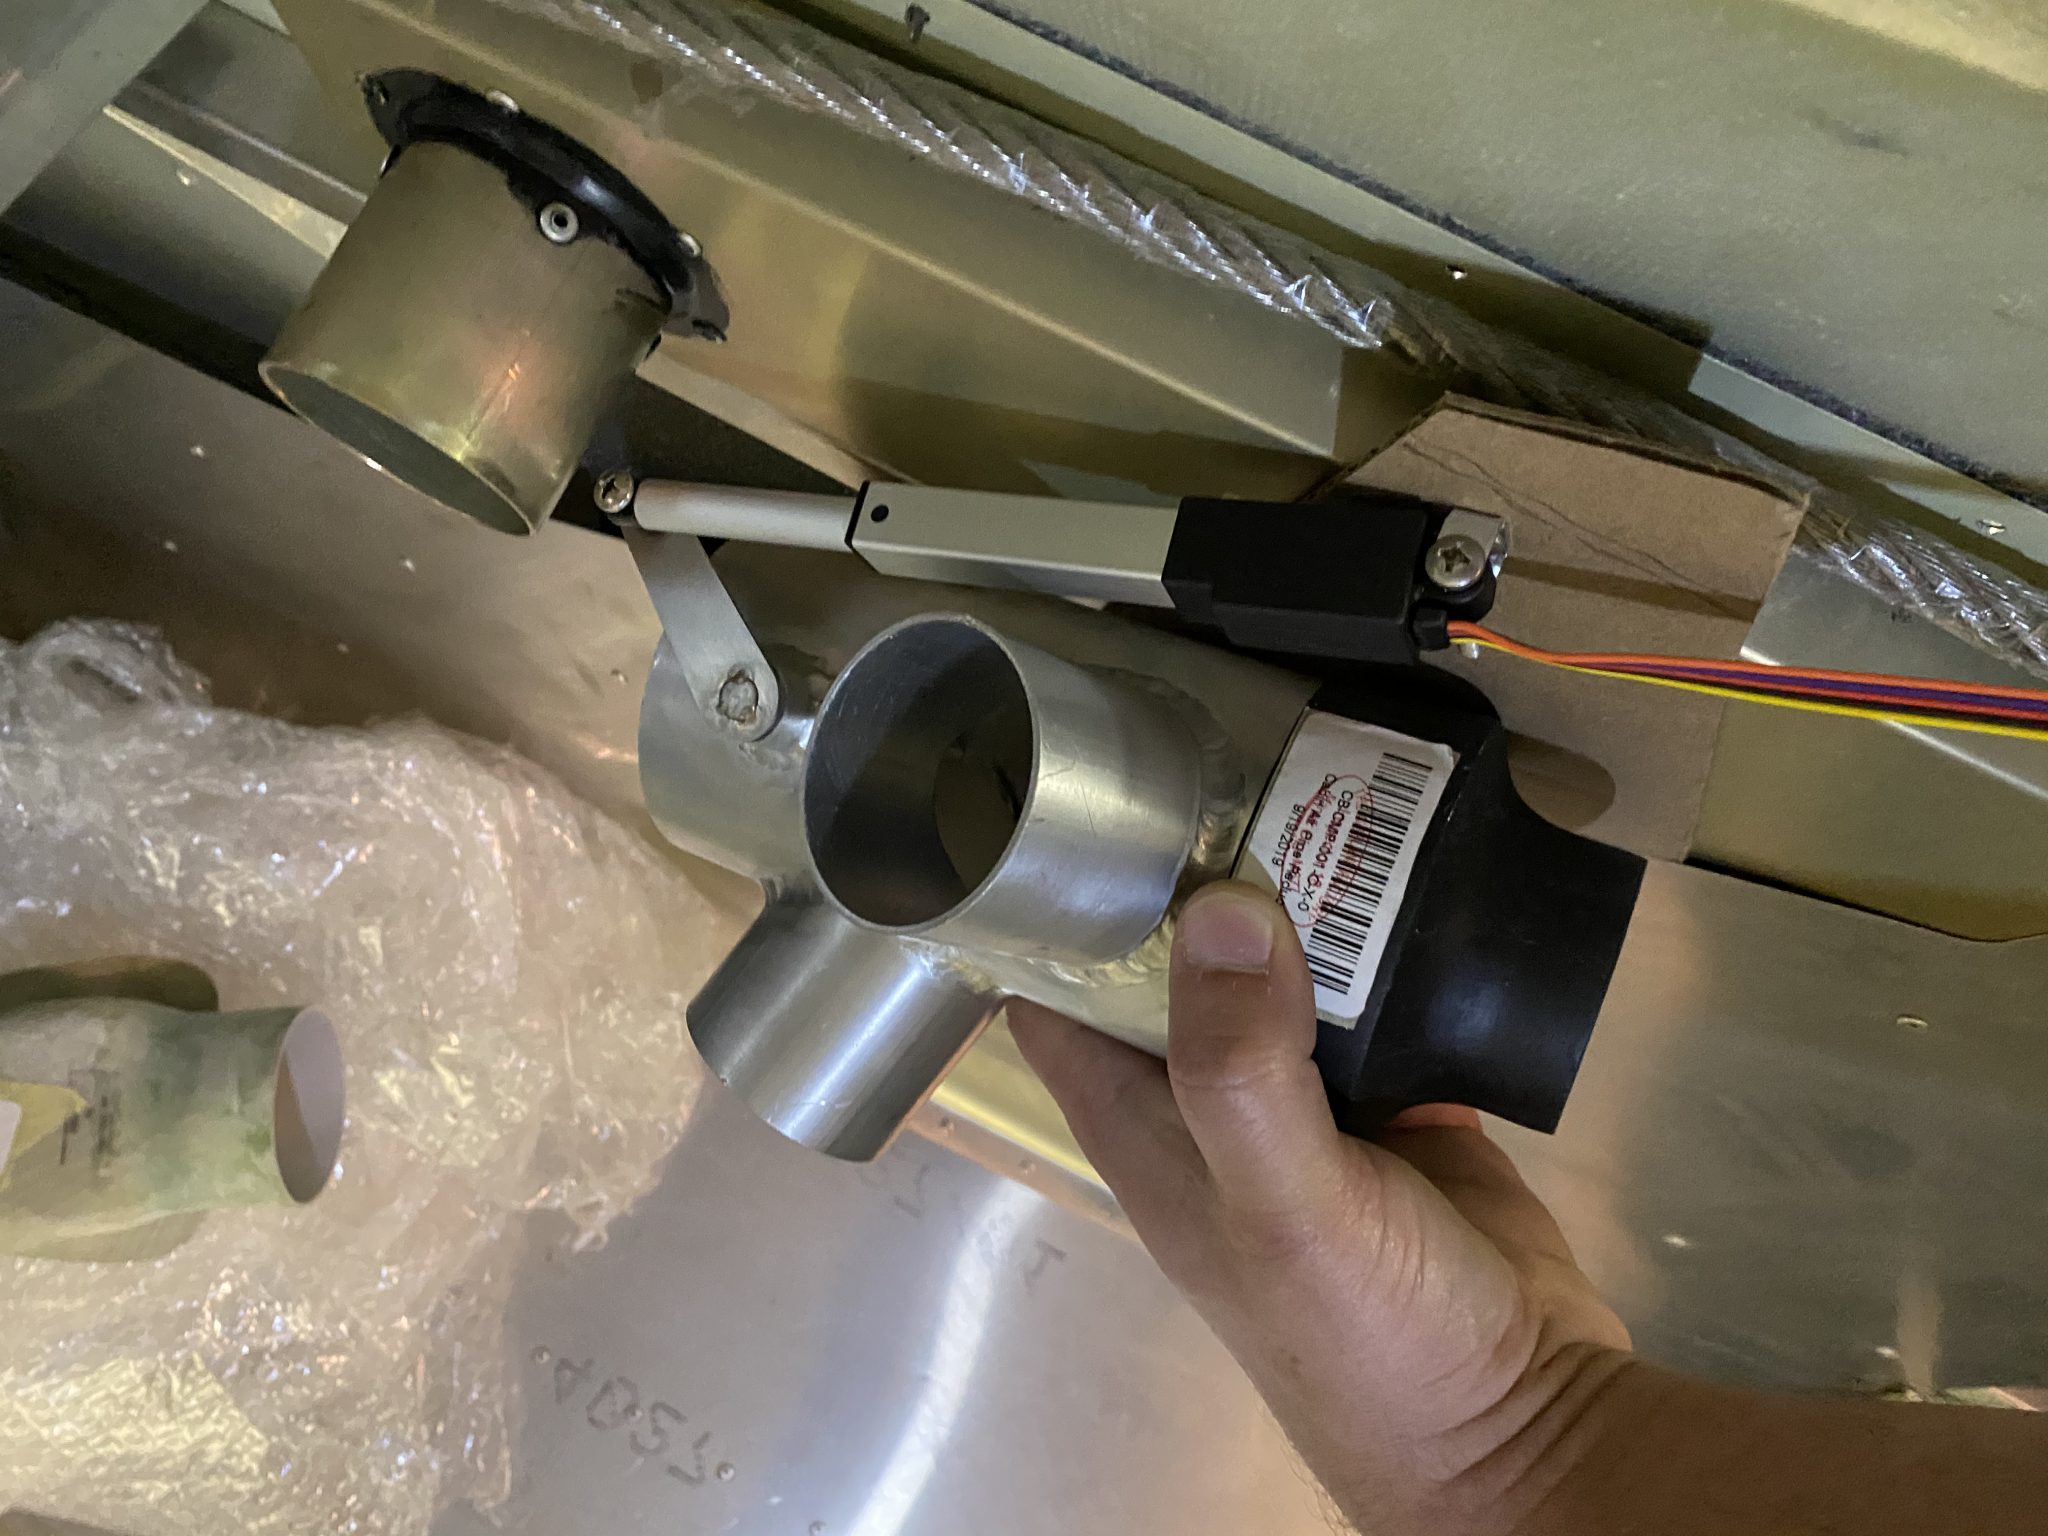
Looks all good. Next step will be to fabricate the bracket out of aluminum.
Great idea and nice setup work, I will consider using this also, THANKS for posting the heads up. In home sweet Idaho for the summer, headed back in a month and hoping the missing parts holding up the work on the fuselage have arrived.
I also have to make the wing mod to add the Garmin heated regul pitot. Kind of irritating as kit ordered as night IFR capable in the beginning but we have very early kits and I’m happy to have it considering what we are living through now. Did TAF help with tthe he wire parts and pieces to get the job accomplished or did you have to scroung make or order all from Aircraft Spruce or ot her supplier? That will be one of my y first tasks to complete when returning, cant wait to get back to work, Go TSi Be Well. Skip
TAF sent me plans for the cutout (which now I think are incorporated into the wing manual) and the metal plate for the cutout. I got the wires myself from Aircraft Spruce.
Hey Philip,
Interesting on the servo/butterfly valve. Is there any weight savings out of it or is it just a “neat” thing to have? I’m not sure what the net-gain is out of it by making the change.
Thanks – Brian (a very soon to be builder)
It’s probably going to be net zero weight wise, so it’s mainly an optical improvement and giving me flexibility of where I can mount the actuator knobs as they are not location tied to the servo, since they are connected via digital wire.
Pingback: Fabricating the air vent servo mount - Philip's Sling TSi Build Log