Tag Archives: servo

More Cabin air servo work

Hours: 2.5

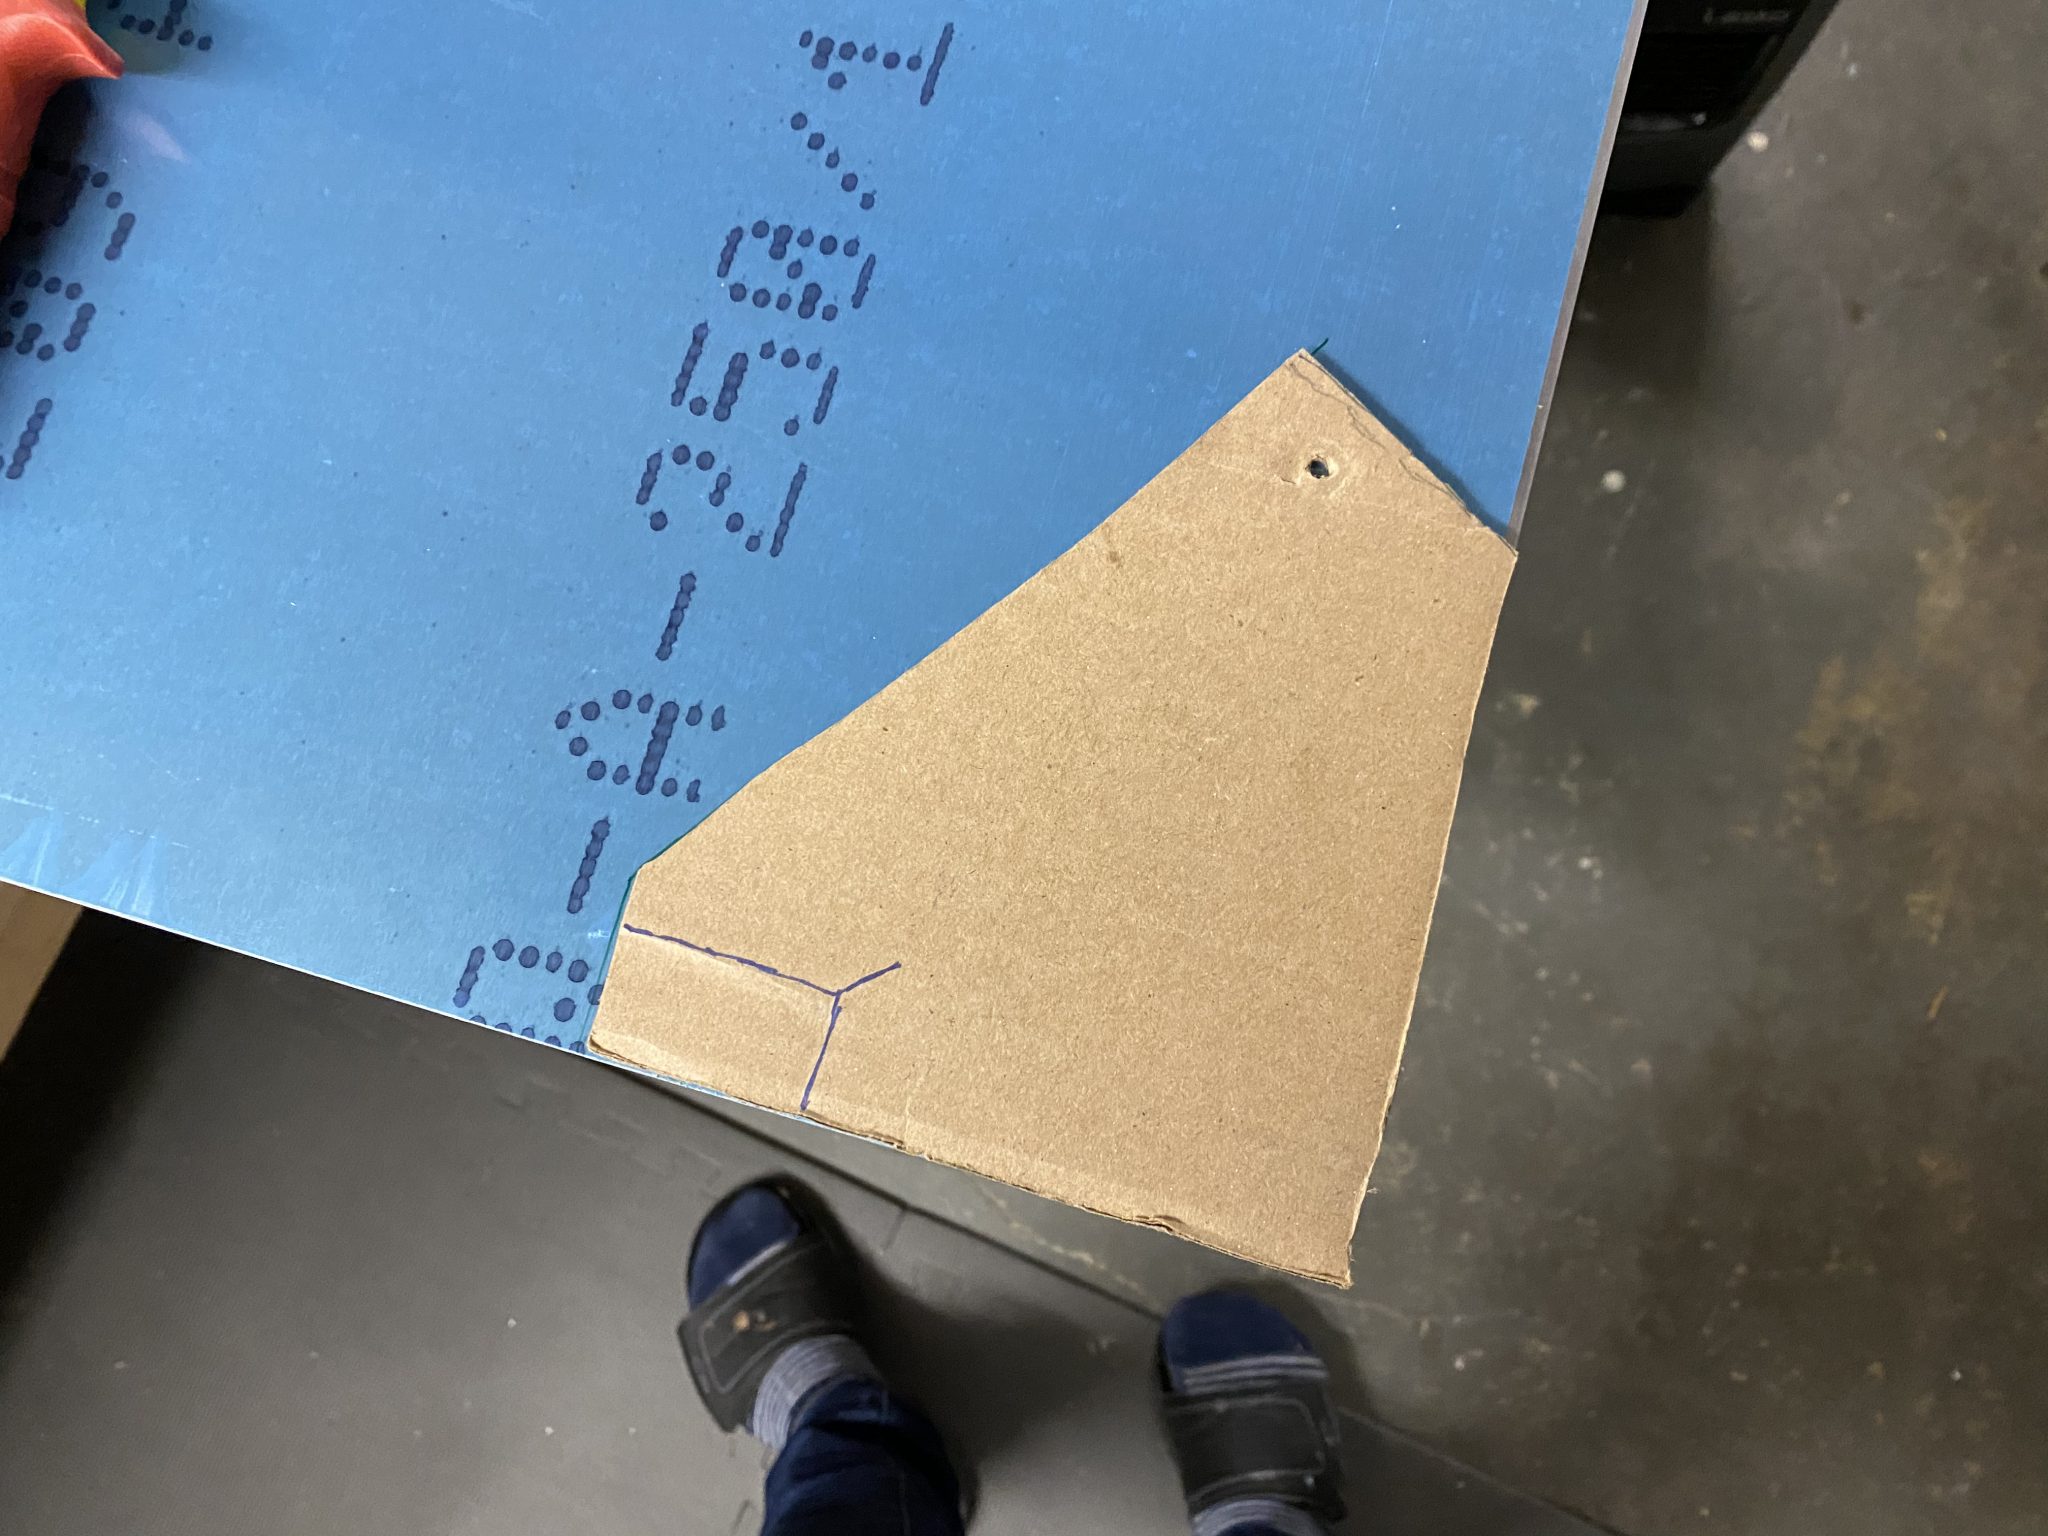
With my cabin air servo mount worked out for the right side, time to translate it to the left.

I started with my cardboard pattern to match everything up for the left side. Everything looked good, so I started cutting out the bracket out of 0.032in aluminum stock.

Test fitting for the left side

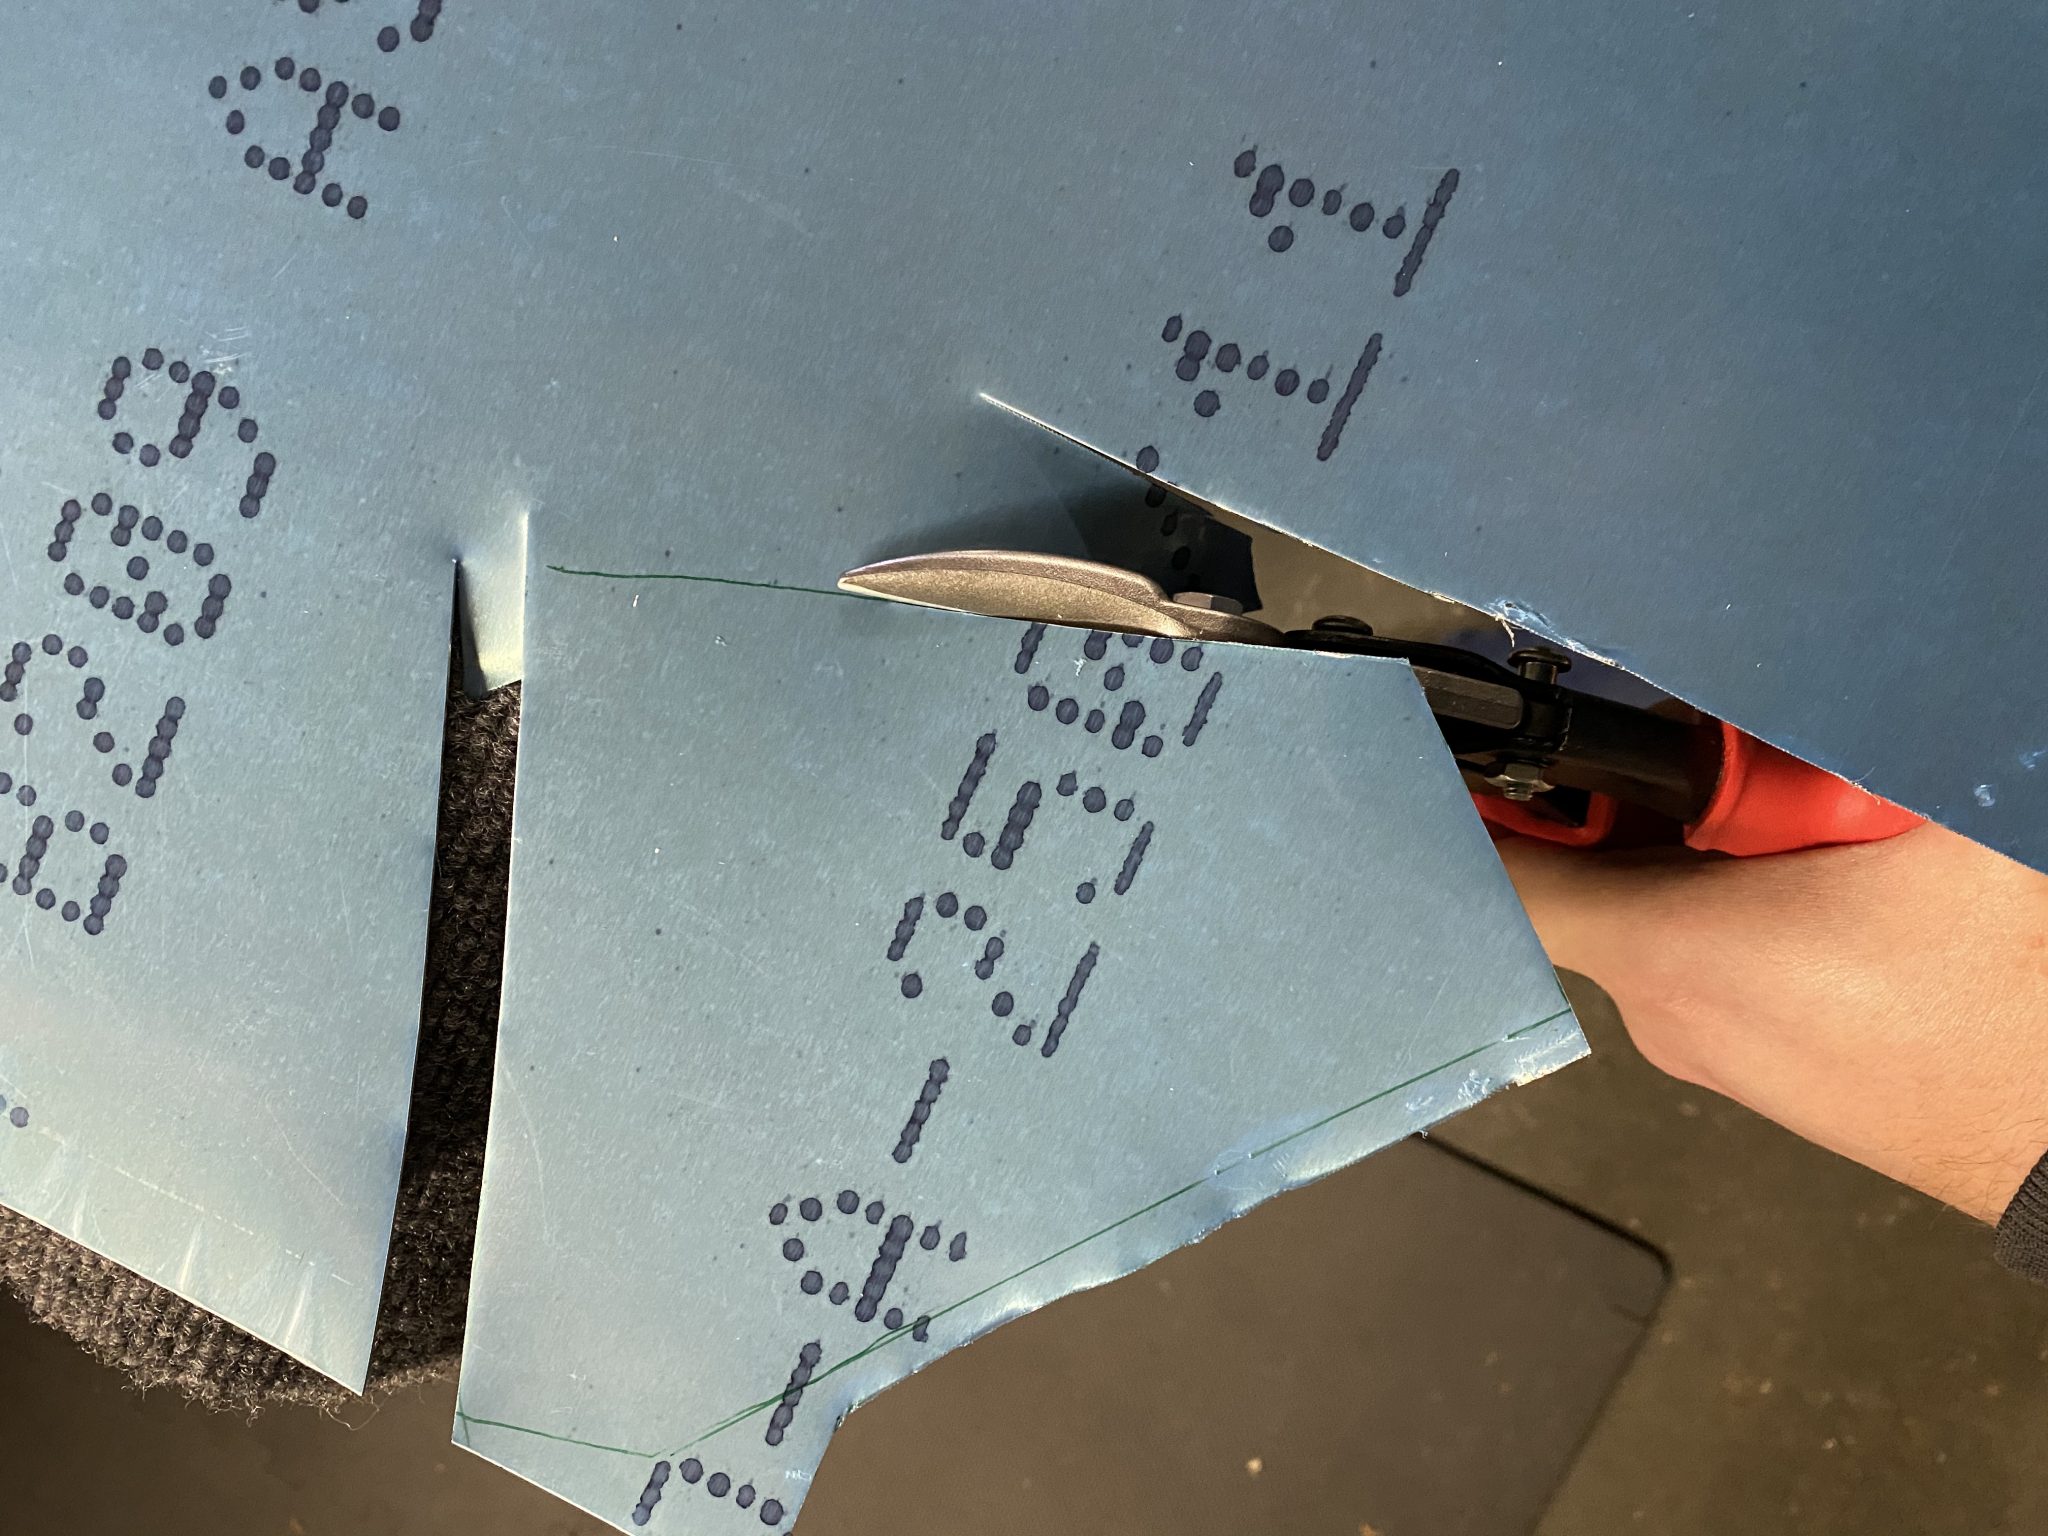
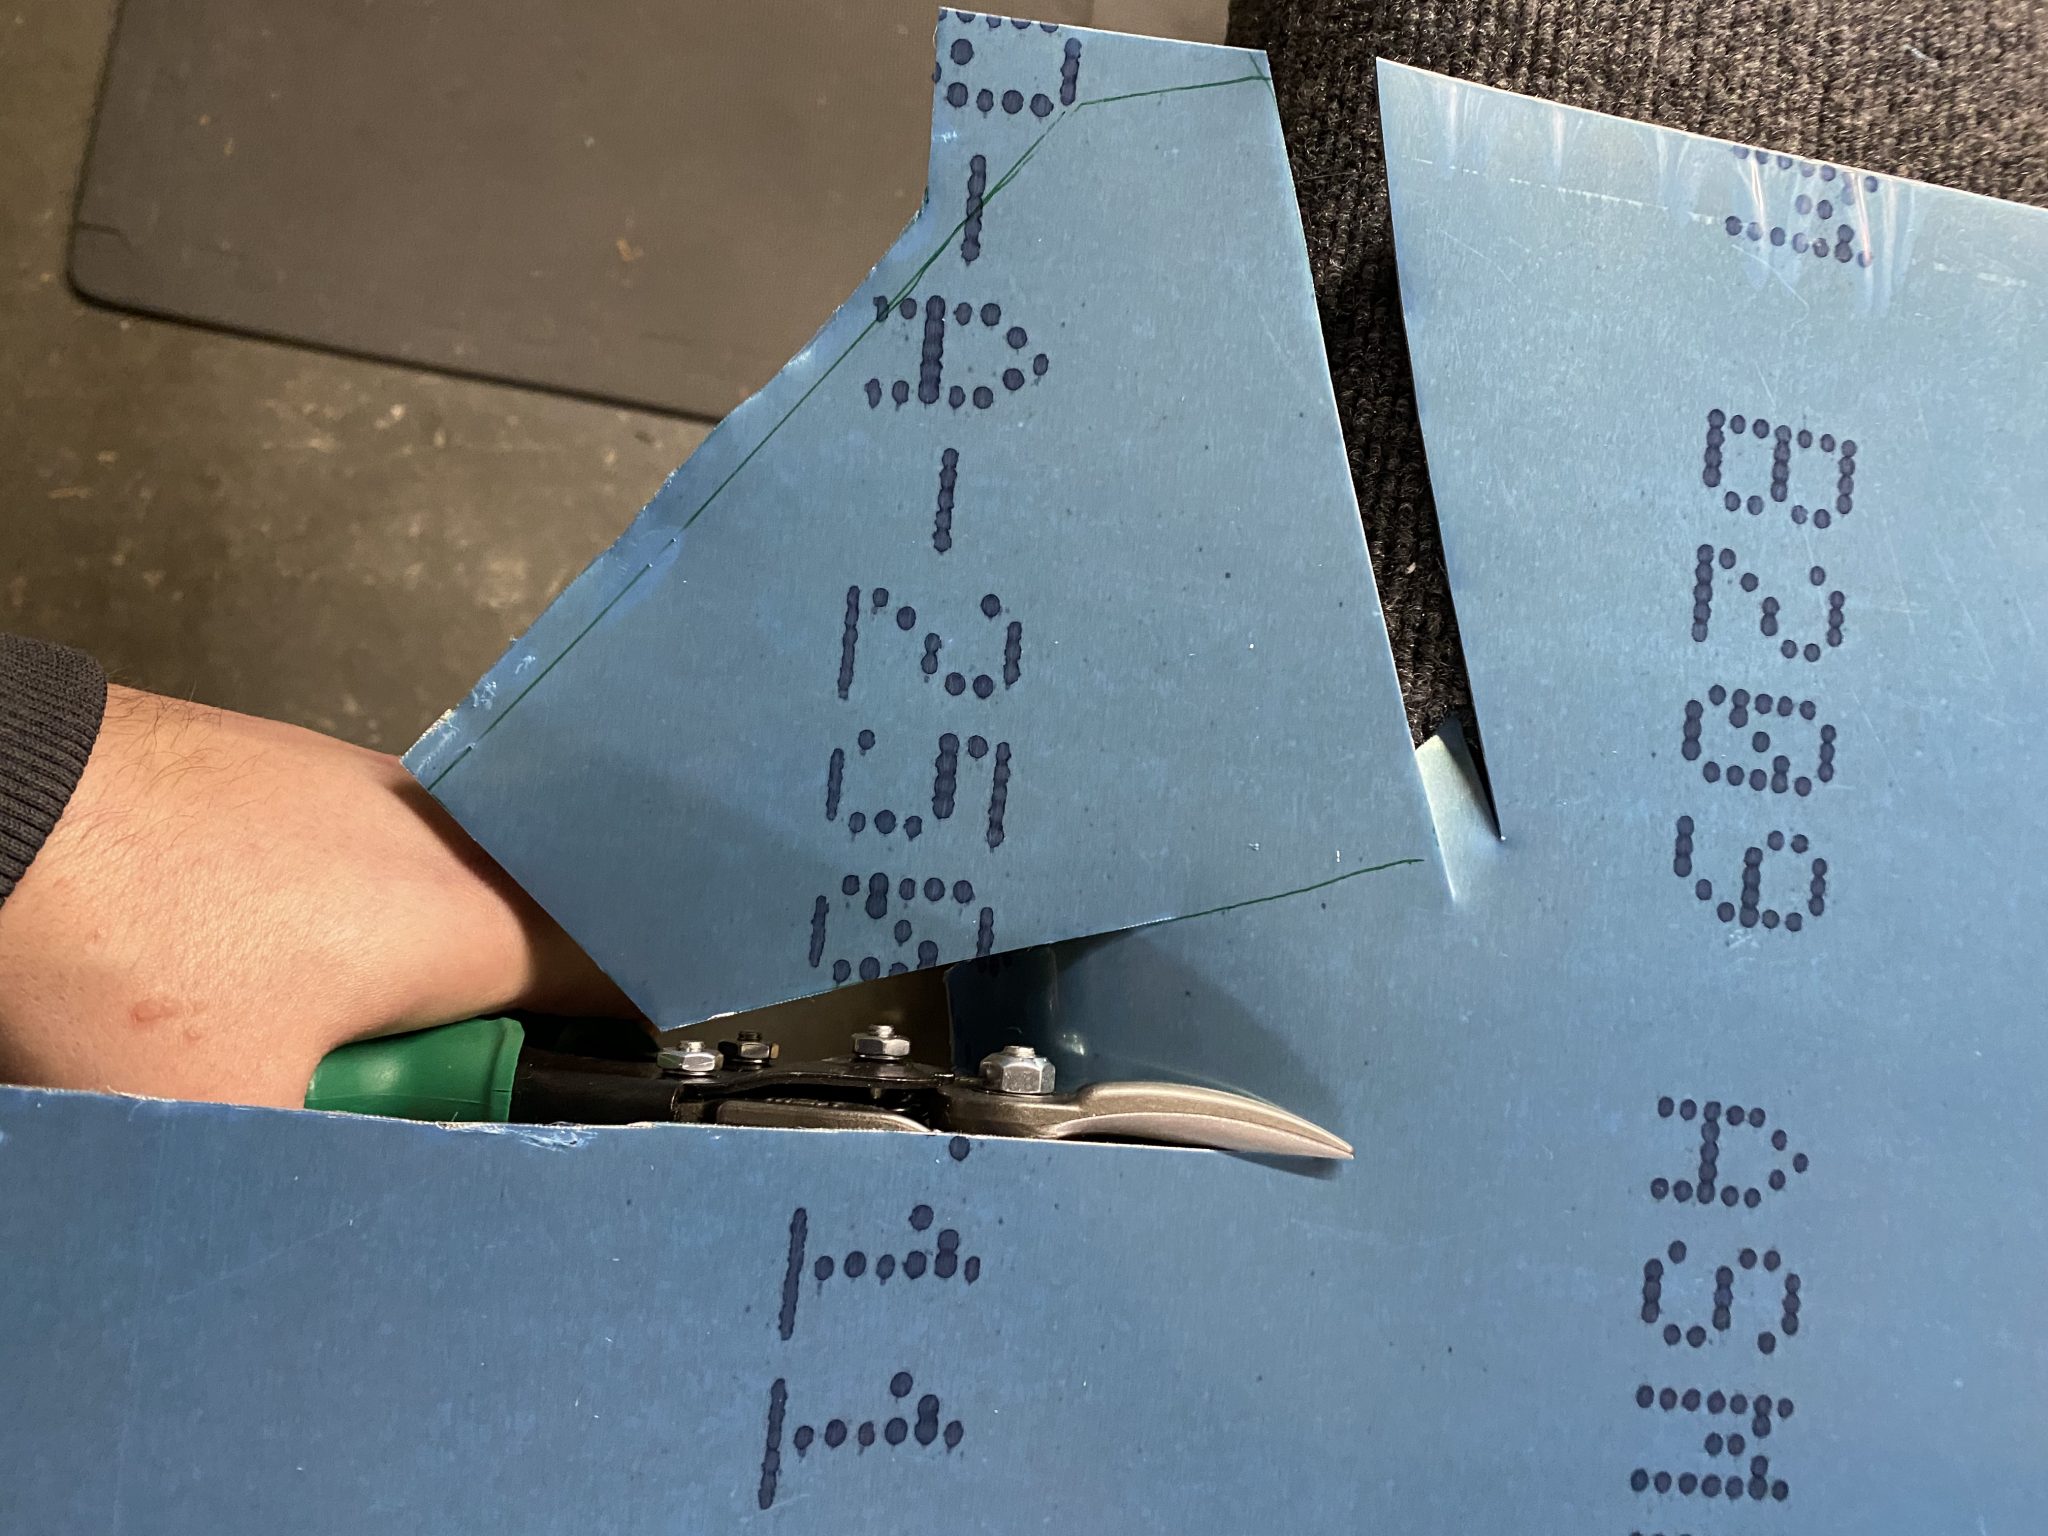
I recently ran across this very helpful video on how to properly use aviation snips. This made it a lot easier to cut things like the bracket.

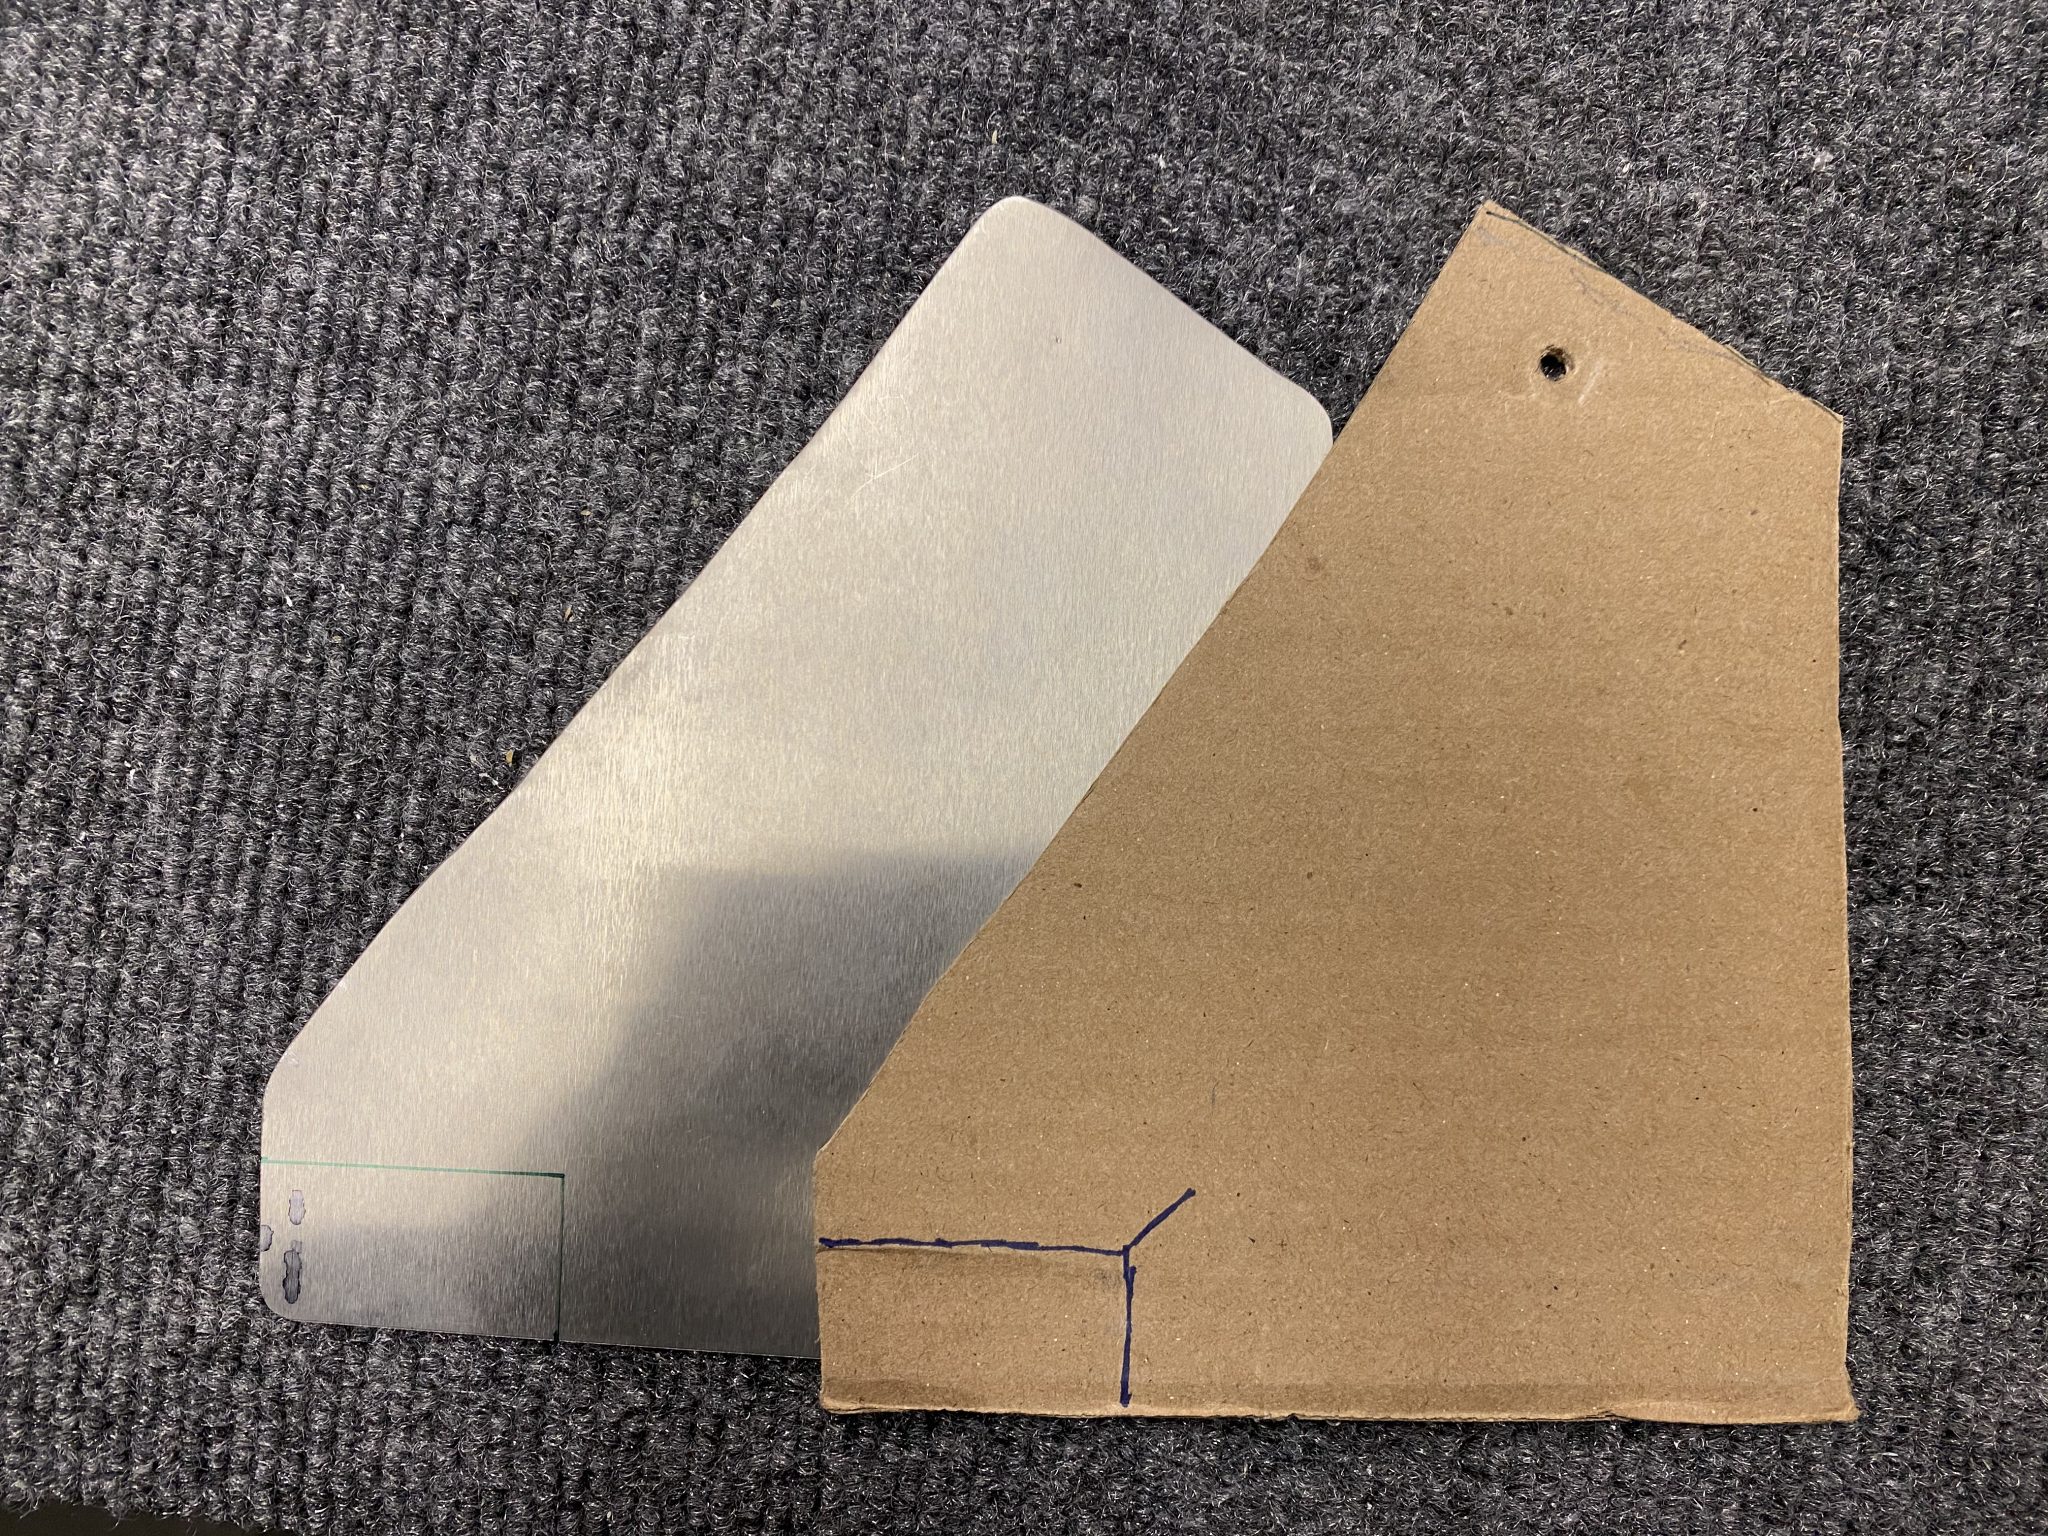
Cutting the bracket using some of the tips from the video to cut a sacrificial strip of metal to keep everything straight.

Cutting the bracket out of 0.032in aluminum
Cutting a sacrificial strip to keep the rest straight
Long edges cut
Completed the cut of the bracket

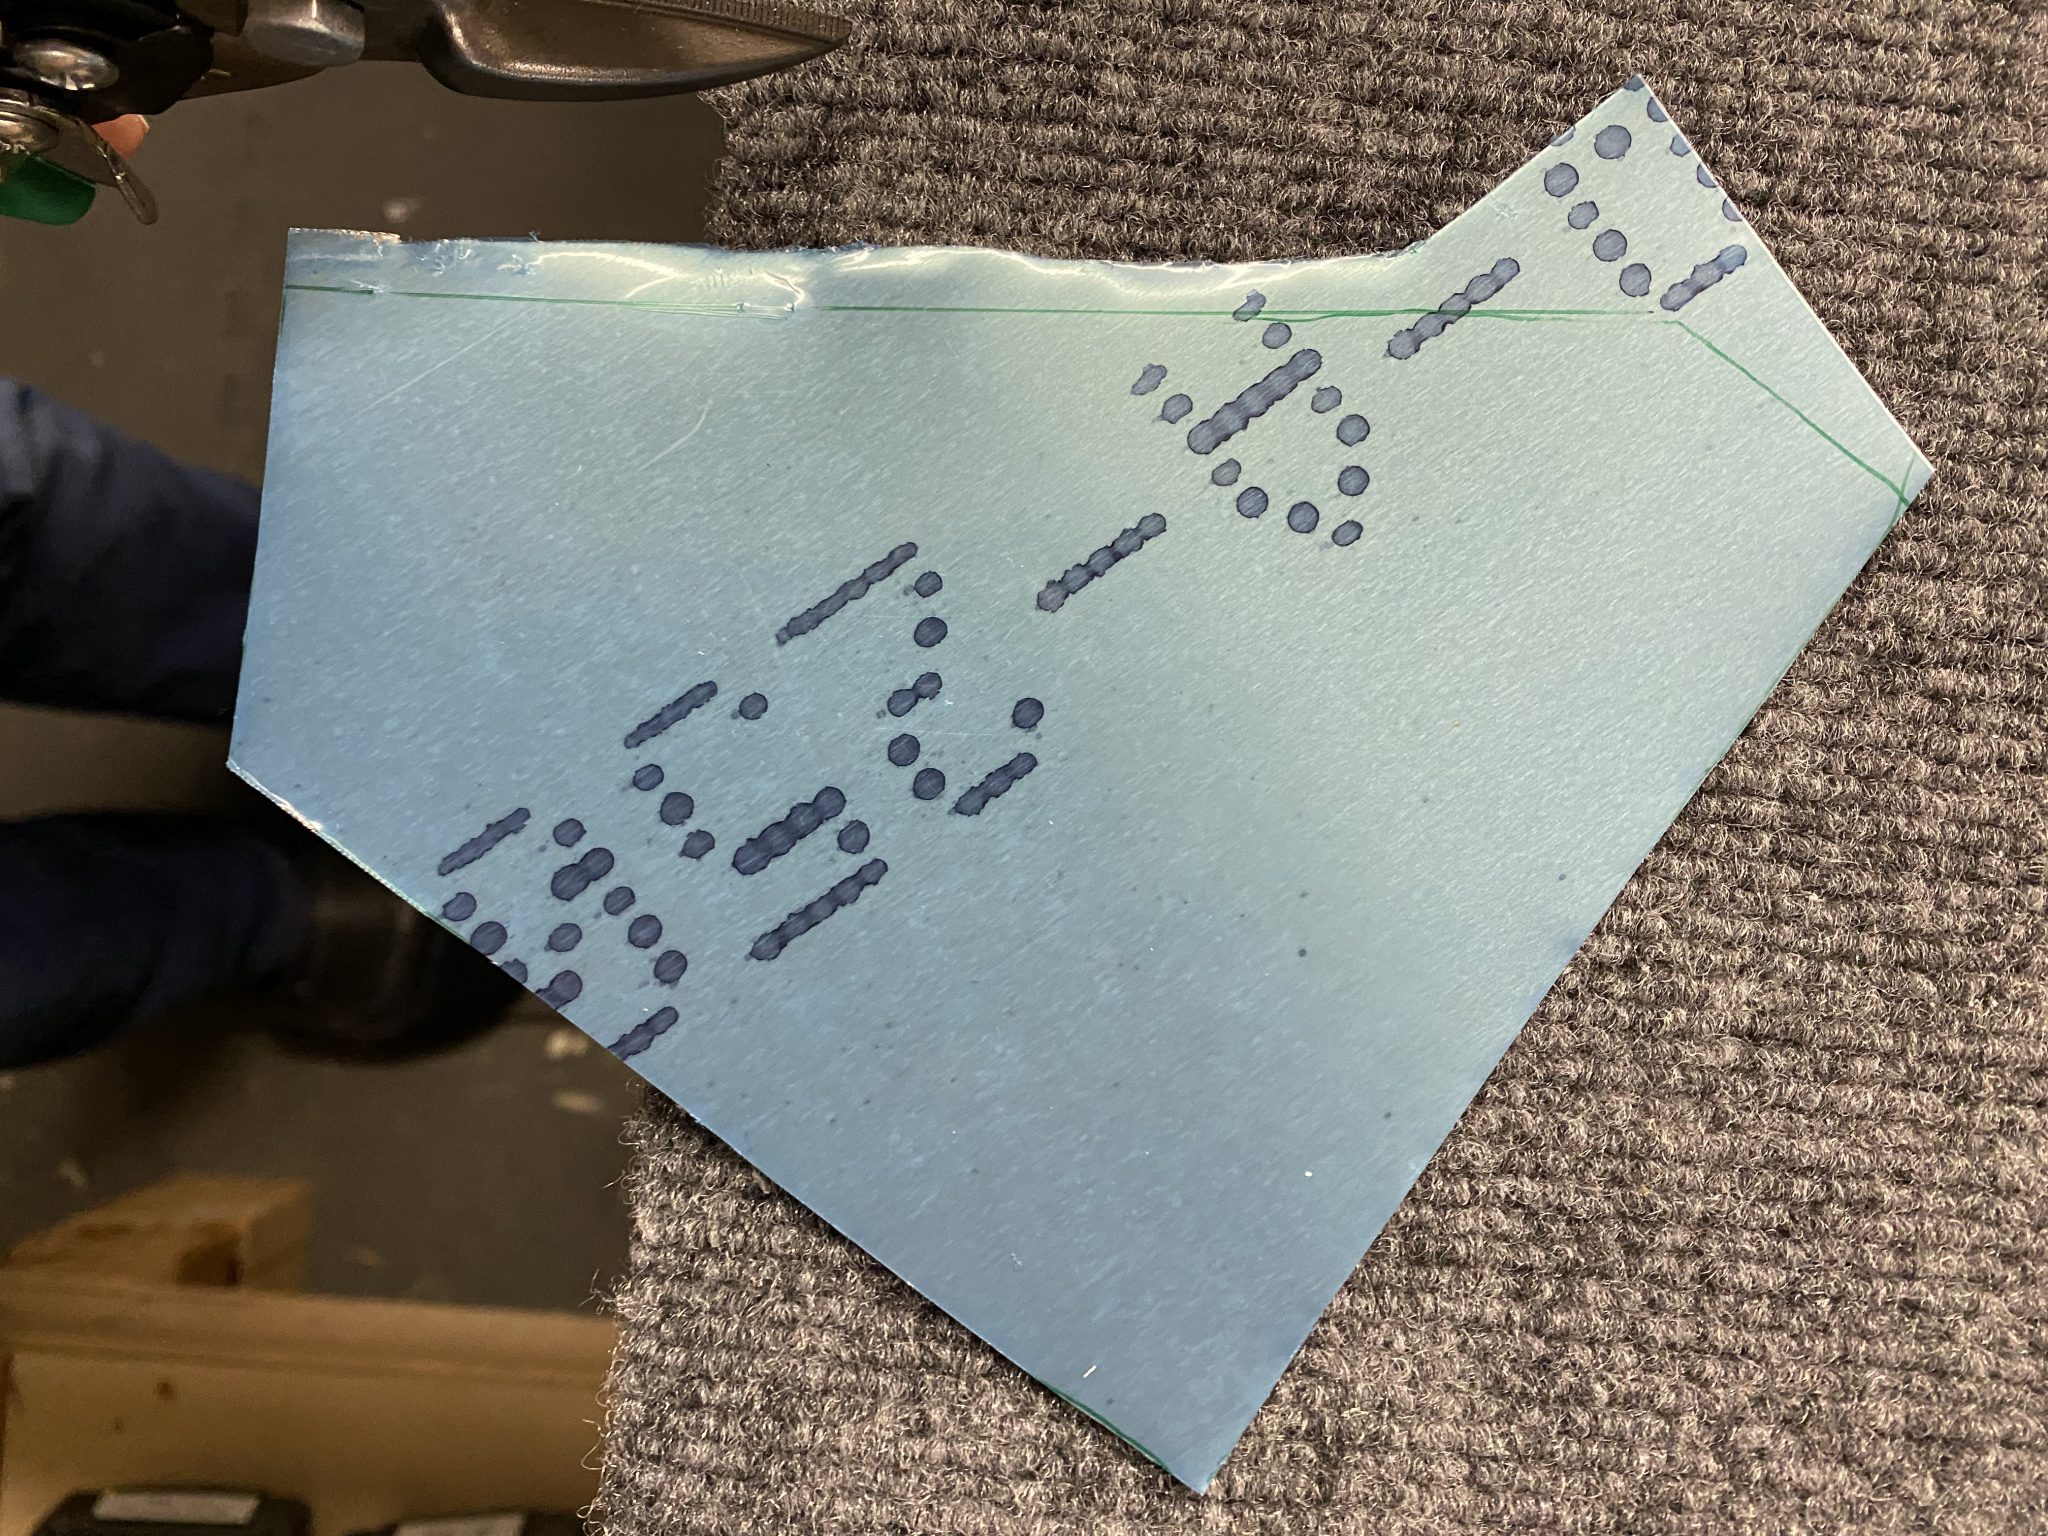
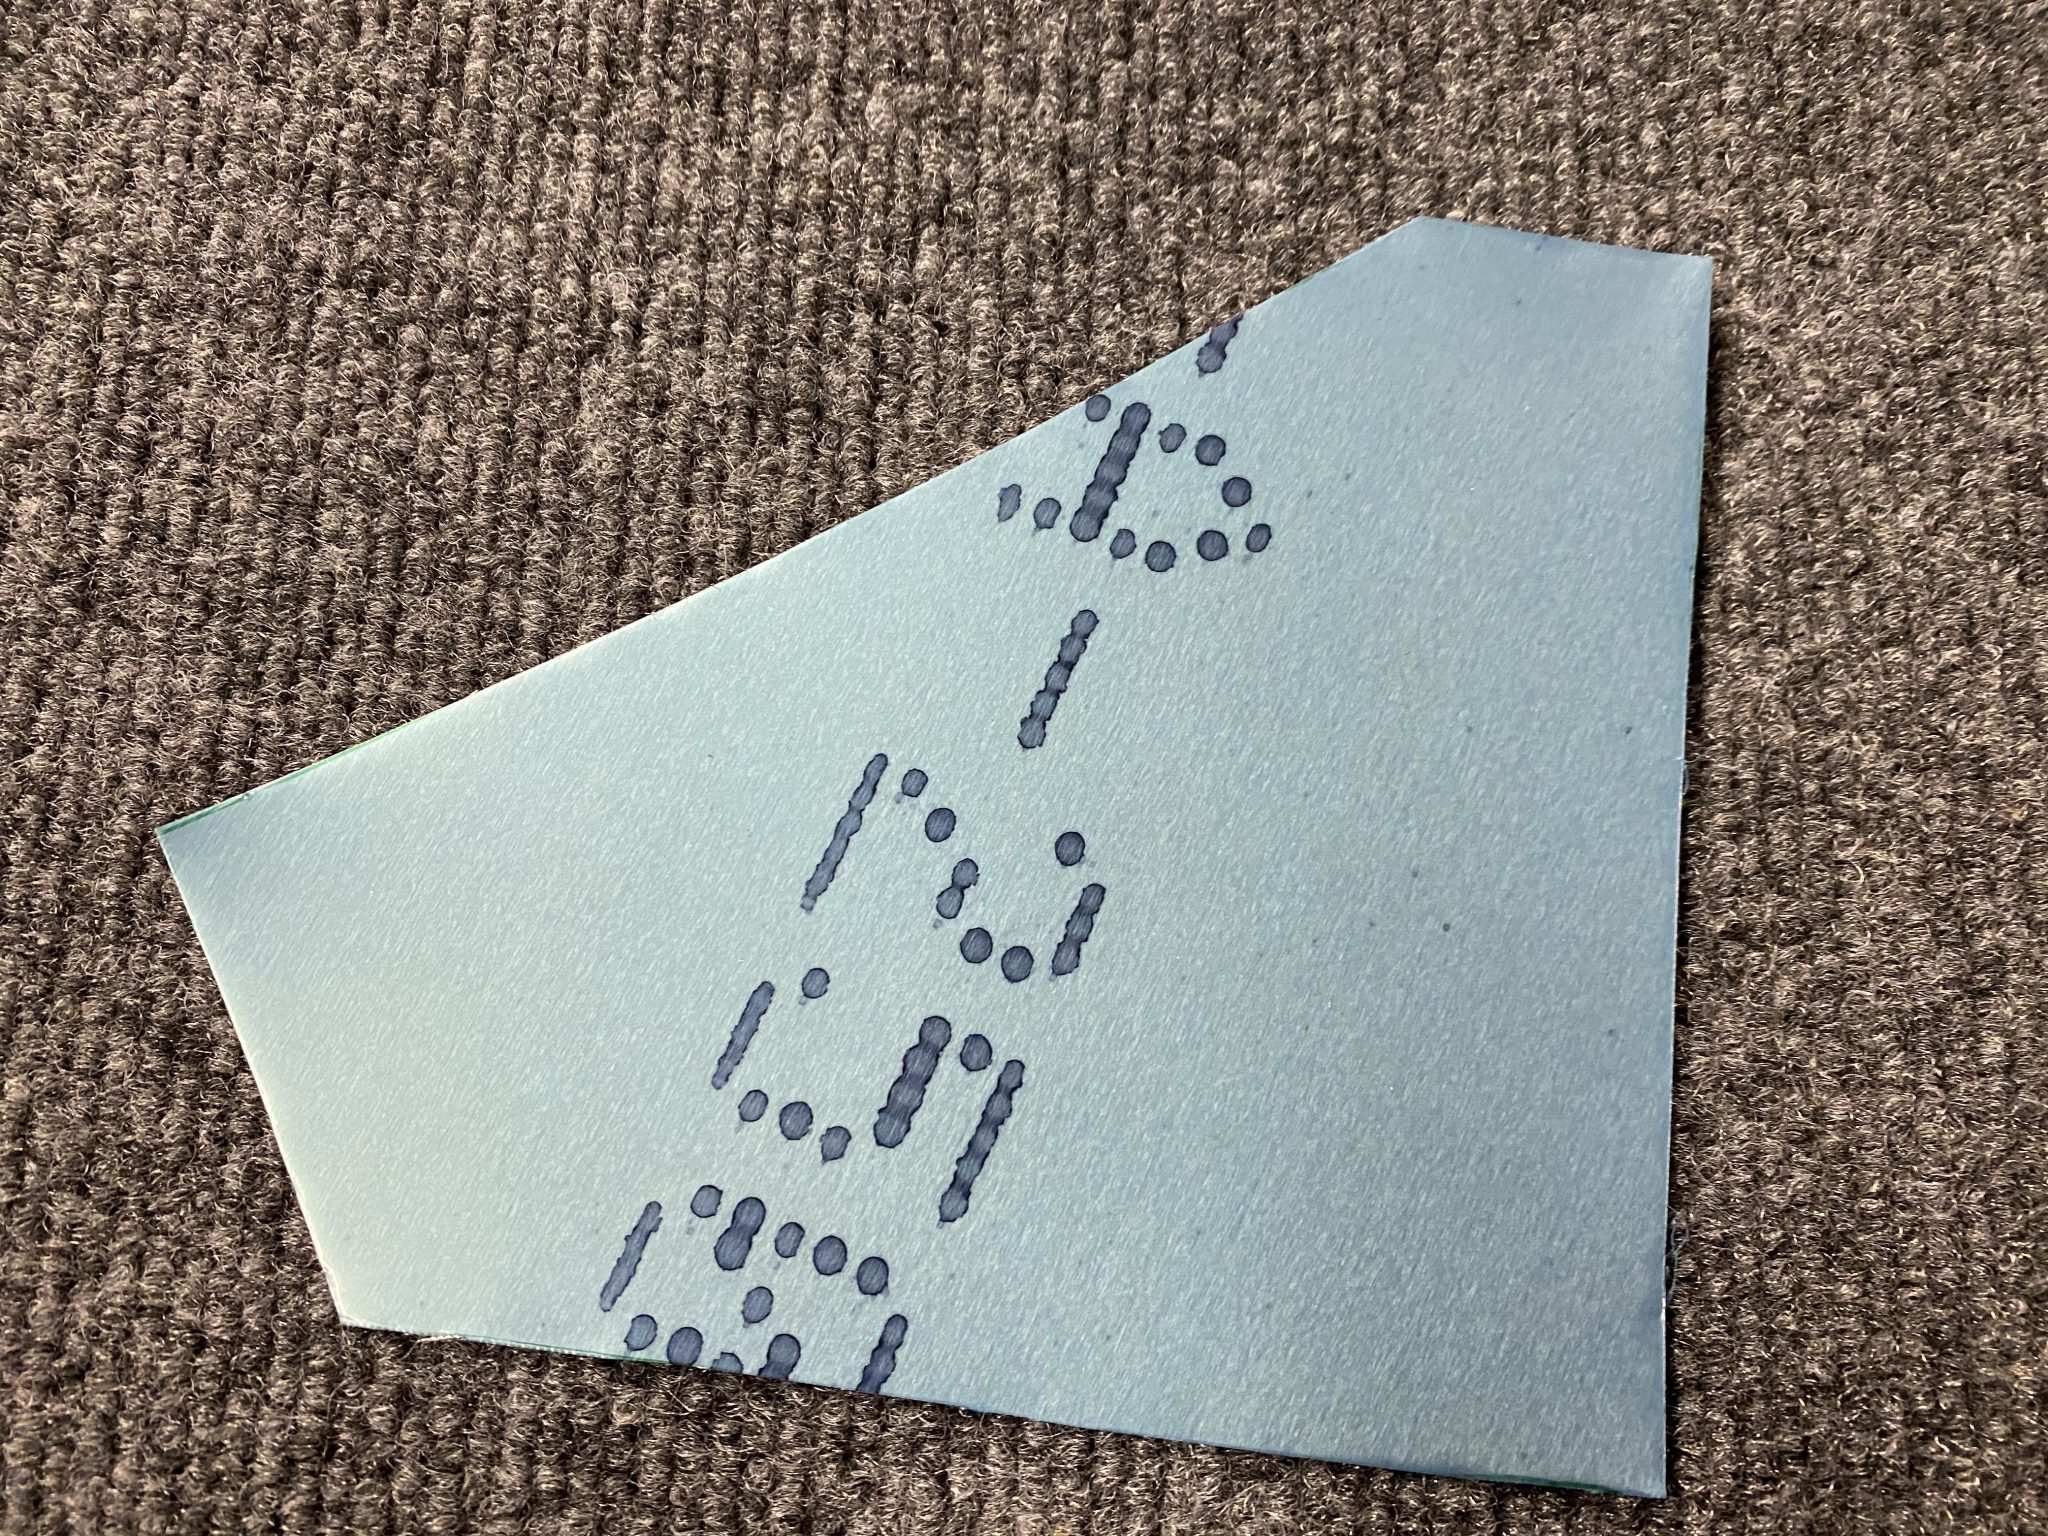
Once I completed cutting it, I removed the protective plastic and rounded the corner and edges.

Corners rounded and edges deburred

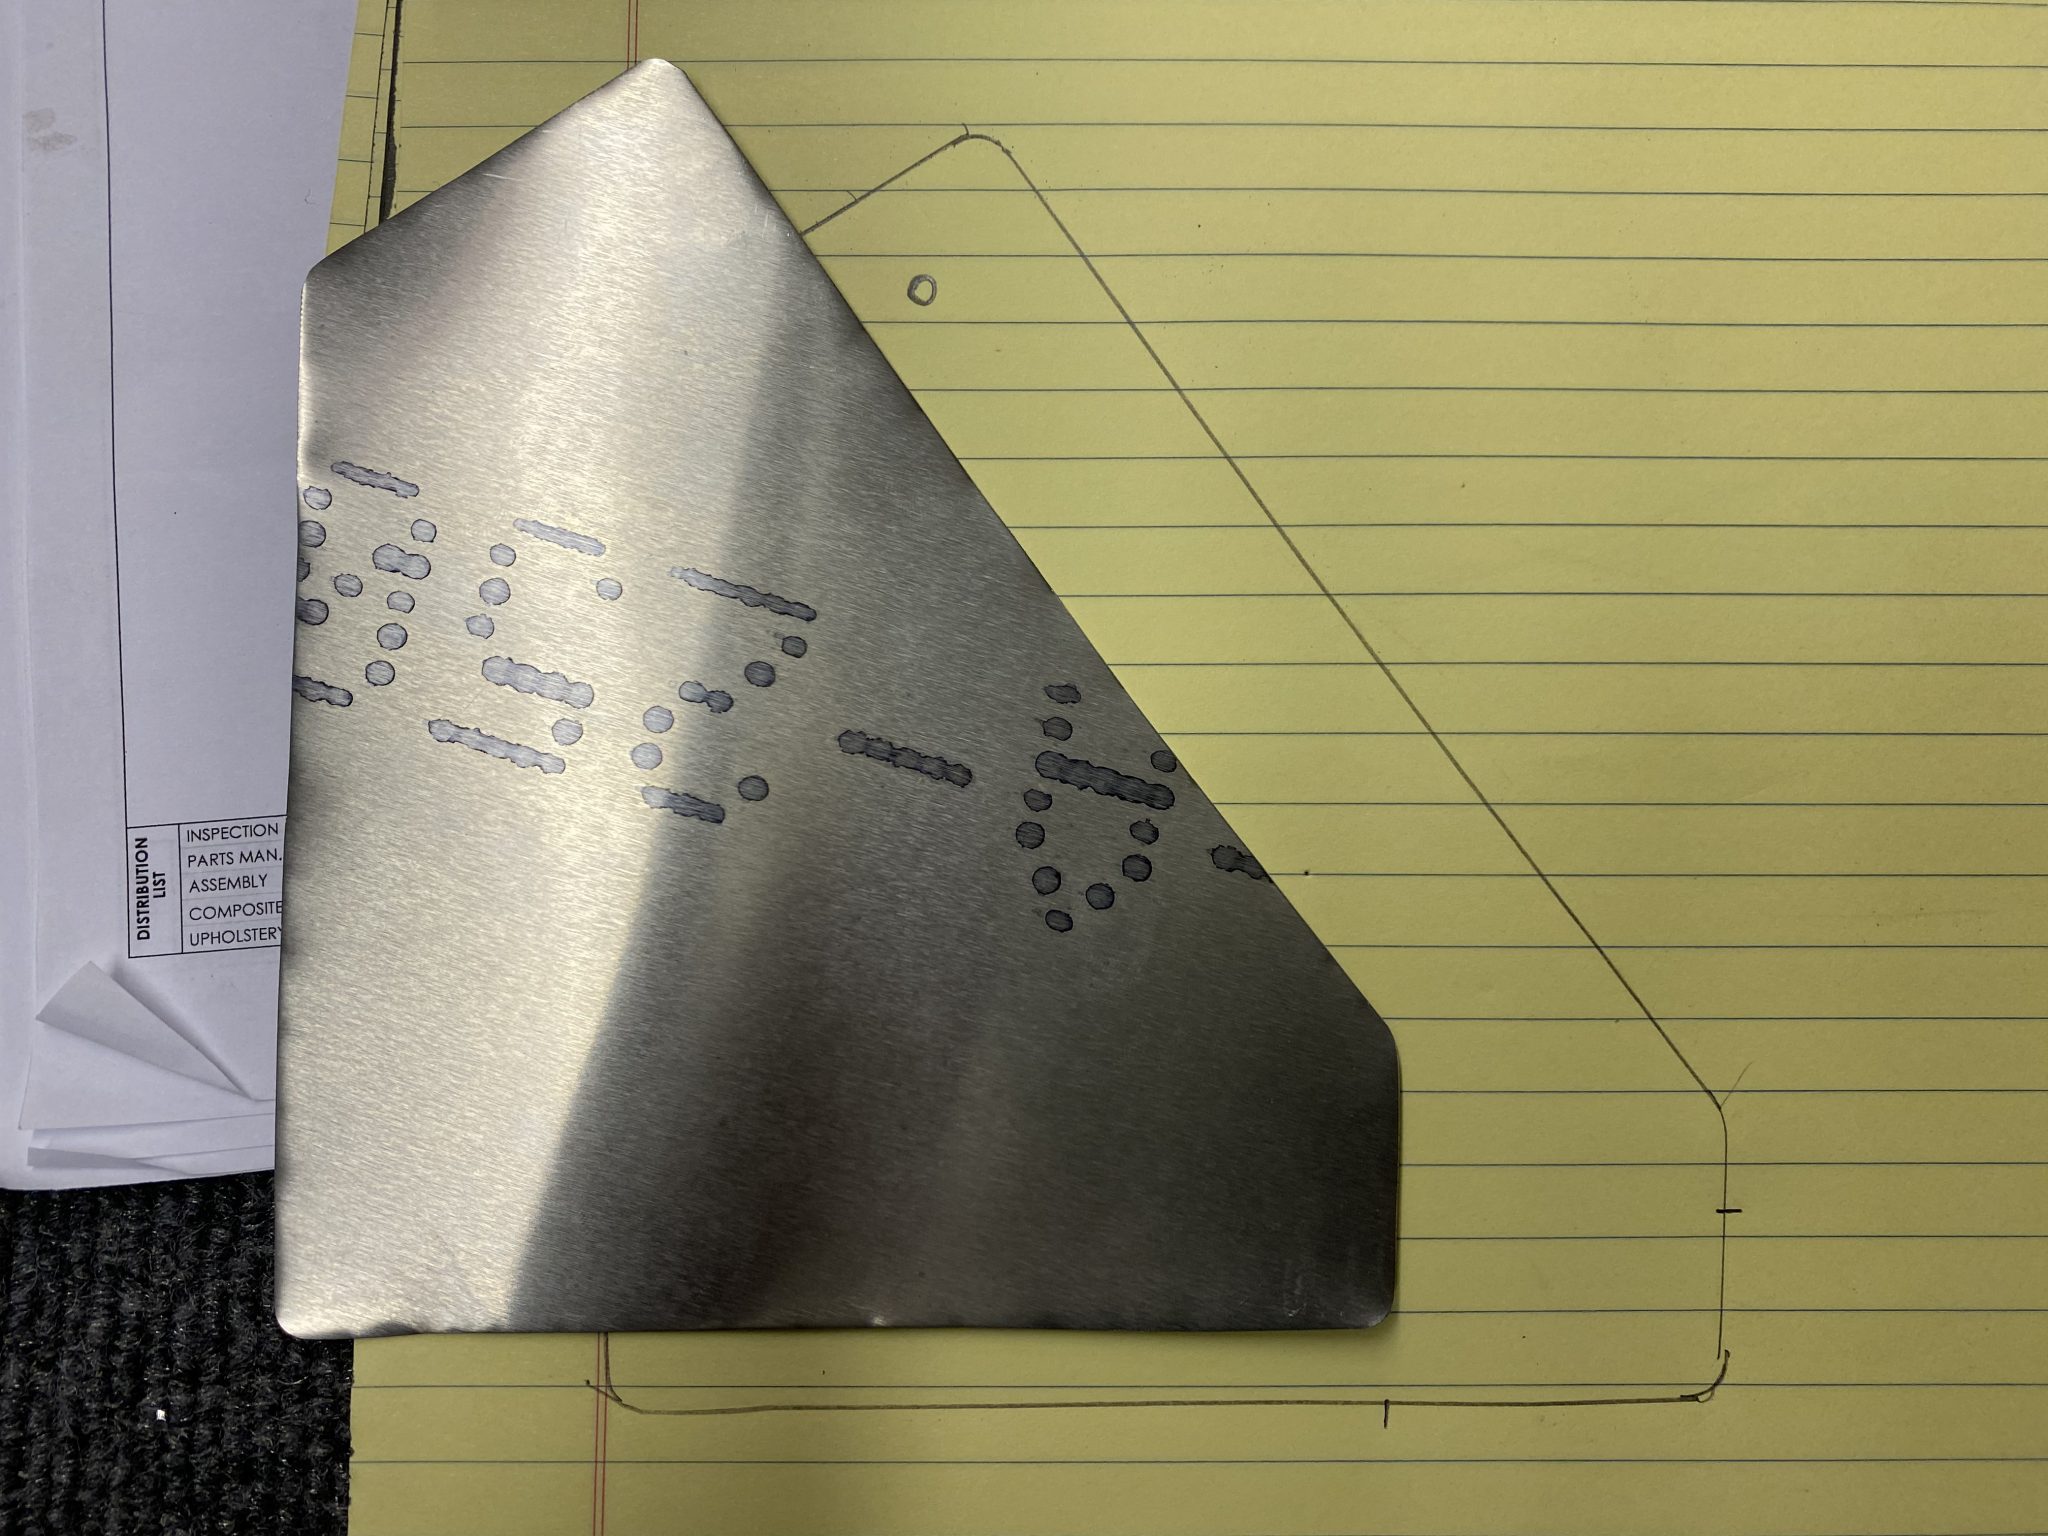
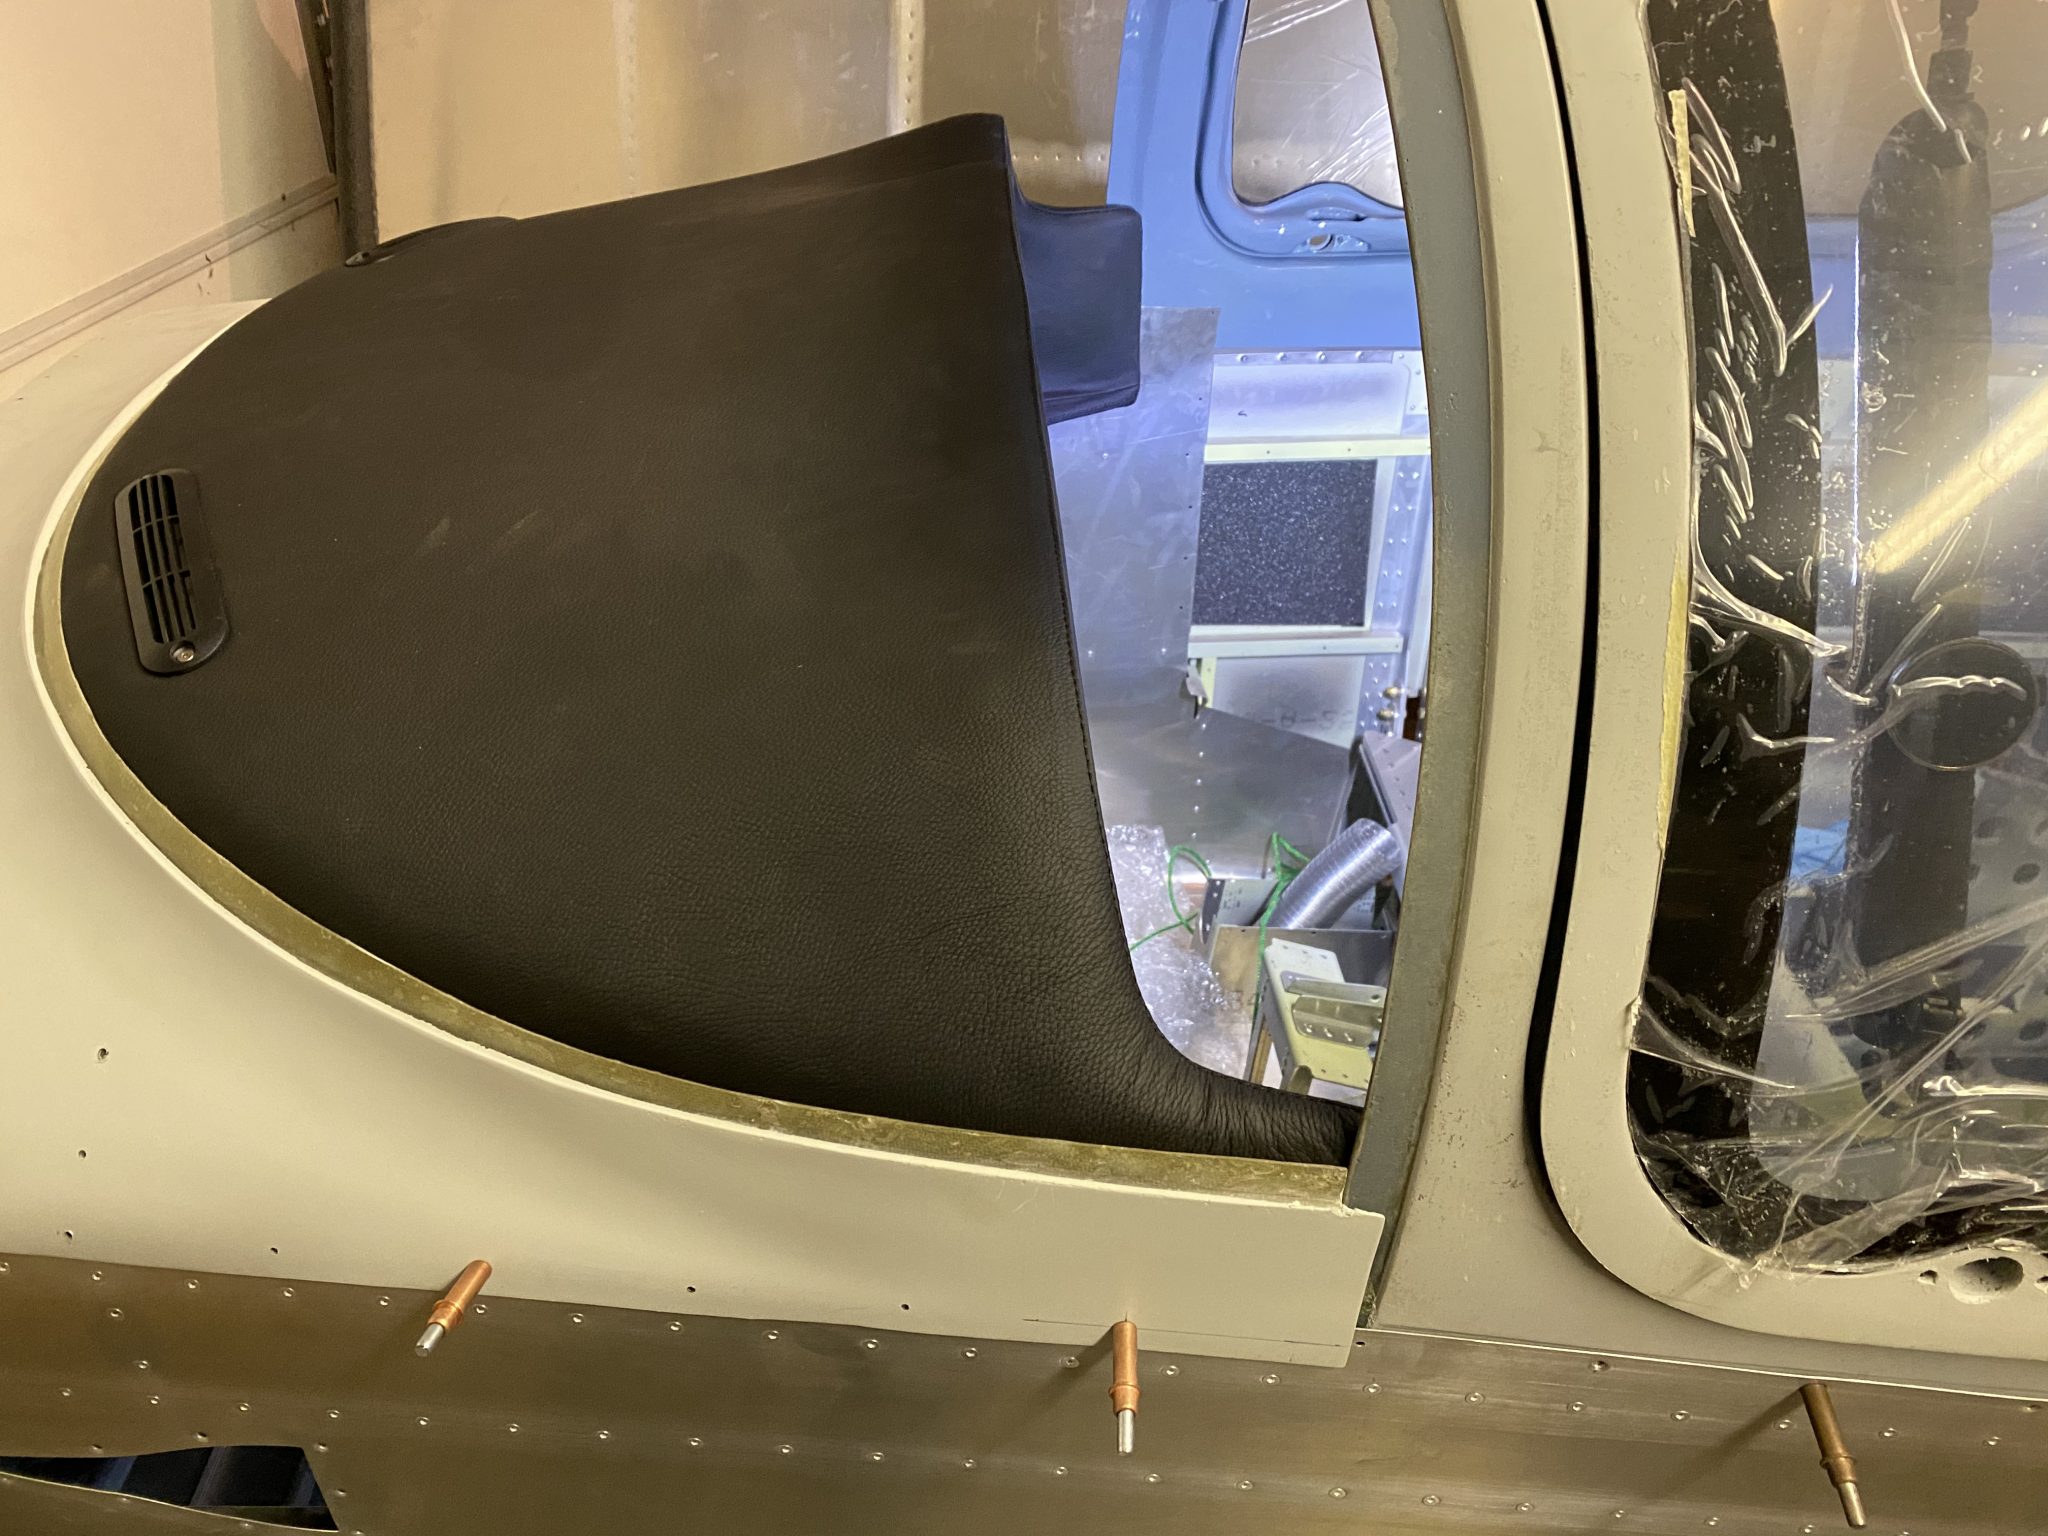
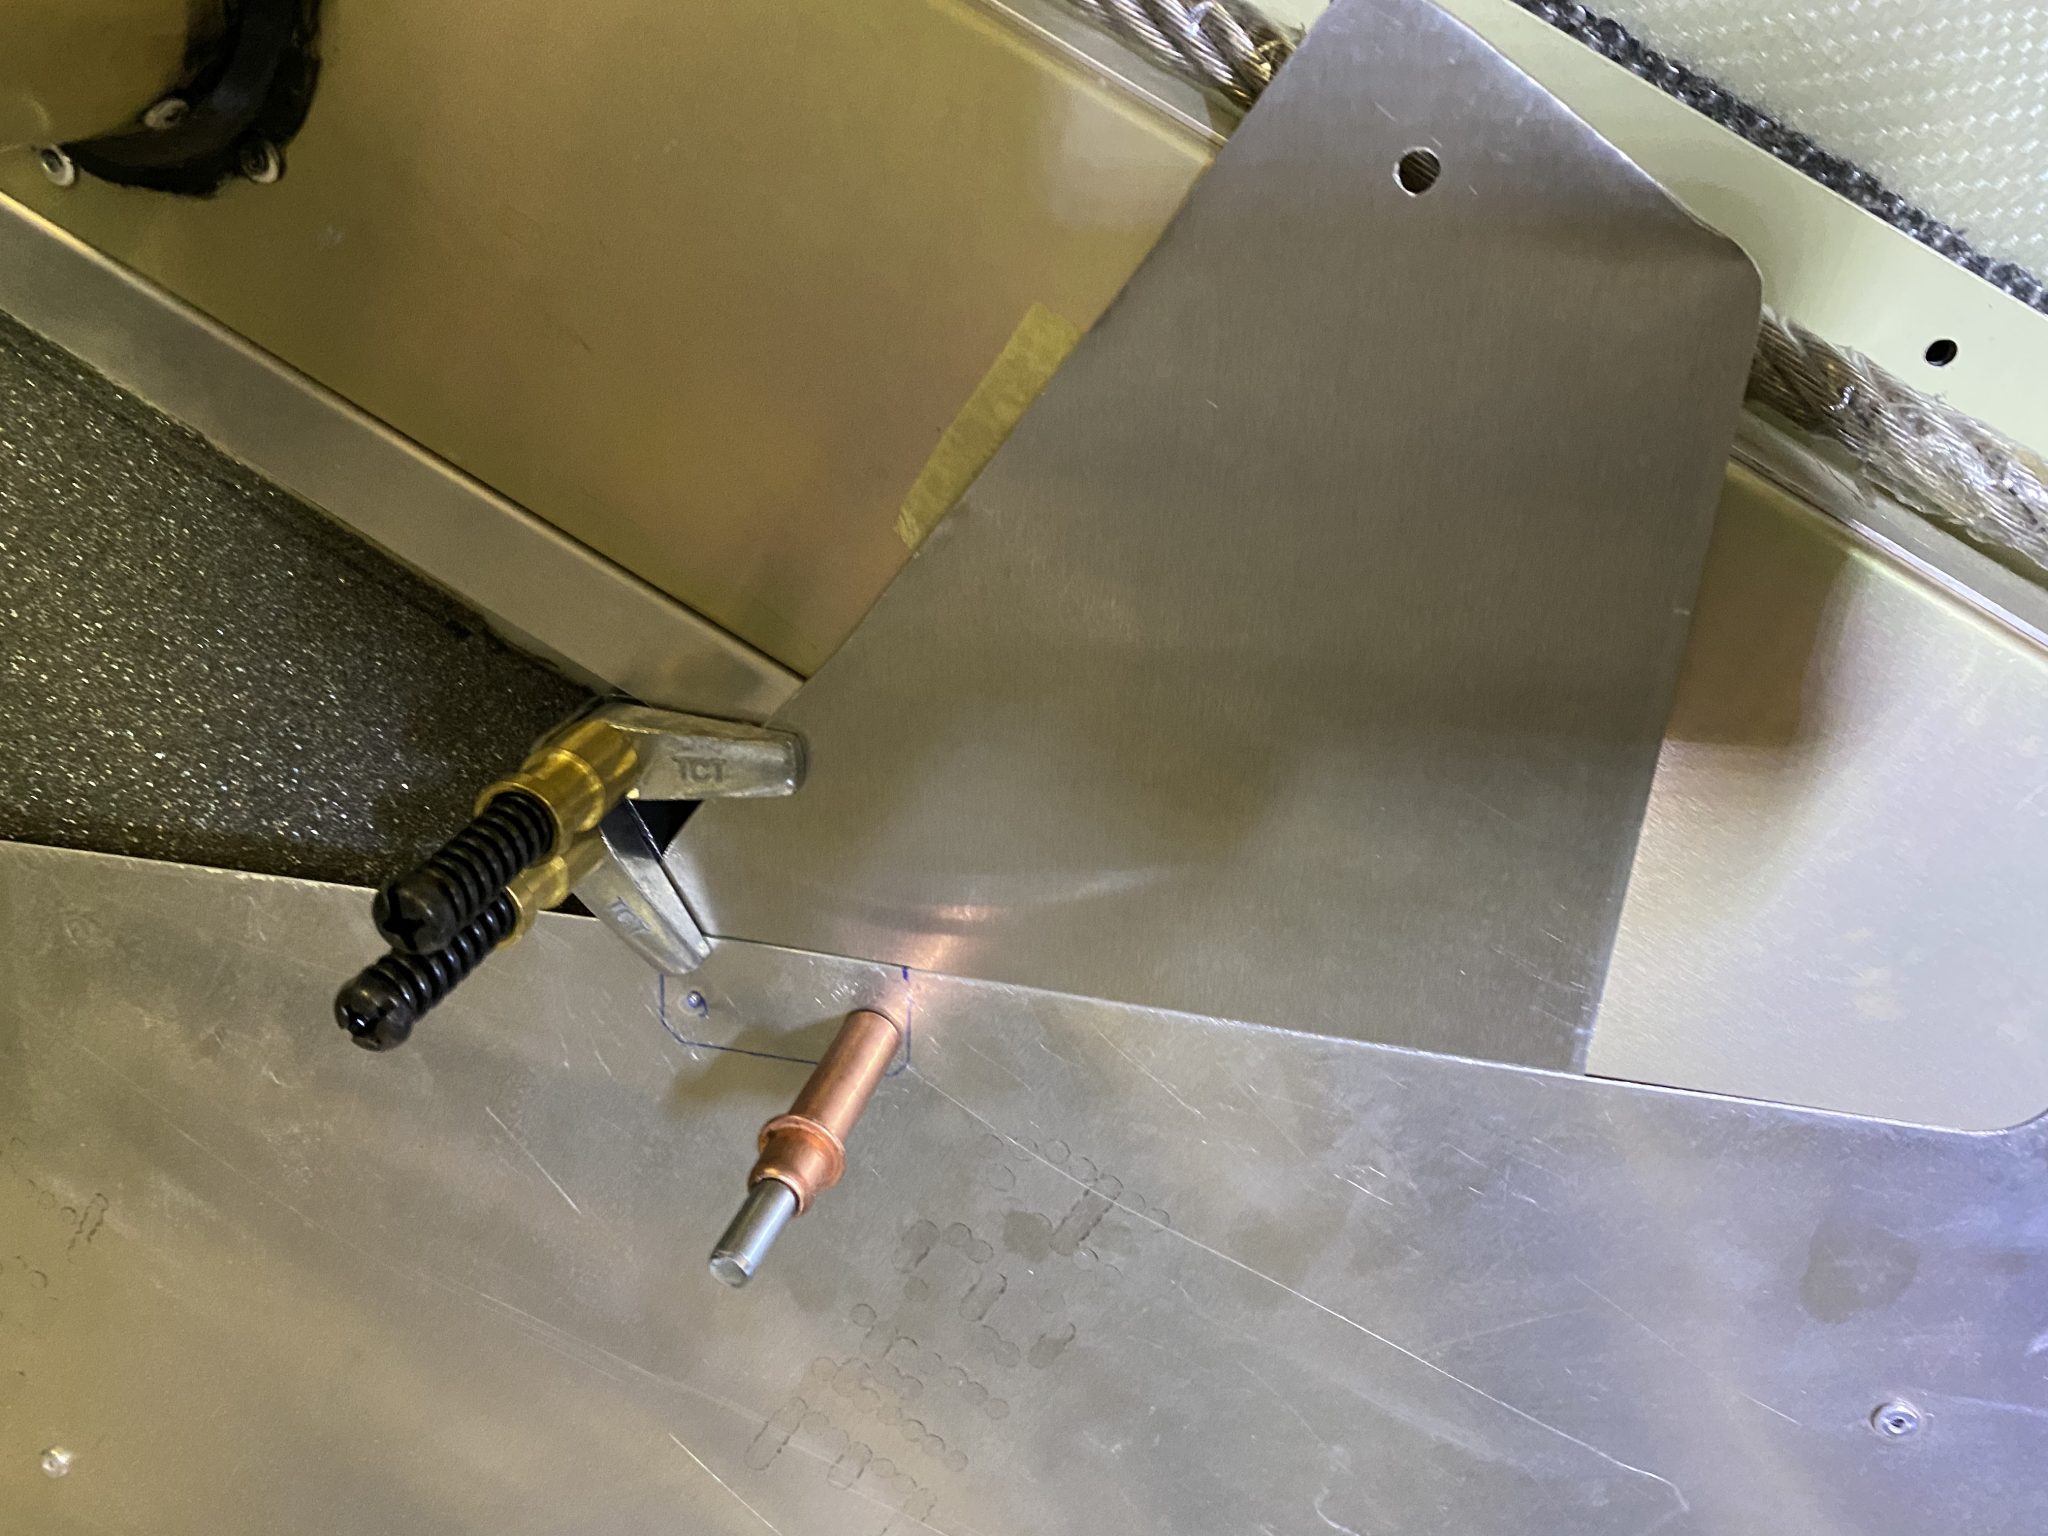
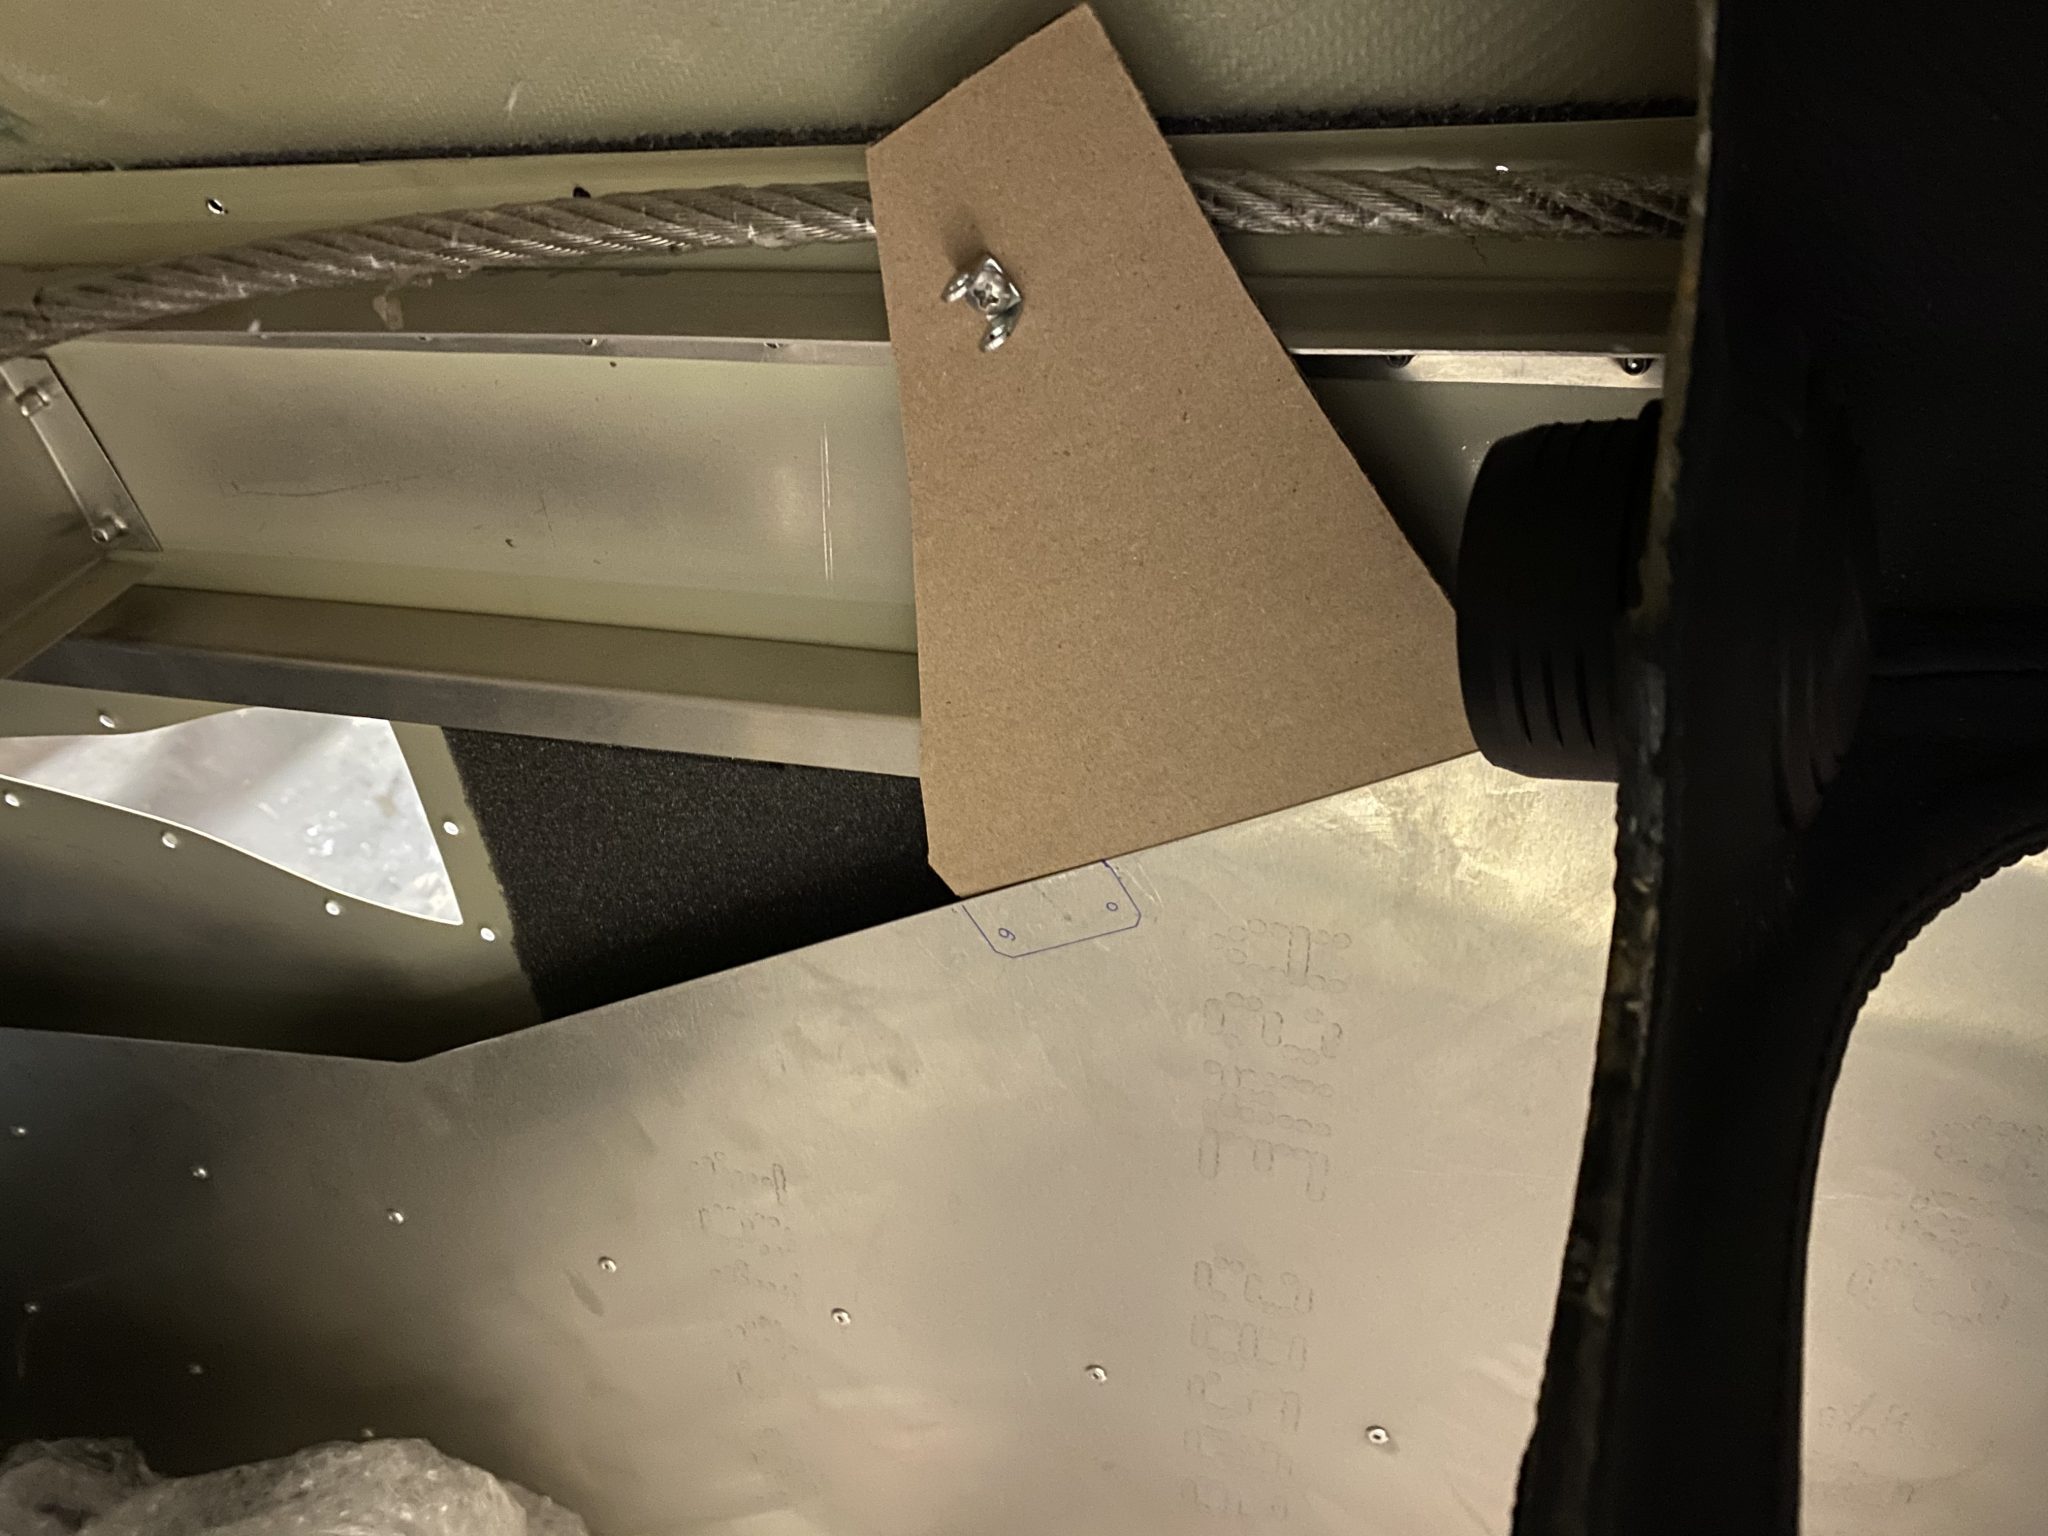
Then time for the final test fit in the airplane before match drilling the holes.

Test fitting the bracket
match drilling the holes that attach the bracket and vent to the side skins

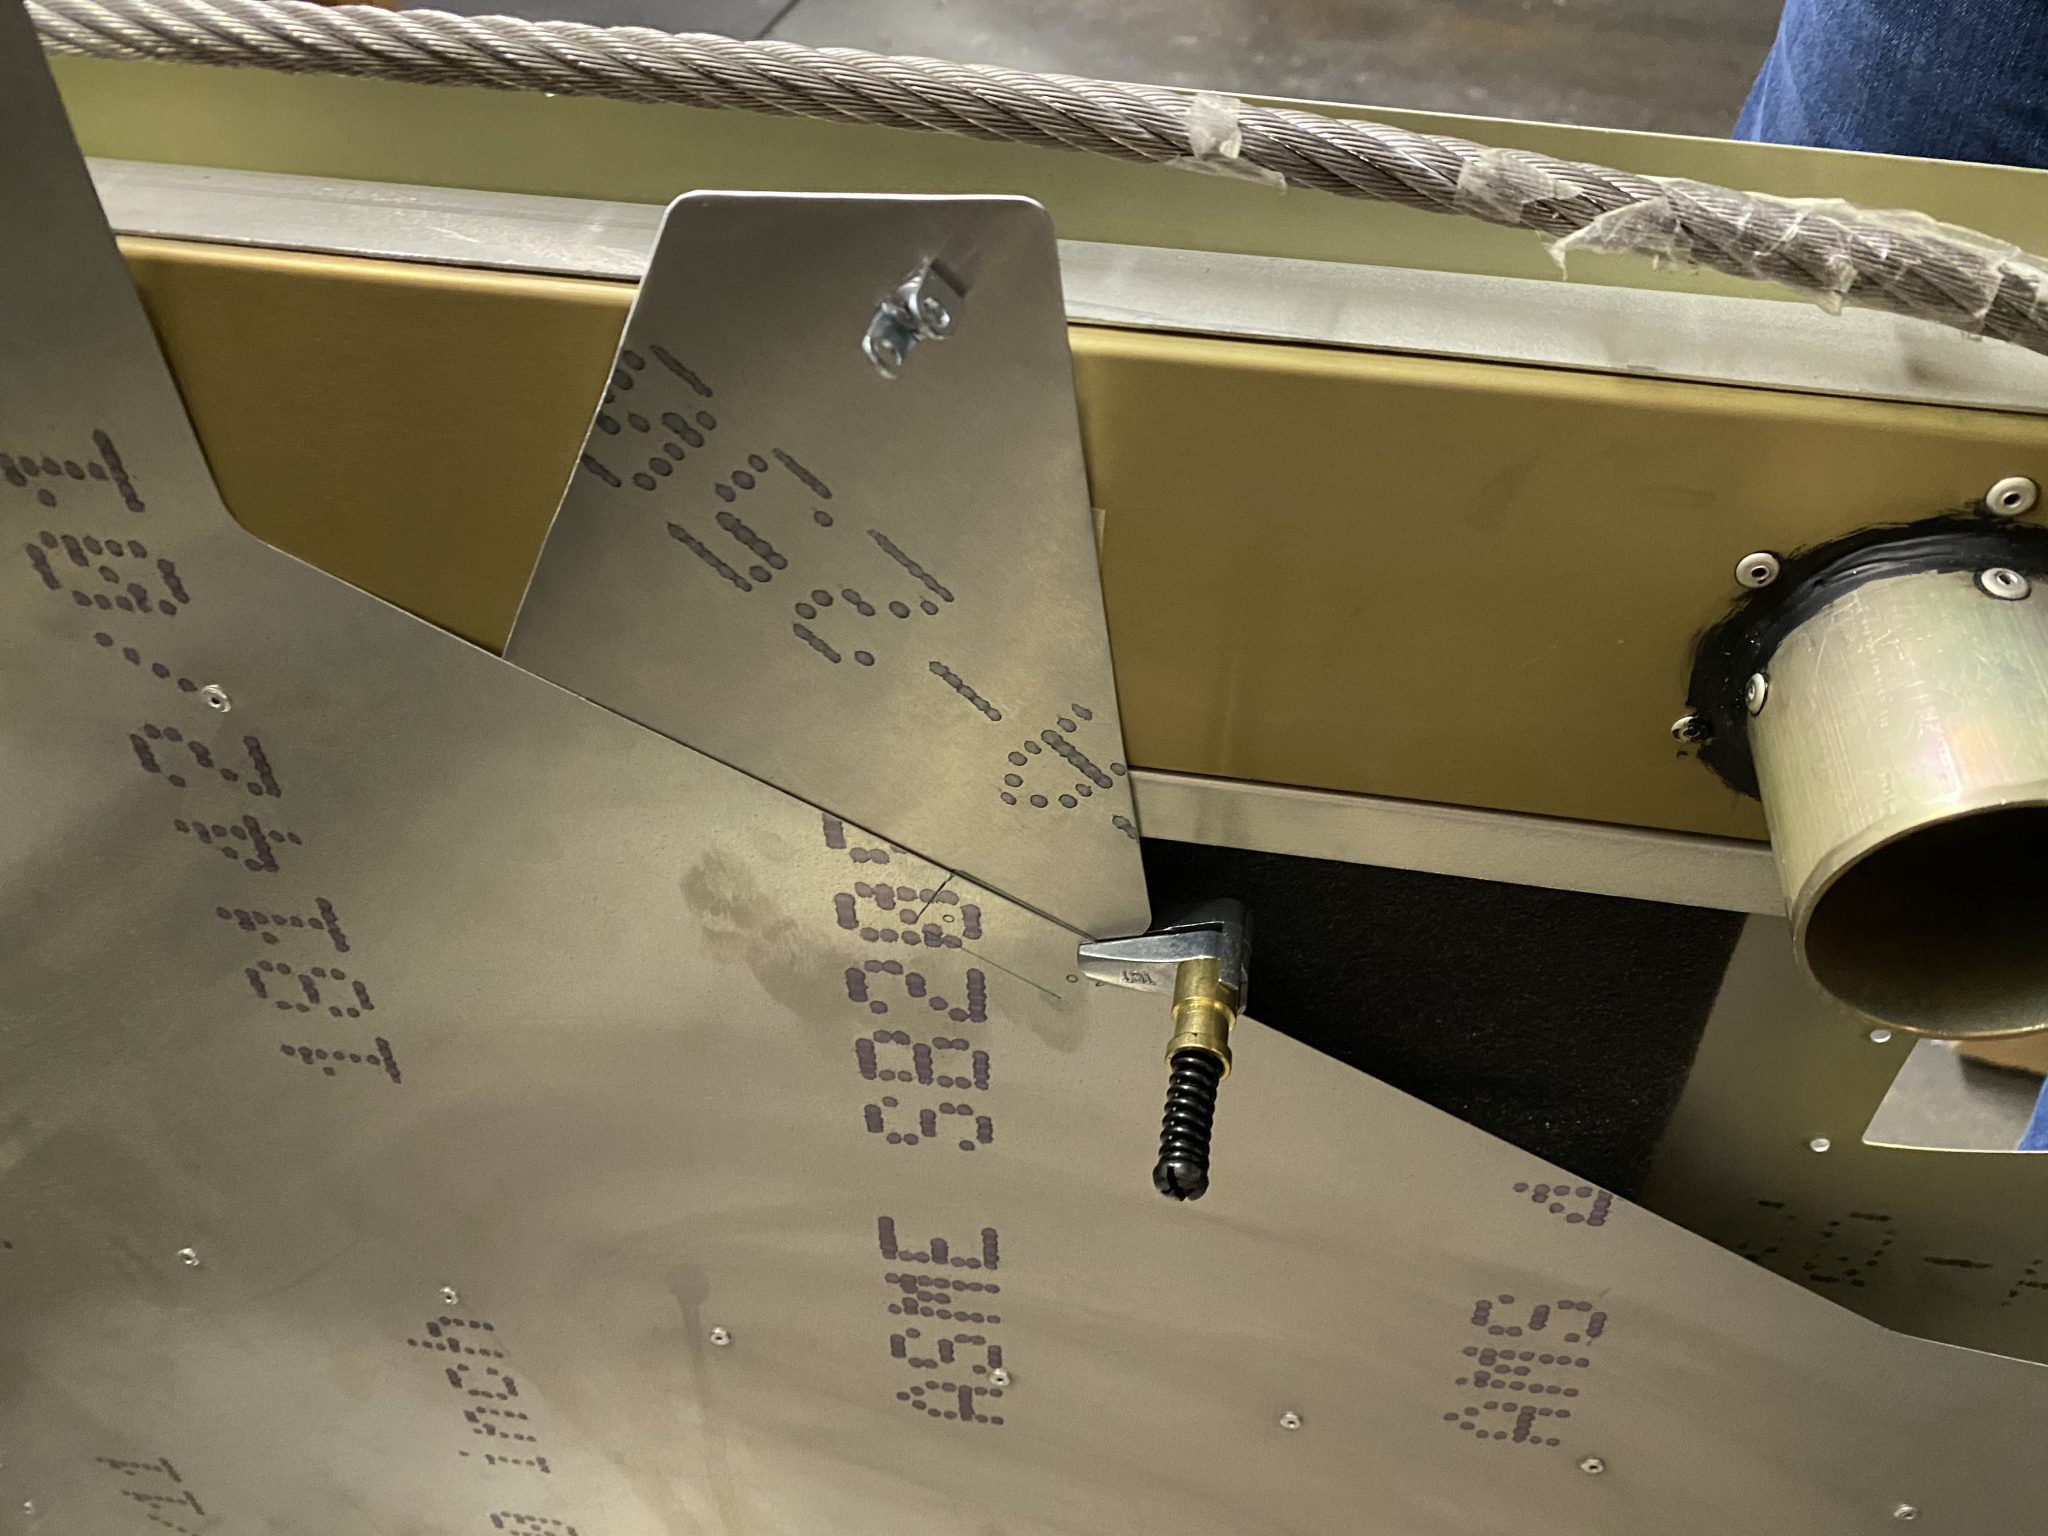
All worked well, here’s the completed test fit in action:

Cabin Heater fluid valve

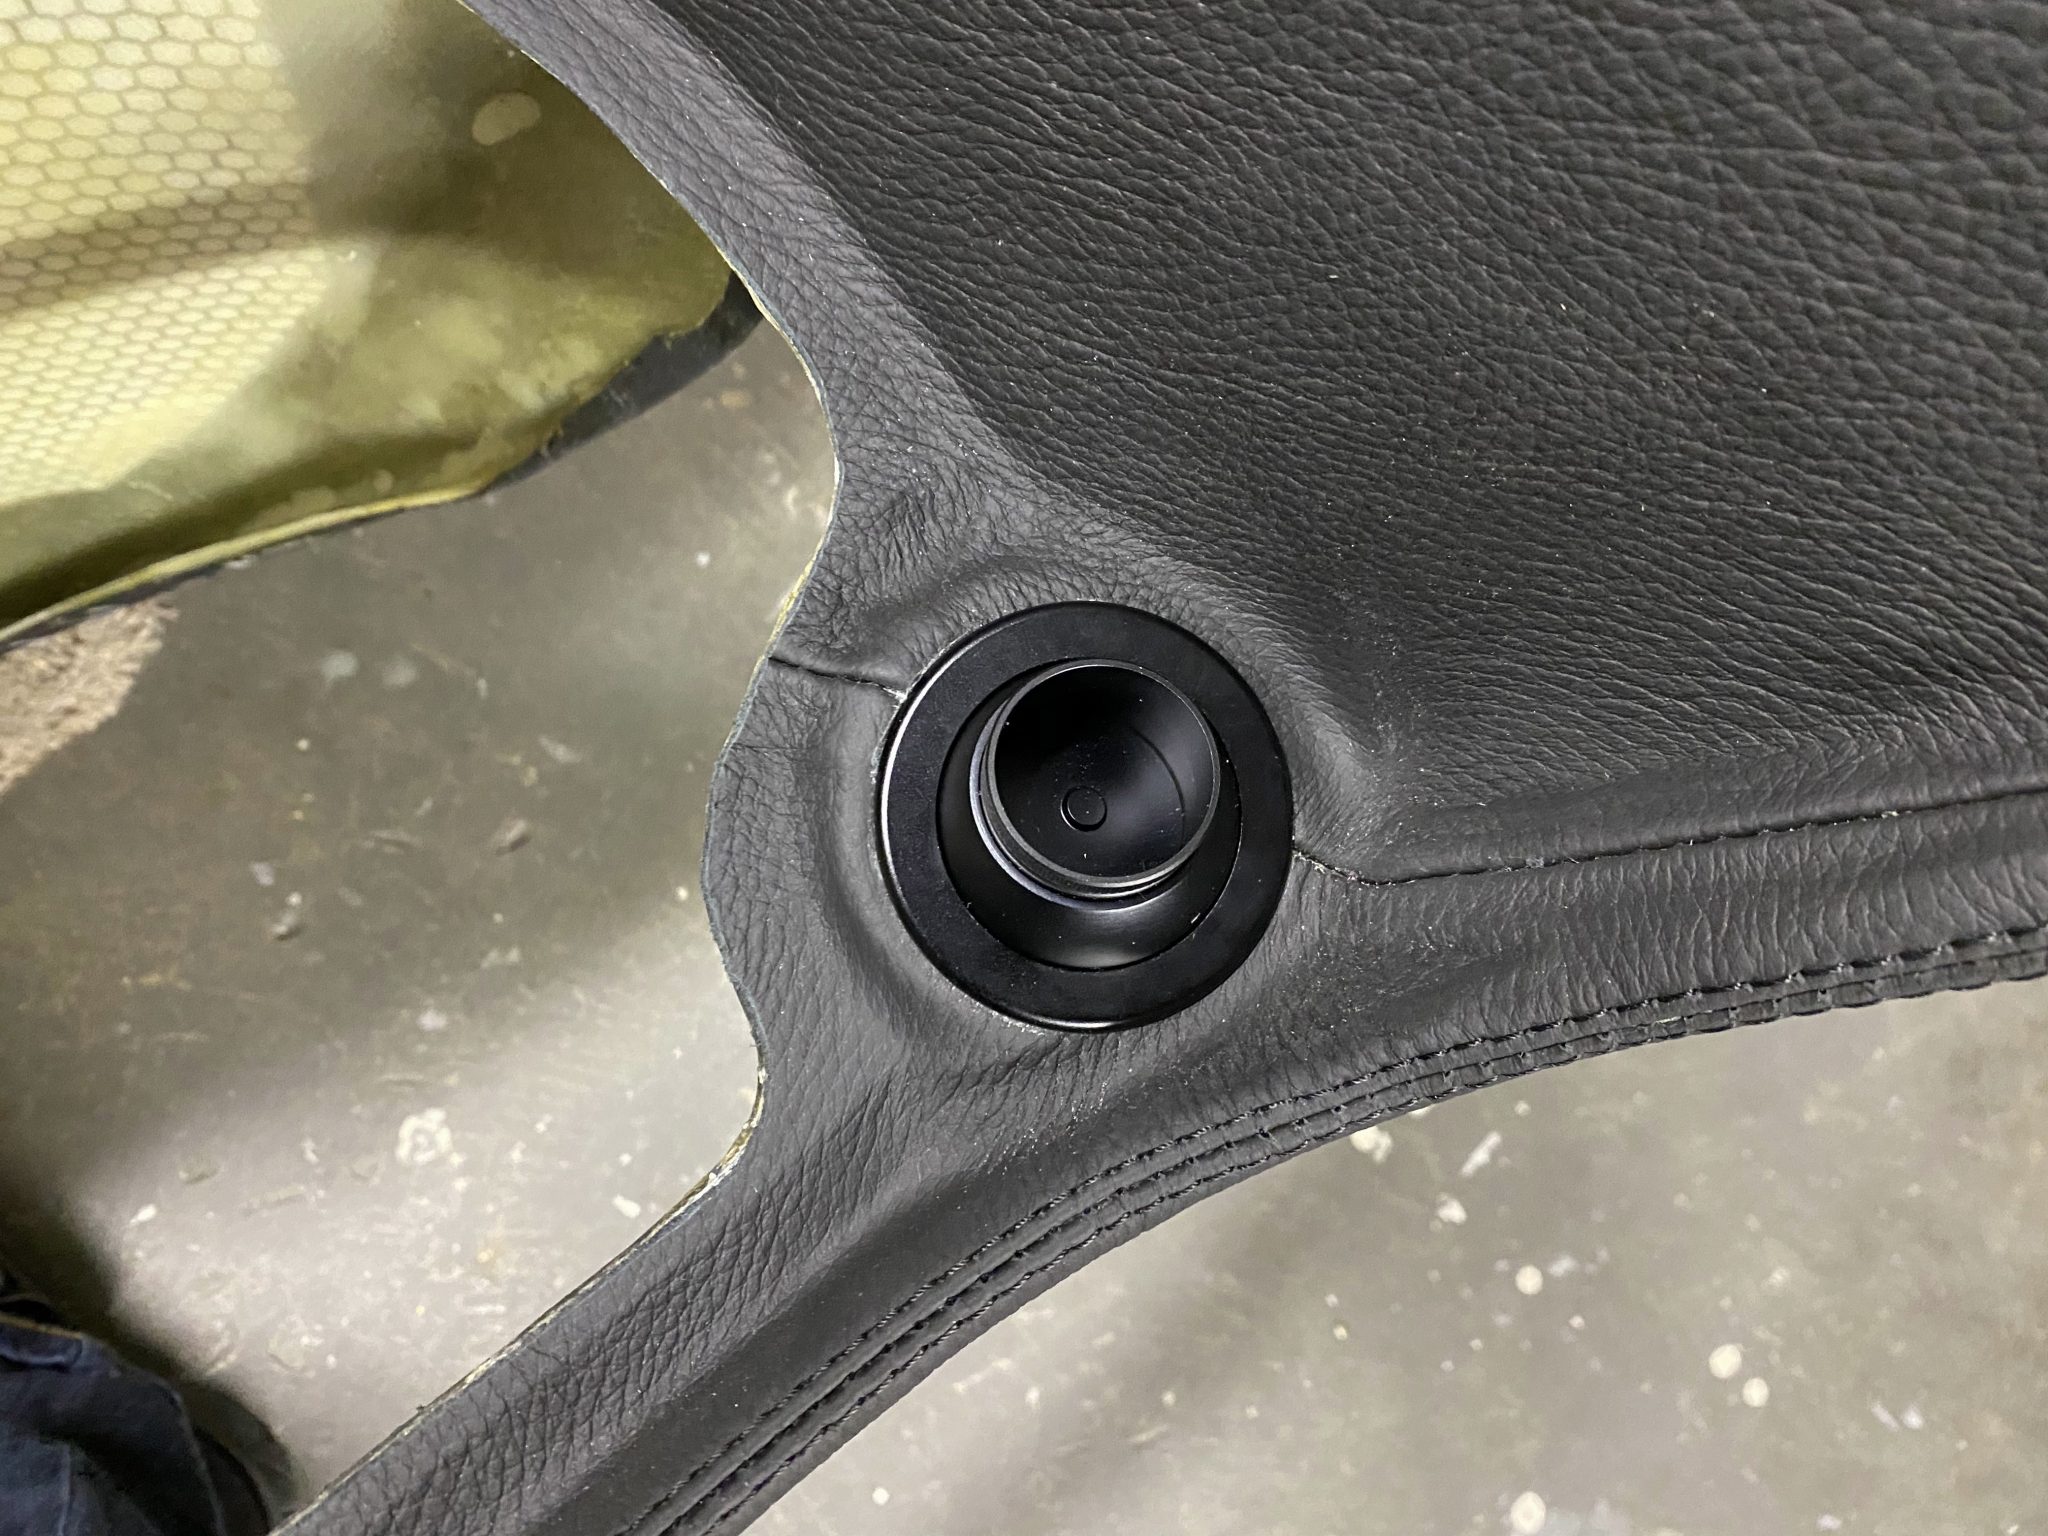
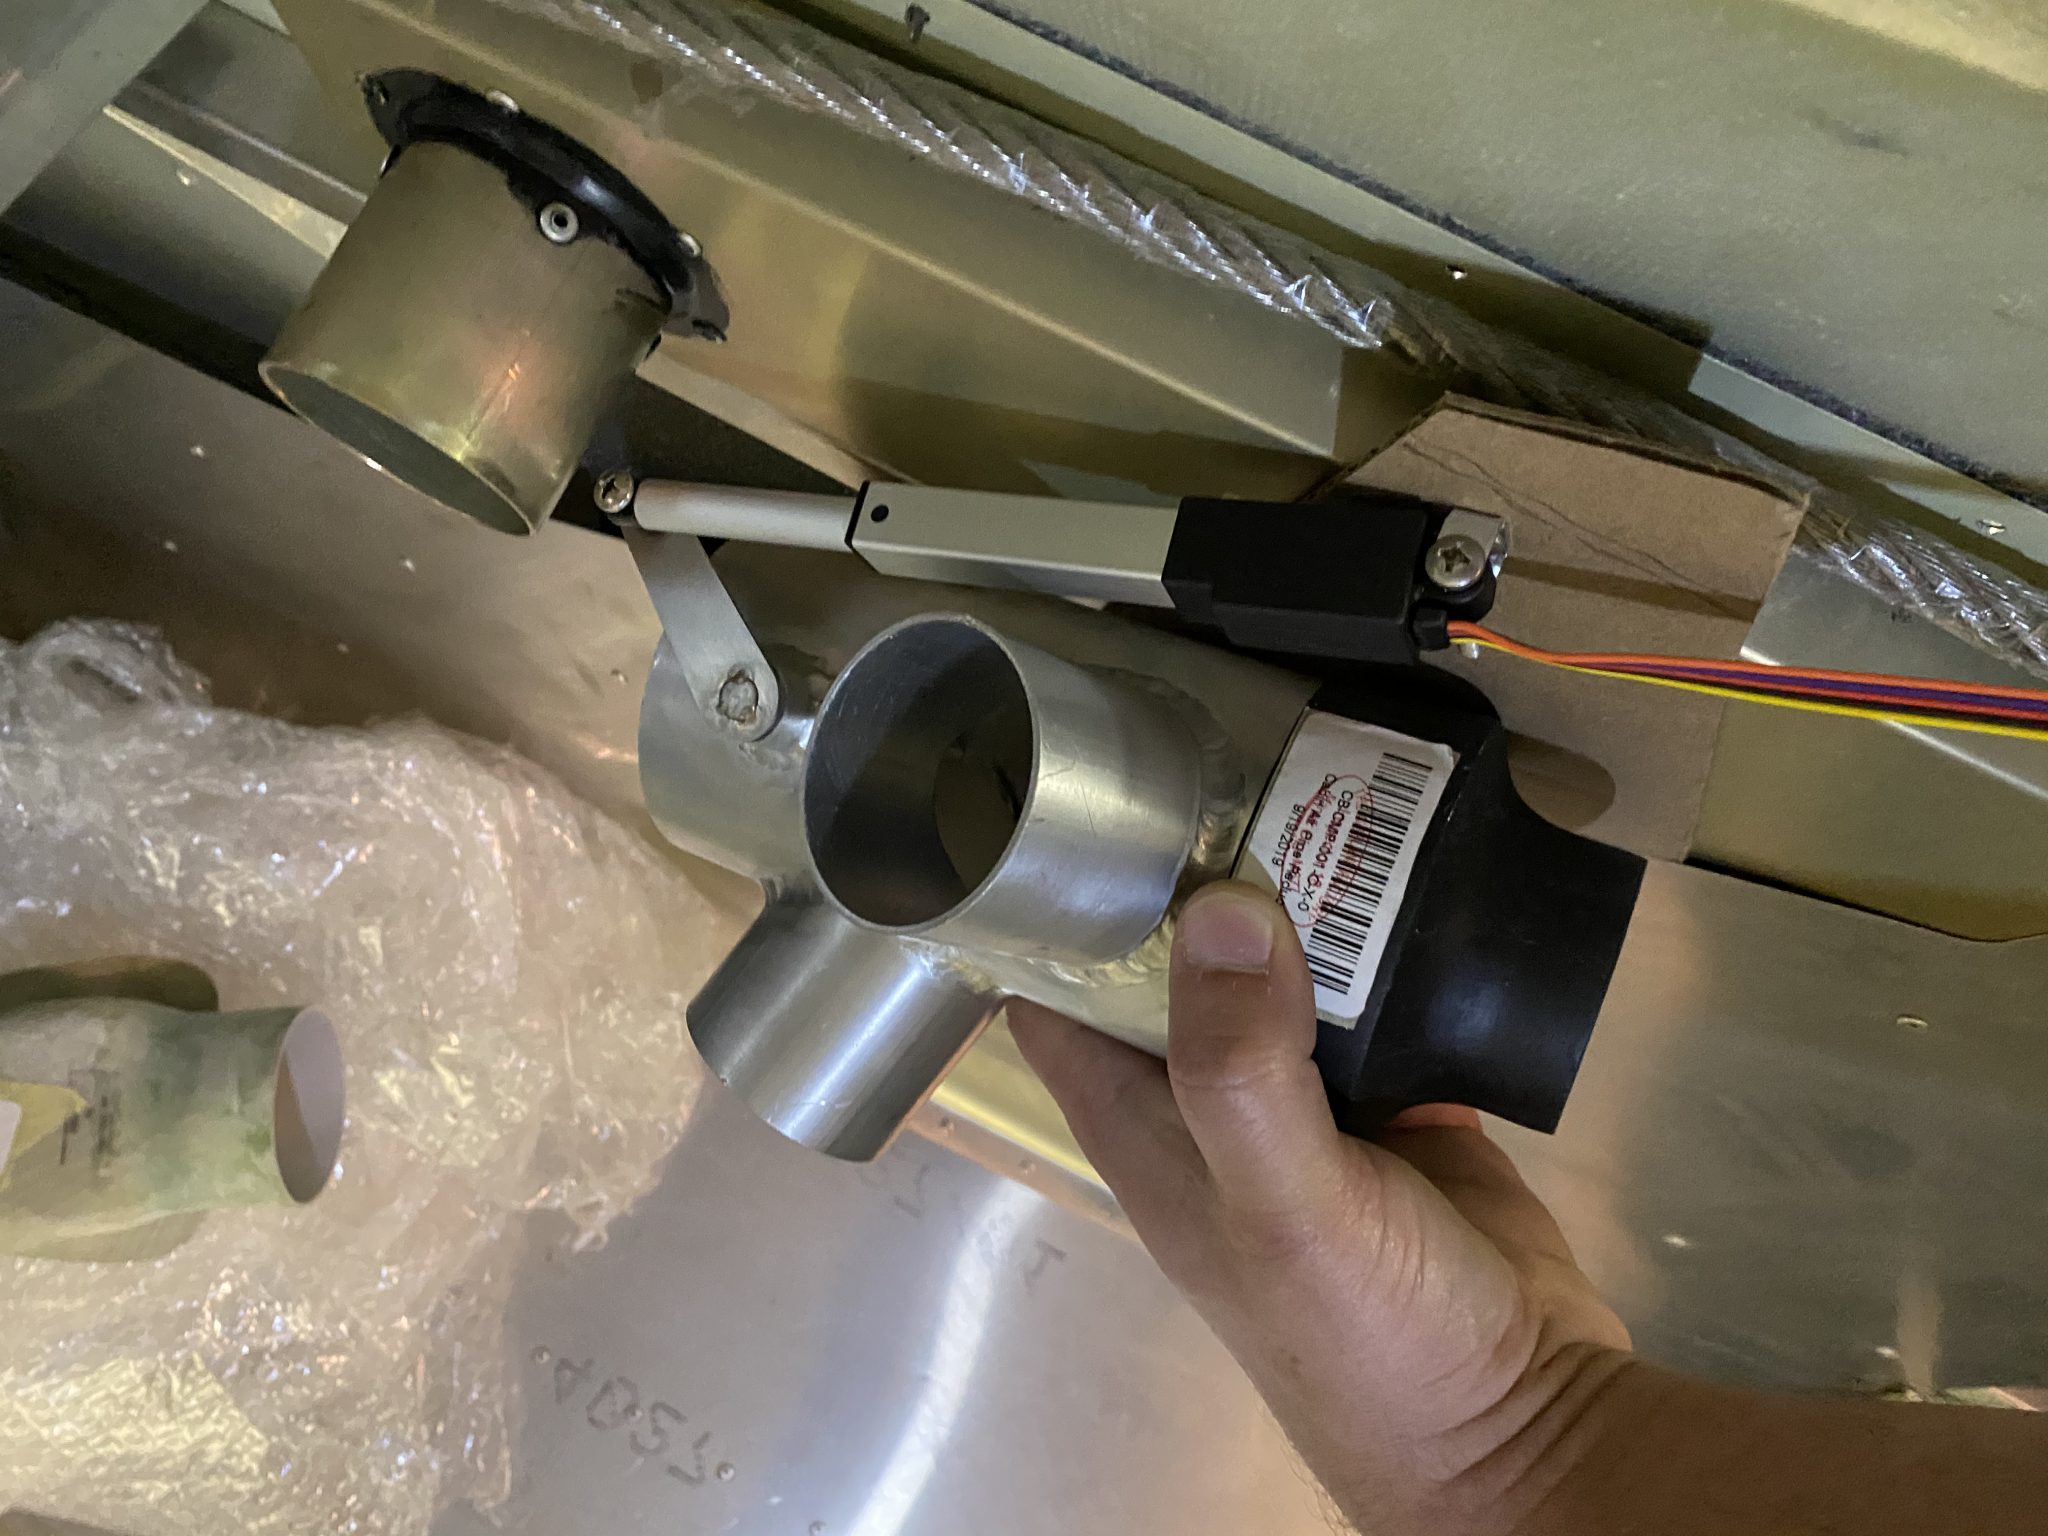
The third and final modification I’m making in the cabin air department is the valve that controls the heater fluid that runs through the heater.

The standard installation controls this valve using a Bowden cable connected to a plastic switch to be mounted in the cabin.

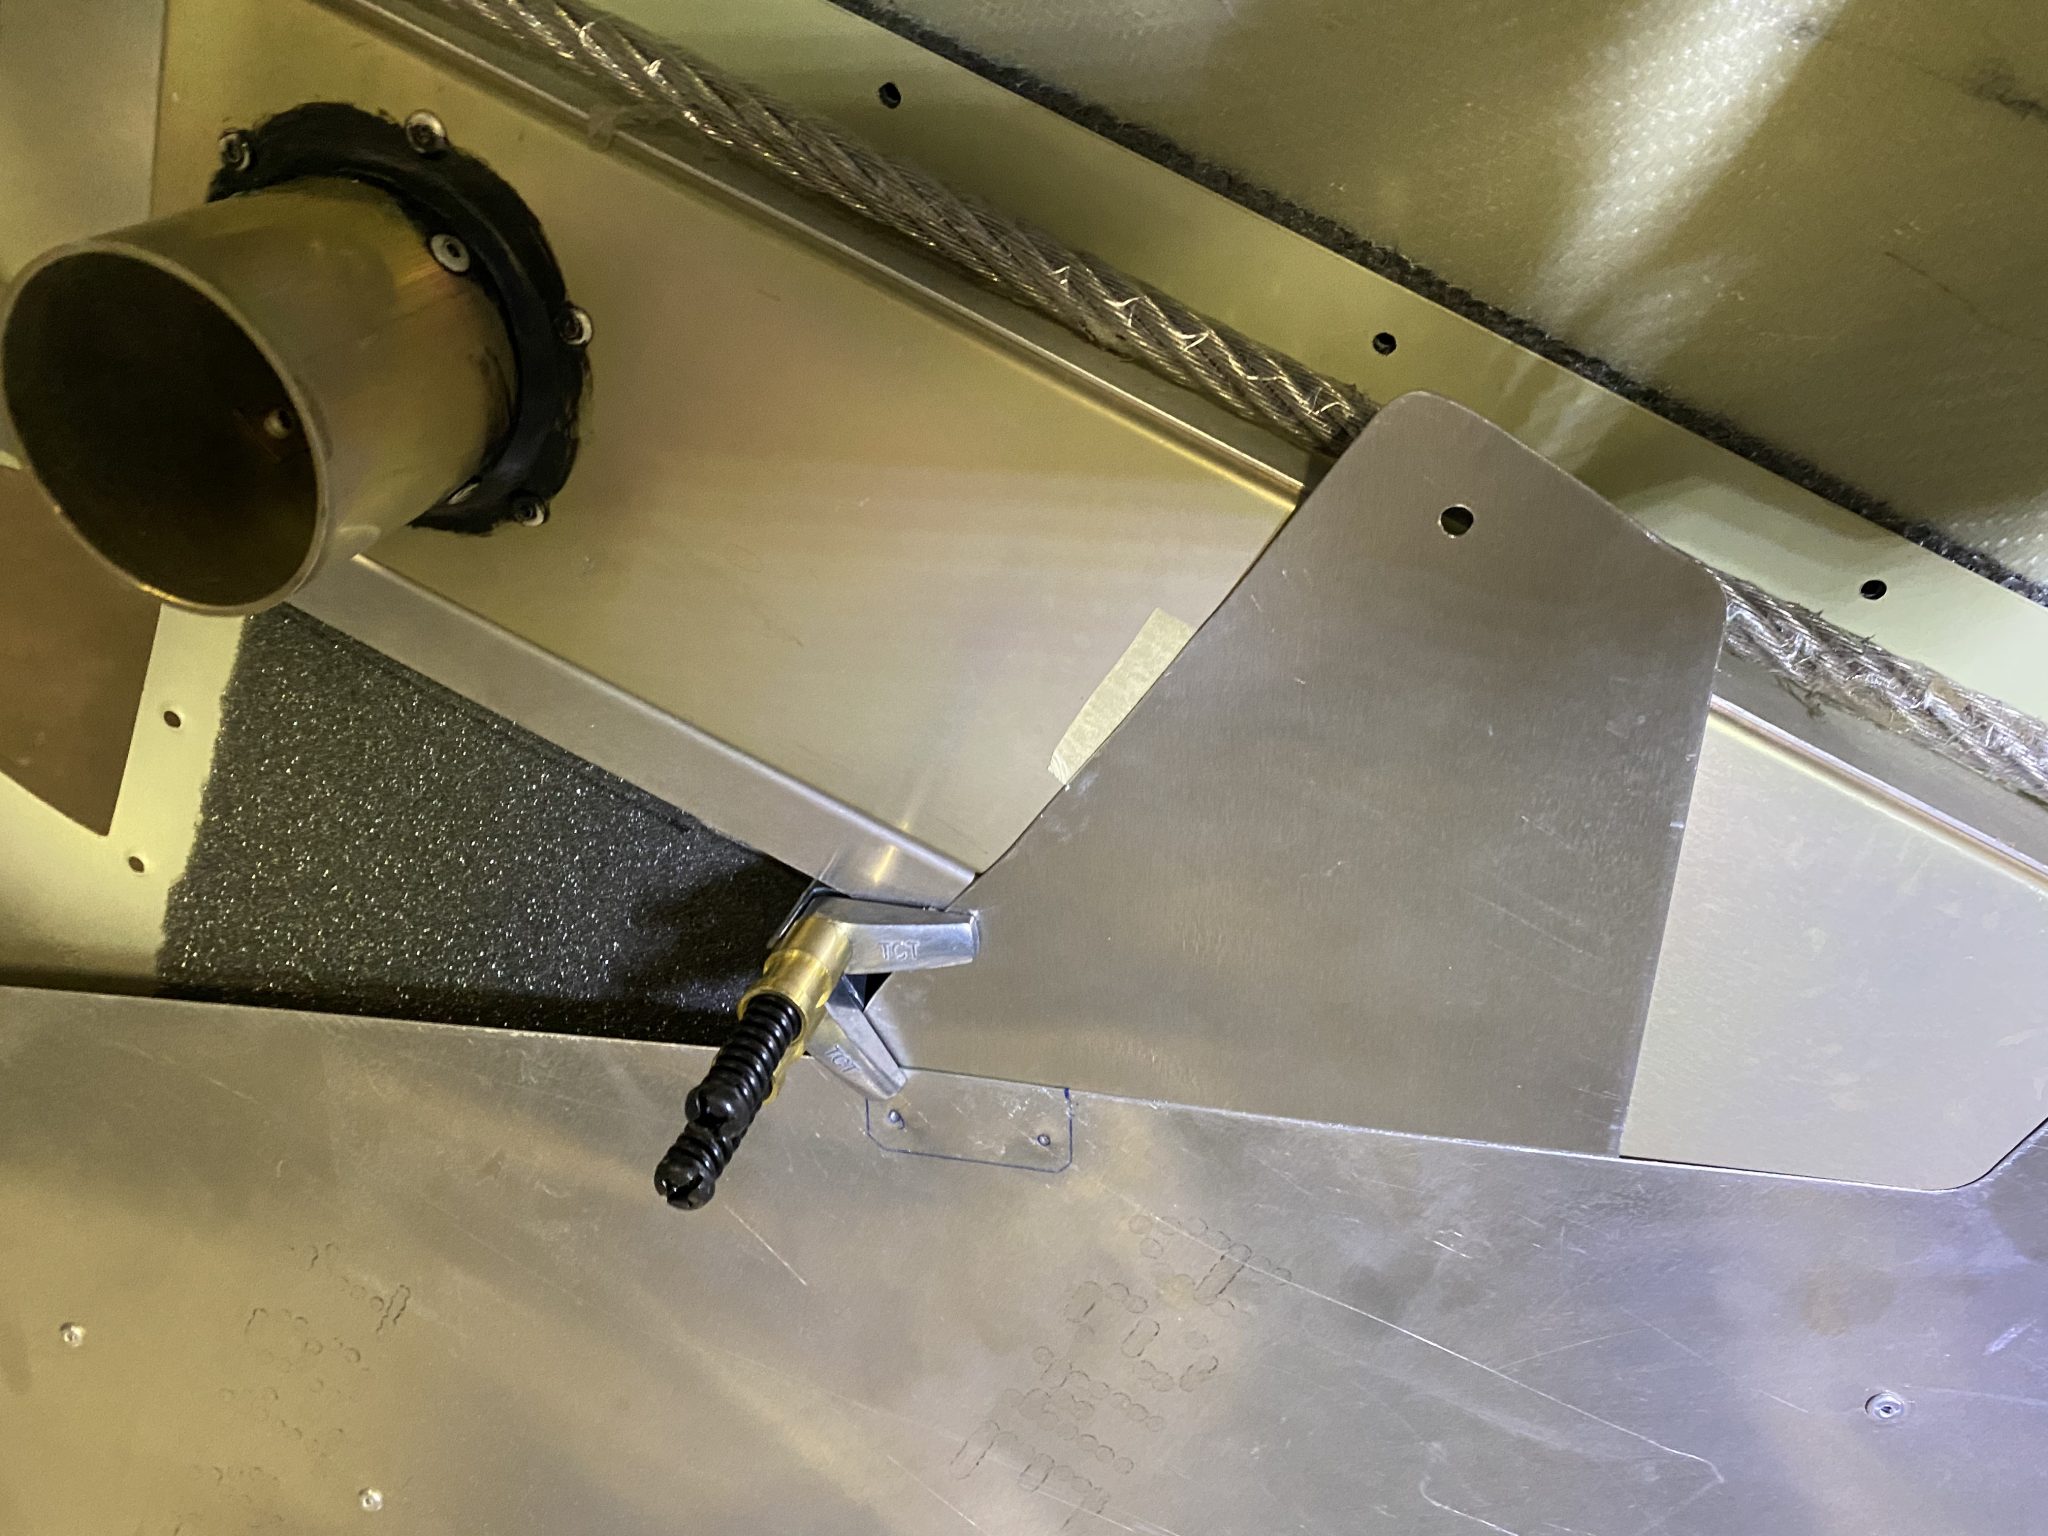
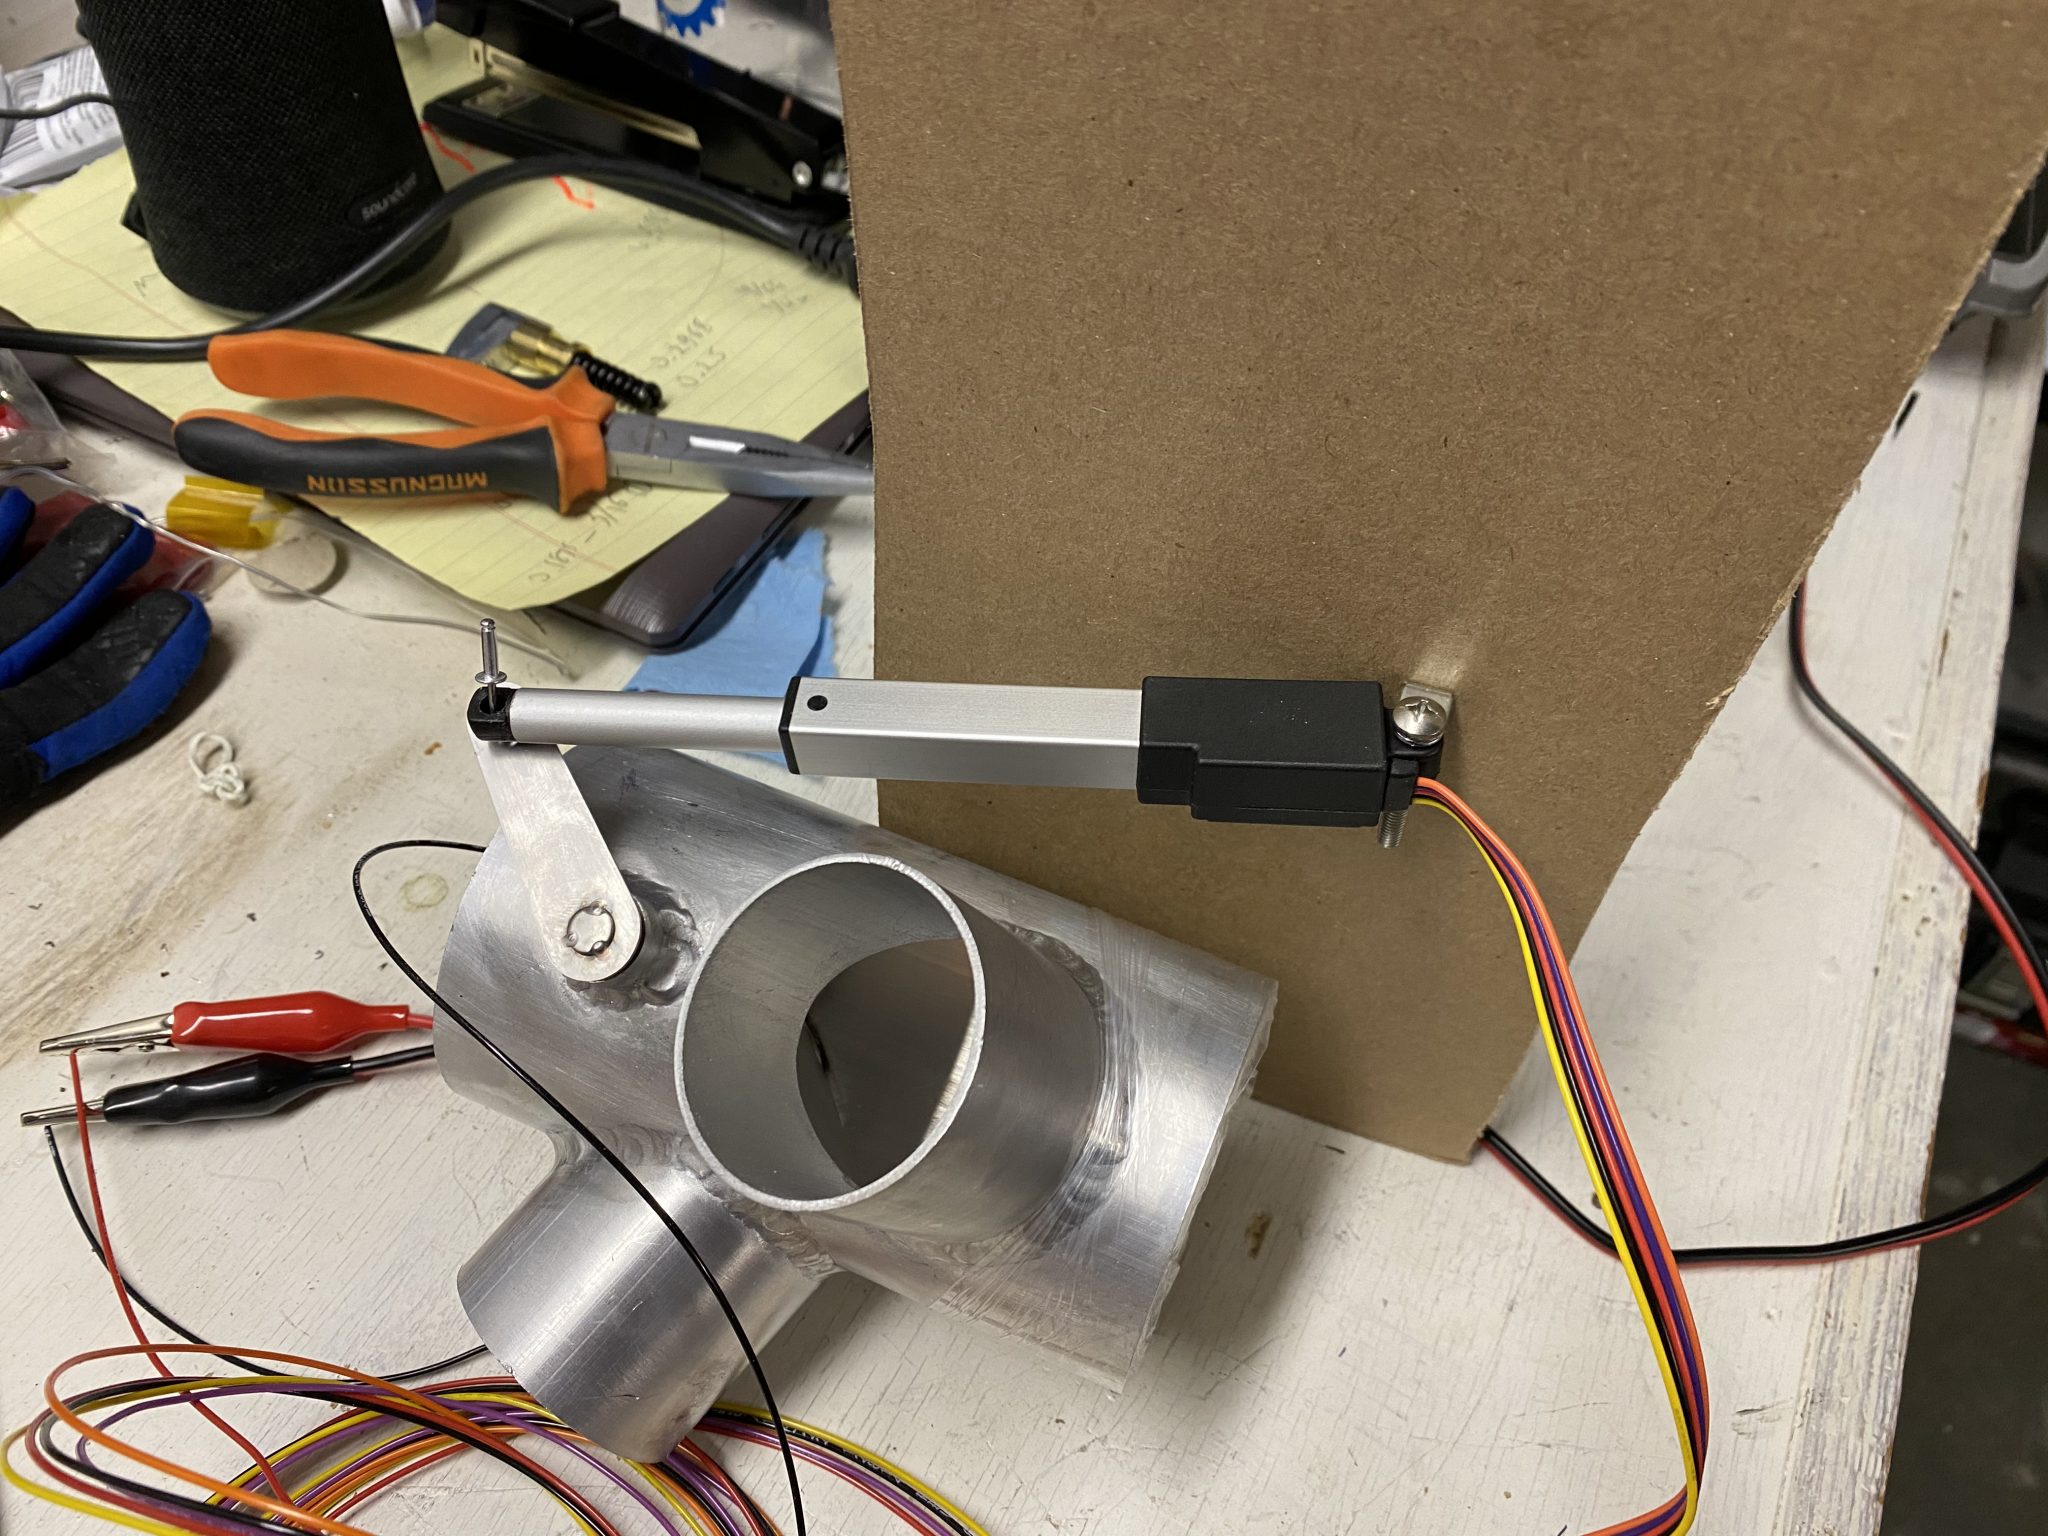
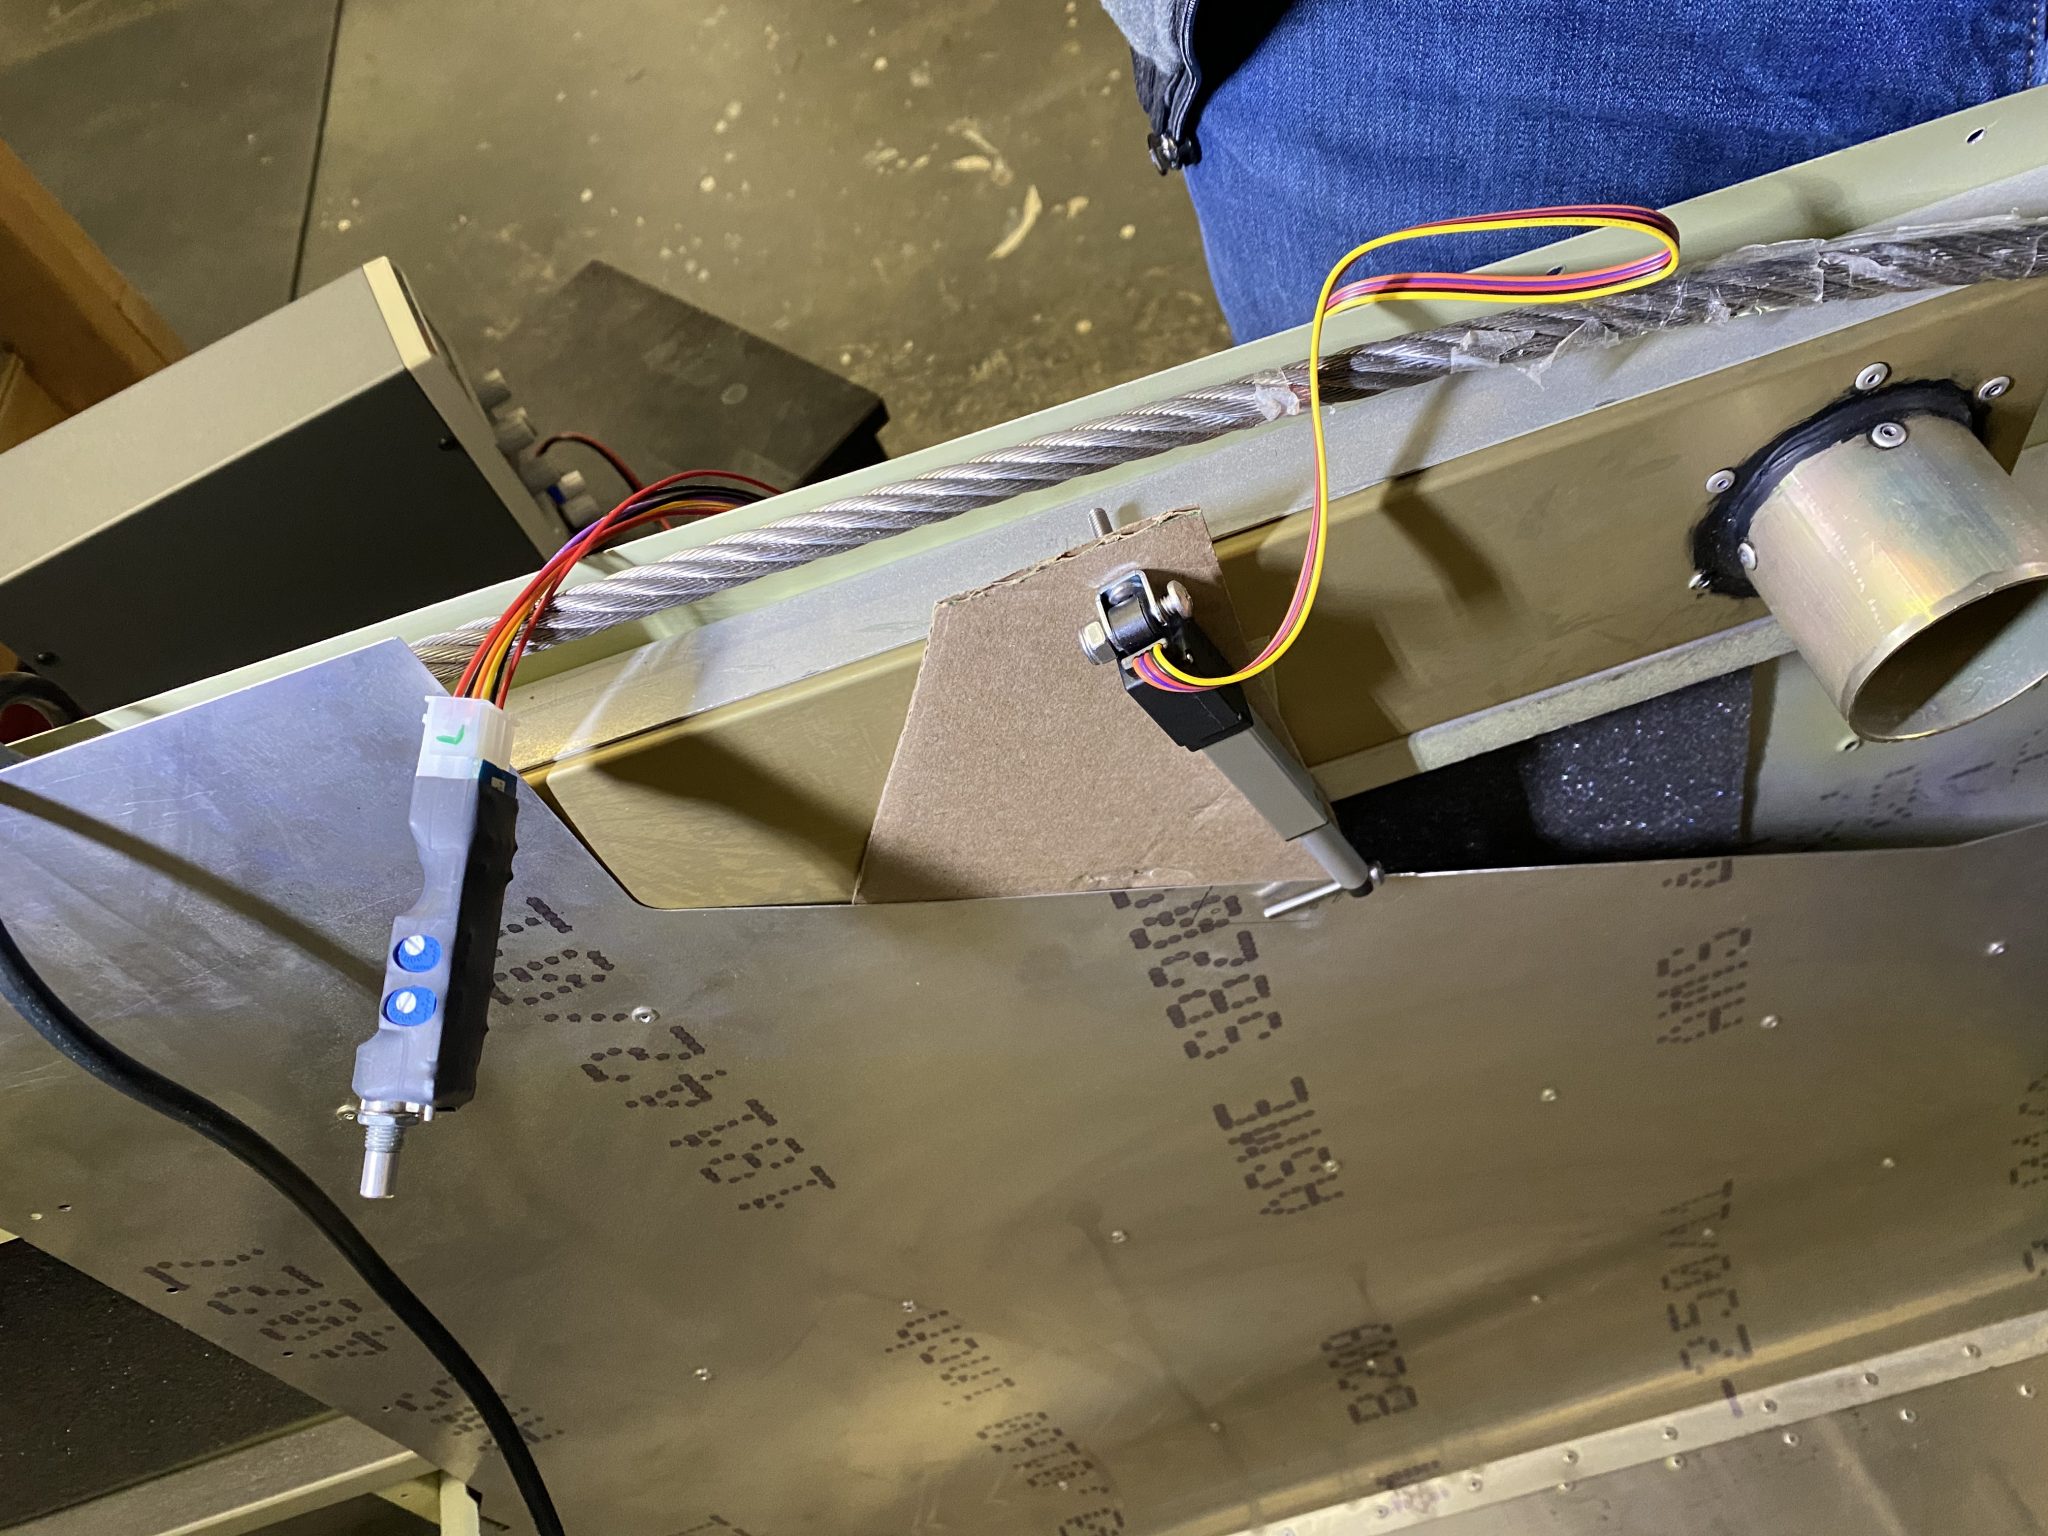
So on to some prototyping to figure out a bracket to operate the valve using the servo instead.

Figuring out the travel distance of the valve
With the travel distance figured out, time to mock up a bracket
Mock bracket mounted and servo "installed" to test it working all together

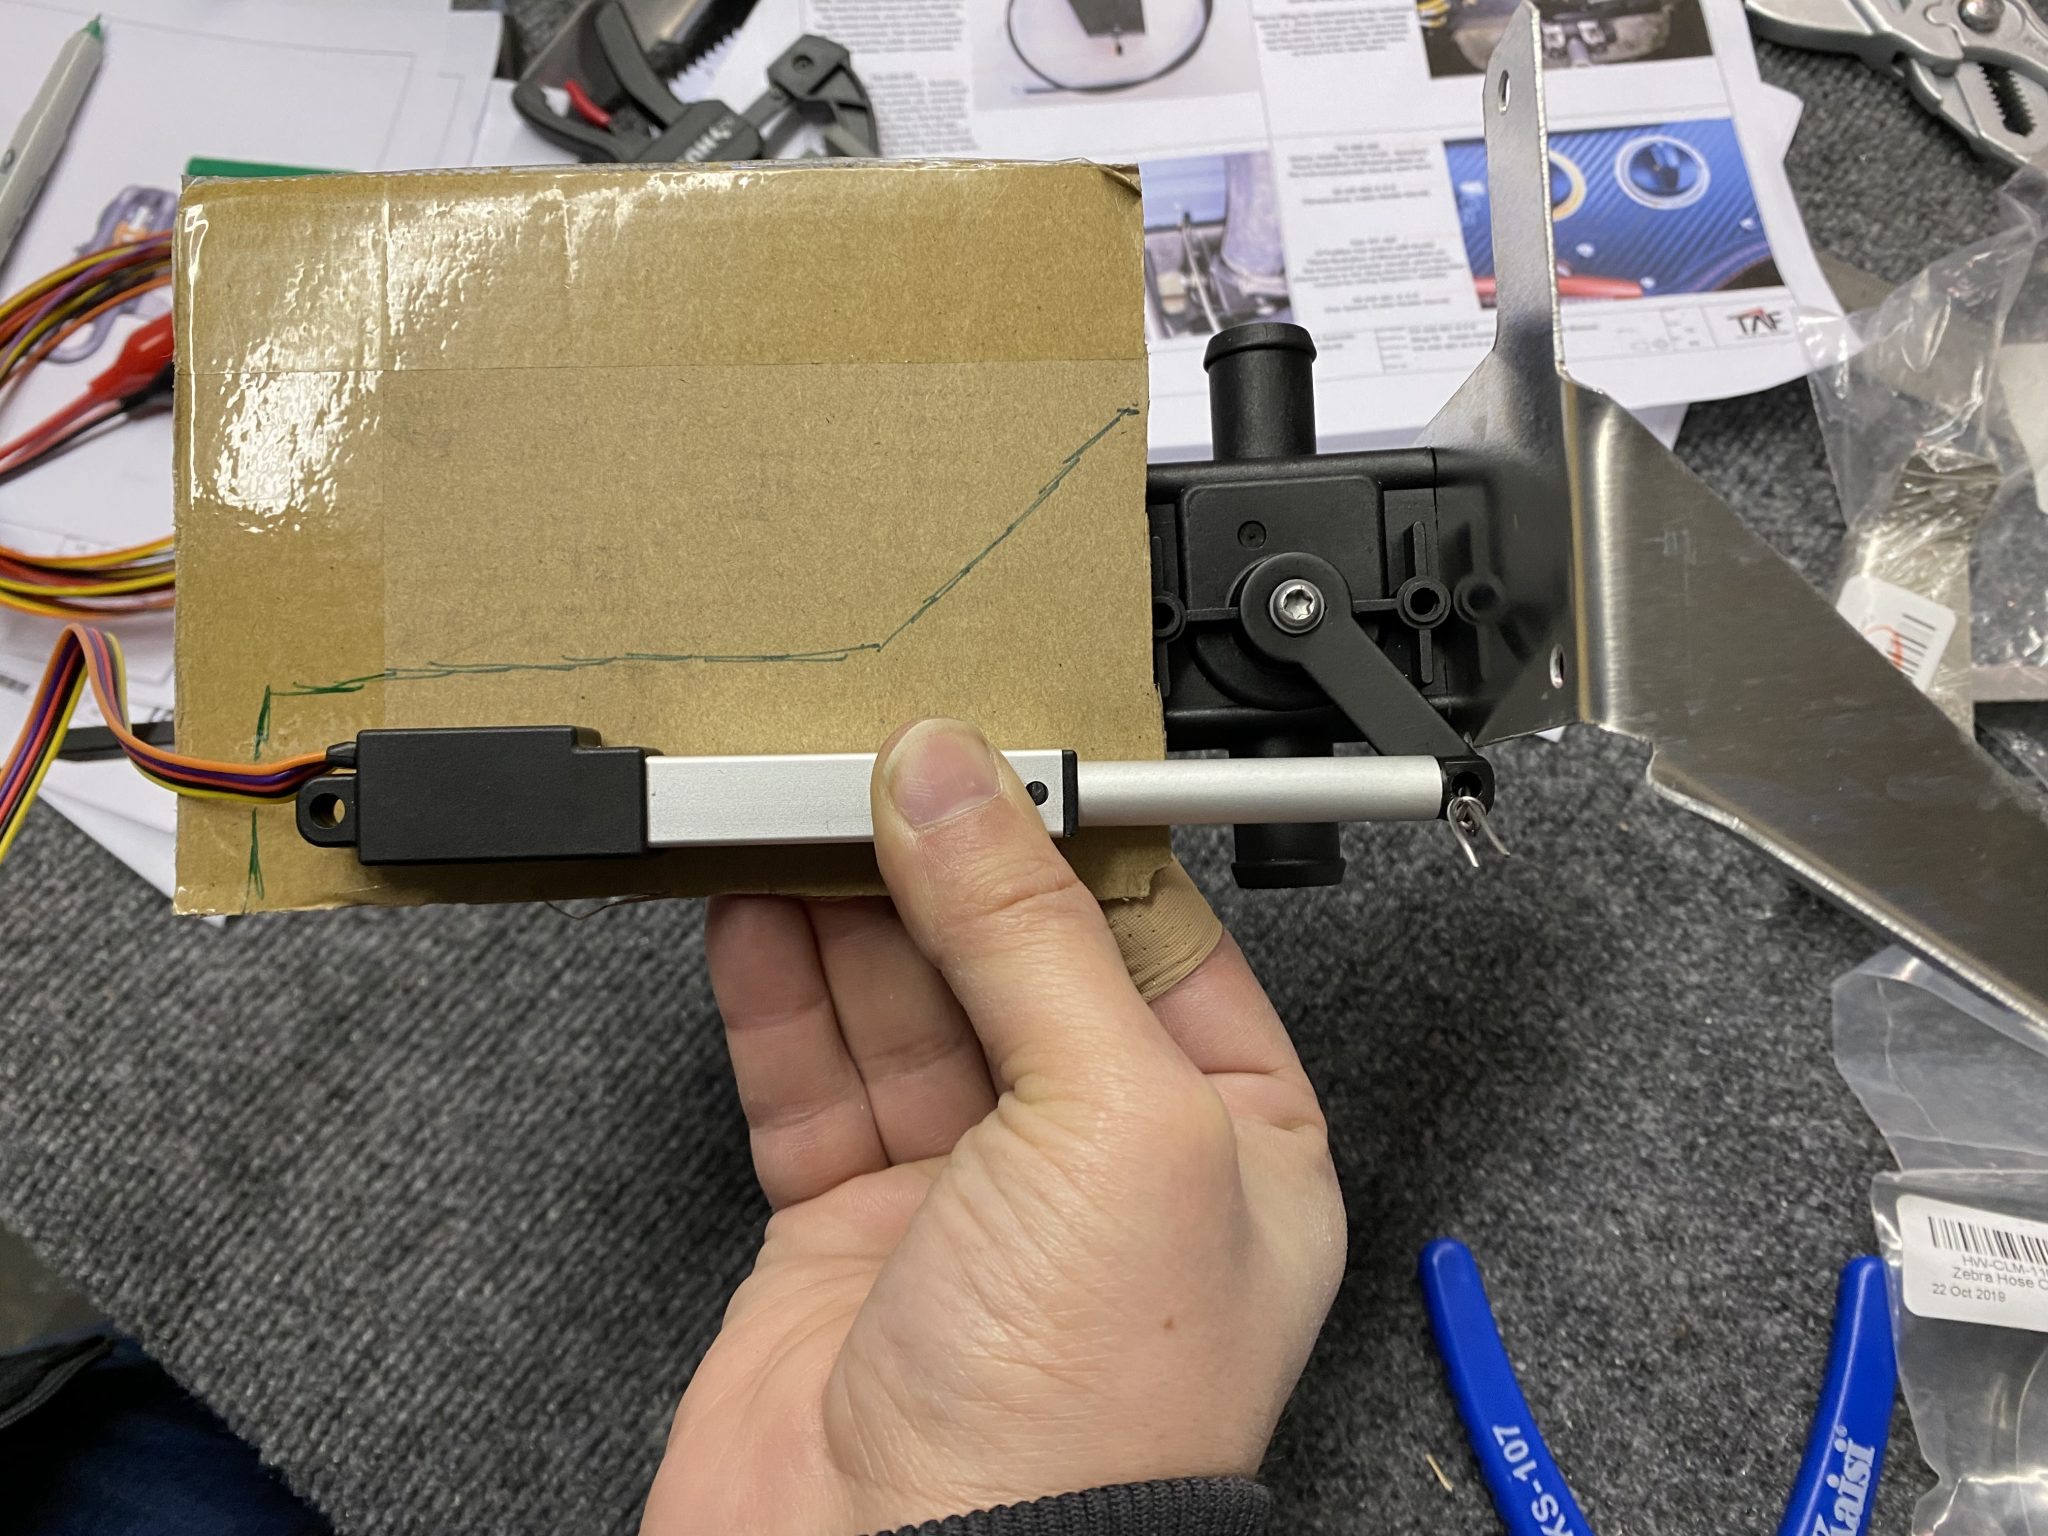
Looks viable, here’s the cardboard prototype in action:

Fabricating the air vent servo mount

Hours: 1

As I mentioned a while back, I am going to use a servo to control the butterfly valve that controls the flow of outside air for the cabin instead of the manual “school bus handlebar” that the kit is designed with.

With the assembly of the Rudder pedals that sit right below it done, I now moved on to actually putting this together.

I temporarily placed the dash in place to make sure there won’t be any interference with the bracket I designed for the servo mount.

Temporarily mounting the dash to check placement

All looked good, so I moved on to fabricating the bracket I designed earlier out of cardboard.

I decided to use some 0.032in thick aluminum to give the mount some stability and rigidity.

Tracing the template onto my 0.032in aluminum sheet stock
cut out aluminum bracket, waiting to be deburred
Deburred and rounded all corners

After that I match drilled the hole for the servo mount through the template, marking the hole using a center punch.

Then I mounted the bracket in the plane using some clamping clecos in order to match drill the holes from the air vent.

clamped in place to match drill the marked holes through the cabin skin and the bracket
First hole drilled and clecoed

With both holes drilled I then clecoed the air vent in and mounted the servo for final testing.

air vent clecoed to the side wall and bracket and servo installed

I’ll shorten the screw of the servo mount as it’s a bit longer than it needs to be as can be seen above so it won’t interfere with the parachute cable.

Here’s a video of it in action:

Now I just need to replicate it for the left side and then I need to install it permanently.

Figuring out cabin air assembly

Hours: 2

Last week I finally received the cabin air parts after the lockdown in the past few months that put a hold at the factory for sending out new parts, but they are back up and running.

The cabin heat assembly for the TSi has a mixture of forced air from a NACA duct getting air from the outside when the plane is moving, together with an actual radiator heater, for those times where you don’t want cold outside air and instead heat it. To shut out the outside air, the TSi has a butterfly valve that’s operated by a handle from the panel.

I am planning to replace the manual handle with a servo instead and also replace the front standard plastic vents that come with the kit, with some ball vents typical in airplanes.

I got the Aveo Air Maxi Vents in black since the front is black leather, so it blends in nicely.

Aveo Air Maxi Vents

Butterfly valve servo

The servo I’m going to use is from TCW that comes with a linear servo from Actuonix, together with TCW’s control board with the control knob to operate the servo.

The first thing I had to figure out is the travel of the butterfly valve, it is around 40mm long. I made a small cardboard panel, clamped it to the bracket of the box that houses the butterfly valve. Based on the maximum extension I then mounted the back of the servo onto my cardboard panel. Then I tested that retracting and extending works correctly from that position and made small adjustments to the travel distance.

Here’s a small video of testing the operation:

With the operation figured out, then I went to check for alignments in the cabin.

First I had to figure out where exactly the vent box sits inside the cabin. Some quick measuring for the distance based on the construction manual.

Marked where the valve box attaches to the skin

Then I put in the channel that moves air to the rear passenger seats to make sure there is no interference wit the operation.

cabin box held in place, along with the channel that pulls air to the rear passengers

Looks all good. Next step will be to fabricate the bracket out of aluminum.

Oshkosh 2019 recap

It’s been a busy few weeks after returning from Oshkosh, so it’s been a while since I’ve written an update.

Since I spent the whole week at Oshkosh, I had a lot of time to figure out various bits and pieces that will go into the airplane and talk to the various vendors. I also finally got to meet Adam and Steve from Midwest Panel Builders who I’m working with for the Avionics.

It was great to get a feel for various things including the control sticks – I will go with the Tosten grip.
Tosten control grip

Another thing I was looking at is the TCW Control Valve servo for the vent shutoff valve that the TSi has. The standard design for this is a physical shutter that I’m not a great fan of, as I feel it looks a bit out of place in the panel. So I was looking for alternative options and Adam mentioned this servo as a possible option. After I checked it out, I think indeed it might be a nicer solution and I will try to make it work. In fact I might also use it for the heating control.
TCW Control Valve servo

Aside from figuring out things for my own build, I also attended a lot of seminars, saw a lot of cool airplanes and the airshows and met a lot of interesting people and stories.

I also spent a lot of time lurking around the Sling tent and checking out various details of the completed Sling TSi that they had on display there. It was nice to see how a lot of the small details to the plans for the fit and finish were in this plane, which didn’t exist in Wayne’s TSi yet.

I was also able to meet a few of the other Sling builders at the Sling Ding meeting and had a long chat with Craig and Austin about our various builds. And I got to meet John & Marta King who I have to give credit to getting me through the ground school of my private and instrument training and ran into a few other people including Angle of Attack, Aviation 101, Jason Miller, JP The Candourist and Mike Patey and Draco the bush plane.
John & Martha King Angle of Attack, Aviation 101 and Jason Miller JP aka The Candourist Mike Patey Draco