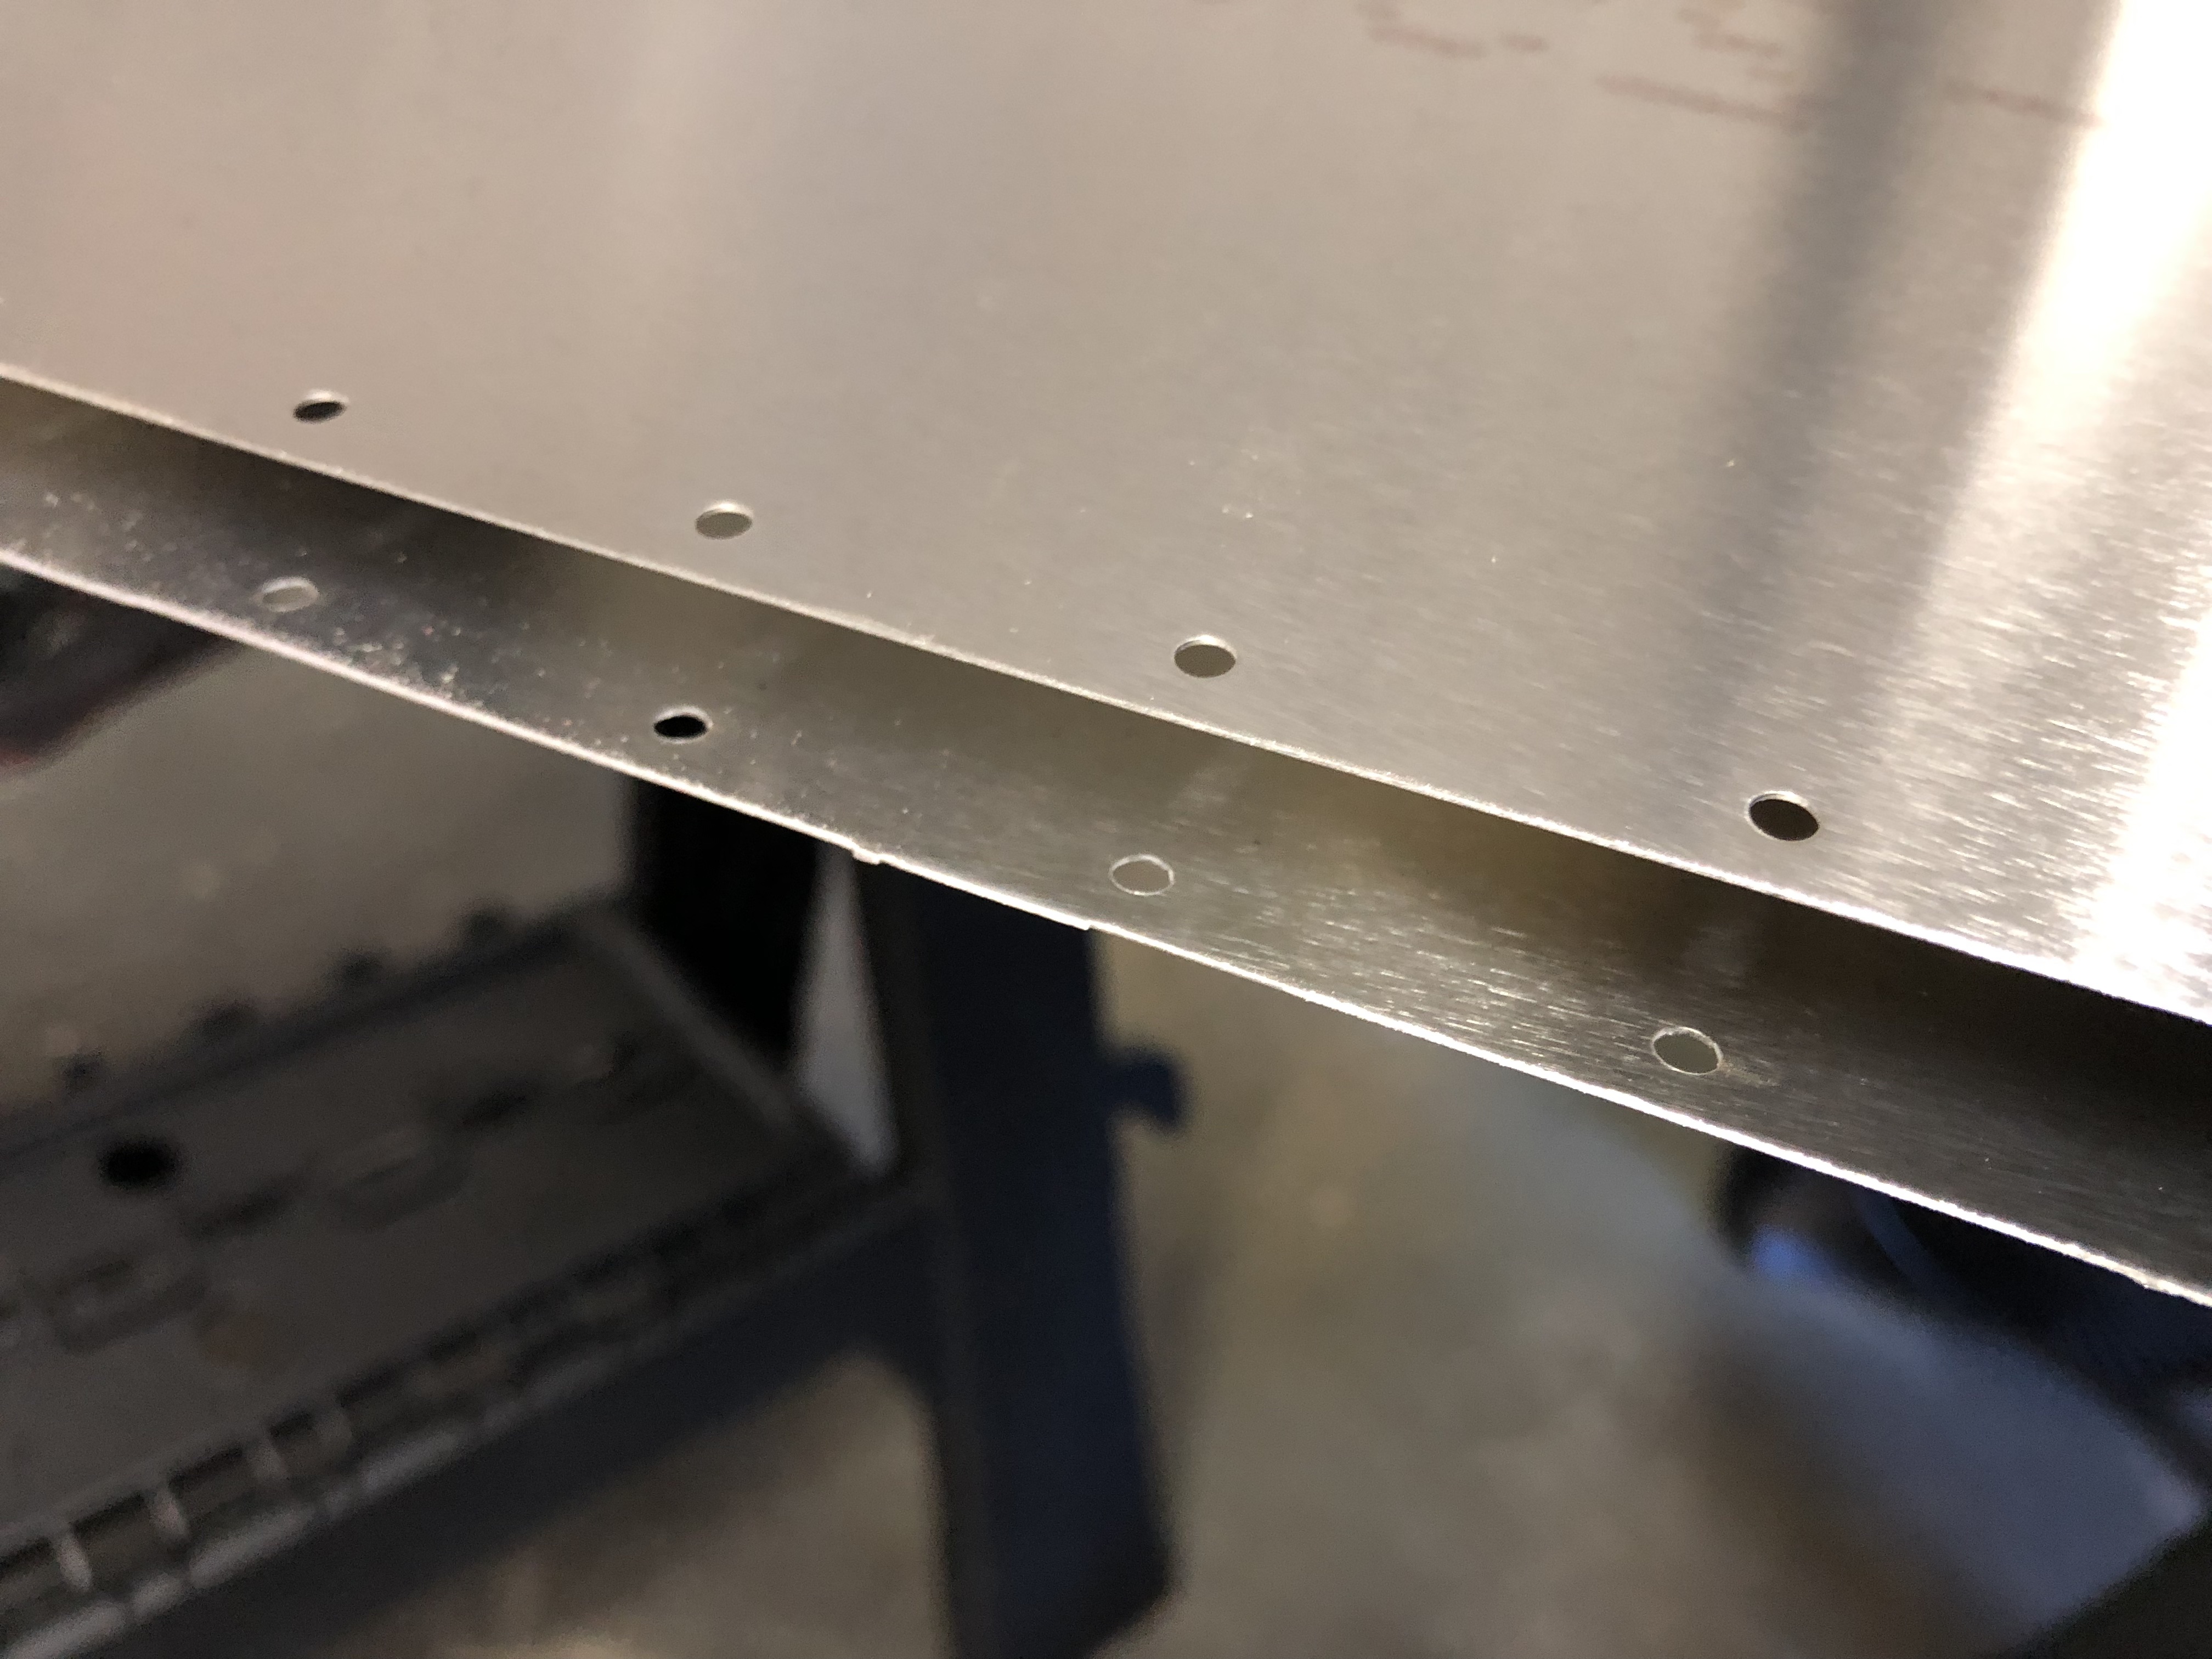
First order of business for the Elevator skin was inspecting all edges and holes and there were a few edges that needed some deburring action.
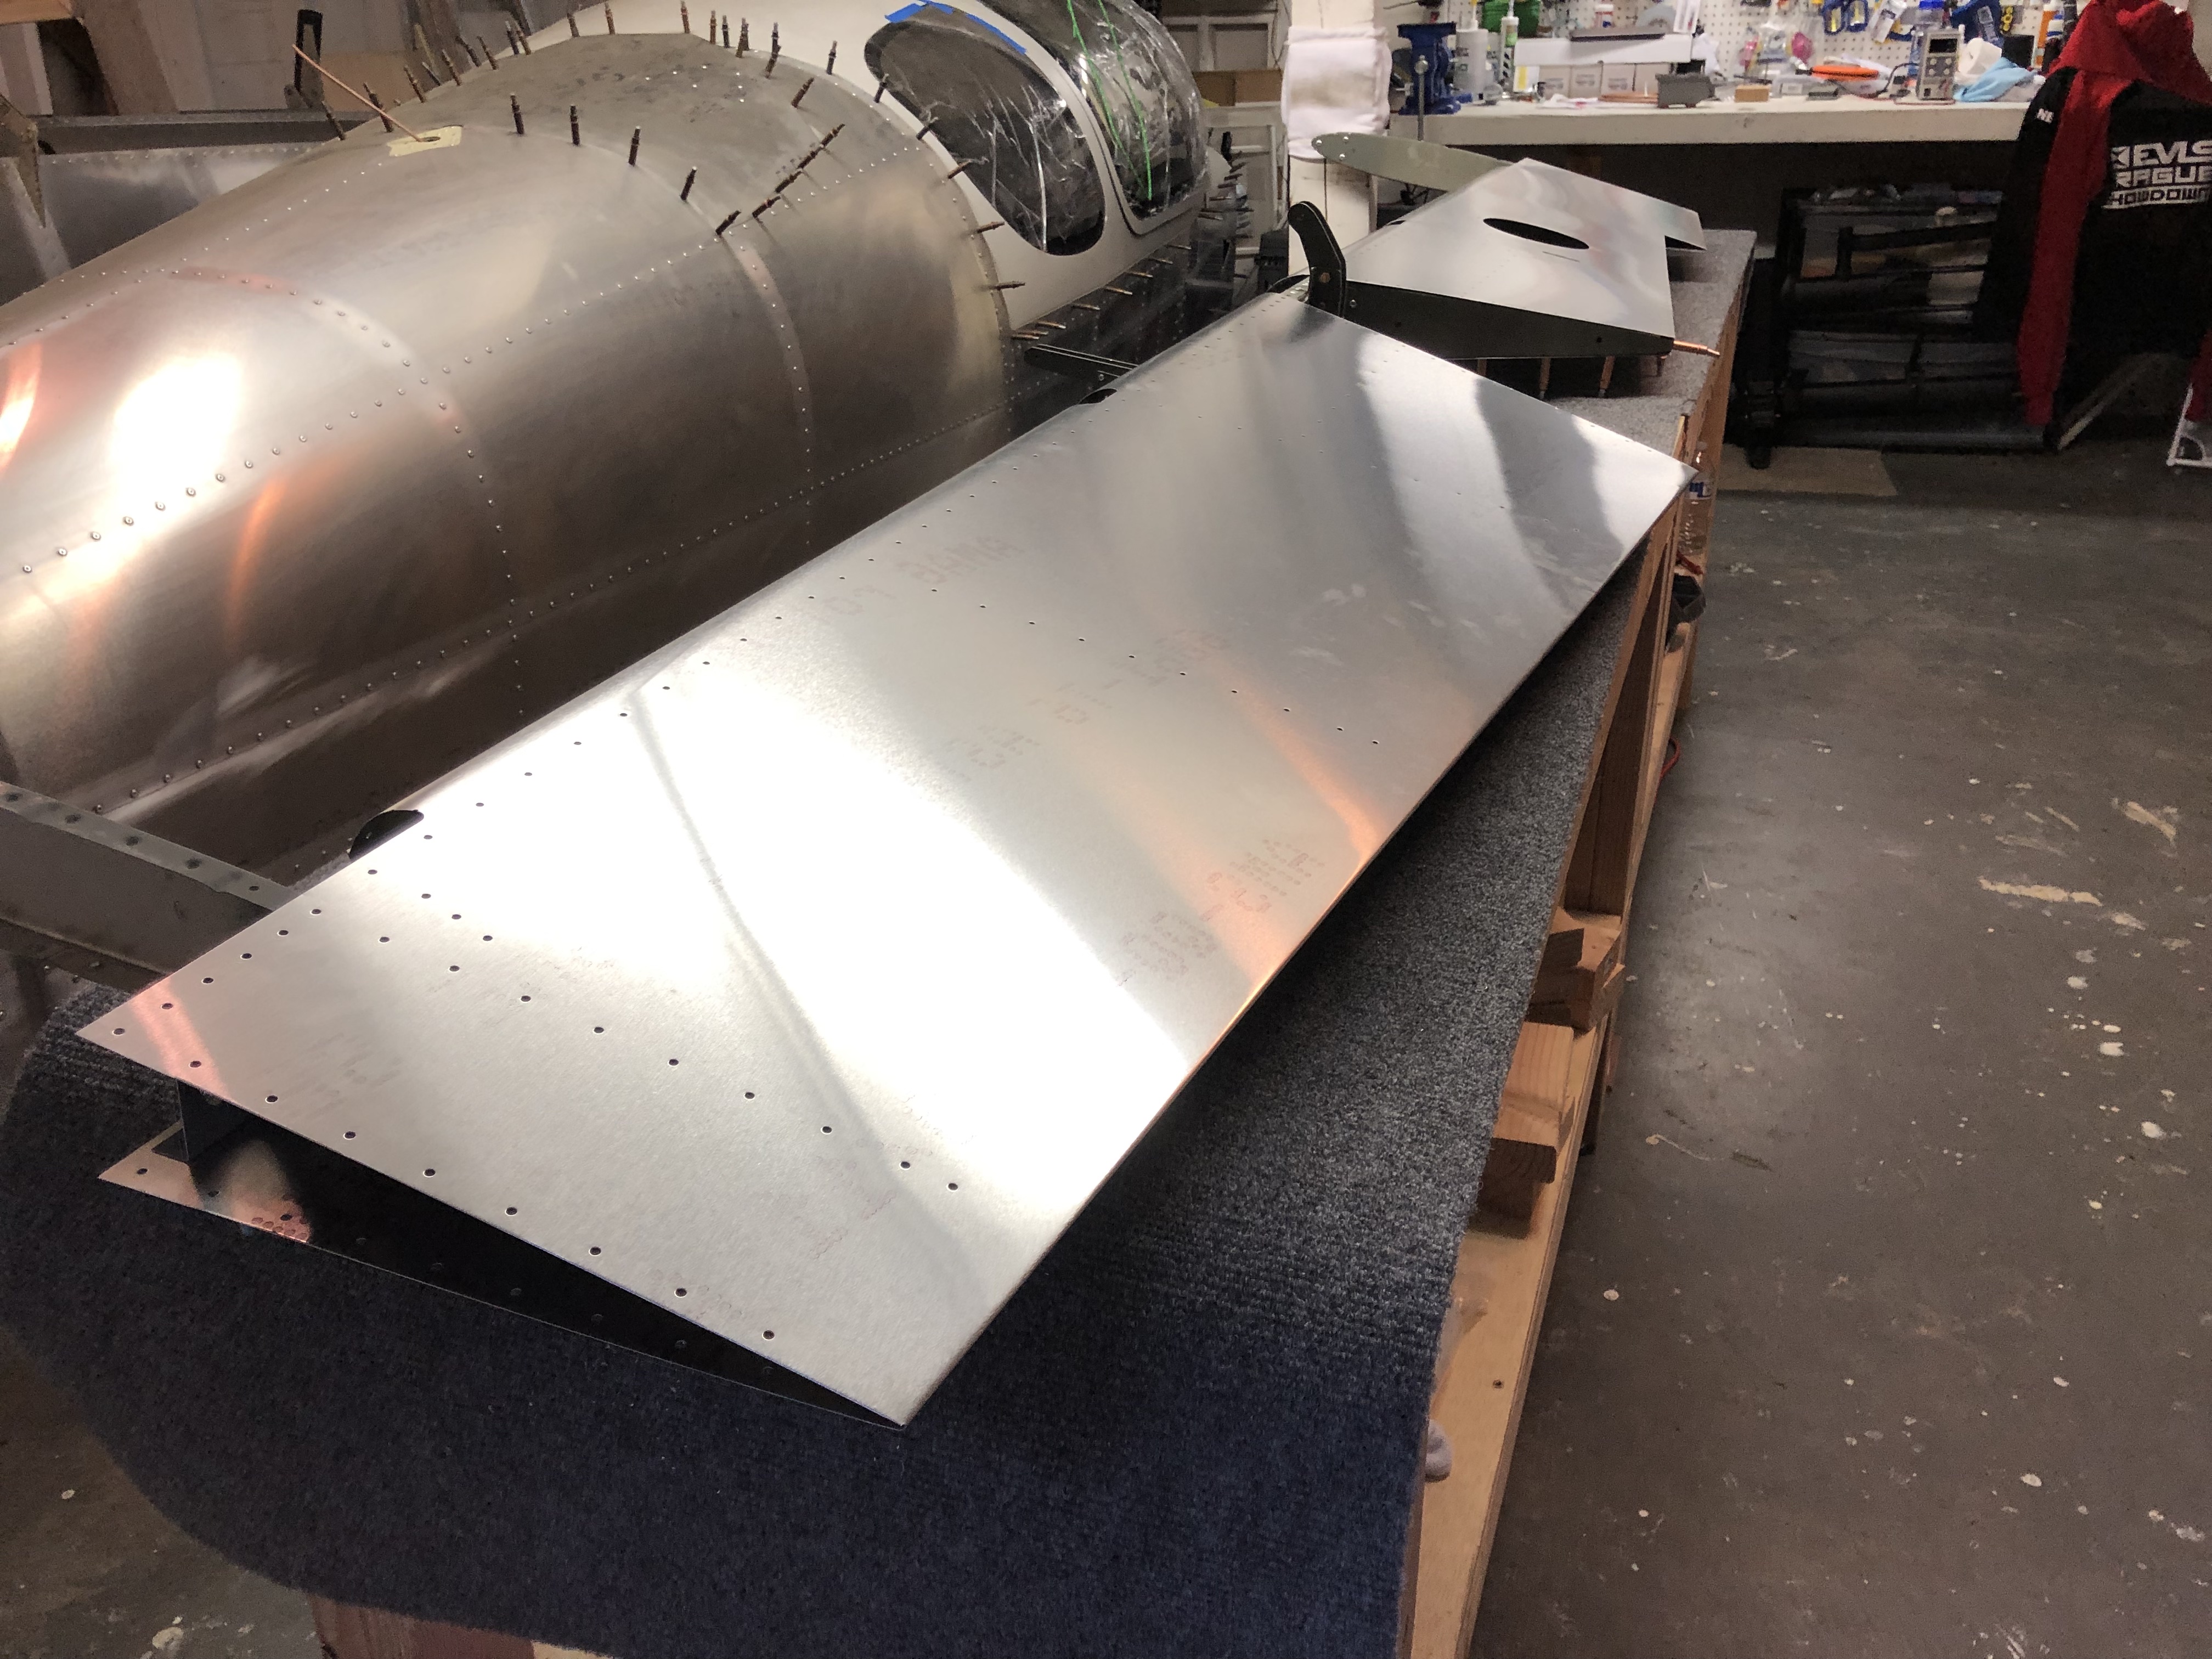
After deburring everything that needed attention, we wrapped the skins around the rib structure. Since the Elevator is a pretty big part, it was very helpful to have a second pair of hands for this.
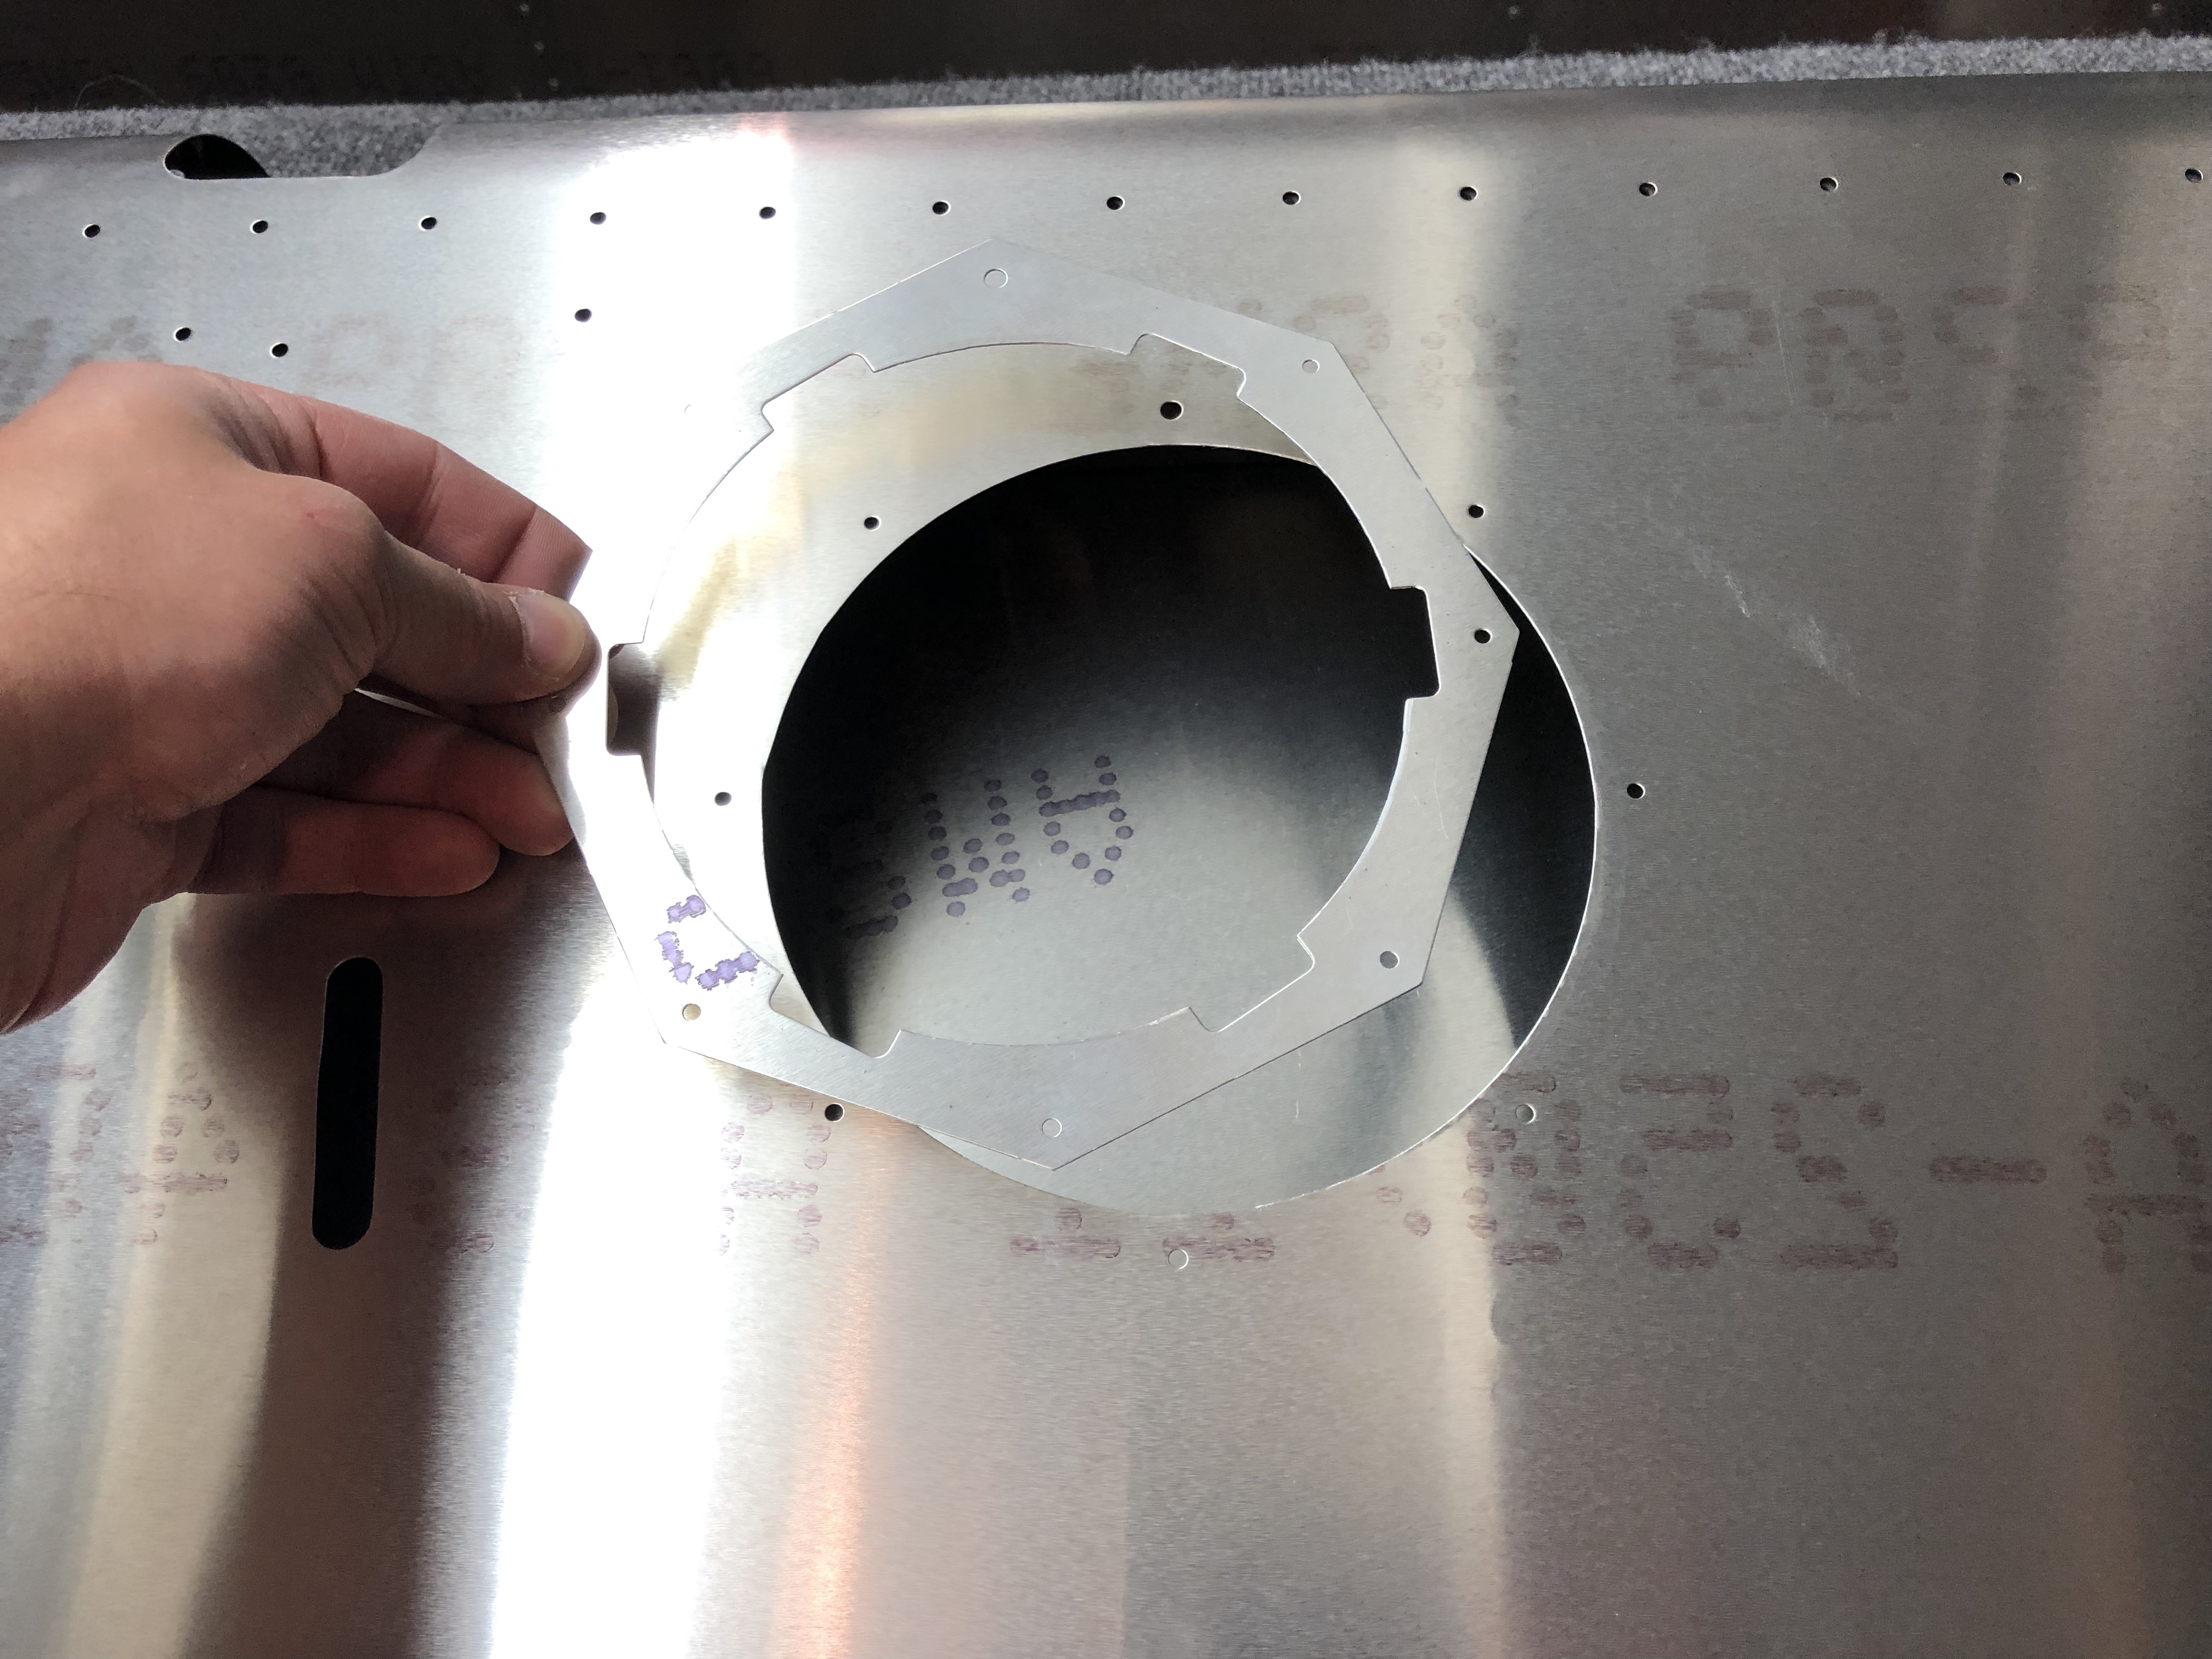
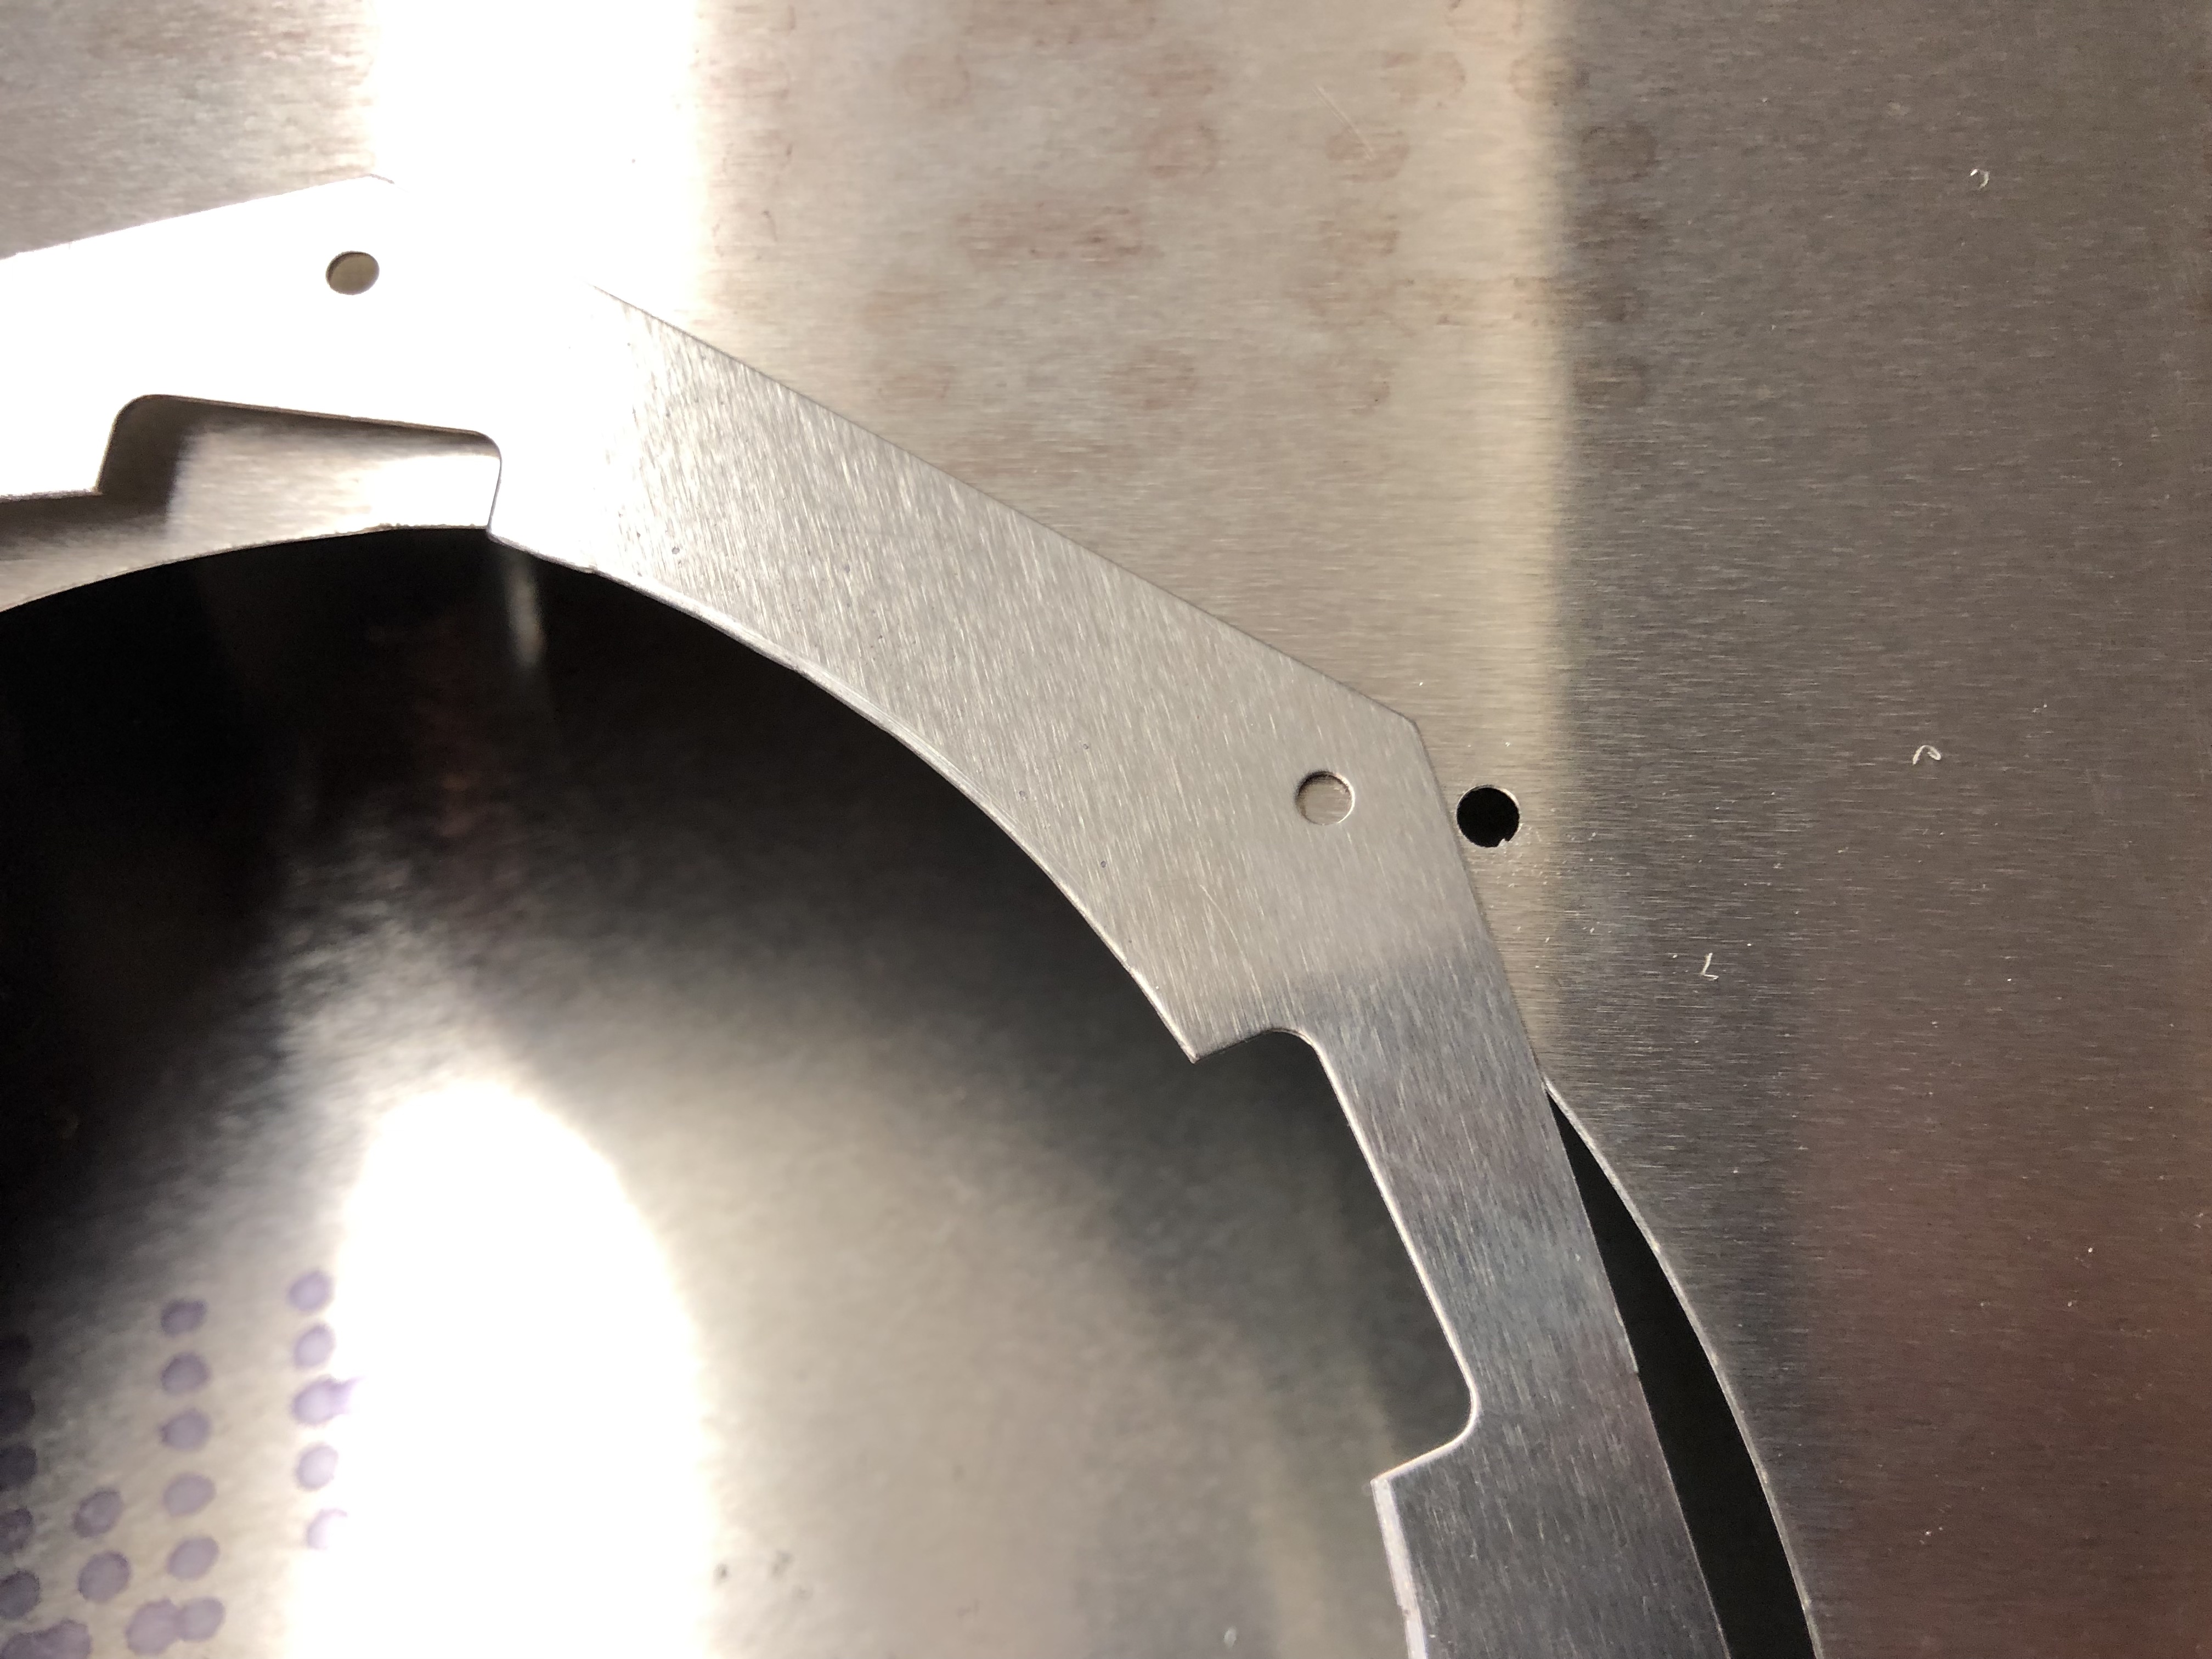
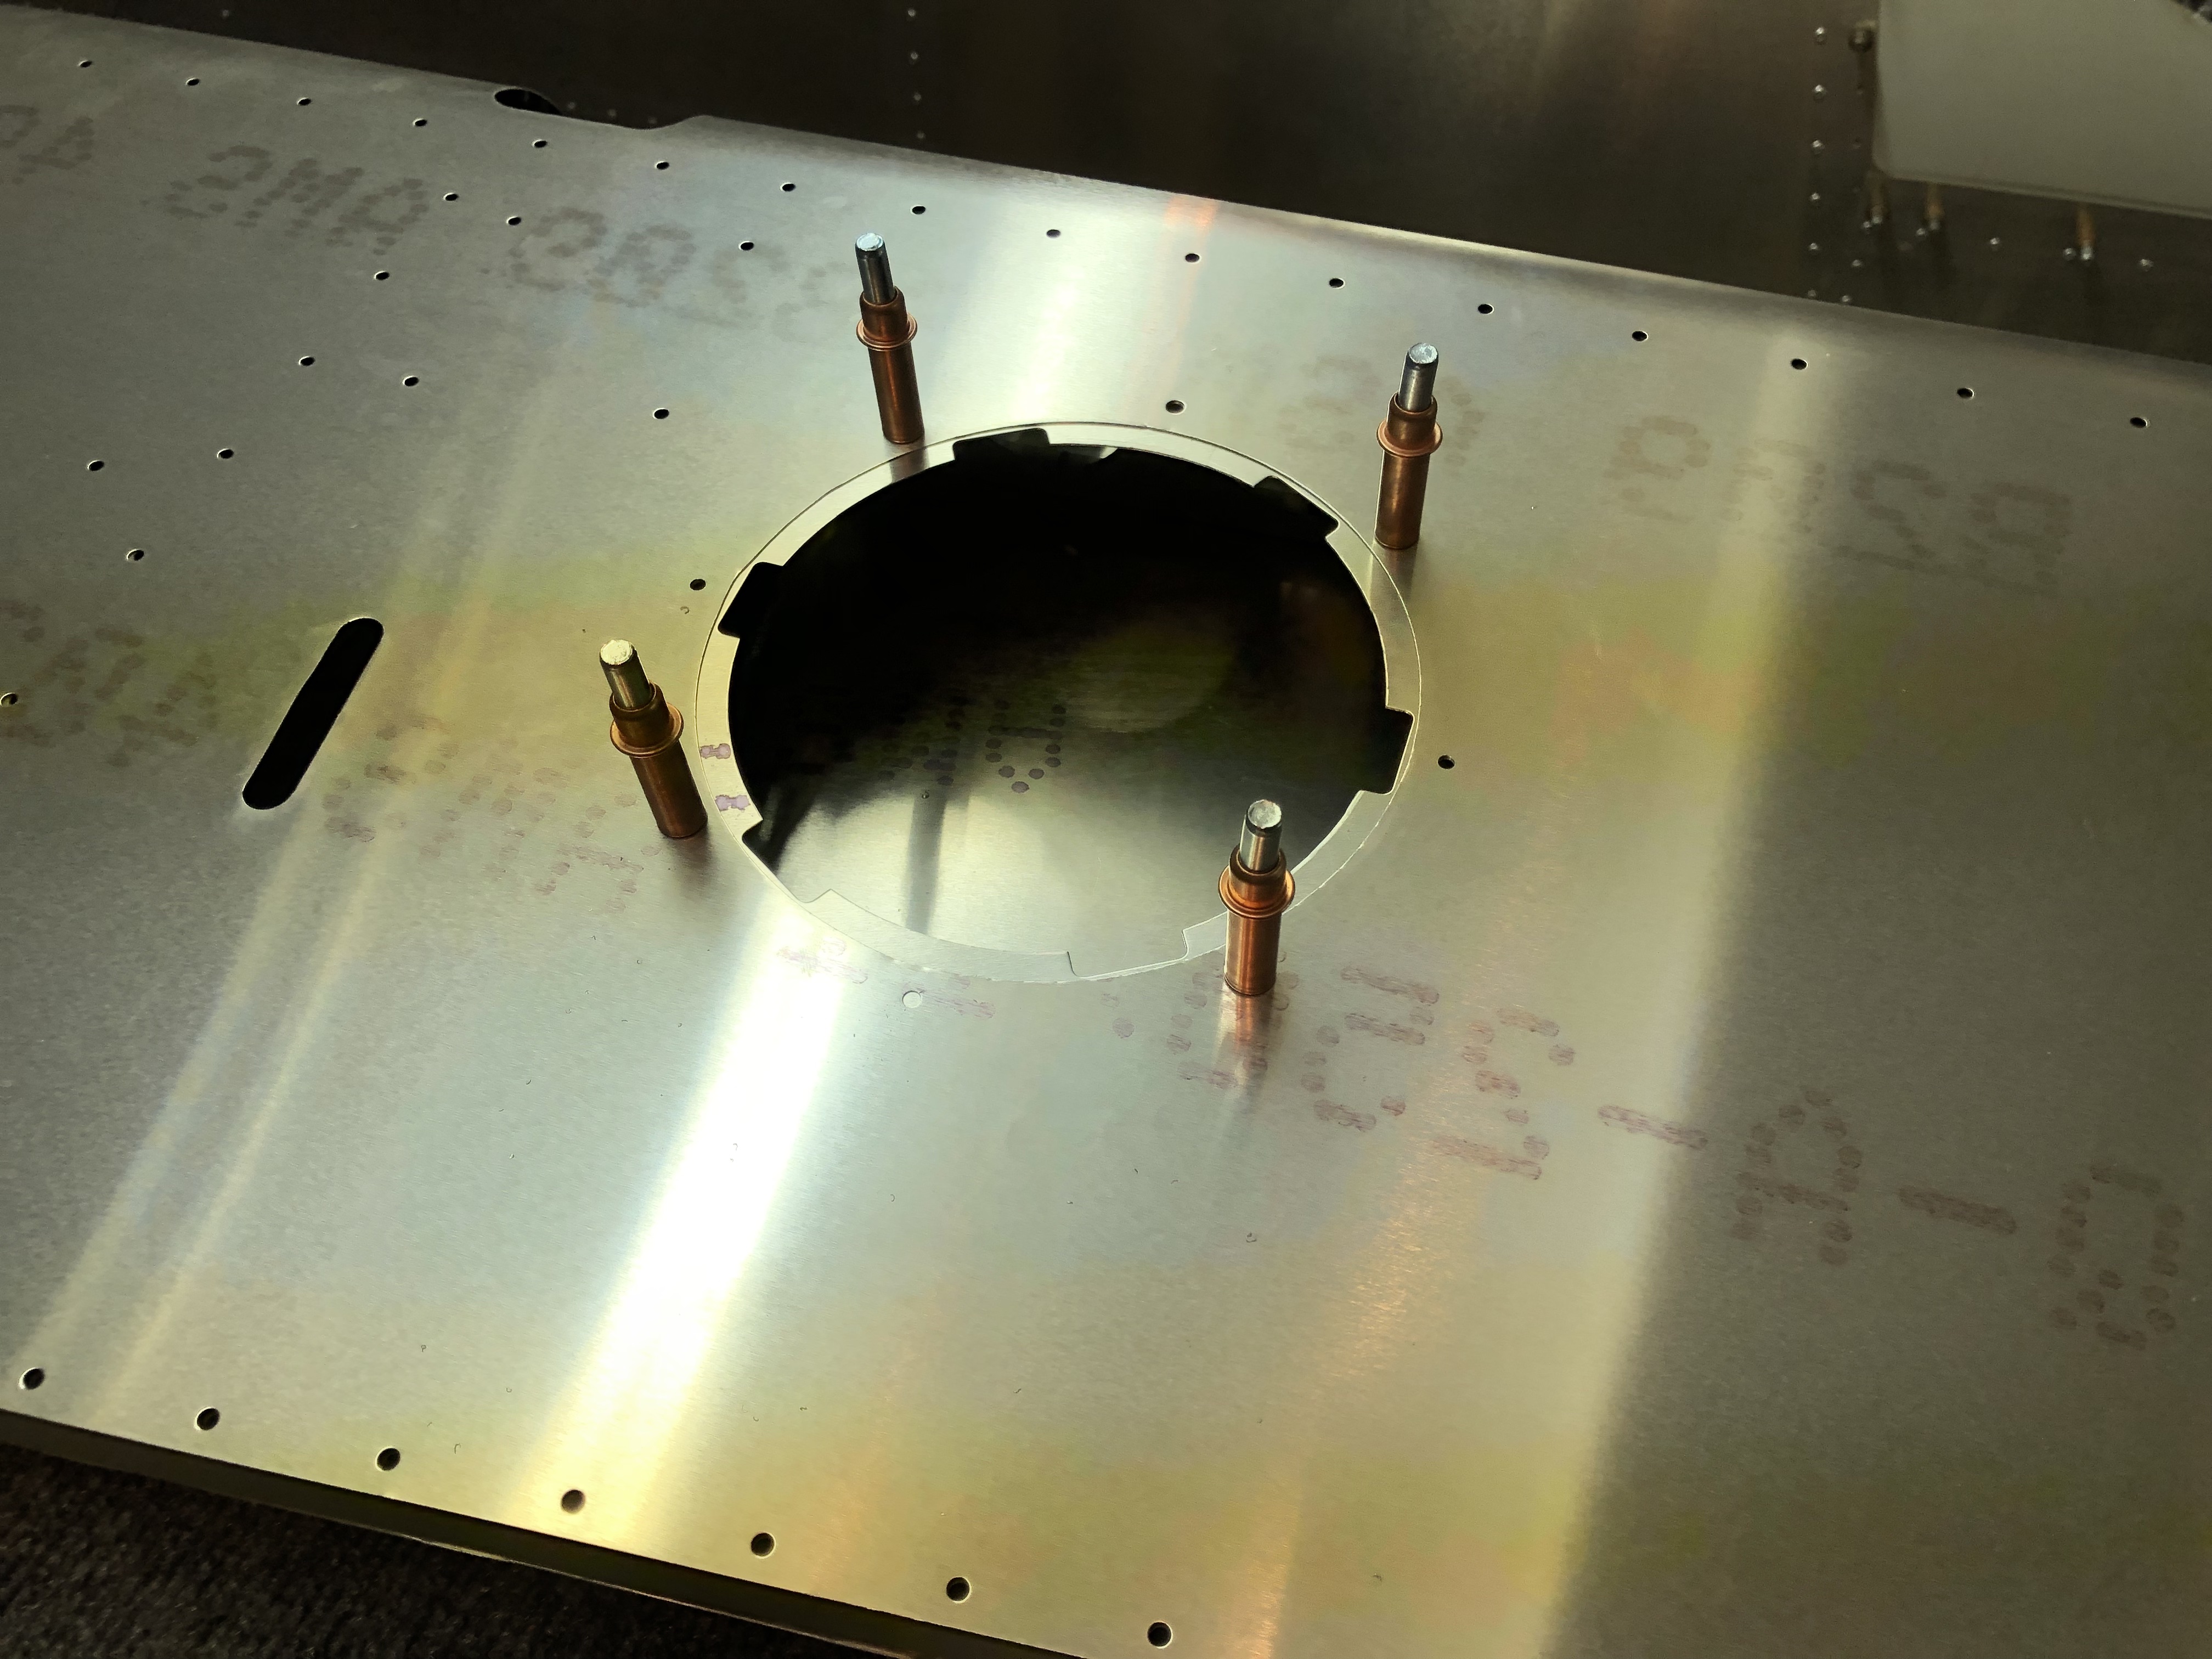
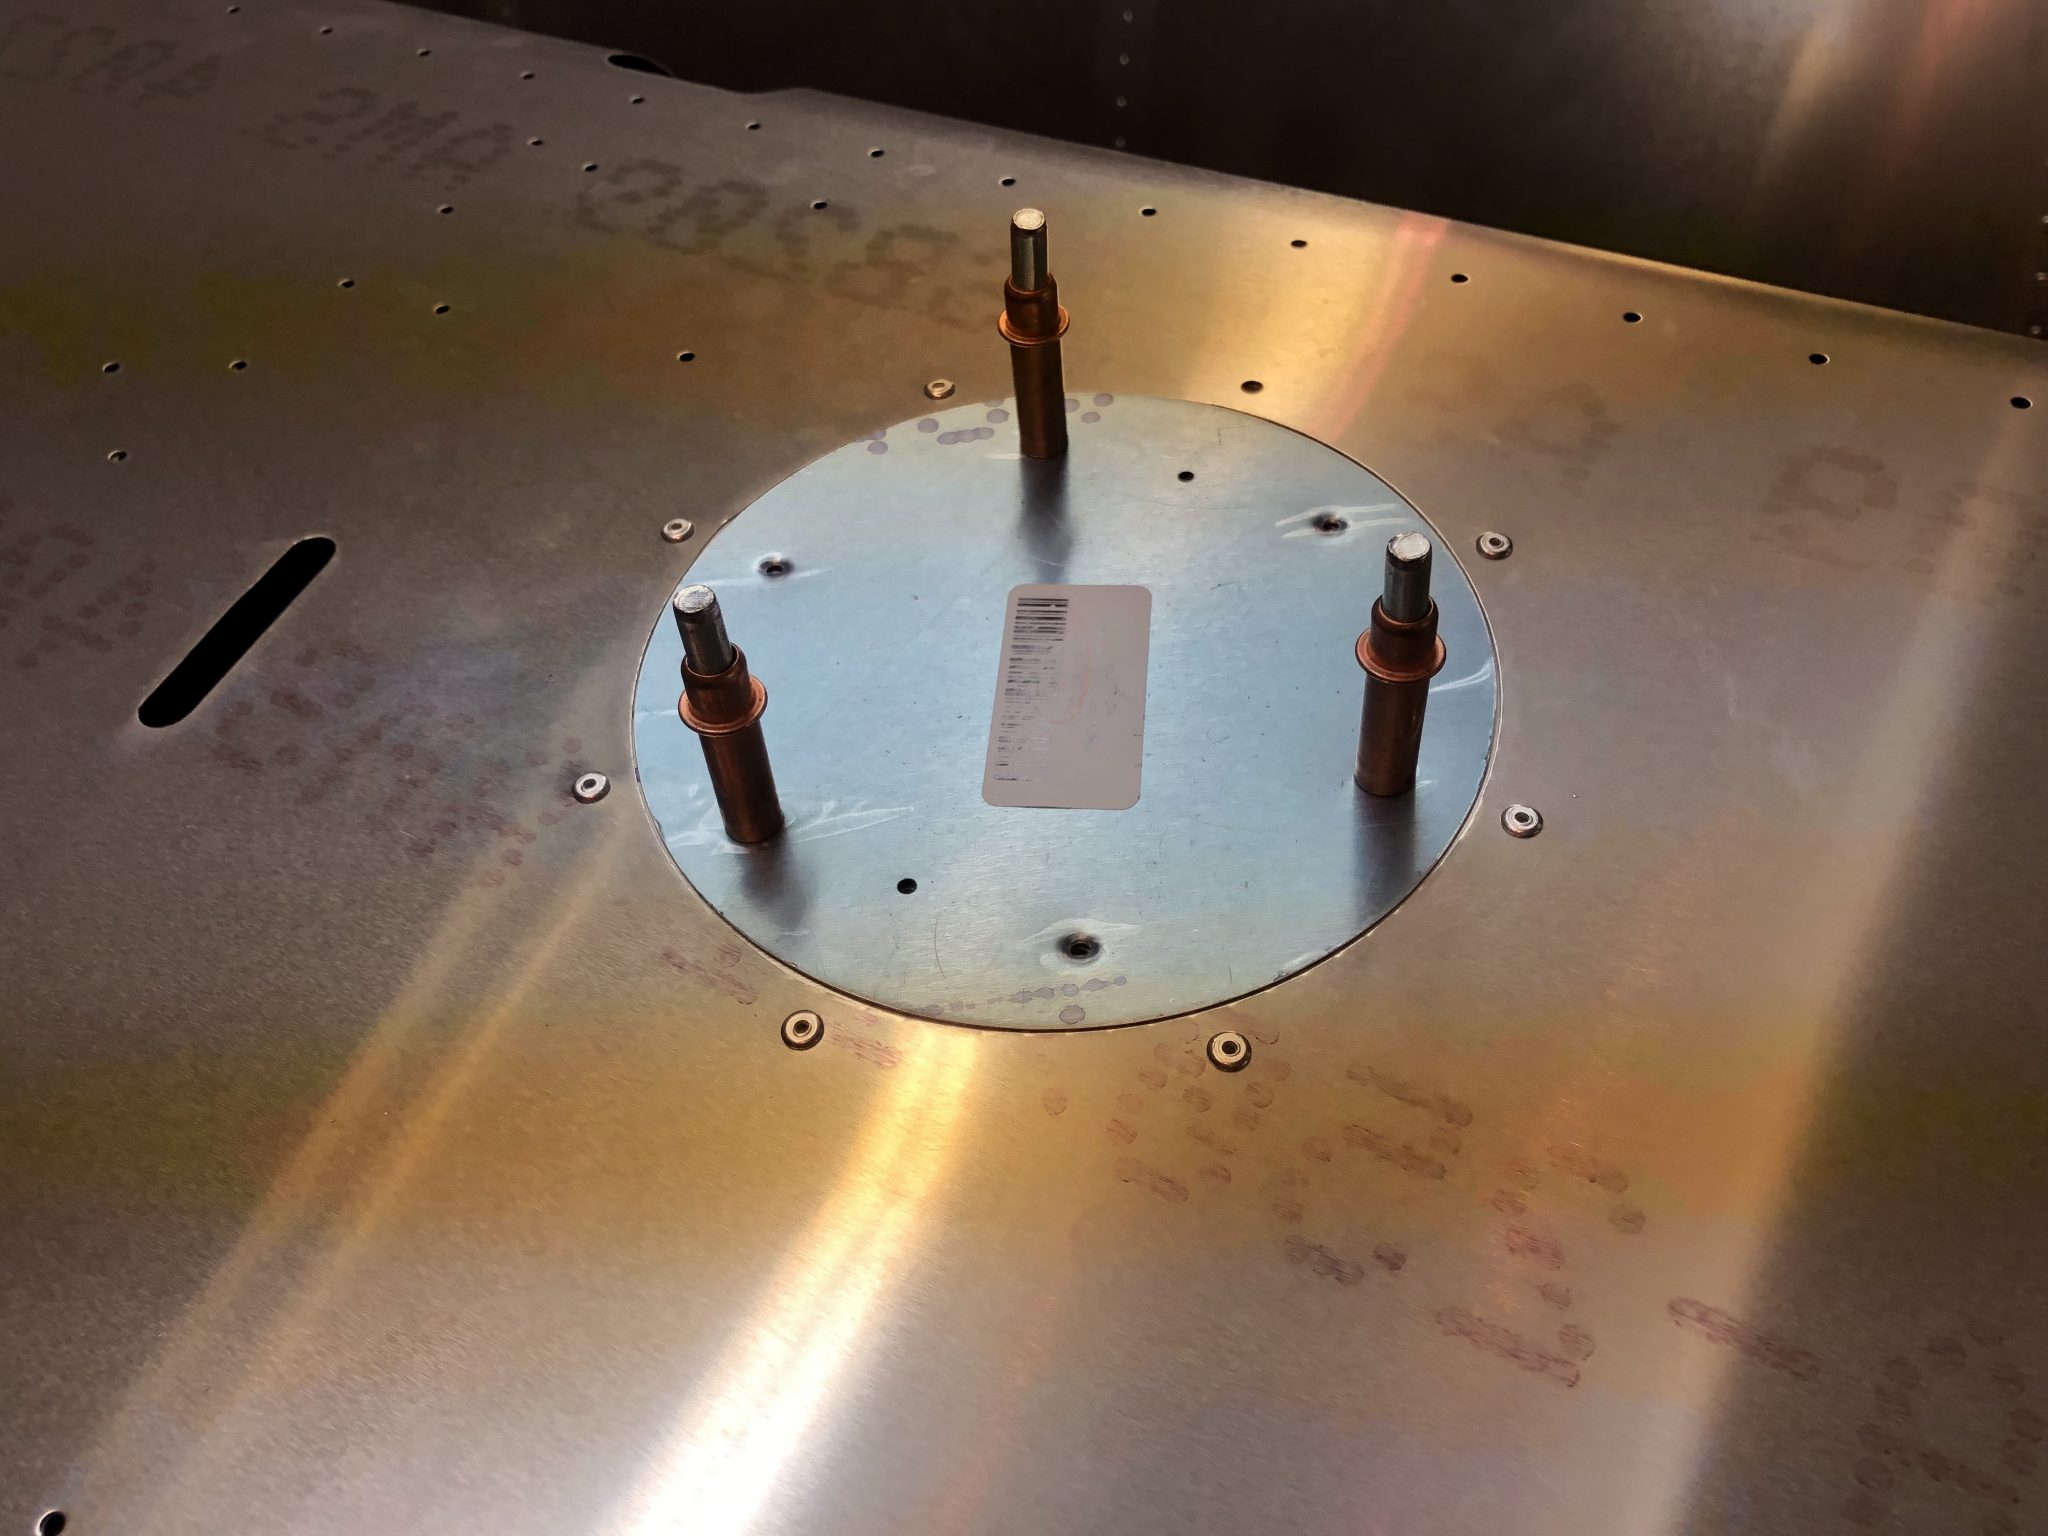
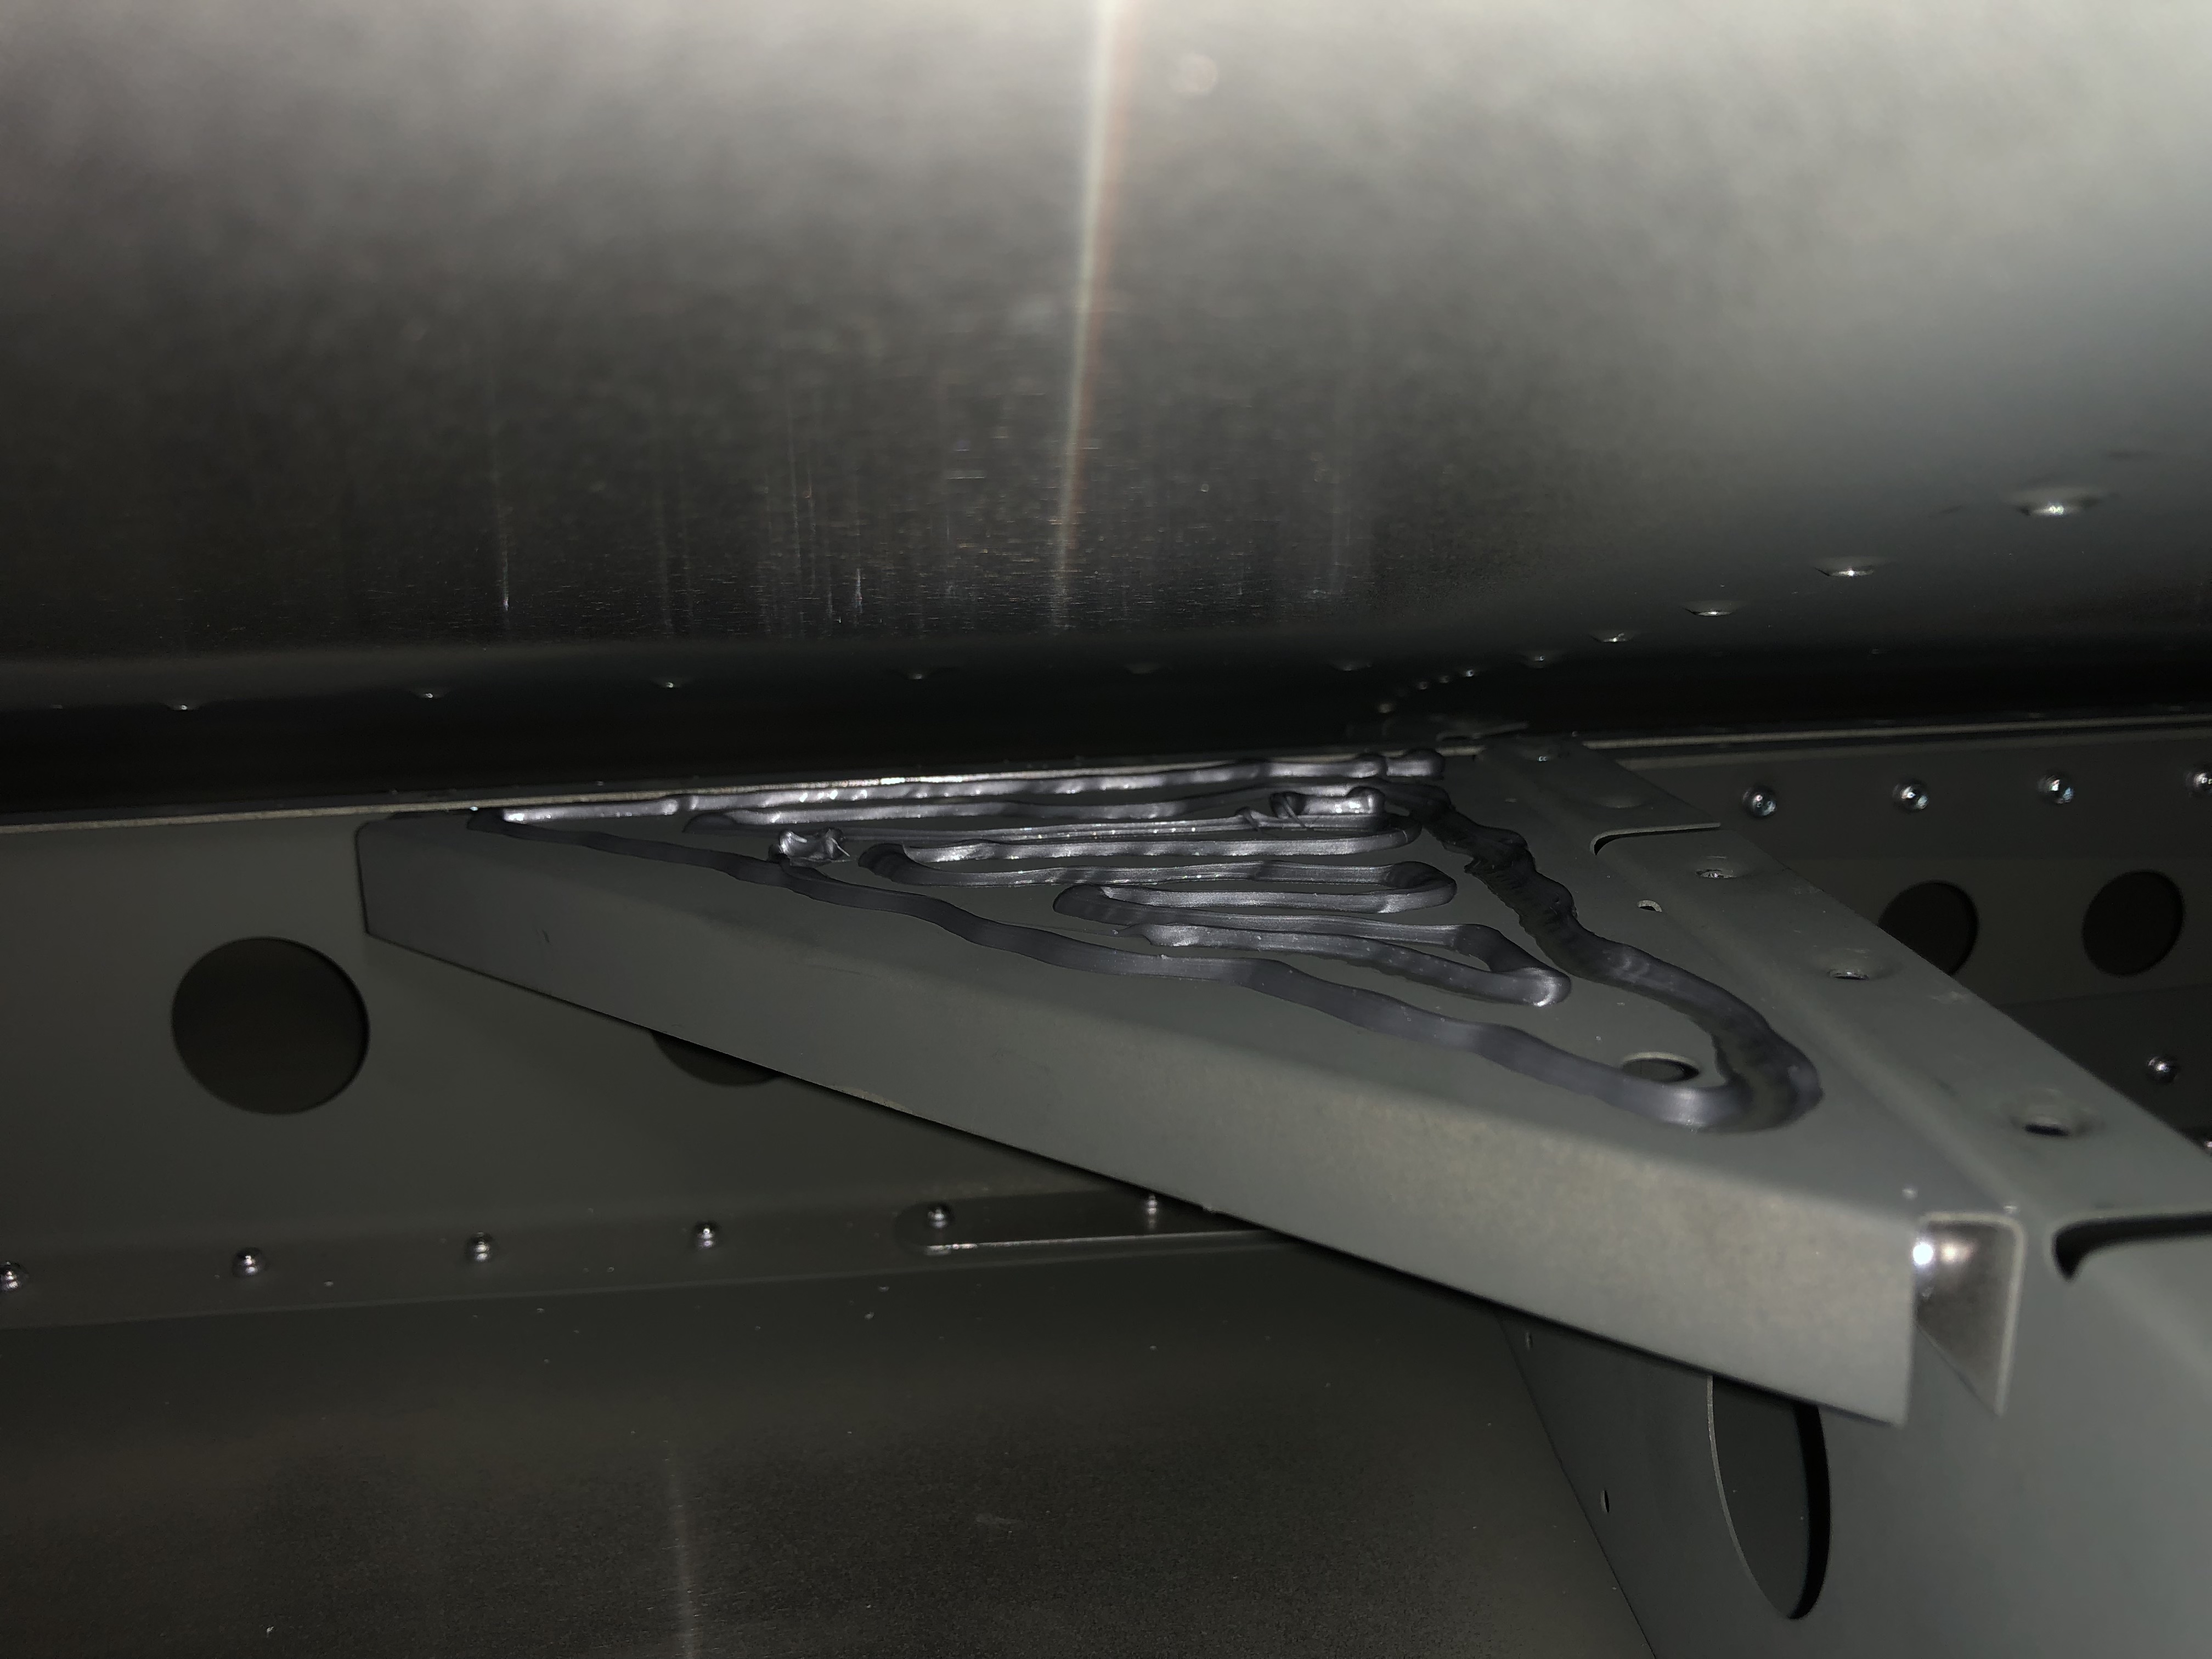
The last thing I had to do before I can start on closing up the skin is to install the backing plate for the Trim motor inspection plate. The plans call for 1/8 rivets, but the holes were actually 3/32, so I had to first up-drill them. There’s also another small error in the plan, in that it says to rivet all 8 holes, but actually only 7 should be riveted, since the top hole is for the screw that holds the inspection plate in place.
The pop dimpling tool that I ordered a few days ago arrived on Friday, so I spent some time trying it out to make sure it worked properly so I could finish adding the missing dimple to the skin and finish closing up the Horizontal Stabilizer.
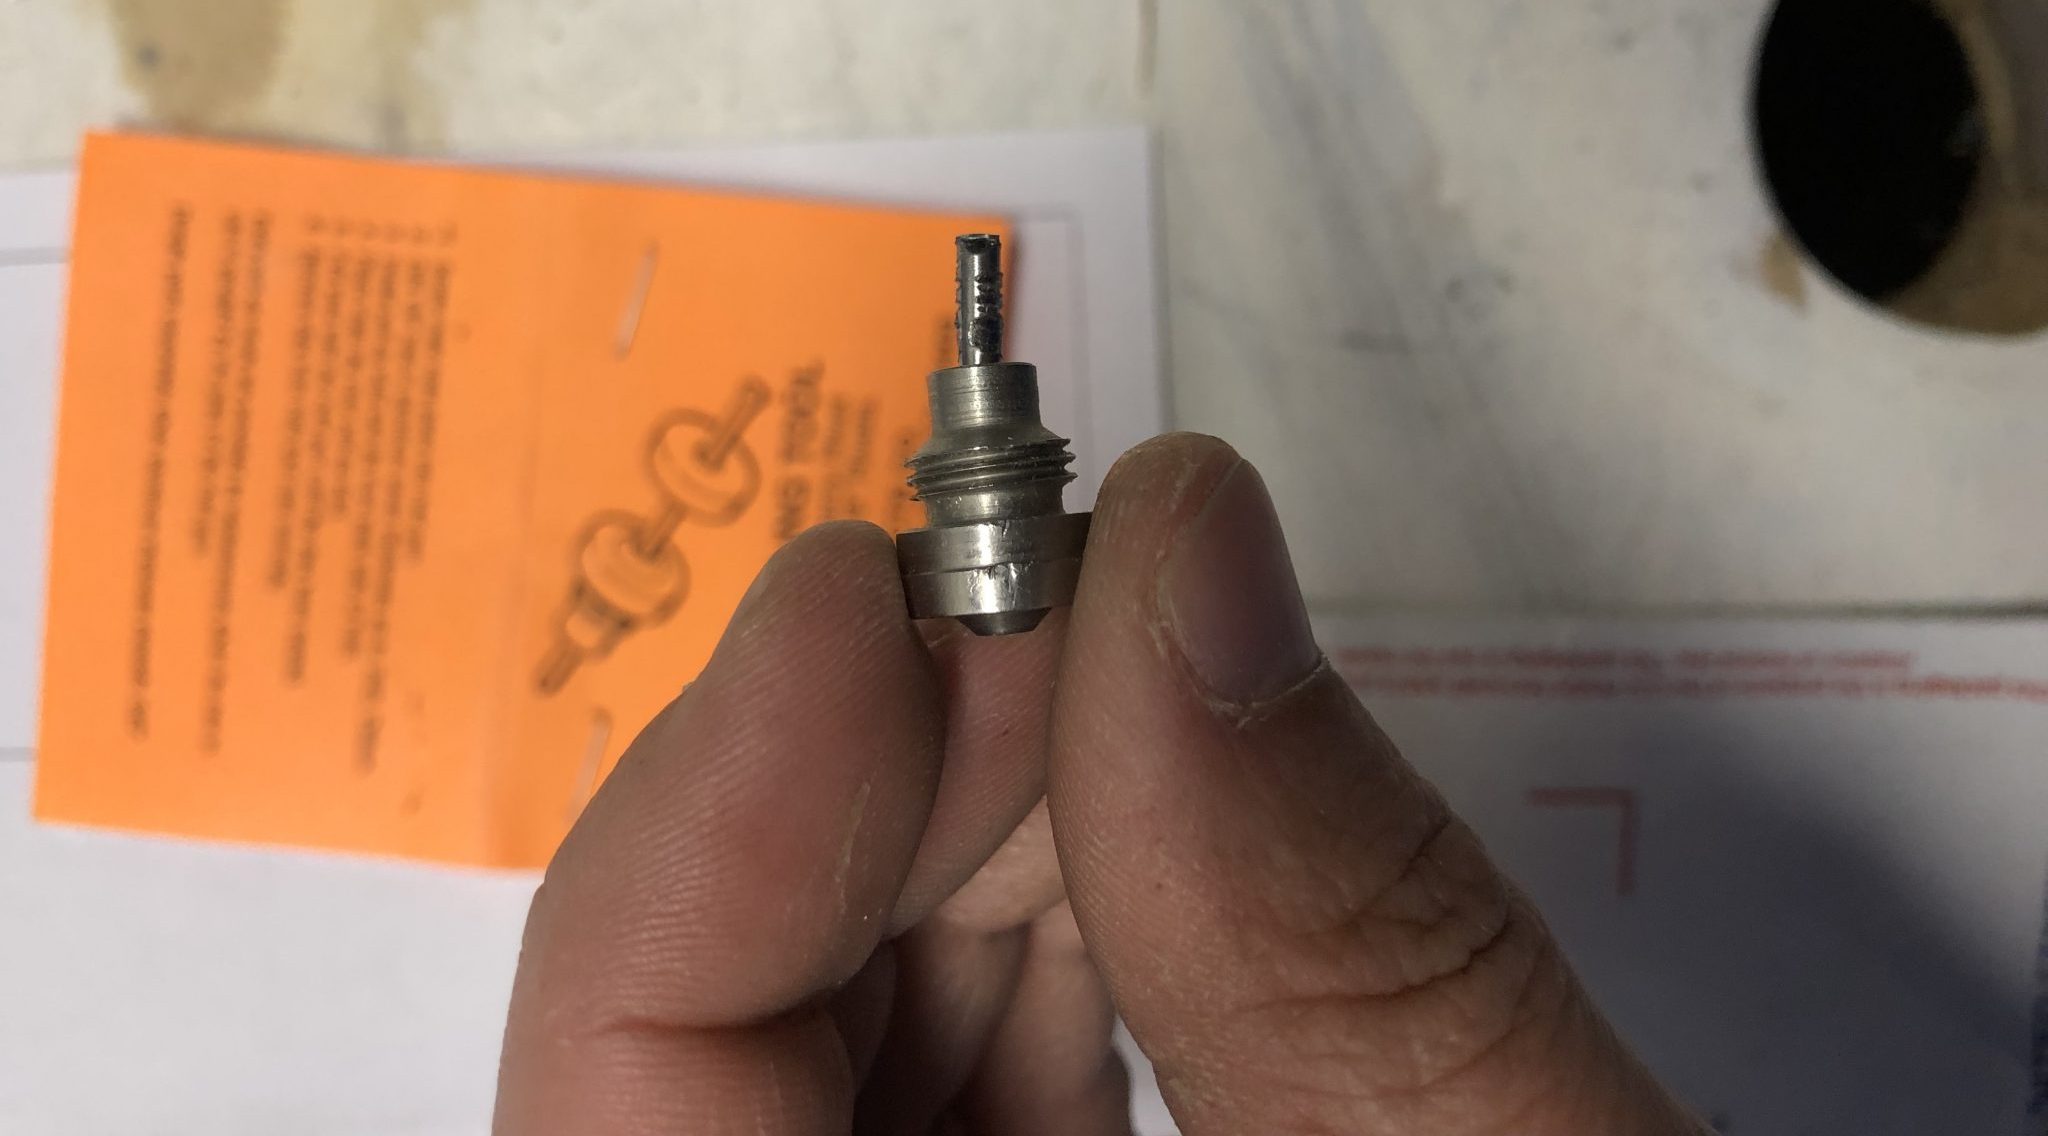
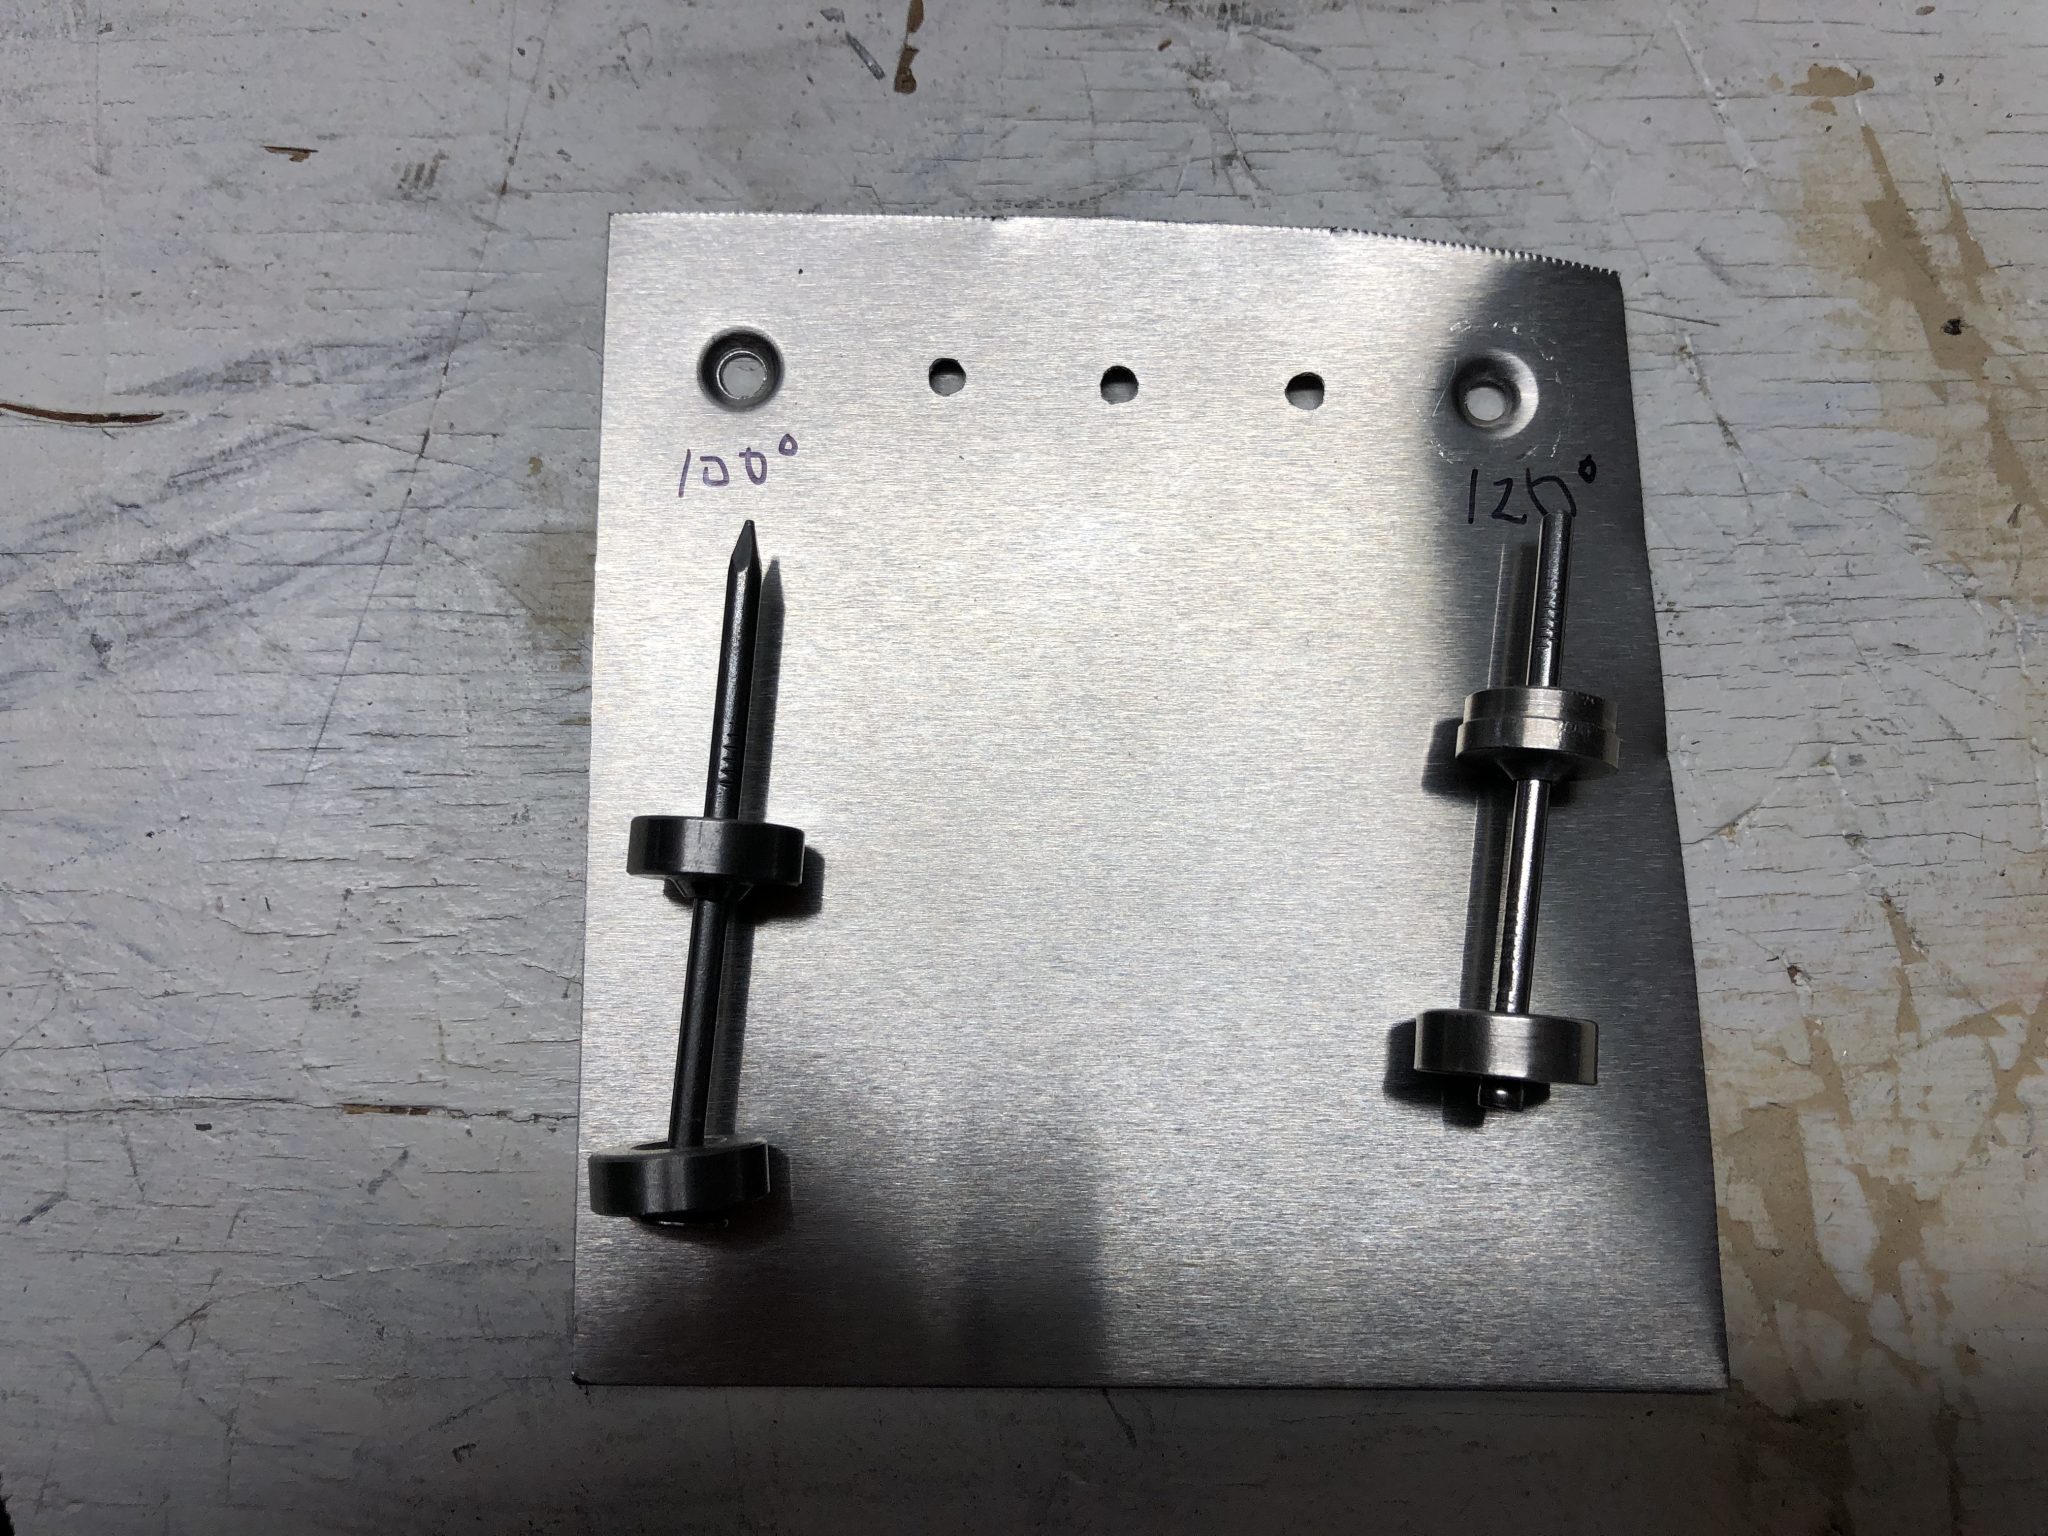
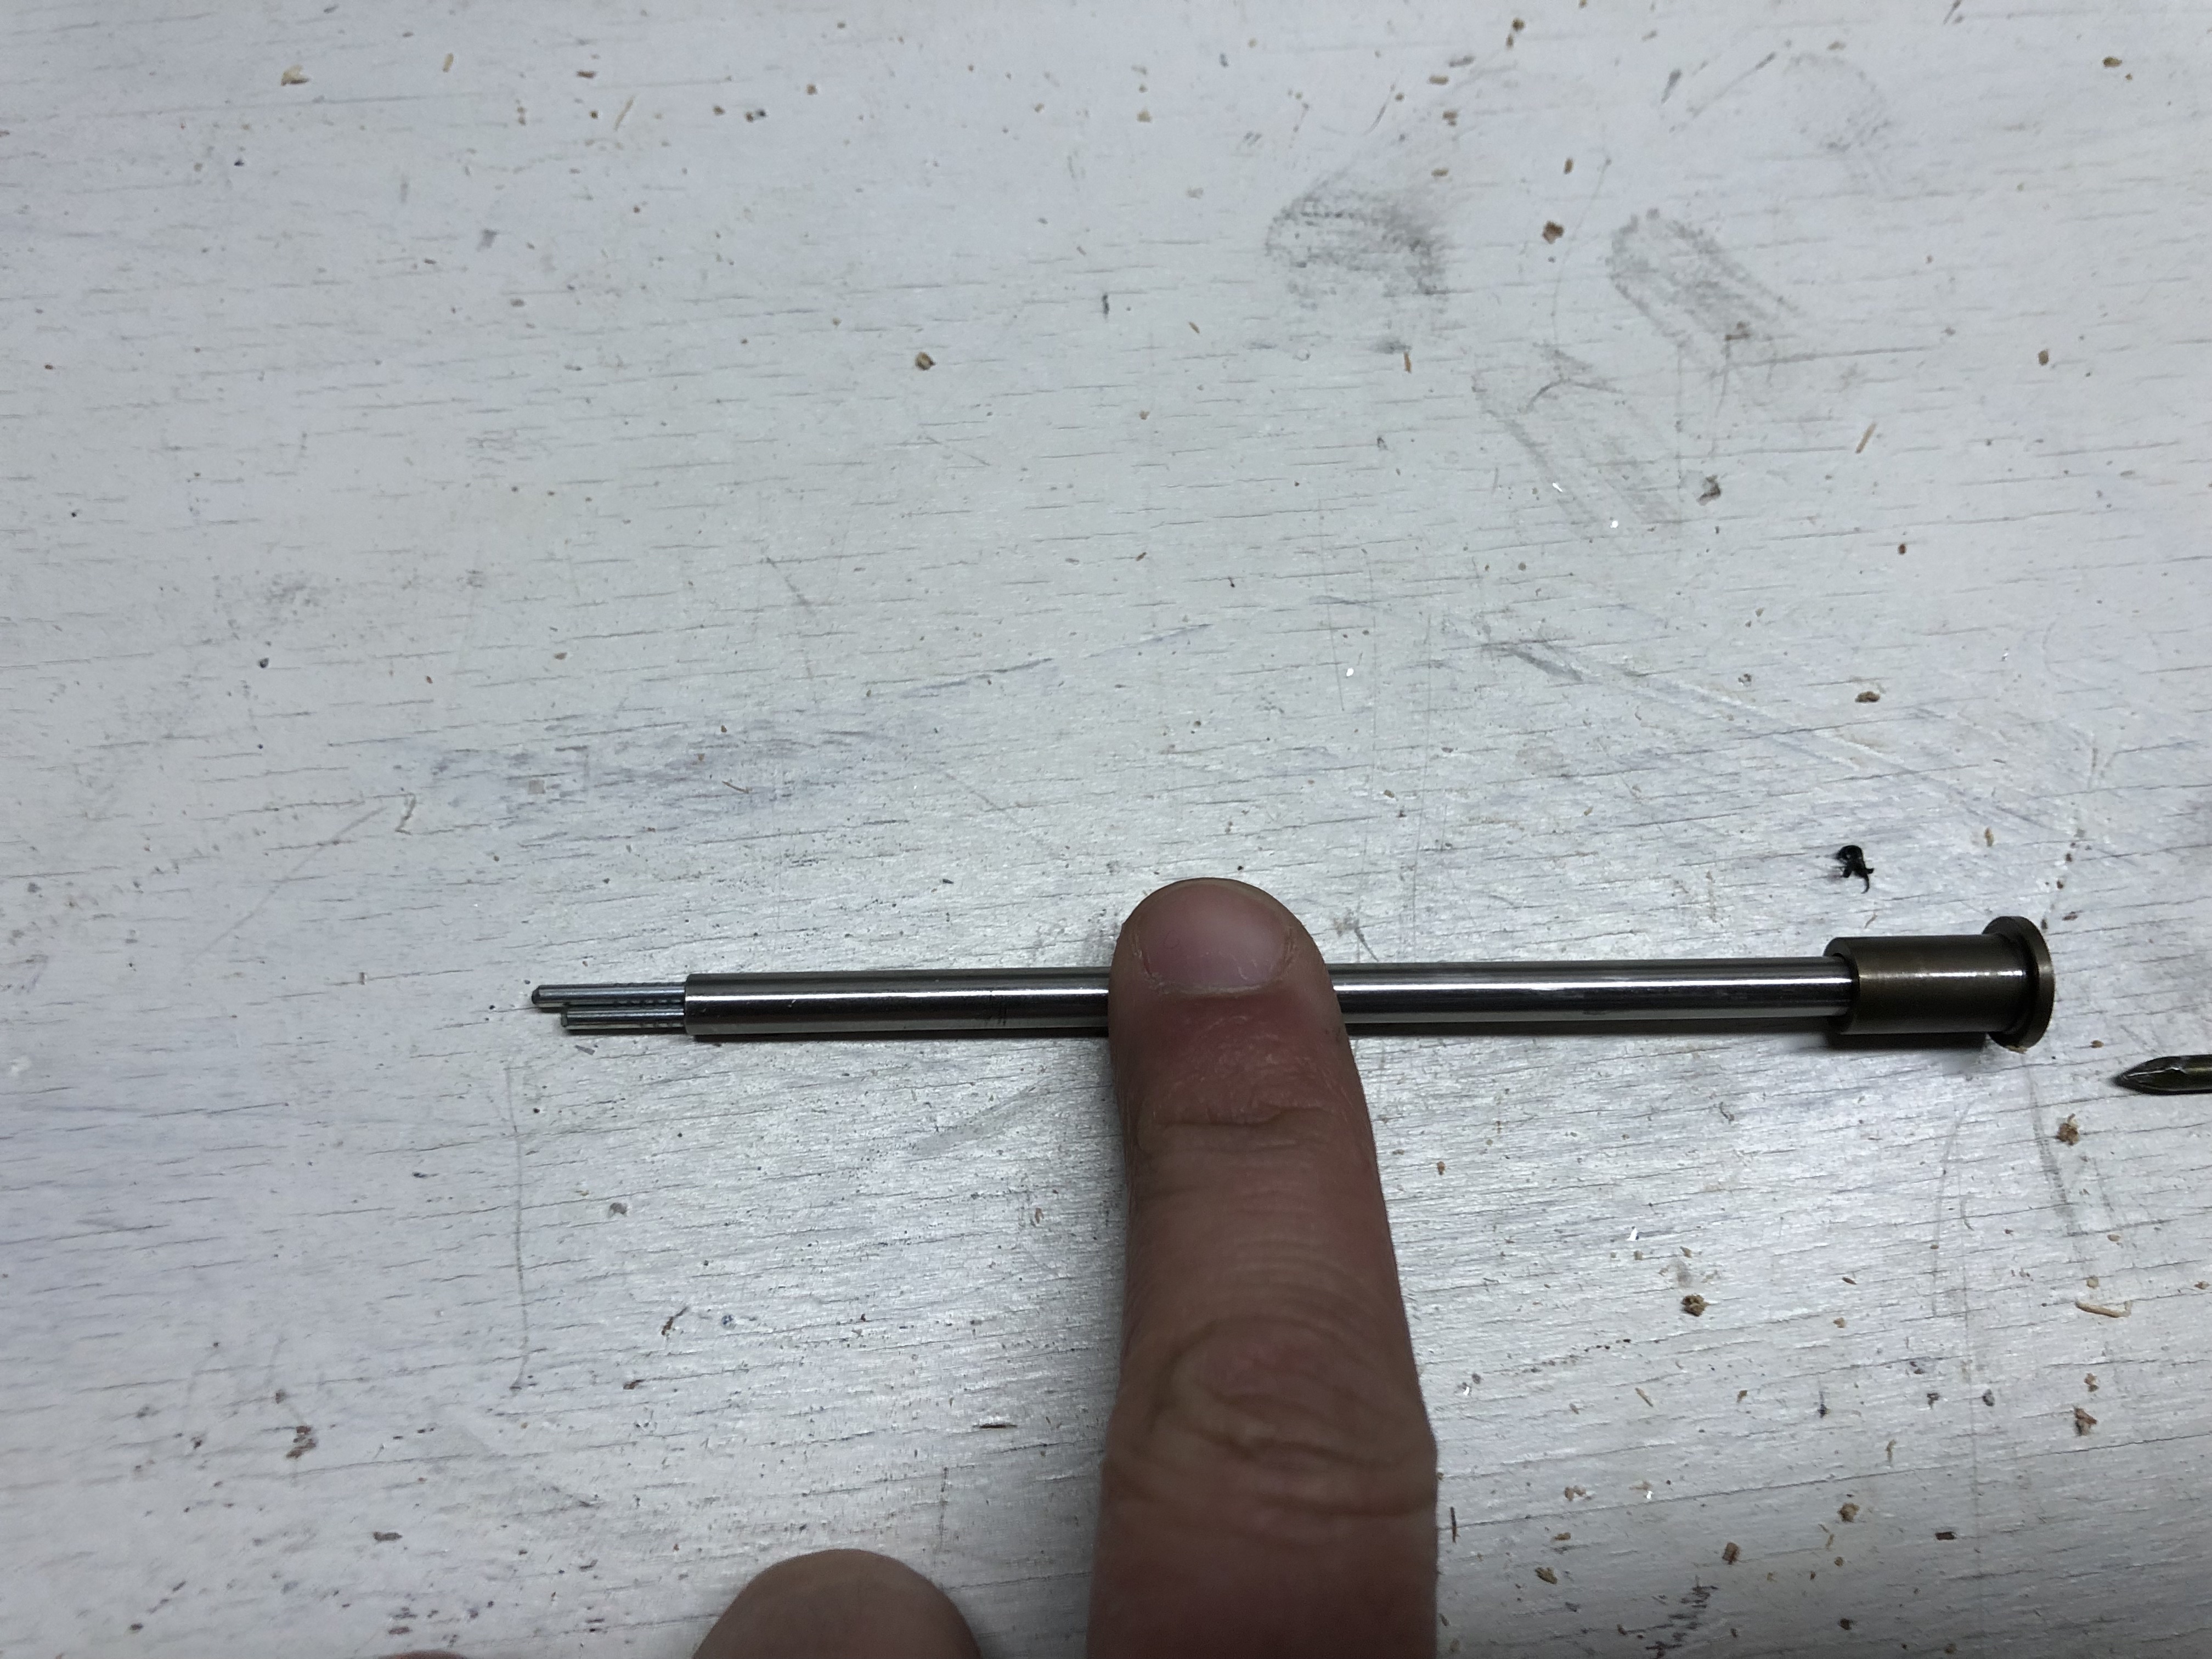
After a bunch of research on them, I actually ordered 2 different tools, one is made by Aircraft Tool Supply and creates a 100 degree dimple, and the other one promises to create a 120 degree dimple, I’m not sure who exactly actually makes it, but it’s sold via Wicks Aircraft tools. The 120 degree tool from Wicks is DT-17014 and it’s supposed to screw into a G28 hand riveter. Unfortunately the Hand Riveter I own seems to have smaller threads than the G28 hand riveter, so I decided to try it on my Milwaukee rivet gun which had the correct thread size. As I found out when I pulled with it, that ended up with too much force, so the head of the stem (which is a finishing nail) that is supposed to hold the back of the dimple in place actually deformed and got pulled into the top and got stuck.
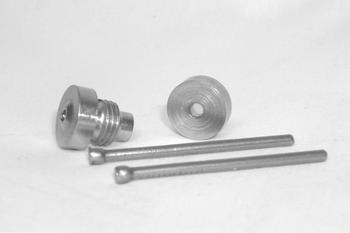
So after that happened, I had to cut off the nail, but I couldn’t pull it out of the tool, so I got out my Dremel and cut off the top part of the bit where the deformed head got stuck in. This way I could try to use the tool like the ATS pop dimple tool (5102D-1/8) works, which just sits on top of the rivet puller. ATS tool on the left and the other one on the right (after I cut off the top):
So now after that modification to the tool, I tried both by holding my test piece onto the existing dimples of the Horizontal Stabilizer and determined (as expected), that the 120 degree dimple has the better fit, so I used that one to make the dimple to the skin. It came out well and the countersunk rivet sits flush like the other dimples. So for one or two dimples, this works out nice and easy and I didn’t have to go and get a dimpling press.
Riveting the skin
Once all that was said and done, I got to work and riveted the complete bottom of the left side skin. Then turned it around, removed all the Clecos from the top side one last time so I could apply the Sealant to the support plate like I did on the other side. And then I finished up riveting the top side.
20190323_185614013_iOS
Bottom left side riveted together
Top left side ready to rivet
Sealant applied to the support plate
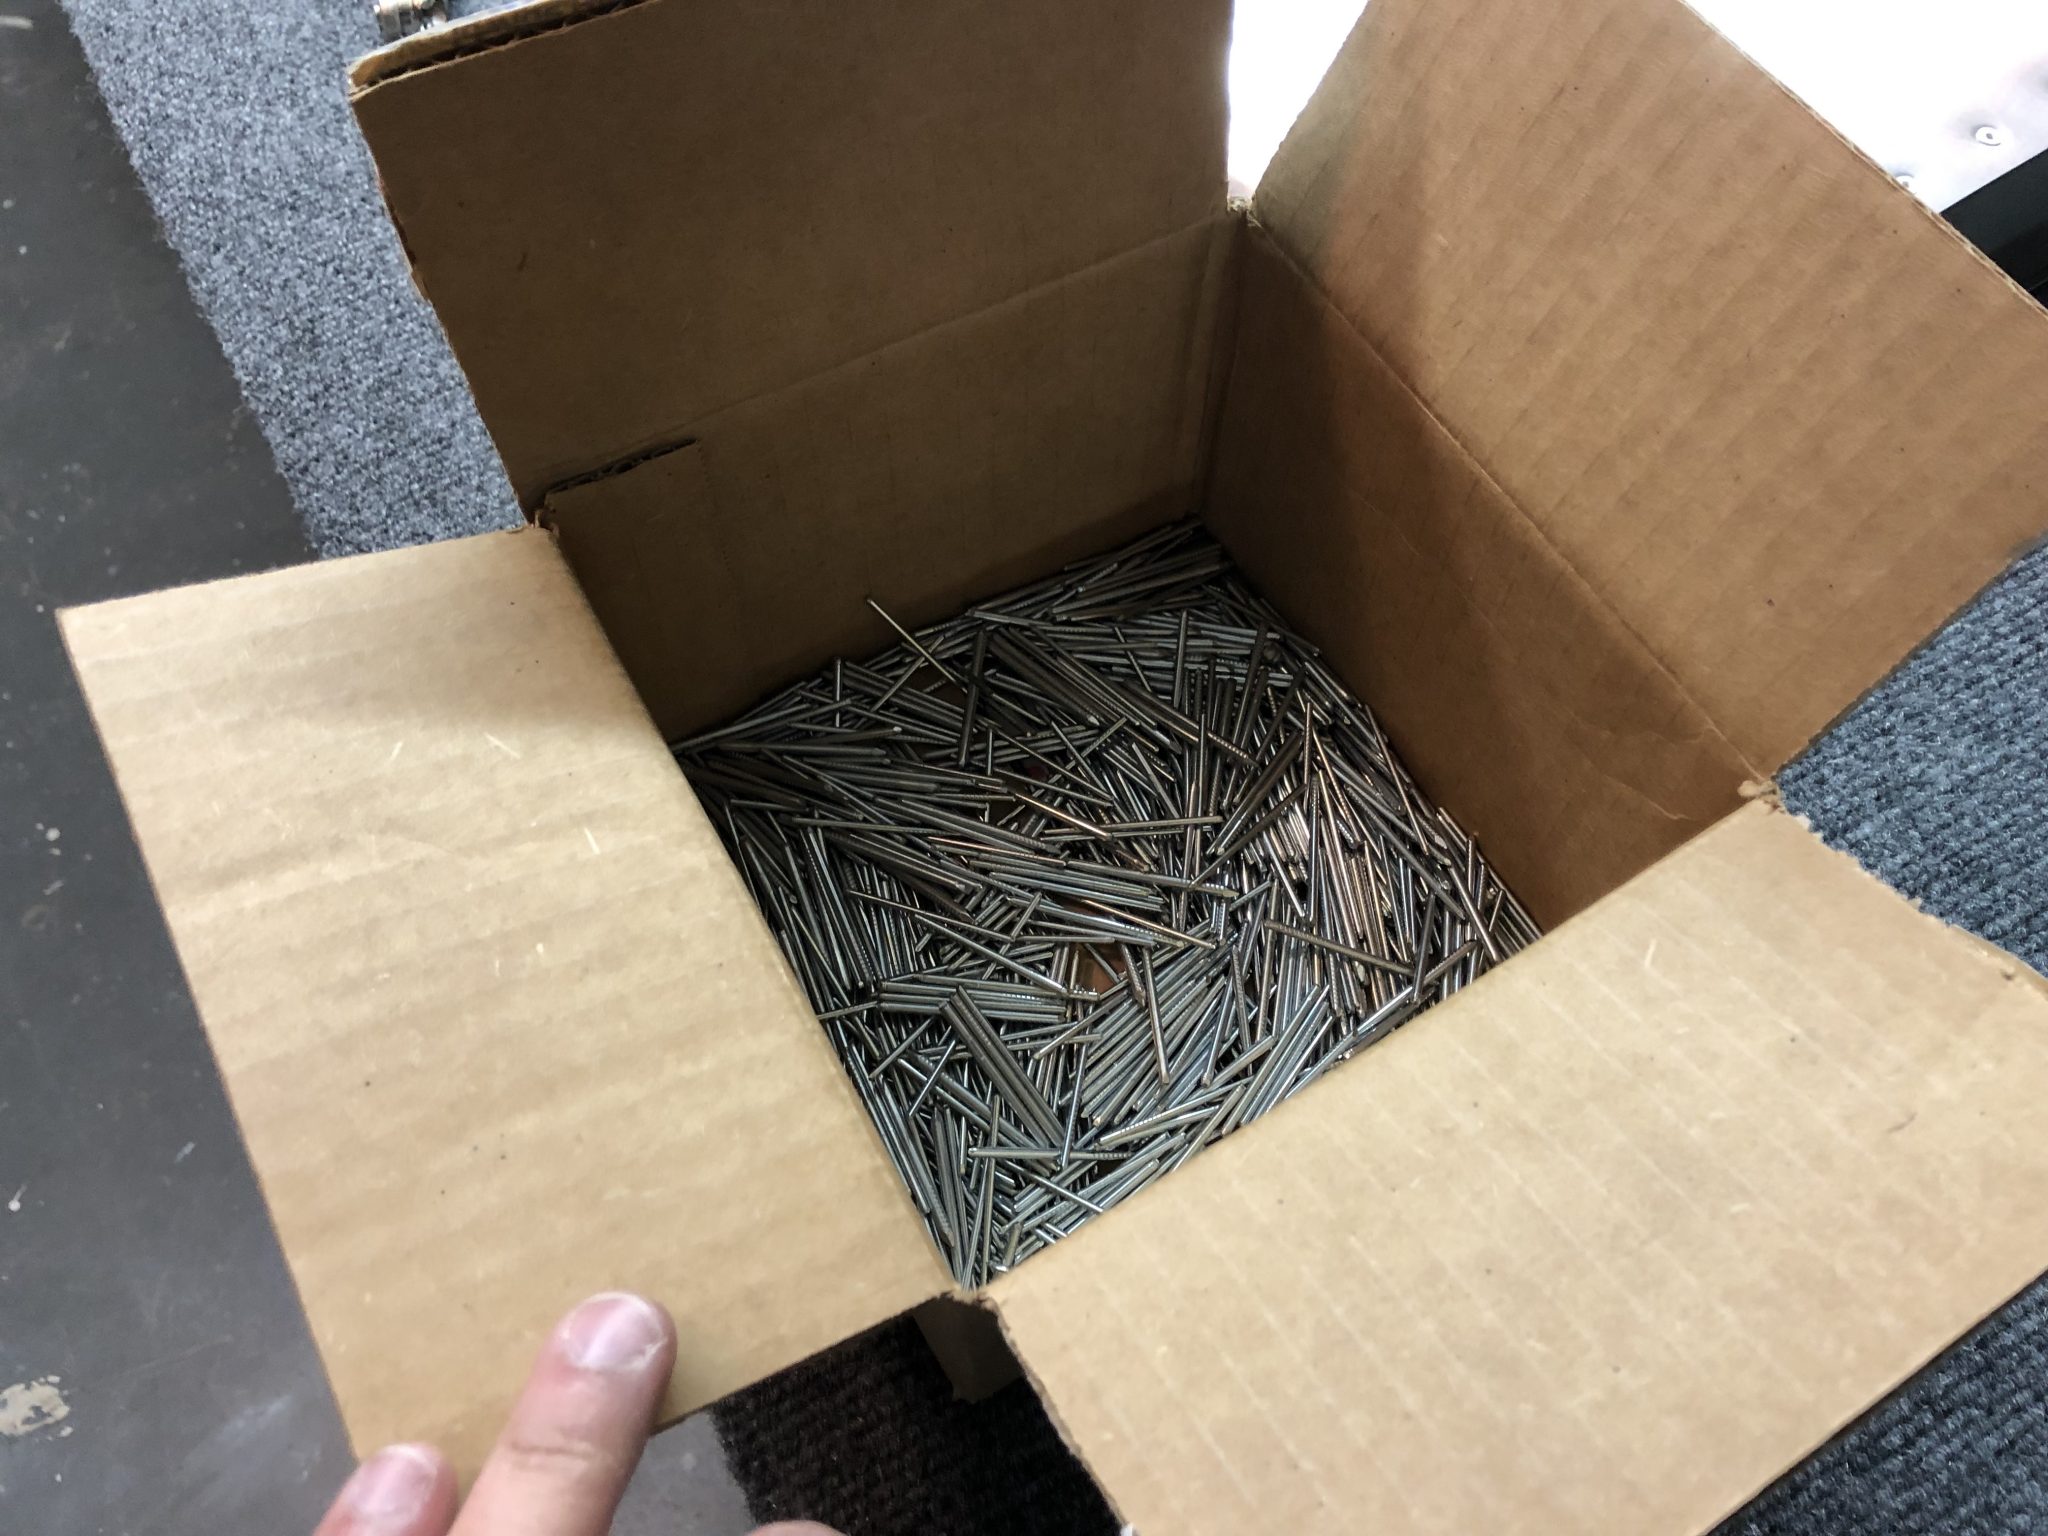
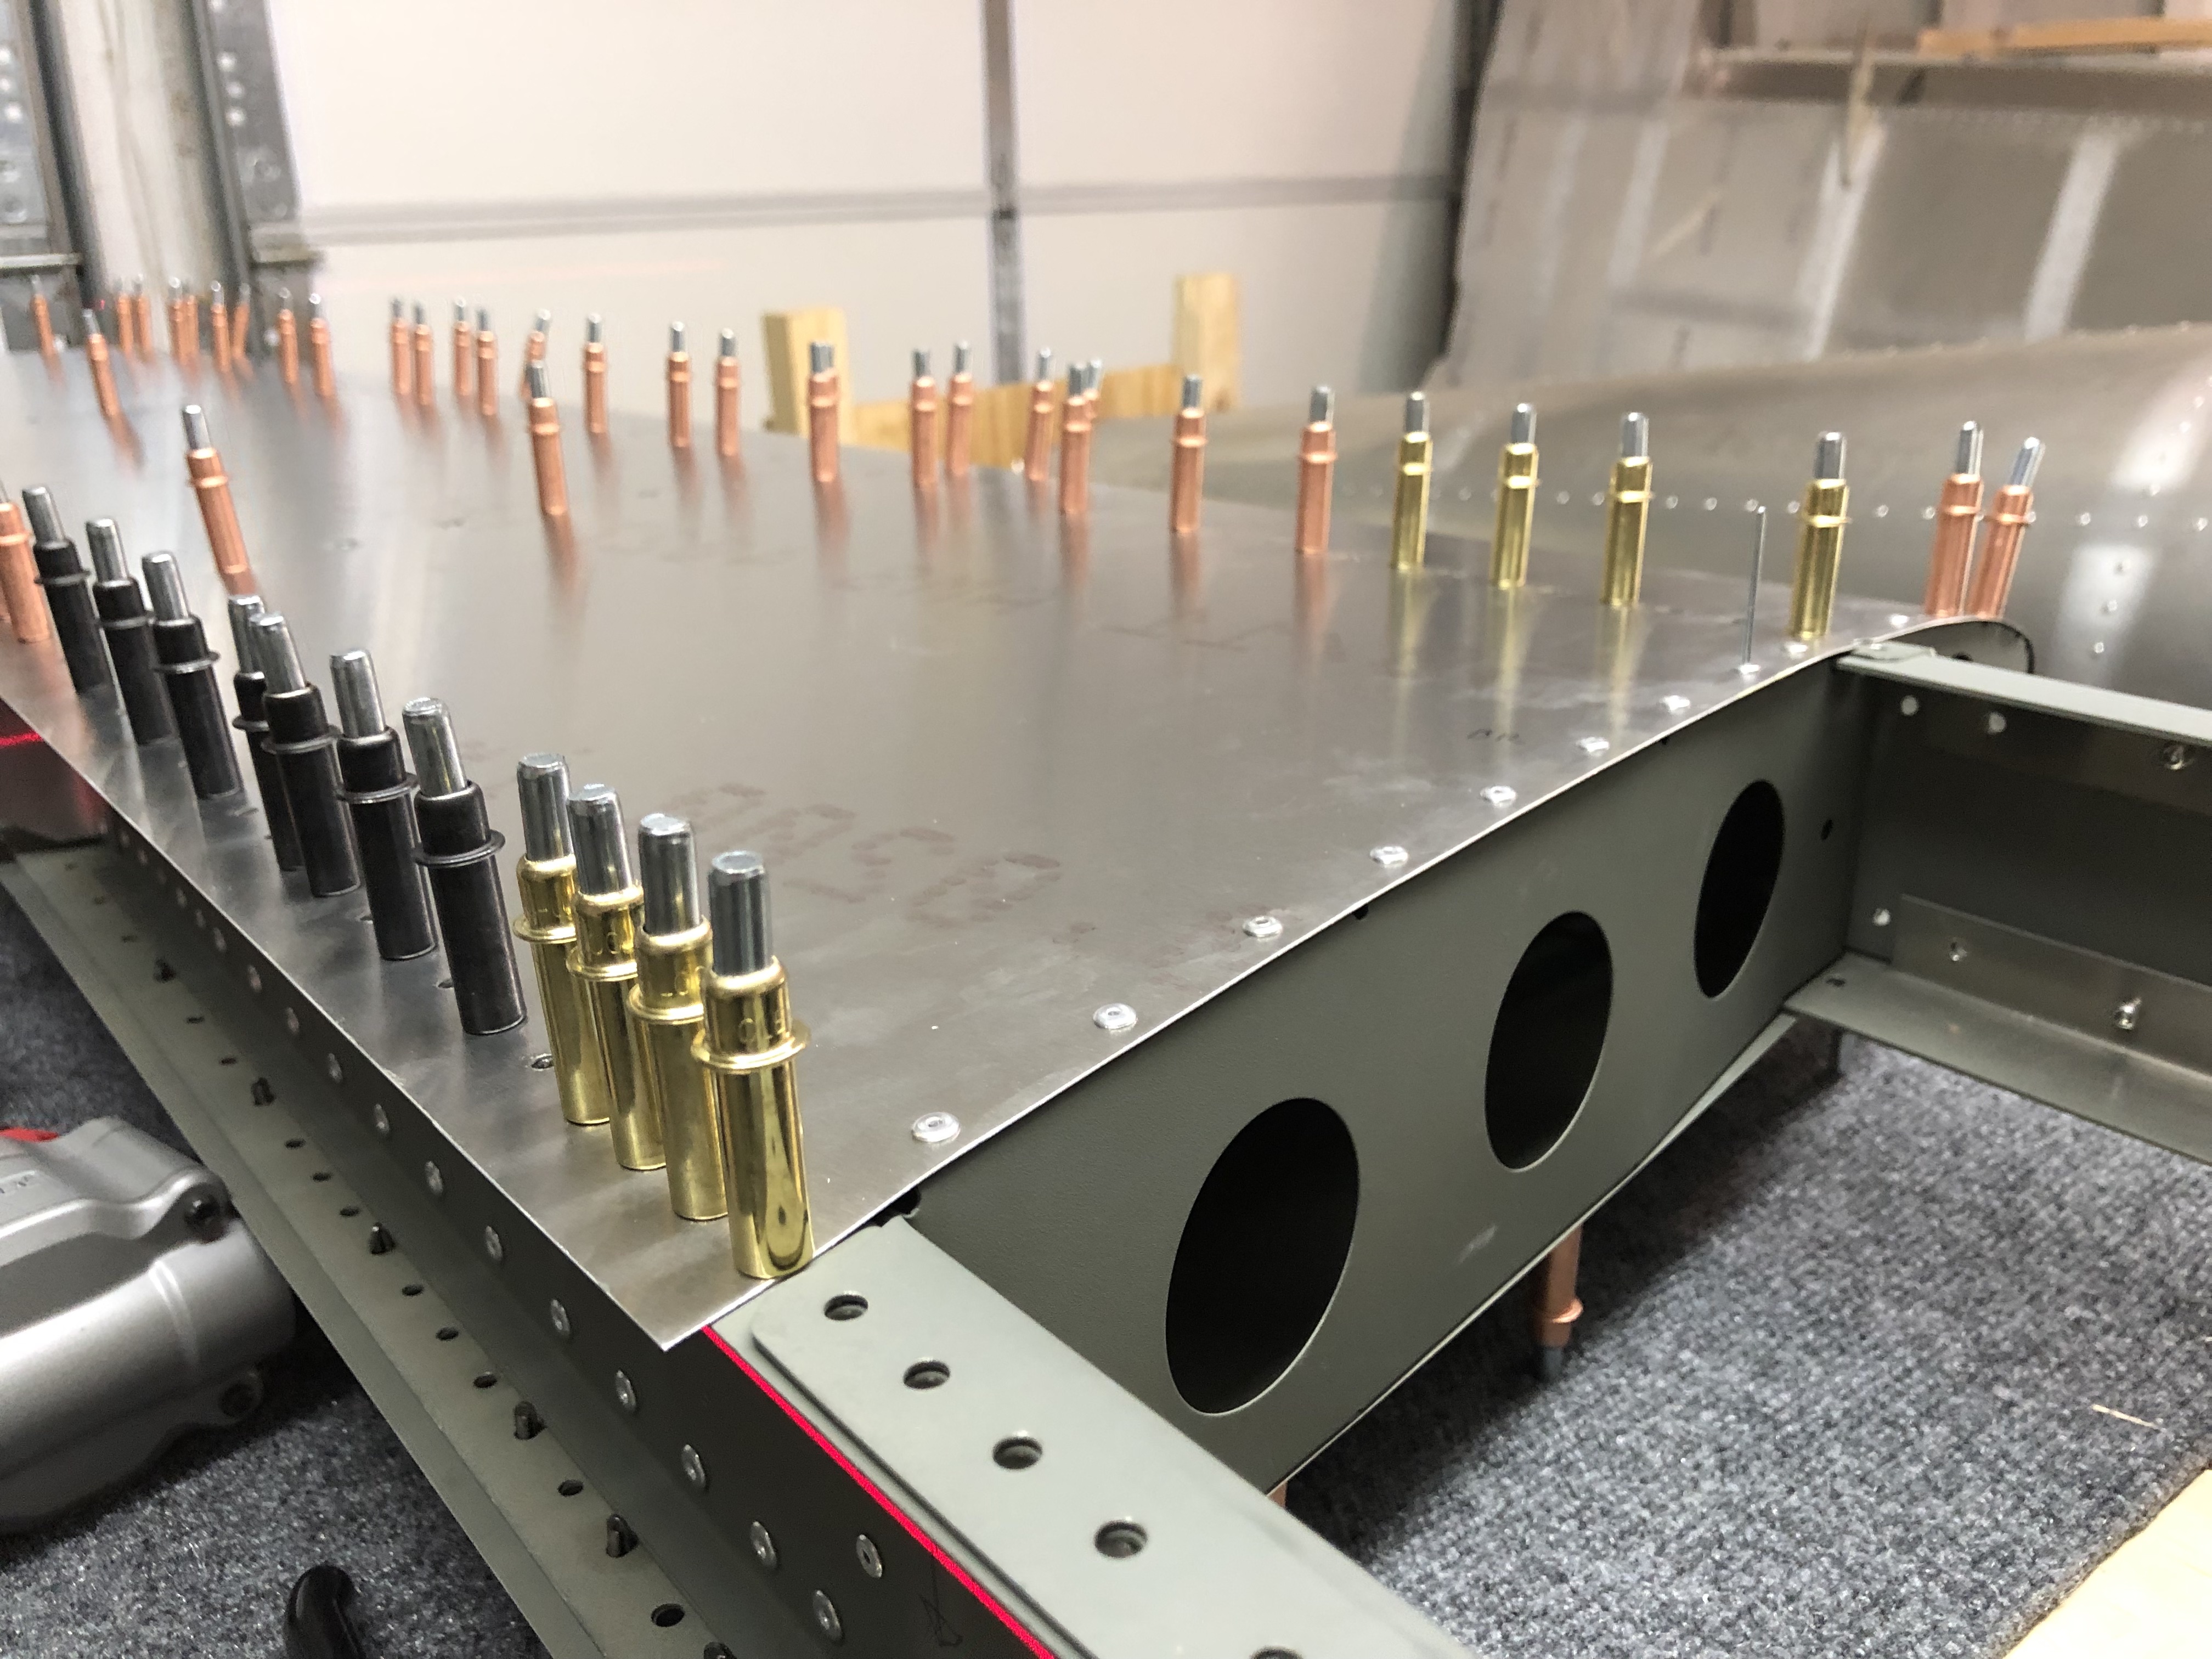
A few hundred rivet stems after all the riveting of the Horizontal Stabilizer was done
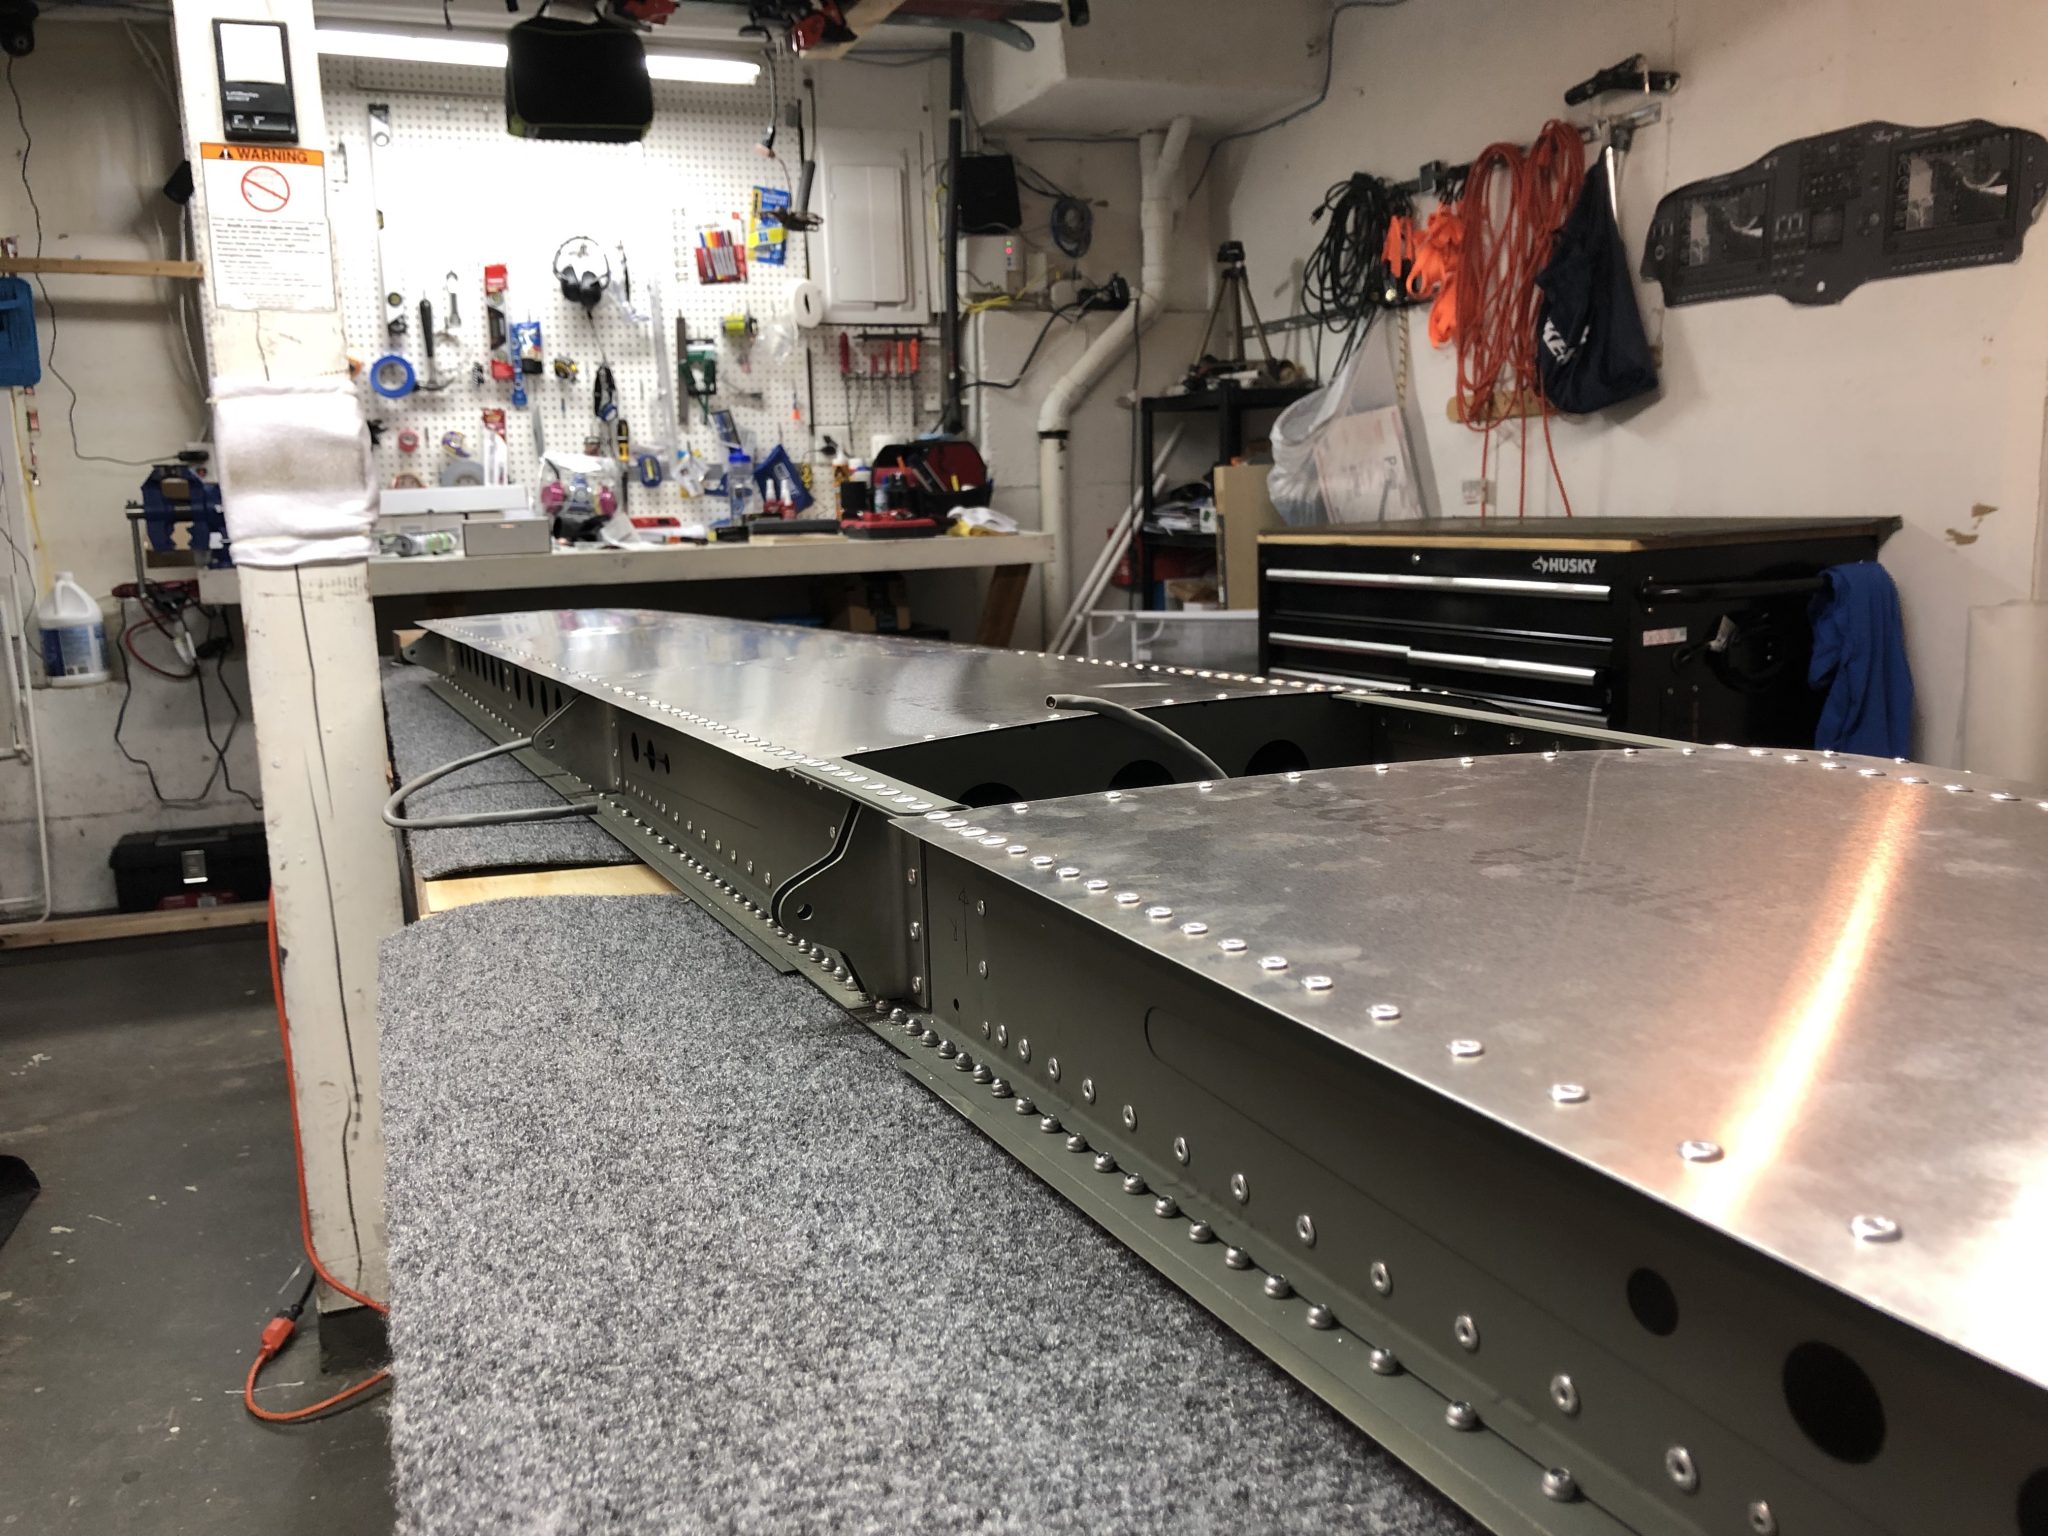
Finished riveting the Horizontal Stabilizer
Timelapse Video of Finishing the Horizontal Stablizer
And lastly as promised, here’s the timelapse video of the whole endeavor of the Horizontal Stablizer.
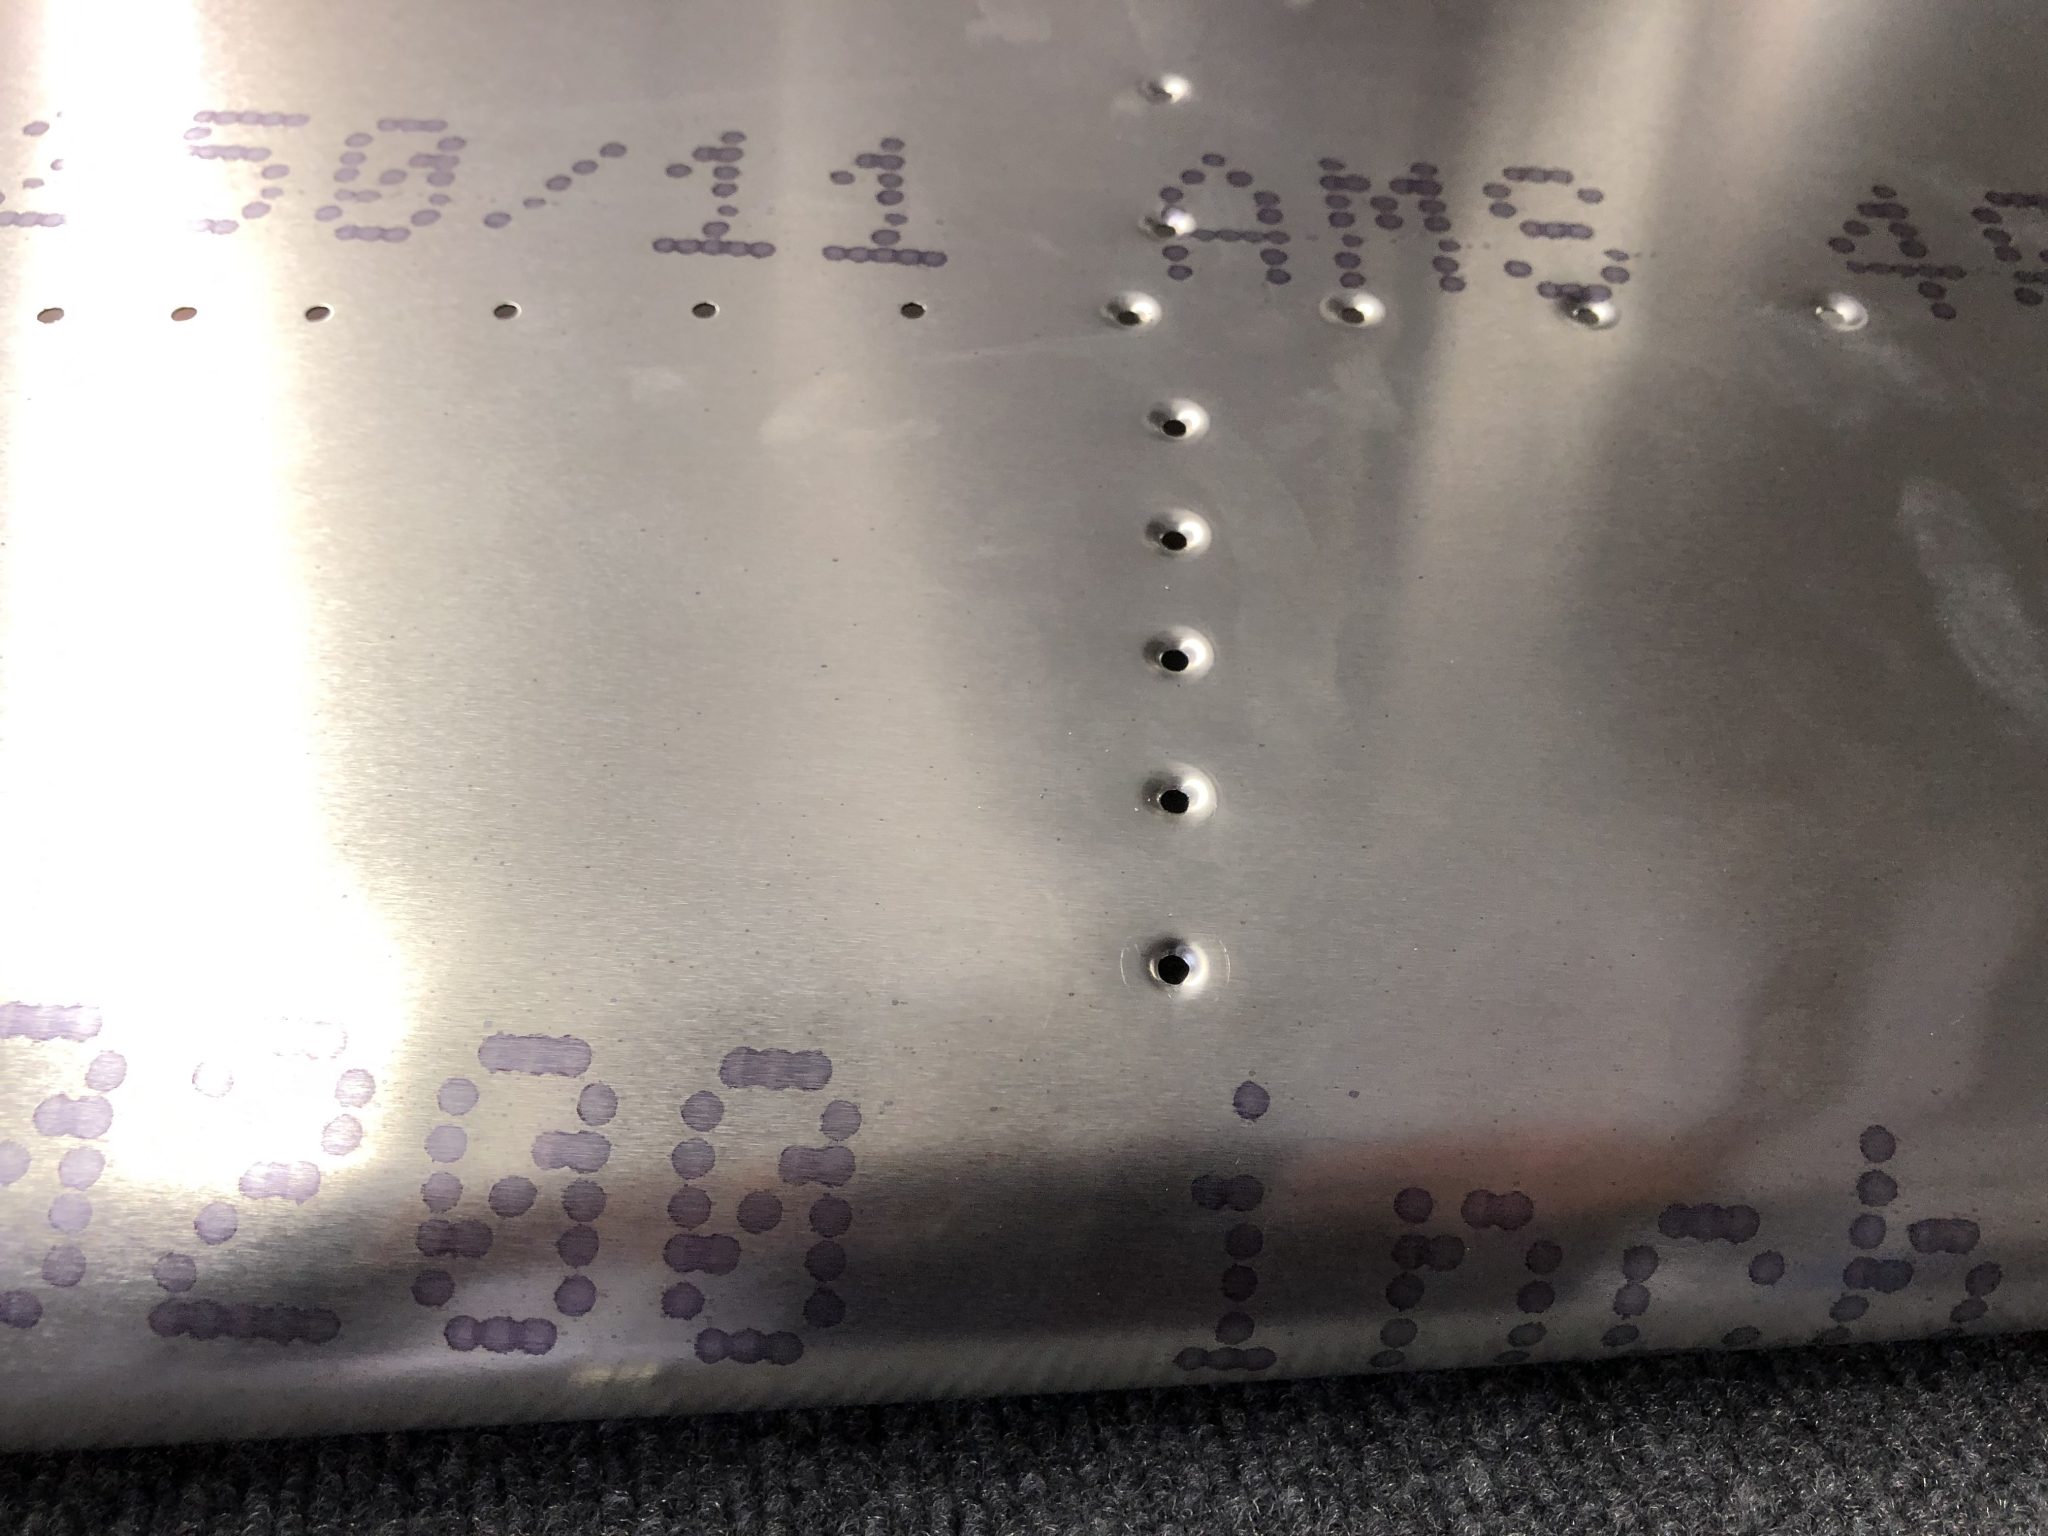
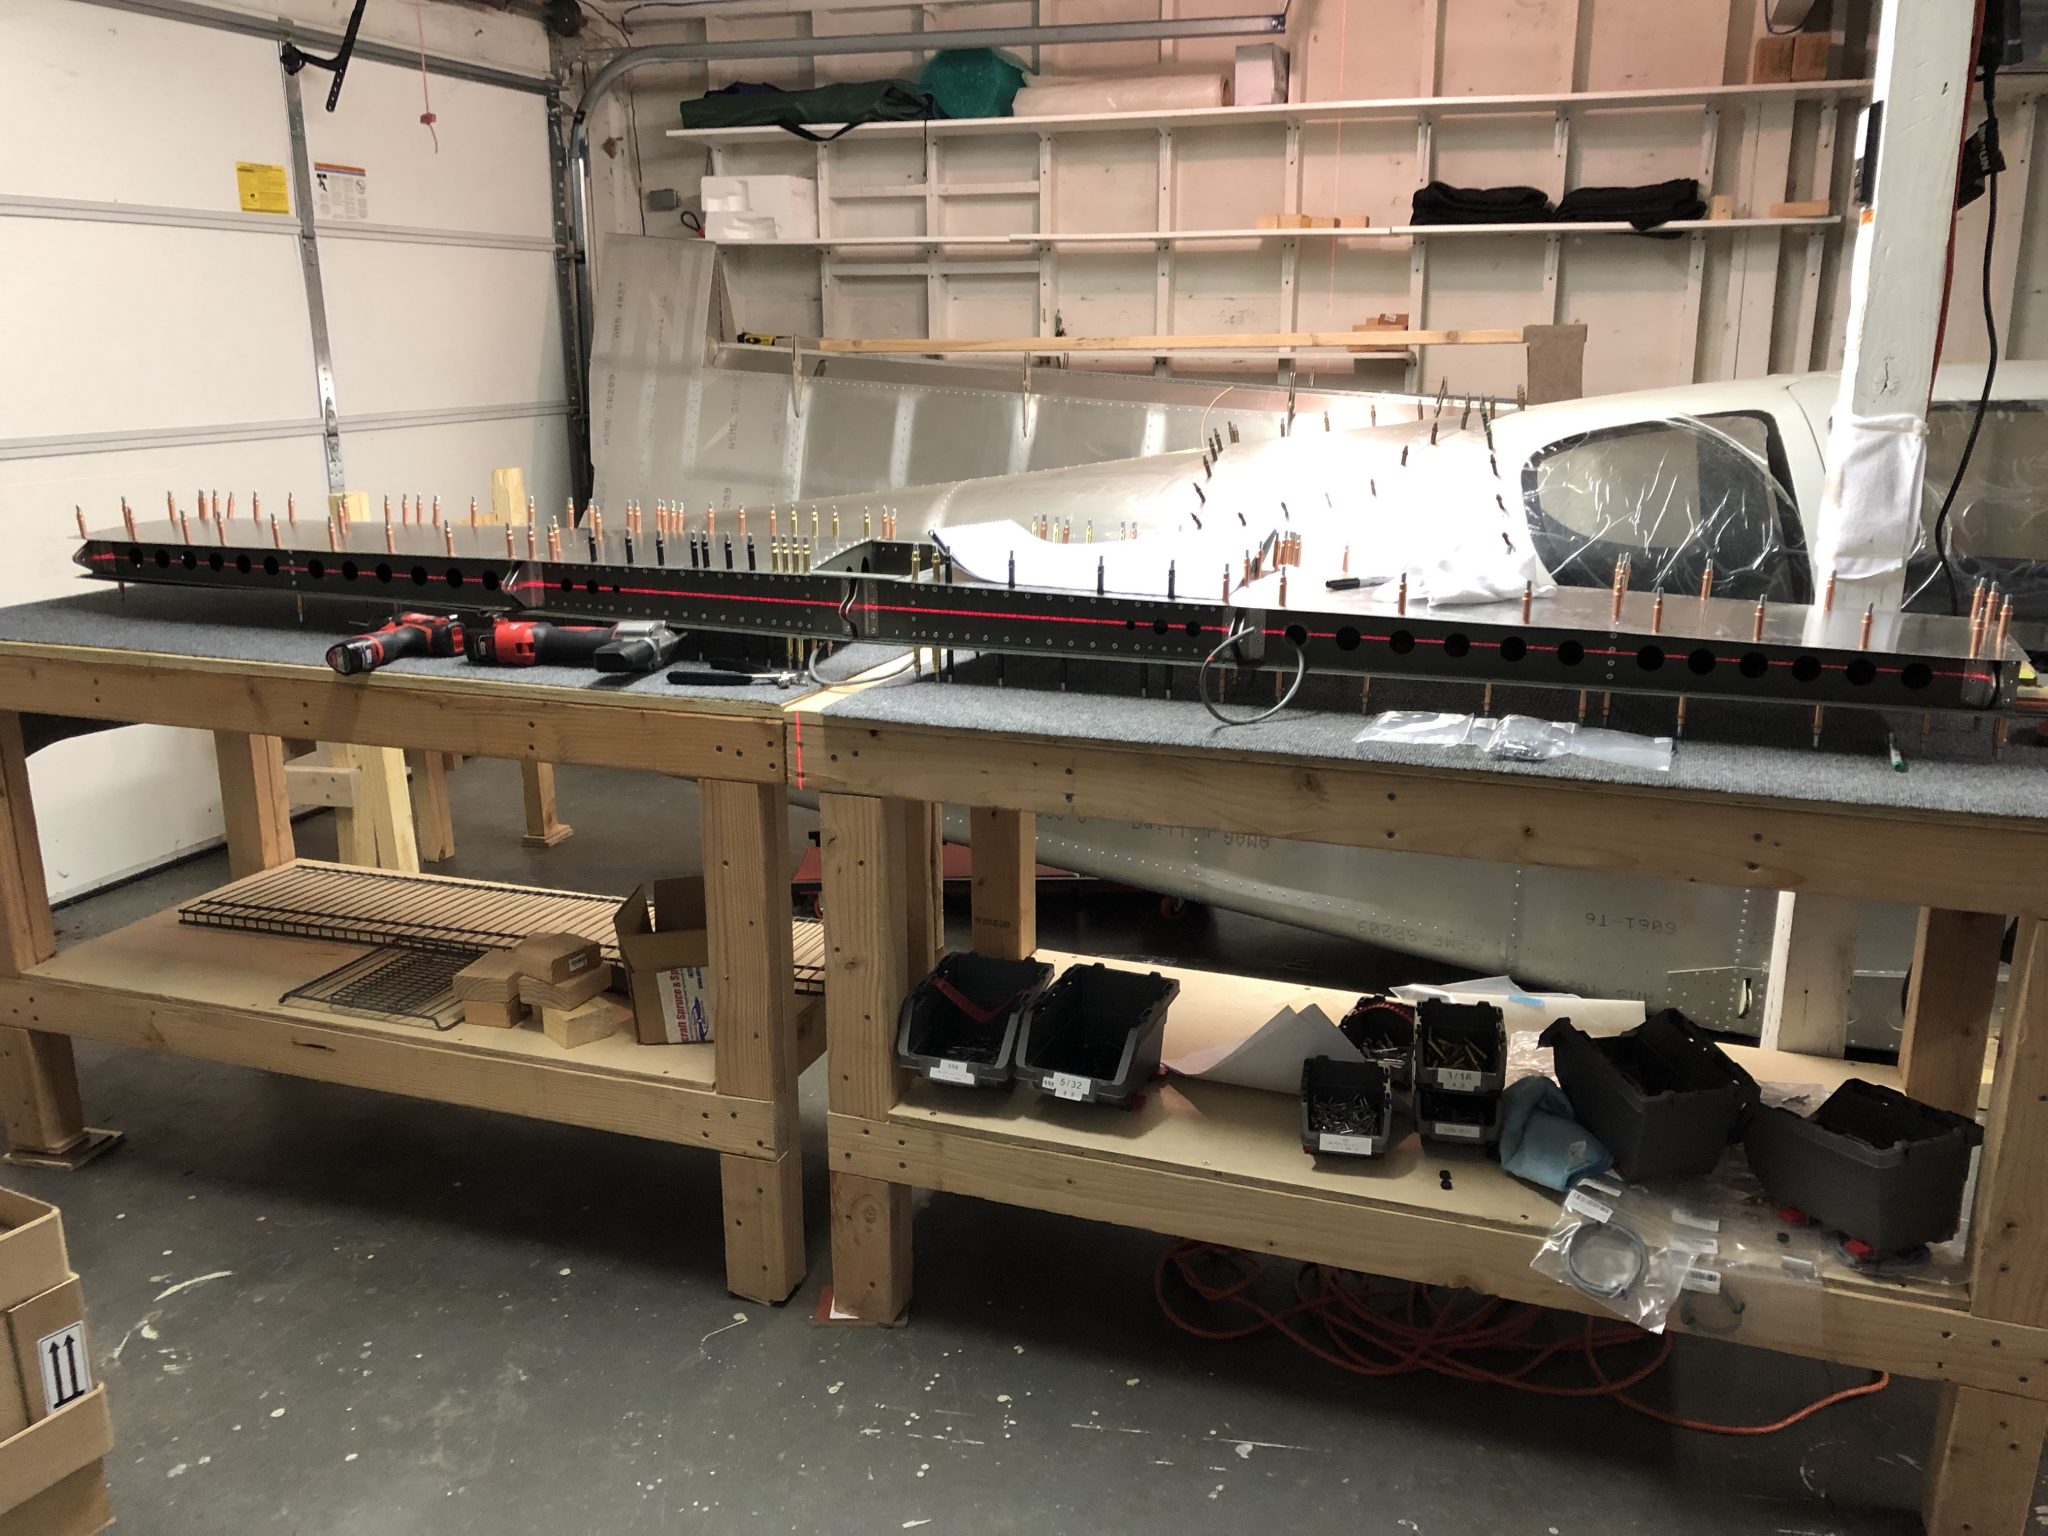
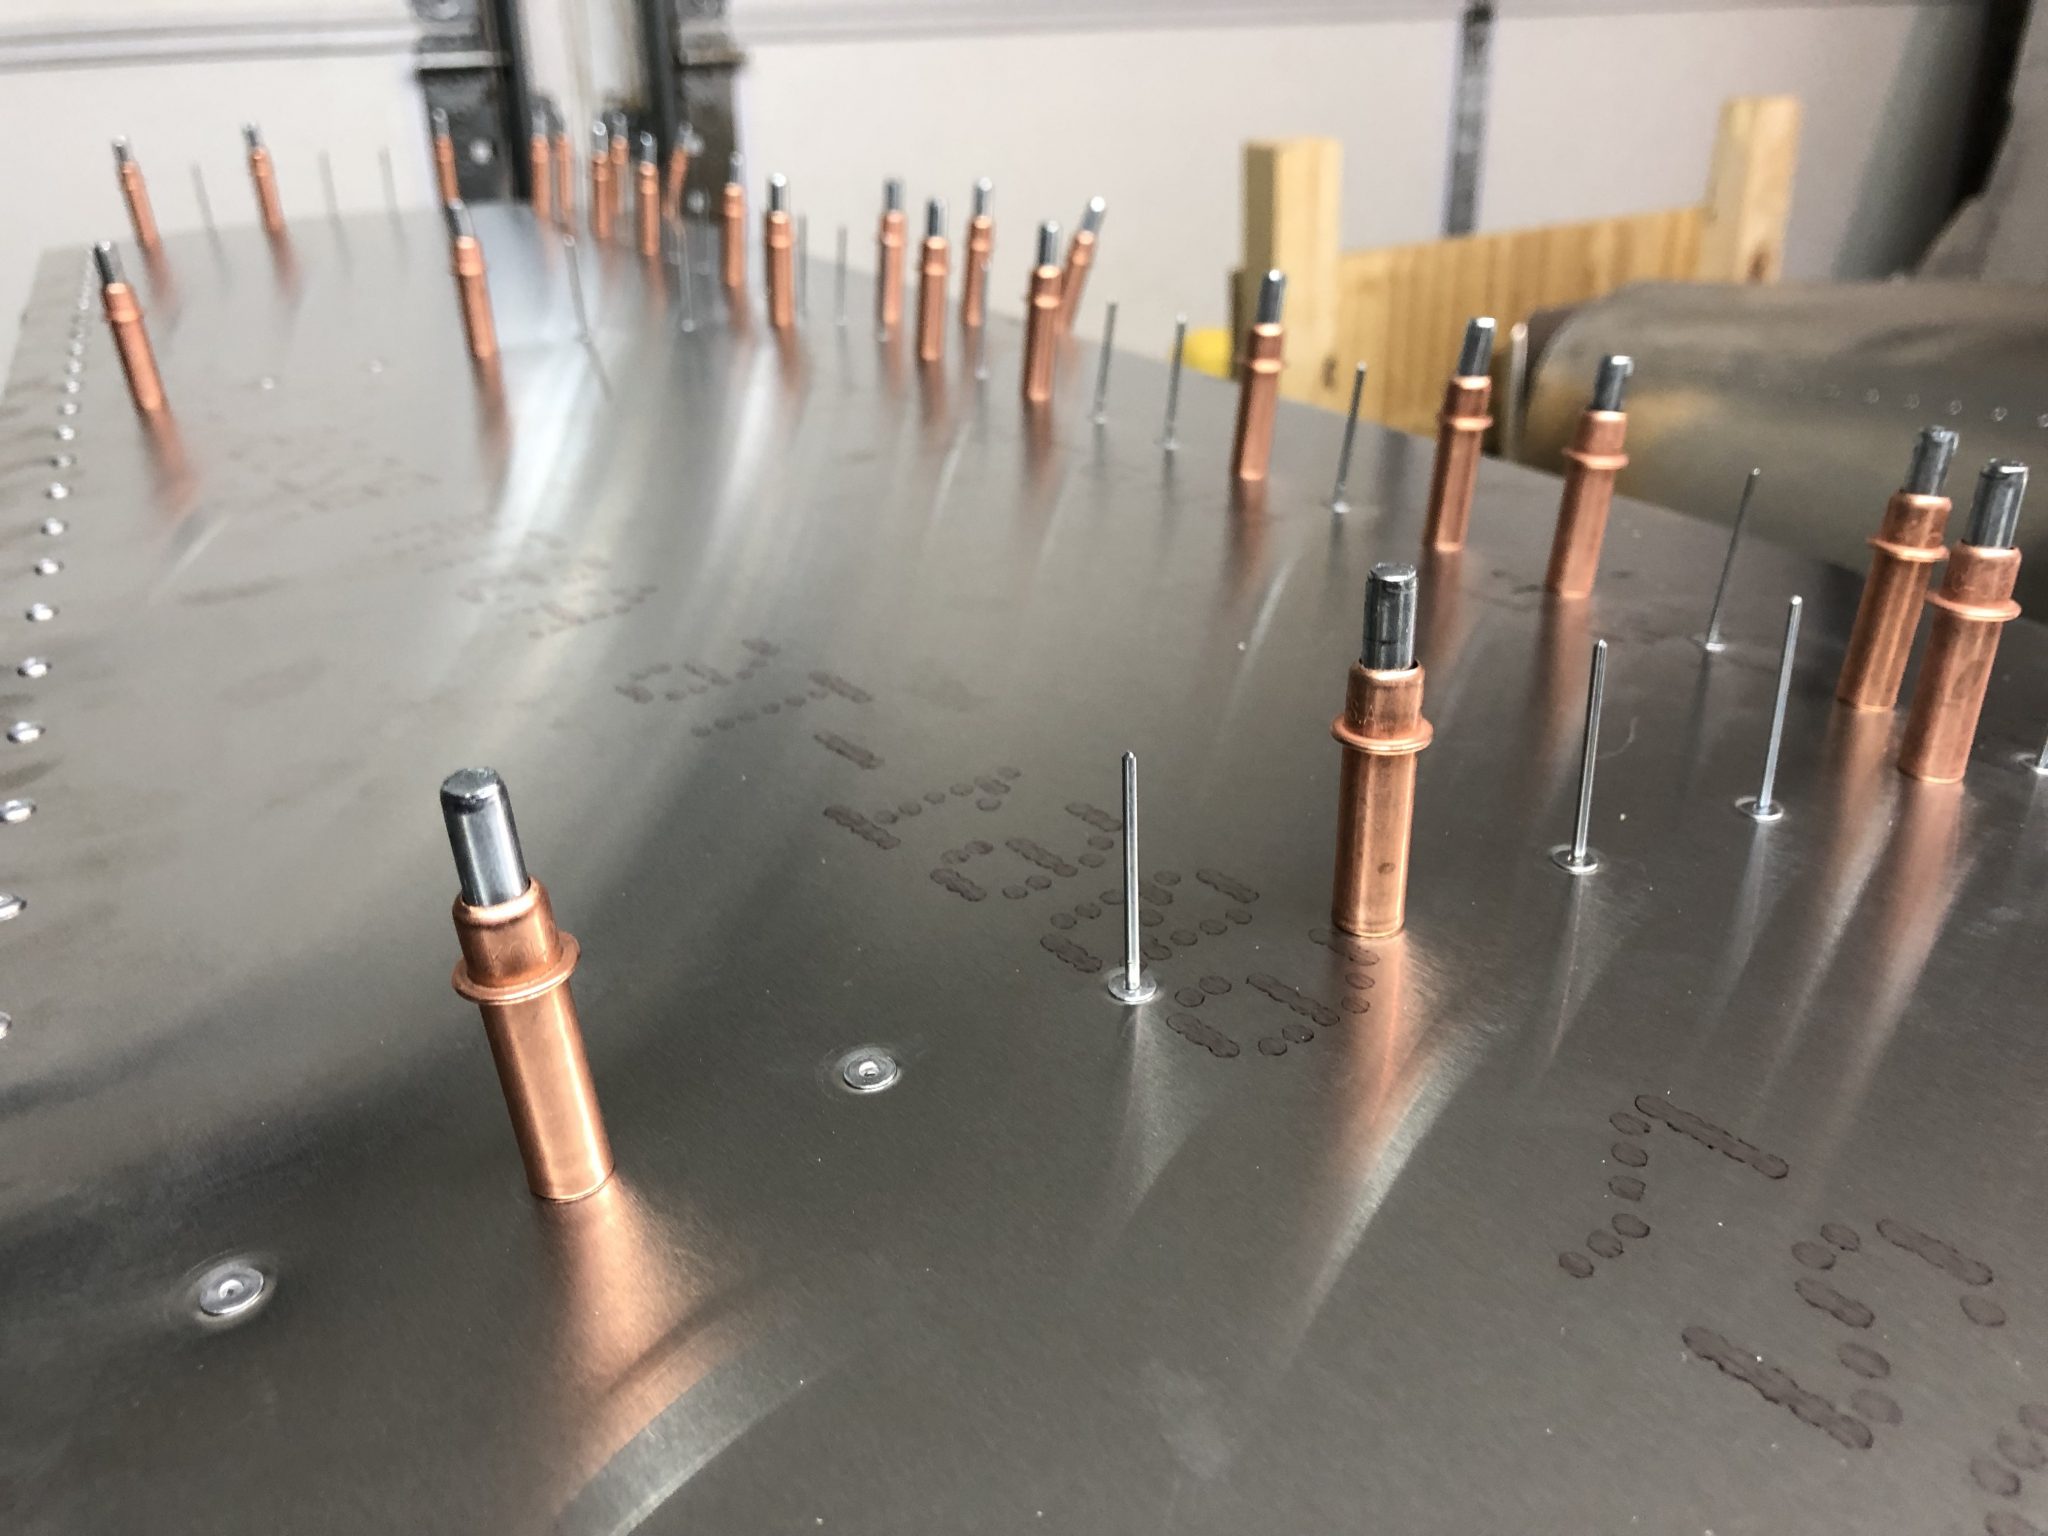
The journey of the Horizontal Stabilizer continues with match up-drilling all the dimpled holes to fit the countersunk rivets. So basically this, multiplied by 200:
After I was done, I took off the skin one last time to clean out all the debris from the drilling and check and fix any burrs. After that it was time to put it back together again and do one last check for alignments before riveting using my self leveling laser level.
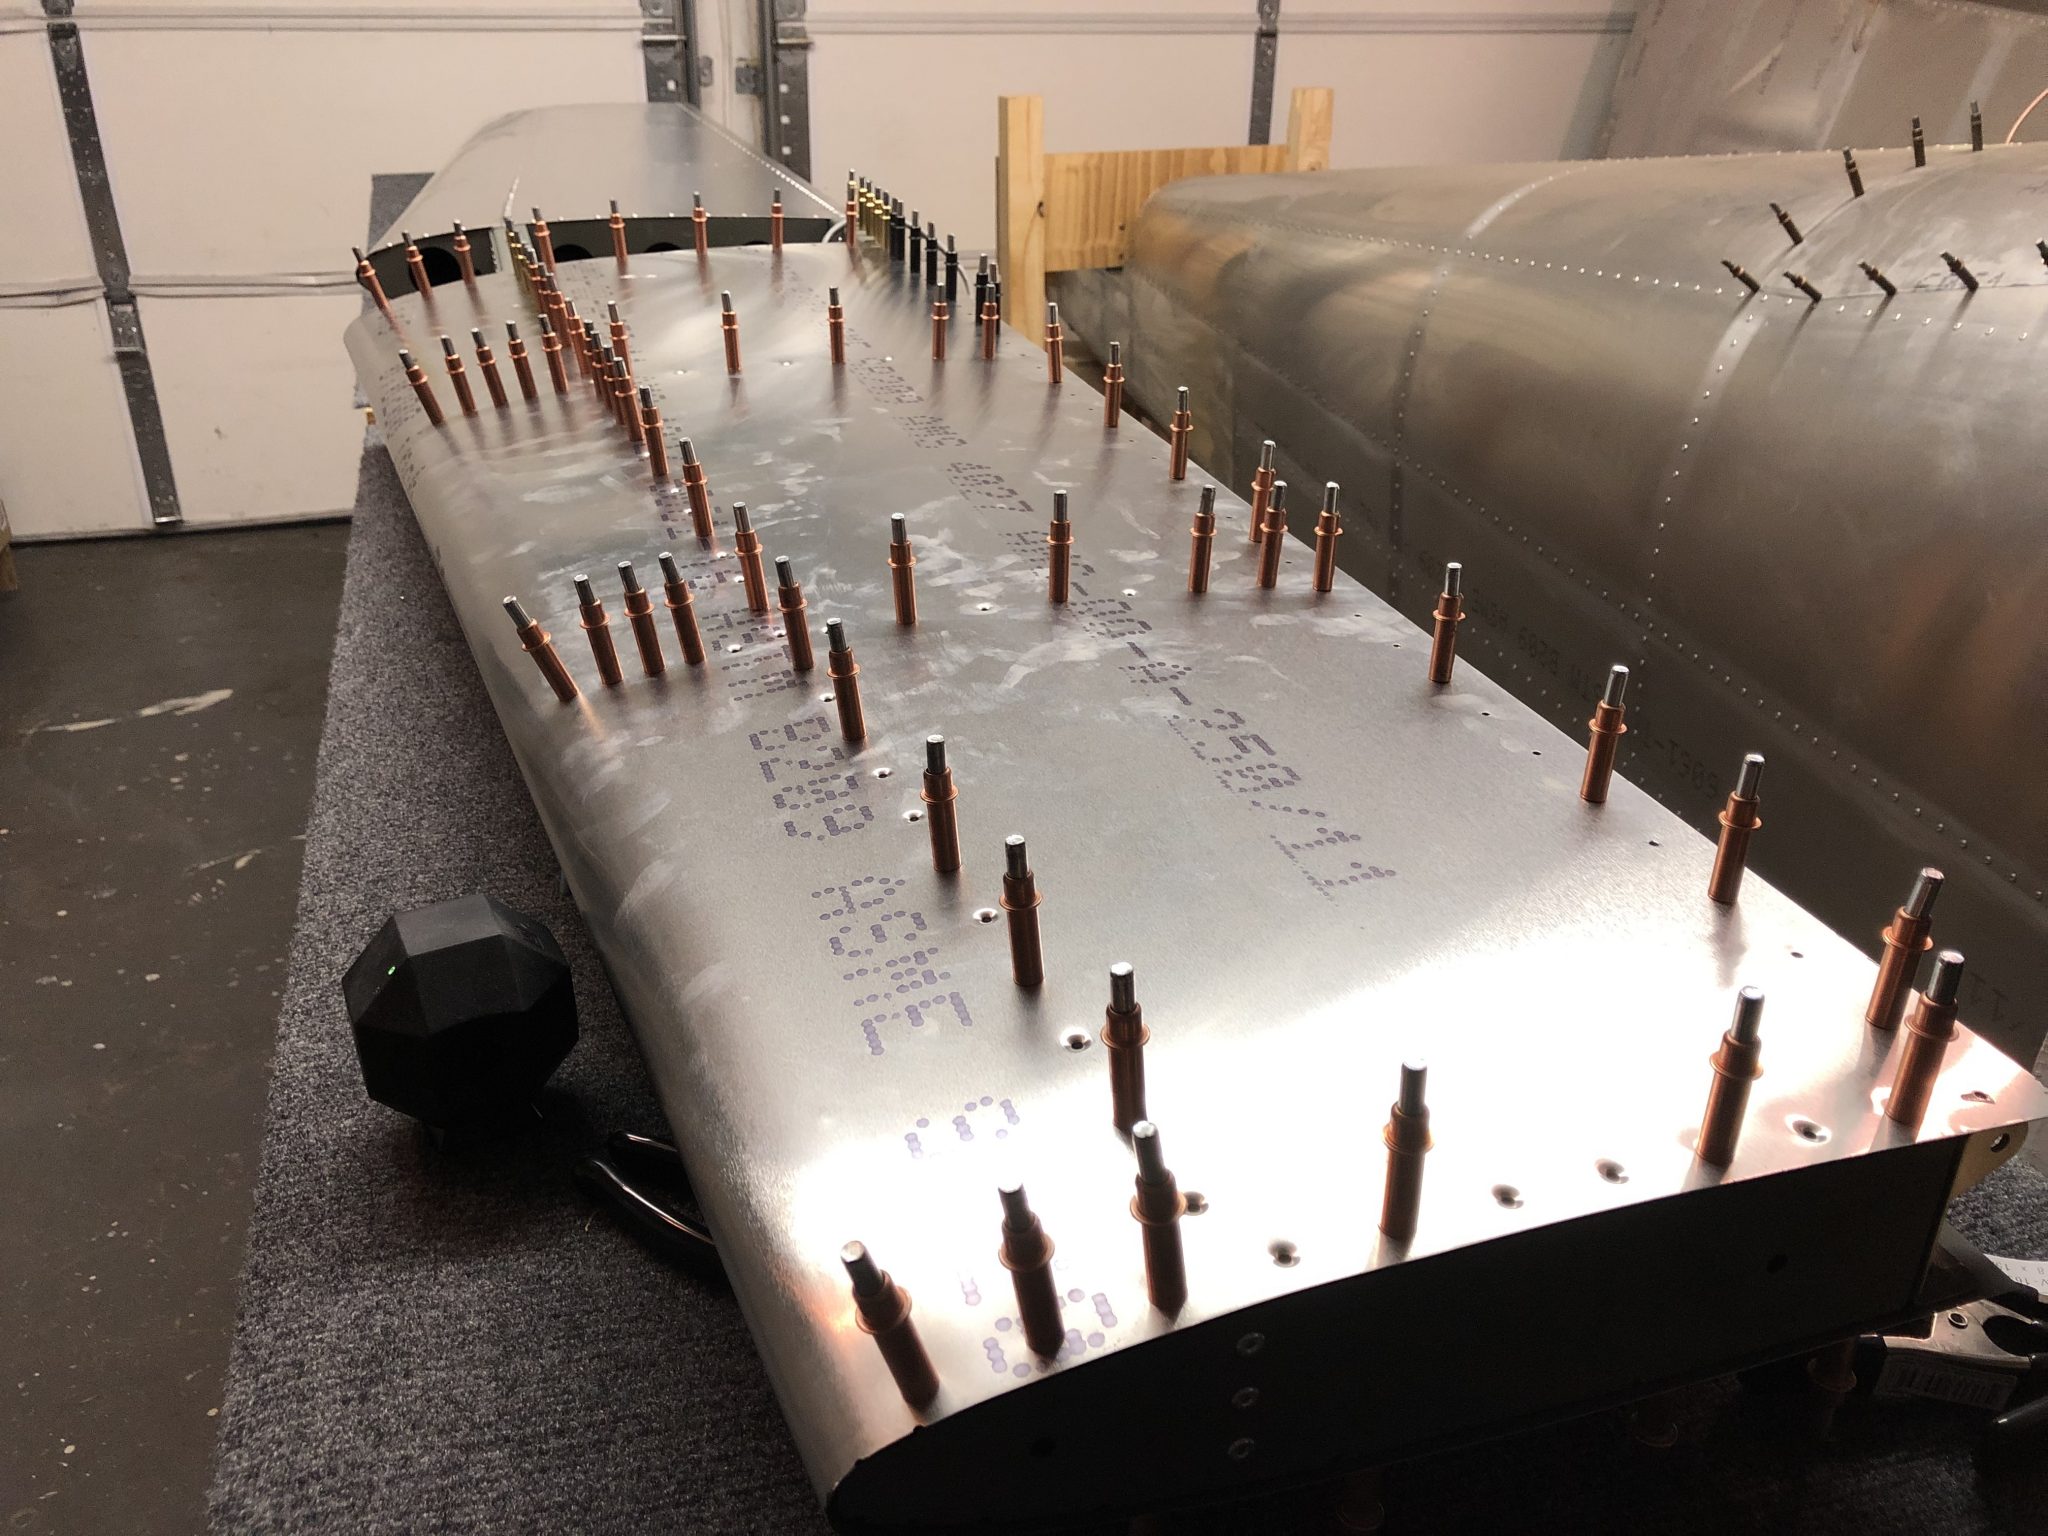
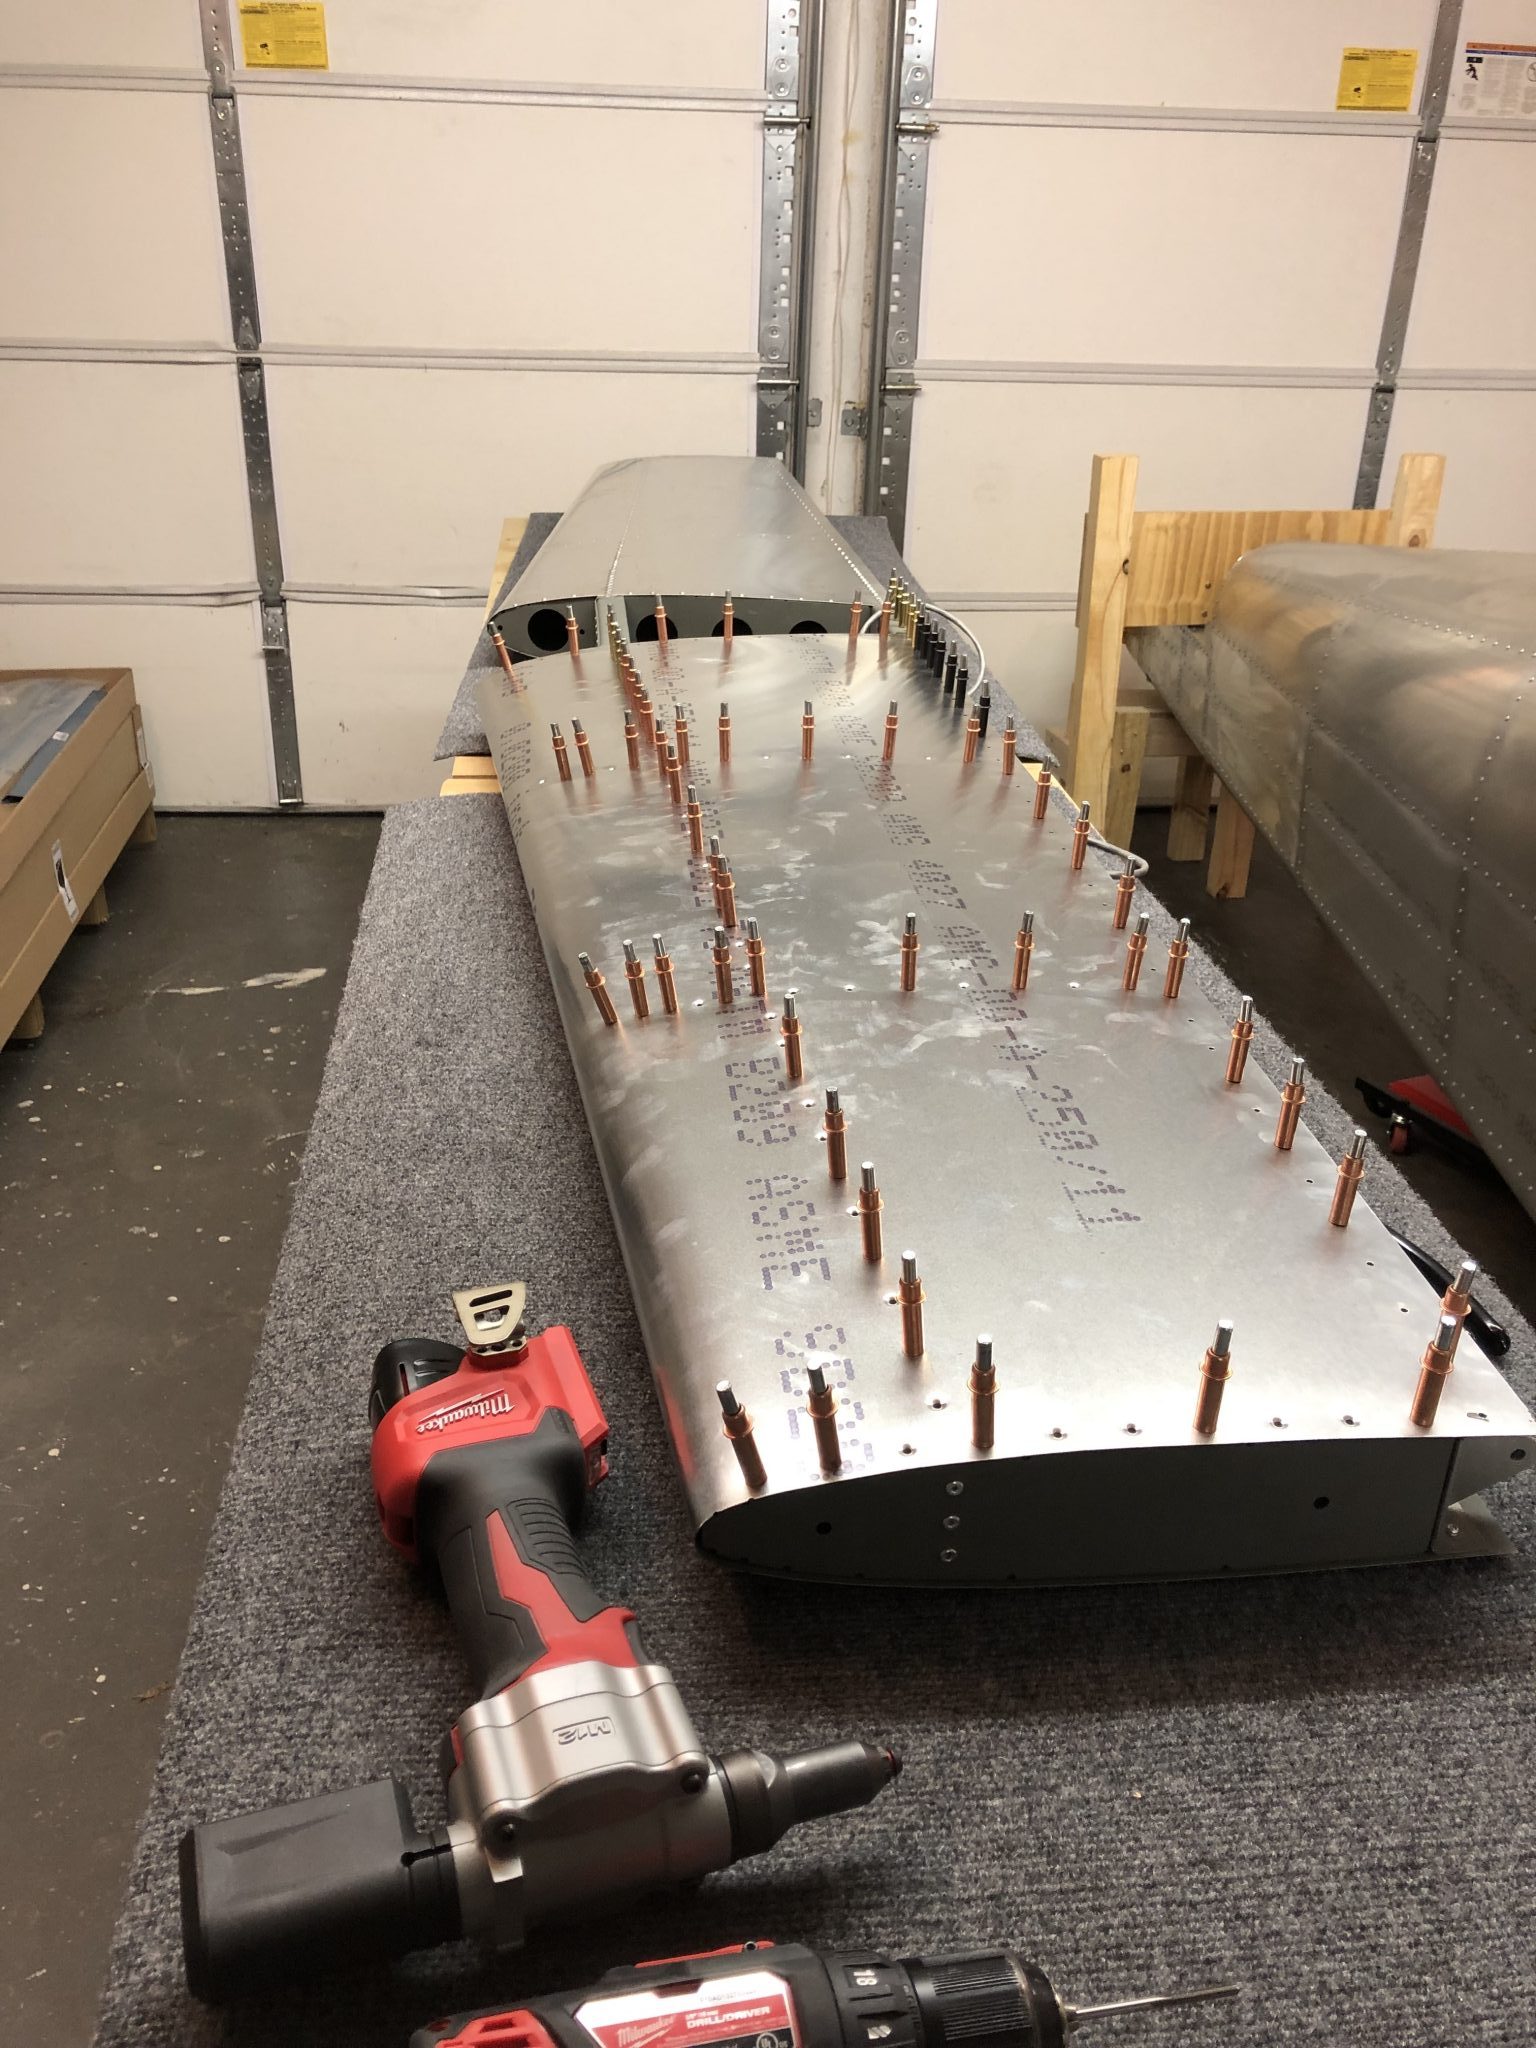
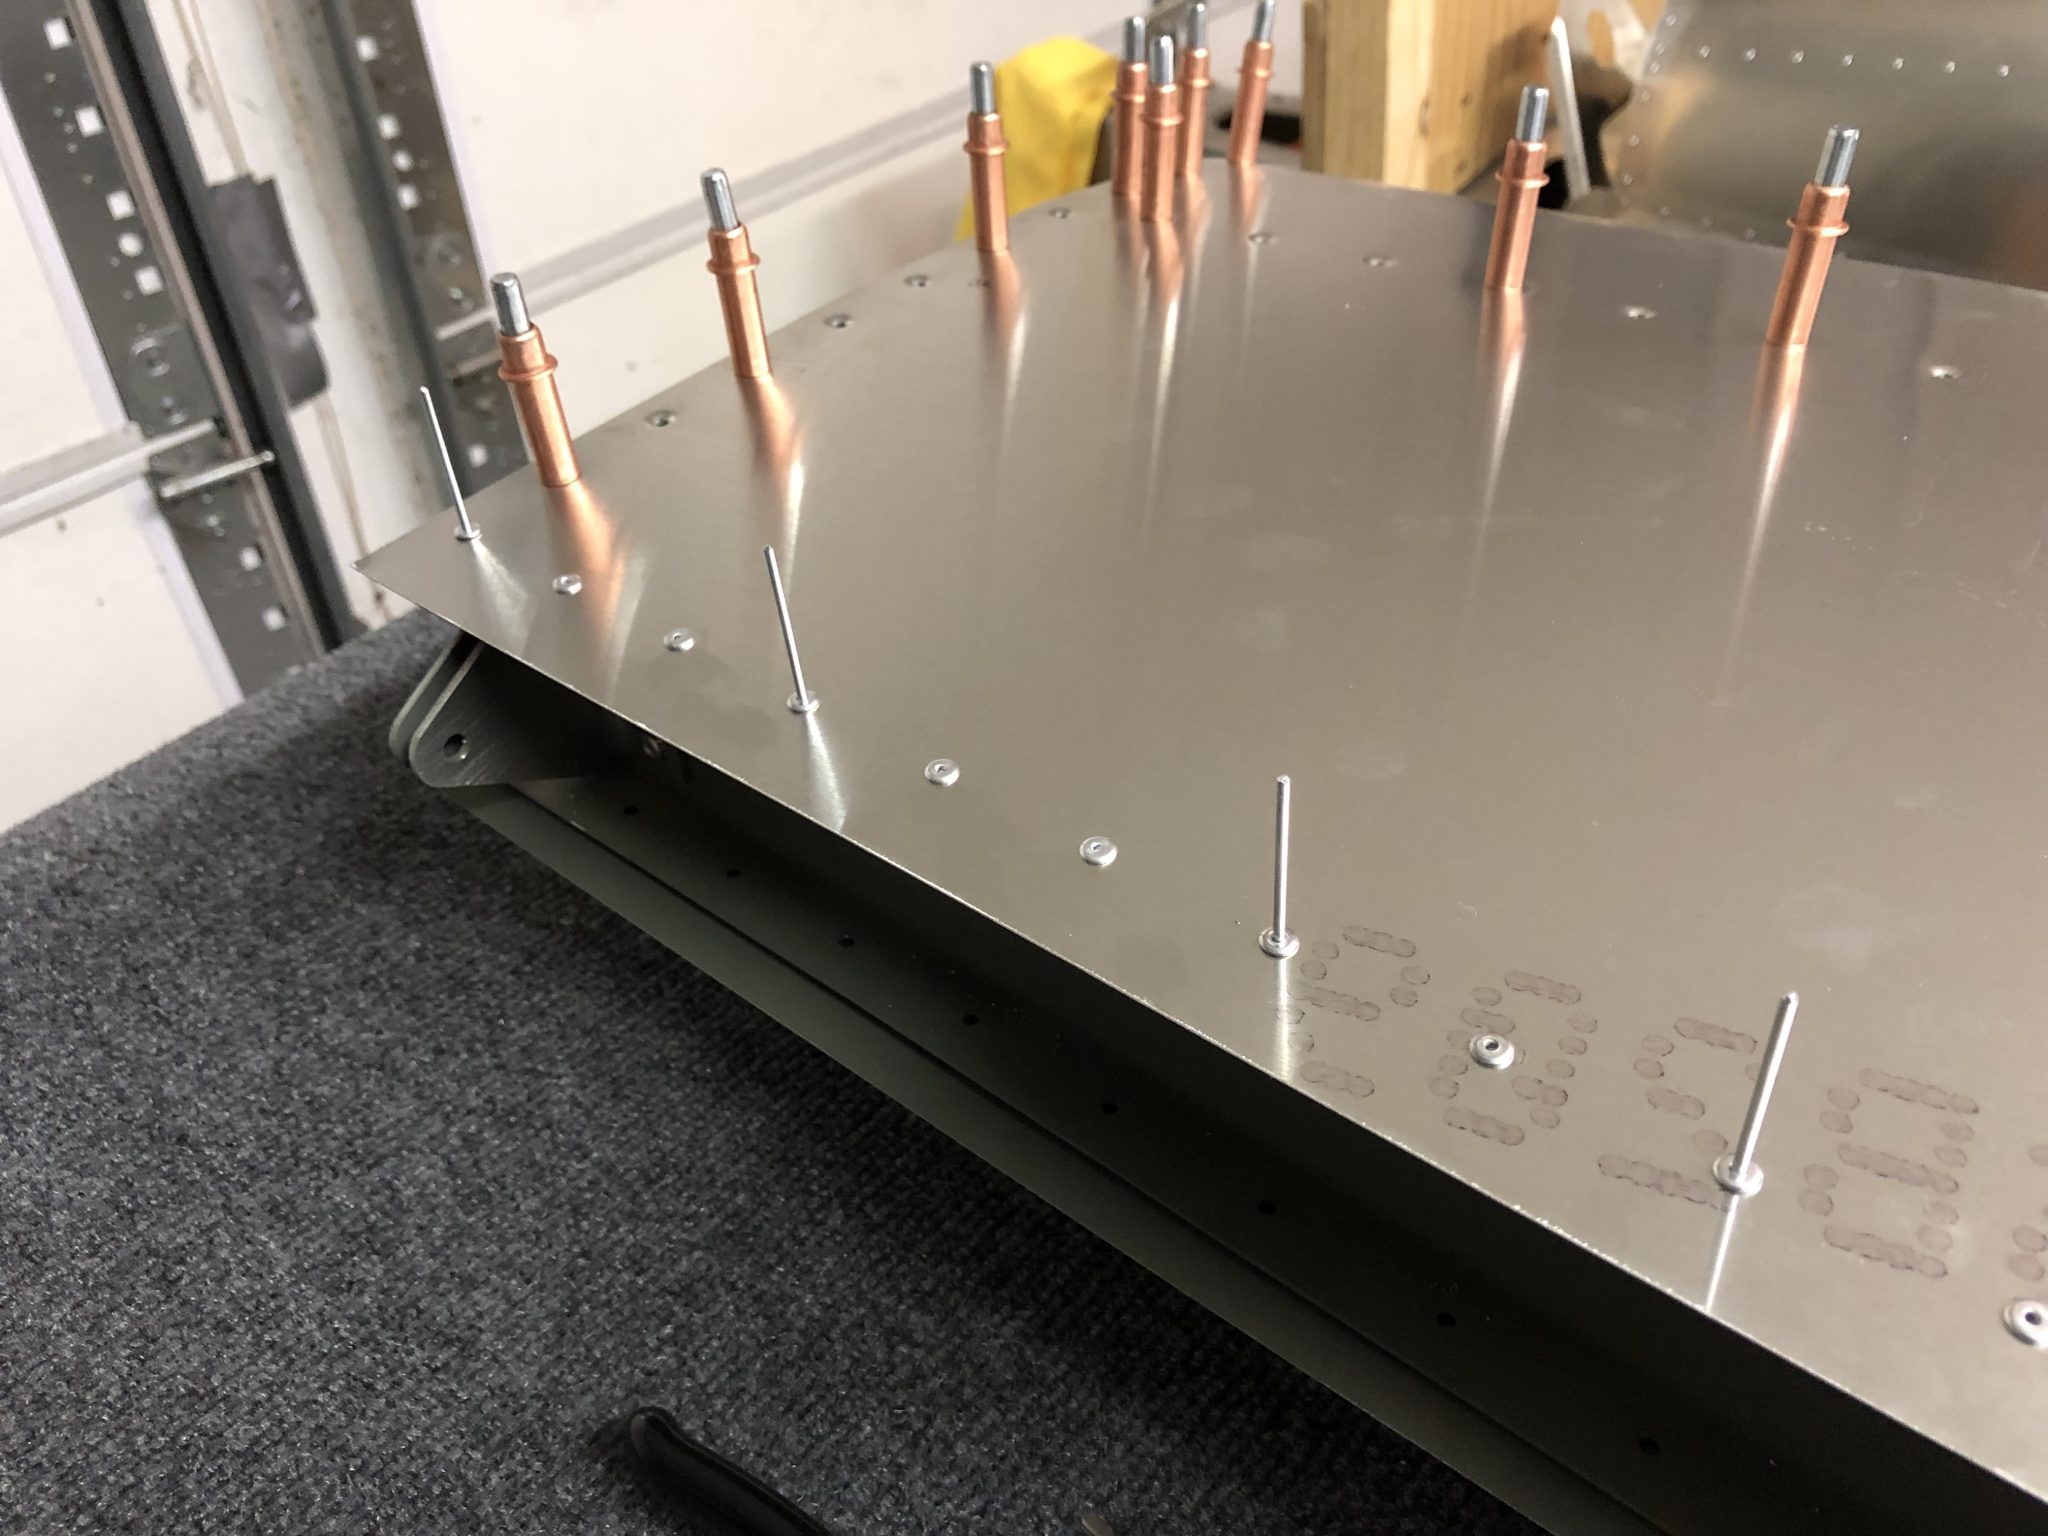
And then at last, time to start the riveting. I managed to finish the bottom of the right side, so 3 more sides to go next time.
Starting the riveting of the bottom right side of the Horizontal Stabilizer
Riveting the bottom right side of the Horizontal Stabilizer Skin
Riveting of the bottom right side of the Horizontal Stabilizer
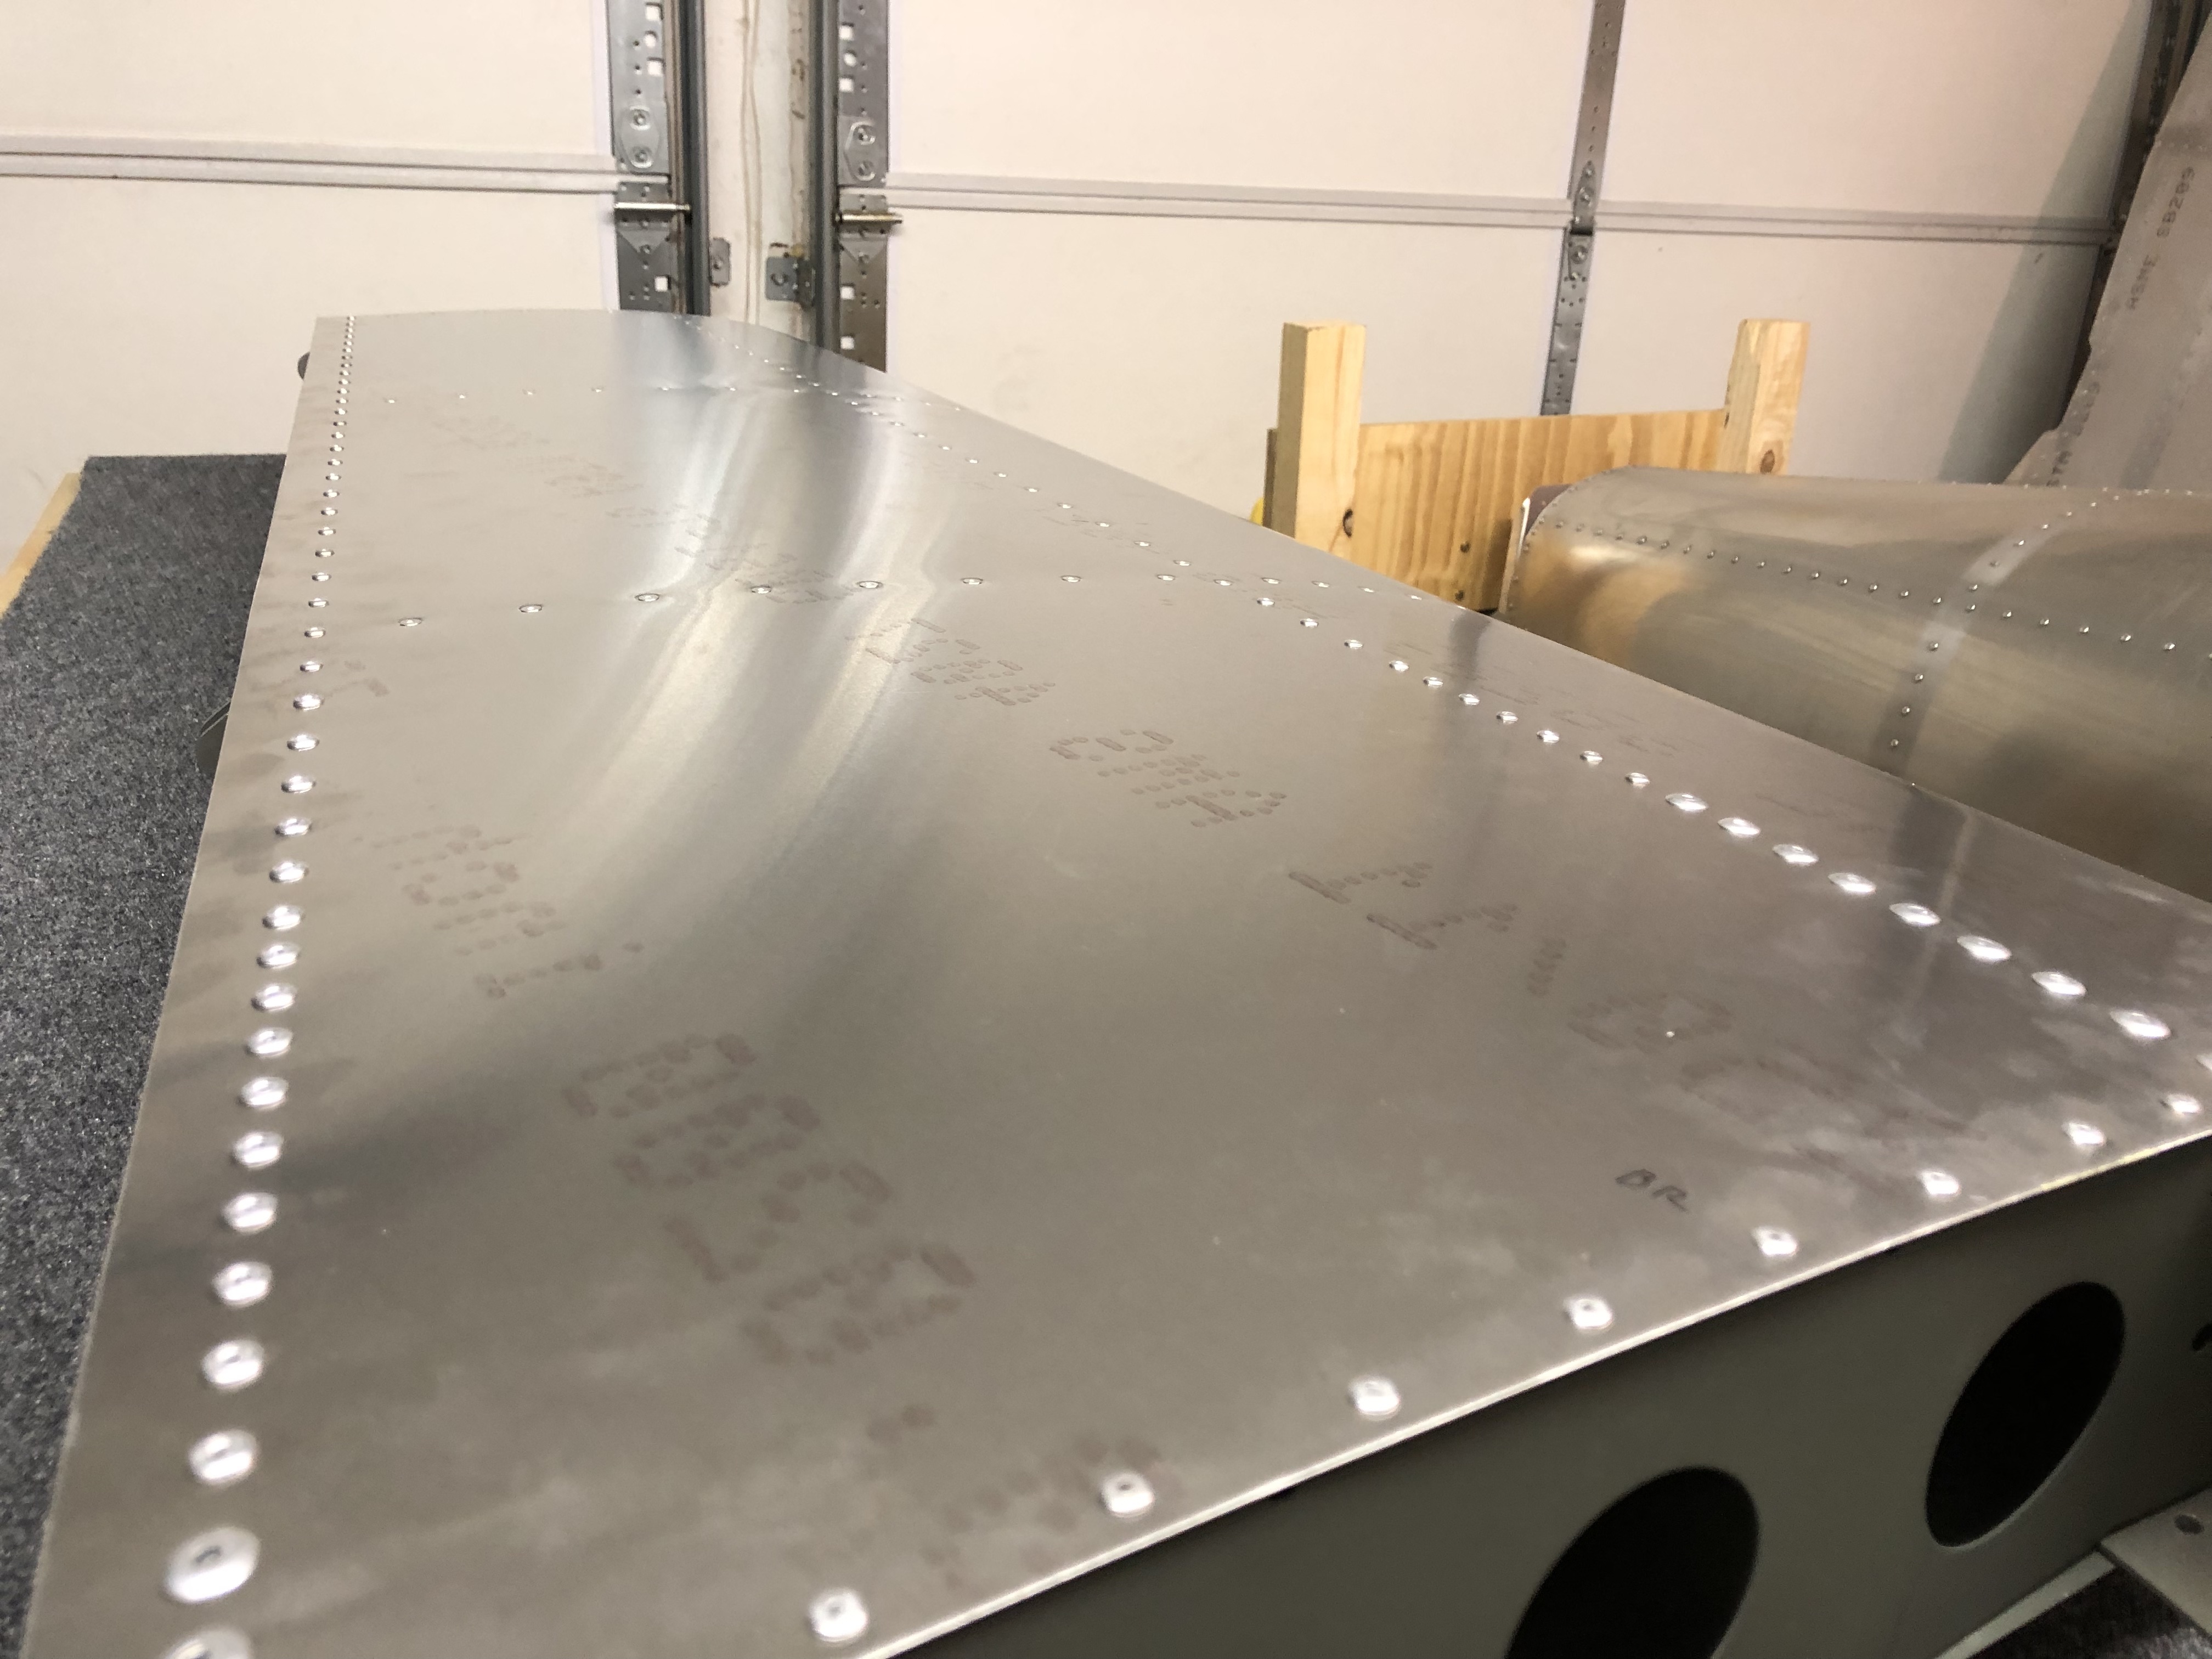
Finished riveting the bottom right side of the Horizontal Stabilizer
One small problem I encountered while doing the riveting was, that because I was riveting straight down, it happened twice that some of the mandrels of the 3.2 mm rivets got stuck in the rivet gun, so I had to take it apart and push/pull out the mandrels.