Tag Archives: EAA

EAA SportAir Electrical Systems & Avionics Workshop

This past weekend I attended the EAA SportAir Electrical Systems & Avionics workshop at the Seattle Museum of Flight Restoration Center.

The two day workshop helped in explaining principles of airplane electrical systems, wiring and bringing everything together to design and build out your avionics.

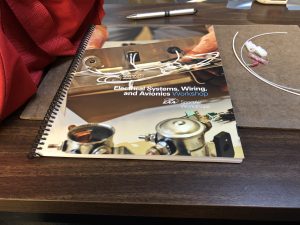
Workshop Handbook

Aside from a lot of good learnings and explanations, there was also a couple of hands-on exercises to get familiar with crimping, soldering and connecting things.

The first exercise was to hook up a headset jack to a PM1000 intercom system. This was very handy, since whether you decide to build all your avionics or not, you will most definitely have to do the headset connectors.

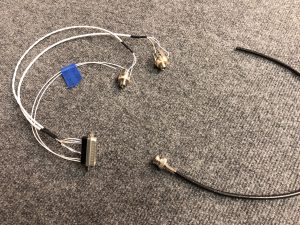
I forgot to take pictures of the process, but here’s the finished headset jacks with the soldered connection. This included learning to ground the shielded wire, soldering the actual headset jack and doing some d-sub crimping for the intercom connector.

Finished Headset connector and crimped BNC Antenna connector

Also shown in the image above is the result of the second exercise, a crimped BNC antenna connector. This part, I was already familiar with from hooking up my NAV Antenna in the Rudder a few months ago.

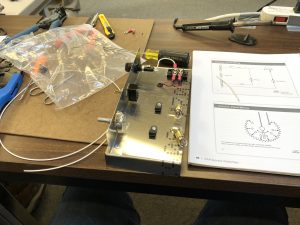
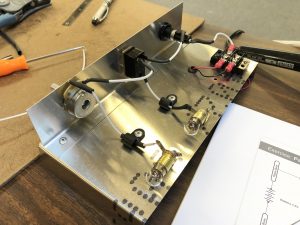
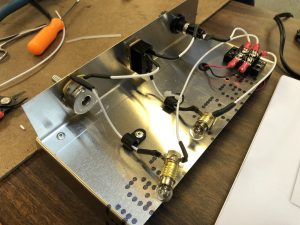
The final exercise was to create a small electrical circuit. This includes a “master” switch, circuit protection in the form of a fuse and a dimmable “cabin” light that is tied behind the master switch. Aside from the practical application of the exercise, it also tied together a lot of the theoretical parts of the workshop and was a great finish for the weekend.

Getting started Wiring in progress System wired up

Here’s the finished working circuit in action:

I also ran into two other Sling Builders, Richard Howell, who recently started building a Sling 2 and Skip Jones, who is also building a Sling TSi. Now we just need to all finish building our airplanes and then we can be a chapter of Sling Pilots in the Pacific Northwest.

Elevator Trim tab & left fiberglass tip fitting

Hours: 4

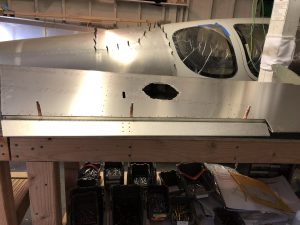
With the two main skins fitted onto the Elevator, I started looking at the trim tab and the side fiberglass tips.

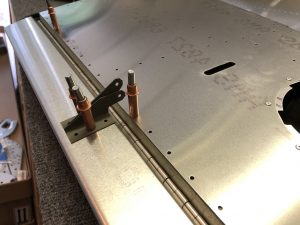
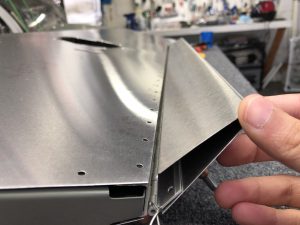
First I figured out the correct orientation of the hinge that connects the Elevator and the trim tab and the right orientation of the trim tab. I temporarily clecoed them together to check that the clearances are good and it moves all fine.
Elevator trim tab temporarily mounted

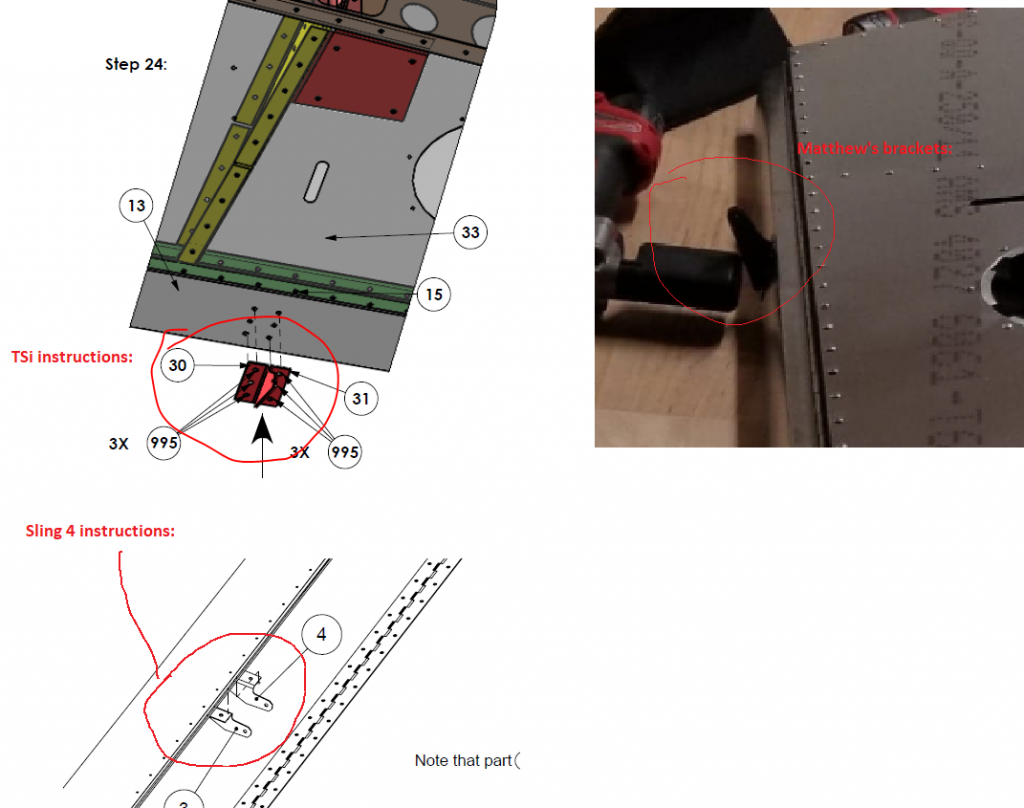
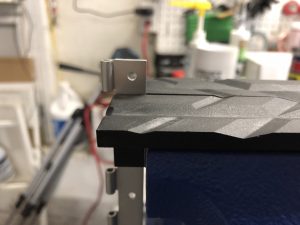
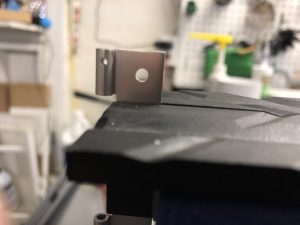
Then I was searching for the brackets that go on top of the trim tab and realized that I got two different looking brackets. Since this looked off to me, I tried to squint real hard at the instruction manual to figure out which bracket is the right one. I also checked the Sling 4 instructions and asked Matthew if he had a picture of his brackets and with that figured out that I must have received one TSi and one Sling 4 bracket, so I put in a note with the factory so I can get the right bracket for my TSi.
This looked off to me - I figured out it's one TSi and one Sling 4 Trim tab bracket
Investigative work to figure out which bracket belongs

Securing the trim tab piano hinge

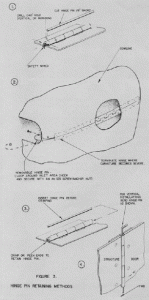
With that out of the way, I focused on thinking about securing the piano hinge that attaches the trim tab to the elevator. Since there is no natural stop for the pin that goes through the hinge on either side, it could happen that it becomes lose from vibration and thus could come out during flight, which would be bad. I research a bit on the topic and found this article from EAA on the use and installation of piano hinges.

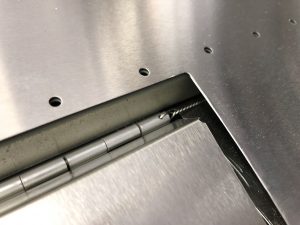
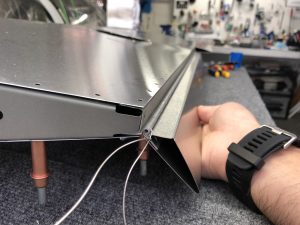
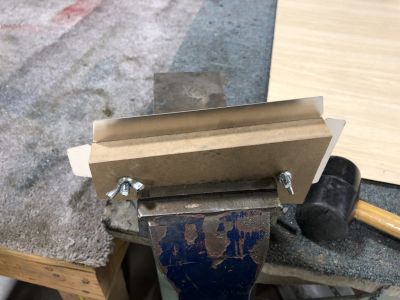
One of the ways to secure the hinge is to drill a small hole through the last part of the hinge and install a safety wire. My hinge was luckily cut in a way that makes this approach very easy to achieve. I got out a small drill bit, mounted the hinge in my bench vise and drilled a hole on each side so I could run a safety wire through it.
EAA diagram to safety the hinge Hinge mounted in my bench vise to drill the hole for the safety wire Hole drilled for the safety wire Safety wire in place to test free movement while connected to the Elevator

Using the safety wire approach makes it easy to still remove it in the future, but ensures that the pin stays securely in the hinge.
Testing free movement of the trim tab with the safety wire in place

Fitting the left side fiberglass tip

For the last part of the day, I started on fitting the last part of the skin and the fiberglass tips. Since this requires moving around the tip from both sides, I moved the Elevator over onto some saw horses so I could access the bottom more easily.

First I clecoed the top skin in place and then I slowly fitted the fiberglass tip in place. In order to get the fiberglass tip to fit, I had to file a tiny bit at the back, but it was much easier than the Rudder tip fitting.

Once I had it in place, I started to hold everything tight together and started match-drilling holes into the fiberglass tip. I used liberal amounts of clecos to get a tight fit and everything looks good. Now I just need to repeat it on the other side.
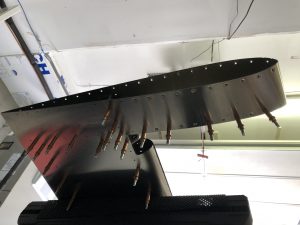
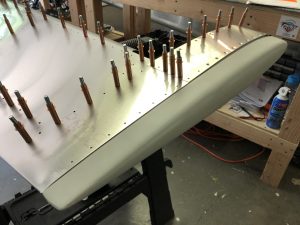
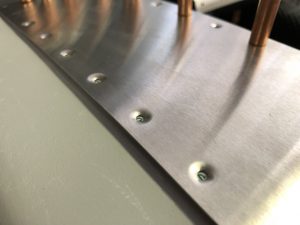
Top skin clecoed in place Fiberglass tip fit in place and ready to match-drill Marking drill holes Fiberglass tip match-drilled

EAA Airventure Oshkosh 2019

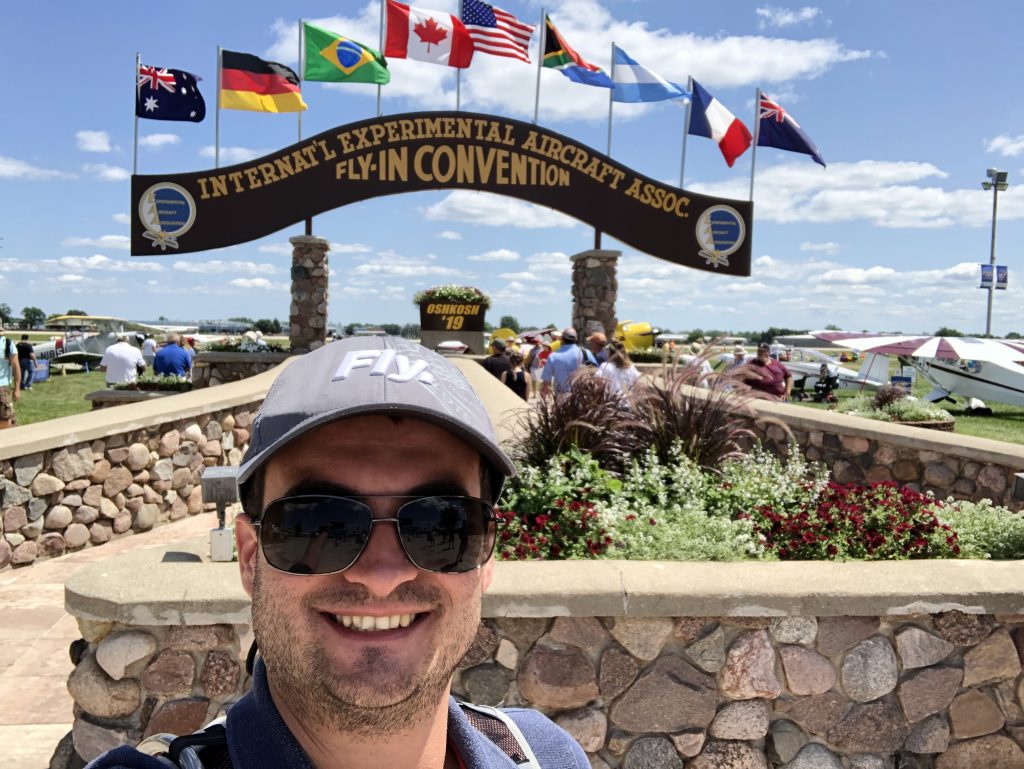
I’m at EAA Airventure 2019 in Oshkosh for the week until Saturday.

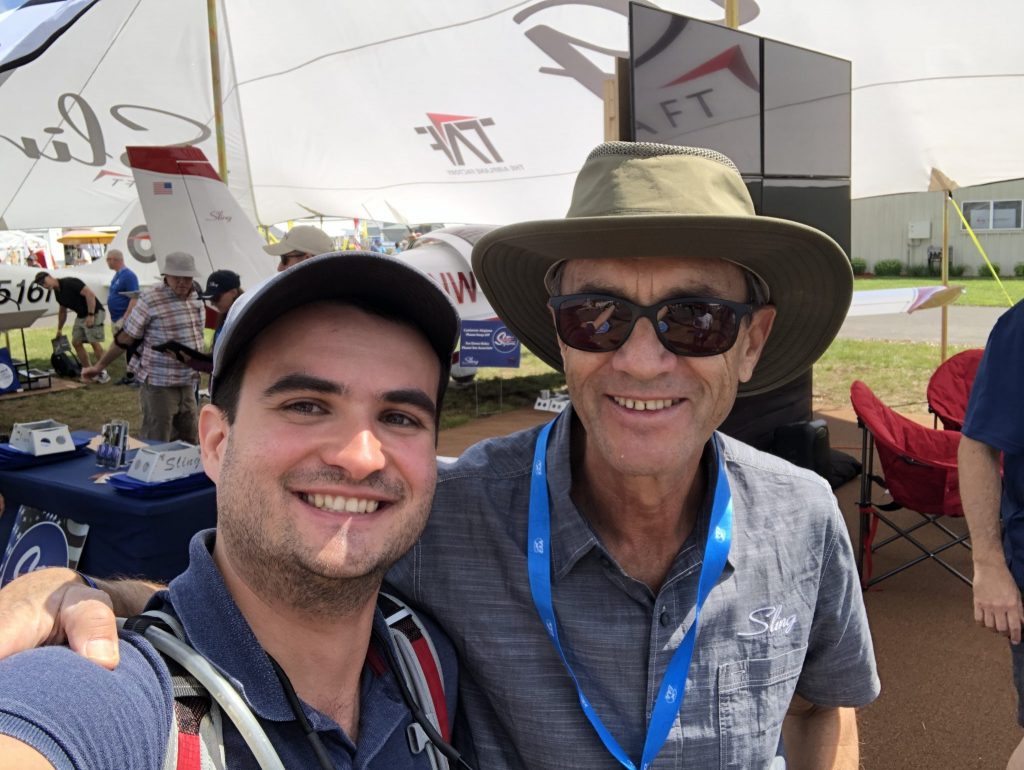
Yesterday I had the chance to stop by the Sling booth and have a chat with Mike Blyth from The Airplane Factory.

I had a chat with Mike Blyth about the Sling

If you’re at Oshkosh and would like to meet up with me to chat about my build, feel free to contact me and I’ll also be at the Sling Ding Party on Thursday Evening at 5pm.

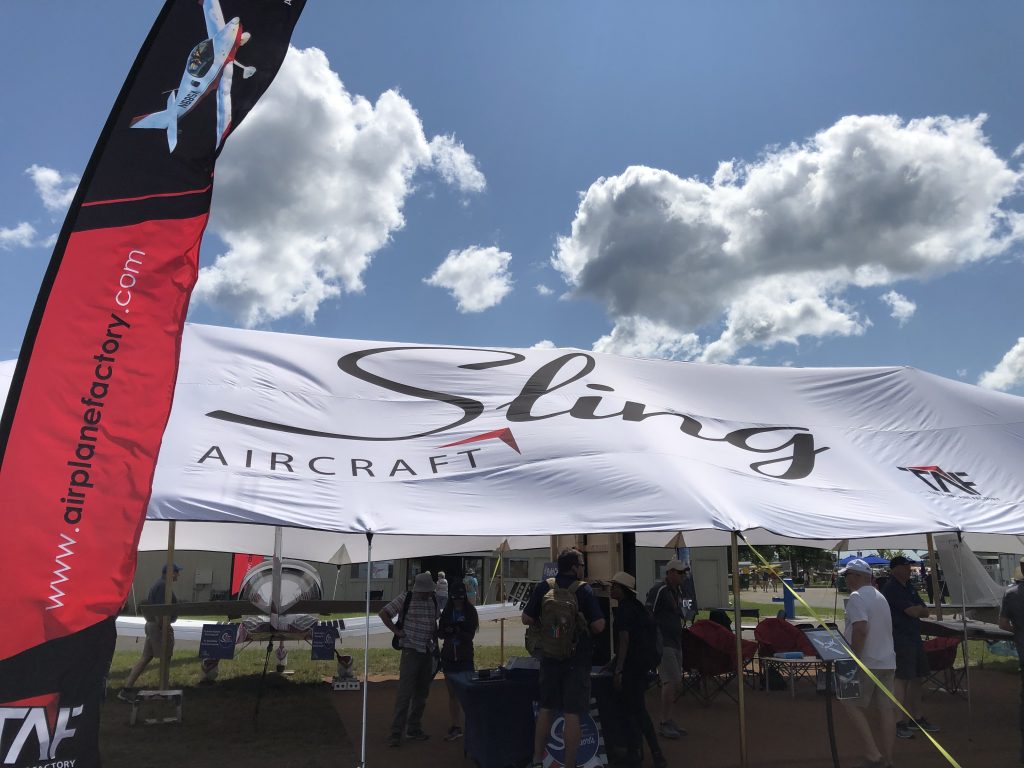
Stopped by the Sling Tent Hello from Oshkosh 2019

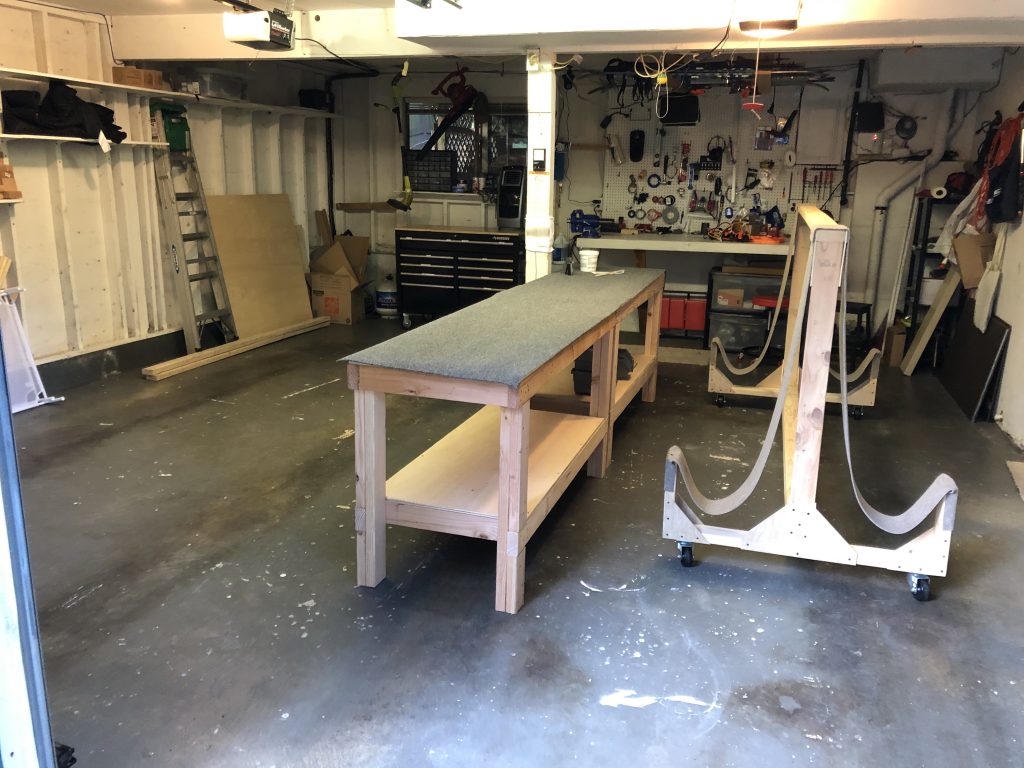
Garage ready for the kit

This should hopefully be the last “waiting for the kit” post. The container with the kit has arrived at the port a couple of days ago. The logistics company is working through arranging the truck to bring the container to my house to unload. Hopefully I’ll have some good news tomorrow and have a firm date for the delivery this coming week.
Garage Ready

The garage is ready for delivery and I also picked up a wing stand to store the wings from the flying club I am a part of, as we just installed the wings onto the Cessna 150 airplane we are refurbishing for an upcoming charity raffle to fund college scholarships for kids that survived cancer. The wing stand is from a design by Tony Bingelis and can be found on the EAA website here.

I took a time lapse of the process of installing the wings on the Cessna. It took a little bit of lifting and then a lot of jiggling to get the bolts in place.

I also attended a discussion meeting at our local EAA 84 chapter last week about going to Oshkosh, which was very interesting as I haven’t yet managed to go to Oshkosh myself as I was busy last year finishing up my instrument rating, so I’m hoping this year might be my first. If I go, I will likely fly commercial and then camp there and I’d love to meet some other Sling Builders at the Sling Ding Party hosted by The Airplane Factory and Sling 2 builders Bob & Joan.
EAA Sportair Sheet Metal workshop

While the wait for the arrival of my Sling TSi kit continues, I got to do some sheet metal practice attending the EAA Sportair Sheet Metal workshop recently.

It was a two day weekend workshop that was held at the Seattle Museum of Flight Restoration Center, teaching the basics of sheet metal work with all sorts of various techniques used when building a sheet metal airplane.

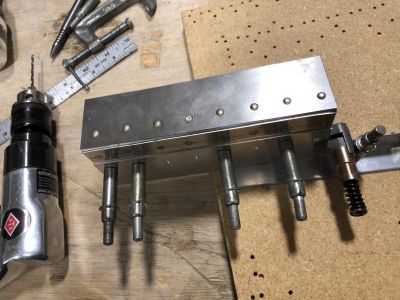
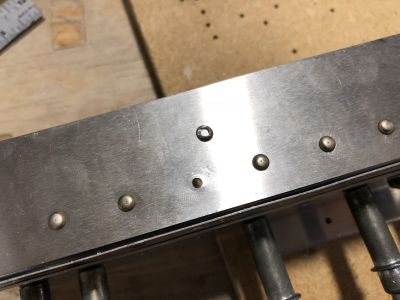
Over the course of the two days each participant made two practice pieces. The first one was to get a feel for the different techniques, from drilling, to deburring, to dimpling and countersinking. Here’s the first piece:

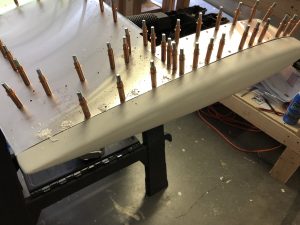
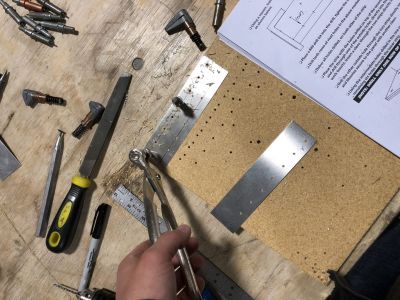
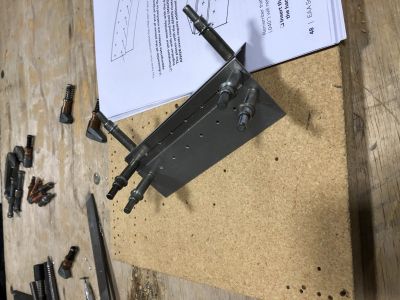
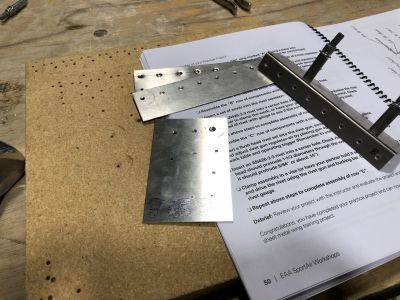
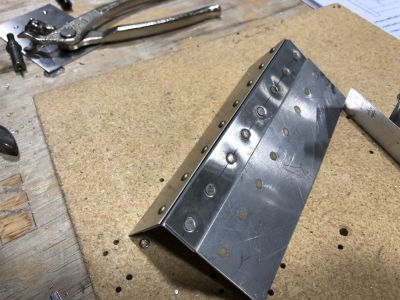
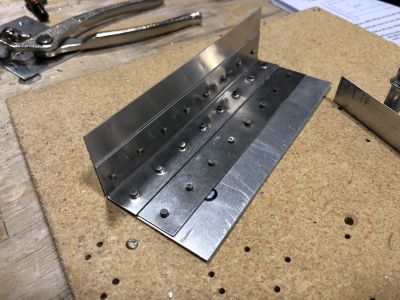
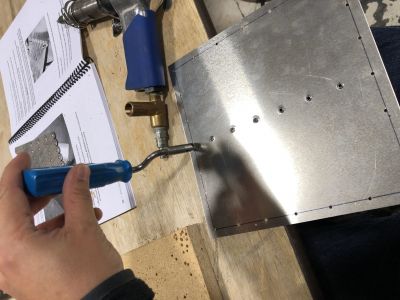
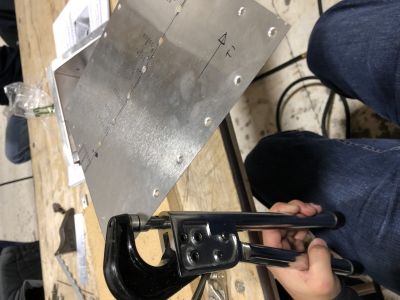
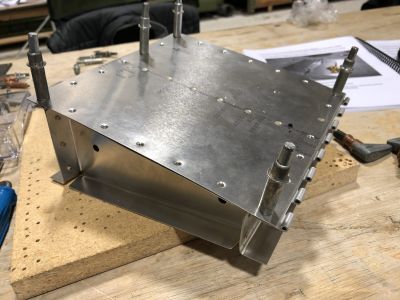
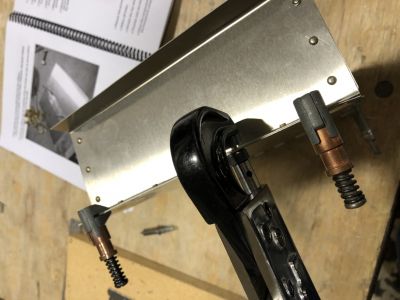
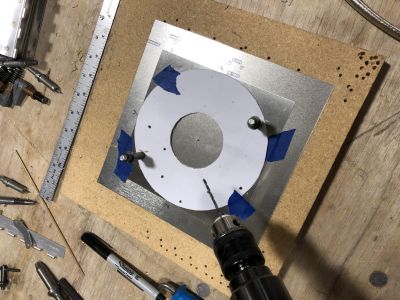
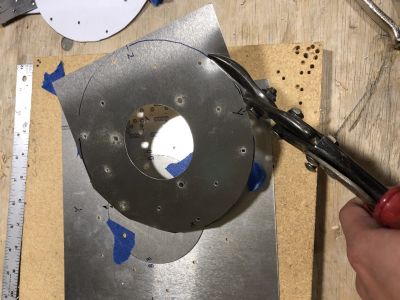
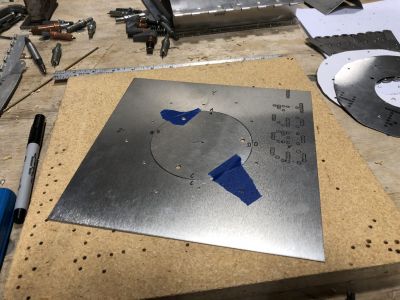
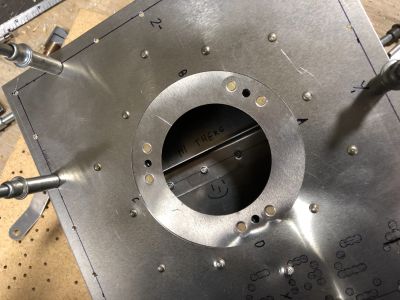
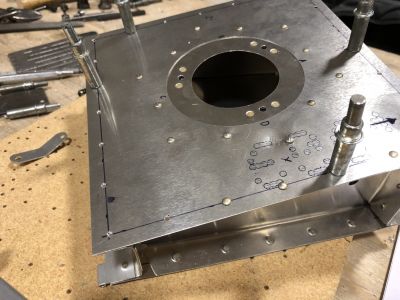
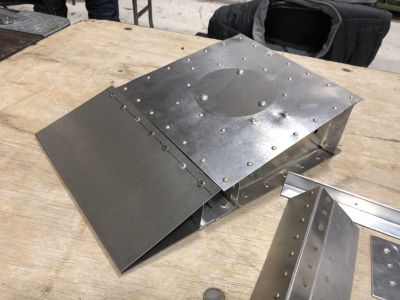
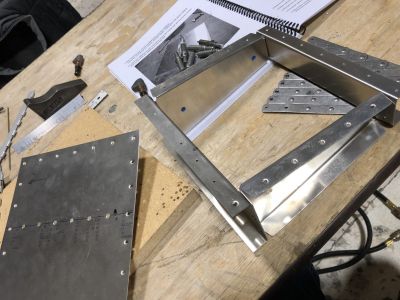
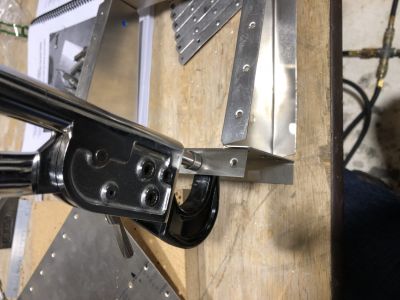
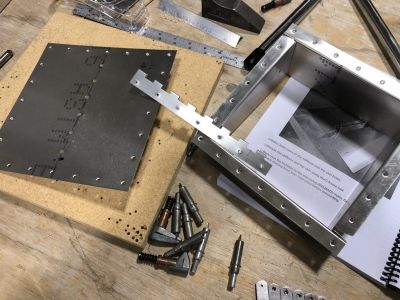
The second practice piece was a cross section of an elevator, where we had to bend rib pieces, practice more match drilling and dimpling and then fabricate a flush inspection plate held in place using nut plates. Here’s some images I took during the process:

All in all, it was a great workshop, a lot of learning and building confidence in the skills required to build your own airplane. So if you’re toying with the idea of building your own airplane from sheet metal, but are unsure about the work involved, this workshop is a great entry point.
While I likely won’t need to use some of the riveting techniques I learnt in the workshop, since the Sling assembly mainly uses pop rivets, it was still great to get a good understanding of the different techniques.

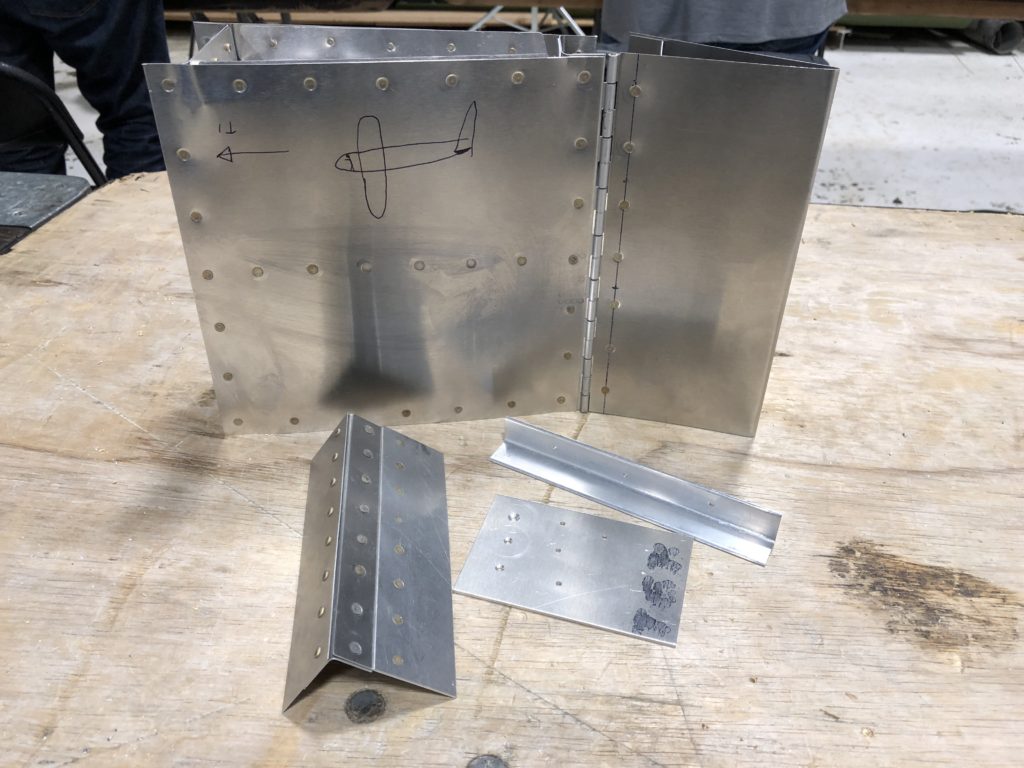
Here’s a final picture of all the practice of the workshop put together (with an airplane drawn as a bonus).