Tag Archives: safety

More front seat construction

Hours: 4

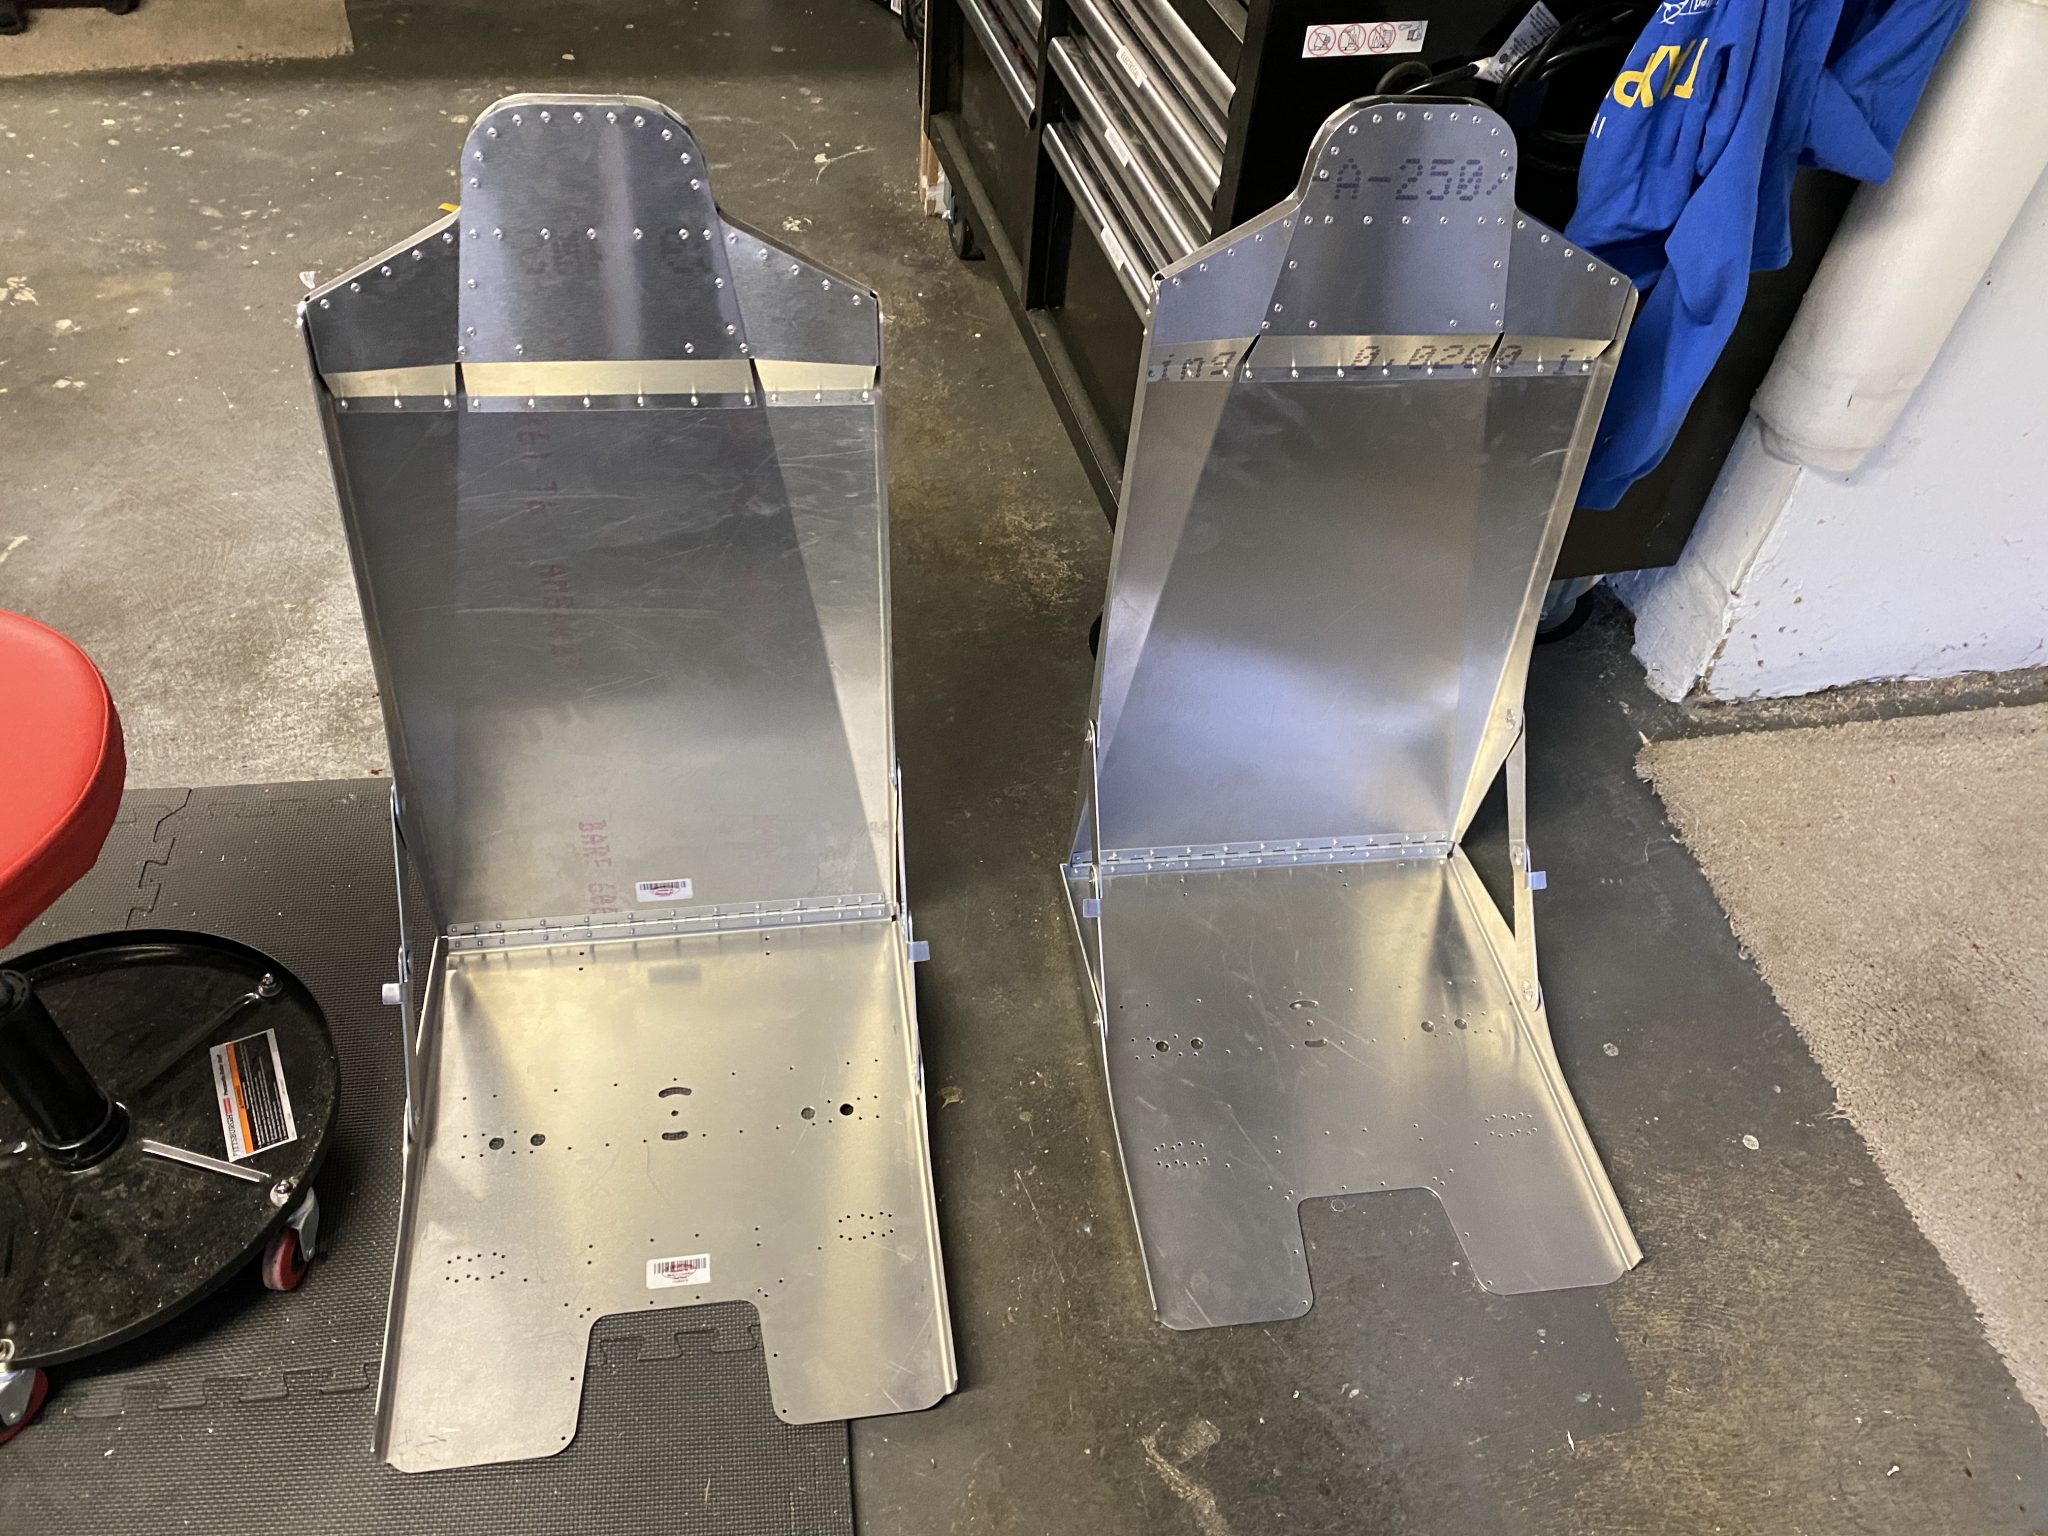
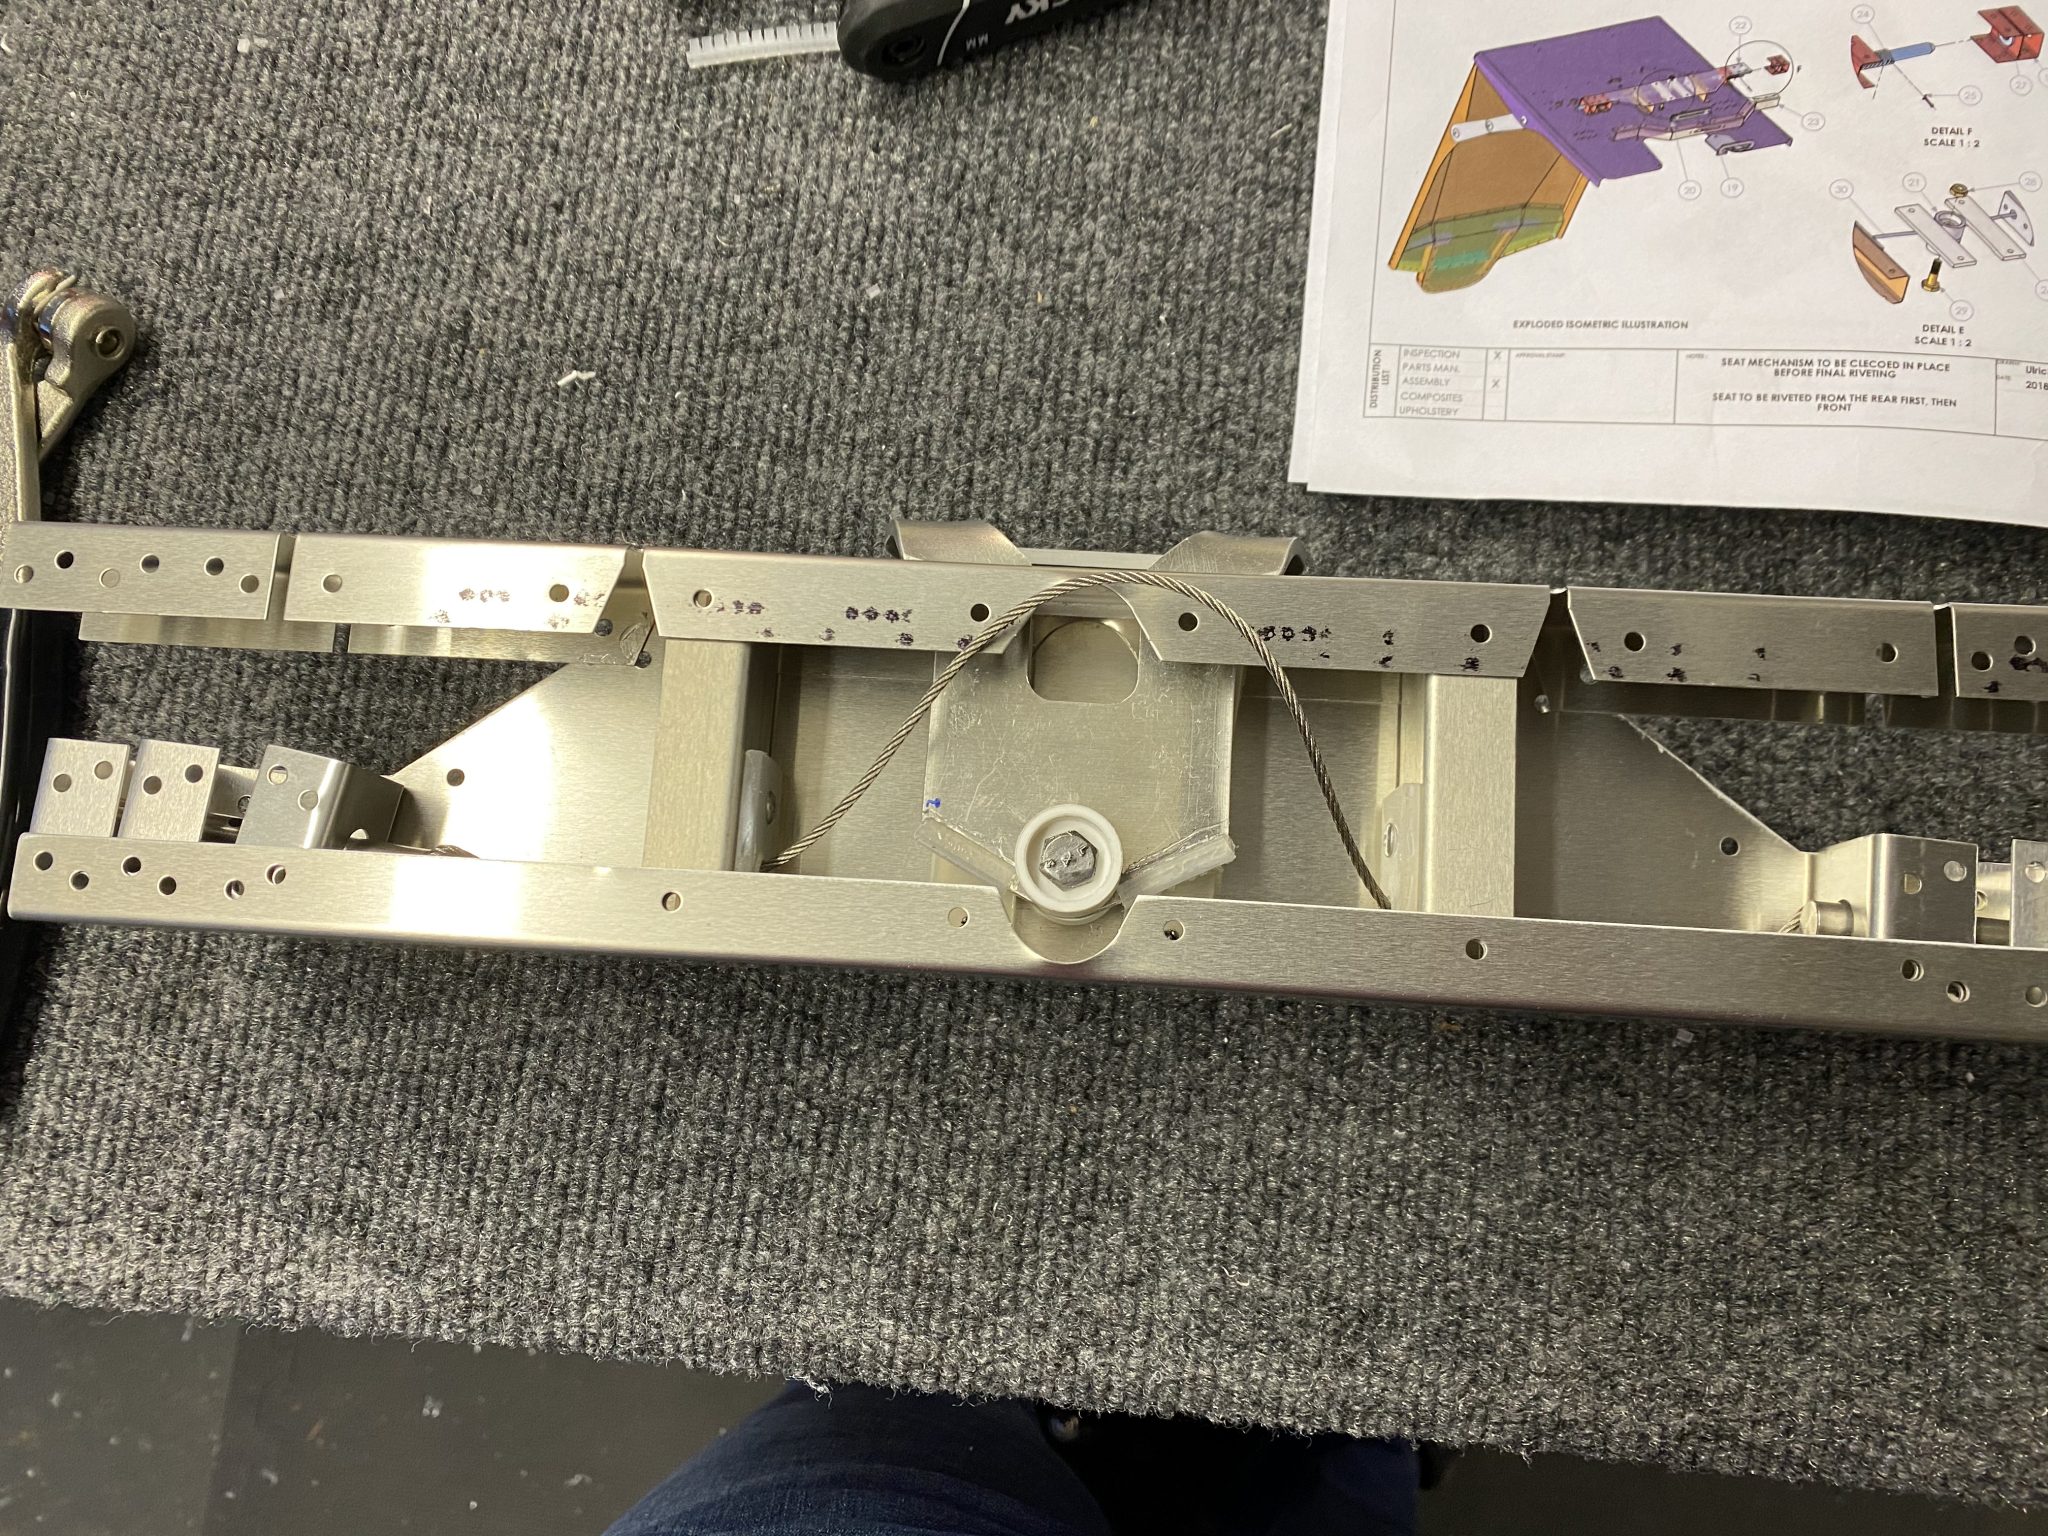
With one front seat assembled, time to complete the other one.

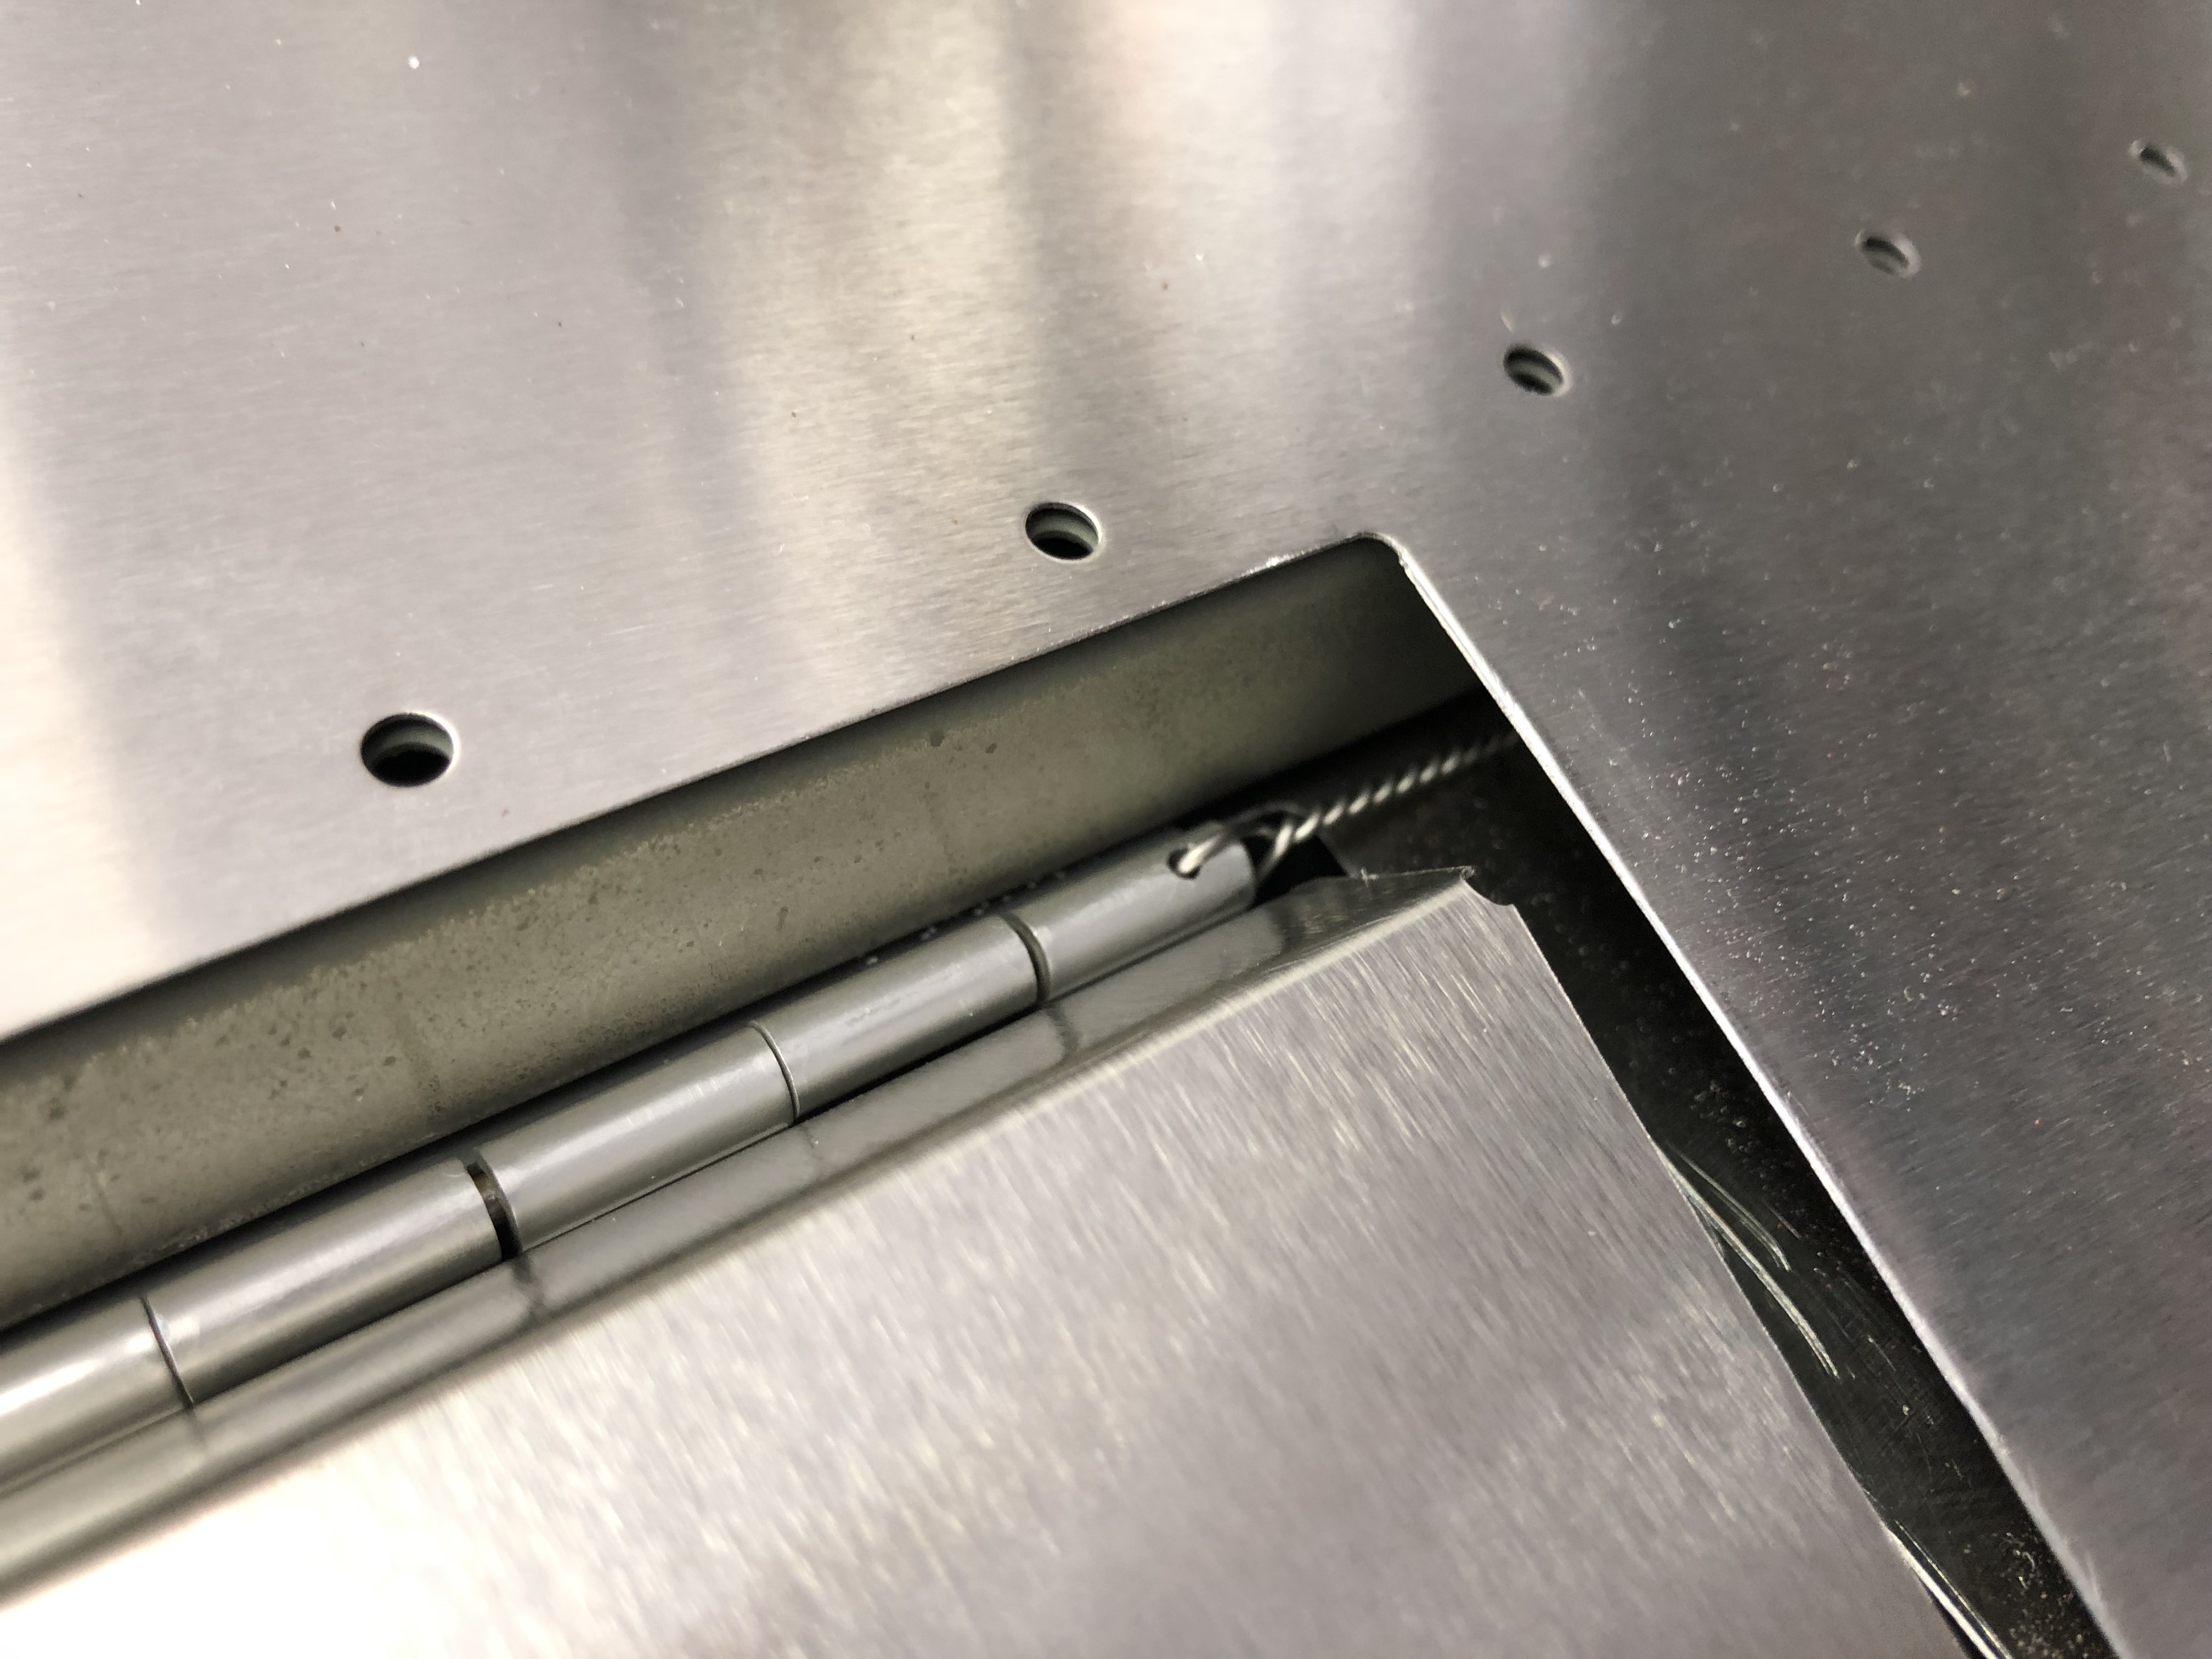
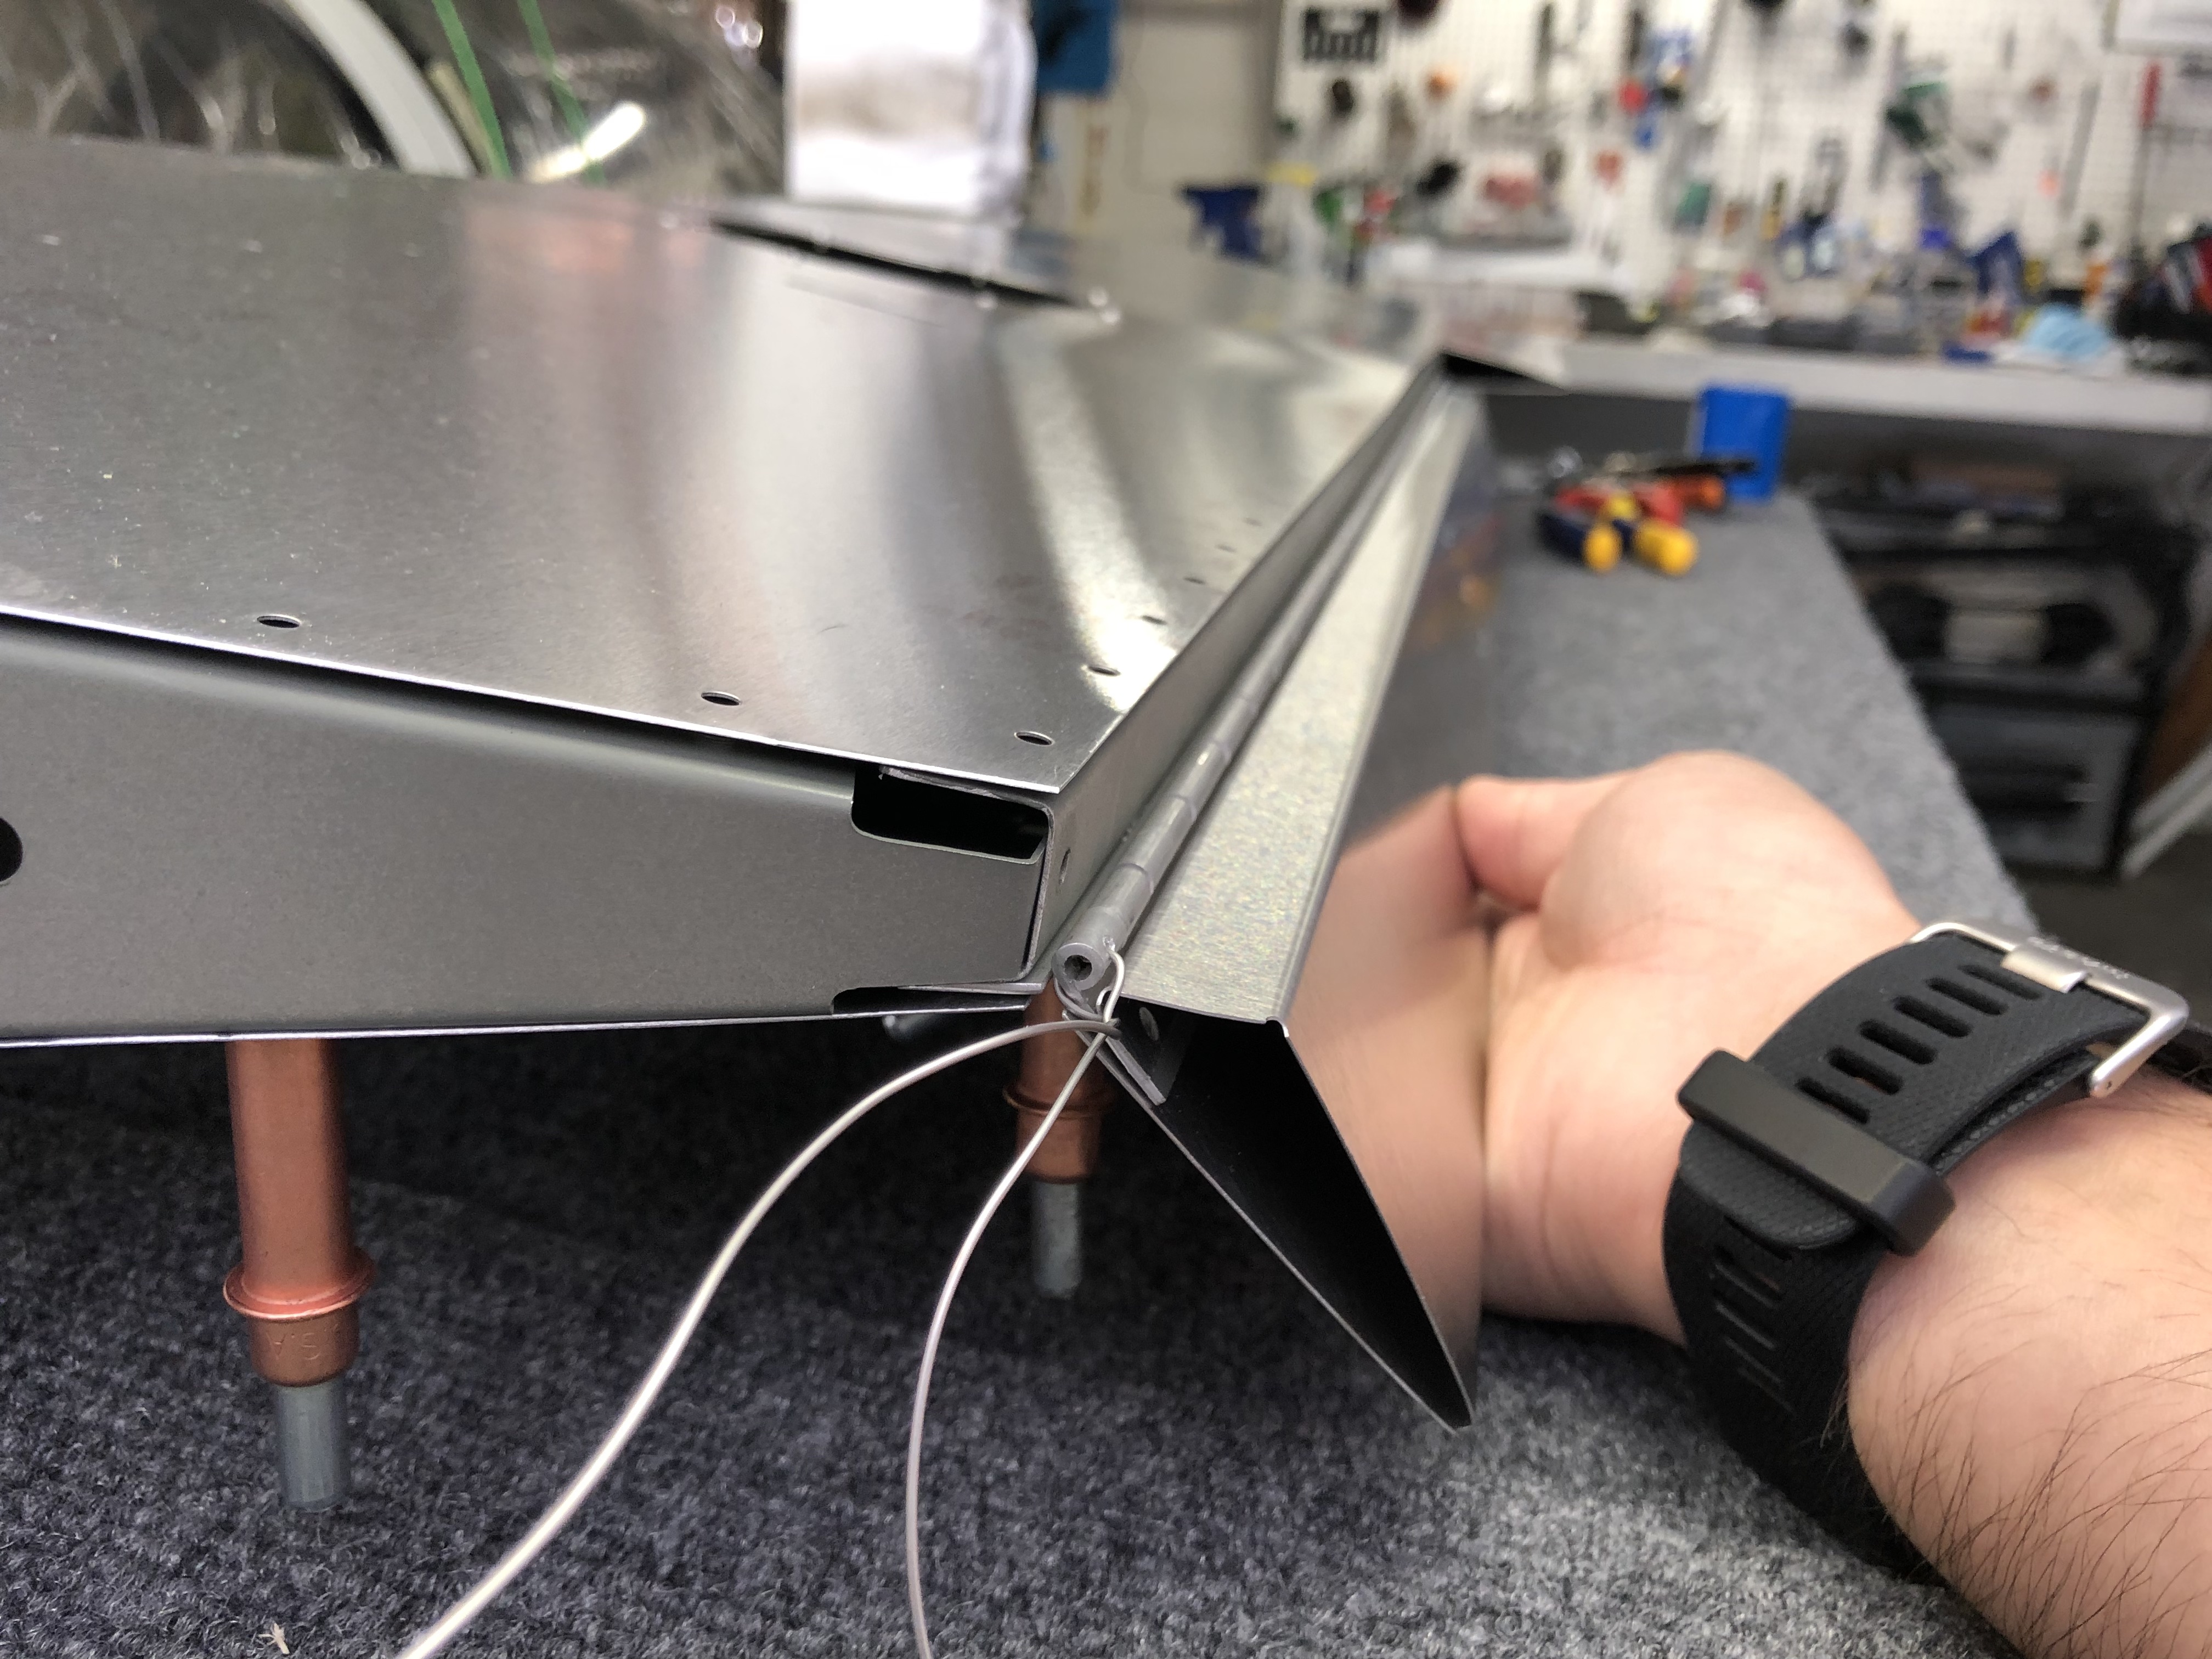
I got an AN3-6A bolt from a friend while waiting to get a replacement from TAF, so I was able to put together the seat locking mechanism for the seat.

Completely assembled seat locking mechanism, ready to rivet

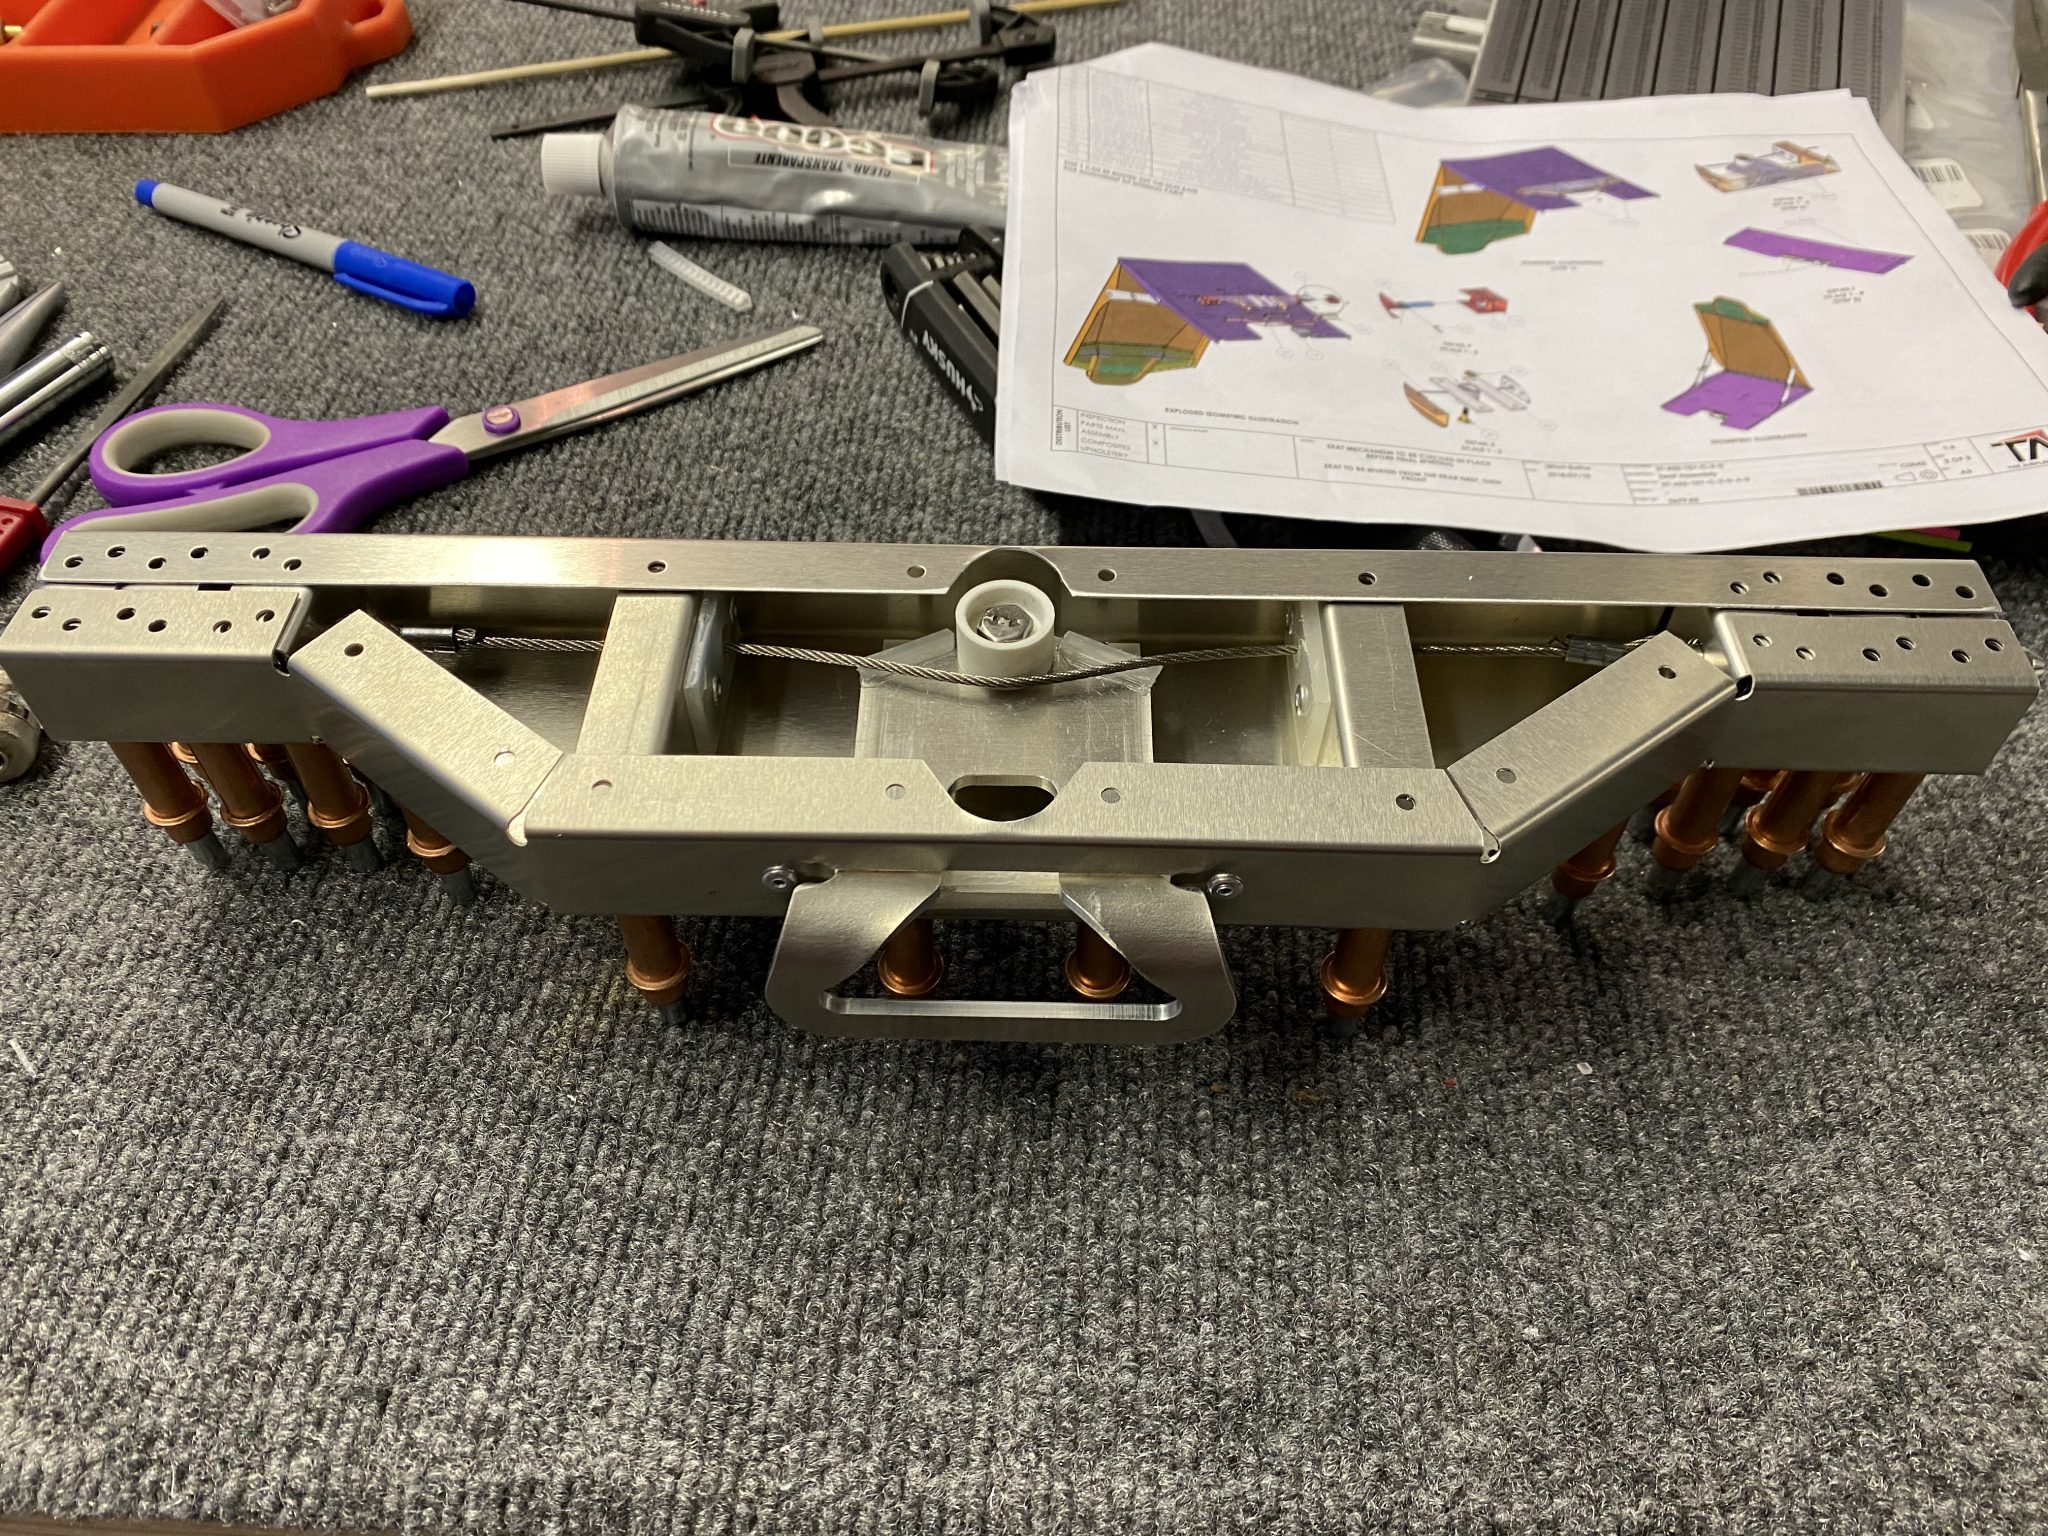
EDIT: after reading the Sling 4 instruction manual, I now believe the cable goes on the other side, so I’ll move it down before I close it up and rivet it in.

Now having figured out the complete assembly, I also assembled the mechanism for the second seat, but unfortunately, the steel cable assembly for the second seat is too long, so I put in an order for a replacement.

Second seat locking mechanism put together, but unfortunately the cable on this one is much too long.

So one mechanism assembly completed, the other on hold.

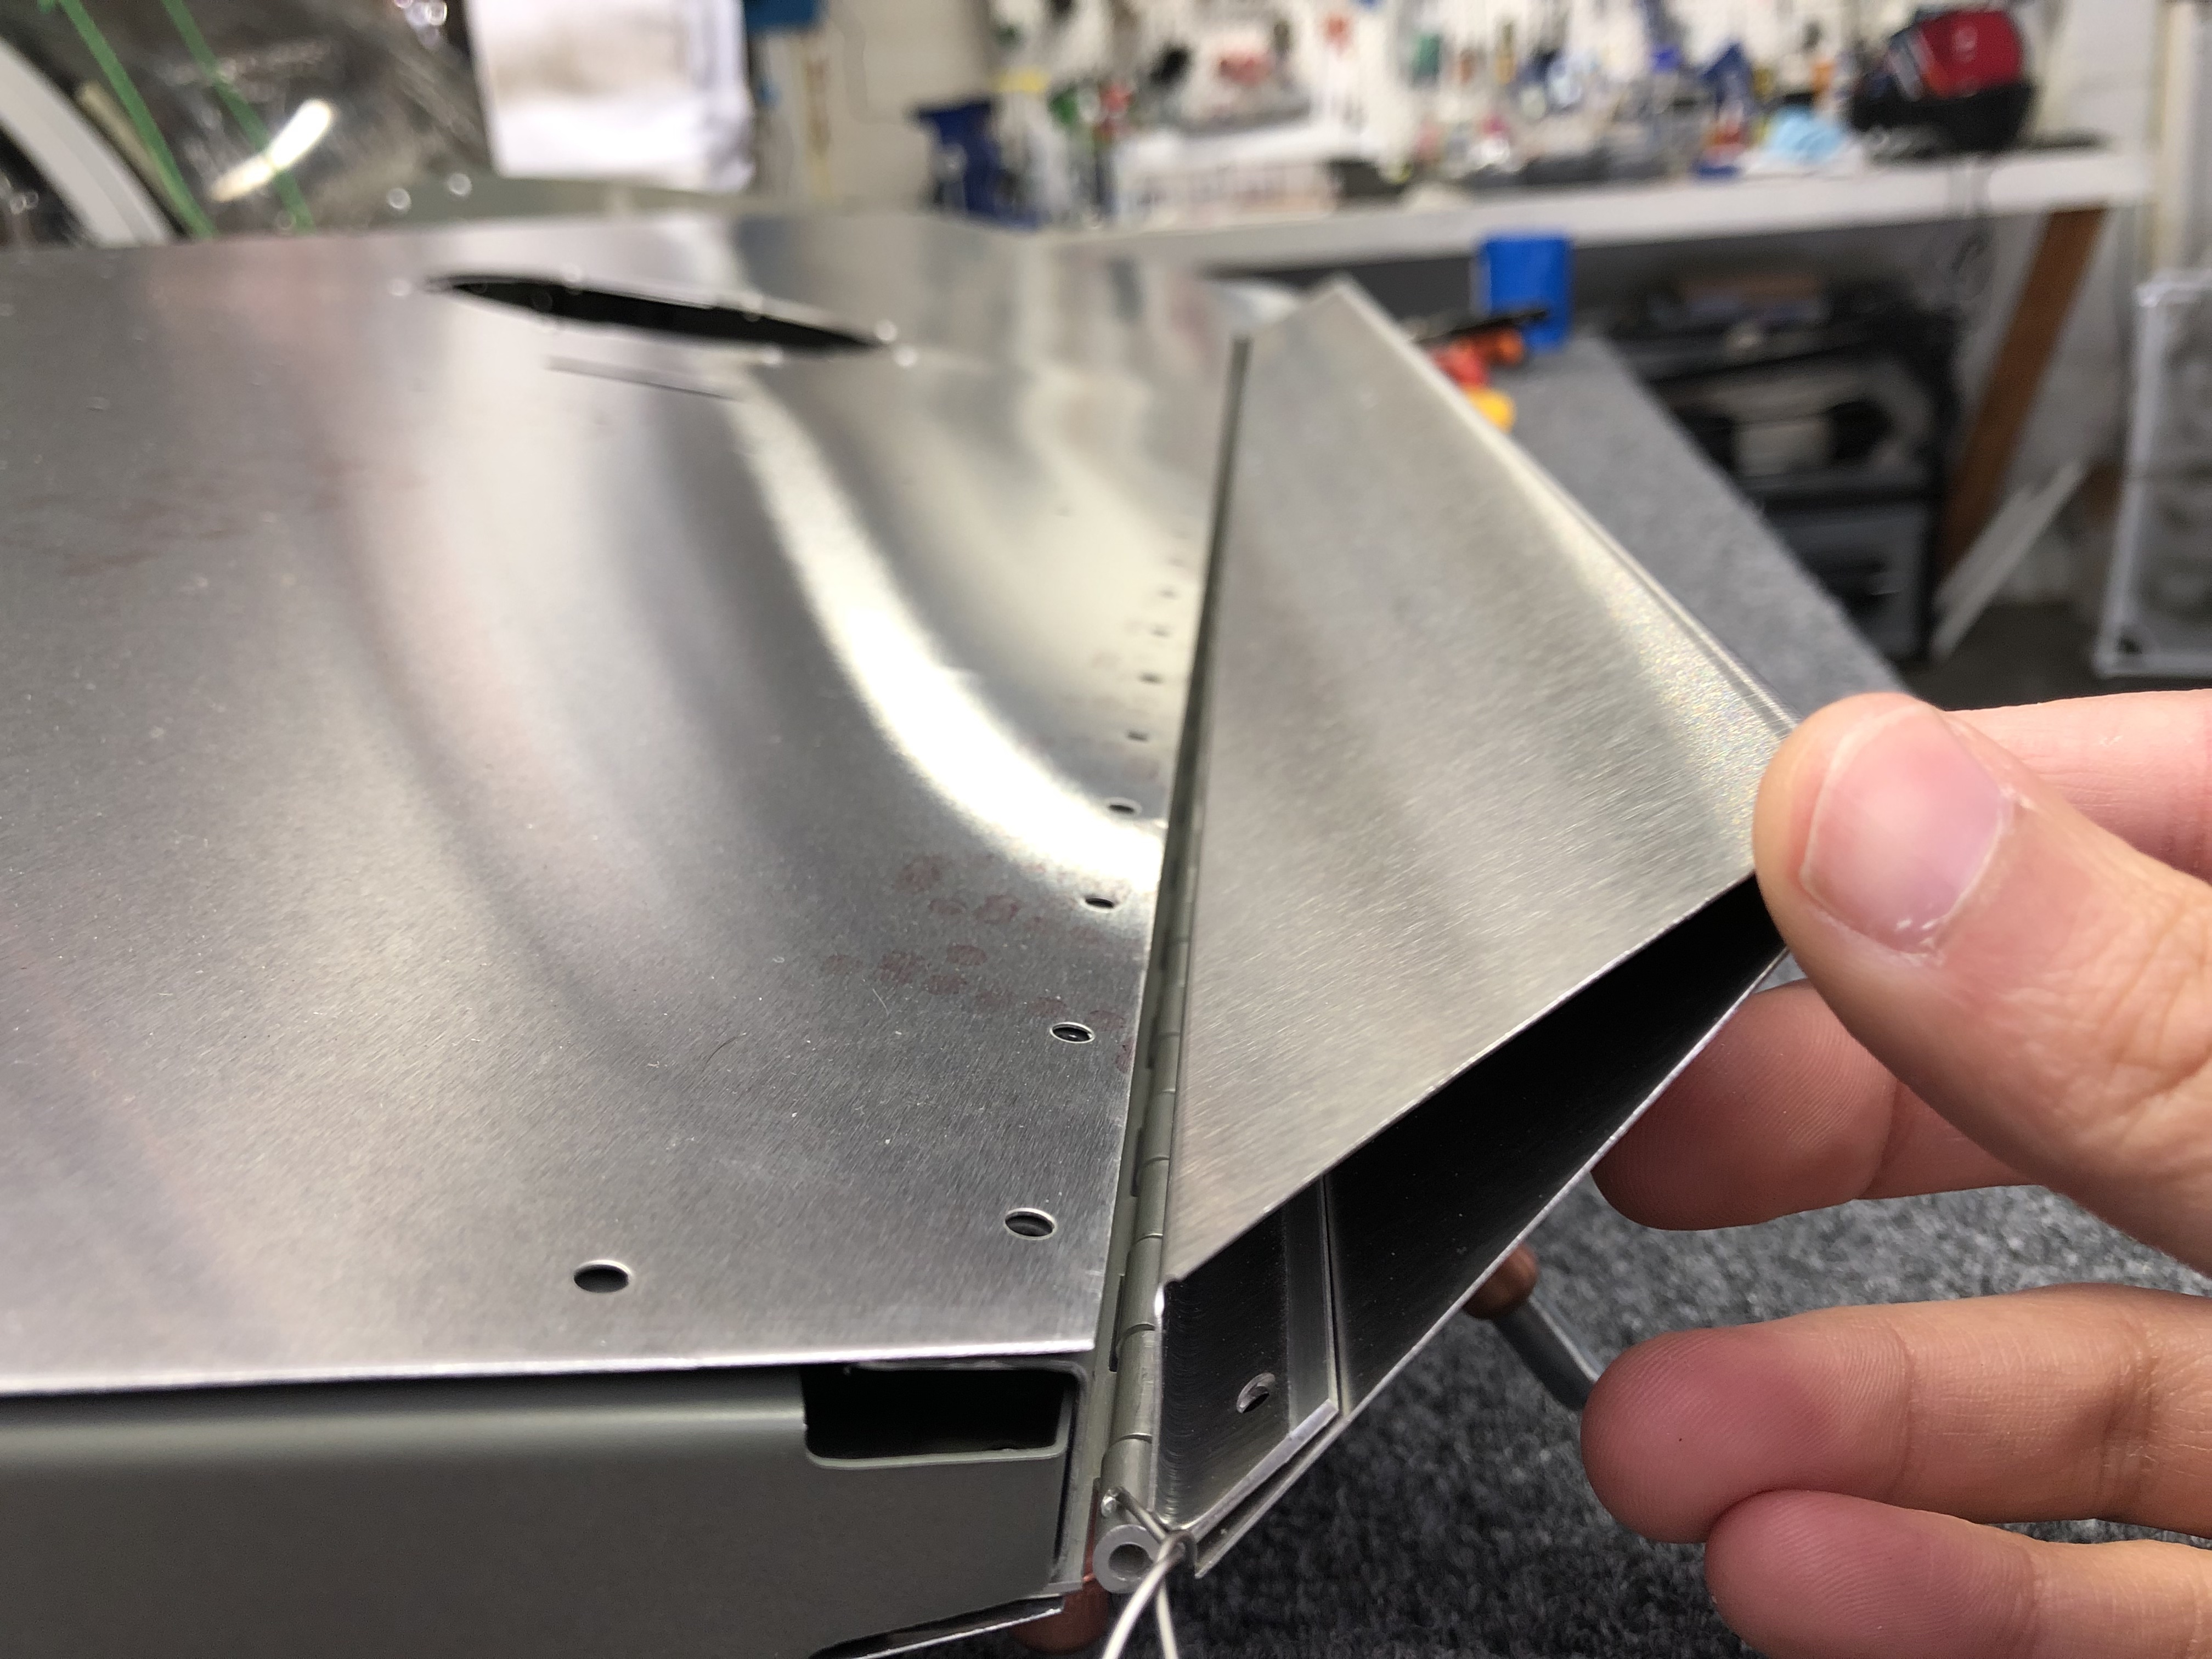
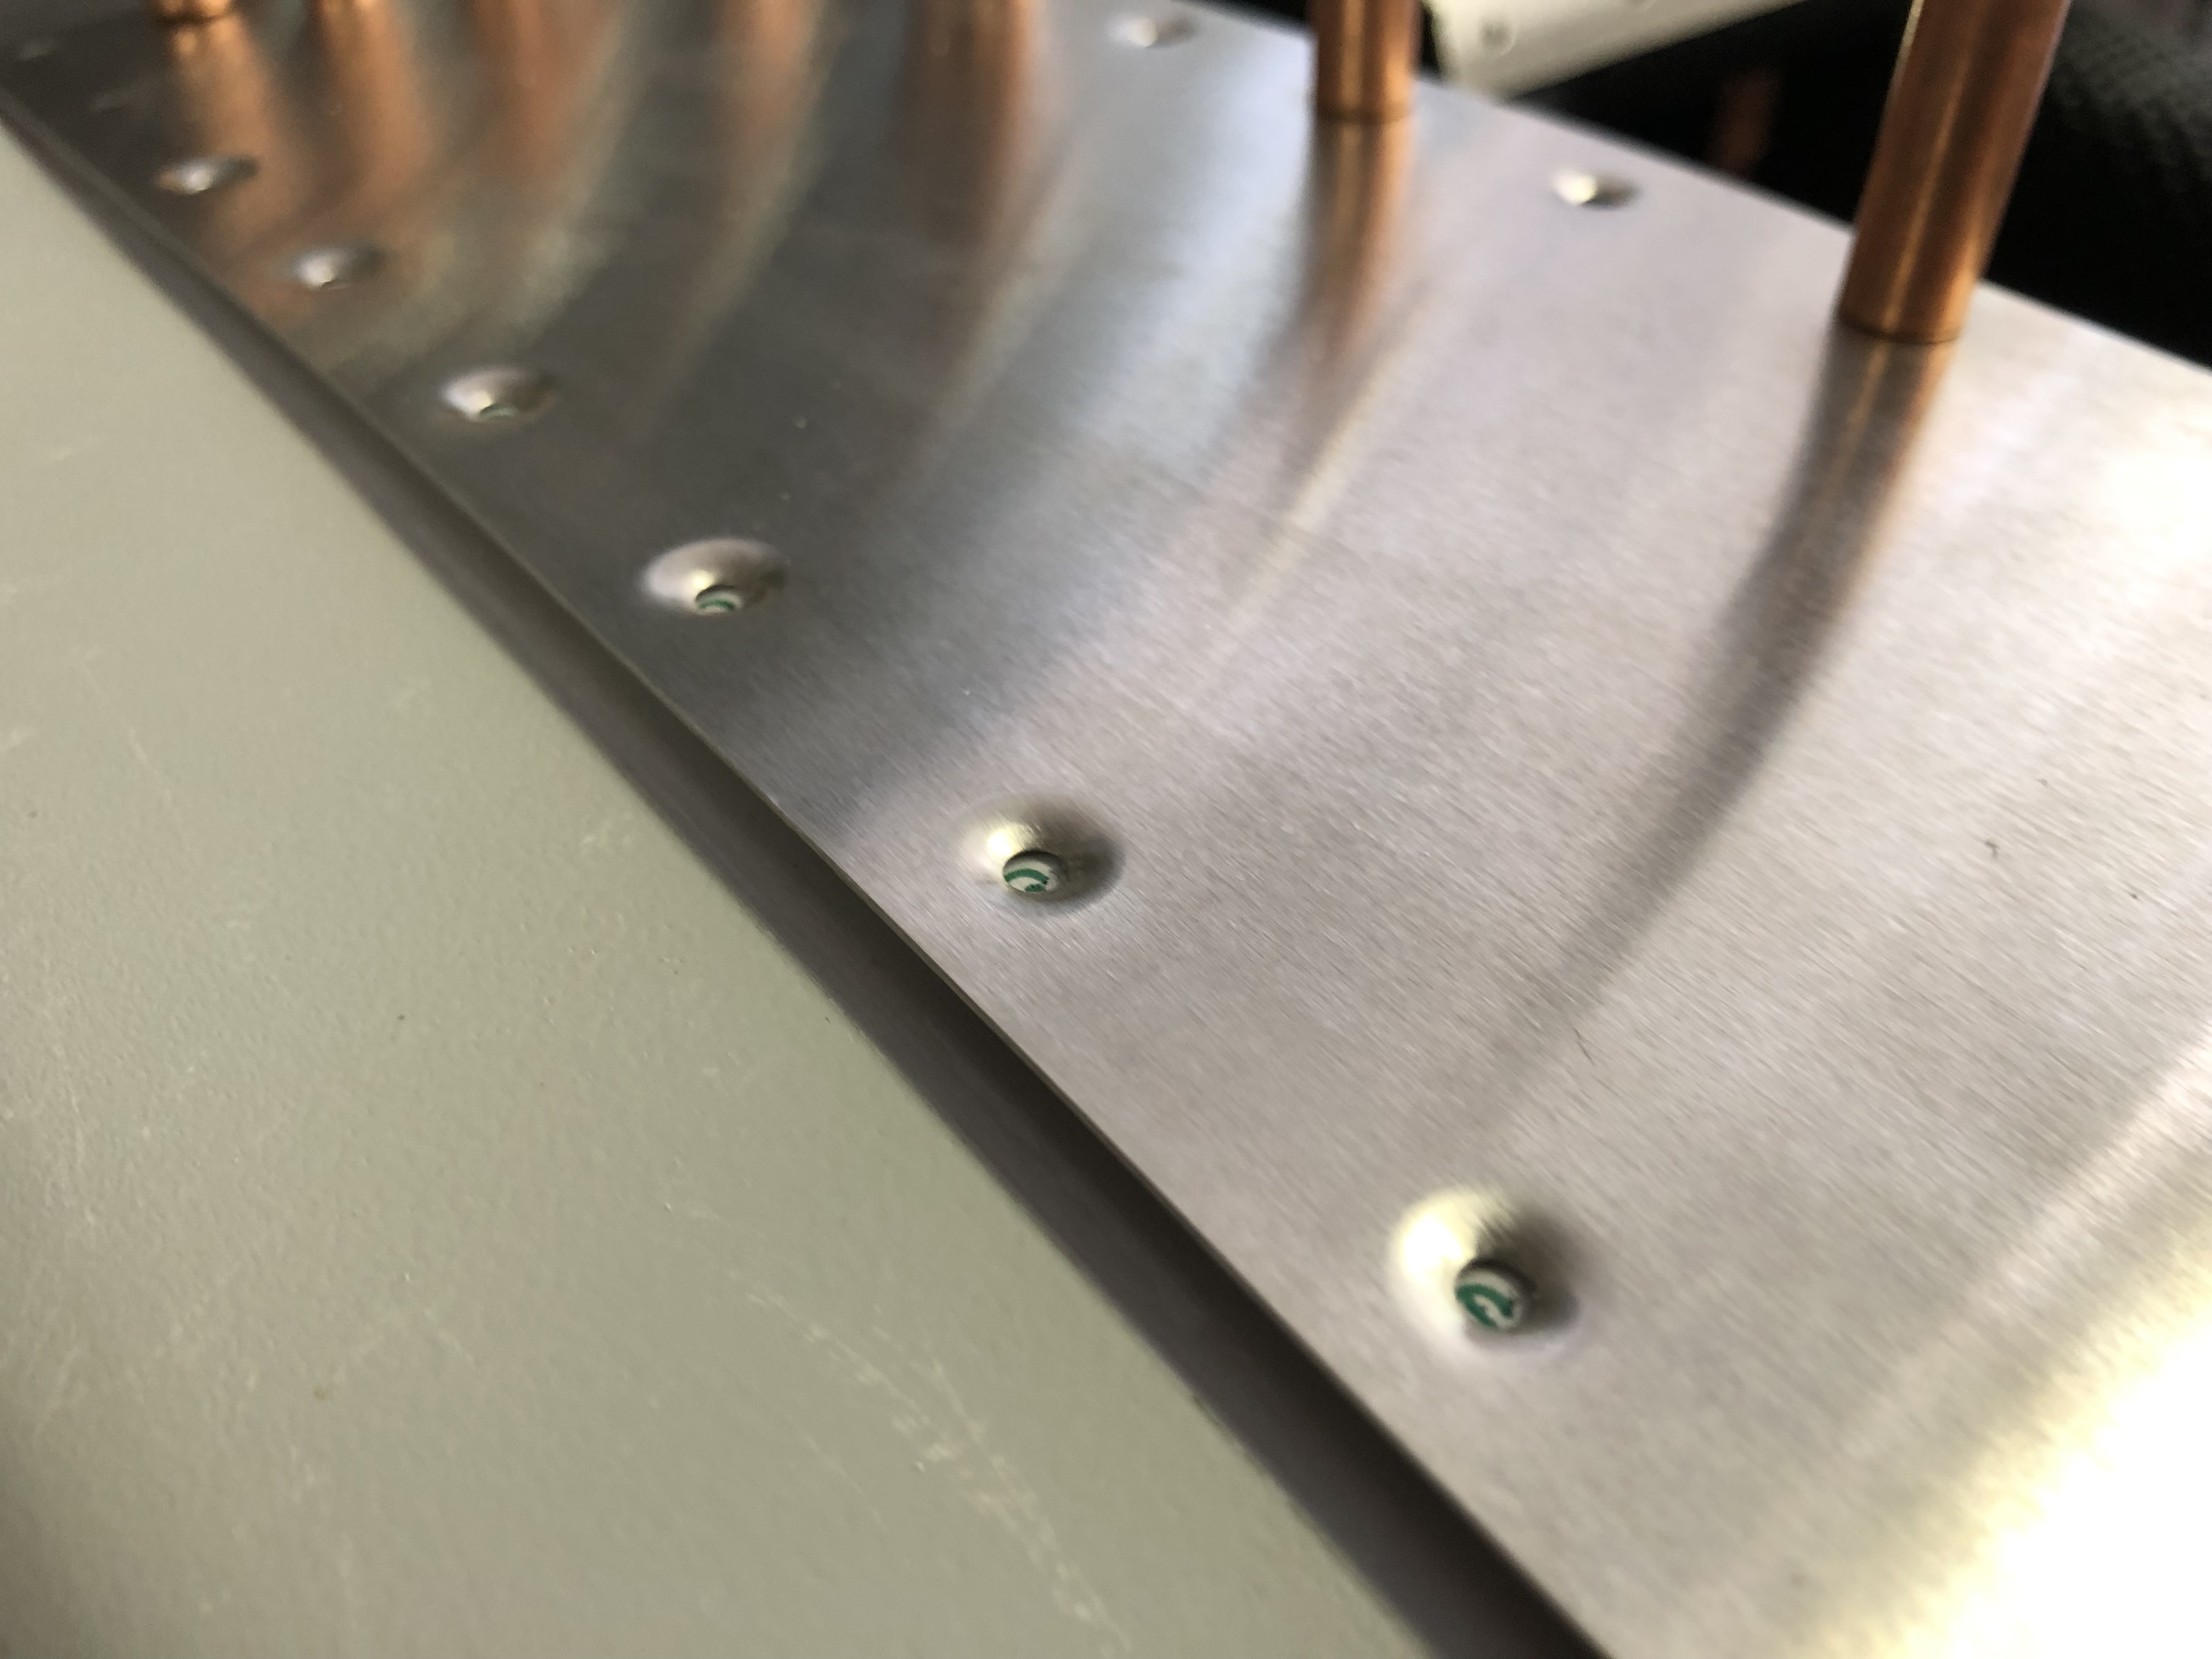
Then I completed assembling the second seat itself. When I built the other seat I noticed that I was missing some screws for the hinges and put in an order to get the missing screws, but I also remembered that I got some various metric screws from boltdepot a while back and luckily I had some countersunk M4x12 screws . Ialso found that there’s a typo in the instruction manual, which says they are M4x10, but the part number is HW-CAS-412-X-X-0 and they are actually M4x12. So I was able to put together the side hinges with those.

Riveting the headrest
Riveting the seat hinge

Now I just need some upholstery to make them a bit more comfortable to sit on. I ordered the upholstery a few weeks ago, so they should arrive in a few weeks hopefully.

Elevator Trim tab & left fiberglass tip fitting

Hours: 4

With the two main skins fitted onto the Elevator, I started looking at the trim tab and the side fiberglass tips.

First I figured out the correct orientation of the hinge that connects the Elevator and the trim tab and the right orientation of the trim tab. I temporarily clecoed them together to check that the clearances are good and it moves all fine.
Elevator trim tab temporarily mounted

Then I was searching for the brackets that go on top of the trim tab and realized that I got two different looking brackets. Since this looked off to me, I tried to squint real hard at the instruction manual to figure out which bracket is the right one. I also checked the Sling 4 instructions and asked Matthew if he had a picture of his brackets and with that figured out that I must have received one TSi and one Sling 4 bracket, so I put in a note with the factory so I can get the right bracket for my TSi.
This looked off to me - I figured out it's one TSi and one Sling 4 Trim tab bracket
Investigative work to figure out which bracket belongs

Securing the trim tab piano hinge

With that out of the way, I focused on thinking about securing the piano hinge that attaches the trim tab to the elevator. Since there is no natural stop for the pin that goes through the hinge on either side, it could happen that it becomes lose from vibration and thus could come out during flight, which would be bad. I research a bit on the topic and found this article from EAA on the use and installation of piano hinges.

One of the ways to secure the hinge is to drill a small hole through the last part of the hinge and install a safety wire. My hinge was luckily cut in a way that makes this approach very easy to achieve. I got out a small drill bit, mounted the hinge in my bench vise and drilled a hole on each side so I could run a safety wire through it.
EAA diagram to safety the hinge Hinge mounted in my bench vise to drill the hole for the safety wire Hole drilled for the safety wire Safety wire in place to test free movement while connected to the Elevator

Using the safety wire approach makes it easy to still remove it in the future, but ensures that the pin stays securely in the hinge.
Testing free movement of the trim tab with the safety wire in place

Fitting the left side fiberglass tip

For the last part of the day, I started on fitting the last part of the skin and the fiberglass tips. Since this requires moving around the tip from both sides, I moved the Elevator over onto some saw horses so I could access the bottom more easily.

First I clecoed the top skin in place and then I slowly fitted the fiberglass tip in place. In order to get the fiberglass tip to fit, I had to file a tiny bit at the back, but it was much easier than the Rudder tip fitting.

Once I had it in place, I started to hold everything tight together and started match-drilling holes into the fiberglass tip. I used liberal amounts of clecos to get a tight fit and everything looks good. Now I just need to repeat it on the other side.
Top skin clecoed in place Fiberglass tip fit in place and ready to match-drill Marking drill holes Fiberglass tip match-drilled