Tag Archives: hinges

More front seat construction

Hours: 4

With one front seat assembled, time to complete the other one.

I got an AN3-6A bolt from a friend while waiting to get a replacement from TAF, so I was able to put together the seat locking mechanism for the seat.
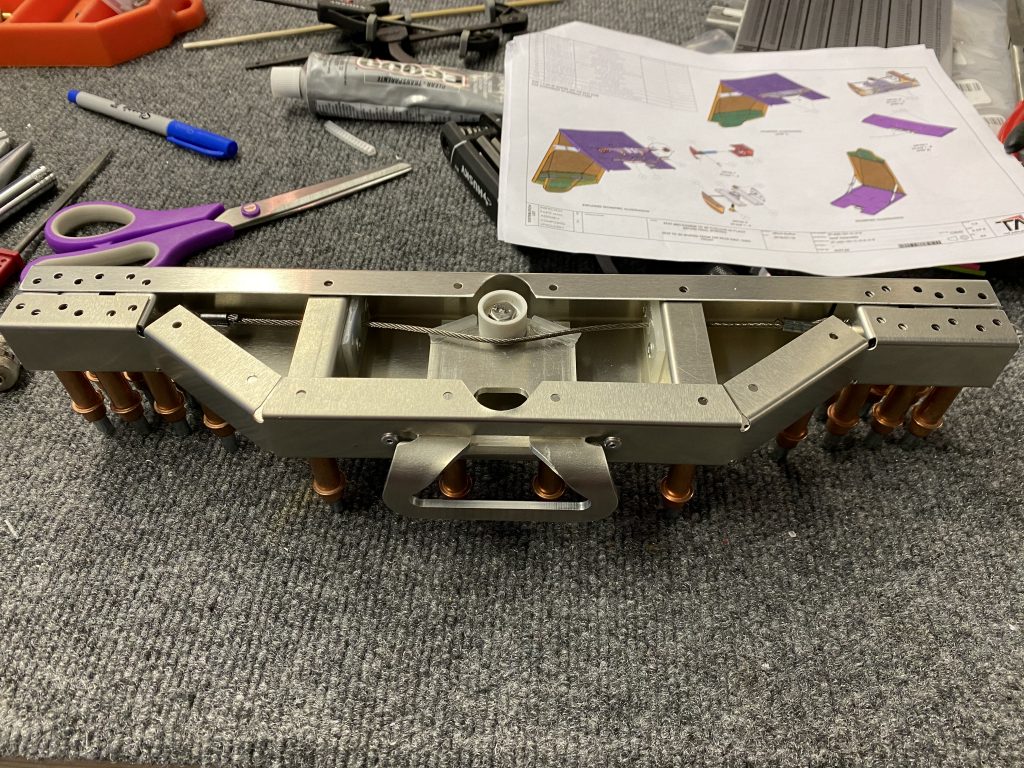
Completely assembled seat locking mechanism, ready to rivet

EDIT: after reading the Sling 4 instruction manual, I now believe the cable goes on the other side, so I’ll move it down before I close it up and rivet it in.

Now having figured out the complete assembly, I also assembled the mechanism for the second seat, but unfortunately, the steel cable assembly for the second seat is too long, so I put in an order for a replacement.
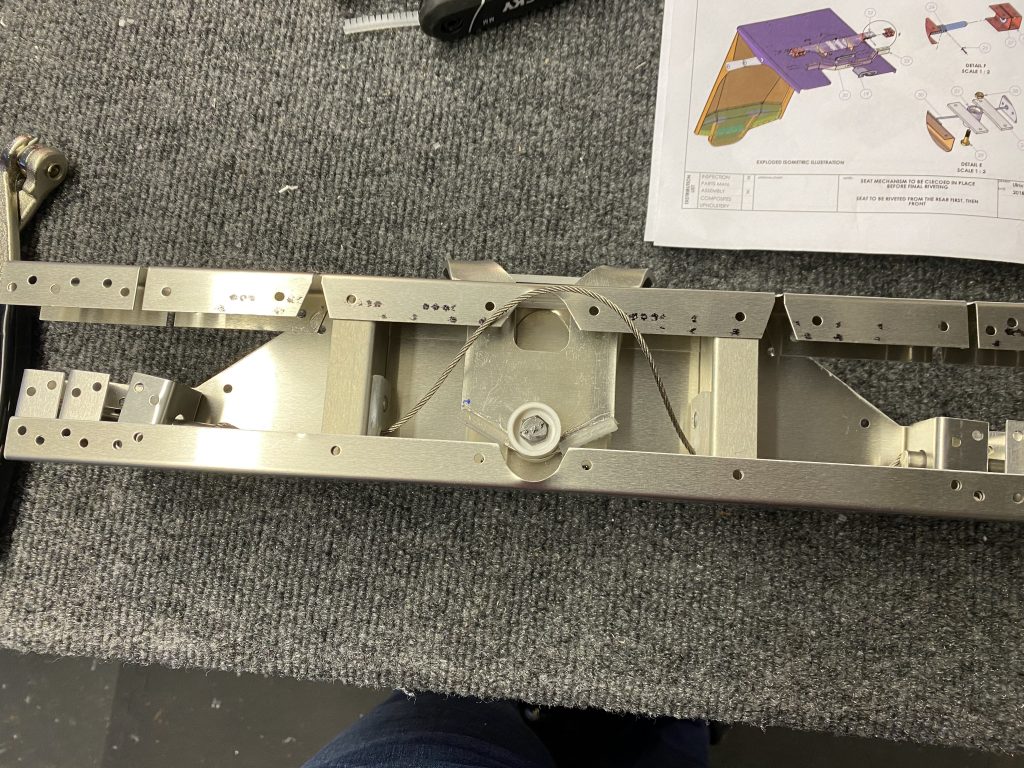
Second seat locking mechanism put together, but unfortunately the cable on this one is much too long.

So one mechanism assembly completed, the other on hold.

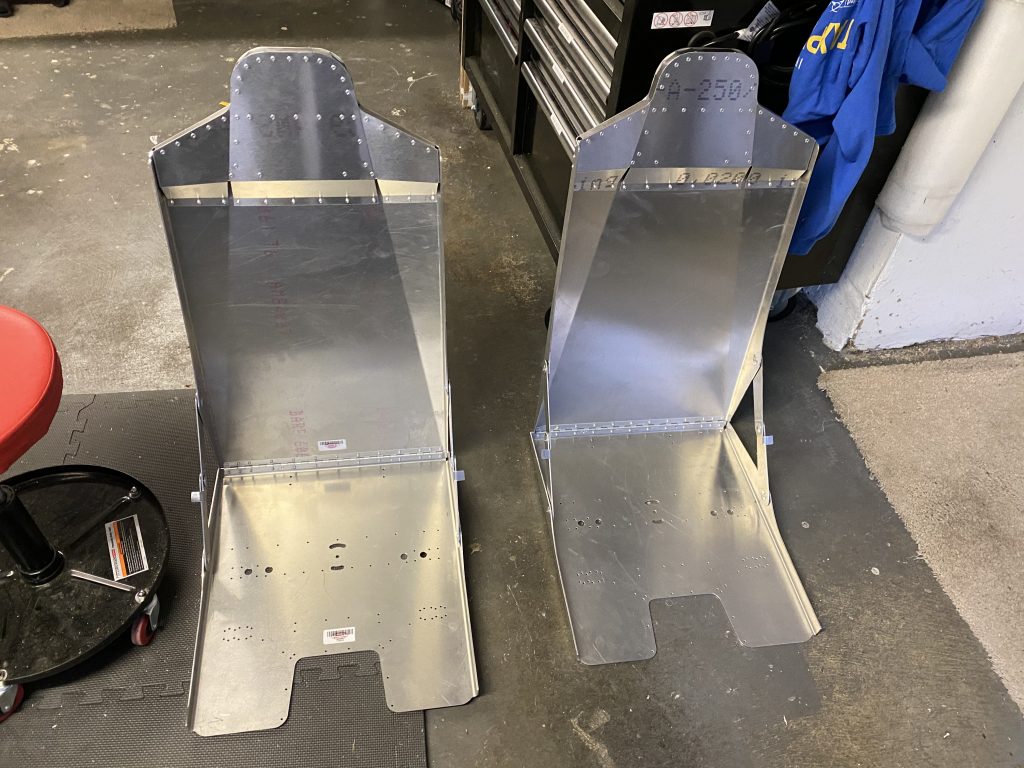
Then I completed assembling the second seat itself. When I built the other seat I noticed that I was missing some screws for the hinges and put in an order to get the missing screws, but I also remembered that I got some various metric screws from boltdepot a while back and luckily I had some countersunk M4x12 screws . Ialso found that there’s a typo in the instruction manual, which says they are M4x10, but the part number is HW-CAS-412-X-X-0 and they are actually M4x12. So I was able to put together the side hinges with those.
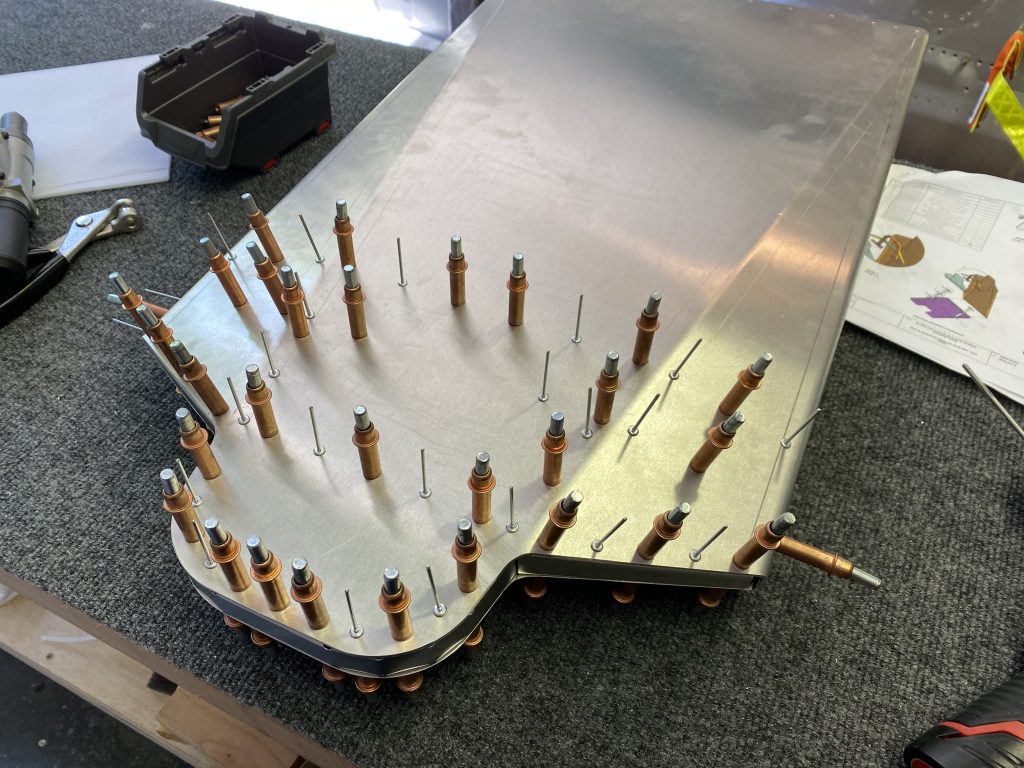
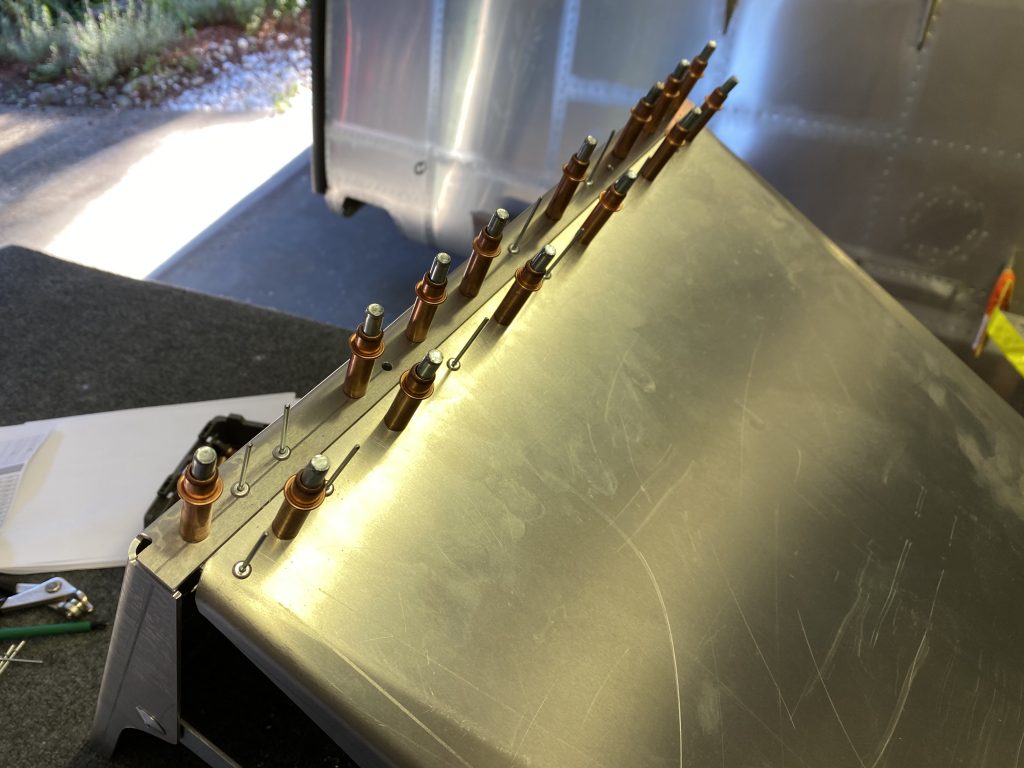
Riveting the headrest
Riveting the seat hinge

Now I just need some upholstery to make them a bit more comfortable to sit on. I ordered the upholstery a few weeks ago, so they should arrive in a few weeks hopefully.
Finishing the Flaps

Hours: 6

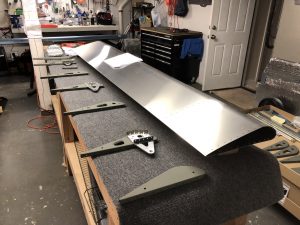
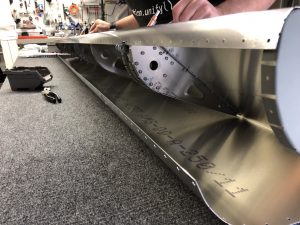
With the ribs for the Flaps out of the way, I am ready to finish the flaps. First order of business is to ensure that I have the ribs all in the right order.
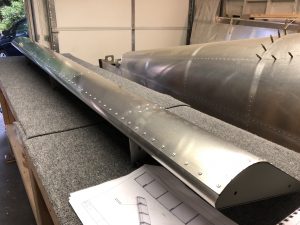
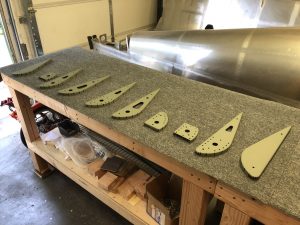
Completed ribs laid out along the right Flap

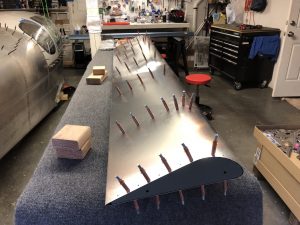
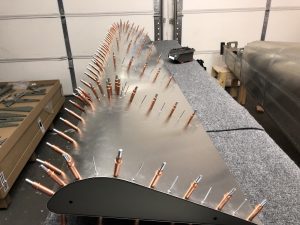
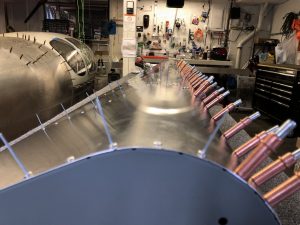
Once that was figured out, I first clecoed the ribs in place to the bottom of the skins and then closed up the skins and clecoed the top as well.
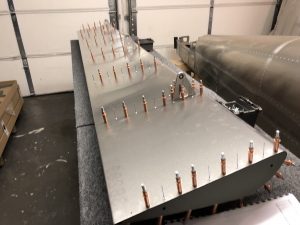
Ribs clecoed in place to the bottom of the Flaps skin Clecos in place to close up the right Flap

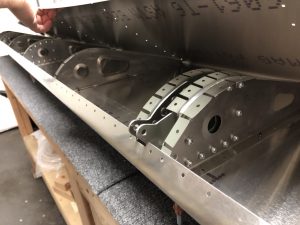
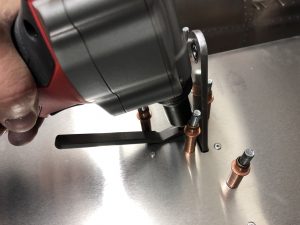
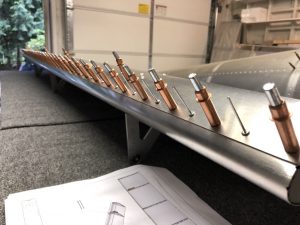
After checking that everything is aligning properly with the skins, I started riveting the skin. The top side is pretty straightforward. For the bottom side, there are a couple of tight spots next to the hinges, so the close quarter rivet wedge came in handy for a couple of the rivets.

Rivets in place Close quarter rivet wedge to rivet the tight space next to the hinge Bottom right side Flap ready to rivet Bottom right side flap almost done riveting

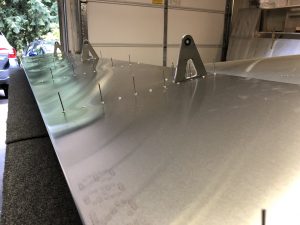
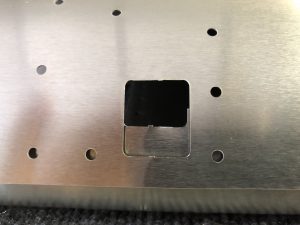
With the right side Flap finished and closed up, I then repeated it all for the left side Flap. There was also a couple of the edges where the hinges sit that needed a bit of deburring attention.
Some deburring was needed for the hole where the hinges go through Upside down view of the left side Flap ribs clecoed in place Almost done with the left side Flap riveting

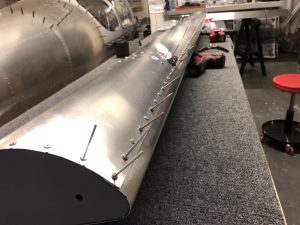
After I finished the top skins, I did one quick alignment test fit on the wings and everything looked good, so then I finished up both sides by riveting the front rivet lane that closes the skin against the other side.
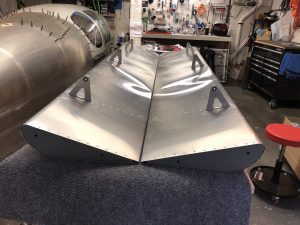
Front line ready to close up the skins of the Flaps for good Almost done riveting the Flaps Completed left Flap Both Flaps completed

Final alignment check

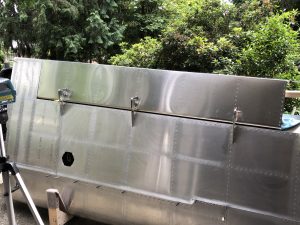
Once I finished all the riveting, I did one final test fit onto the wings. I used a bit of mason string and my laser level and everything is looking good. Now onto finishing the Elevator.
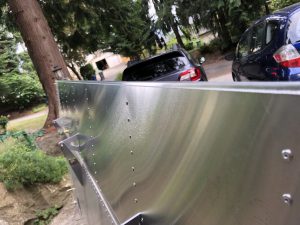
Final test fitting and alignment checks Final test fitting and alignment checks

Timelapse of building the Flaps

Getting started with riveting the Flaps

Hours: 2.5

With the priming of the Flaps ribs out of the way, I got started riveting the Flaps. First order of business was laying out all the ribs in the correct order.
Flaps ribs laid out in the correct order

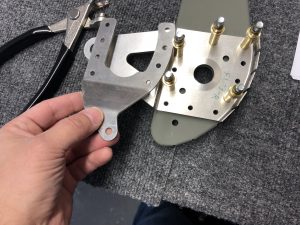
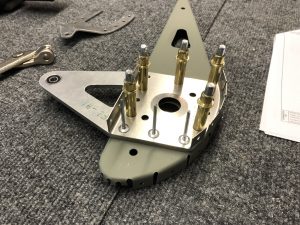
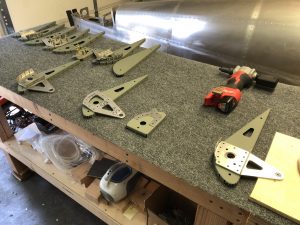
After laying out the ribs in the correct order, I started laying out the right hinges to go with each rib. There is one interesting rib that needs to be riveted in two steps as one part goes on top of the other:
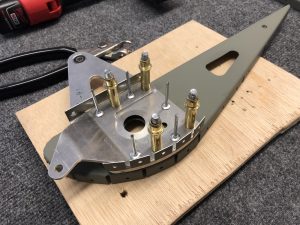
Hinge and bracket to be riveted onto the rib Ready to rivet those 3 rivets that will hide under the angled bracket Ready to rivet the bracket on top of the hinge

Once I figured all of that out of the right side Flaps, I repeated the steps for the left side Flaps:
Right side ribs done and laying out the left side

I received the missing rivets for the assembly the other day, so now I was able to finish the riveting all of the hinges to the ribs to actually complete the flaps.Completed ribs laid out along the right Flap