
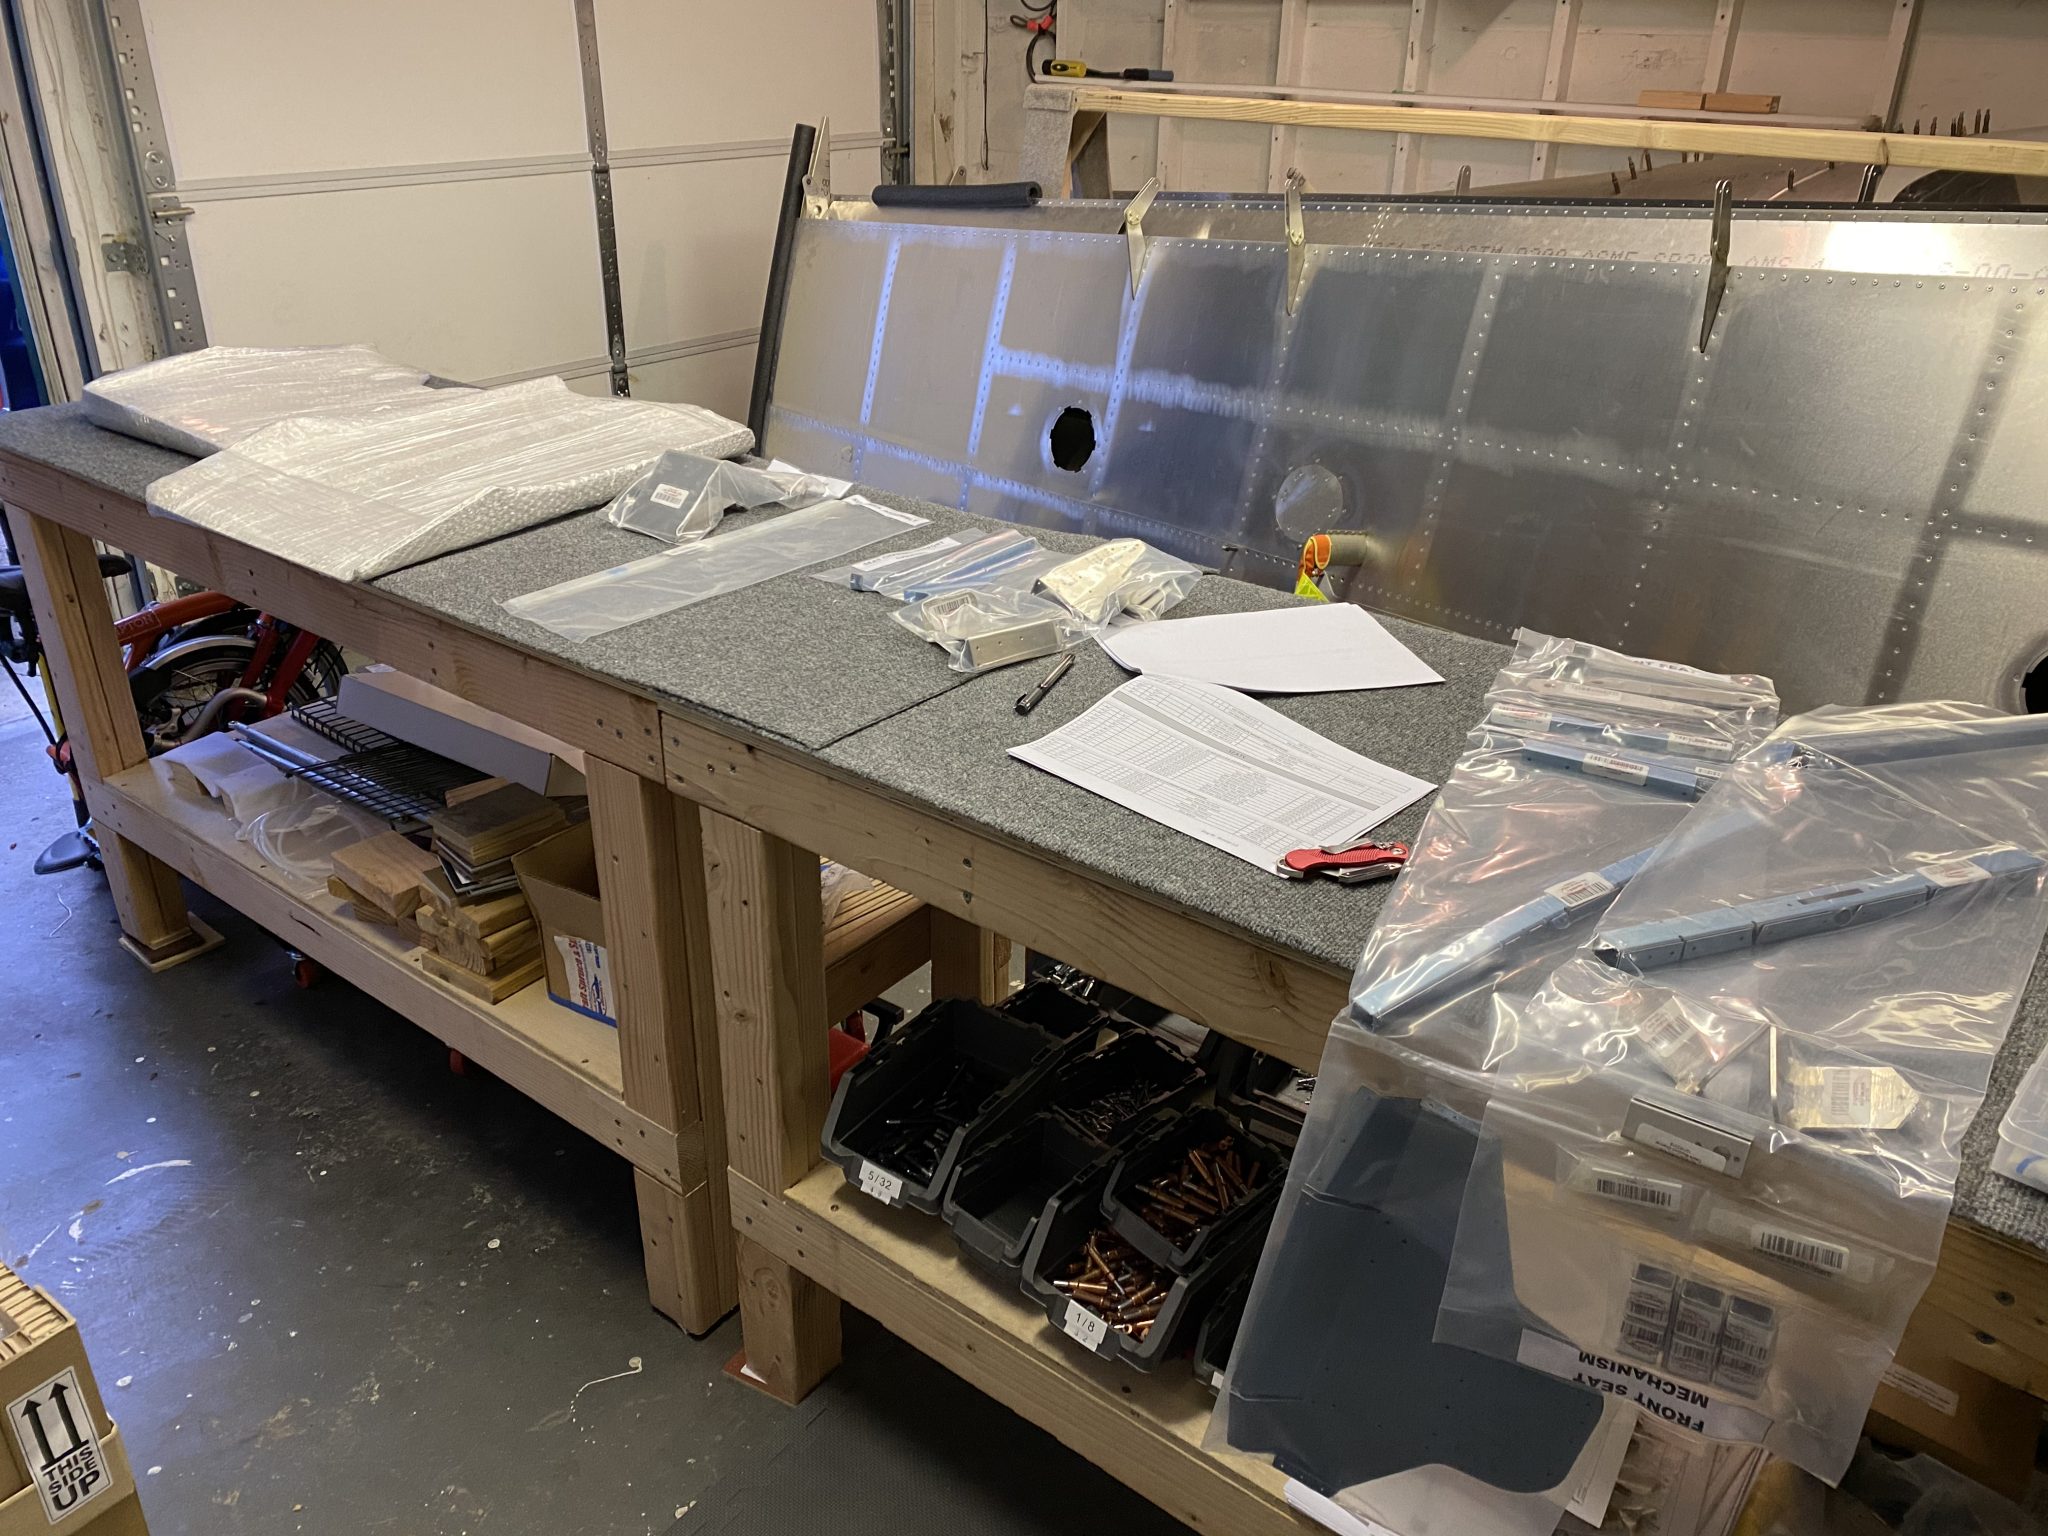
It’s time to replace the now empty box of parts in the Garage with another full one. I moved on to the Fuselage box to get started with the interior of the Fuselage assembly. First order of business was finding all the parts for the seats.
After a bit of digging I found all the parts for the seats based on the inventory checklist in the box.
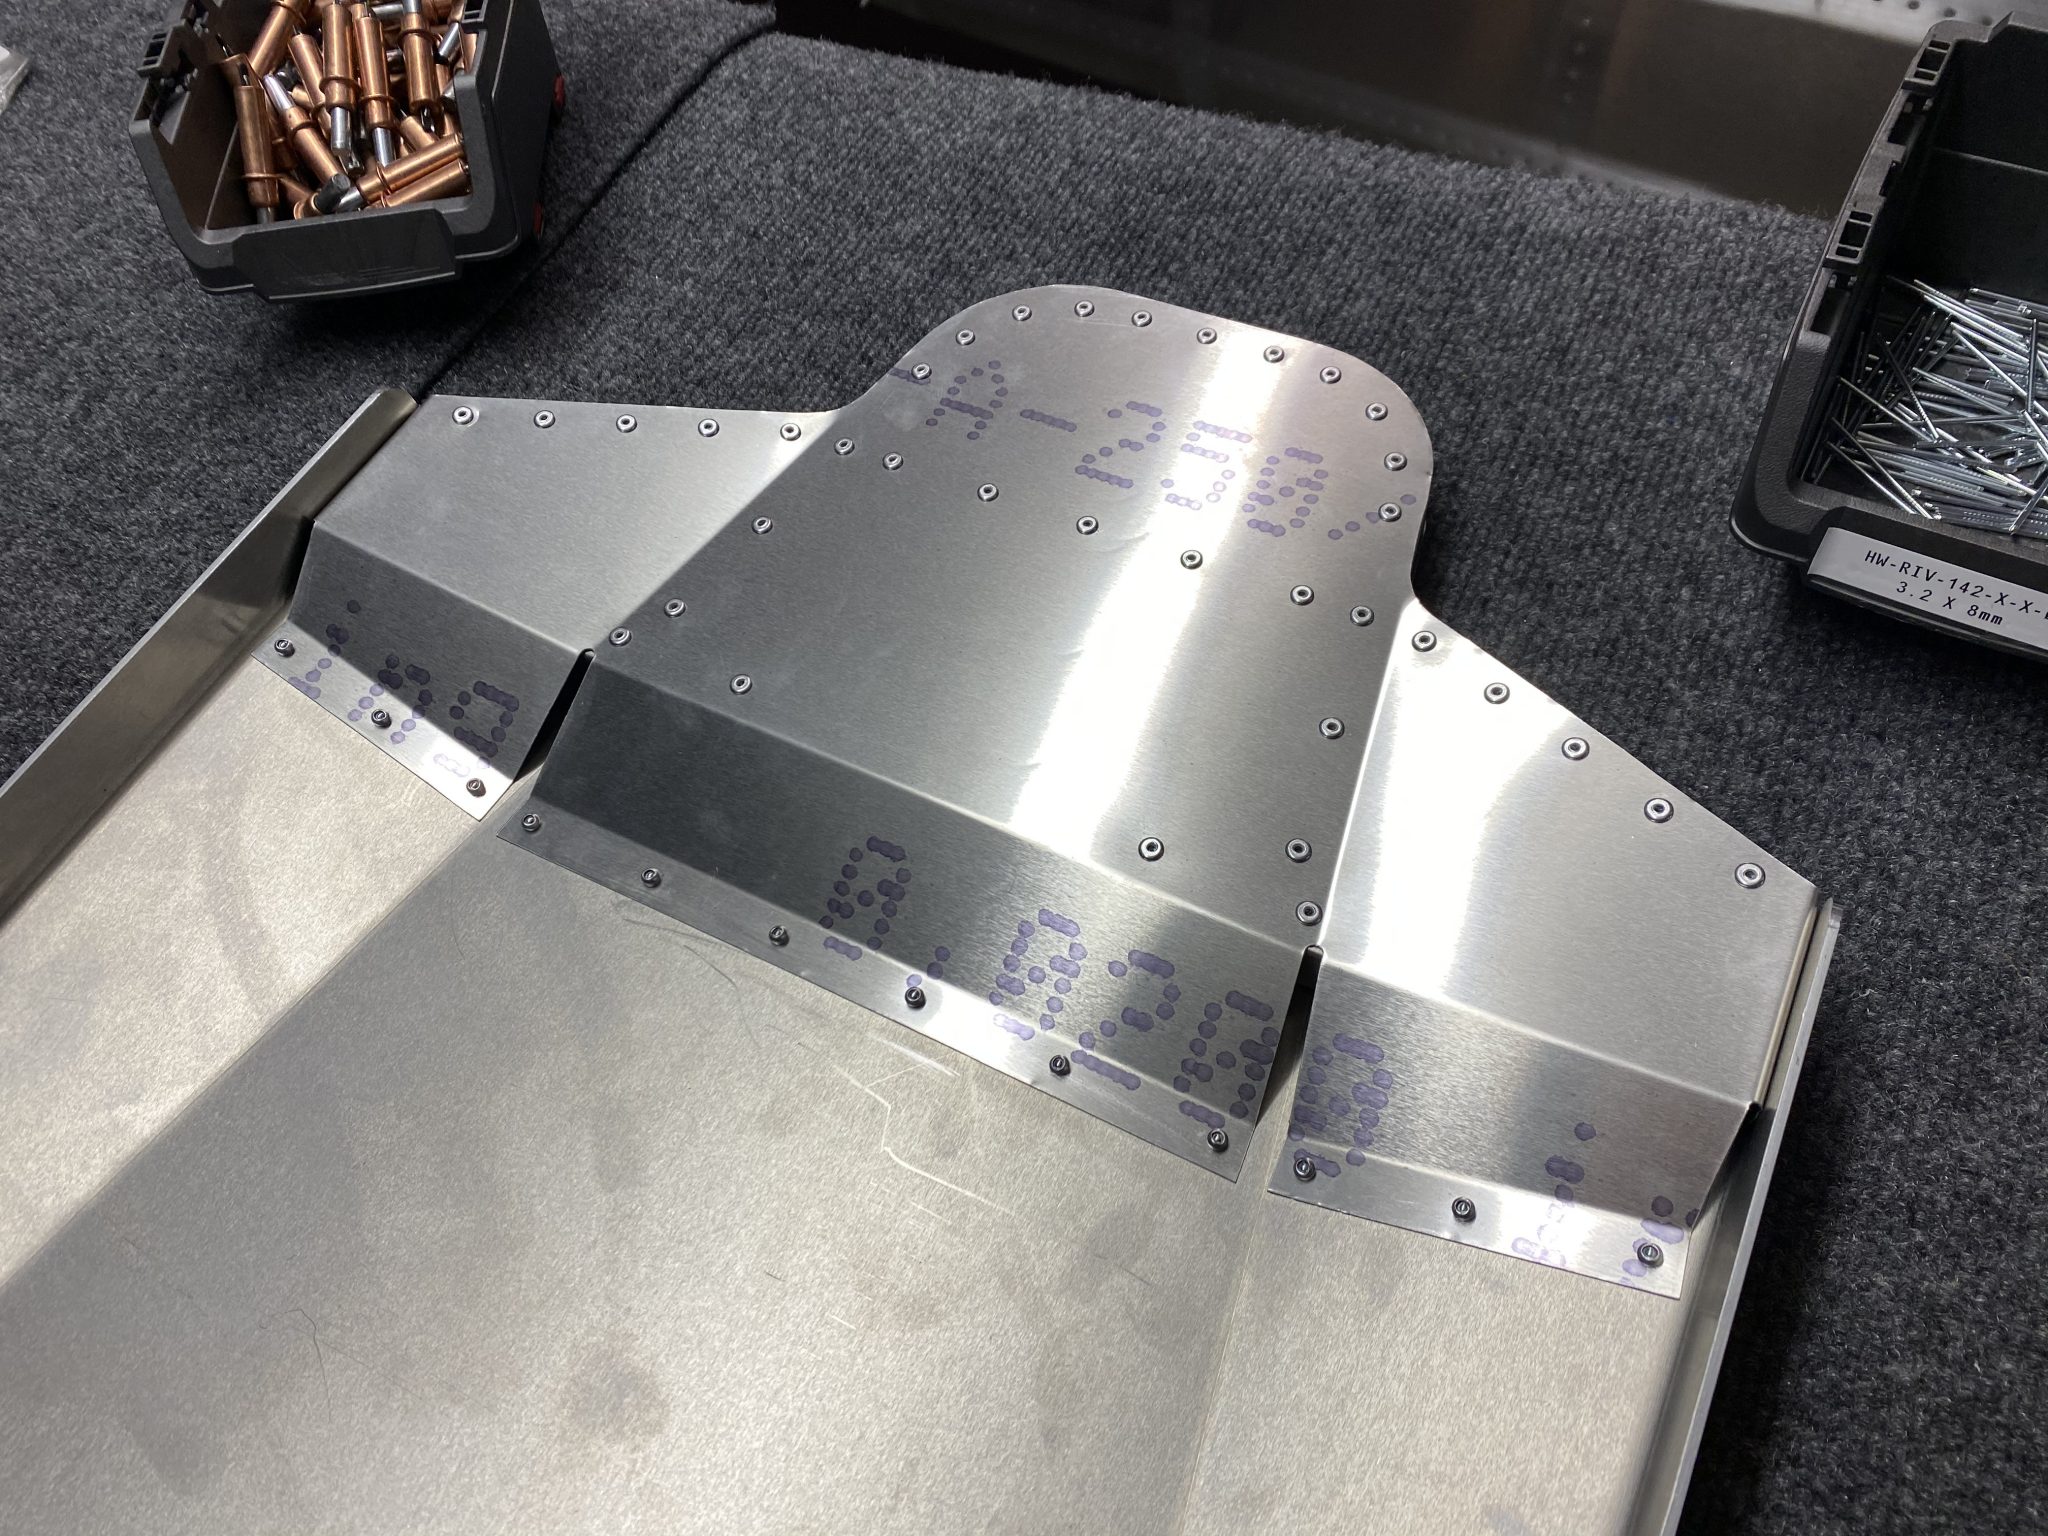
Once I had all parts in order, I started laying out the headrest based on the manual.
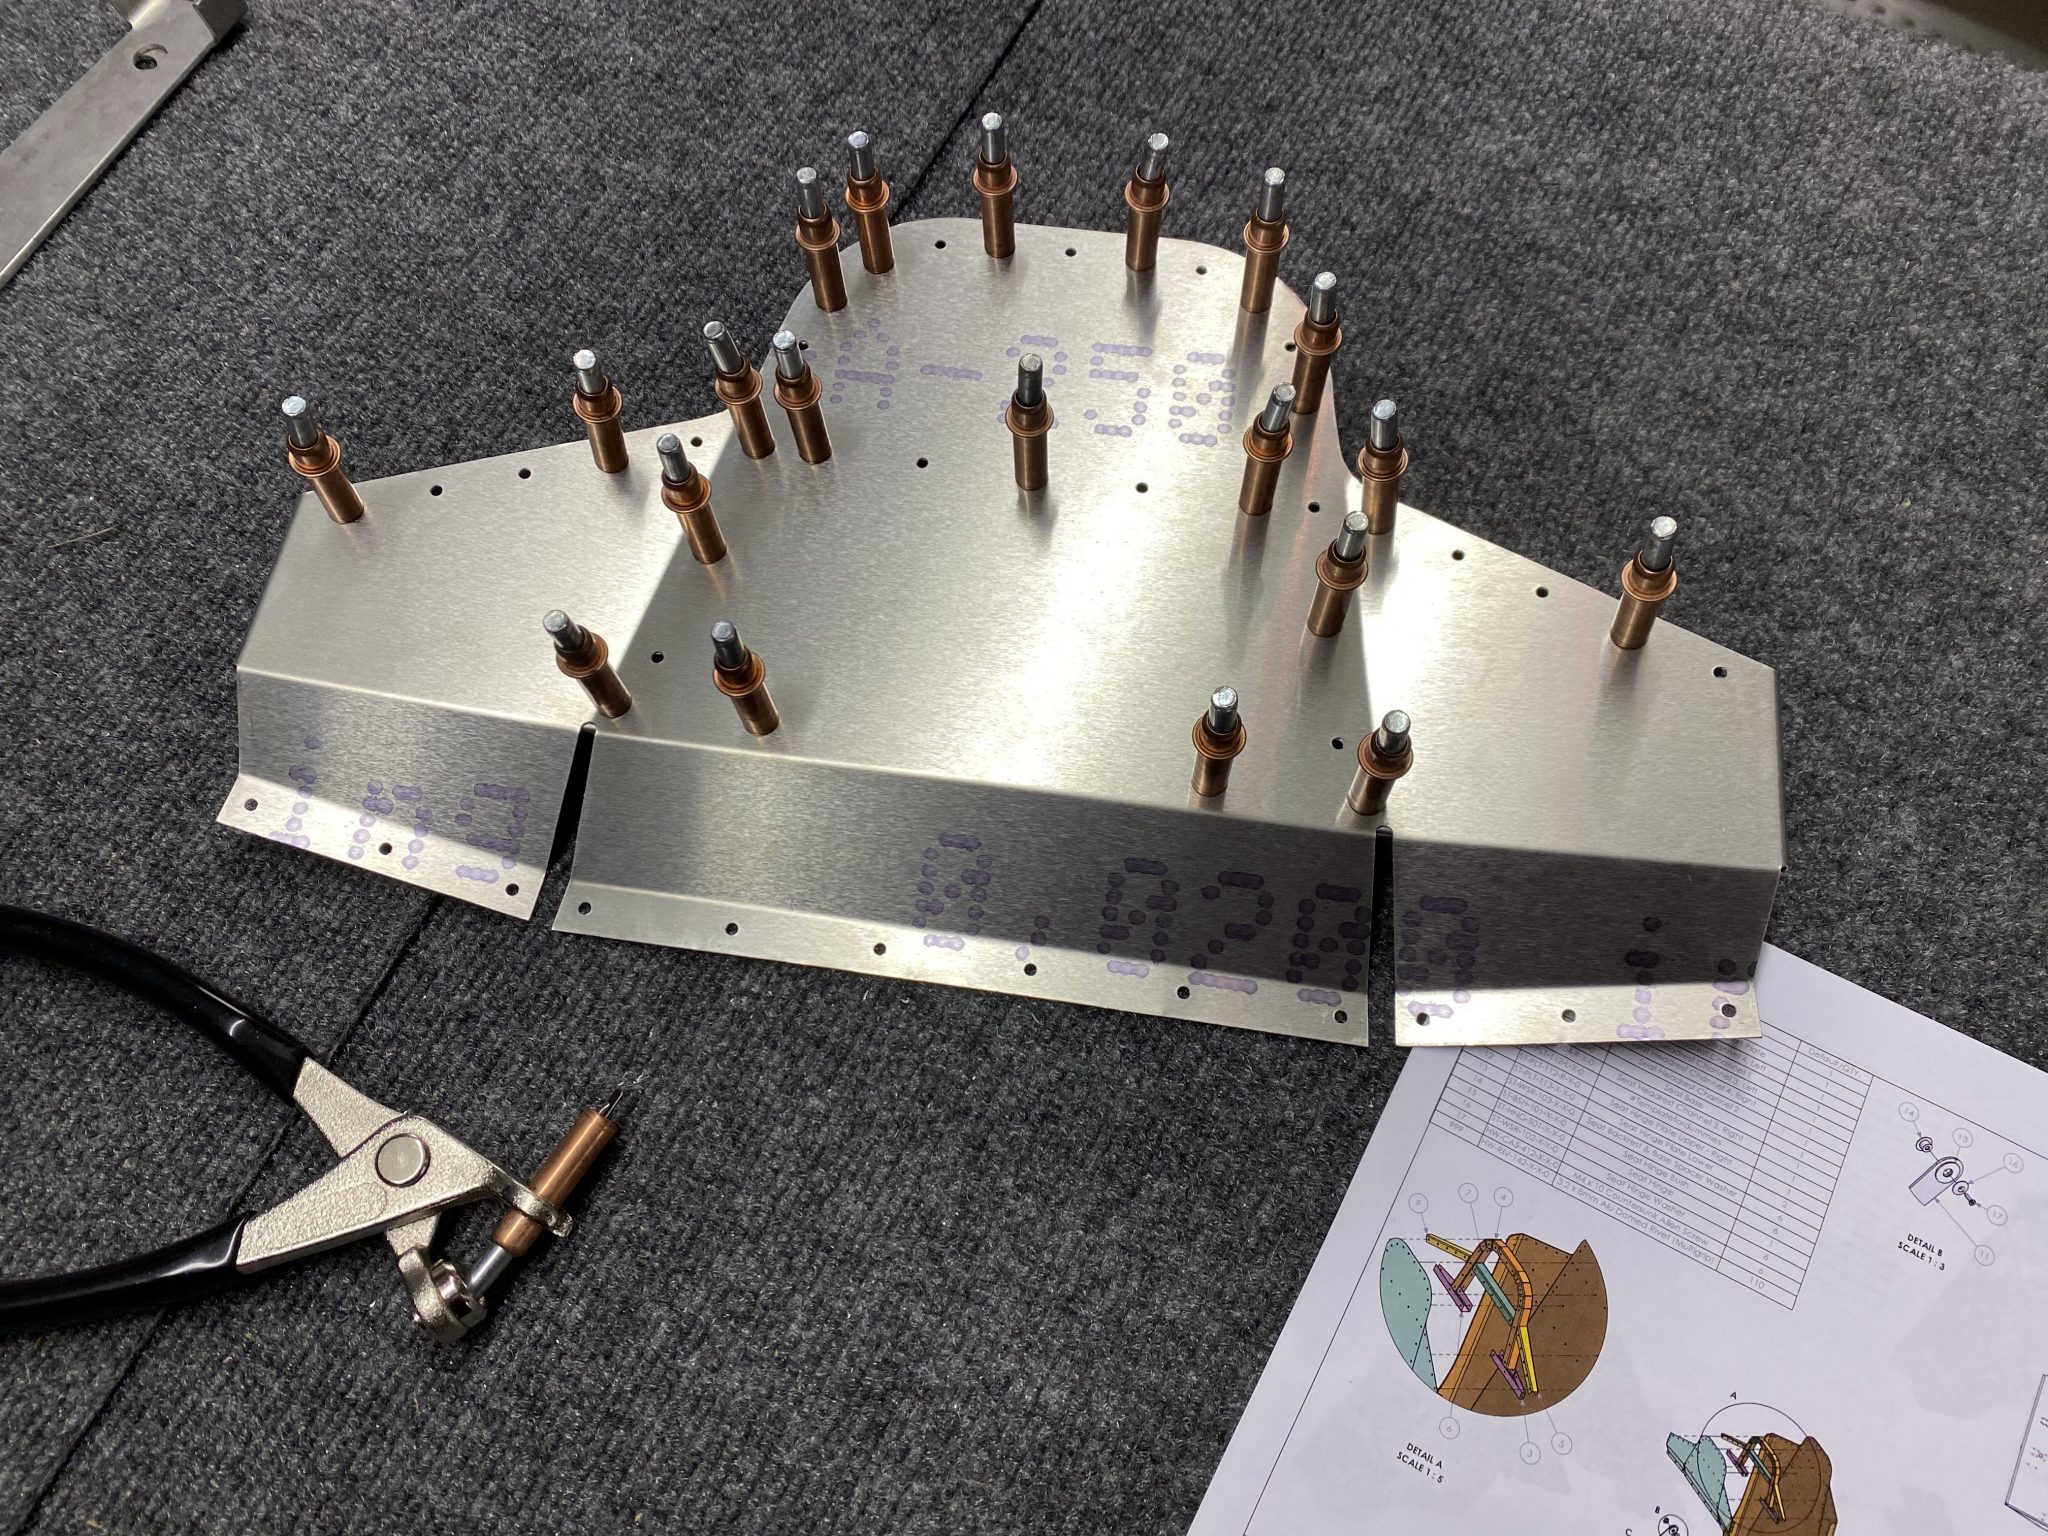
Then I clecoed it all onto the seat back and started riveting from the seatback.
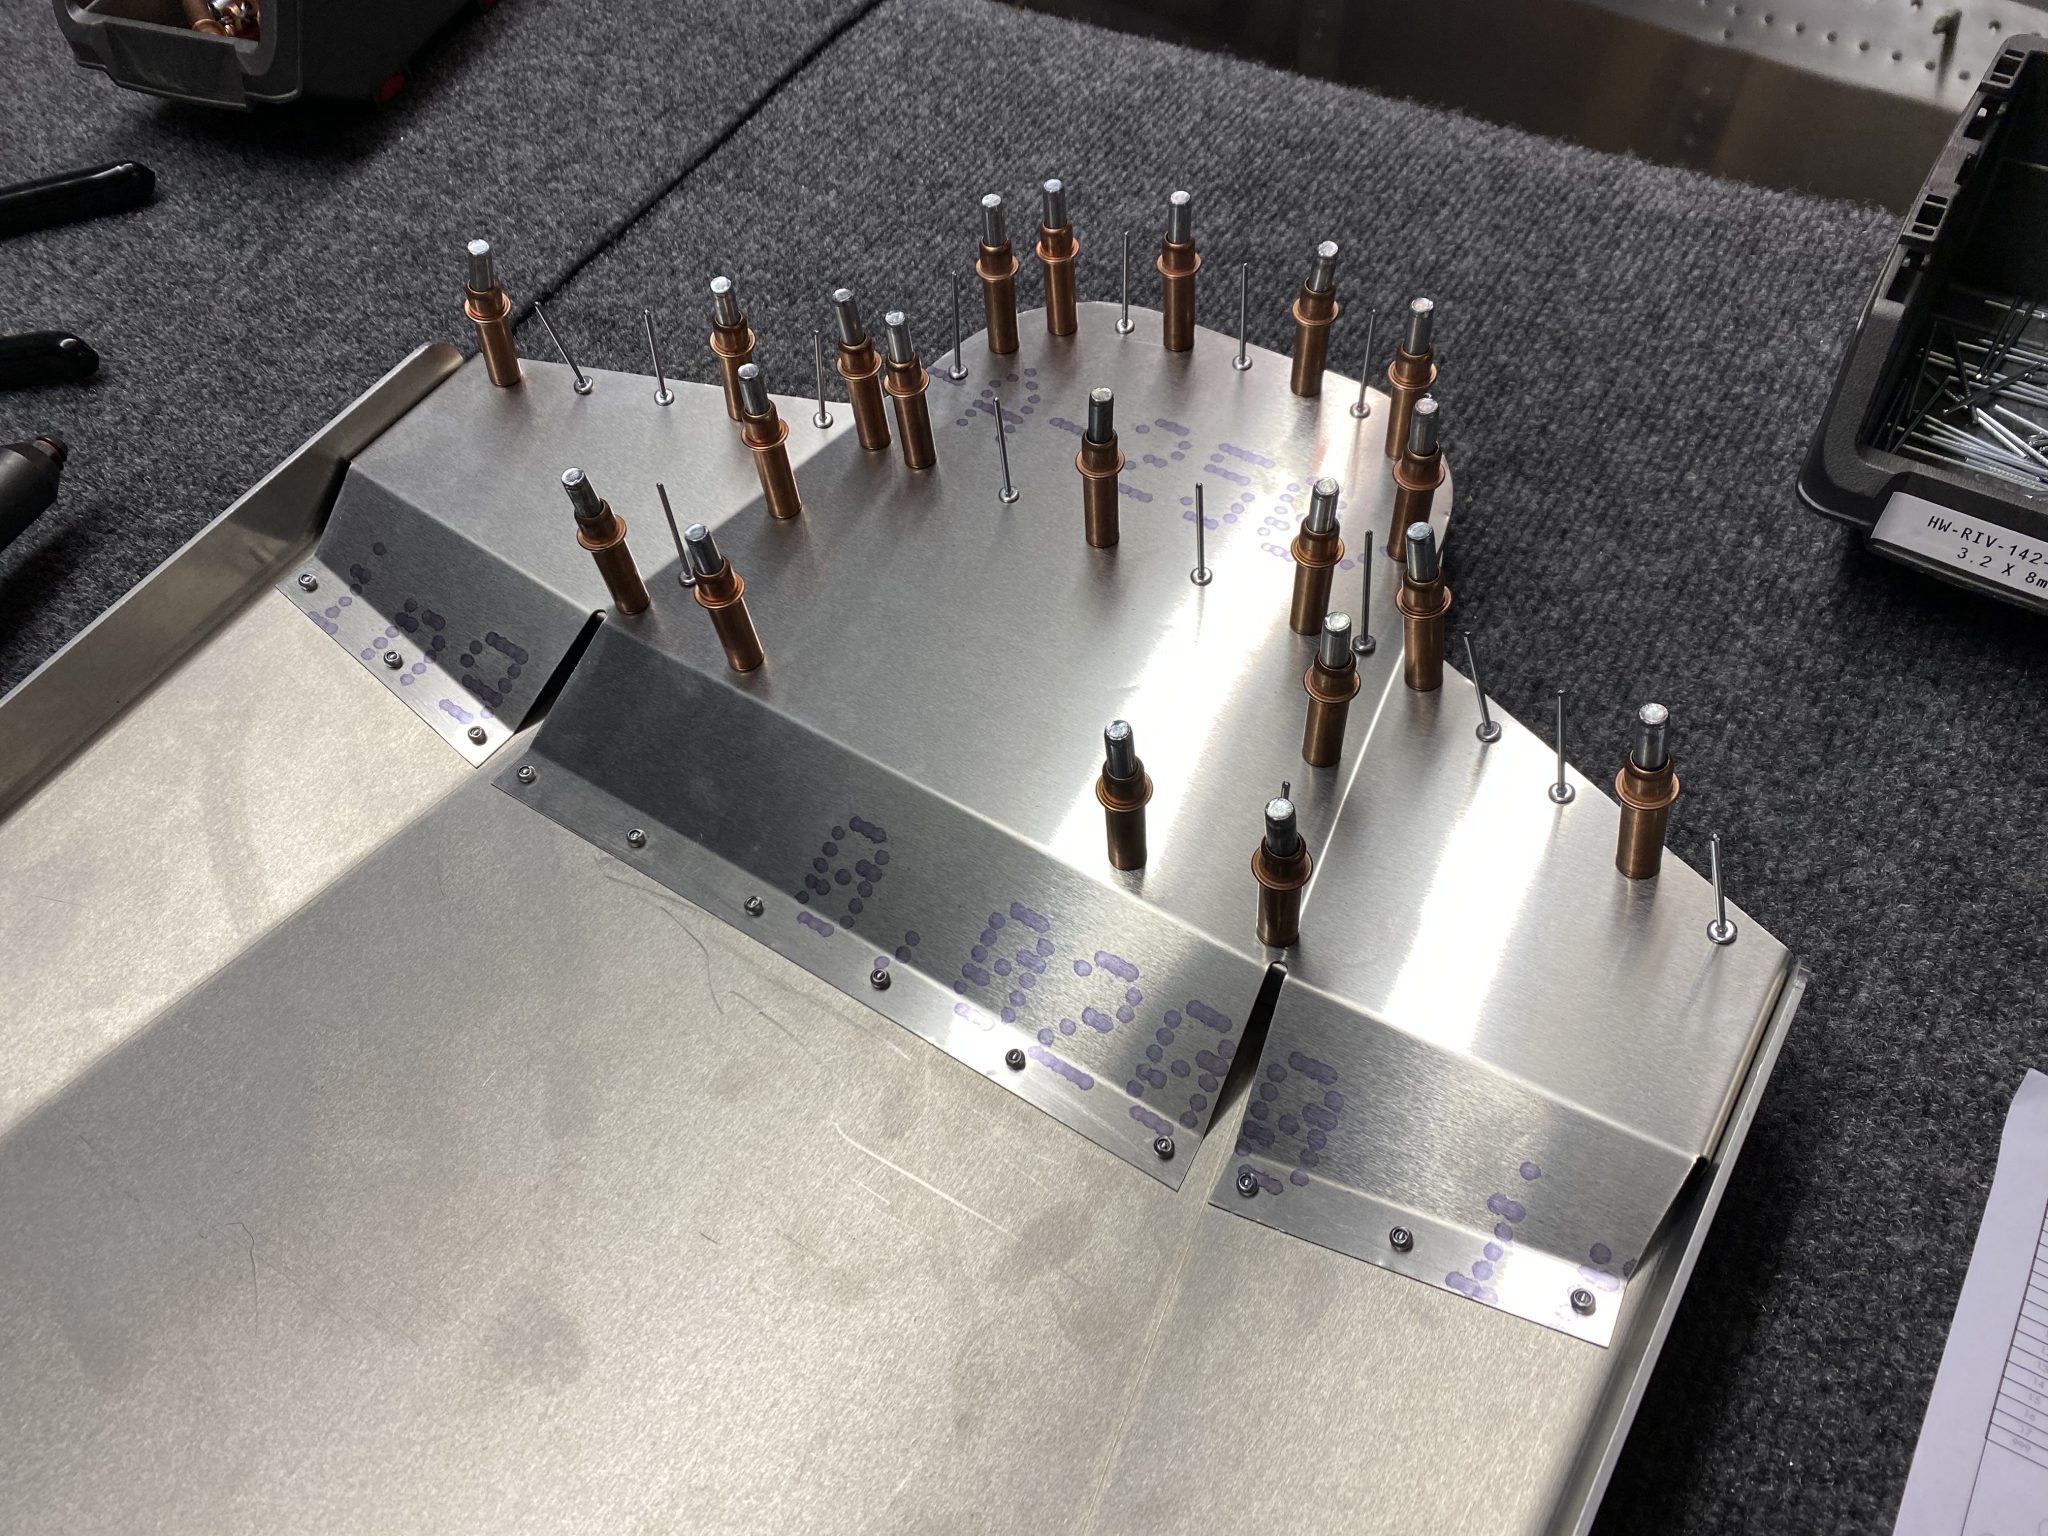
Following the backside, riveting the front side of the headrest.
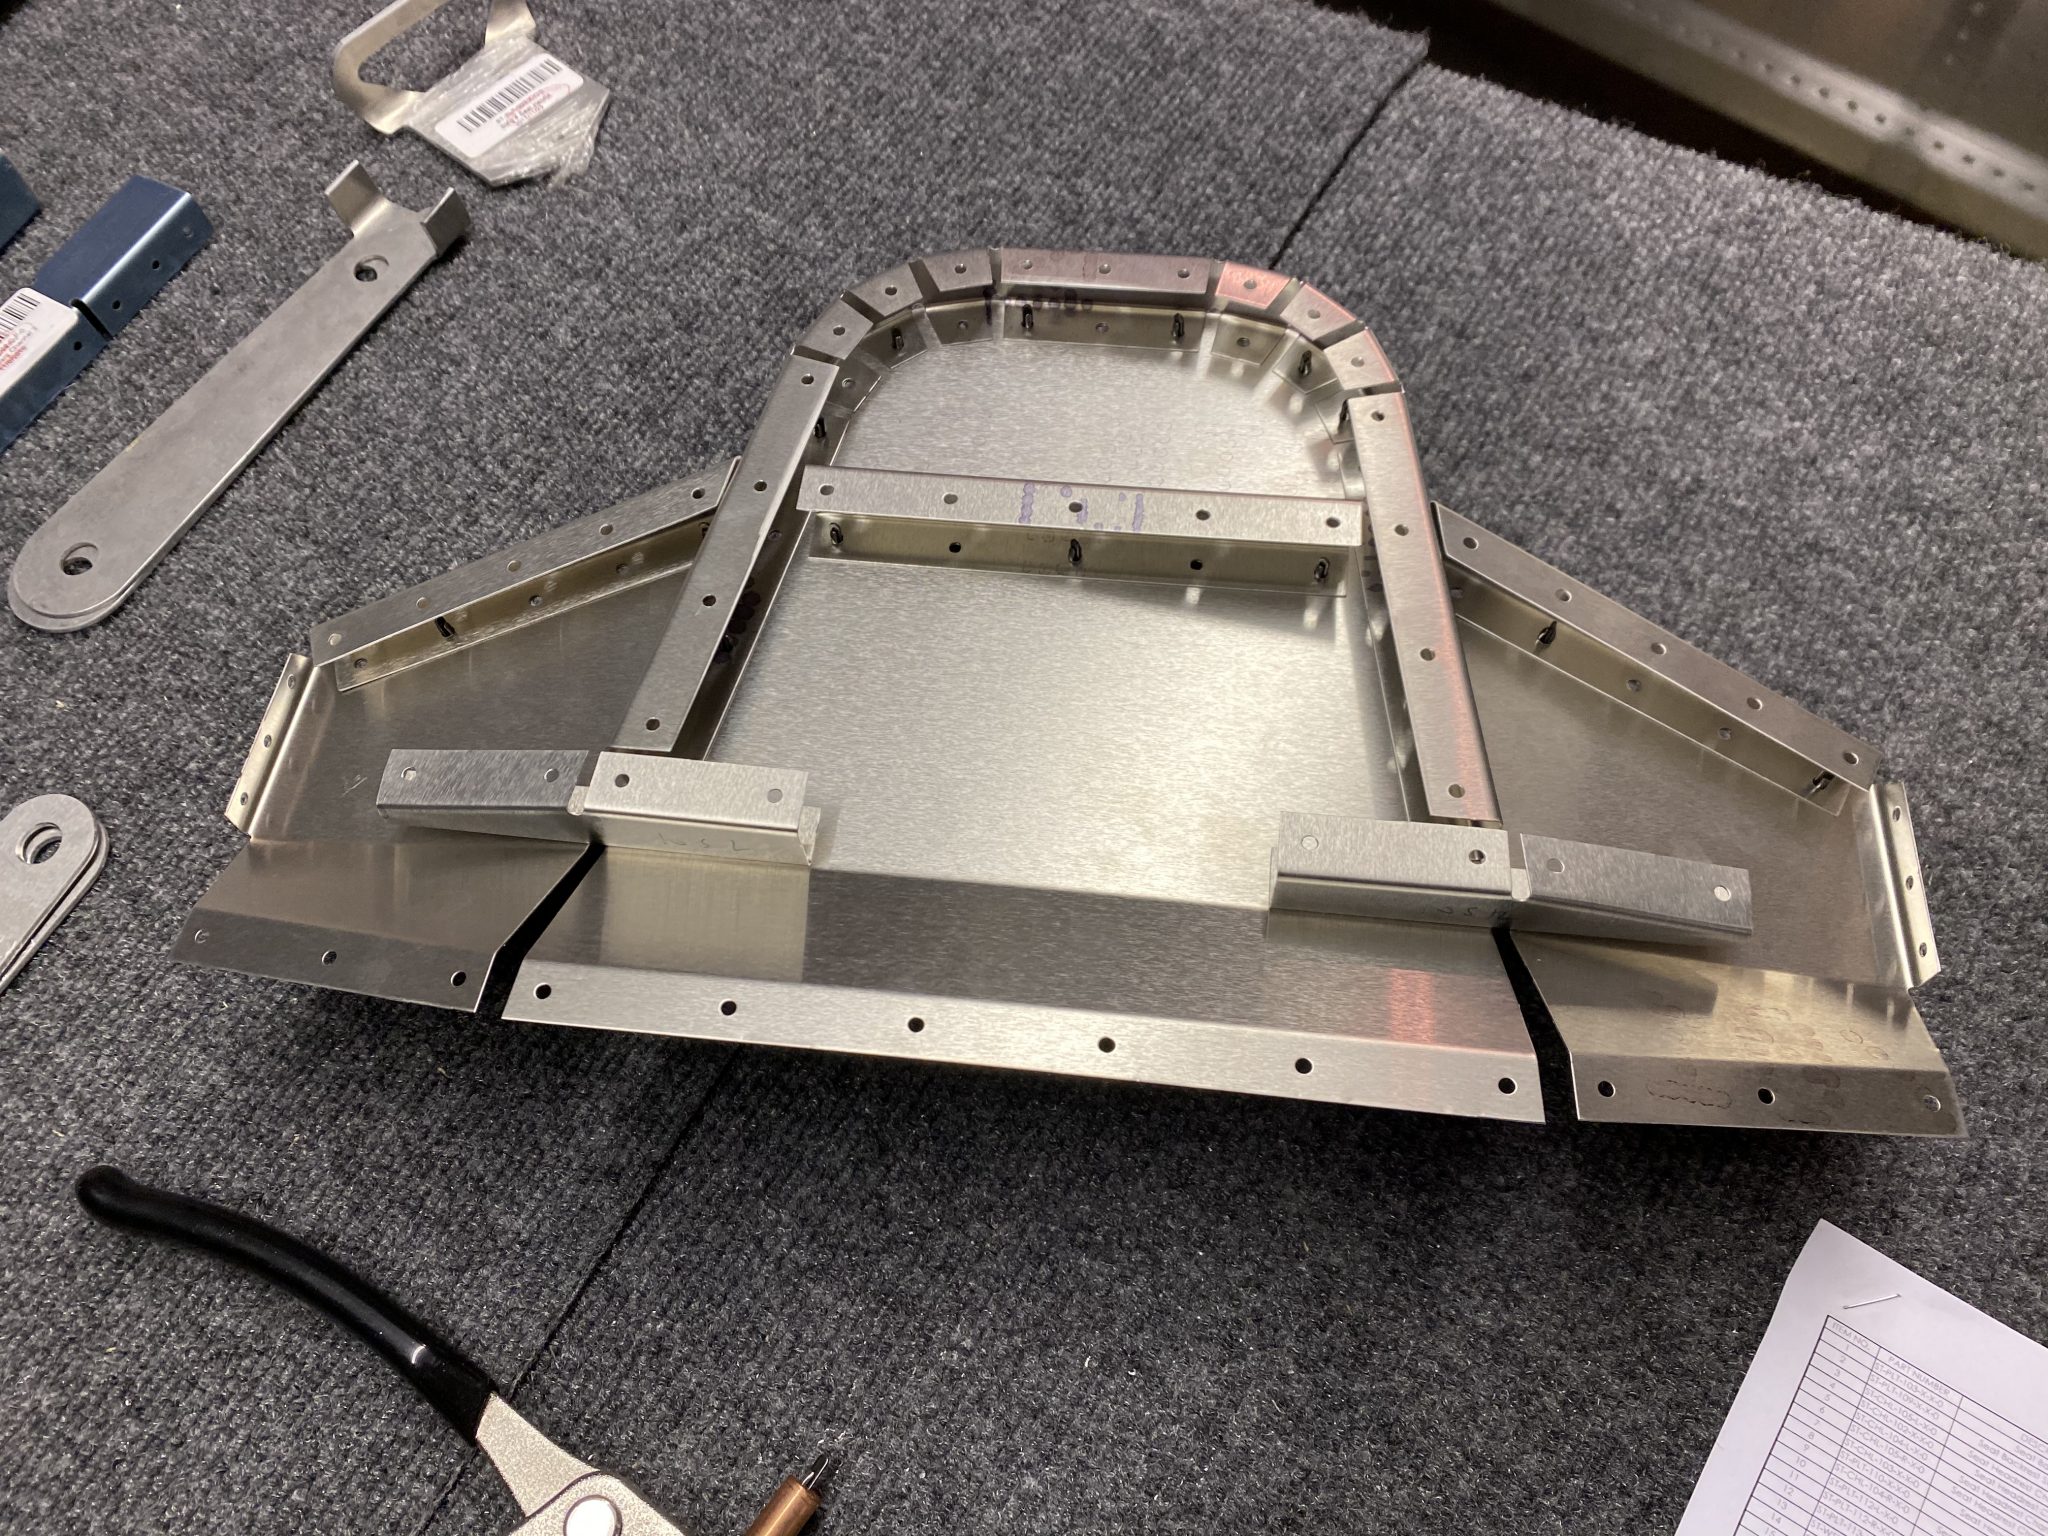
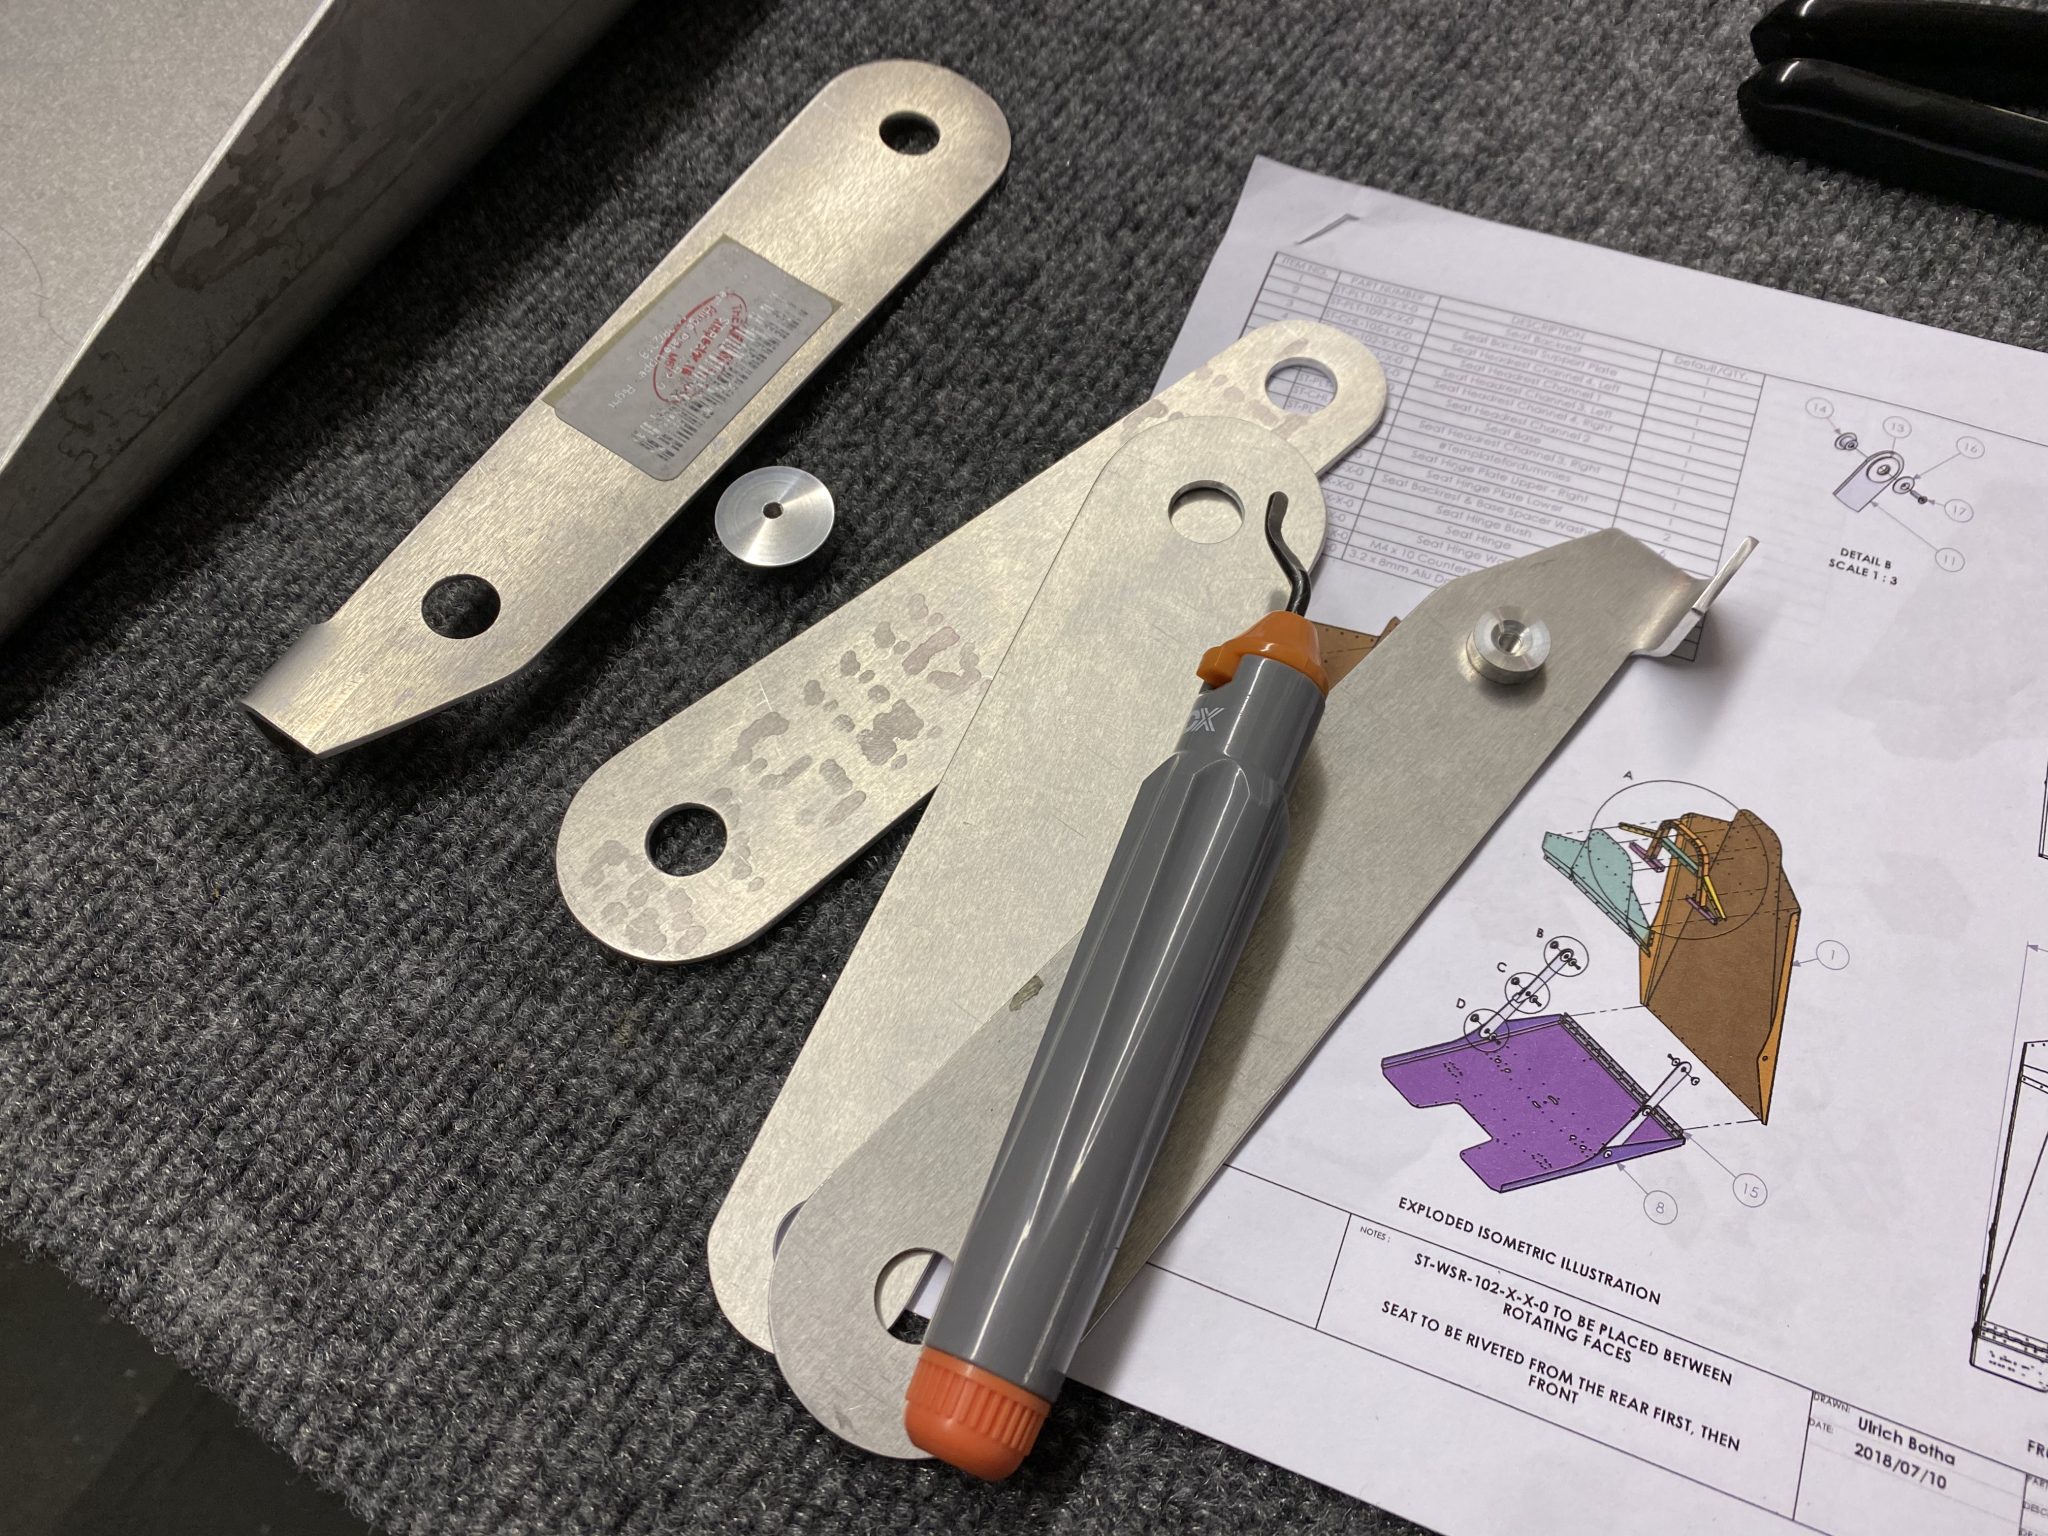
With the headrest completed, time to make it look like a seat. I checked out the detail diagrams for the hinges and put everything together. The holes of the hinges needed a tiny bit of enlarging which I did using a simple hand deburring tool.
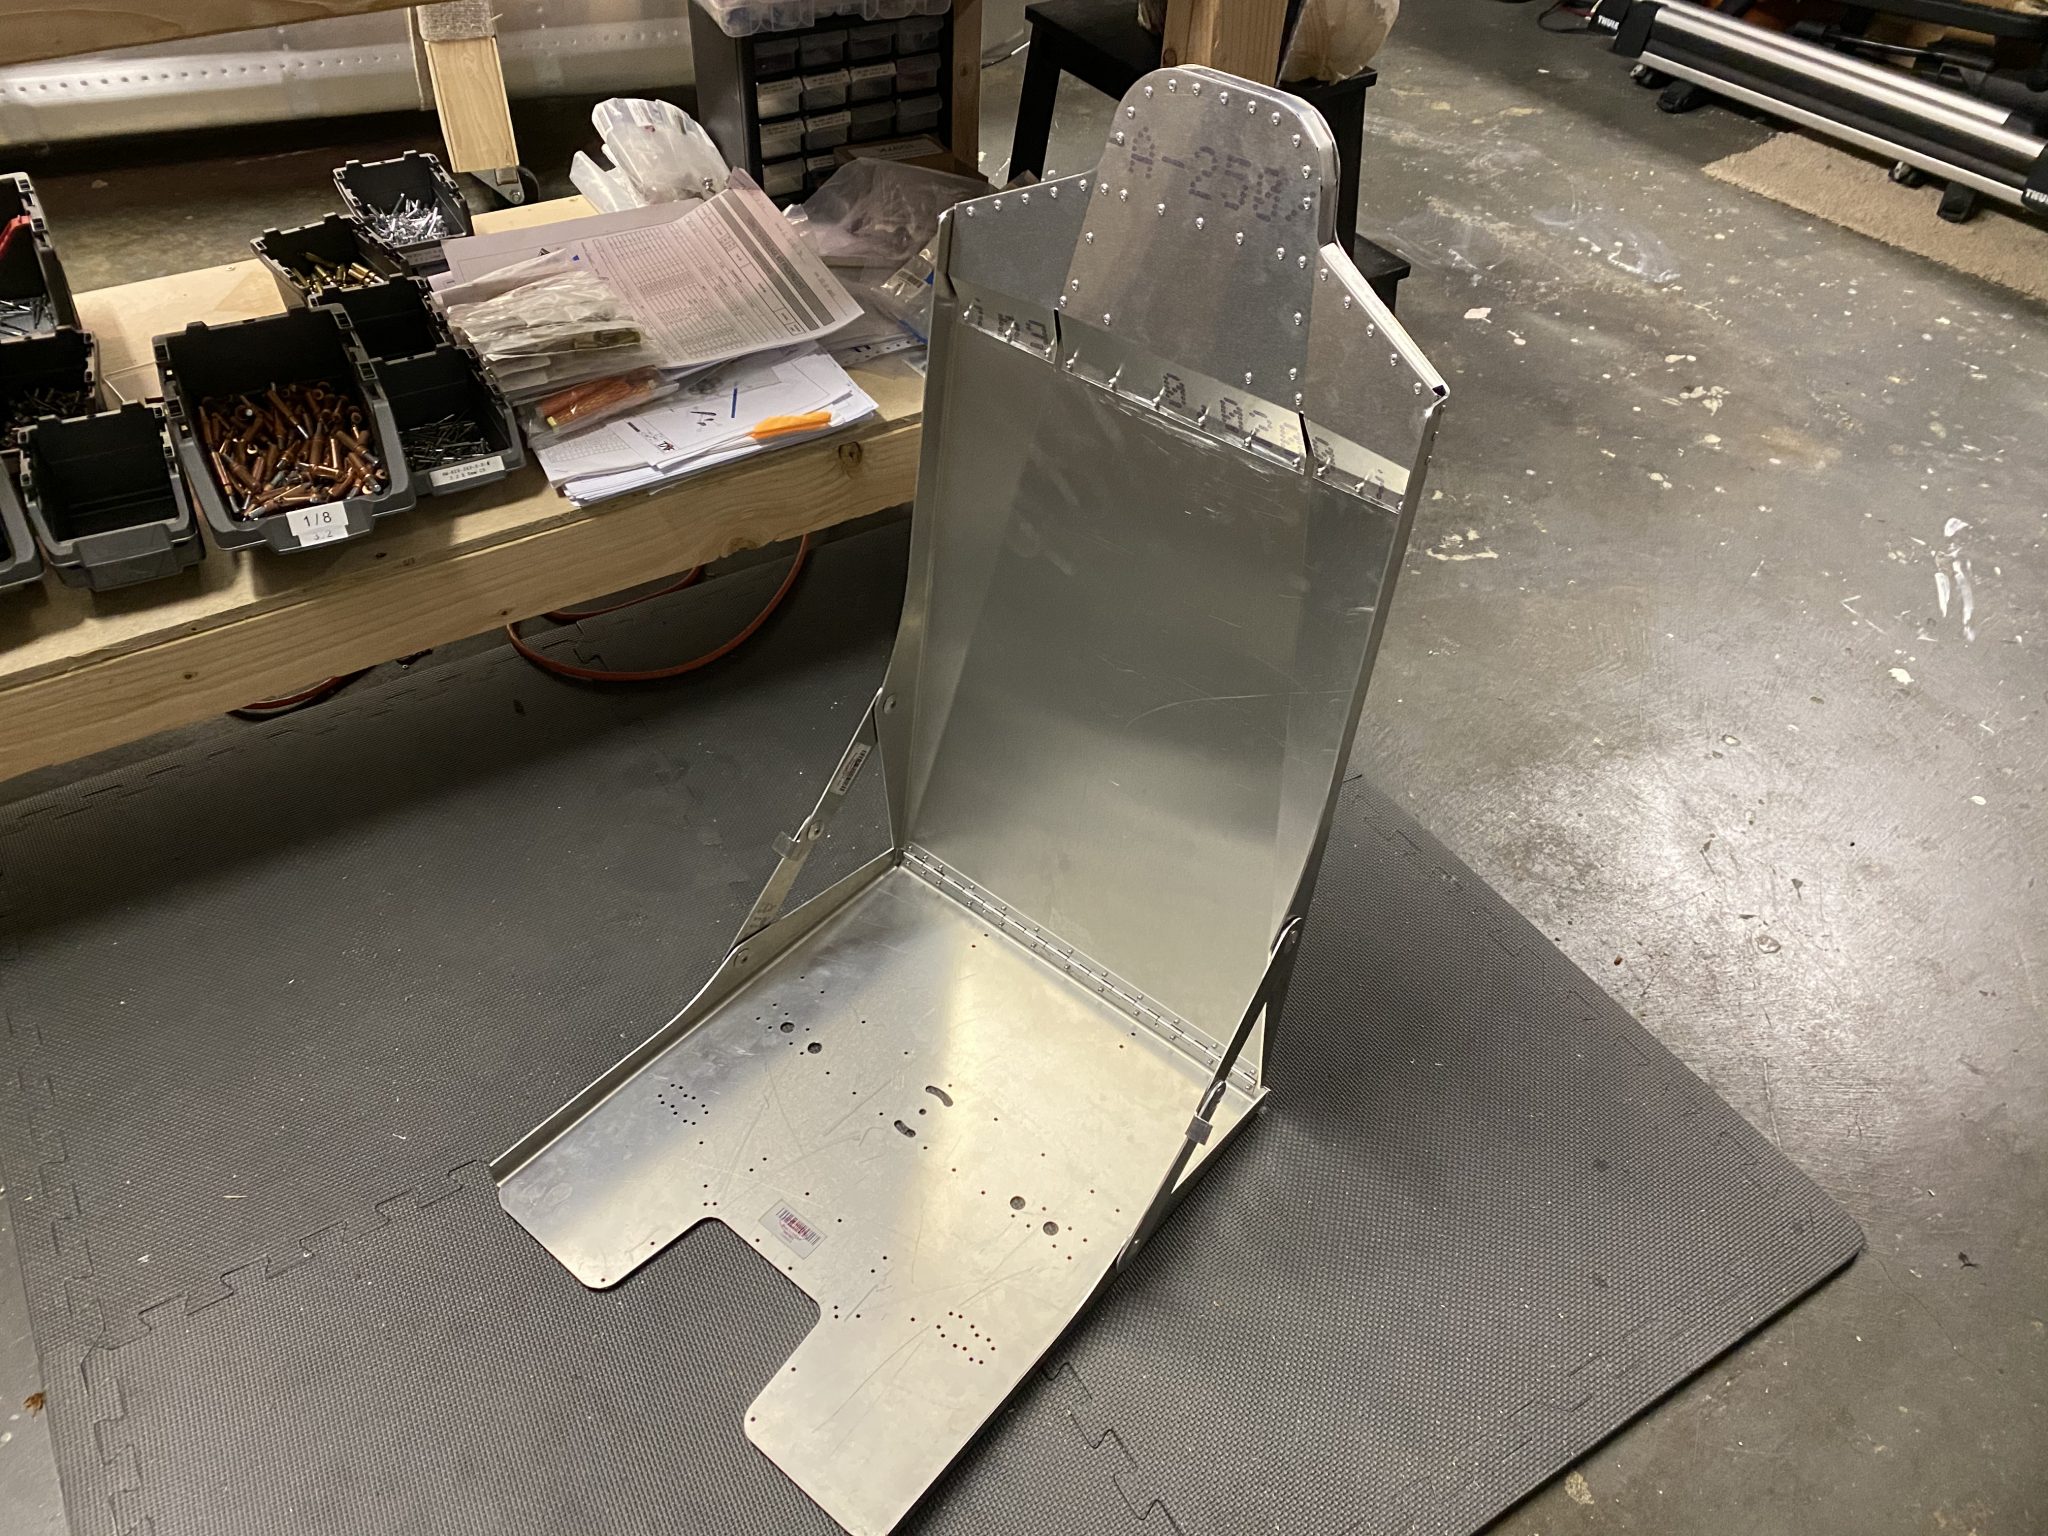
Once I had the side hinges completed, I cleoed and riveted the bottom hinge of the seat in place.


Almost looks like a seat:
Assembling the bolt mechanism
The only thing left is the bolt mechanism that allows the seat to lock in place inside the Fuselage.
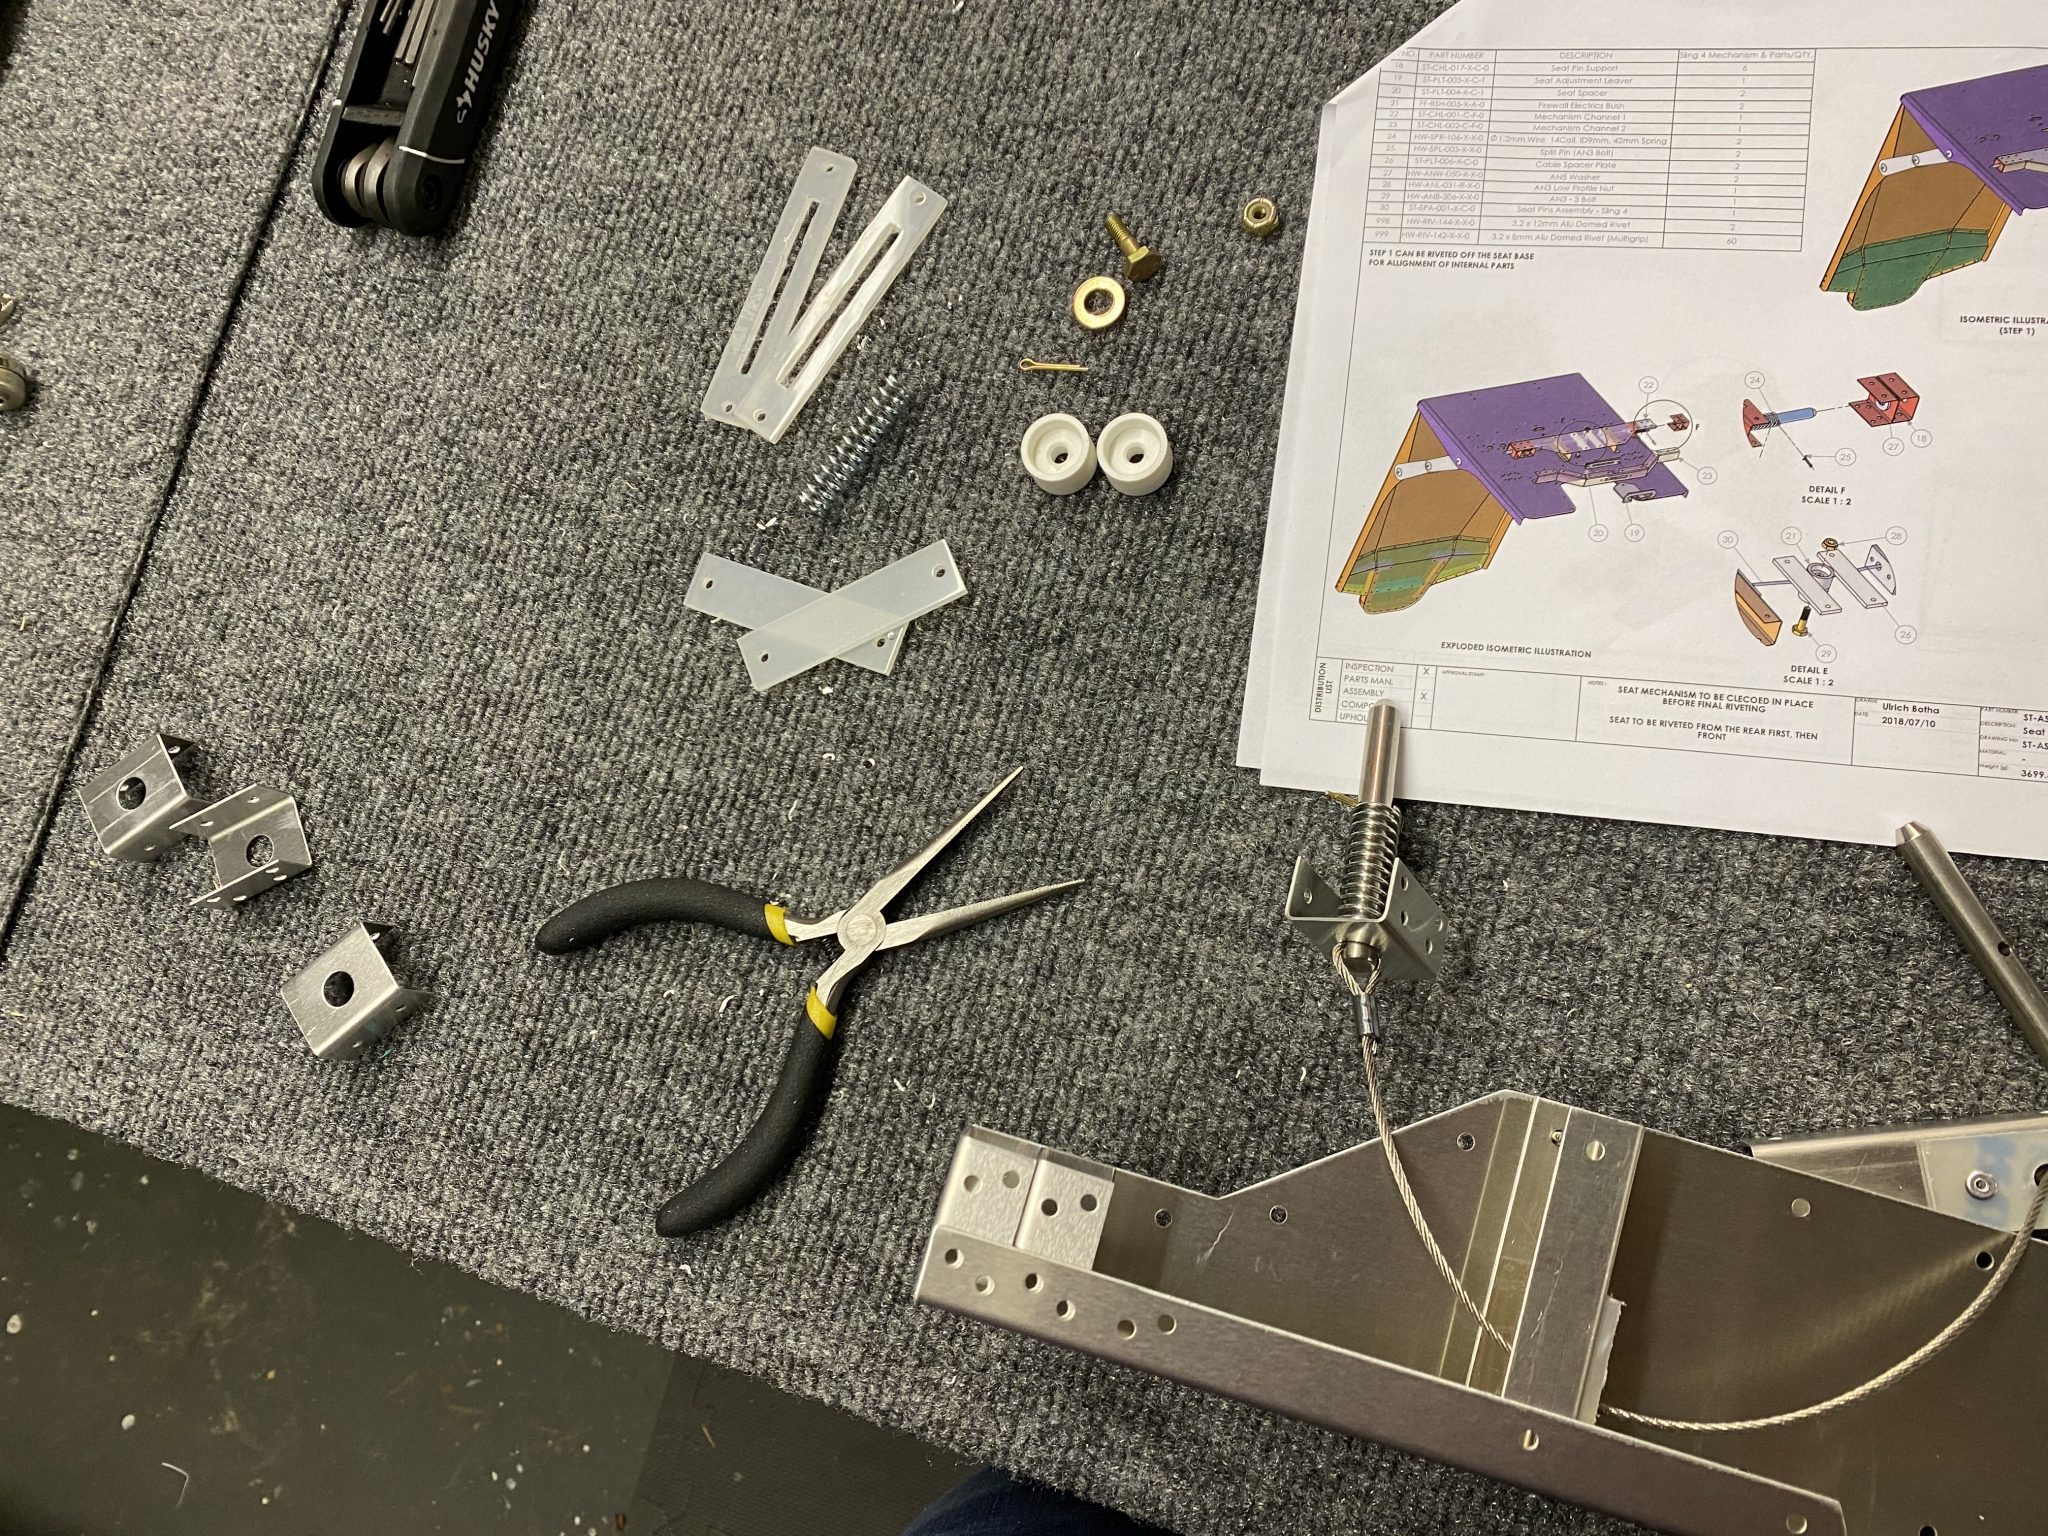
Unfortunately, this is where I found out I was missing something. The bolt that allows the pulley to pull the cable wasn’t quite long enough. It should be a AN3-6A bolt, but as it turns out, it’s a 5A bolt, so it’s missing the mark by just a hair.
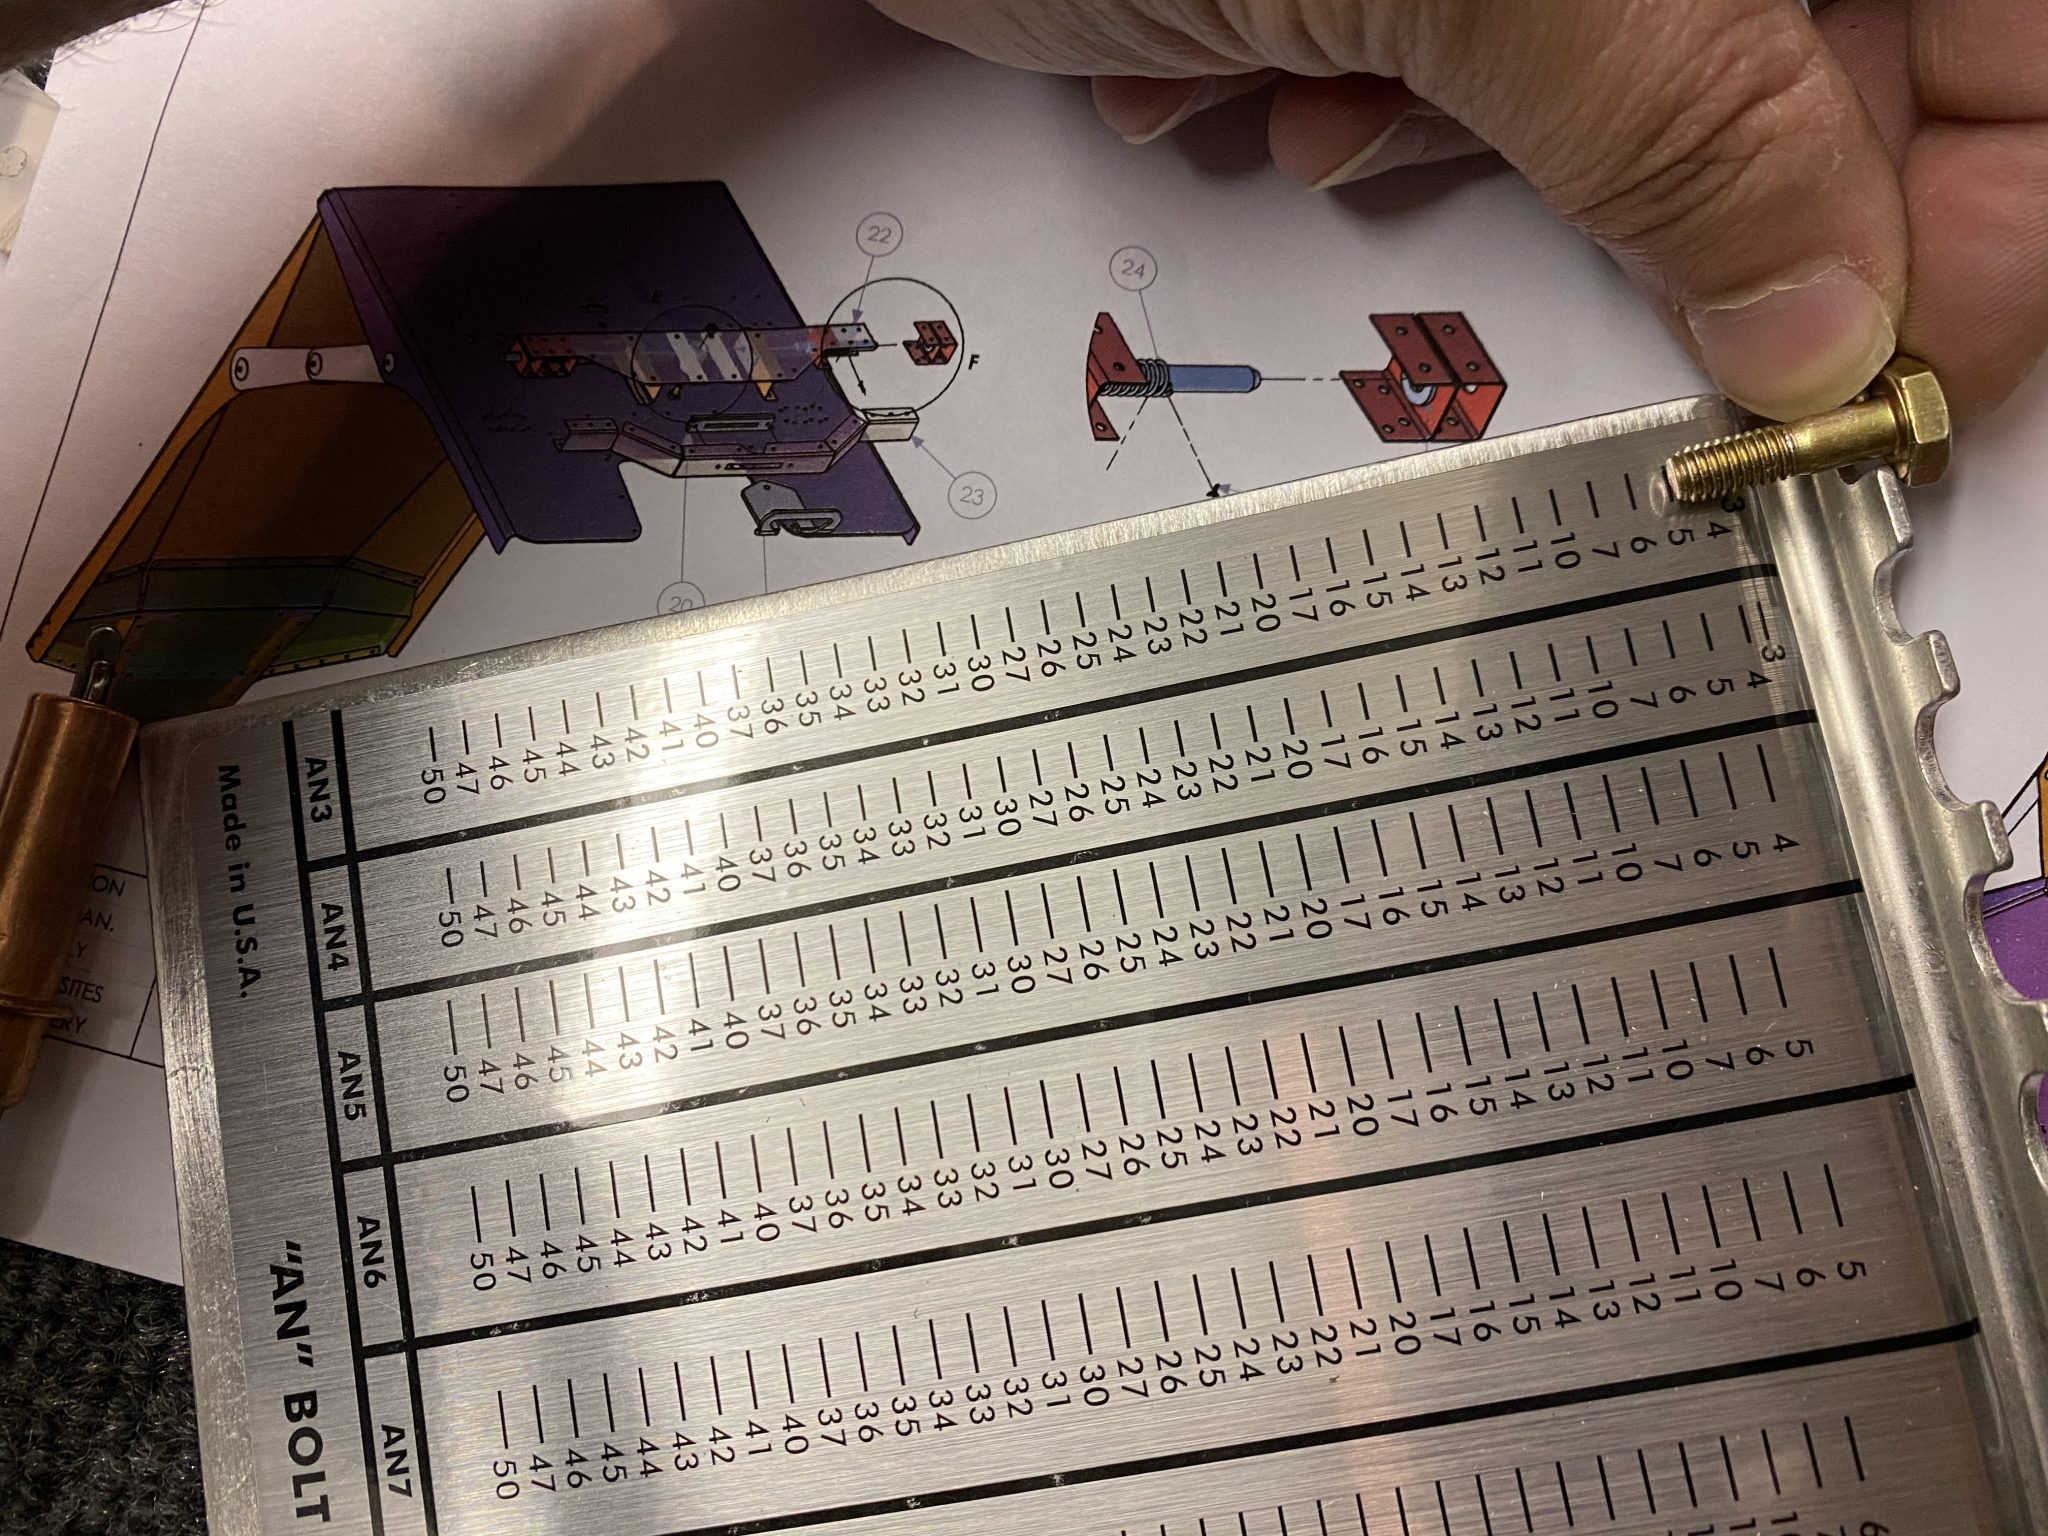
Also I only got one bolt, set of washers and screws for the hinges, which (if it was the right length) is only enough to complete one seat, so I put in an order for the few parts and will give them a call in Torrance to see if they can send they few screws so I can complete the seats.
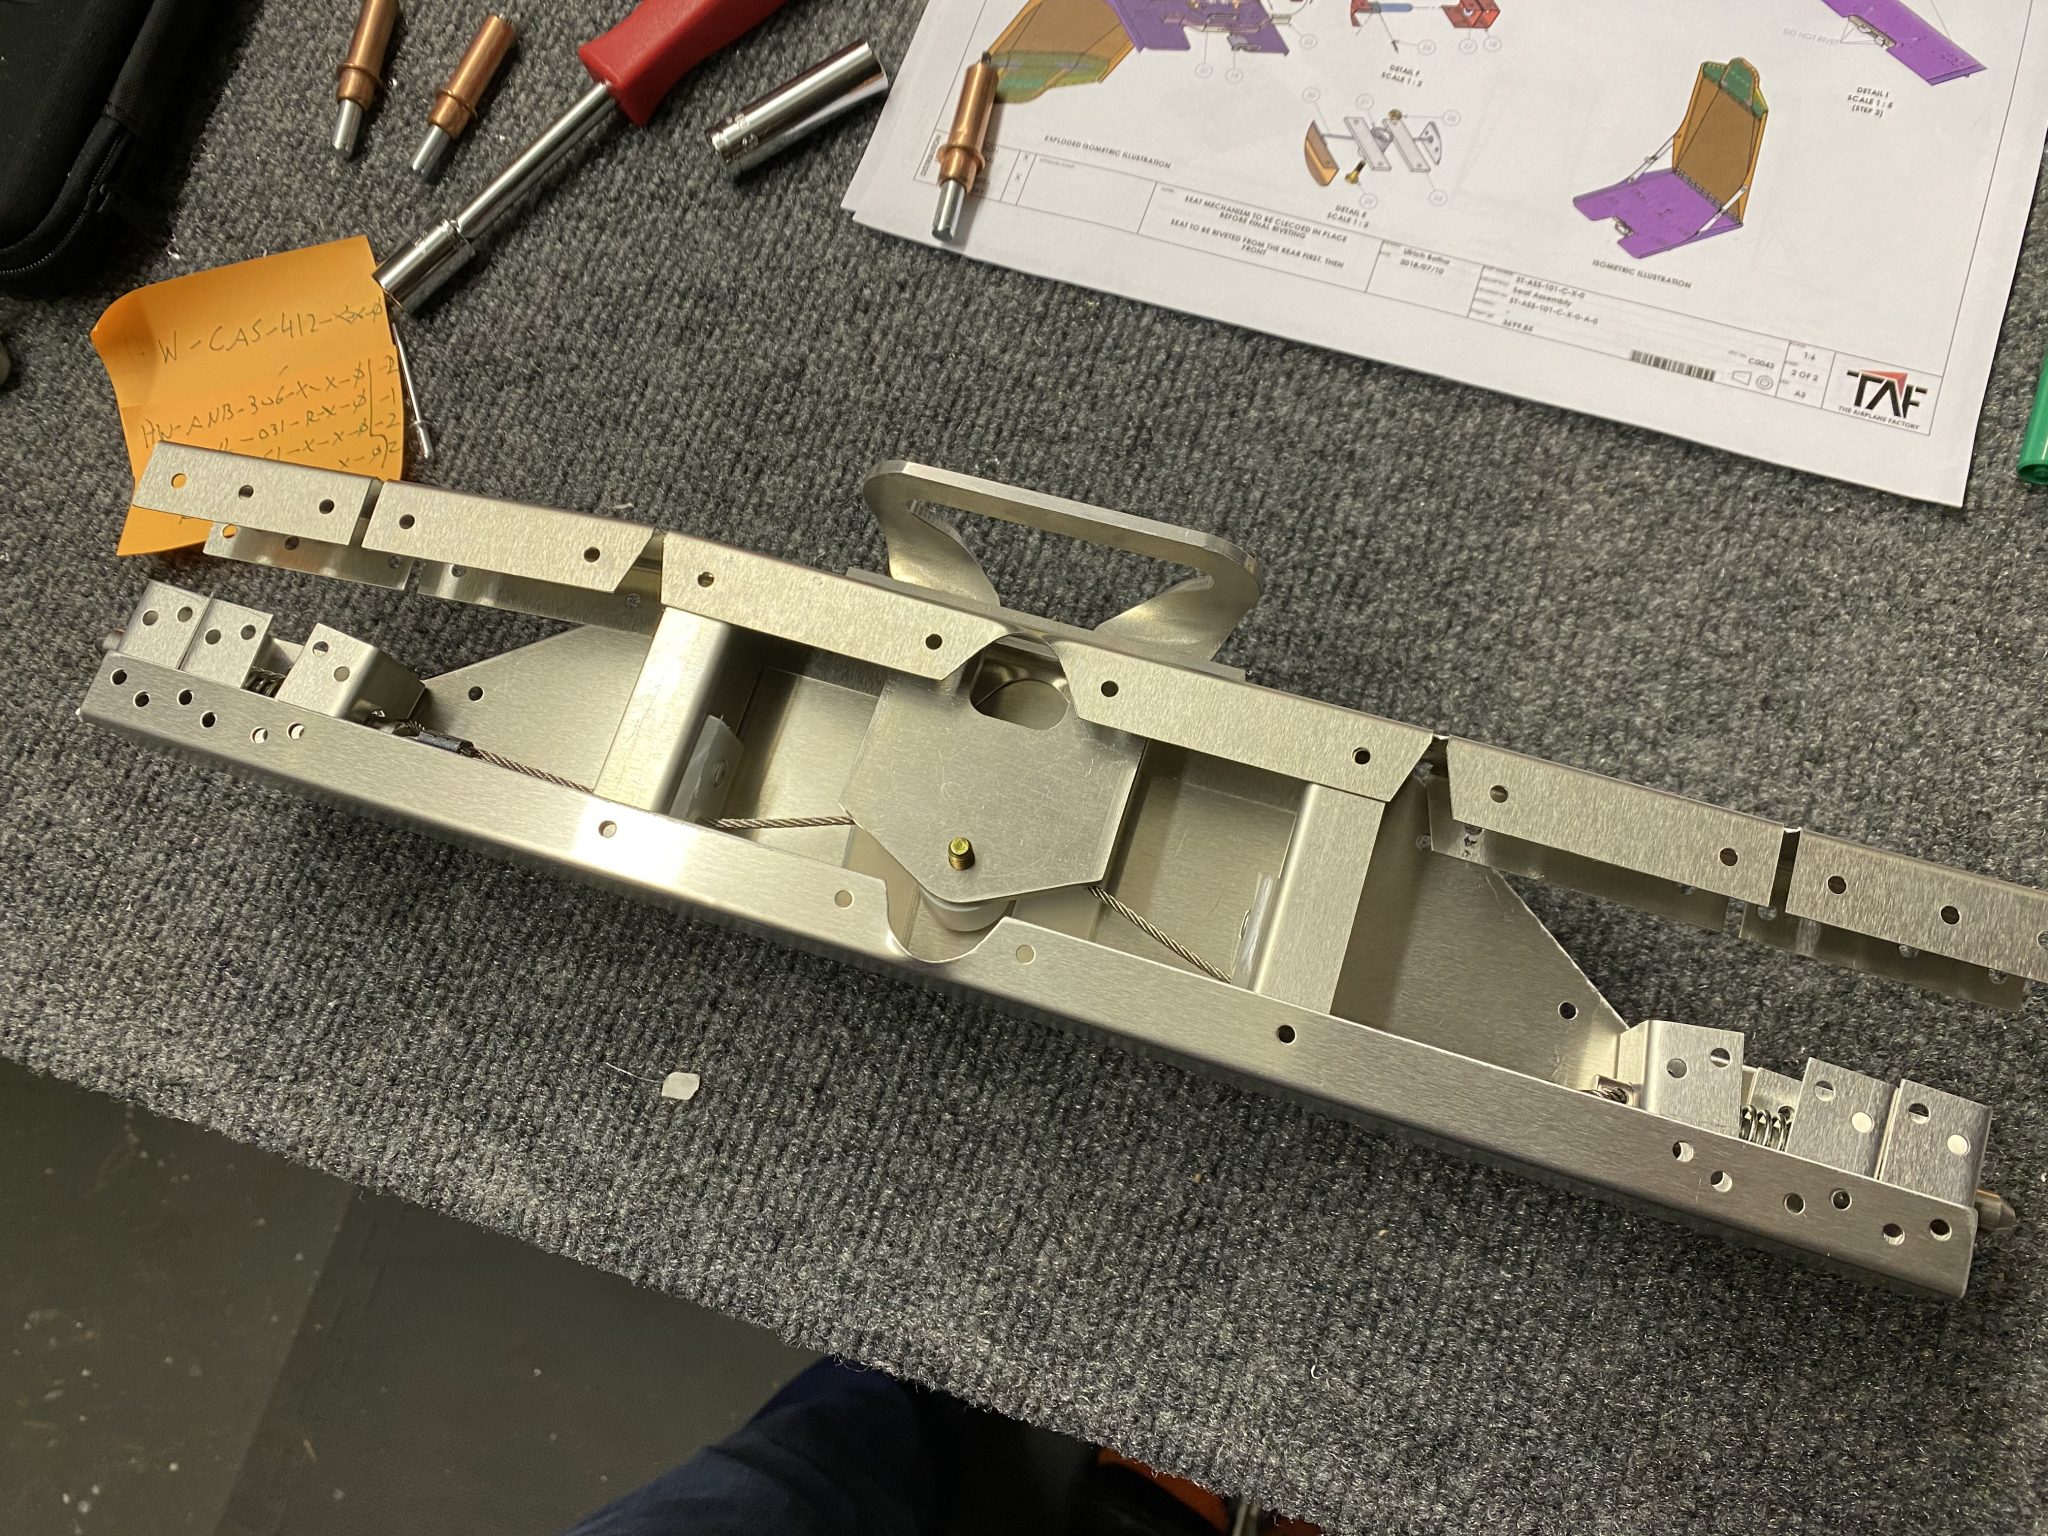
Here’s a picture of test fitting the mechanism with the slightly too short bolt:
Phillip, is this a new shipment from TAF or did you receive everything before co-19?
I haven’t heard a peep out of them for several months.
John swanson
I got all kit boxes in one shipment last year. I have the other boxes stored in our spare room in the basement, where now I have most of the completed parts like the Empennage stored.
But I keep one box in the garage on moving wheels so I don’t have to run back and forth and use the top of the box as temporary storage in the garage while doing things.
I know they were shut down for covid-19 for a while, but are back now to starting shipping things. You can always just give Perry in Torrance a call and ask if he has an update.
Pingback: More front seat construction - Philip's Sling TSi Build Log