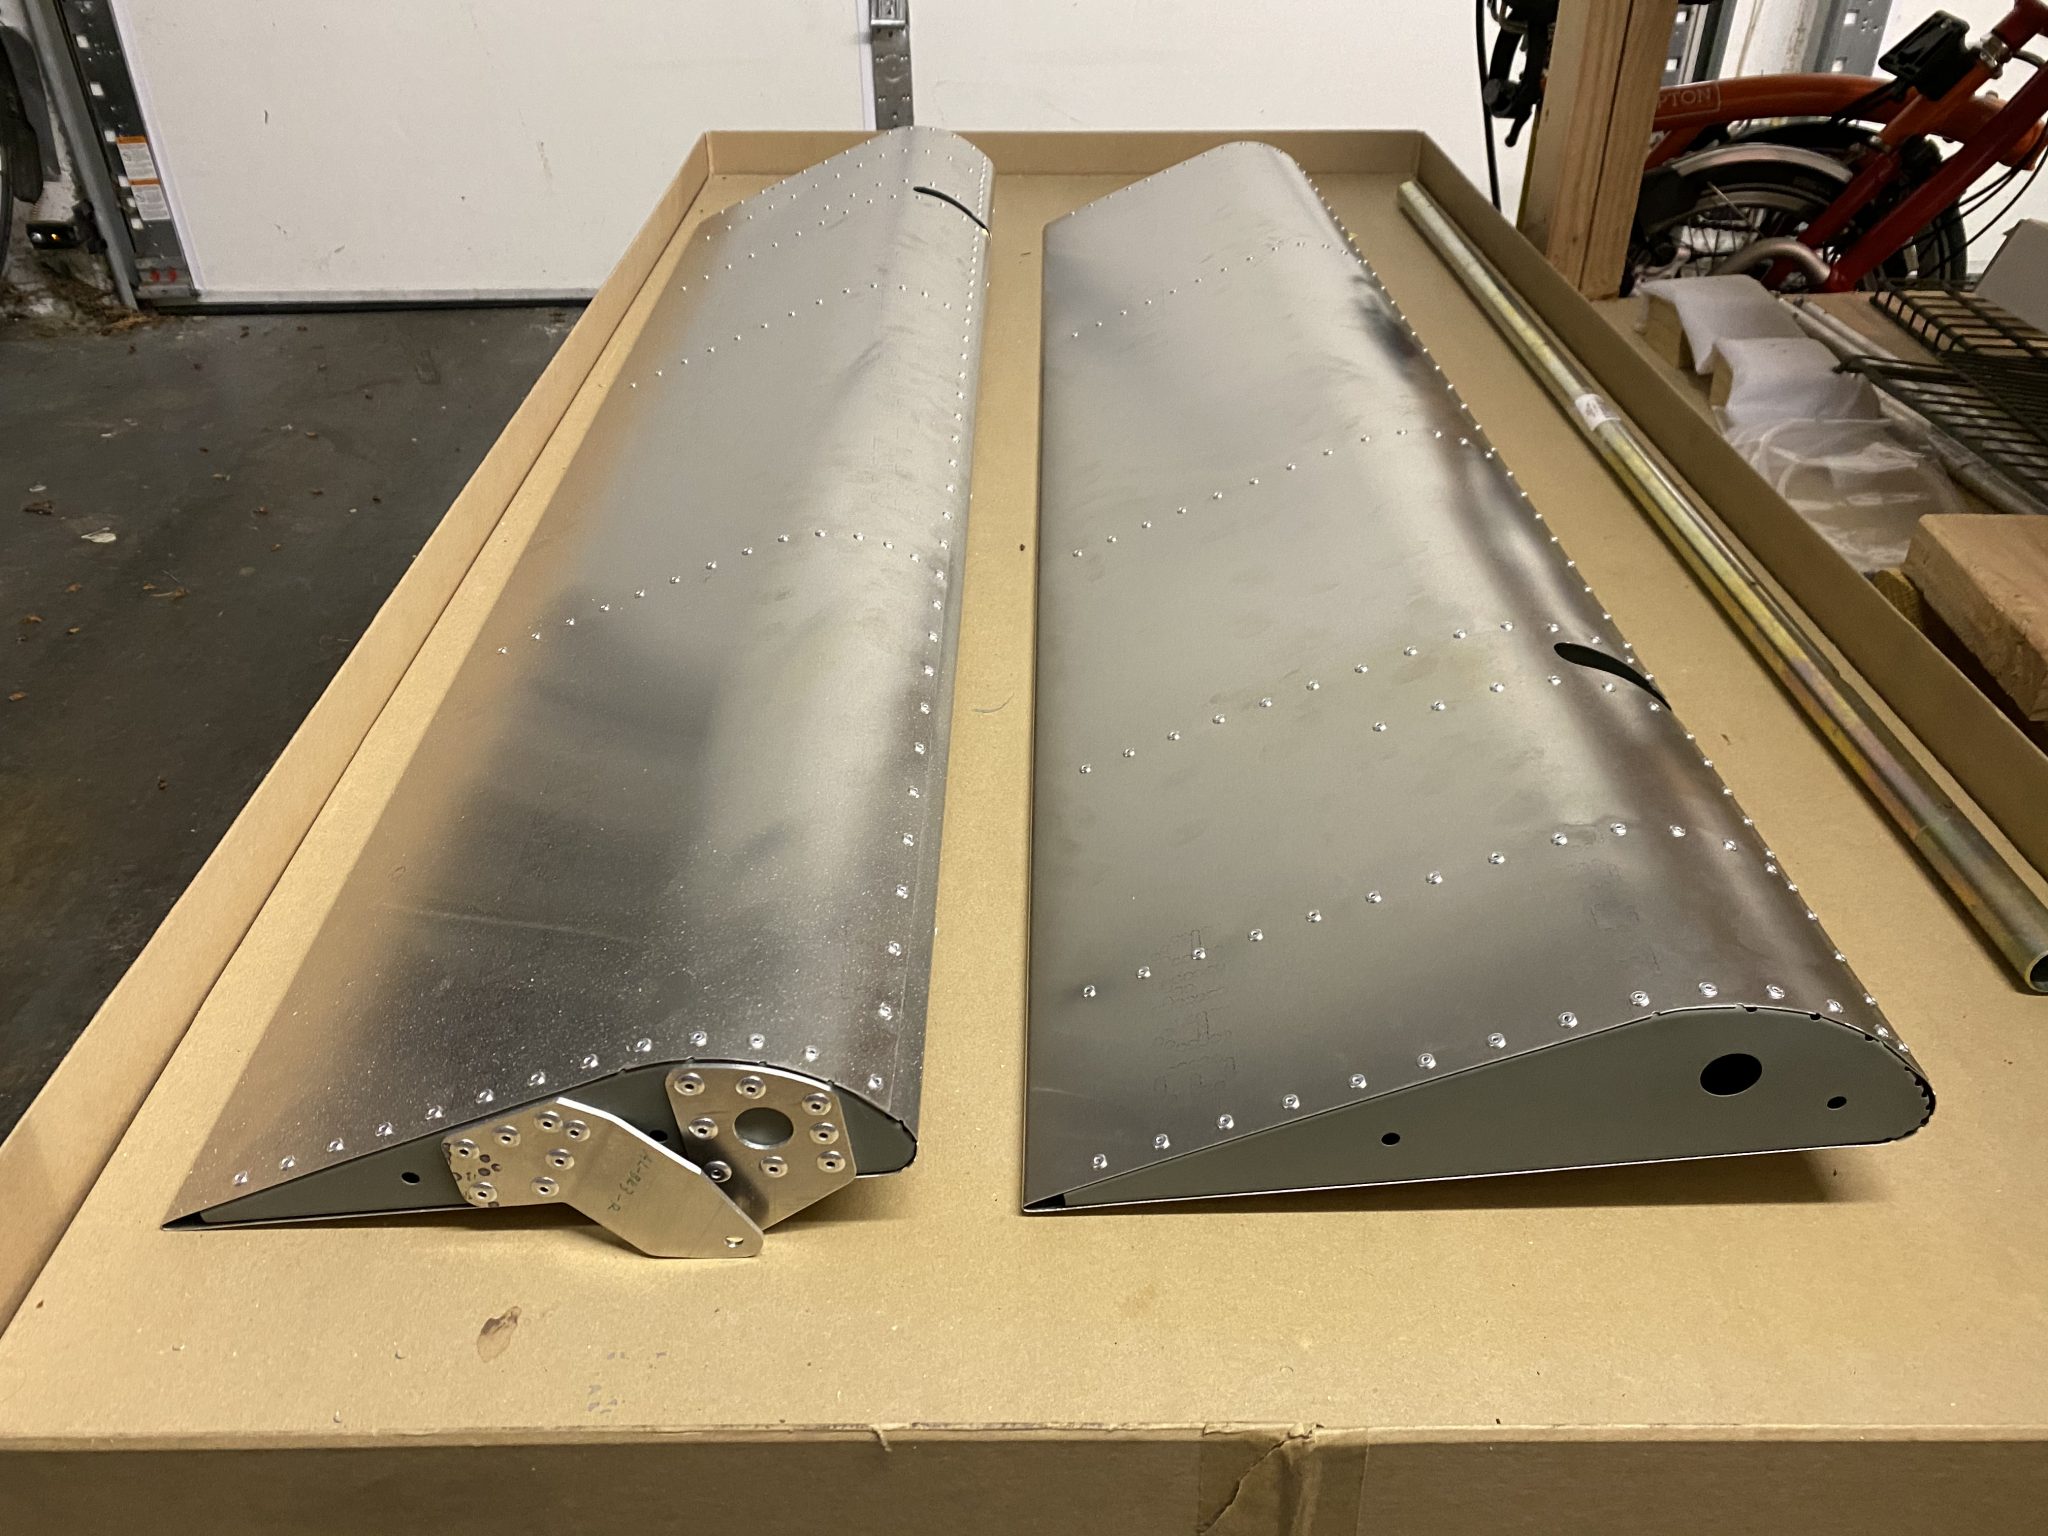
With the right Aileron completed, time to build the left Aileron.
Since I figured out the order of assembly last time with the right Aileron, the completion of the left one was very straightforward.
I set in the ribs, then added the balance tube and then went to work clecoing everything together.
![Ribs clecoed to the bottom and balance tube inserted in the front.](https://slingtsi.rueker.com/wp-content/uploads/2020/07/20200720_025713825_iOS-1024x768.jpg)
![Top side clecoed and ready to rivet.](https://slingtsi.rueker.com/wp-content/uploads/2020/07/20200720_030130509_iOS-1024x768.jpg)
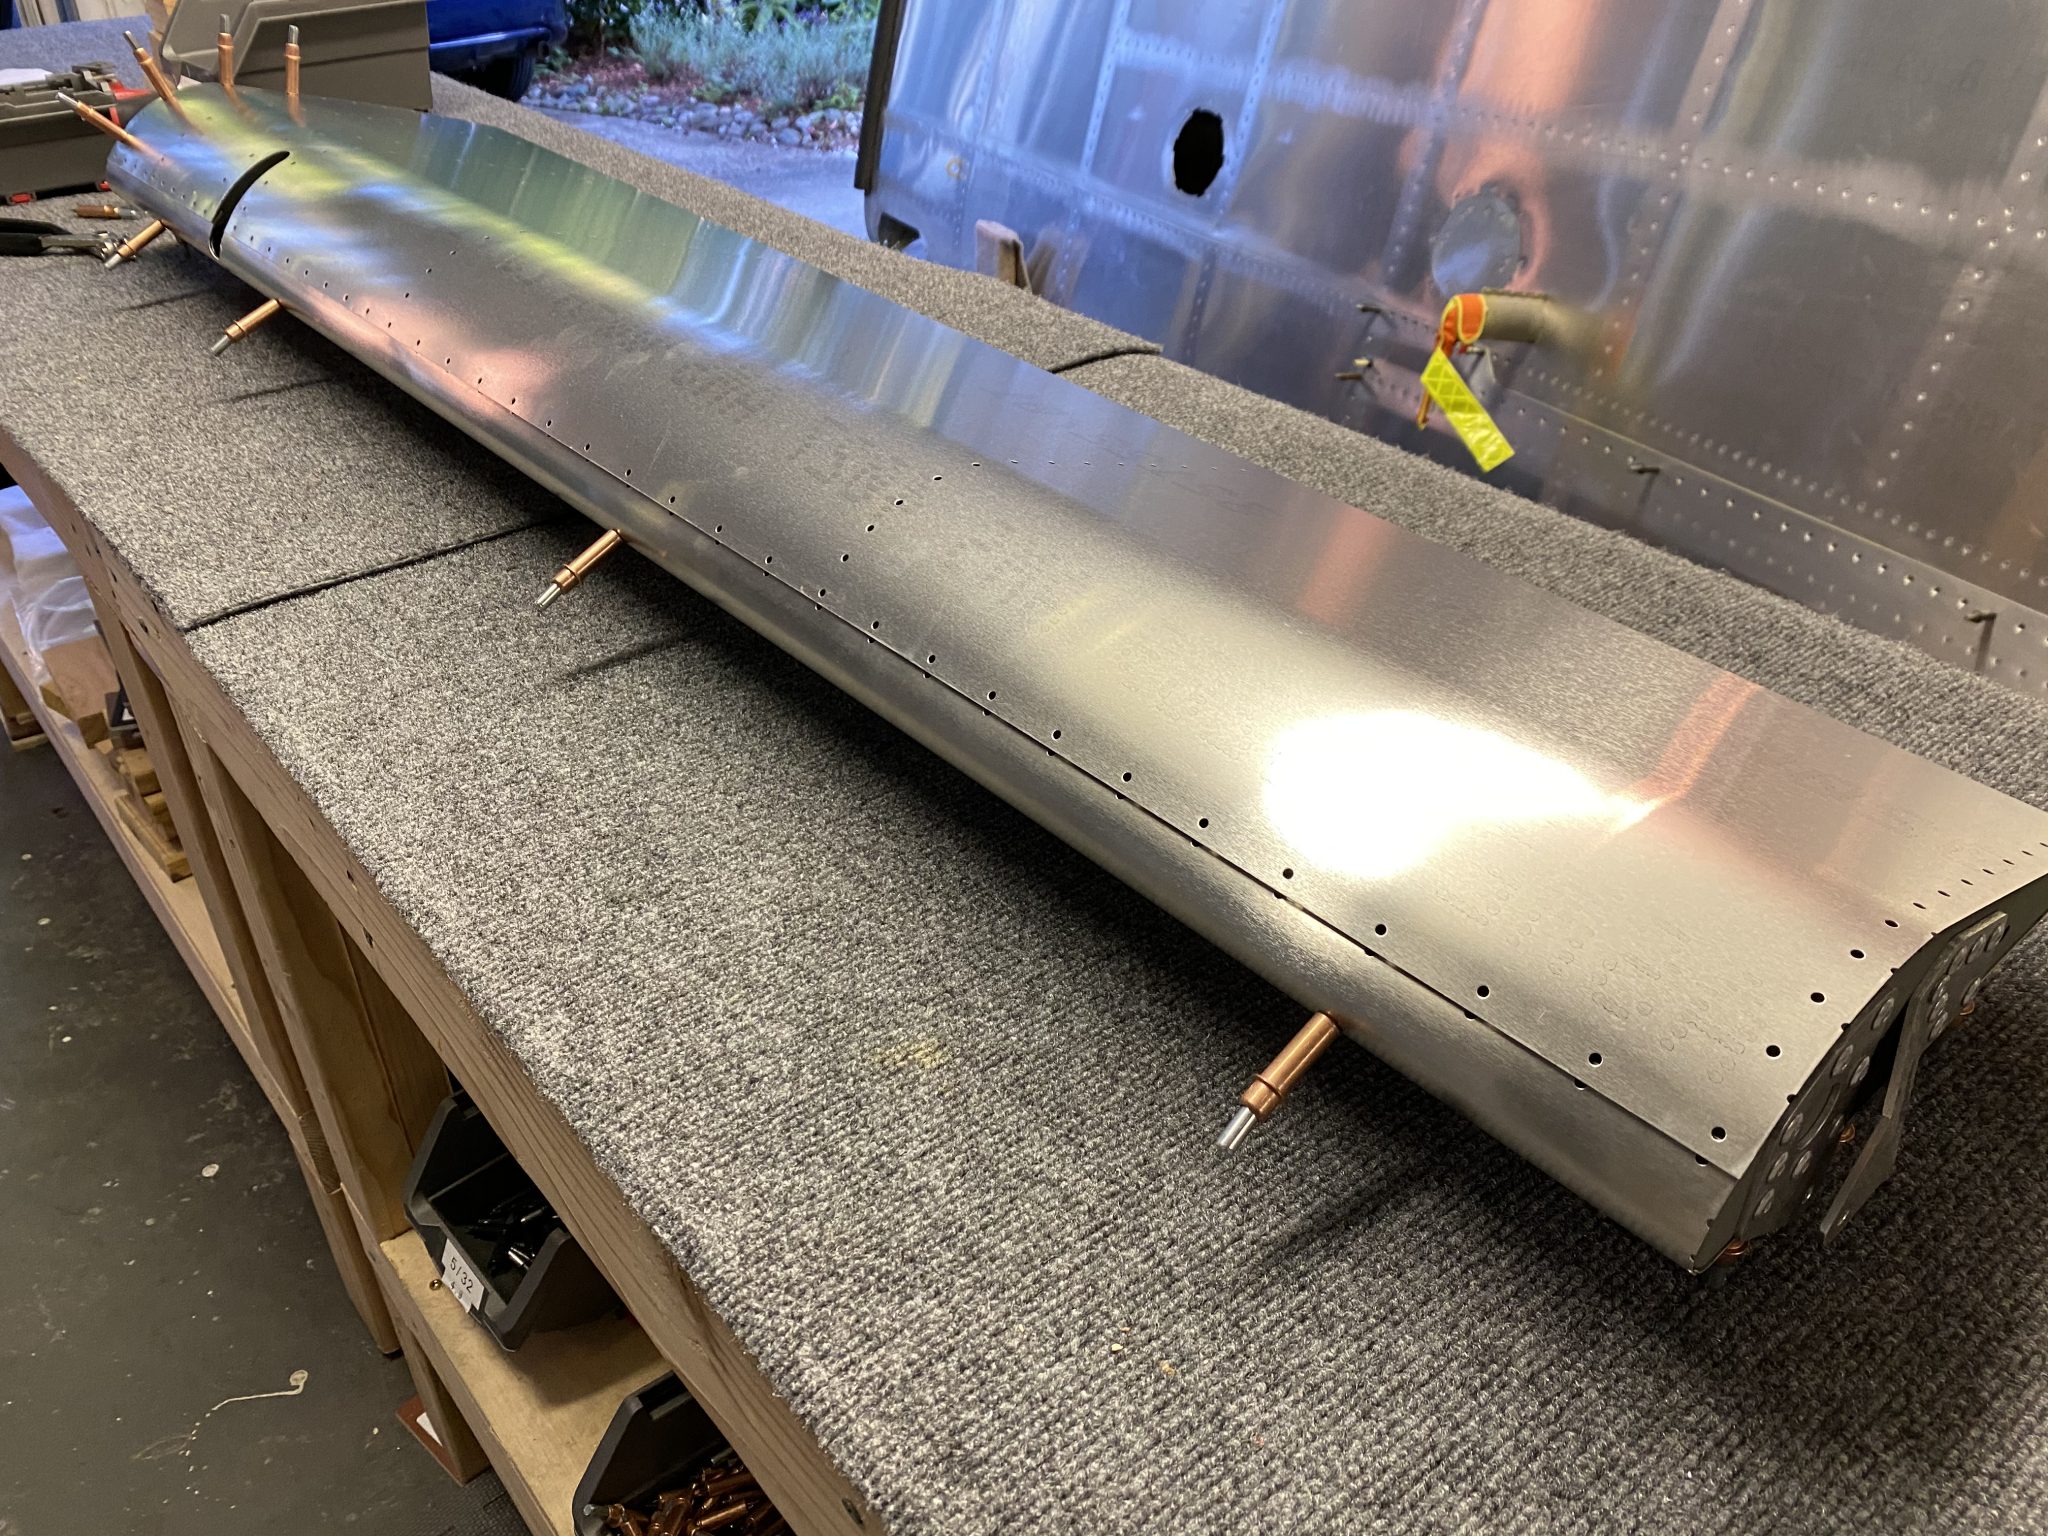
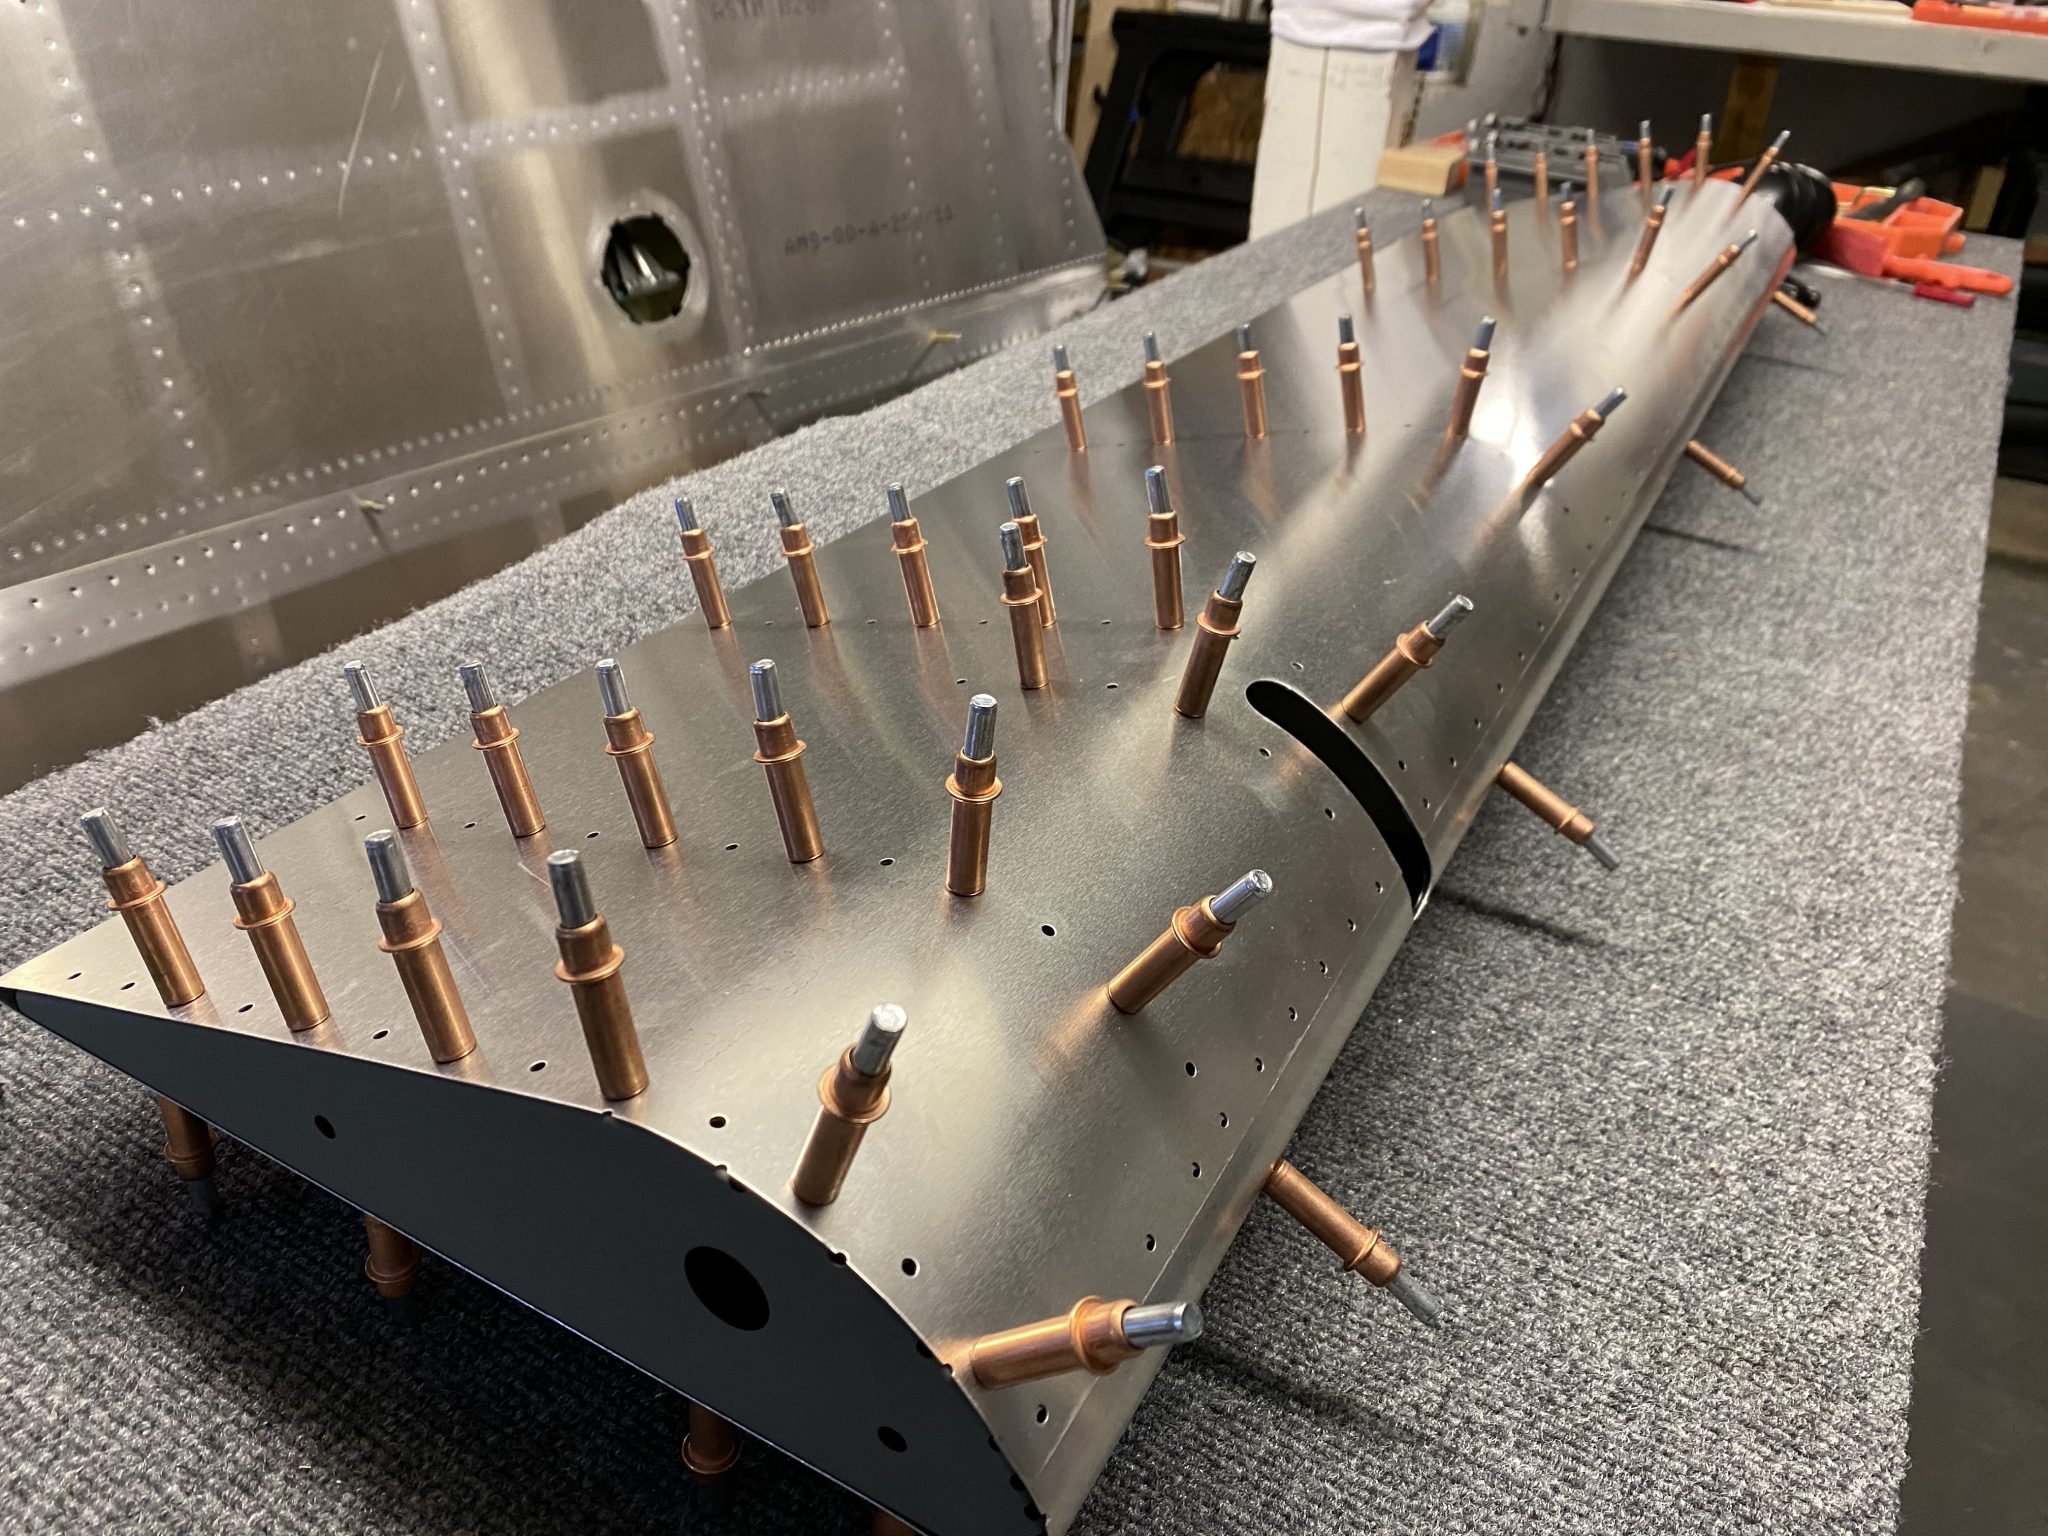
And from there it was just riveting everything together.
![Bottom done, top ready to rivet](https://slingtsi.rueker.com/wp-content/uploads/2020/07/20200720_032838797_iOS-1024x768.jpg)
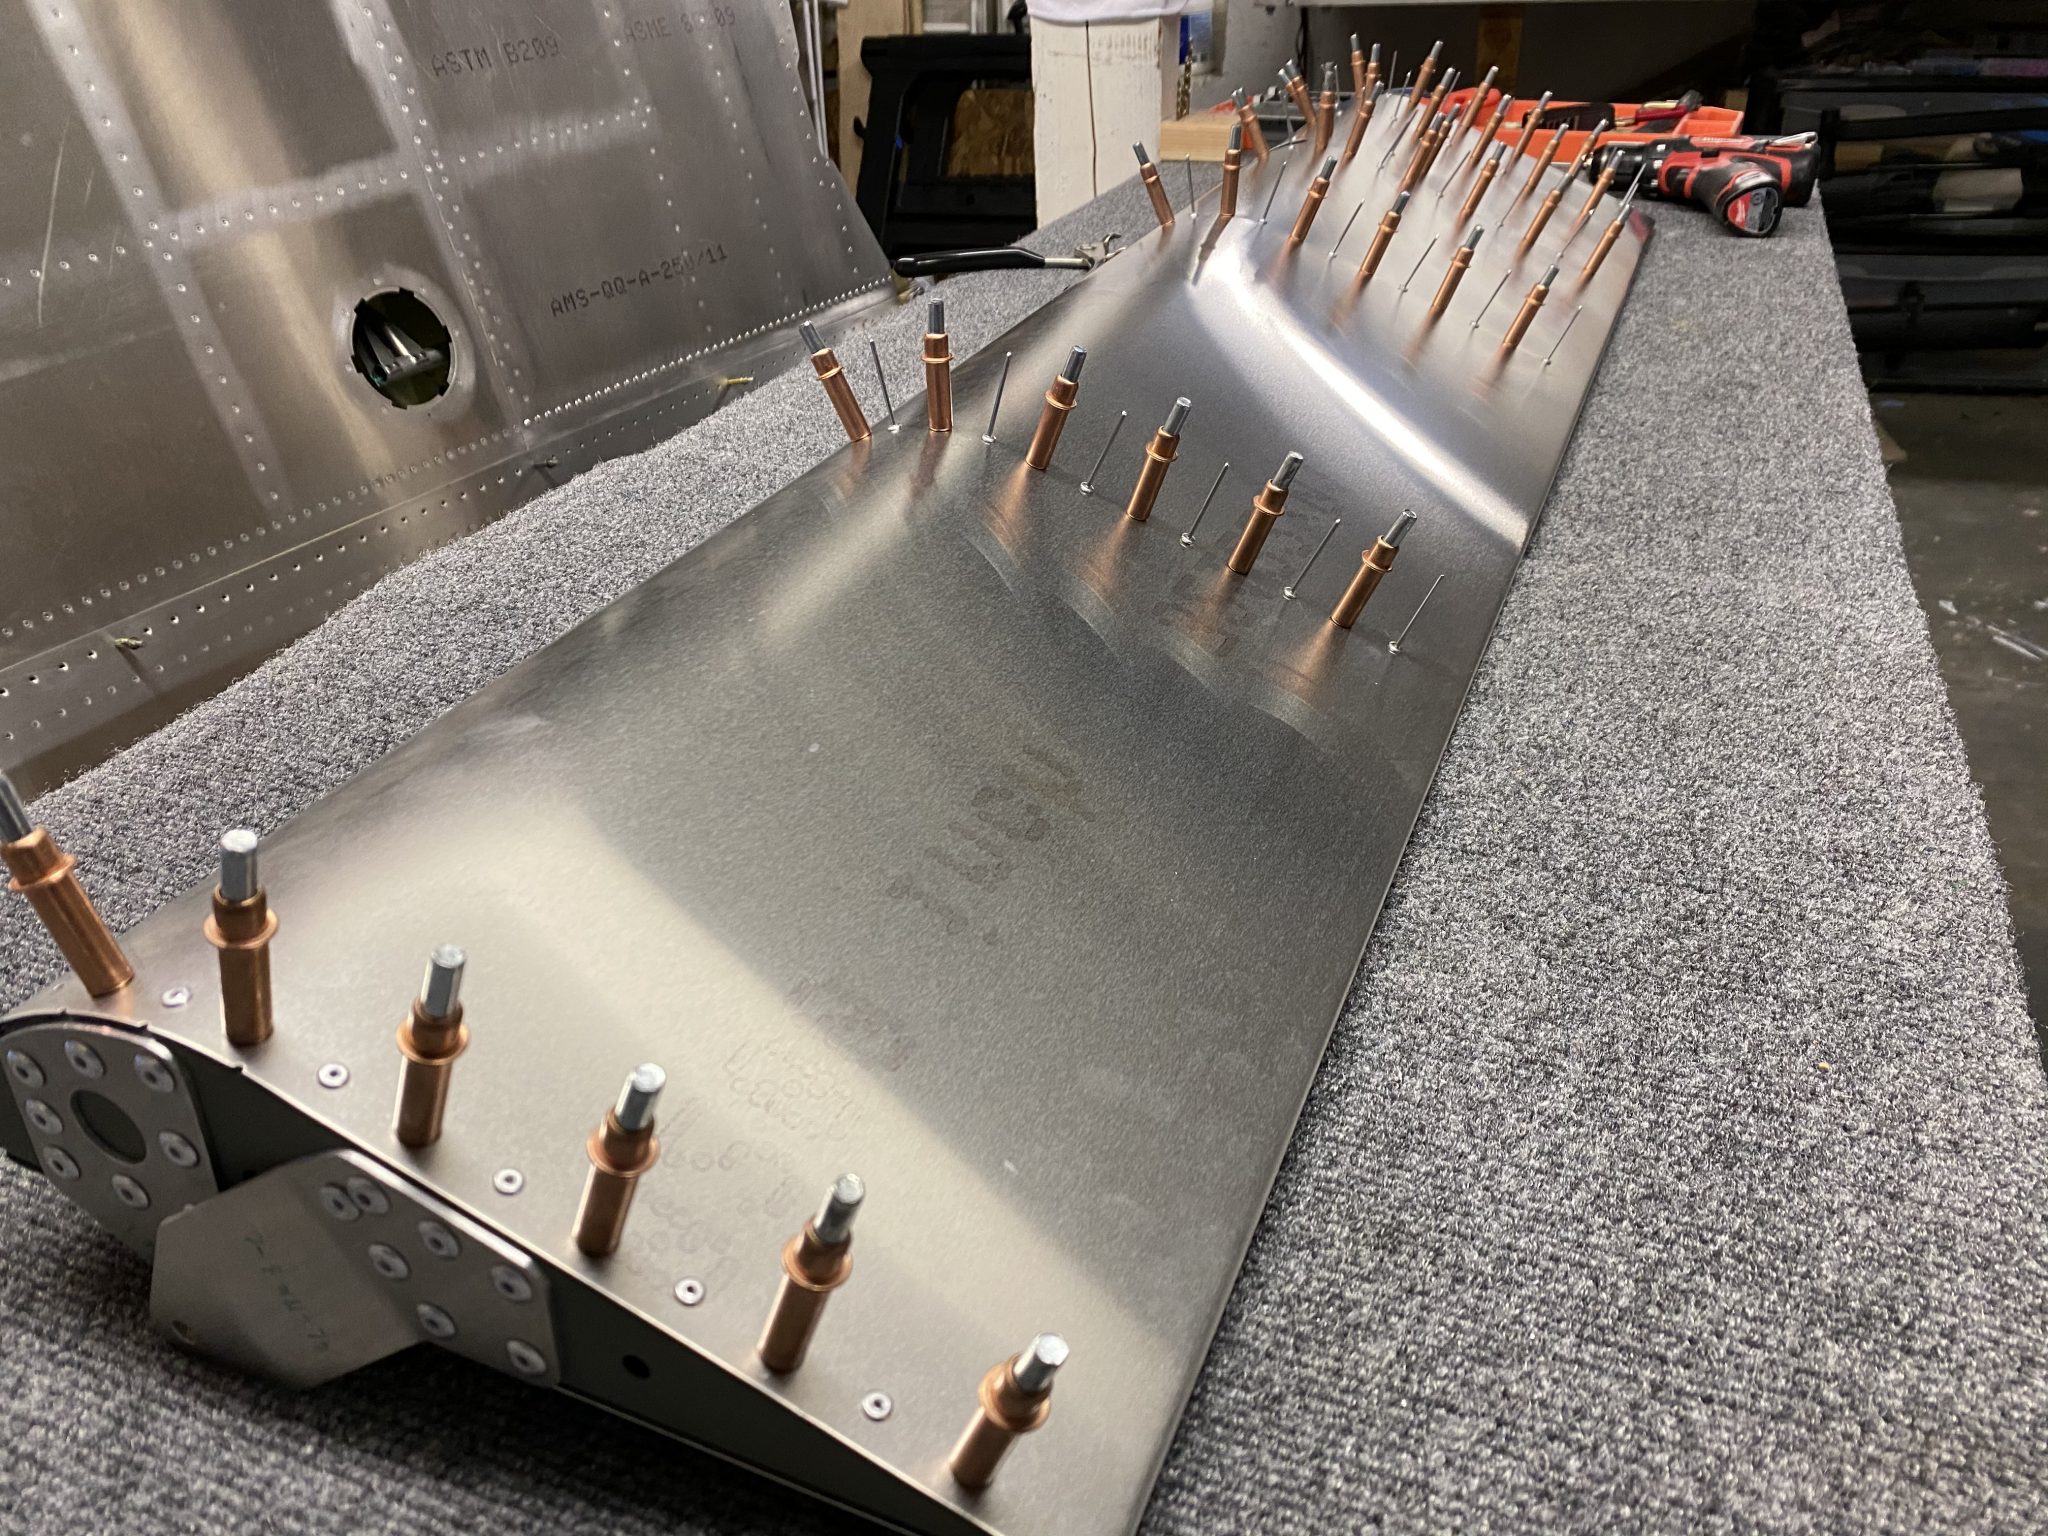
Another quick alignment check before riveting the front line and then I riveted the front line and completed the left Aileron.
![Both Ailerons completed](https://slingtsi.rueker.com/wp-content/uploads/2020/07/20200722_041437593_iOS-1024x768.jpg)