Tag Archives: Ailerons

Building the Left Aileron

Hours: 1.75

With the right Aileron completed, time to build the left Aileron.

Since I figured out the order of assembly last time with the right Aileron, the completion of the left one was very straightforward.

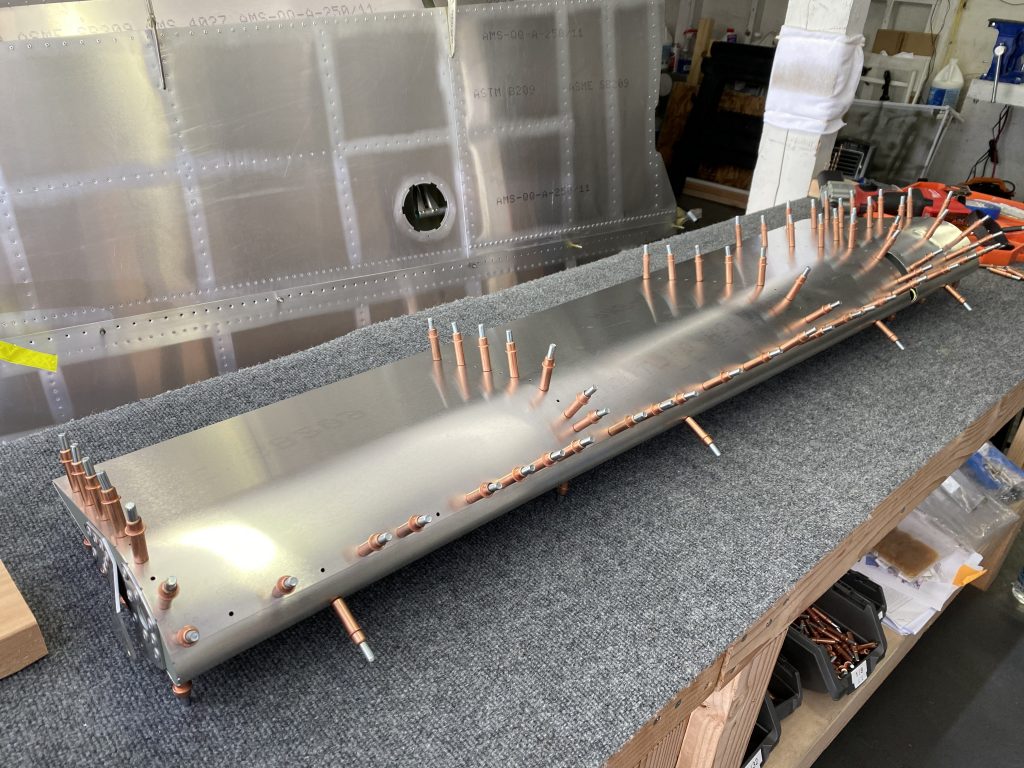
I set in the ribs, then added the balance tube and then went to work clecoing everything together.

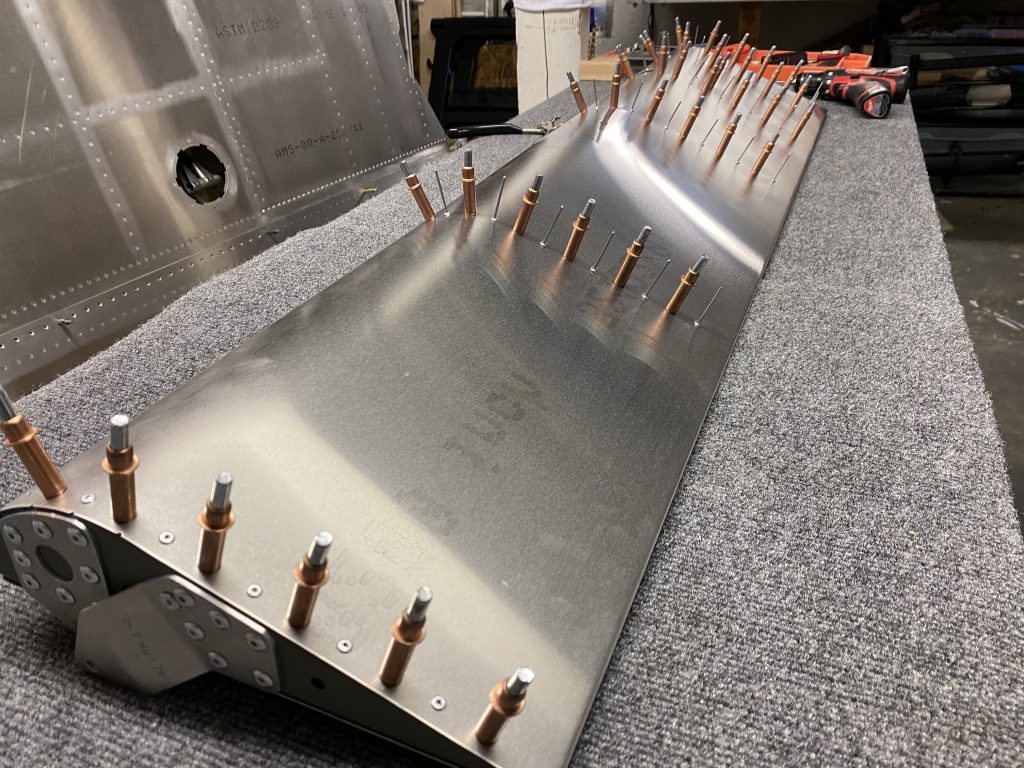
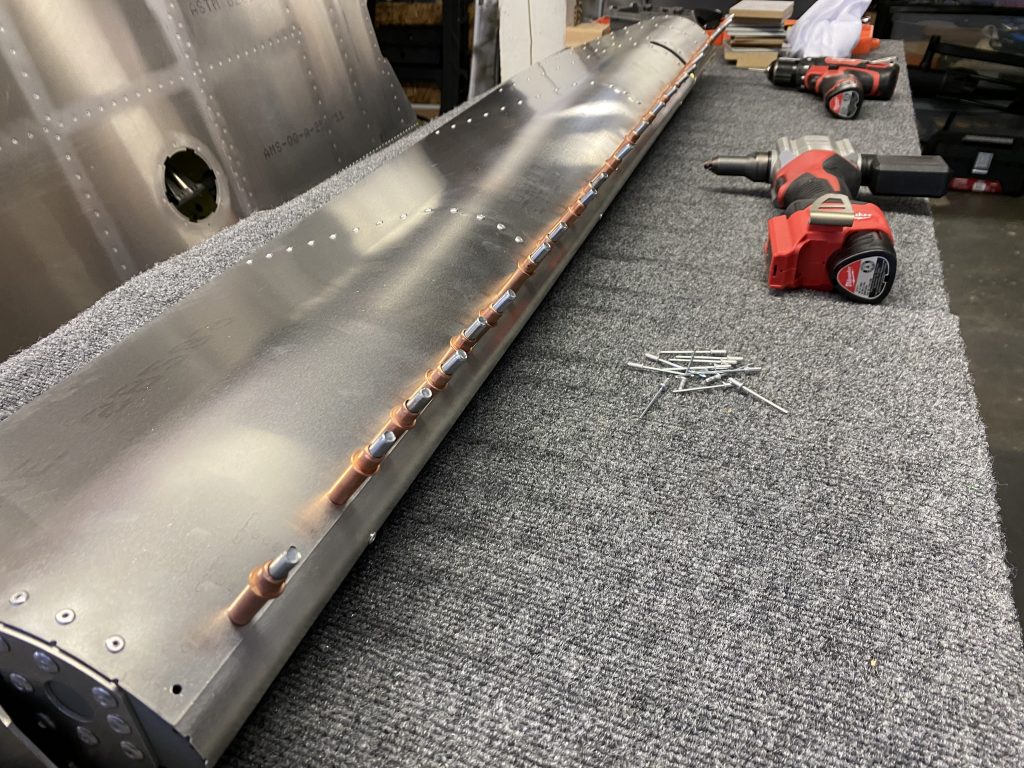
Ribs clecoed to the bottom and balance tube inserted in the front.
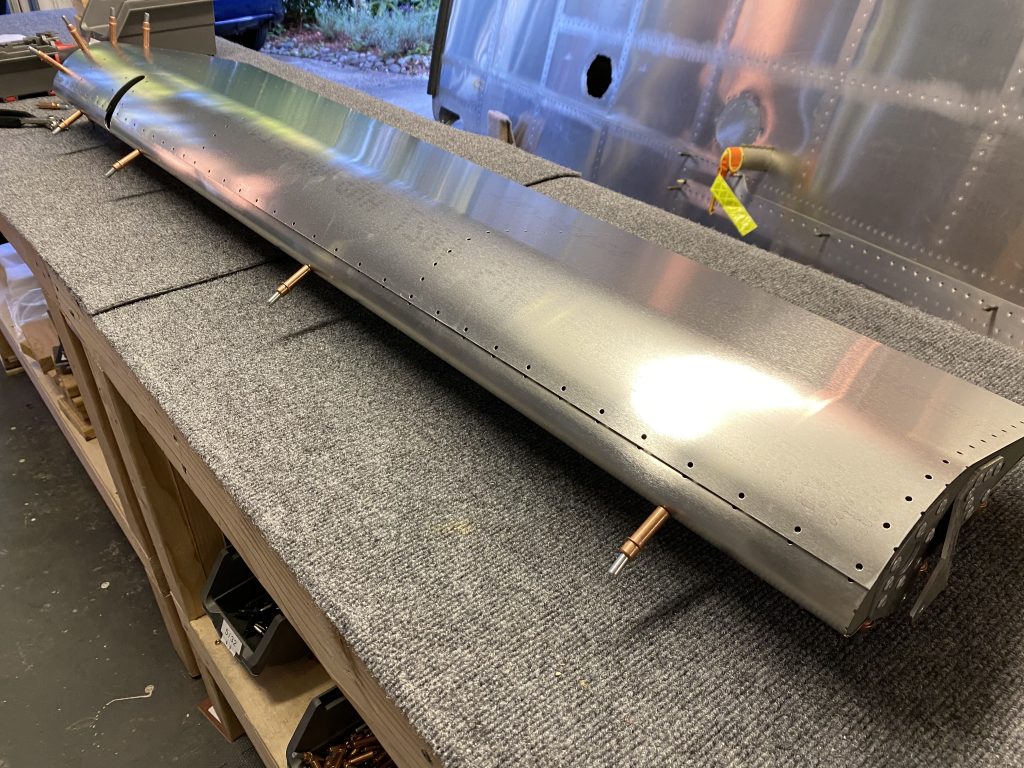
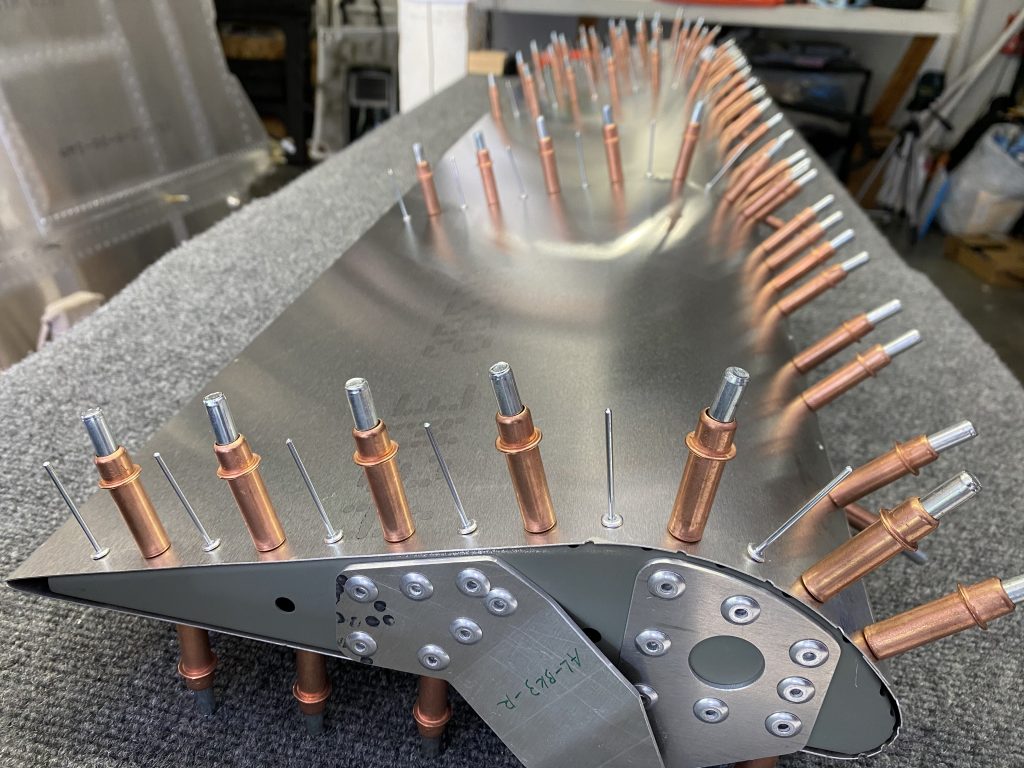
Top side clecoed and ready to rivet.

And from there it was just riveting everything together.

Bottom done, top ready to rivet

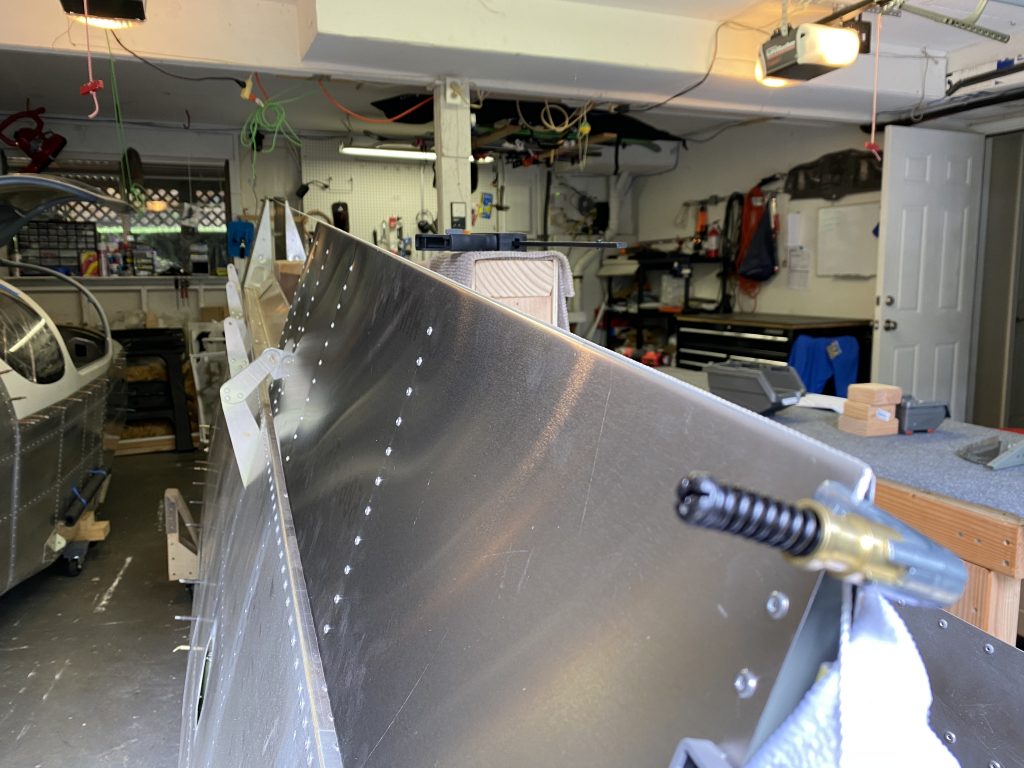
Another quick alignment check before riveting the front line and then I riveted the front line and completed the left Aileron.

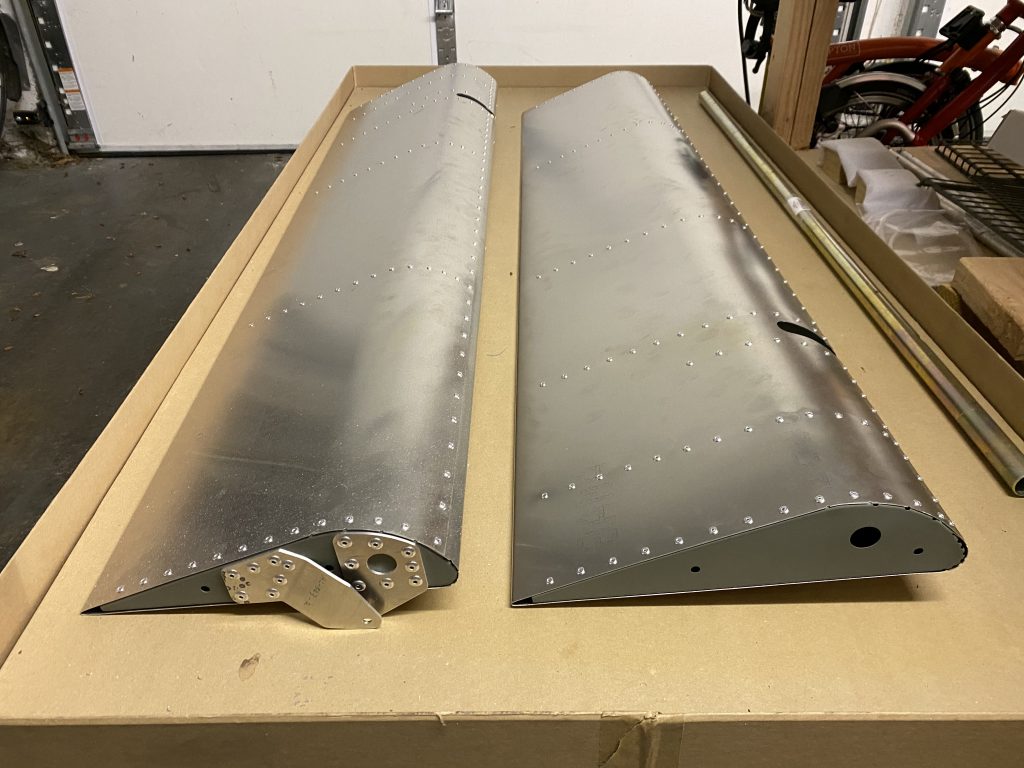
Both Ailerons completed

Timelapse of building the Ailerons

Finishing the Right Aileron

Hours: 2.5

With the ribs for the ailerons prepared, time for me to complete and rivet the ribs and the skins to make a complete Aileron.

The instruction manual on the Aileron is still a bit light, so I first had to figure out the order of things. After first doing it wrong and placing the balance tube in first, I realized that this doesn’t allow to place the ribs. So back out with tube, and in with the ribs first.

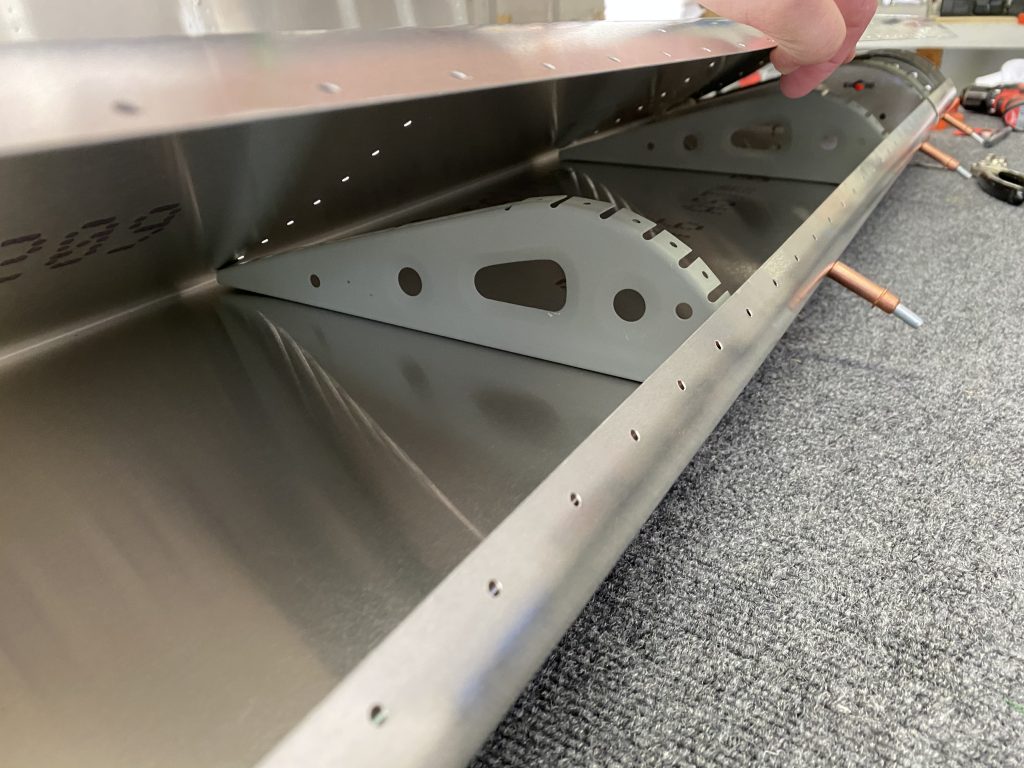
Lining up the ribs inside the aileron

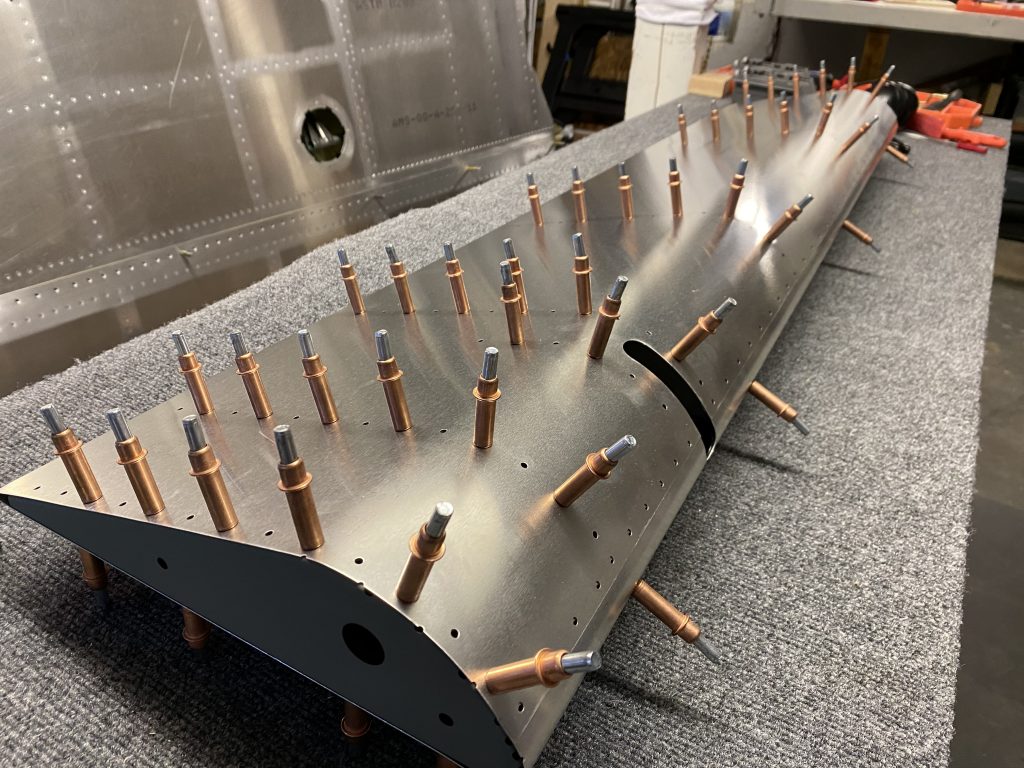
After I aligned all the ribs I inserted the balance tube and lined it up with the rivet holes. Then I clecoed both sides to start riveting the top and bottom of the skins.

Clecoing the right Aileron
Starting to rivet the top

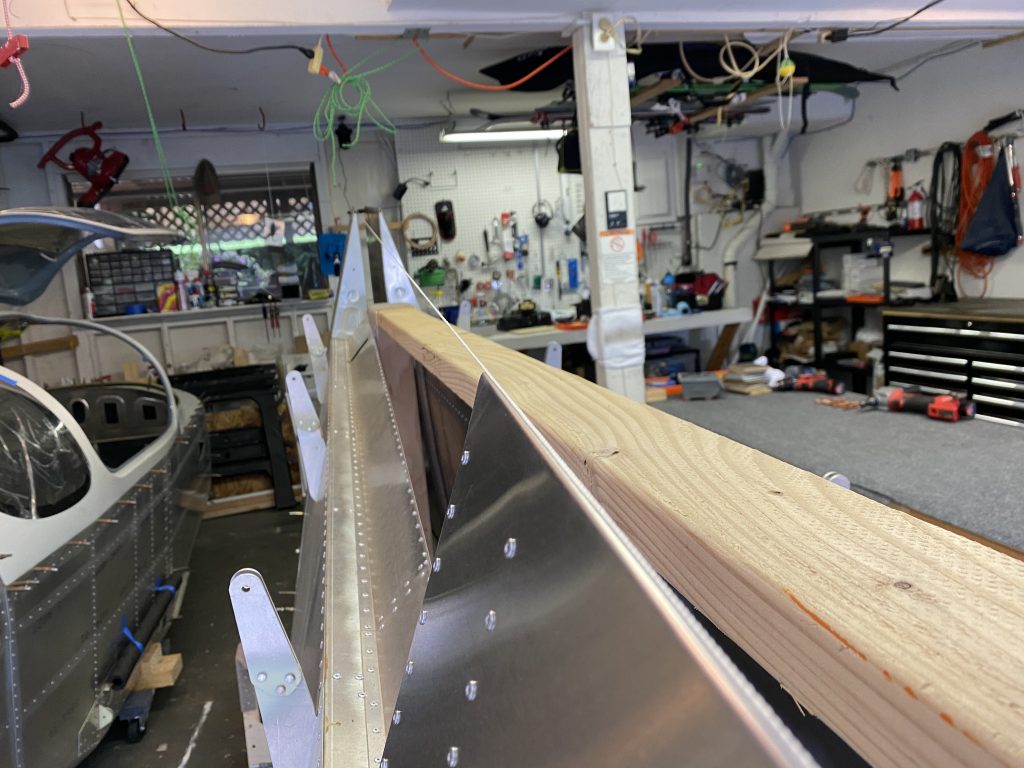
After I was done with riveting the top and bottom of the skins, I took off the clecos from the front and did a test fit on the wings to check the alignment.

Checking alignment using a mason line

Everything looks good, so I clecoed the front line again and started riveting to finish the Aileron.

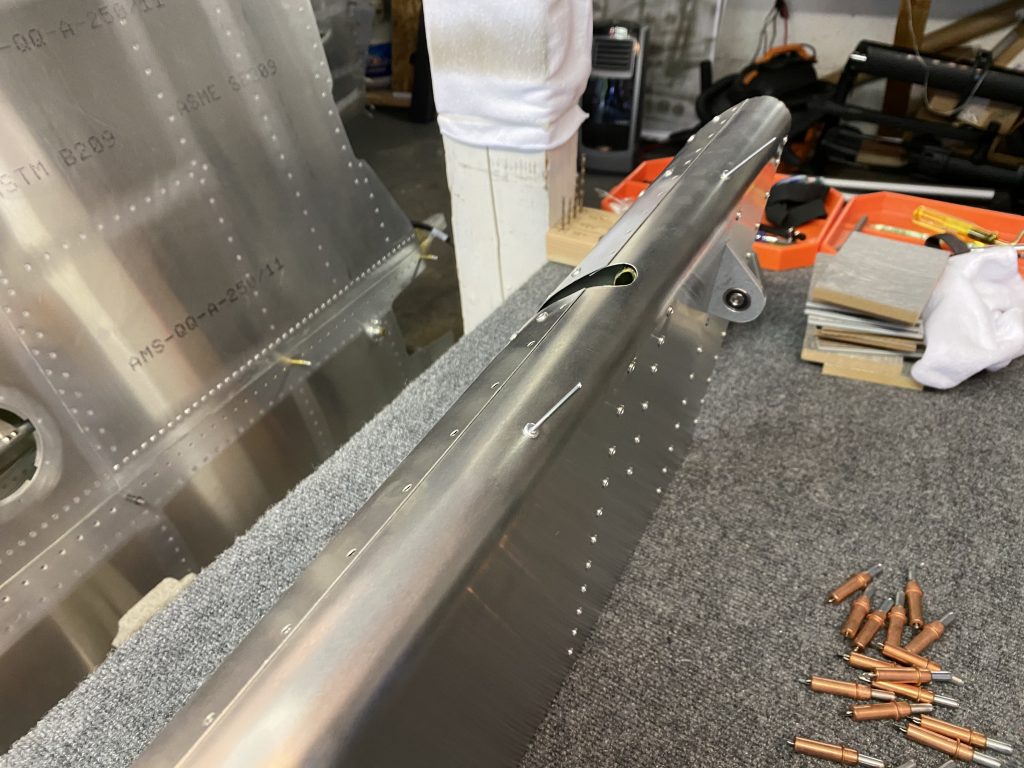
Riveting the balance tube
Clecoed the front line after checking the alignment

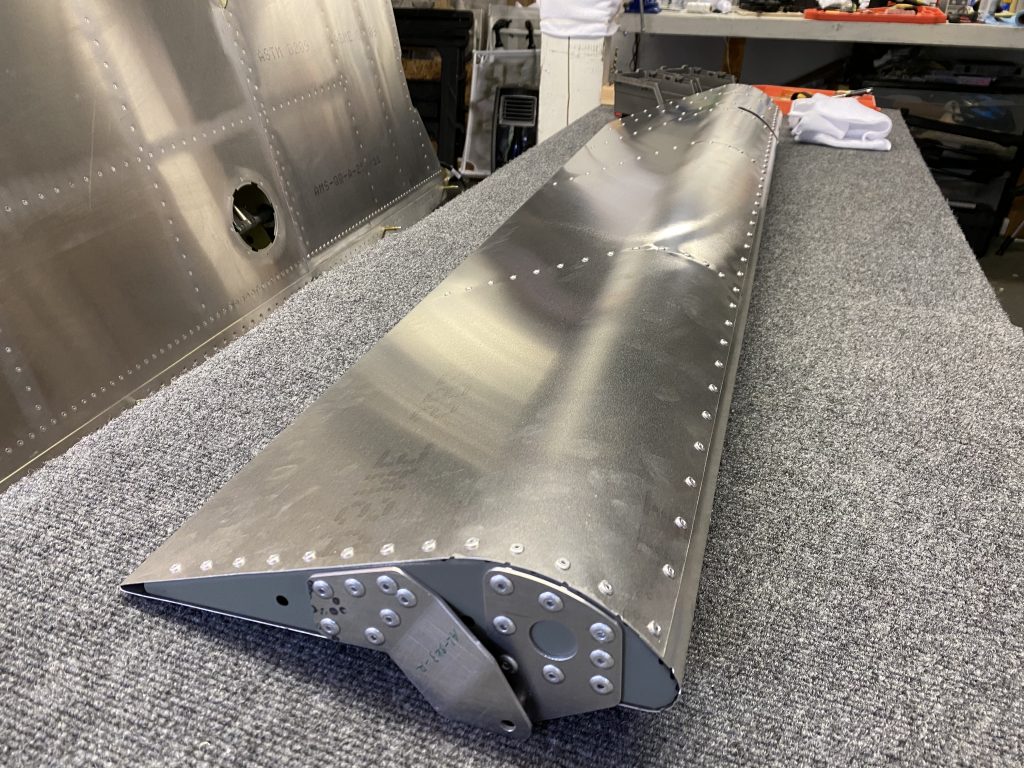
And here’s the completed right Aileron:

Completed right Aileron

Aileron Ribs

Hours: 1.5

Time to finish off the external control surfaces with the Aileron. I already primed them a while back, so time to assemble the ribs.

First order of business was sorting the ribs between left and right aileron. Then I checked off all the hardware needed. I already knew from my earlier investigating that the AN bolts for this is in the finishing kit, and the eyebolts are attached to the control rods.

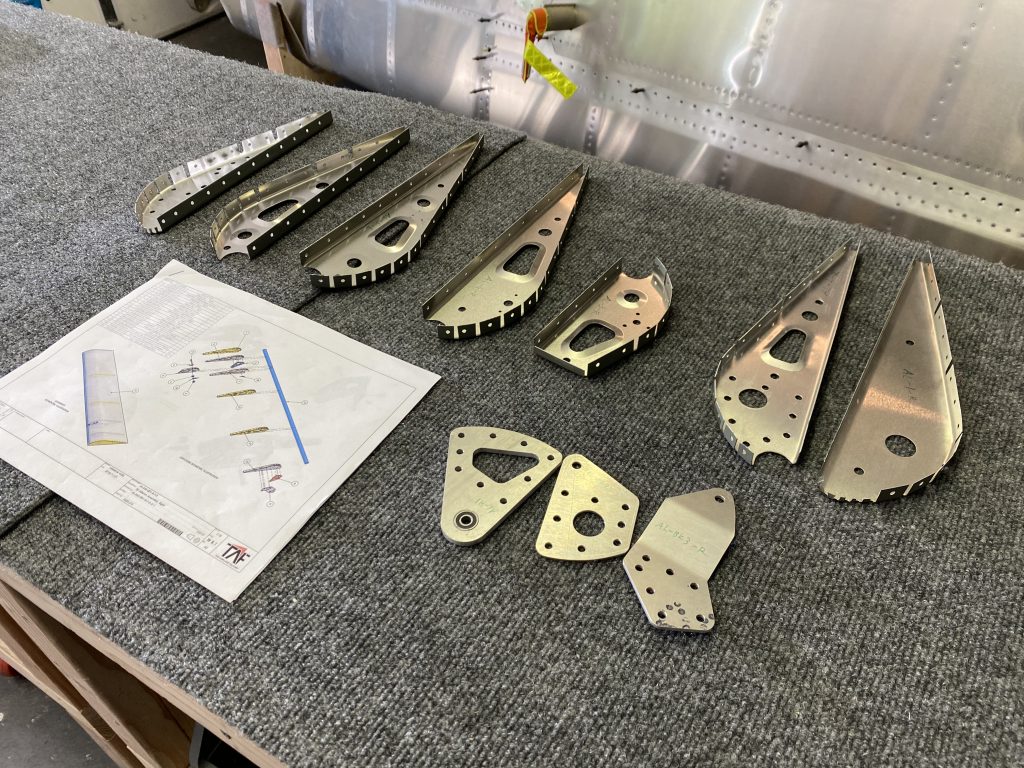
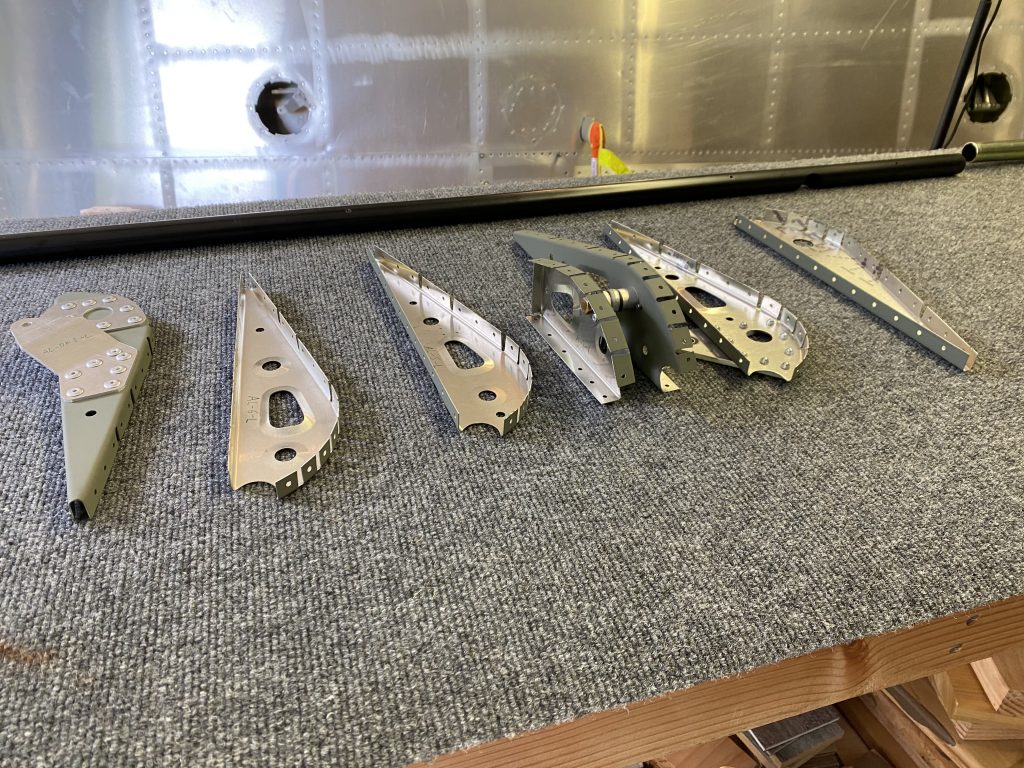
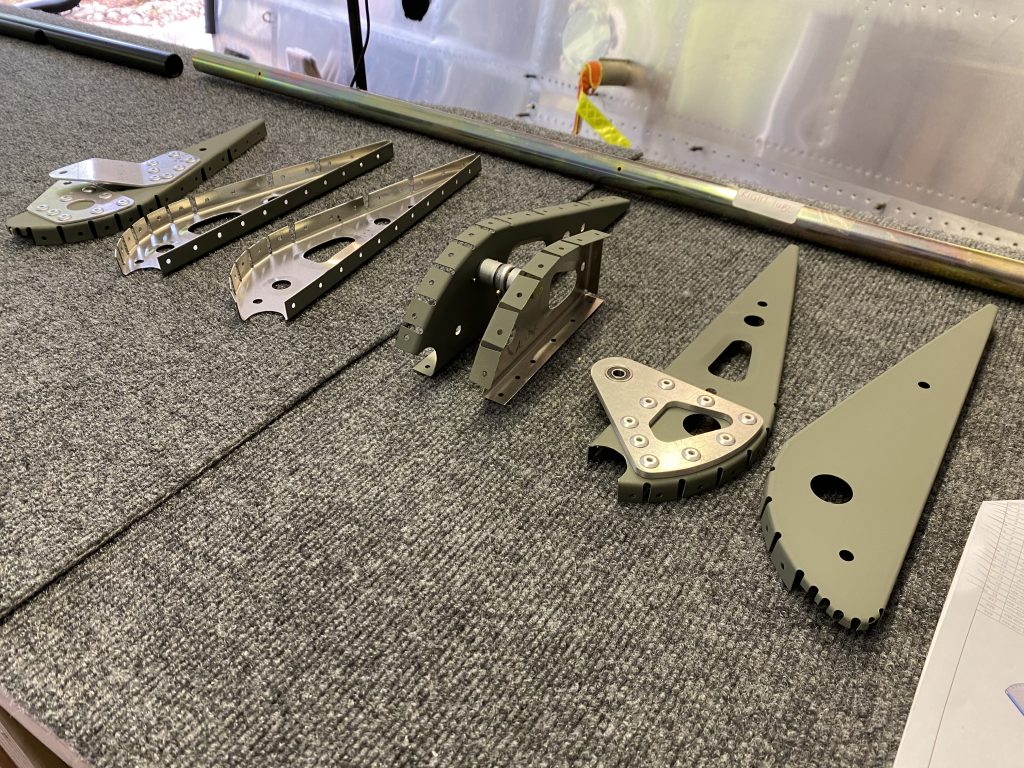
Right Aileron ribs laid out in order

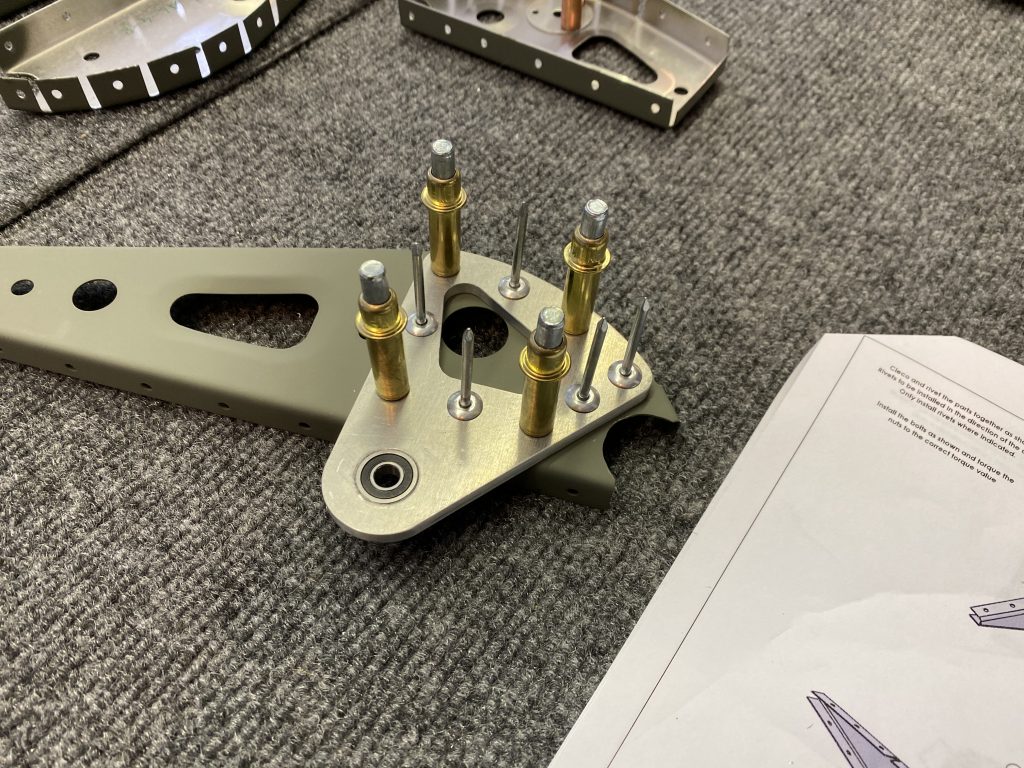
After laying them out, I started riveting the control brackets using the 4.8 mm rivets.

Riveting the hinge bracket 1 to rib 2

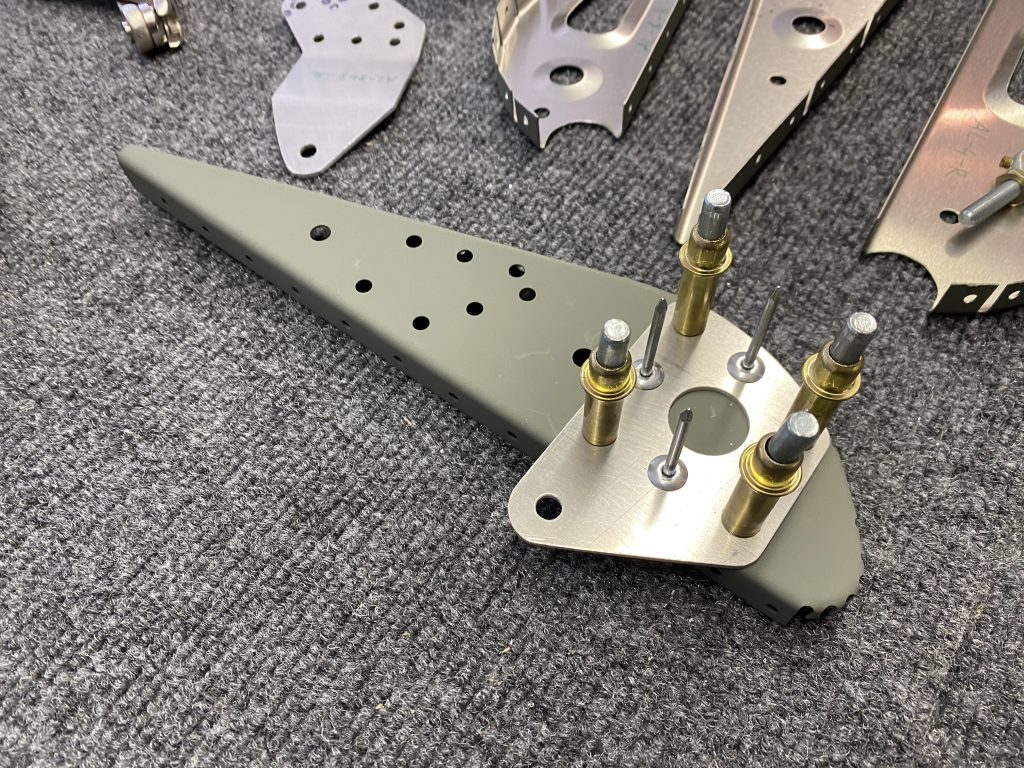
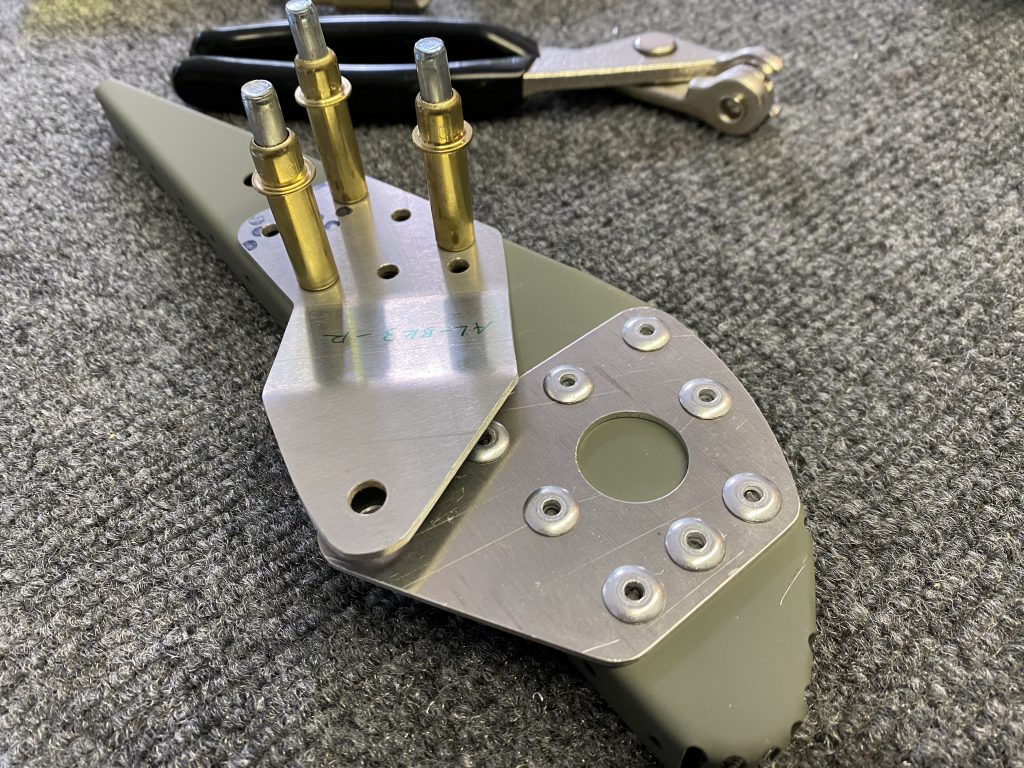
Then for rib 7 I laid out both brackets. The instructions are missing details about this rib, but it was easy to figure out that it uses the remaining 4.8 mm rivets (24 total per the part list, 9 are used for bracket 1, and counting out the holes of bracket 2 and 3, it comes to 24). I also noticed that one bracket slightly overlaps the other, which means that first I had to fully rivet the bracket 3:

First riveting the bracket 3

With this completed, I then riveted the hinge bracket 2.

Riveting bracket 2 which floats over bracket 3

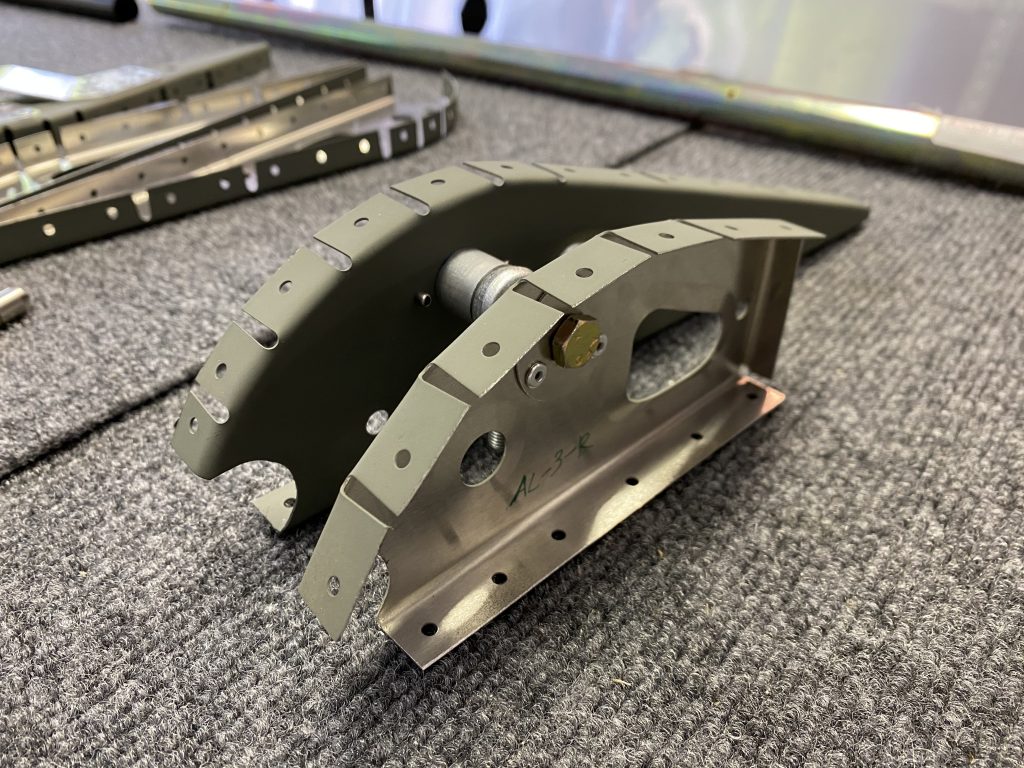
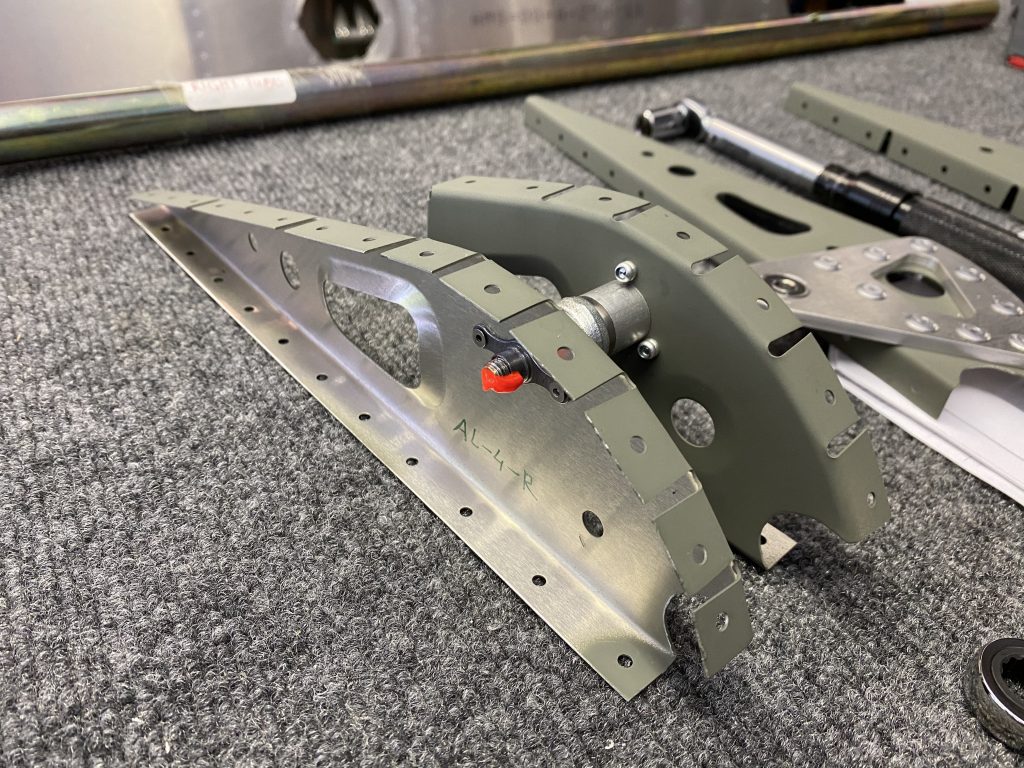
The final rib that needs preparation is the assembly of the Eyebolt attachment that controls the movement of the aileron. I put it all together and then torqued it and placed some torque marker on it.

Completed assembly of the control rod attachment.
Complete assembly of the control rod attachment rib and torque marker on the torqued bolt.

Then I repeated everything for the left Aileron ribs. Next step will be to lay all the ribs into the skins and rivet it closed.

Completed left Aileron ribs
Completed right Aileron ribs

Aileron ribs priming

Hours: 1

I prepared most parts of the Aileron a good while ago, but I was missing a replacement for one set of ribs that were damaged, so I had put the Ailerons aside and finished the Flaps and Elevator in the meantime.

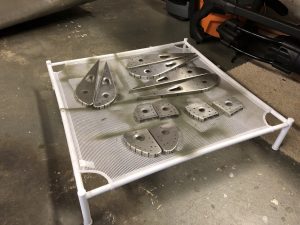
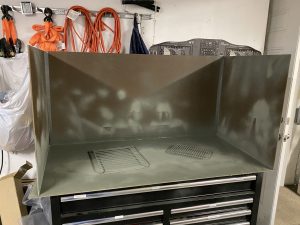
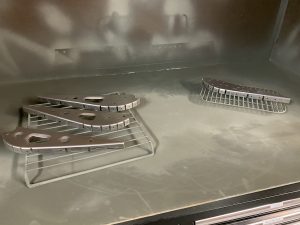
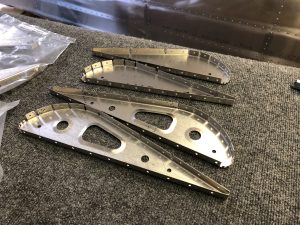
Now with the Elevator done and the replacement ribs in hand, back to finishing up the Aileron. After a quick inspection and deburring of the new rib I laid out all the parts and got out my small painting booth to prime the ribs.
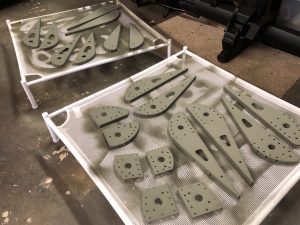
Aileron ribs laid out for the left and right side Paint booth setup to prime

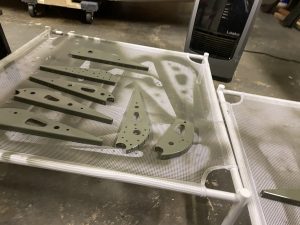
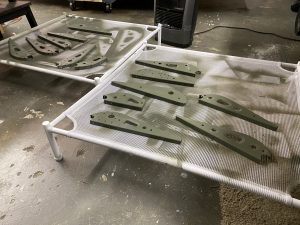
Once the primer is set I can get onto assembling everything and riveting the Aileron.

One side of Aileron ribs primed Primed Aileron ribs

Flaps priming & Aileron inventory

Hours: 4

After having completed the inventory and preparing the edges and holes of the Flaps the other day, I went ahead to prime them so I can start assembling them.

As it turns out, cleaning the parts is a great time to chat with my mom over the phone, so she got to watch while I sat on my stool to give the parts a scrub using some Simple Green Cleaner to get them ready for priming.
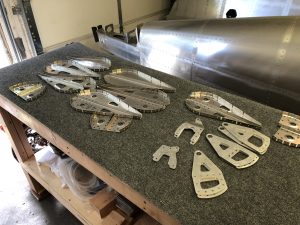
Flaps parts laid out ready to clean Flaps parts ready for priming

Once that was done, I unfolded my small paint booth and primed all the ribs of the flaps.
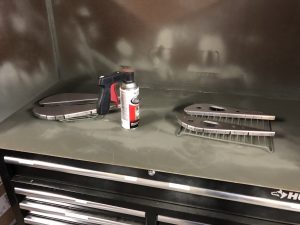
Ready to prime the Flaps ribs Flaps ribs primed

Aileron parts inventory

With the Flaps primer drying, I moved on to unpack the Aileron parts and prepare them to prime next.

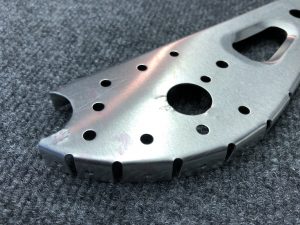
Unfortunately one set of ribs have some dents from the factory, so I will need replacements for those. The other parts were okay and just needed the usual treatment of deburring some of the edges and holes.
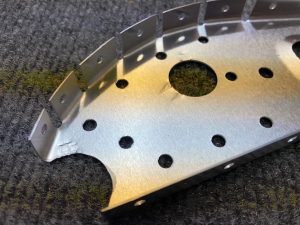
Dents in Aileron rib 2 Dents in Aileron rib 2

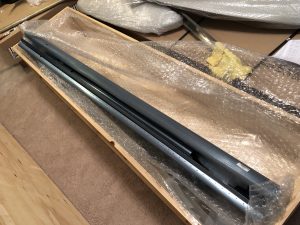
Then I went on a scavenger hunt to try to find an Eyebolt and Nut to go with the ribs as they weren’t in any of the bags of the Aileron assembly and eventually I figured that it might be on the pushrod that it threads into and I remembered that I have a separate Tube labelled Control Pushrods. So after opening that tube and pulling out a well packed bubble-wrap bundle I eventually found the rods for the Ailerons, and while I was at it, also the Flaps and attached to them were the Eyebolts and the nut mentioned.
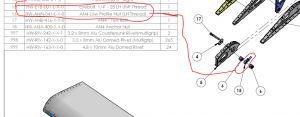
Eyebolt mentioned in the Aileron assembly

The last thing I could not find, were the AN4-16A bolts, which are mentioned in the assembly instructions, but were not in the shipping manifest, so I added a request for those bolts together with the replacement for the damaged ribs.
I also found that I don’t have any 4.8x10mm rivets (HW-RIV-163) which I need for the Flaps assembly and those were also missing in the packing list, but need to be able to rivet some of the hinges onto the Flaps.

Hopefully I can get those replacements and missing parts soon so I can cut down on half-ready assemblies between the Elevator, Flaps & Ailerons.
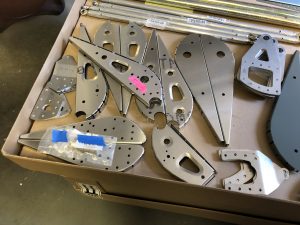
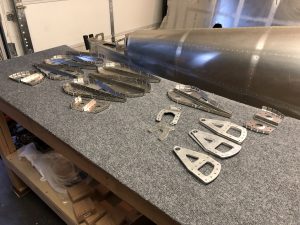
Aileron parts laid out after I finished inspecting and deburring everything

Flaps & Aileron inventory and parts inspection

Hours: 2

I’m currently still waiting for the correct Elevator ribs from the Factory before I can continue to complete the Empennage. So in the meantime I’ve moved on to get started on the Wings. First order of business is the Ailerons and Flaps, starting with doing the inventory and parts check.
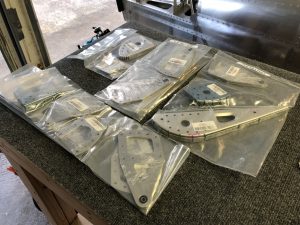
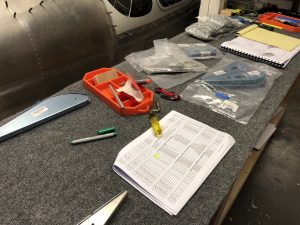
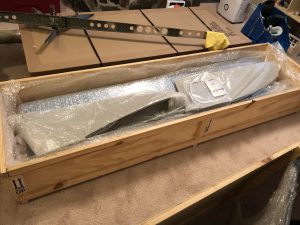
First I had to find the sub assemblies for the Flaps and Ailerons in the Wings crate. After a bit of digging, I got all the bags that had to do with those two parts out and then starting laying them out to check them off the packing list.
Wing crate opened and time to dig out the parts for the Flaps and Ailerons Skins for Flaps and Ailerons present

Once I had all the bags laid out, I started to check them off the inventory checklist and got out my tools for deburring a couple of sharp edges and holes.
Bags of Flap assembly parts ready to be checked Bags of Aileron assembly ready to be checked

I confirmed that I got all the parts out of the crate and went back once to find the Aileron balance tubes. Then I started to get going on removing the protective plastic from the Flaps parts and inspecting the parts, marking each part along the way. There were a couple of sharp edges and holes, but by and large most parts were good to go.
Inspecting and labeling the Flaps ribs Done with inspecting and deburring all the parts of the Flaps