Tag Archives: torquing

Aileron Ribs

Hours: 1.5

Time to finish off the external control surfaces with the Aileron. I already primed them a while back, so time to assemble the ribs.

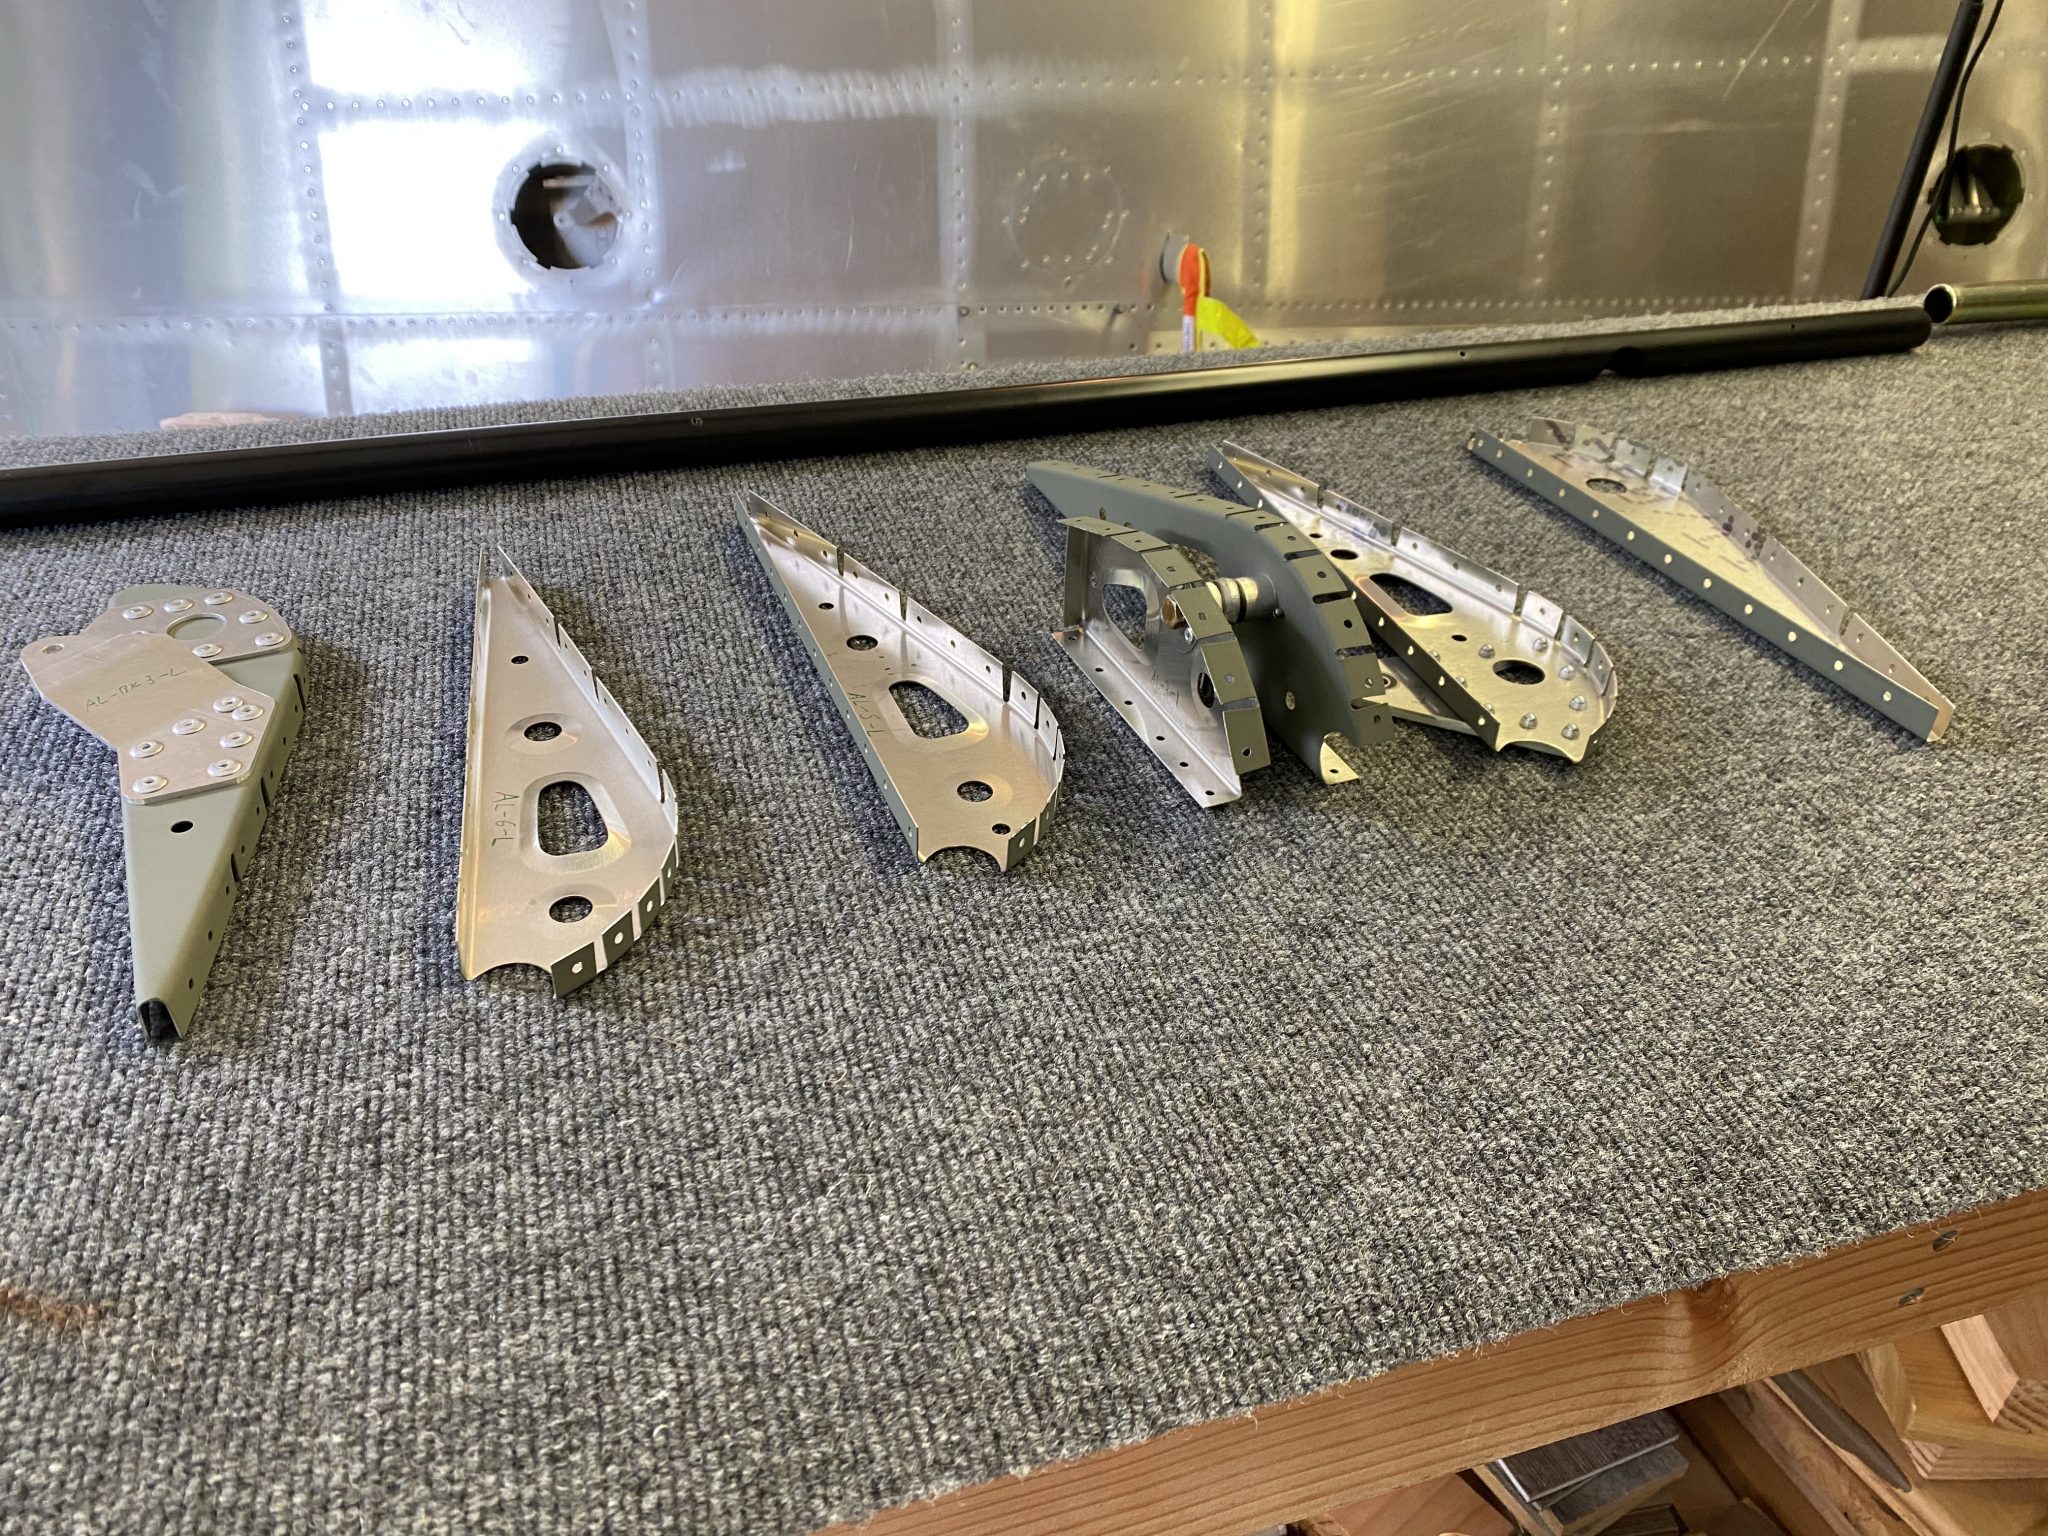
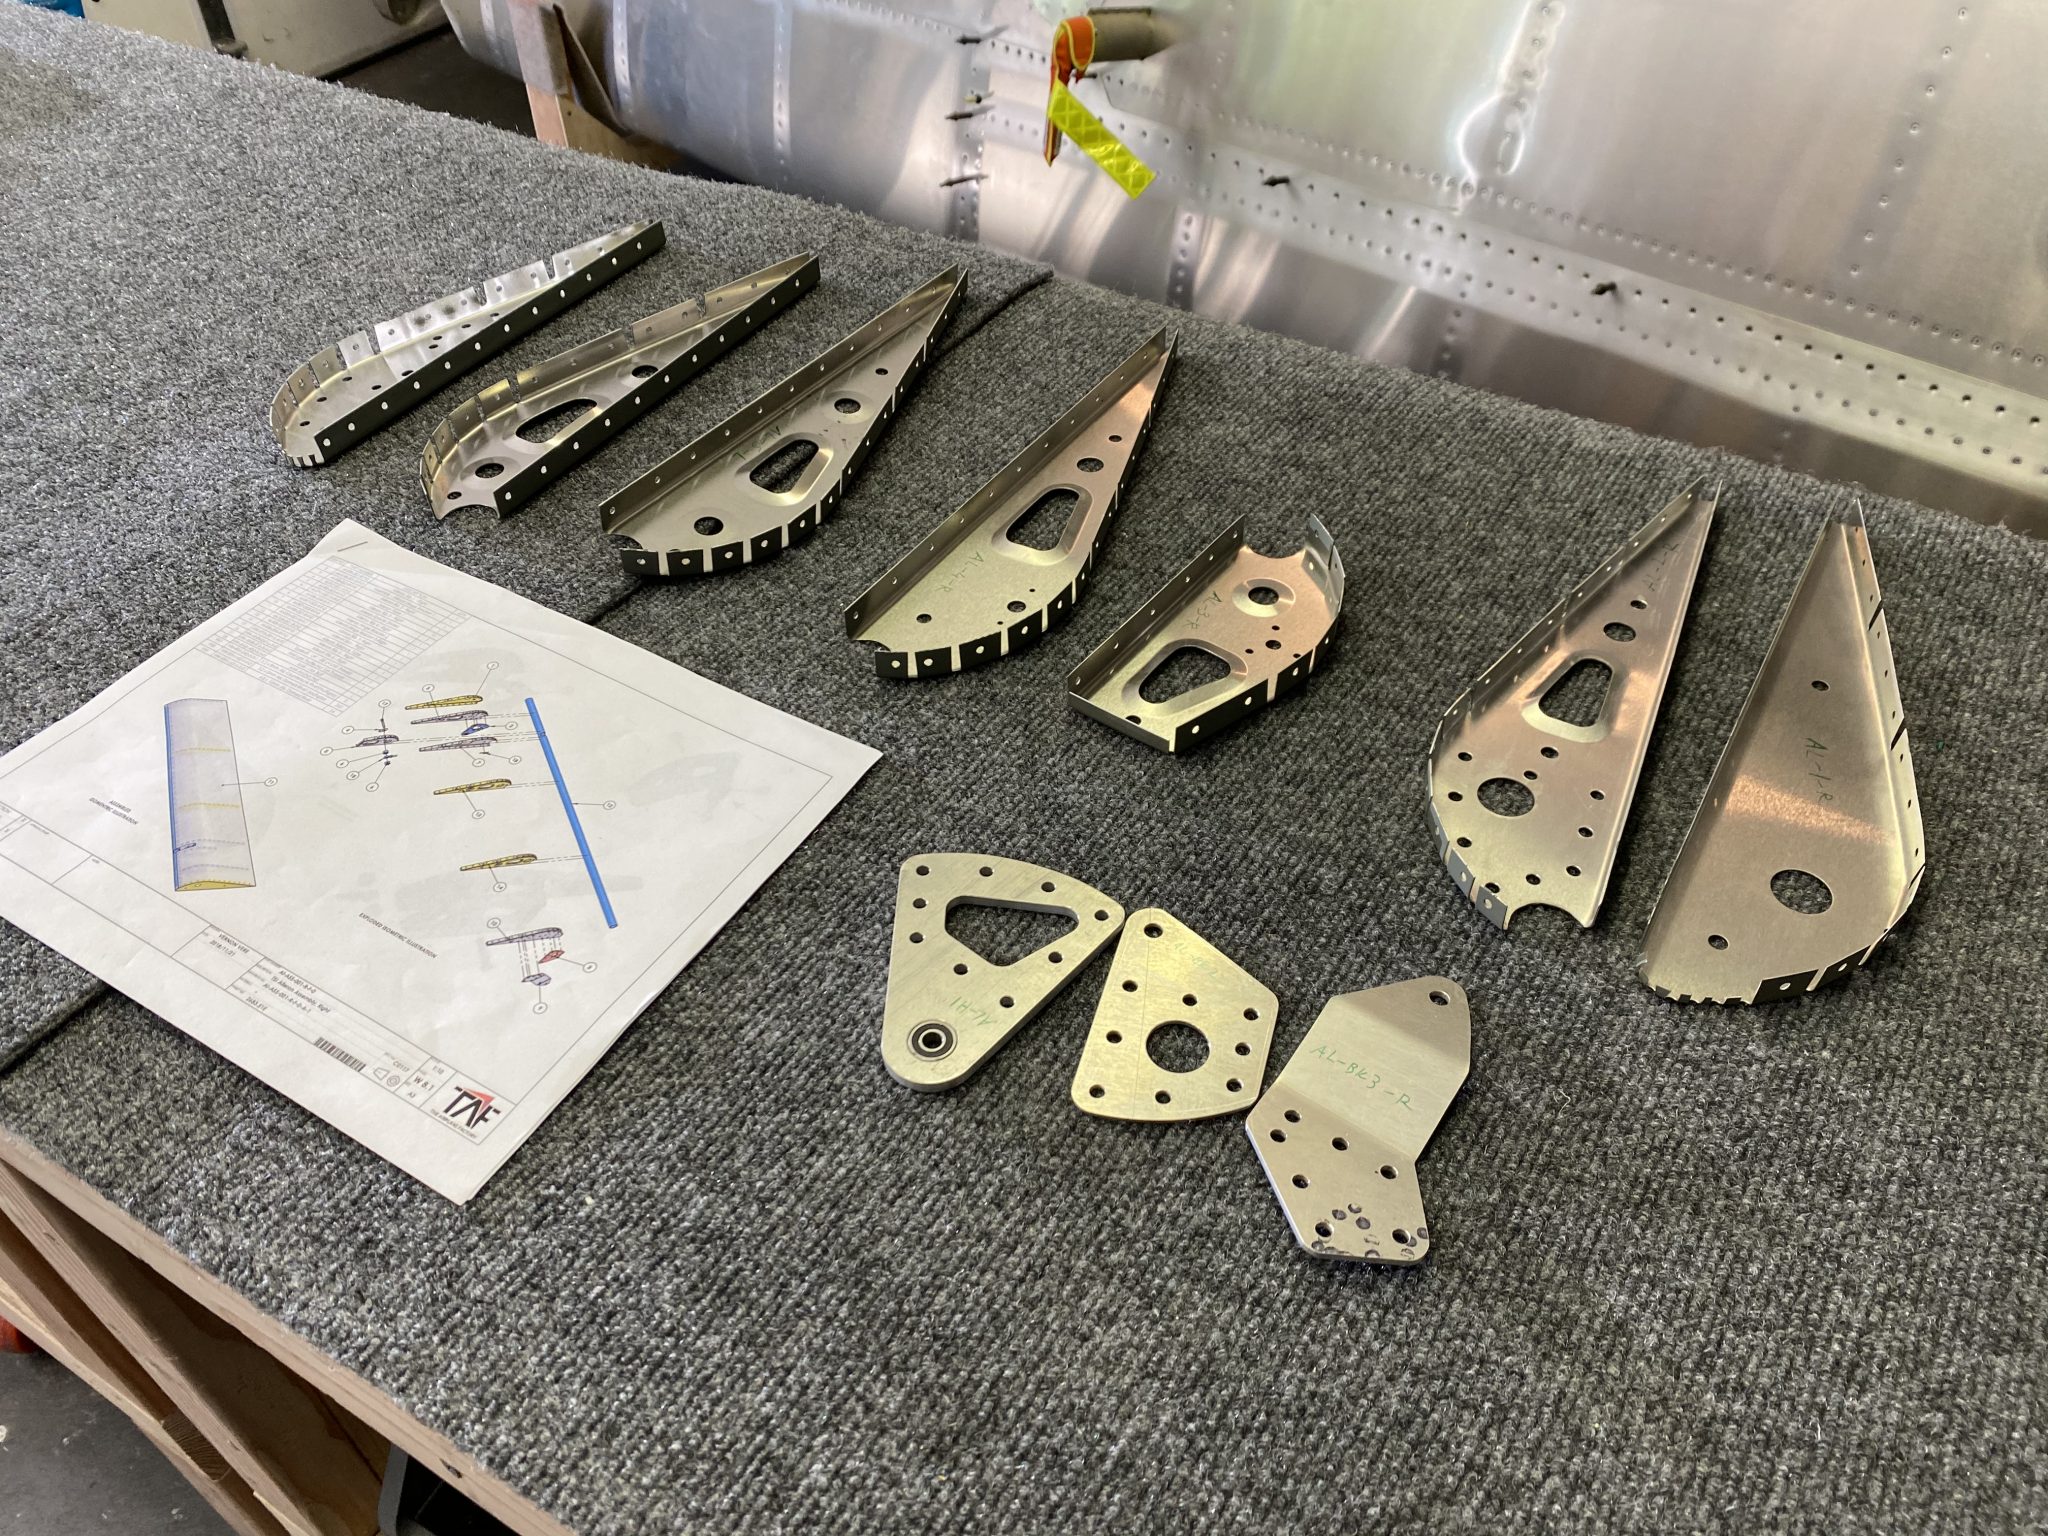
First order of business was sorting the ribs between left and right aileron. Then I checked off all the hardware needed. I already knew from my earlier investigating that the AN bolts for this is in the finishing kit, and the eyebolts are attached to the control rods.

Right Aileron ribs laid out in order

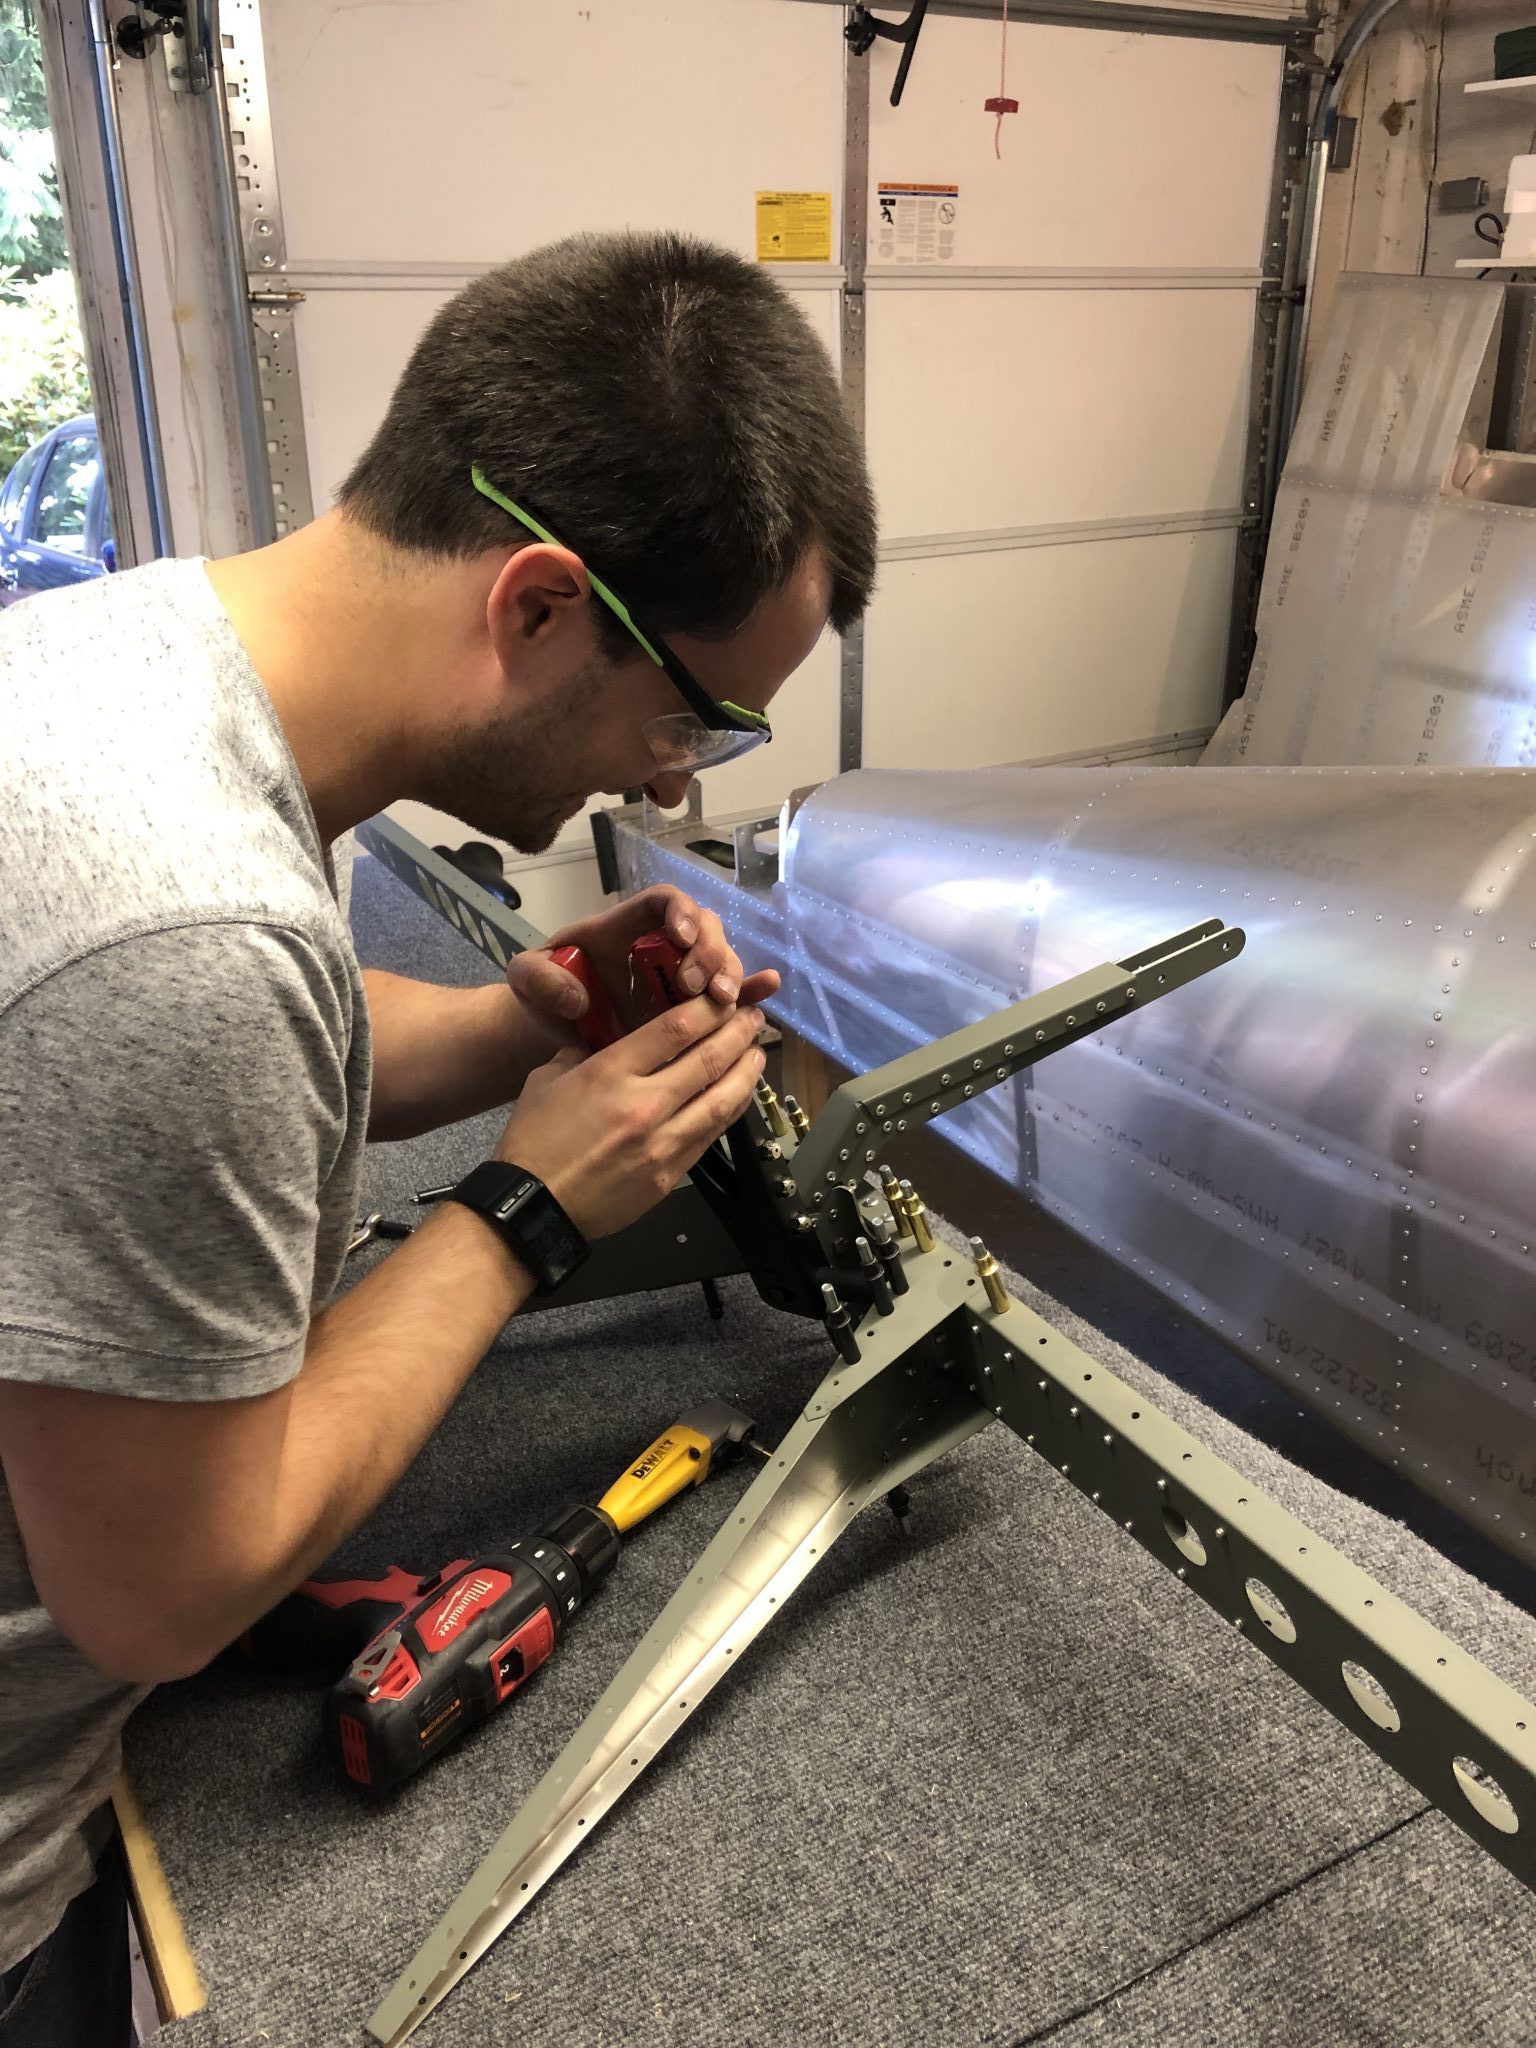
After laying them out, I started riveting the control brackets using the 4.8 mm rivets.

Riveting the hinge bracket 1 to rib 2

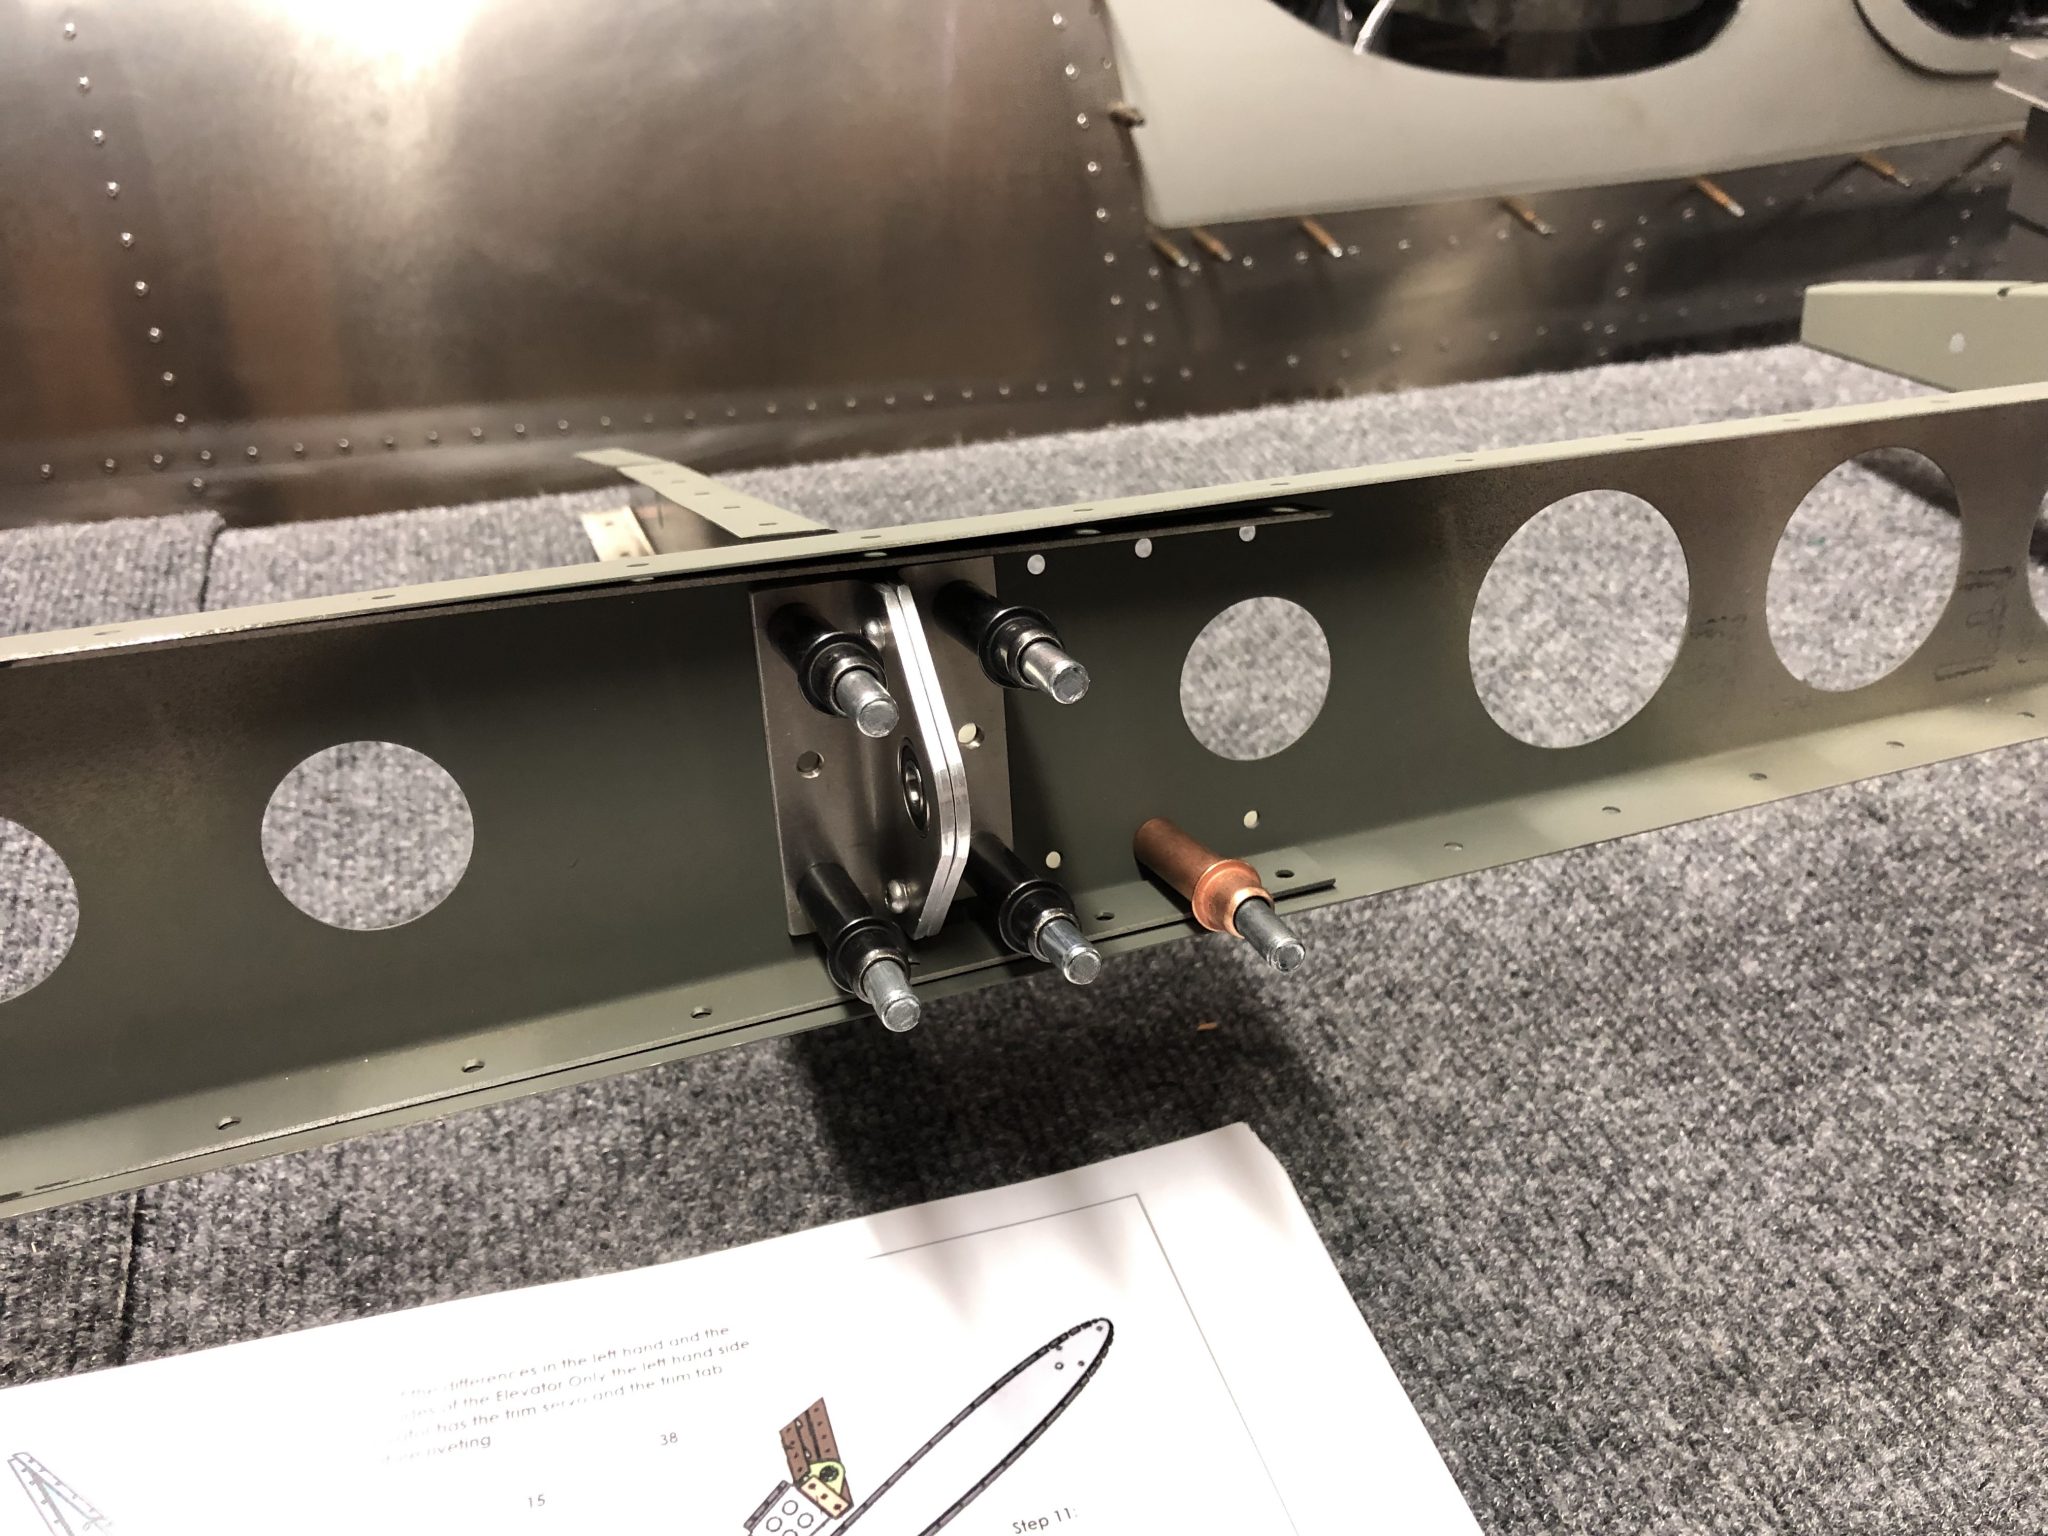
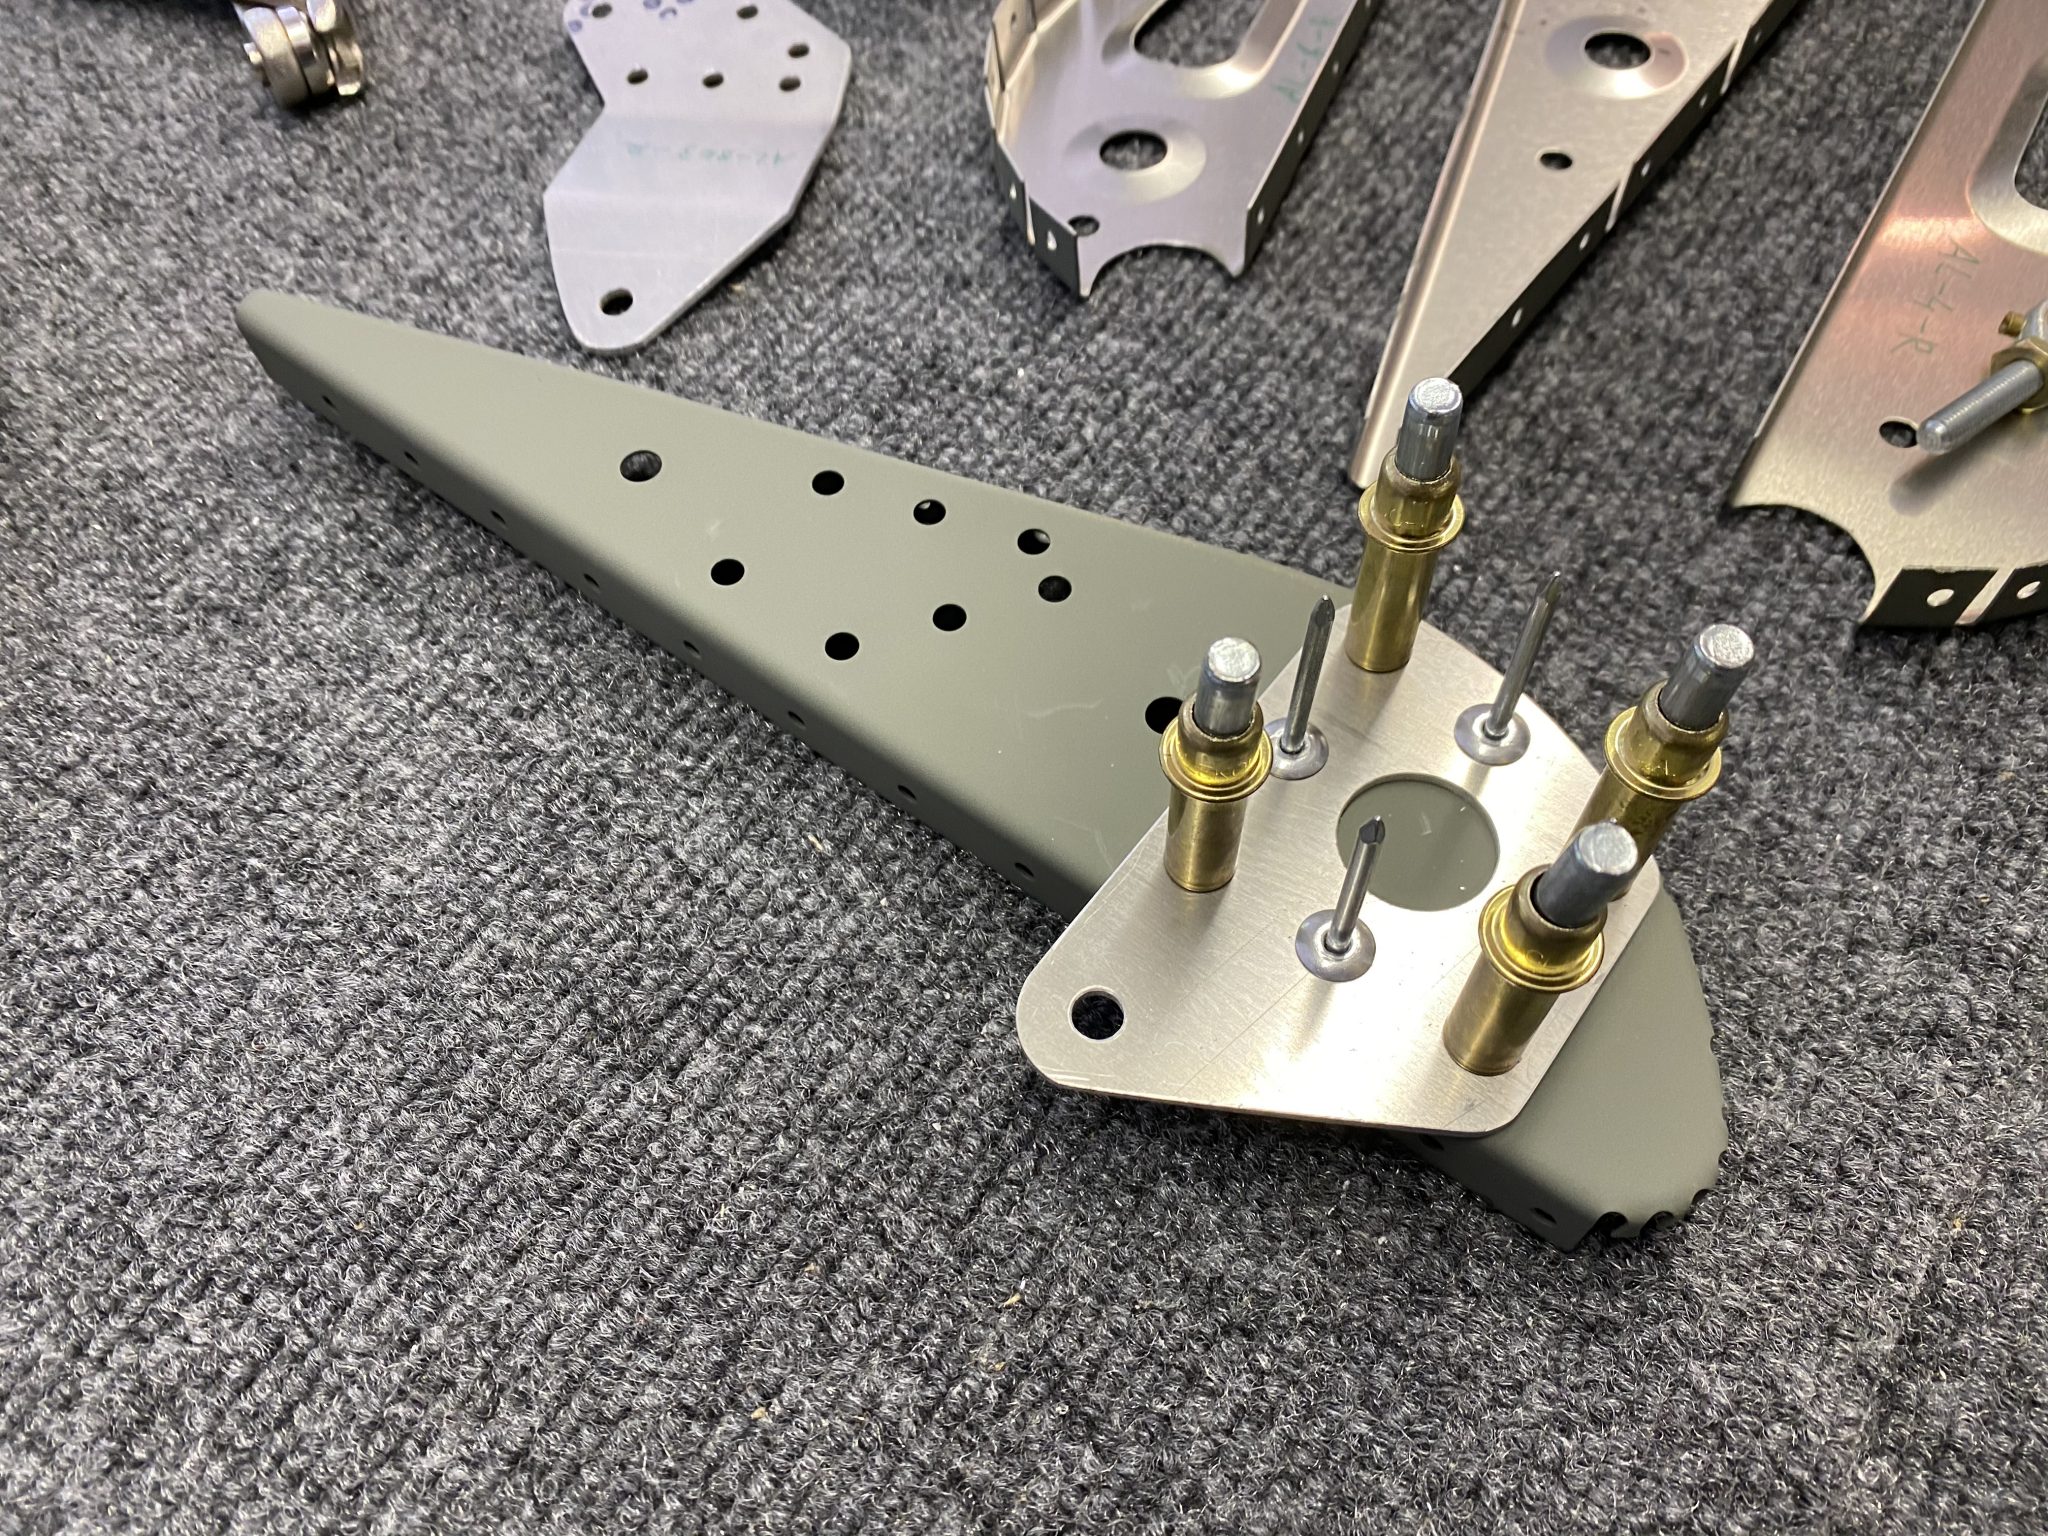
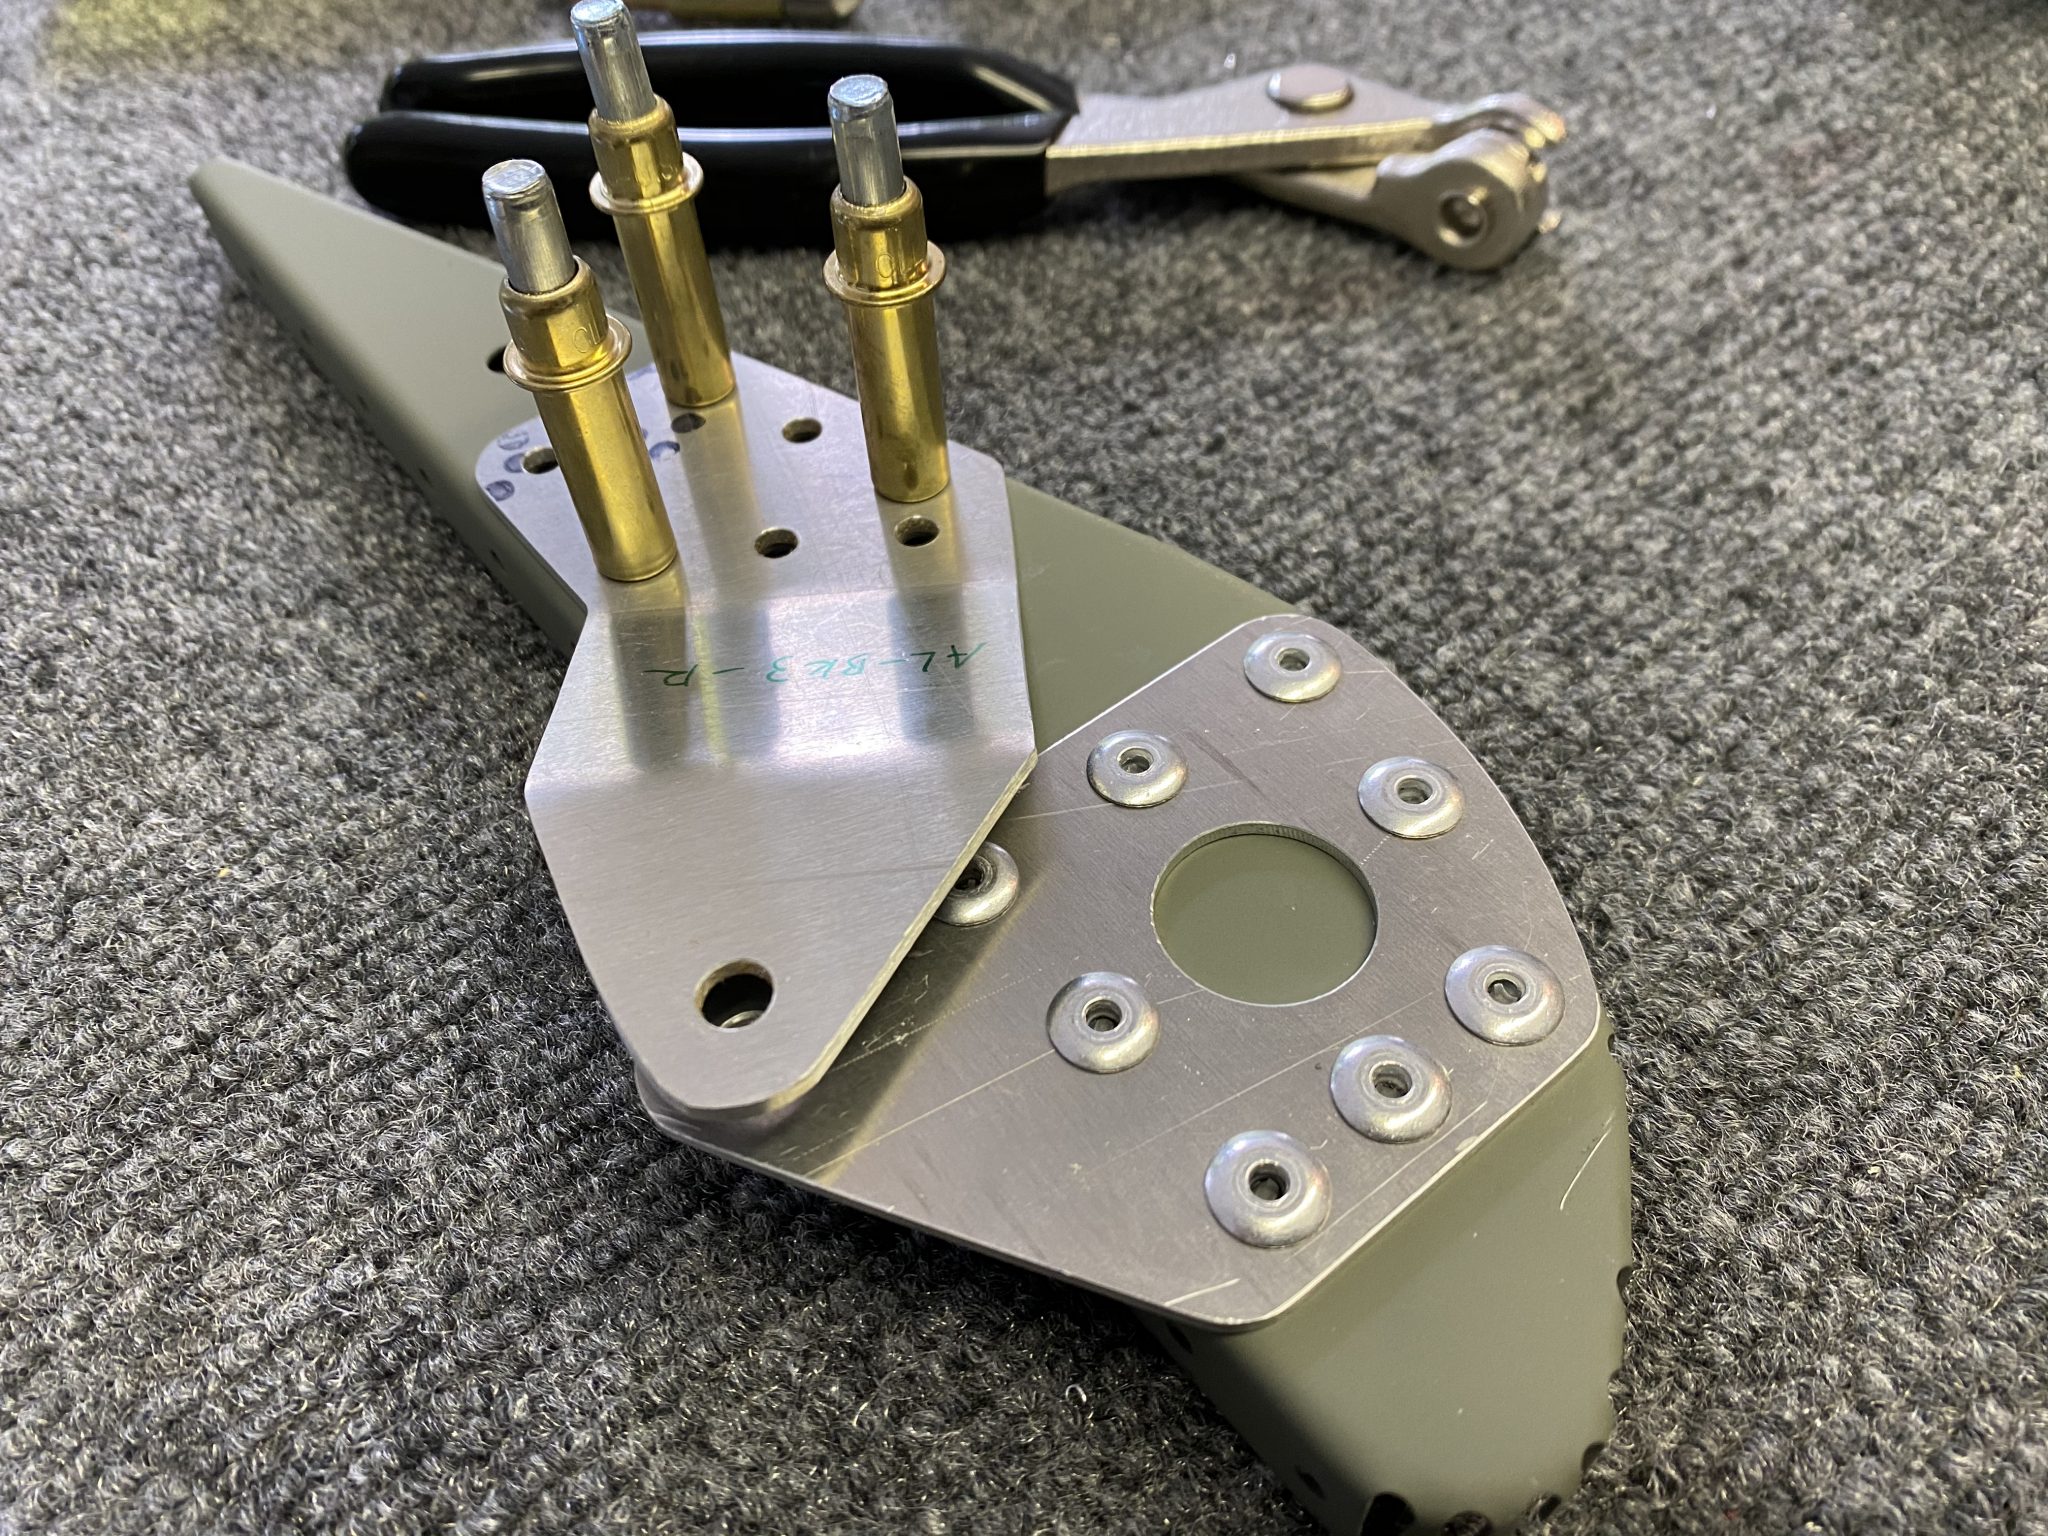
Then for rib 7 I laid out both brackets. The instructions are missing details about this rib, but it was easy to figure out that it uses the remaining 4.8 mm rivets (24 total per the part list, 9 are used for bracket 1, and counting out the holes of bracket 2 and 3, it comes to 24). I also noticed that one bracket slightly overlaps the other, which means that first I had to fully rivet the bracket 3:

First riveting the bracket 3

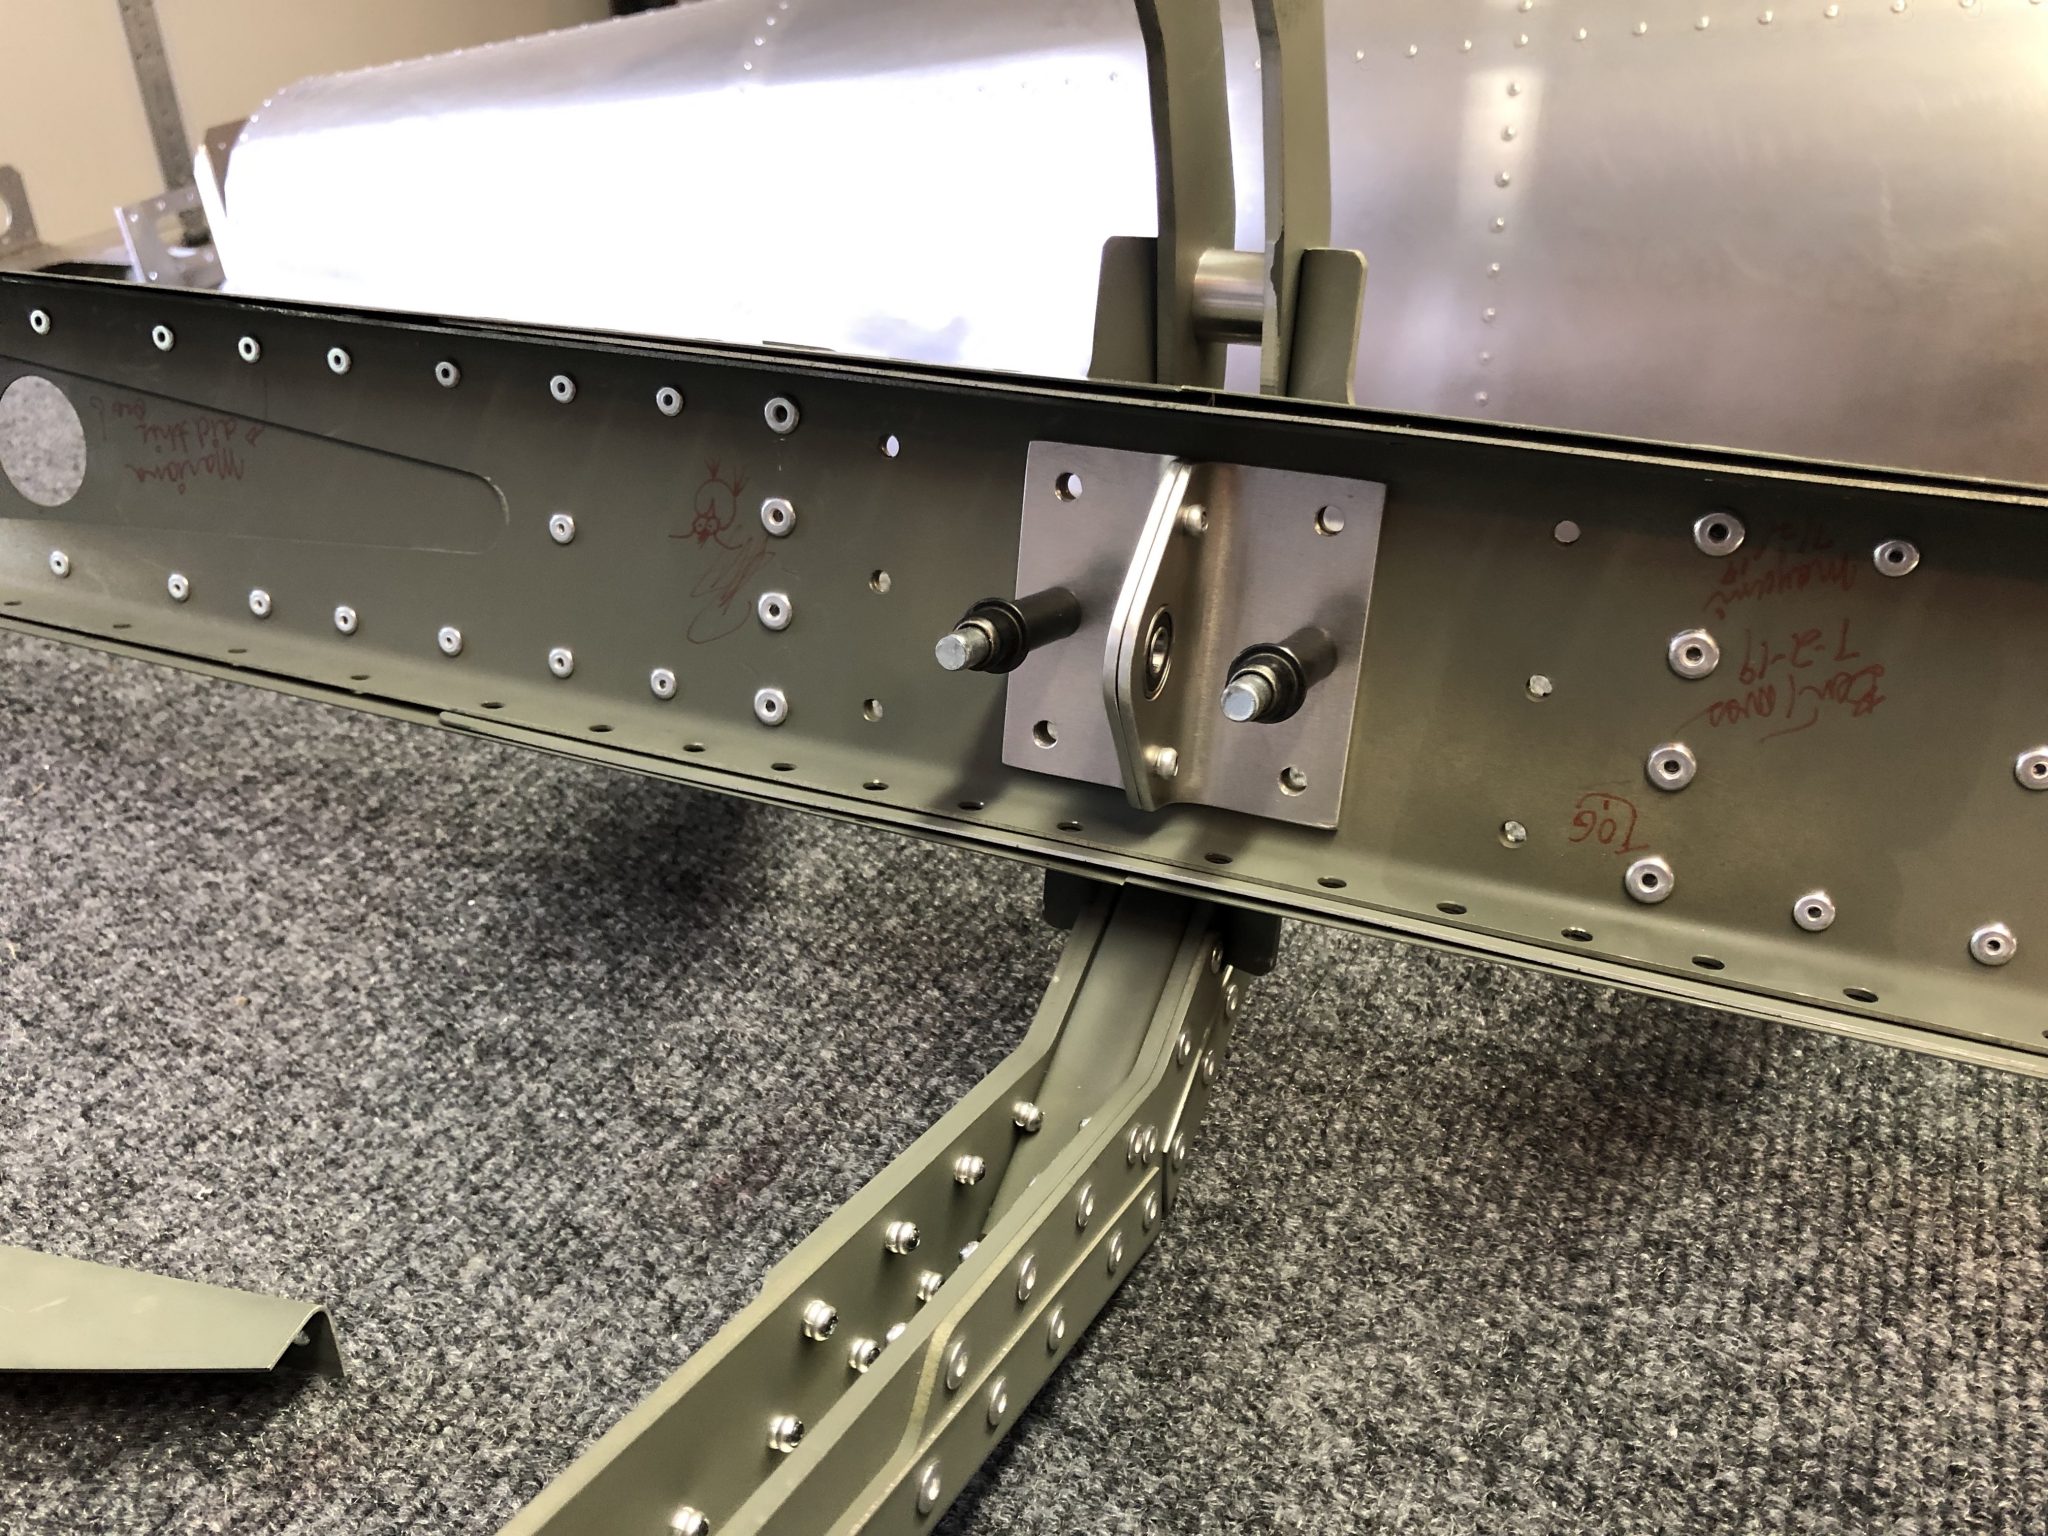
With this completed, I then riveted the hinge bracket 2.

Riveting bracket 2 which floats over bracket 3

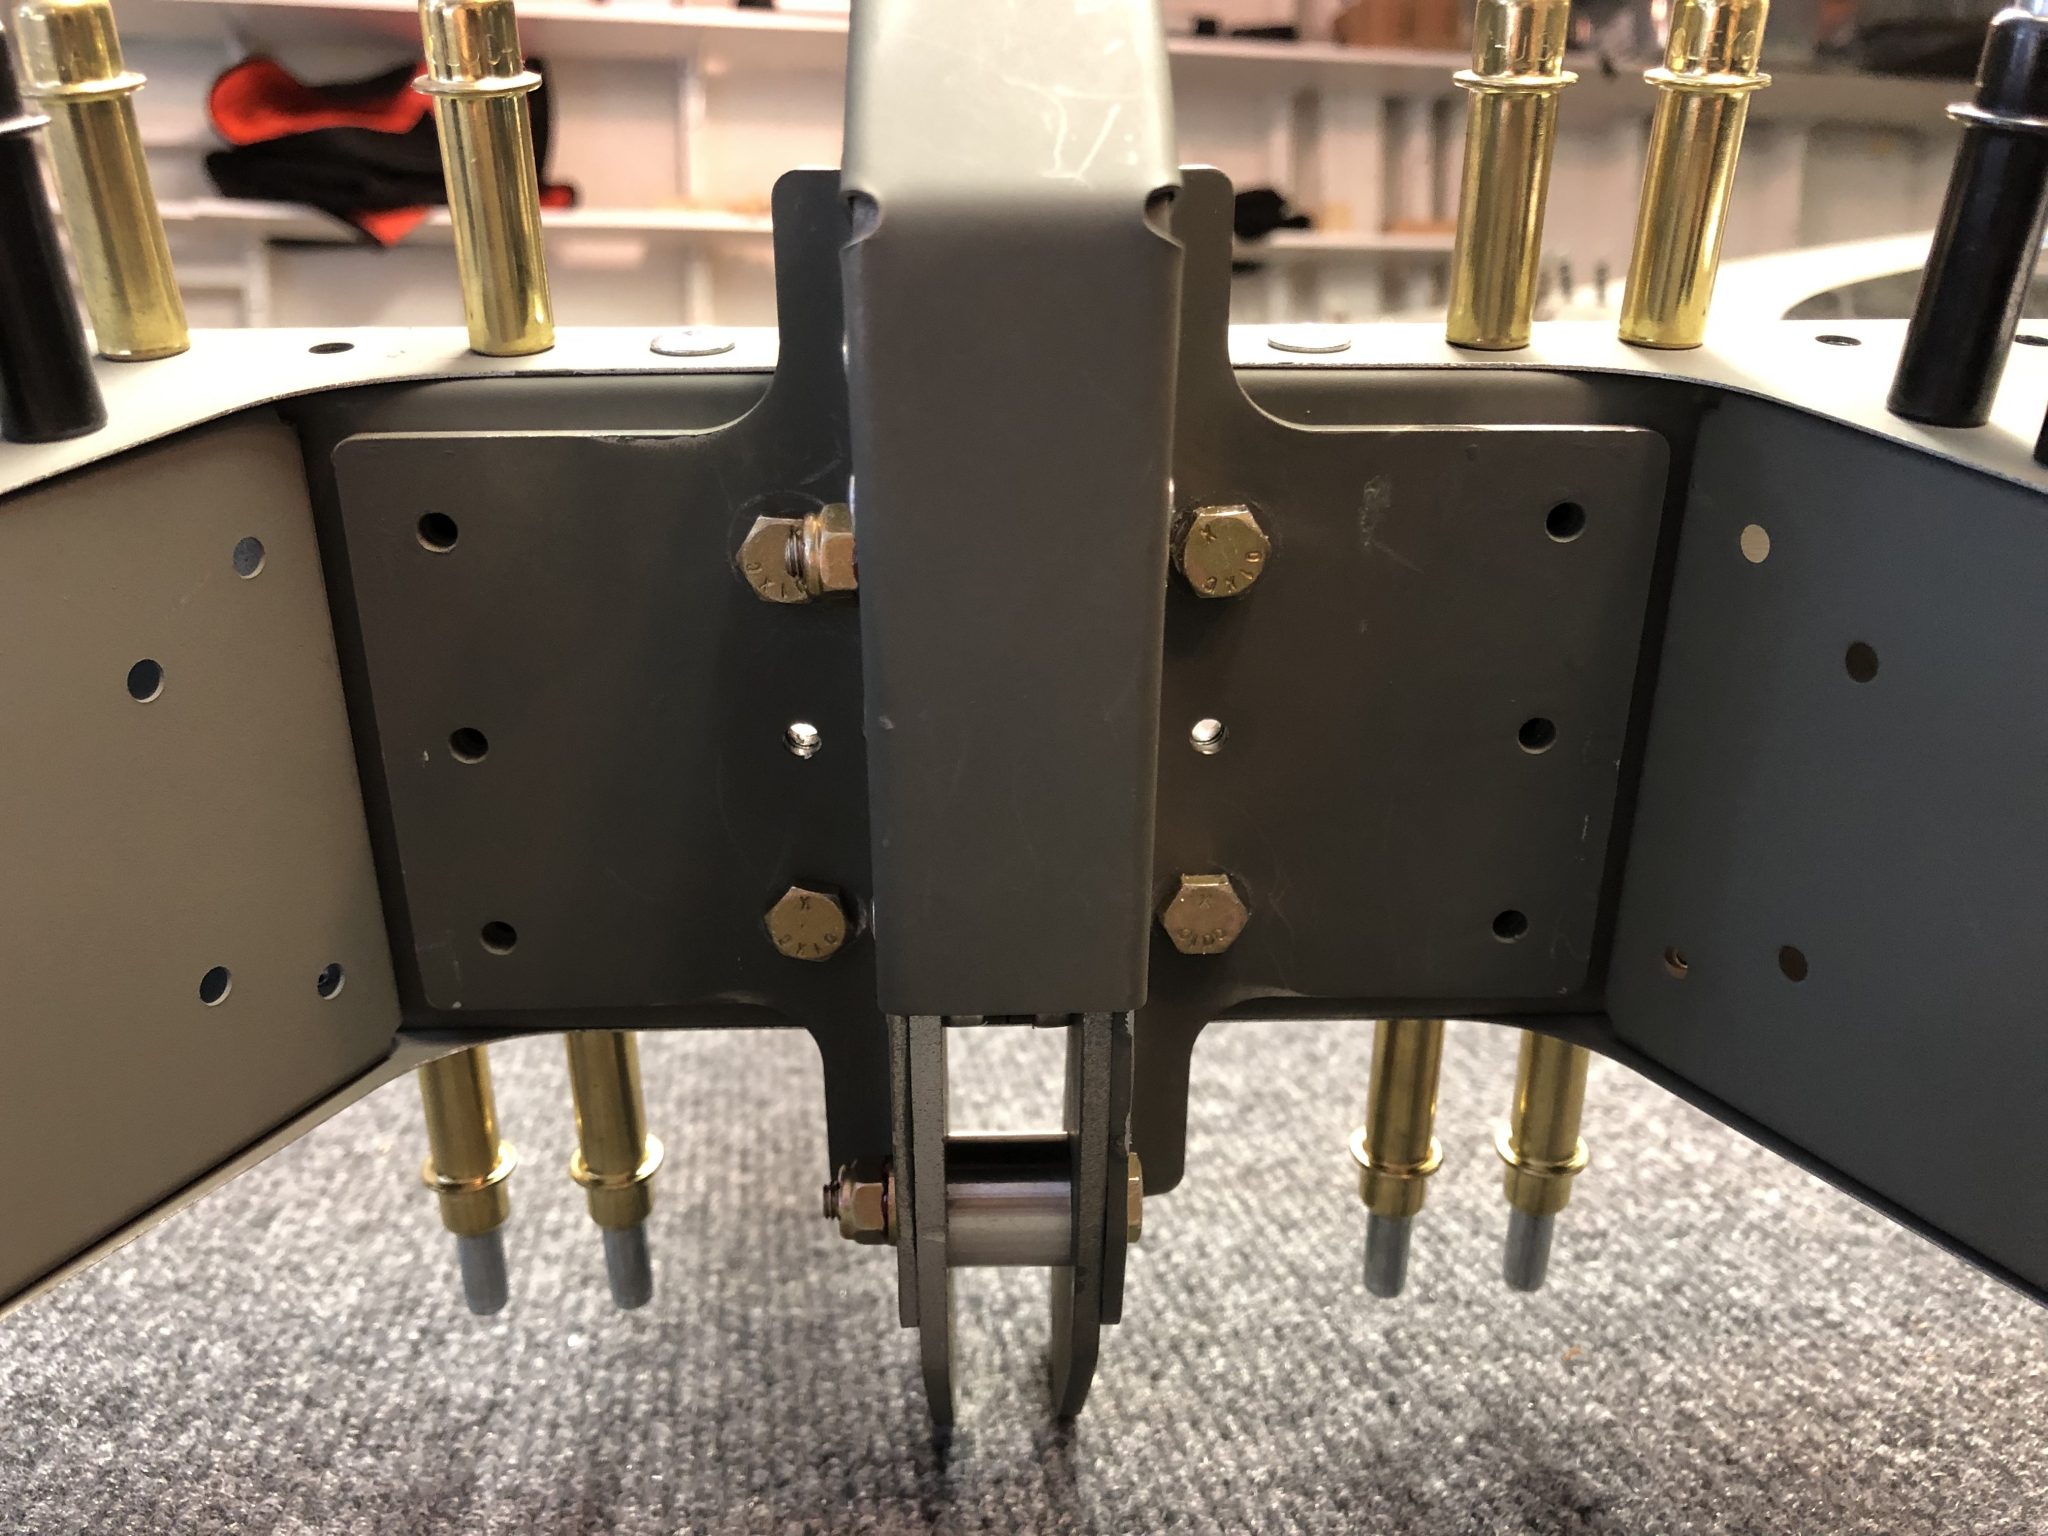
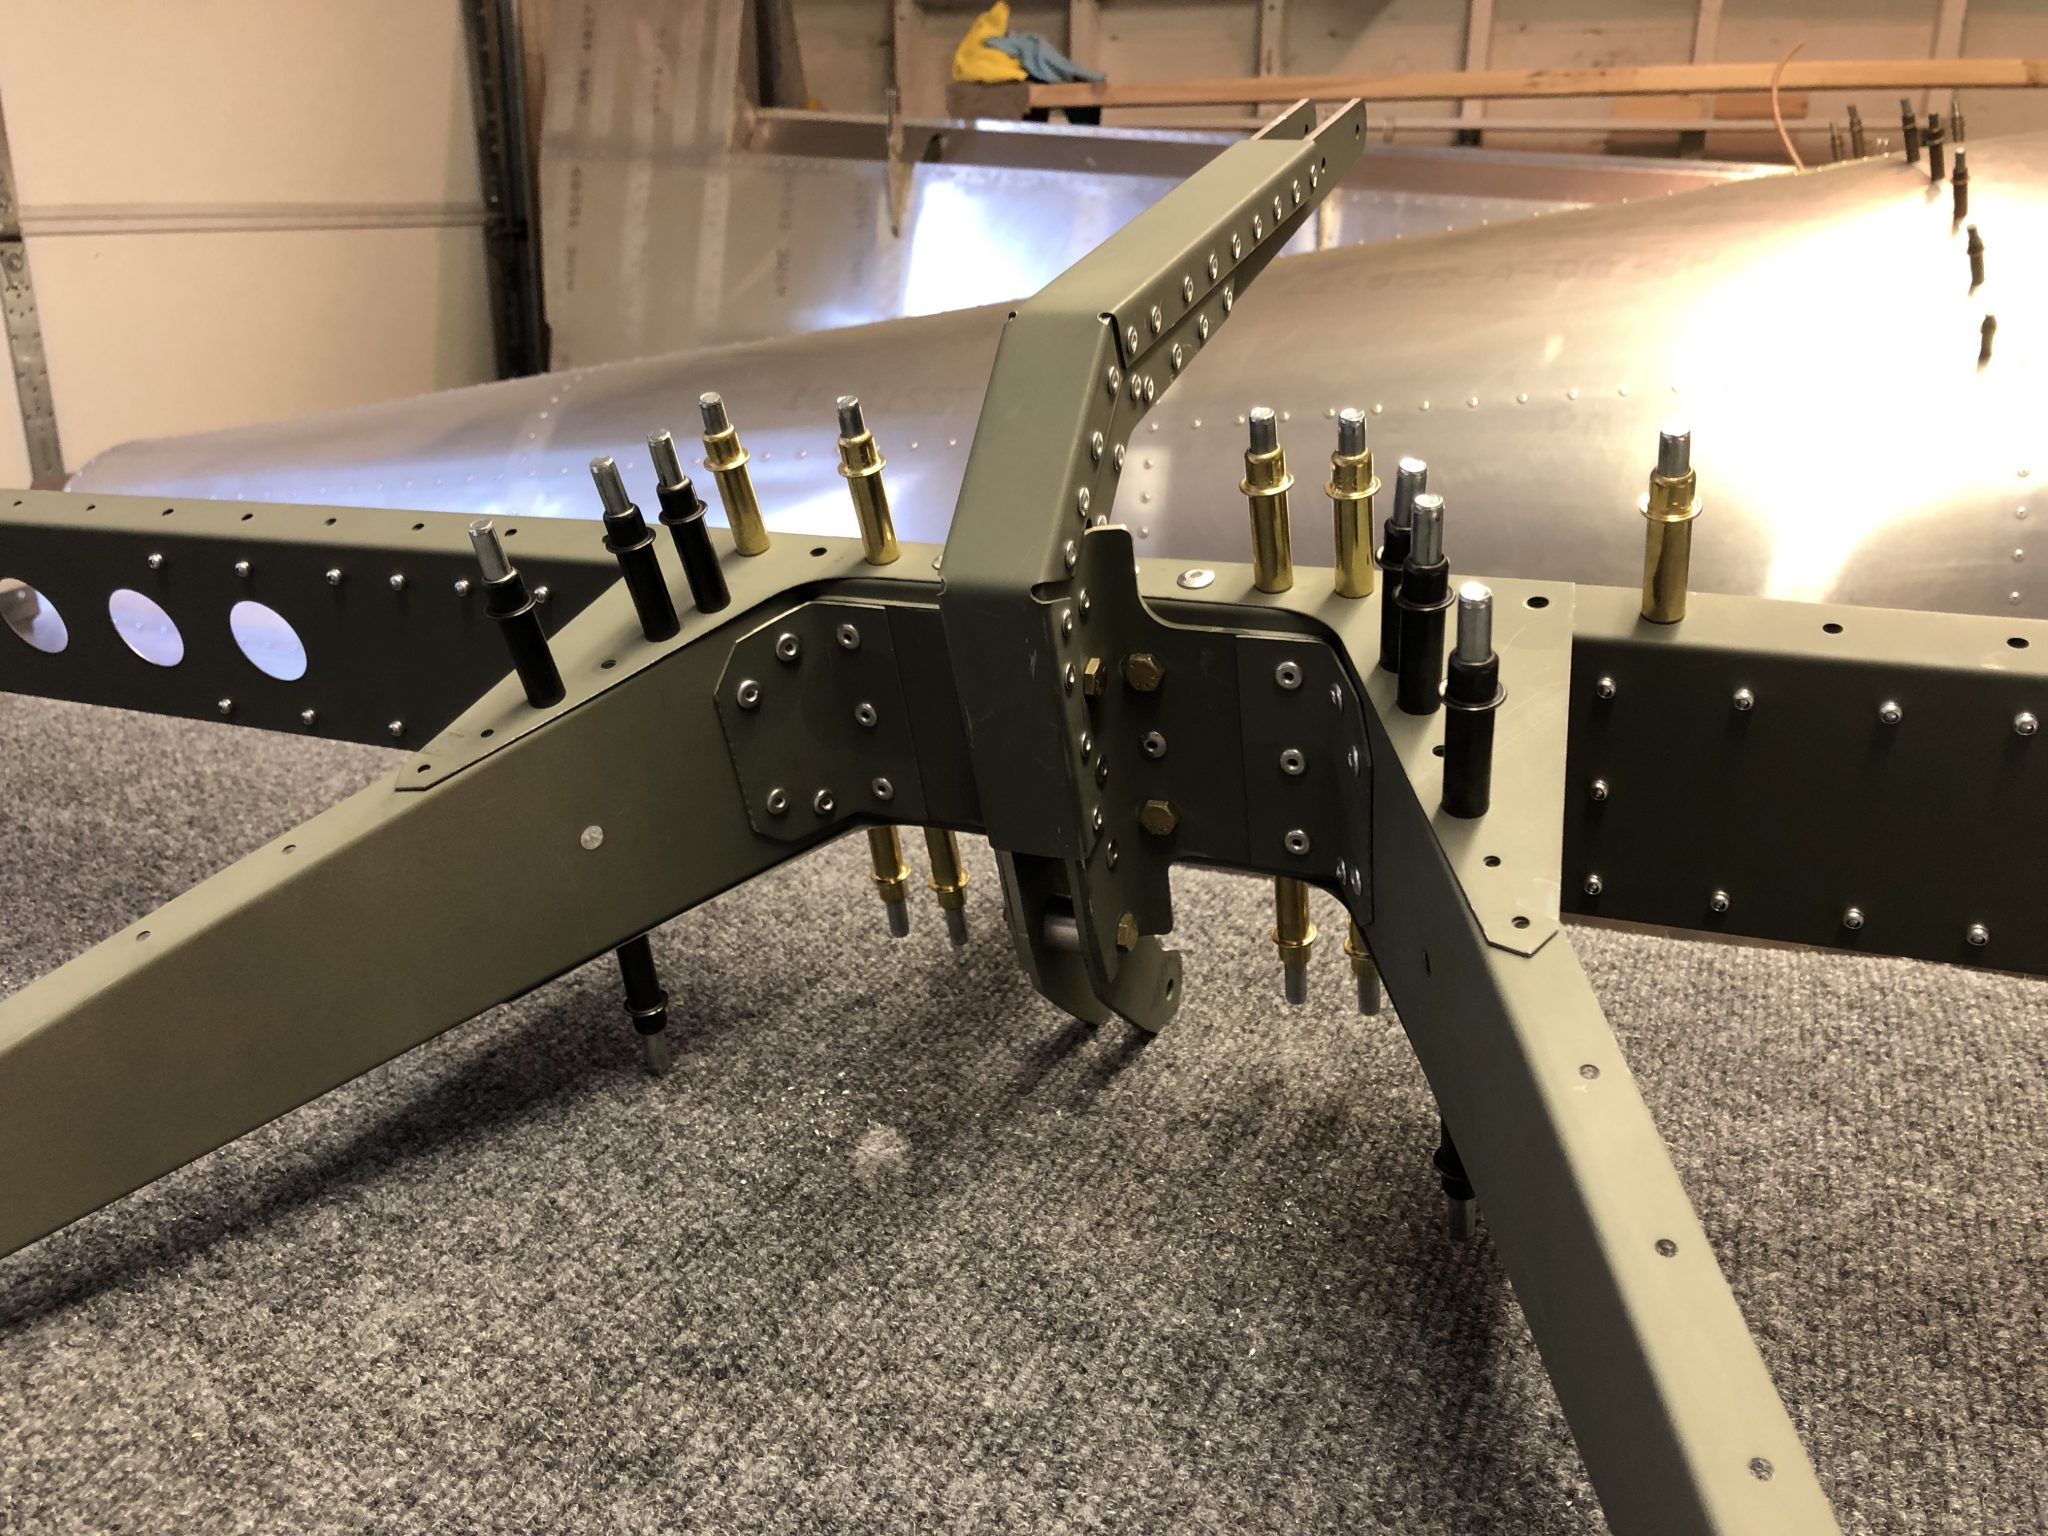
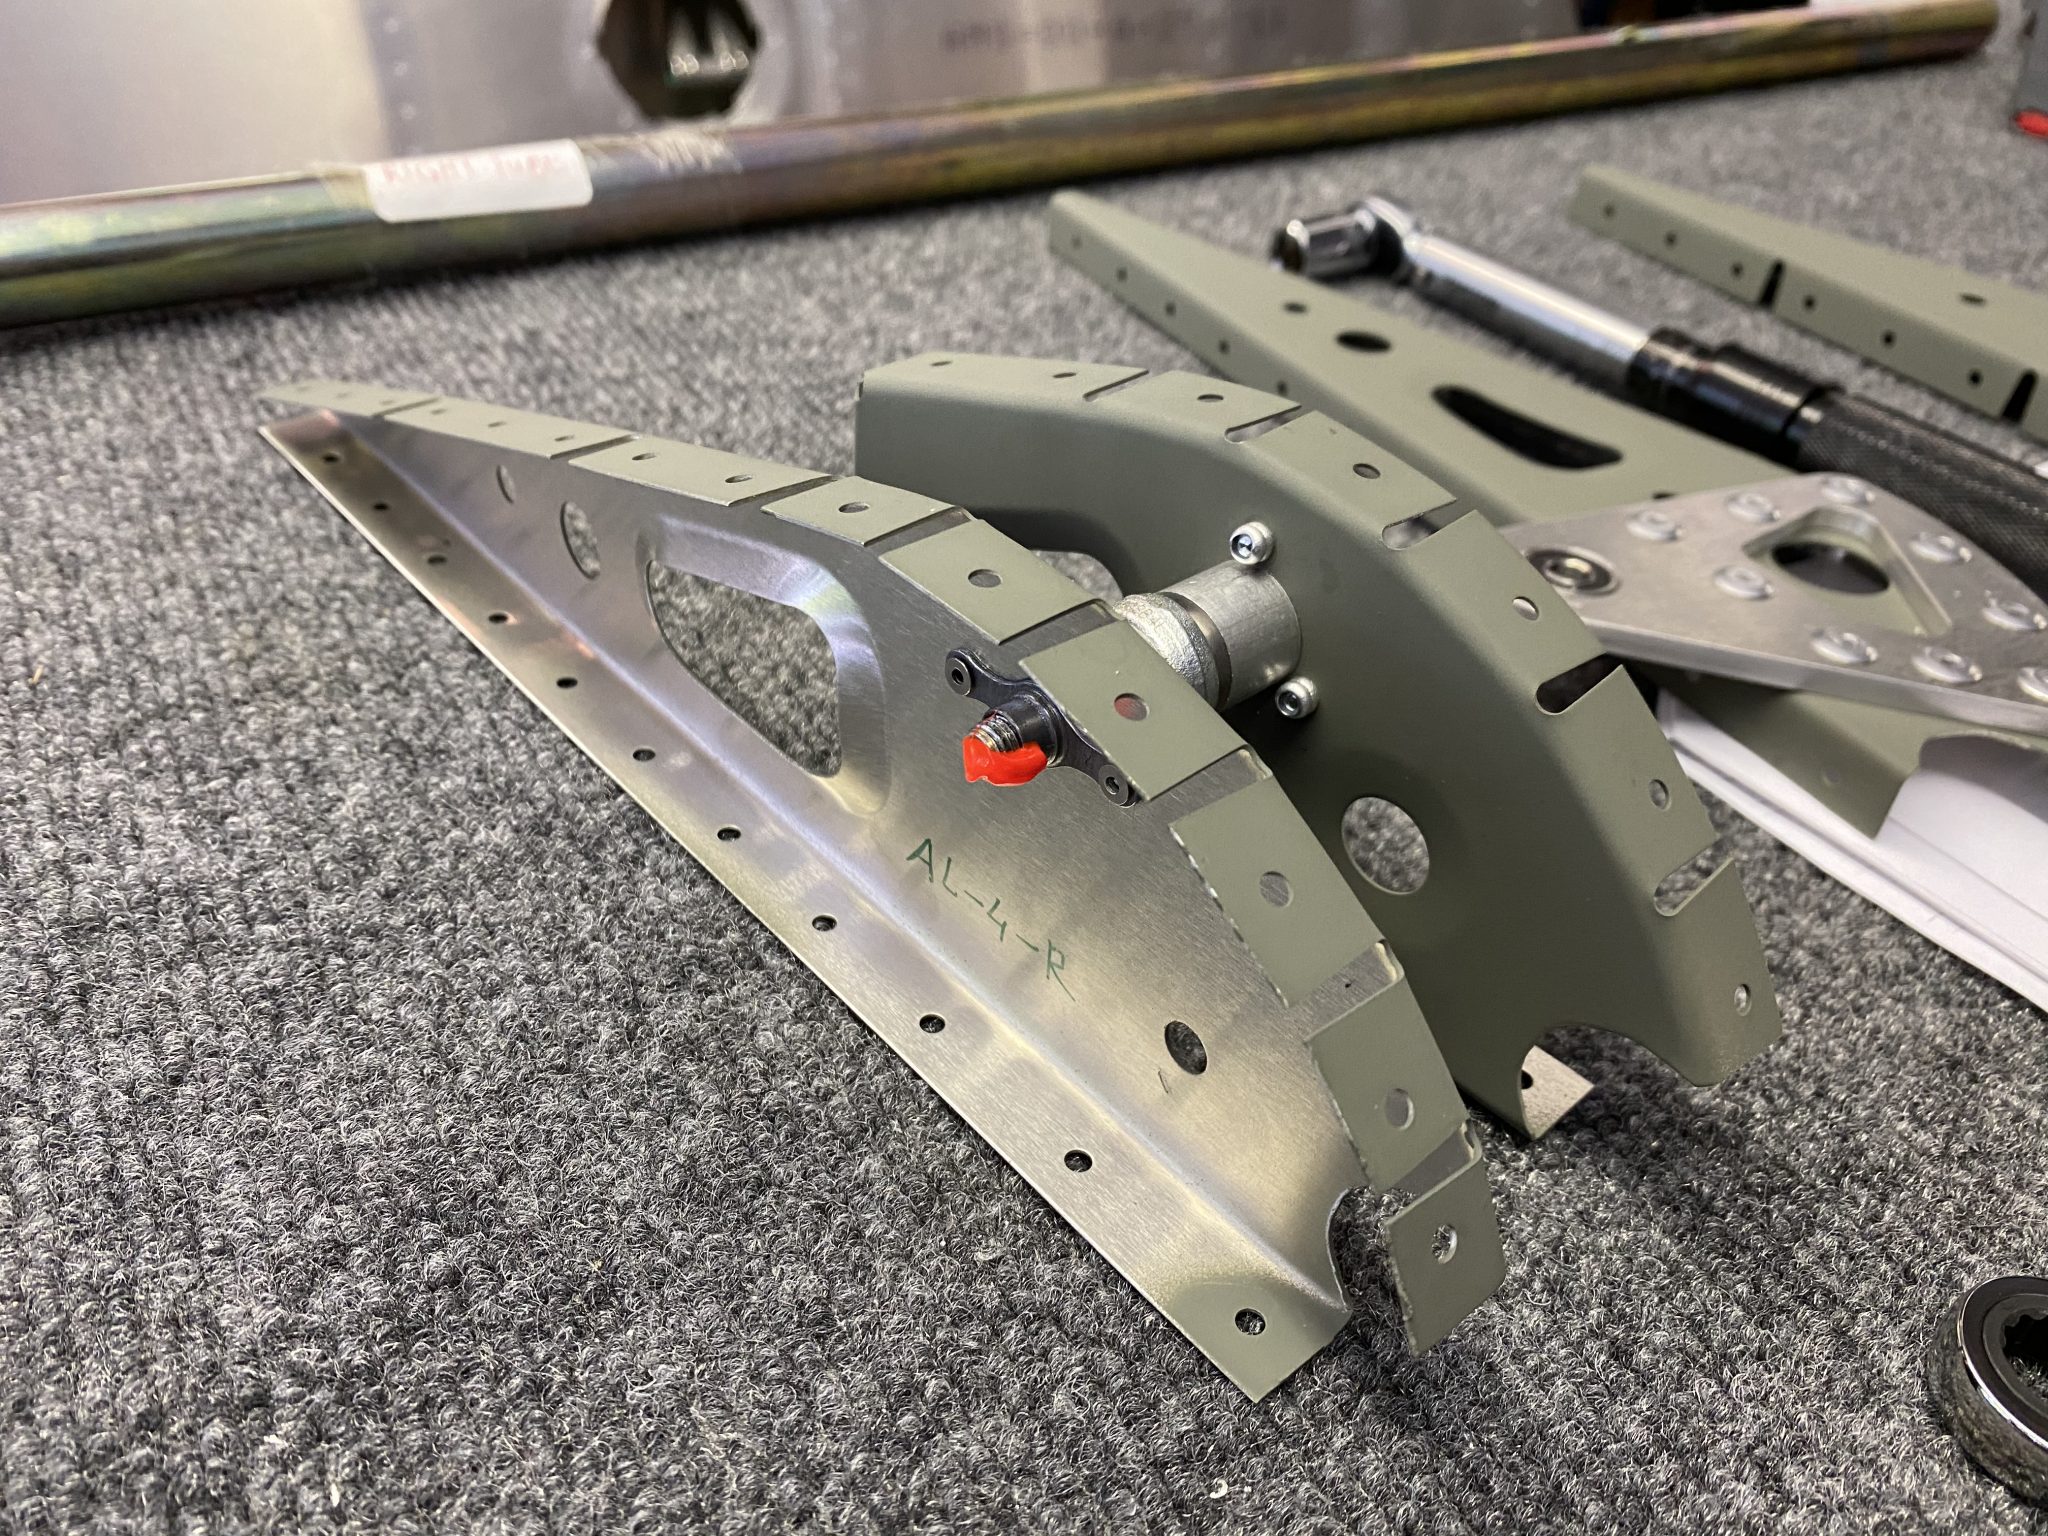
The final rib that needs preparation is the assembly of the Eyebolt attachment that controls the movement of the aileron. I put it all together and then torqued it and placed some torque marker on it.

Completed assembly of the control rod attachment.
Complete assembly of the control rod attachment rib and torque marker on the torqued bolt.

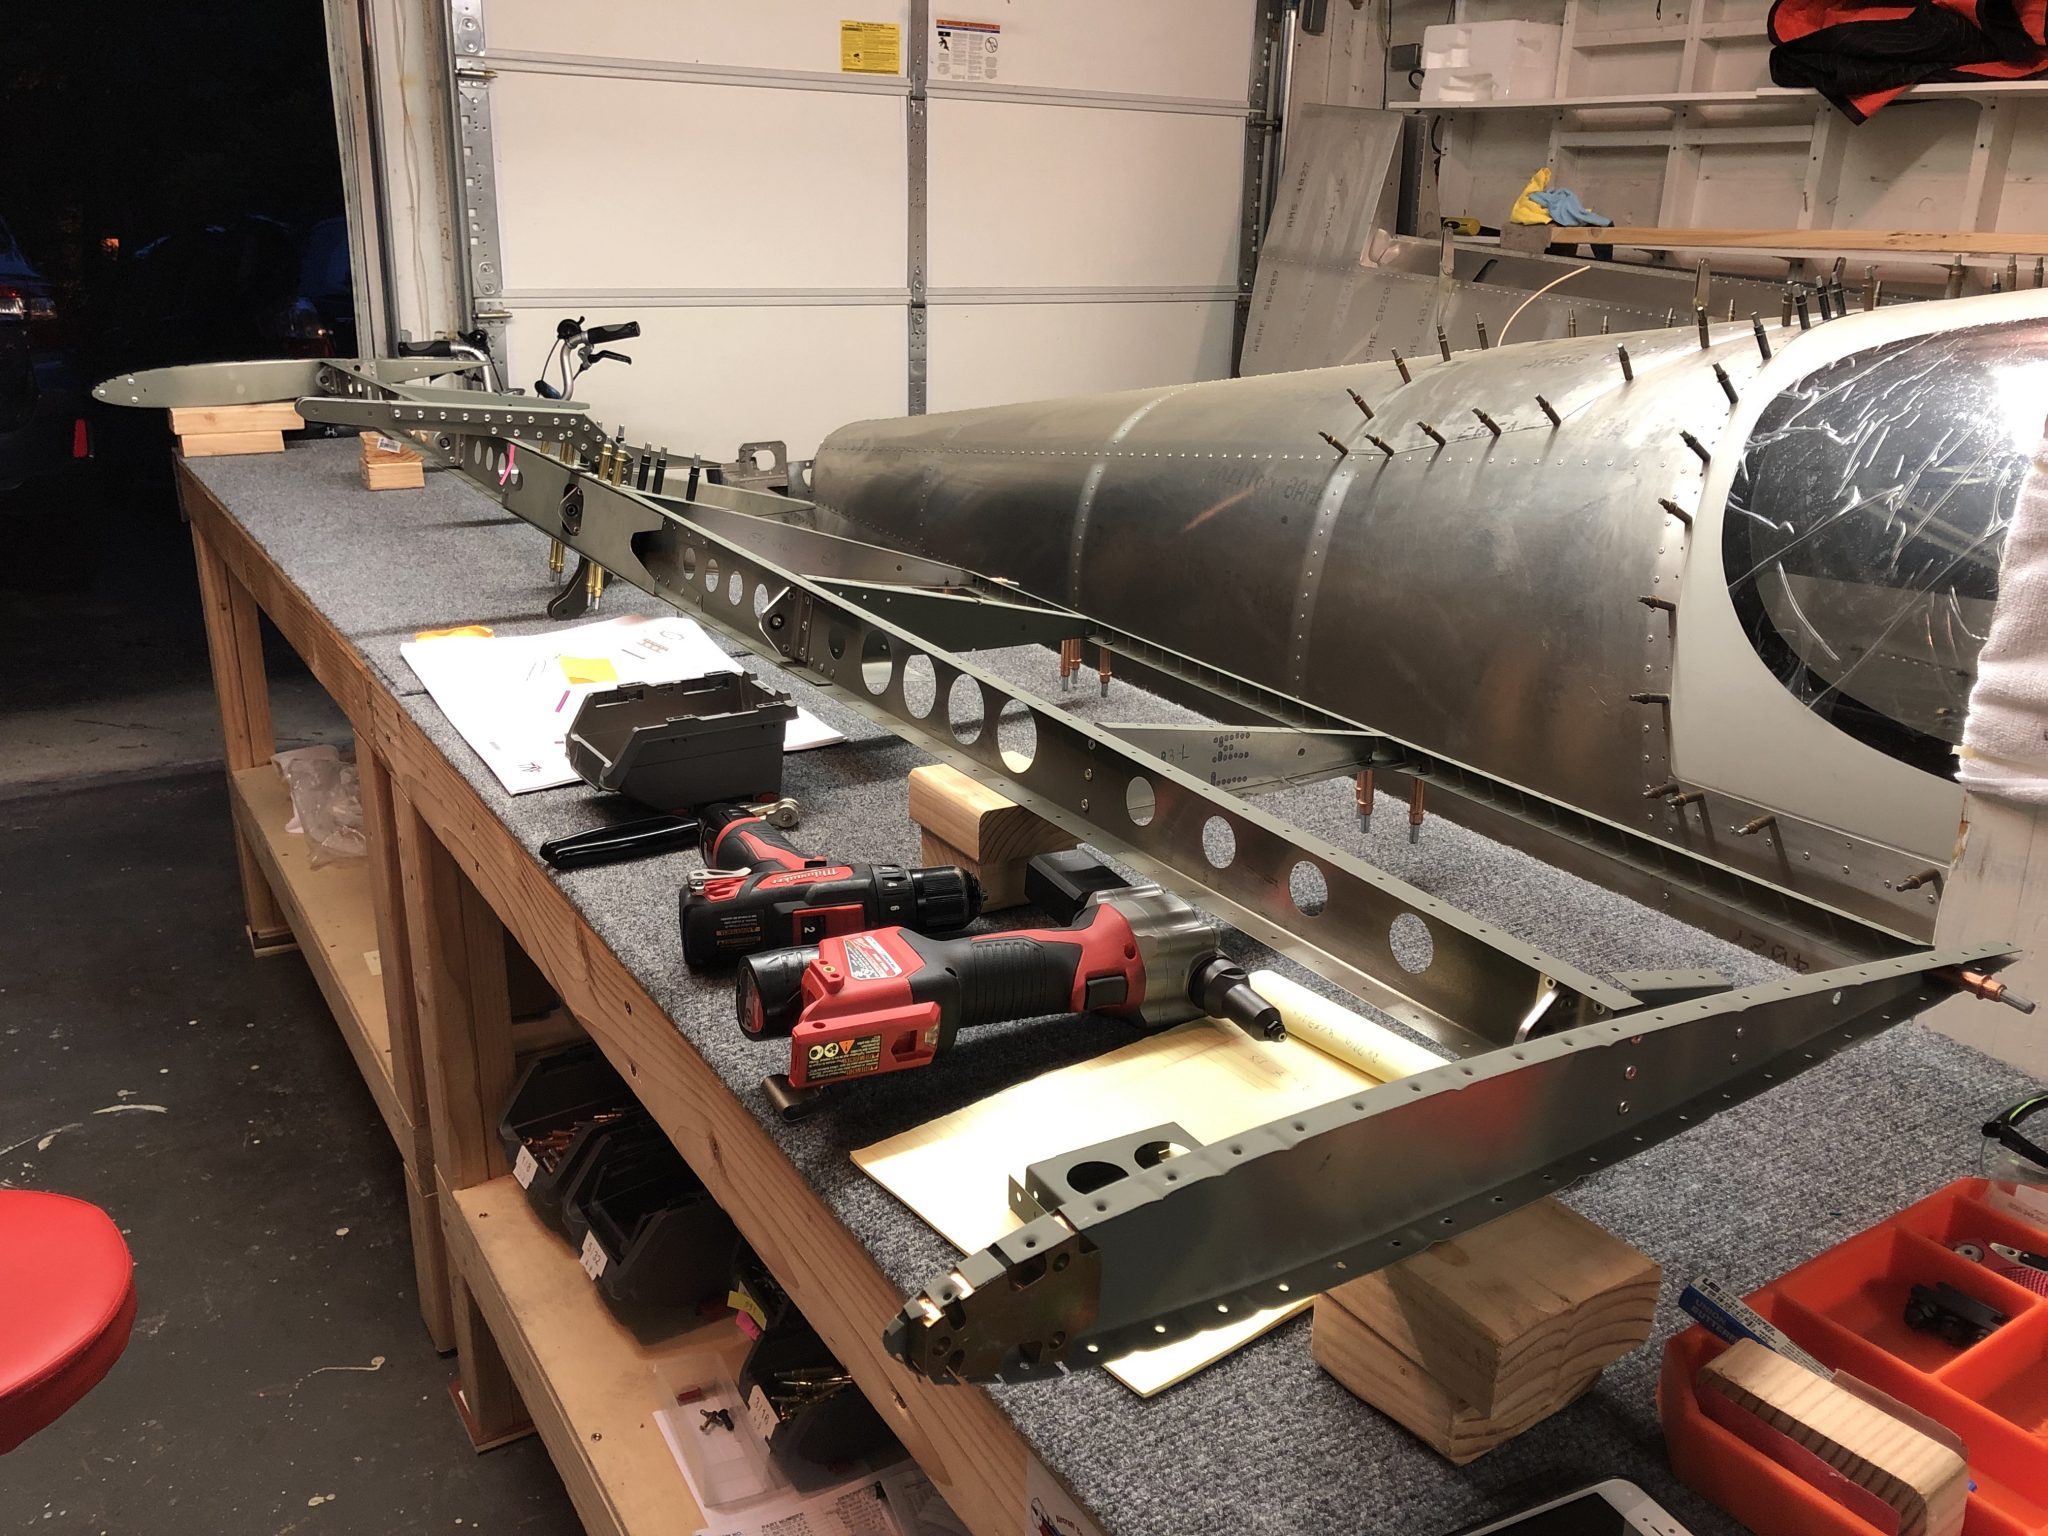
Then I repeated everything for the left Aileron ribs. Next step will be to lay all the ribs into the skins and rivet it closed.

Completed left Aileron ribs
Completed right Aileron ribs

Elevator structure

Hours: 5.25

Time to finish off the Empennage and get the Elevator structure going. I received the replacement ribs that are bent just that little bit more in order to properly align with the reinforcement plates and skins and went to work to drill out the bad ribs and put in the replacements.

New ribs in place and a final picture of a few rivets that people that visited helped pull

After that, I went to work and torqued the bolts that connect the control rod and counterweight to the Elevator. There’s also a small support bracket that reinforces the center rib to spar attachment, which is a pretty tight fit, so I had to get out the manual hand riveter.
Torquing the AN bolts Bolts torqued and support plate riveted

My brother is currently visiting and is enjoying the riveting experience.
My brother enjoying the riveting experience

Once the center ribs were finished, we moved on to put the rest of the rib structure in place.Elevator rib structure finished Clecoing the ribs in place

After that I realized there’s a mistake in the plans as they instruct to rivet the edges that hold some of the side counterweights on, but there’s another small end rib that actually has to go on there as I found out after I checked the overall plan for the Elevator. Quickly drilled out the rivets and riveted on the part. A nice trick I learned from another builder for drilling out the rivets without damaging the holes they go through, is to only drill out the top of the rivet (the donut ring) and then use the center punch to push out the back of the rivet. This way you have less chance of enlarging the hole.
Error in the plan says to just rivet the endcap, but actually this part needs to be riveted onto the side End rib where it should go Holes drilled out and end rib ready to rivet

With the rib structure in place, time to work on fitting the skin.