Category Archives: Tools

EAA SportAir Electrical Systems & Avionics Workshop

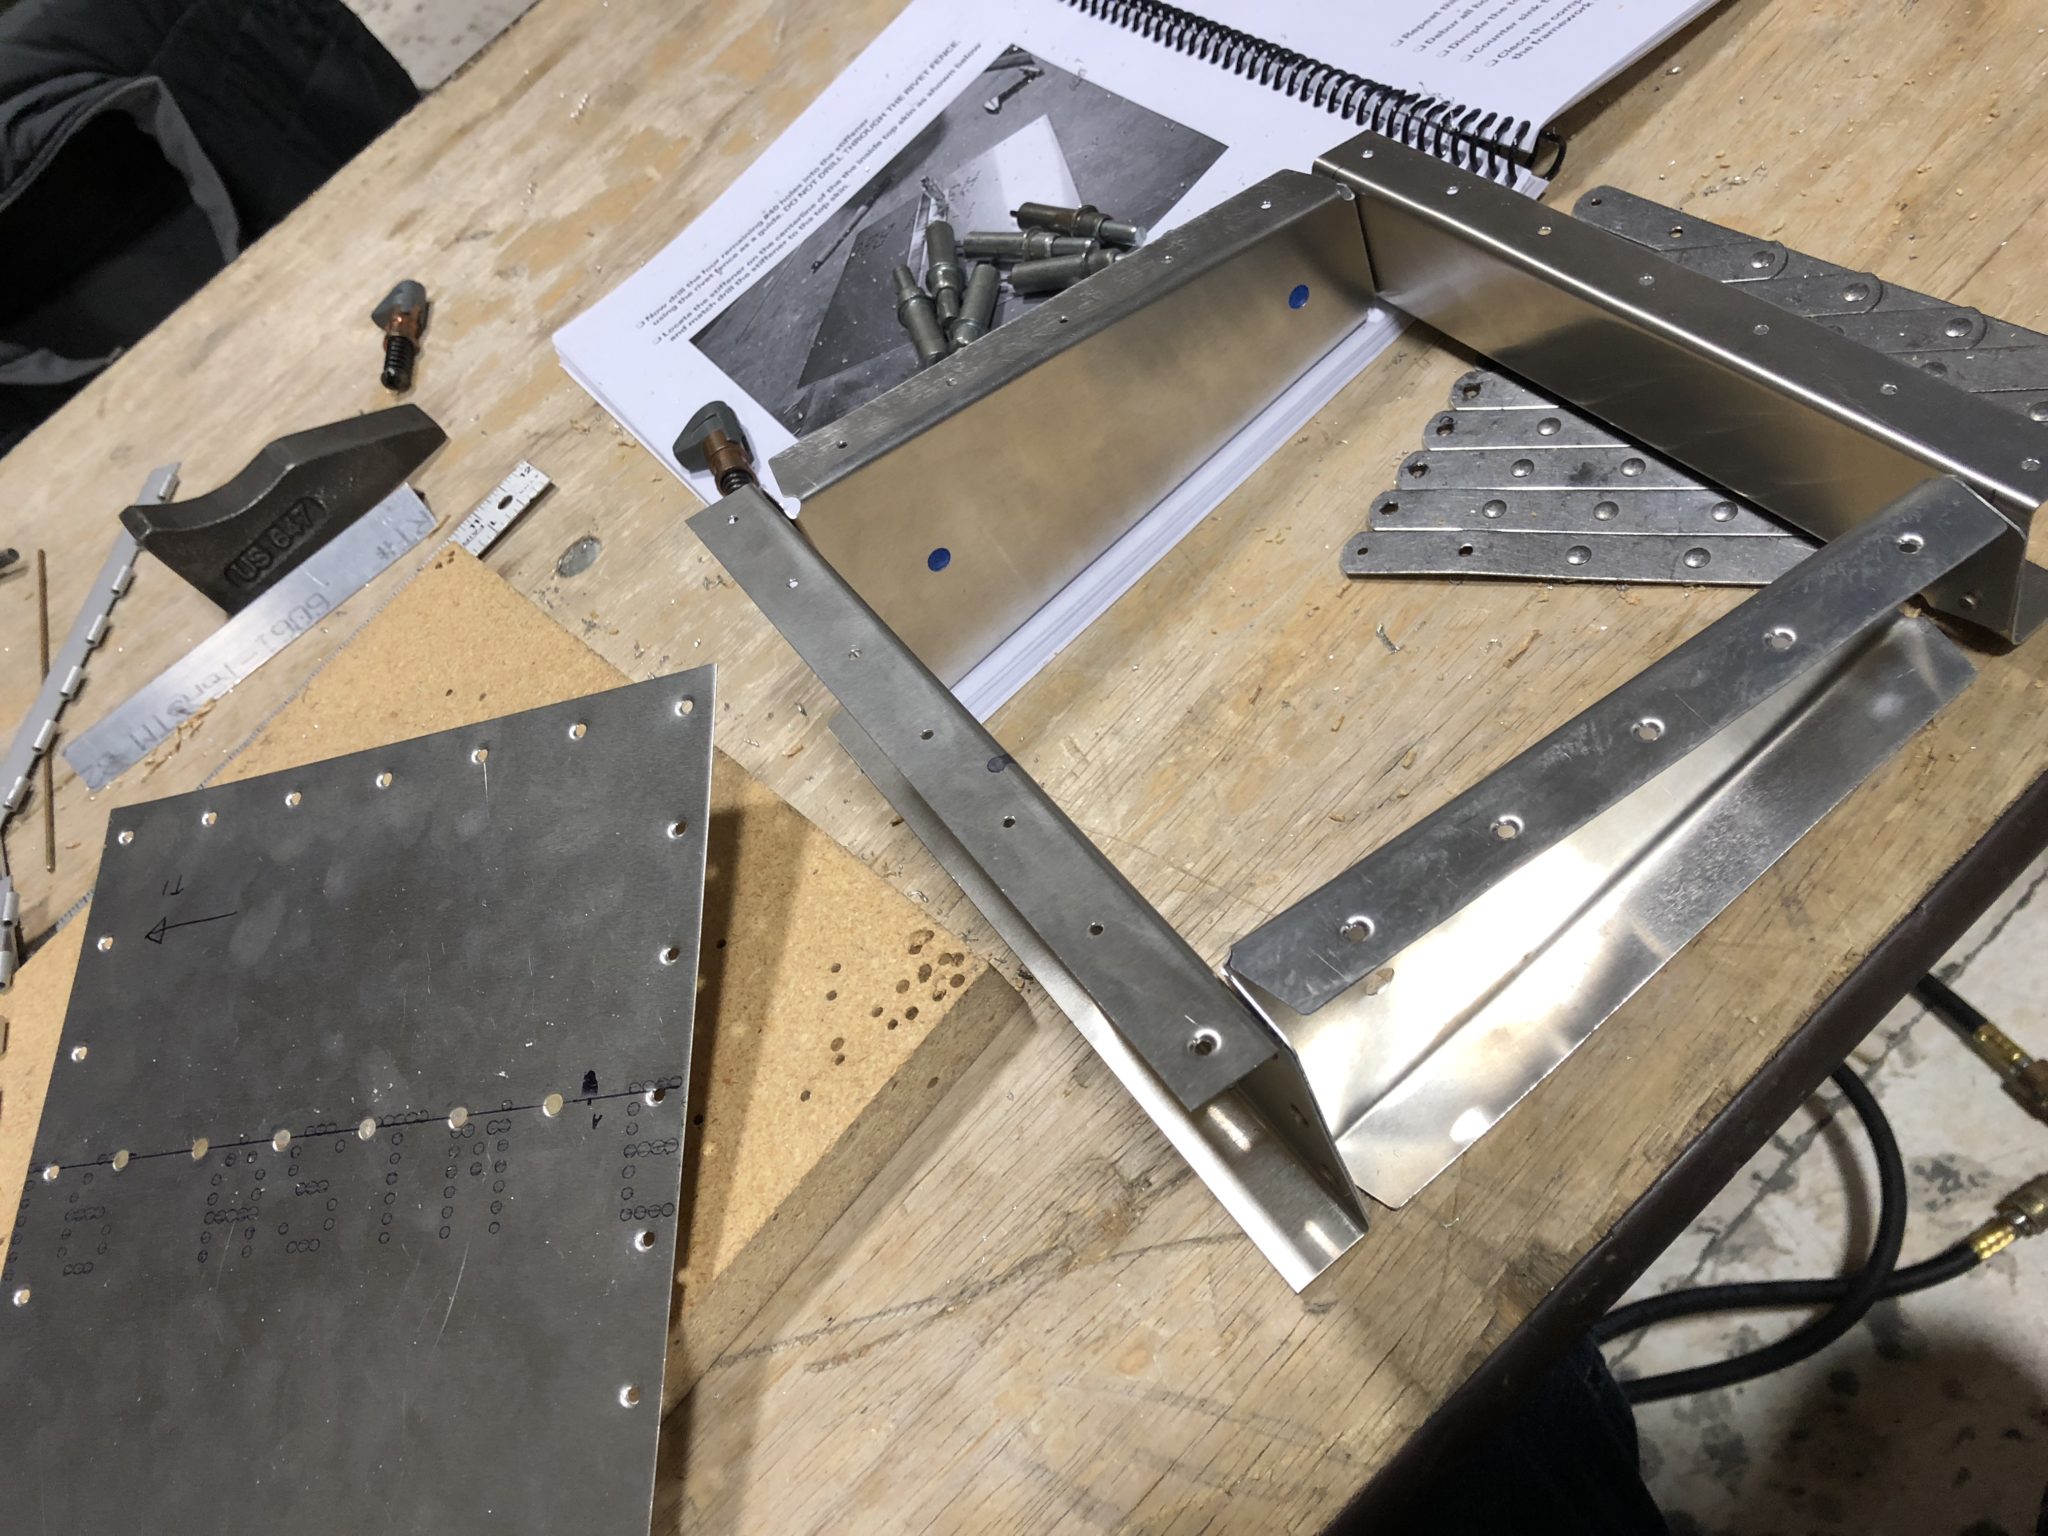
This past weekend I attended the EAA SportAir Electrical Systems & Avionics workshop at the Seattle Museum of Flight Restoration Center.

The two day workshop helped in explaining principles of airplane electrical systems, wiring and bringing everything together to design and build out your avionics.

Workshop Handbook

Aside from a lot of good learnings and explanations, there was also a couple of hands-on exercises to get familiar with crimping, soldering and connecting things.

The first exercise was to hook up a headset jack to a PM1000 intercom system. This was very handy, since whether you decide to build all your avionics or not, you will most definitely have to do the headset connectors.

I forgot to take pictures of the process, but here’s the finished headset jacks with the soldered connection. This included learning to ground the shielded wire, soldering the actual headset jack and doing some d-sub crimping for the intercom connector.

Finished Headset connector and crimped BNC Antenna connector

Also shown in the image above is the result of the second exercise, a crimped BNC antenna connector. This part, I was already familiar with from hooking up my NAV Antenna in the Rudder a few months ago.

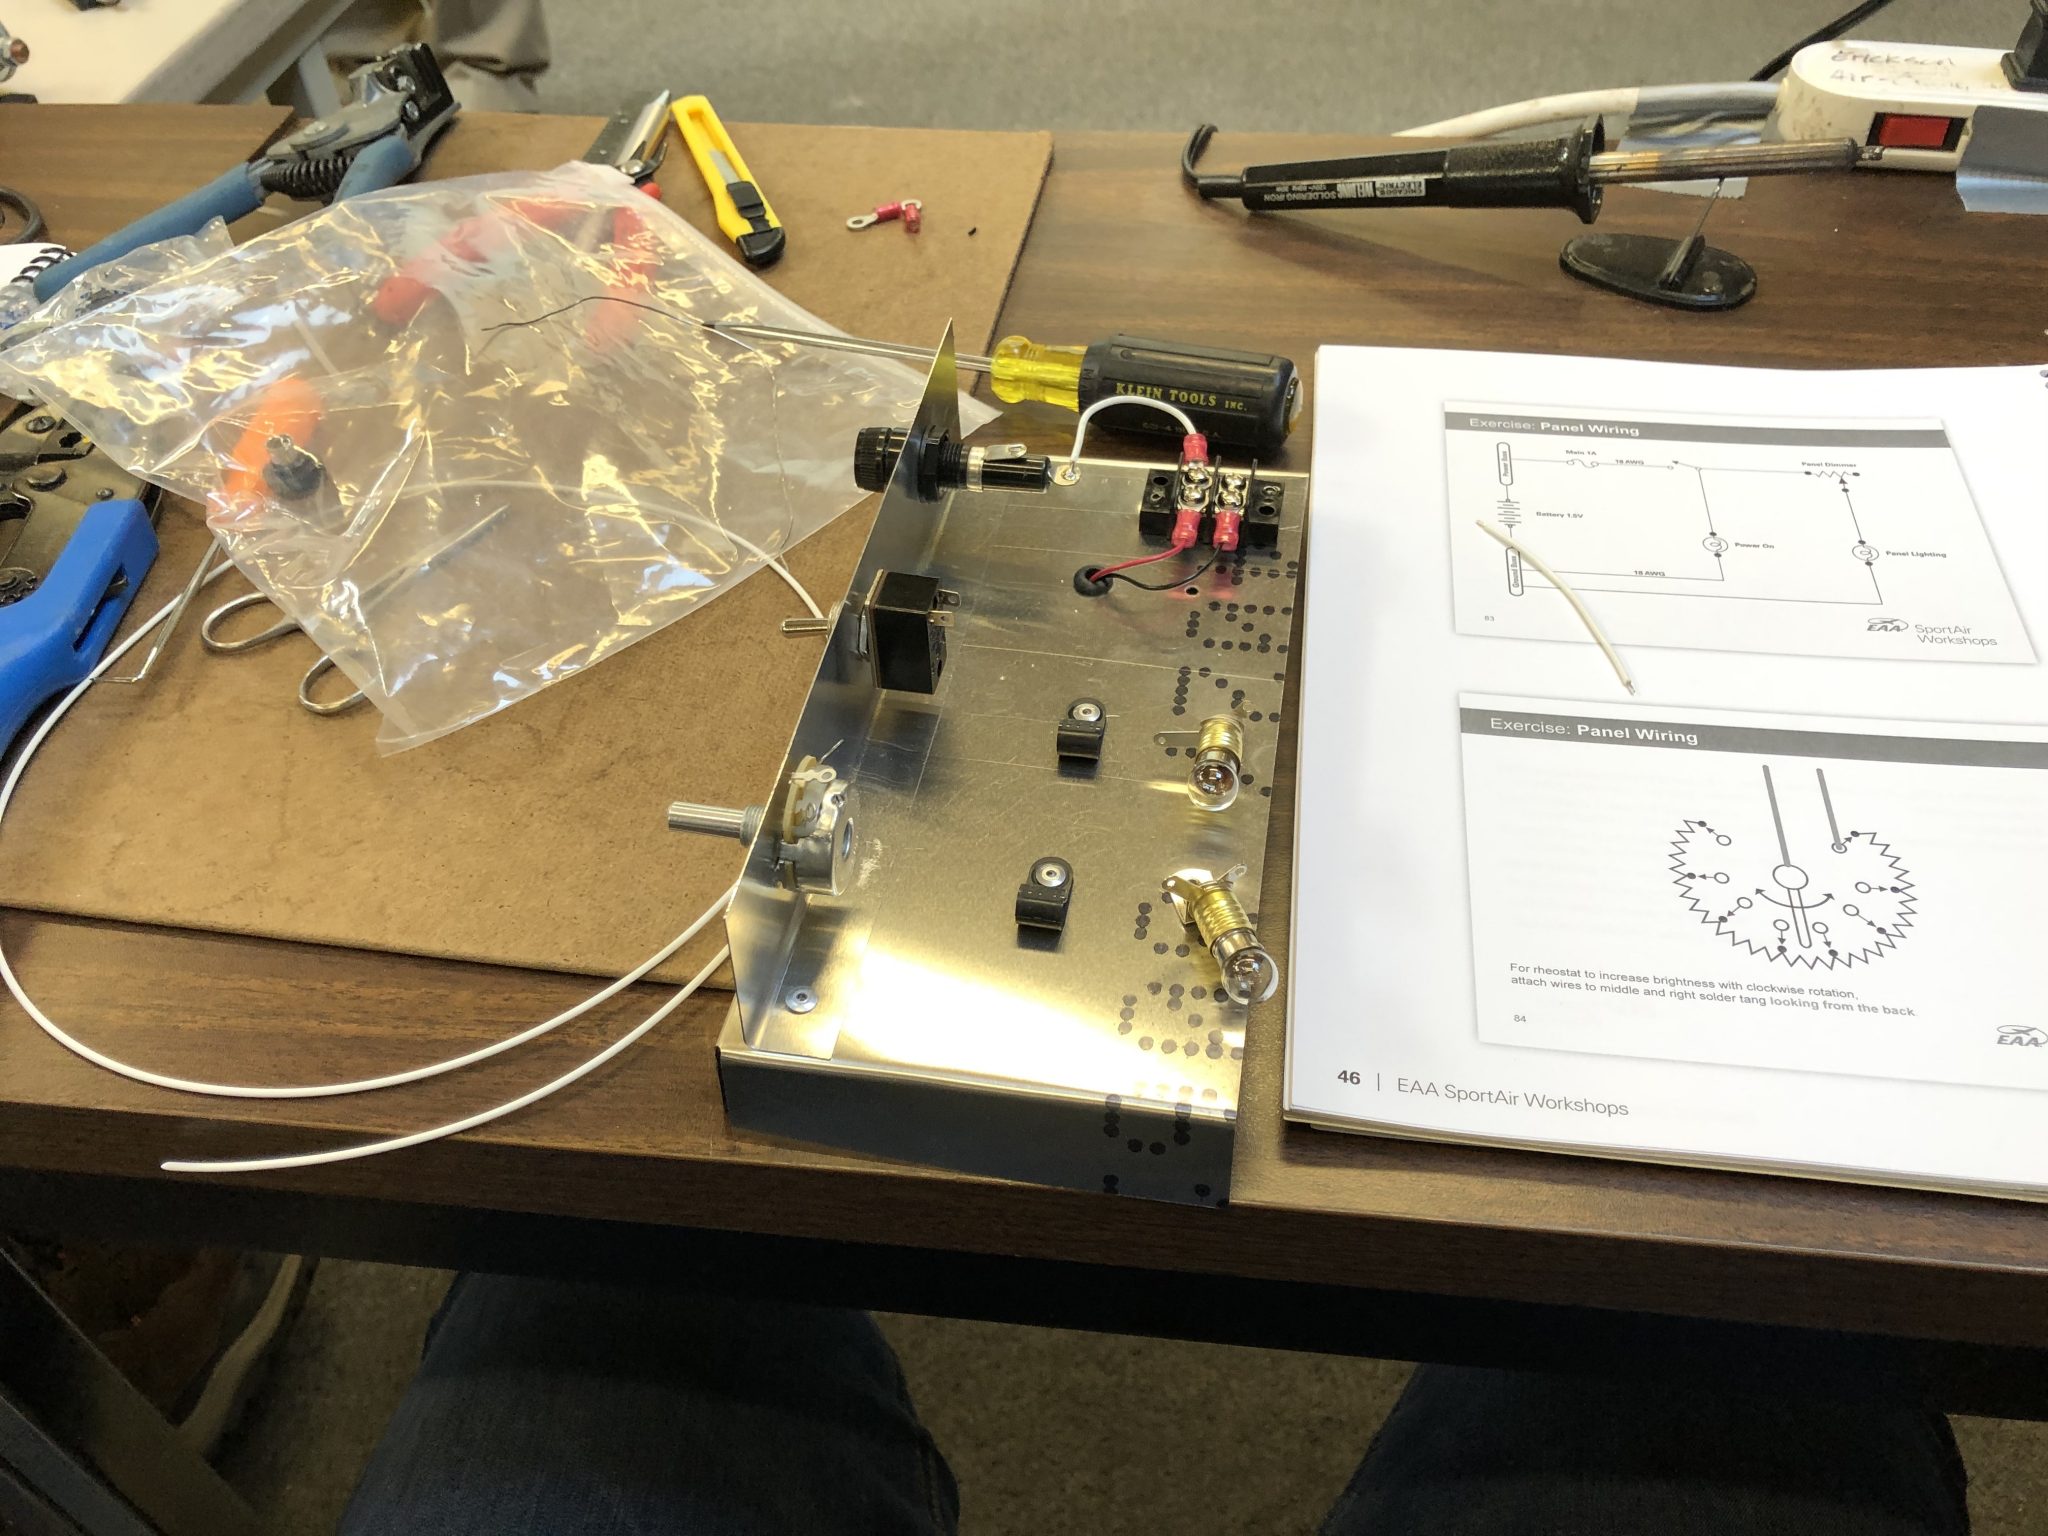
The final exercise was to create a small electrical circuit. This includes a “master” switch, circuit protection in the form of a fuse and a dimmable “cabin” light that is tied behind the master switch. Aside from the practical application of the exercise, it also tied together a lot of the theoretical parts of the workshop and was a great finish for the weekend.

Getting started Wiring in progress System wired up

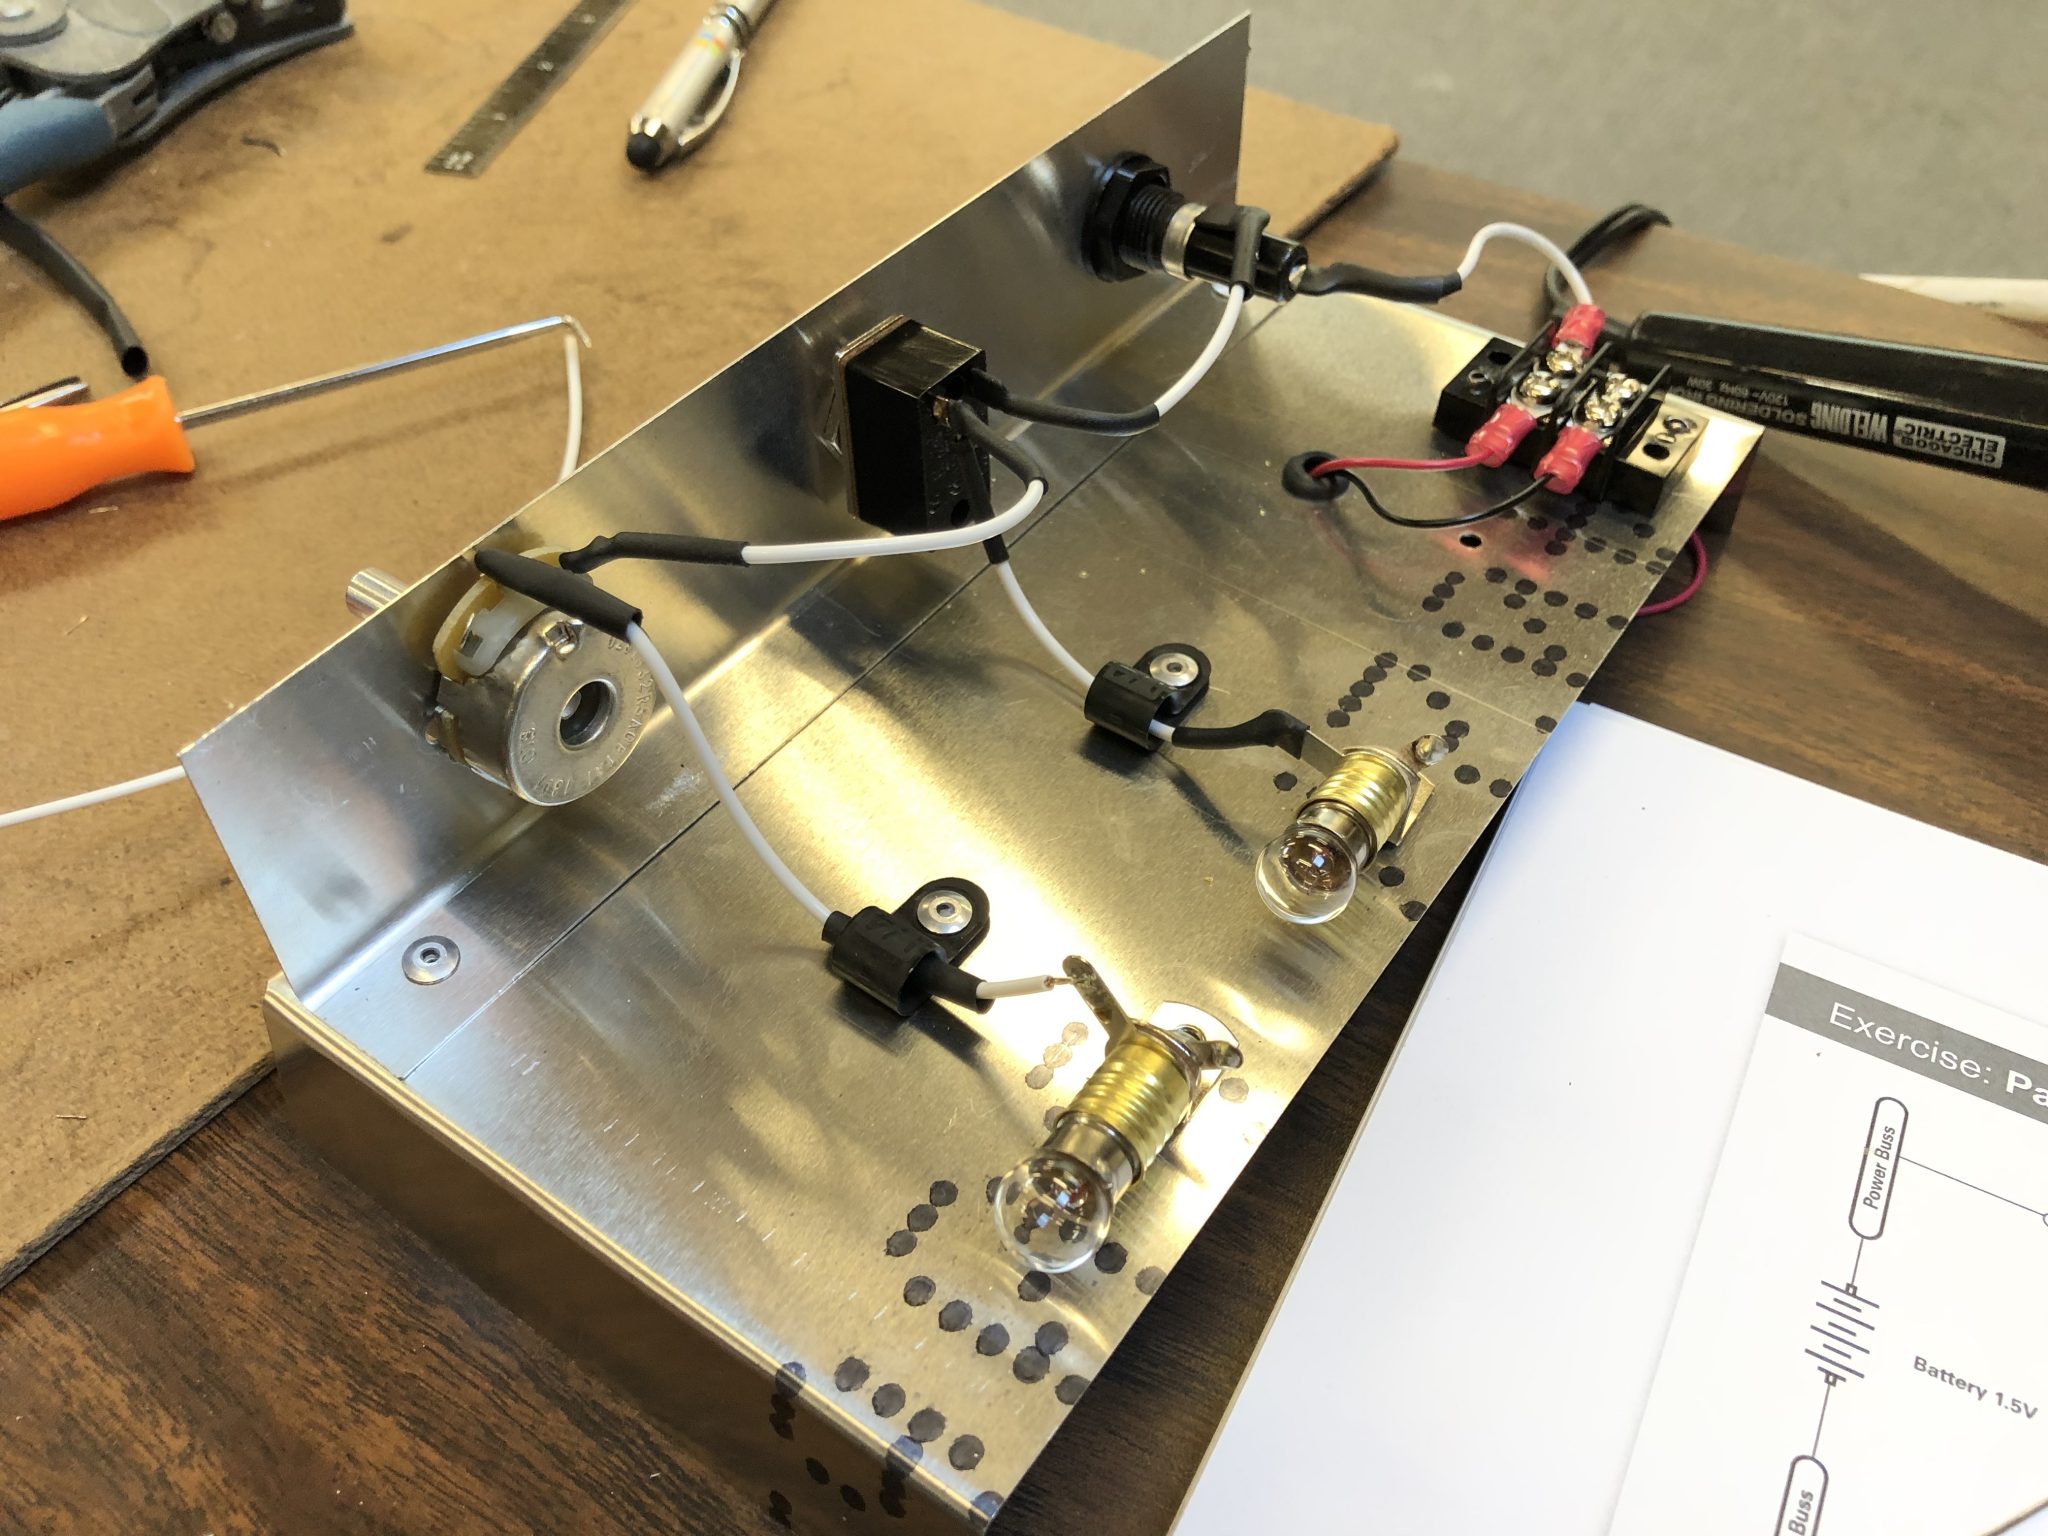
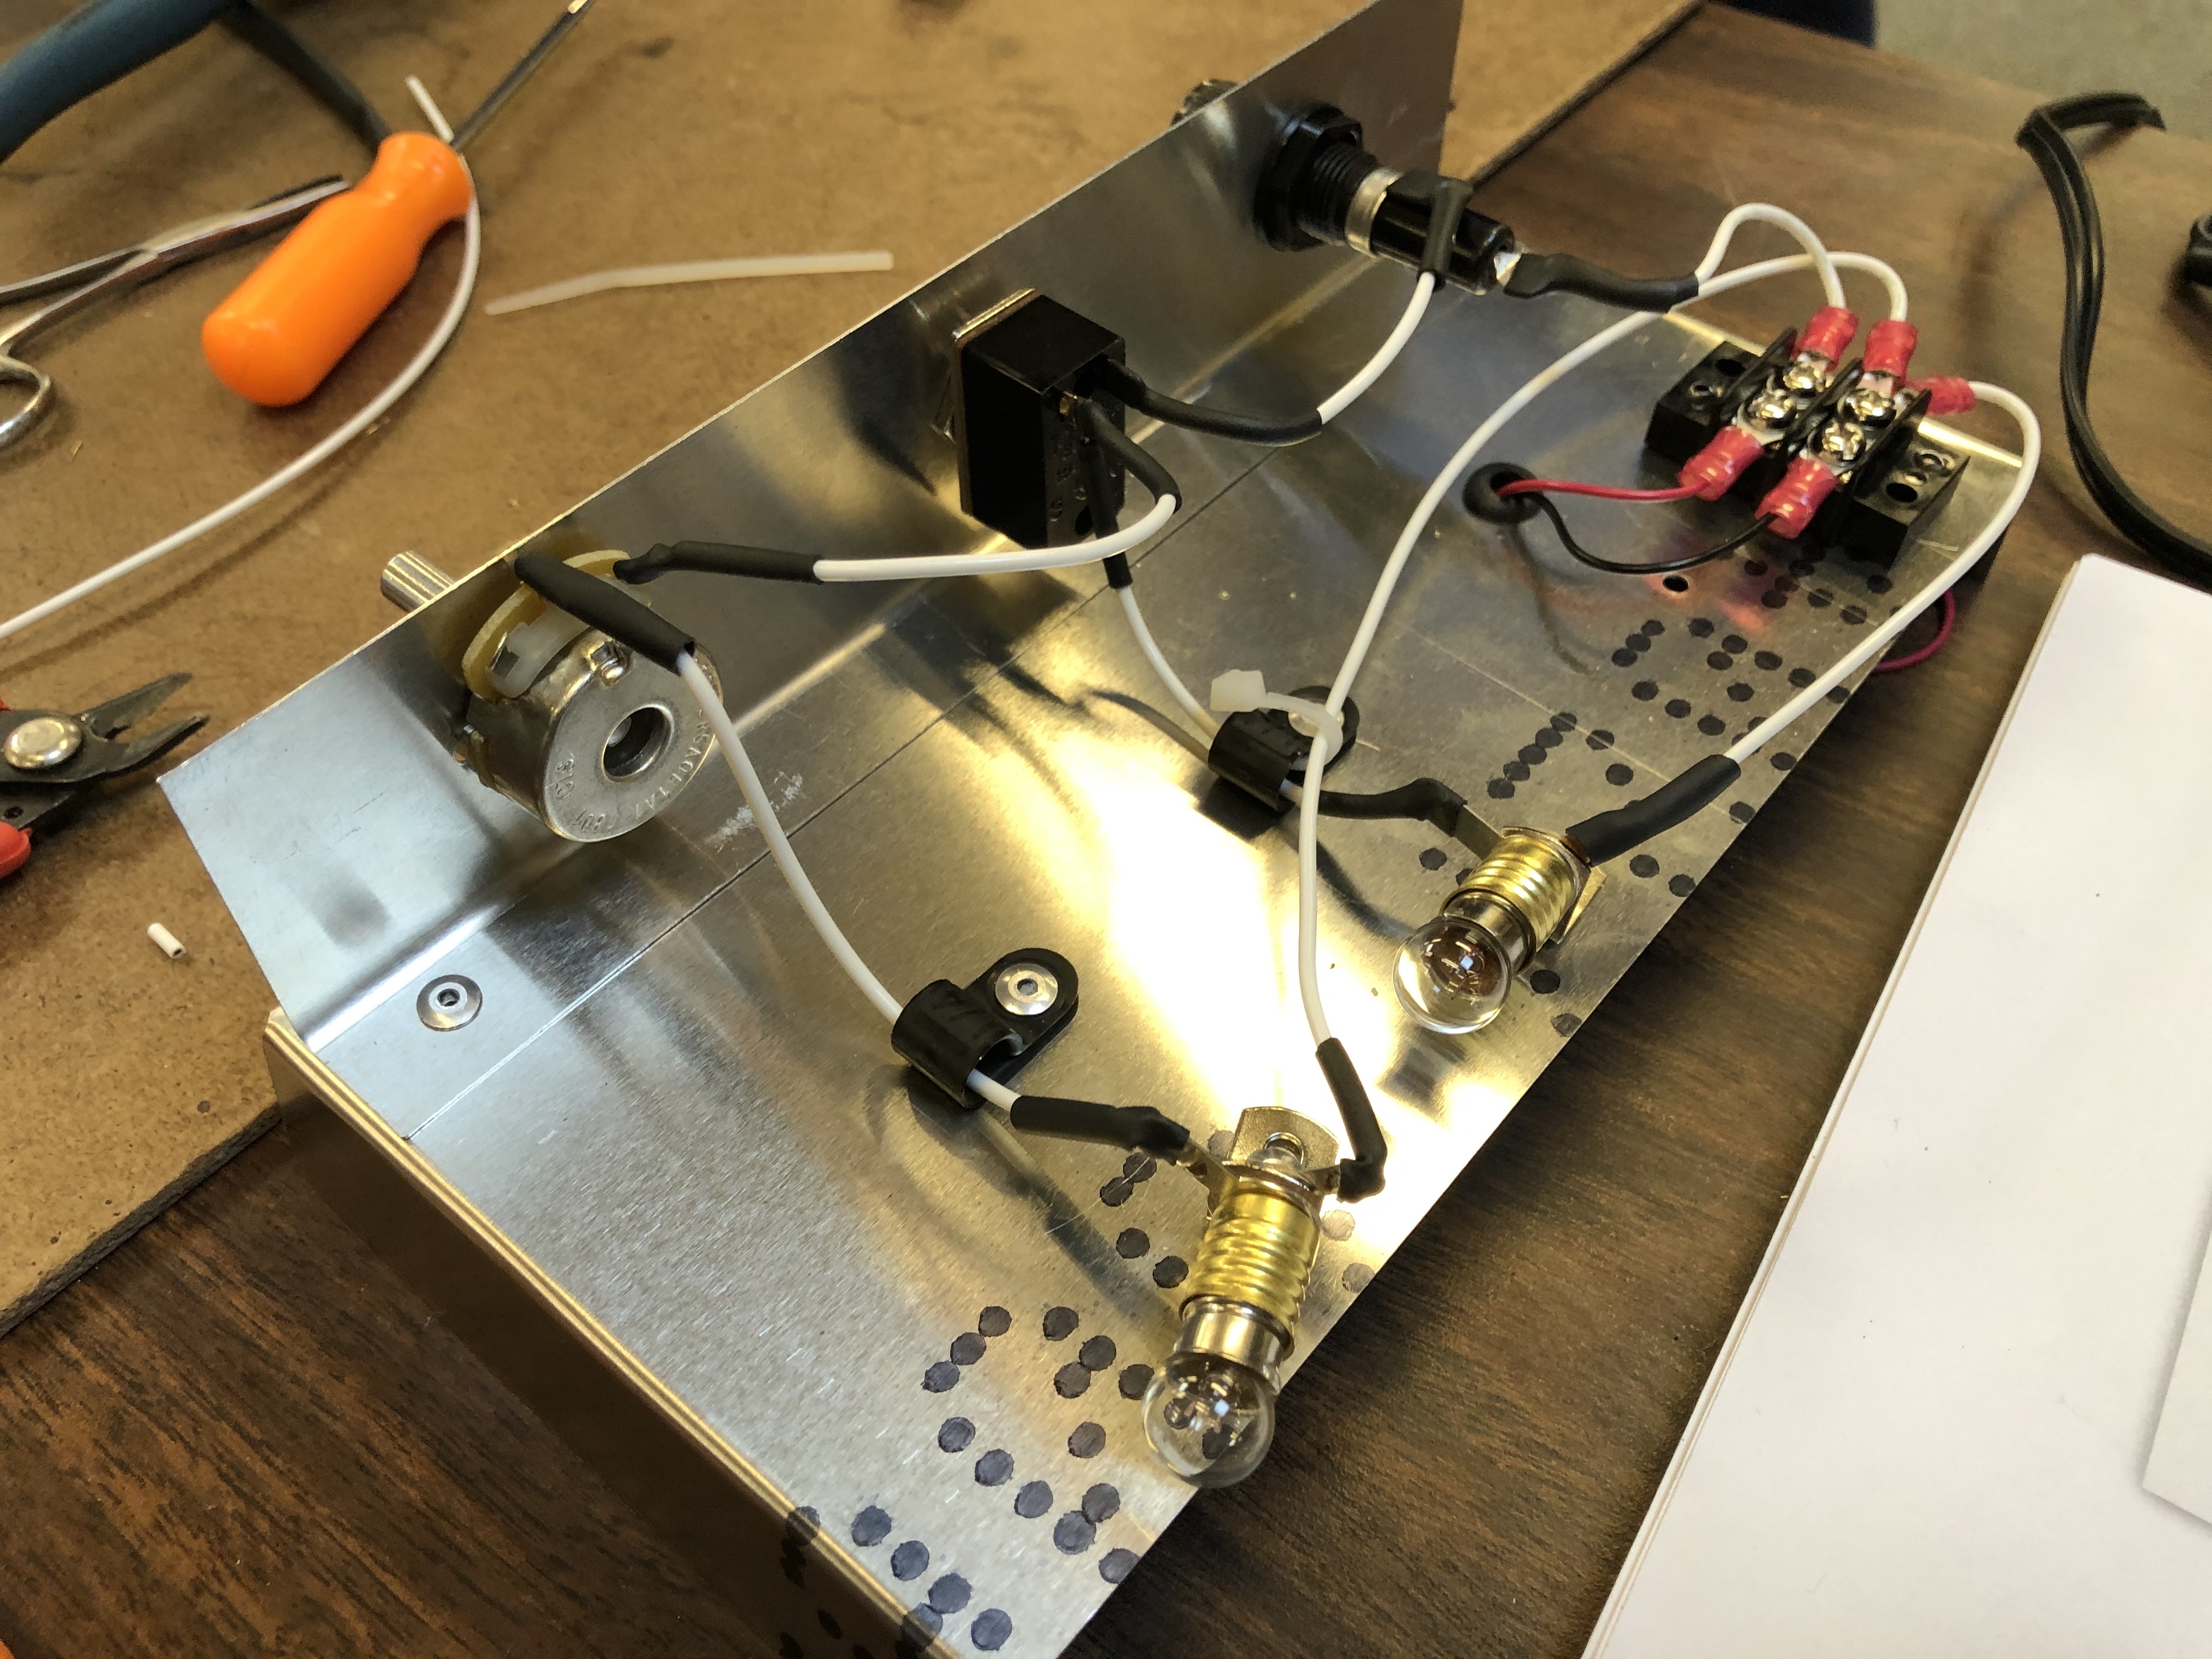
Here’s the finished working circuit in action:

I also ran into two other Sling Builders, Richard Howell, who recently started building a Sling 2 and Skip Jones, who is also building a Sling TSi. Now we just need to all finish building our airplanes and then we can be a chapter of Sling Pilots in the Pacific Northwest.

Airplane Kit Arrival Day!

Hours: 6

My Sling TSi airplane kit has finally made its way to my garage and arrived yesterday from The Airplane Factory in South Africa. Since I ordered the entire kit in one go as a quick build, it was shipped in one large 20 foot container directly to my house. The container arrived about two weeks ago in the port, but then the Seattle Snowpocalypse happened and we had the heaviest snow in February for over 70 years. The Seattle area is very hilly and so the sudden large amounts of snow and the hills made for impossible driving conditions and so while I couldn’t get a truck to deliver the airplane, instead we went skiing on our road sometime last week since our hill has a pretty steep incline.
It's not every day you can ski on your own street

Luckily it stopped snowing by Tuesday and warmed a bit and the City managed to start plowing neighborhoods and we could drive again by Thursday, so I called the Freight company and told them they can now give it a shot to deliver and the scheduled the delivery for Monday, which worked out great.

Unloading an airplane from a container

I set up my GoPro to try to capture the unloading process, it worked out fairly well to capture everything, so here it goes:

If this wasn’t enough, then here’s the complete story:

The Truck with the 20 foot container arrived just as my friends, who graciously were on standby the past two weeks to help, were arriving to help me unload and we went to work. The first order of business was to figure out the order to unload the container.
Container ready to be unloaded

Happy Airplane unloading crew
After taking out the big box with the Finishing kit on the side, we juggled around a bit to see if we could take the boxes on the bottom out, but they were blocked by the Fuselage Tail support, so we figured that we should take out the Fuselage next.
The wood that the Factory used to build the framing is of some impressive quality and the heavy screws driven into them were very tight, so it took some loosening by hand before even my impact driver could undo the screws, so I grabbed my trusty Milwaukee M12 Hackzall and made due process so we could get on with unloading and then undo the rest of the structure later. That and heavy use of my Utility Knife to cut through the many support straps that held down the structure.

After we got the Fuselage out, it was time for the boxes that were stored under the Fuselage, followed by the Wings.
Unloading the right Wing Wings in their happy hammock

After all that was said and done, we took down the rest of the wood framing in the container so the container was truly empty in the end:
Container unloaded and wooden frames taken down

We moved the boxes into our basement multi function room, next to our LEGO collection – building your own airplane is kind of like LEGO right?

Boxes of Airplane parts stored next to our LEGO
And the Fuselage and Wings found their home in the Garage on one side, leaving me with the other side as work space, plus I can easily move the wings around since I have wheels on the wing rack.

Fuselage and Wings stored in the garage

Cleaning up and taking inventory

I felt like the tail should have some extra support, so I quickly built a small stool for the tail to rest on, in addition to the existing framing that it came in, here is a quick timelapse of me cleaning up the workshop and building the stool:

Stool for the Tail to rest on: I built a stool to balance out the load of the tail

After that was done, I asked Juliana to come down to the Garage as I was pretending to fly the airplane as any reasonable person with a new toy in their garage would do:
Obligatory pretend flying in the airplane

And then we opened the Empennage box and started taking inventory so I can stop building wooden tables and stools and start building an airplane:
Taking inventory of the Empennage Kit

Now it’s time to build an airplane!

EAA Sportair Sheet Metal workshop

While the wait for the arrival of my Sling TSi kit continues, I got to do some sheet metal practice attending the EAA Sportair Sheet Metal workshop recently.

It was a two day weekend workshop that was held at the Seattle Museum of Flight Restoration Center, teaching the basics of sheet metal work with all sorts of various techniques used when building a sheet metal airplane.

Over the course of the two days each participant made two practice pieces. The first one was to get a feel for the different techniques, from drilling, to deburring, to dimpling and countersinking. Here’s the first piece:

The second practice piece was a cross section of an elevator, where we had to bend rib pieces, practice more match drilling and dimpling and then fabricate a flush inspection plate held in place using nut plates. Here’s some images I took during the process:

All in all, it was a great workshop, a lot of learning and building confidence in the skills required to build your own airplane. So if you’re toying with the idea of building your own airplane from sheet metal, but are unsure about the work involved, this workshop is a great entry point.
While I likely won’t need to use some of the riveting techniques I learnt in the workshop, since the Sling assembly mainly uses pop rivets, it was still great to get a good understanding of the different techniques.

Here’s a final picture of all the practice of the workshop put together (with an airplane drawn as a bonus).

Quickbuild Factory progress

I got an exciting progress update from the factory today on the coming along of my Sling TSi Quickbuild kit down in The Airplane Factory in South Africa.
The Fuselage is mostly assembled and here’s the pictures of it:

Aside from that, my tool collection is coming along nicely. I now have hundreds of clecos, various pliers, deburring tools, drill bits and countersinks. Just a few more tools to go from the list from TAF.
The project may also have been my excuse to buy a label maker, I ended up with the Brady BMP 21, so now I get to print nice labels, I started with some boxes for the clecos as seen below.

Another fellow Sling TSi builder received his Empennage kit today, so I look forward to following his progress until I receive my kit to start.