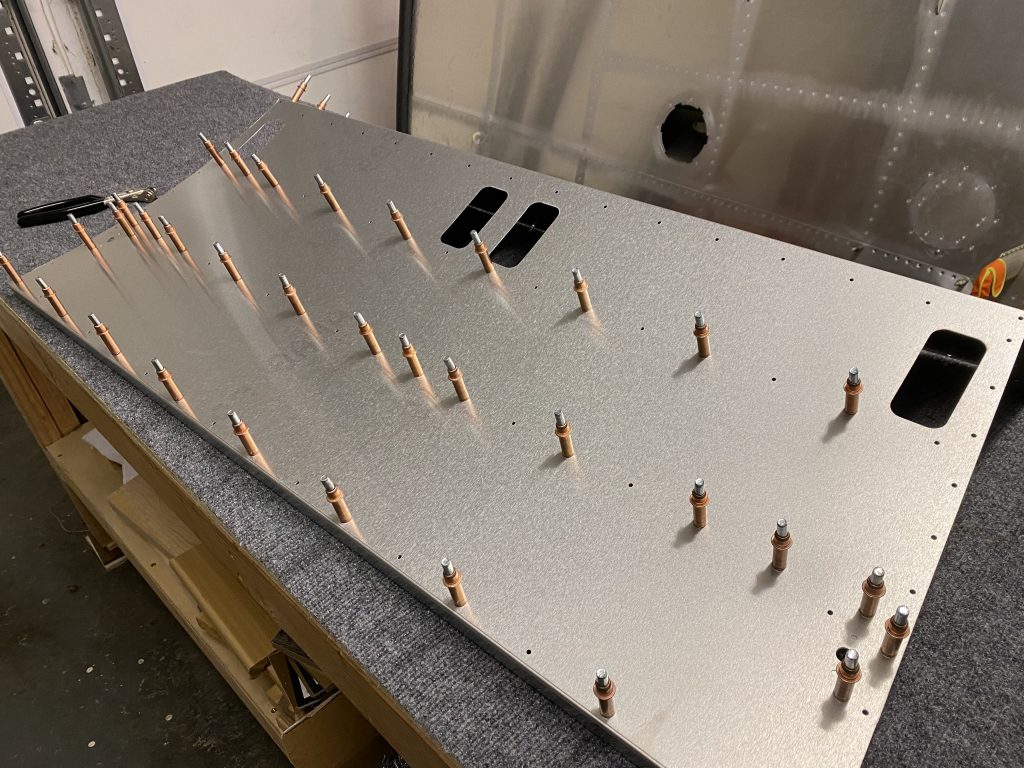
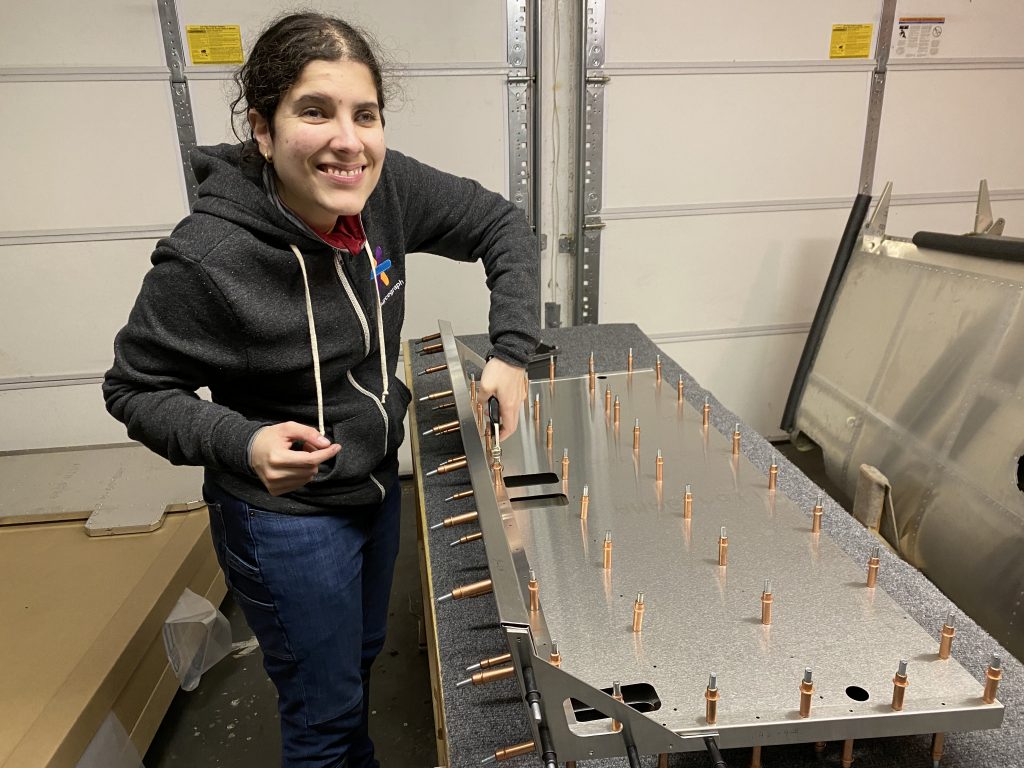
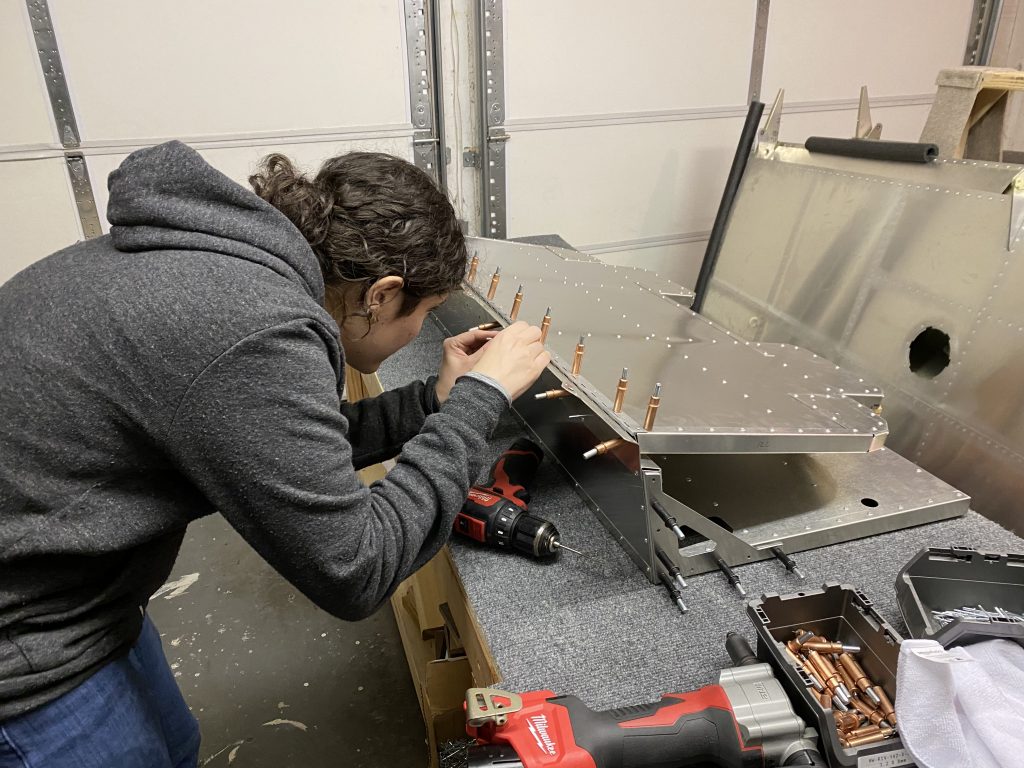
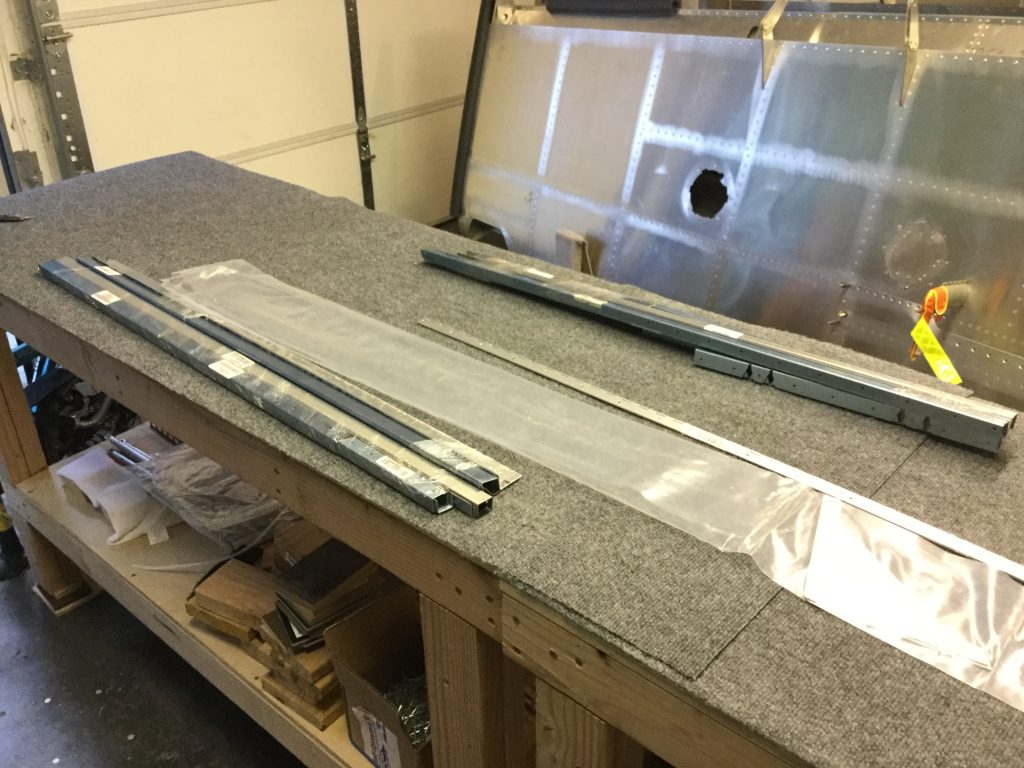
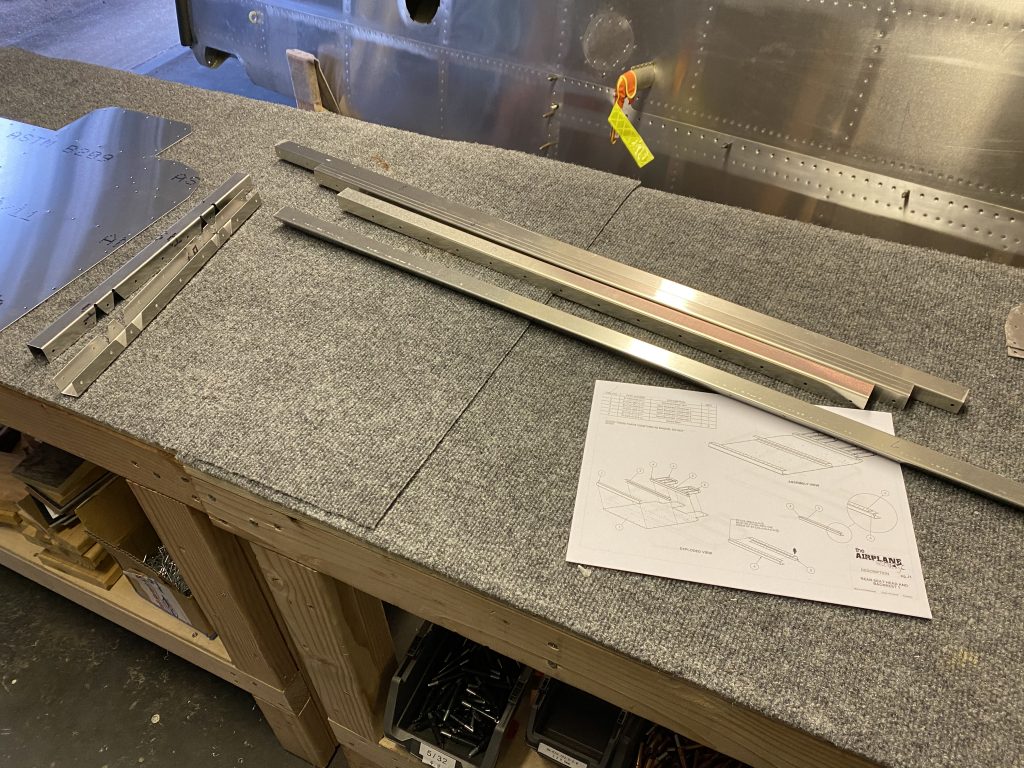
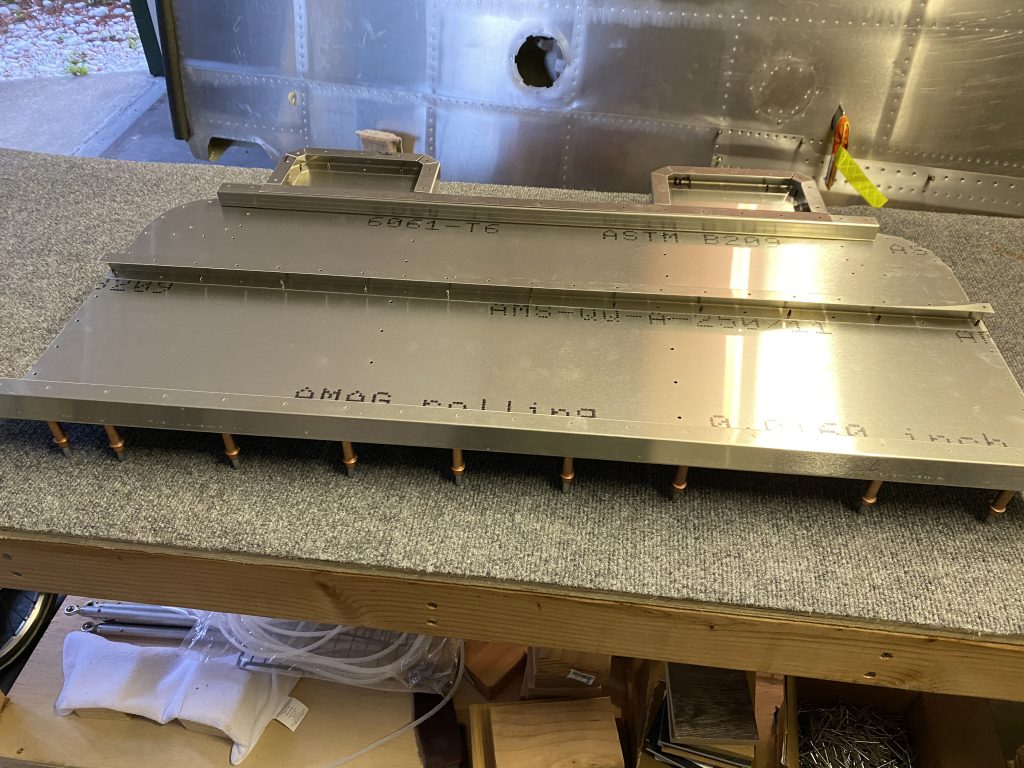
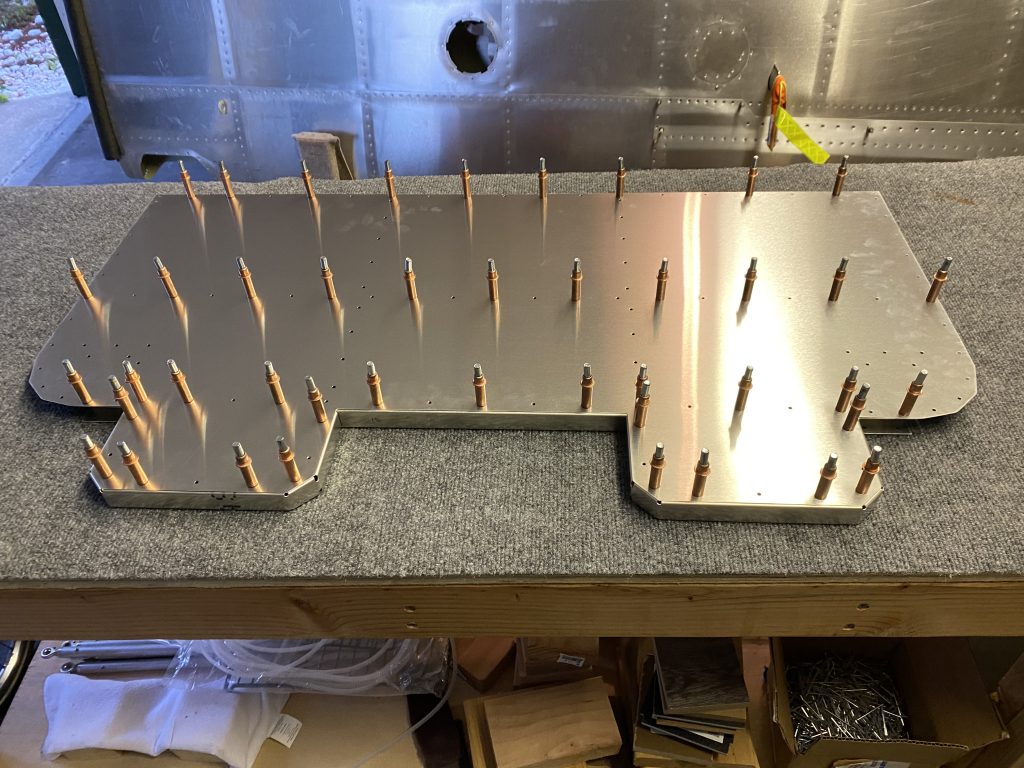
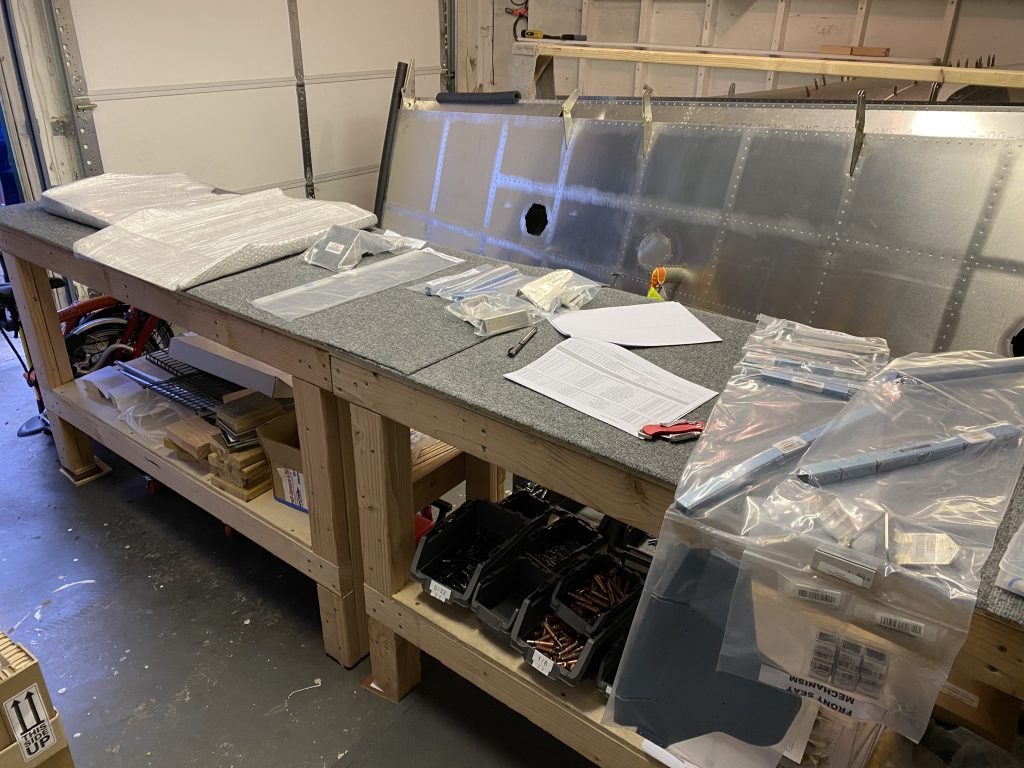
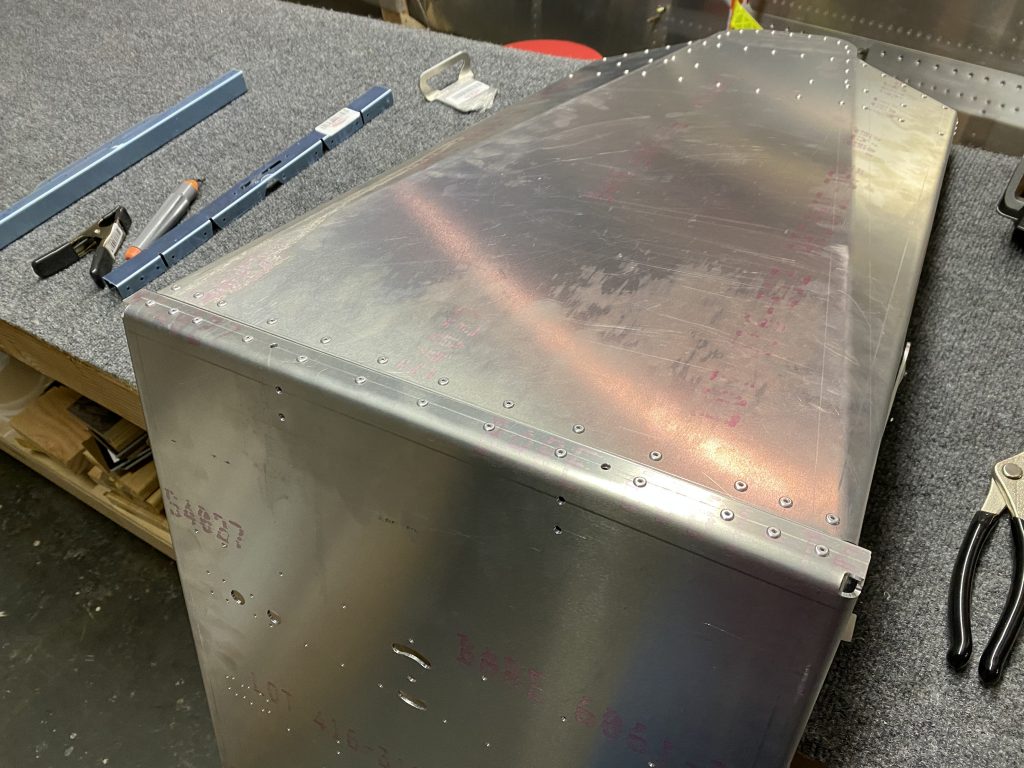
First order of business was to remove the protective plastic and do some inspecting and deburring of the edges and holes.
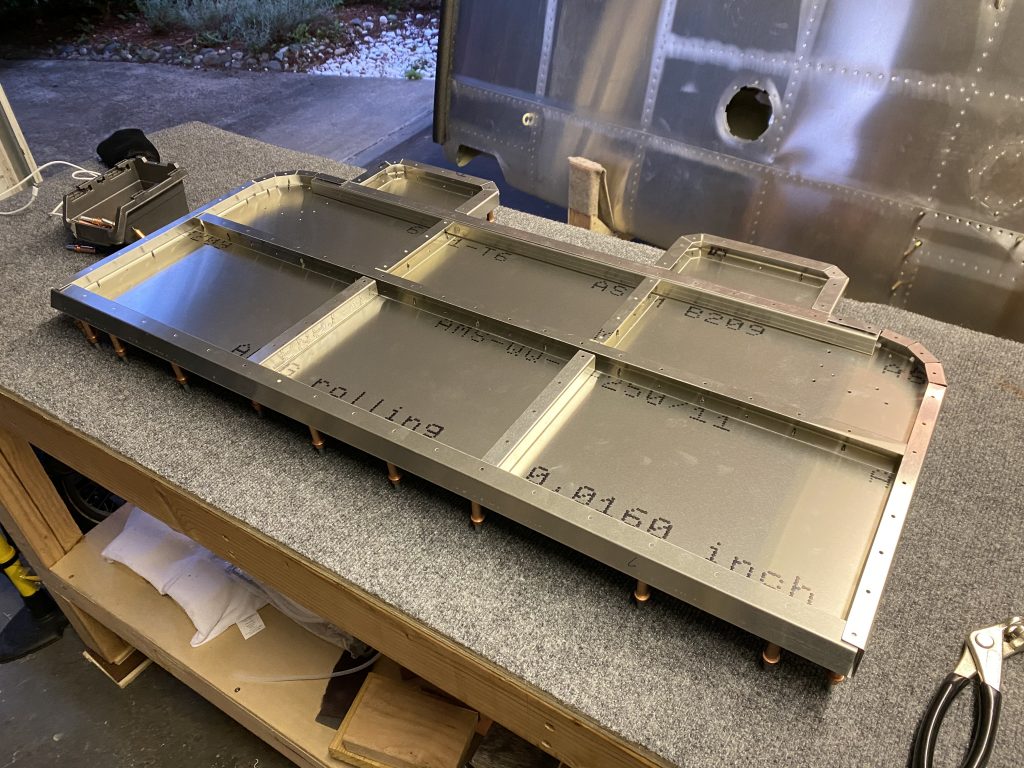
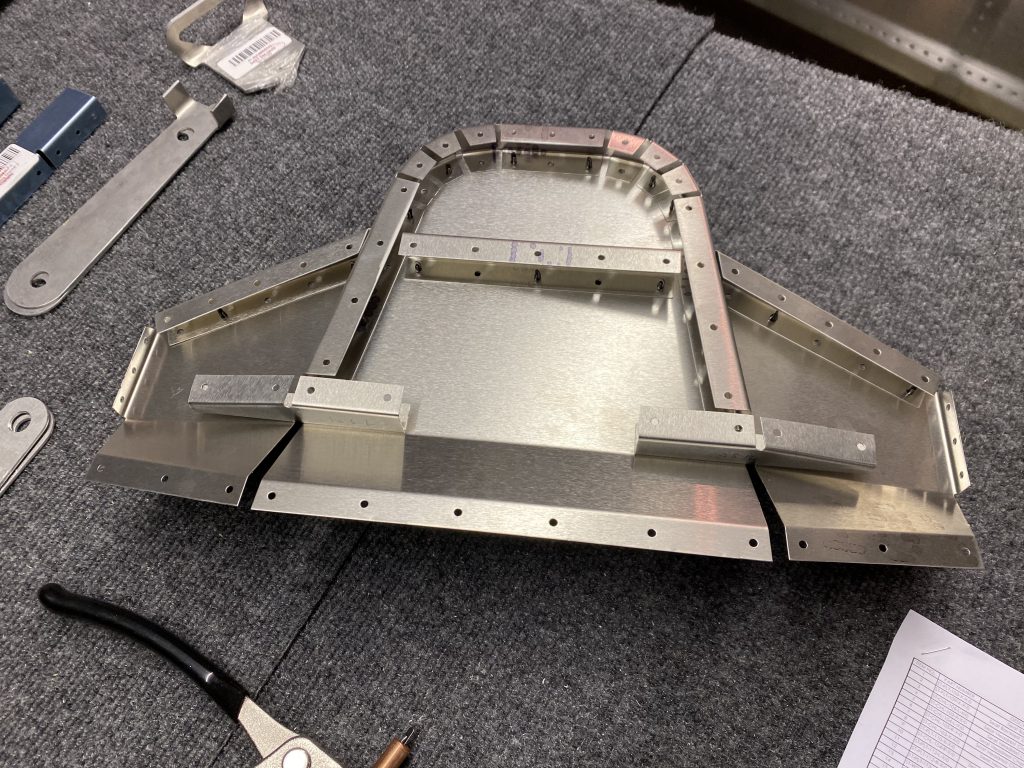
With that out of the way, time to assemble the main rib structure.
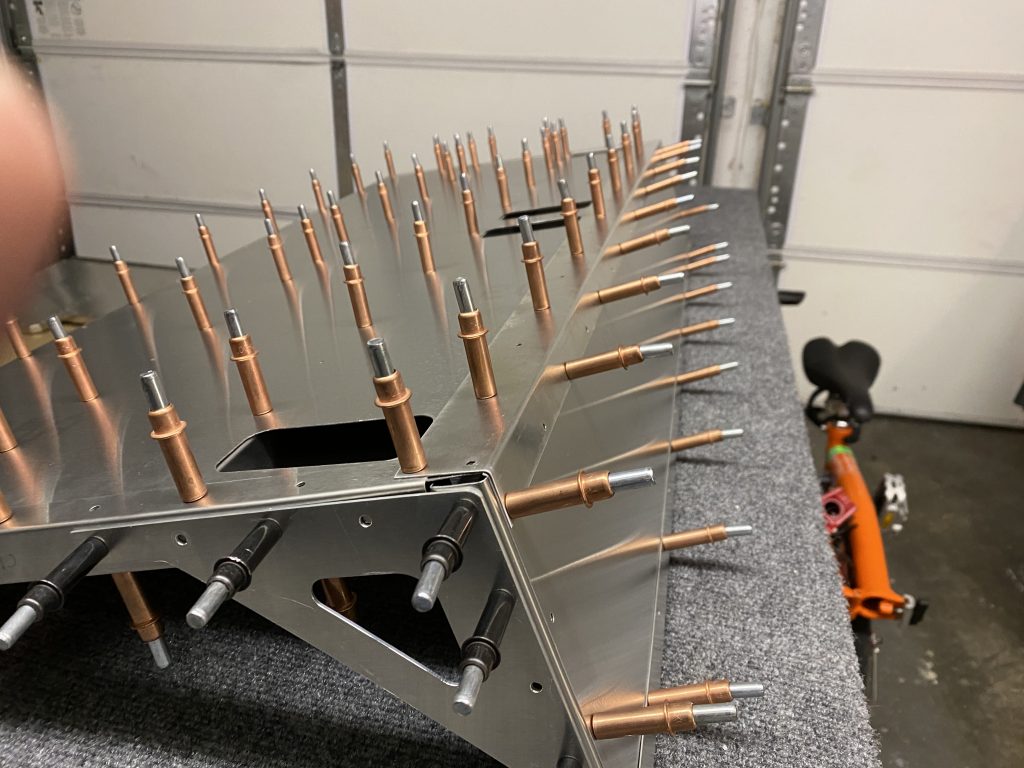
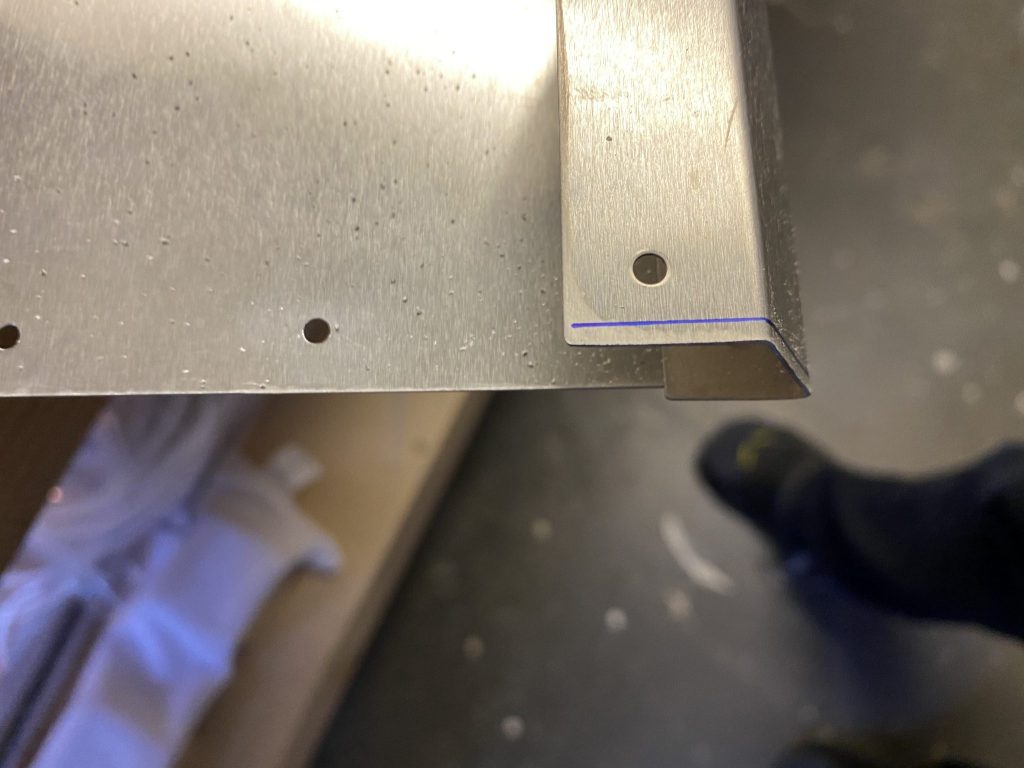
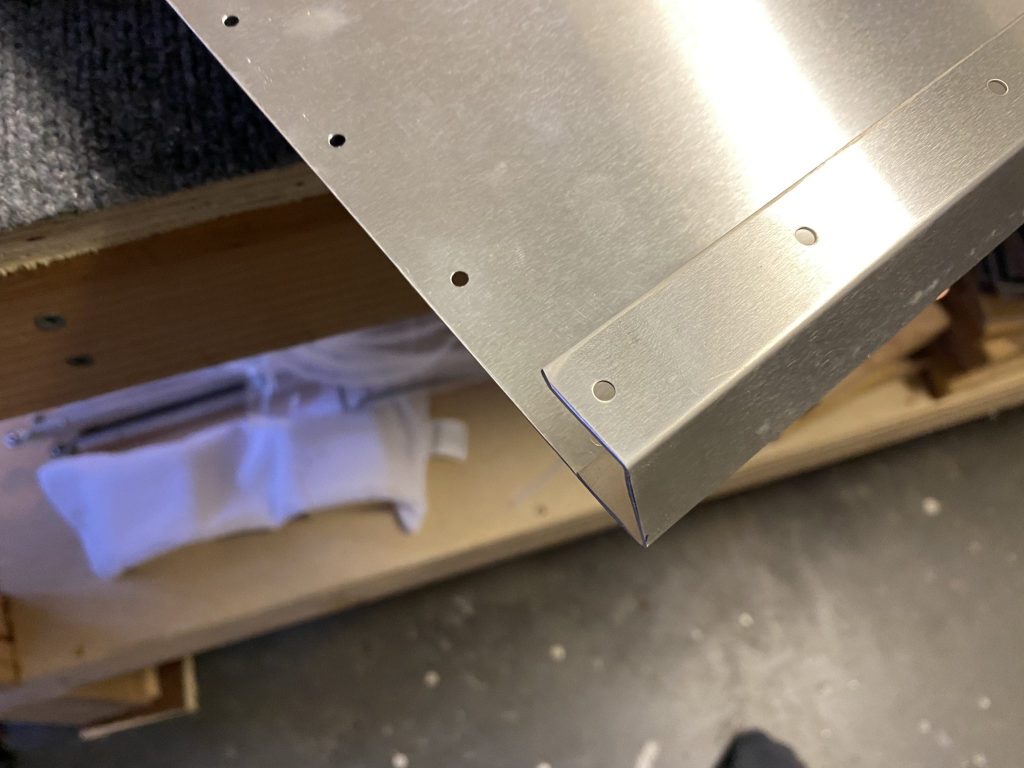
On the bottom rib there was a minor misalignment of the rib. The rib extended a little bit beyond the skin, but the holes were all drilled fine.
So I trimmed off the small part that extended too far.
And on to more ribs to make it a really solid seat.
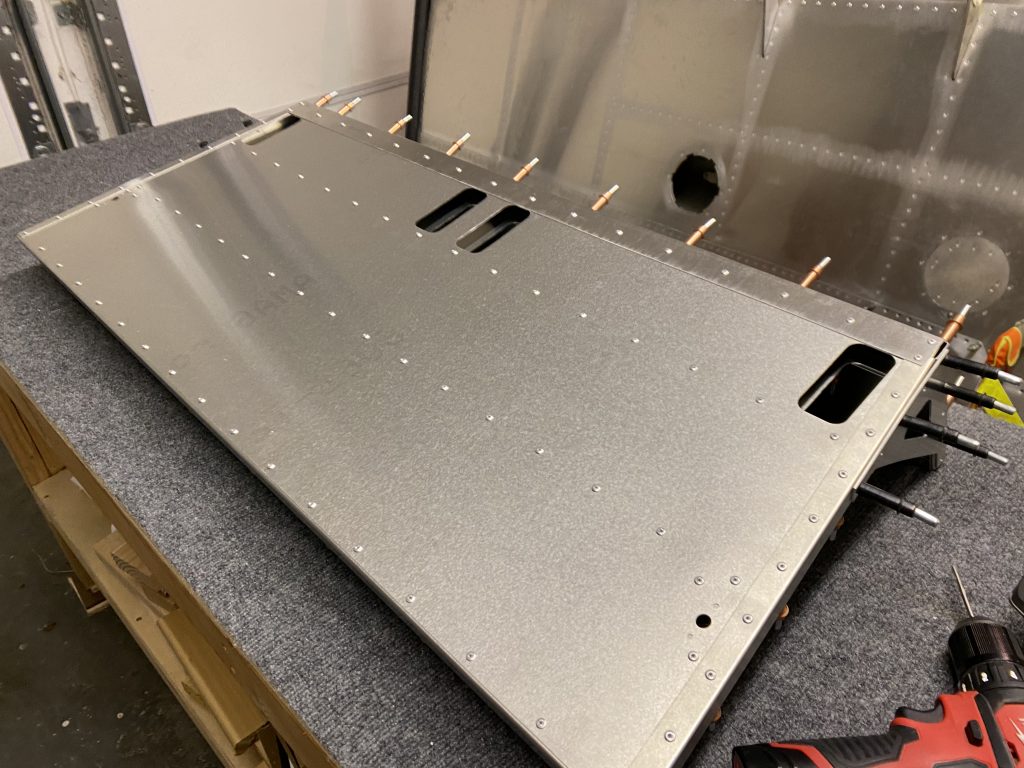
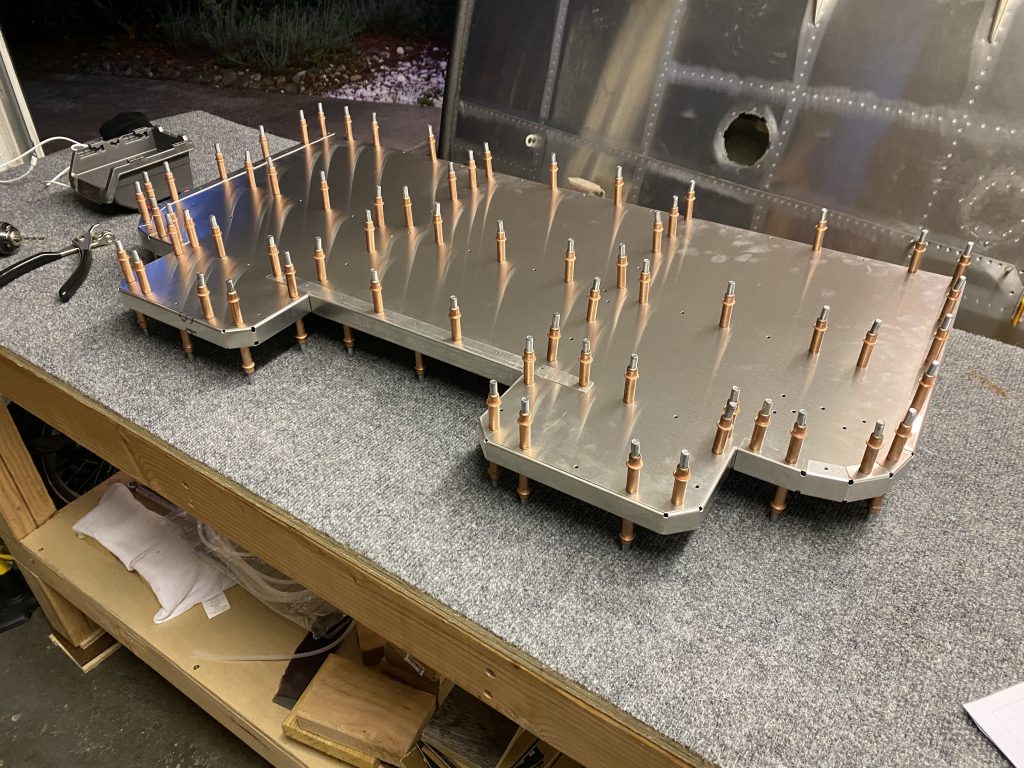
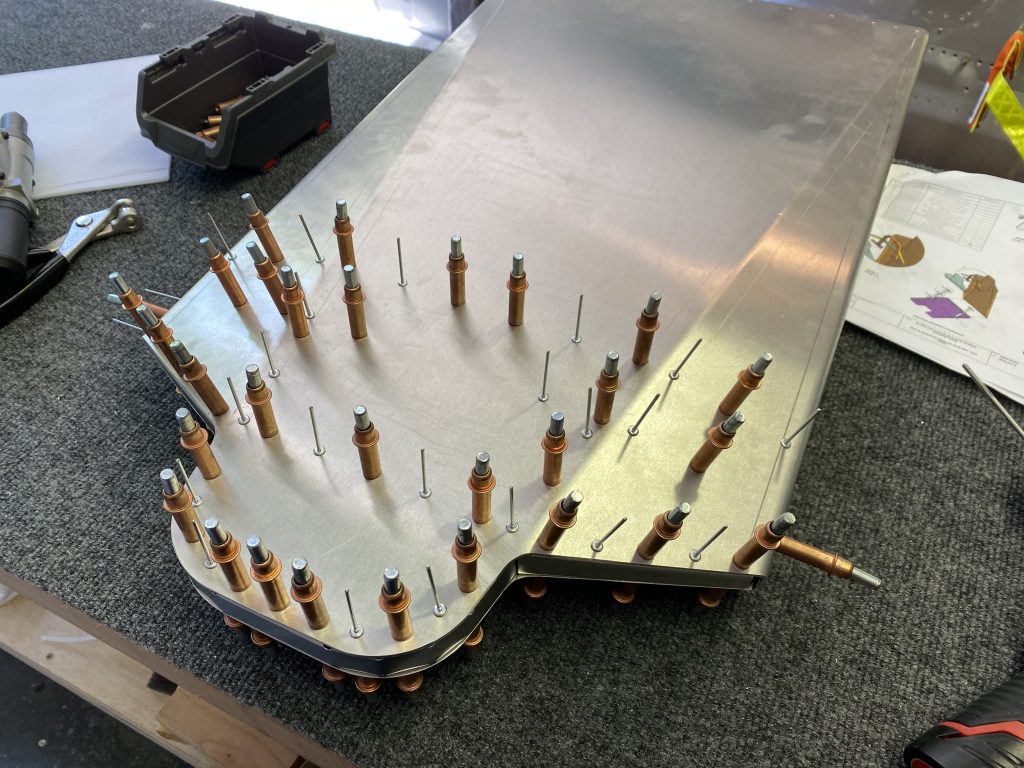
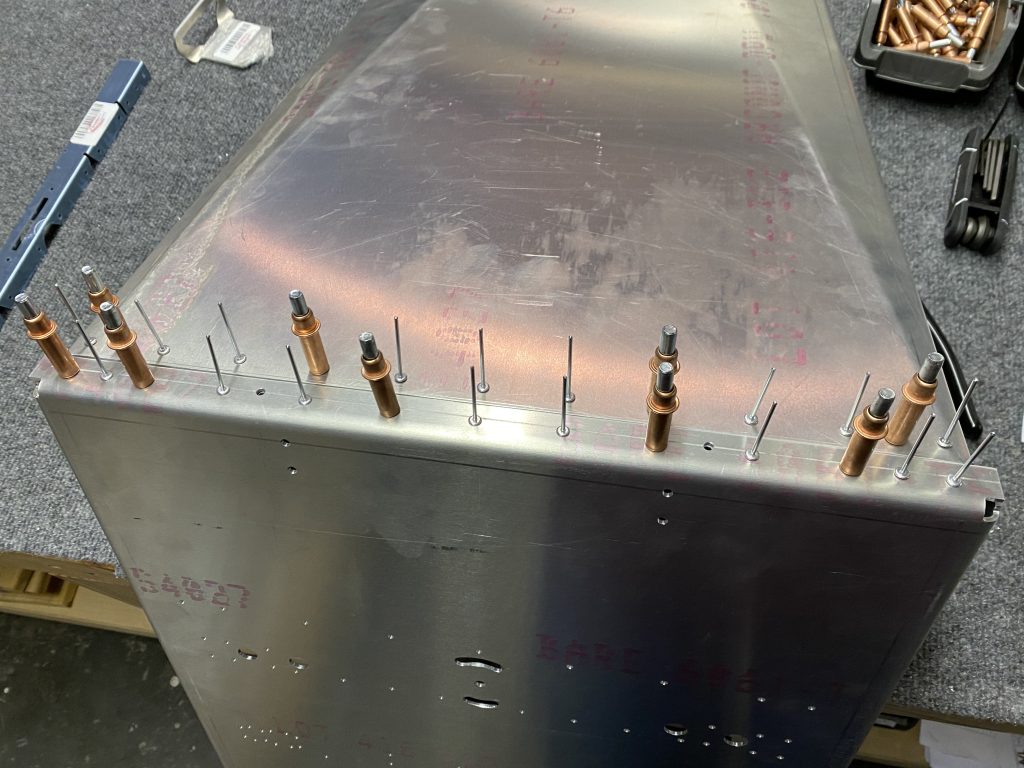
The last part was to put on the front skin and make sure everything lines up. When I first clecoed it on some of the ribs didn’t align, so I unclecoed the skin again, then centered it and clecoed it again and everything fit well.
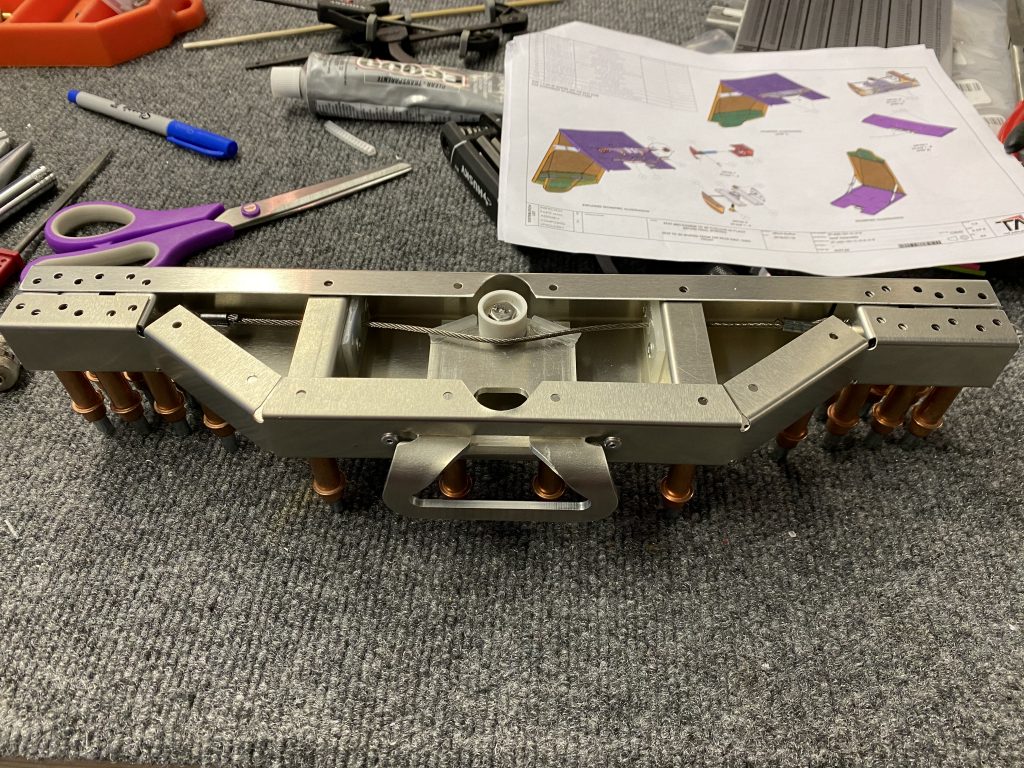
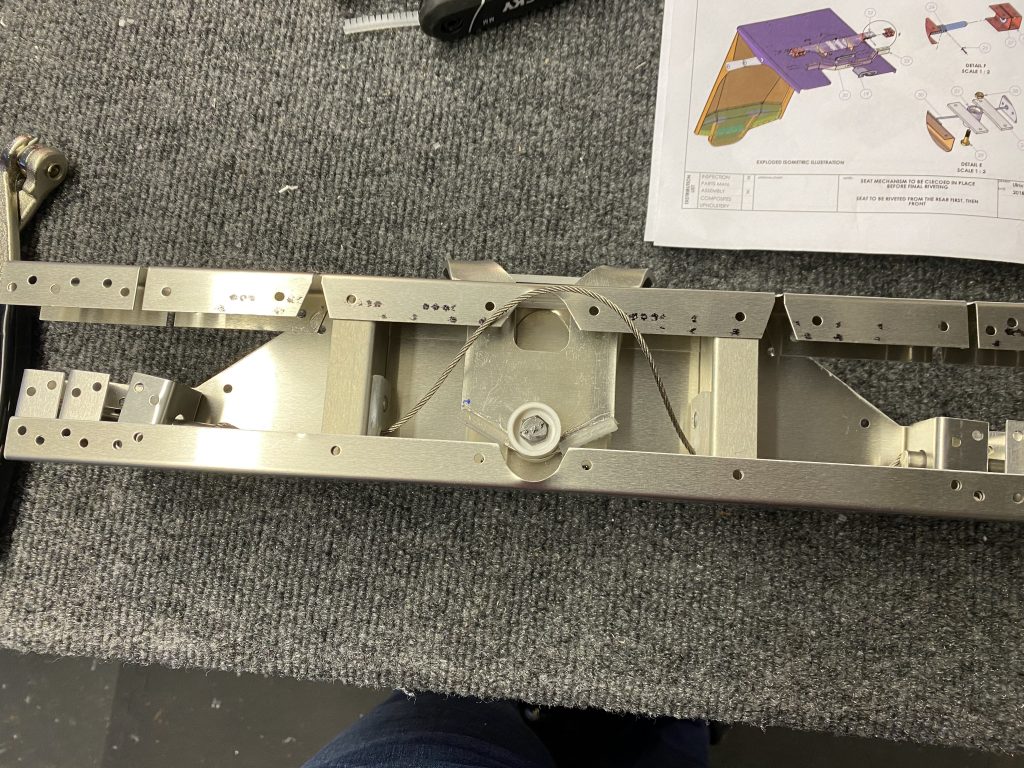
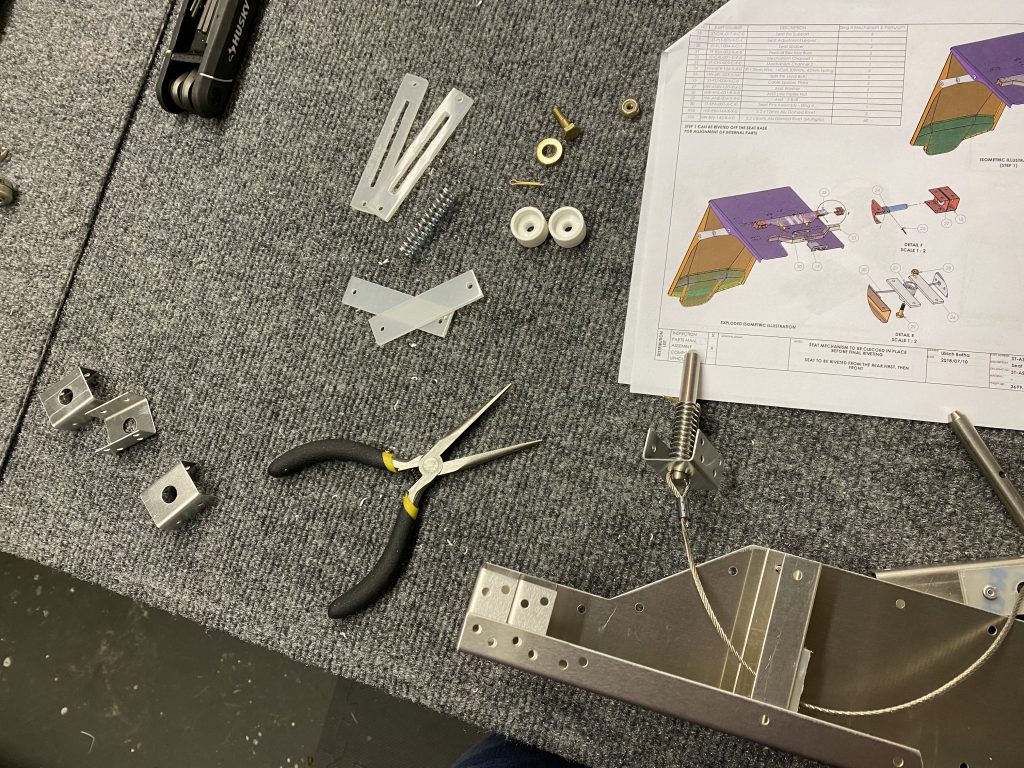
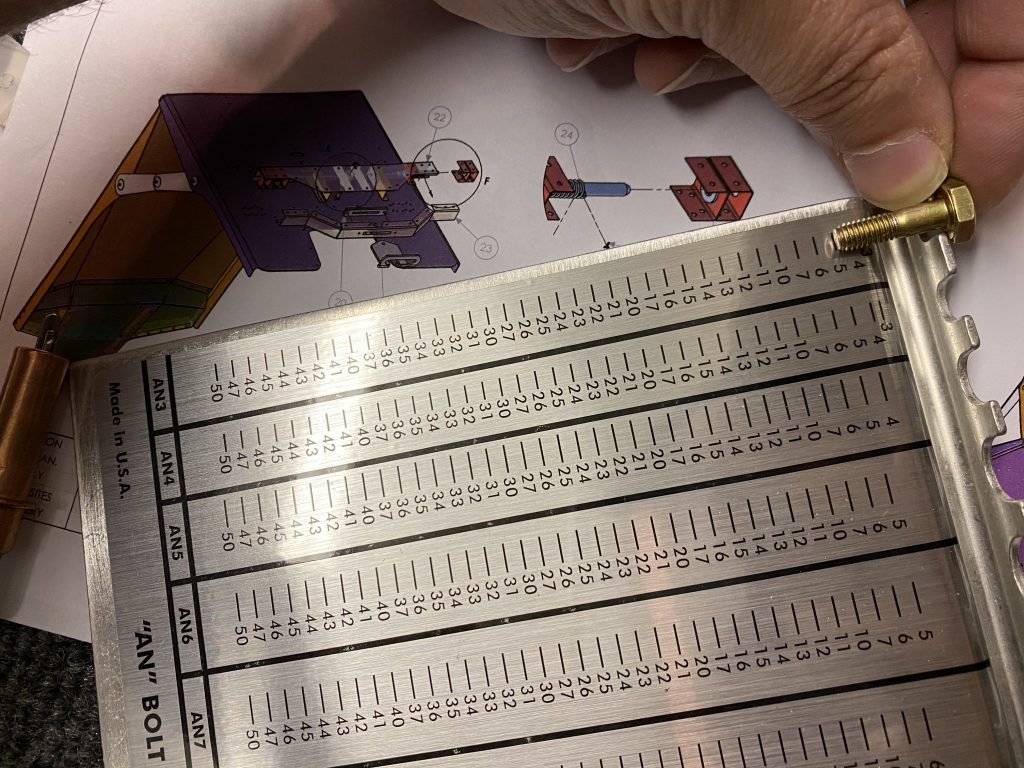
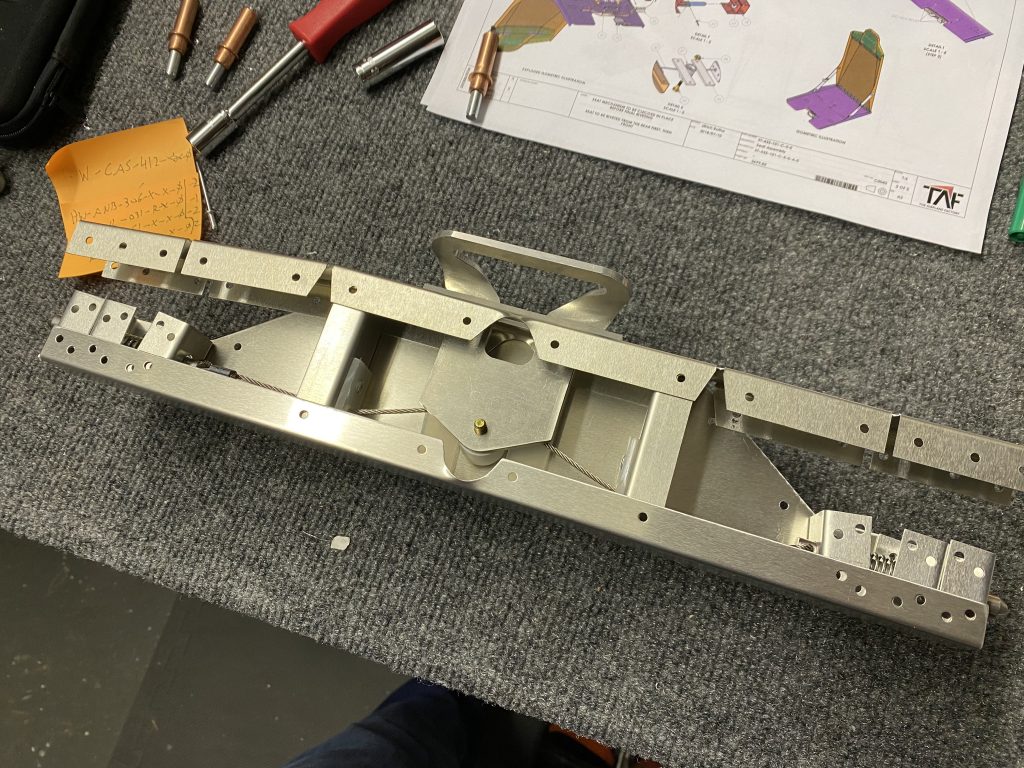
I got an AN3-6A bolt from a friend while waiting to get a replacement from TAF, so I was able to put together the seat locking mechanism for the seat.
EDIT: after reading the Sling 4 instruction manual, I now believe the cable goes on the other side, so I’ll move it down before I close it up and rivet it in.
Now having figured out the complete assembly, I also assembled the mechanism for the second seat, but unfortunately, the steel cable assembly for the second seat is too long, so I put in an order for a replacement.
So one mechanism assembly completed, the other on hold.
Then I completed assembling the second seat itself. When I built the other seat I noticed that I was missing some screws for the hinges and put in an order to get the missing screws, but I also remembered that I got some various metric screws from boltdepot a while back and luckily I had some countersunk M4x12 screws . Ialso found that there’s a typo in the instruction manual, which says they are M4x10, but the part number is HW-CAS-412-X-X-0 and they are actually M4x12. So I was able to put together the side hinges with those.
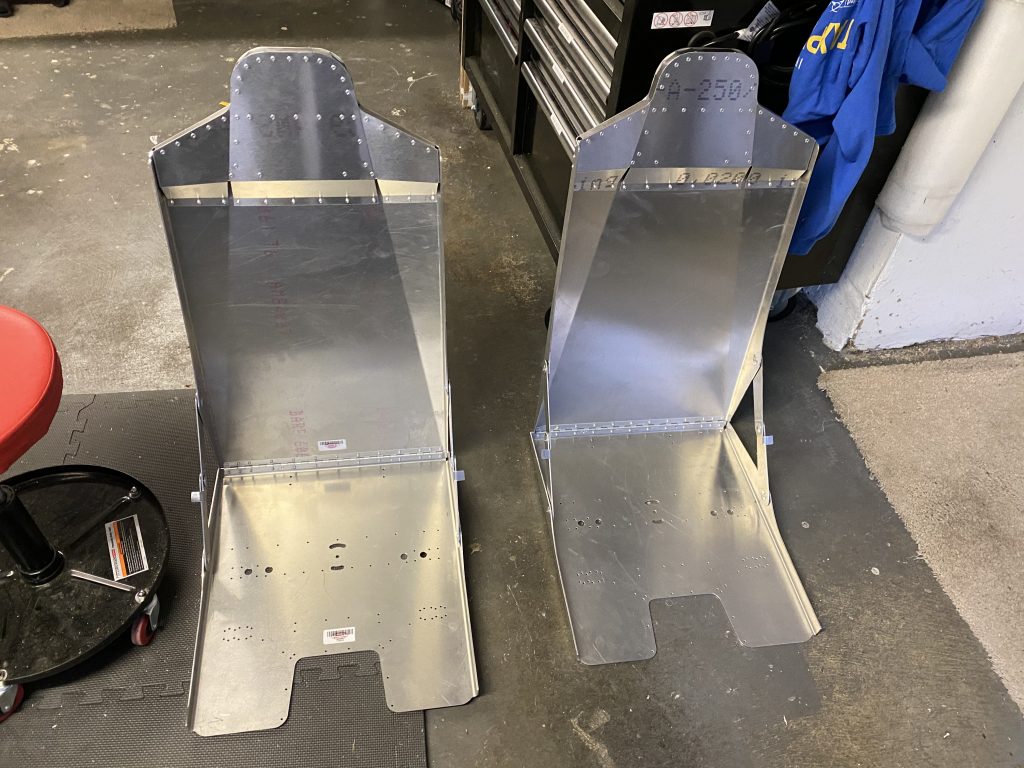
Now I just need some upholstery to make them a bit more comfortable to sit on. I ordered the upholstery a few weeks ago, so they should arrive in a few weeks hopefully.
It’s time to replace the now empty box of parts in the Garage with another full one. I moved on to the Fuselage box to get started with the interior of the Fuselage assembly. First order of business was finding all the parts for the seats.
After a bit of digging I found all the parts for the seats based on the inventory checklist in the box.
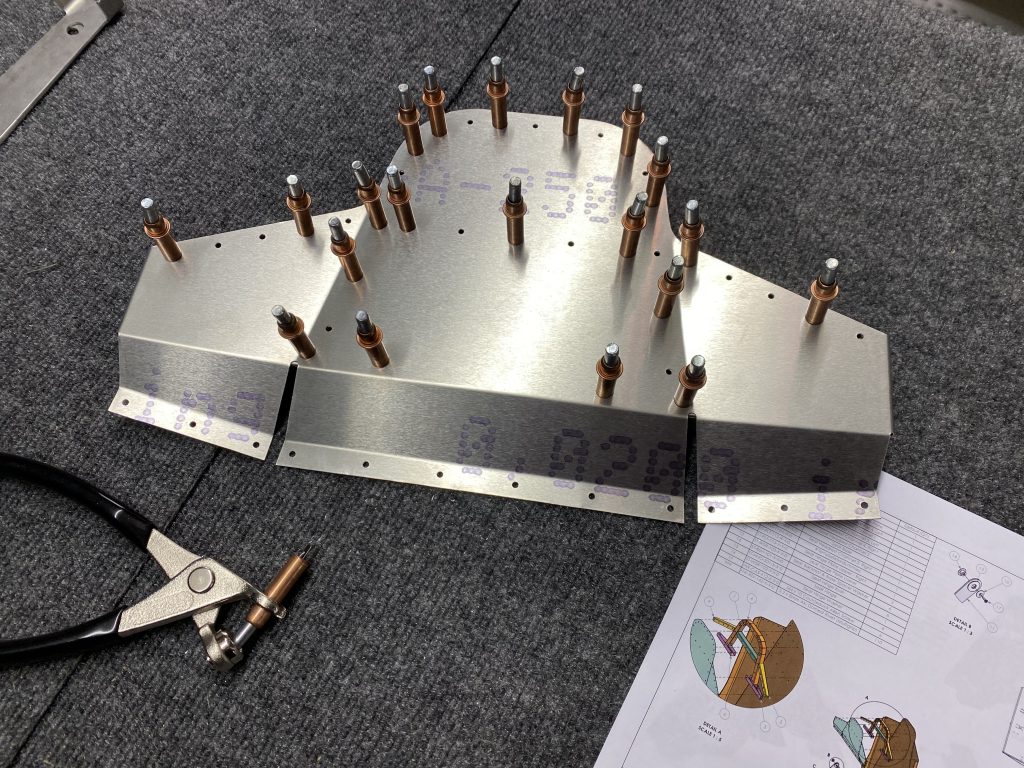
Once I had all parts in order, I started laying out the headrest based on the manual.
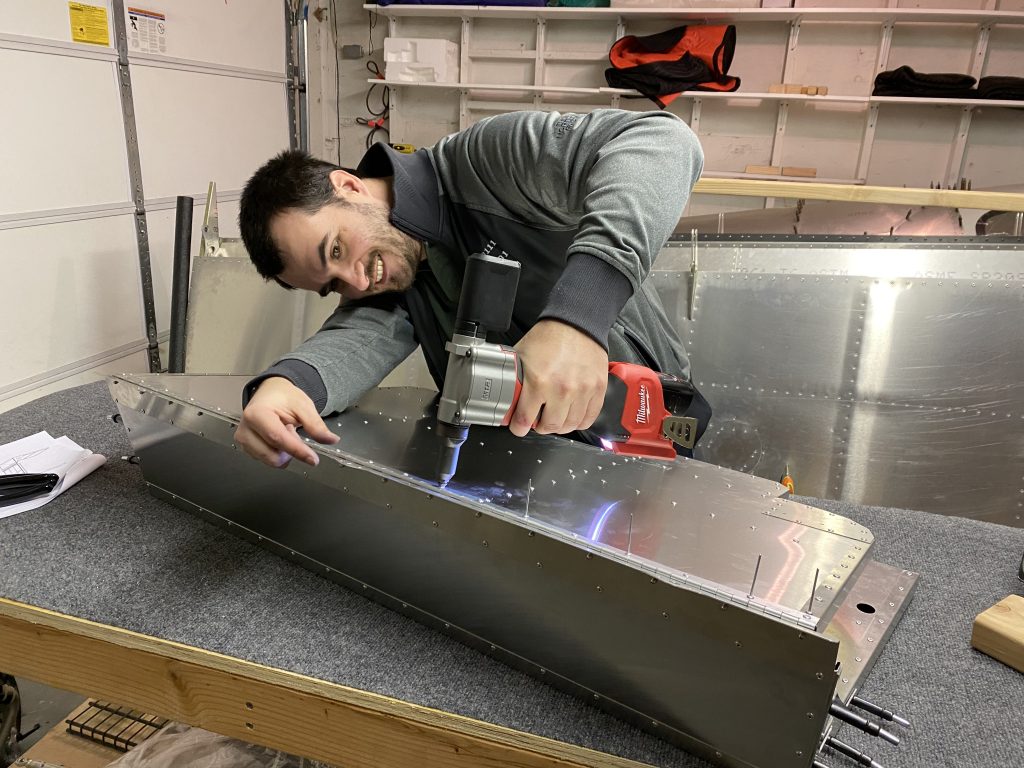
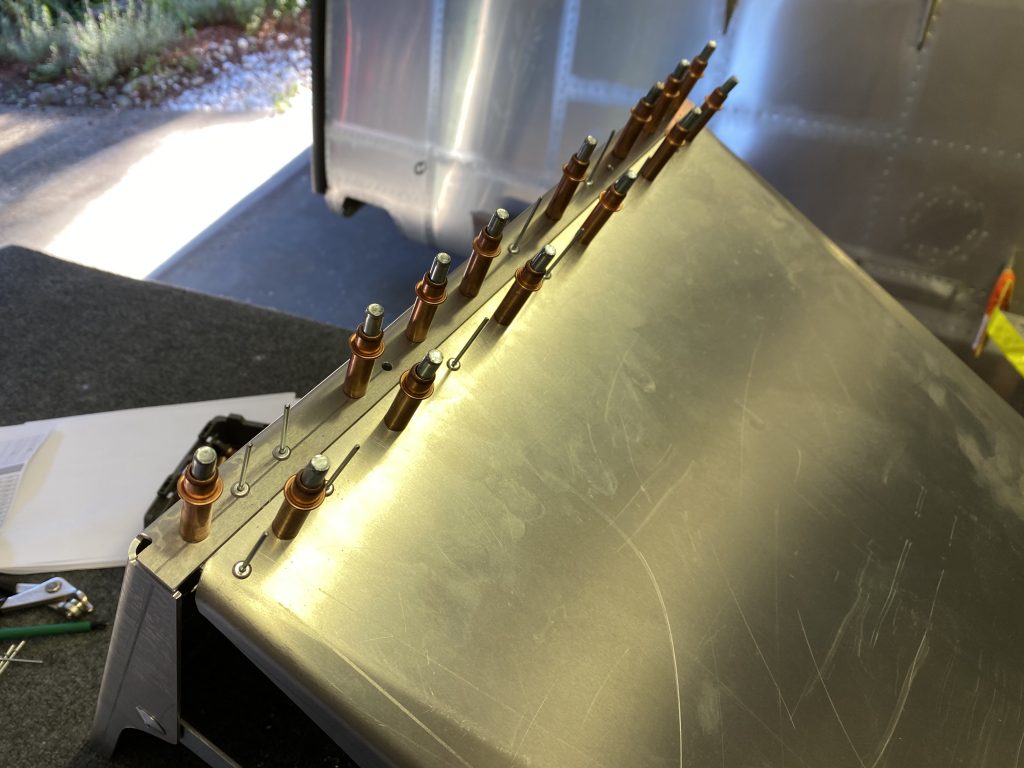
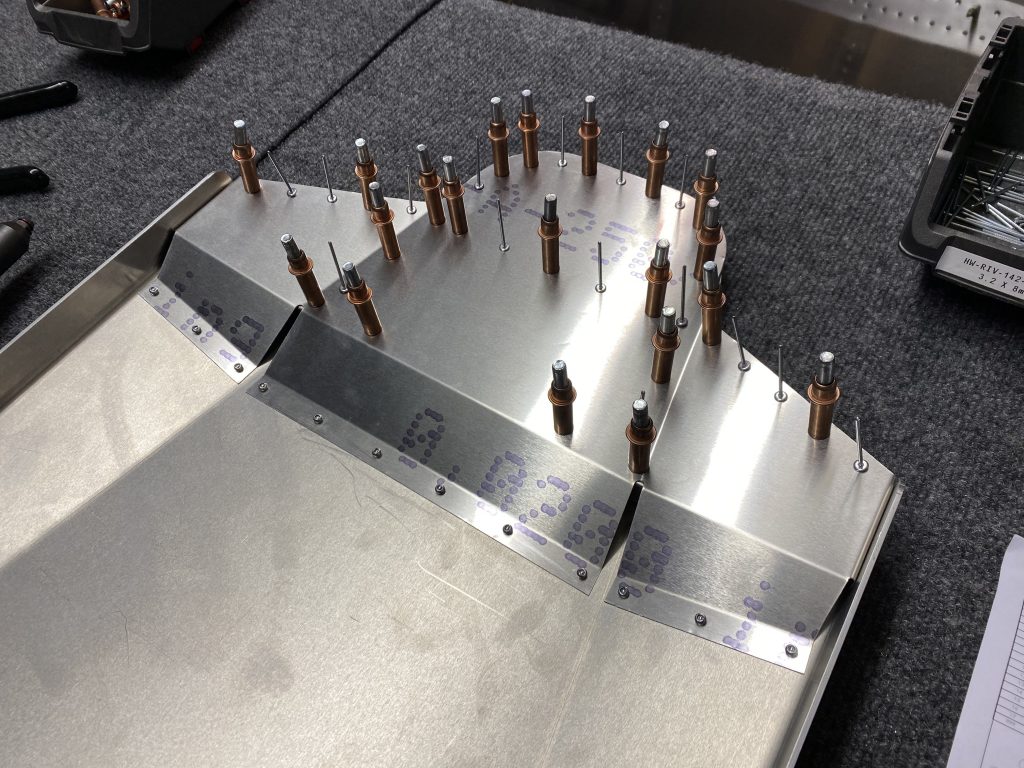
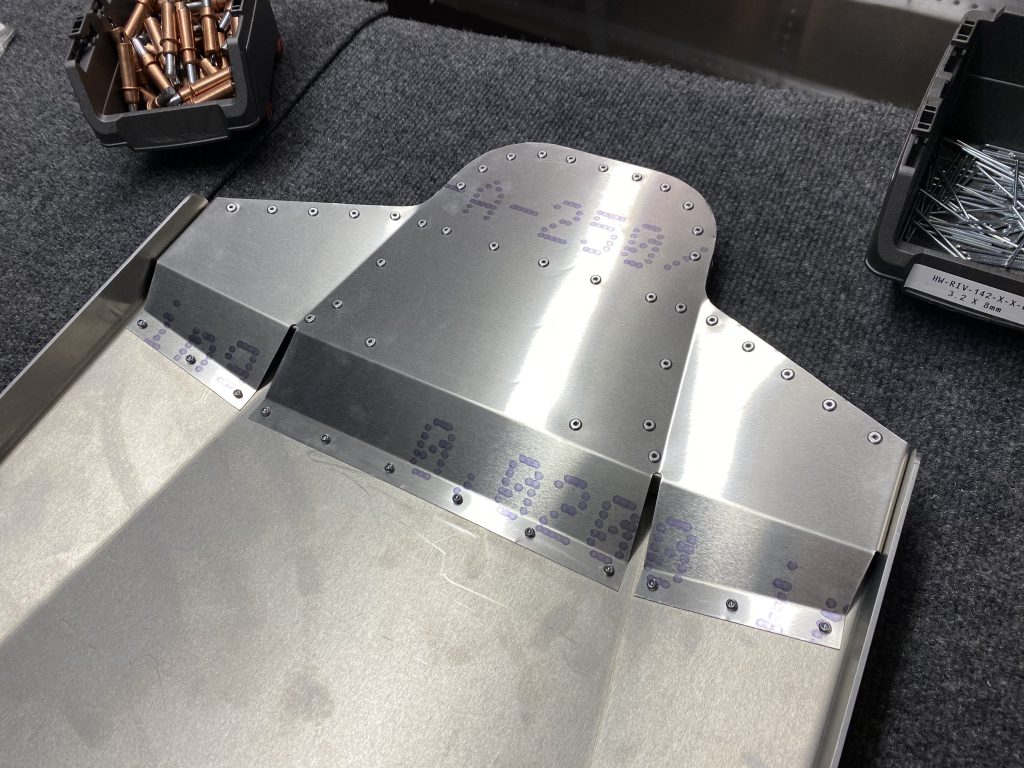
Then I clecoed it all onto the seat back and started riveting from the seatback.
Following the backside, riveting the front side of the headrest.
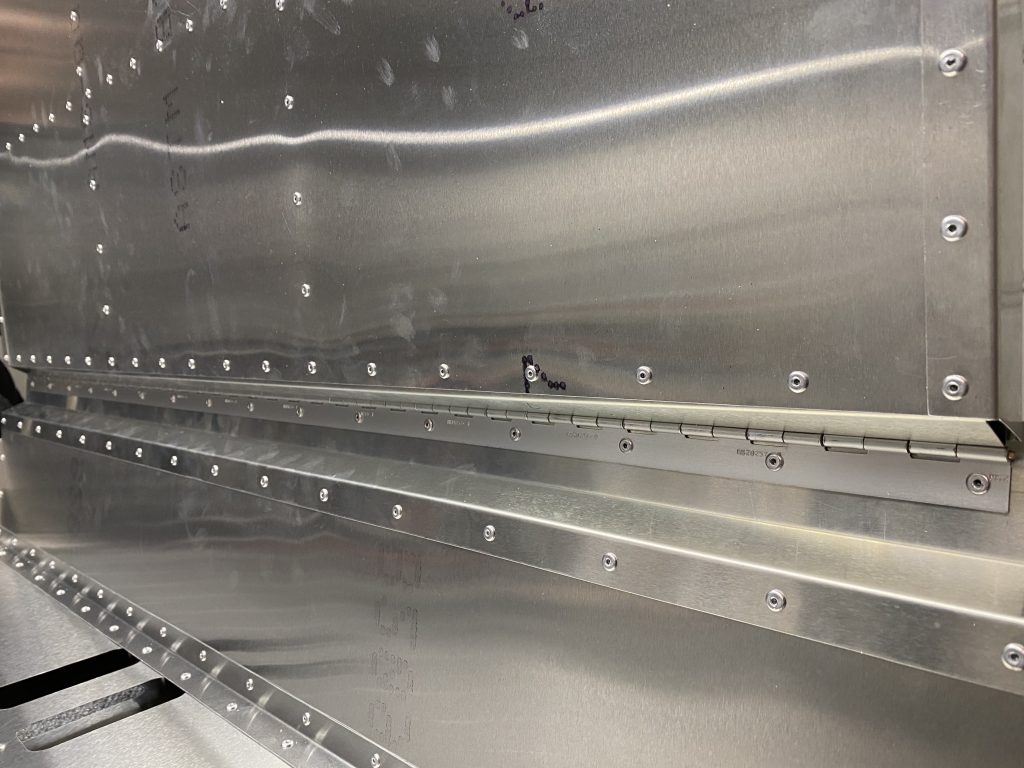
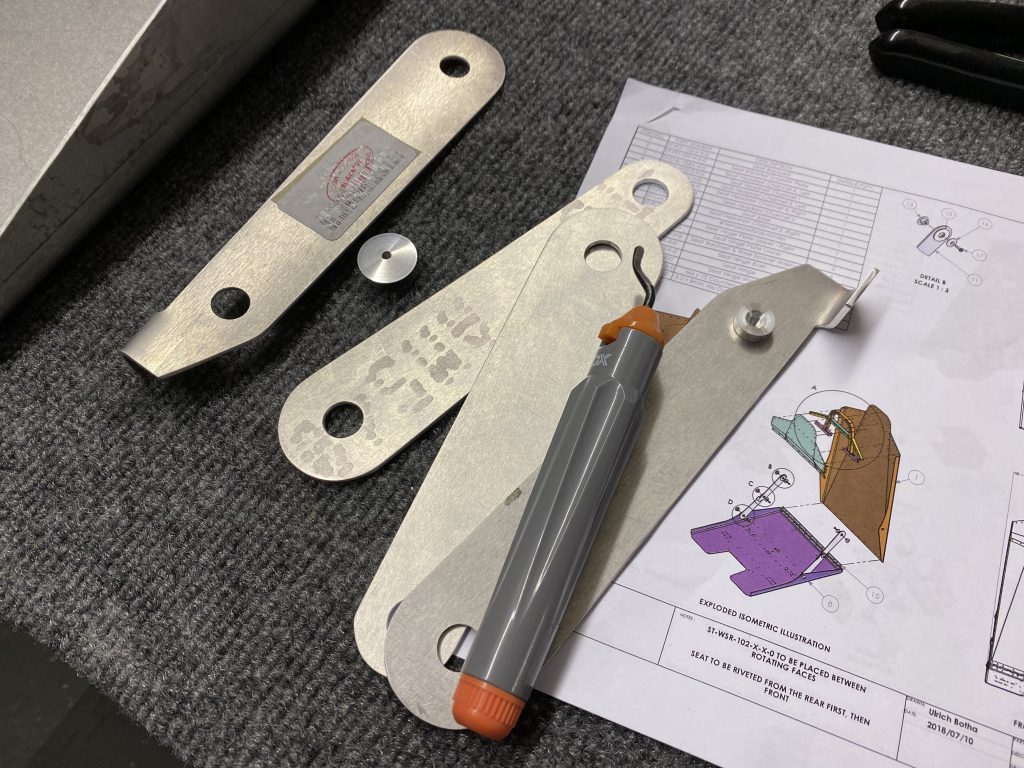
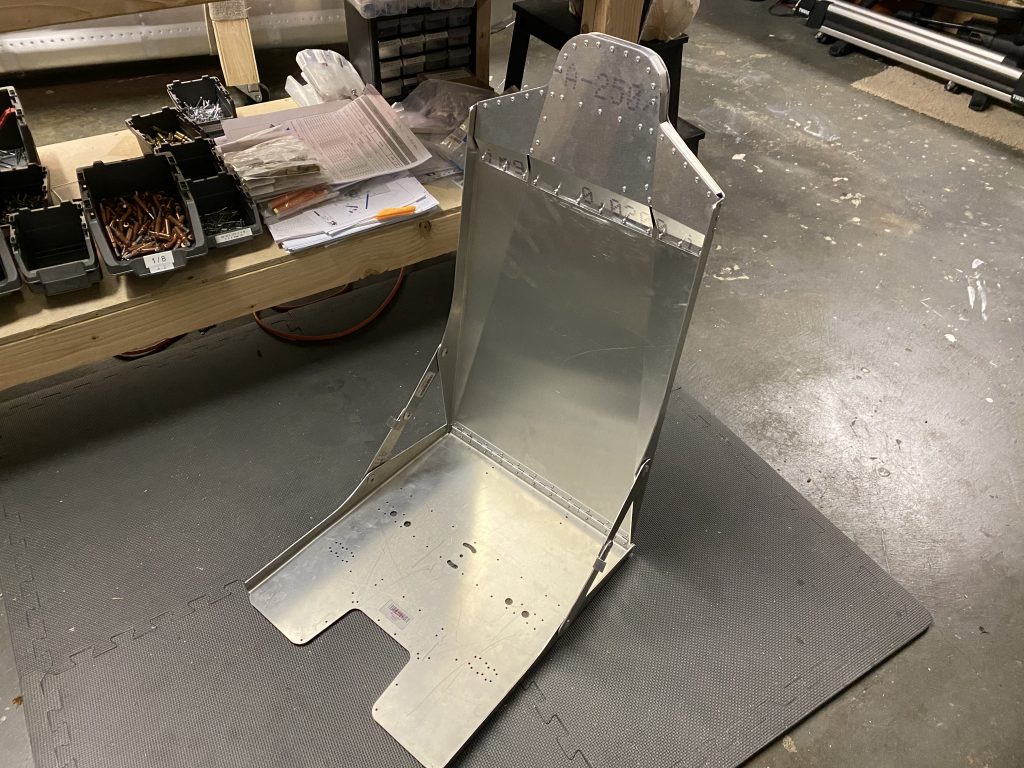
With the headrest completed, time to make it look like a seat. I checked out the detail diagrams for the hinges and put everything together. The holes of the hinges needed a tiny bit of enlarging which I did using a simple hand deburring tool.
Once I had the side hinges completed, I cleoed and riveted the bottom hinge of the seat in place.
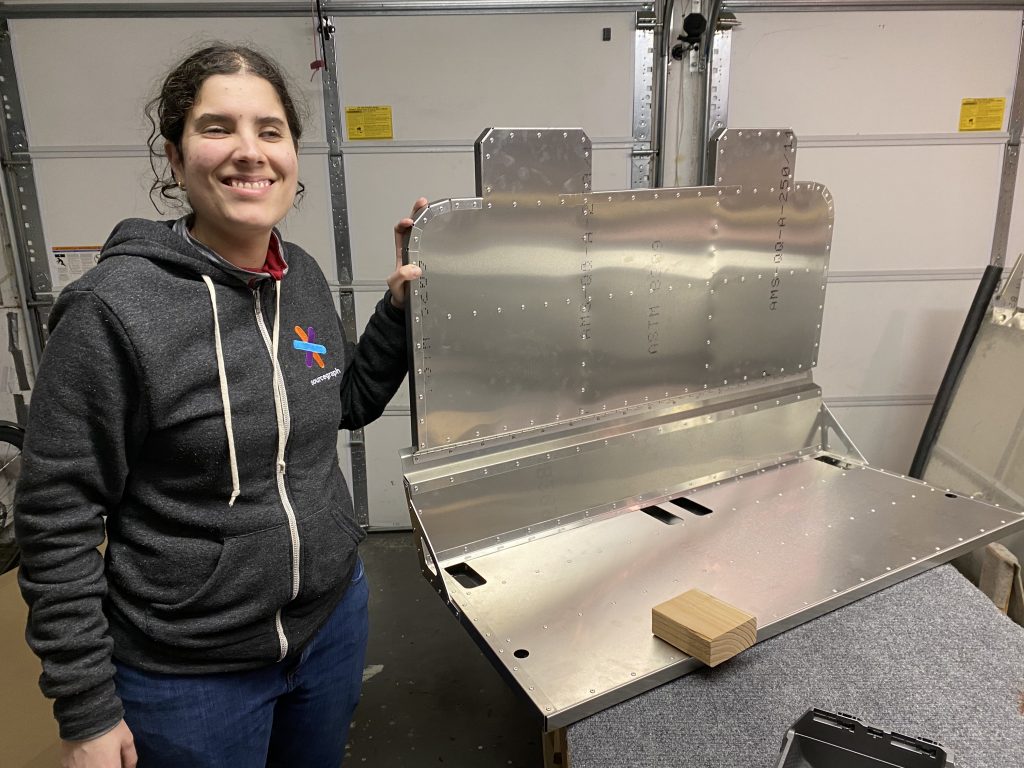
Almost looks like a seat:
Assembling the bolt mechanism
The only thing left is the bolt mechanism that allows the seat to lock in place inside the Fuselage.
Unfortunately, this is where I found out I was missing something. The bolt that allows the pulley to pull the cable wasn’t quite long enough. It should be a AN3-6A bolt, but as it turns out, it’s a 5A bolt, so it’s missing the mark by just a hair.
Also I only got one bolt, set of washers and screws for the hinges, which (if it was the right length) is only enough to complete one seat, so I put in an order for the few parts and will give them a call in Torrance to see if they can send they few screws so I can complete the seats.
Here’s a picture of test fitting the mechanism with the slightly too short bolt: