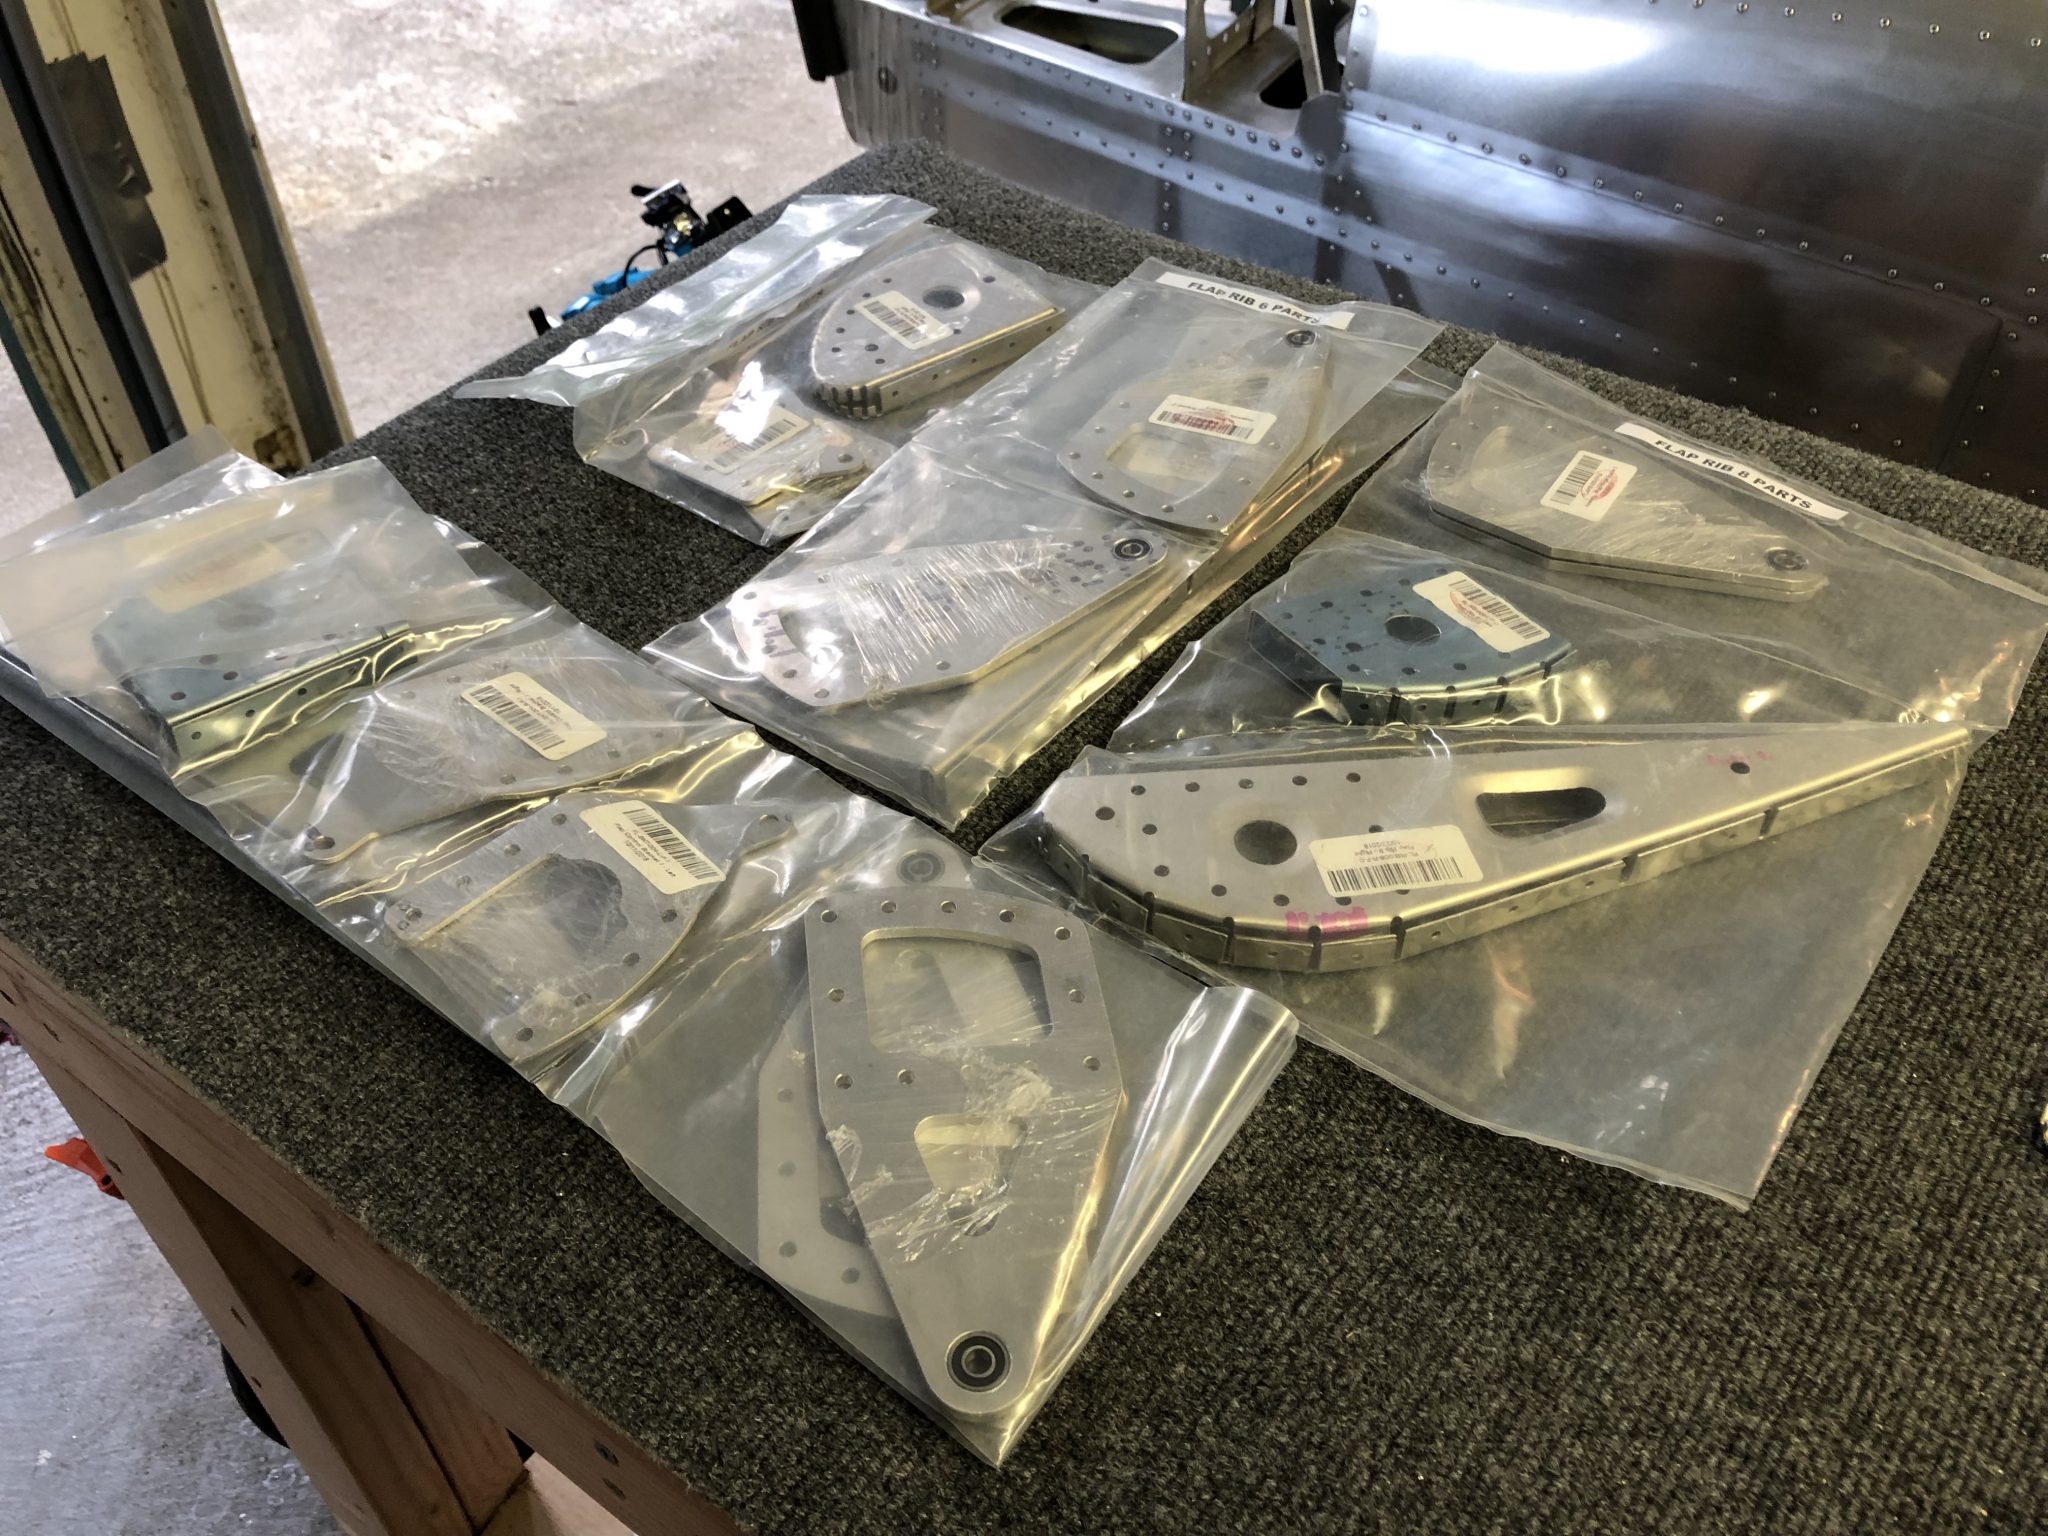
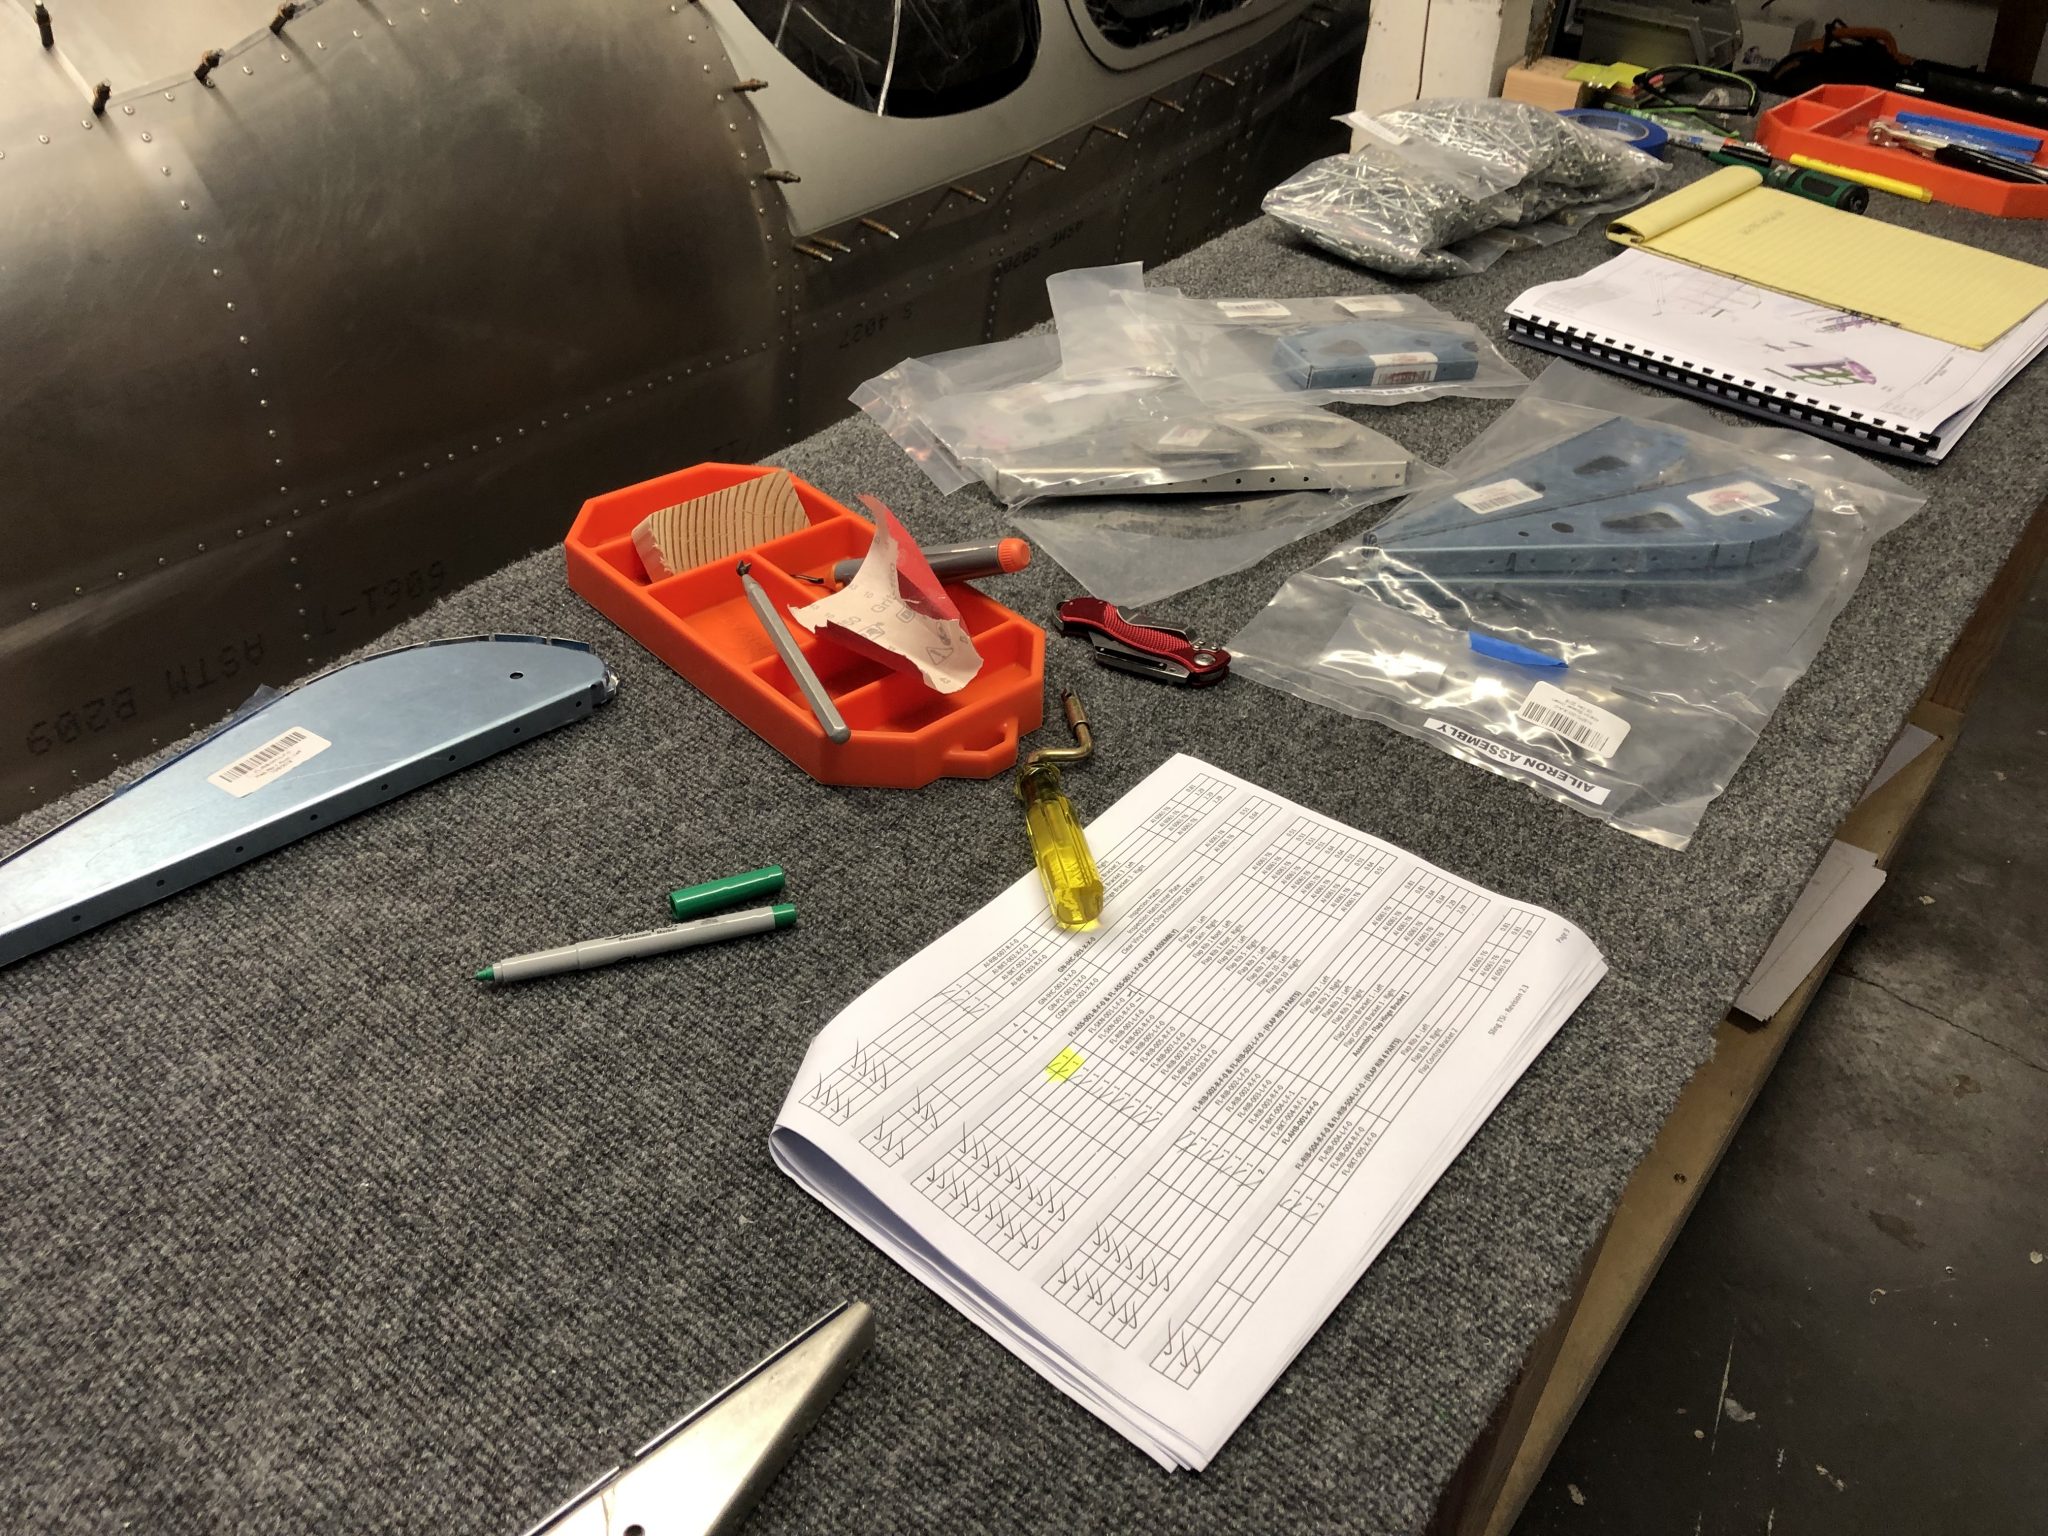
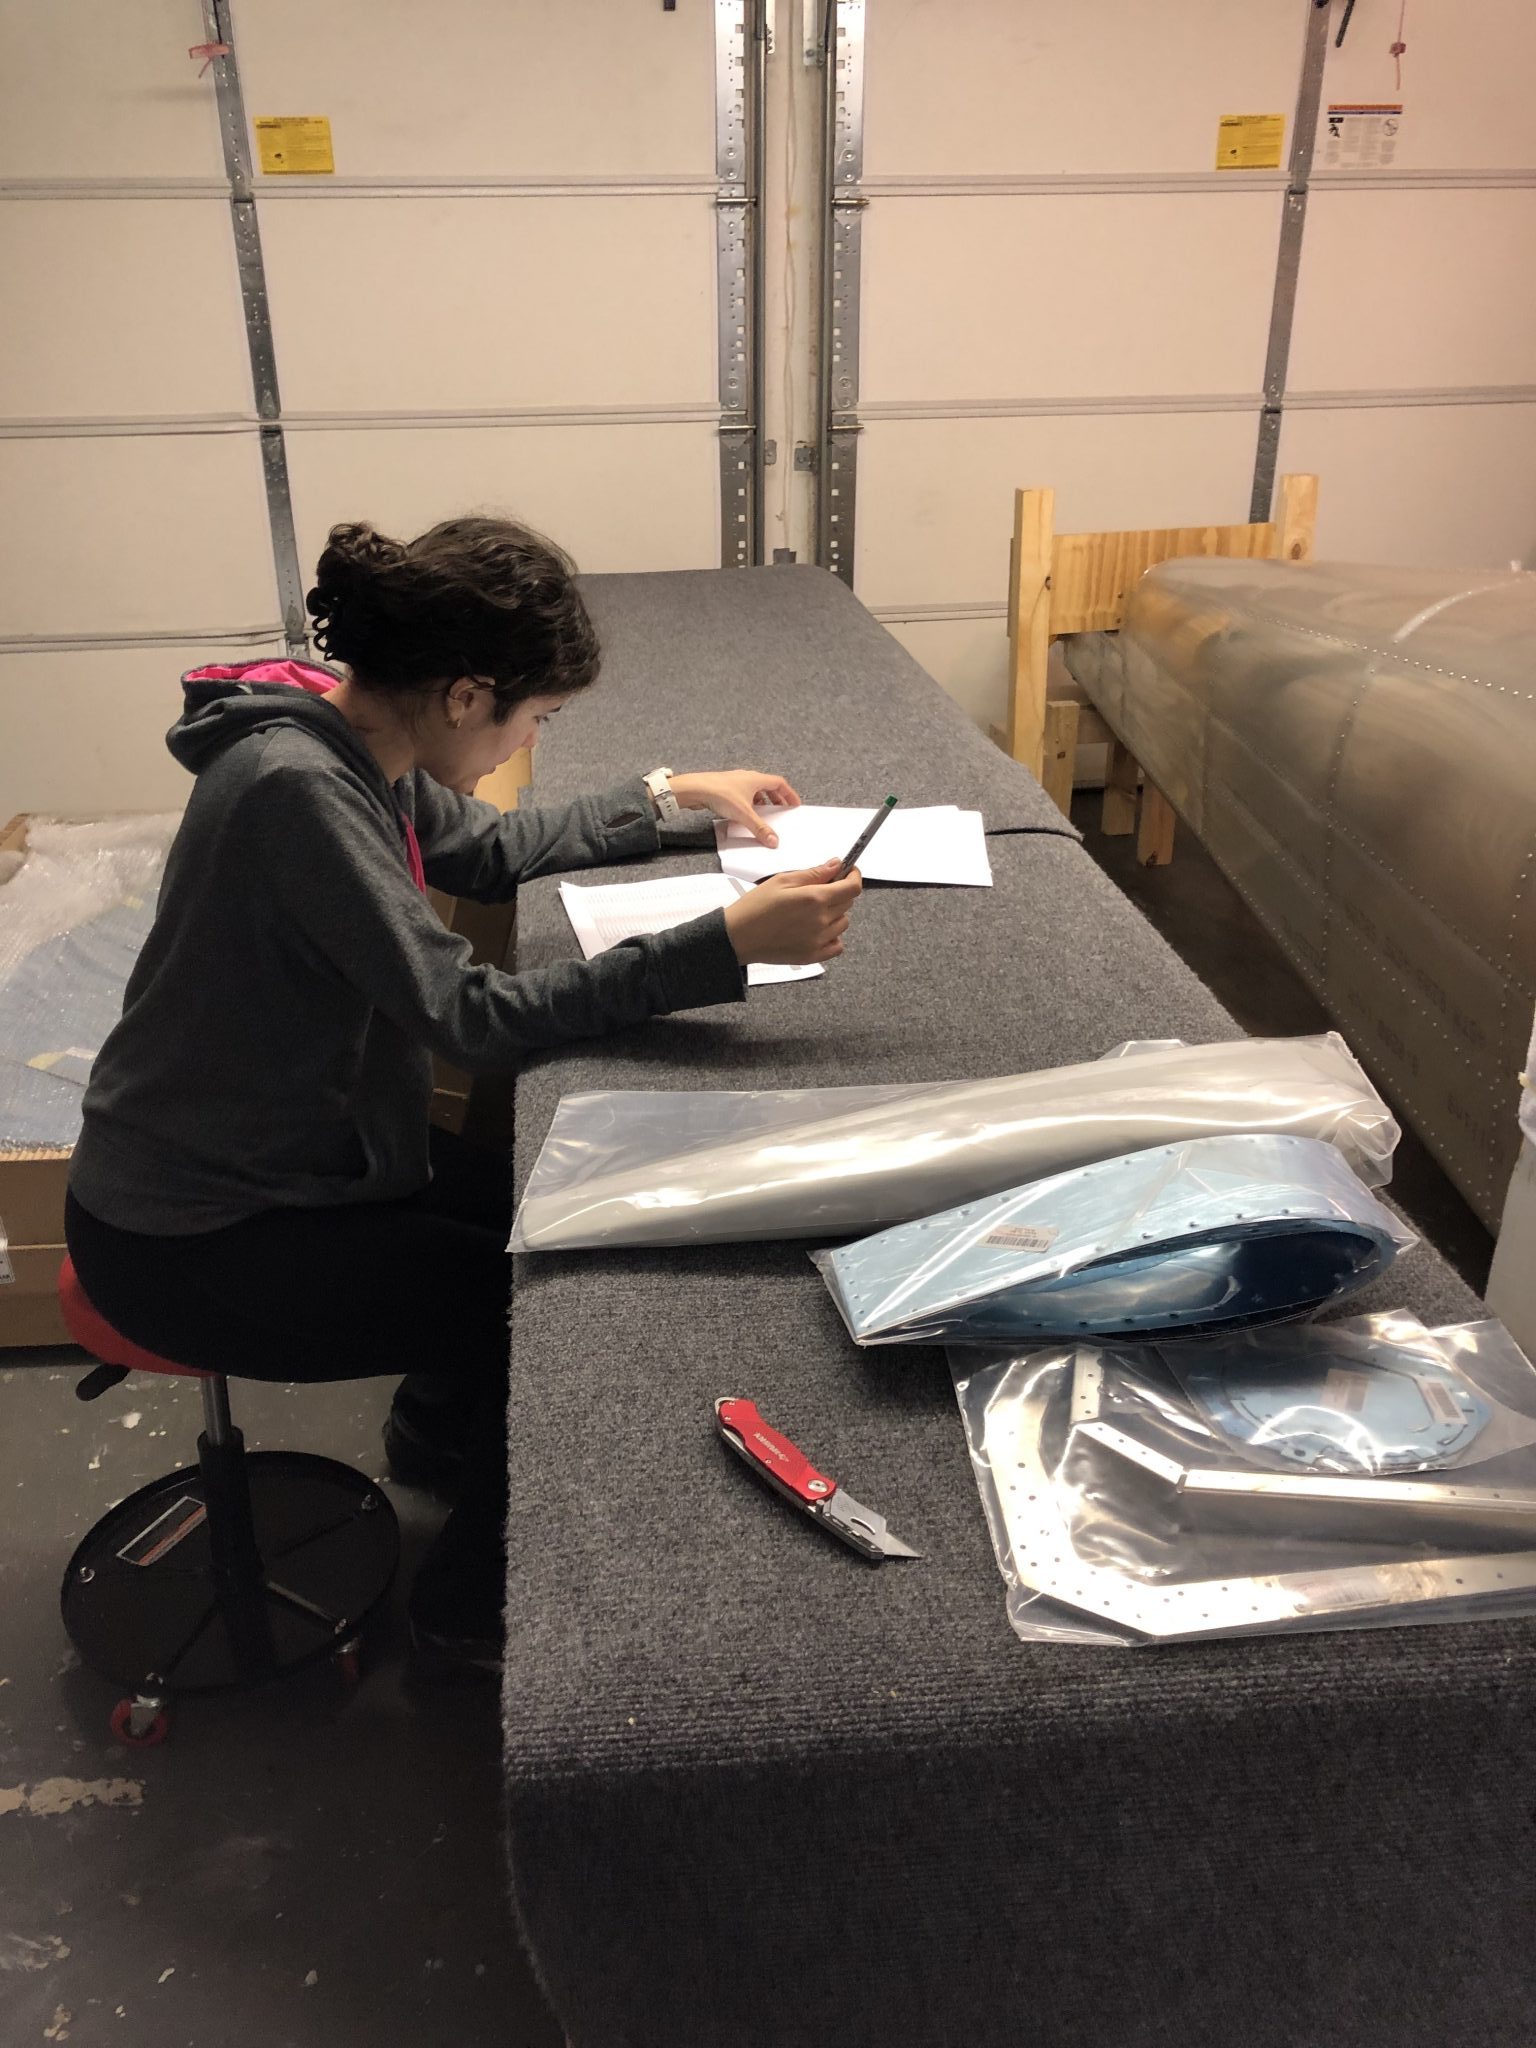
I’m currently still waiting for the correct Elevator ribs from the Factory before I can continue to complete the Empennage. So in the meantime I’ve moved on to get started on the Wings. First order of business is the Ailerons and Flaps, starting with doing the inventory and parts check.
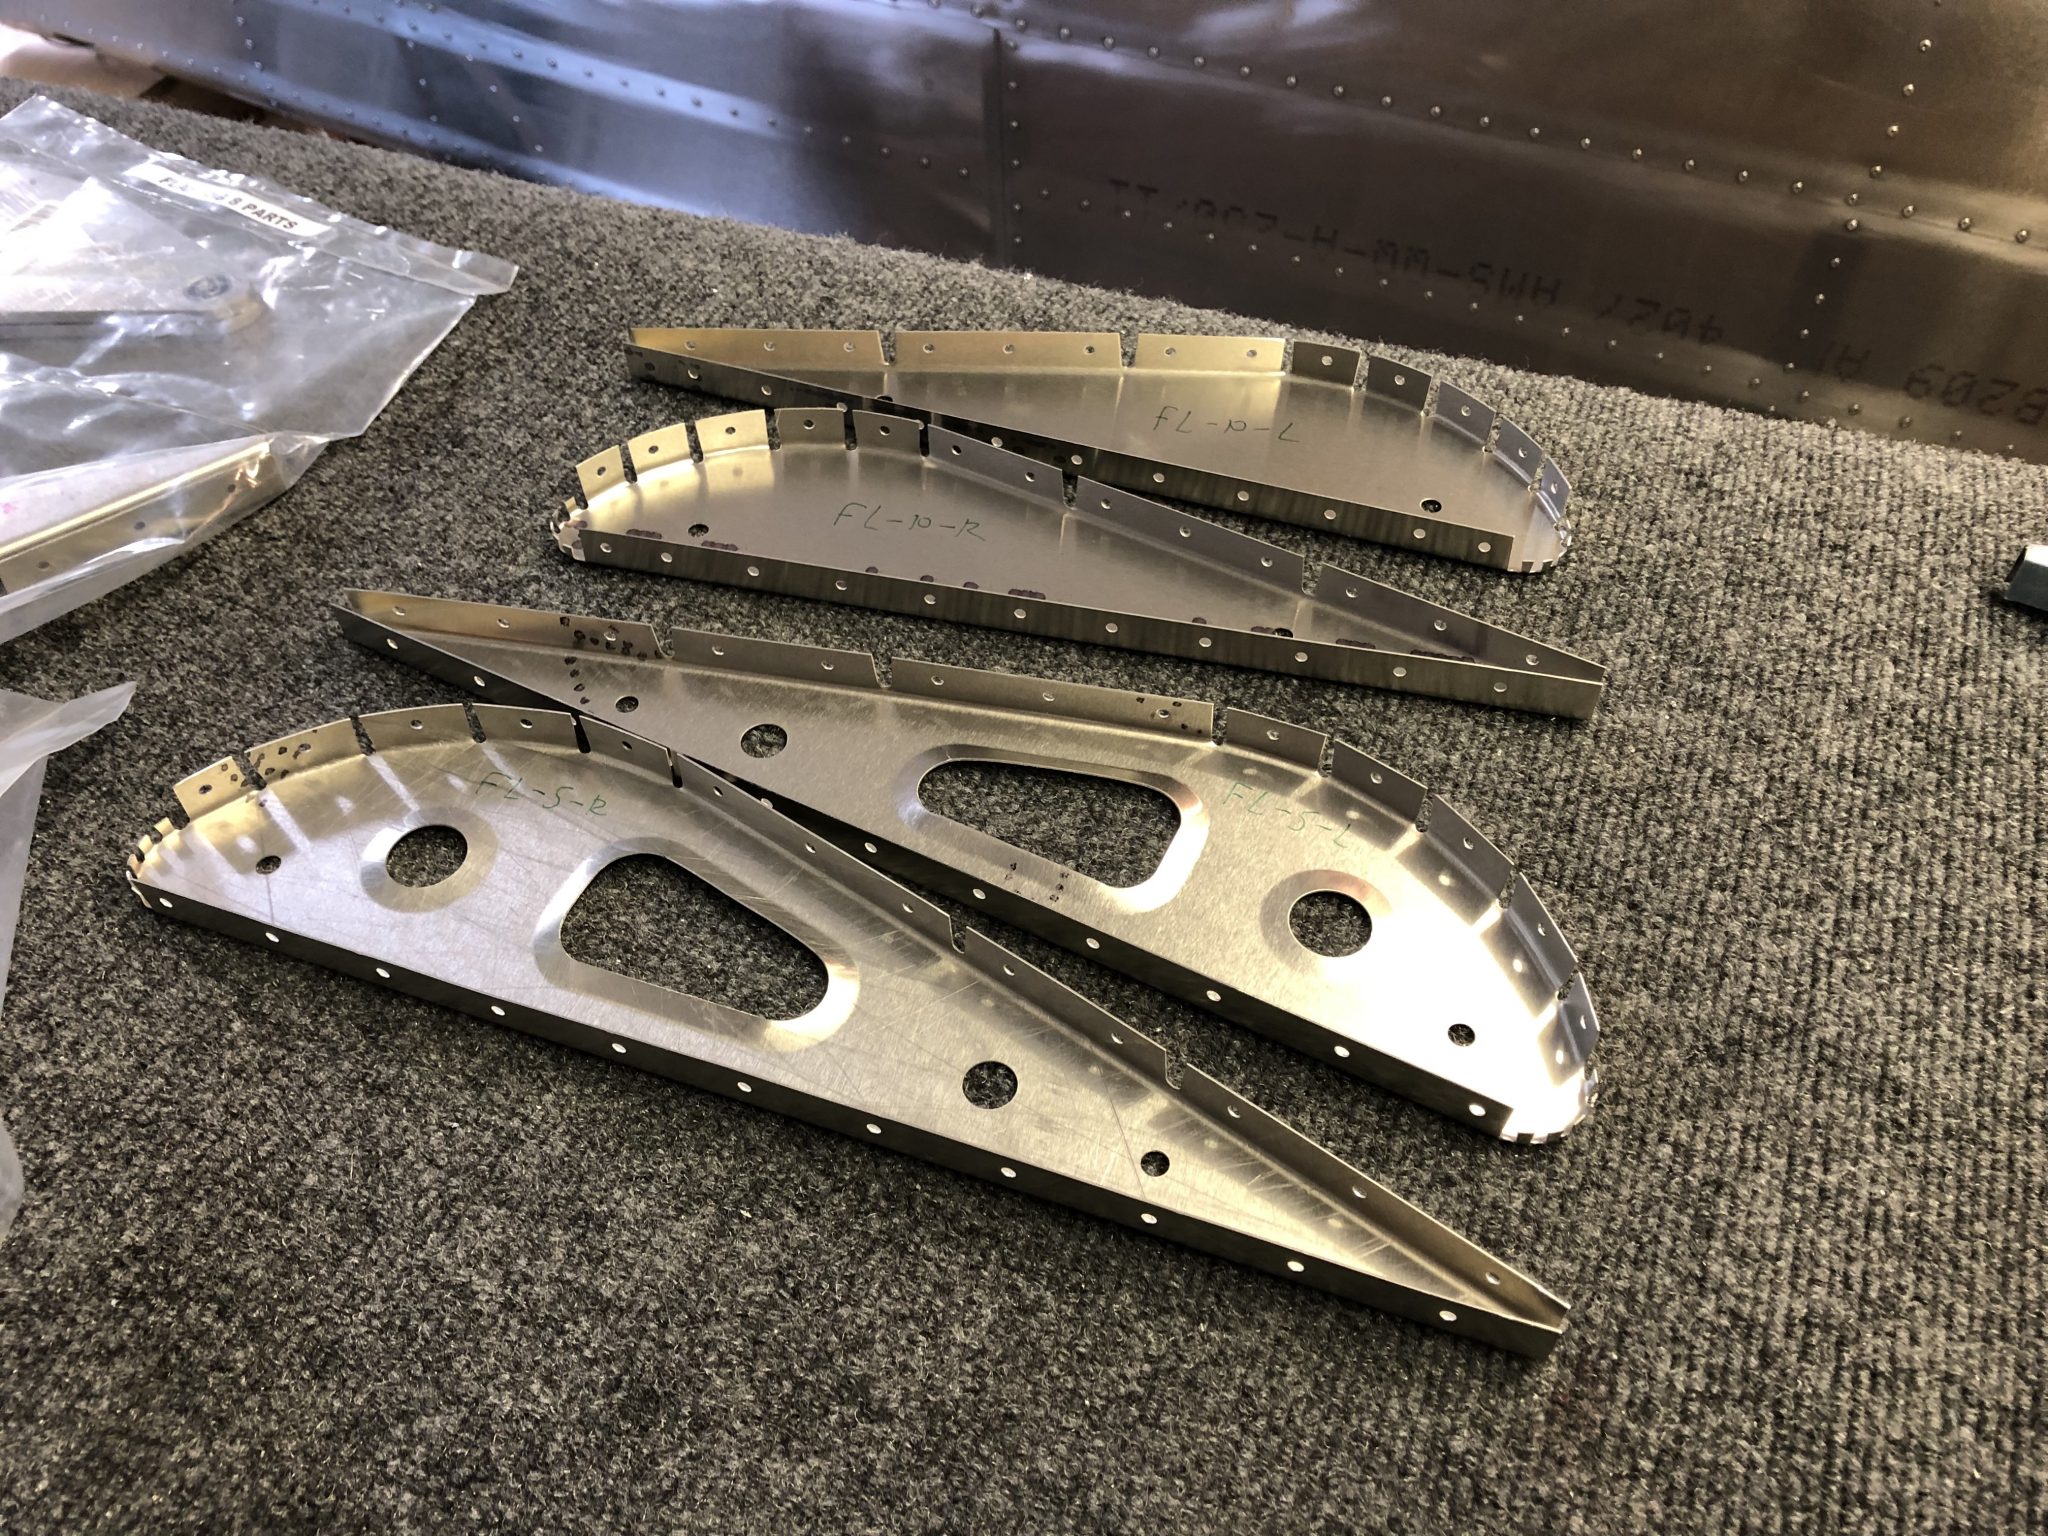
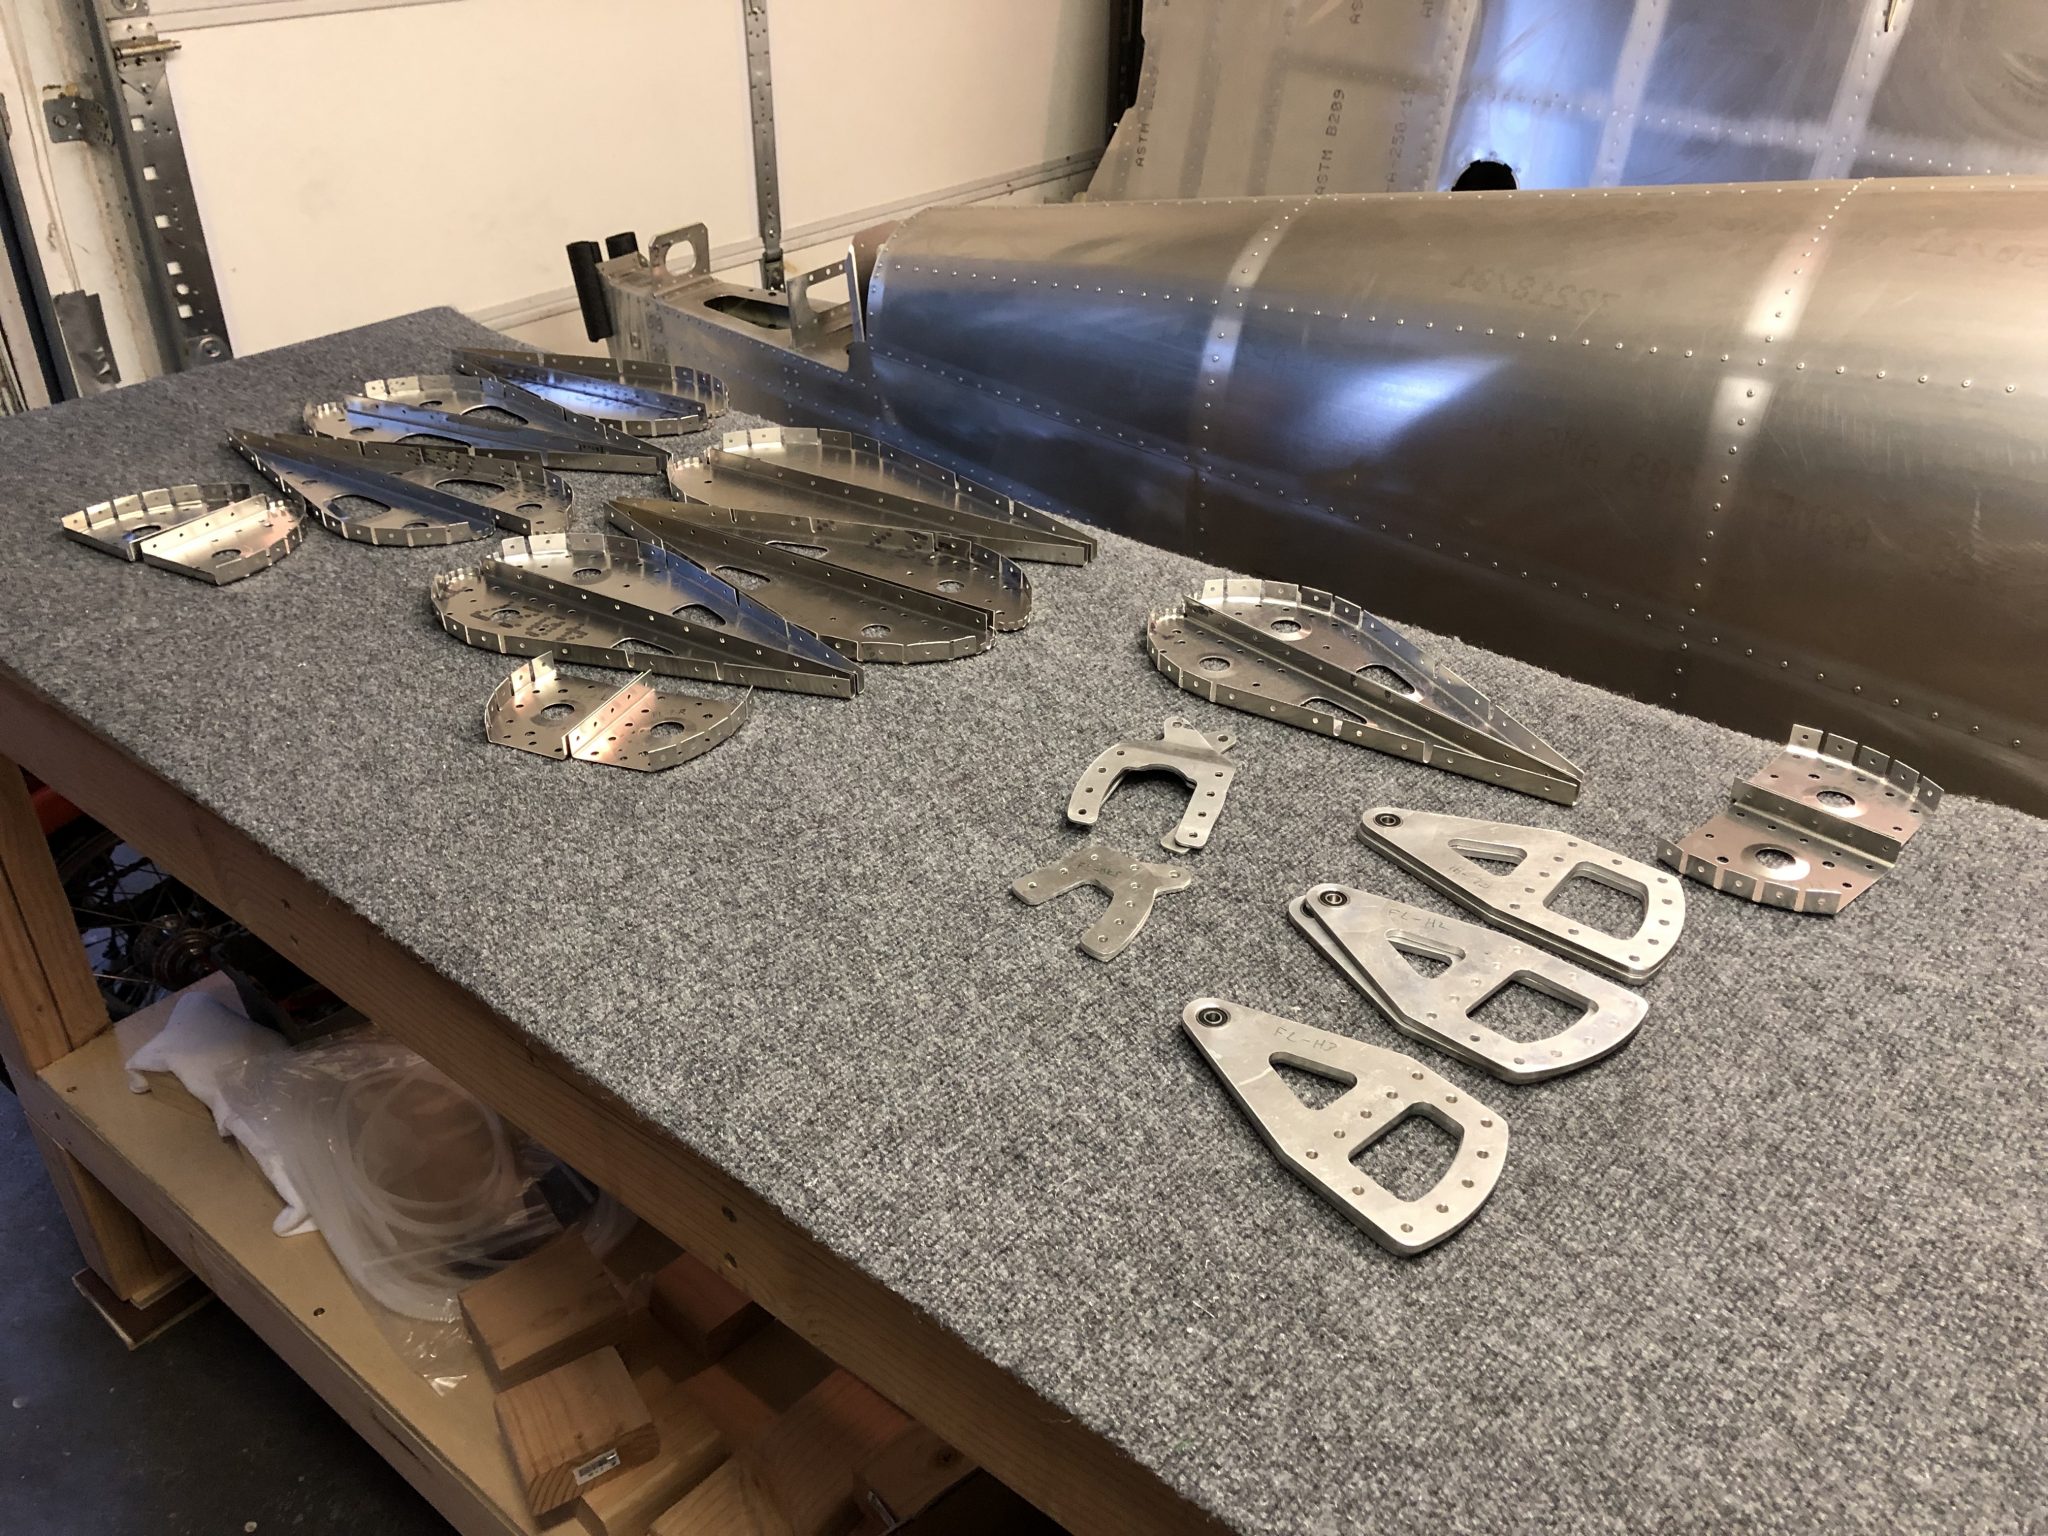
First I had to find the sub assemblies for the Flaps and Ailerons in the Wings crate. After a bit of digging, I got all the bags that had to do with those two parts out and then starting laying them out to check them off the packing list.
Once I had all the bags laid out, I started to check them off the inventory checklist and got out my tools for deburring a couple of sharp edges and holes.
I confirmed that I got all the parts out of the crate and went back once to find the Aileron balance tubes. Then I started to get going on removing the protective plastic from the Flaps parts and inspecting the parts, marking each part along the way. There were a couple of sharp edges and holes, but by and large most parts were good to go.
My Sling TSi airplane kit has finally made its way to my garage and arrived yesterday from The Airplane Factory in South Africa. Since I ordered the entire kit in one go as a quick build, it was shipped in one large 20 foot container directly to my house. The container arrived about two weeks ago in the port, but then the Seattle Snowpocalypse happened and we had the heaviest snow in February for over 70 years. The Seattle area is very hilly and so the sudden large amounts of snow and the hills made for impossible driving conditions and so while I couldn’t get a truck to deliver the airplane, instead we went skiing on our road sometime last week since our hill has a pretty steep incline.
Luckily it stopped snowing by Tuesday and warmed a bit and the City managed to start plowing neighborhoods and we could drive again by Thursday, so I called the Freight company and told them they can now give it a shot to deliver and the scheduled the delivery for Monday, which worked out great.
Unloading an airplane from a container
I set up my GoPro to try to capture the unloading process, it worked out fairly well to capture everything, so here it goes:
If this wasn’t enough, then here’s the complete story:
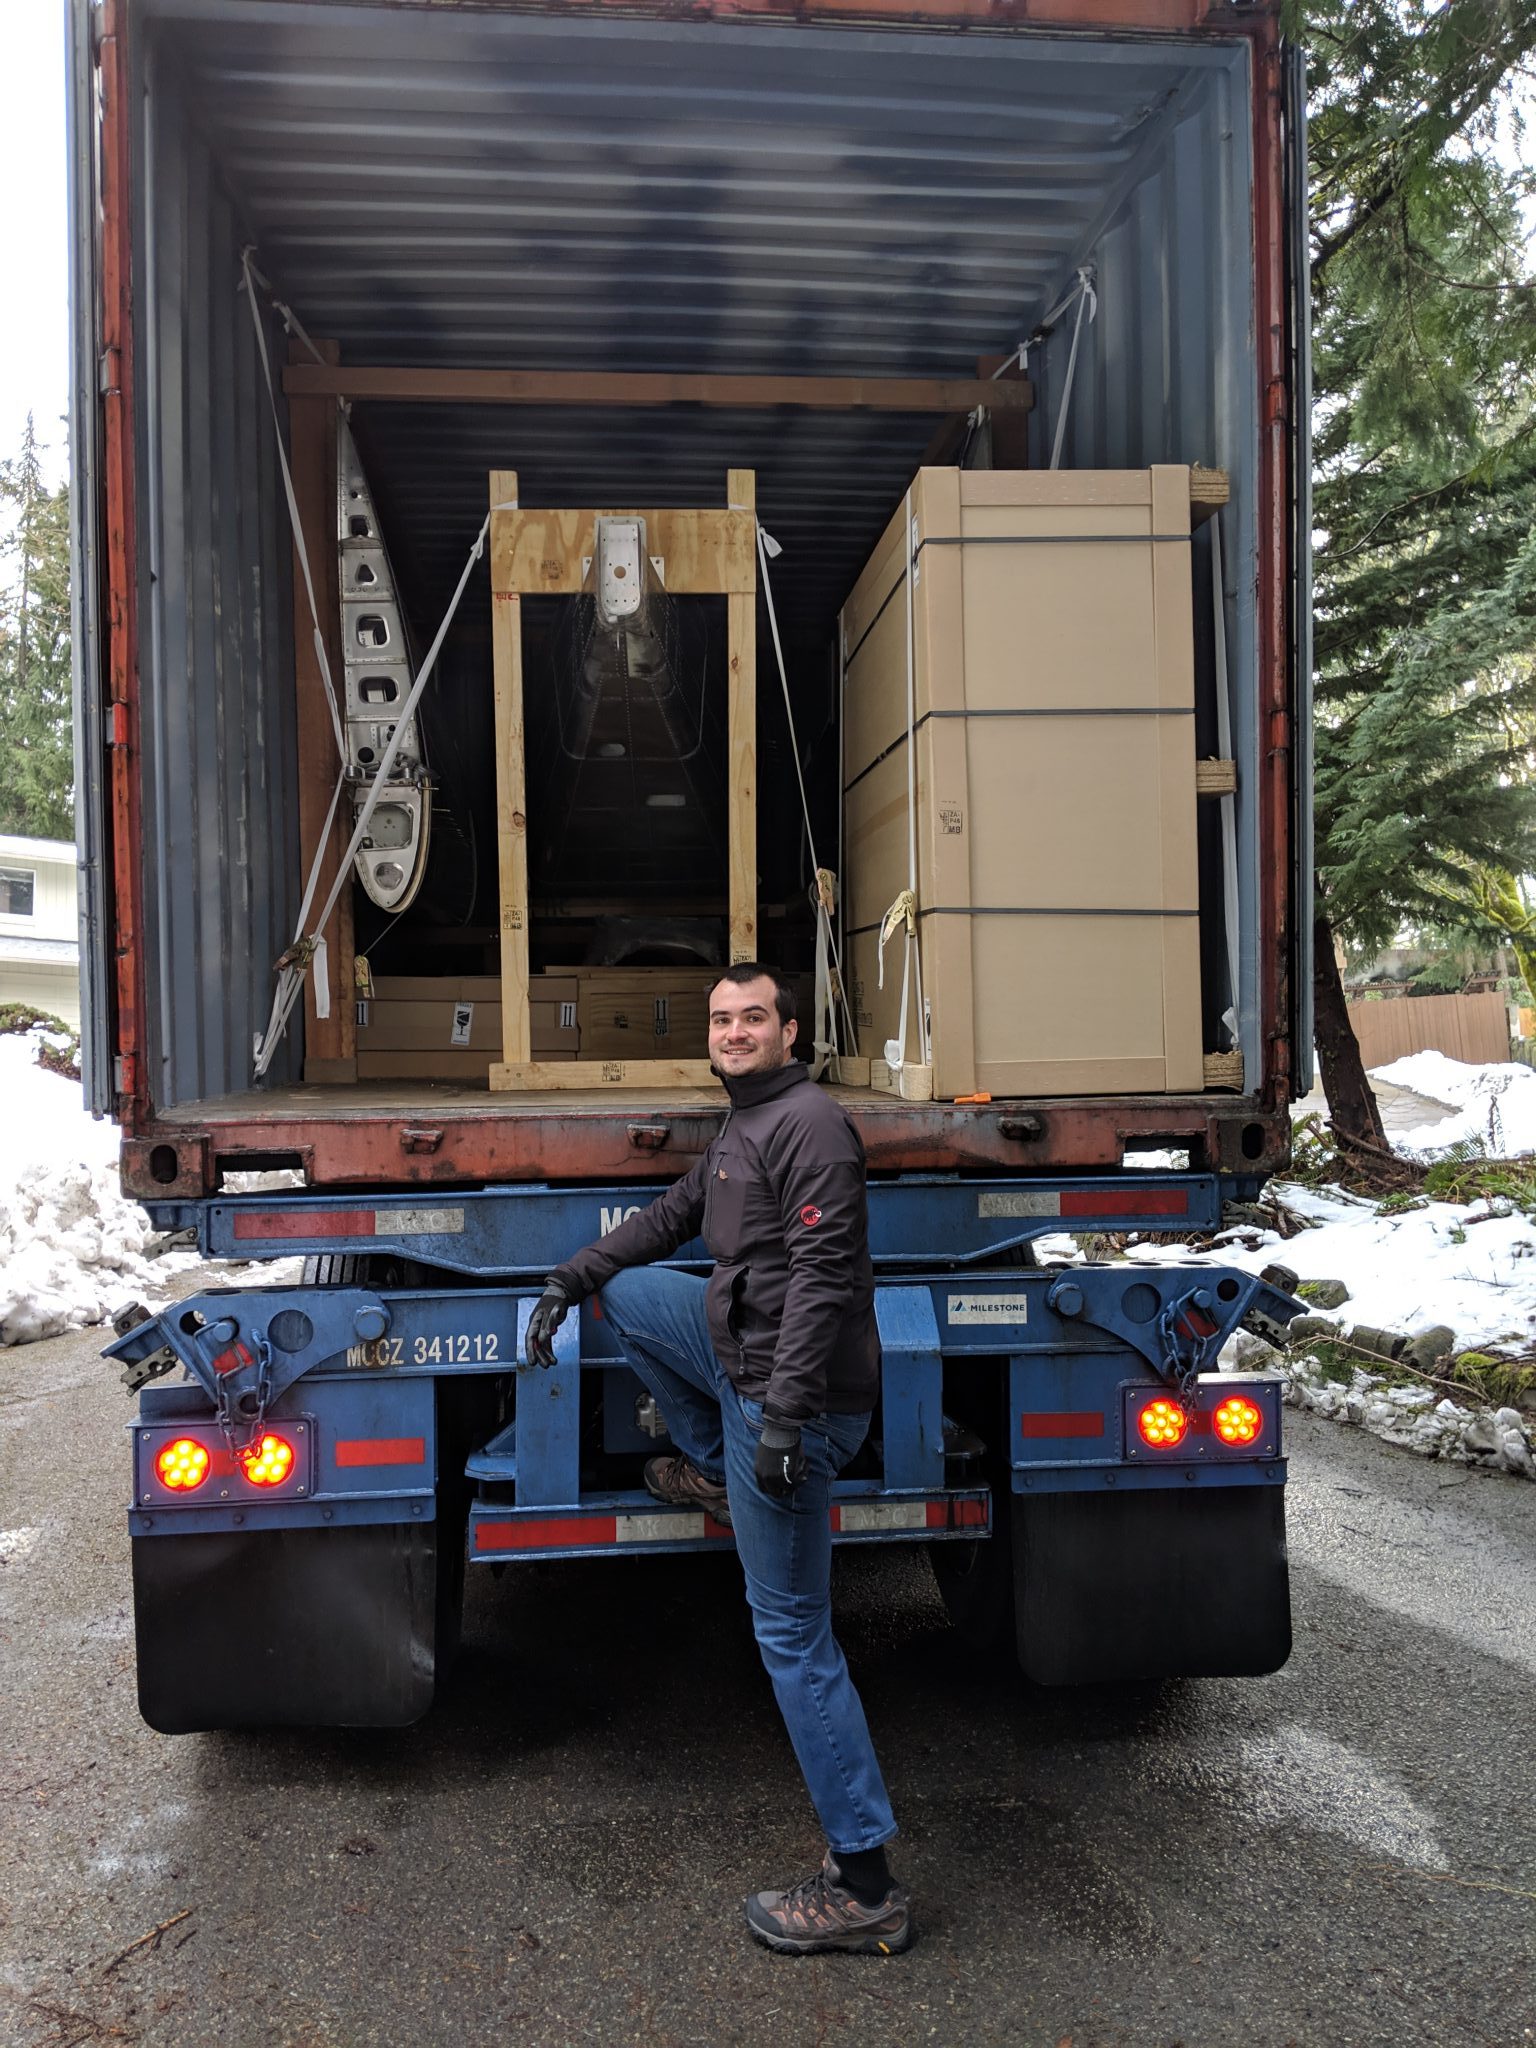
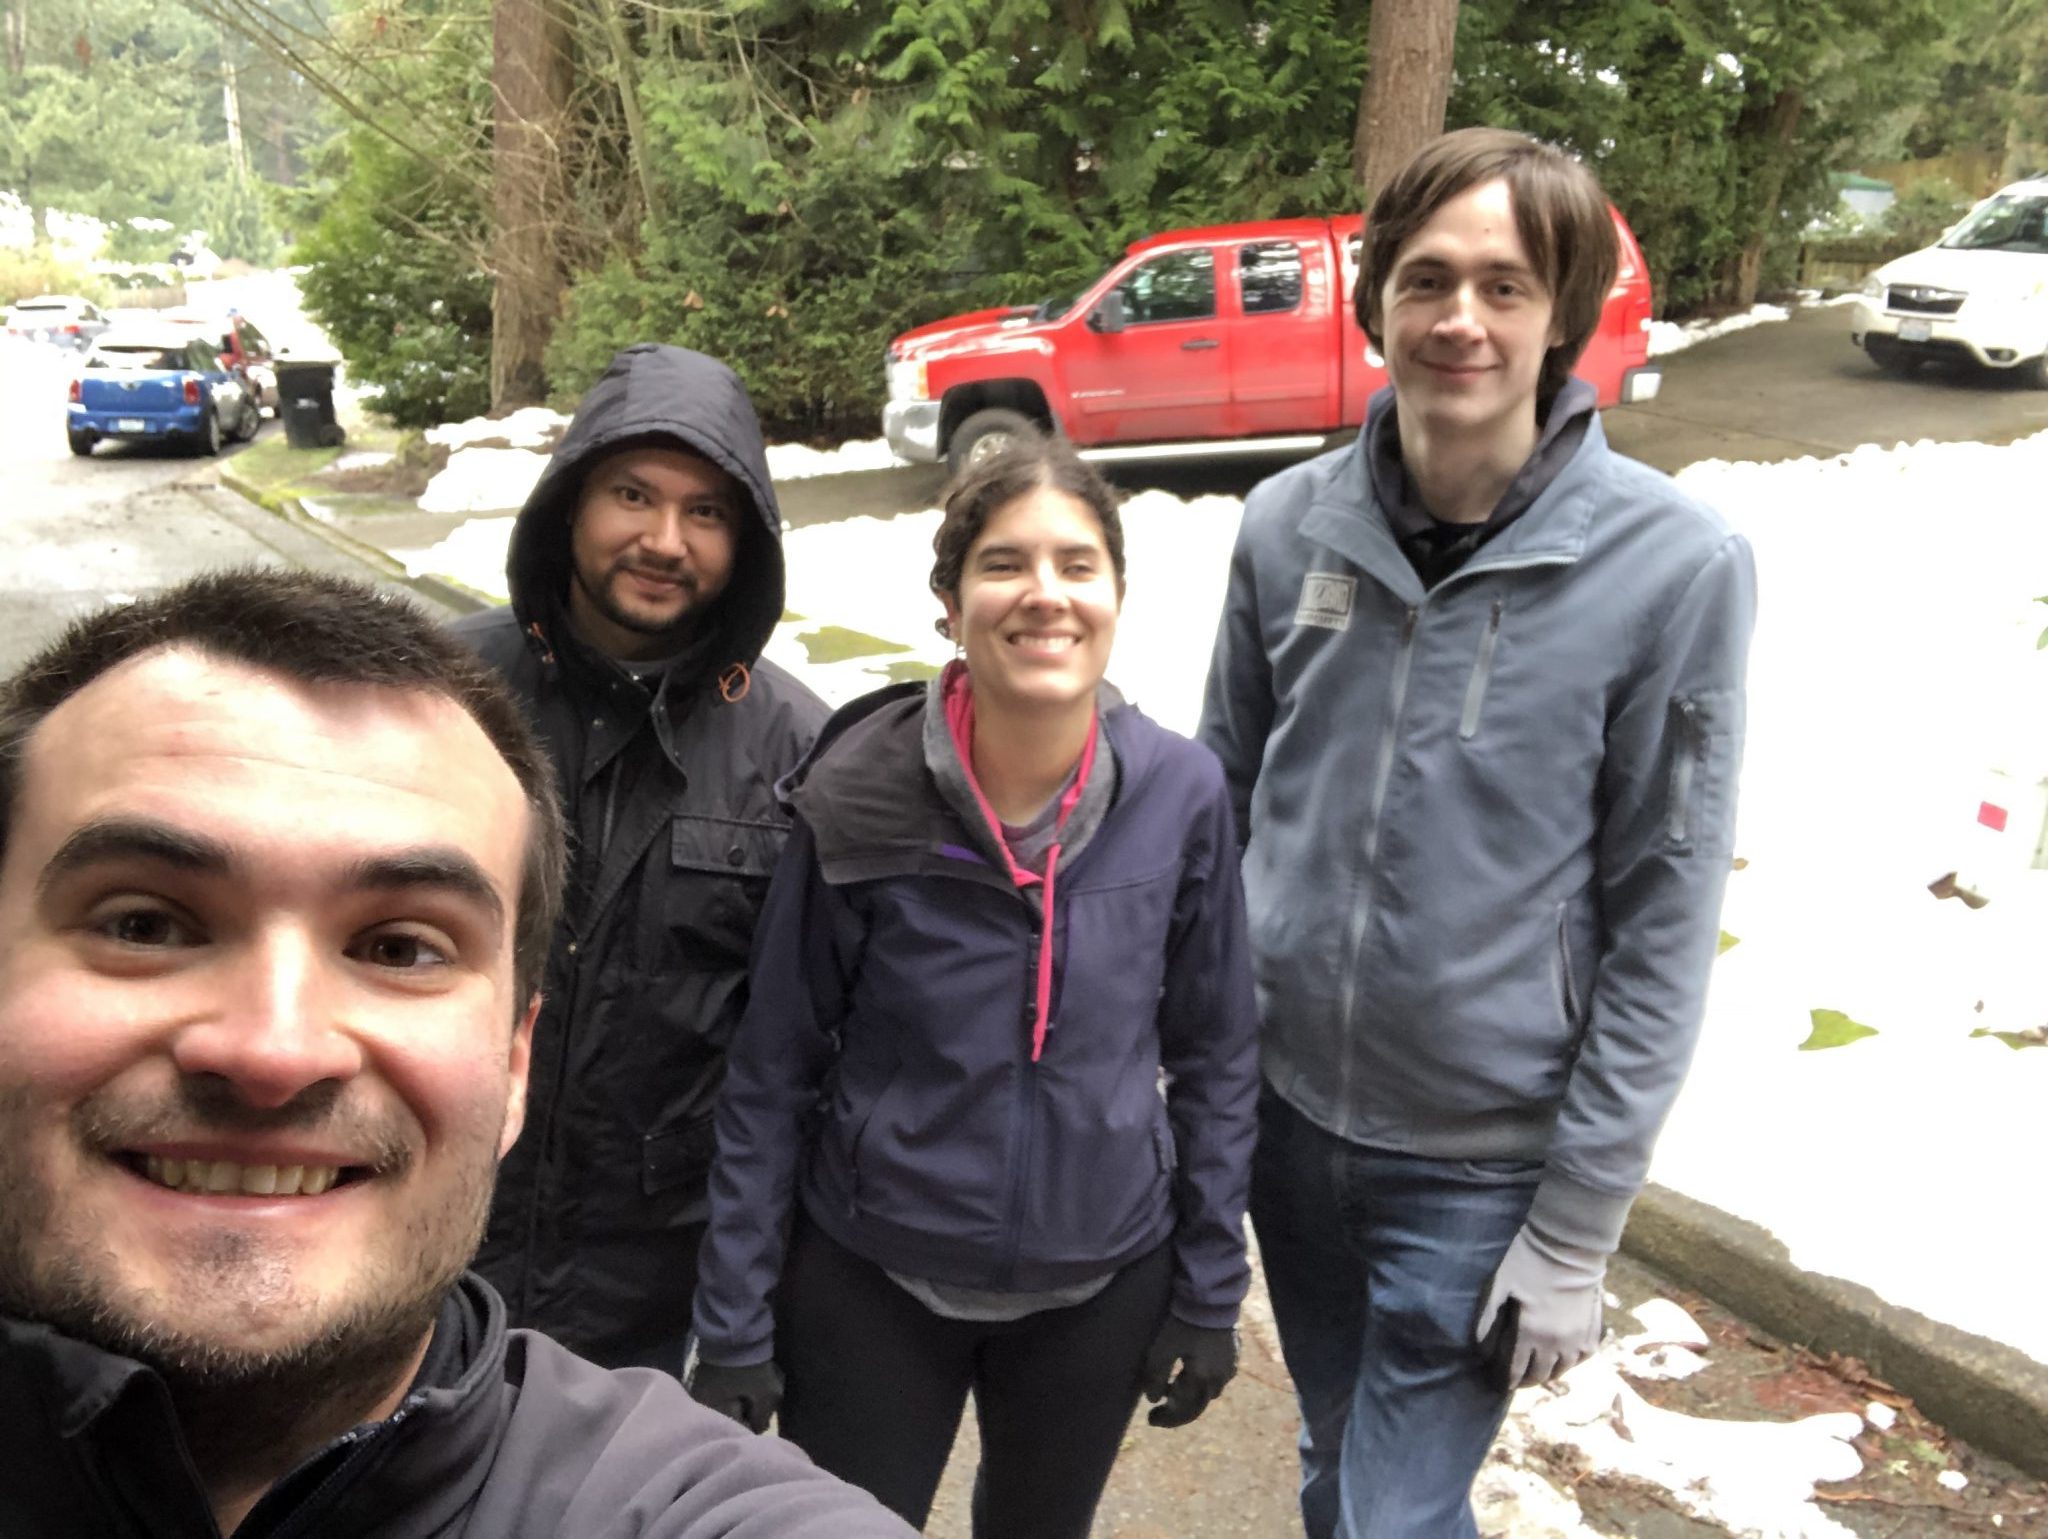
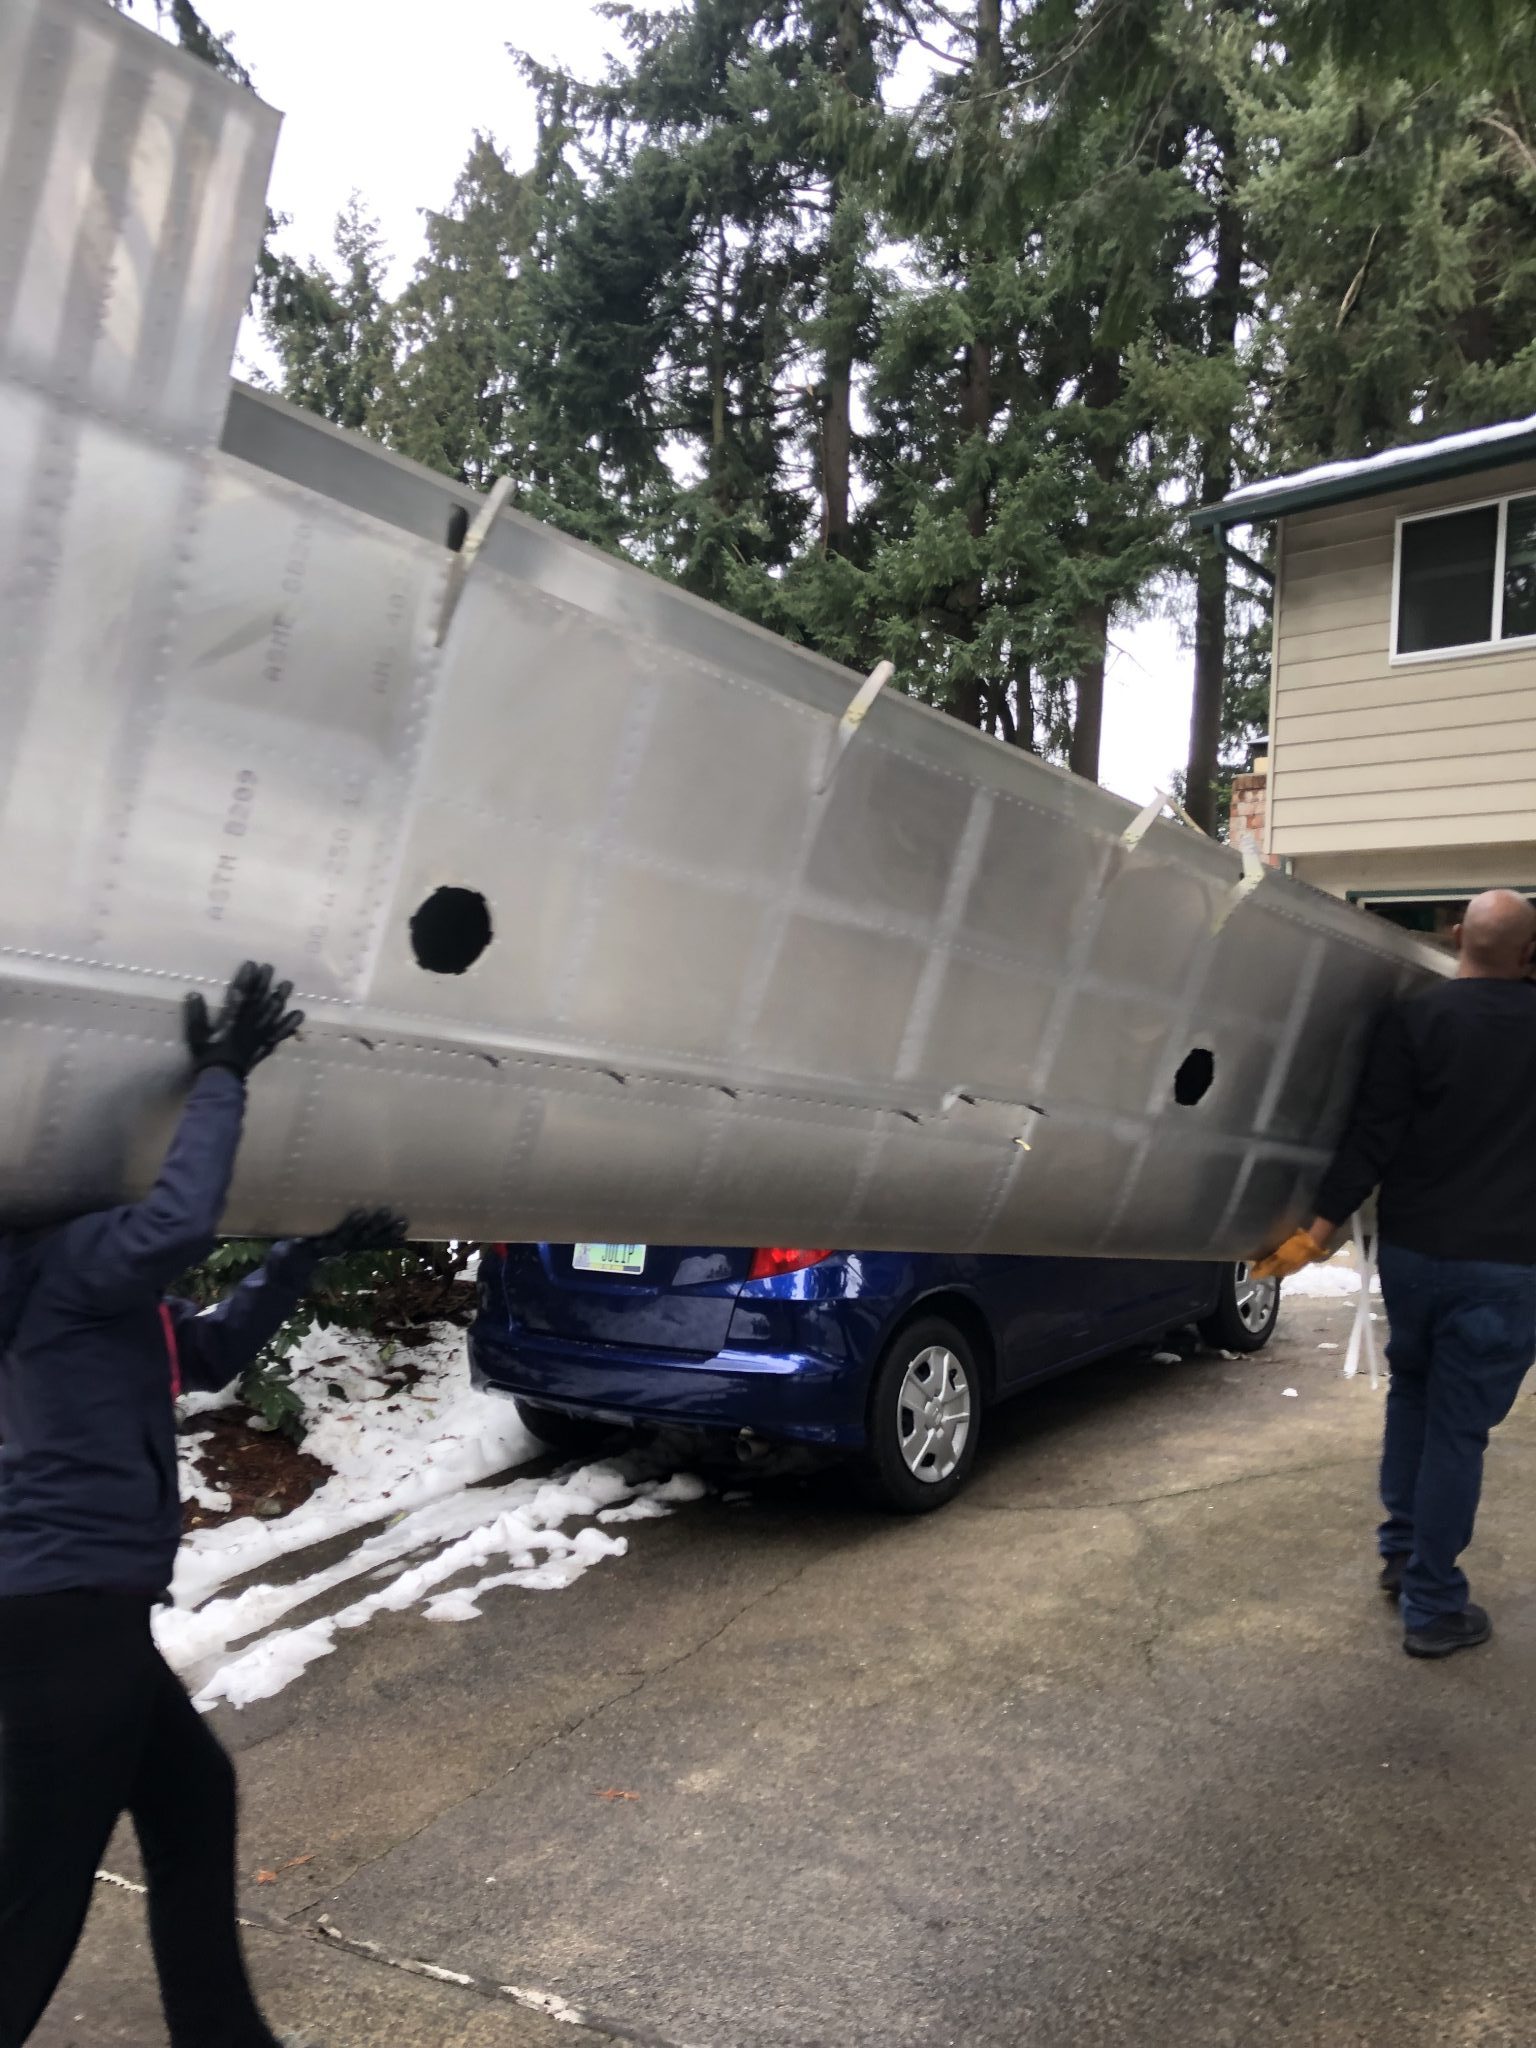
The Truck with the 20 foot container arrived just as my friends, who graciously were on standby the past two weeks to help, were arriving to help me unload and we went to work. The first order of business was to figure out the order to unload the container.
After taking out the big box with the Finishing kit on the side, we juggled around a bit to see if we could take the boxes on the bottom out, but they were blocked by the Fuselage Tail support, so we figured that we should take out the Fuselage next. The wood that the Factory used to build the framing is of some impressive quality and the heavy screws driven into them were very tight, so it took some loosening by hand before even my impact driver could undo the screws, so I grabbed my trusty Milwaukee M12 Hackzall and made due process so we could get on with unloading and then undo the rest of the structure later. That and heavy use of my Utility Knife to cut through the many support straps that held down the structure.
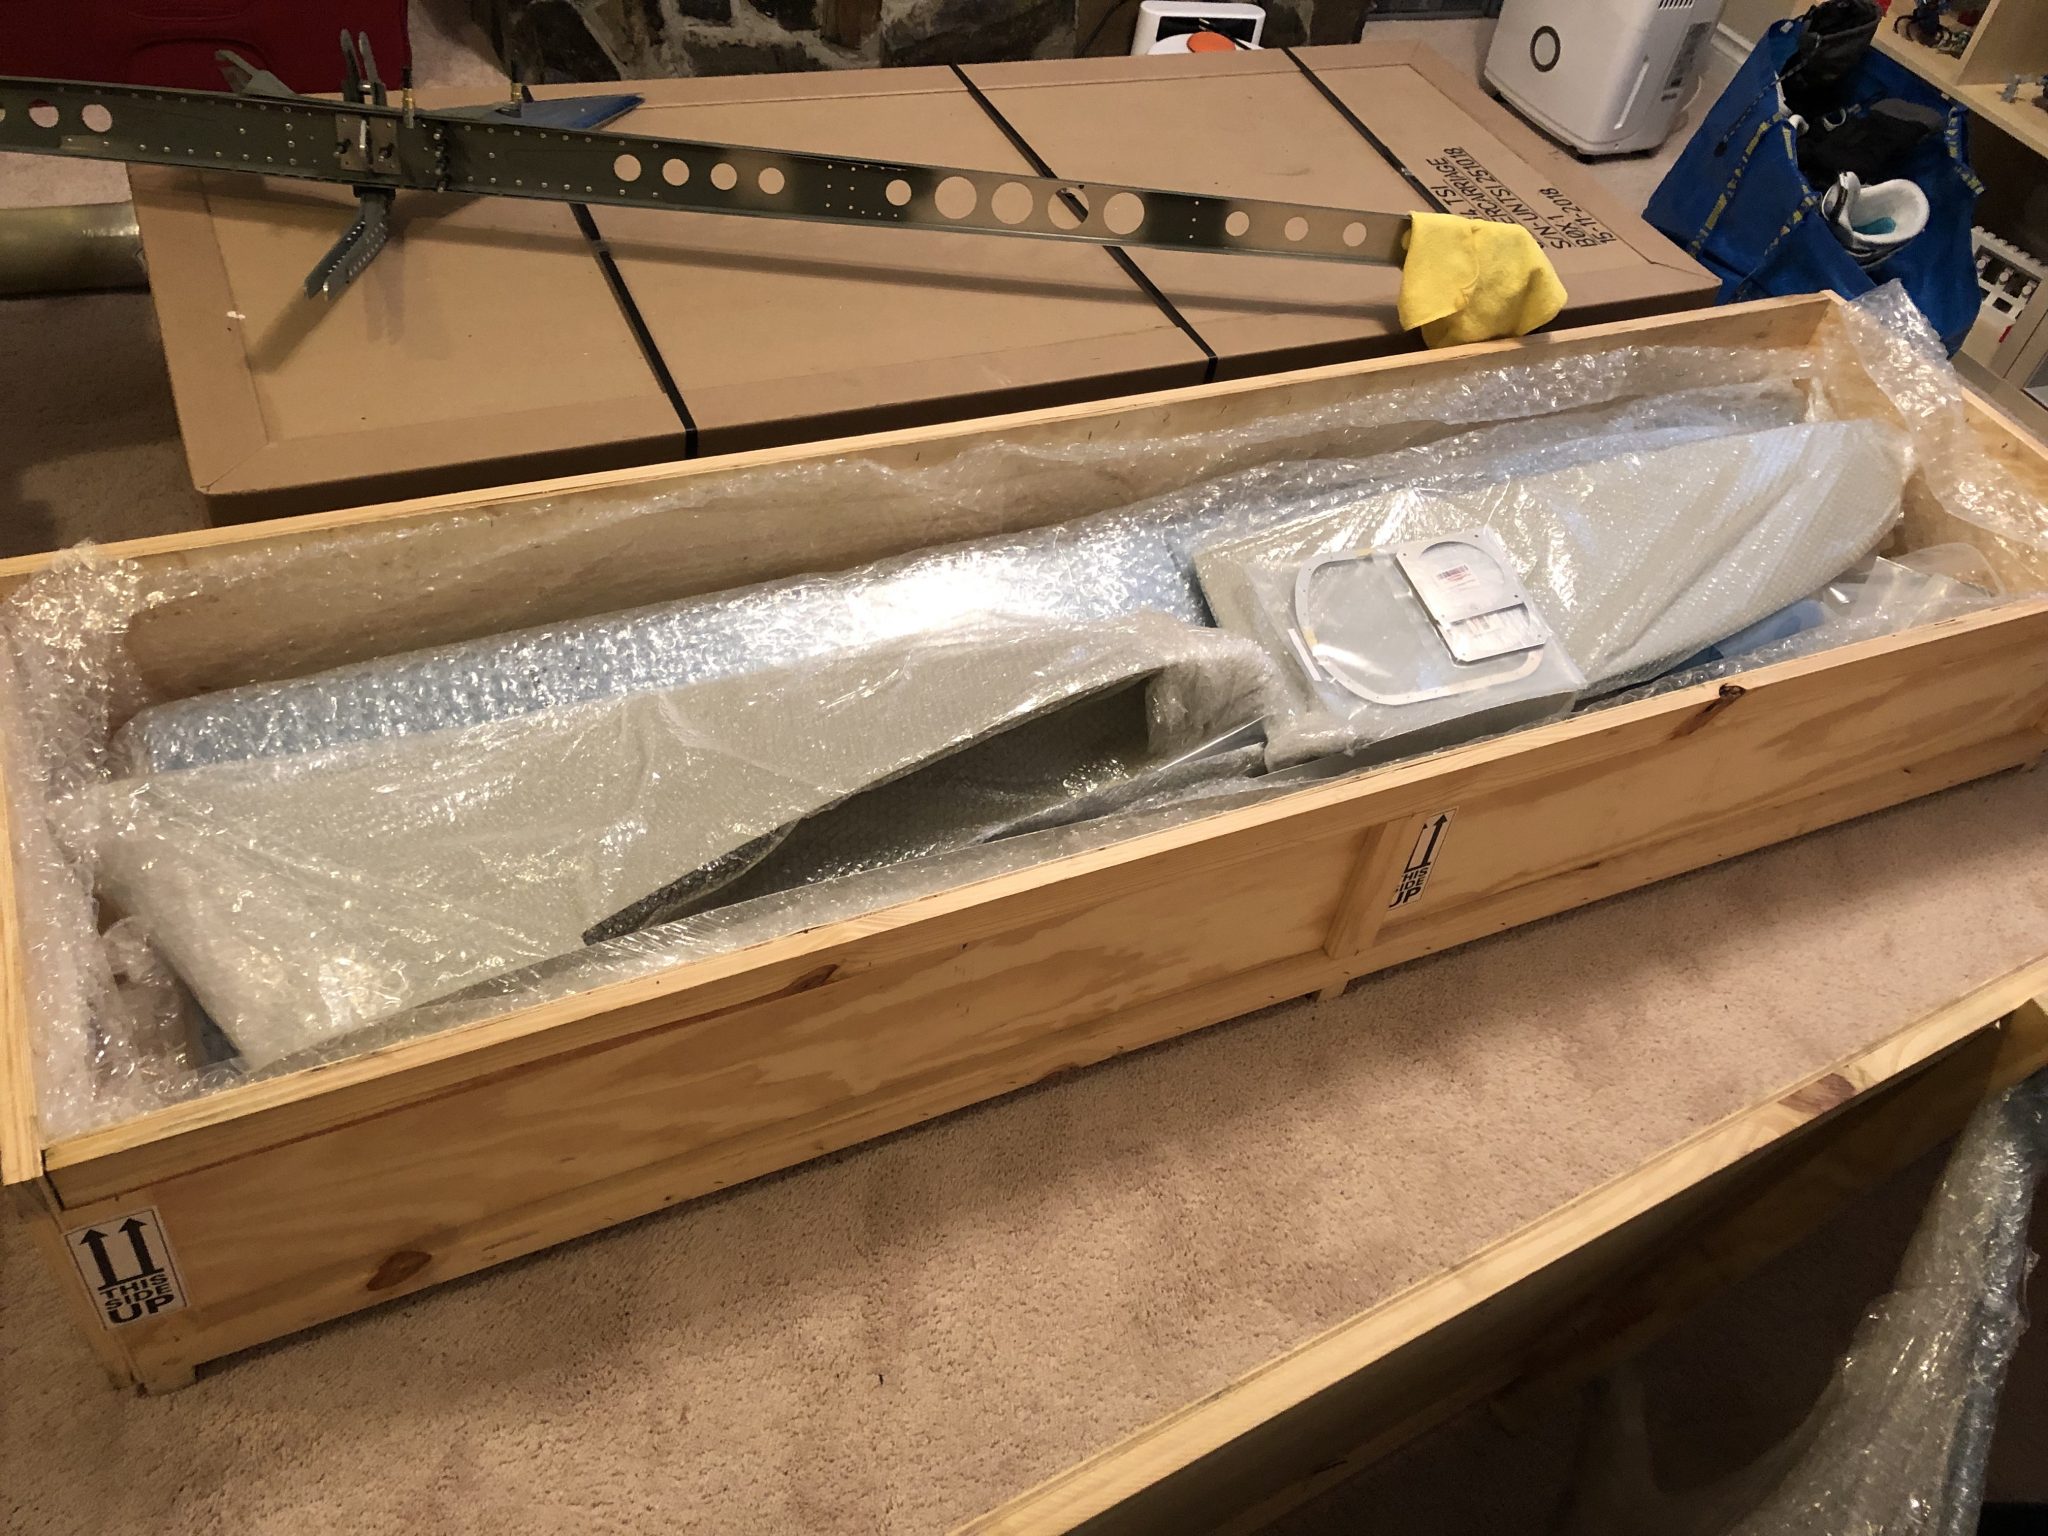
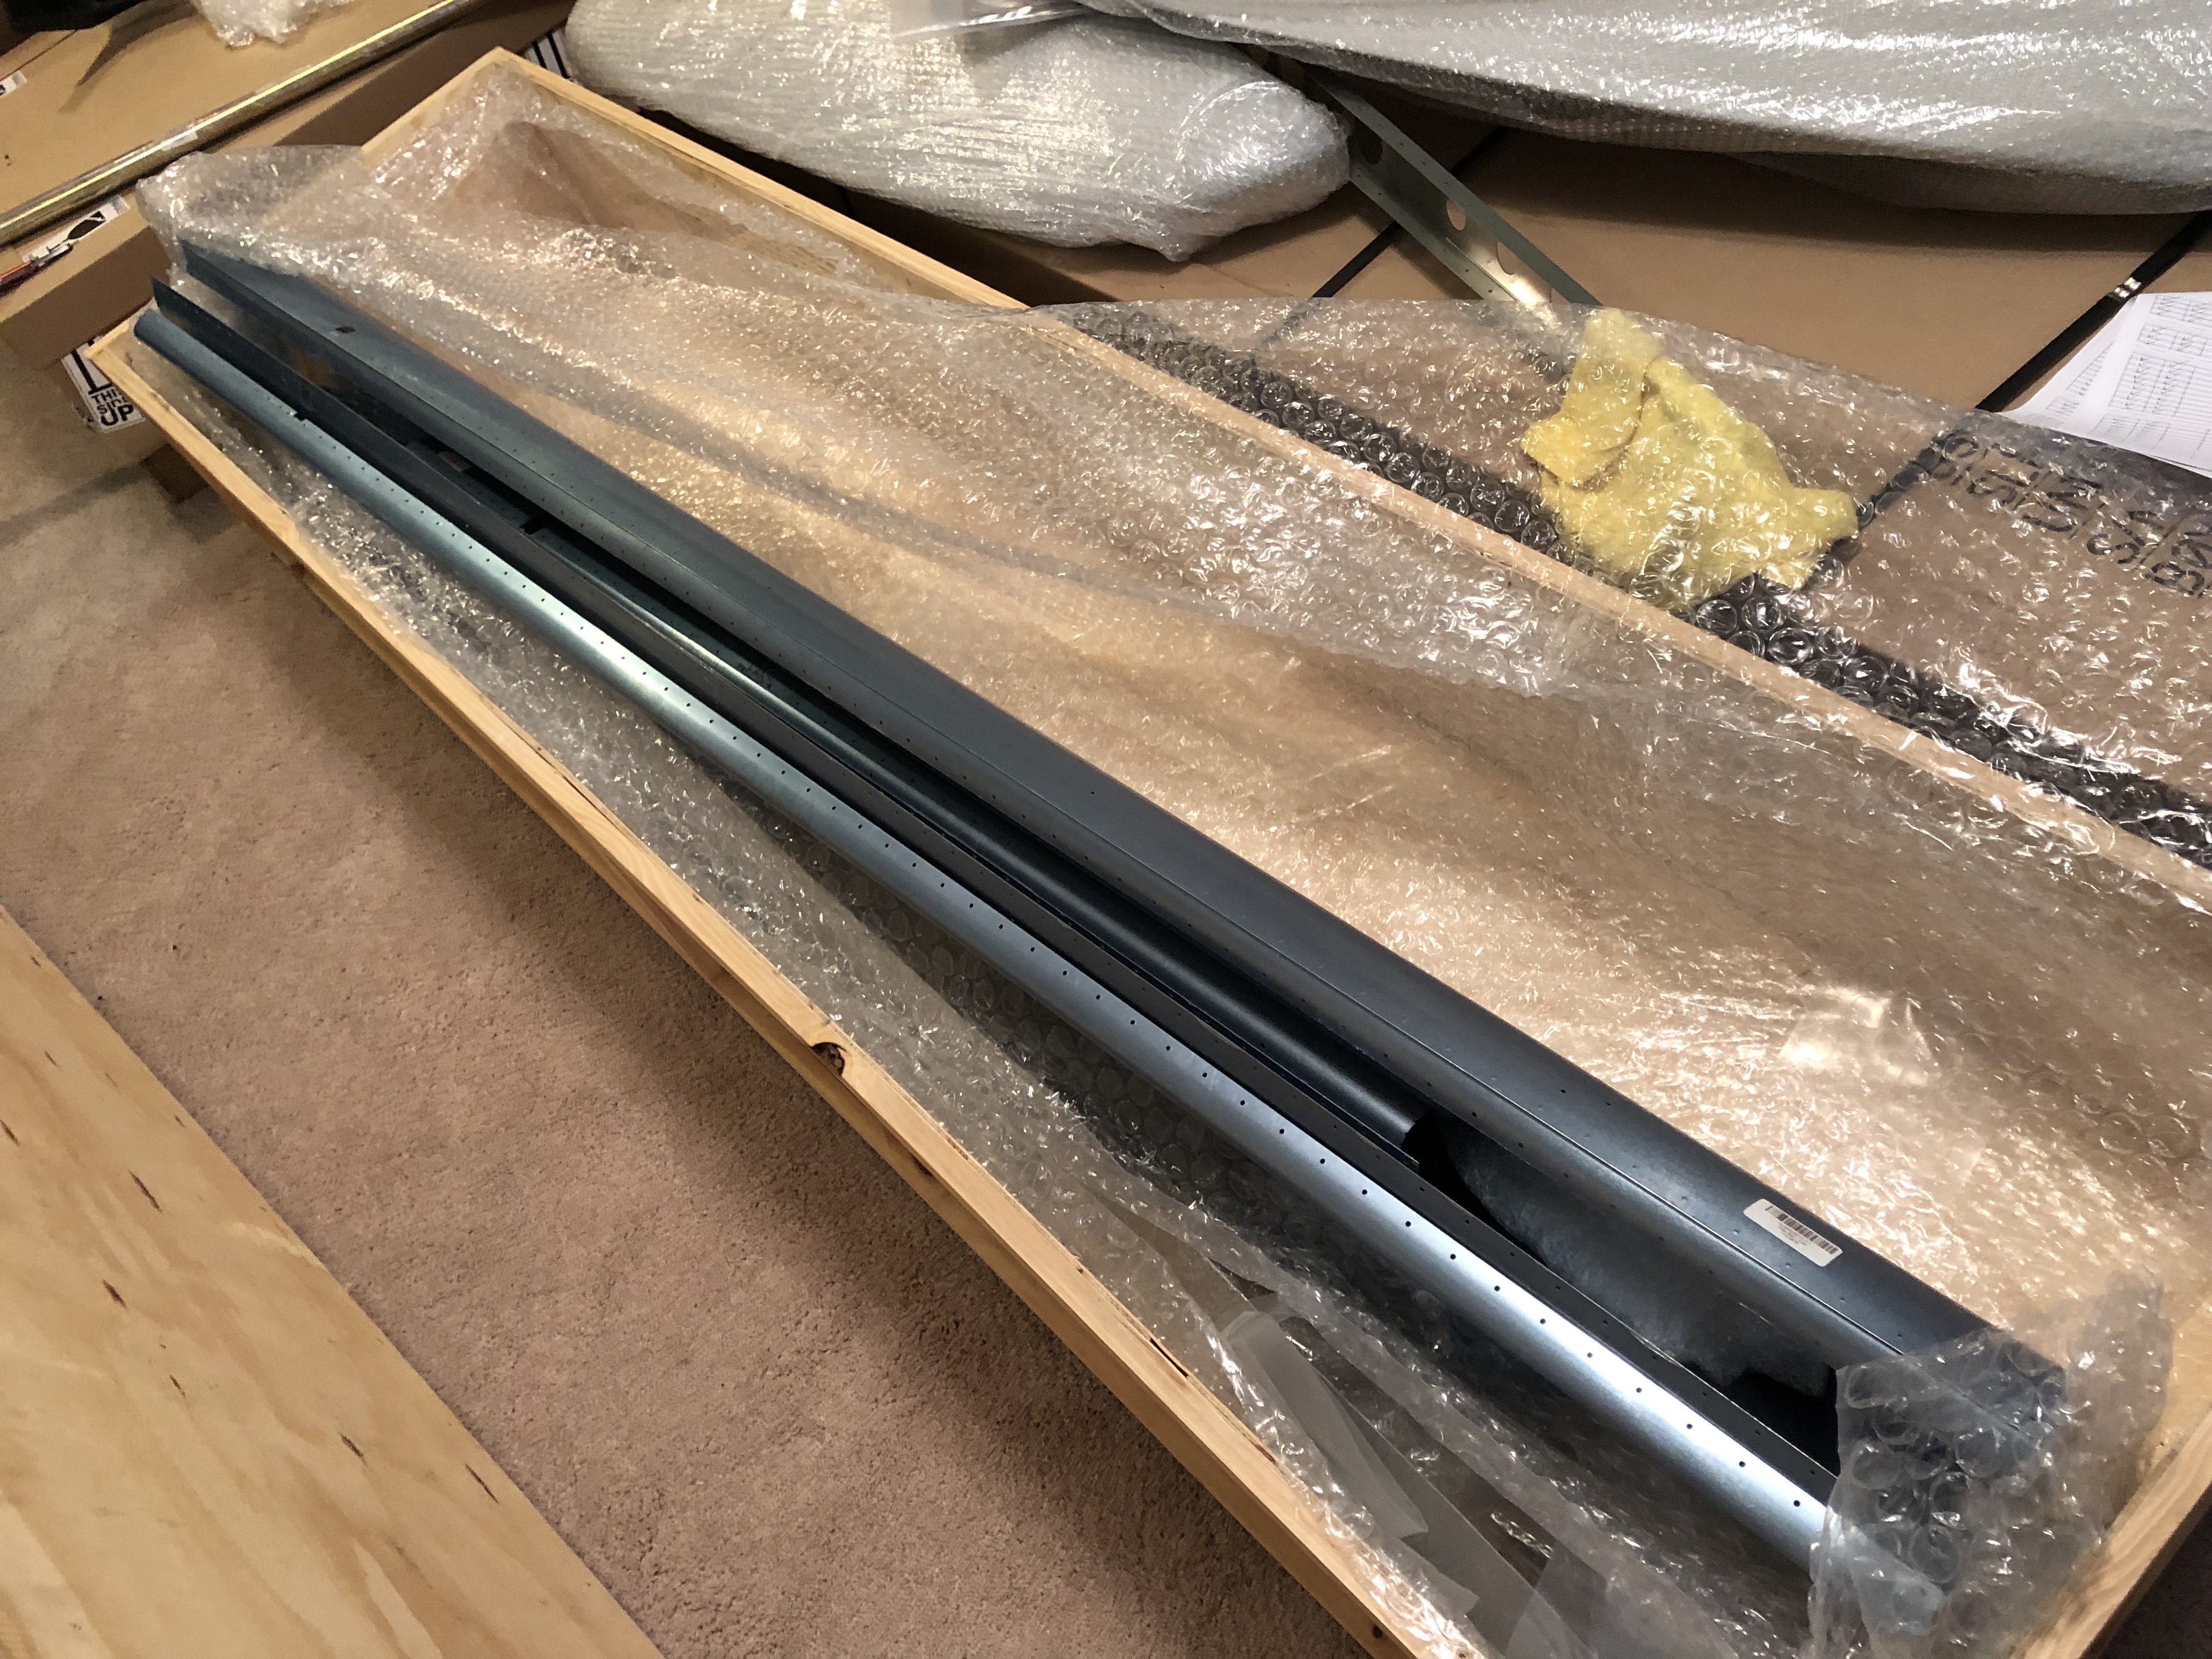
After we got the Fuselage out, it was time for the boxes that were stored under the Fuselage, followed by the Wings.
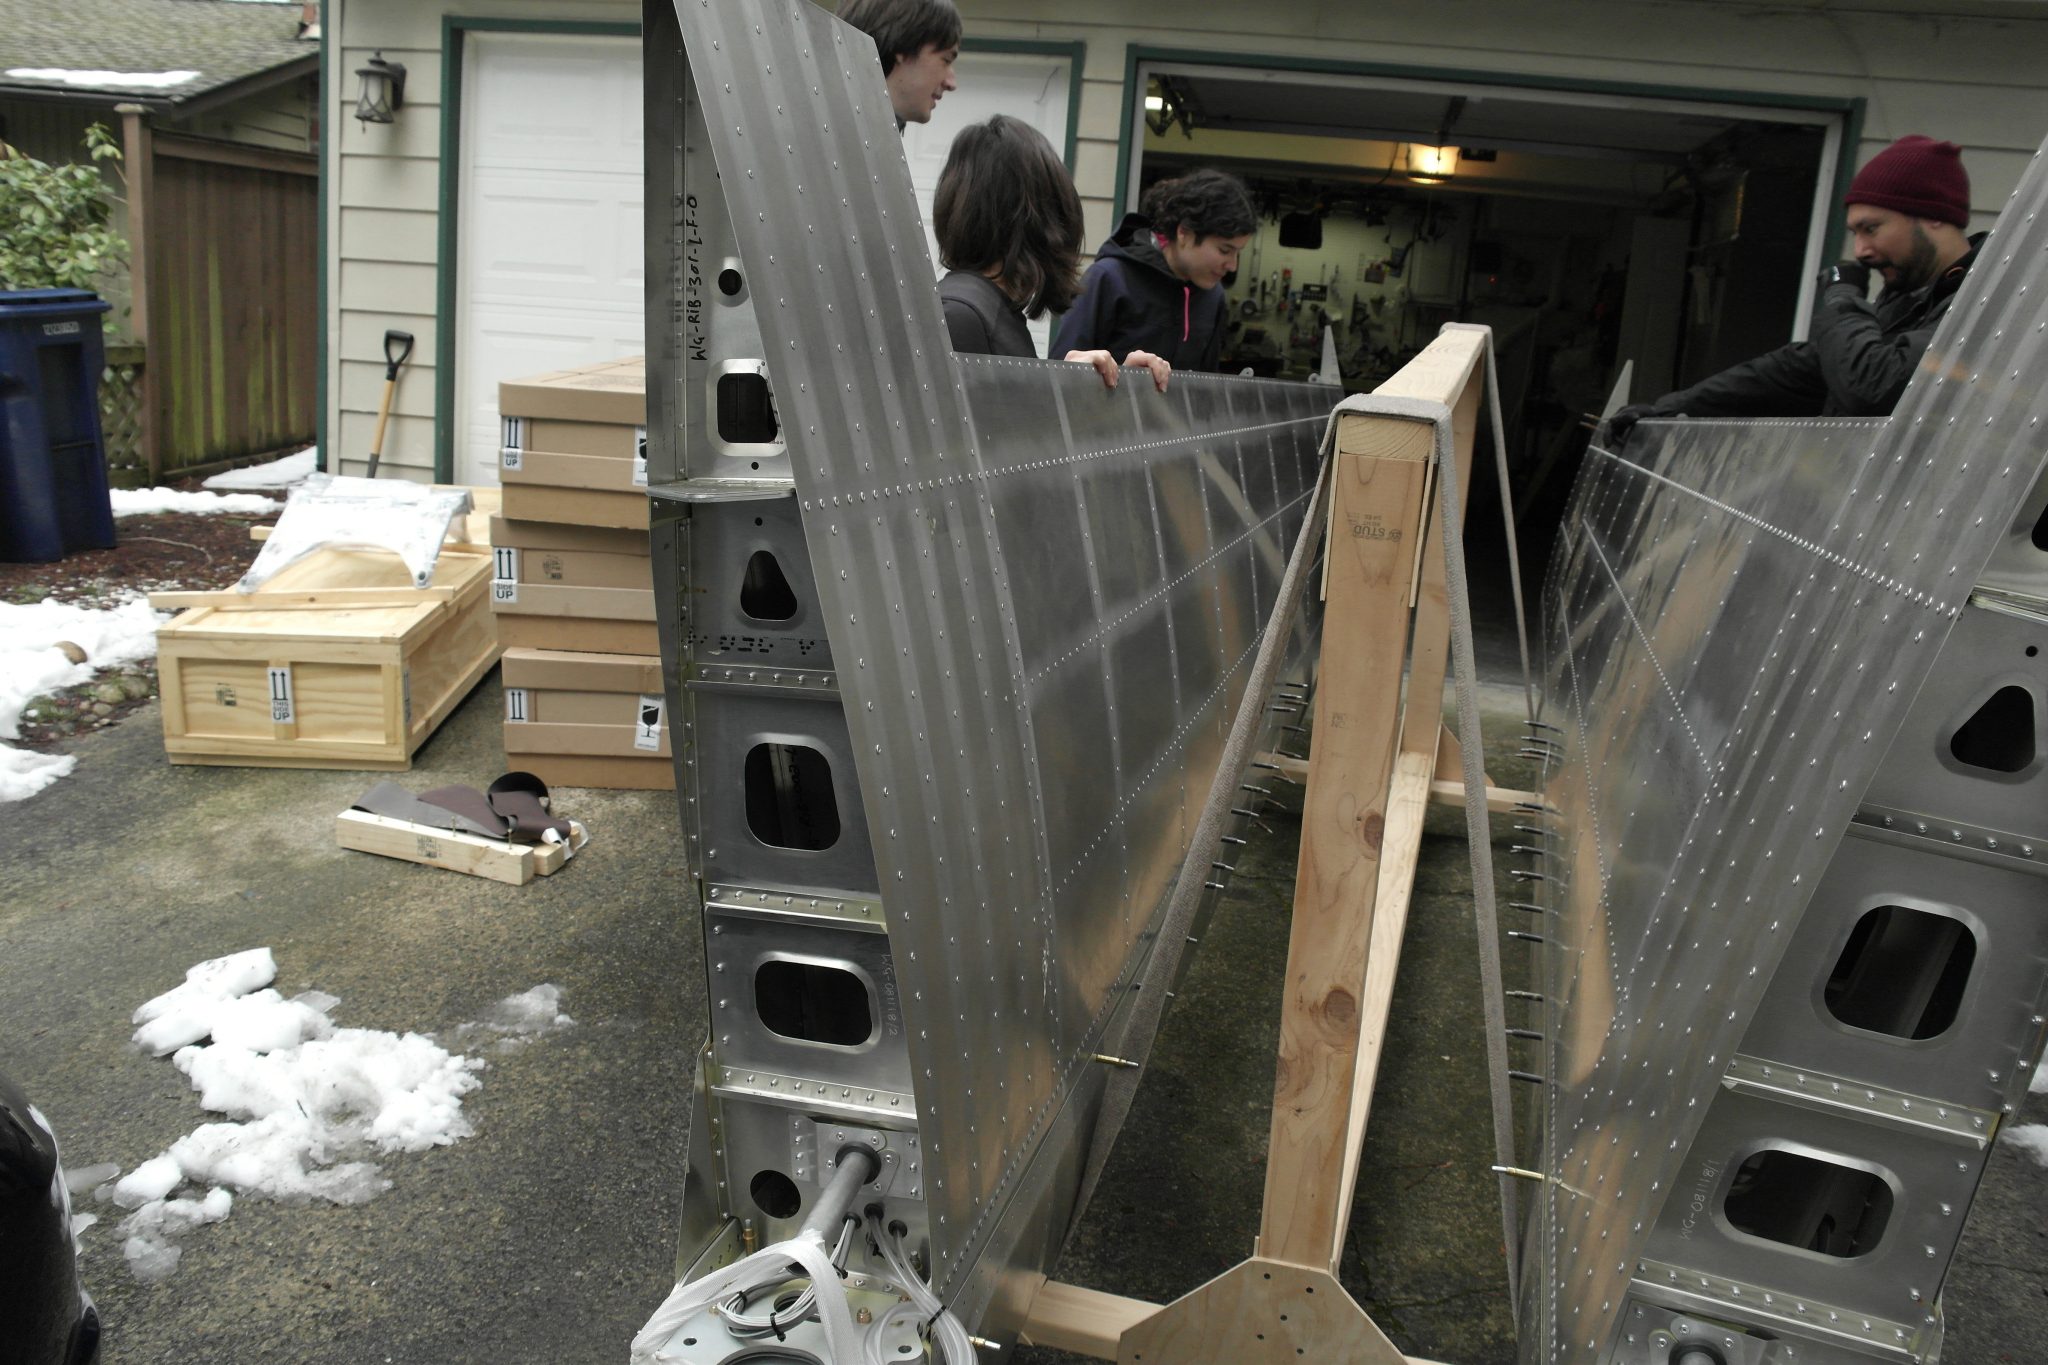
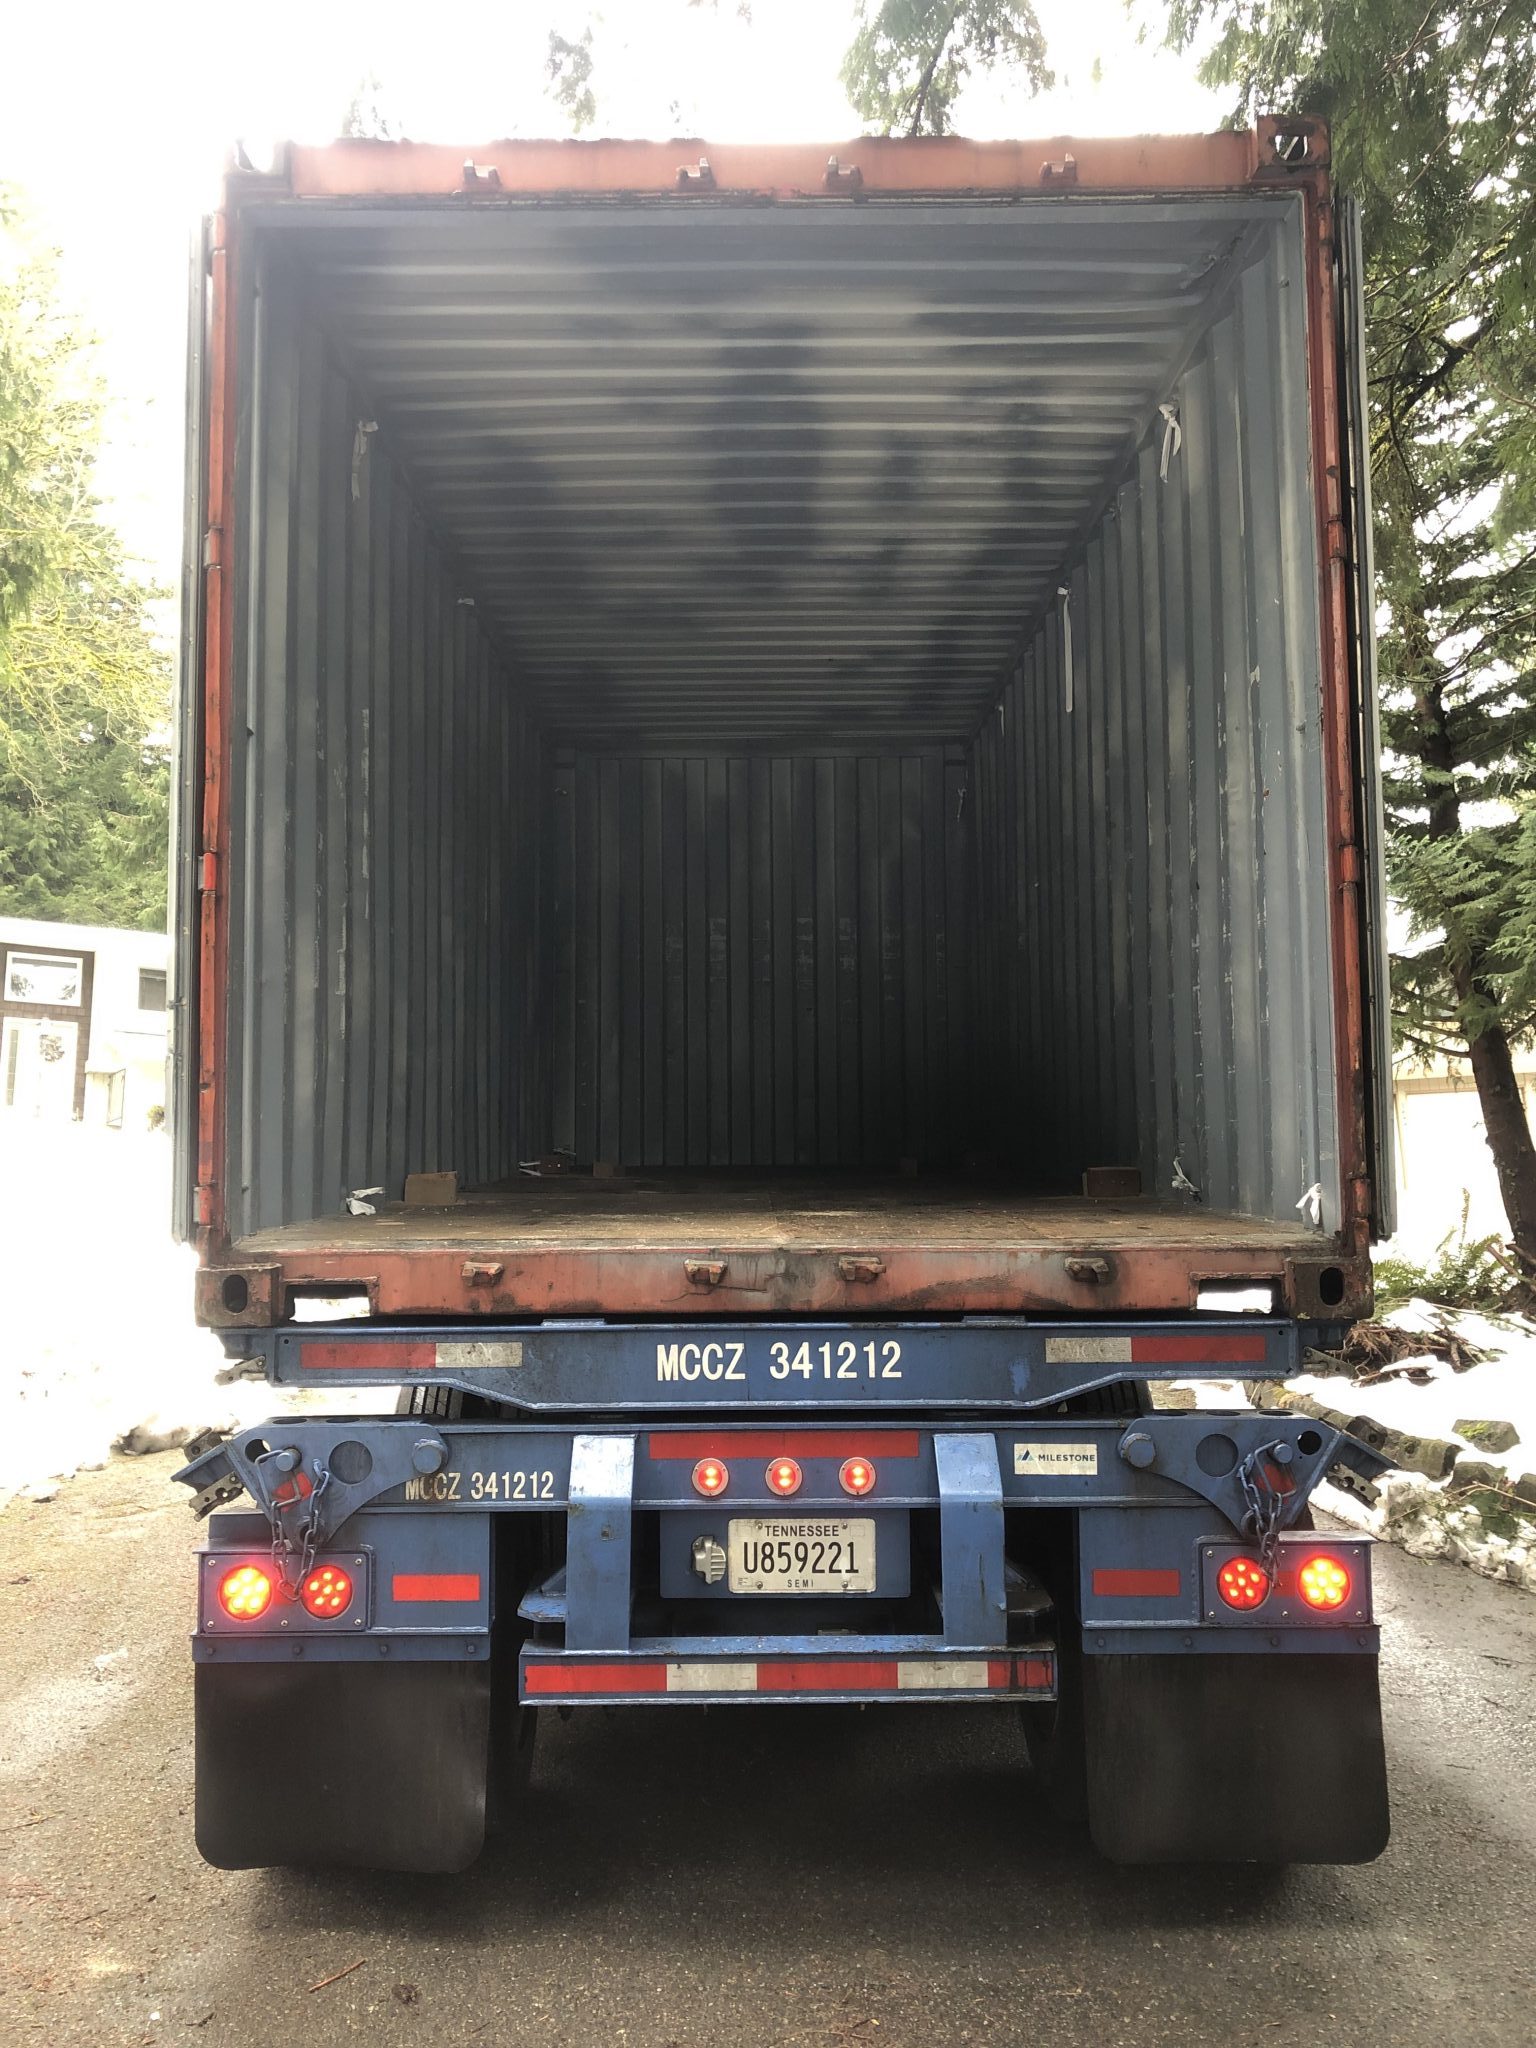
After all that was said and done, we took down the rest of the wood framing in the container so the container was truly empty in the end:
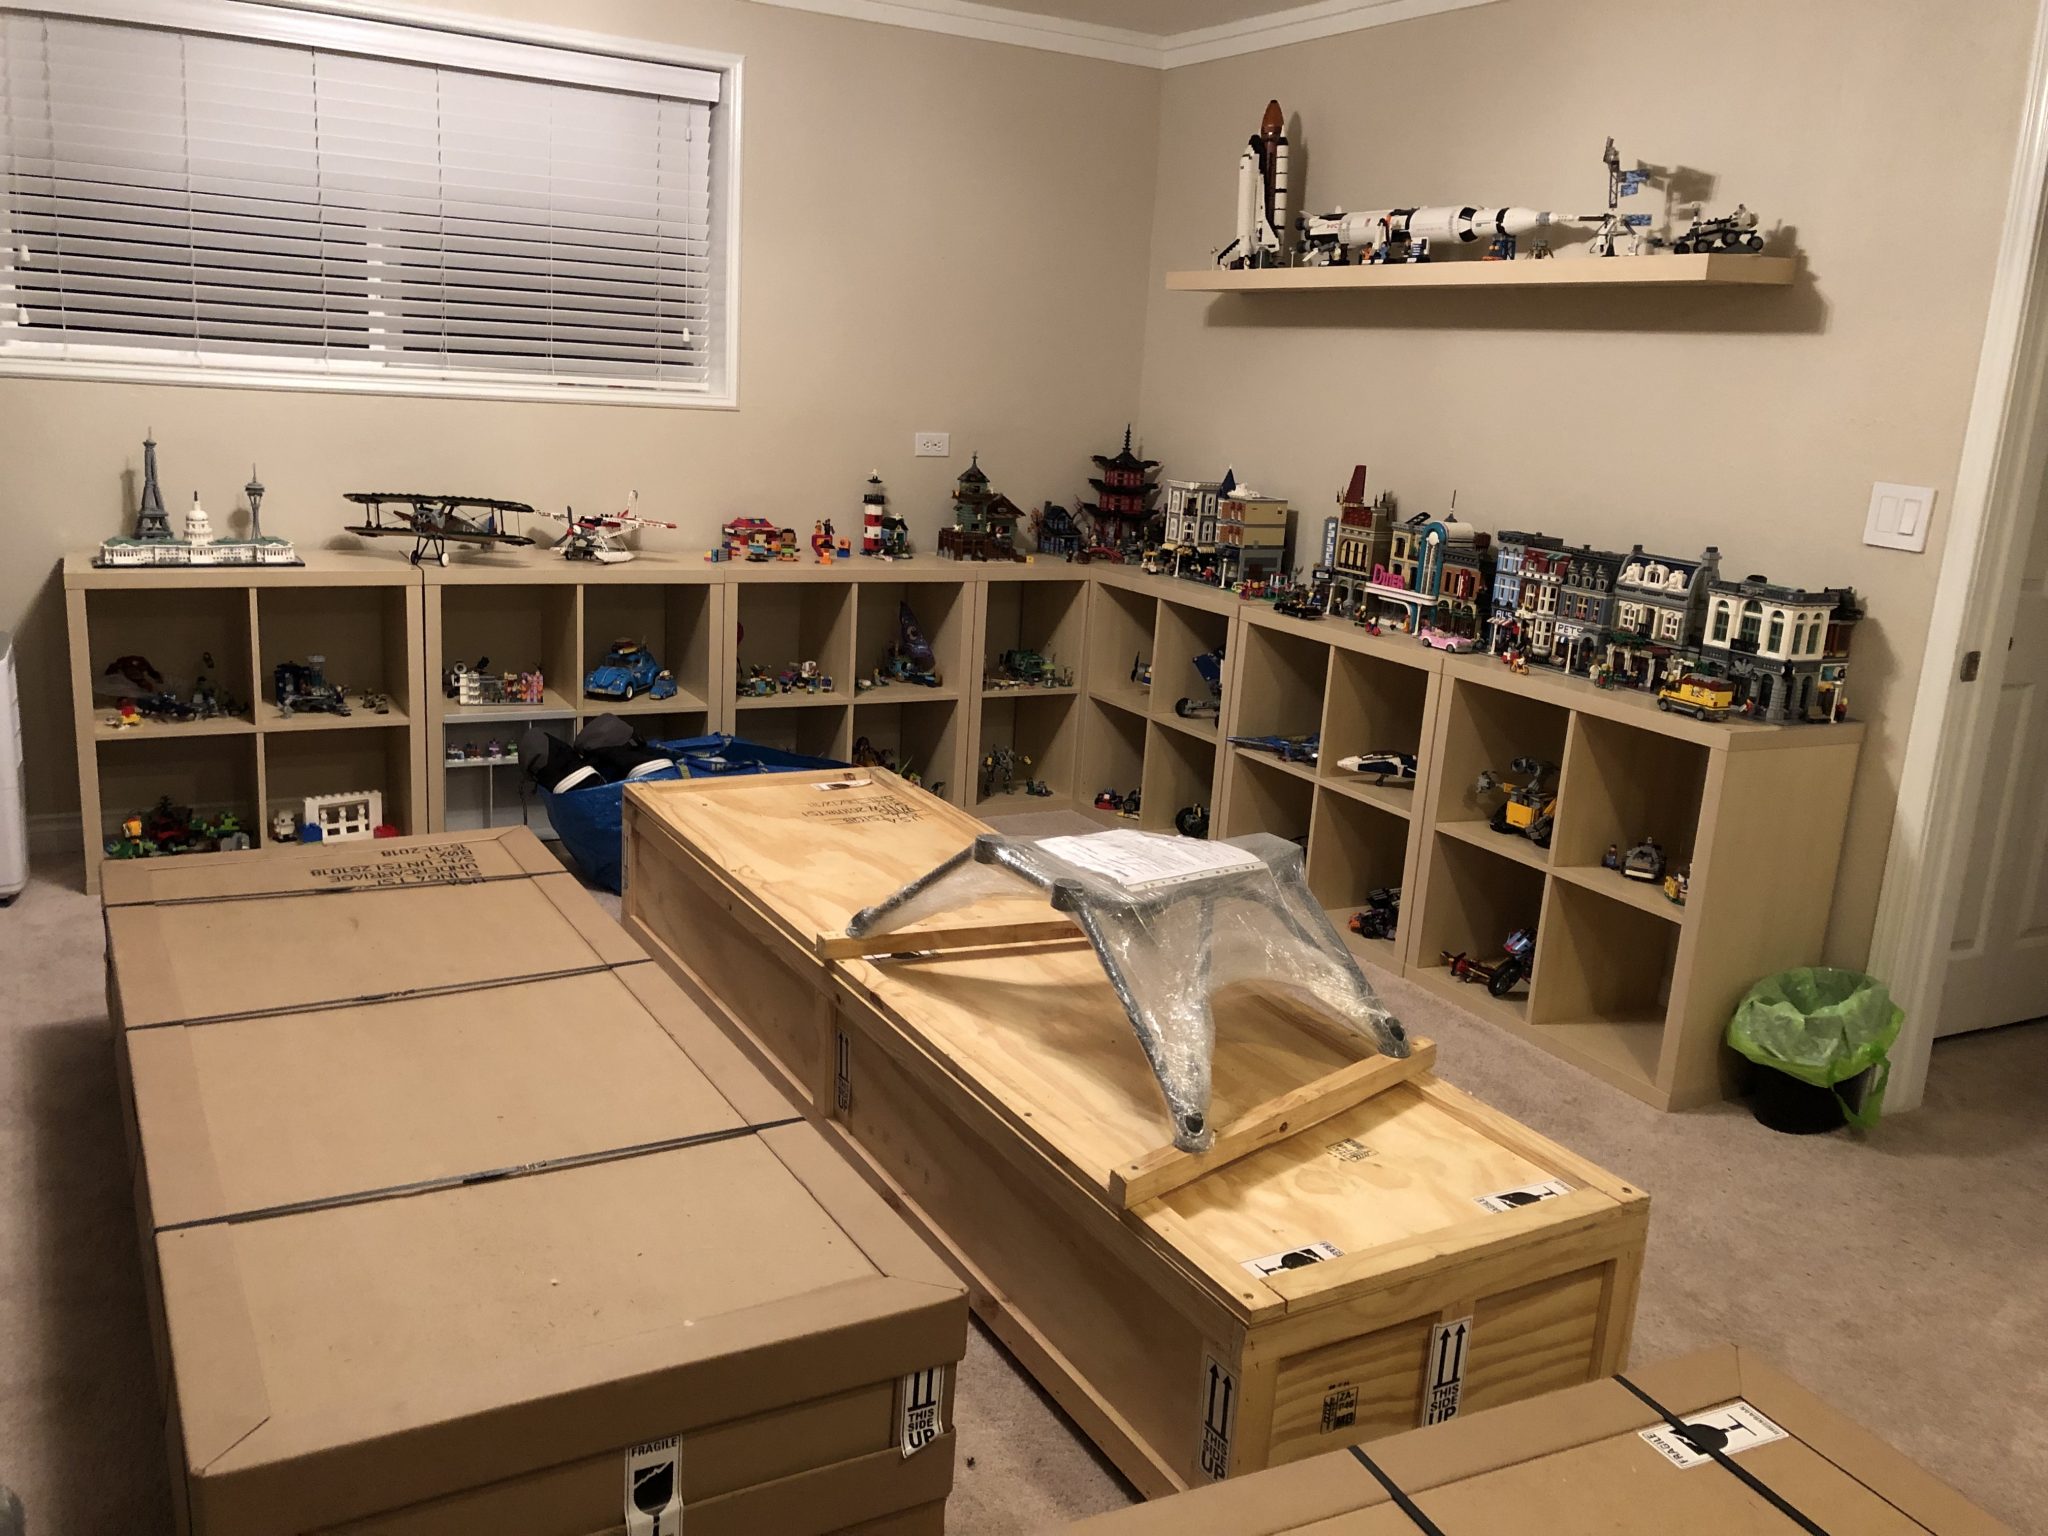
We moved the boxes into our basement multi function room, next to our LEGO collection – building your own airplane is kind of like LEGO right?
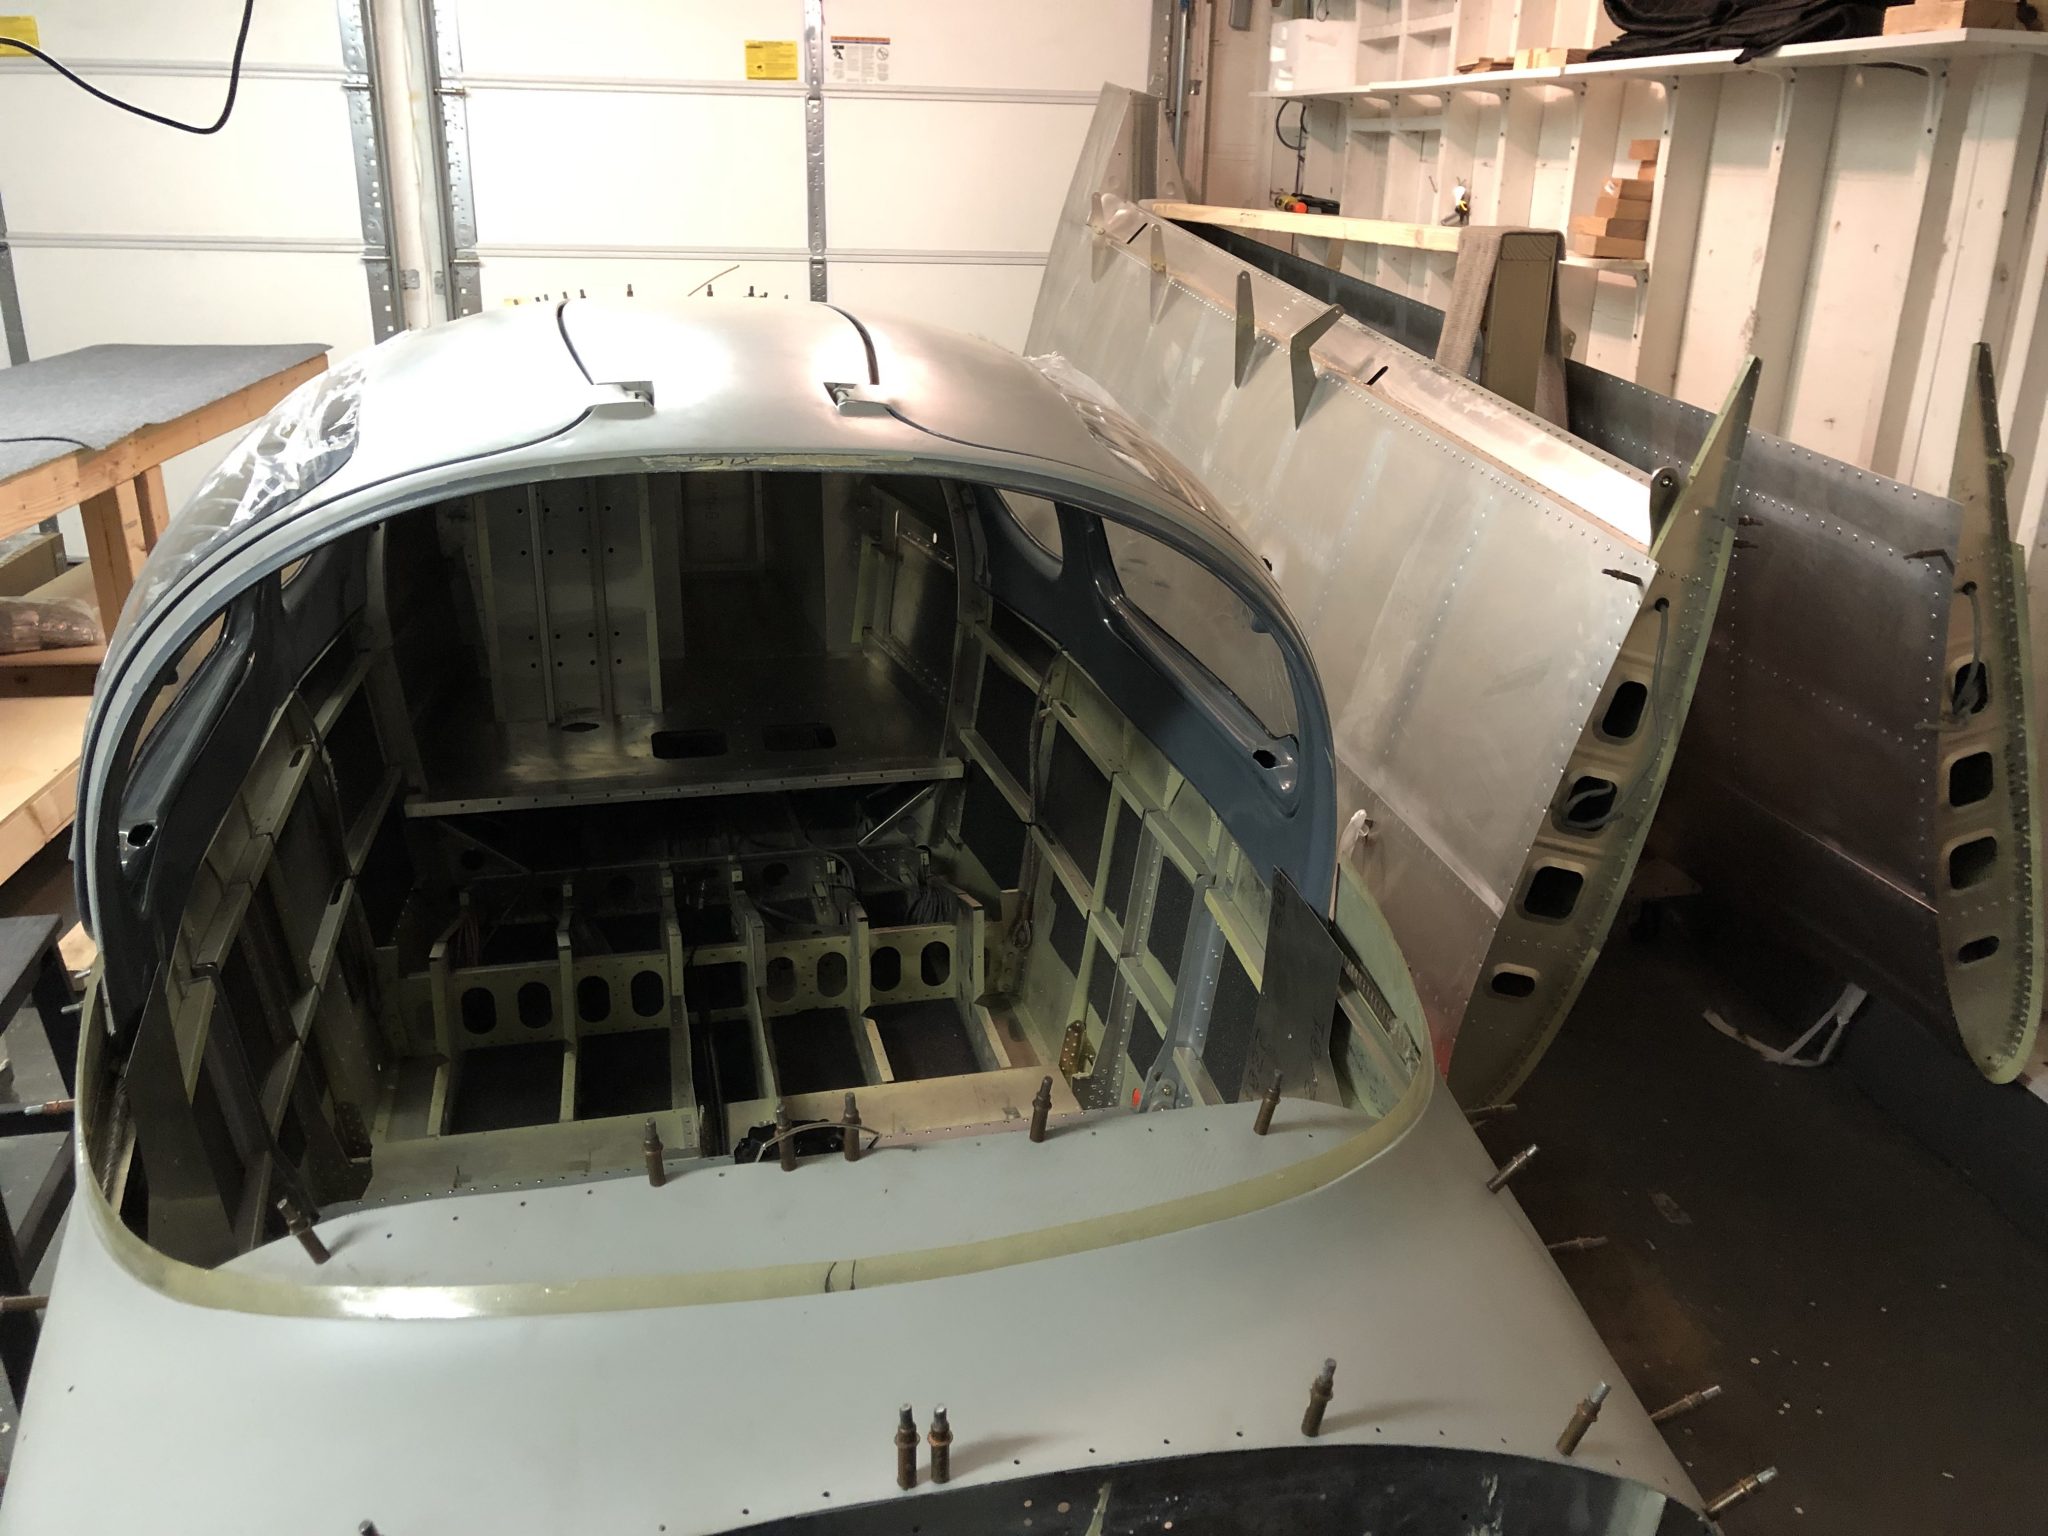
And the Fuselage and Wings found their home in the Garage on one side, leaving me with the other side as work space, plus I can easily move the wings around since I have wheels on the wing rack.
Cleaning up and taking inventory
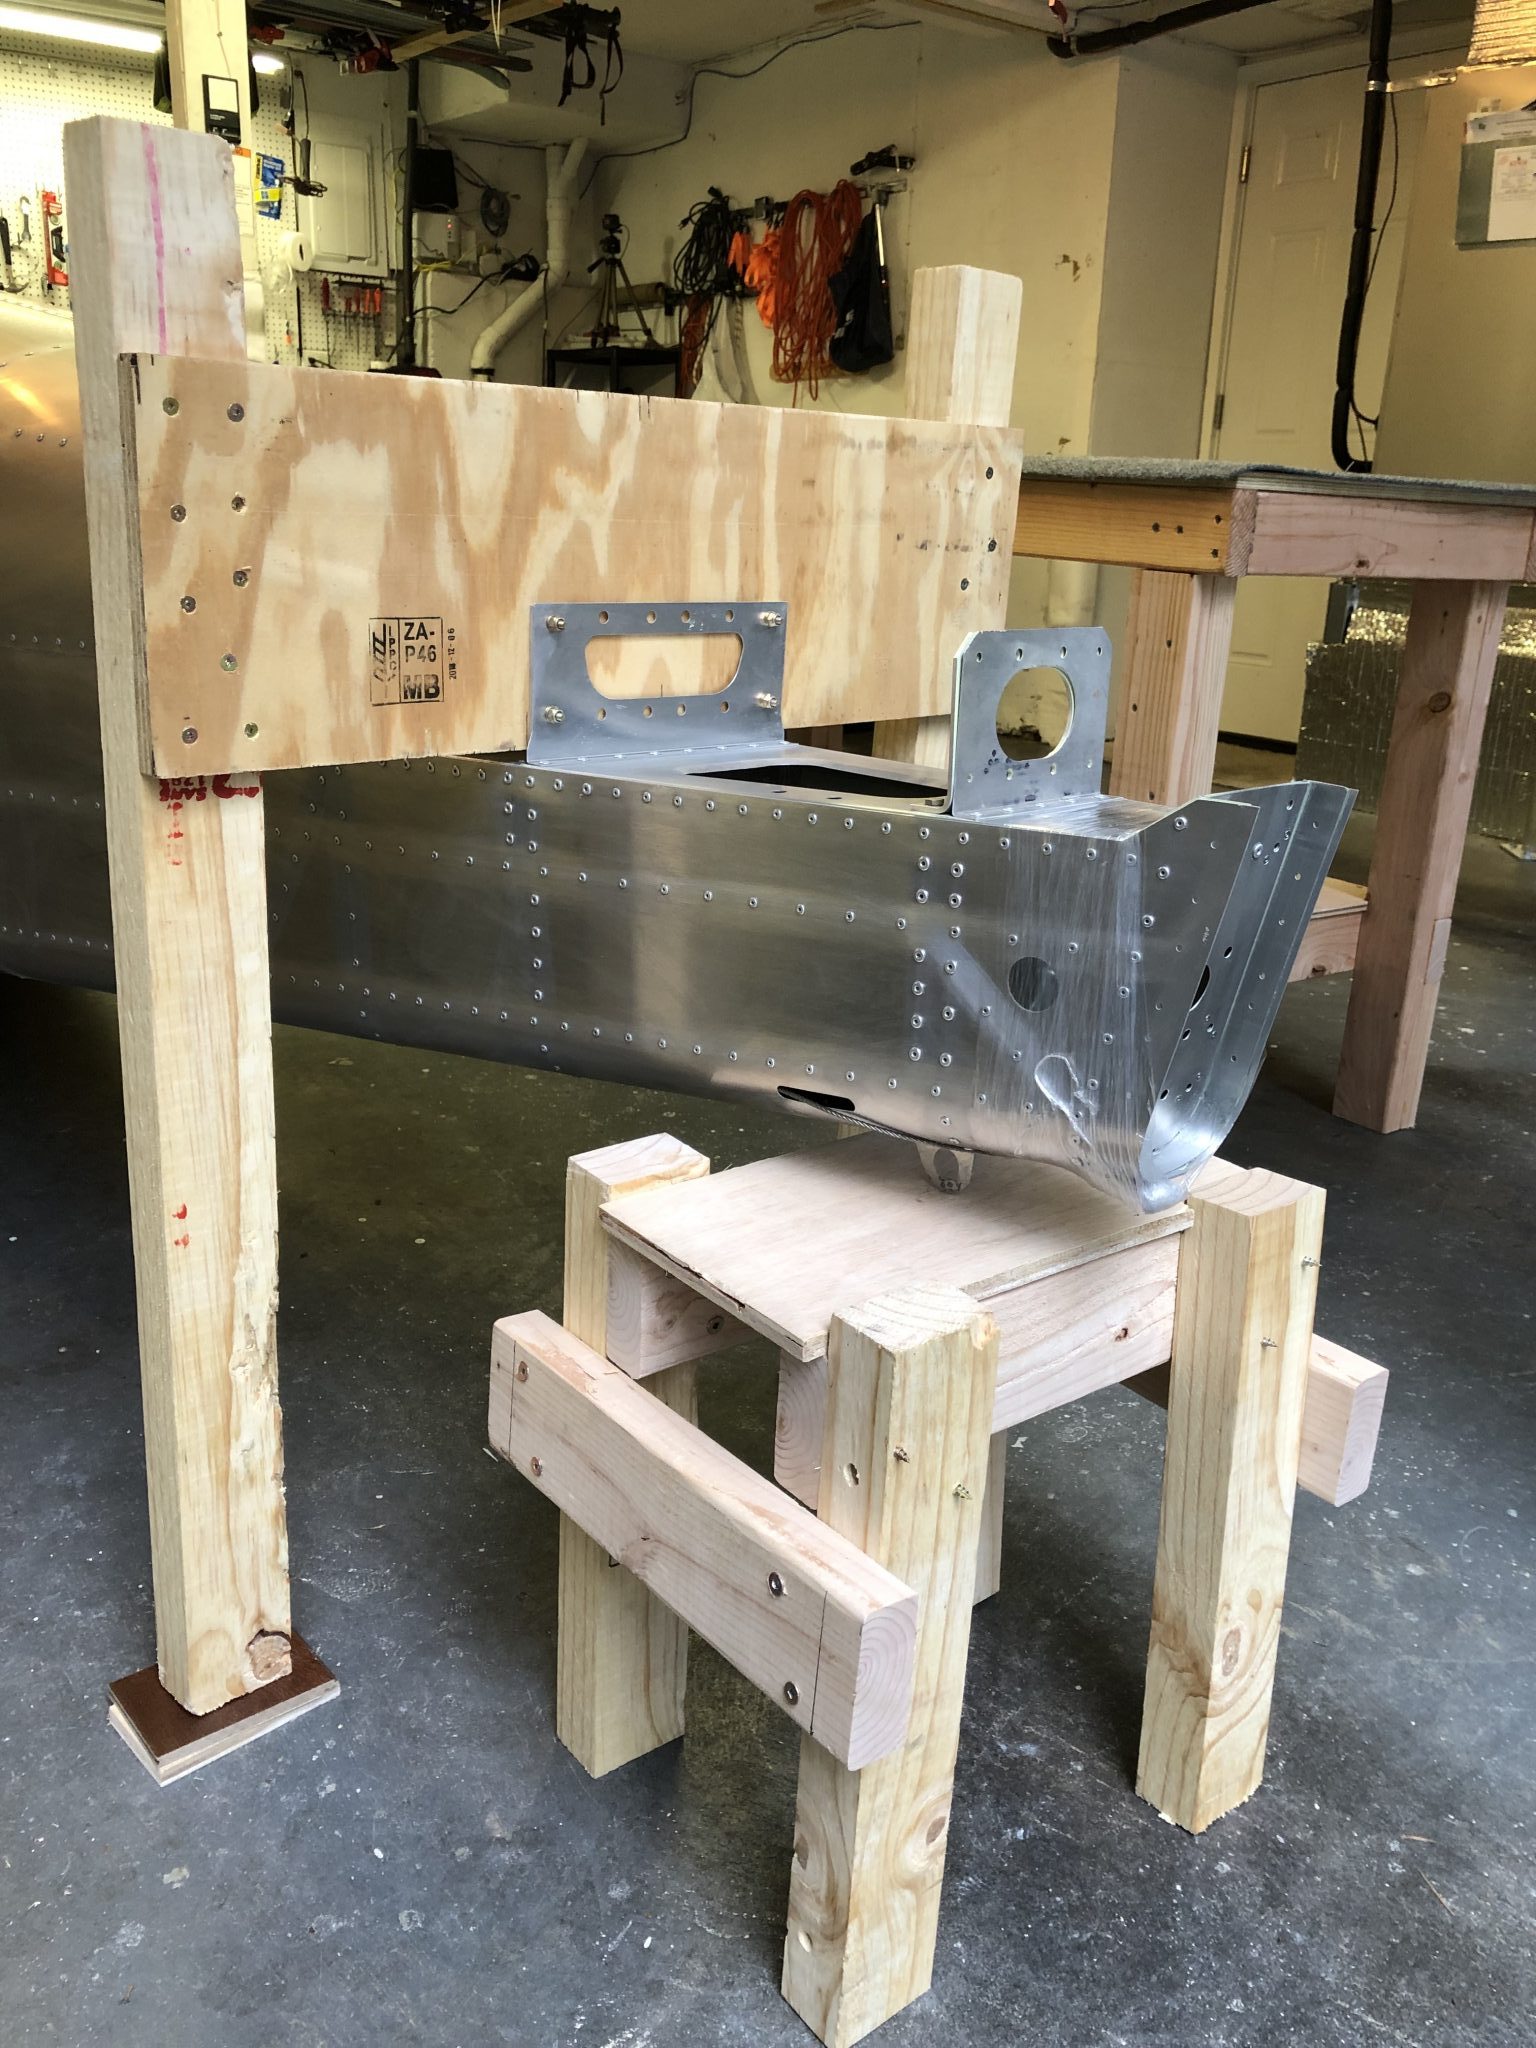
I felt like the tail should have some extra support, so I quickly built a small stool for the tail to rest on, in addition to the existing framing that it came in, here is a quick timelapse of me cleaning up the workshop and building the stool:
Stool for the Tail to rest on:
After that was done, I asked Juliana to come down to the Garage as I was pretending to fly the airplane as any reasonable person with a new toy in their garage would do:
And then we opened the Empennage box and started taking inventory so I can stop building wooden tables and stools and start building an airplane:
This should hopefully be the last “waiting for the kit” post. The container with the kit has arrived at the port a couple of days ago. The logistics company is working through arranging the truck to bring the container to my house to unload. Hopefully I’ll have some good news tomorrow and have a firm date for the delivery this coming week.
The garage is ready for delivery and I also picked up a wing stand to store the wings from the flying club I am a part of, as we just installed the wings onto the Cessna 150 airplane we are refurbishing for an upcoming charity raffle to fund college scholarships for kids that survived cancer. The wing stand is from a design by Tony Bingelis and can be found on the EAA website here.
I took a time lapse of the process of installing the wings on the Cessna. It took a little bit of lifting and then a lot of jiggling to get the bolts in place.
I also attended a discussion meeting at our local EAA 84 chapter last week about going to Oshkosh, which was very interesting as I haven’t yet managed to go to Oshkosh myself as I was busy last year finishing up my instrument rating, so I’m hoping this year might be my first. If I go, I will likely fly commercial and then camp there and I’d love to meet some other Sling Builders at the Sling Ding Party hosted by The Airplane Factory and Sling 2 builders Bob & Joan.
The wait for the arrival of my Sling TSi kit is almost over and if all goes to plan it should be in my garage in the next 7-10 days after it finishes it’s way across the Pacific ocean.
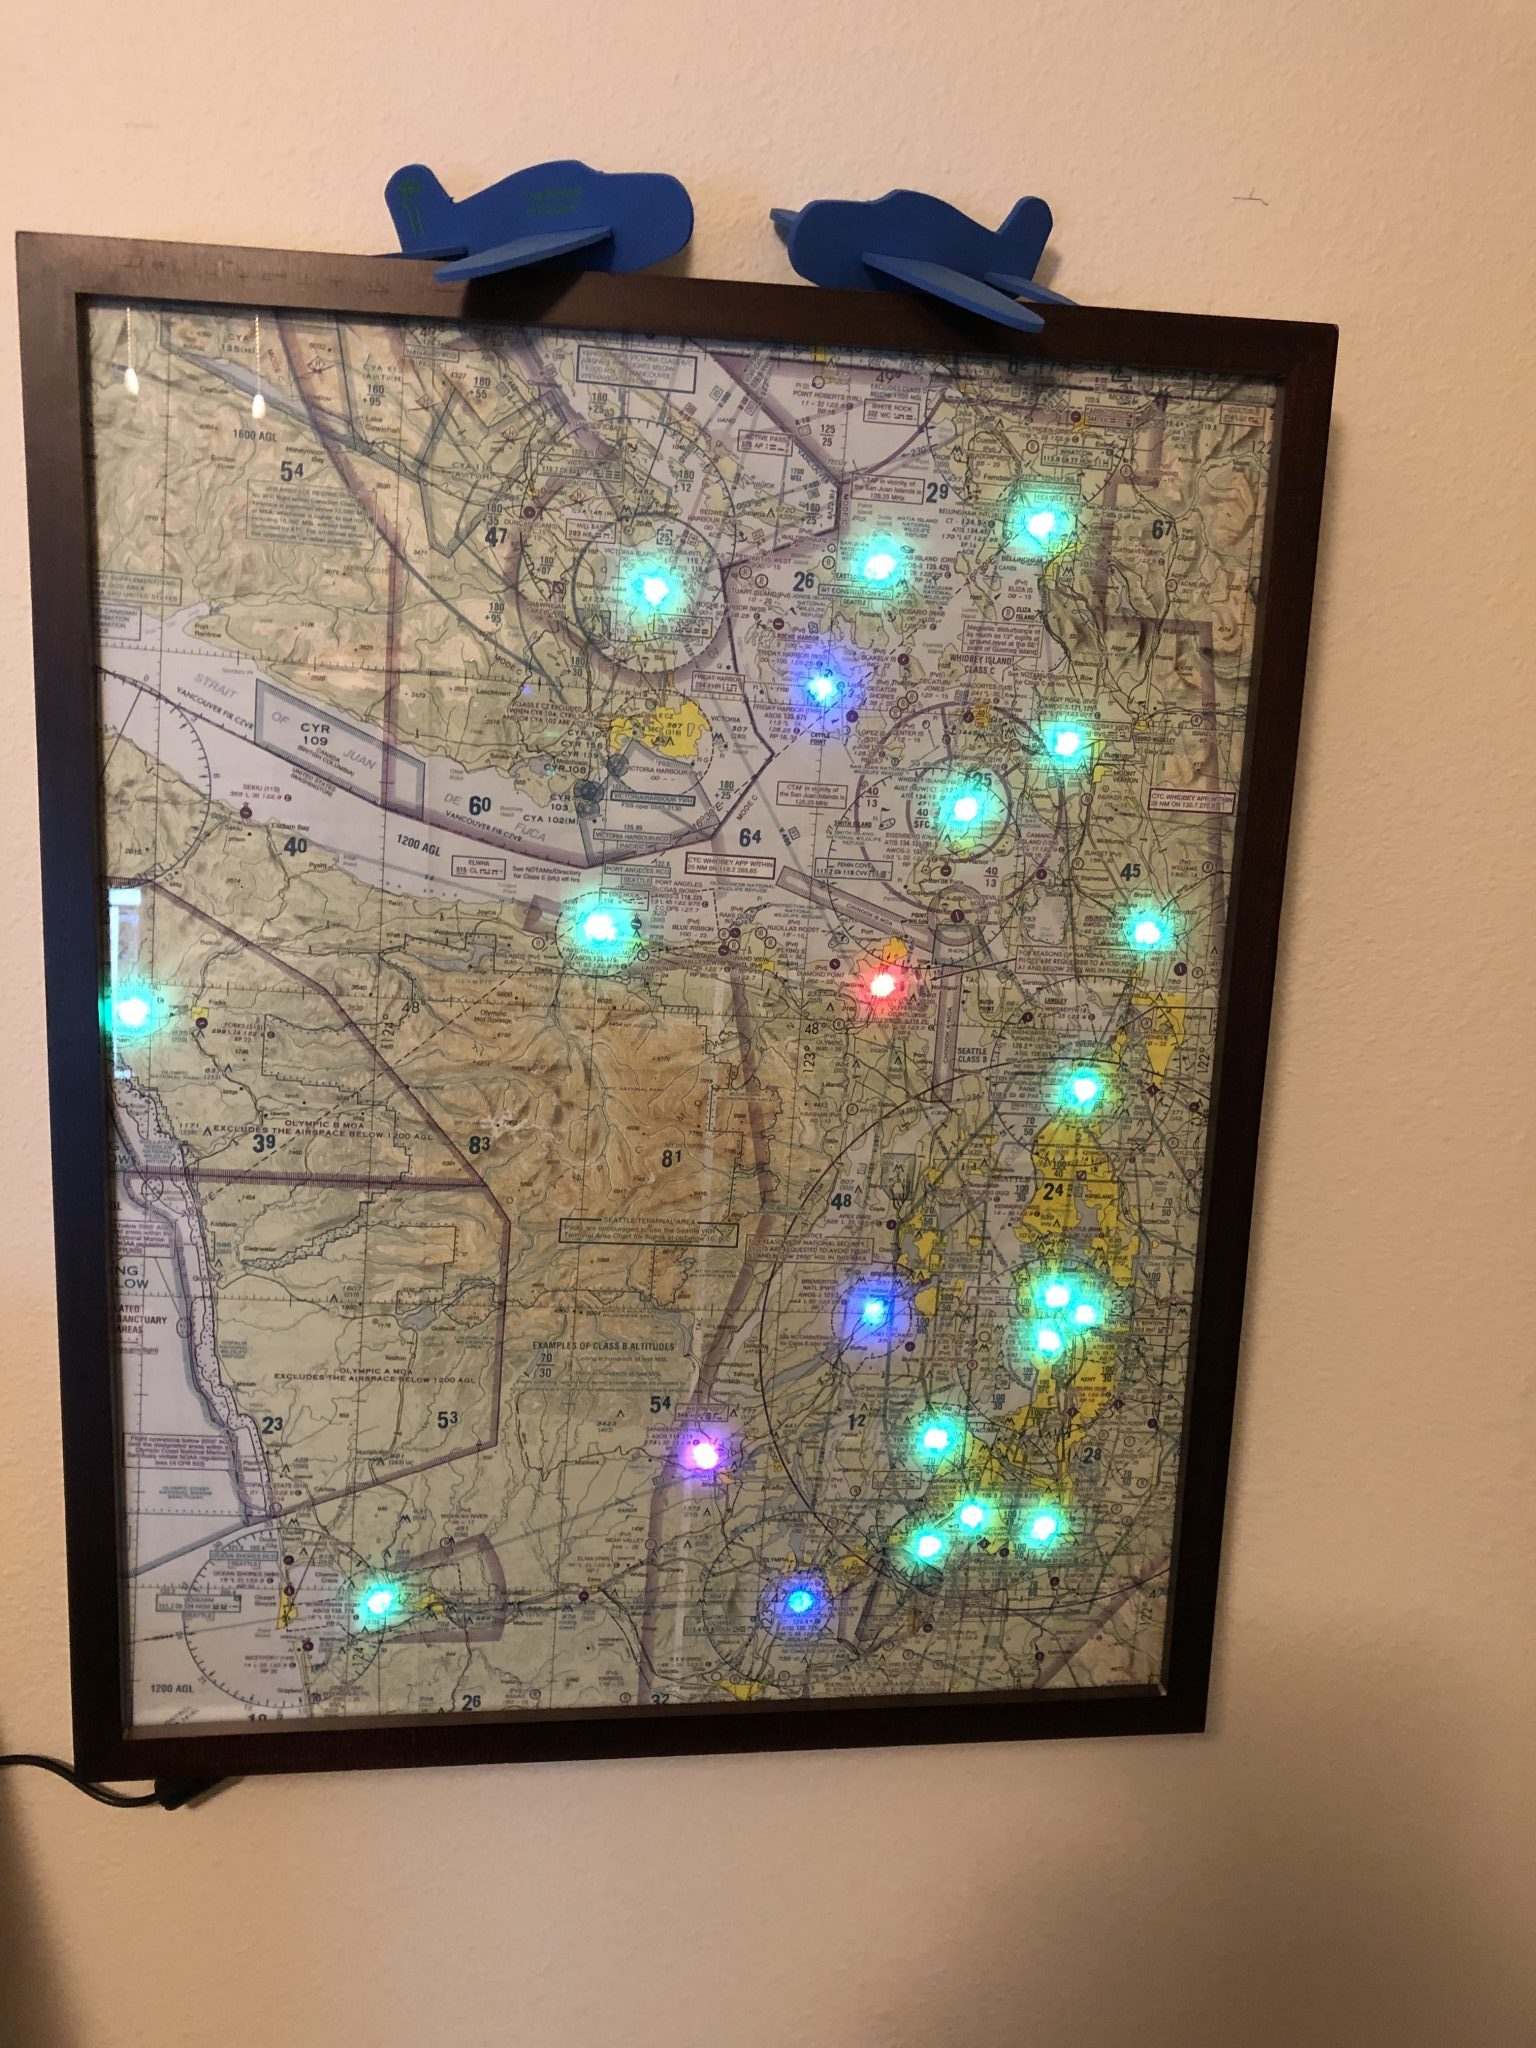
In the meantime, my girlfriend and I were inspired by a post on reddit of someone making a flight conditions map using a sectional chart and some LEDs.
I can visualize my flight instructor shudder every time I refer to a sectional chart as a map, but it’s a lot easier to talk to normal non-pilot people about a map we put up on the wall with lights than calling it a chart.
So here it goes, we made one ourselves of the Puget Sound area and hung it up.
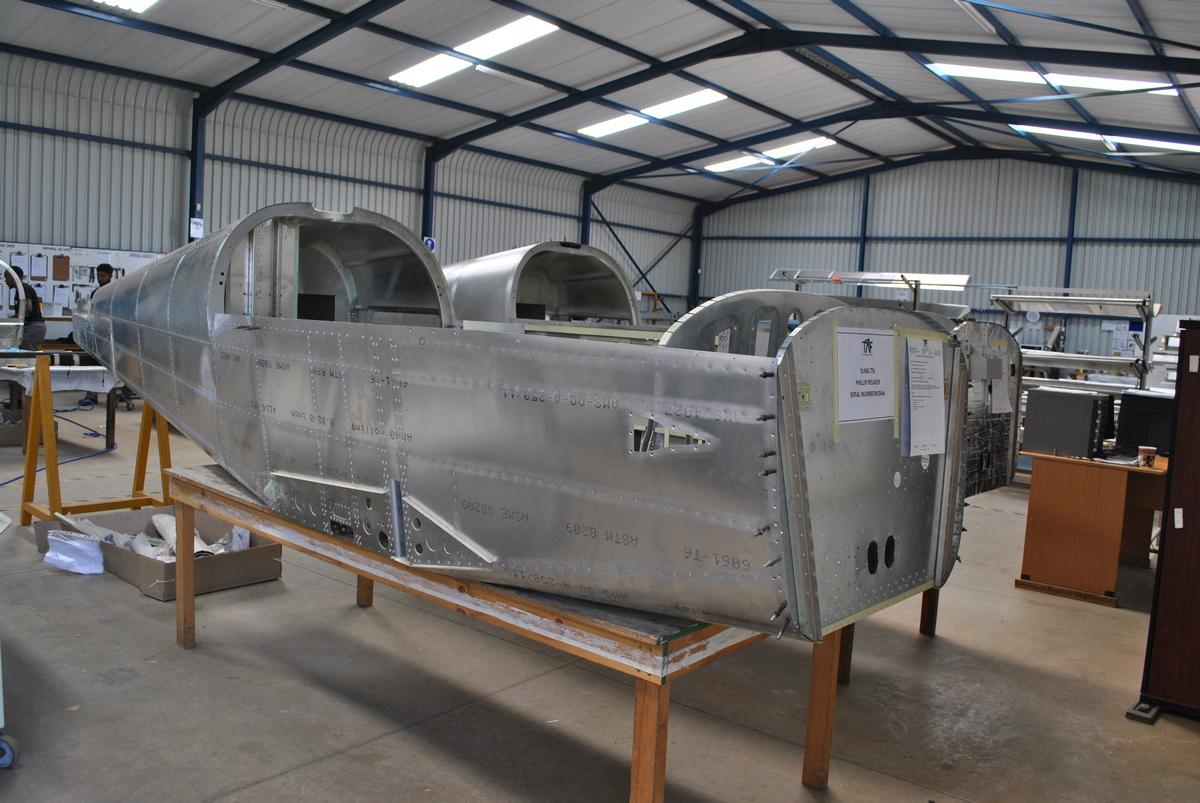
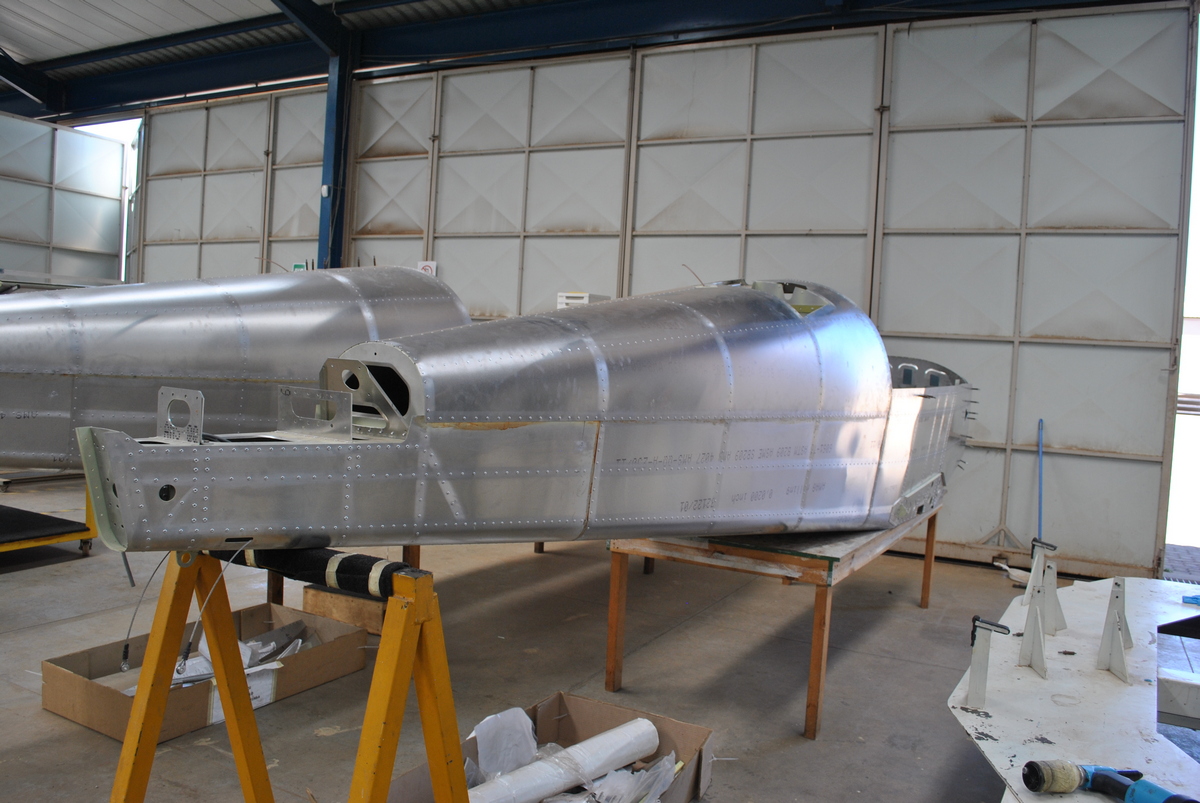
I got an exciting progress update from the factory today on the coming along of my Sling TSi Quickbuild kit down in The Airplane Factory in South Africa. The Fuselage is mostly assembled and here’s the pictures of it:
Fuselage - Right Front
Fuselage - Left Front
Fuselage - Right Rear
Fuselage - Left Rear
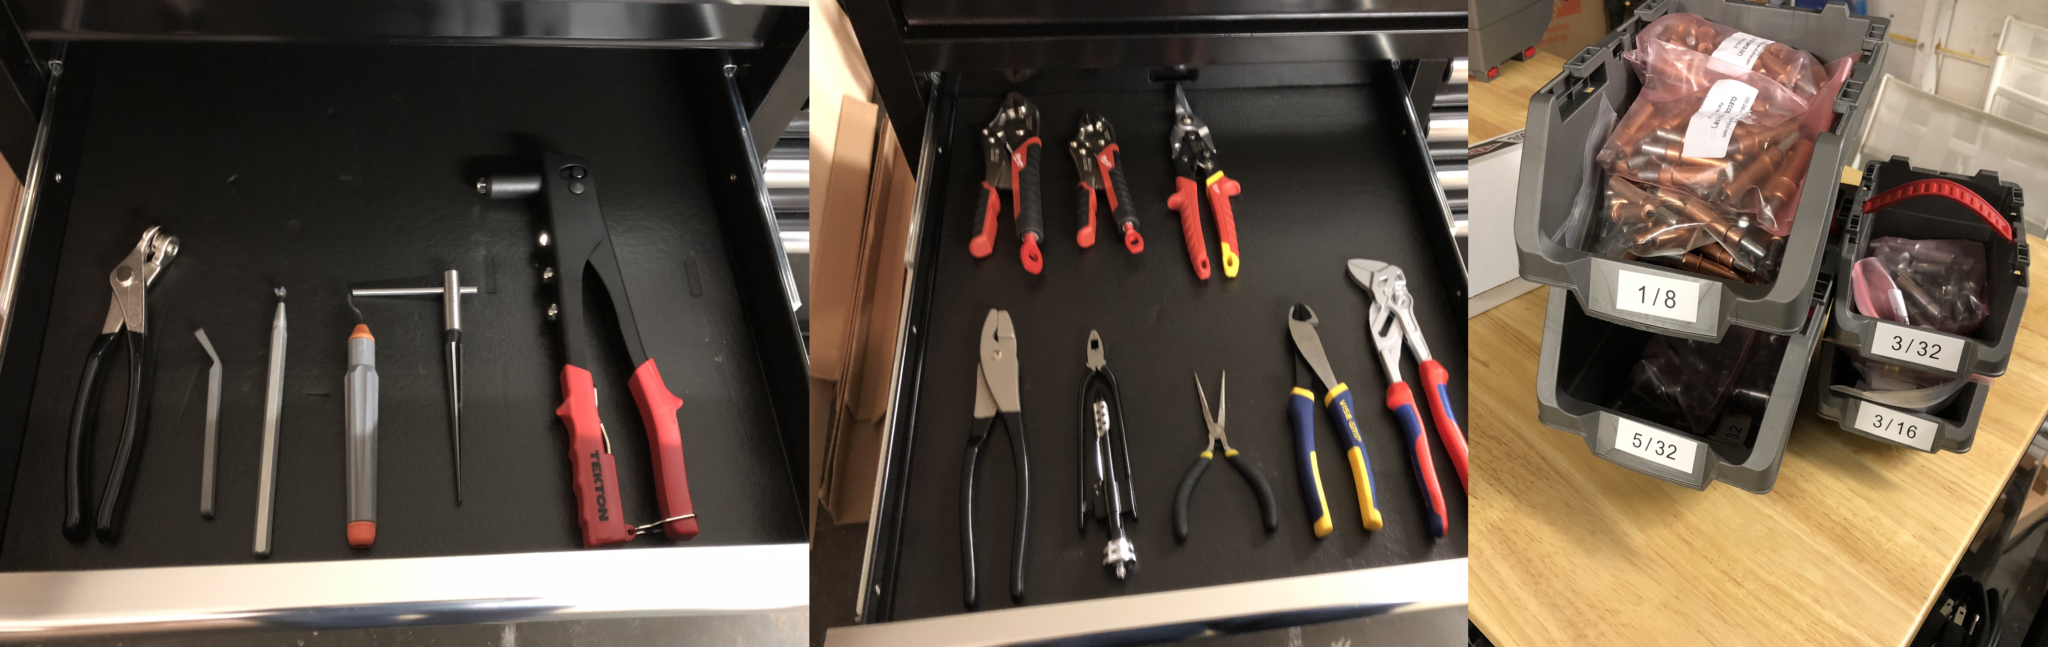
Aside from that, my tool collection is coming along nicely. I now have hundreds of clecos, various pliers, deburring tools, drill bits and countersinks. Just a few more tools to go from the list from TAF. The project may also have been my excuse to buy a label maker, I ended up with the Brady BMP 21, so now I get to print nice labels, I started with some boxes for the clecos as seen below.
I got an update from Barry at The Airplane Factory in Torrance that the expected ship date of my Sling TSi Quick build kit is November 19th from South Africa. That means that I should be able to expect arrival here around year end.
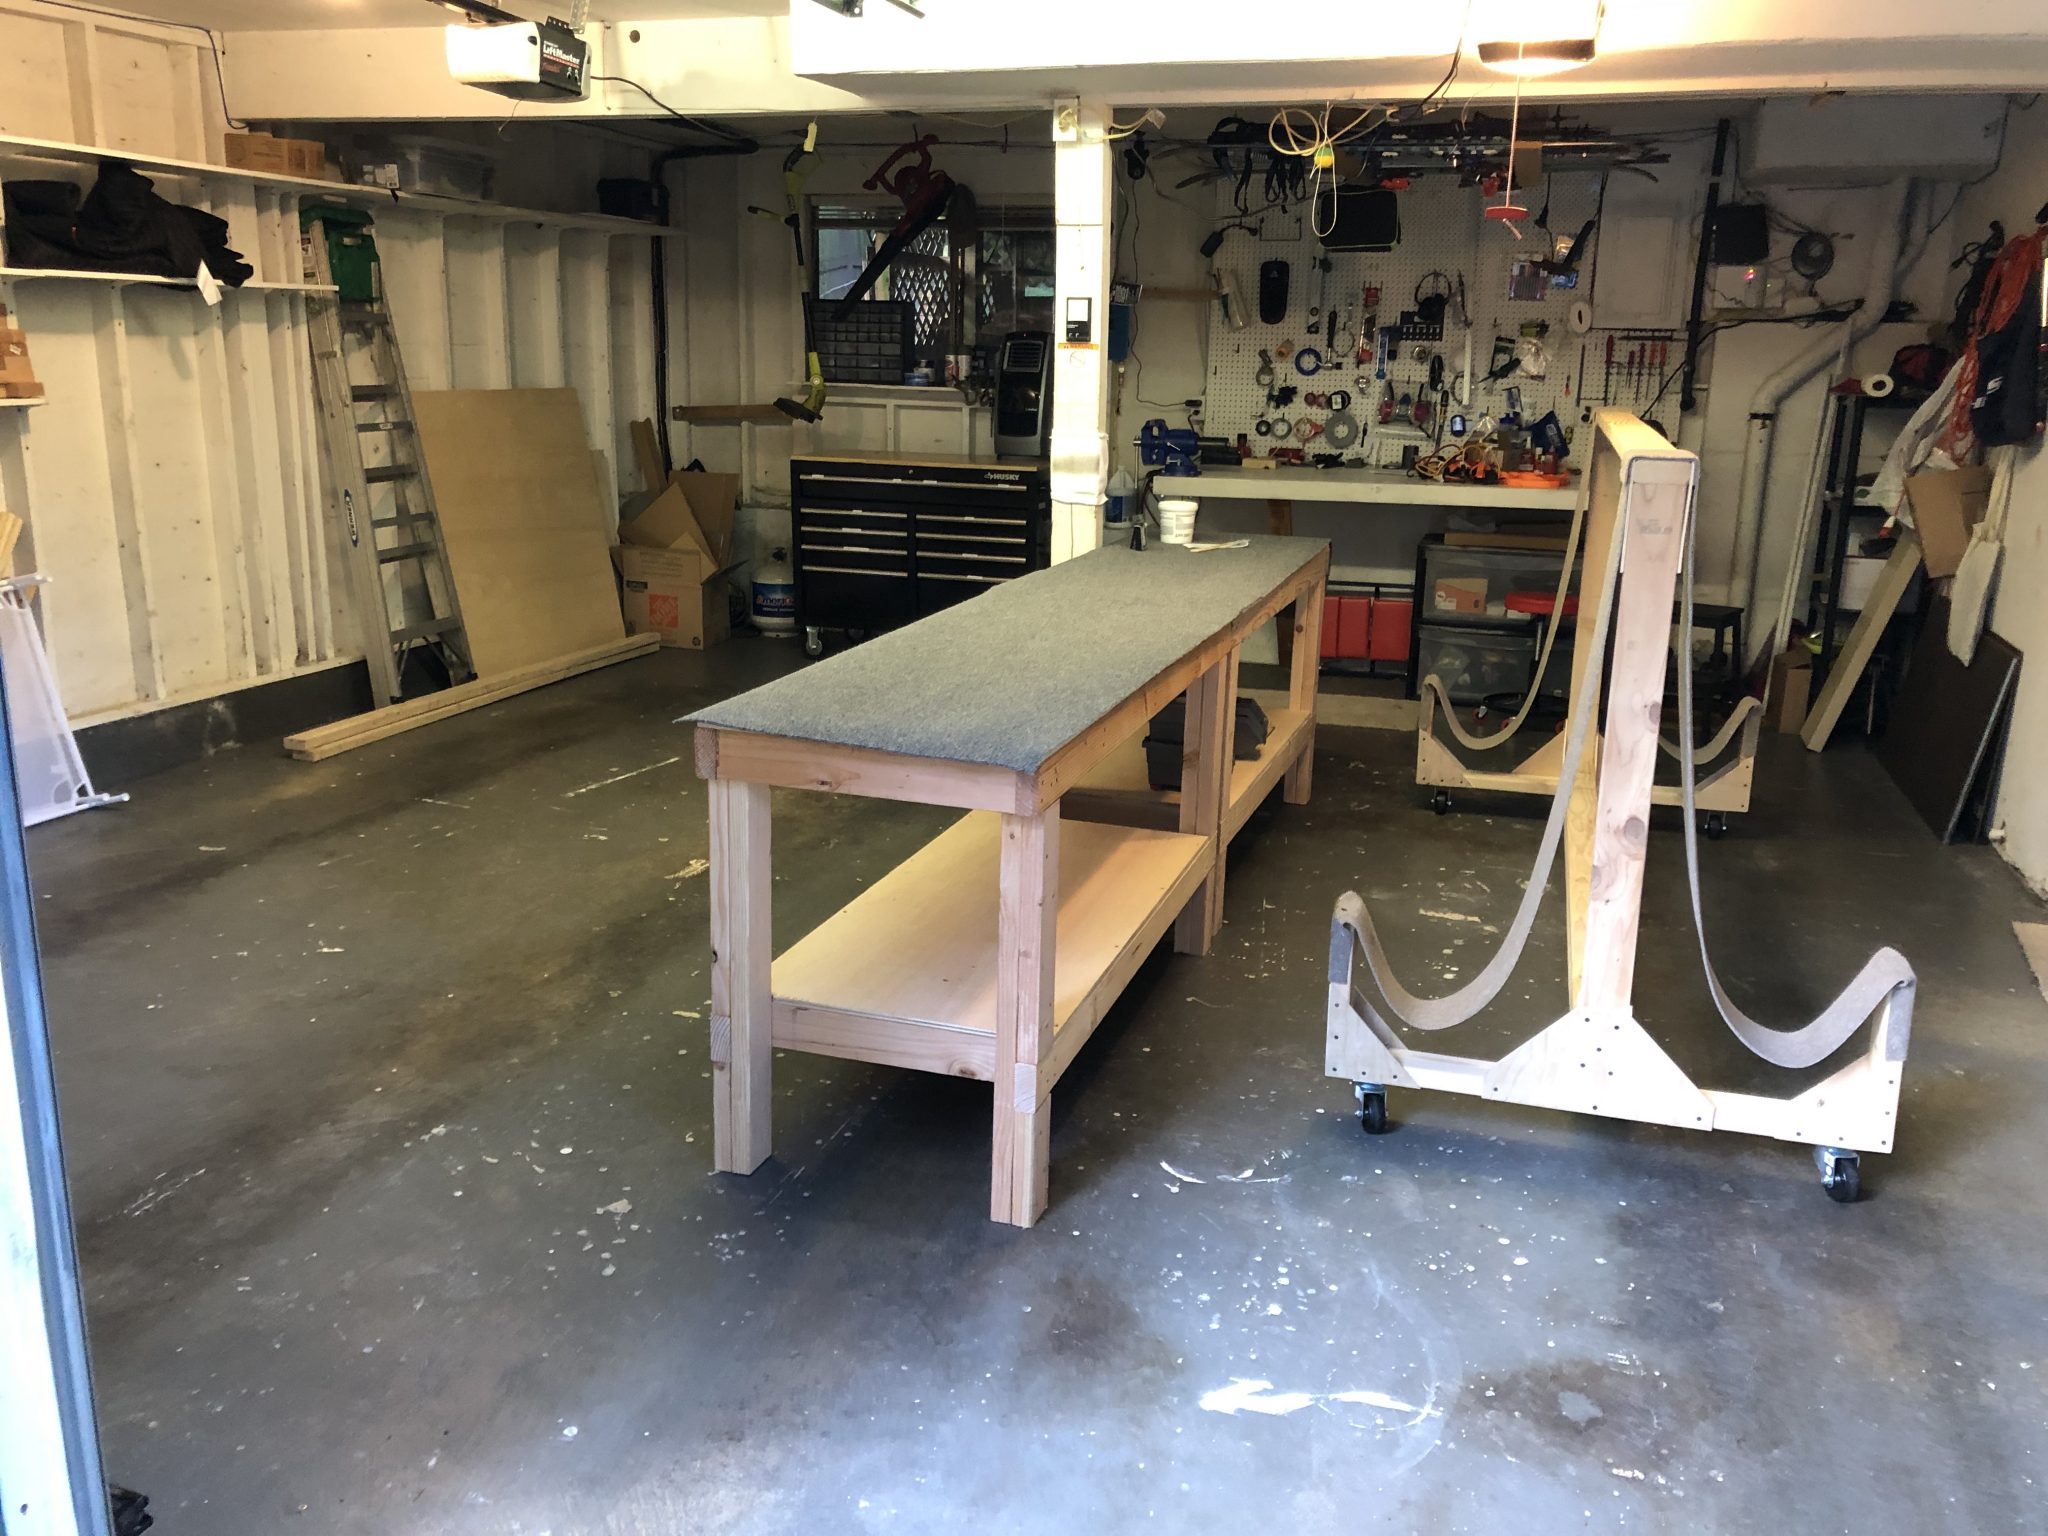
My father was visiting the past two weeks and helped me assemble the second workbench and getting a rolling toolbox so I can keep my garage organized with all the tools.
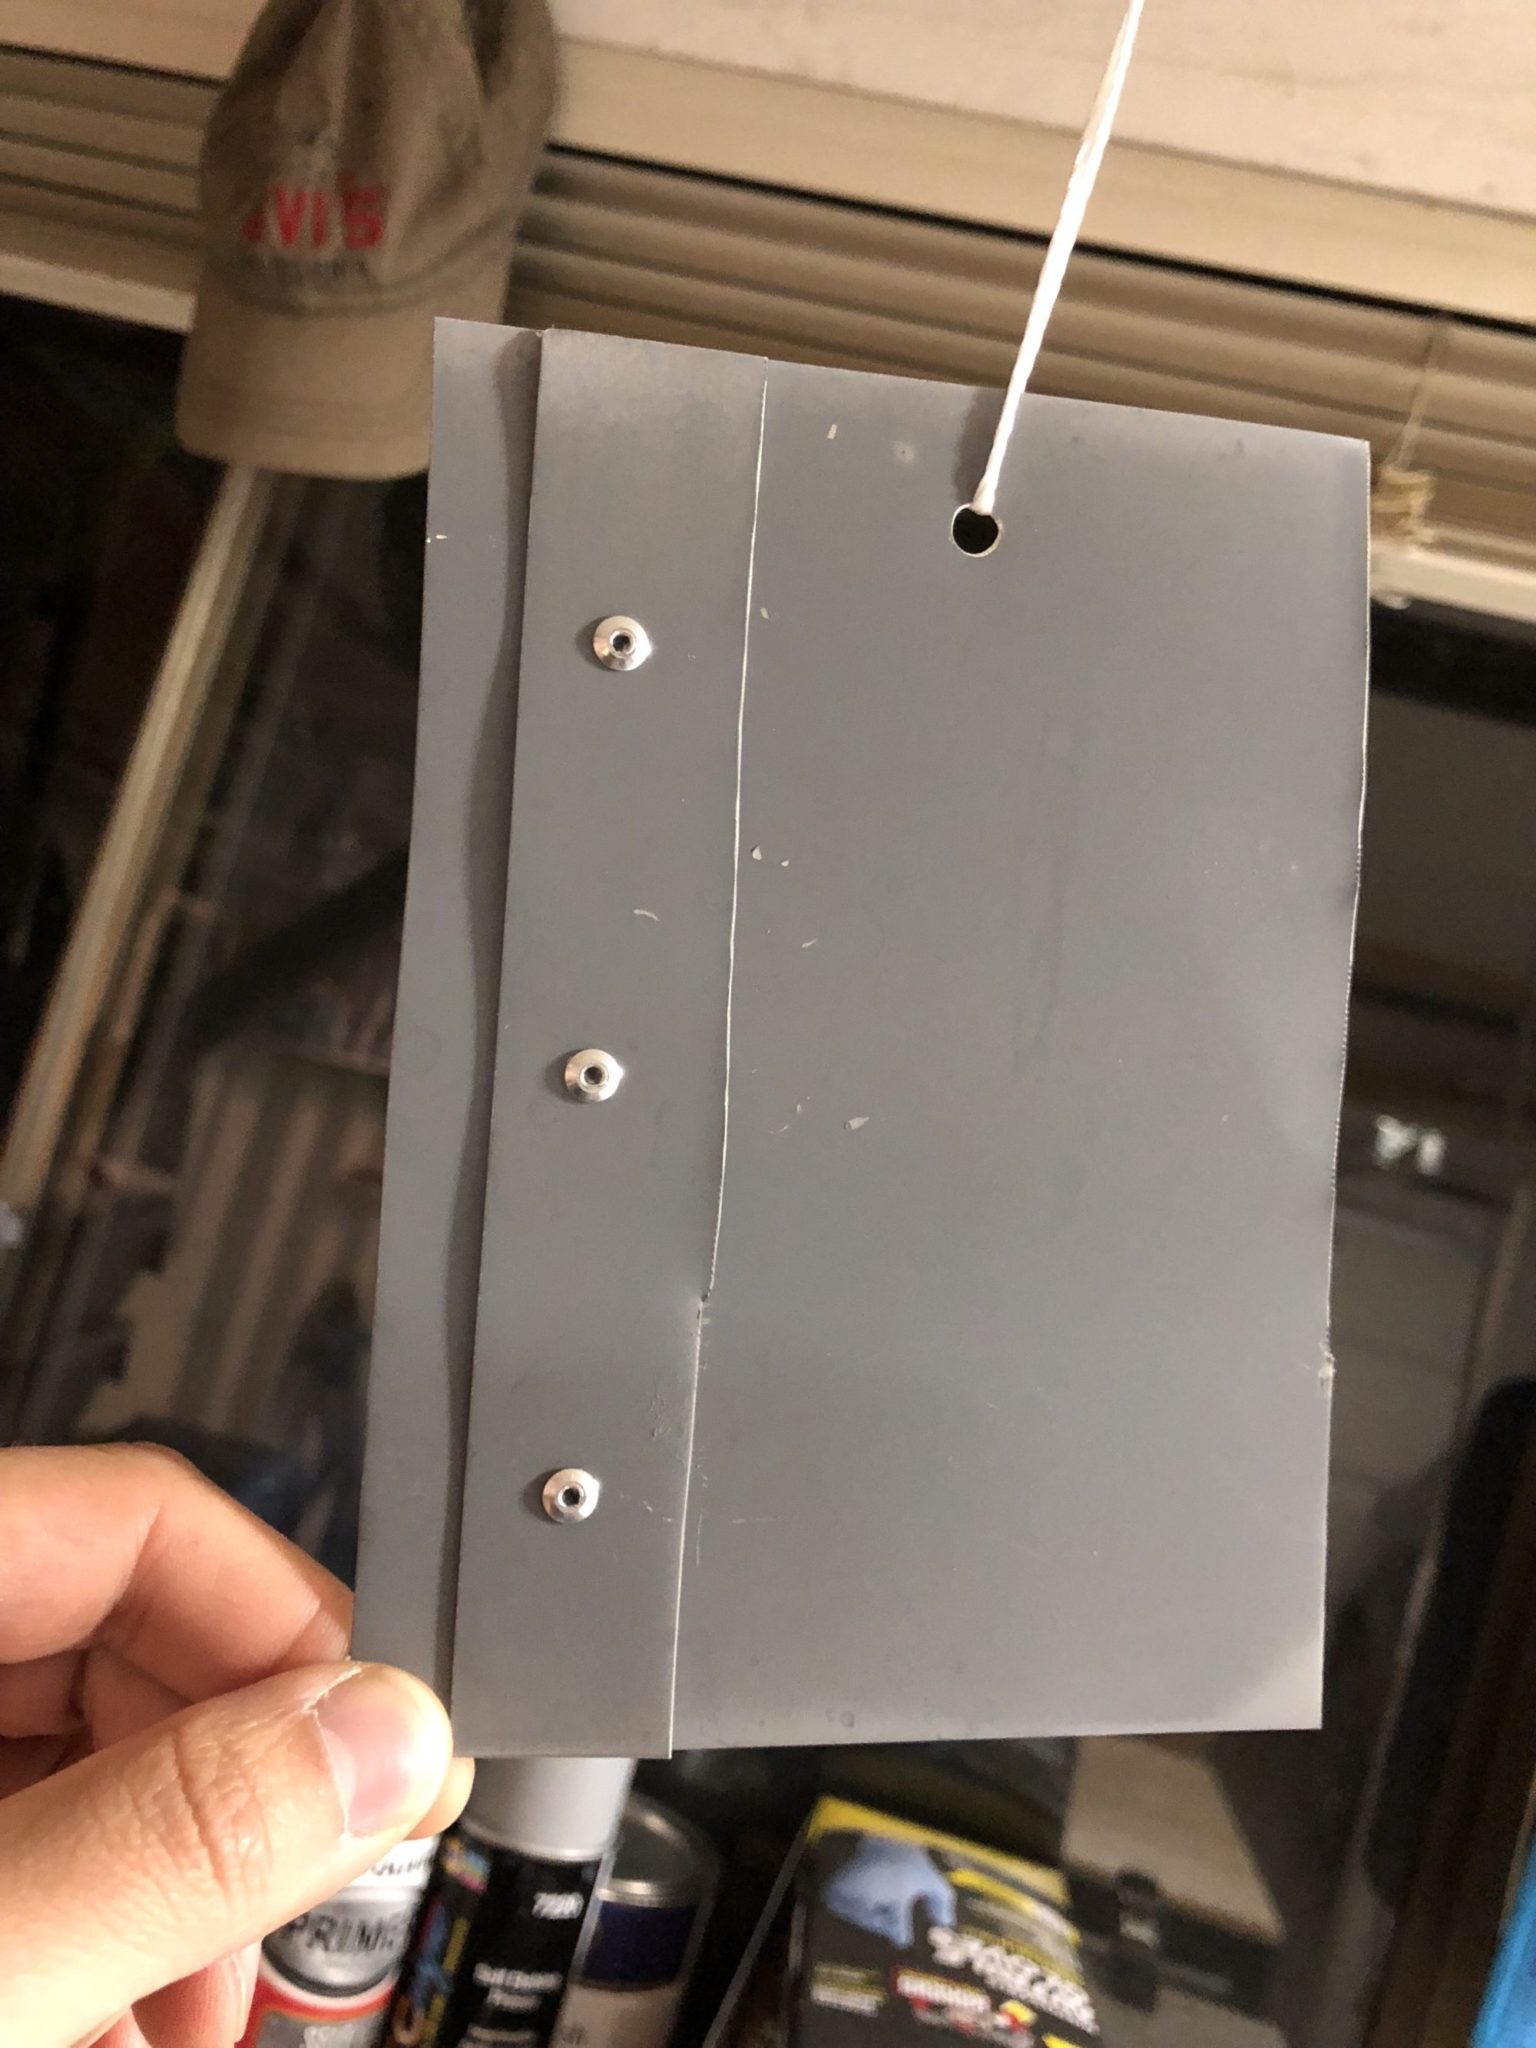
Aside from that I am eagerly reading blogs from fellow builders to ramp up on the process, watching instruction videos, buying more tools and researching various primers and have created a small test sheet with the NAPA 7220 Self-etching primer, which is now dangling in the garage.