Tag Archives: countersinking

Final Elevator fitting

Hours: 2.5

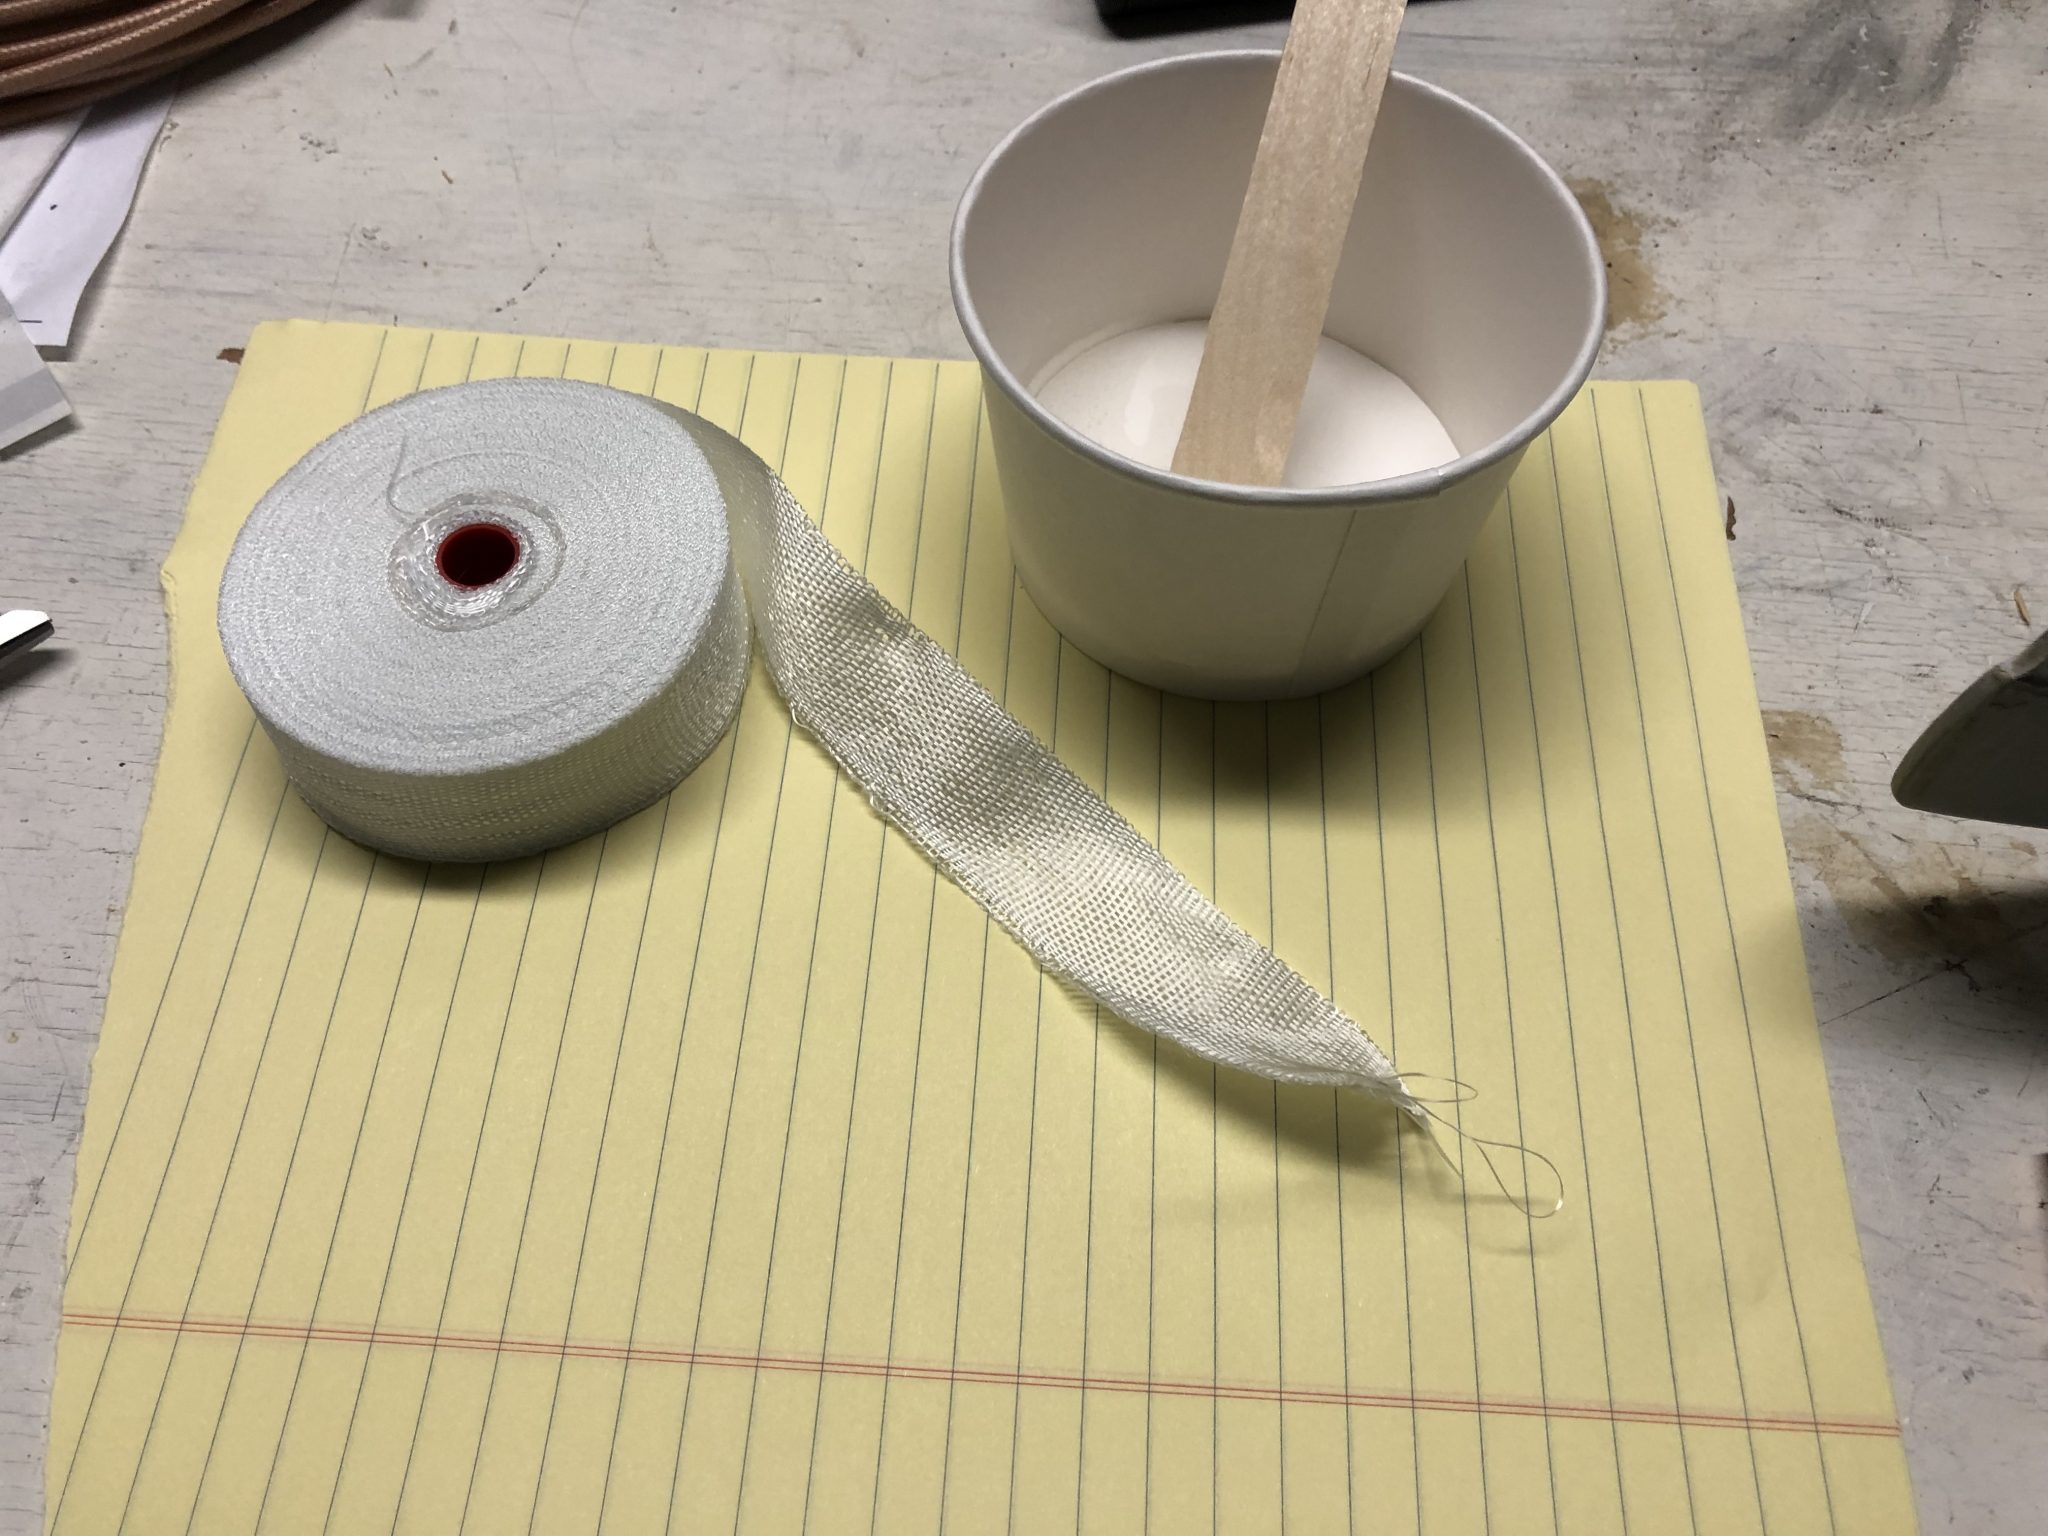
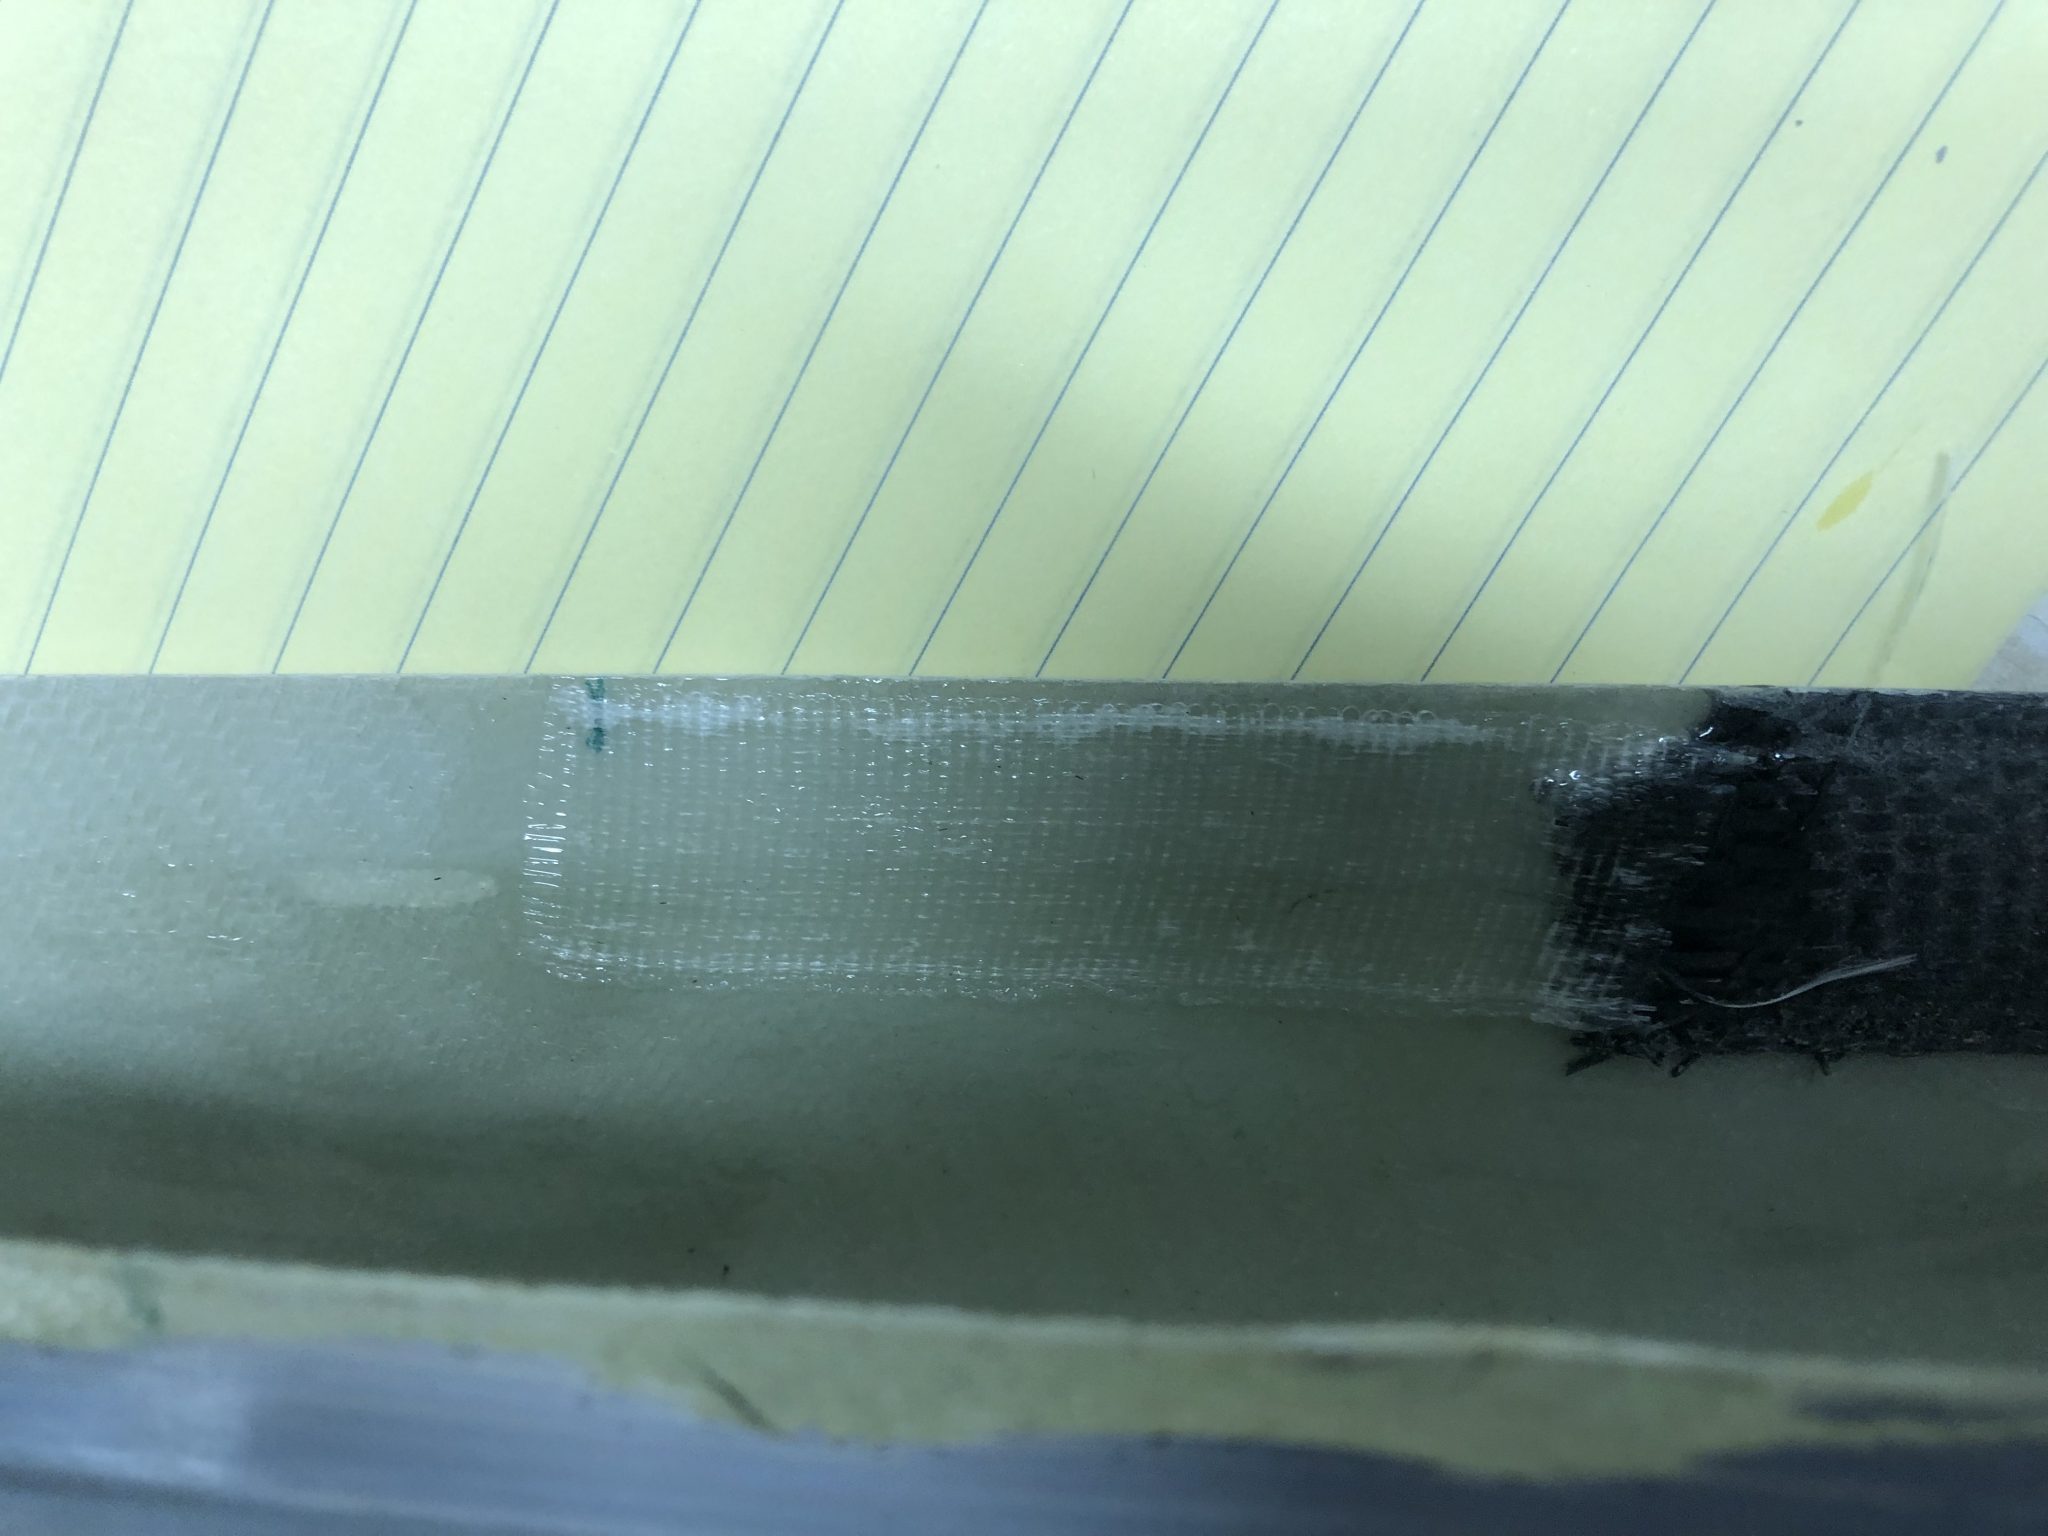
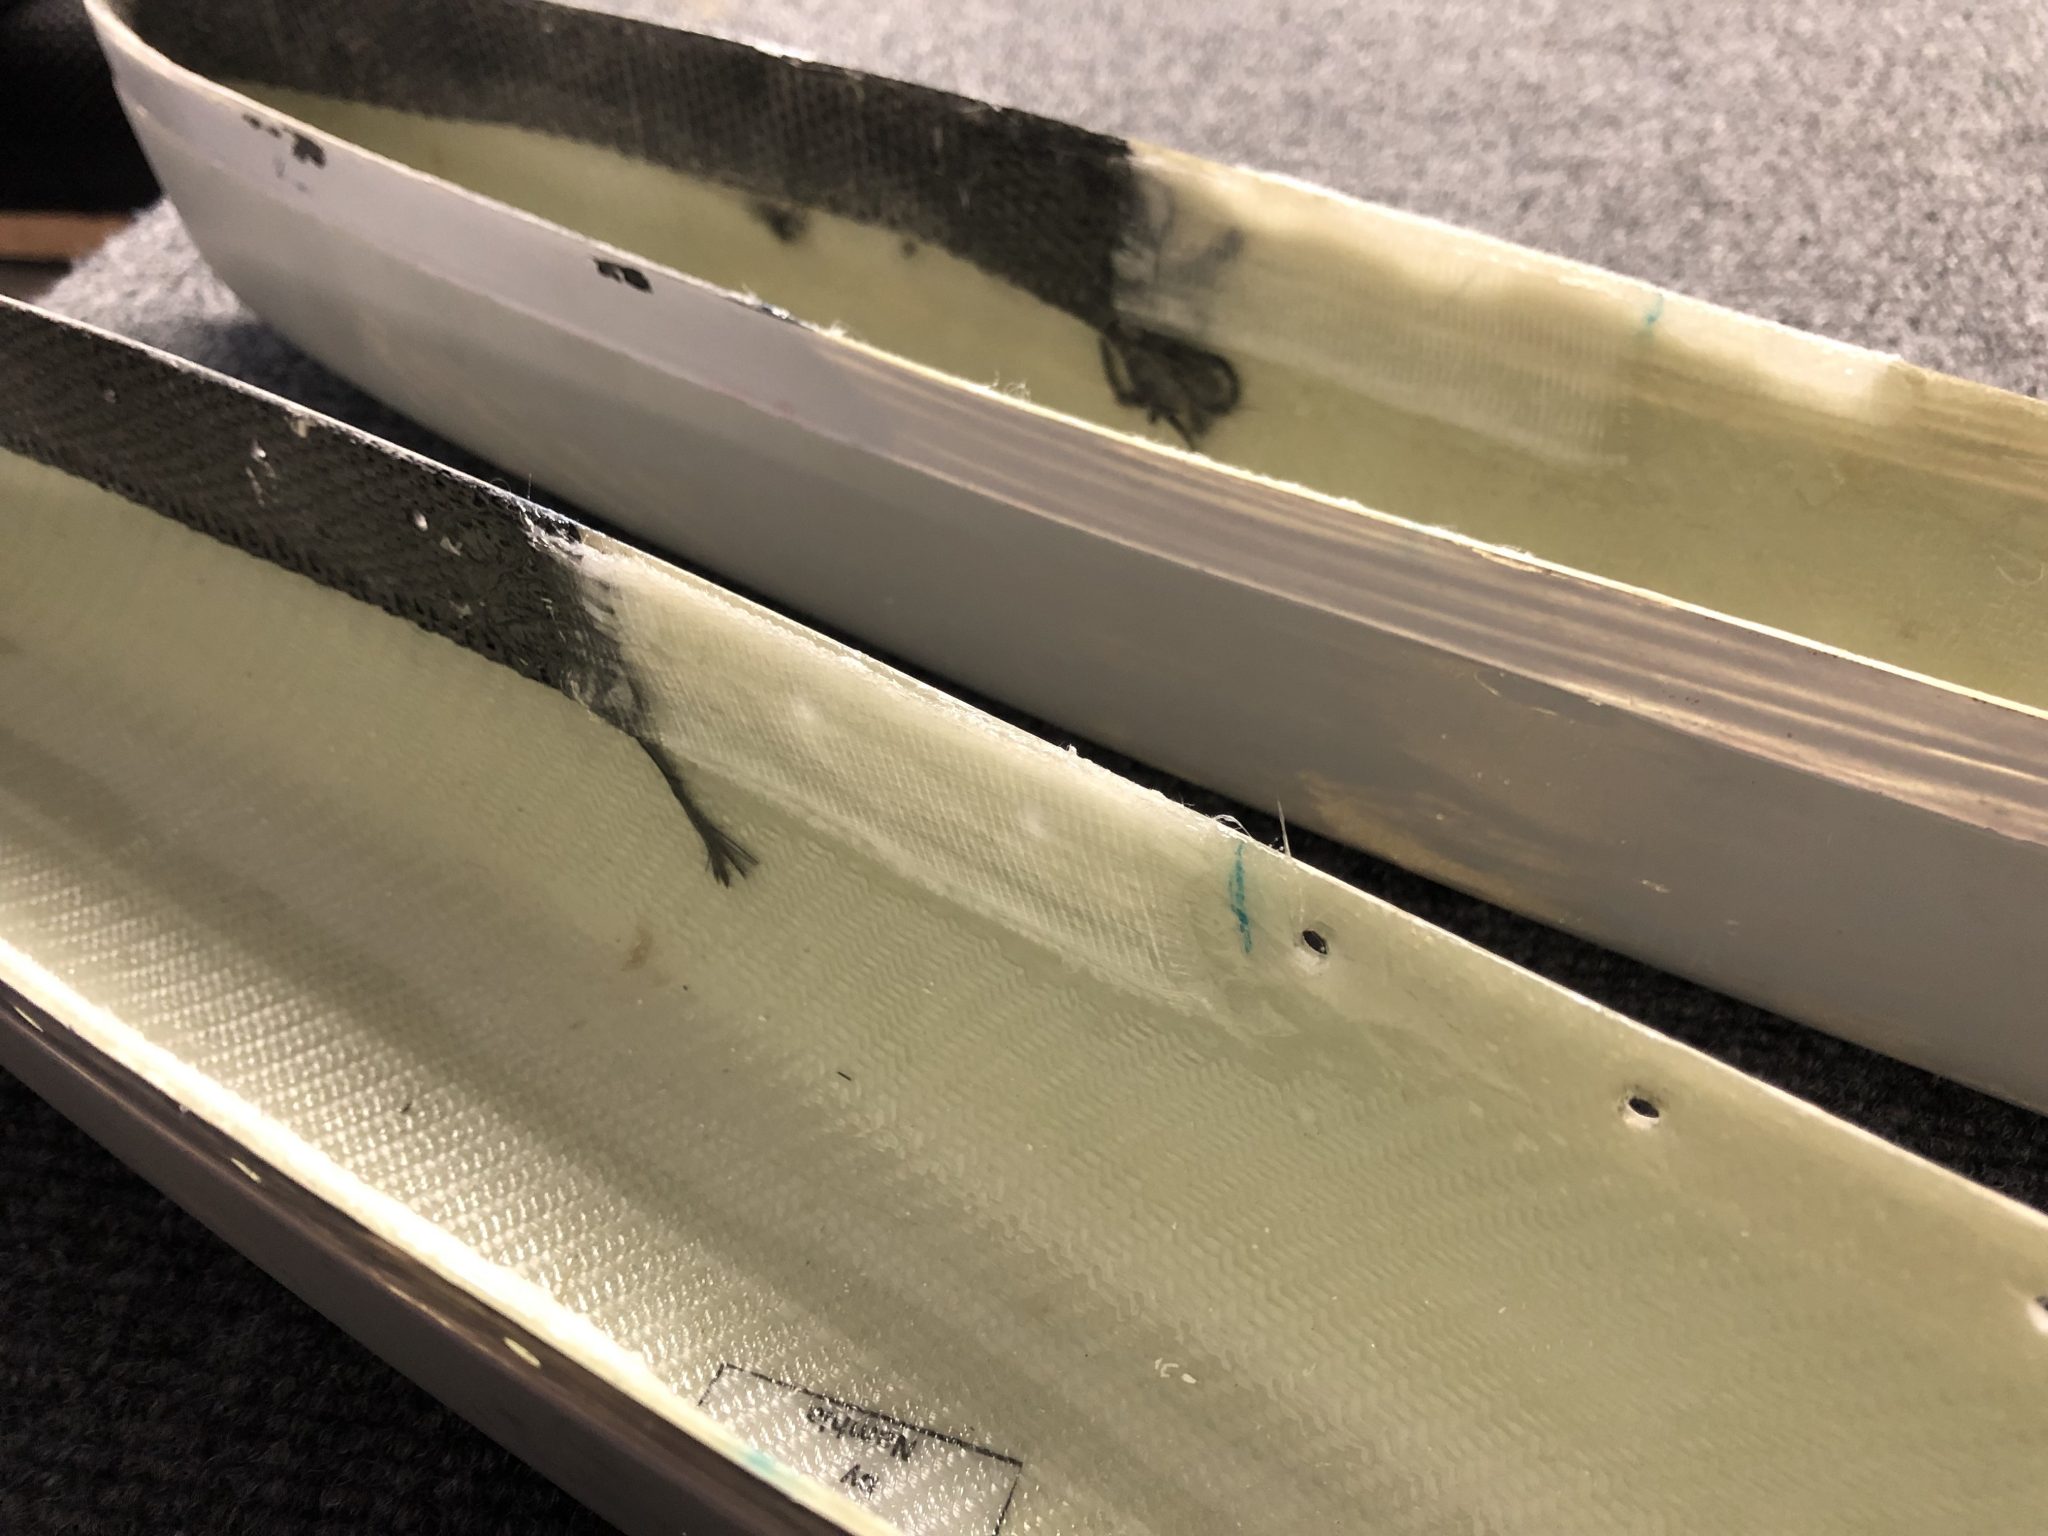
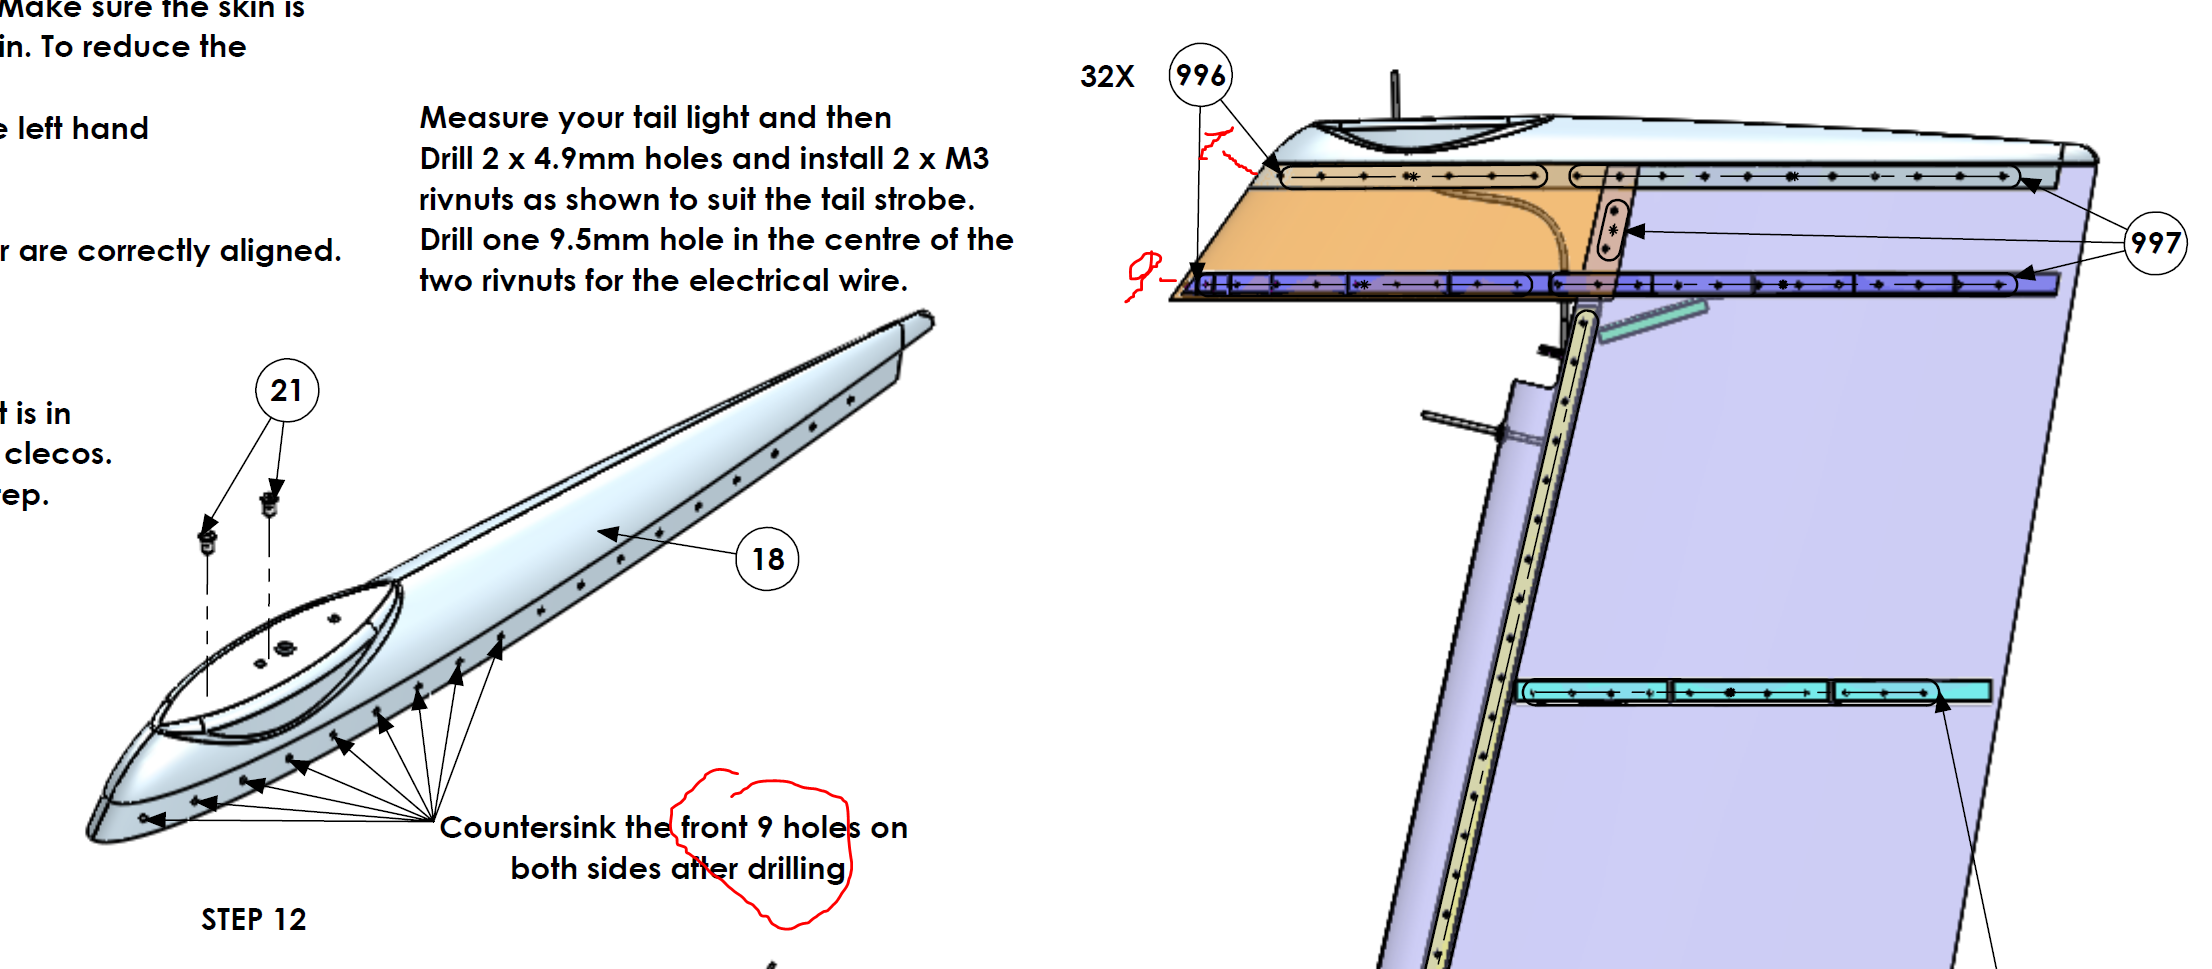
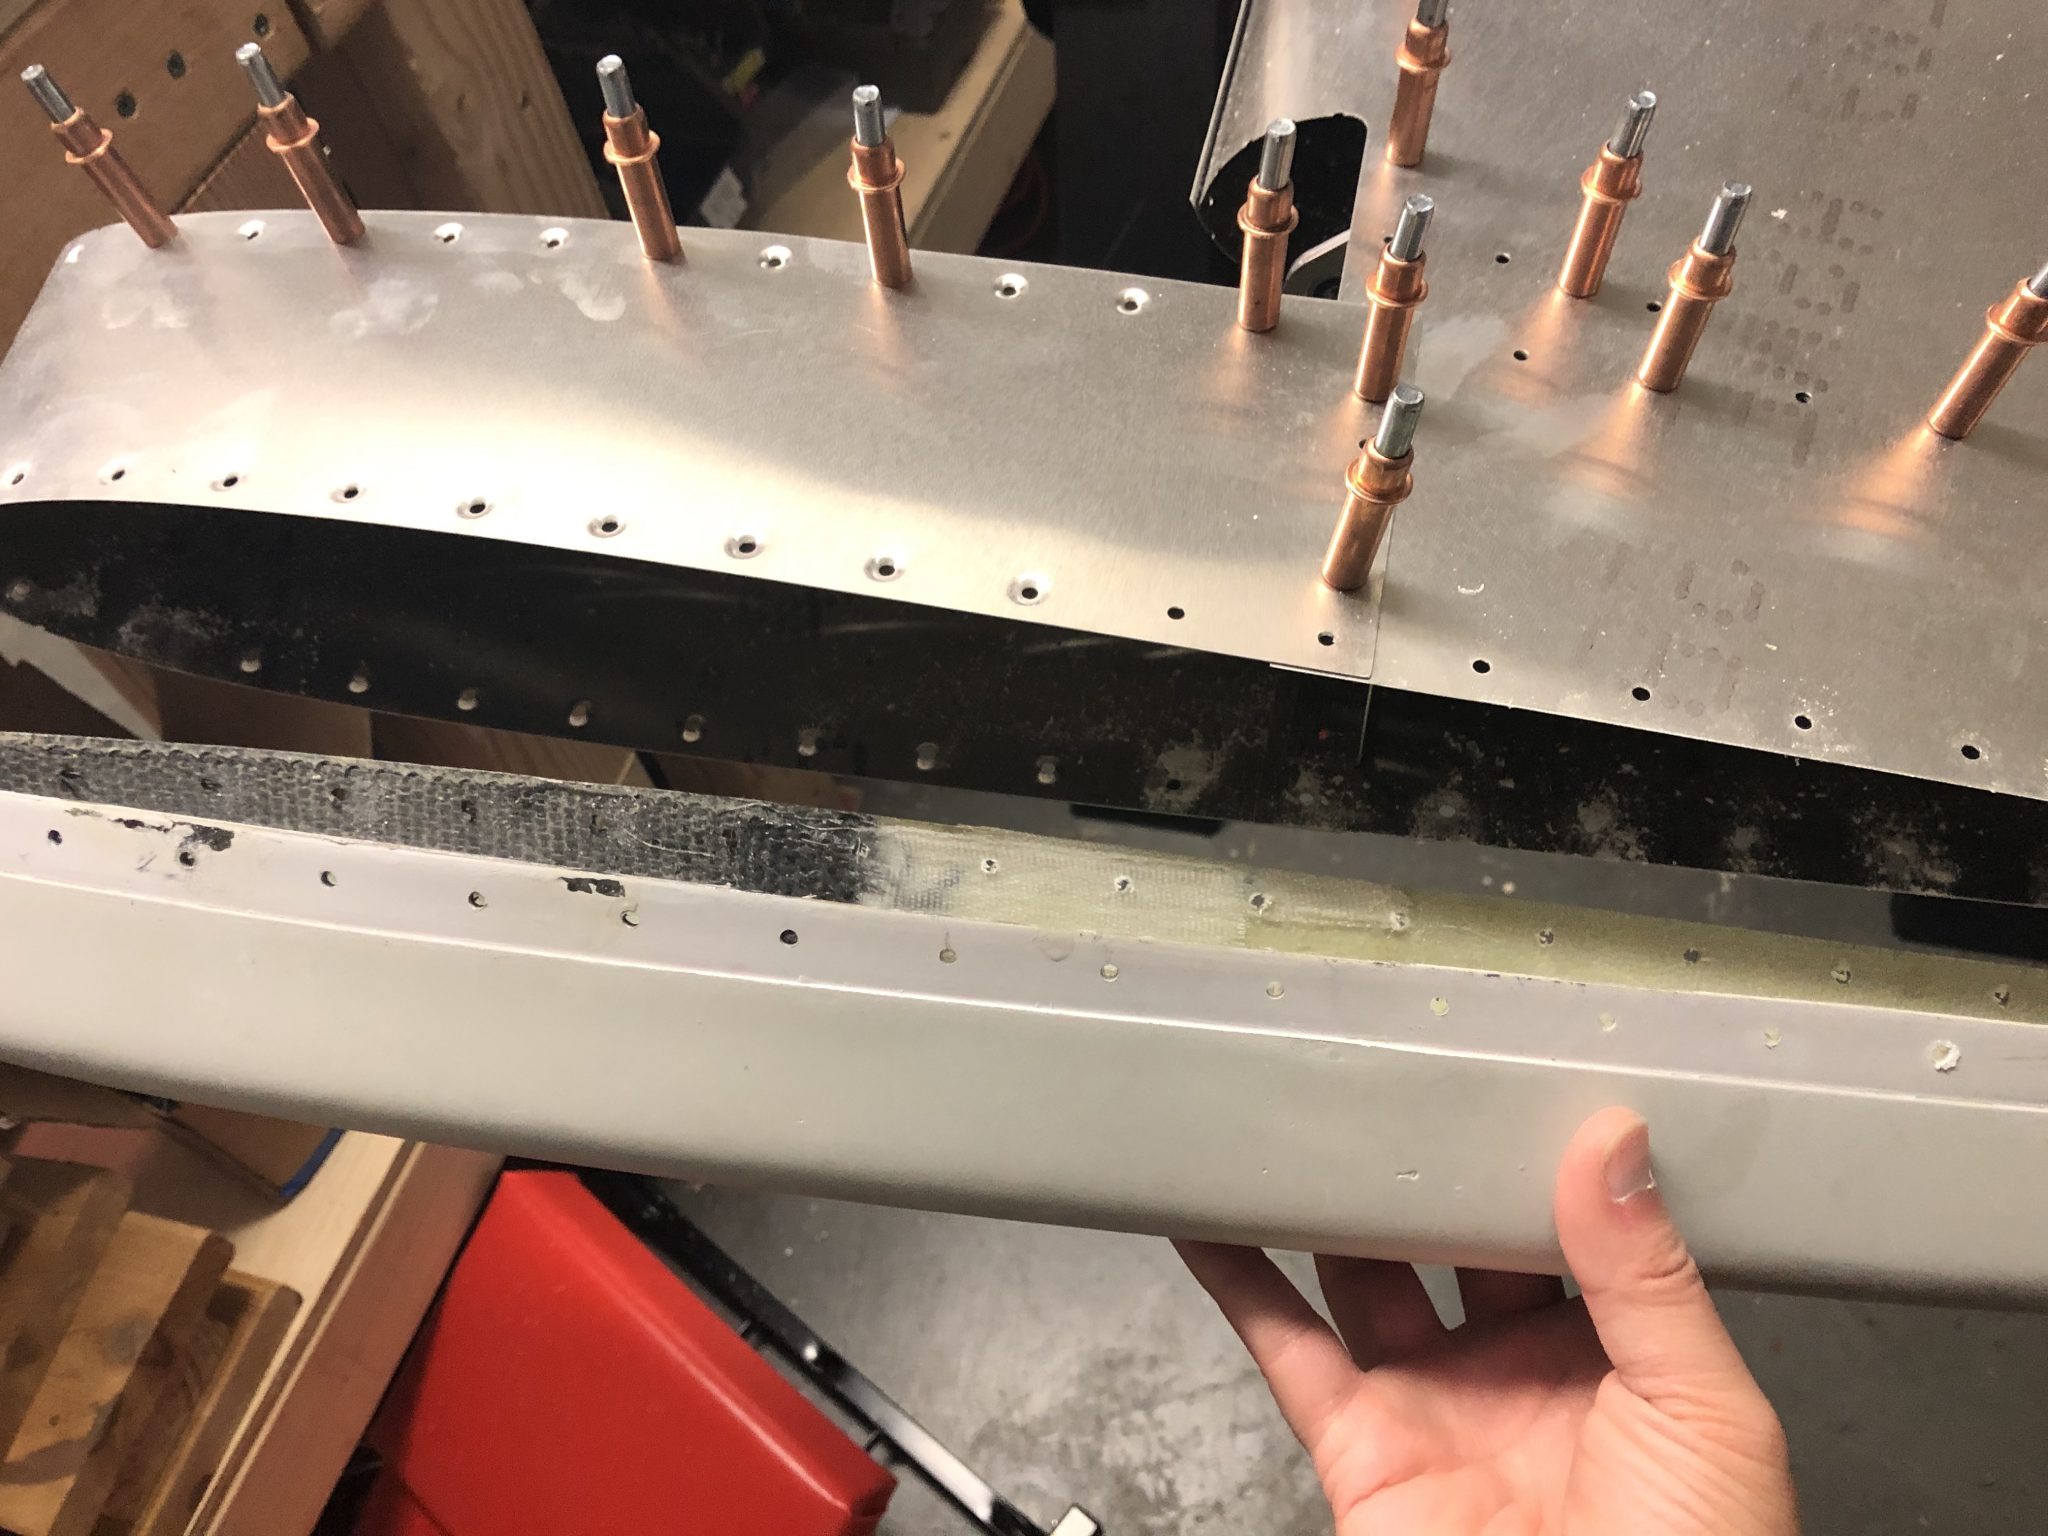
After reinforcing parts of the fiberglass tips for the Elevator for the front section that is countersunk to support the flush rivets, I finished fitting of the right side of the Elevator.

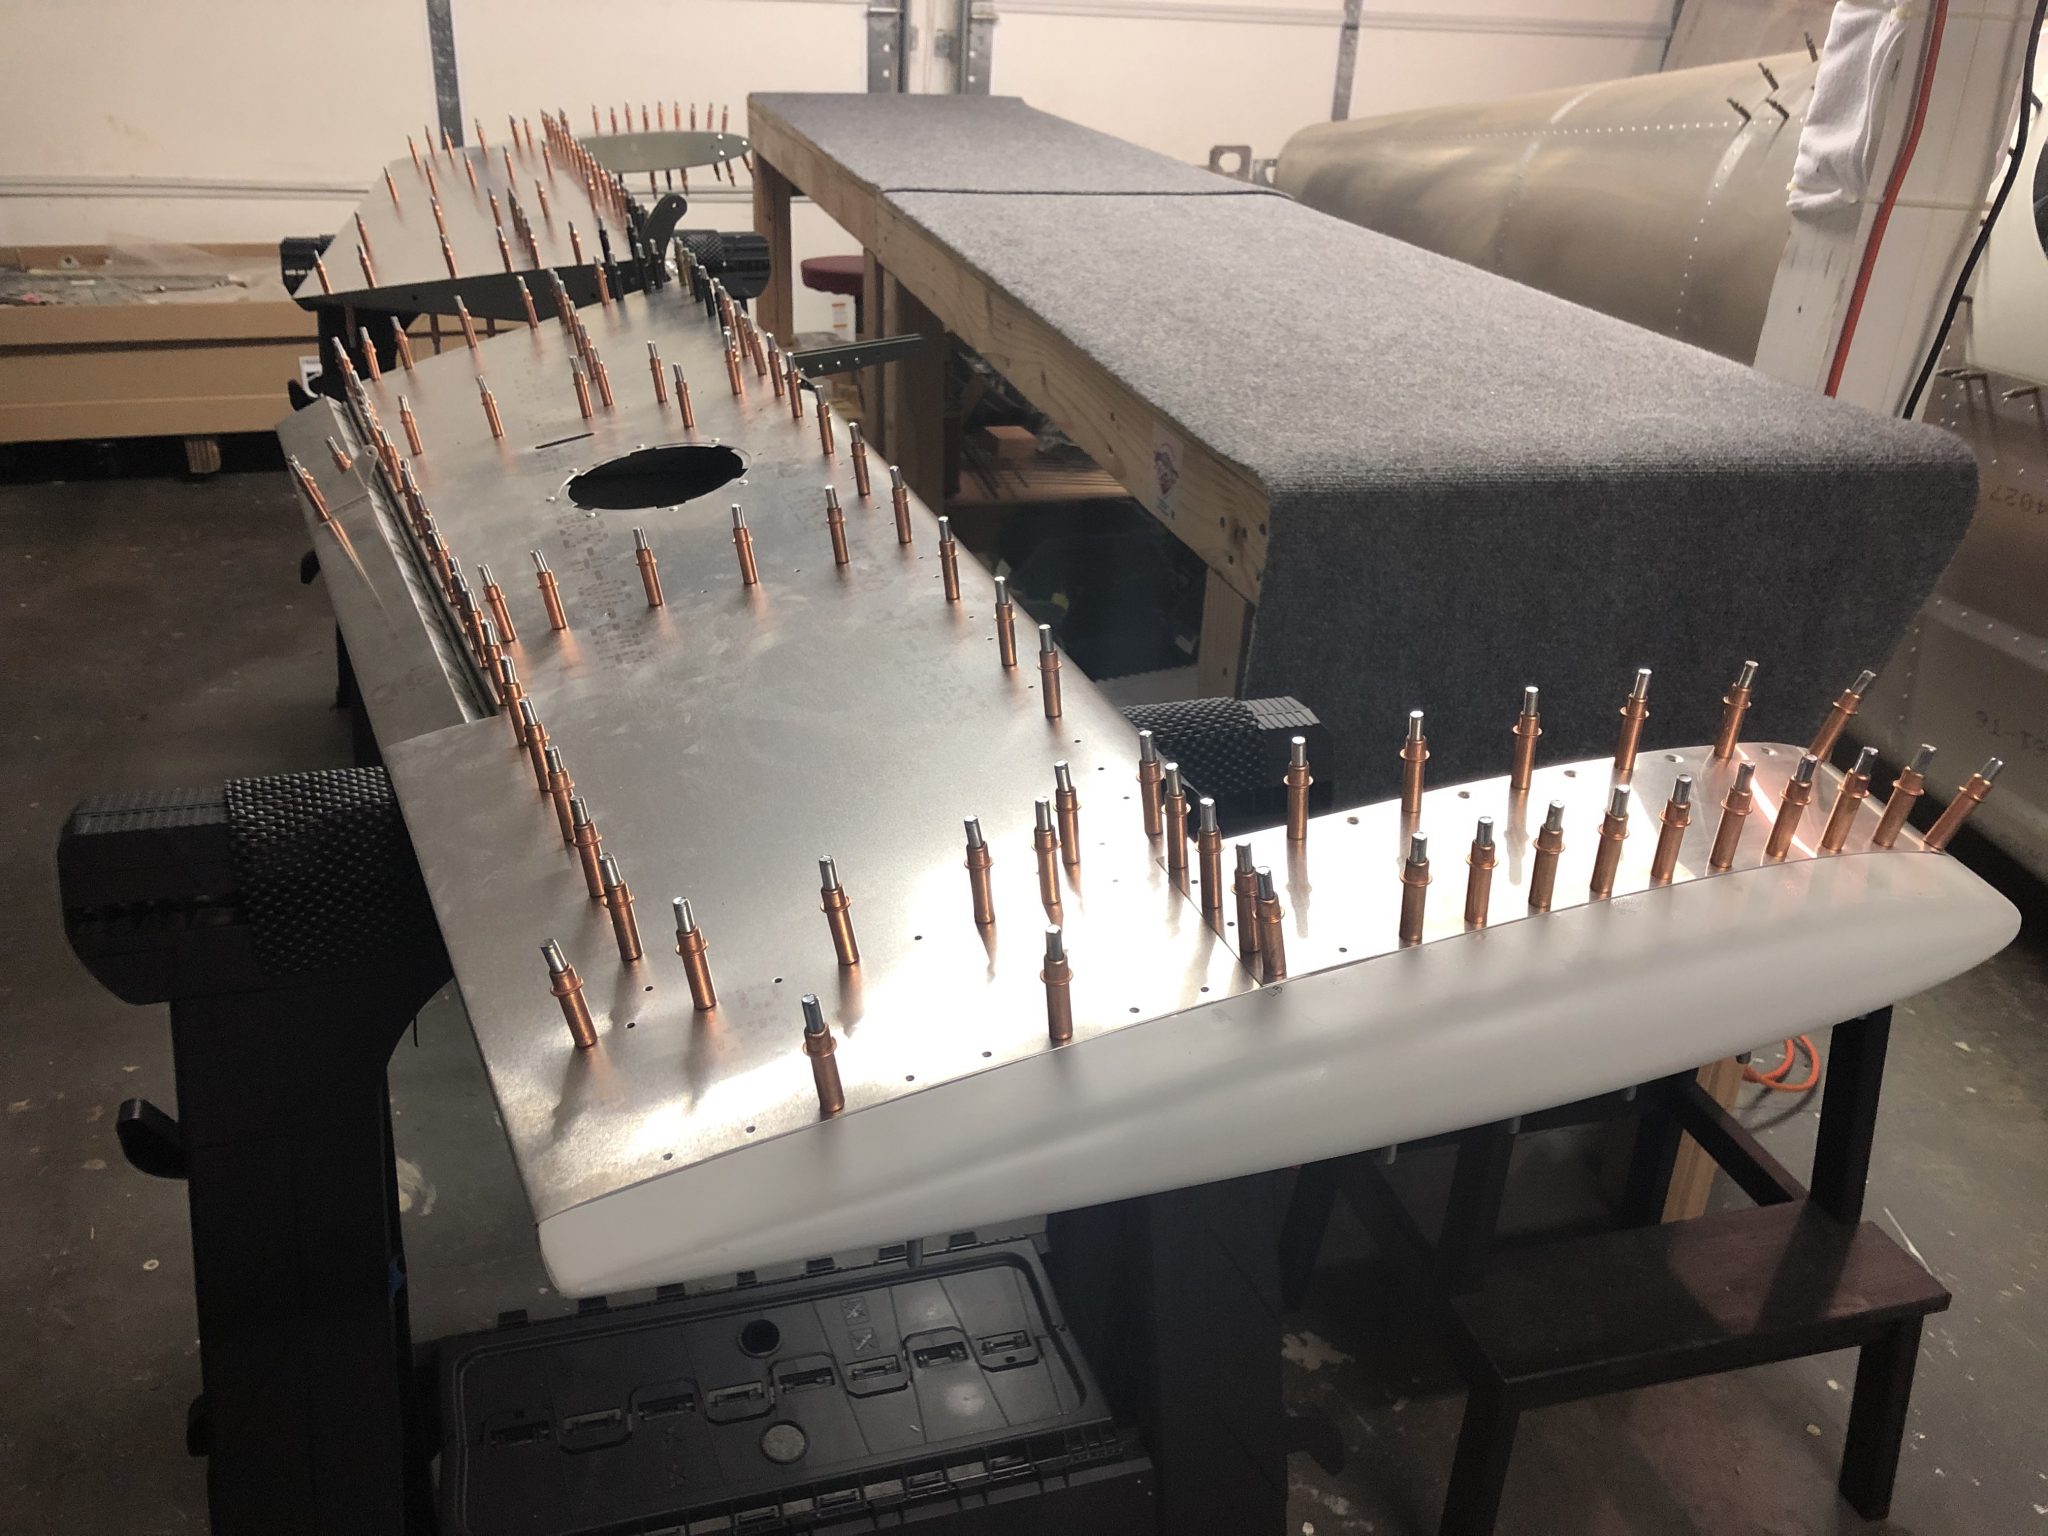
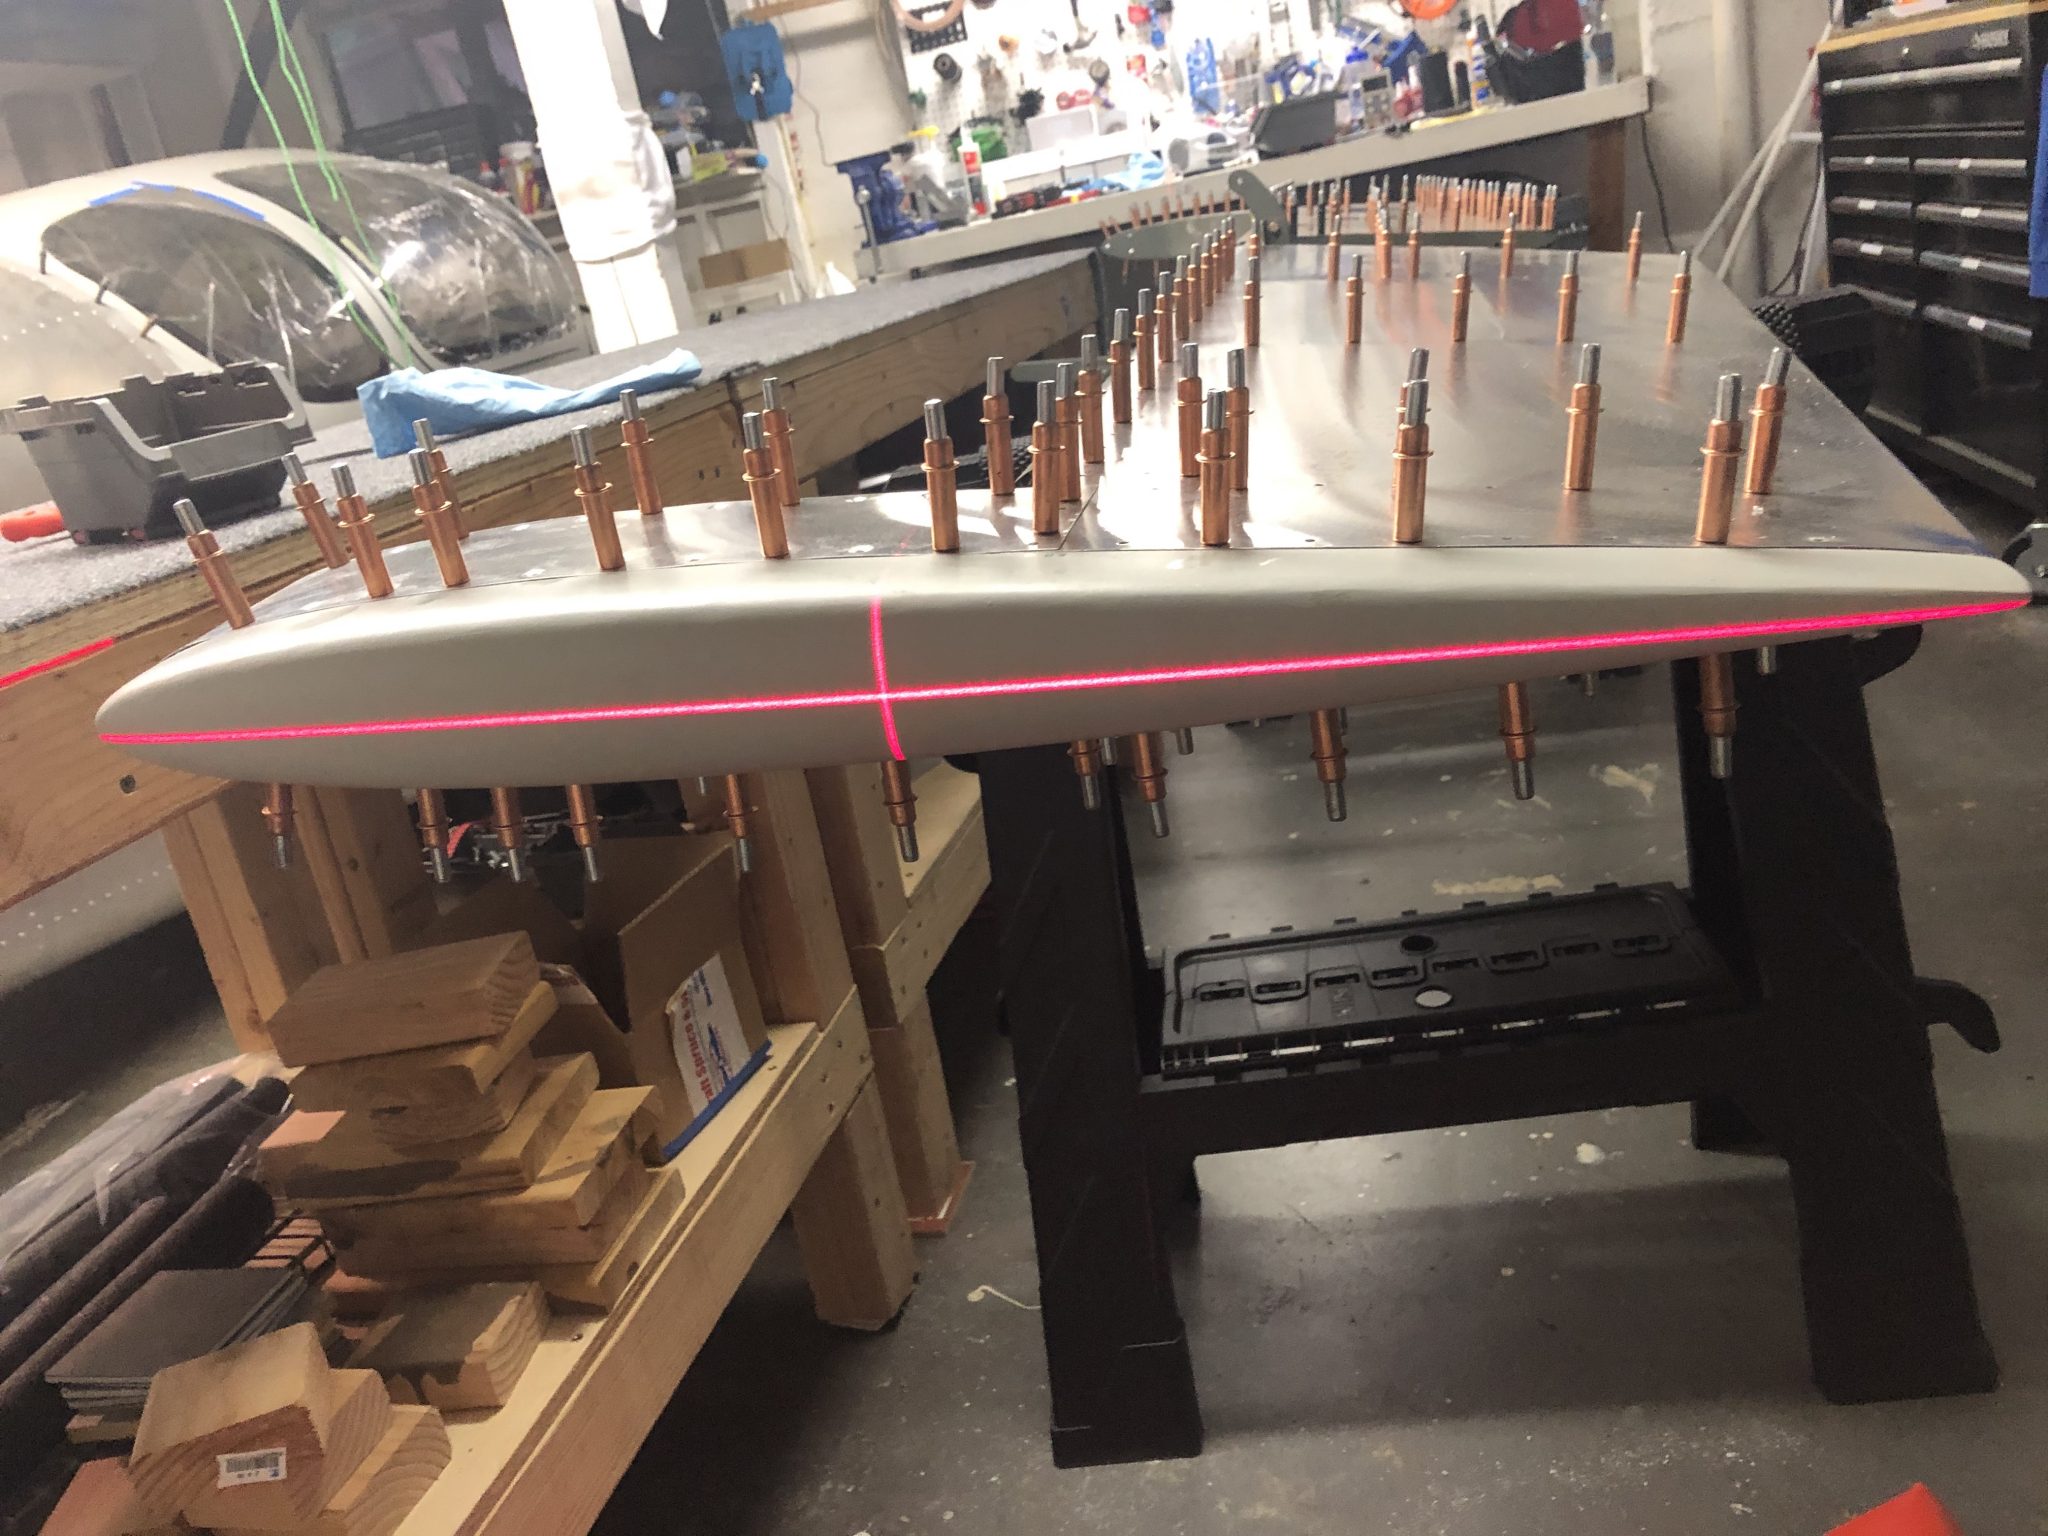
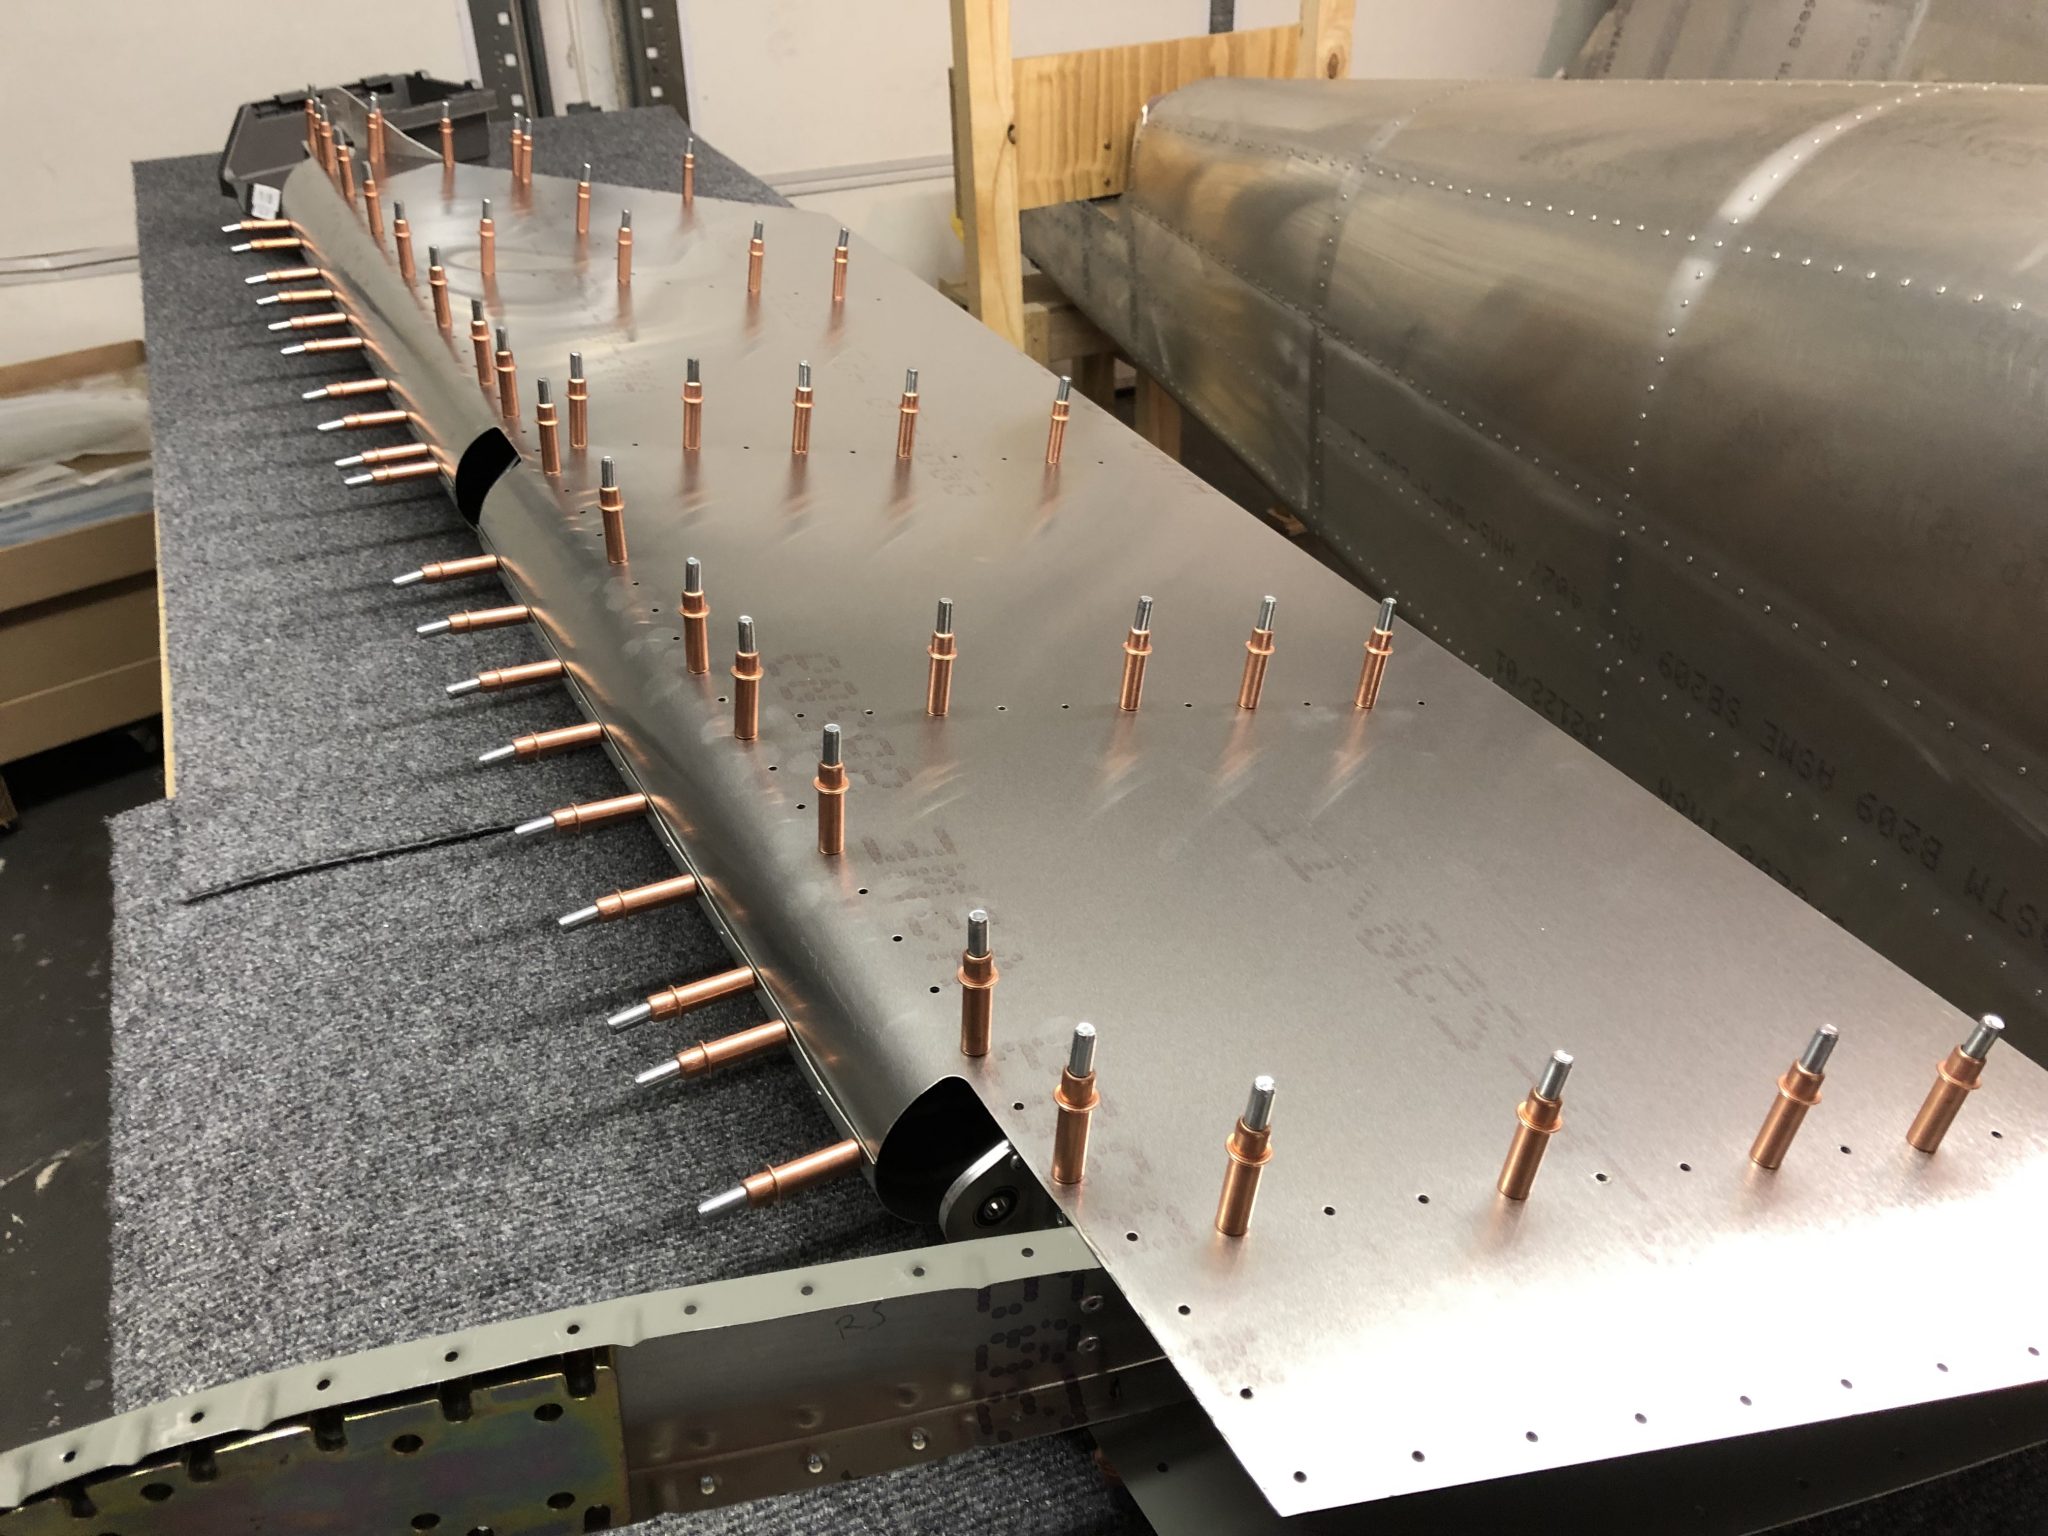
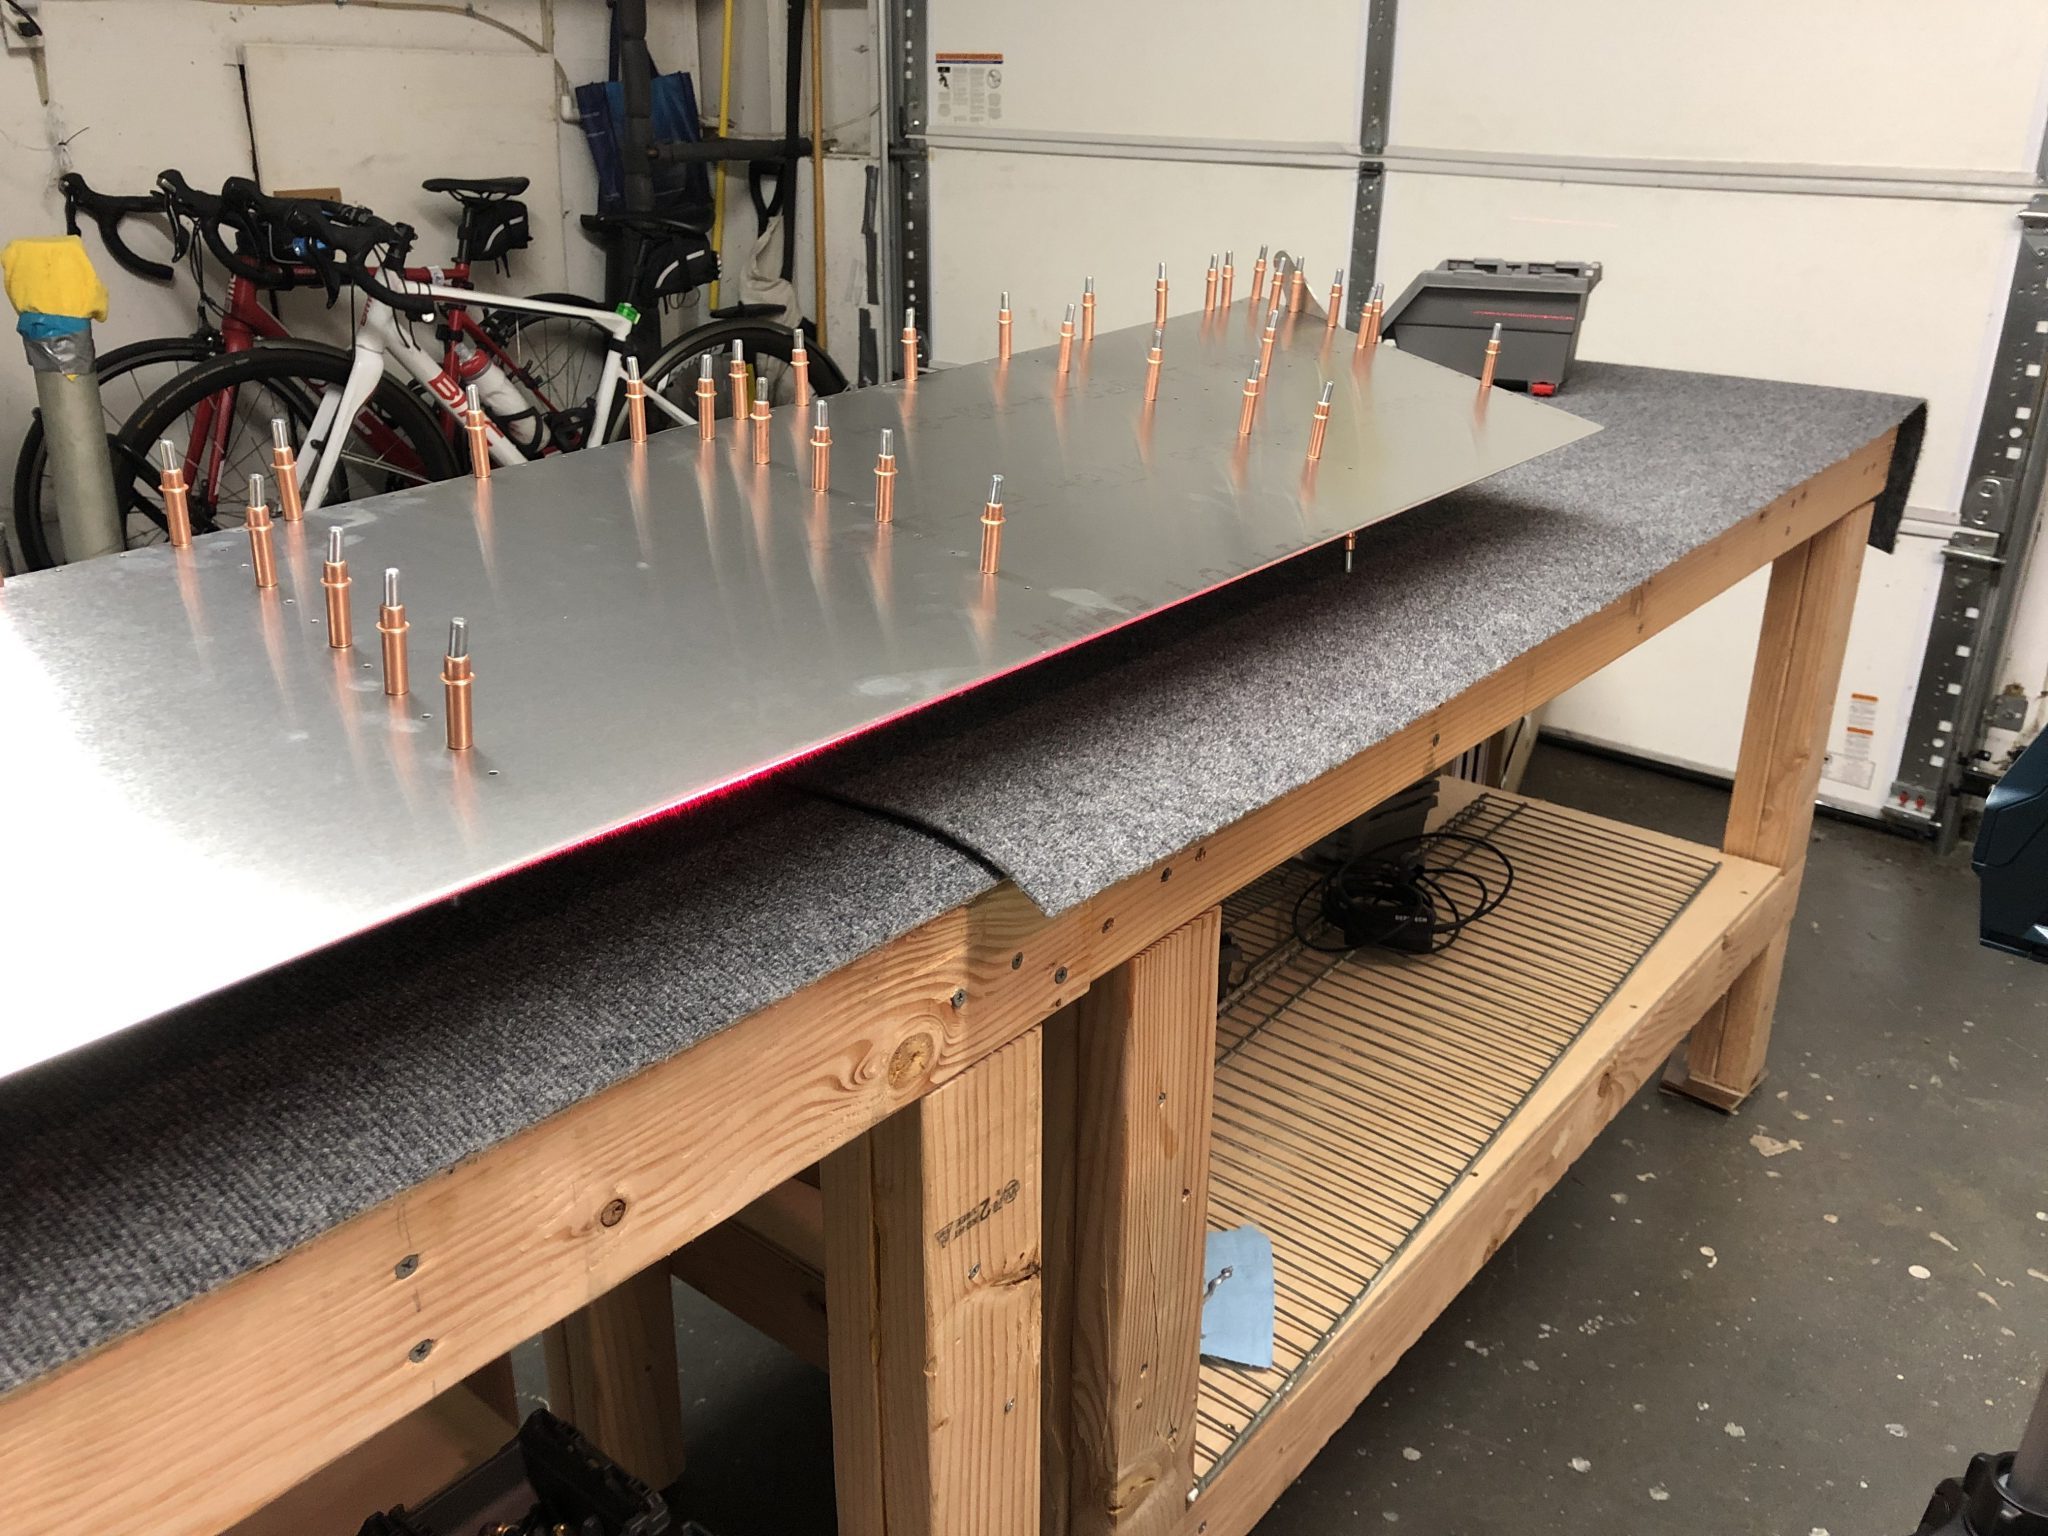
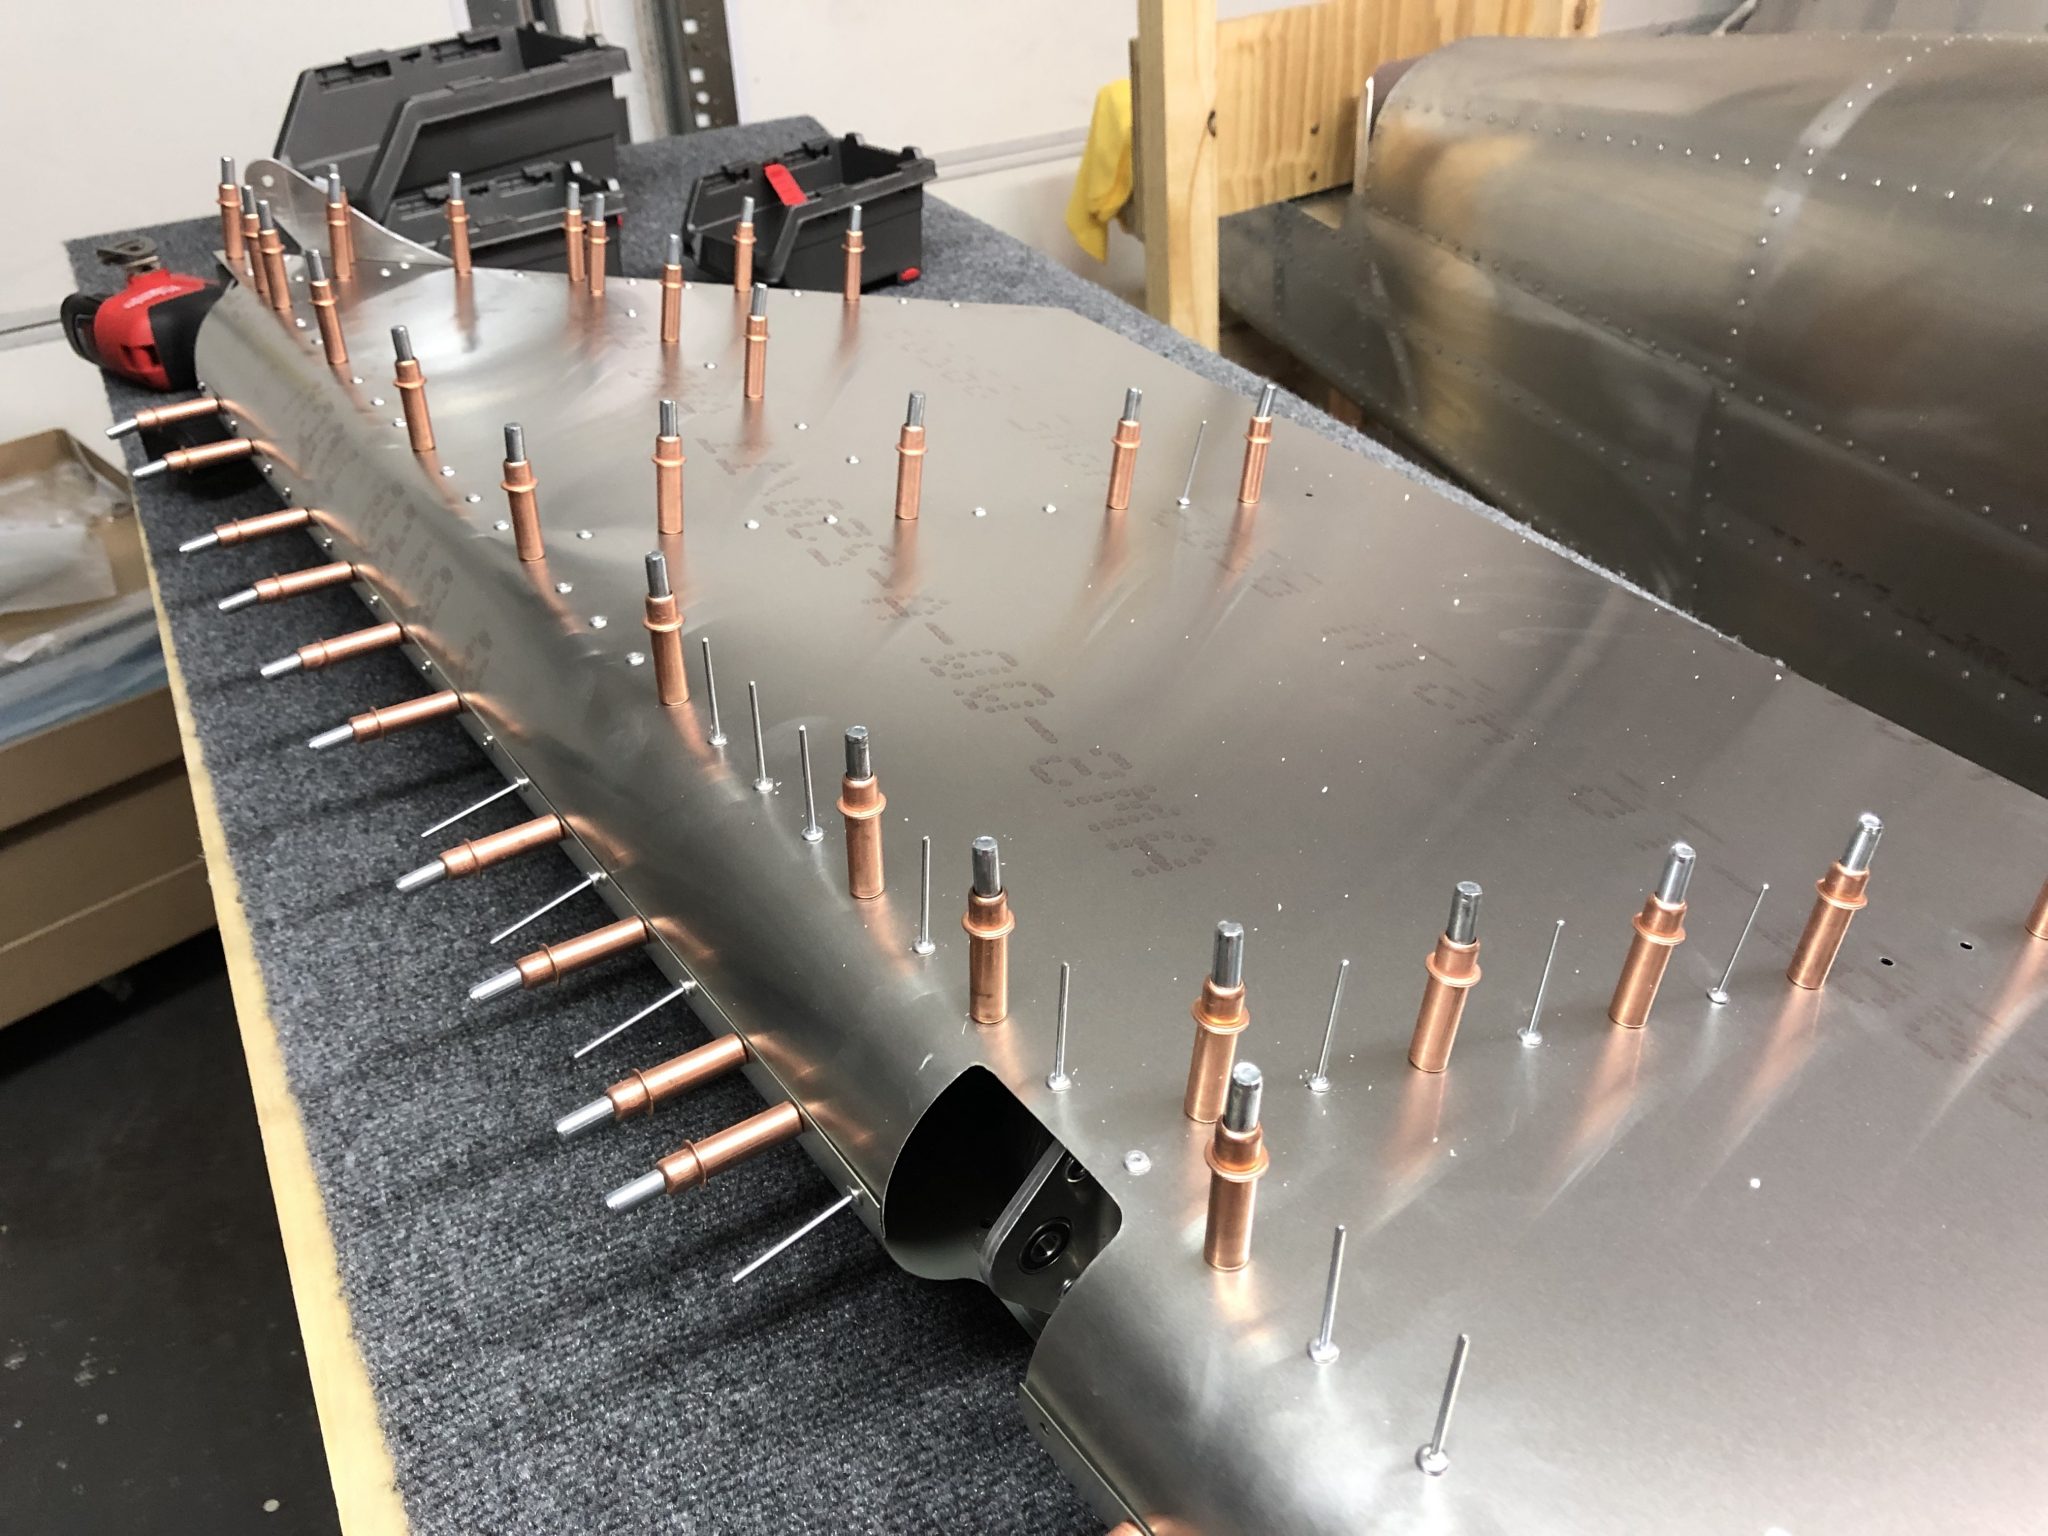
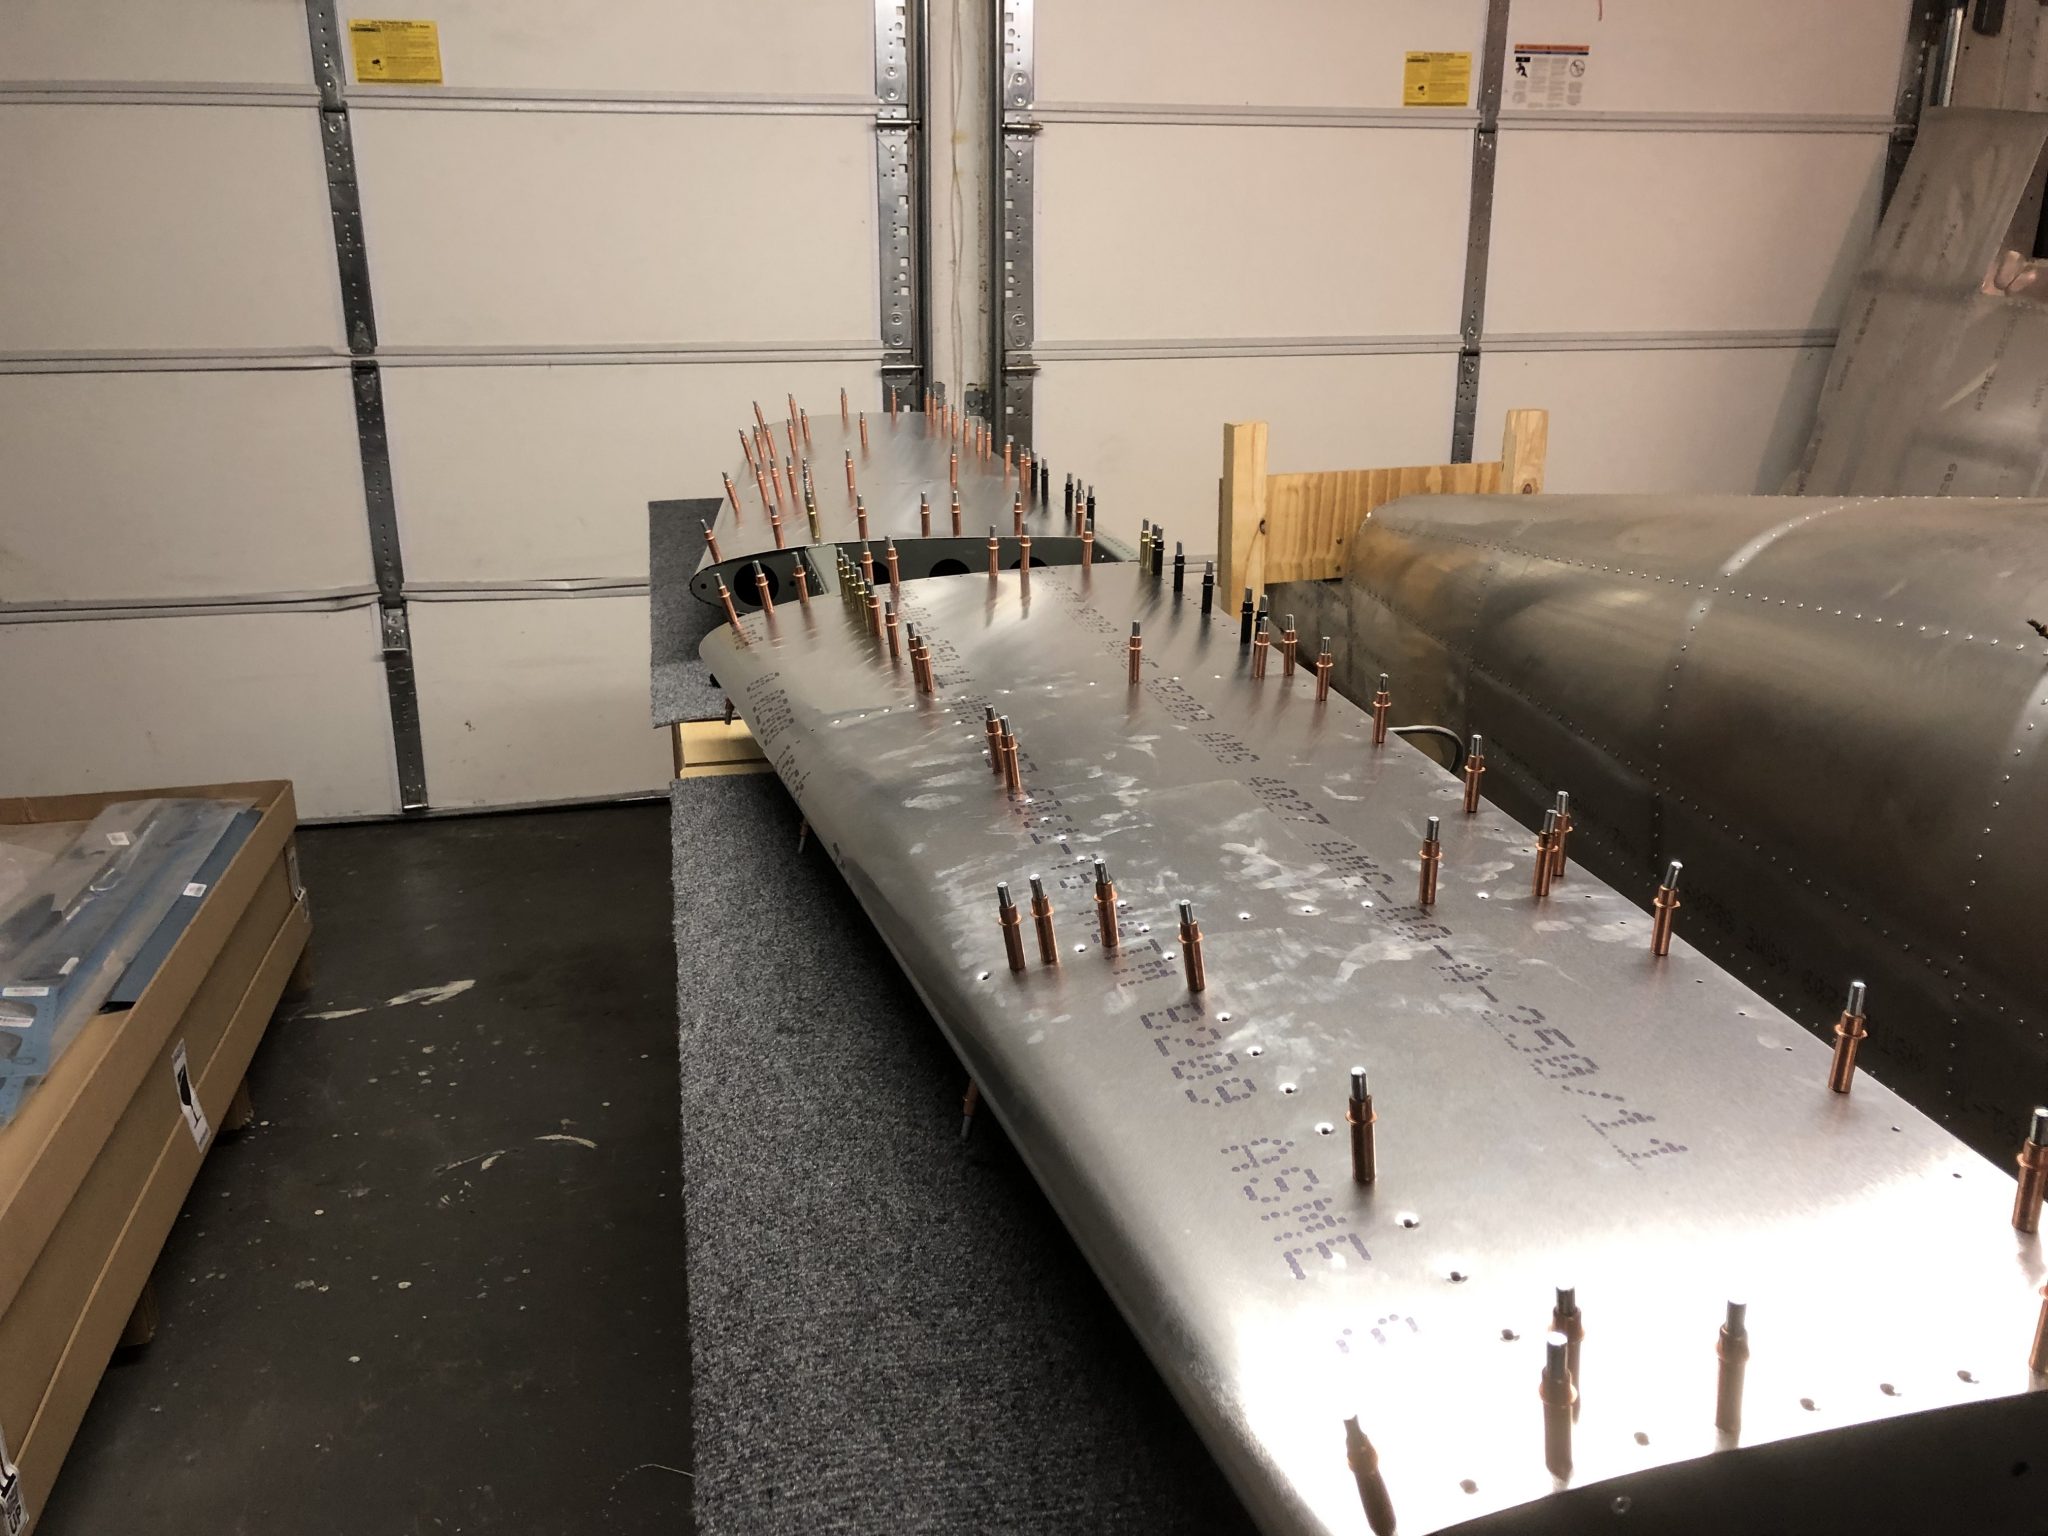
When I finished the alignment of the left side of the Elevator, I ran out of clecos, so I bought a couple more when I was at Oshkosh so I could properly put the Elevator together and get everything to align correctly.

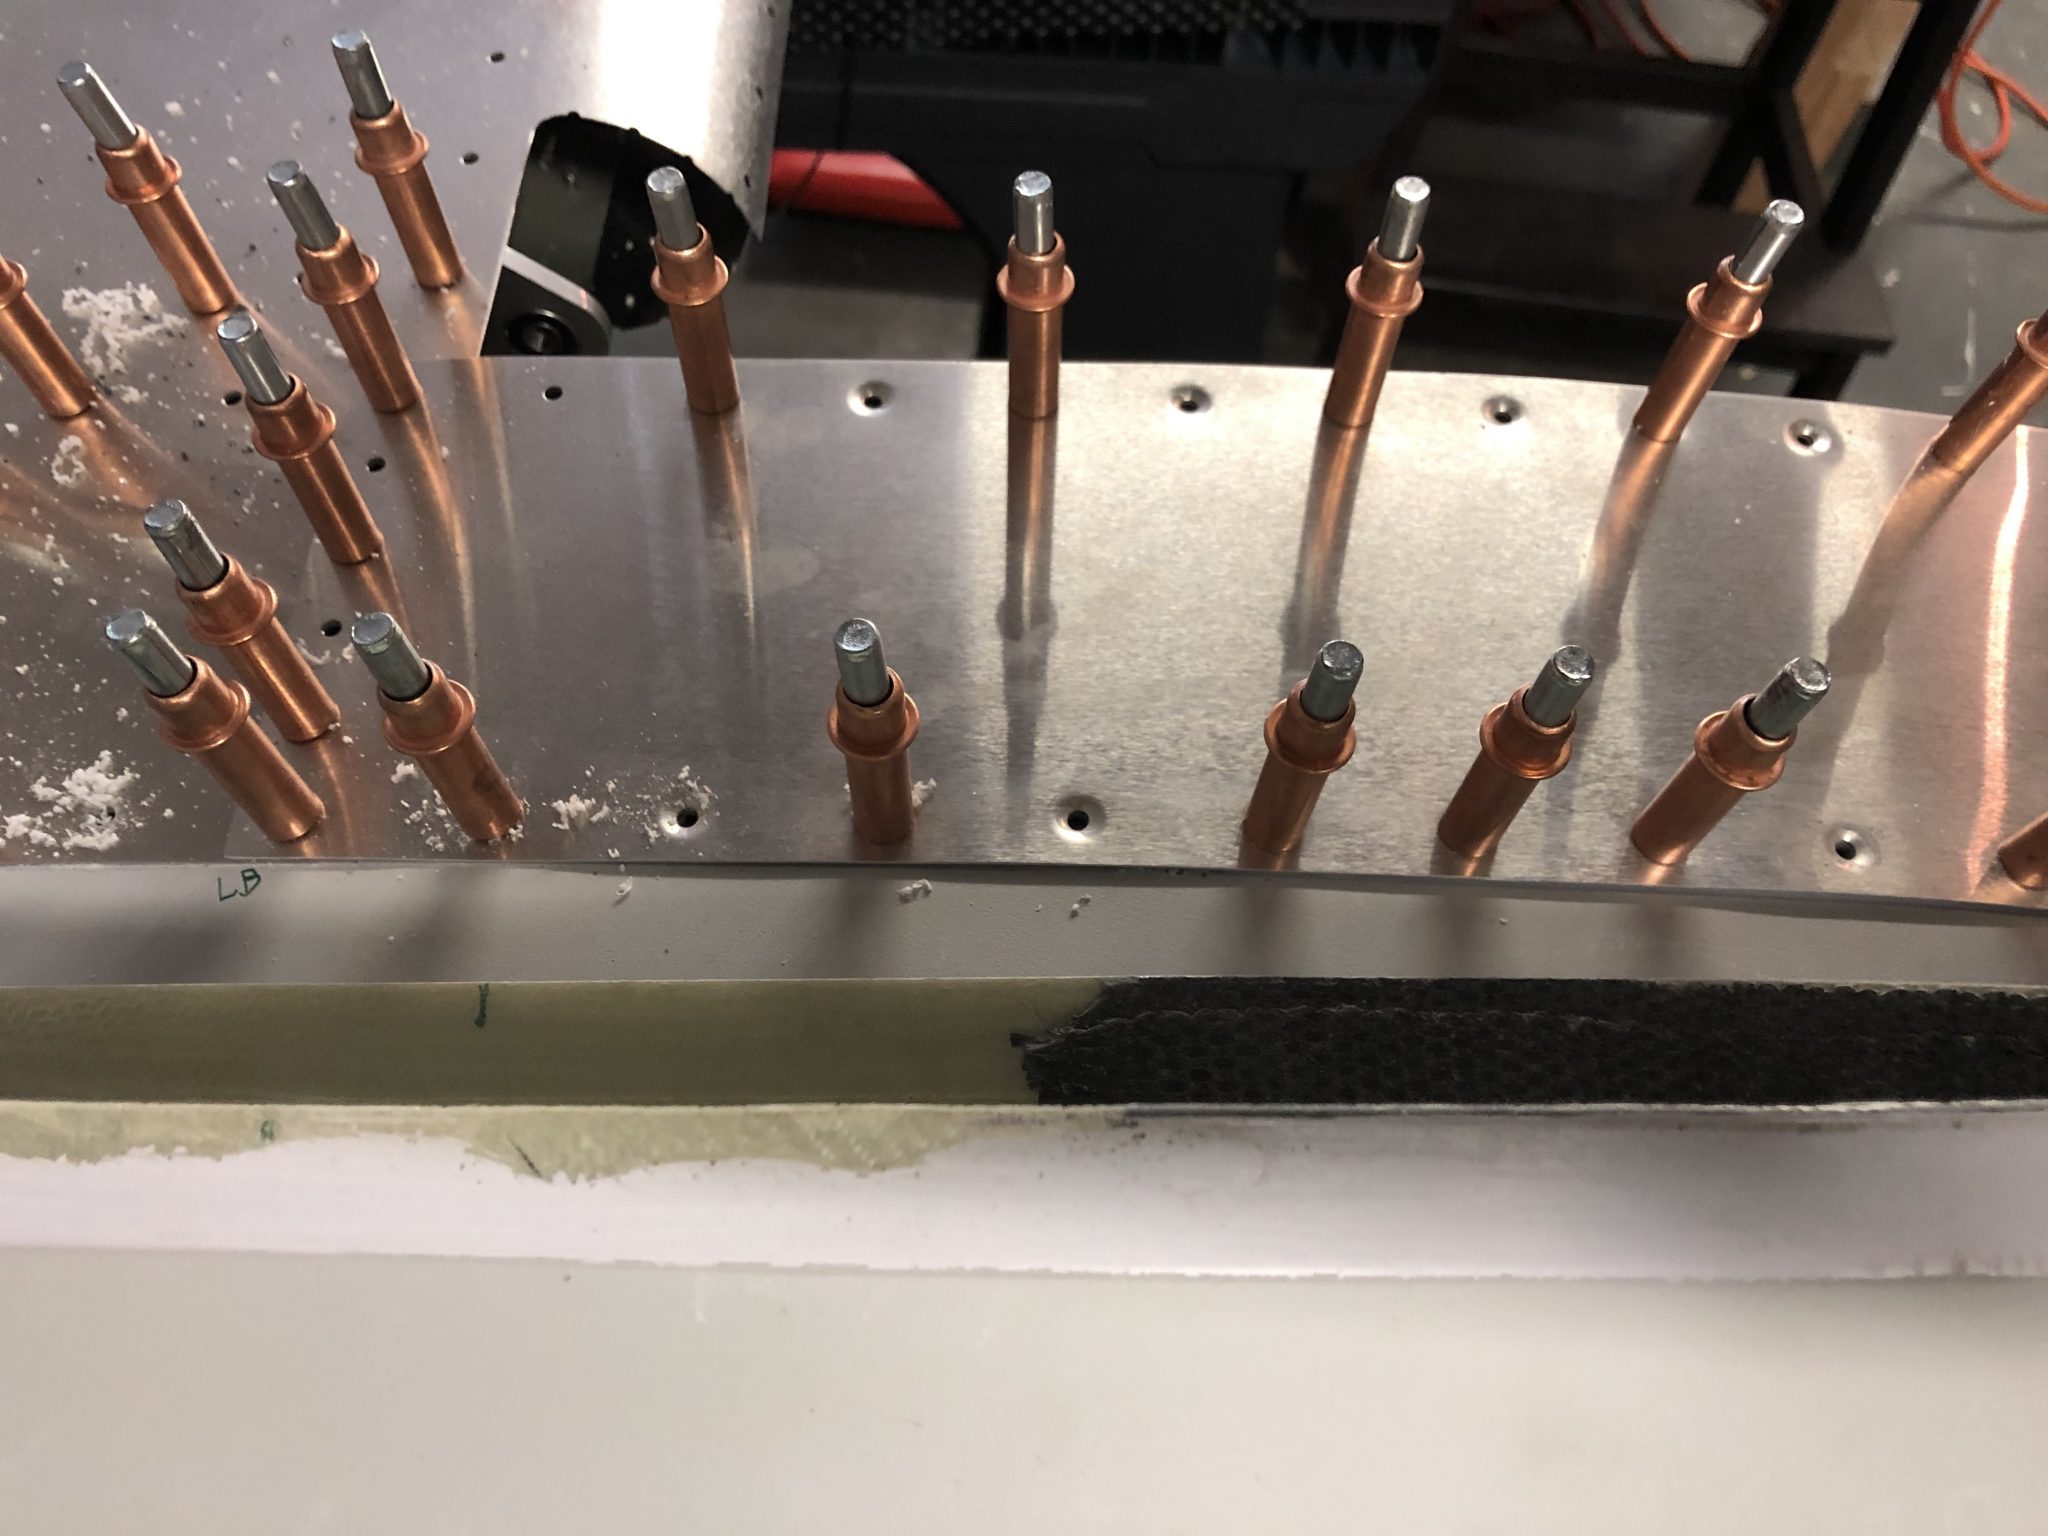
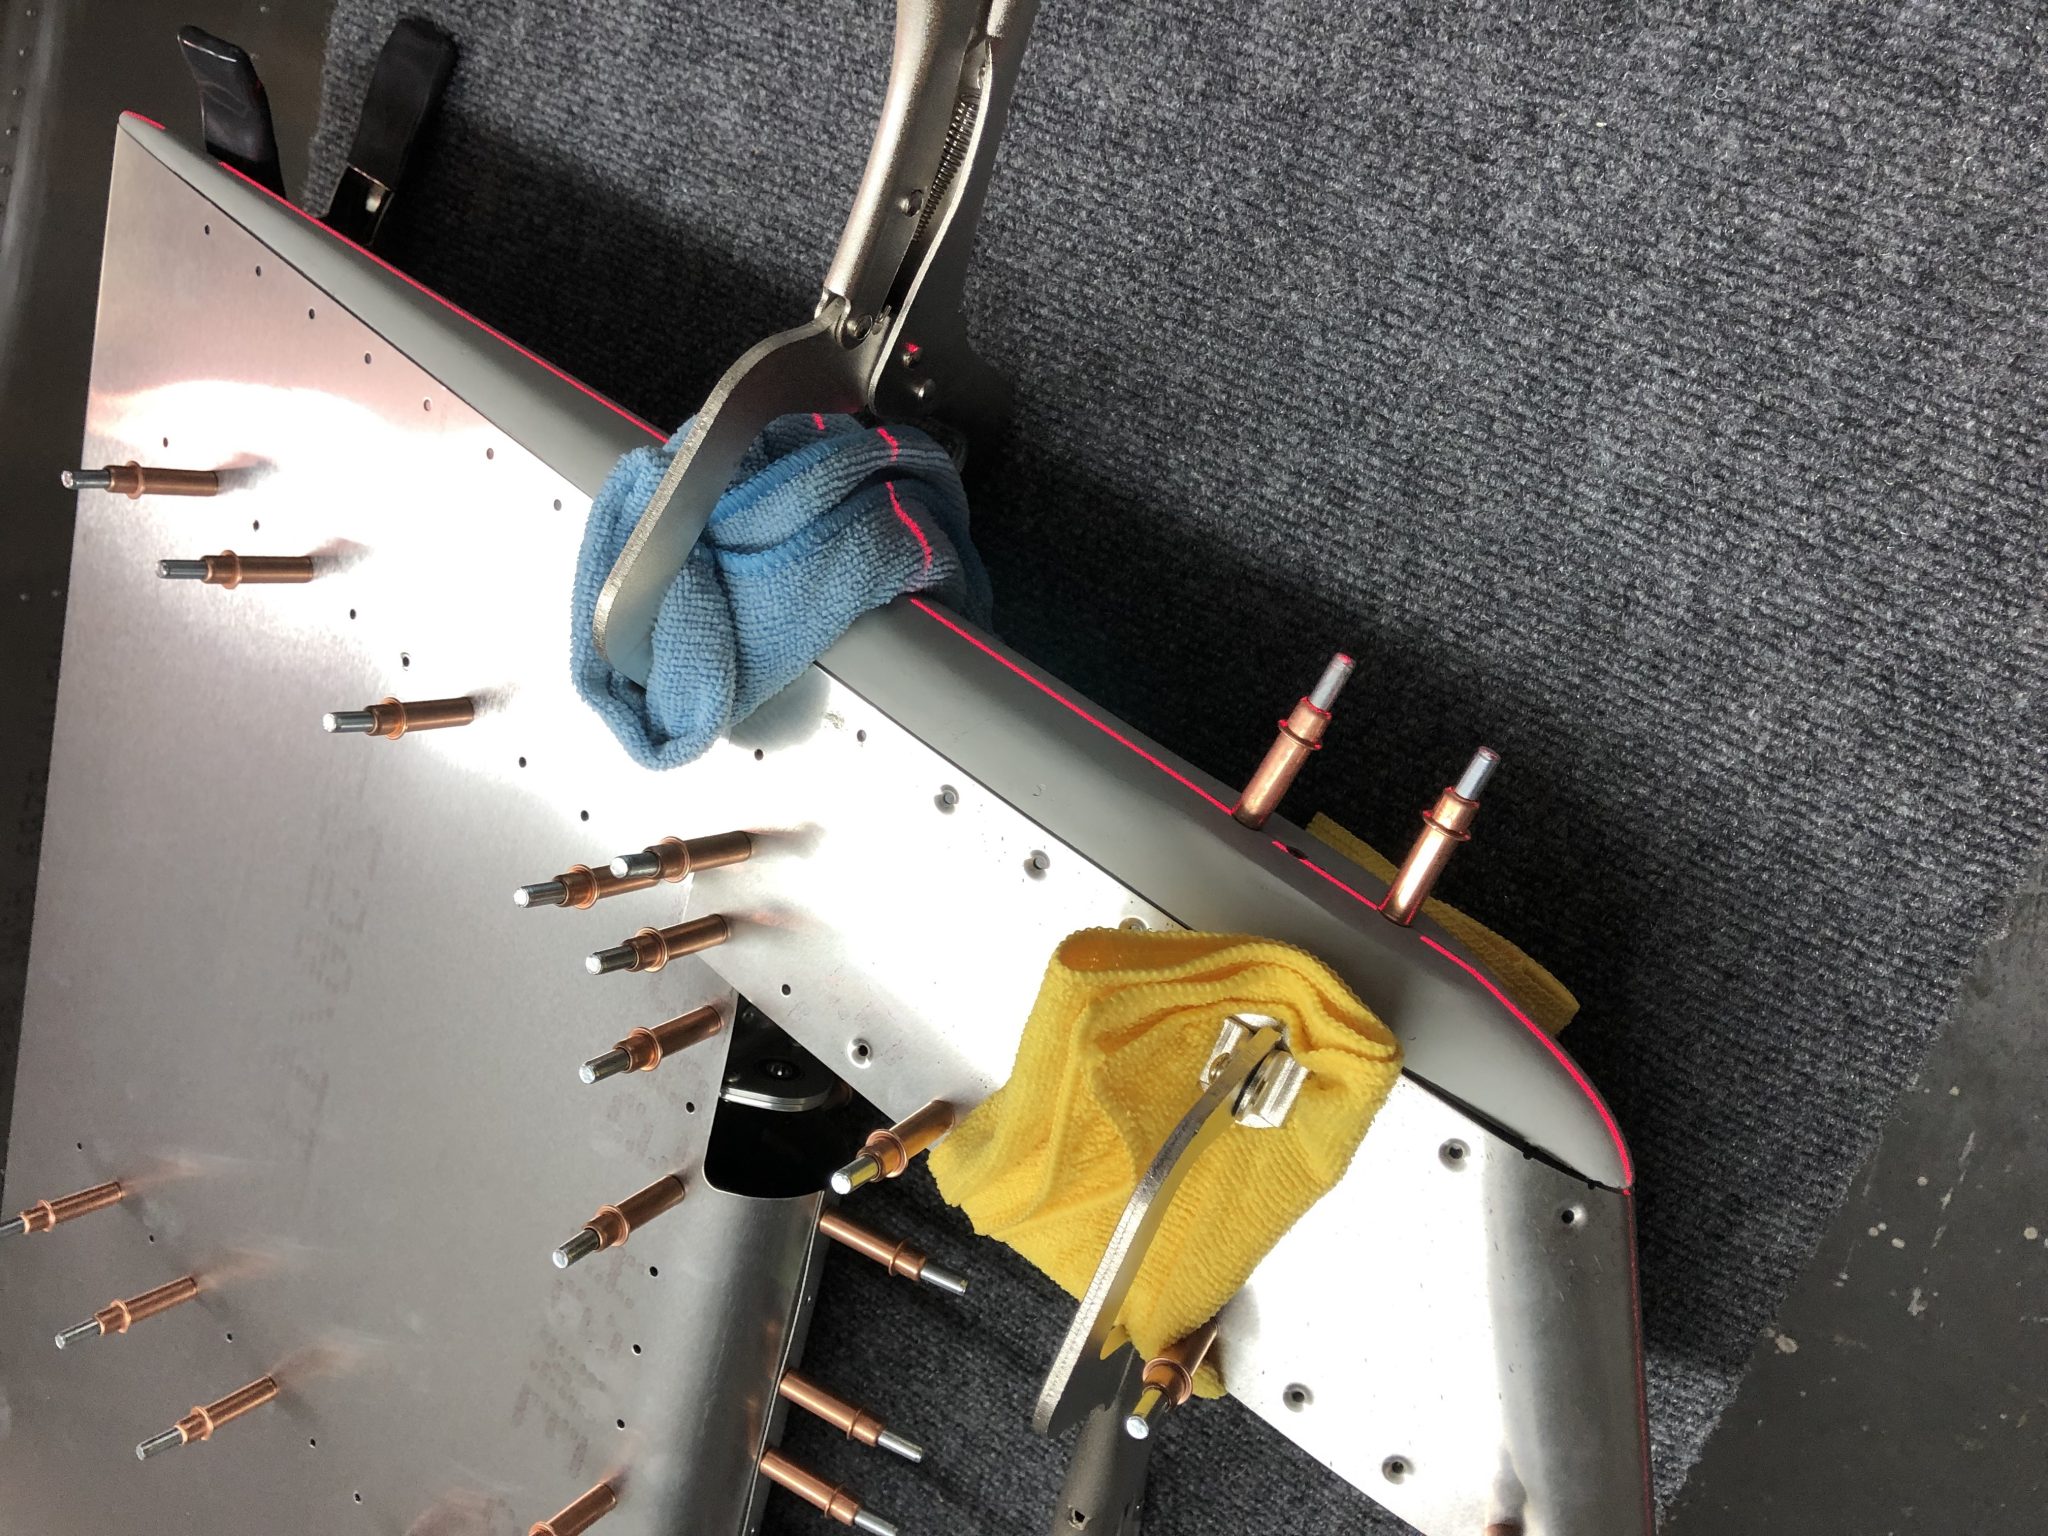
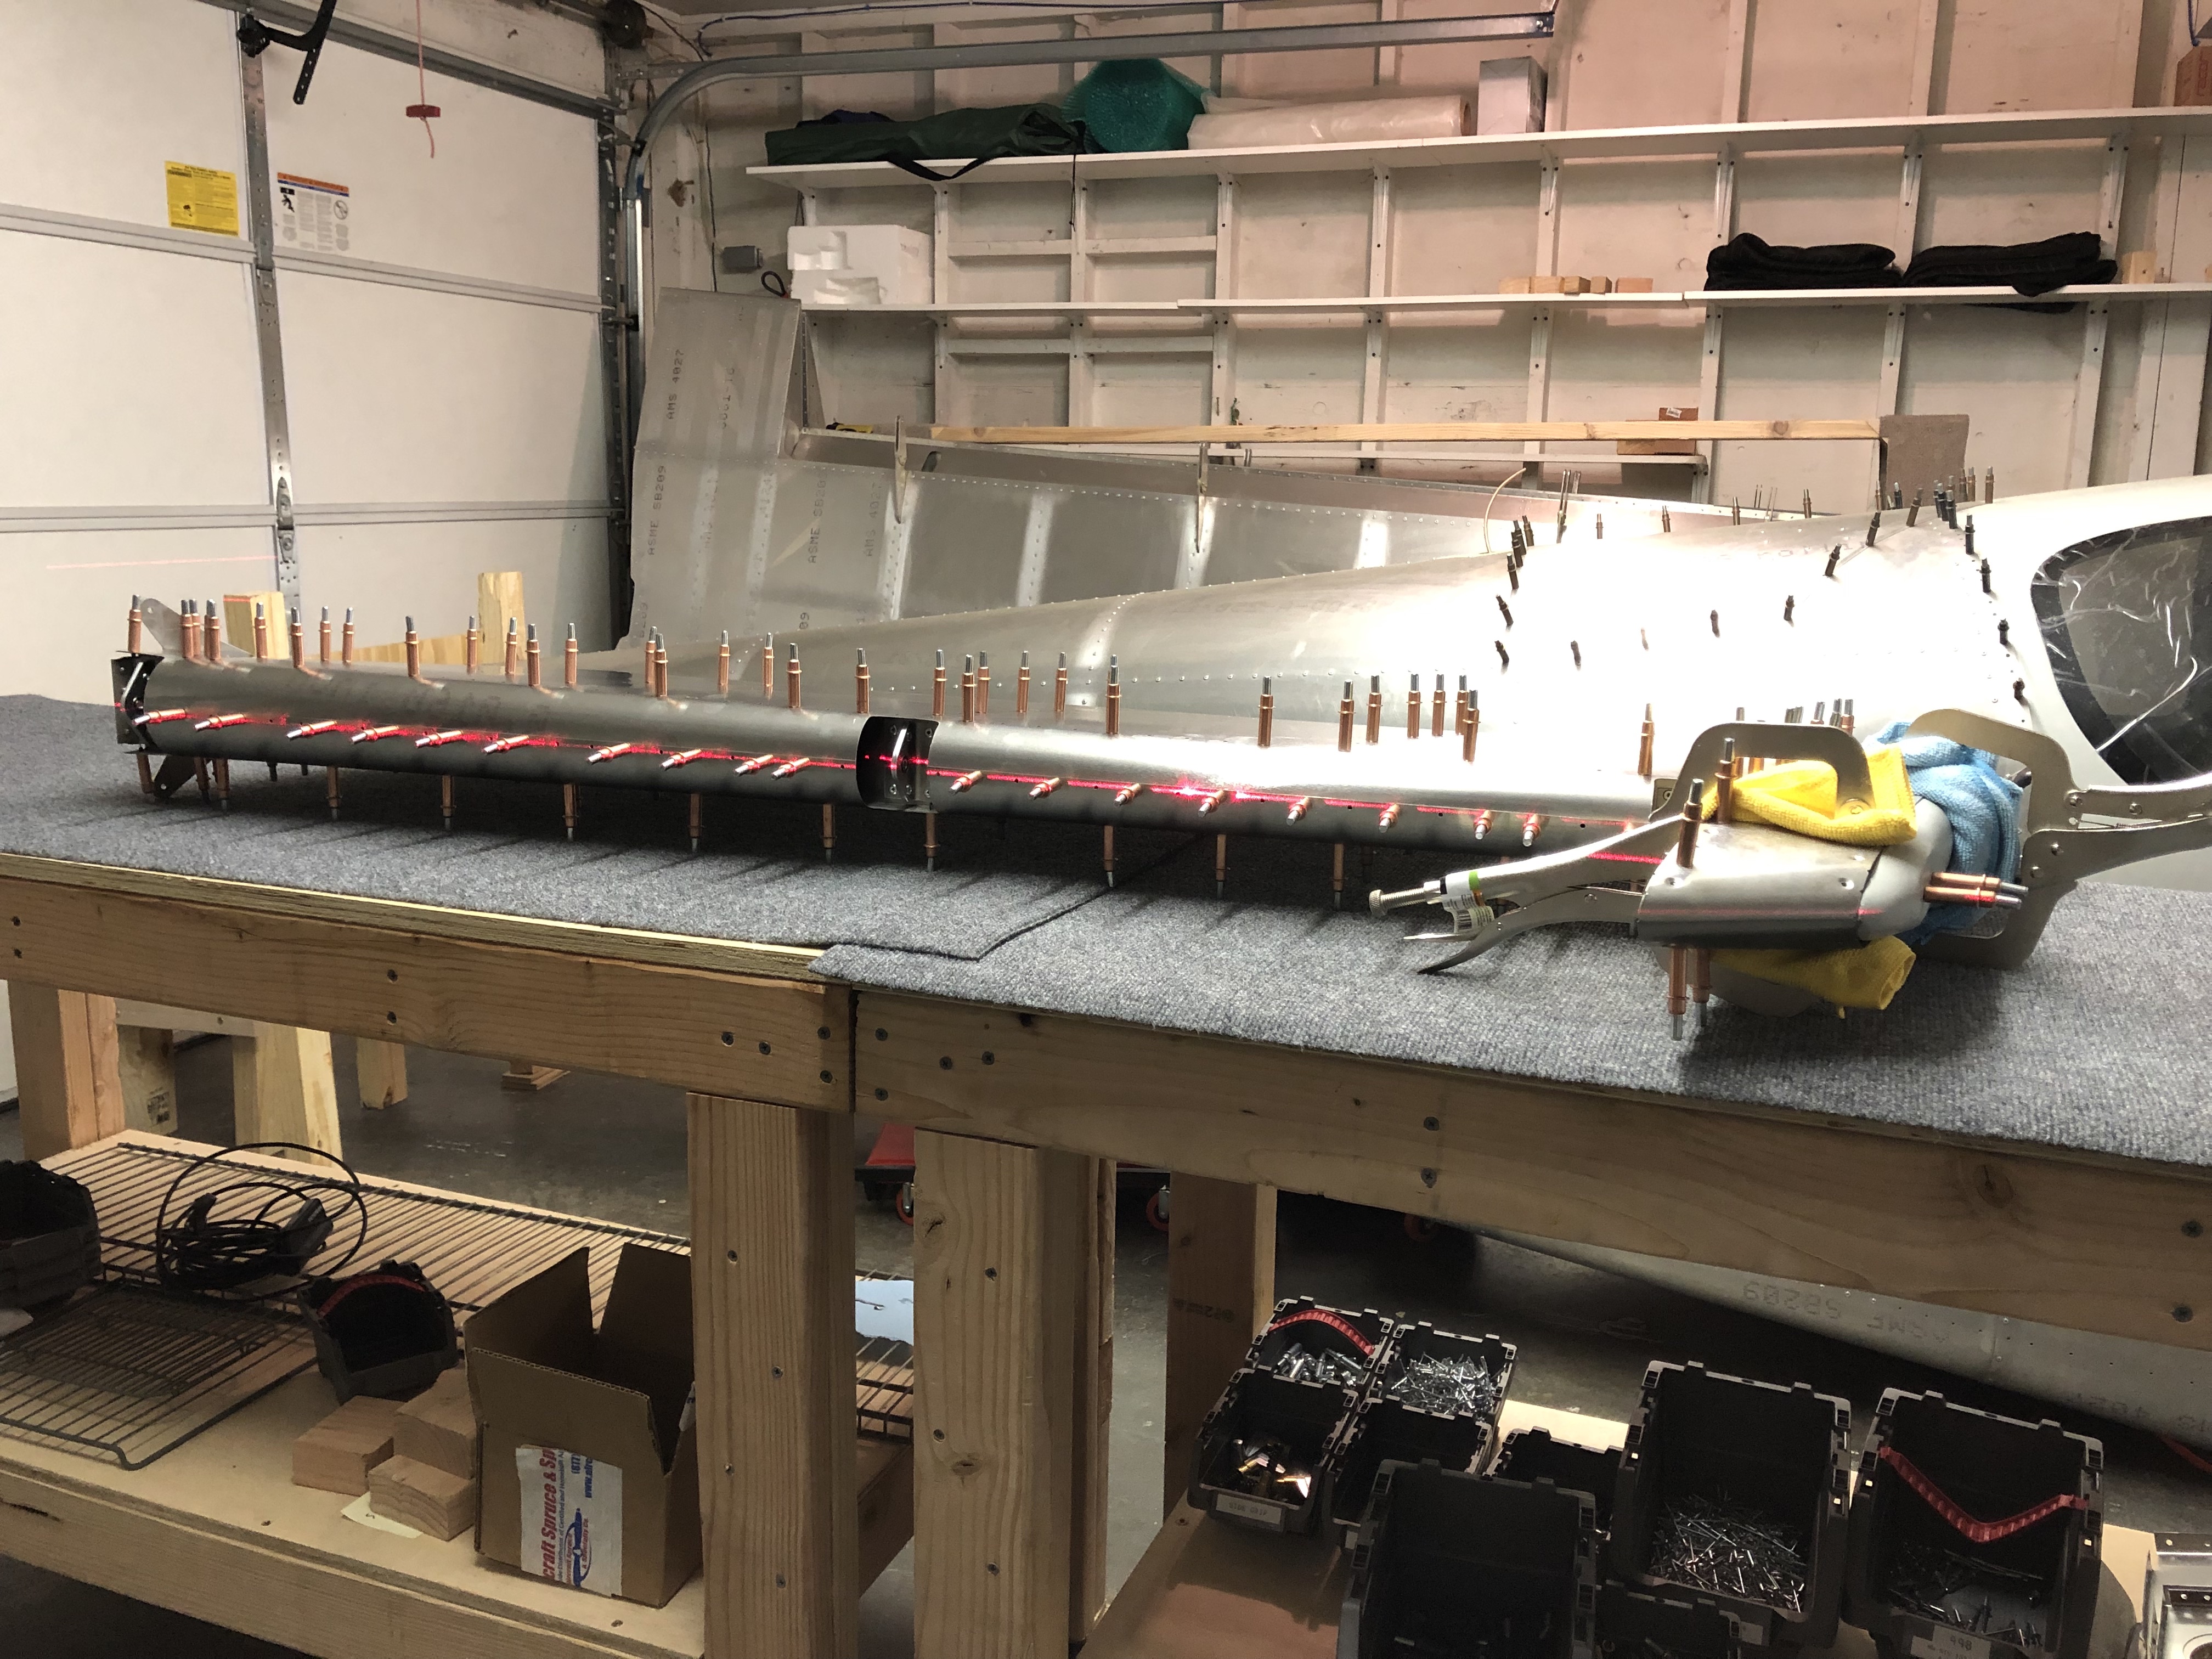
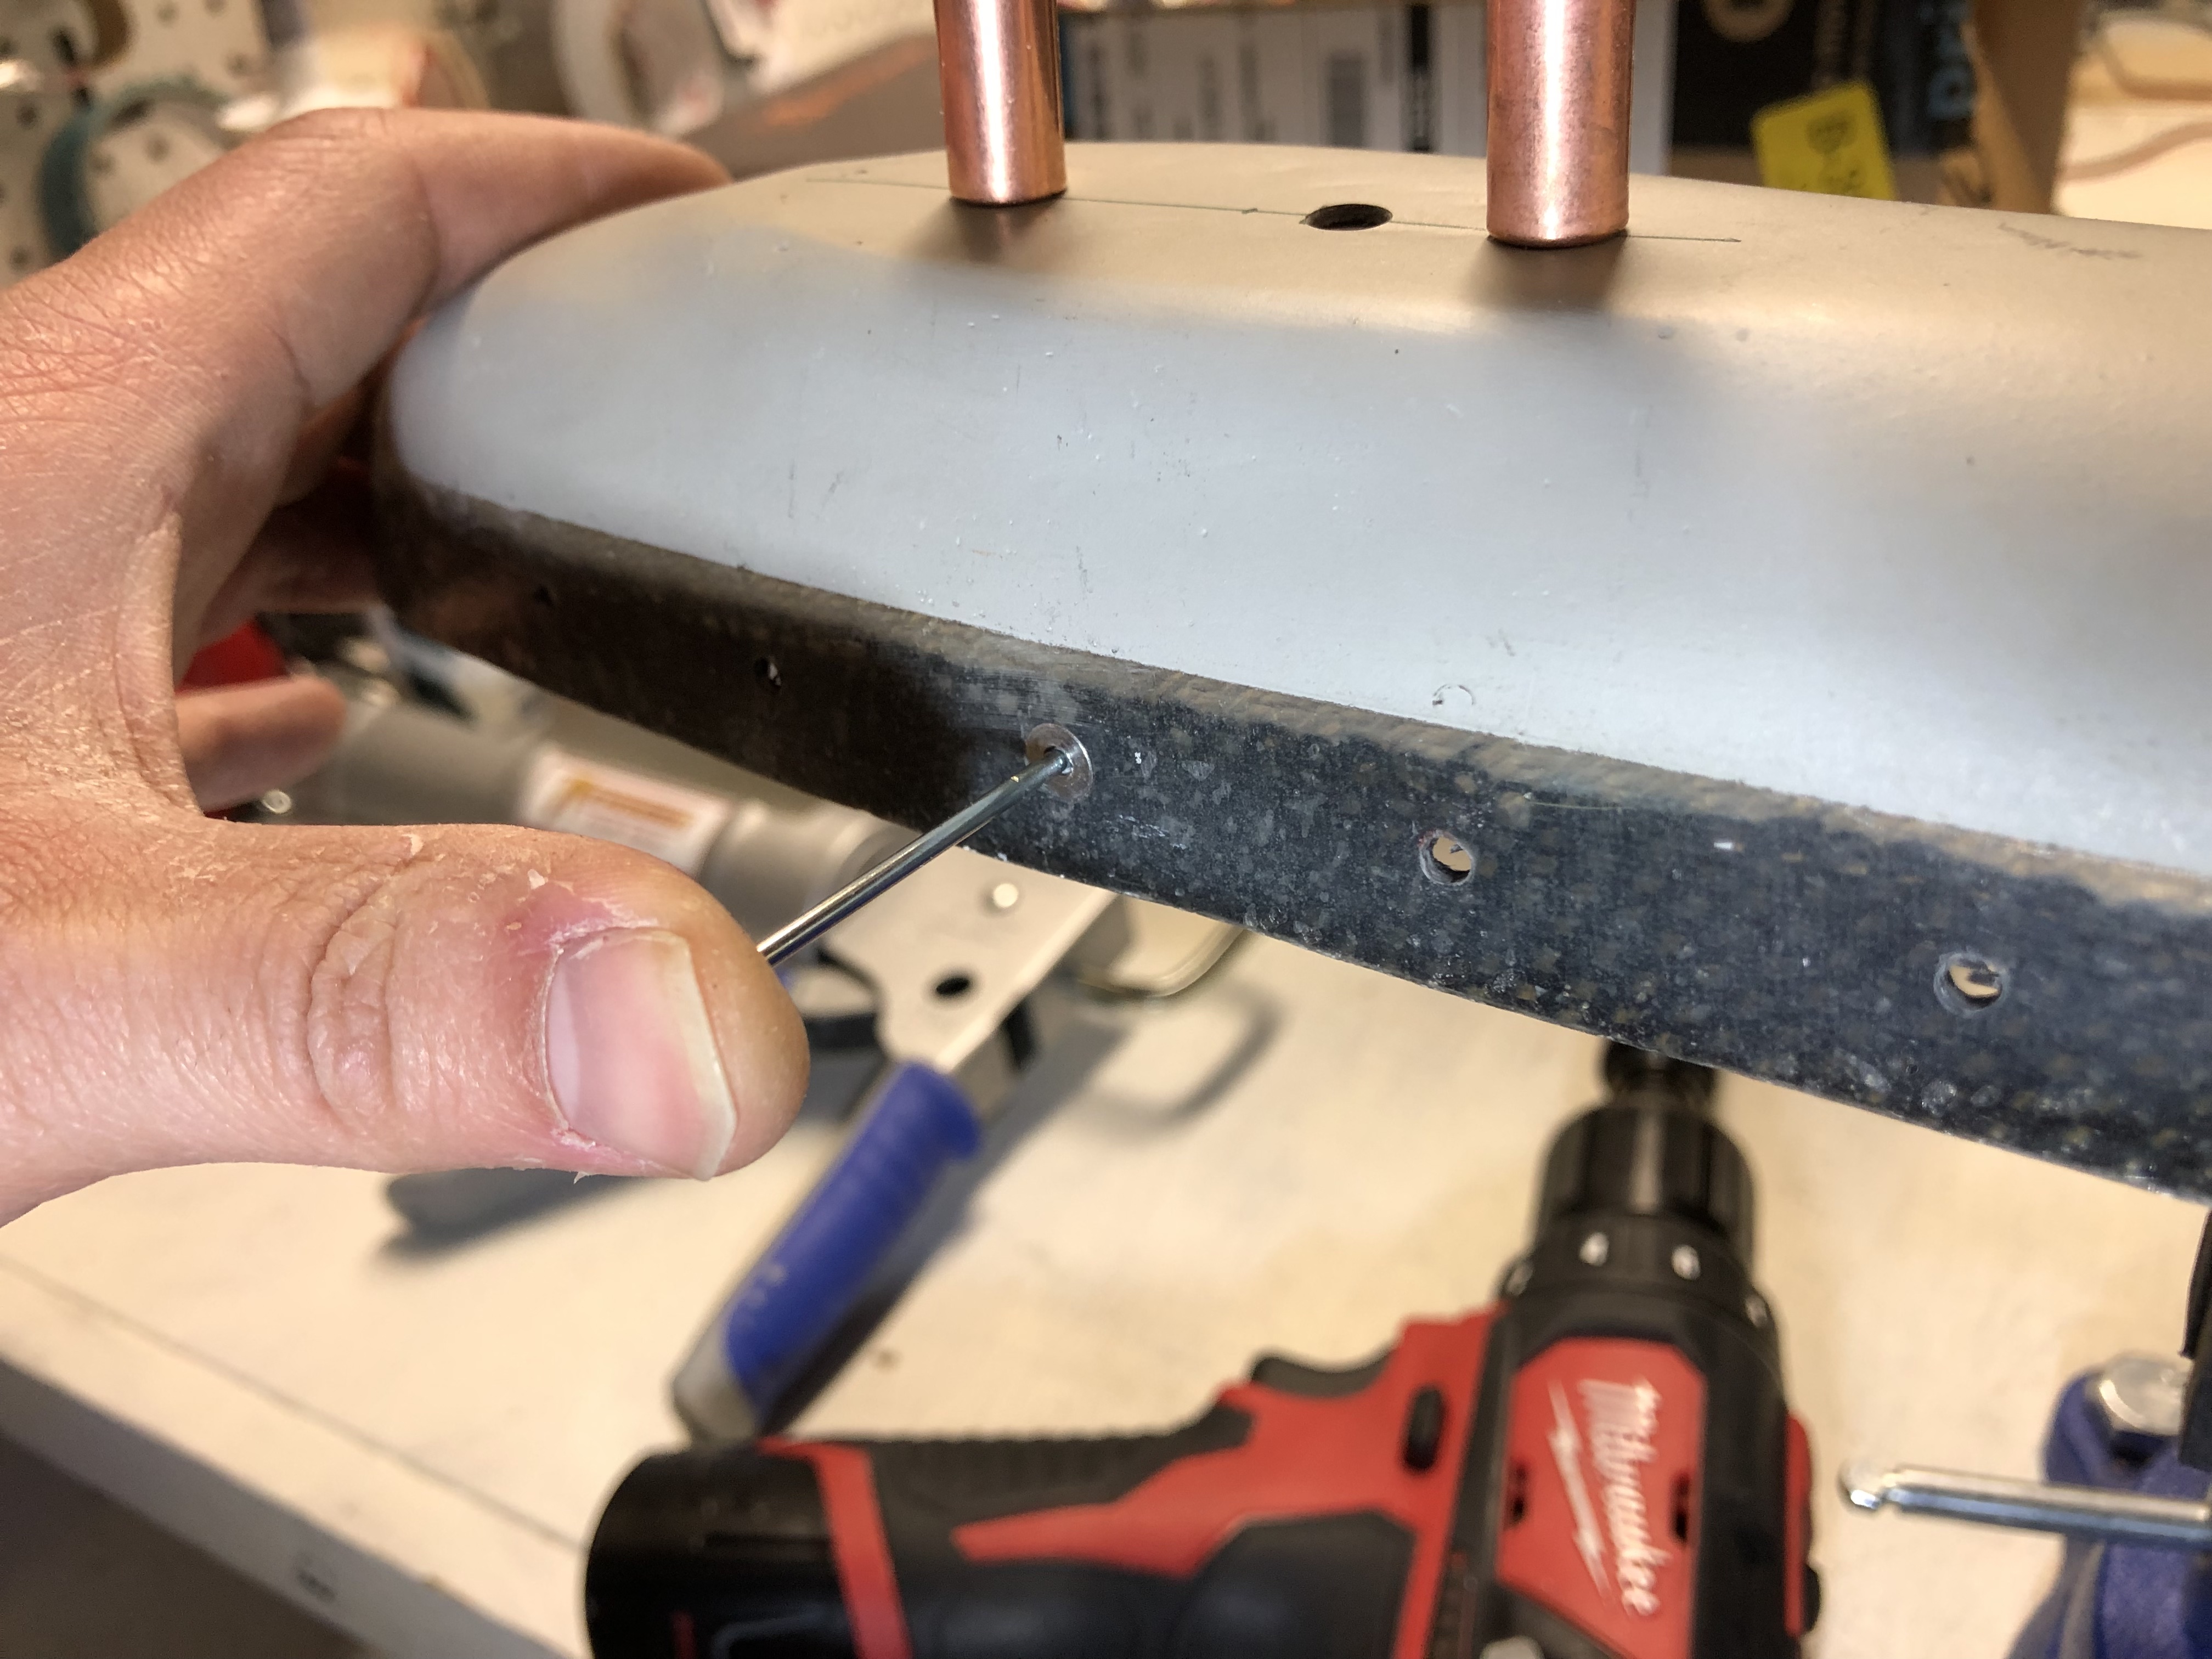
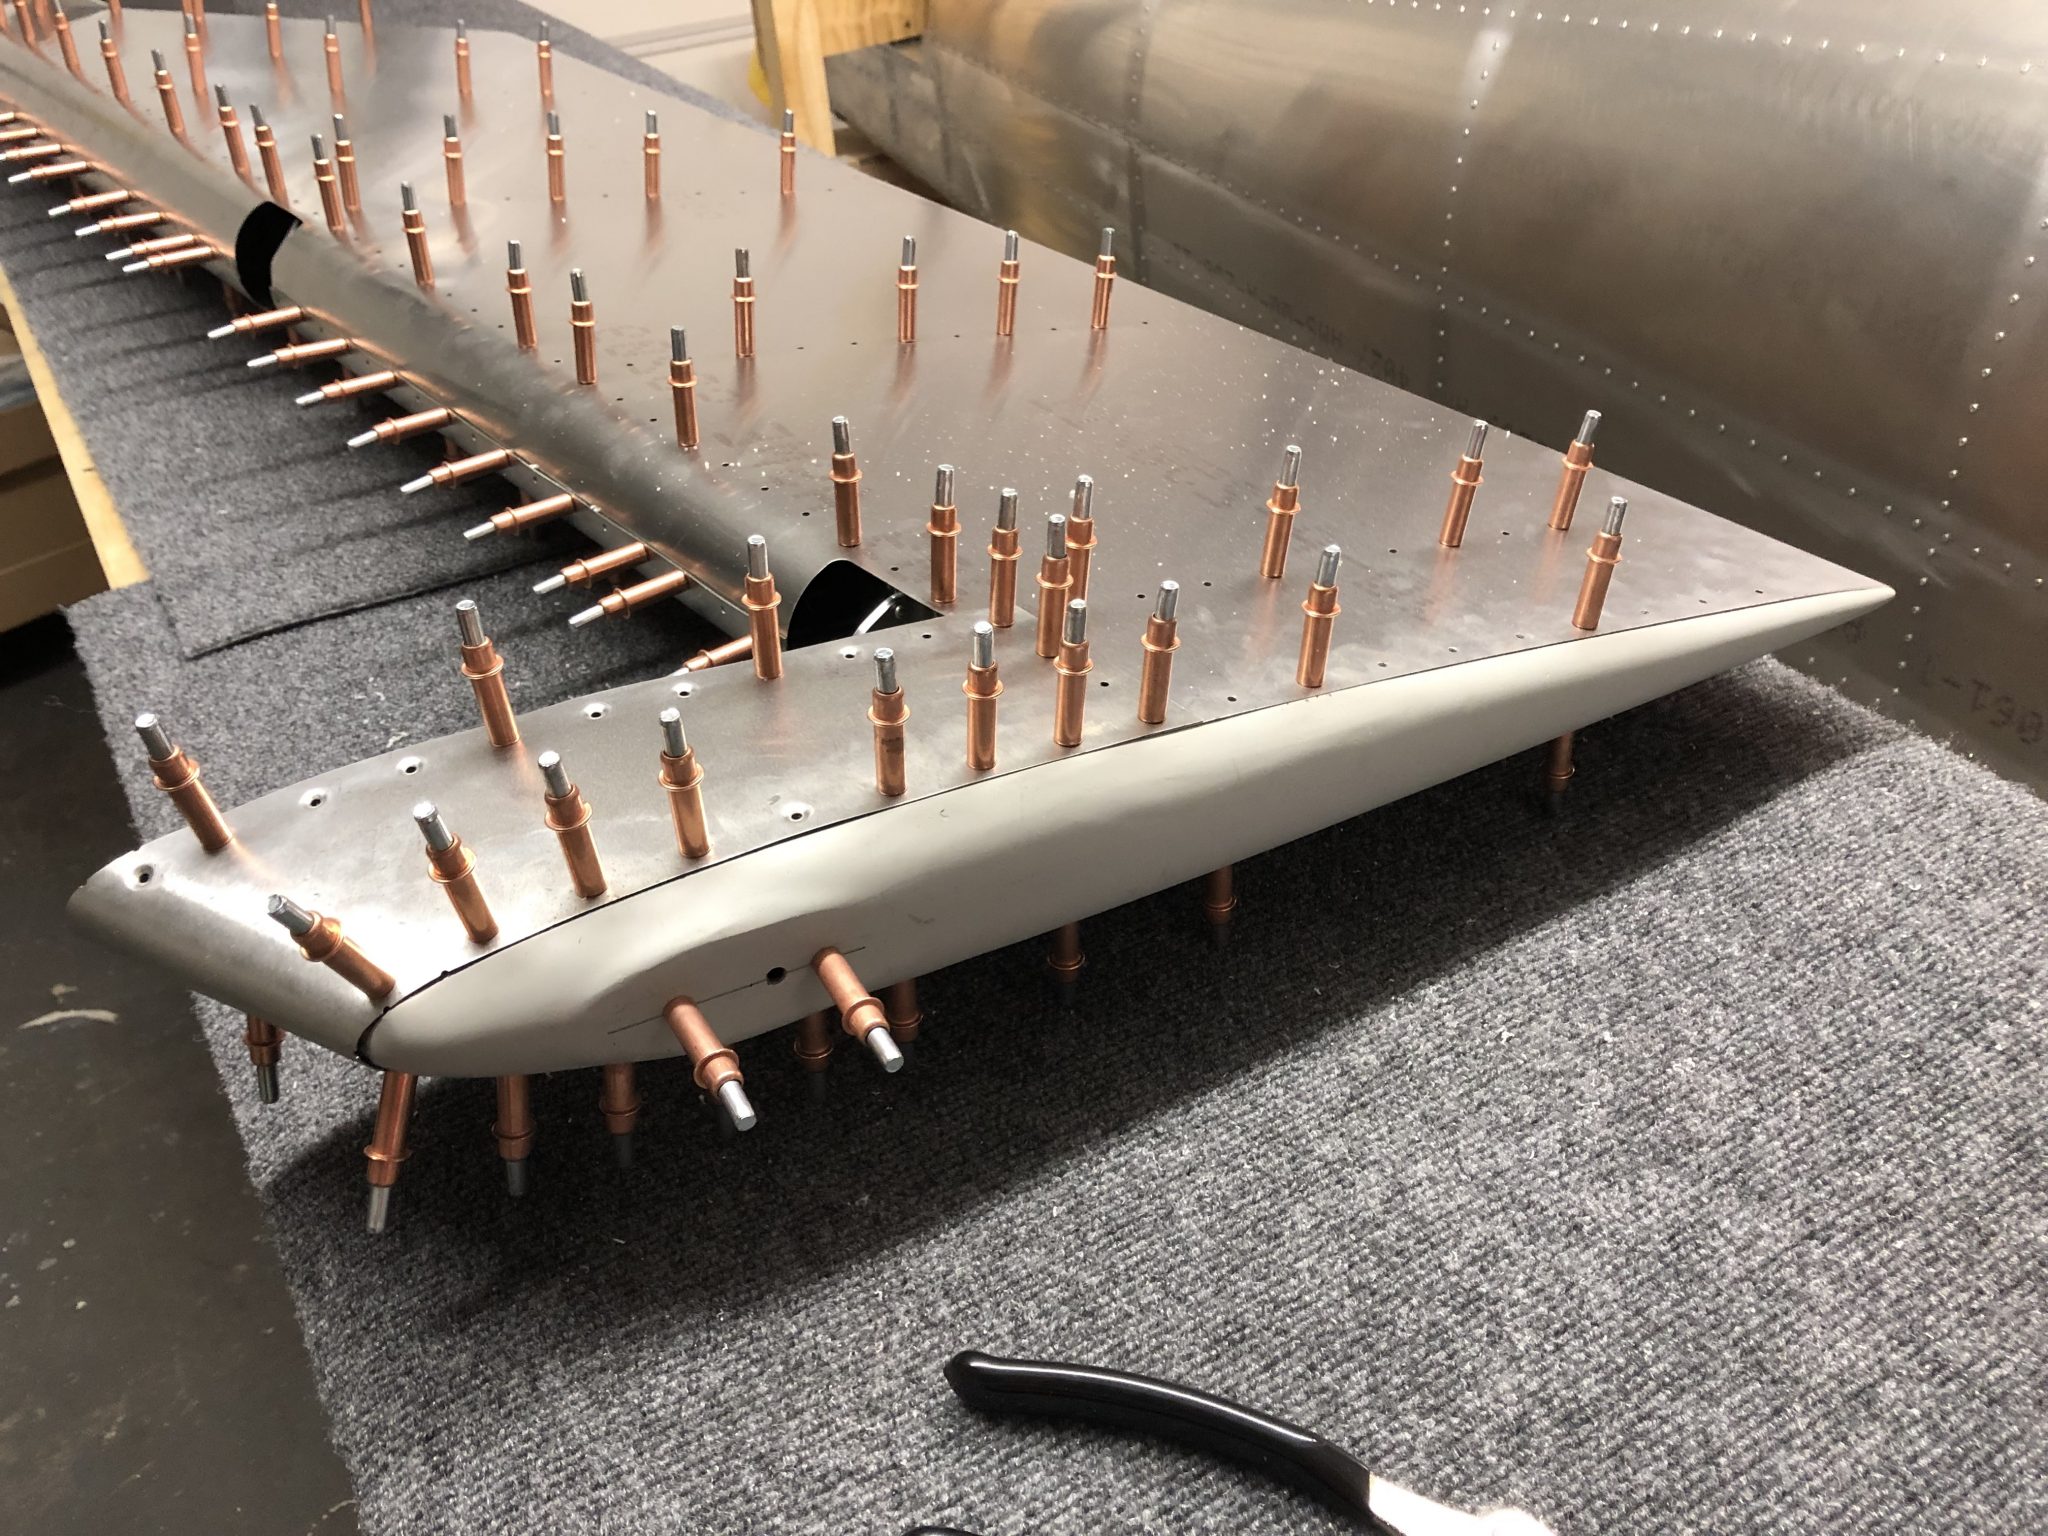
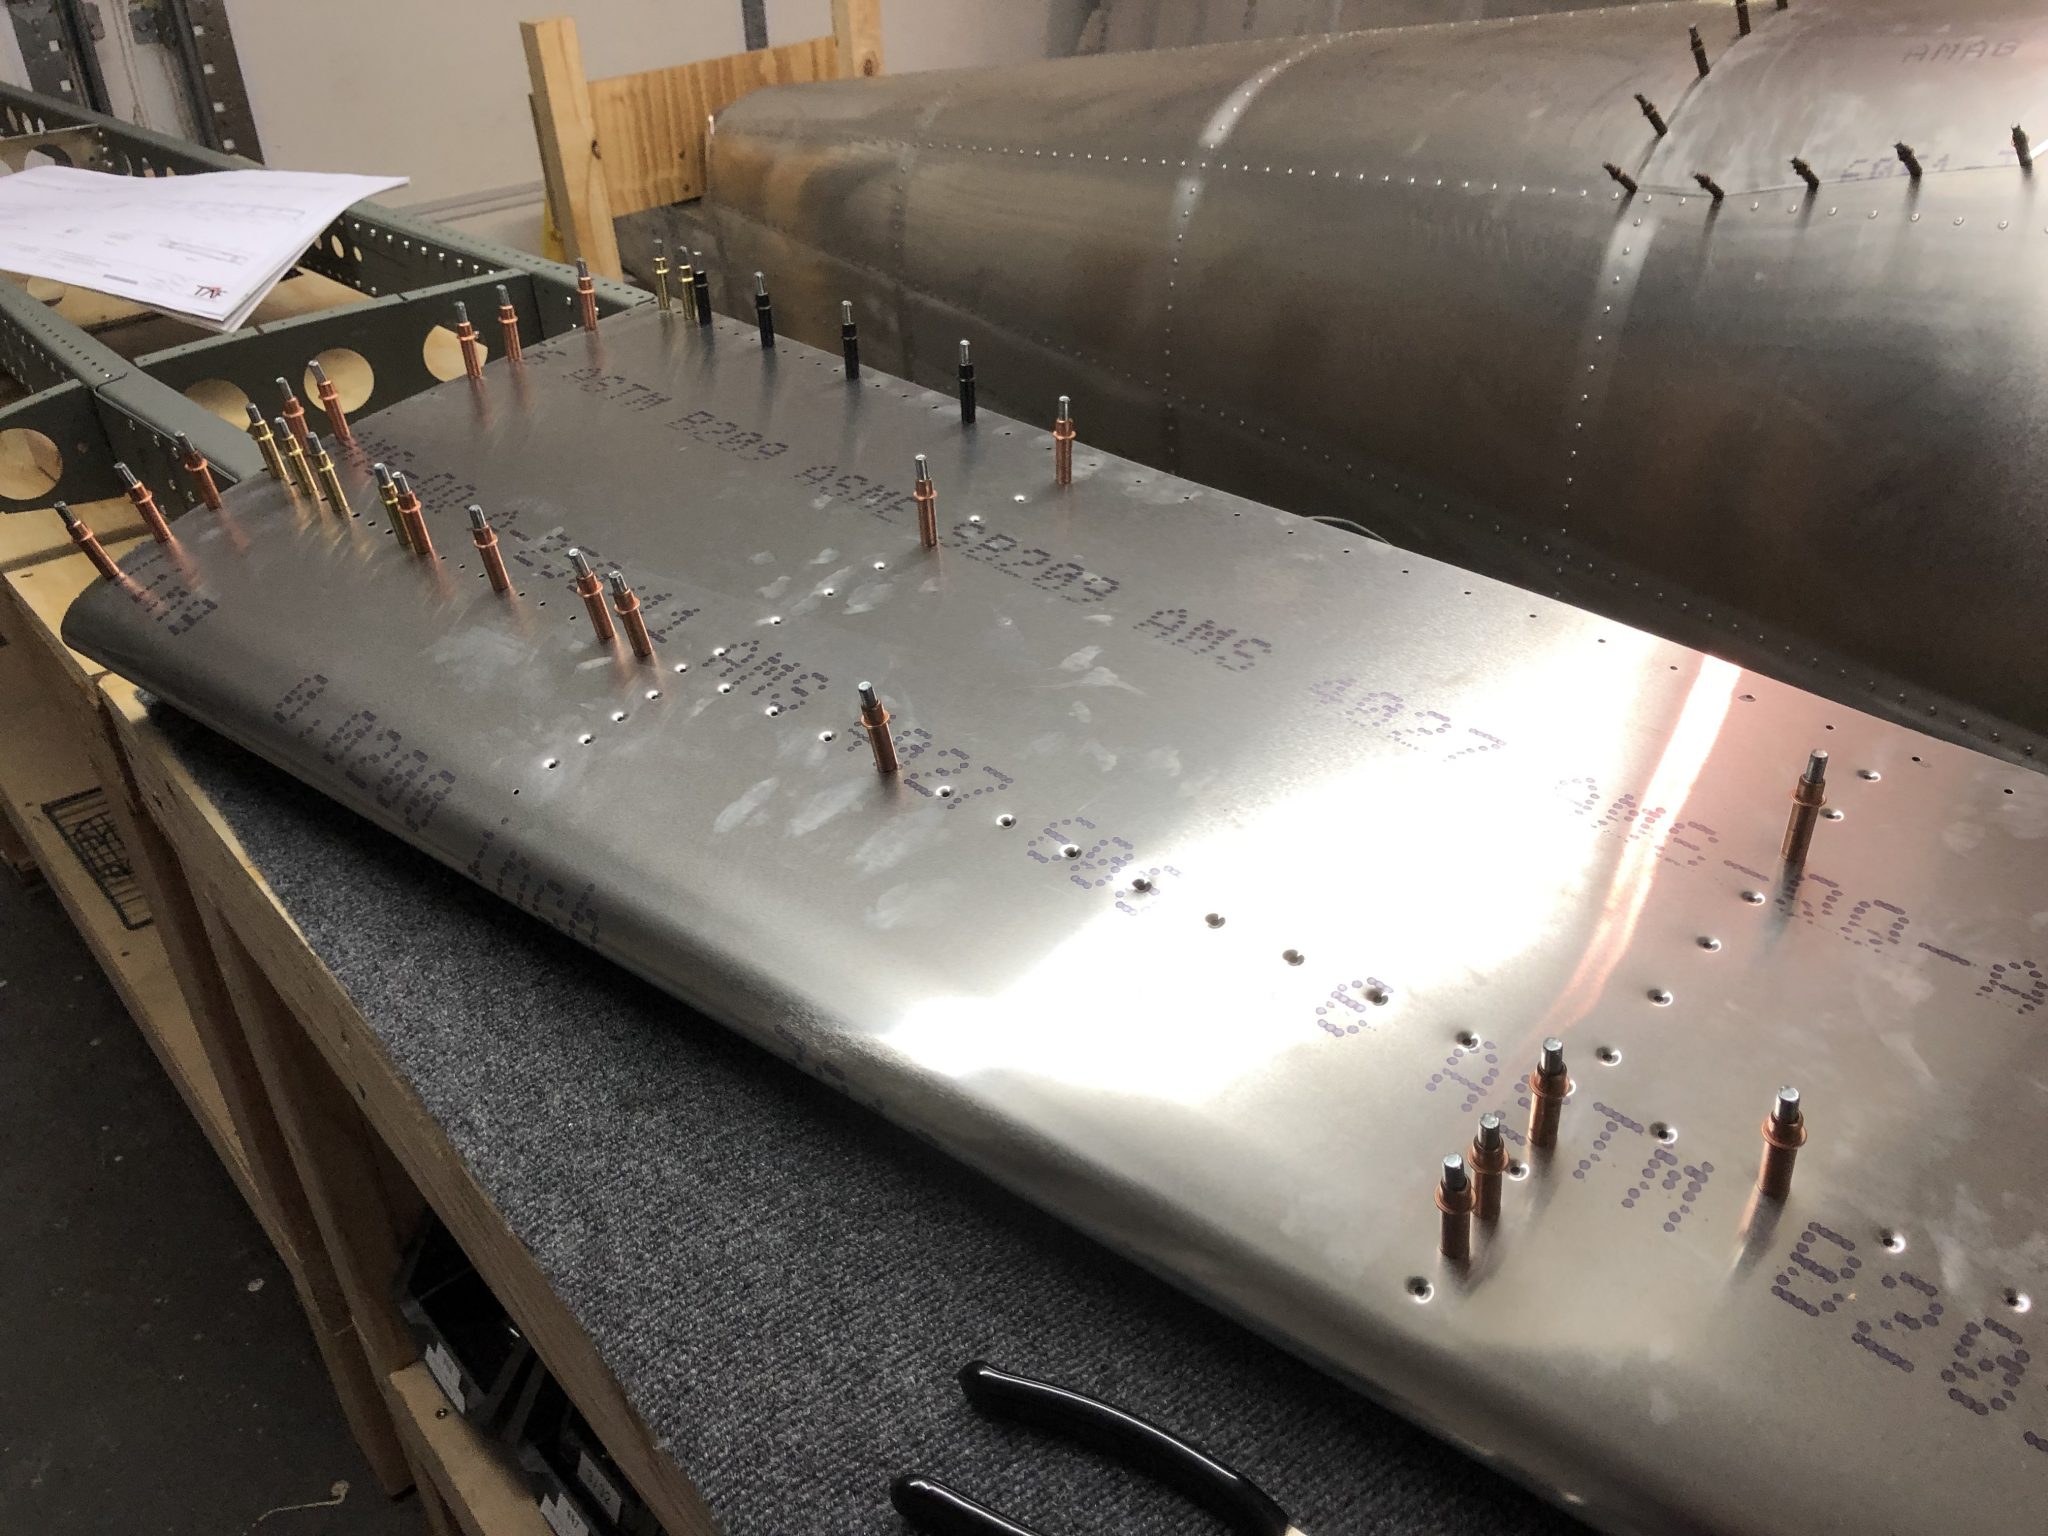
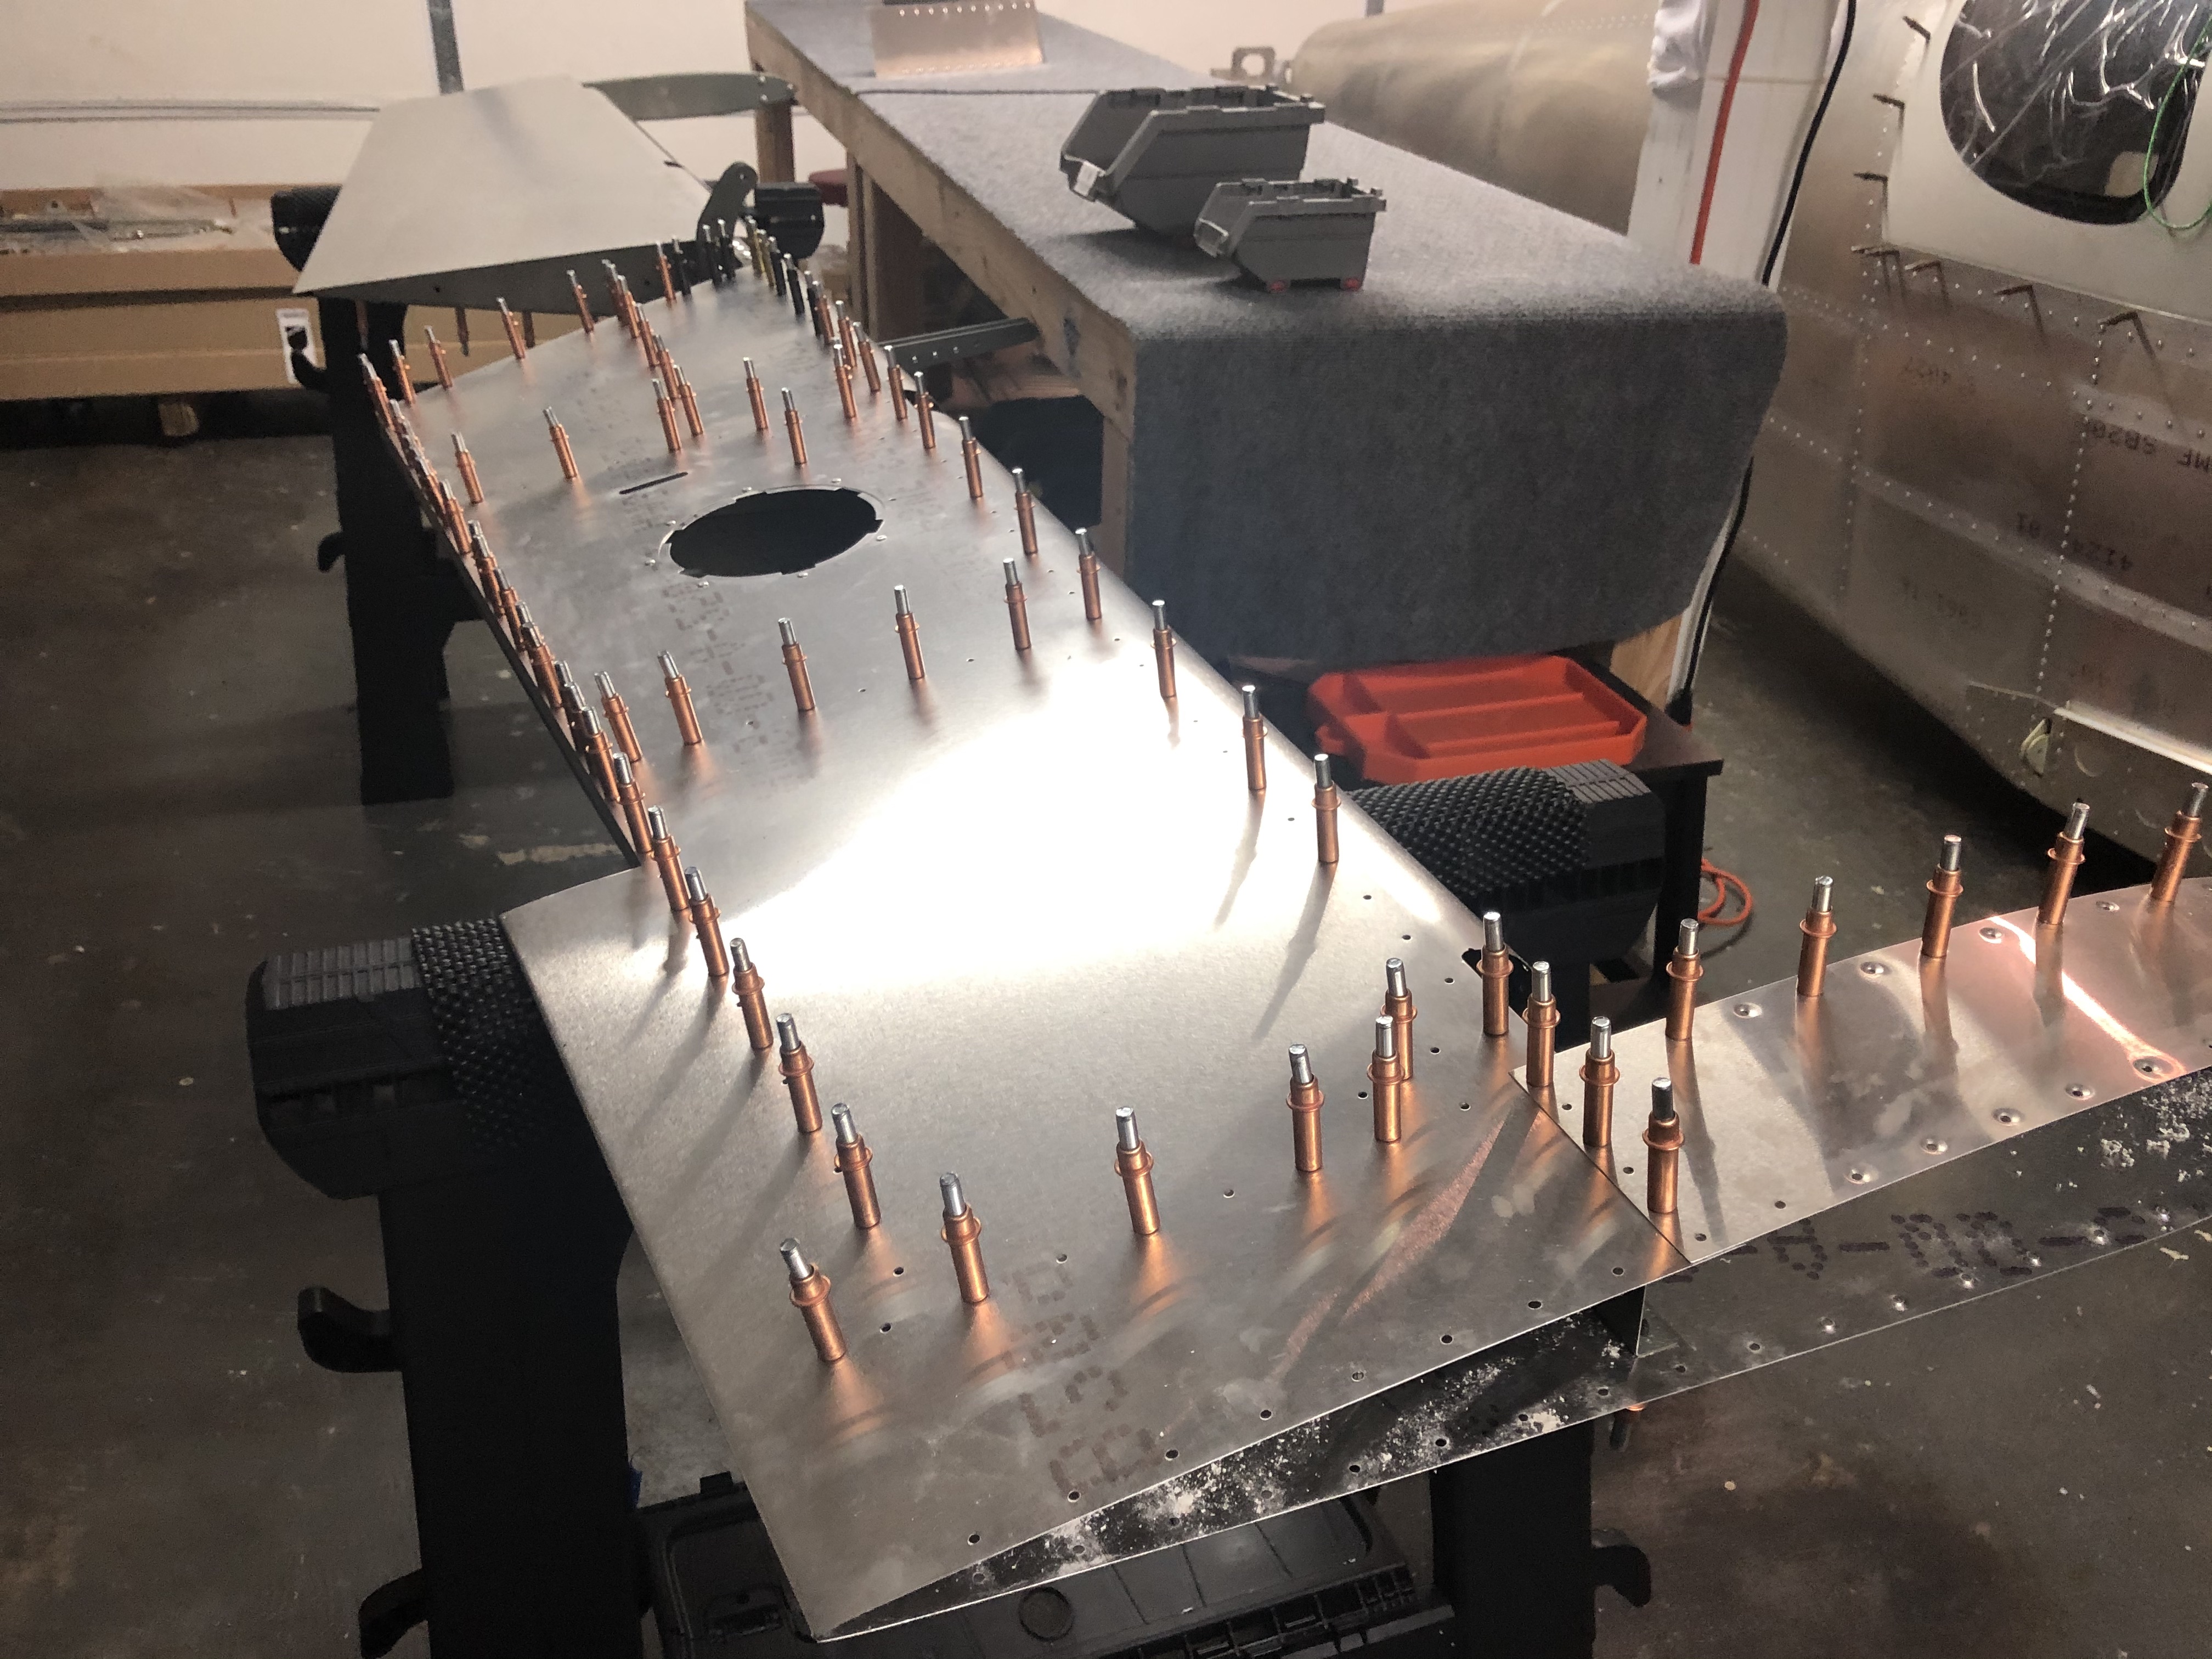
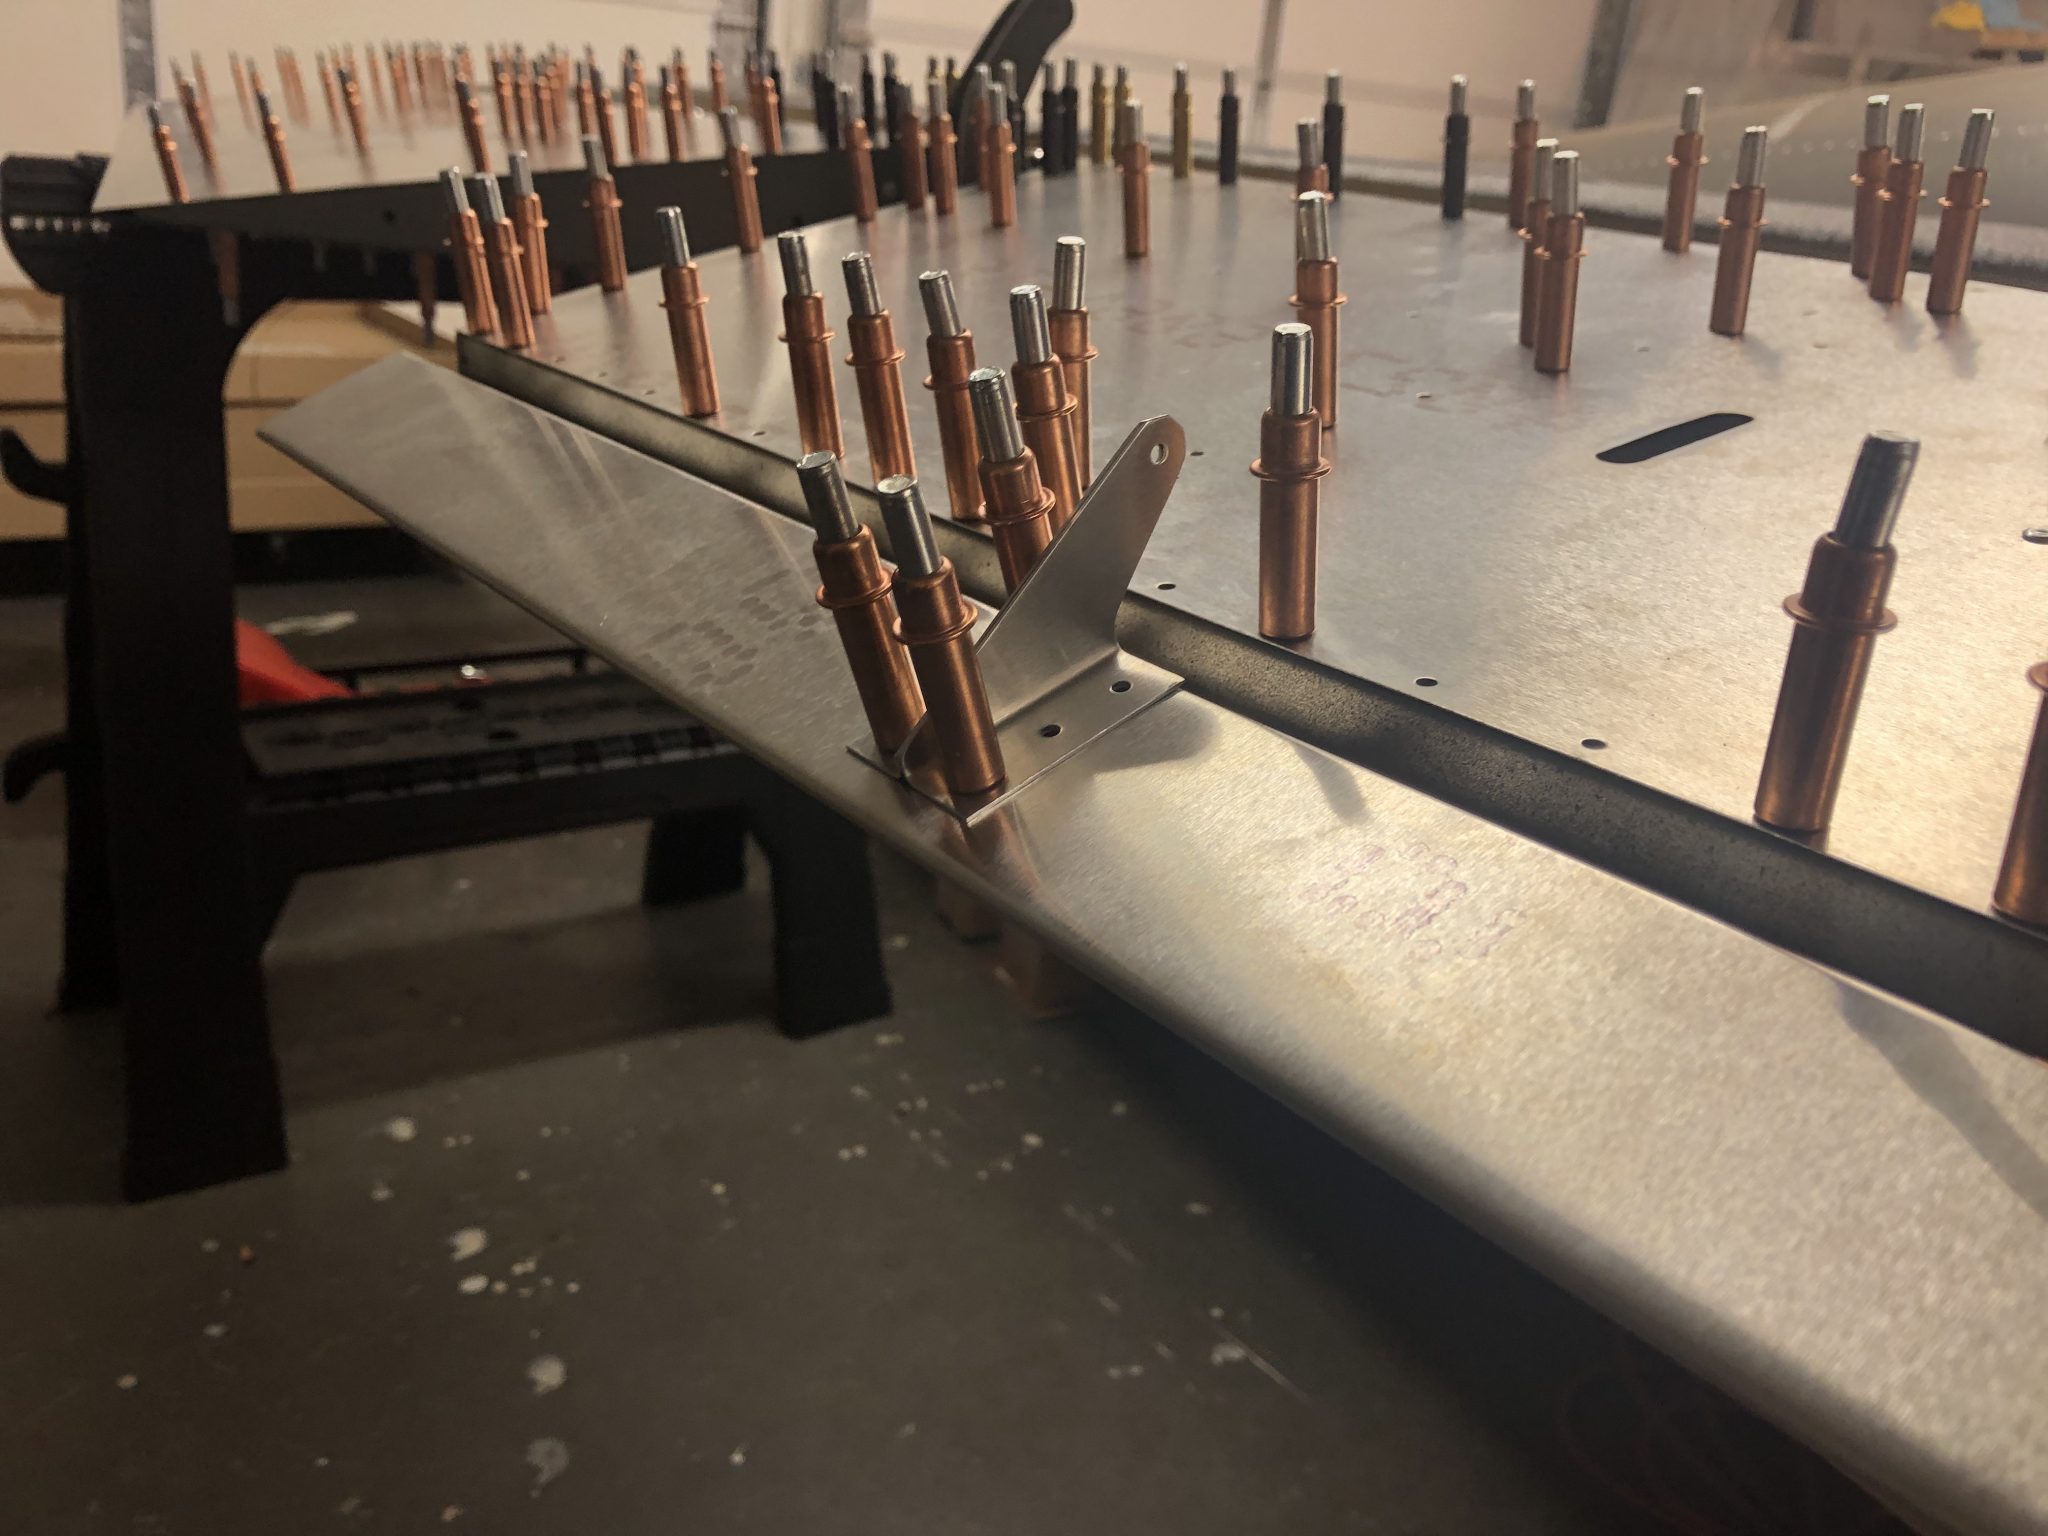
So the first order of business was to finish clecoing everything including the (correct) control tabs for the Trim Tab.
Time to cleco the right side of the Elevator Everything clecoed together including the Trim Tab

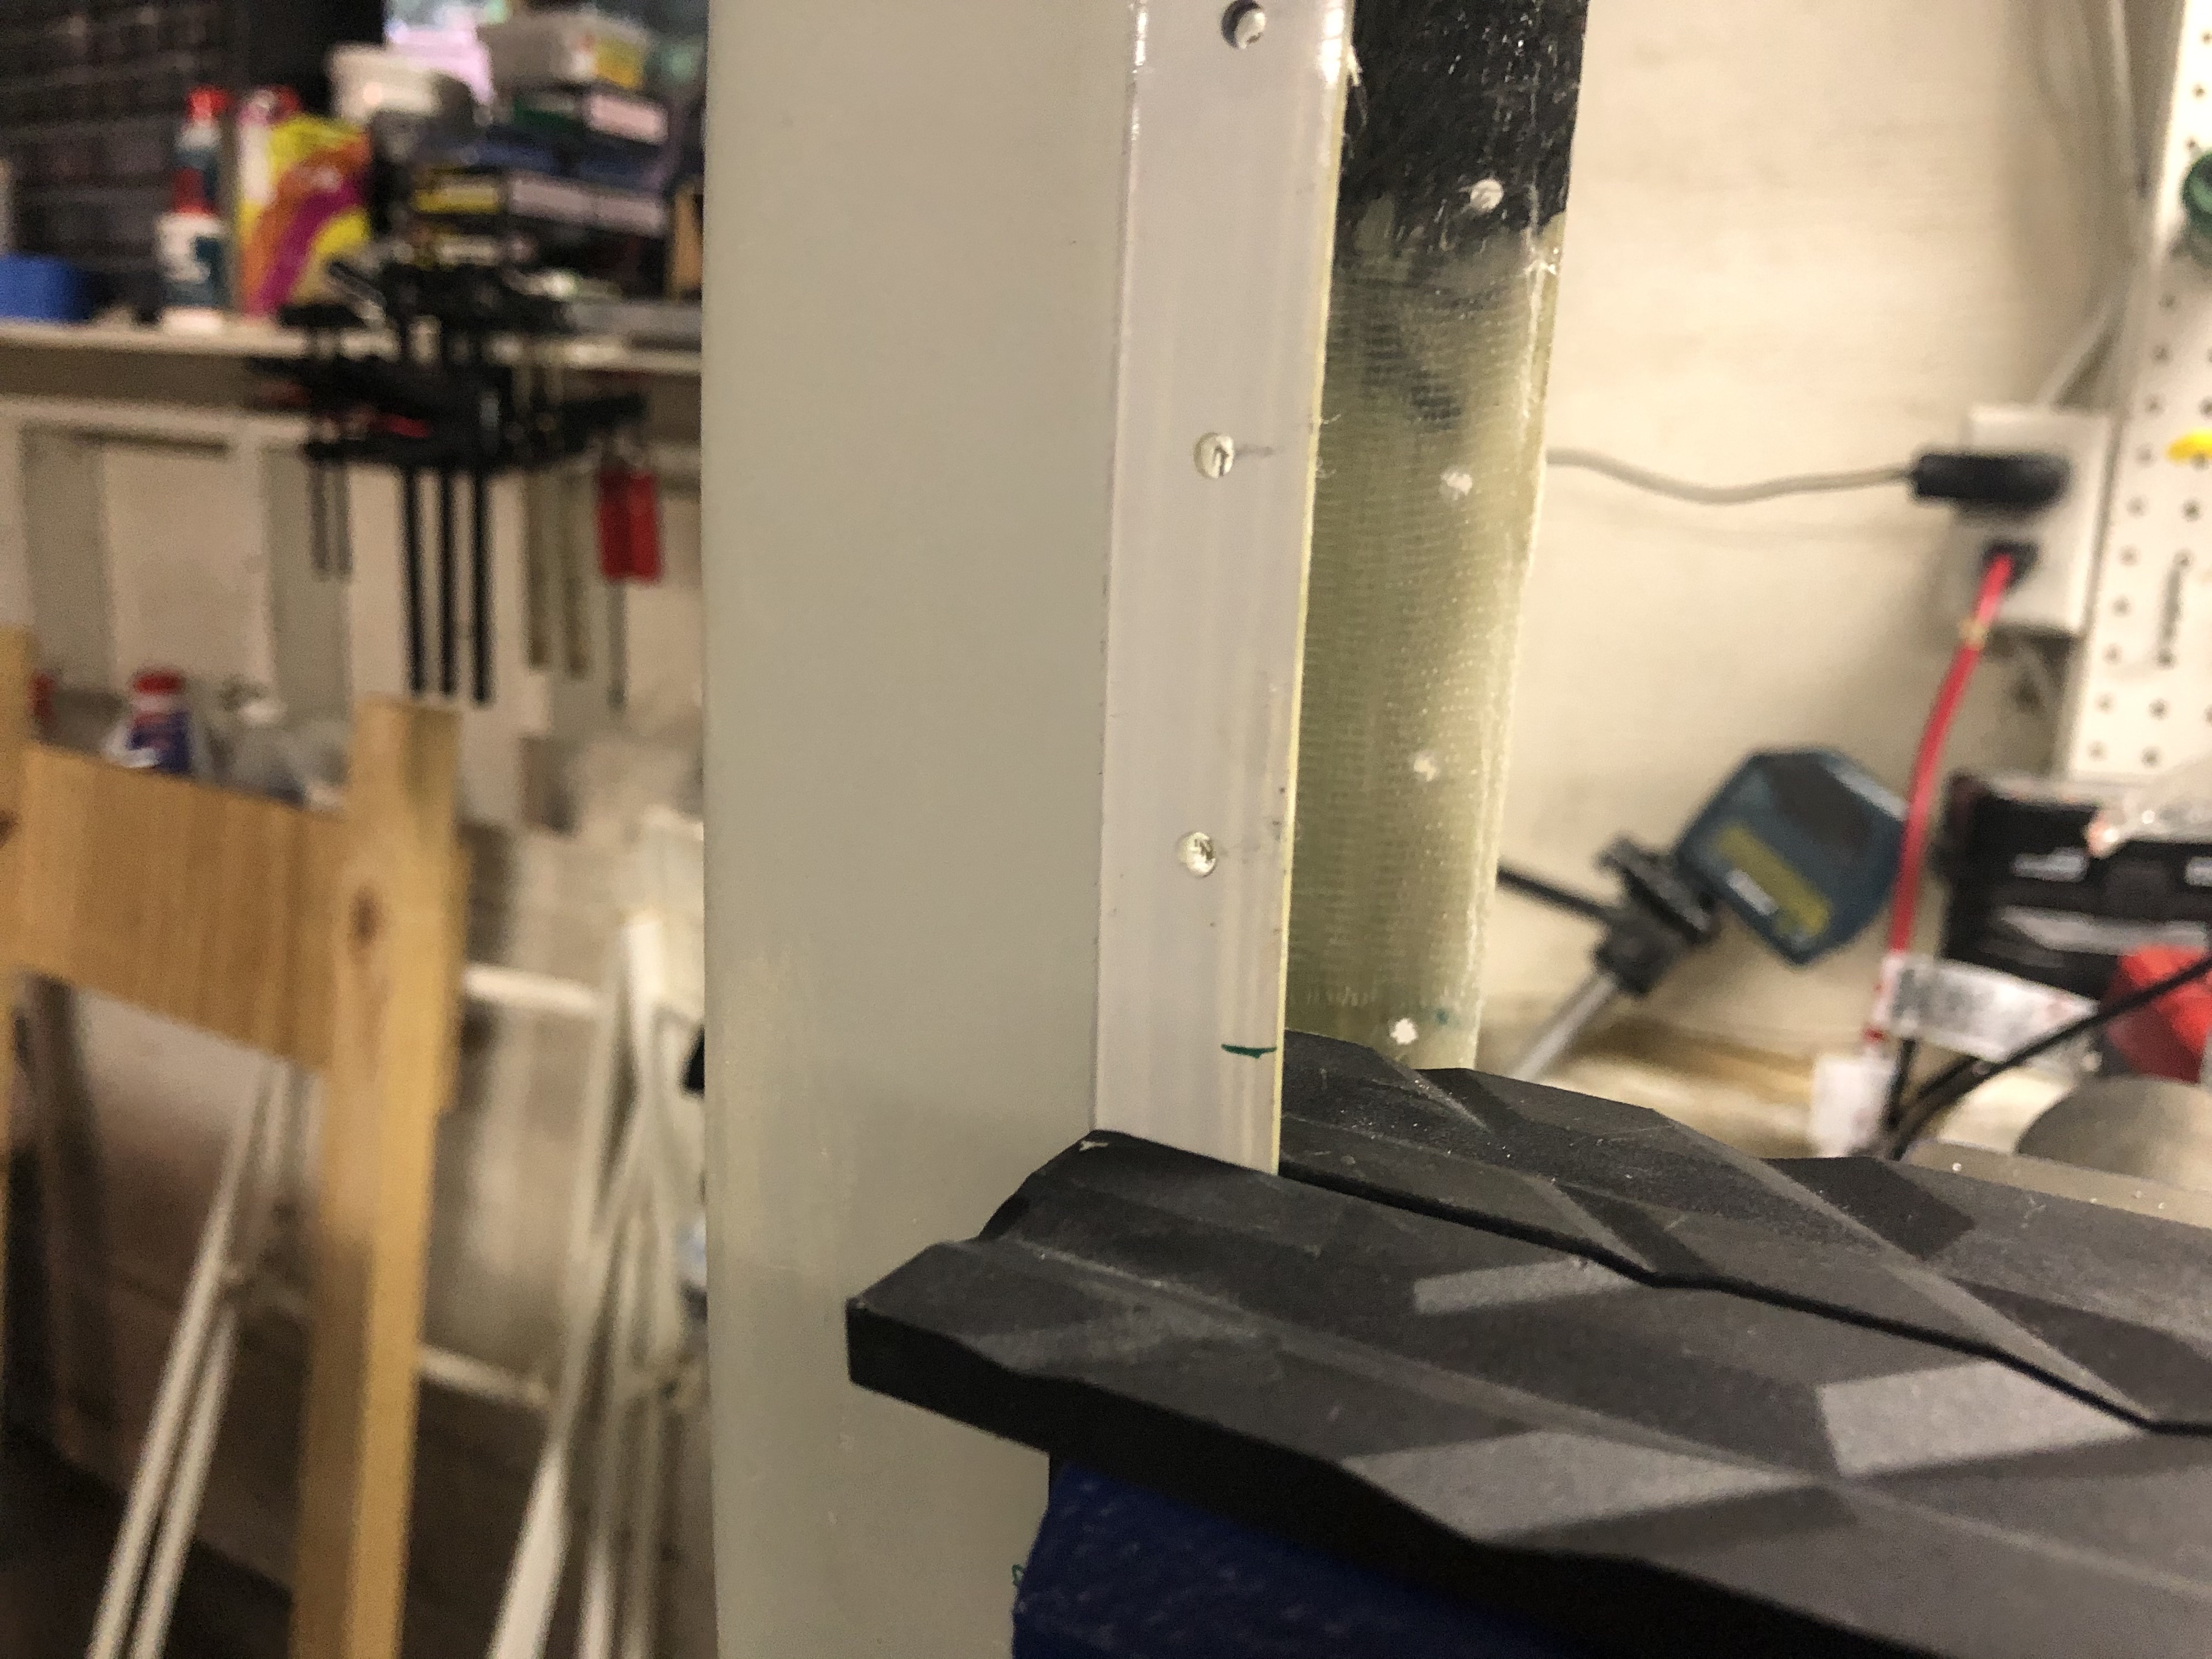
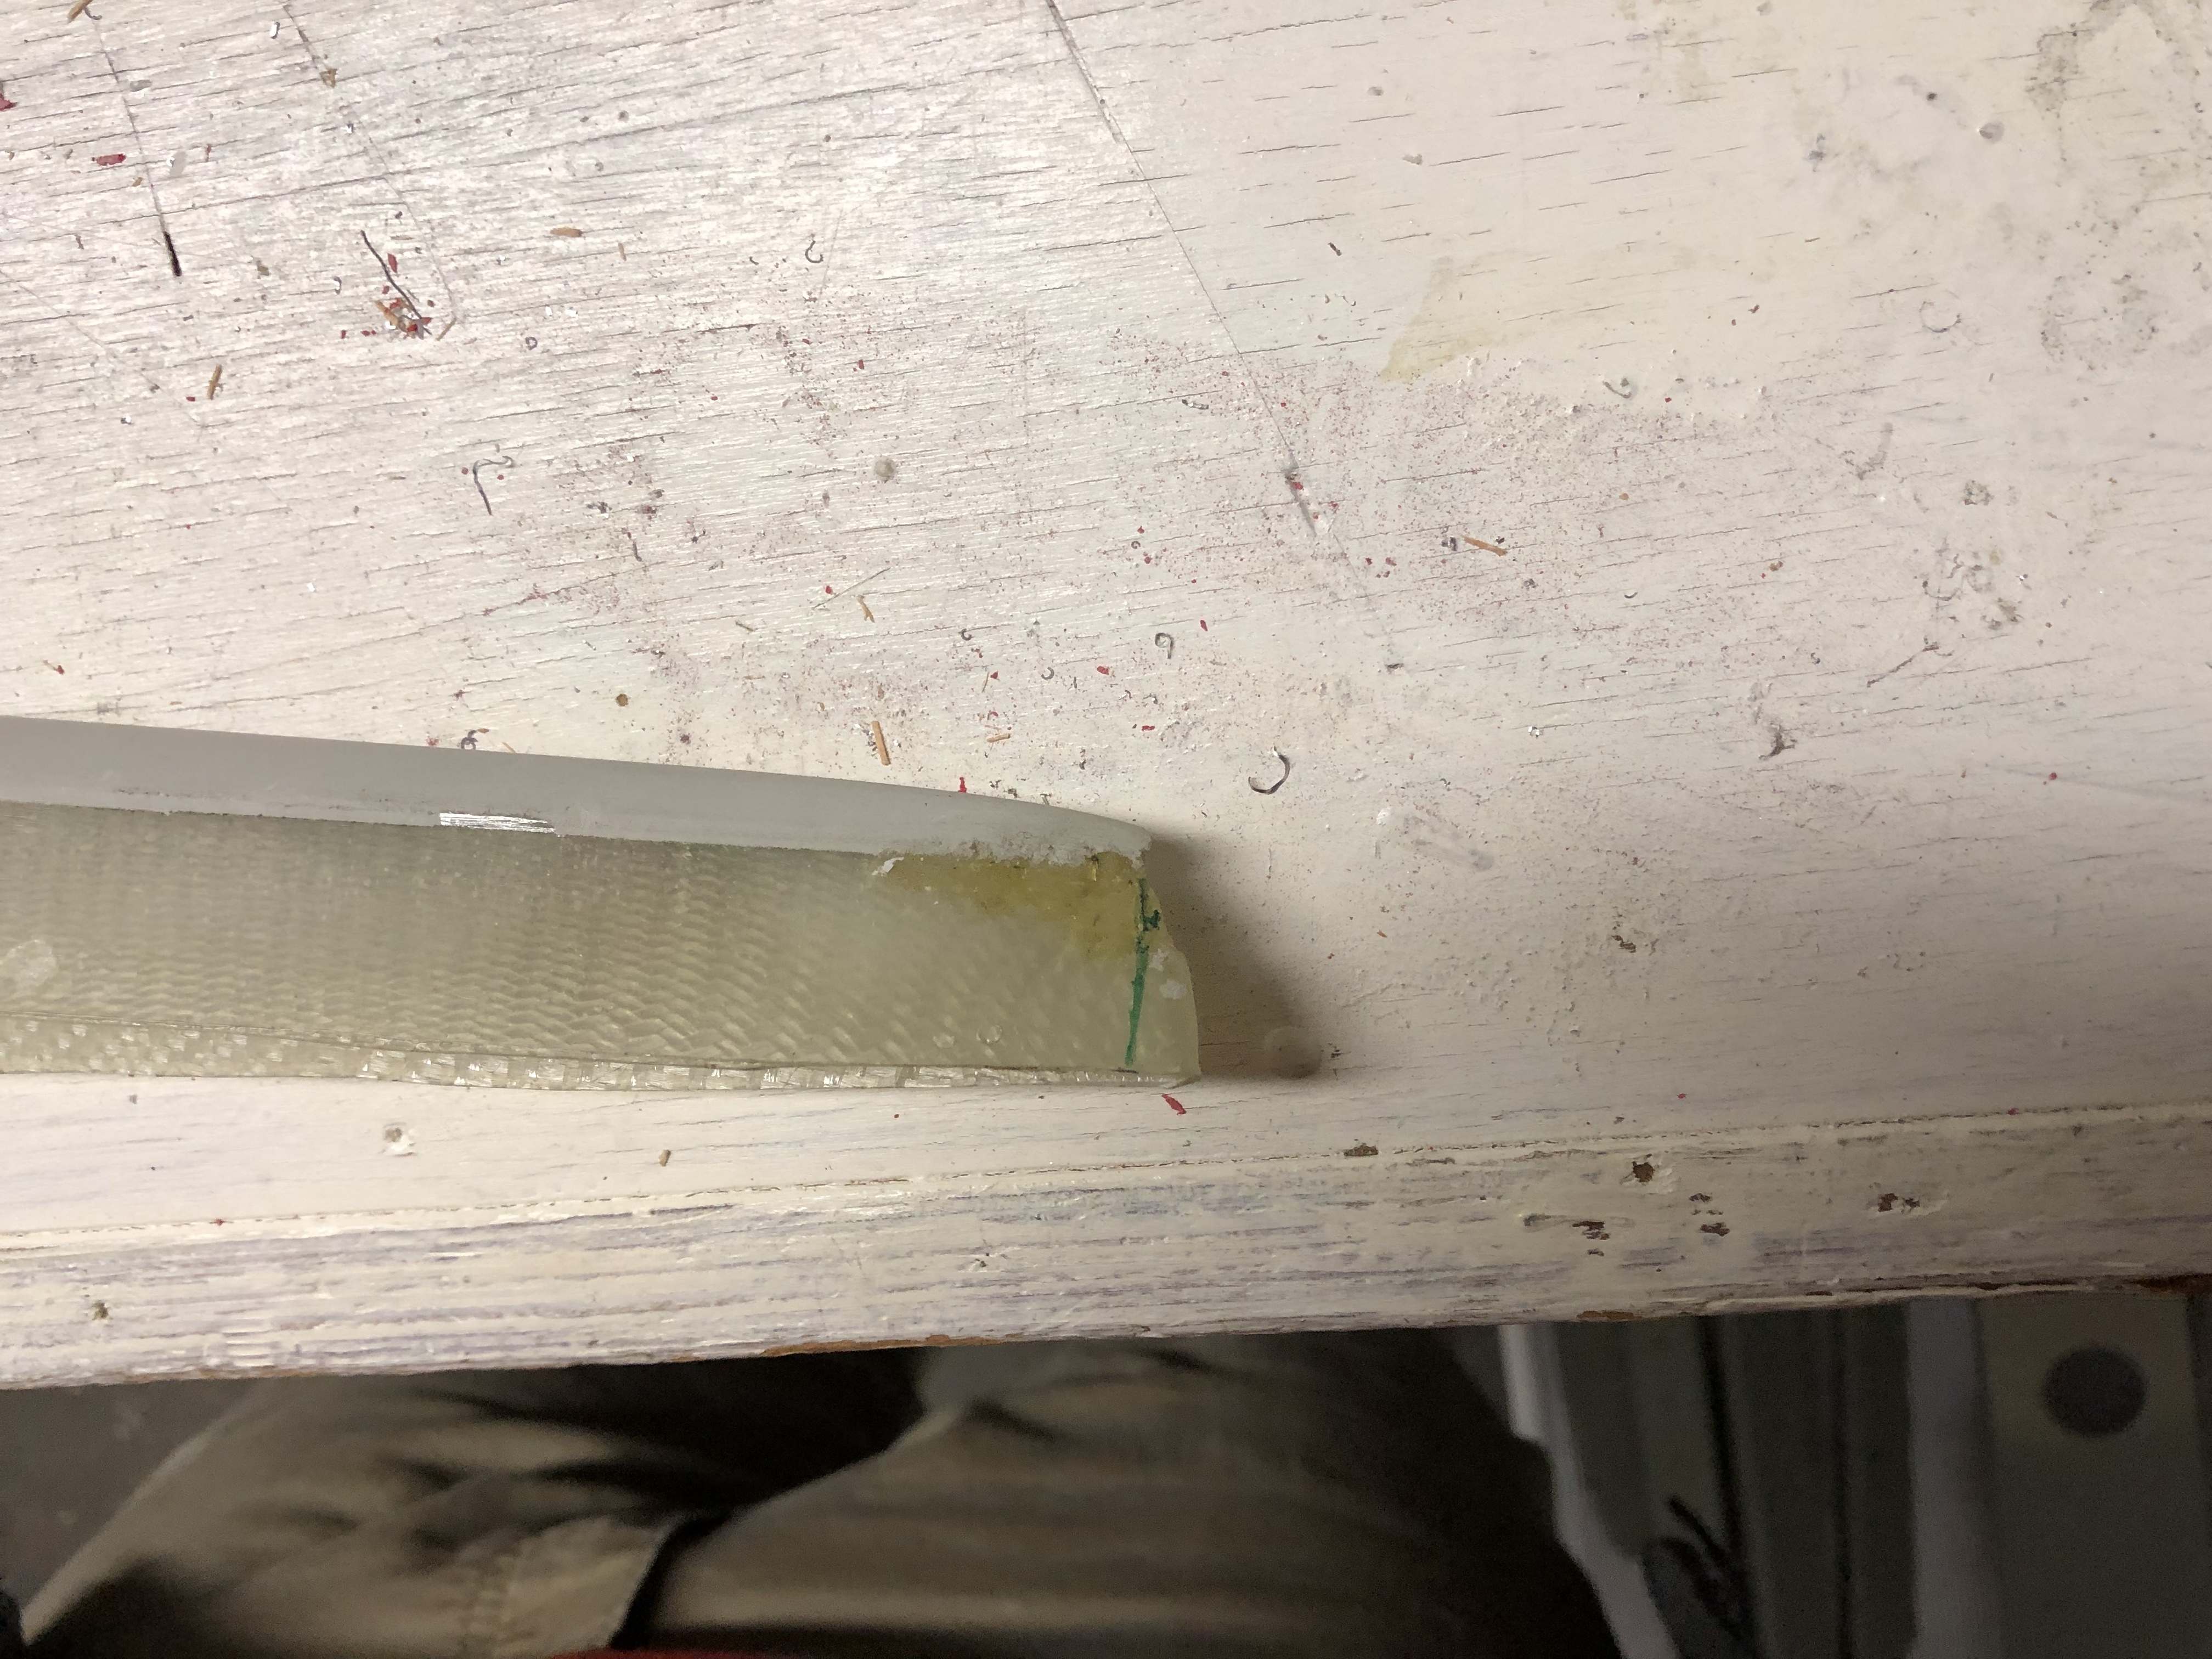
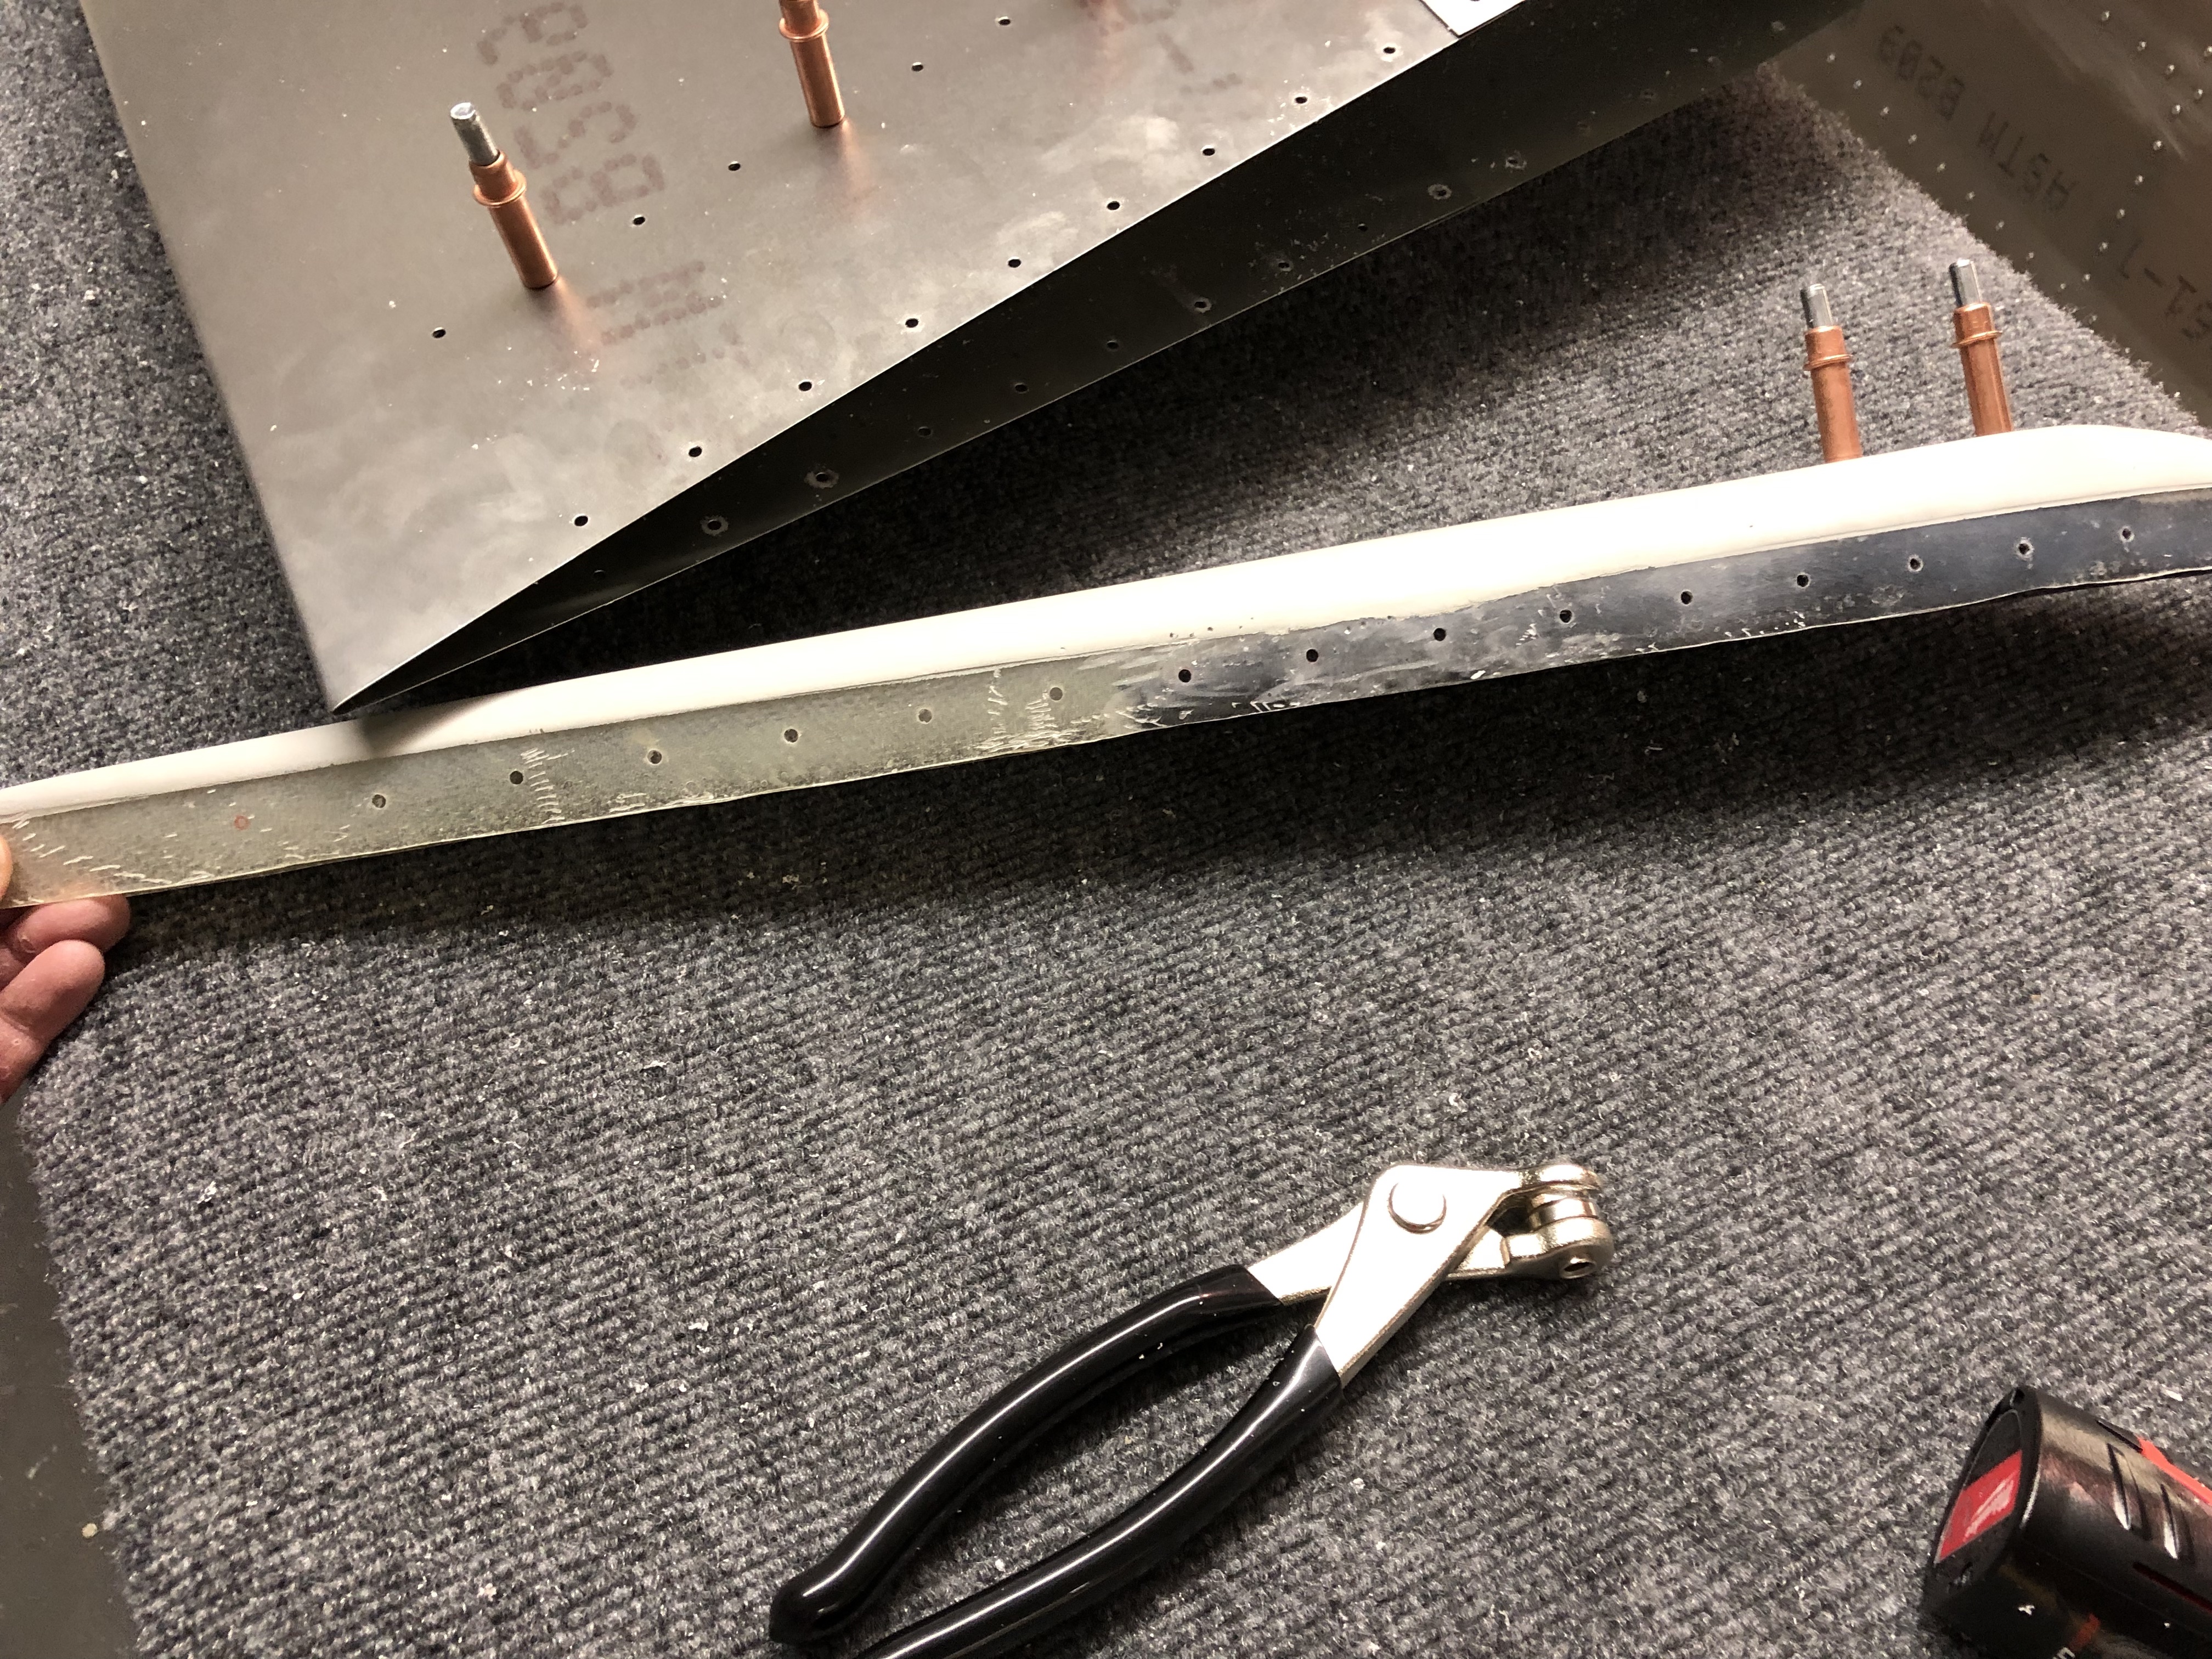
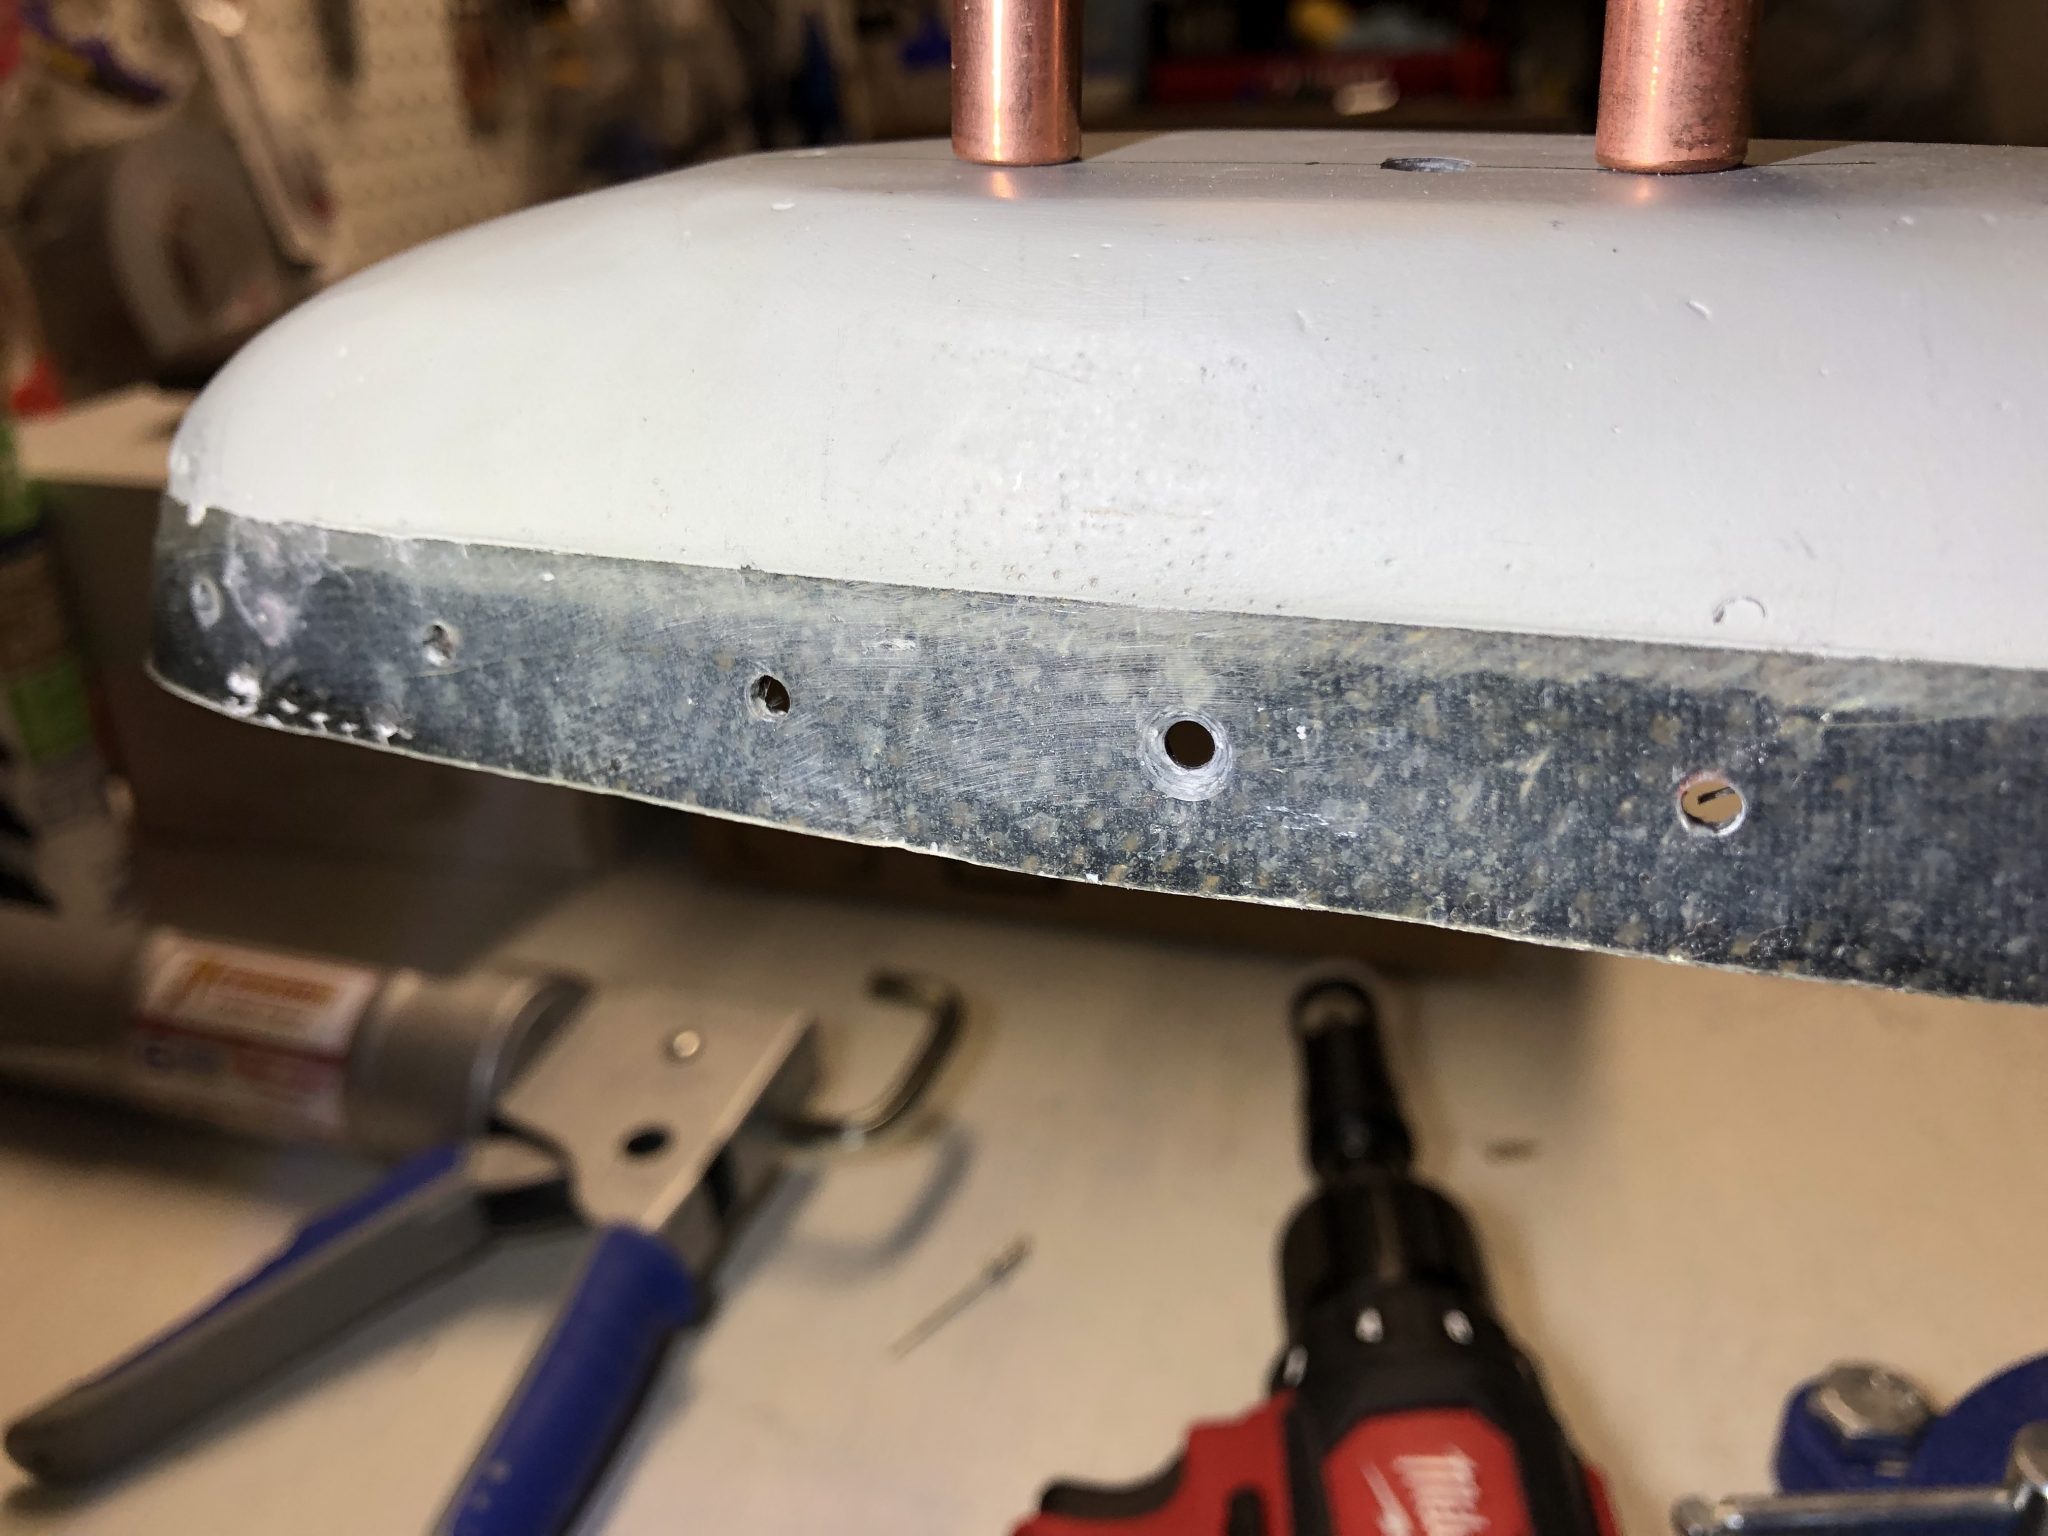
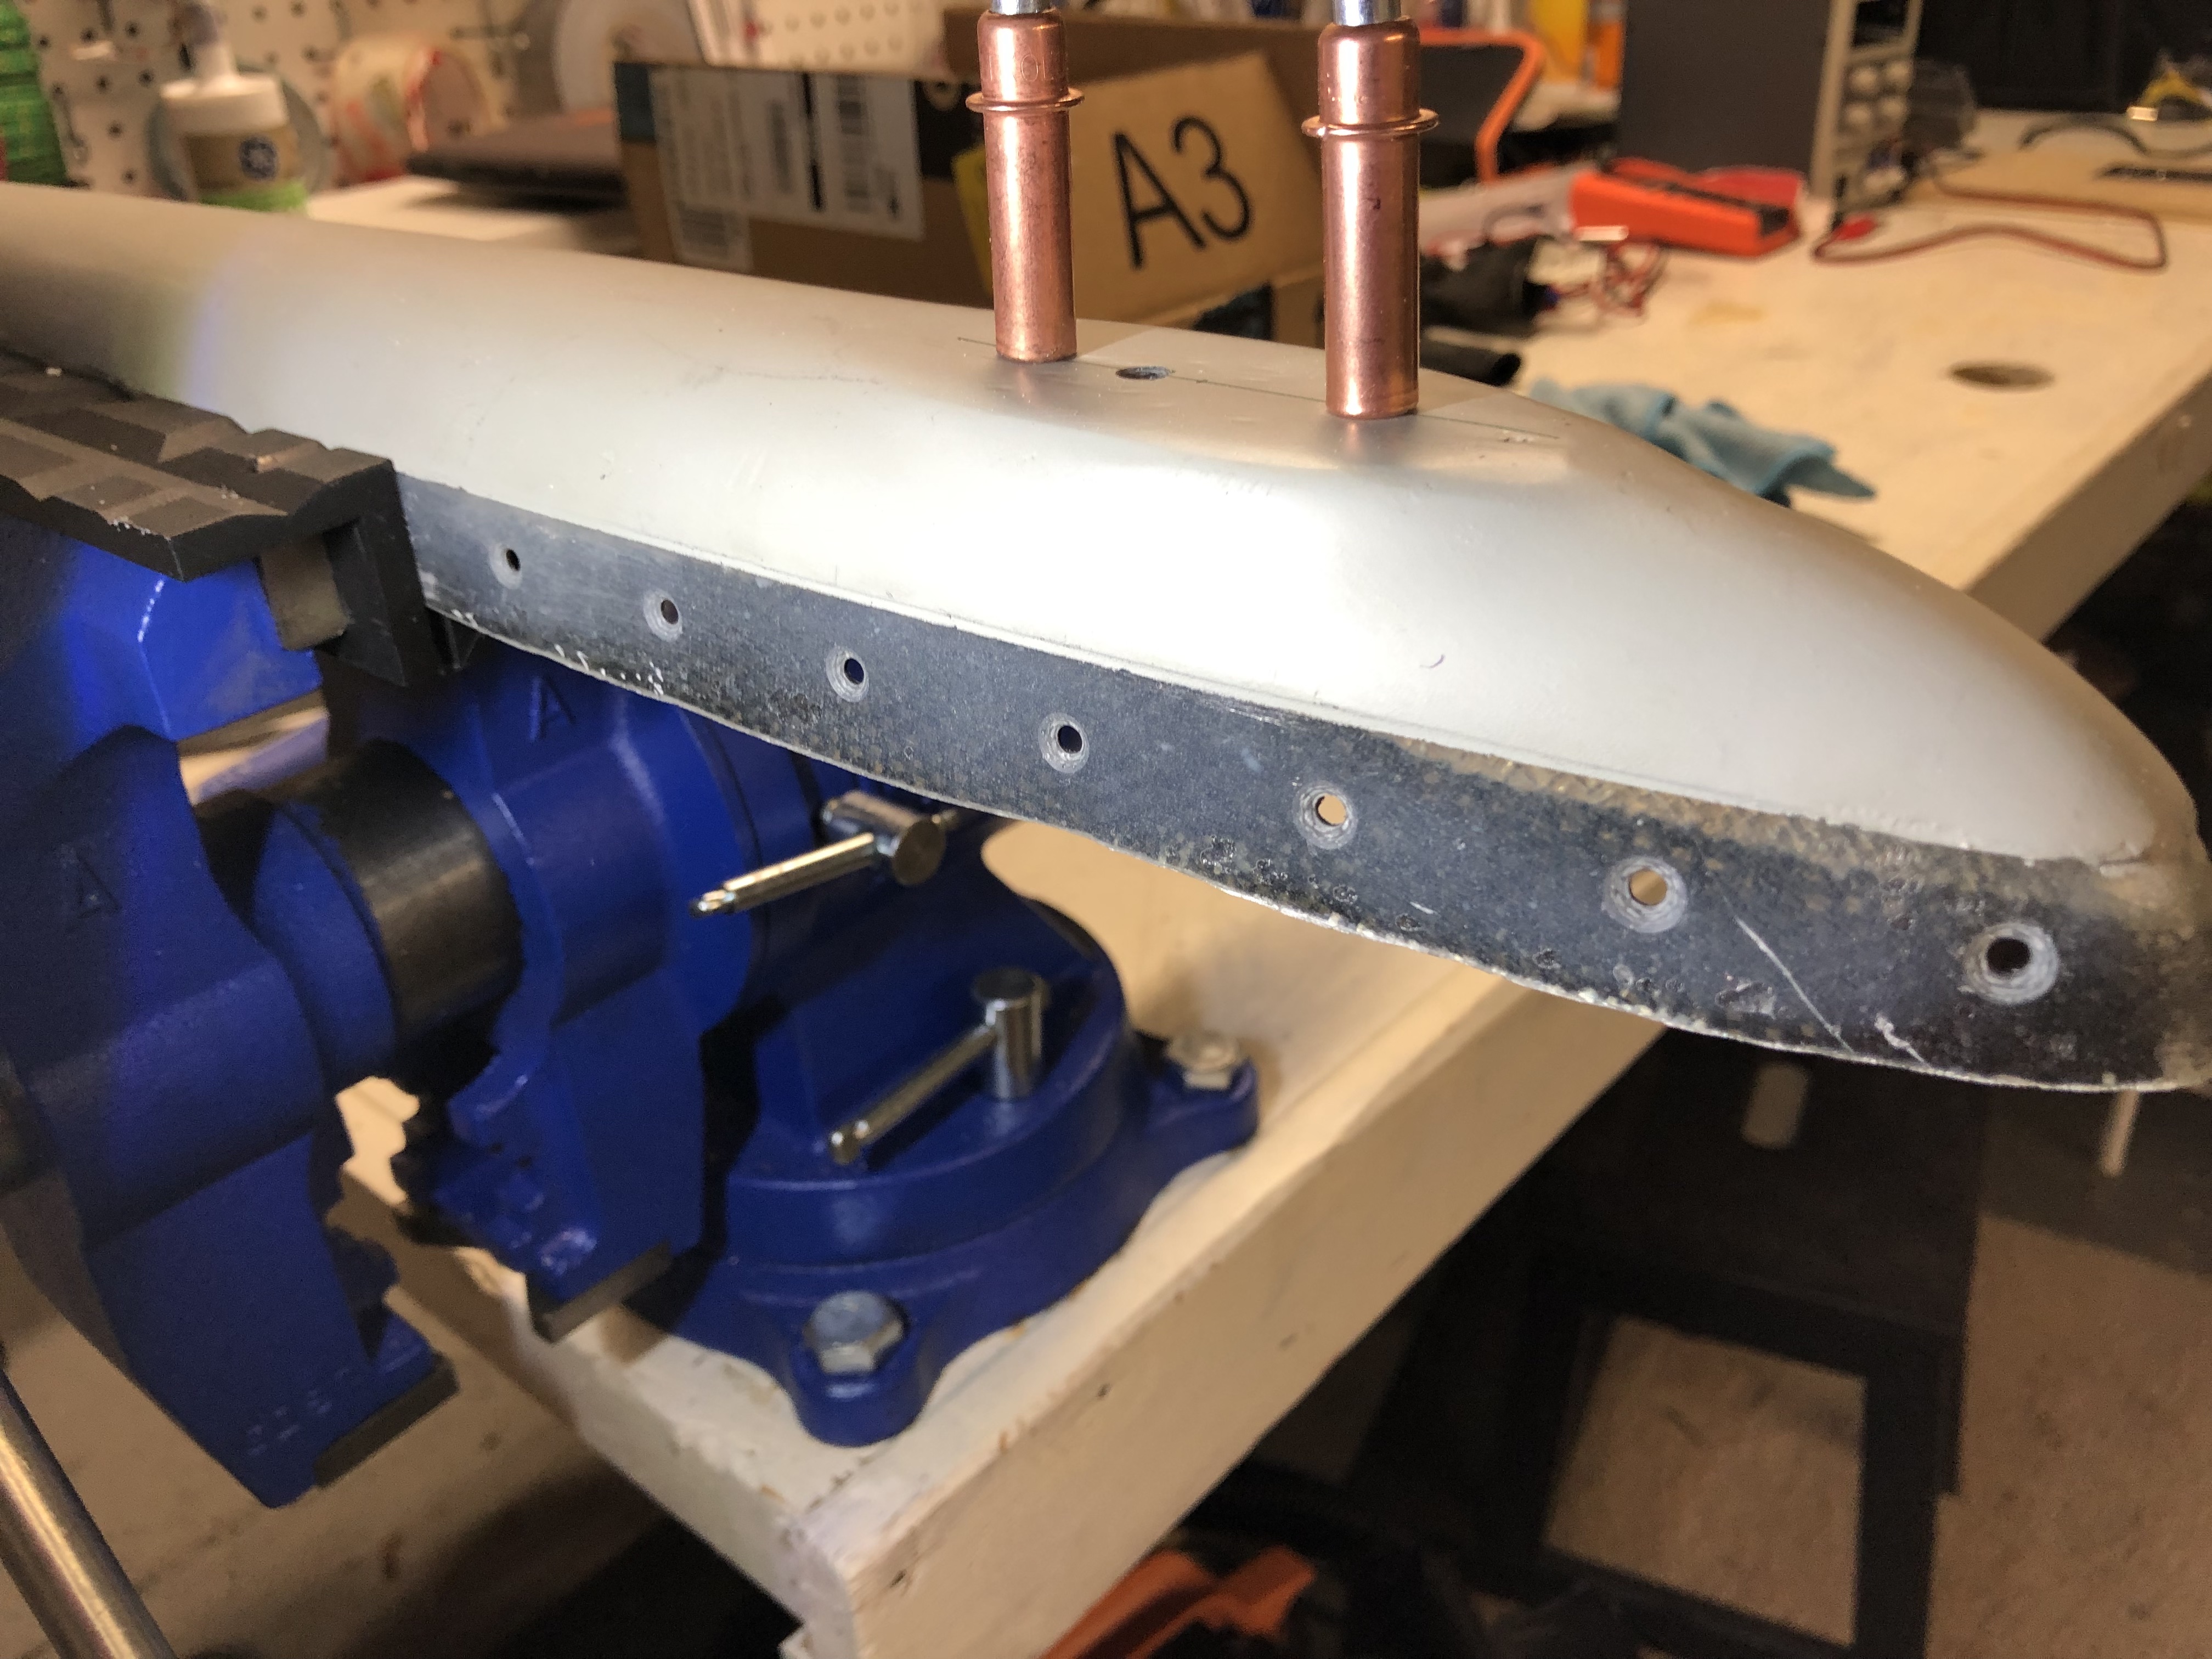
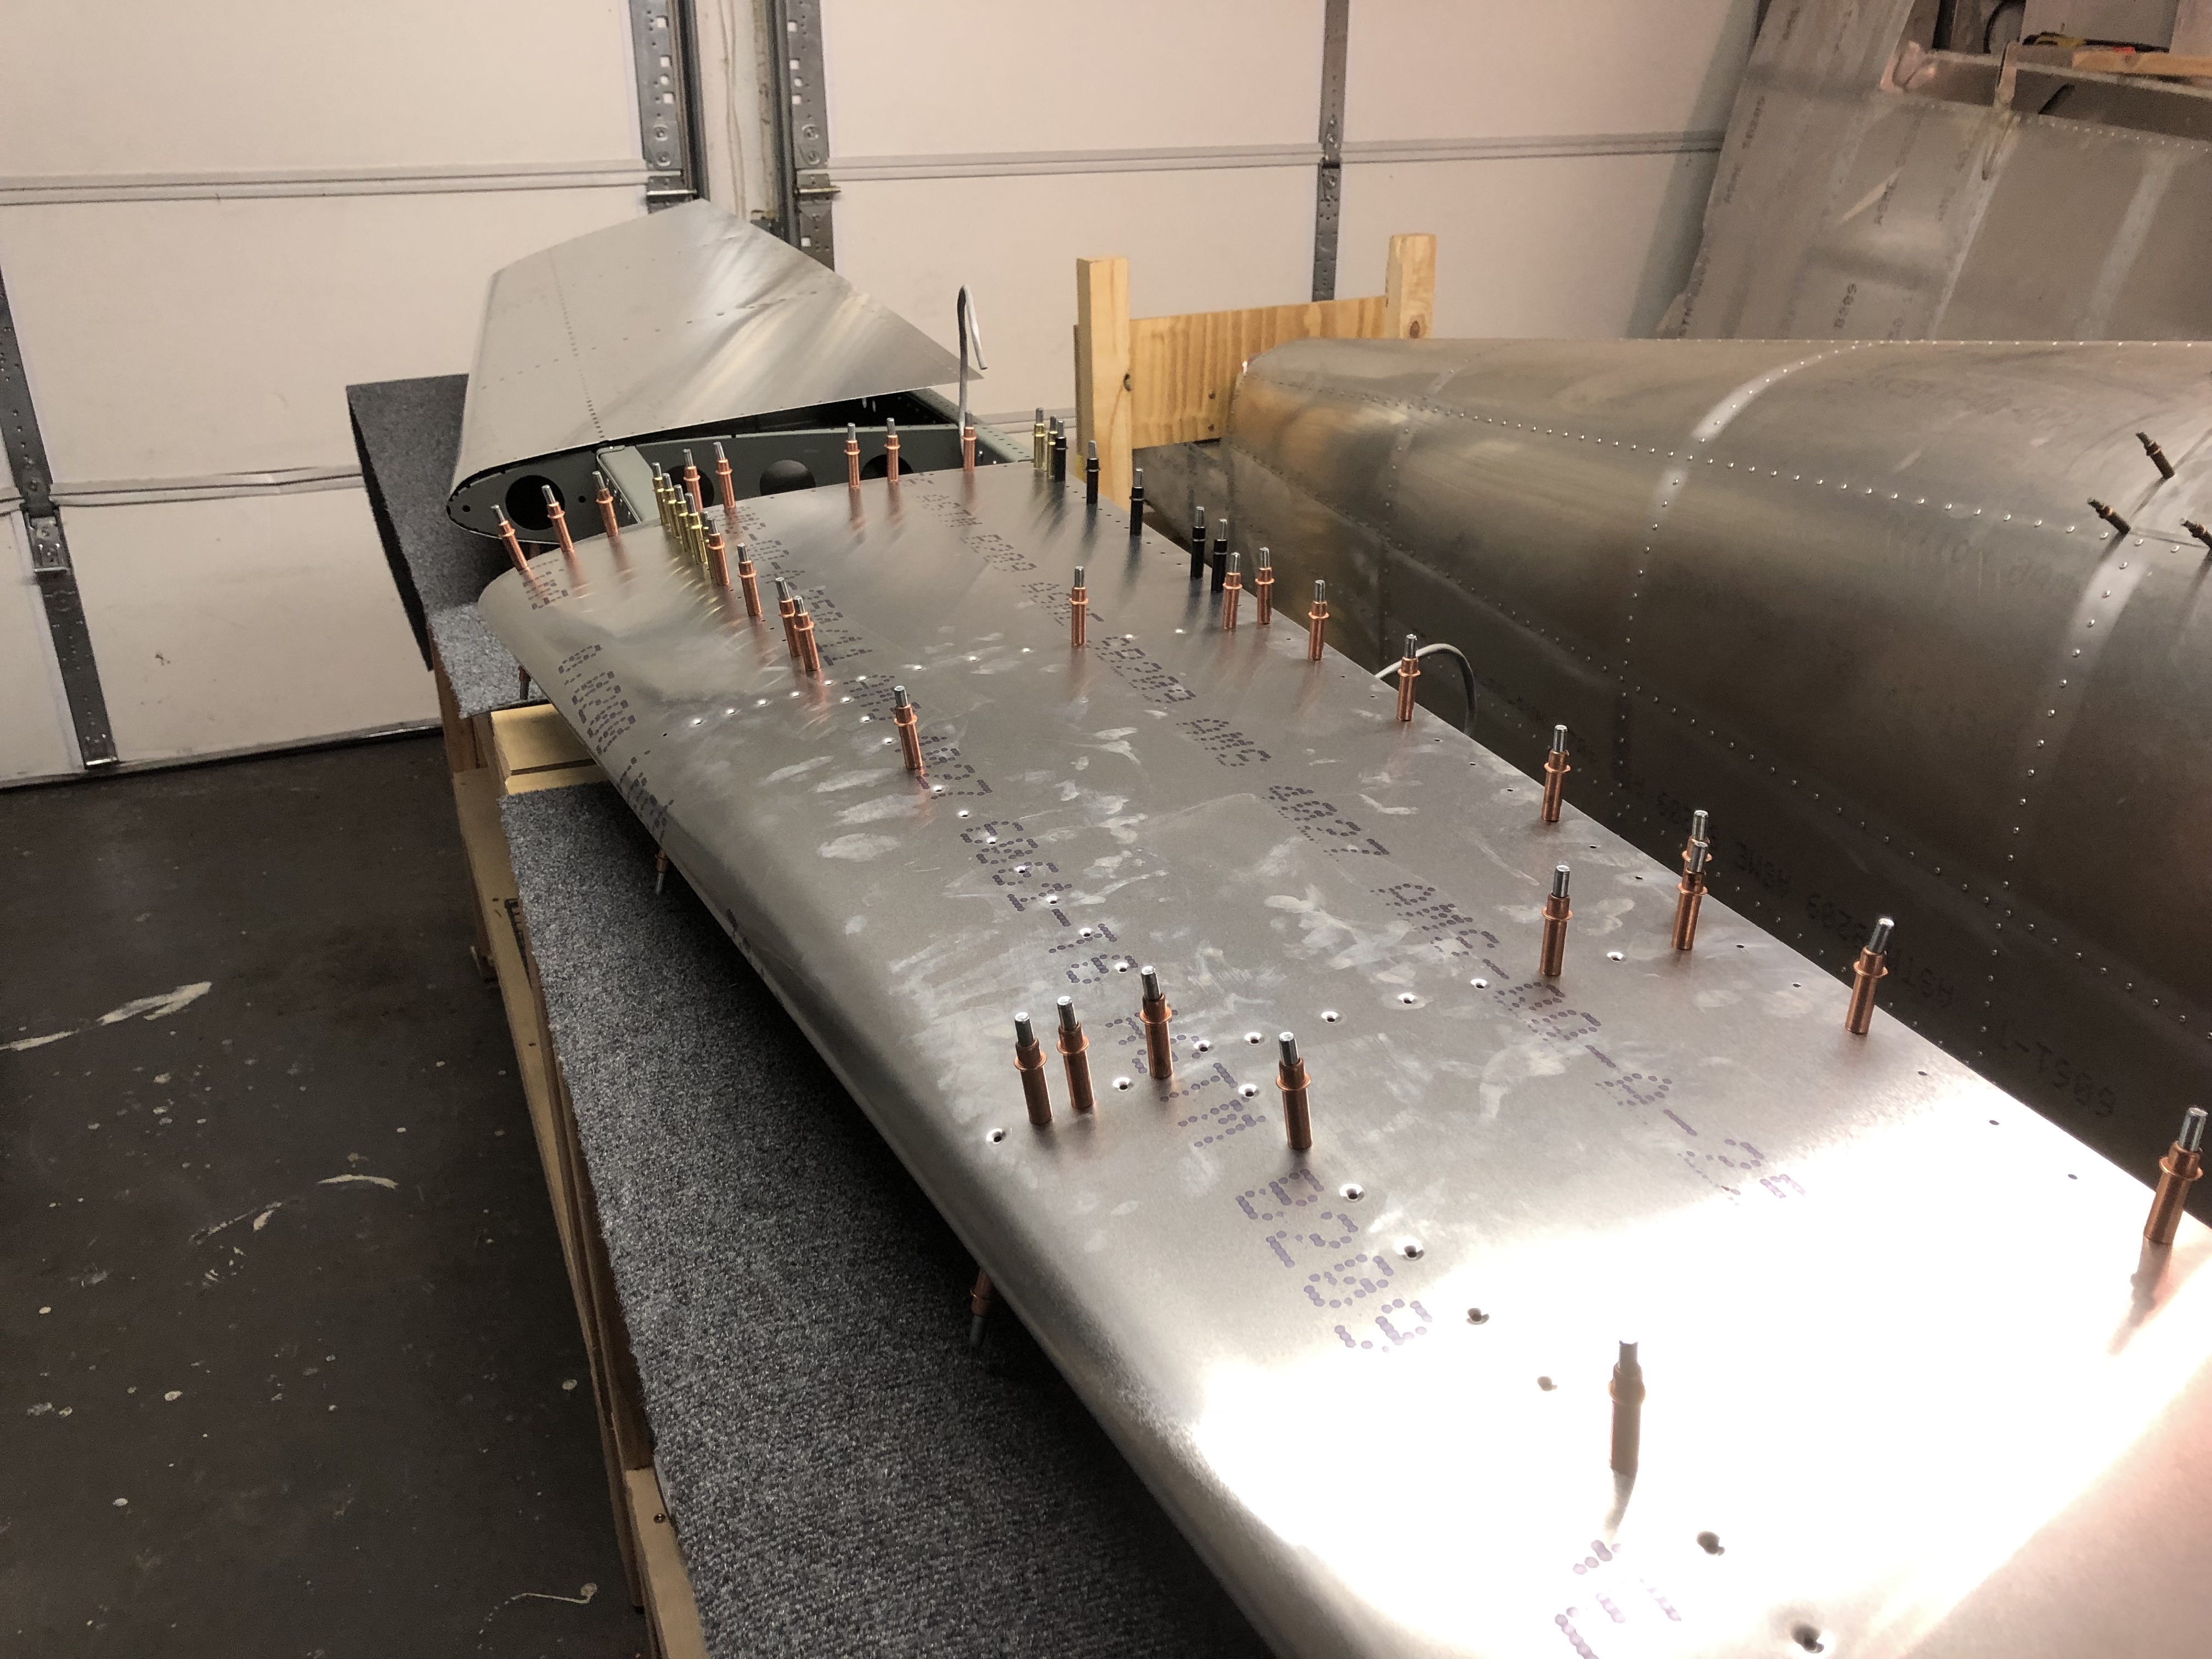
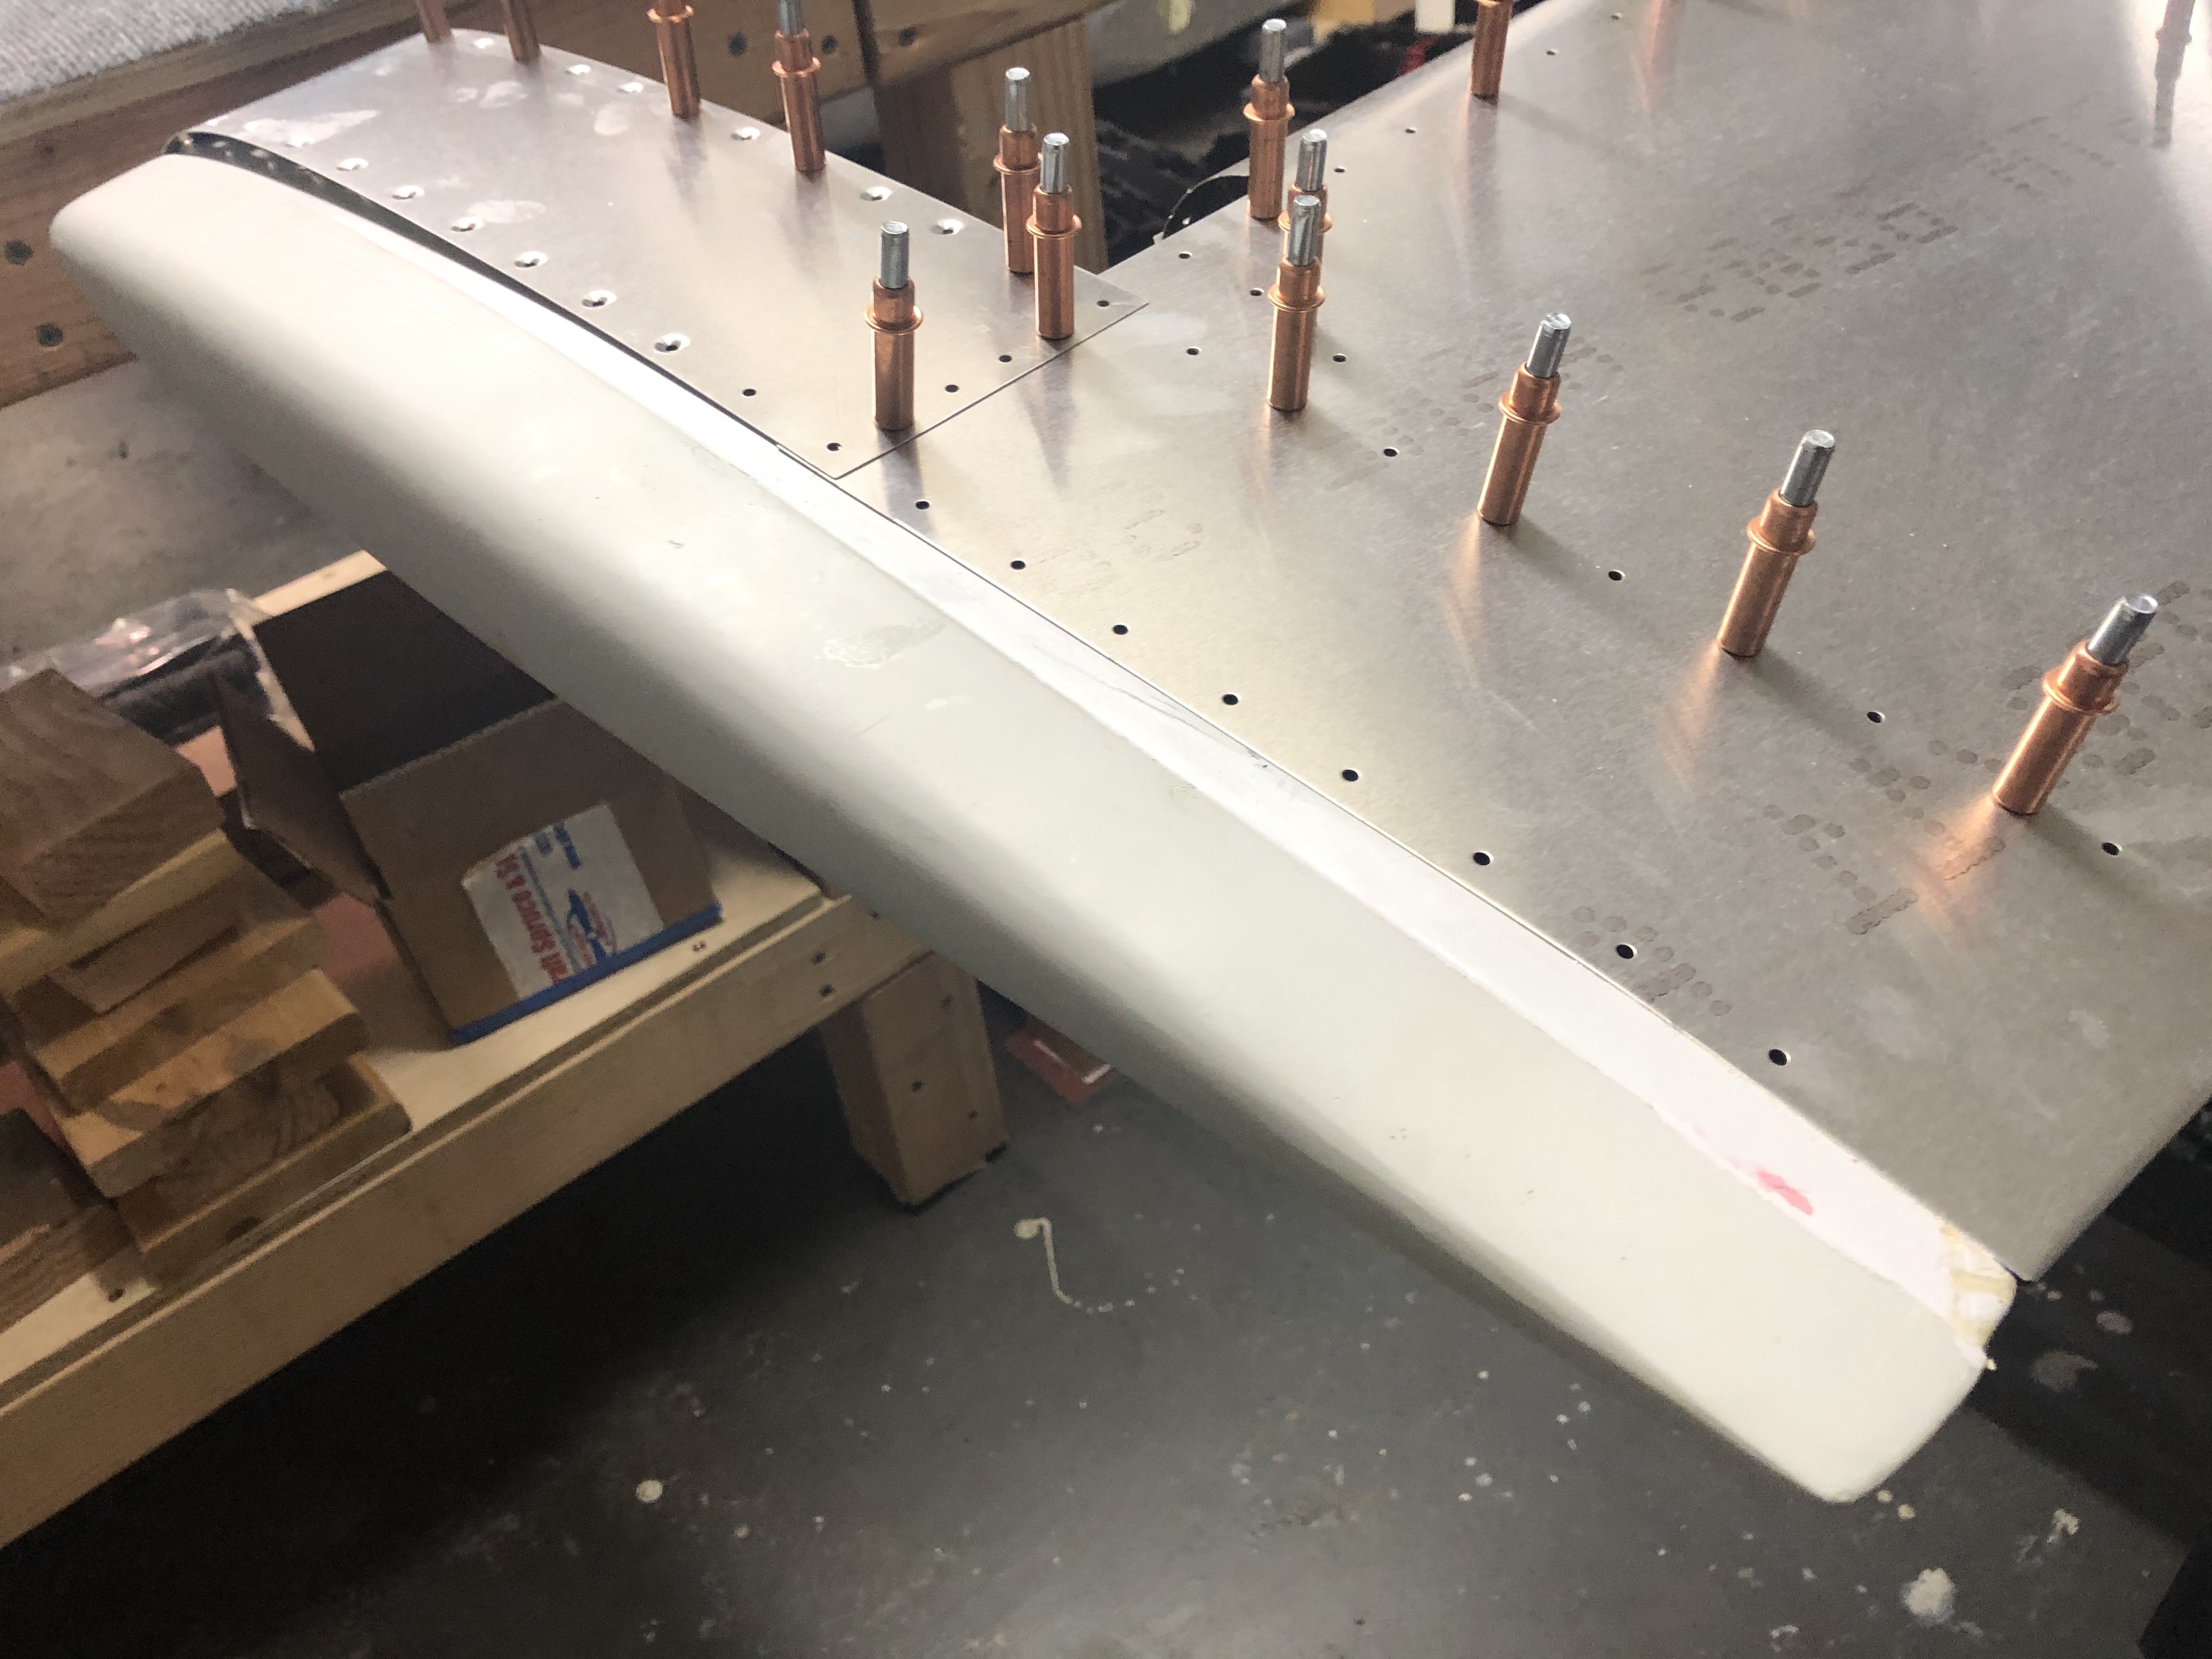
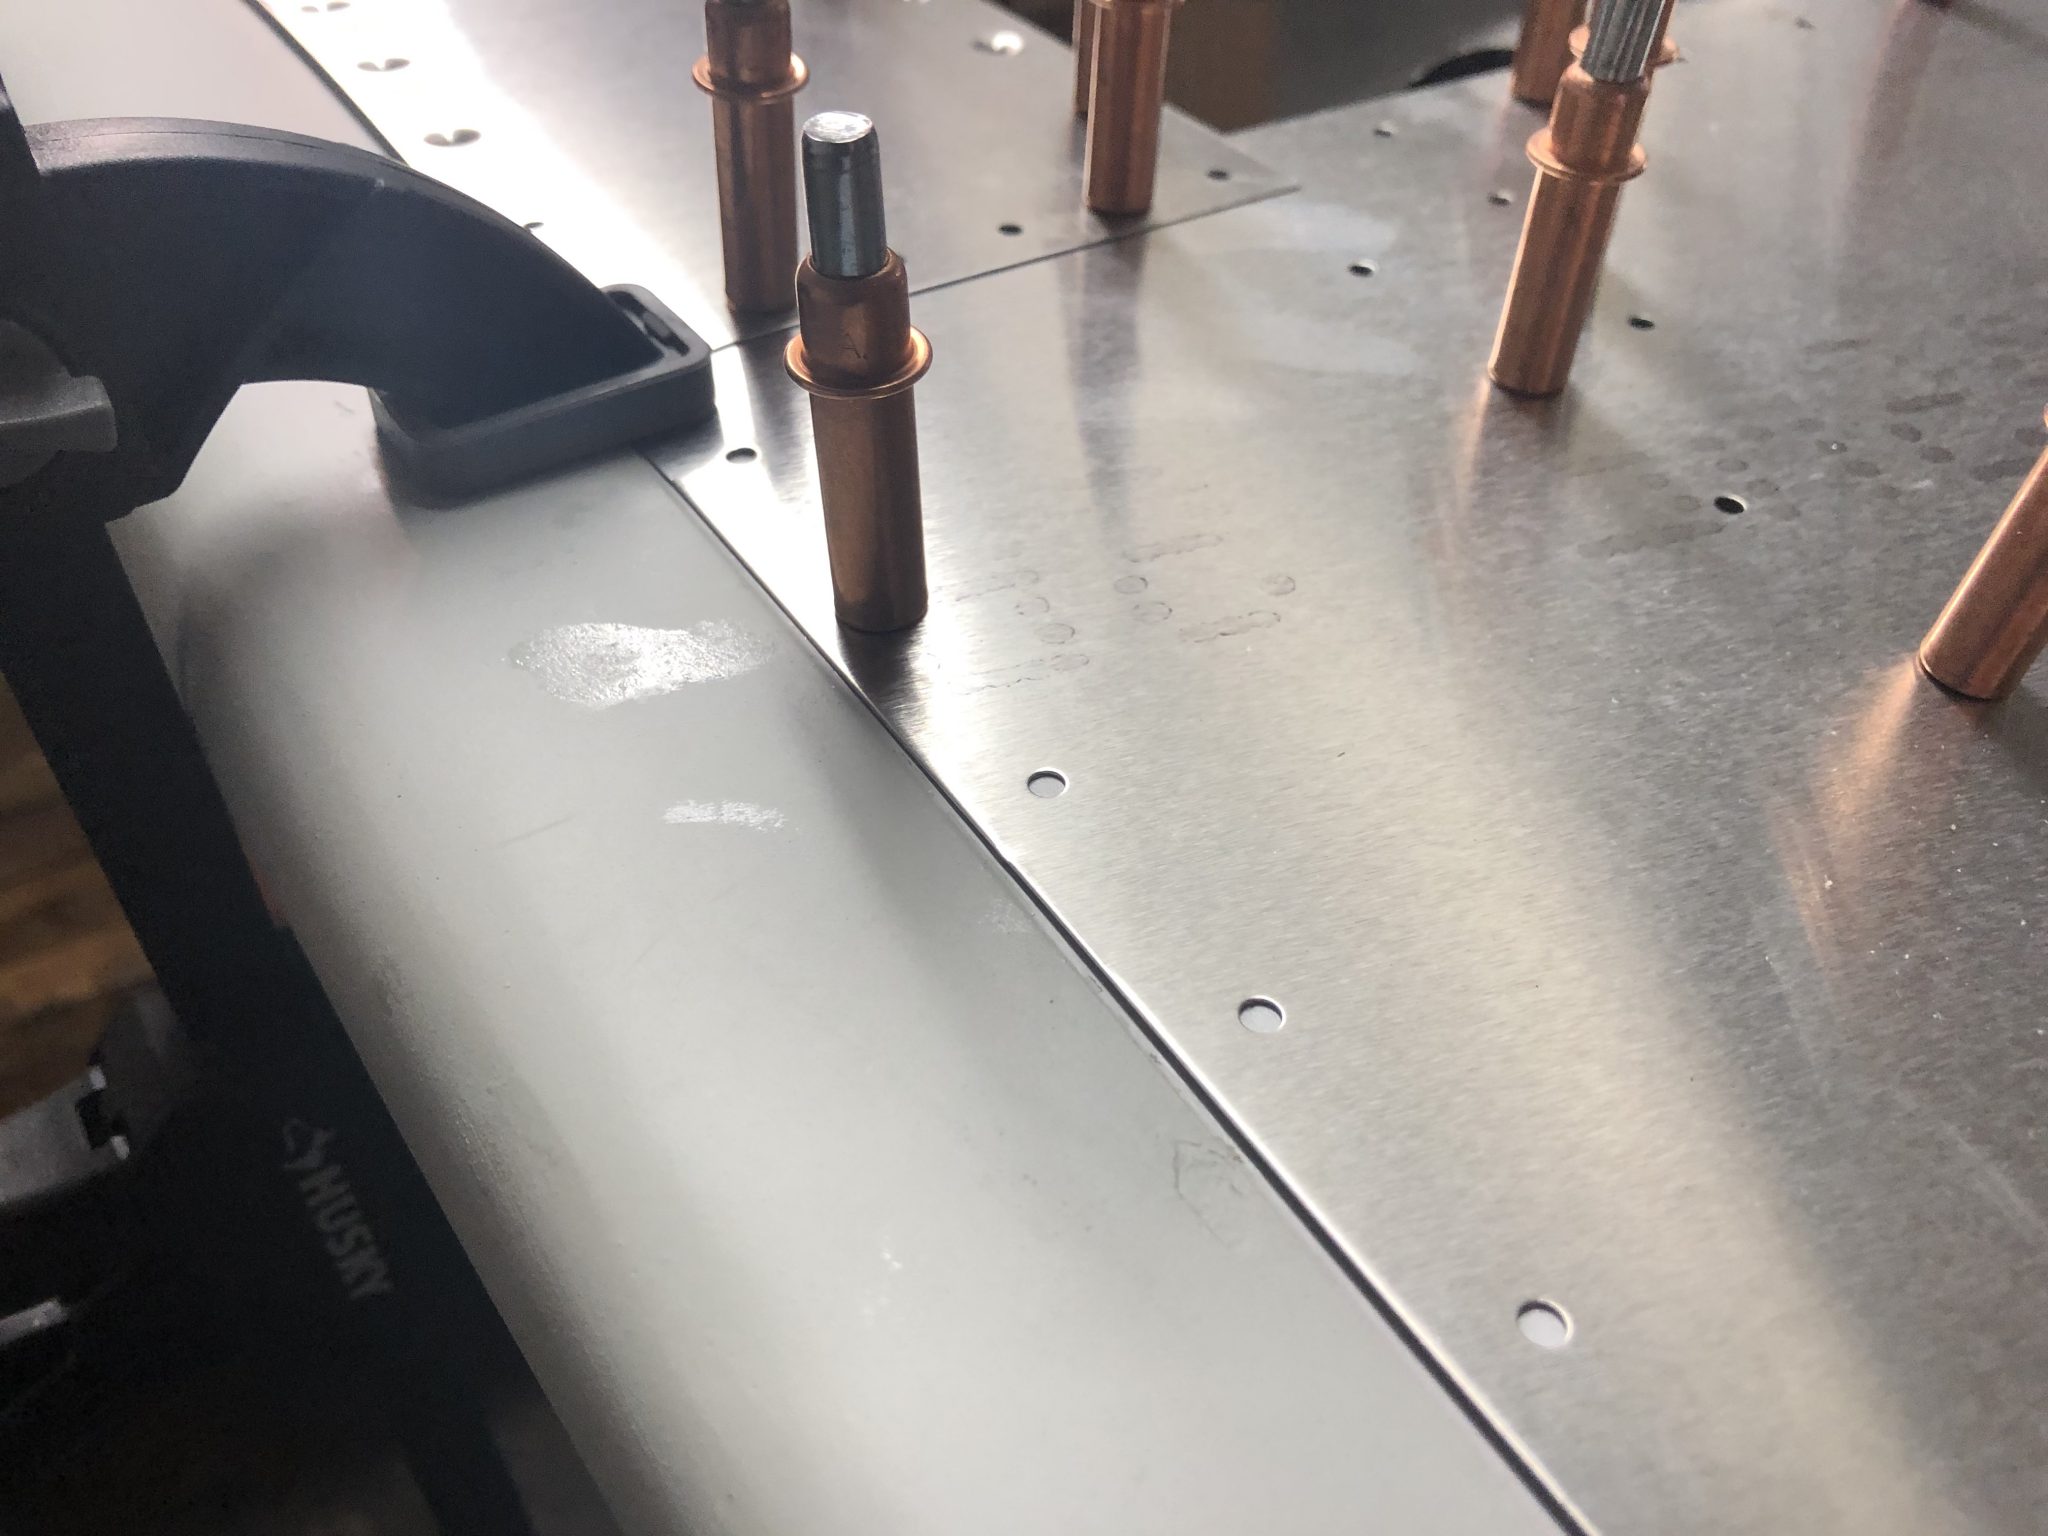
With that out of the way, I moved on to do the fitting for the right side fiberglass piece. It took a little bit of aligning and filing away a tiny bit from the back so that the fiberglass piece can slot into the metal.

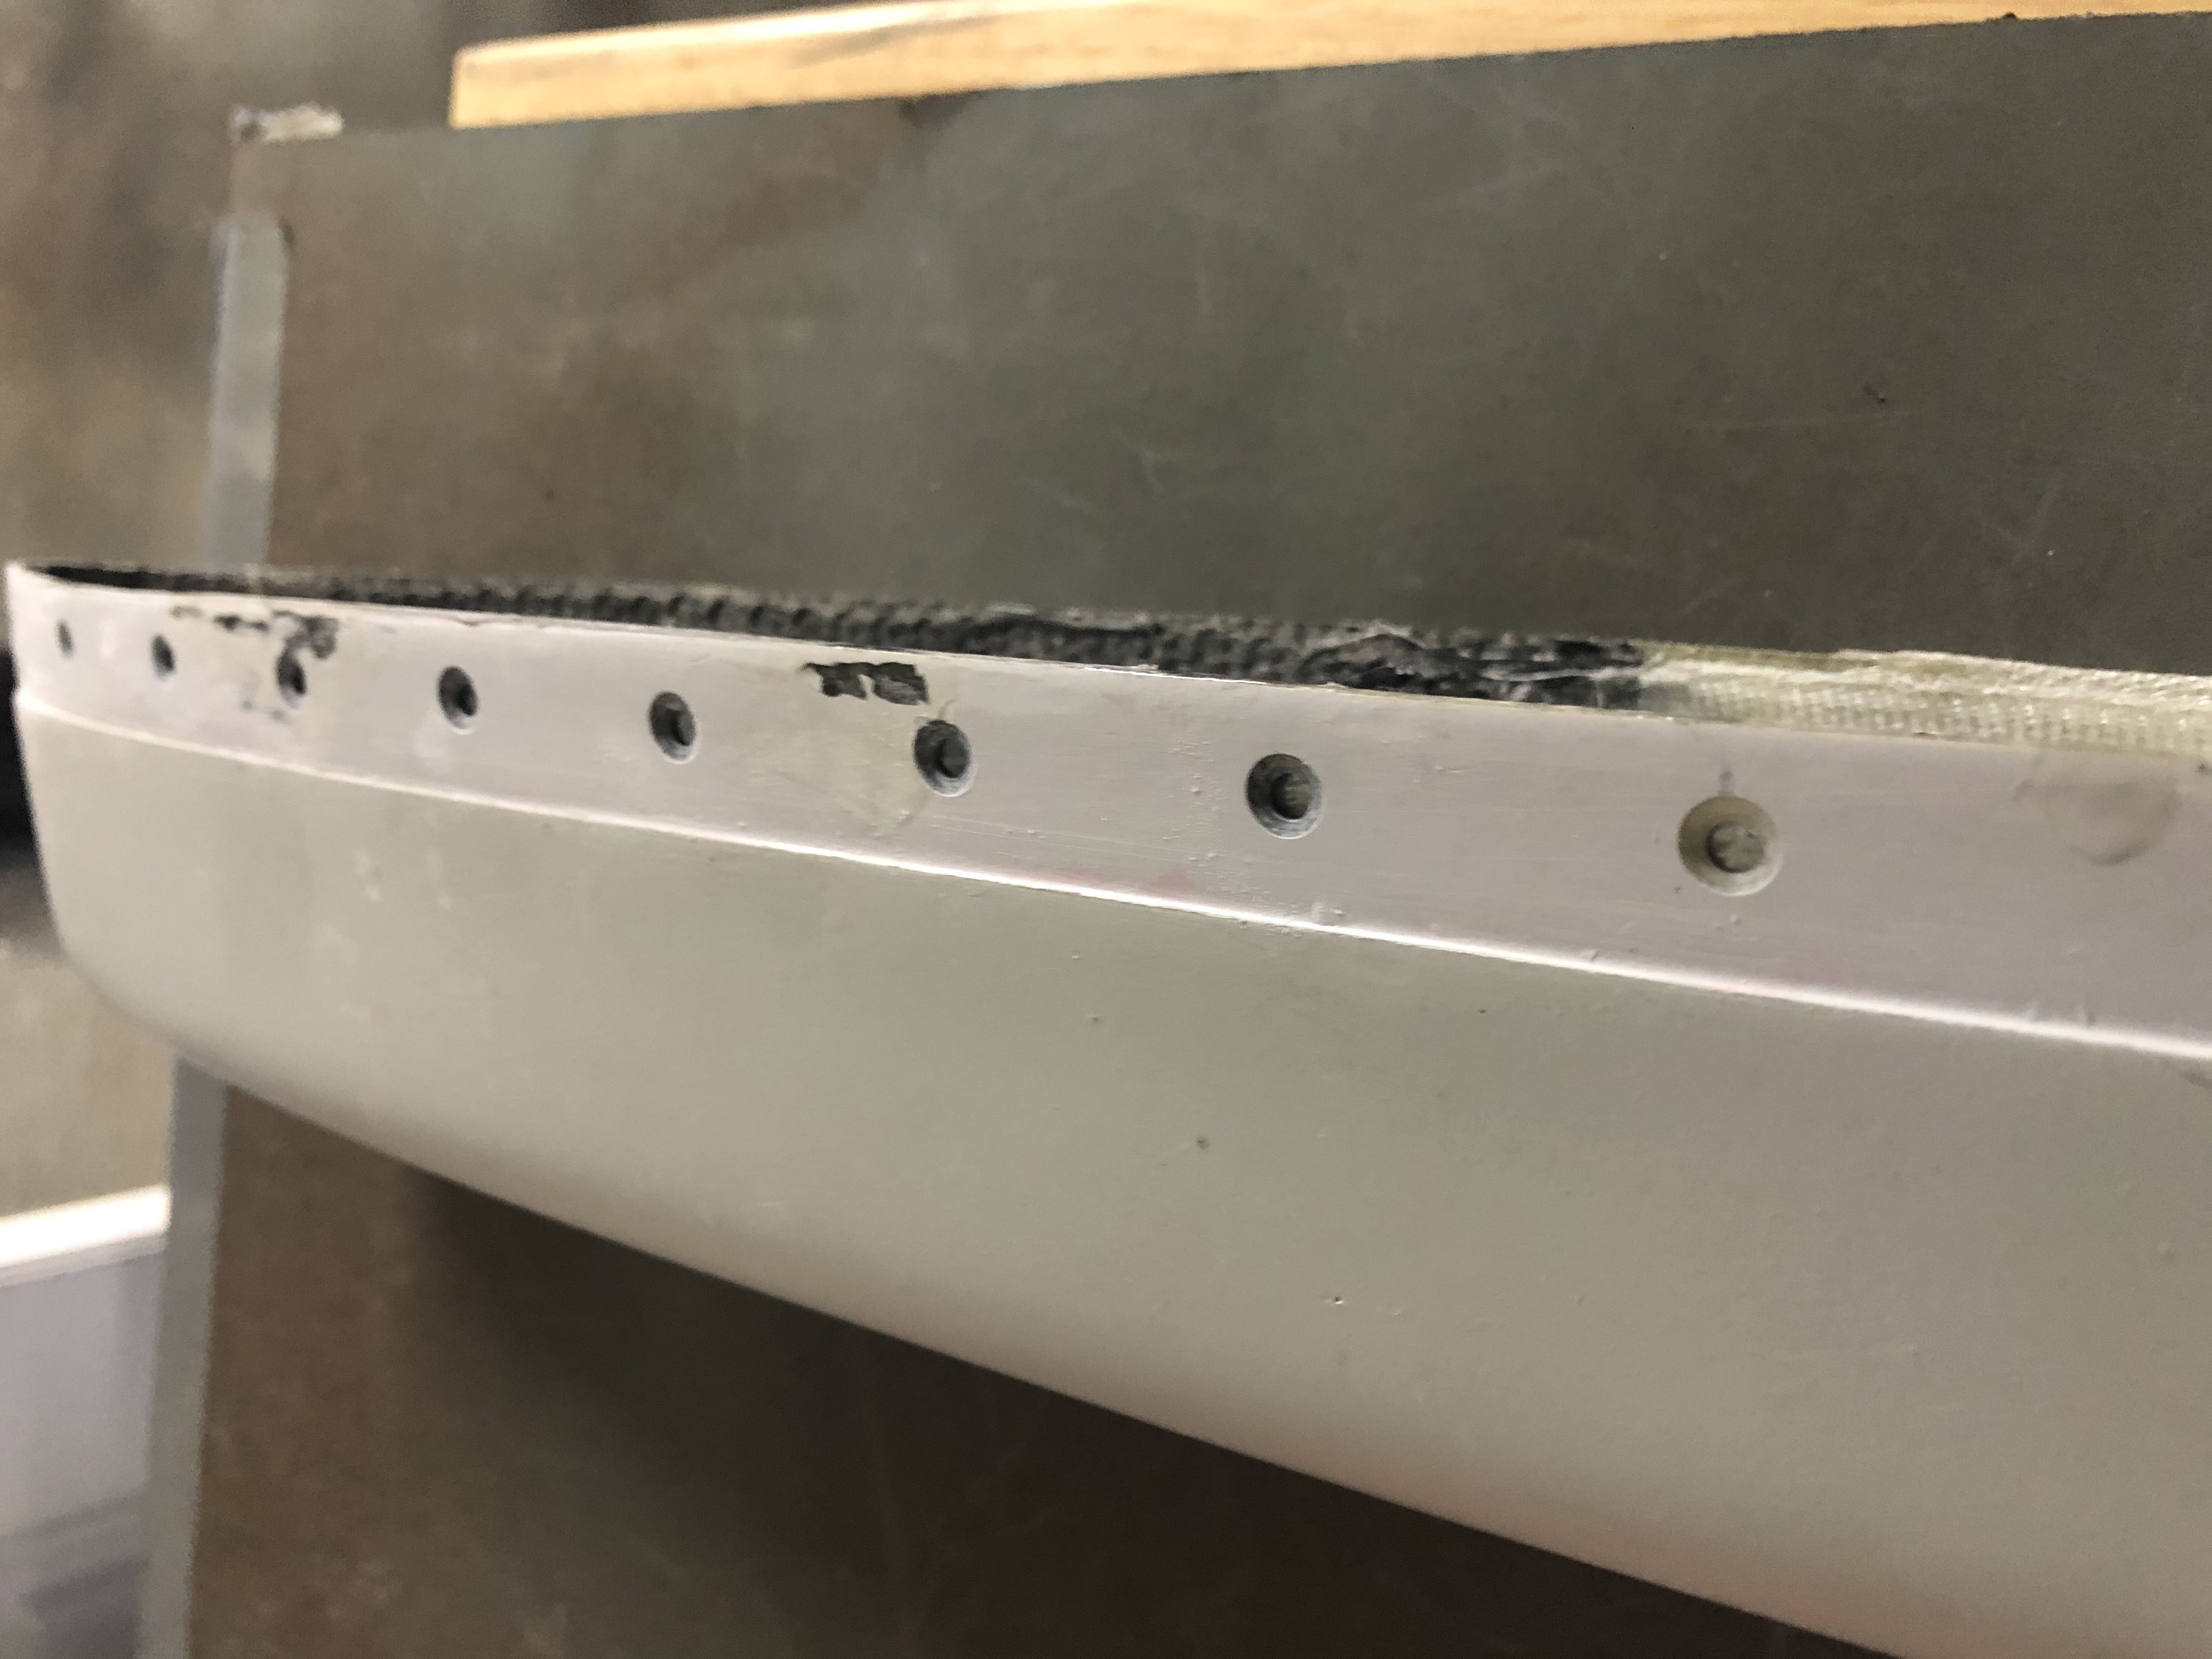
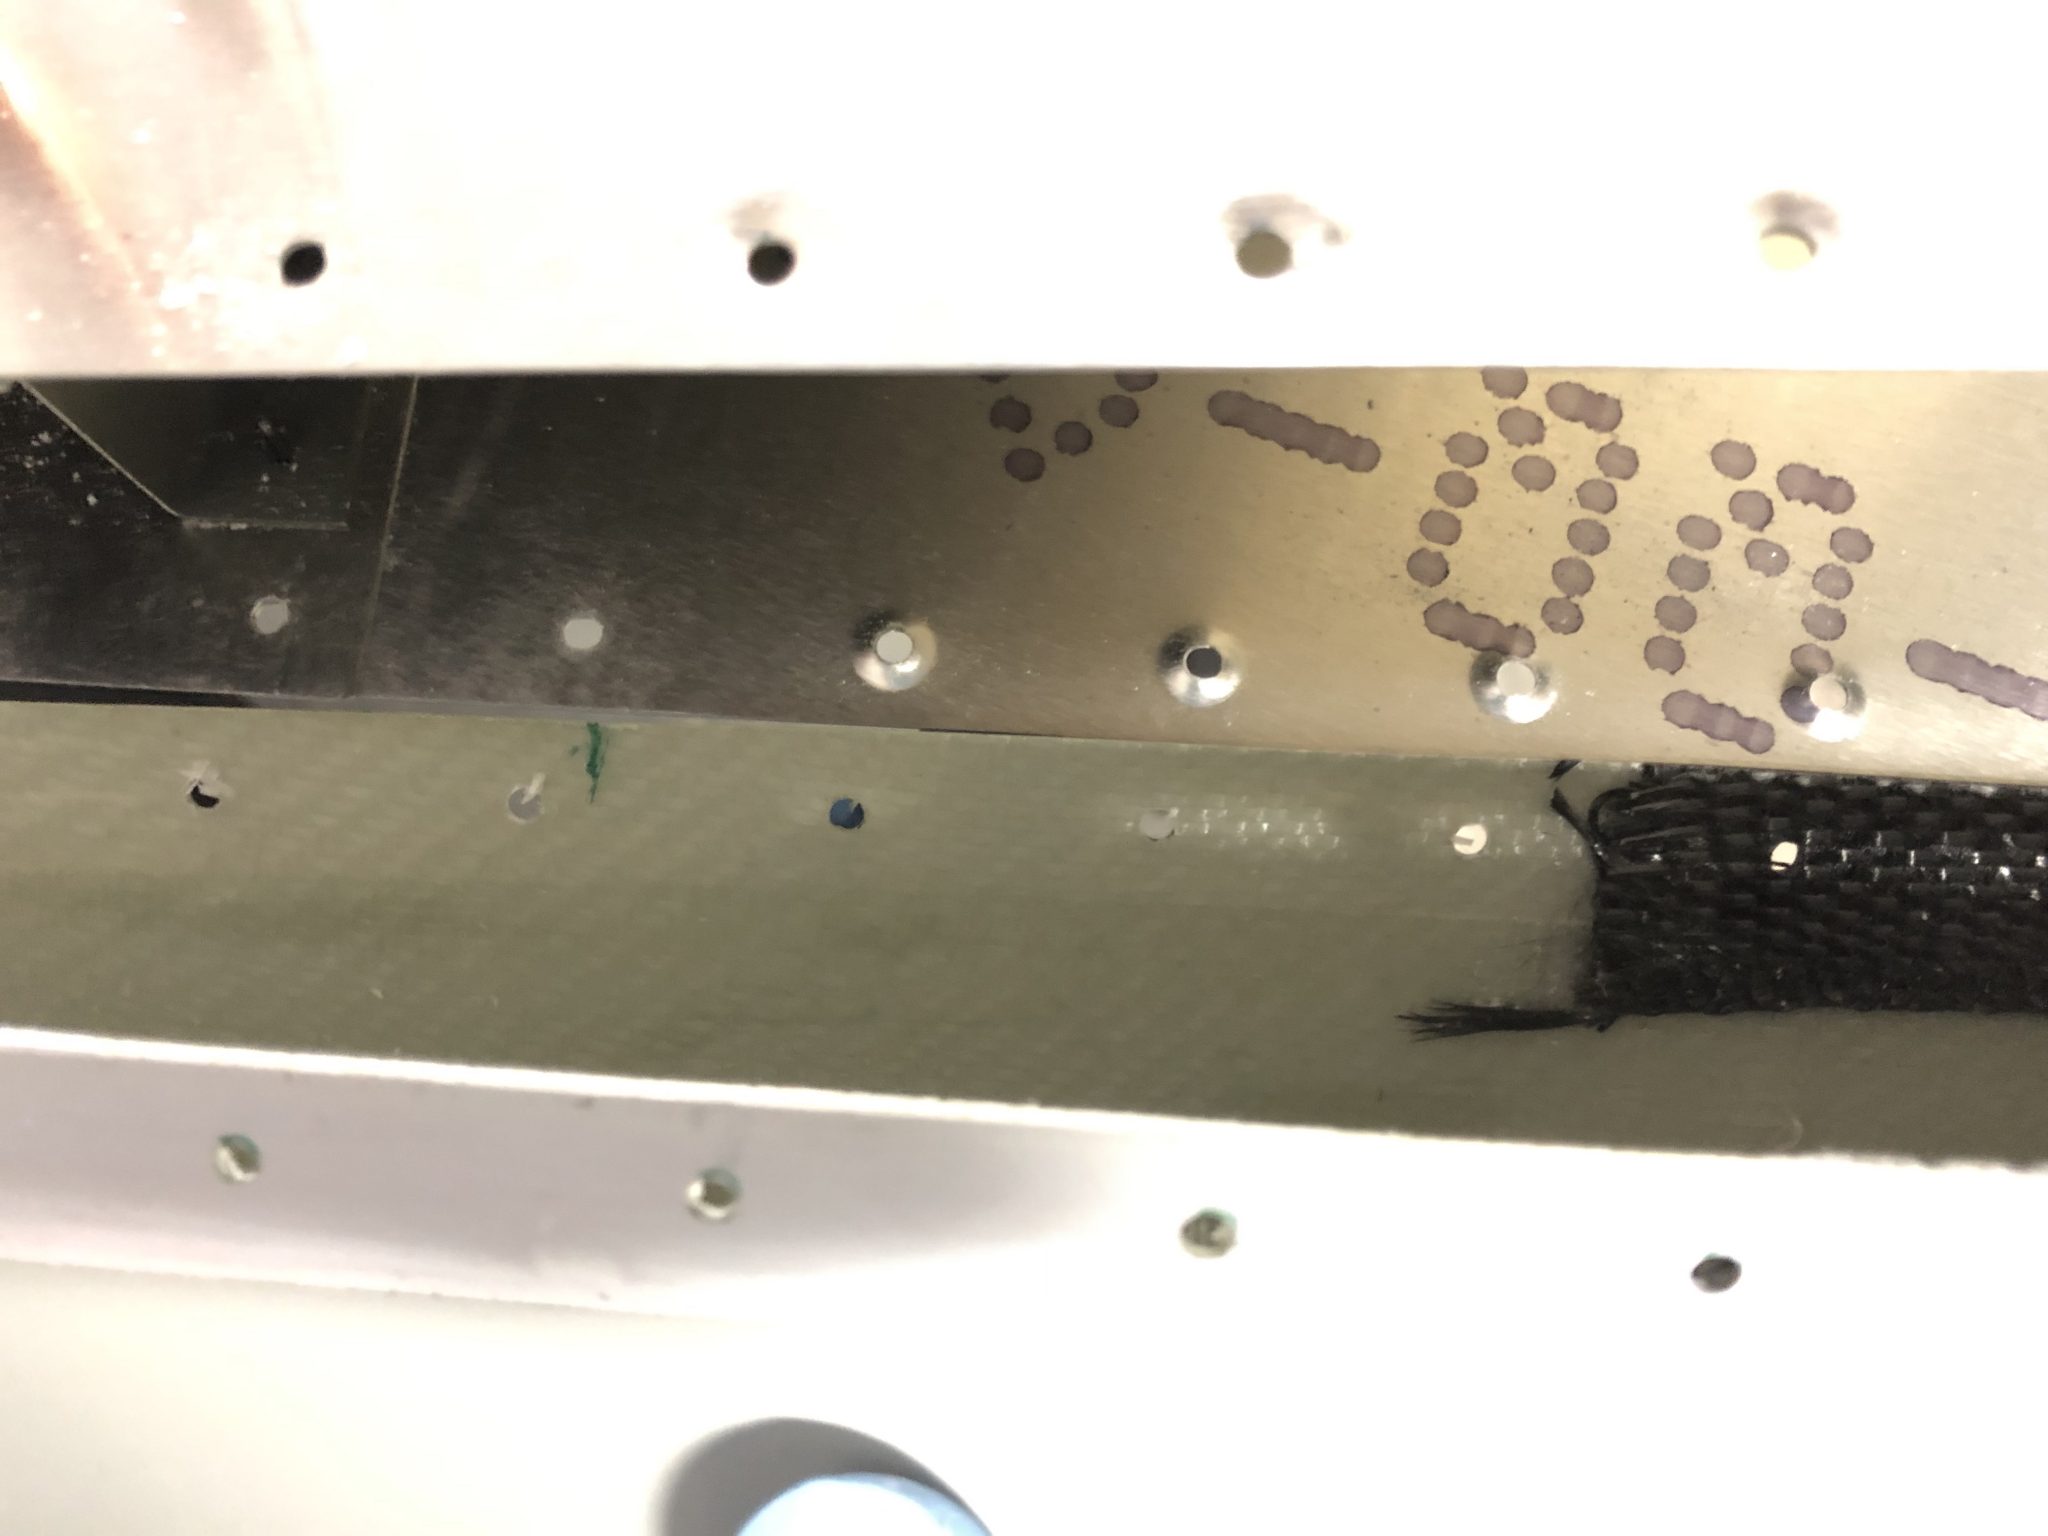
Once that looked all good, I started to do the match drilling of the holed into the fiberglass.

Time to drill some holes into the fiberglass tip First hole drilled and clecoed Continuing the match drilling All holes drilled

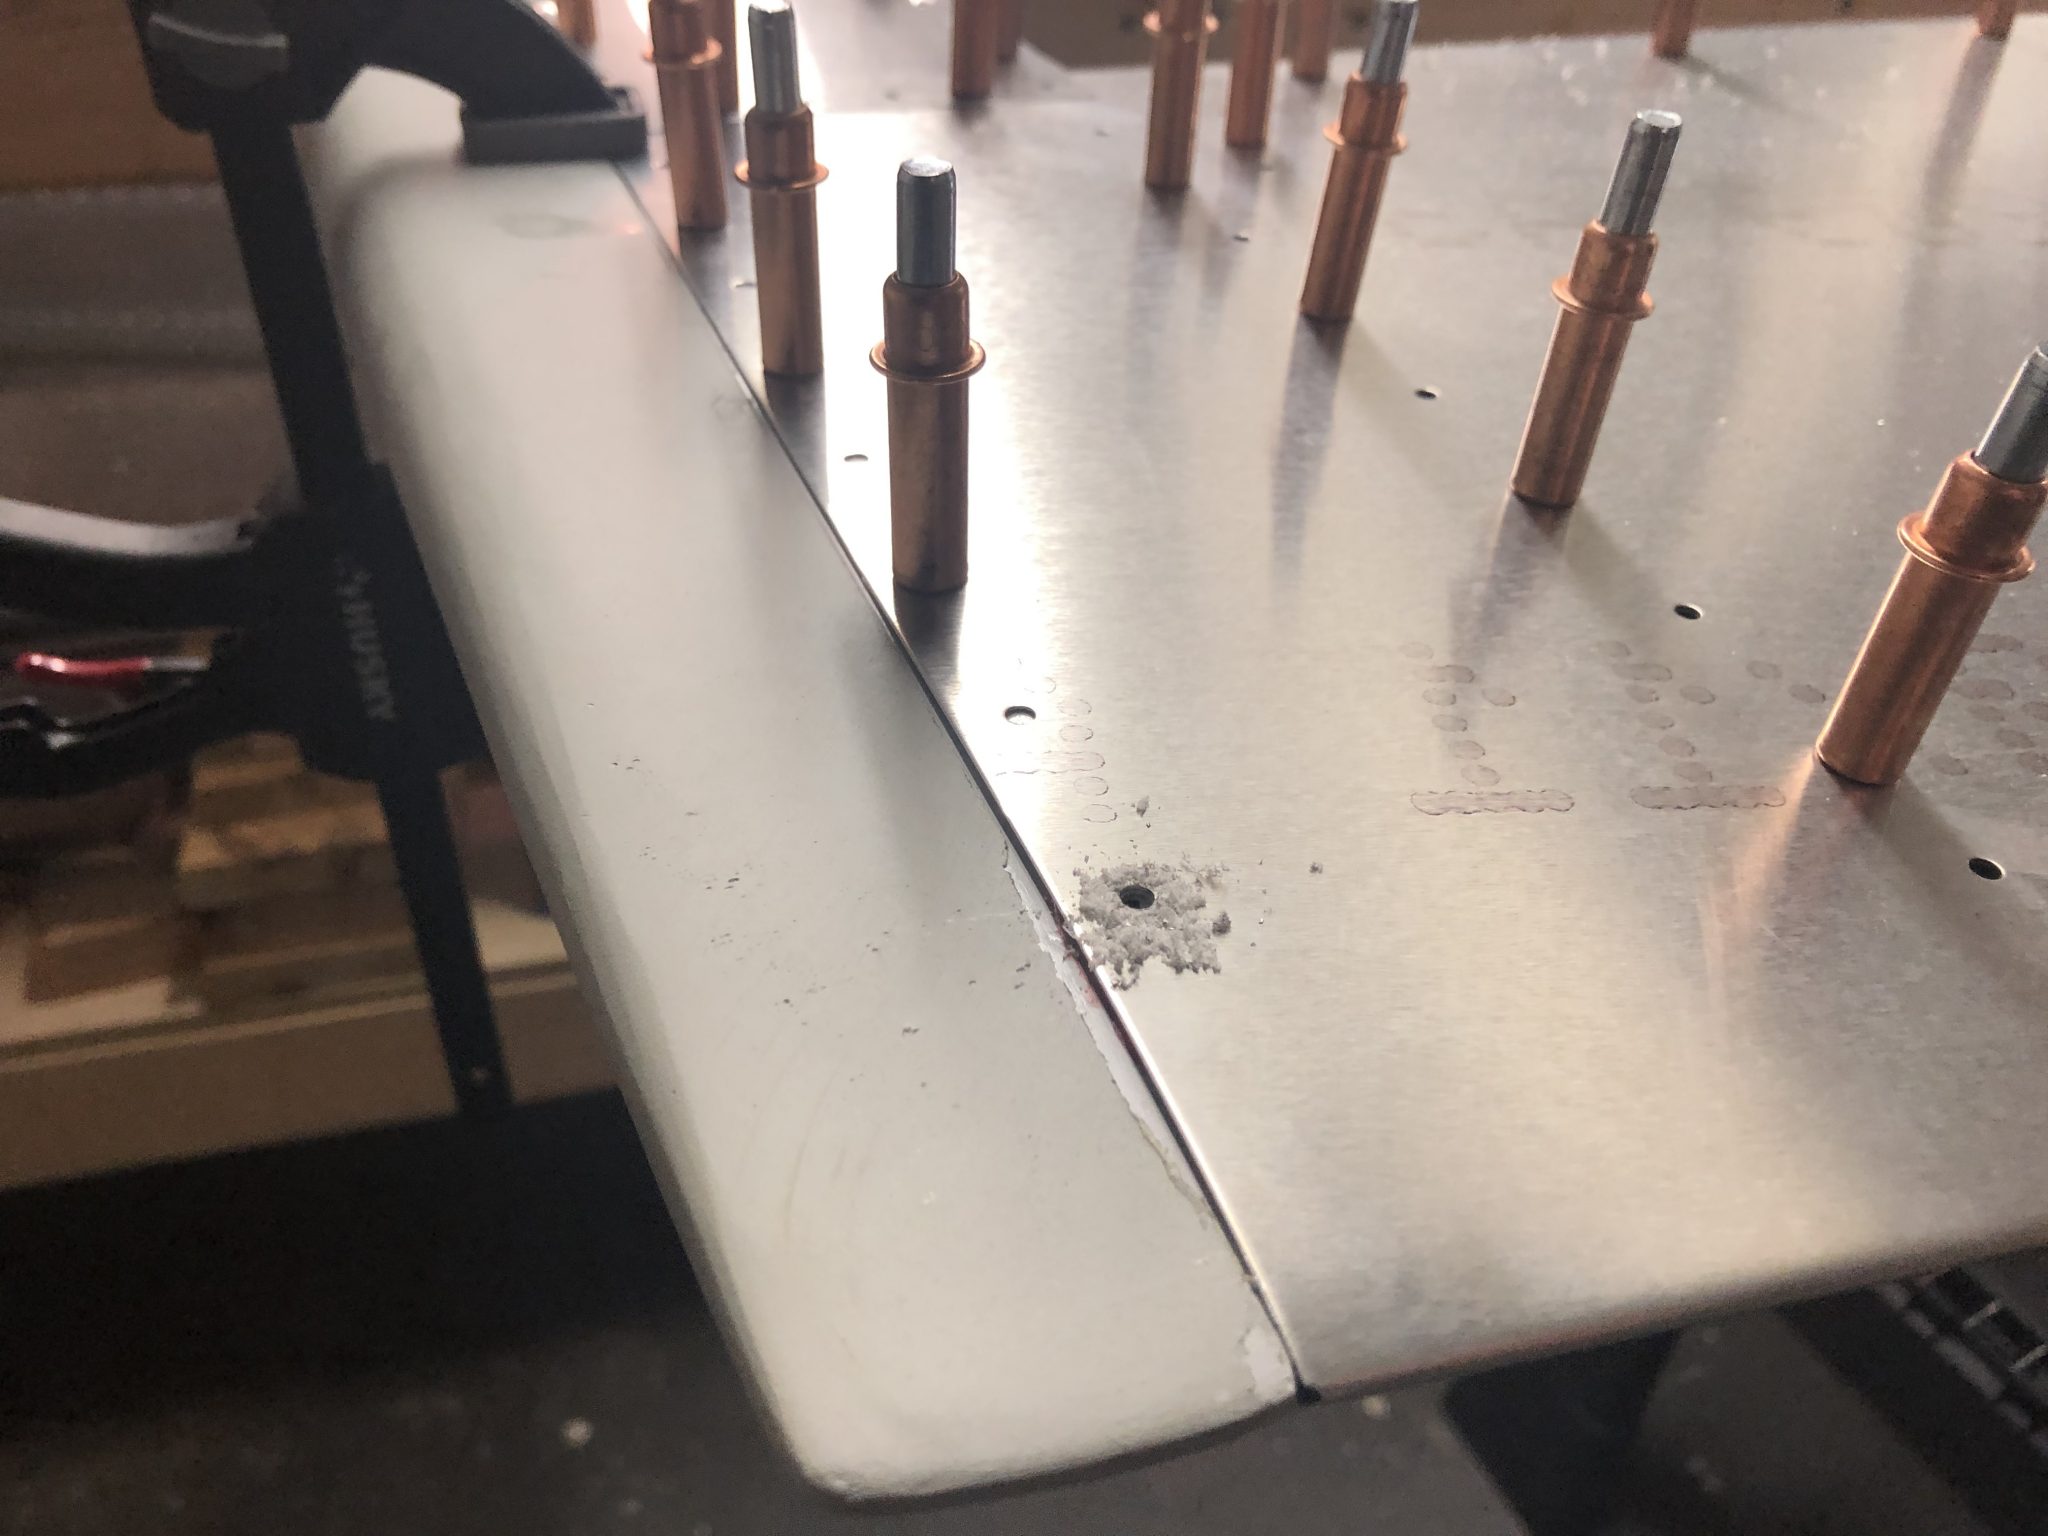
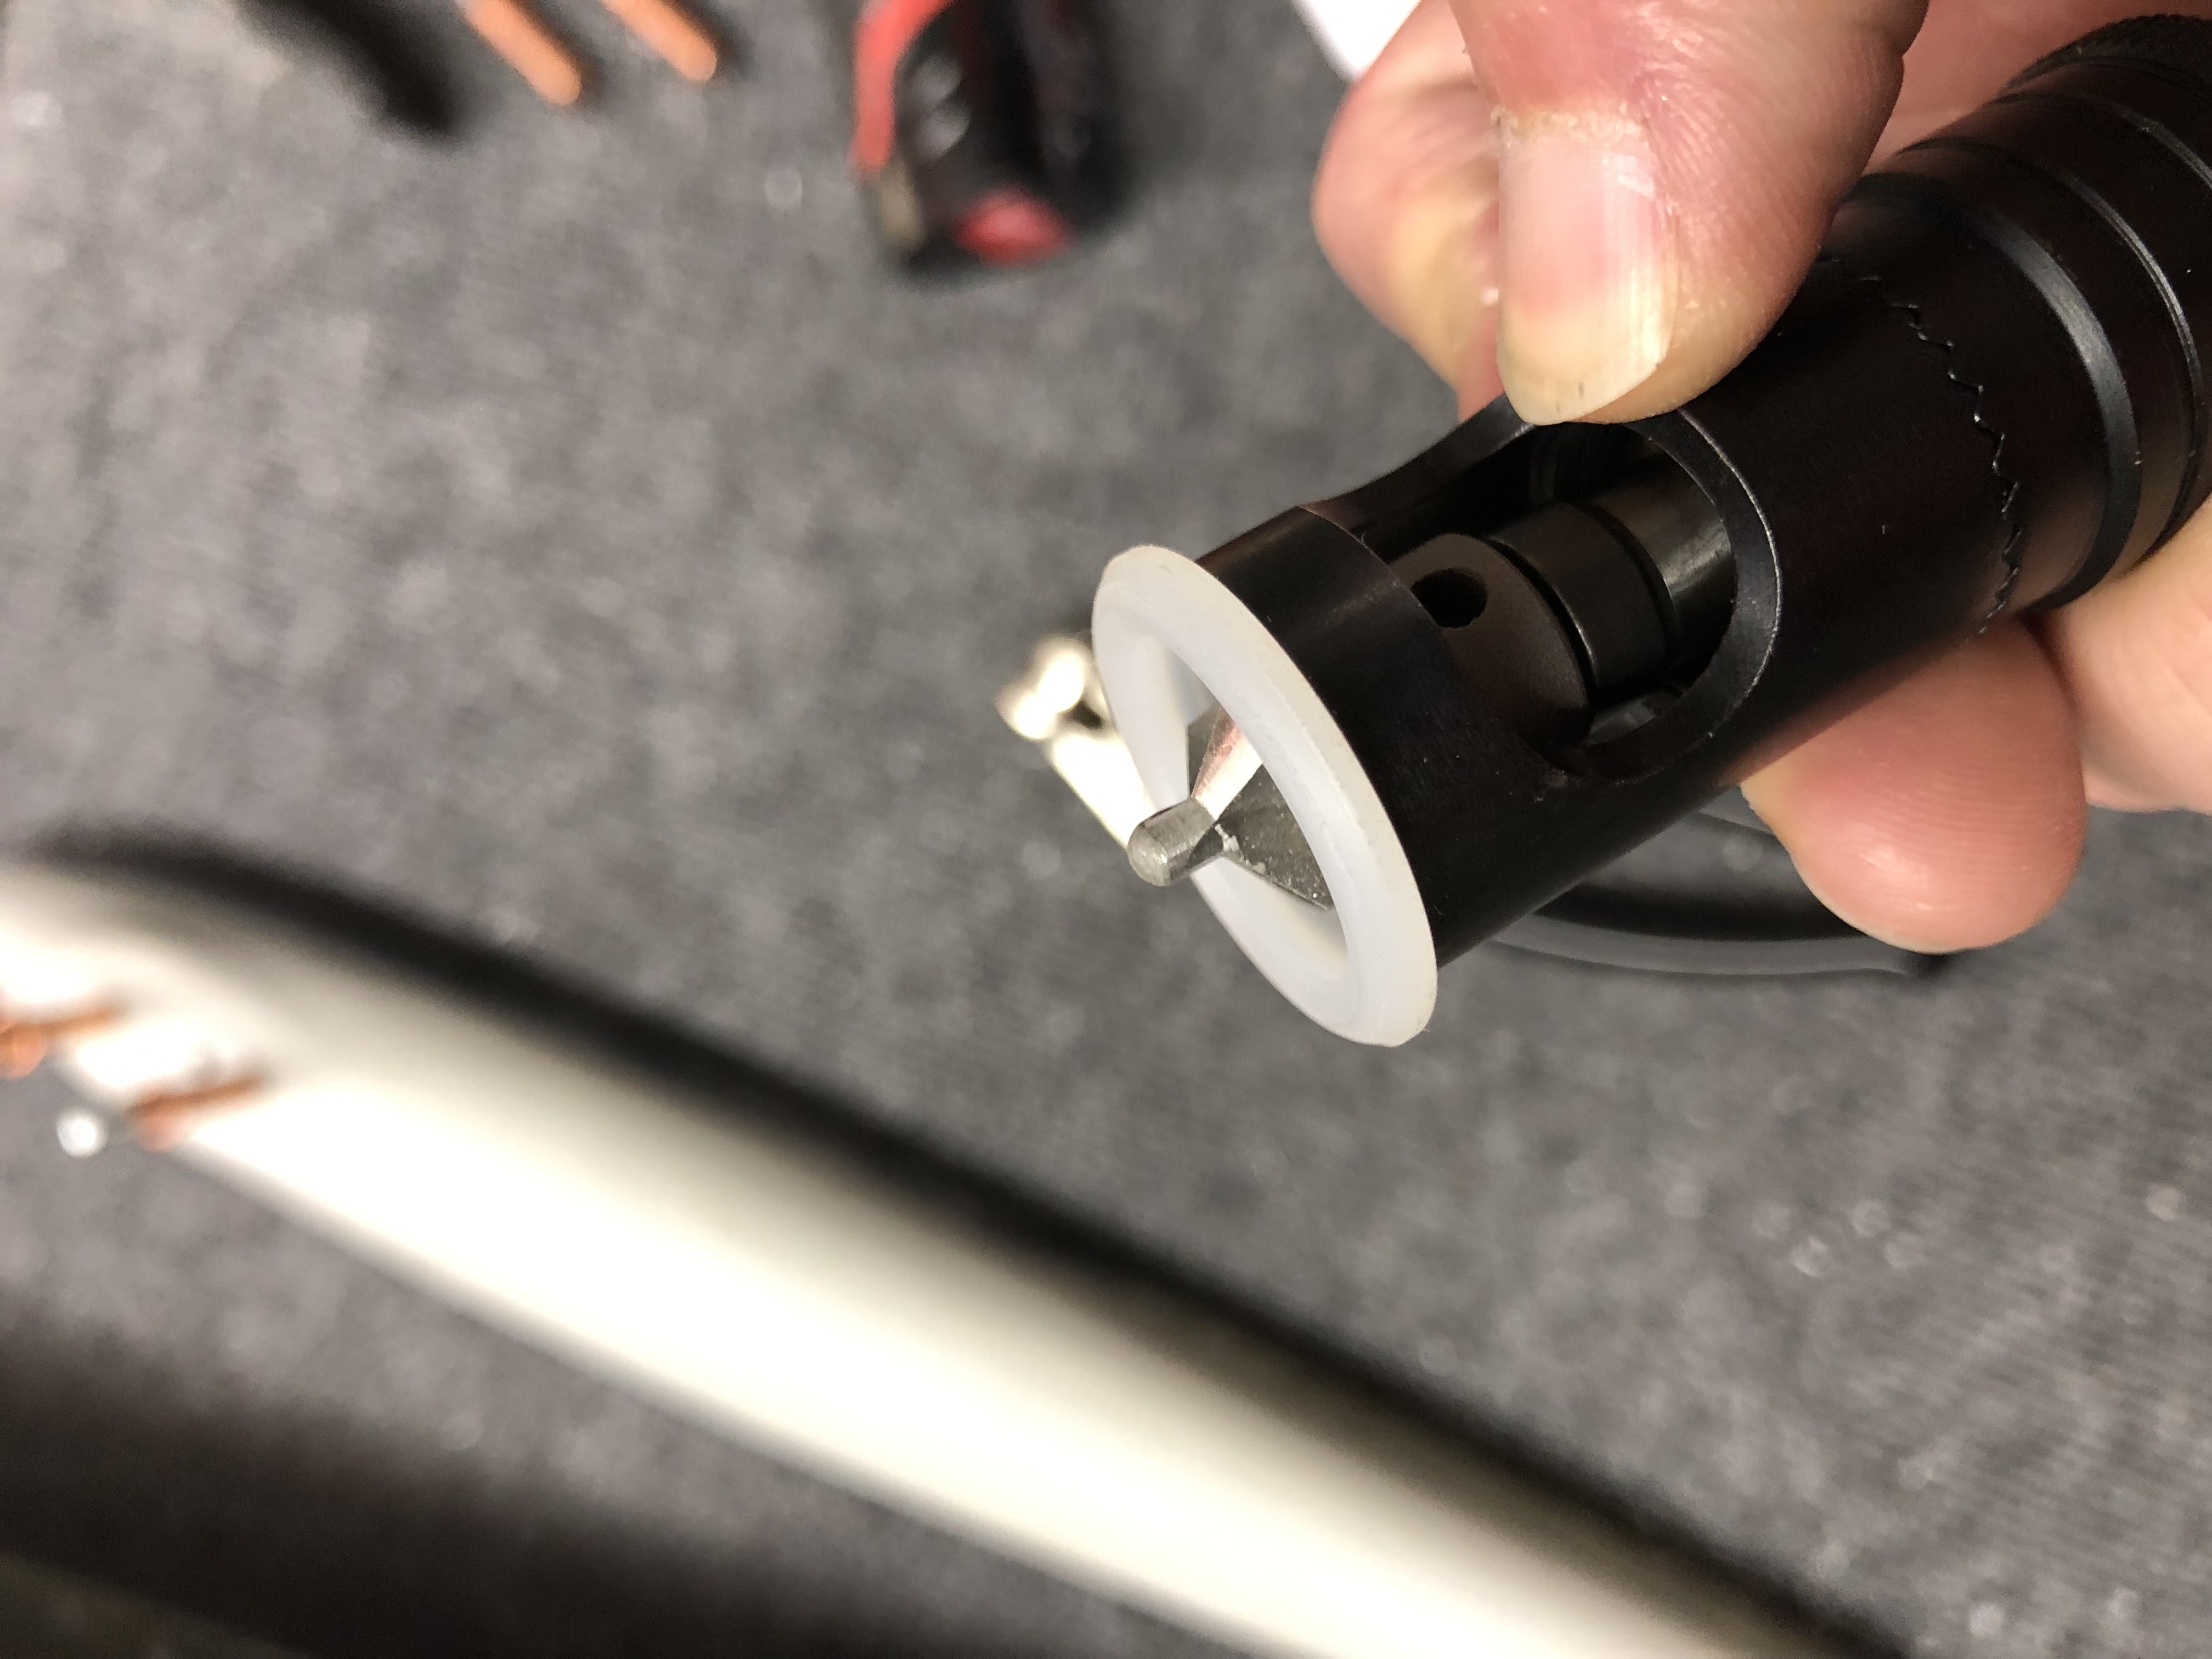
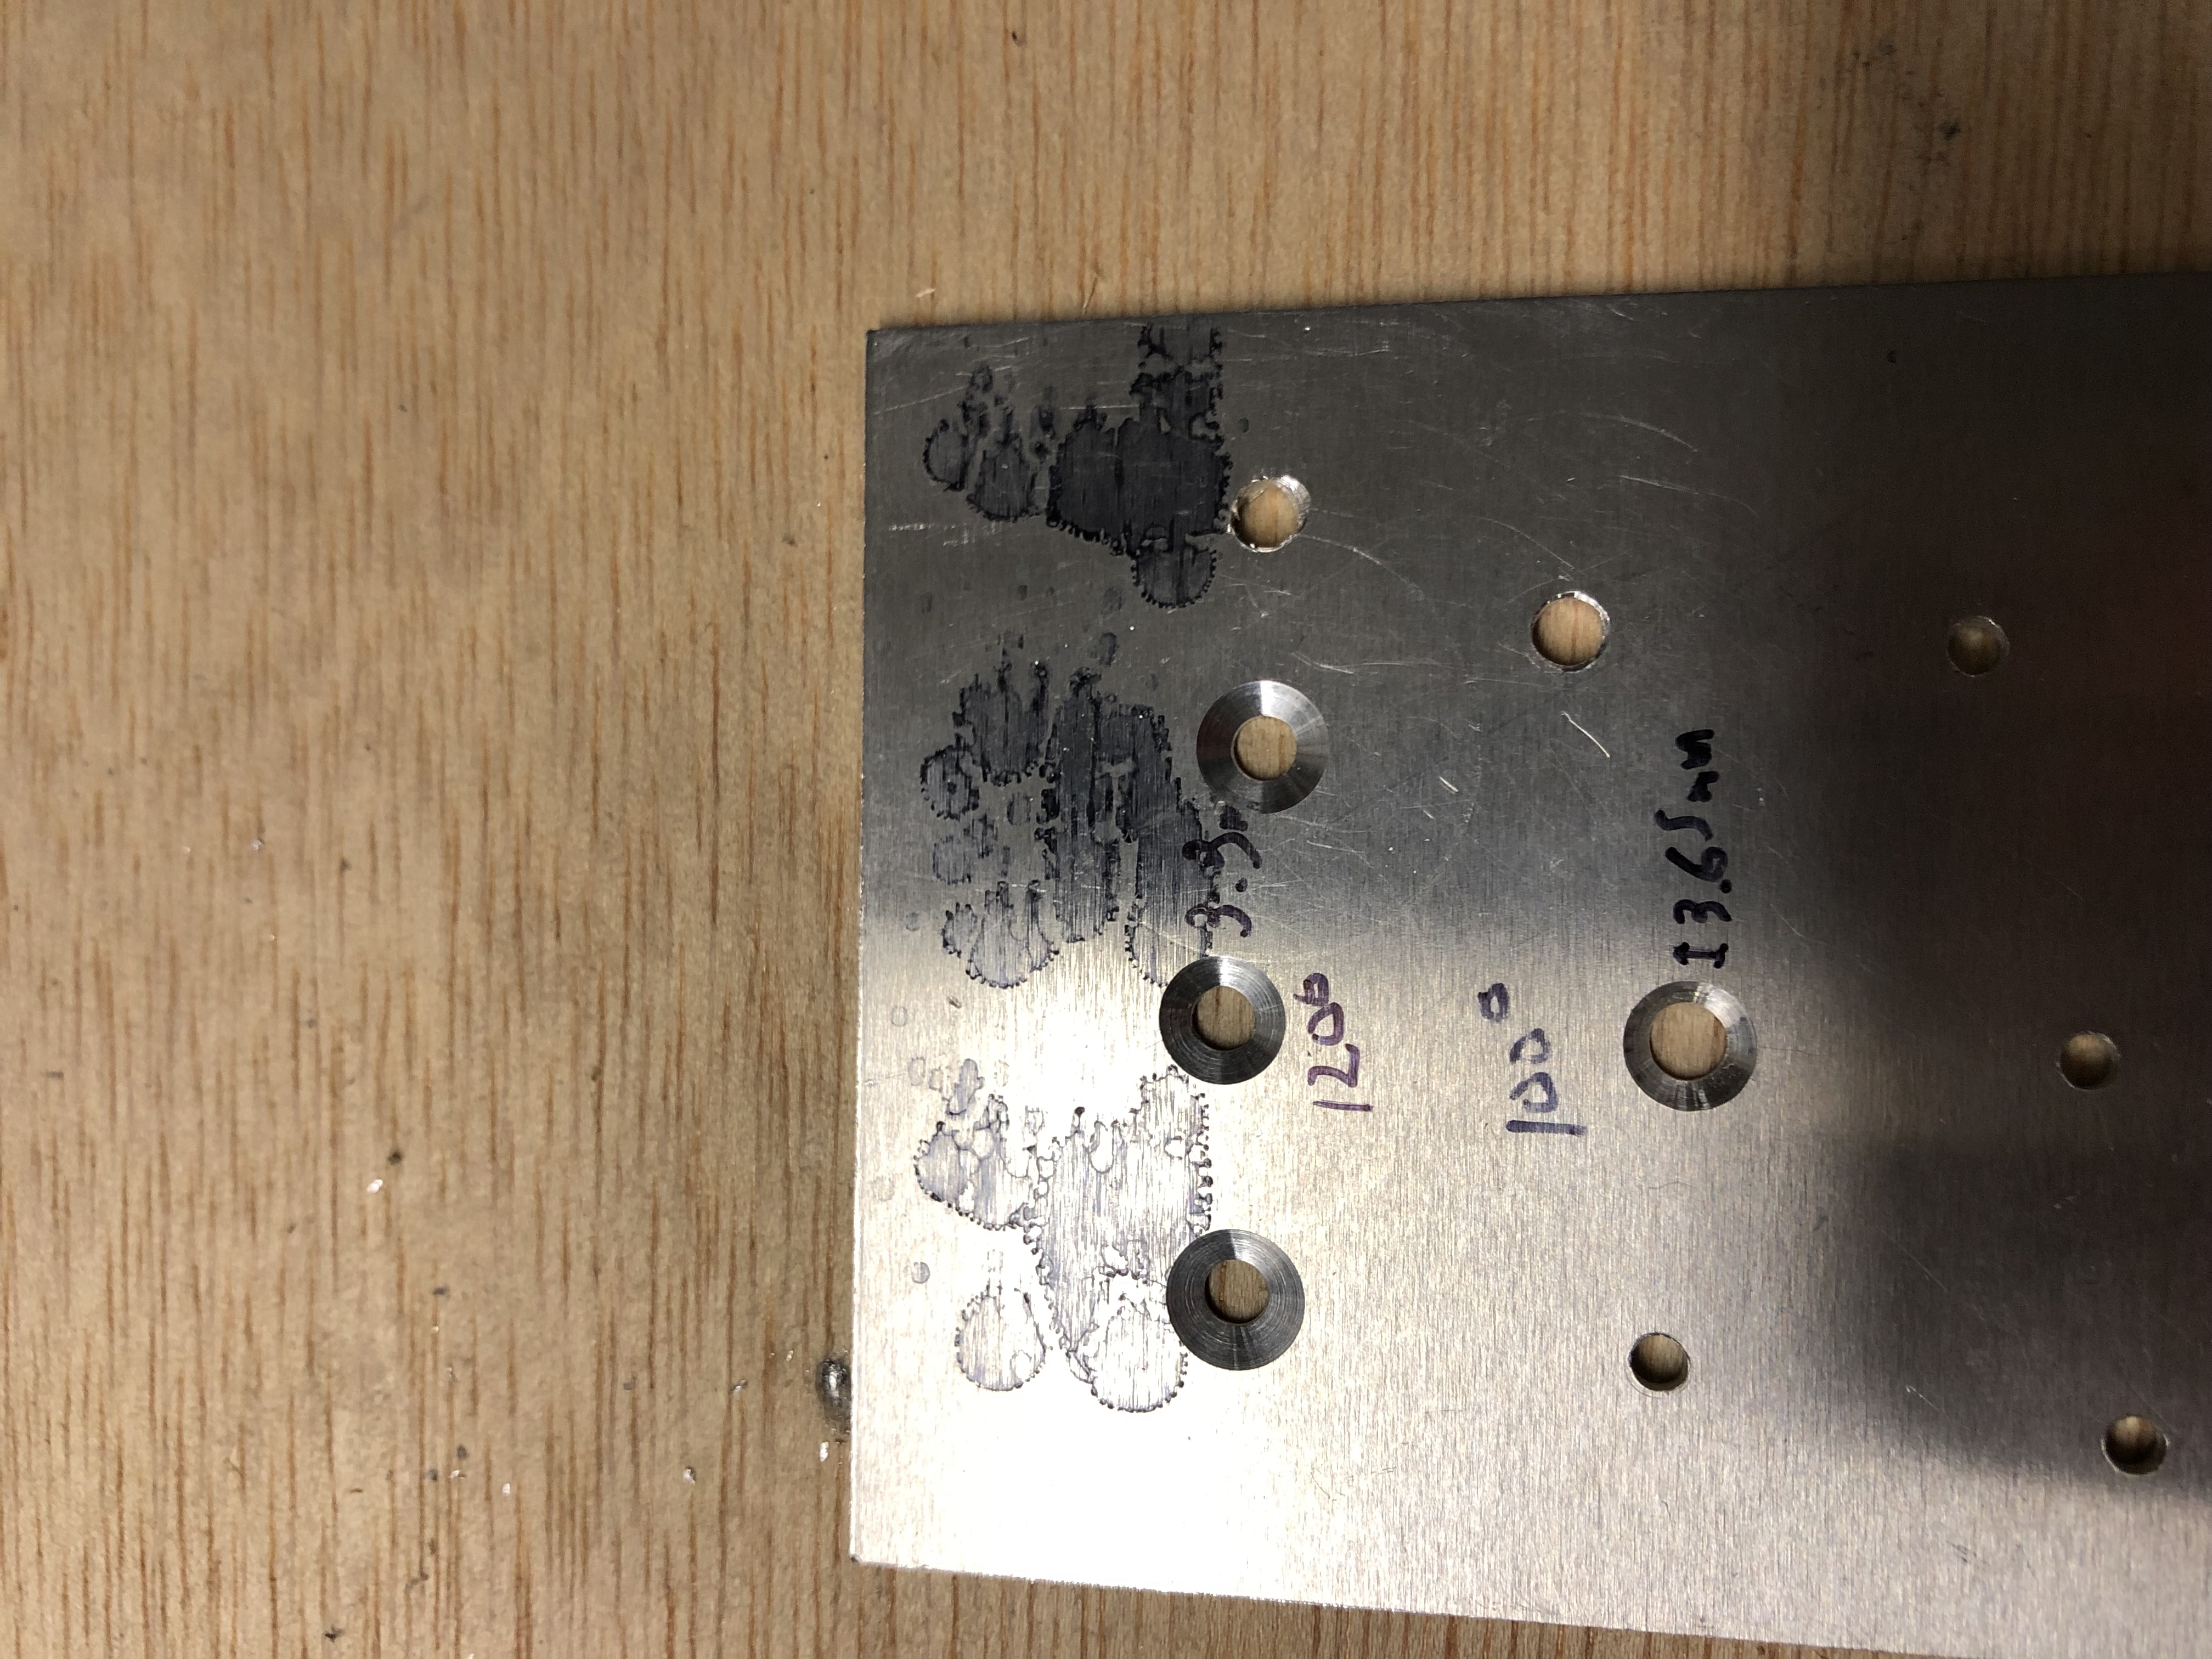
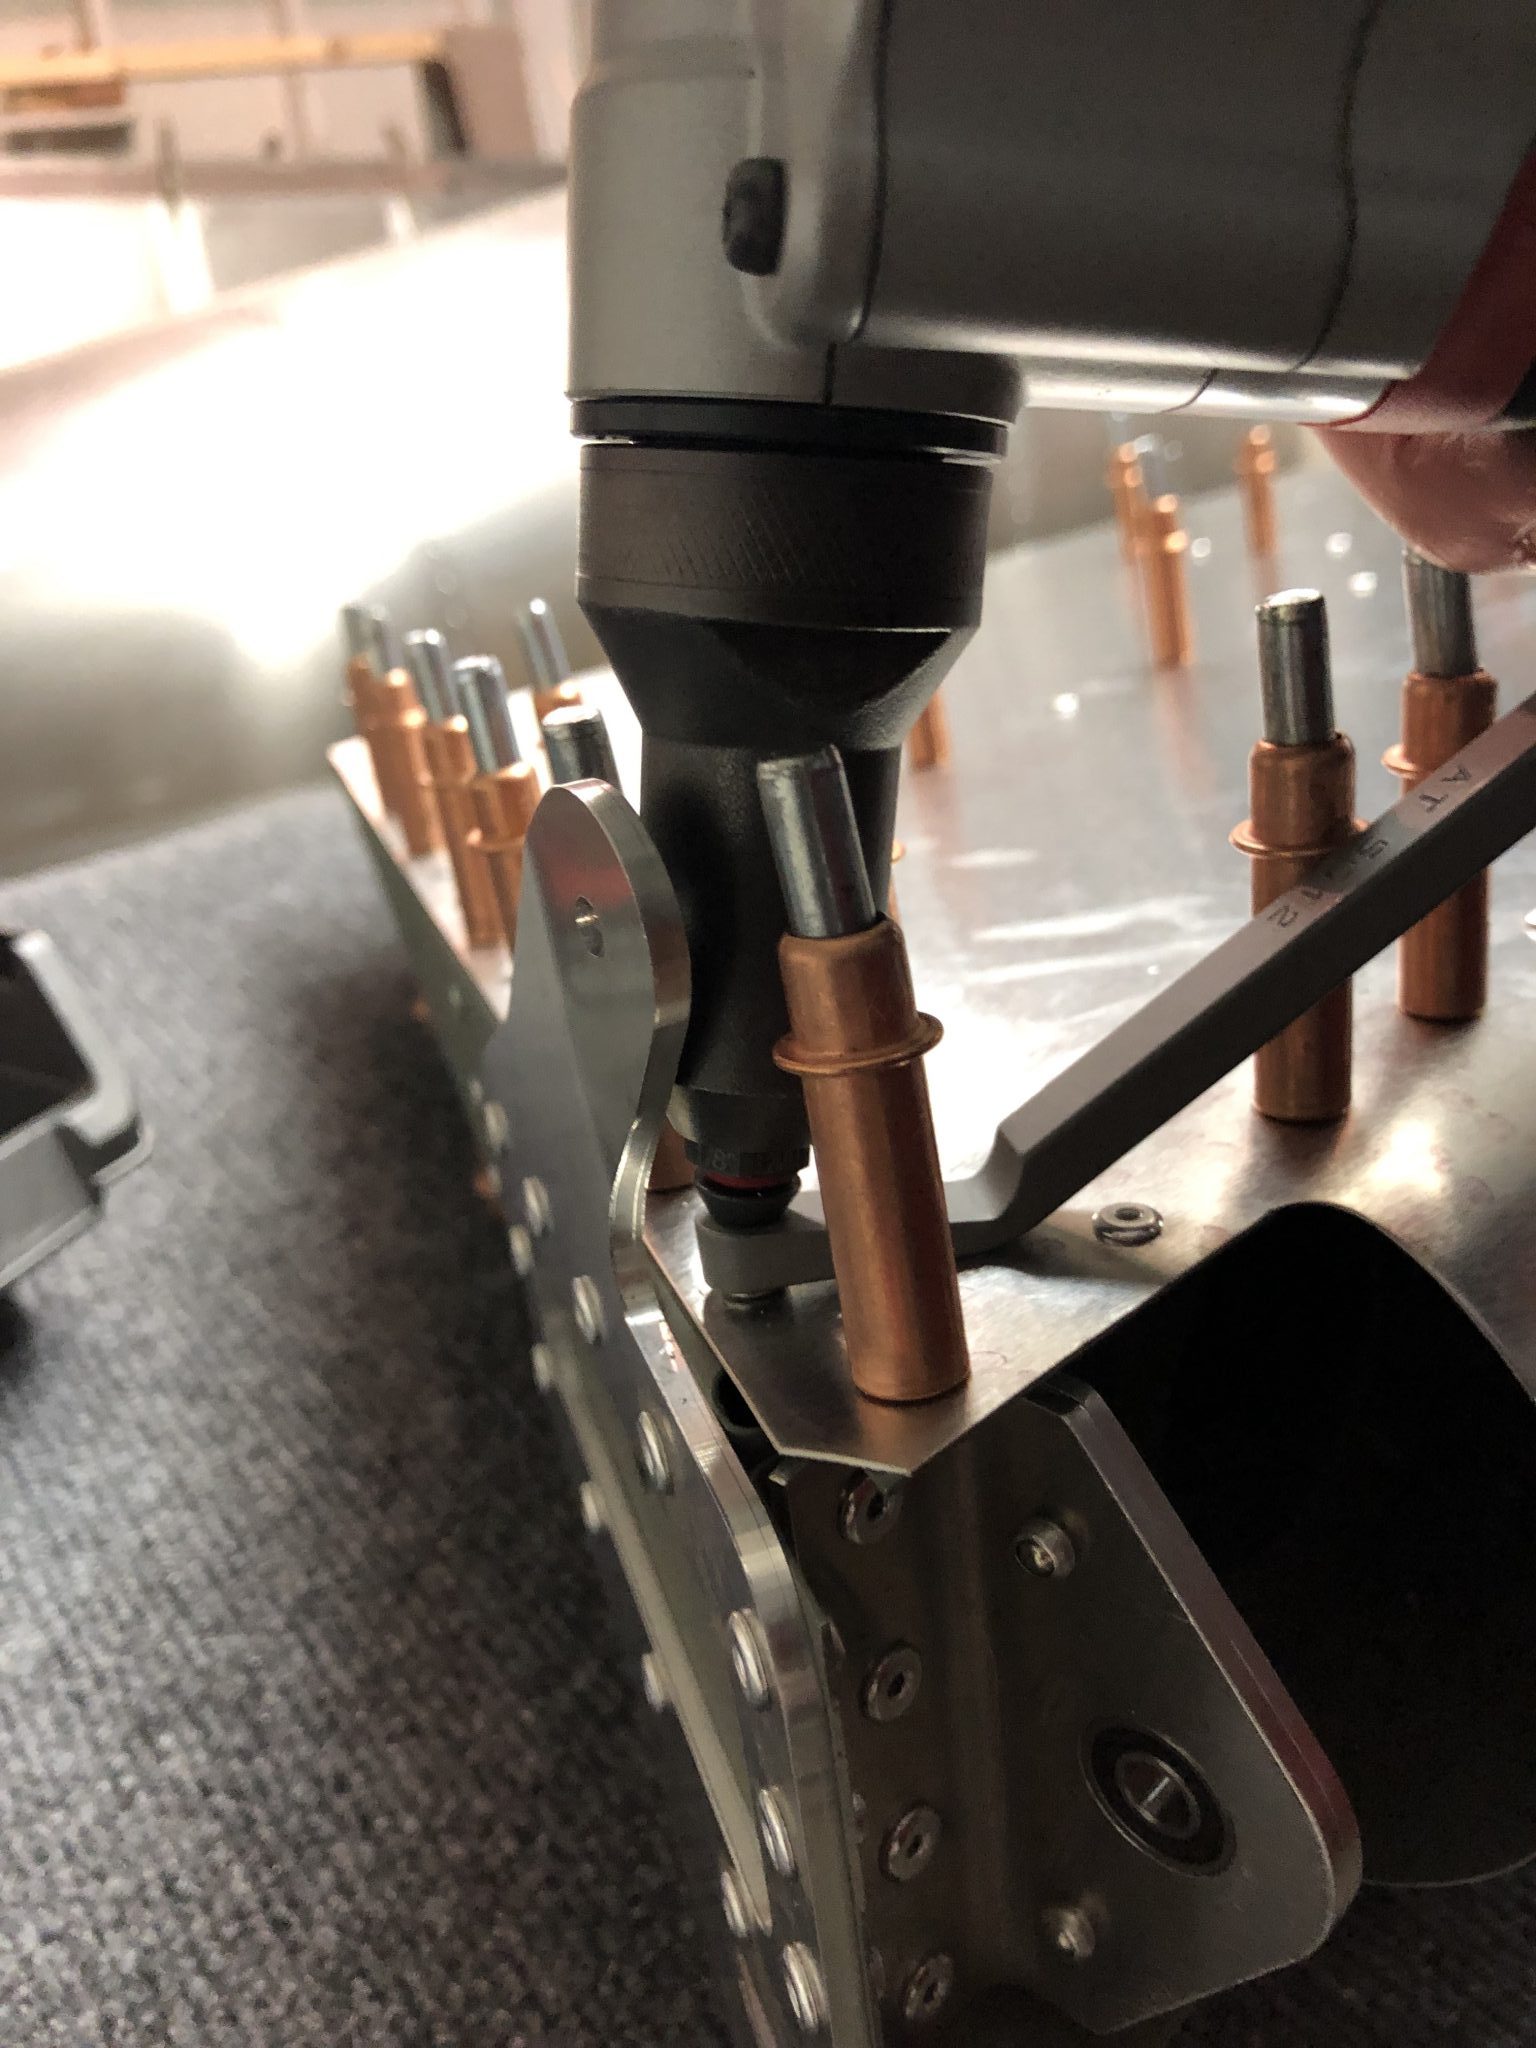
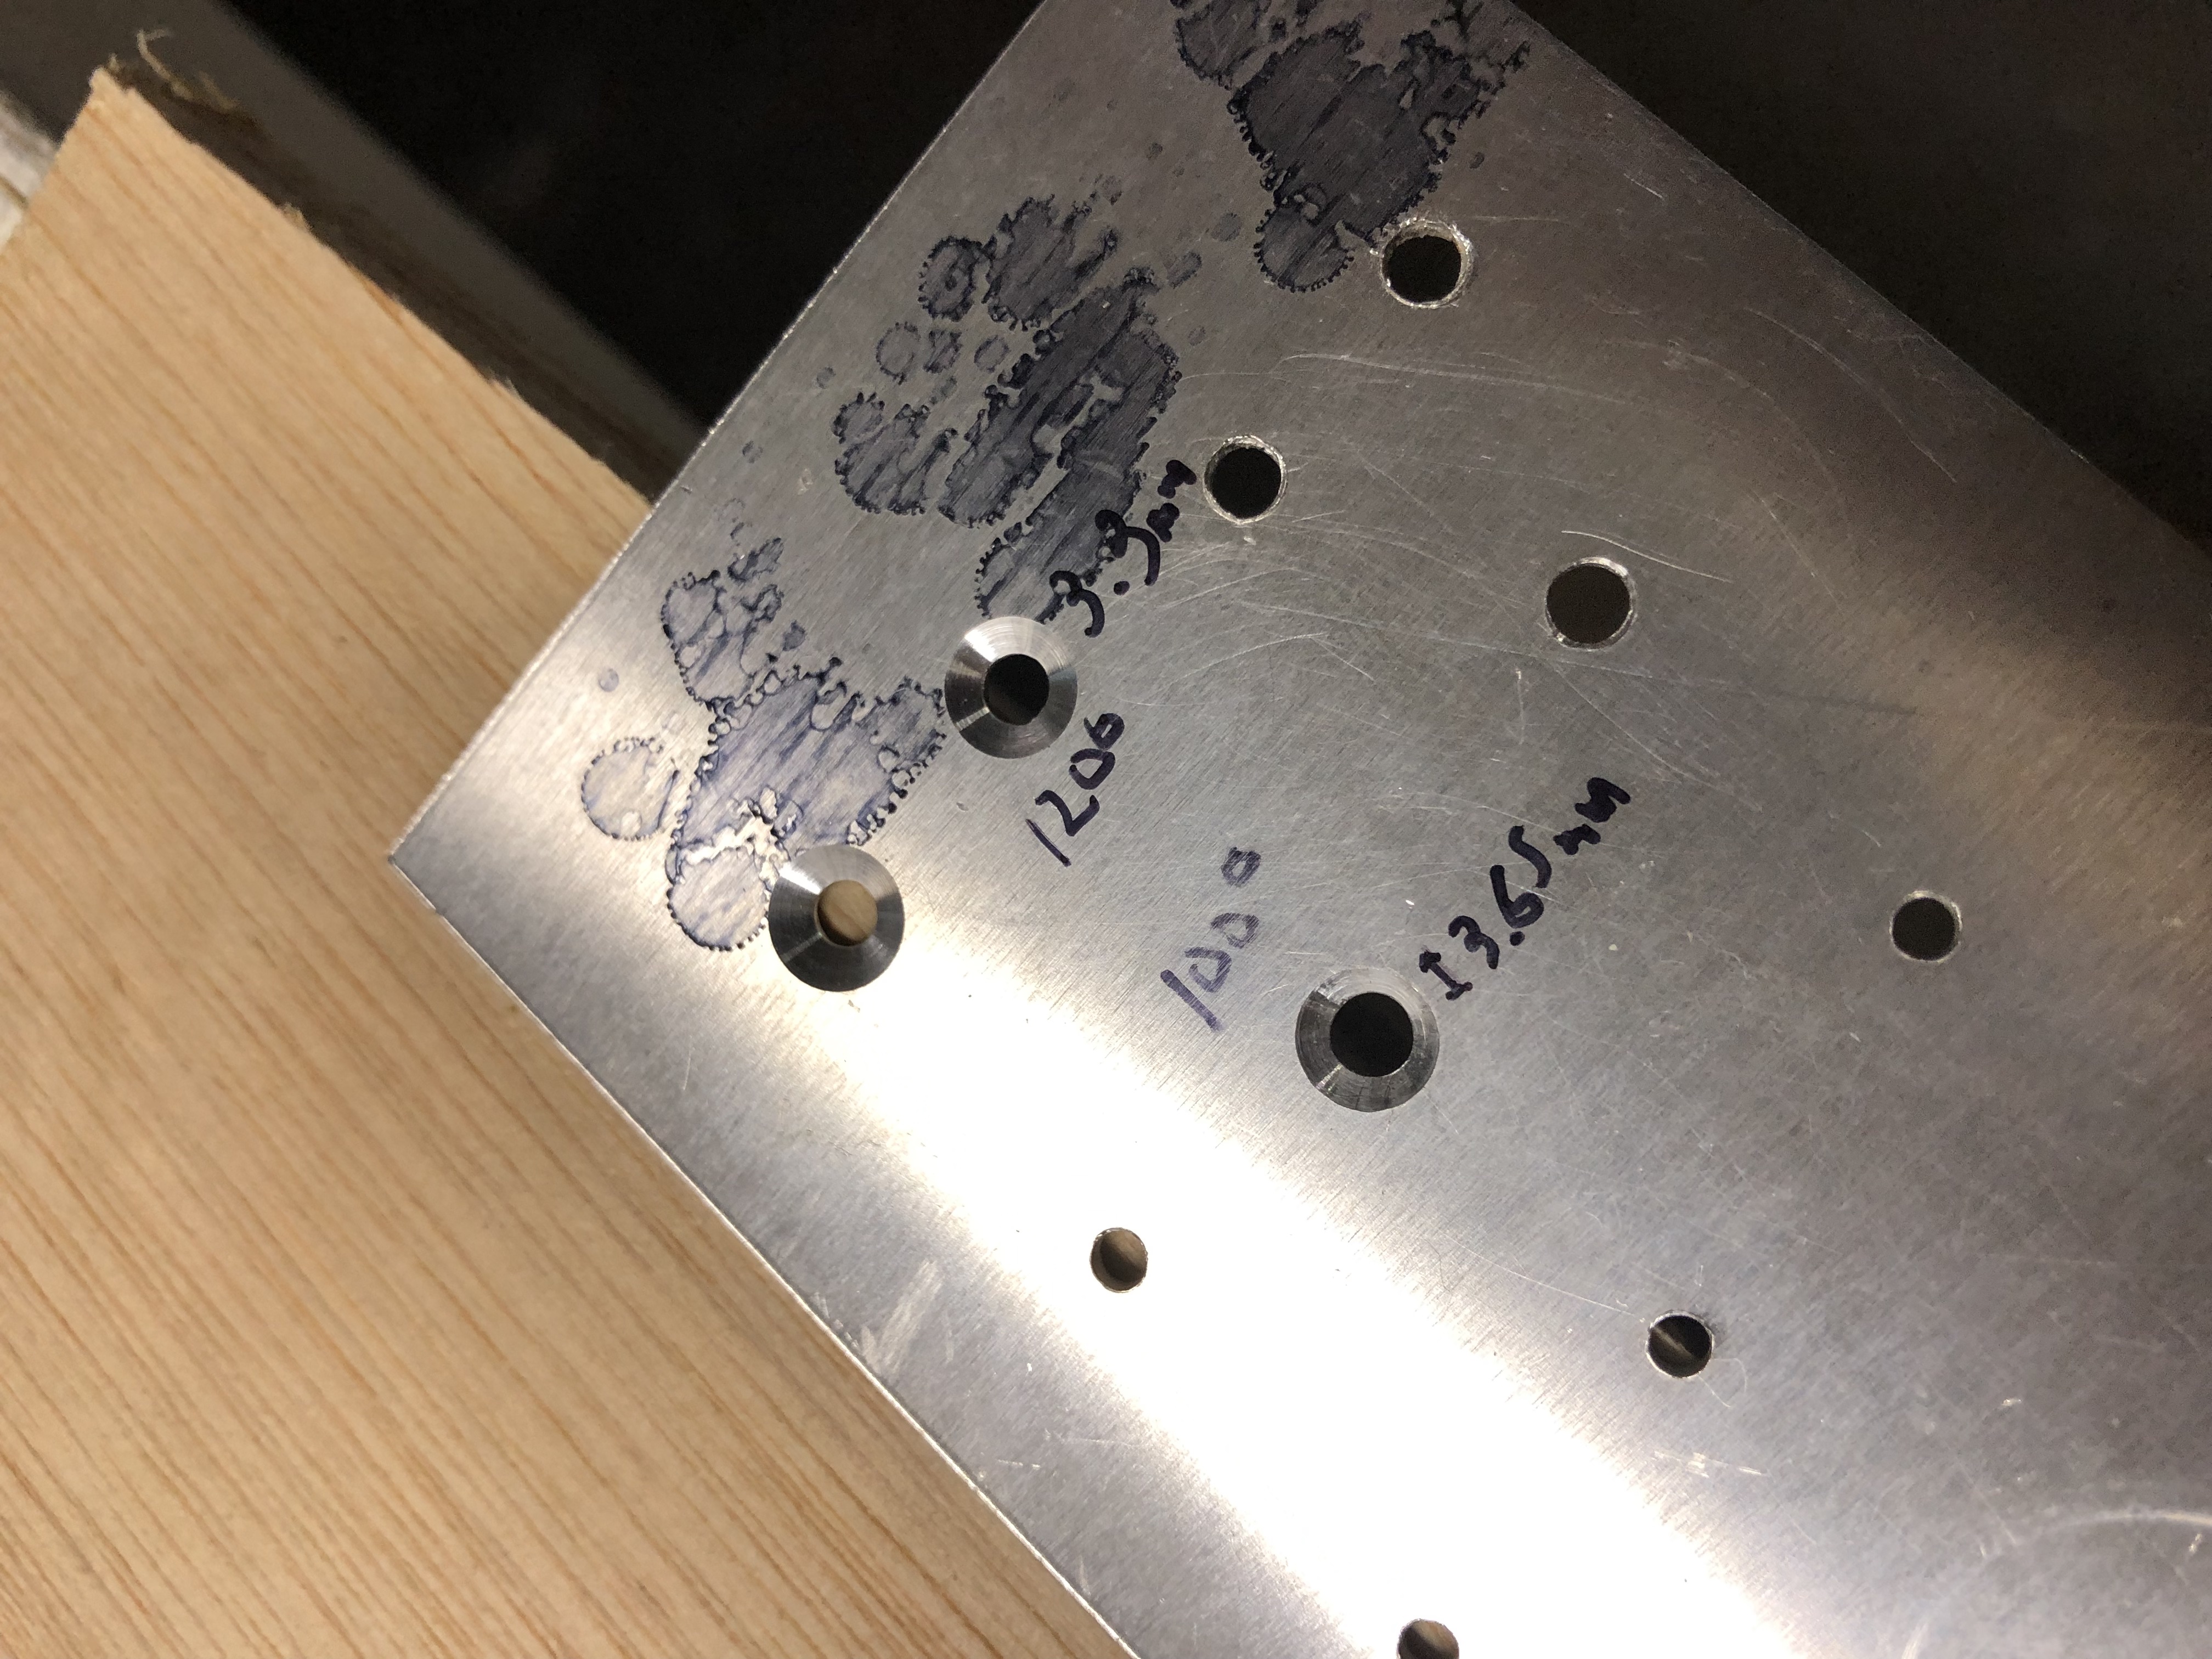
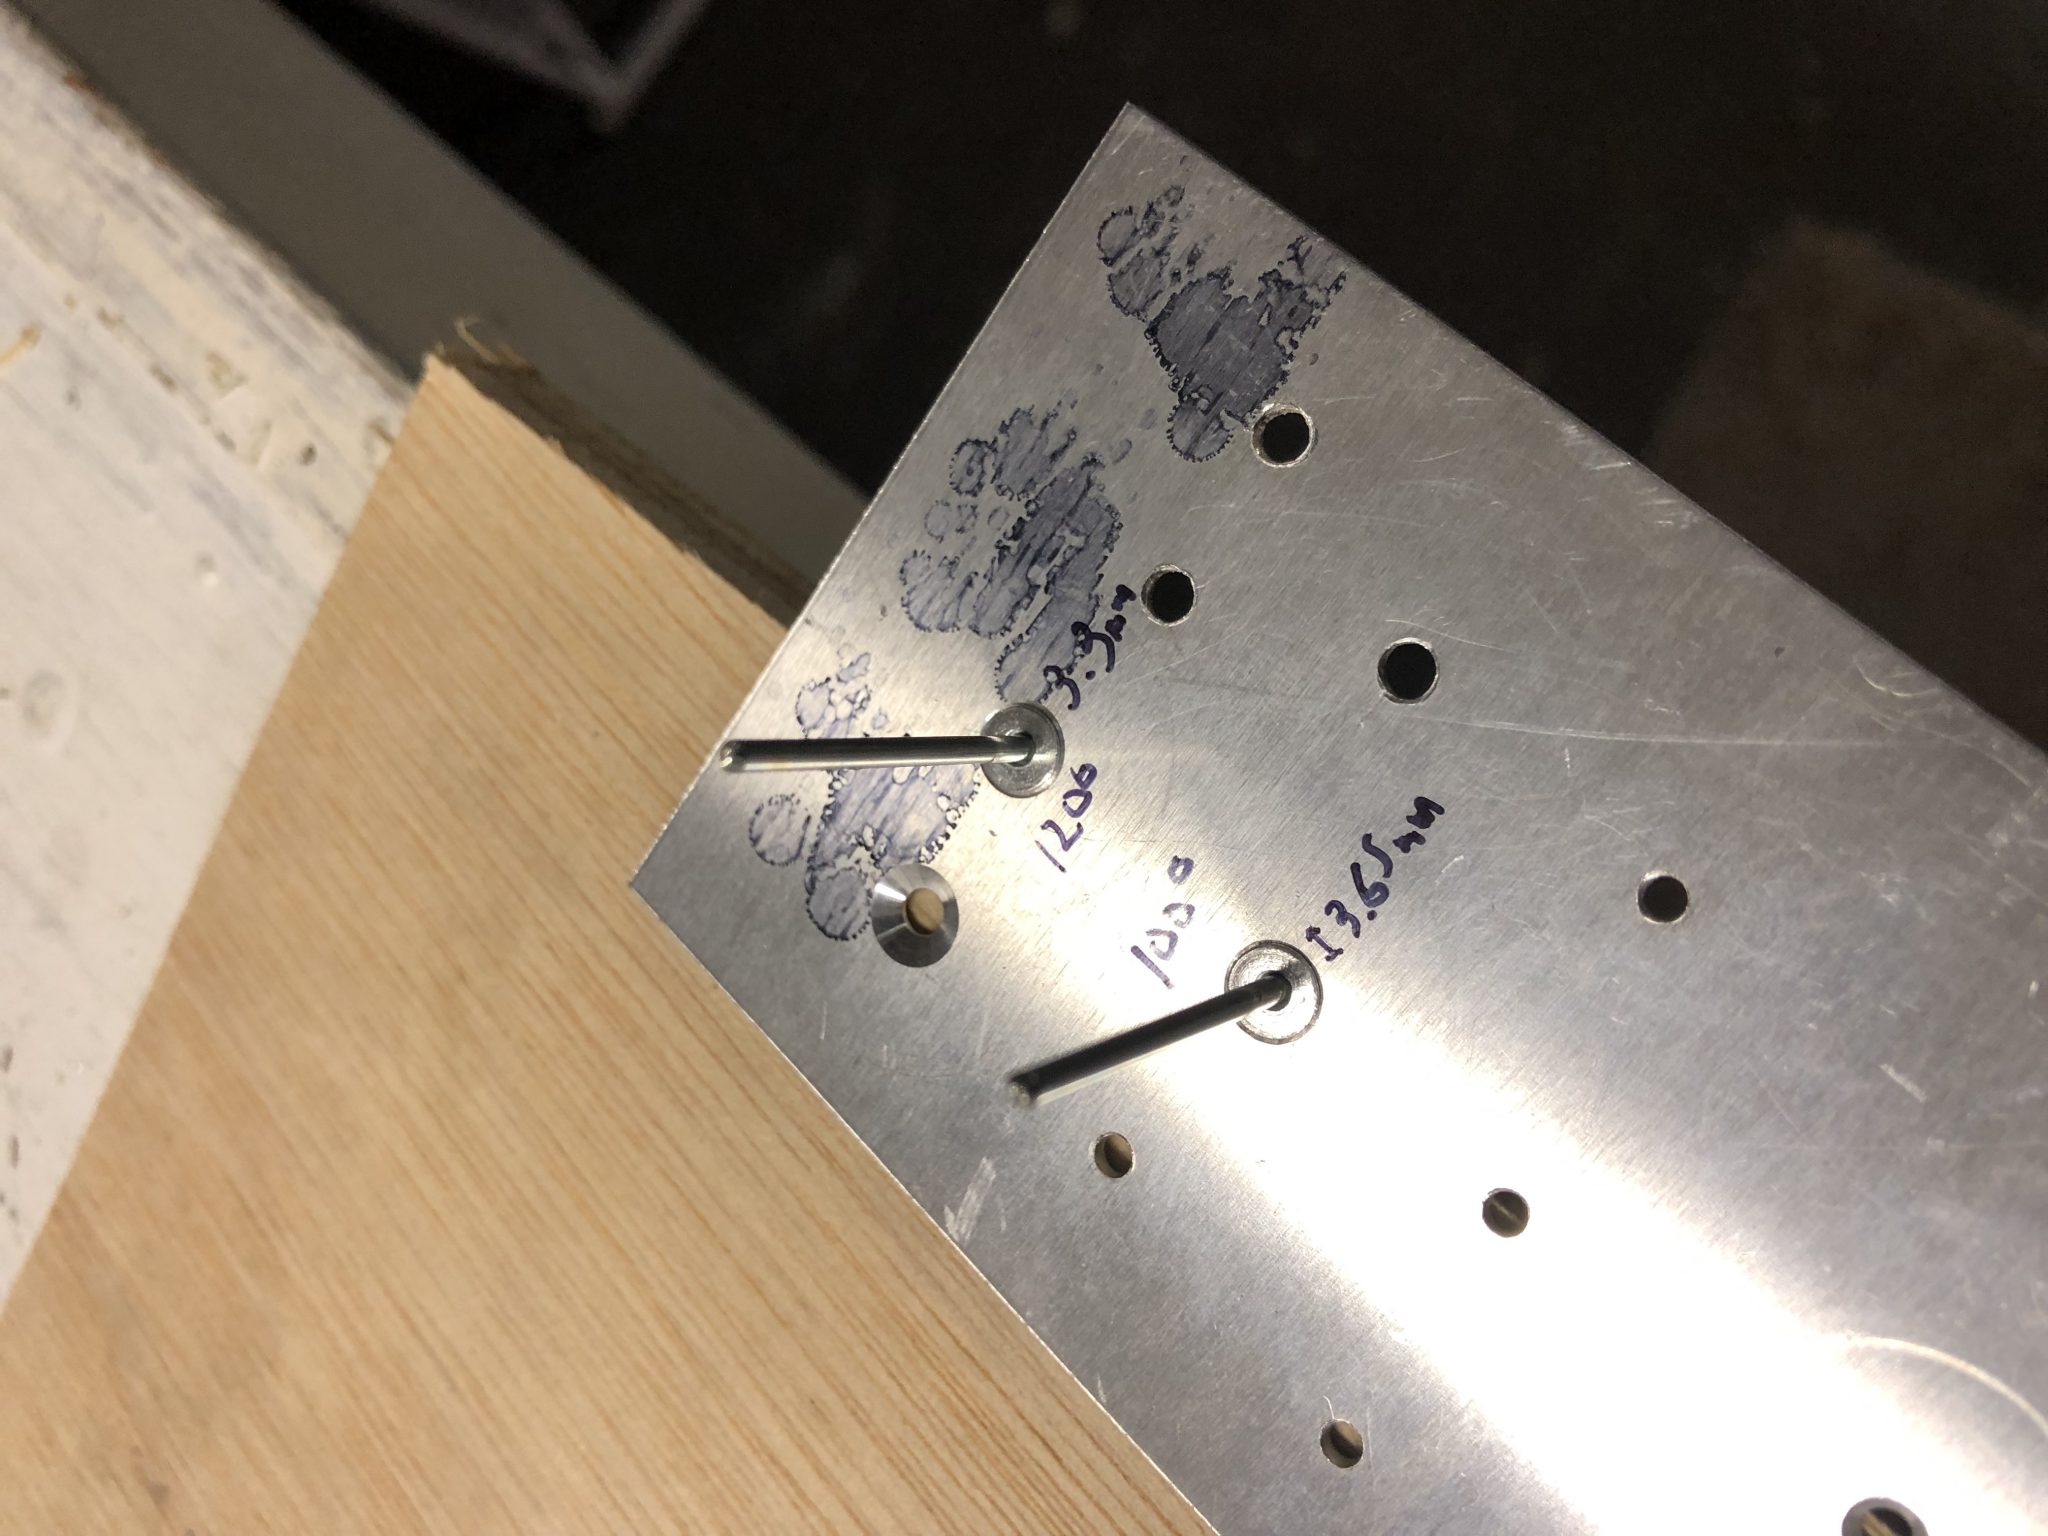
Now the only last part to do was to countersink the front parts of the fiberglass tips in order to allow the flush rivets to sit in there. It took a bit of back and forth to calibrate my microstop countersink attachments to ensure I had a good flush fitting.

Marked out for the holes that need to be countersunk Finished countersinking the holes Flush fit of the left side Alignment checks on the right side

Elevator Fiberglass tip countersink reinforcement

Hours: 1

The leading edges of the Elevator Fiberglass tips have flush rivets and so they need to be countersunk. The parts that need to be countersunk are reinforced to add thickness, but the reinforcements on my fiberglass tips wasn’t long enough, so I had to add some more so I can finish them.

As you can see in the picture below, the black reinforcement doesn’t go far enough for the last two rivets on the left that are also dimpled flush.
Reinforcement not long enough for the countersinking Marked out how far I need to extend the reinforcement

I got some one inch wide fiberglass cloth tape and mixed some epoxy to extend the area that needs reinforcement. I marked out how far I needed to extend and cut strips of the fiberglass cloth to size to apply.
Epoxy mixed and ready First layer applied

A few layers applied and set out to dry for a few hours and then I can countersink the holes.Finished with the reinforcements

Rudder Tip fitting & riveting the skin

Hours: 2.5

After having primed the inner surface of the Rudder skin the other day, I had all the pieces together to start working on finishing the rudder.

I attached the skin onto the structure and clecoed it into place.Rudder skin clecoed in place

Fitting the fiberglass tip

Once that was done, I went to work to fit the fiberglass tip onto the skin. I had to trim a little bit away from the bottom of the fiberglass. I made a first rough measurement, trimmed it away using my Dremel and then tried to fit it in.
First trim mark on the fiberglass tip

After aligning it all, I did a second small pass to trim a tiny bit more, placed it into the skin again and then it looked all good.
Tip fit in place and held in place using some clamps

Since the instructions are very explicit to make sure that the alignment of the rudder is perfect, I checked the alignment from all sides and it all looked good.
Rudder checked for alignment using laser level Rear of the rudder checked for alignment using laser level

After all that looked good and triple and quadrupple checking that the fiberglass tip sat flush in the skin I made marks for match drilling the holes and then went to work and carefully drilled the holes into the fiberglass.
First few holed drilled into the fiberglass tip Finished drilling all the holes in the fiberglass tip

Countersinking the front of the fiberglass tip

Once that was done, it was time to countersink the holes in the front. The instructions contradict themselves – only the first 7 holes get countersunk rivets, which mathematically adds up properly to the 32 rivets (2 x 7 on the top and 2 x 9 on the bottom = 32). So after counting all the holes and re-checking the instructions and doing basic math, I decided to only countersink the first 7 holes. I sent an email to the factory yesterday and they confirmed that I was right and they’ll fix the instructions in the next iteration.
Instruction error about countersinking

Before I went to work with the countersinking, I calibrated the micro stop countersinking tool using a scap piece of Aluminum to ensure the depth was set correctly and made sure that I had the correct 120 degree pilot cutter in the tool (I made a whole post about why using the 120 degree pilot was important here).
Calibrating the Microstop Countersinking tool Making a test countersink on a scrap piece of metal

After all that was ready, I went to work, mounted the fiberglass tip gently in my bench vise and started drilling the countersink holes.
First countersunk hole drilled Checking depth using a countersunk rivetAll the countersunk holes drilled in the fiberglass tip

All the countersunk holes came out well and everything sits flush now.
Flush fit of the fiberglass tip in the Rudder

Riveting the skin

So after all that I went to work and started riveting some of the skin.Time to rivet the Rudder skin The close quarter wedge came in handy for riveting in this tight spaceRiveted part of the Rudder skin

Horizontal Stabilizer skin fitting

Hours: 1.5

Today I was working on fitting the skin onto the Horizontal Stabilizer. It took a lot of clecos to align everything, but eventually it all came together well on both sides. The next step will be to match-drill up the dimpled holes as per the instructions.

The design for the dimples is such that the holes are drilled slightly smaller than the final size. Then they get dimpled and then you assemble everything to fit it together and finally match-drill up the dimpled holes to the final size.

Clecoing the left side of the Horizontal Stabilizer Finished clecoing the left side of the Horizontal Stabilizer Finished clecoing both sides of the Horizontal Stabilizer

I will post another timelapse video of the whole process once I’m done with the drilling and riveting.

Countersinking experiment

Why it’s important to use a 120 degree countersink pilot for pull rivets

Another thing I recently did was do a small experiment to showcase the reason to use the correct 120 degree countersinking pilot for the countersinking holes that are not dimpled due to the thickness or type of the part (such as the fiberglass tips), after we had a thread about dimpling and countersinking it on the Sling Builders discussion group.
Normal AN style solid aviation rivets are 100 degrees, so most countersinking tools sold by aviation tool supplies by default come with 100 degree countersinking pilots, but blind pull rivets like those used in the Sling are 120 degree, so hence the need to use a 120 degree pilot to get the best fit.

To showcase the why that is so important, I drilled some holes in a 0.04 inch piece of metal (which is the thickness where you start to countersink instead of dimple) and used the 100 degree pilot on one hole and the 120 degree pilot on another. The goal was to insert the same countersunk rivet (which has a 120 degree slant) used for the Sling in both and have it sit flush.
In order to get a flush fit with the metal using the rivet, the 100 degree countersunk had the be deeper. This in turn results in a larger hole and thus wouldn’t have as much material to grip onto. As can be seen below, the 120 degree countersink resulted in about 3.3 mm hole, while the 100 degree resulted in a much larger 3.65 mm hole.

Difference in hole size using 100 and 120 degree countersink Flush fit of countersunk rivet

So the moral of the story, make sure you use the correct countersinking pilot when working with pull rivets. I’ve created a separate page on drilling, rivet sizing and countersinking as a quick reference for myself and figured it might be useful for others.