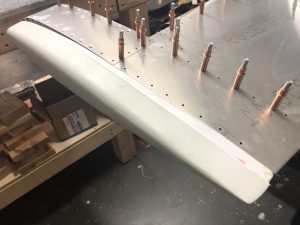
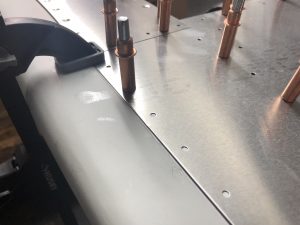
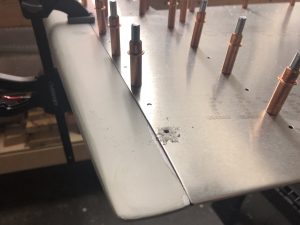
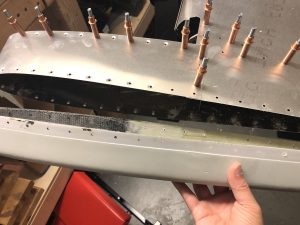
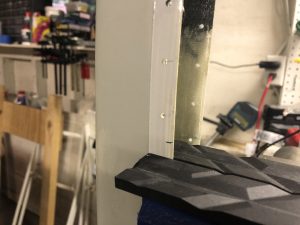
After reinforcing parts of the fiberglass tips for the Elevator for the front section that is countersunk to support the flush rivets, I finished fitting of the right side of the Elevator.
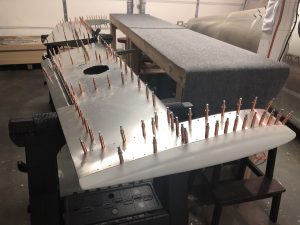
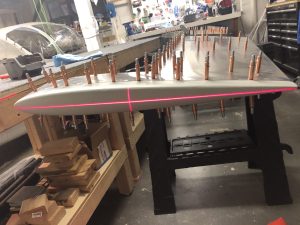
When I finished the alignment of the left side of the Elevator, I ran out of clecos, so I bought a couple more when I was at Oshkosh so I could properly put the Elevator together and get everything to align correctly.
So the first order of business was to finish clecoing everything including the (correct) control tabs for the Trim Tab.
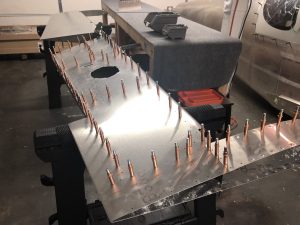
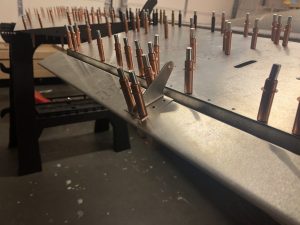
With that out of the way, I moved on to do the fitting for the right side fiberglass piece. It took a little bit of aligning and filing away a tiny bit from the back so that the fiberglass piece can slot into the metal.
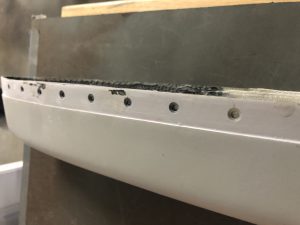
Once that looked all good, I started to do the match drilling of the holed into the fiberglass.
Now the only last part to do was to countersink the front parts of the fiberglass tips in order to allow the flush rivets to sit in there. It took a bit of back and forth to calibrate my microstop countersink attachments to ensure I had a good flush fitting.

