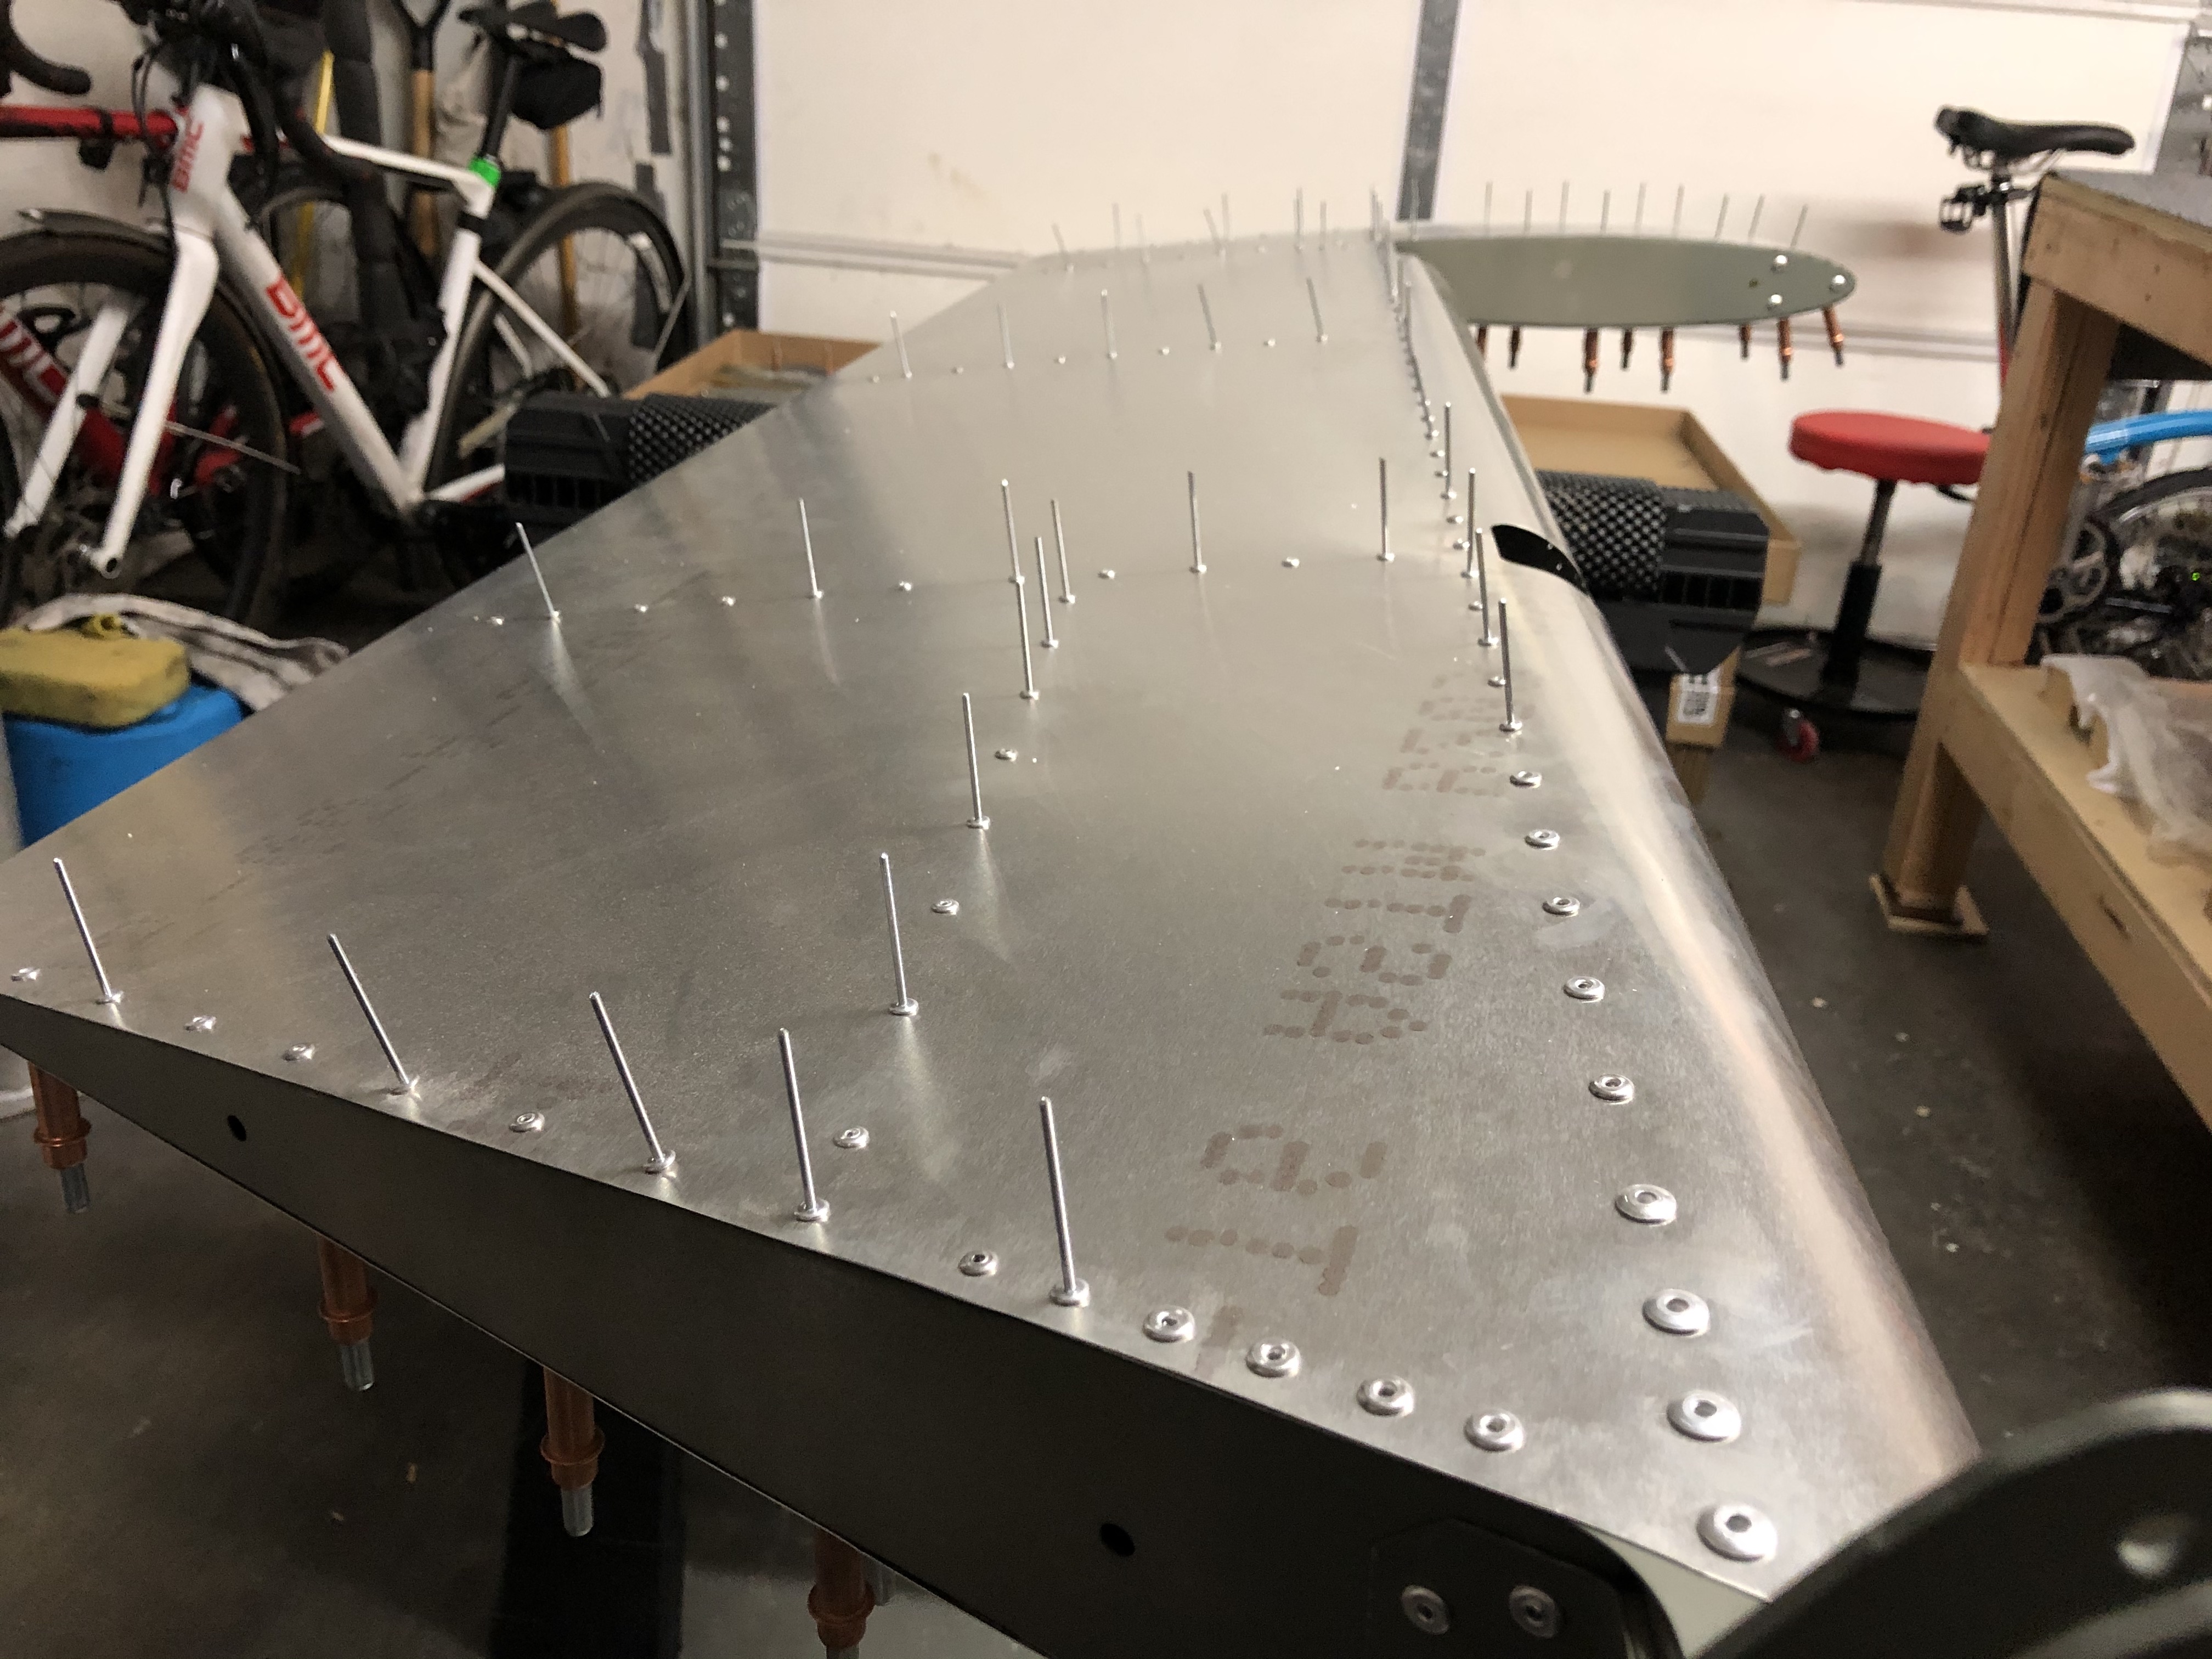
With the final preparations and alignments of the Elevator done, the last task is to rivet up the Elevator skins.
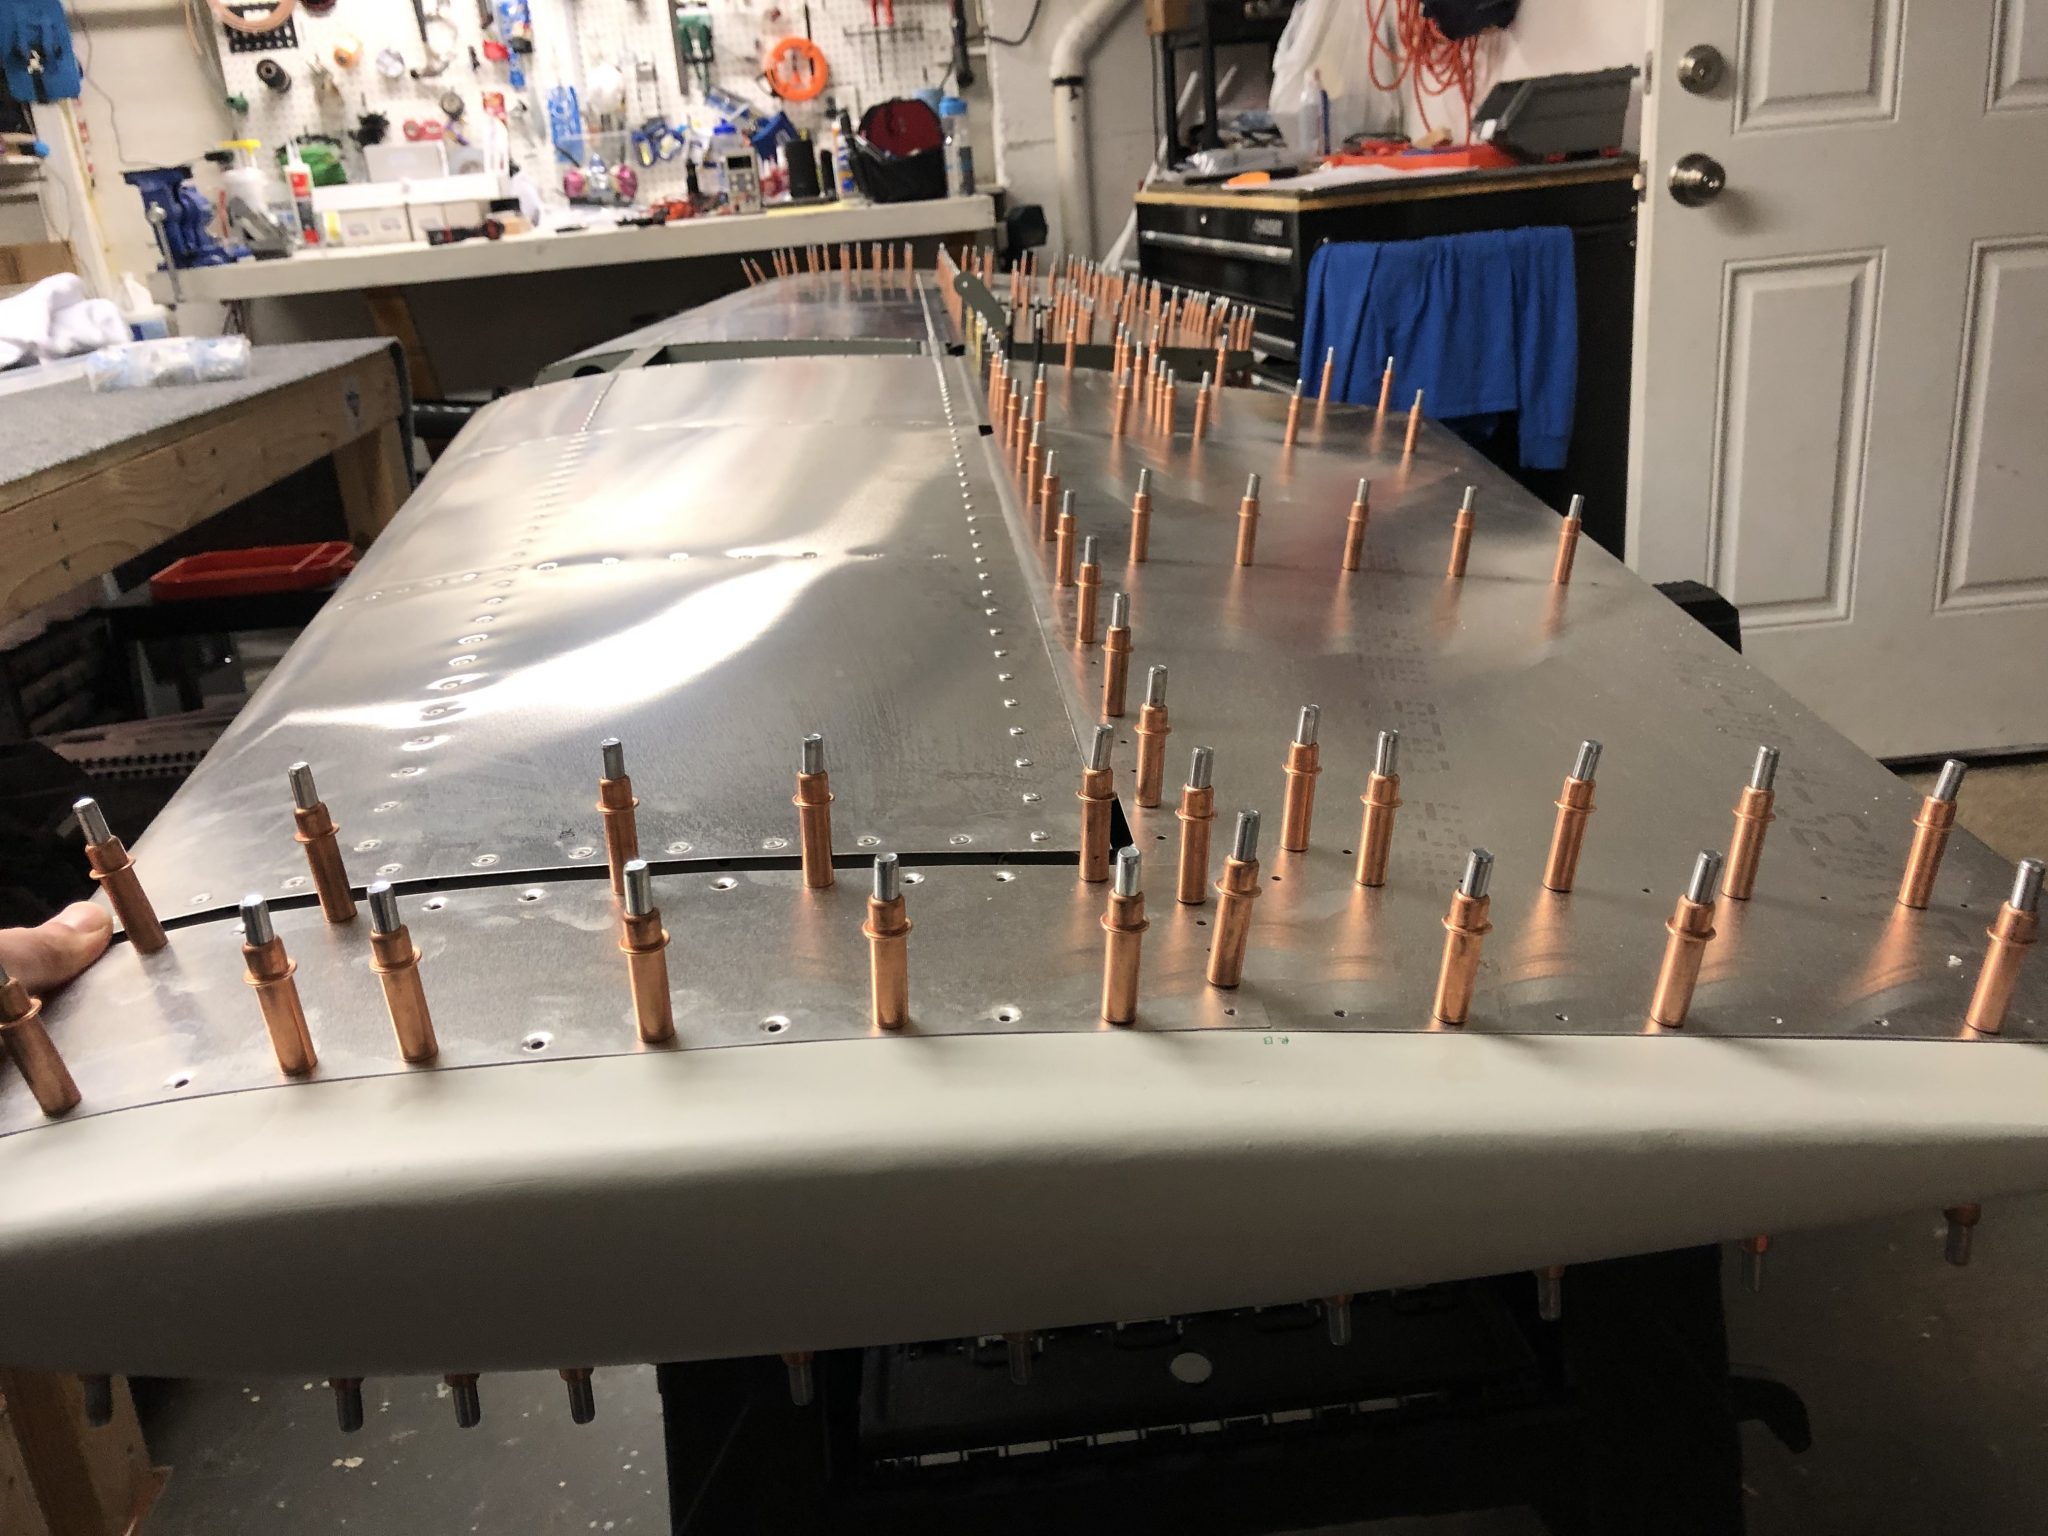
The process is pretty straightforward, but there are a lot of rivets to be pulled, so it’s a lot of repetition, so I spread the work out over a few sessions.
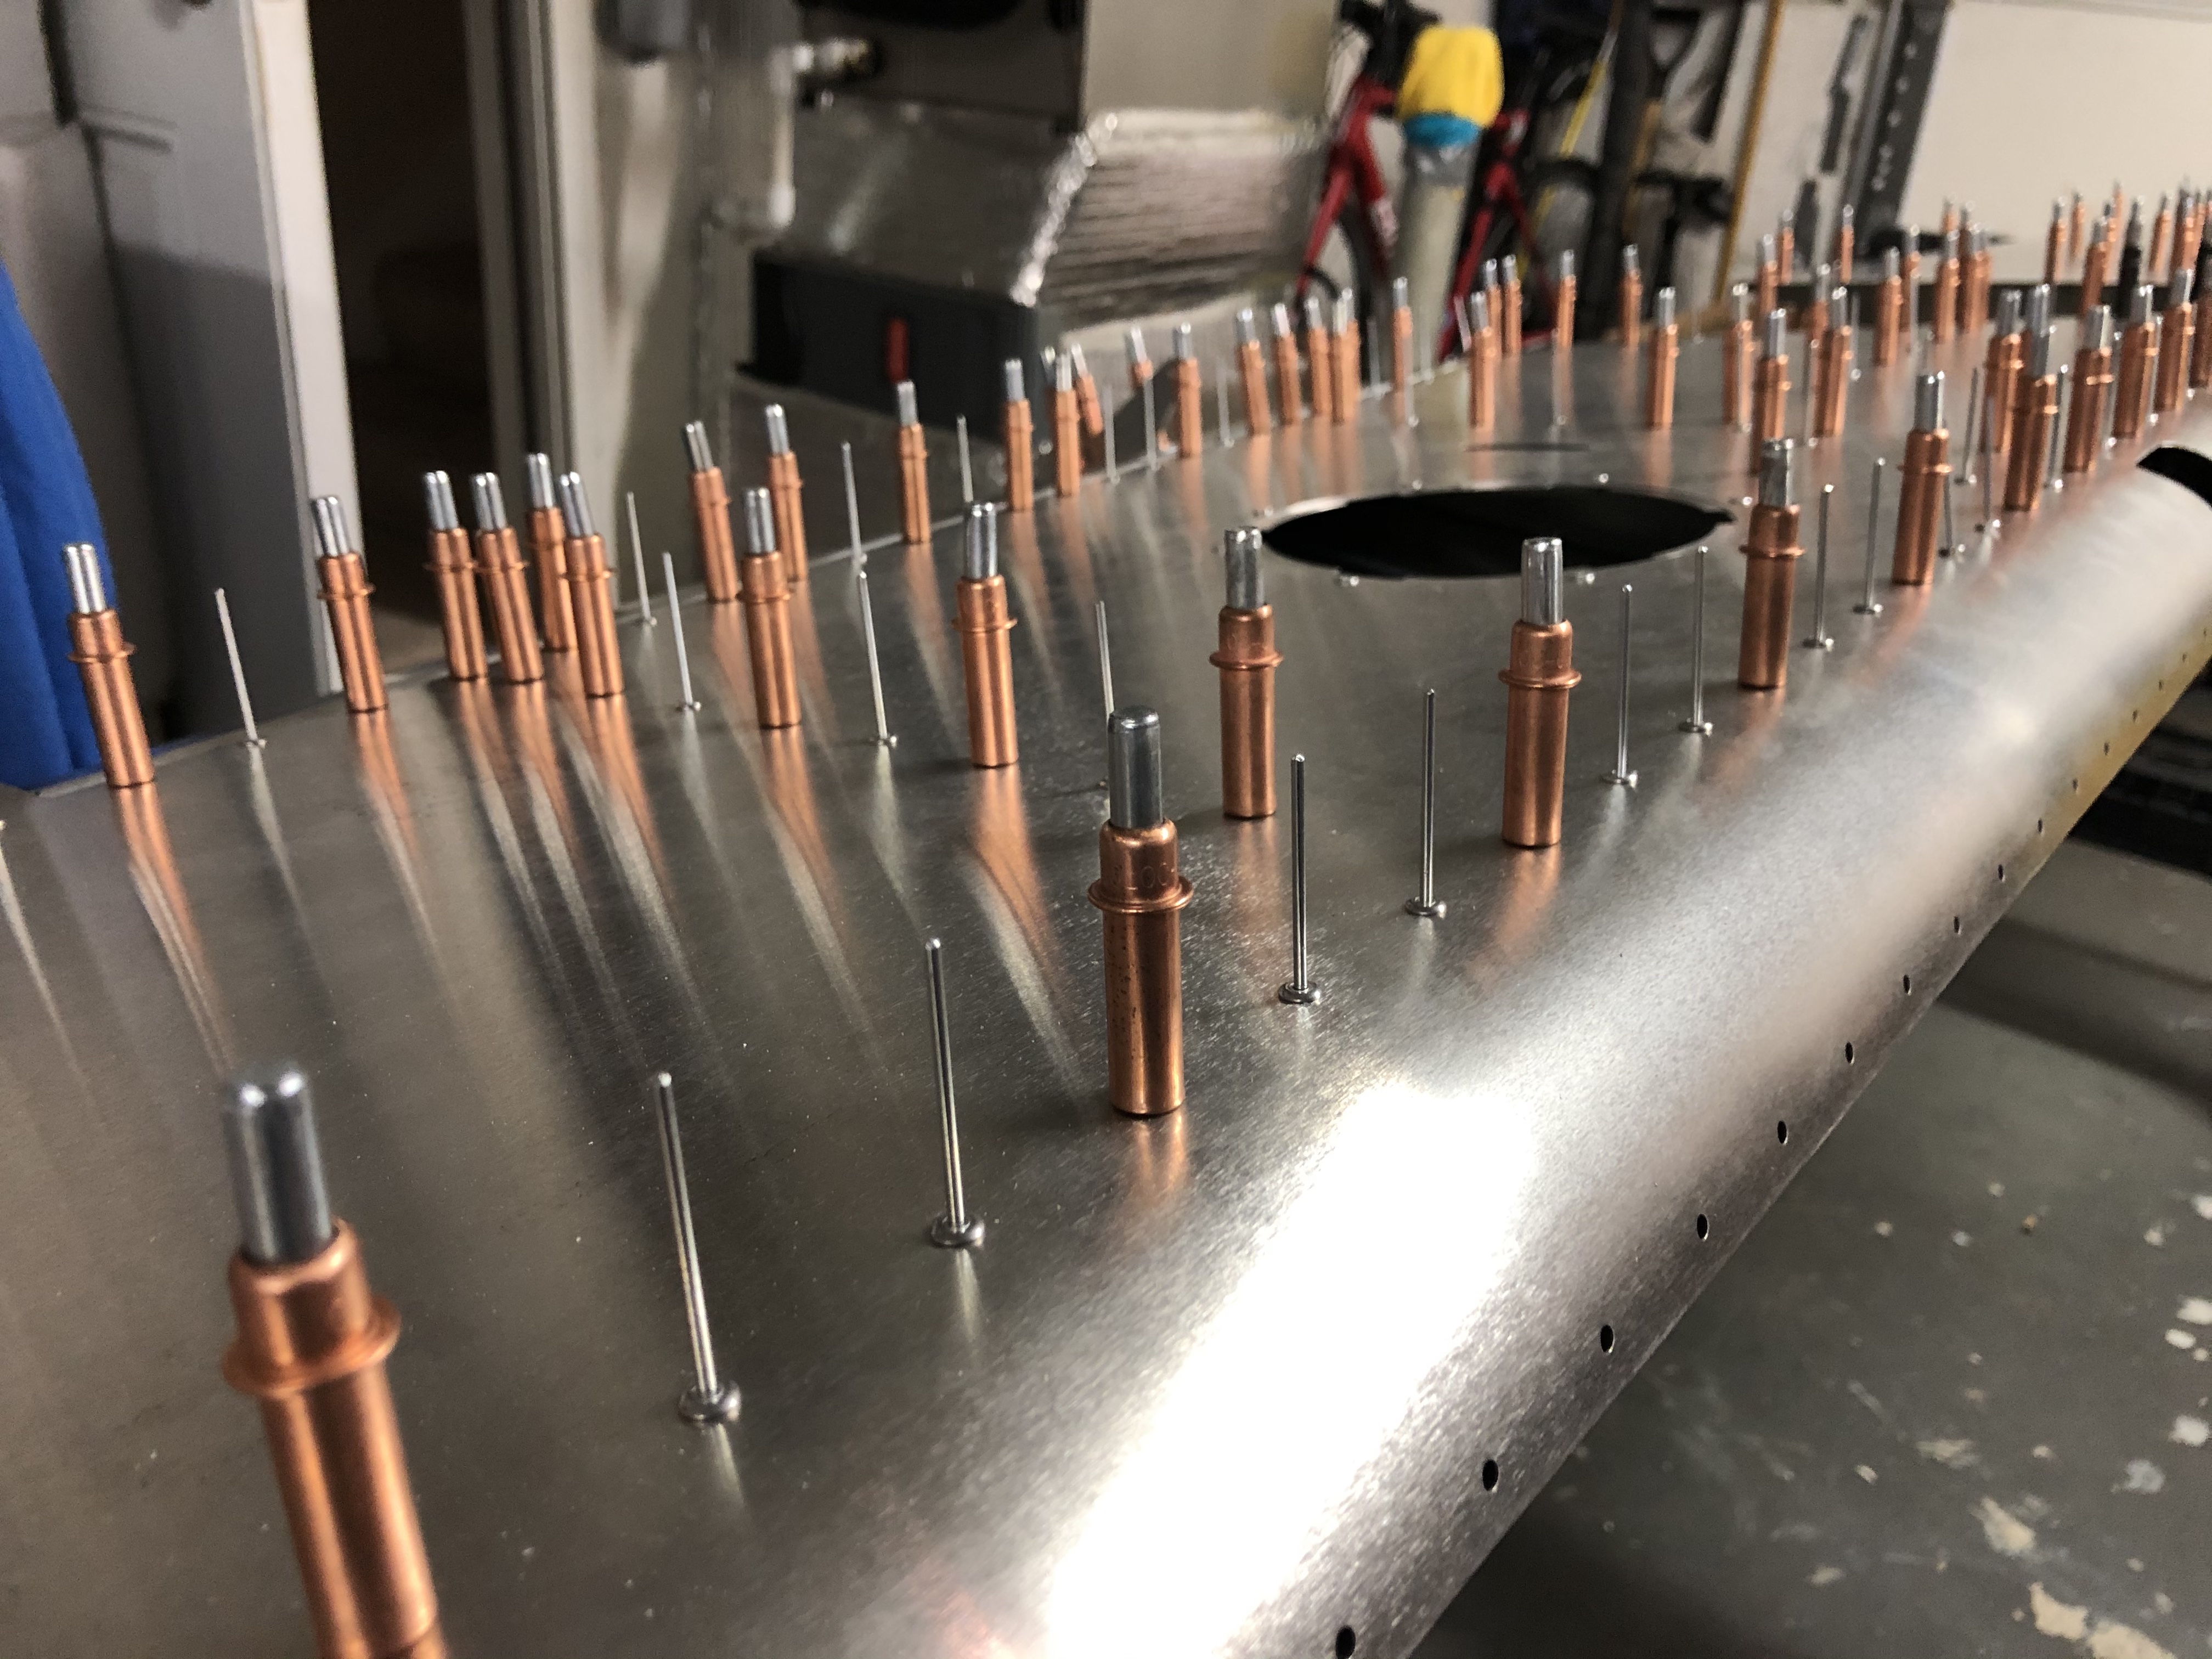
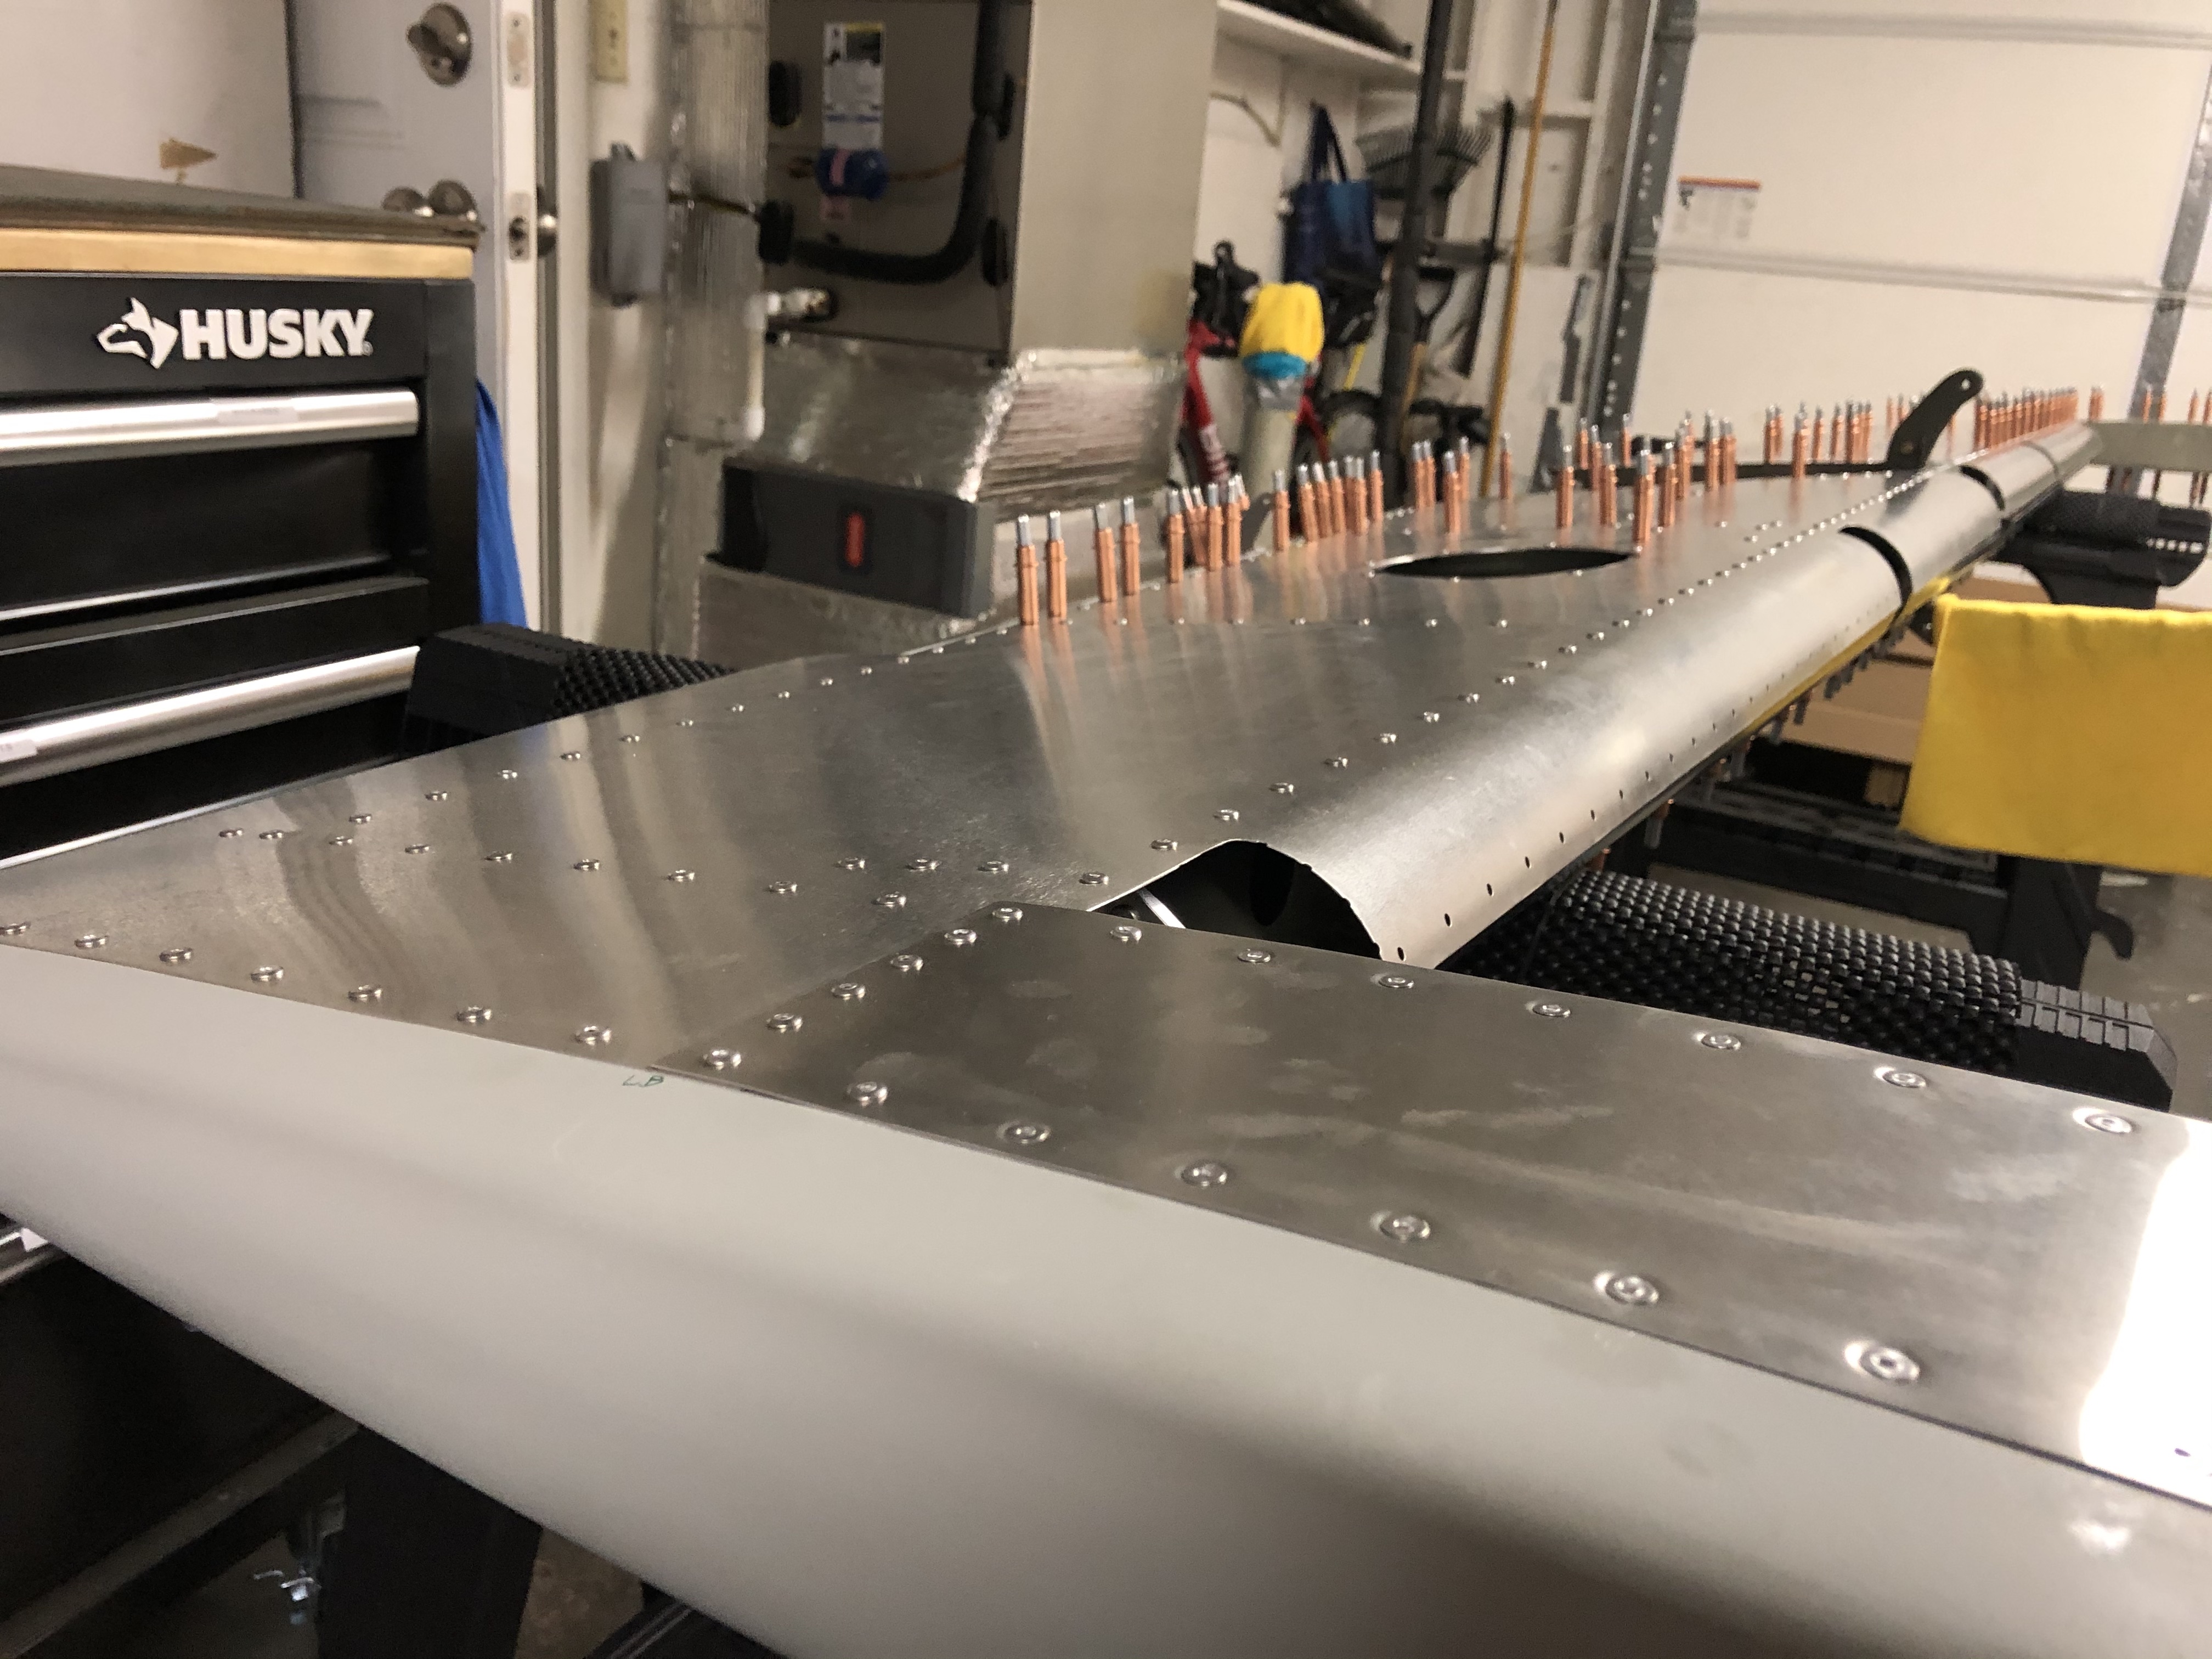

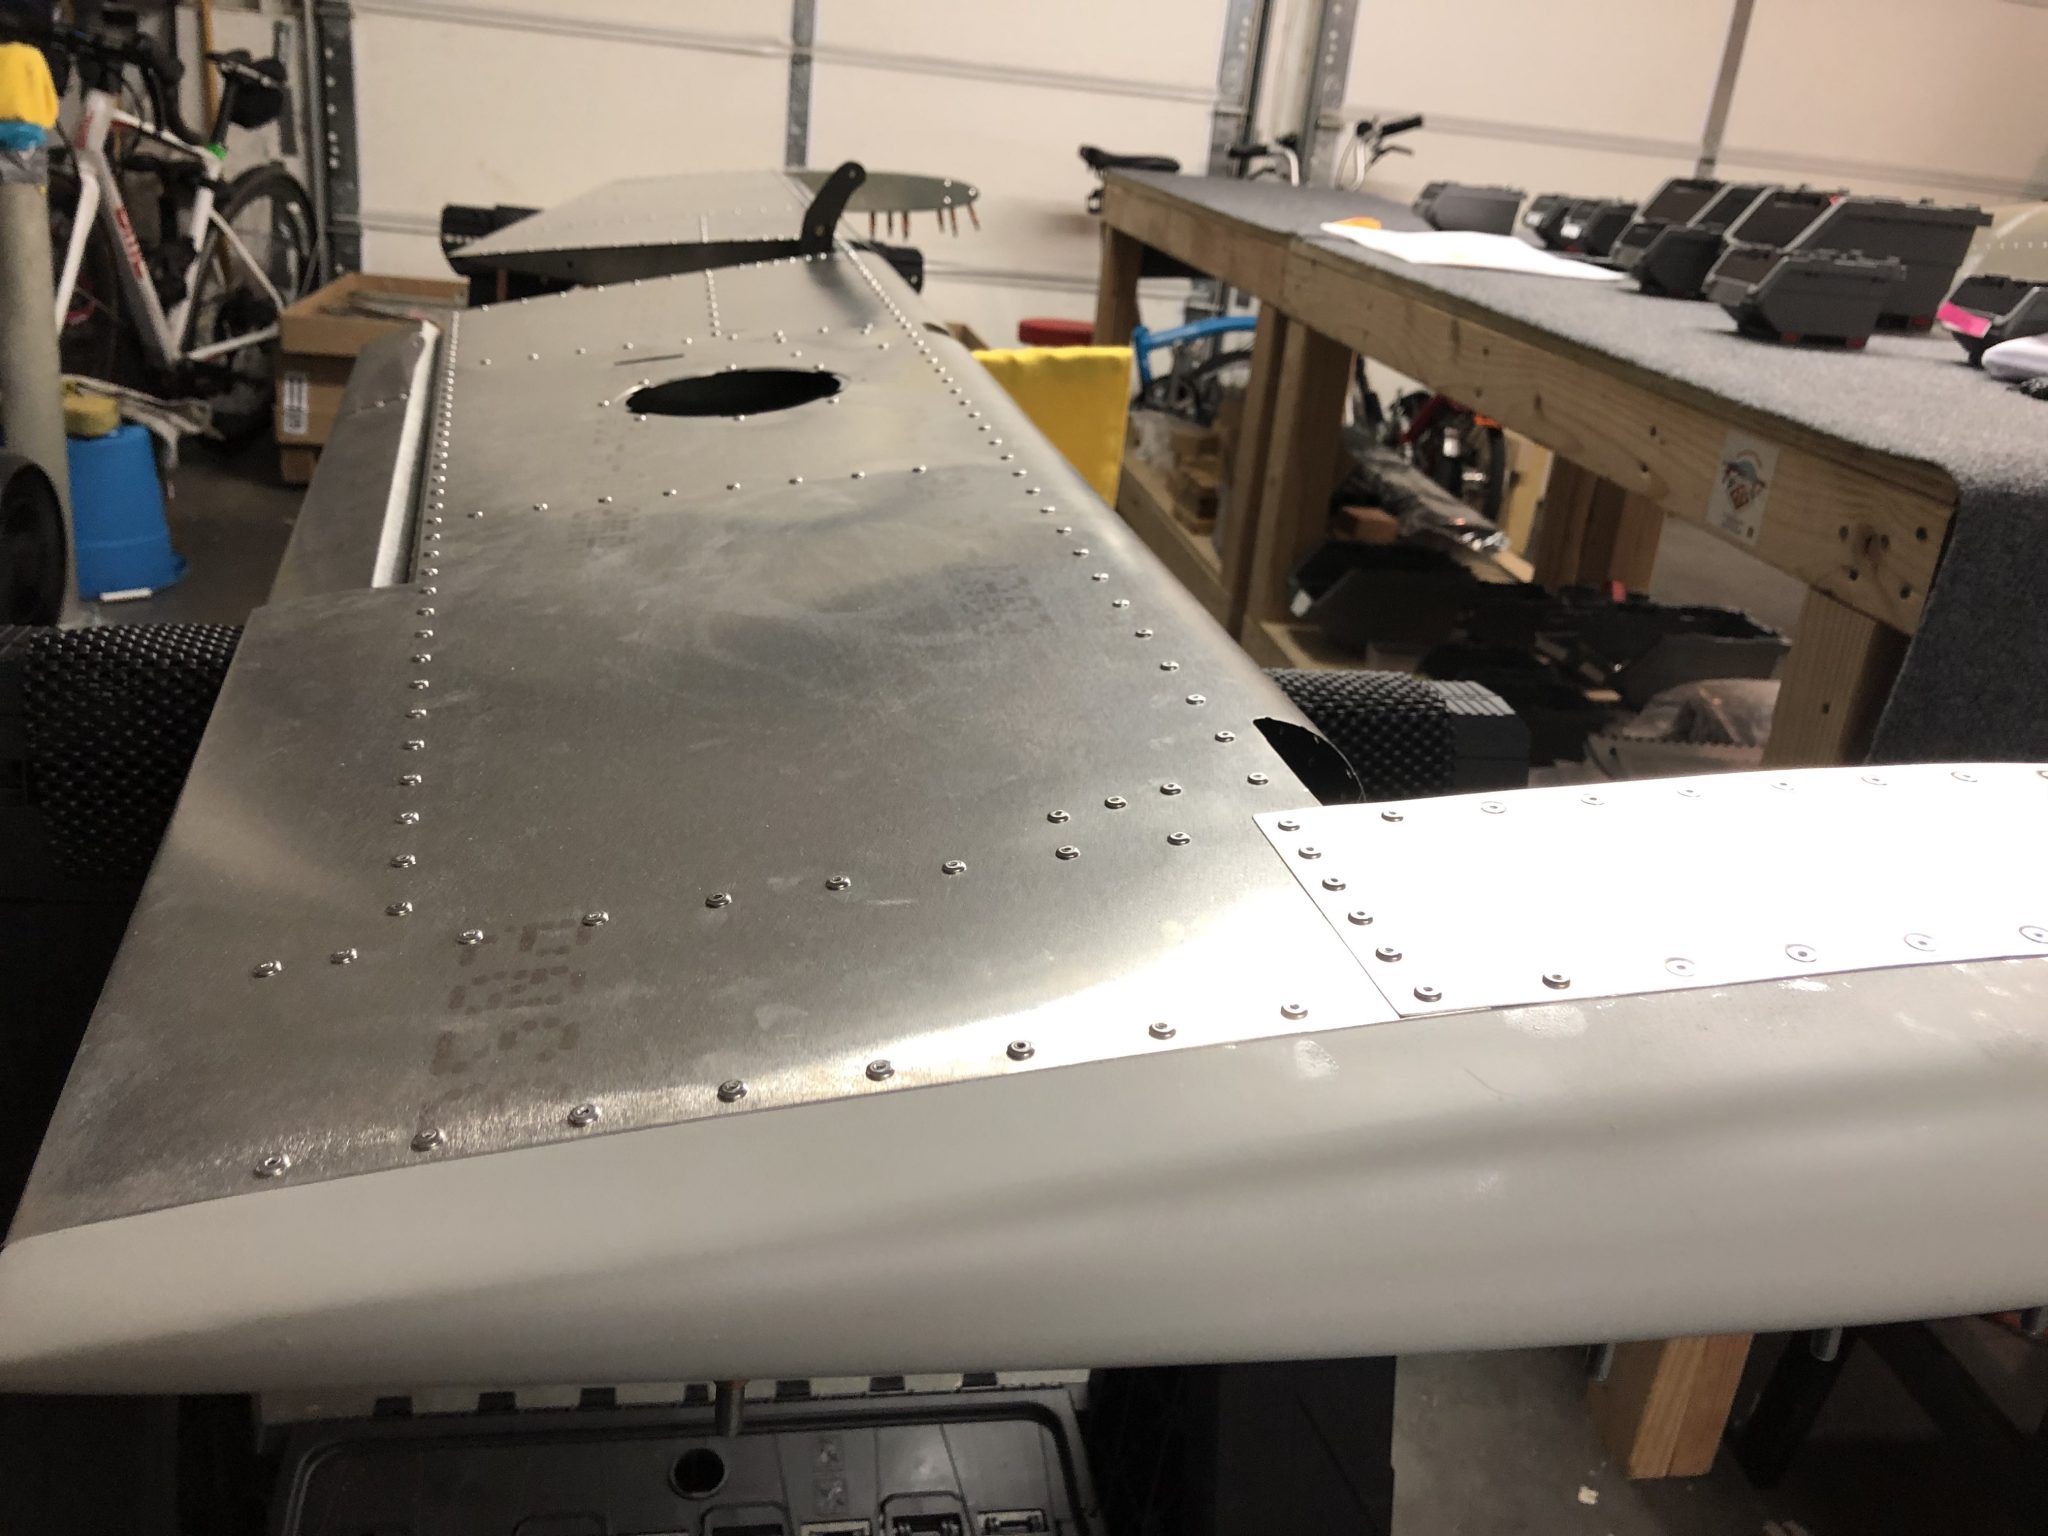
I first did the half of the bottom, both left and right side, and then finished up the left side completely, followed by the right side.
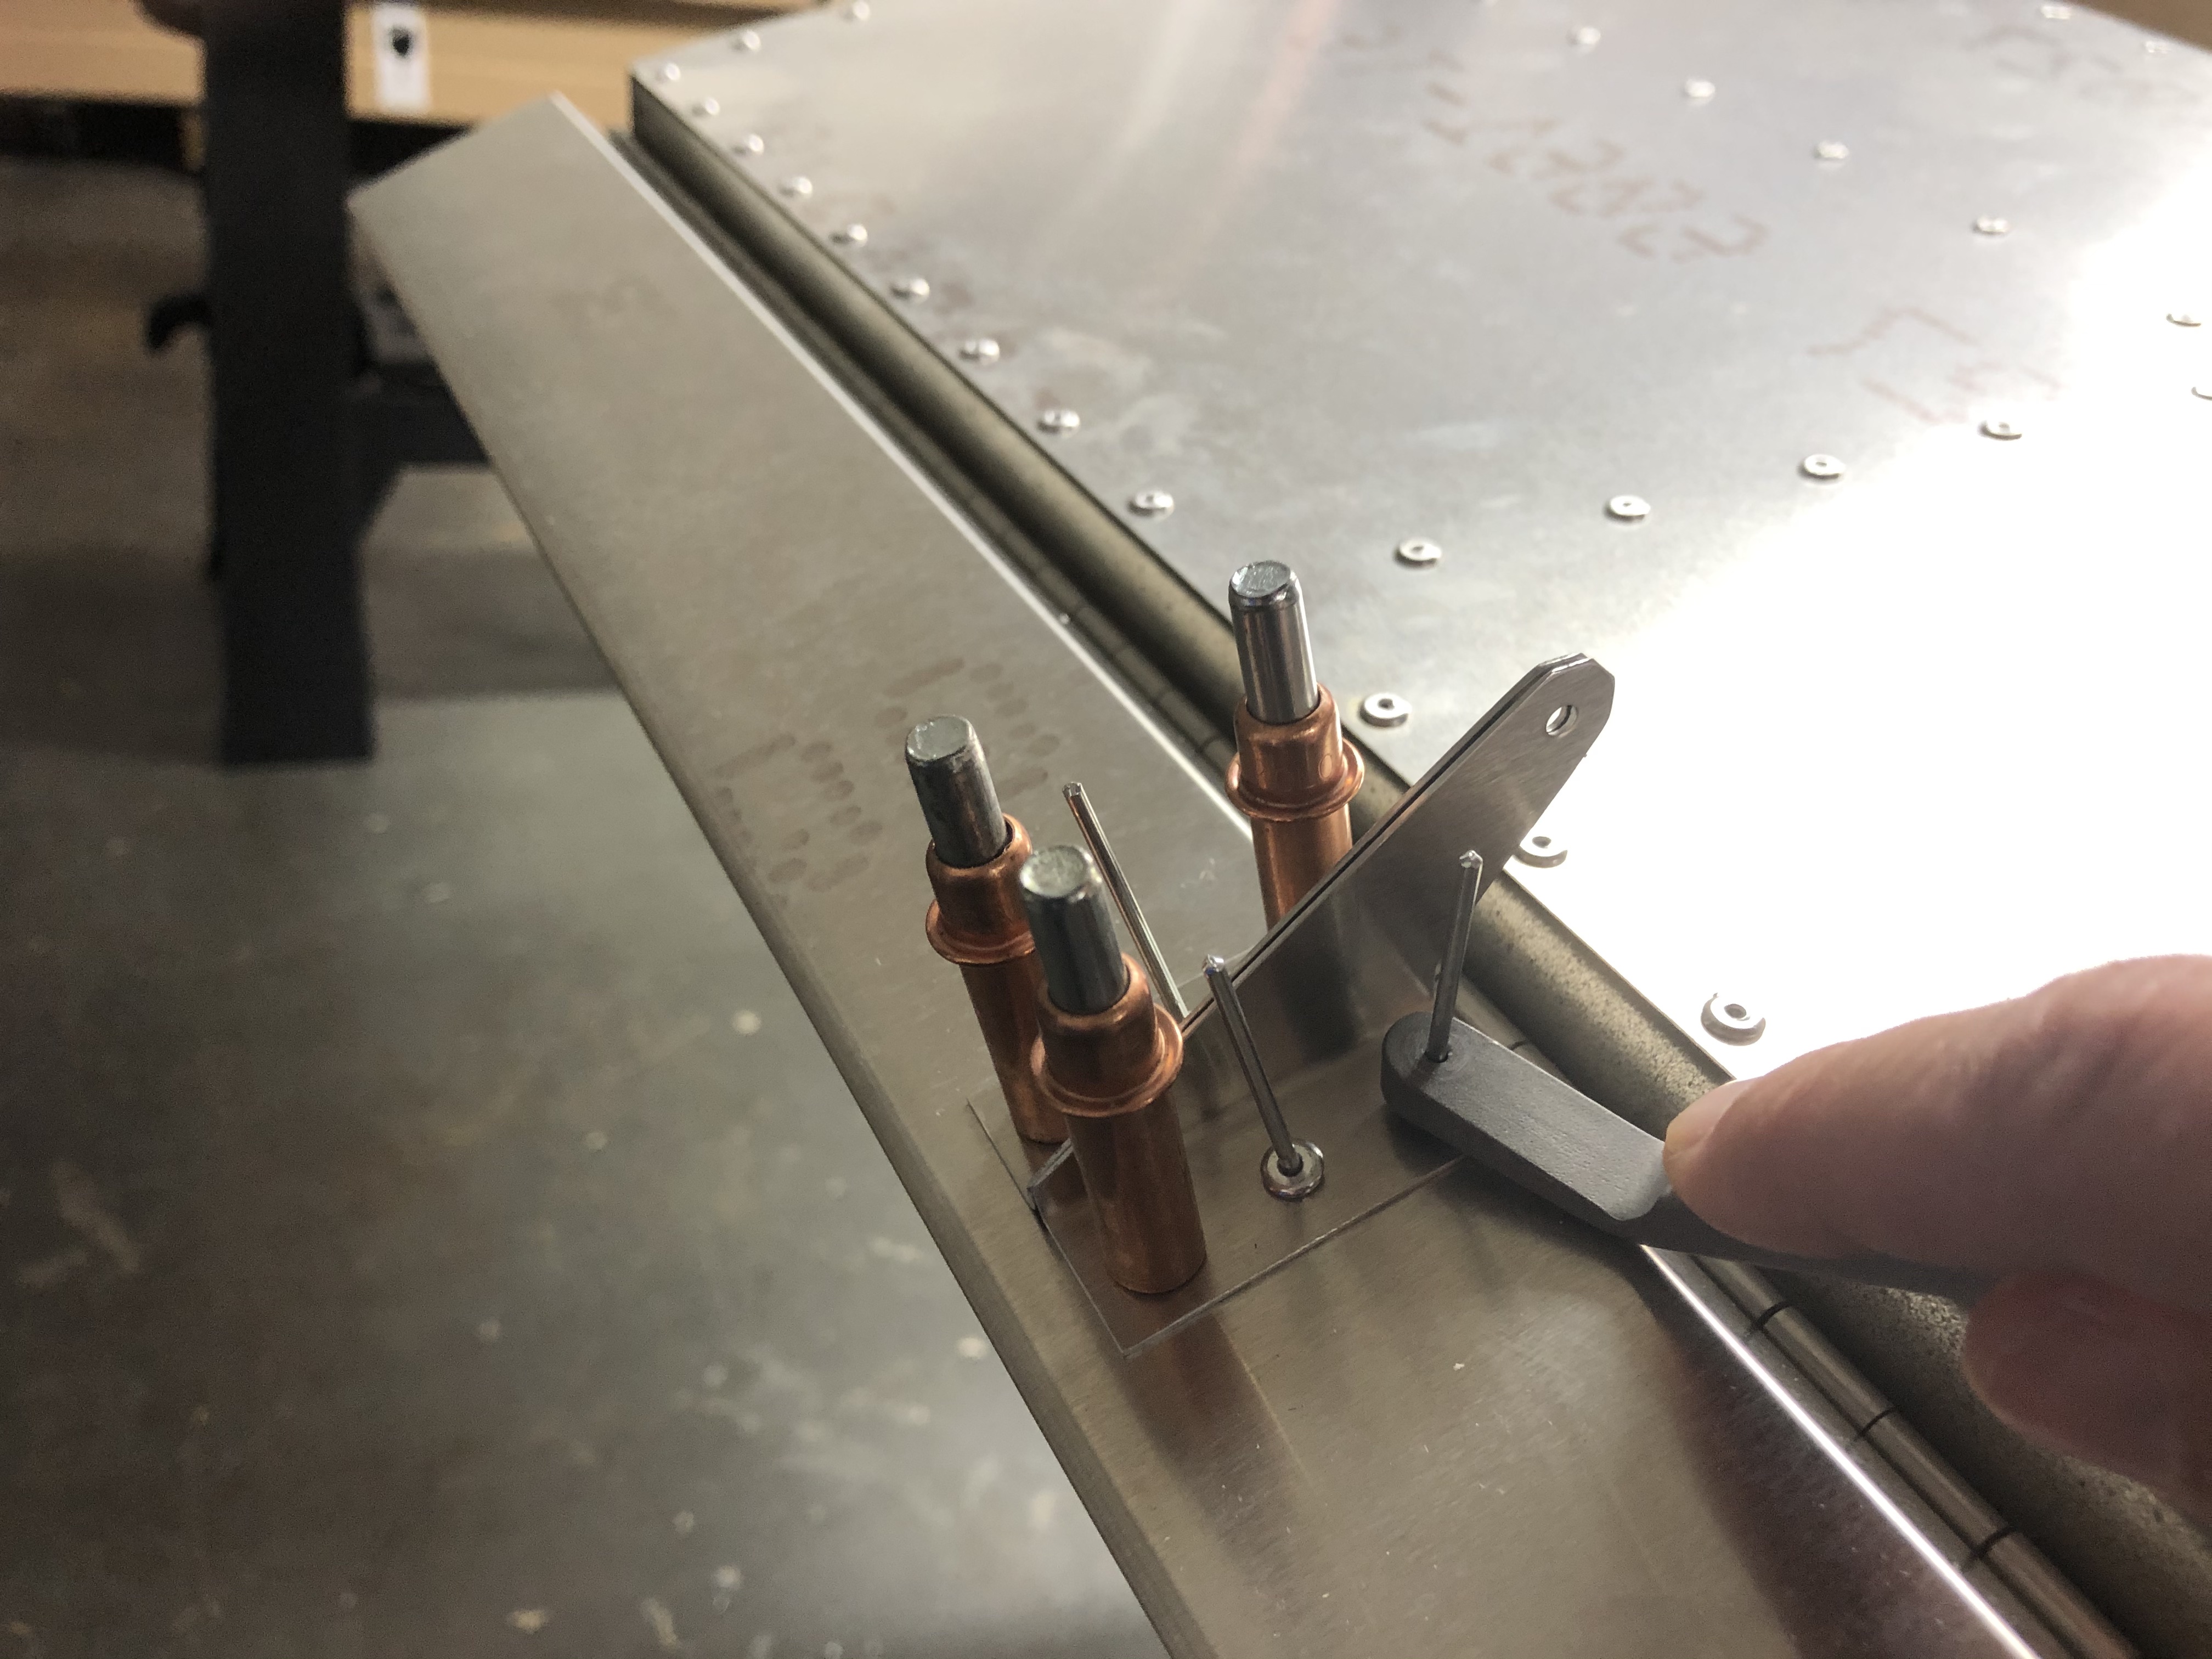
For the Trim Tab control tabs I had to get out the close quarter wedge.
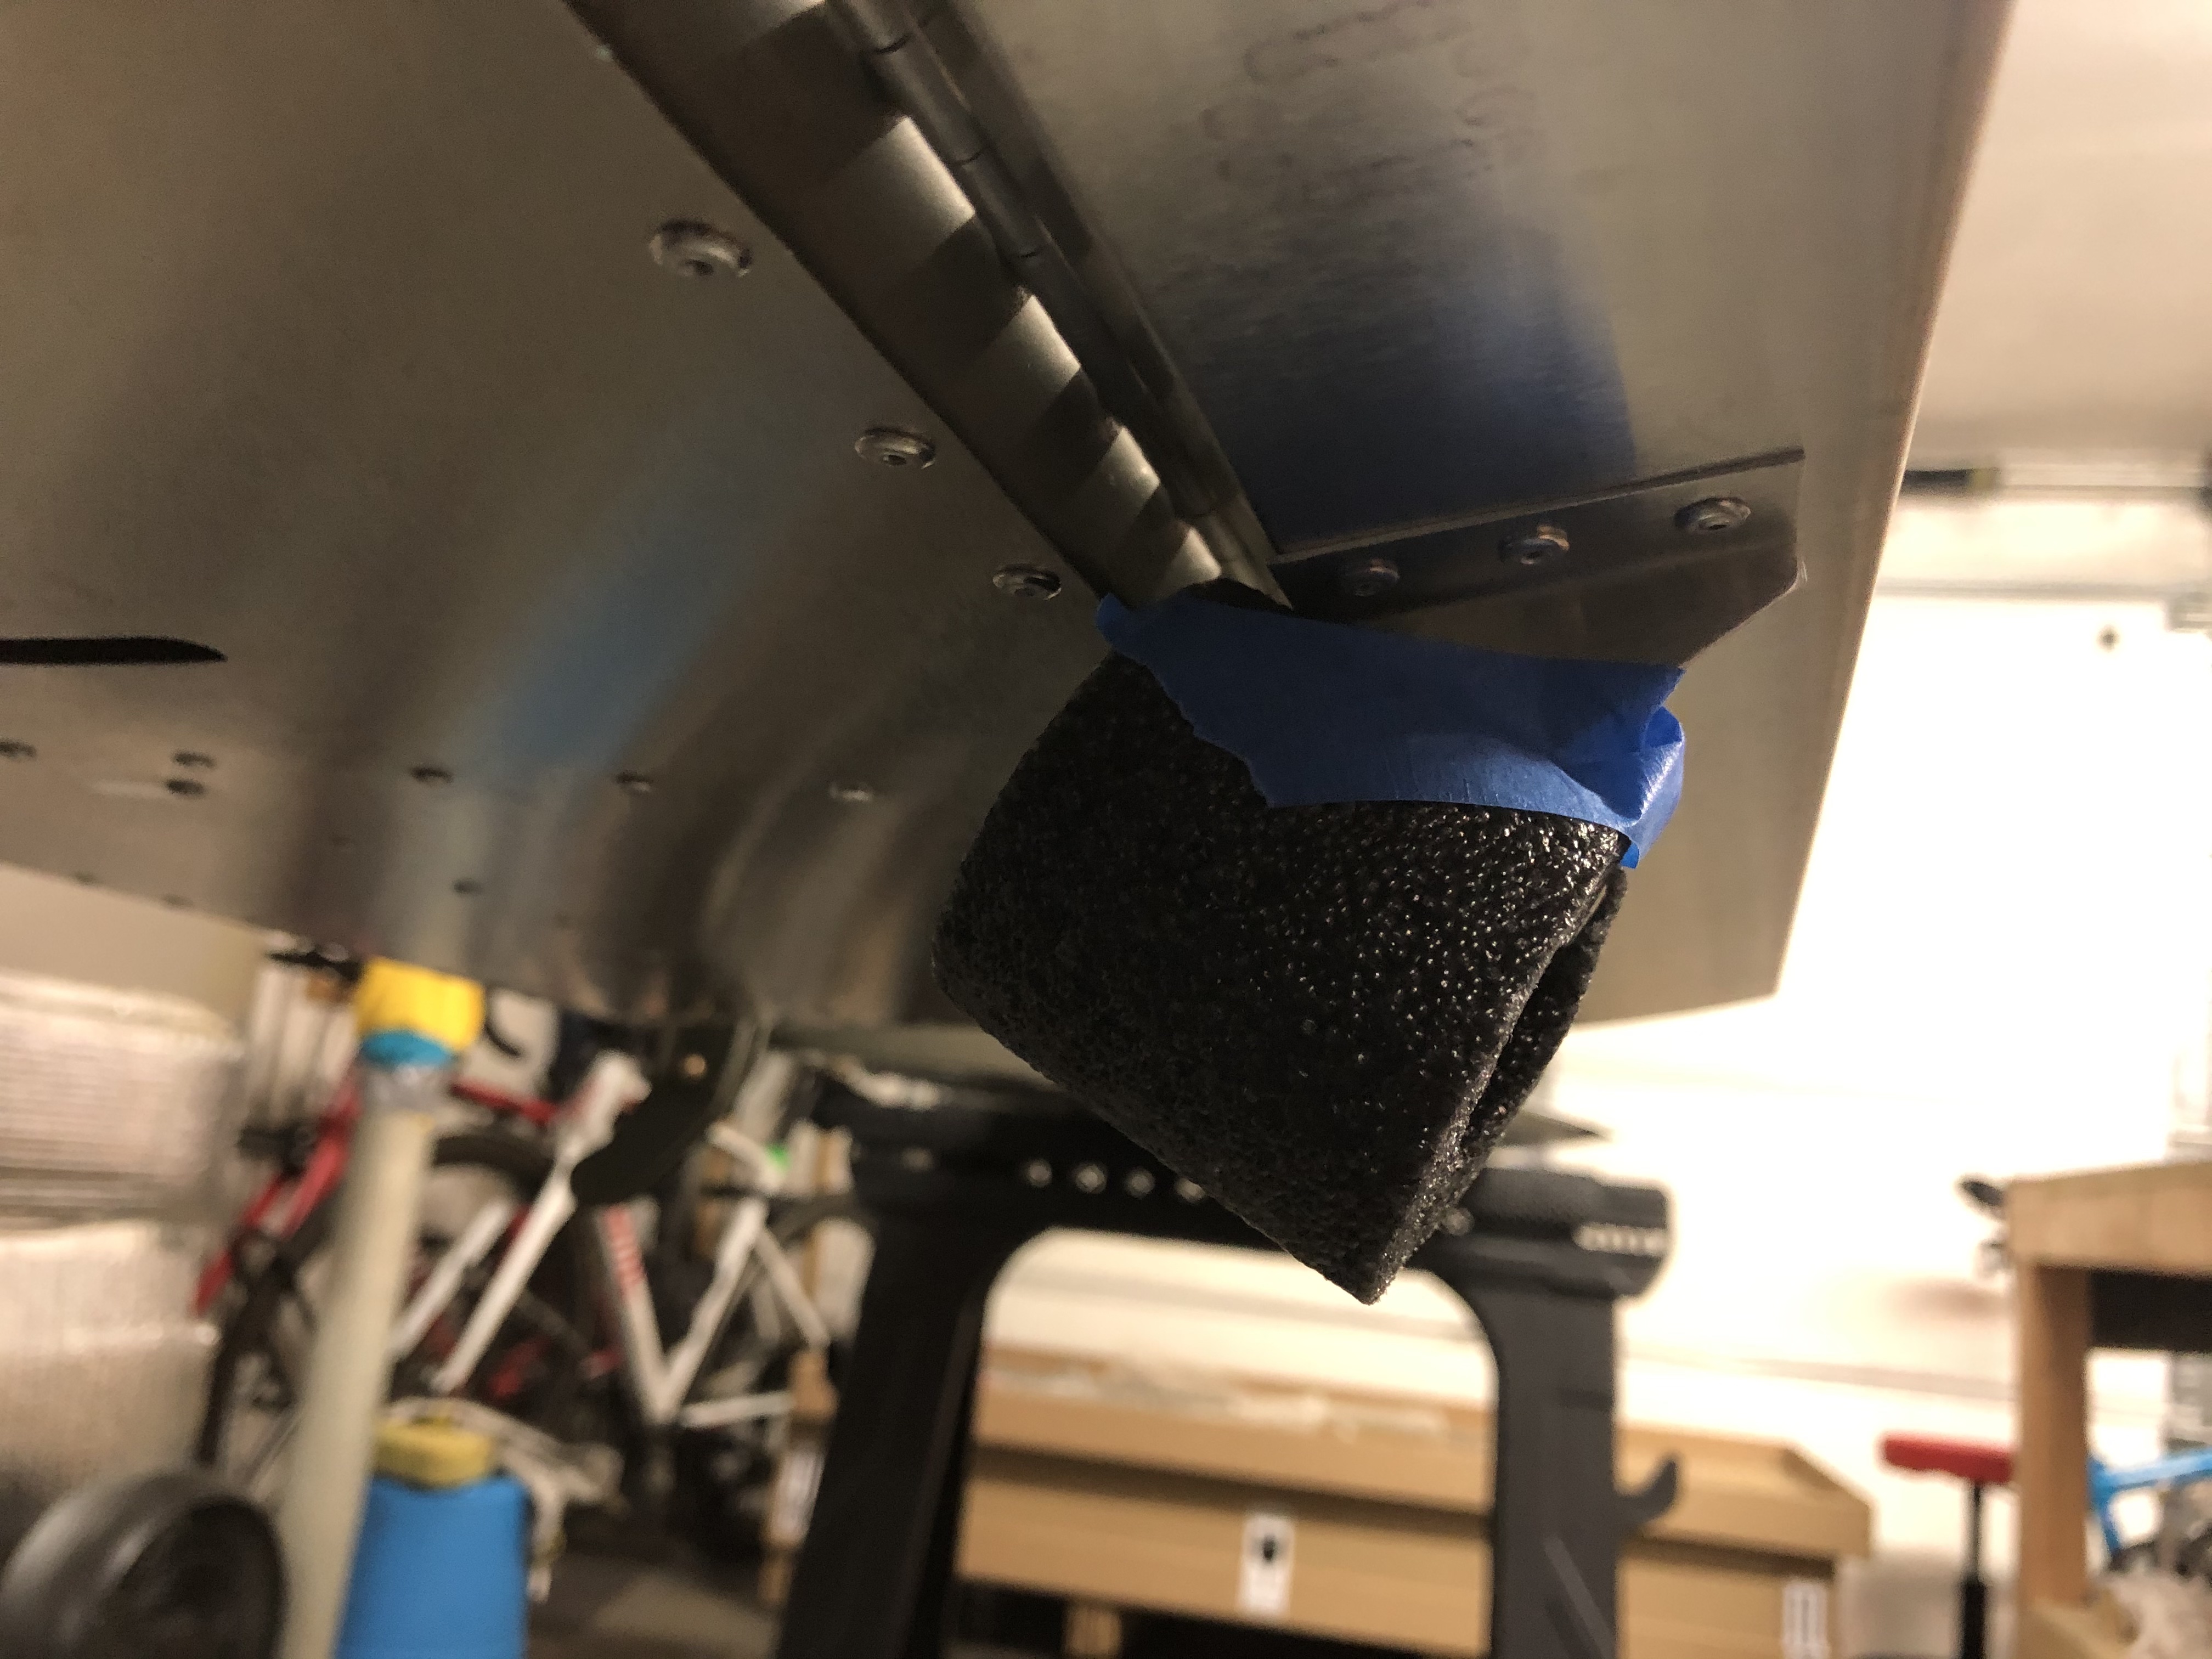
After I finished the entire bottom half of the Elevator I flipped it around and put a small padding onto the Trim Tab control so it can’t dig into the Elevator skin.