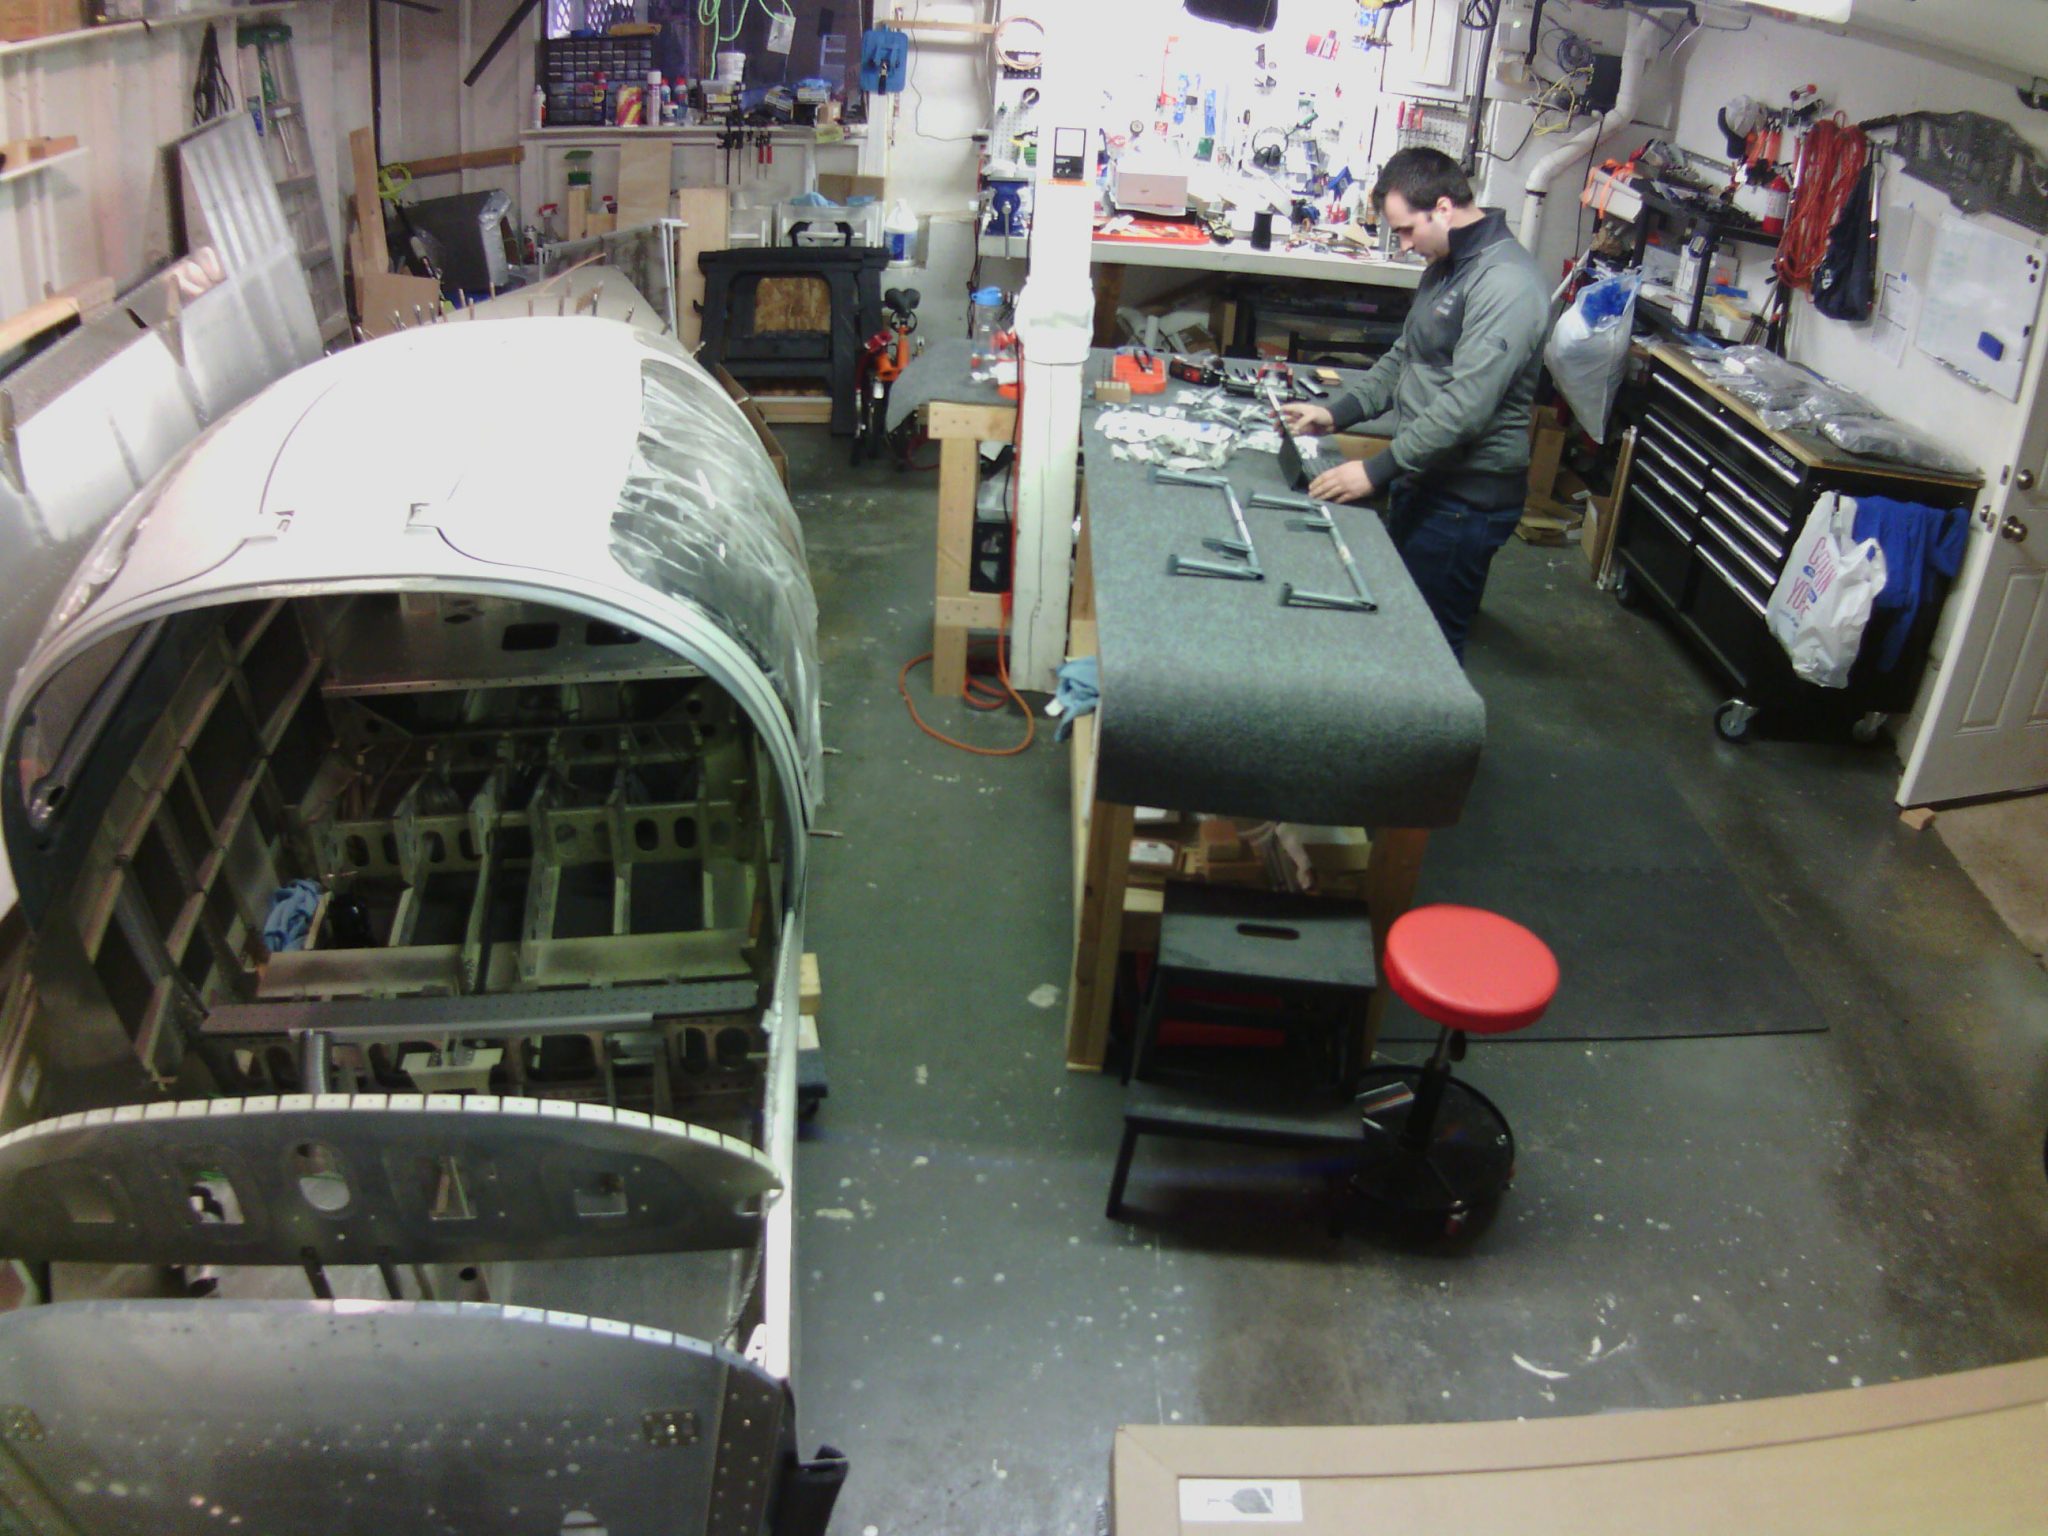
So with me moving on working in the Fuselage I did some rearranging of my garage workshop.
I moved the wings back into the corner. I also turned the Fuselage around to have easier access to the flight deck. (The latest FAA’s handbooks says that even a small Cessna 150 is now a flight deck and not a cockpit 😀).
To get around easier, I also moved one of the work tables up and formed a T-shape.
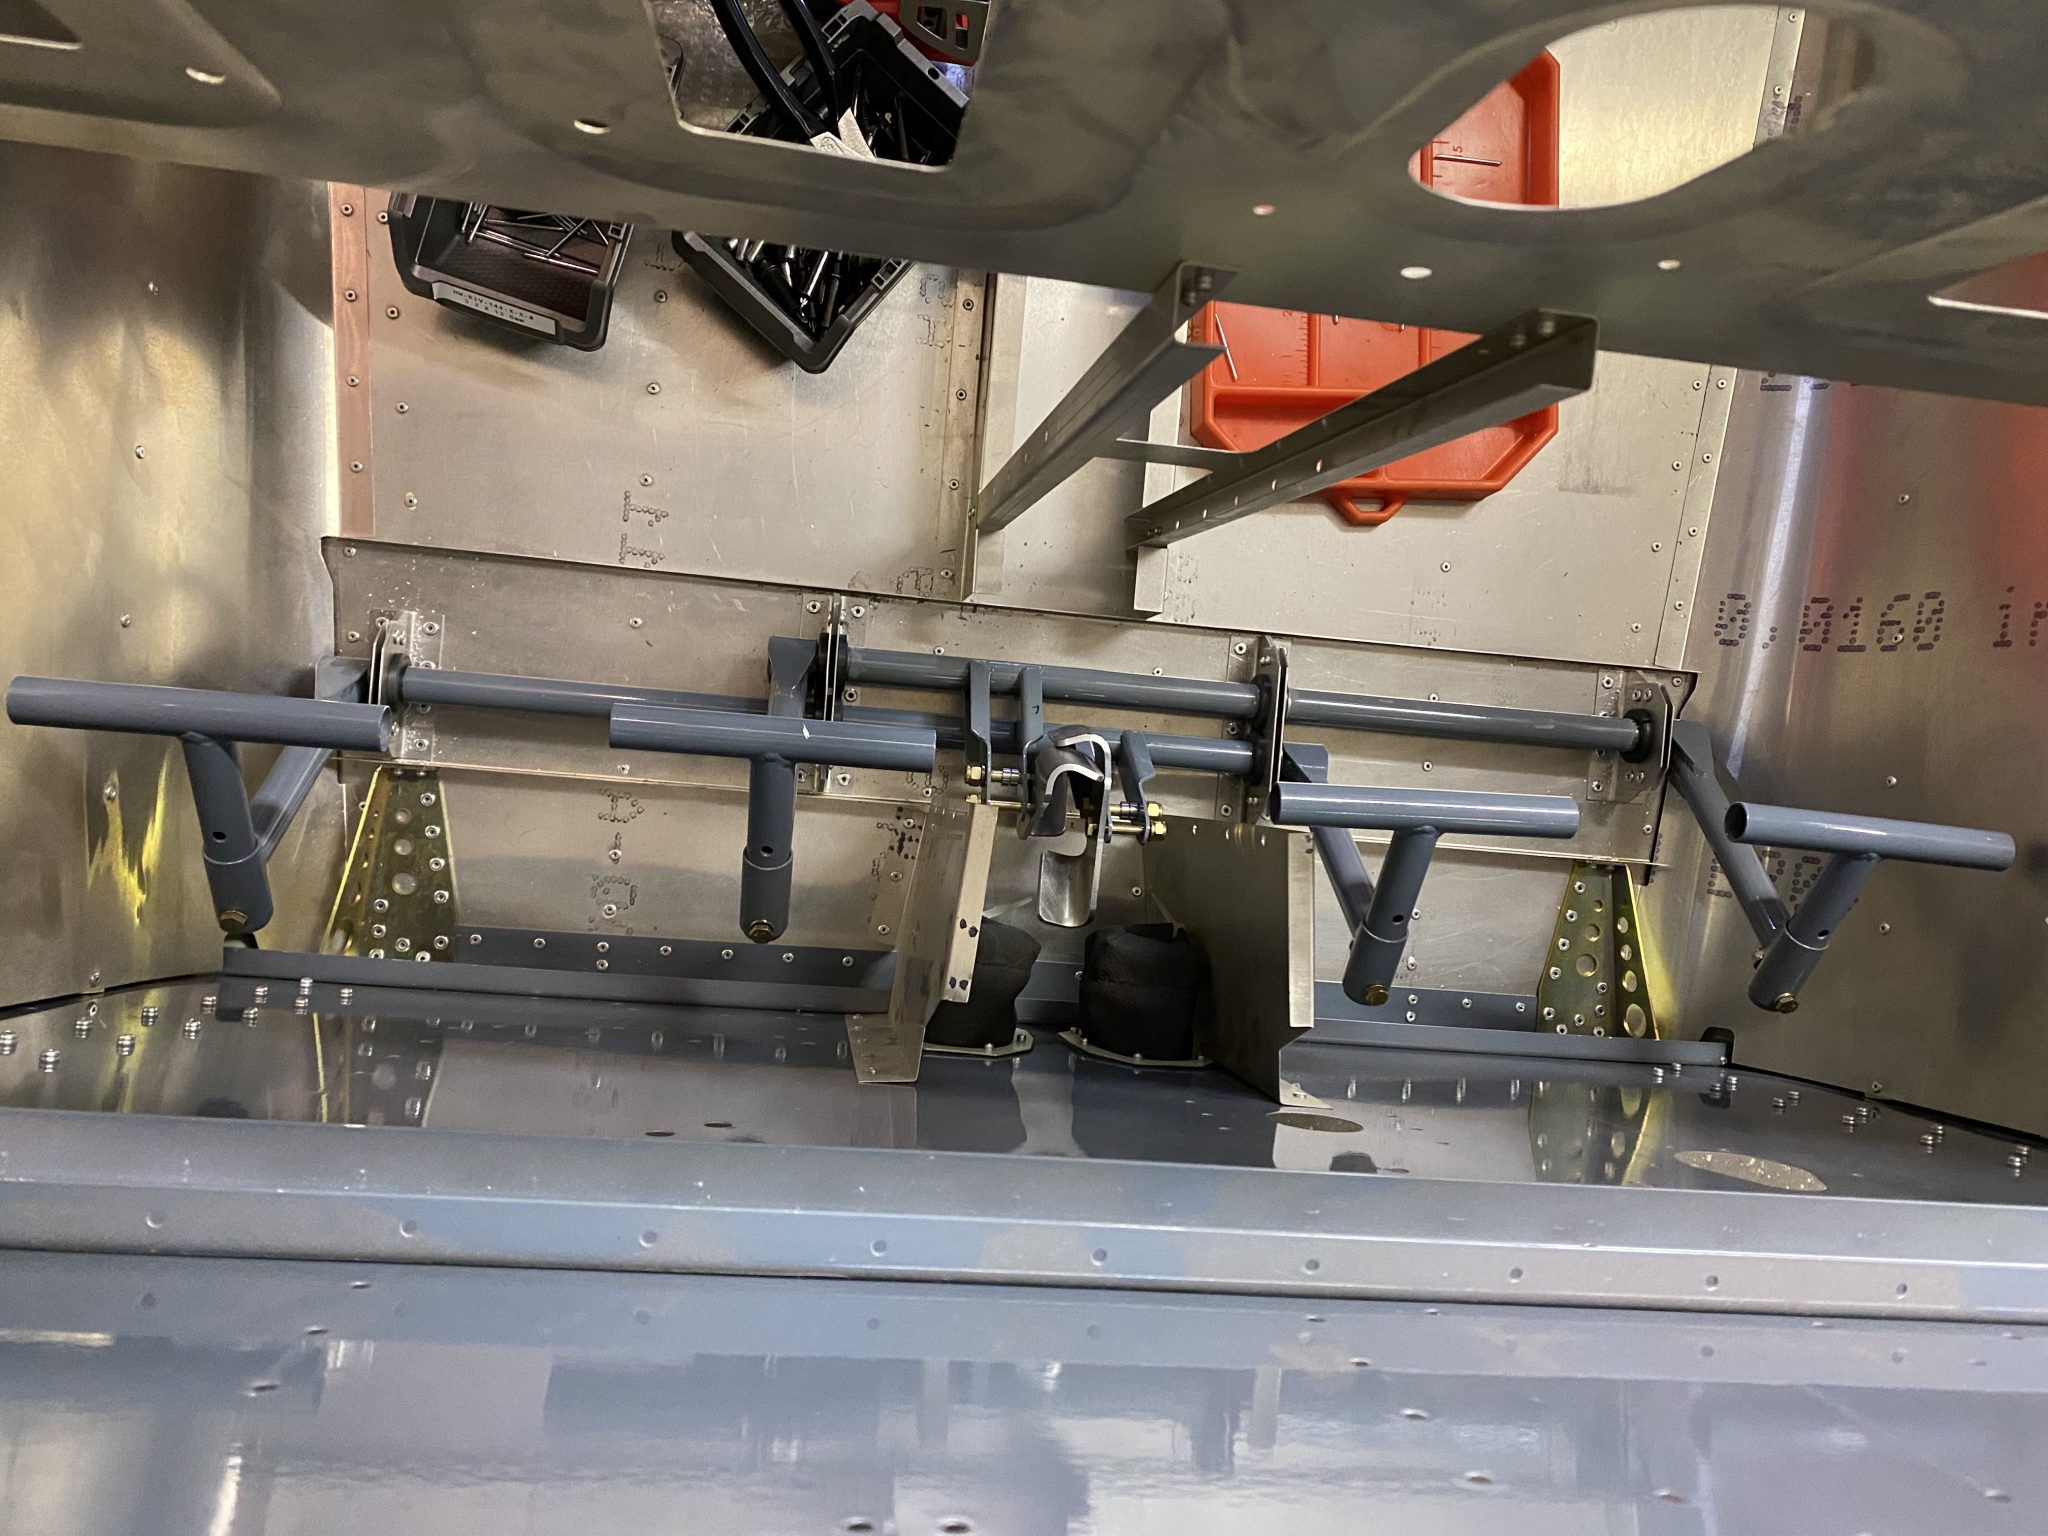
I am going with the standard Sling configuration of T-bar rudder pedals and the central brake instead of differential braking.
This makes the installation and setup simpler without the hydraulics in the pedals. When I did my test flight of the TSi it was easy to steer it without differential braking.
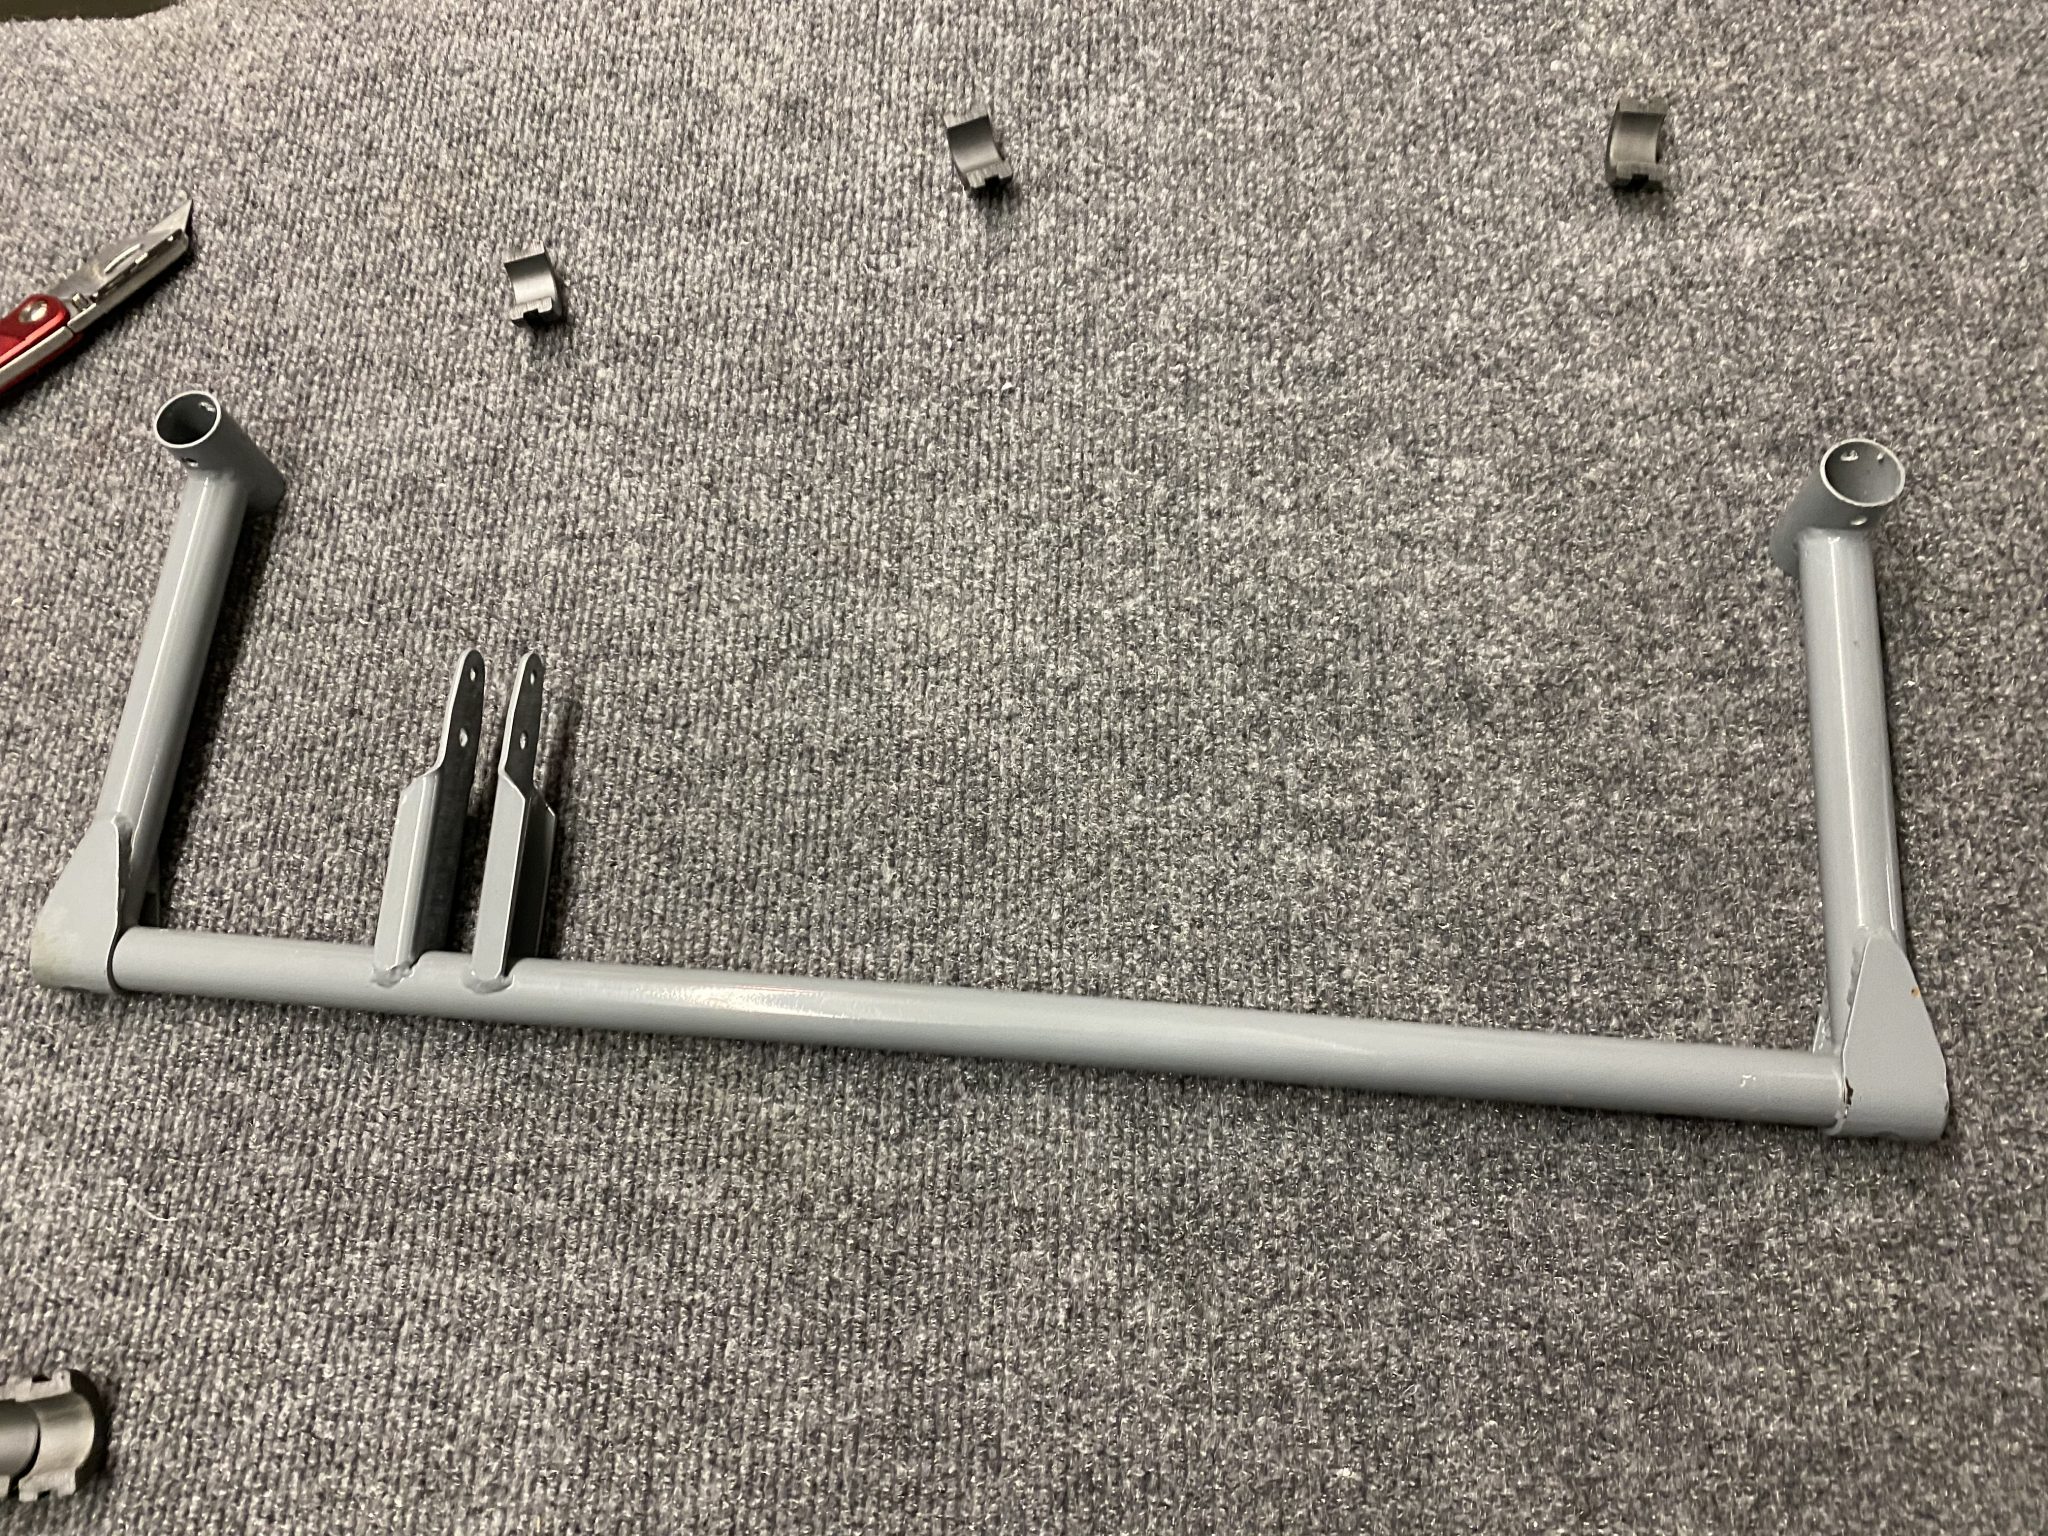
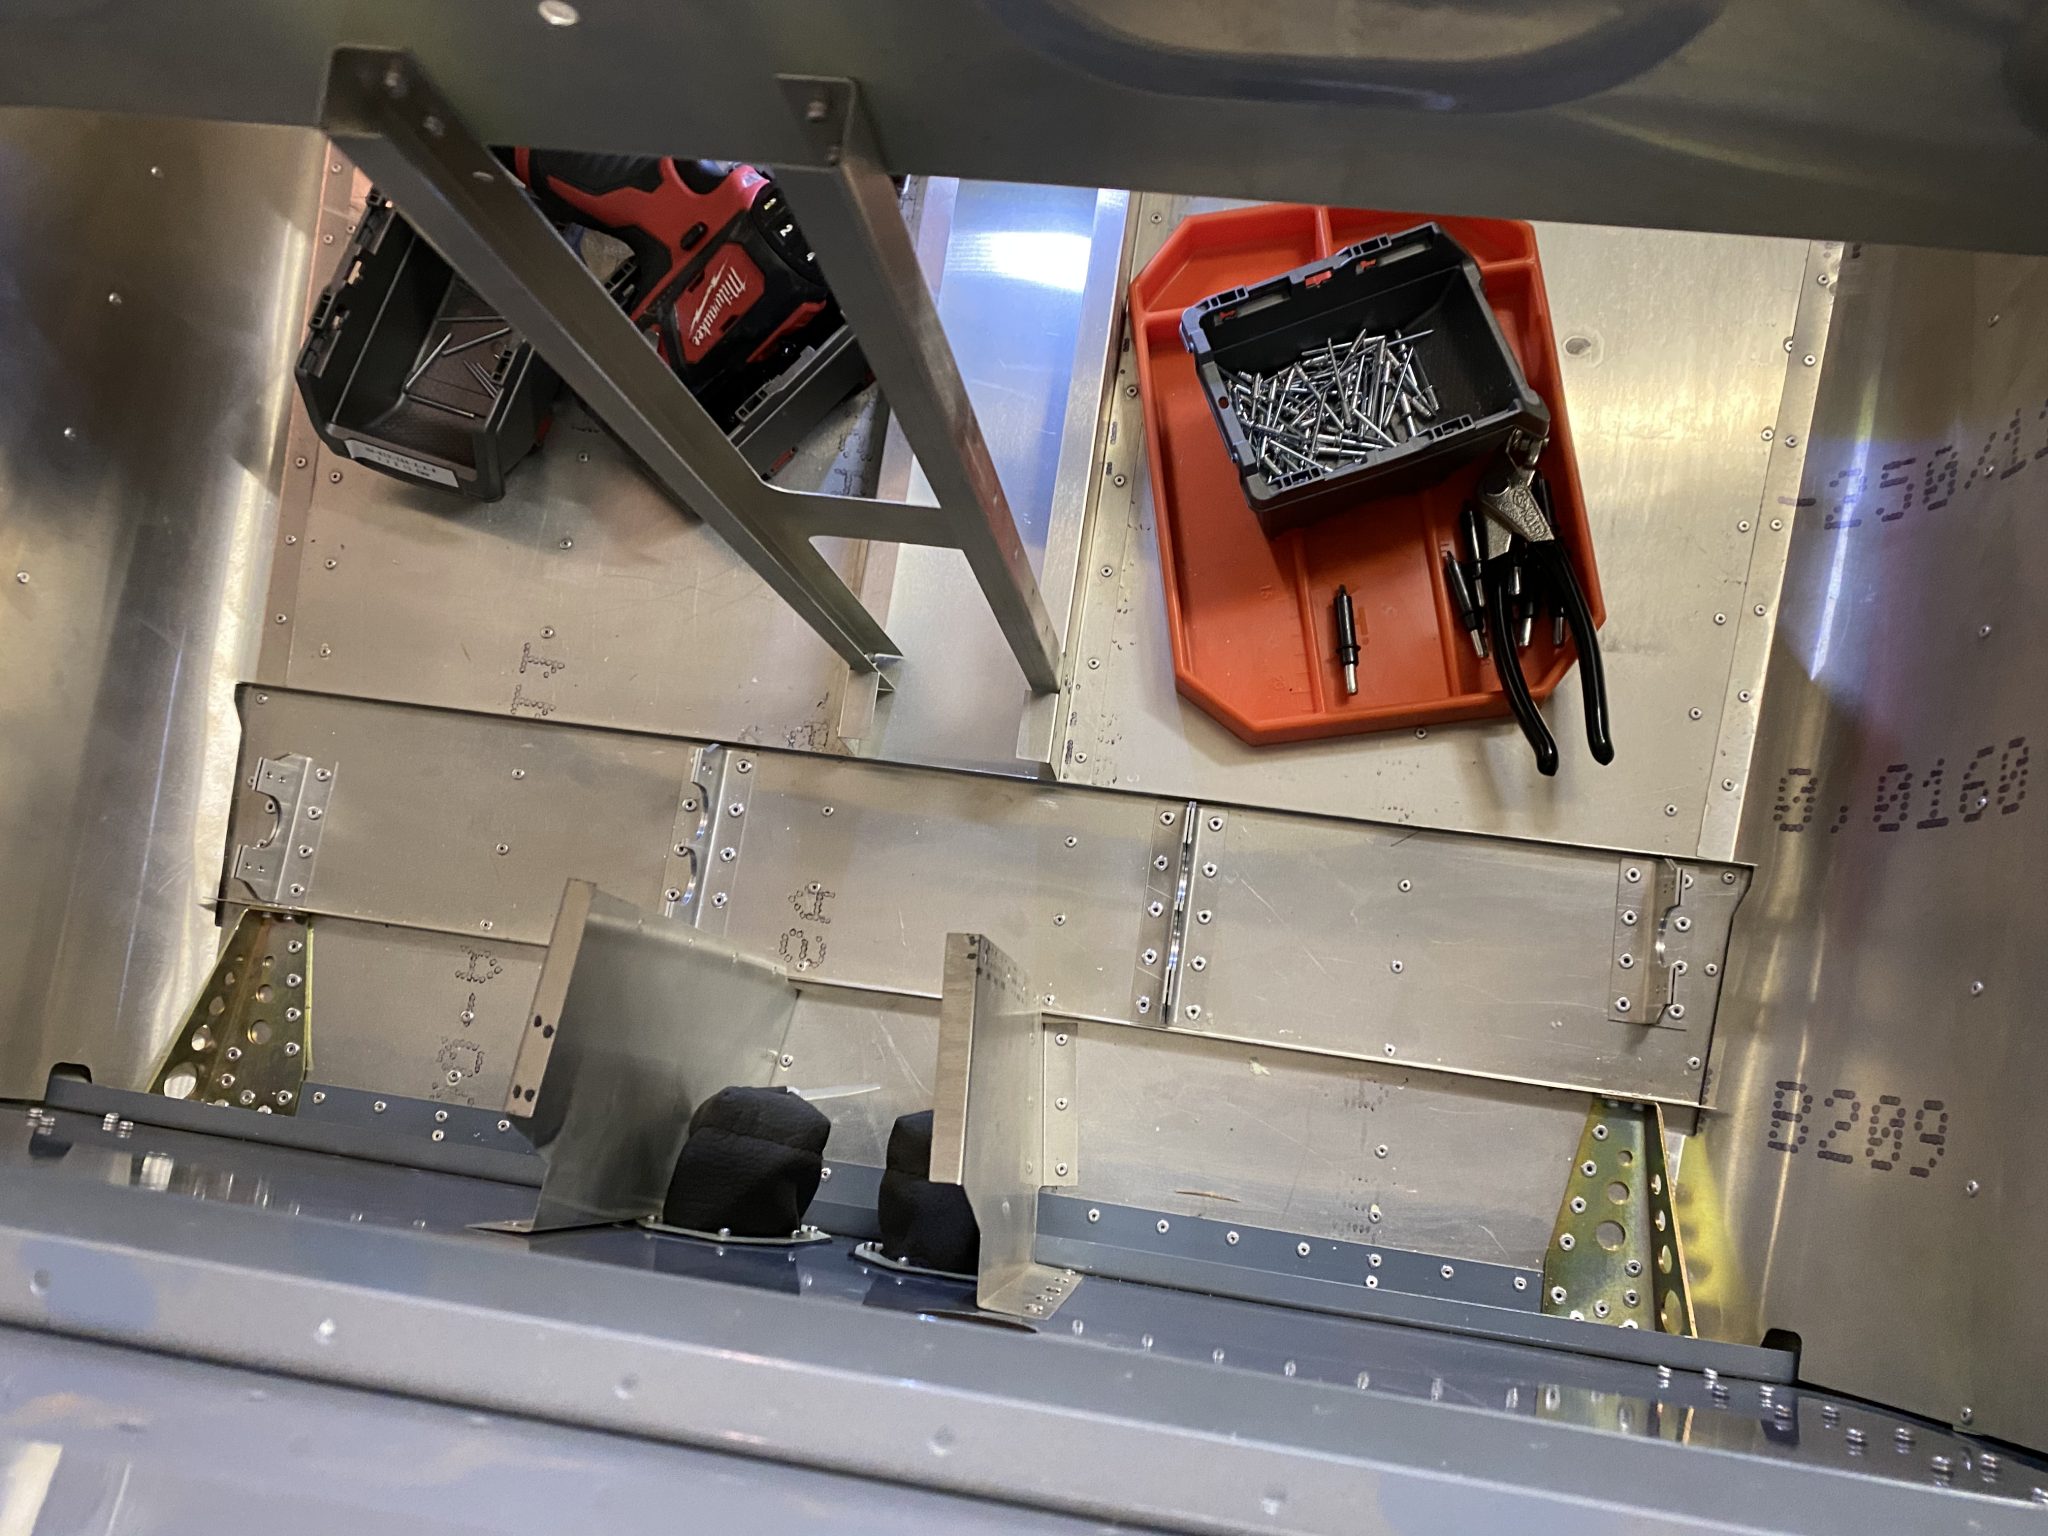
I inventoried all the parts for the rudder pedals the other day. It took a bit to find the pedal hardware bag. But luckily Juliana found it buried in my mountain of hardware bags on the table in the background.
I noticed that the right side pedal bar had cleaned up attach points, but the left side was missing it. So I had a bit of shaving it off to do. It was pretty easy using a utility knive and then a bit of sand paper to finish it off.

With that bit cleared up, all I had to do was slowly build it all up. I had to do a lot of moving left and right of the Fuselage to be able to reach down to put everything in.

With the bottom brackets installed I started putting it all together.

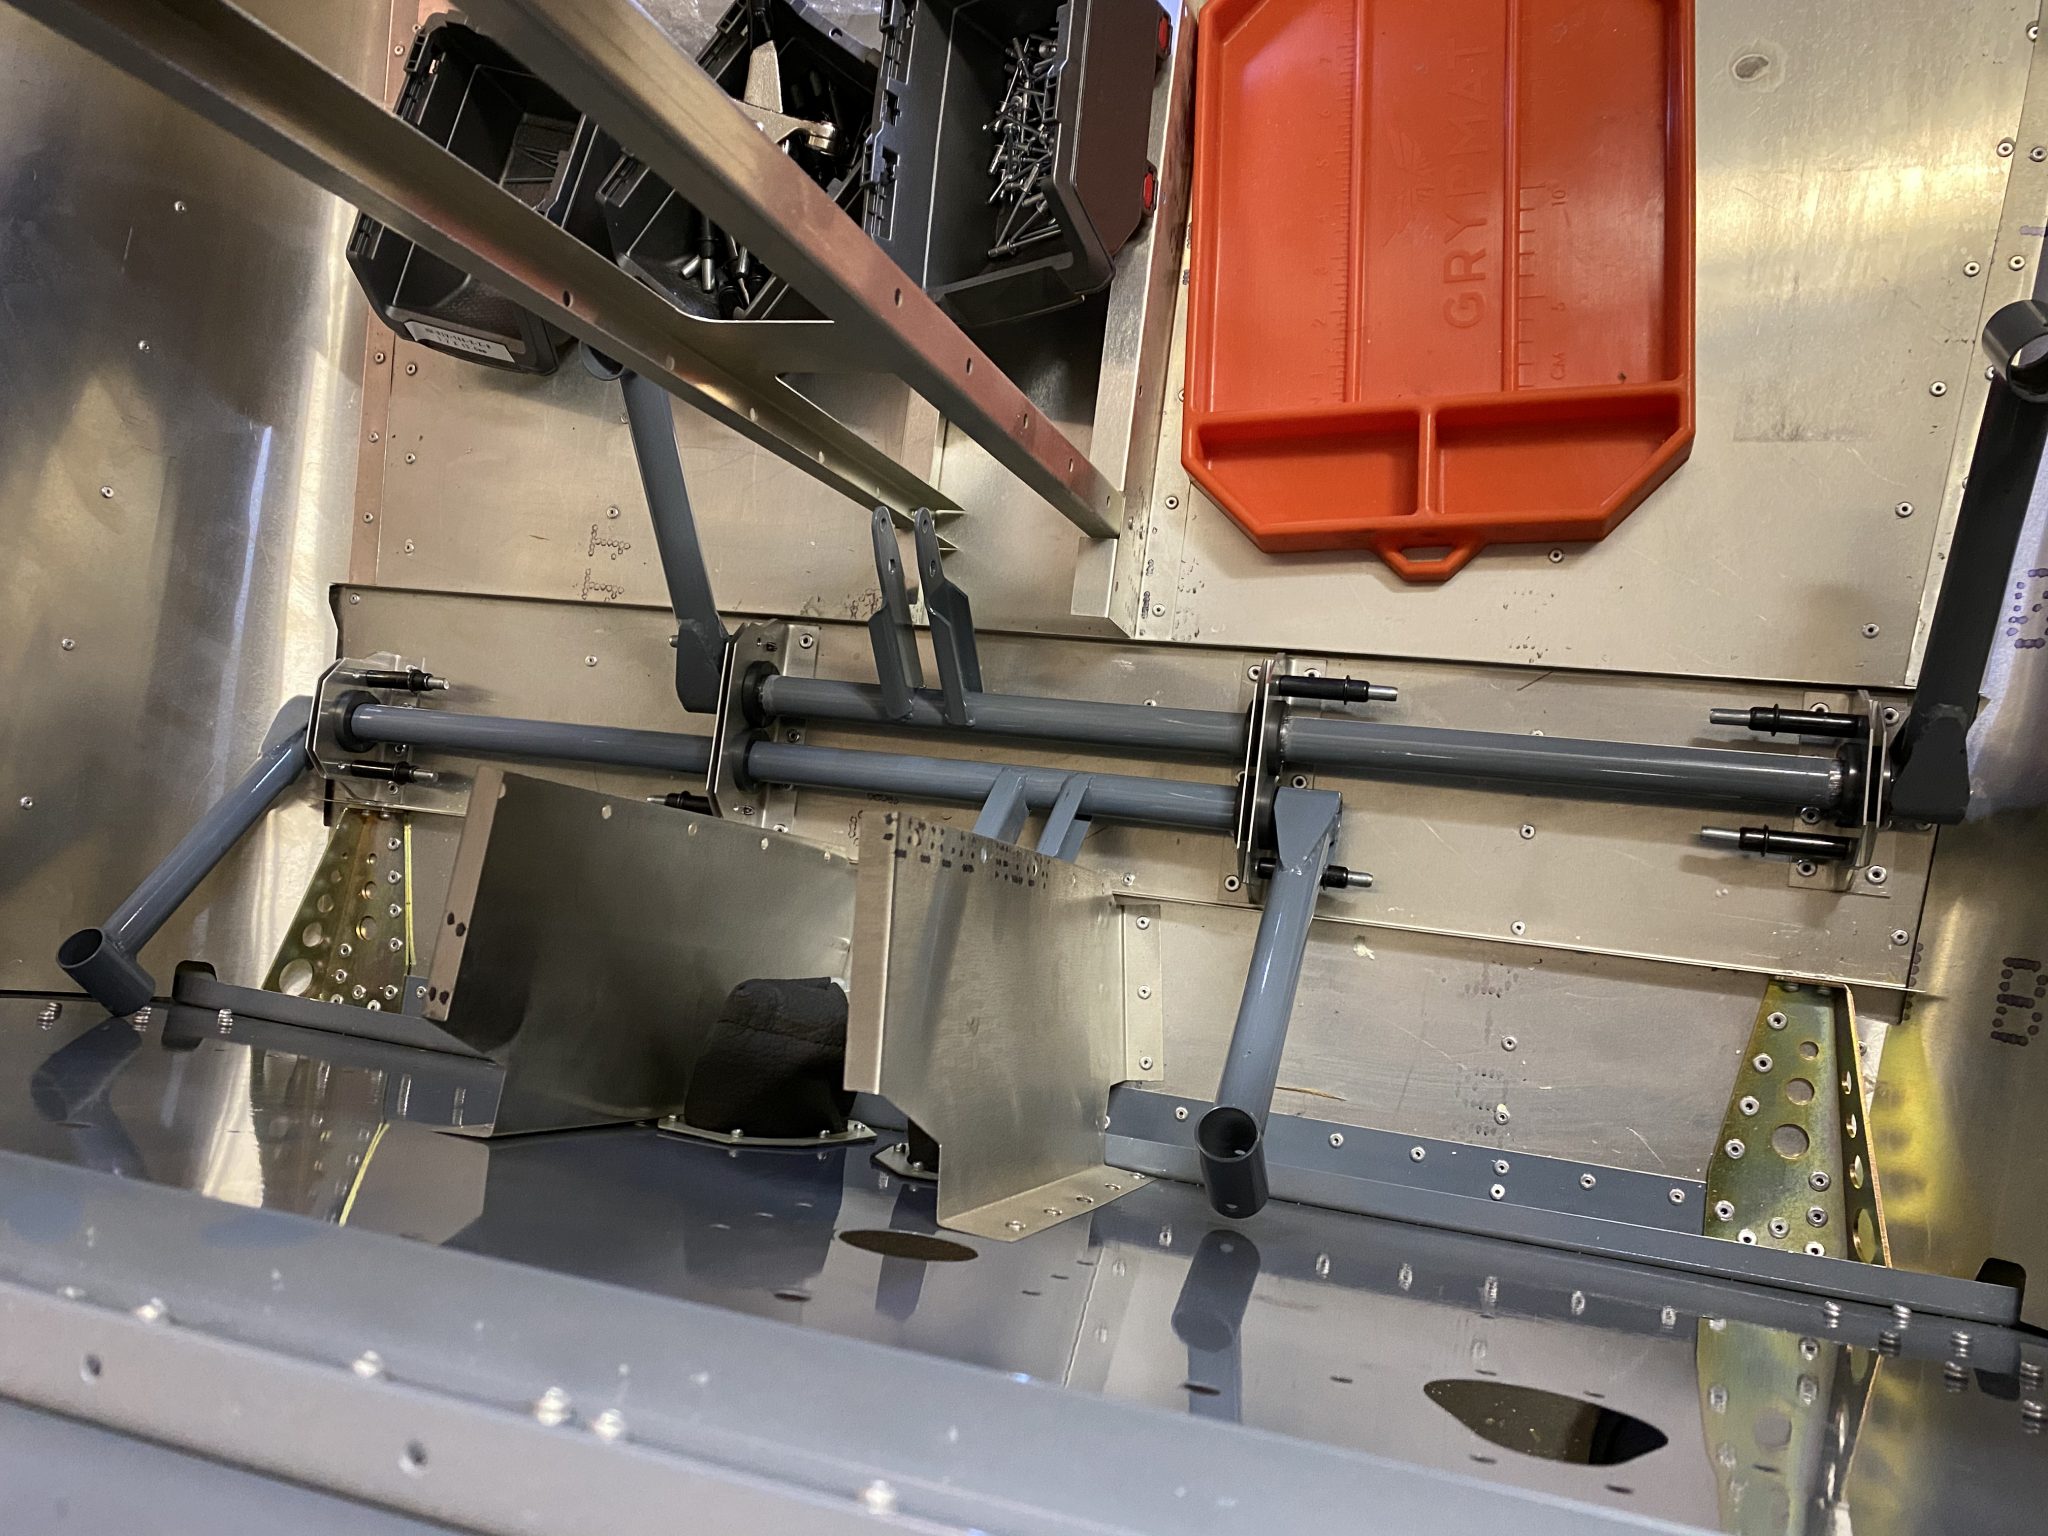
With the brackets in place, I then temporarily put together the stops with the AN bolts. That way I don’t have to go looking for the hardware later when I attach the rudder cables to the pedals.

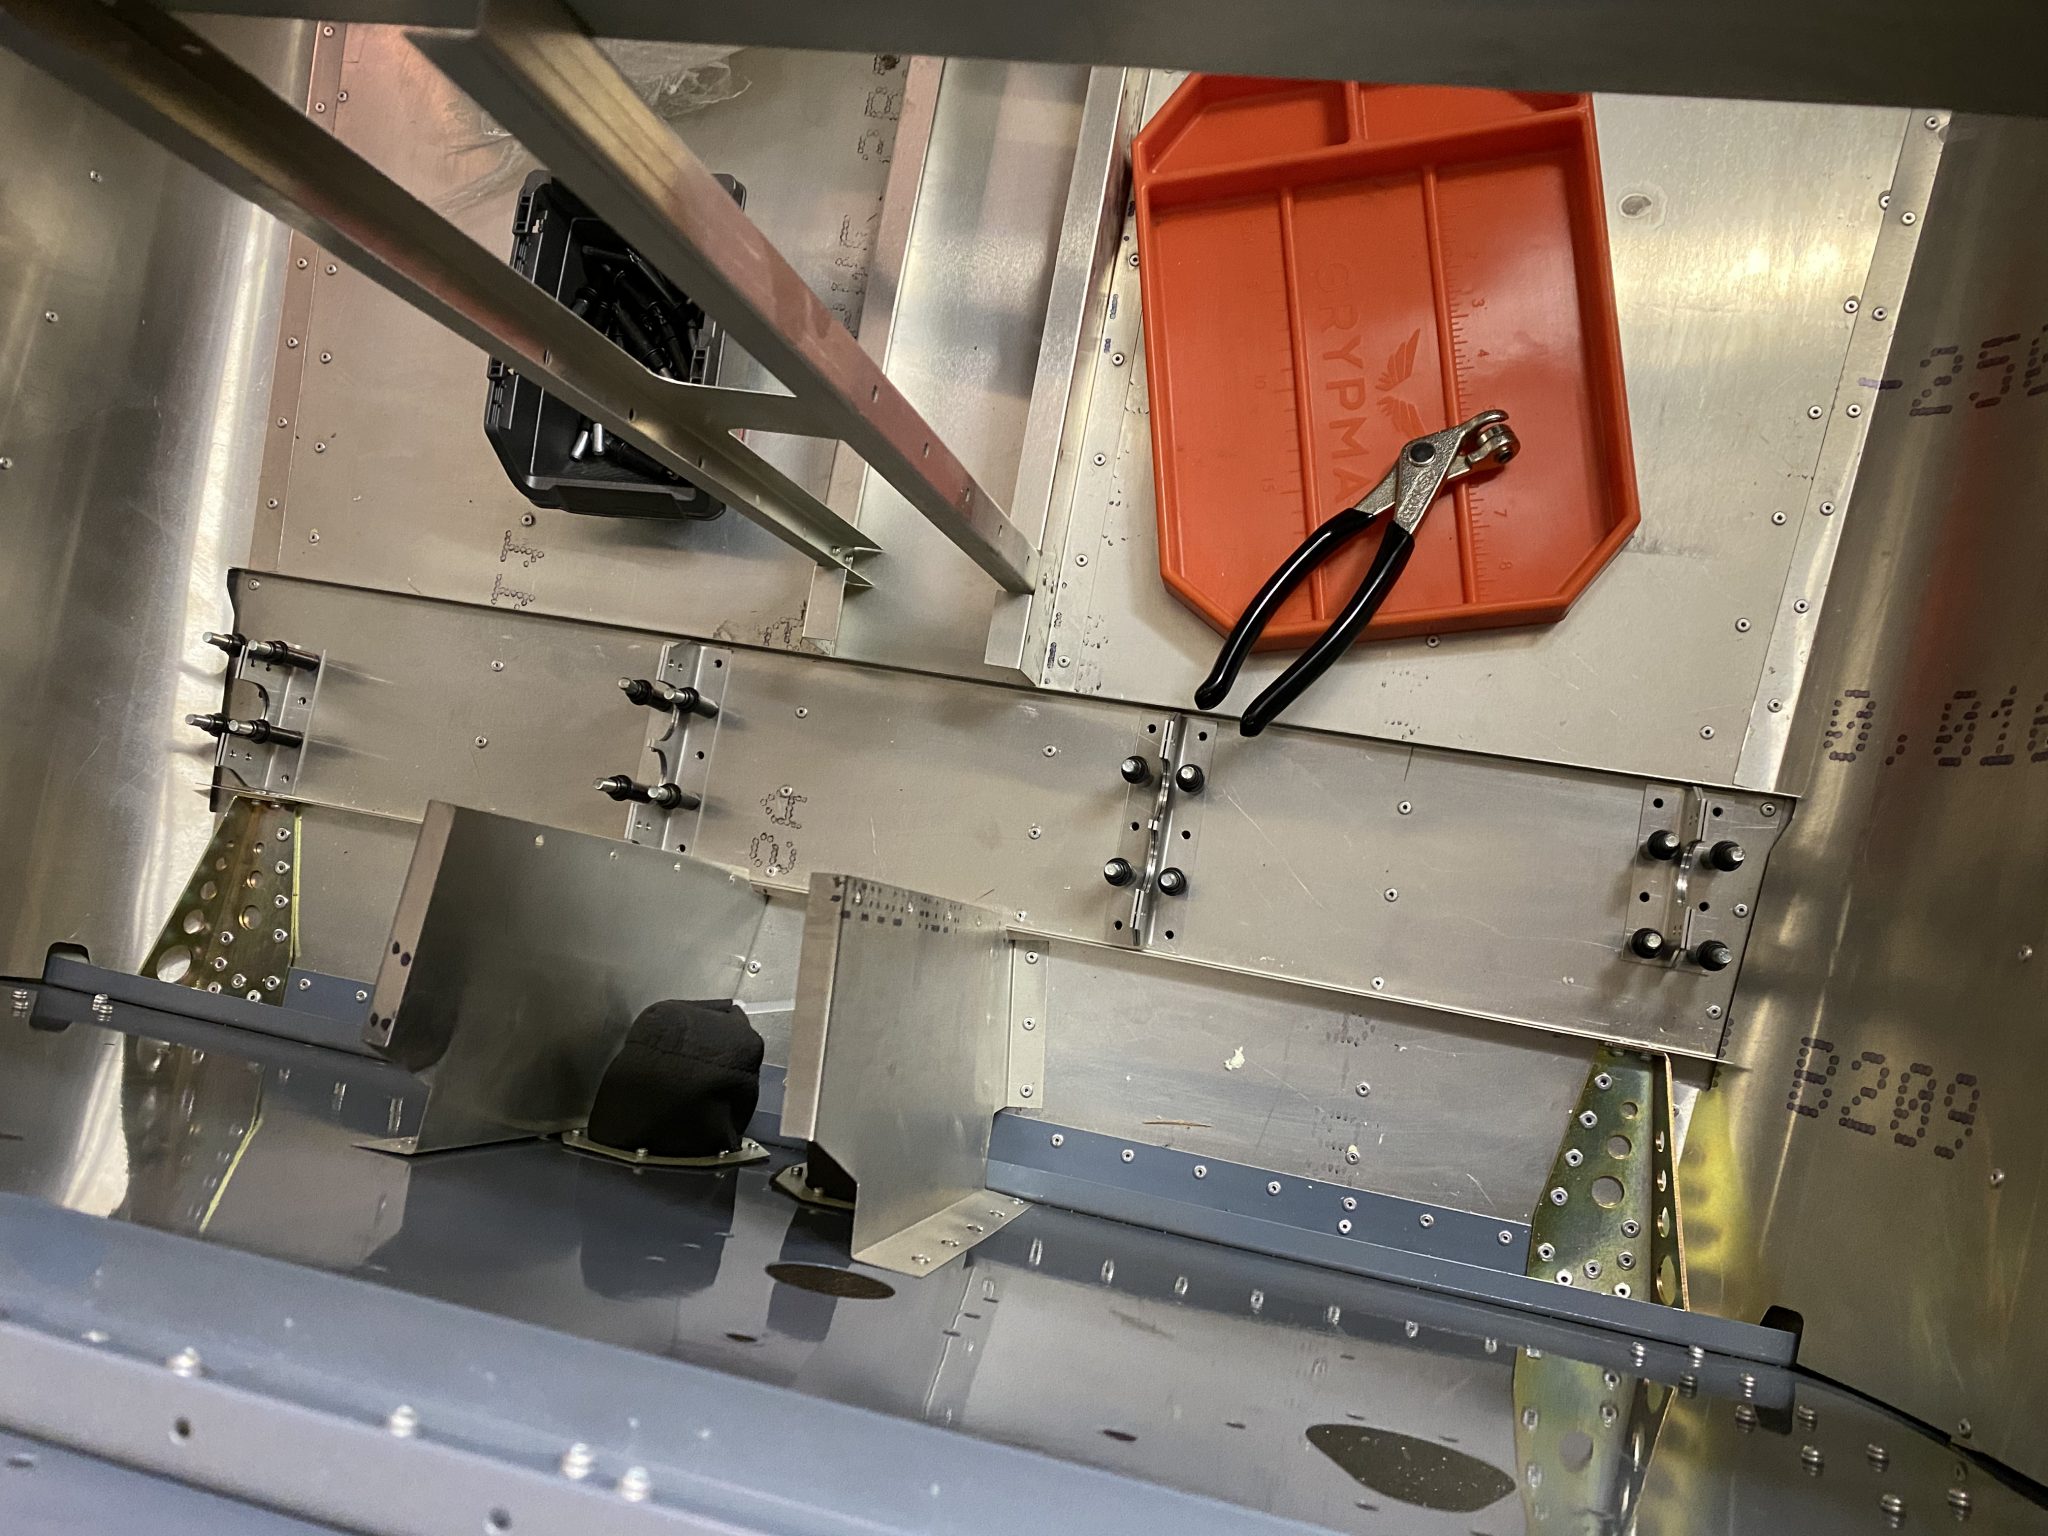
The next step was to rivet the brackets in place. This was trickier than I thought due to the tight space. In retrospect I should have temporarily put the brackets together before putting them in, which would have made reaming the holes a lot easier since I couldn’t fit my drill in properly, so I had to turn the reamer bit with my hand for a bit.
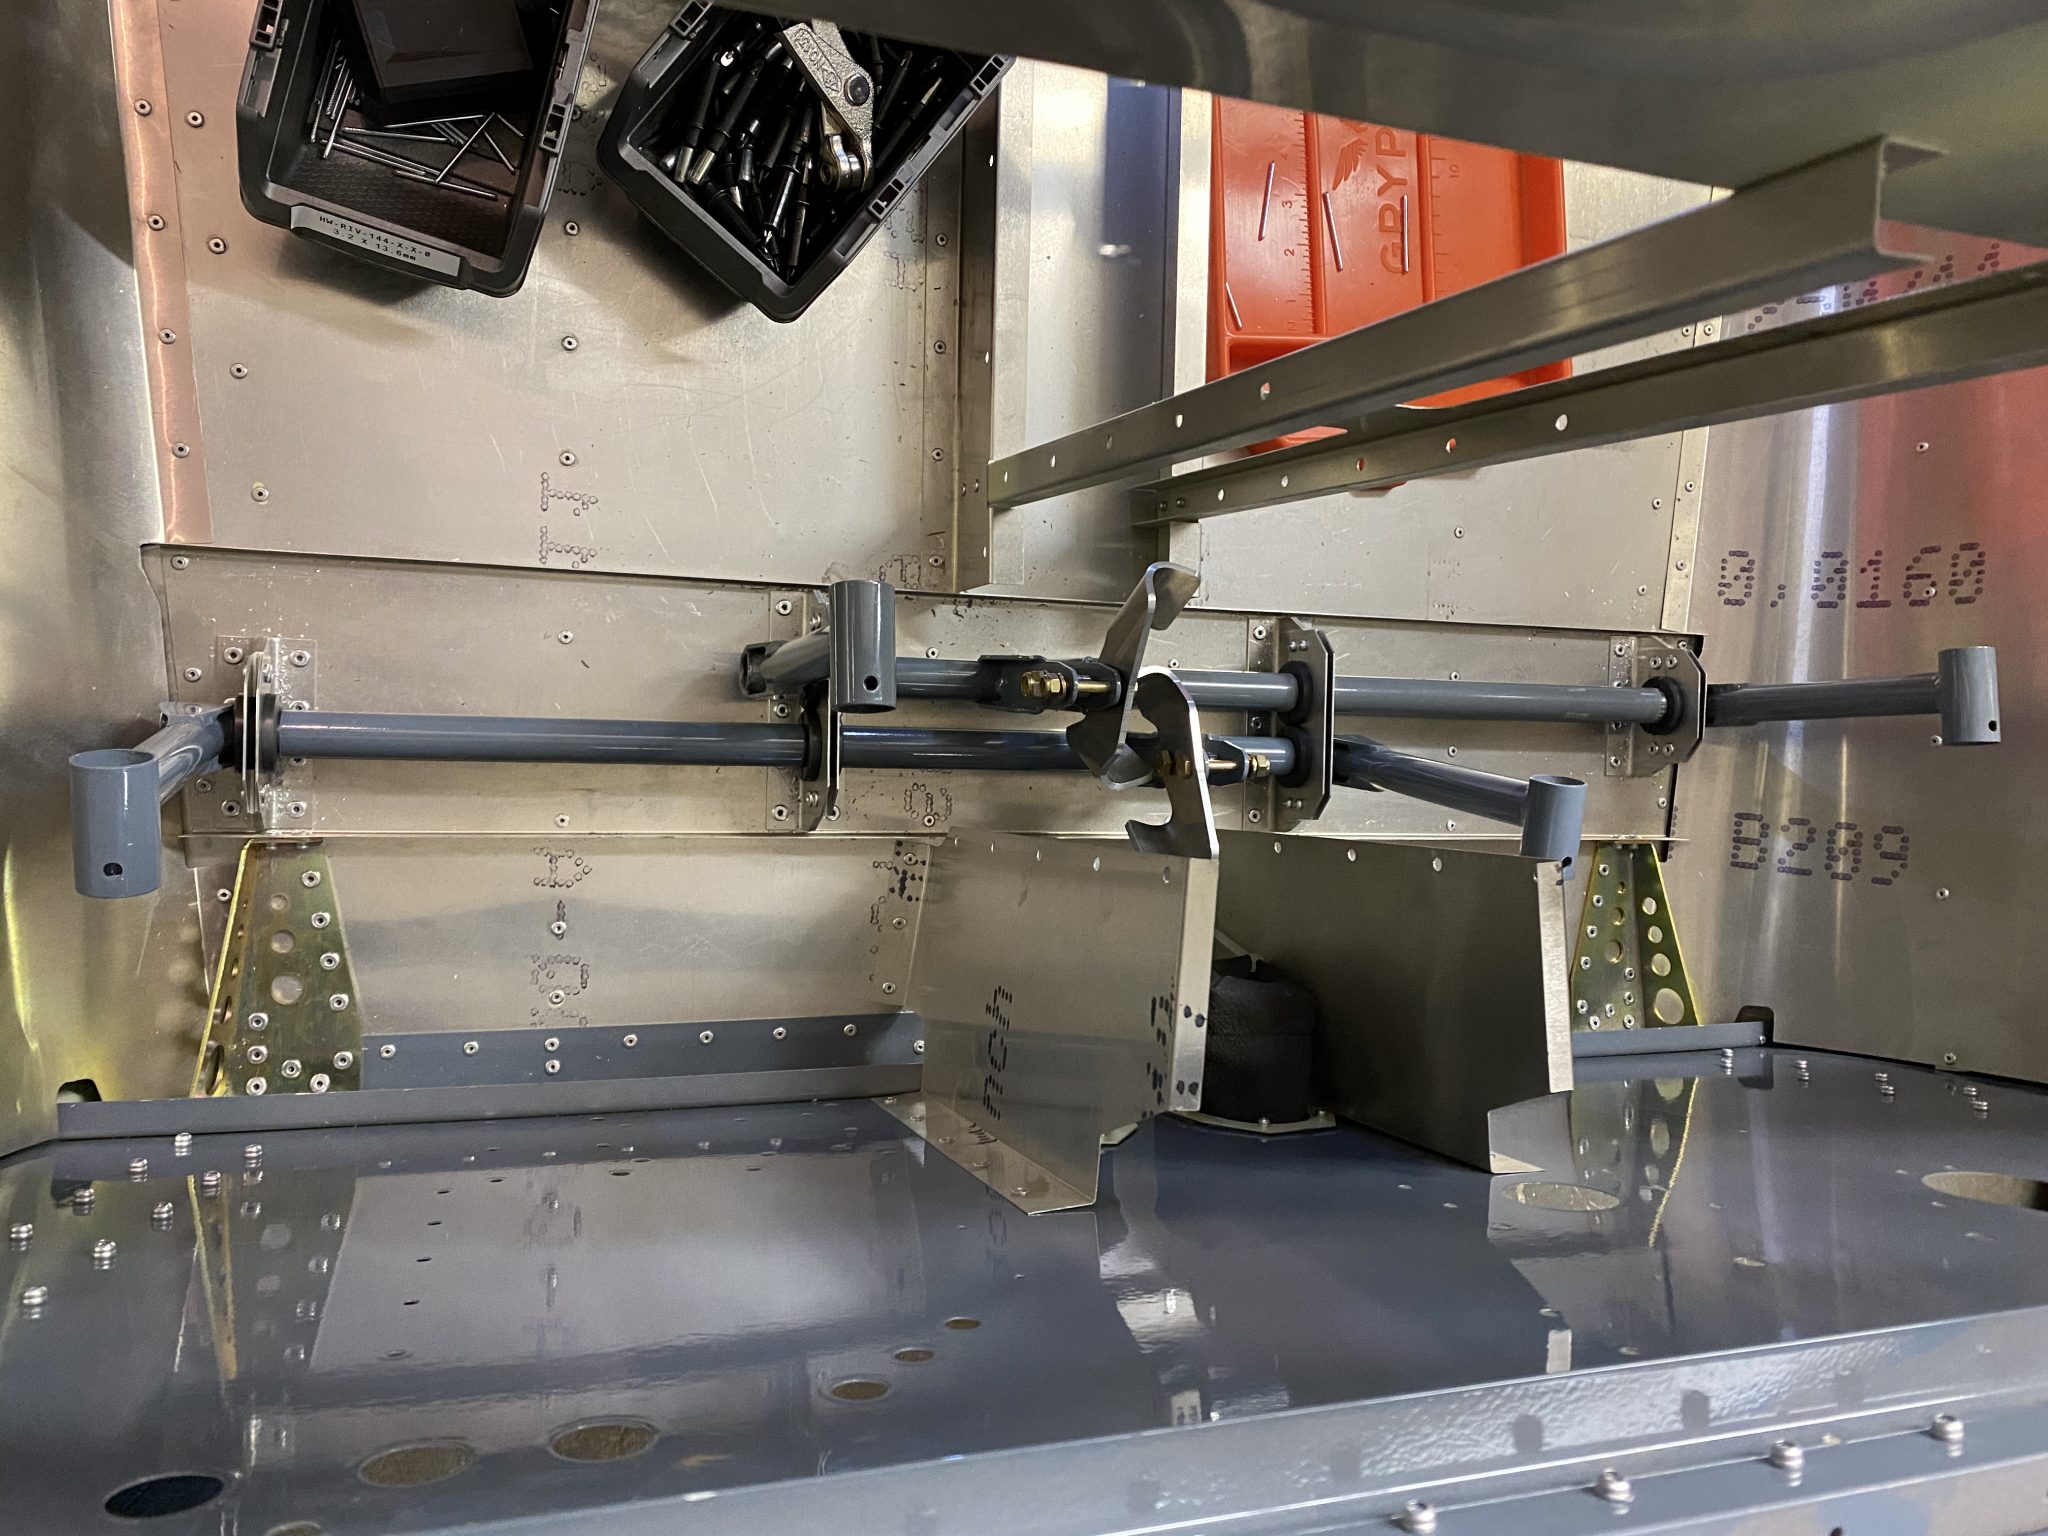
And finally, attaching the pedals to the bars. There are 3 possible depths and I’m not sure yet which will be the best fit. For now I put them on loosely until I have fit the seats and can do a test sit.