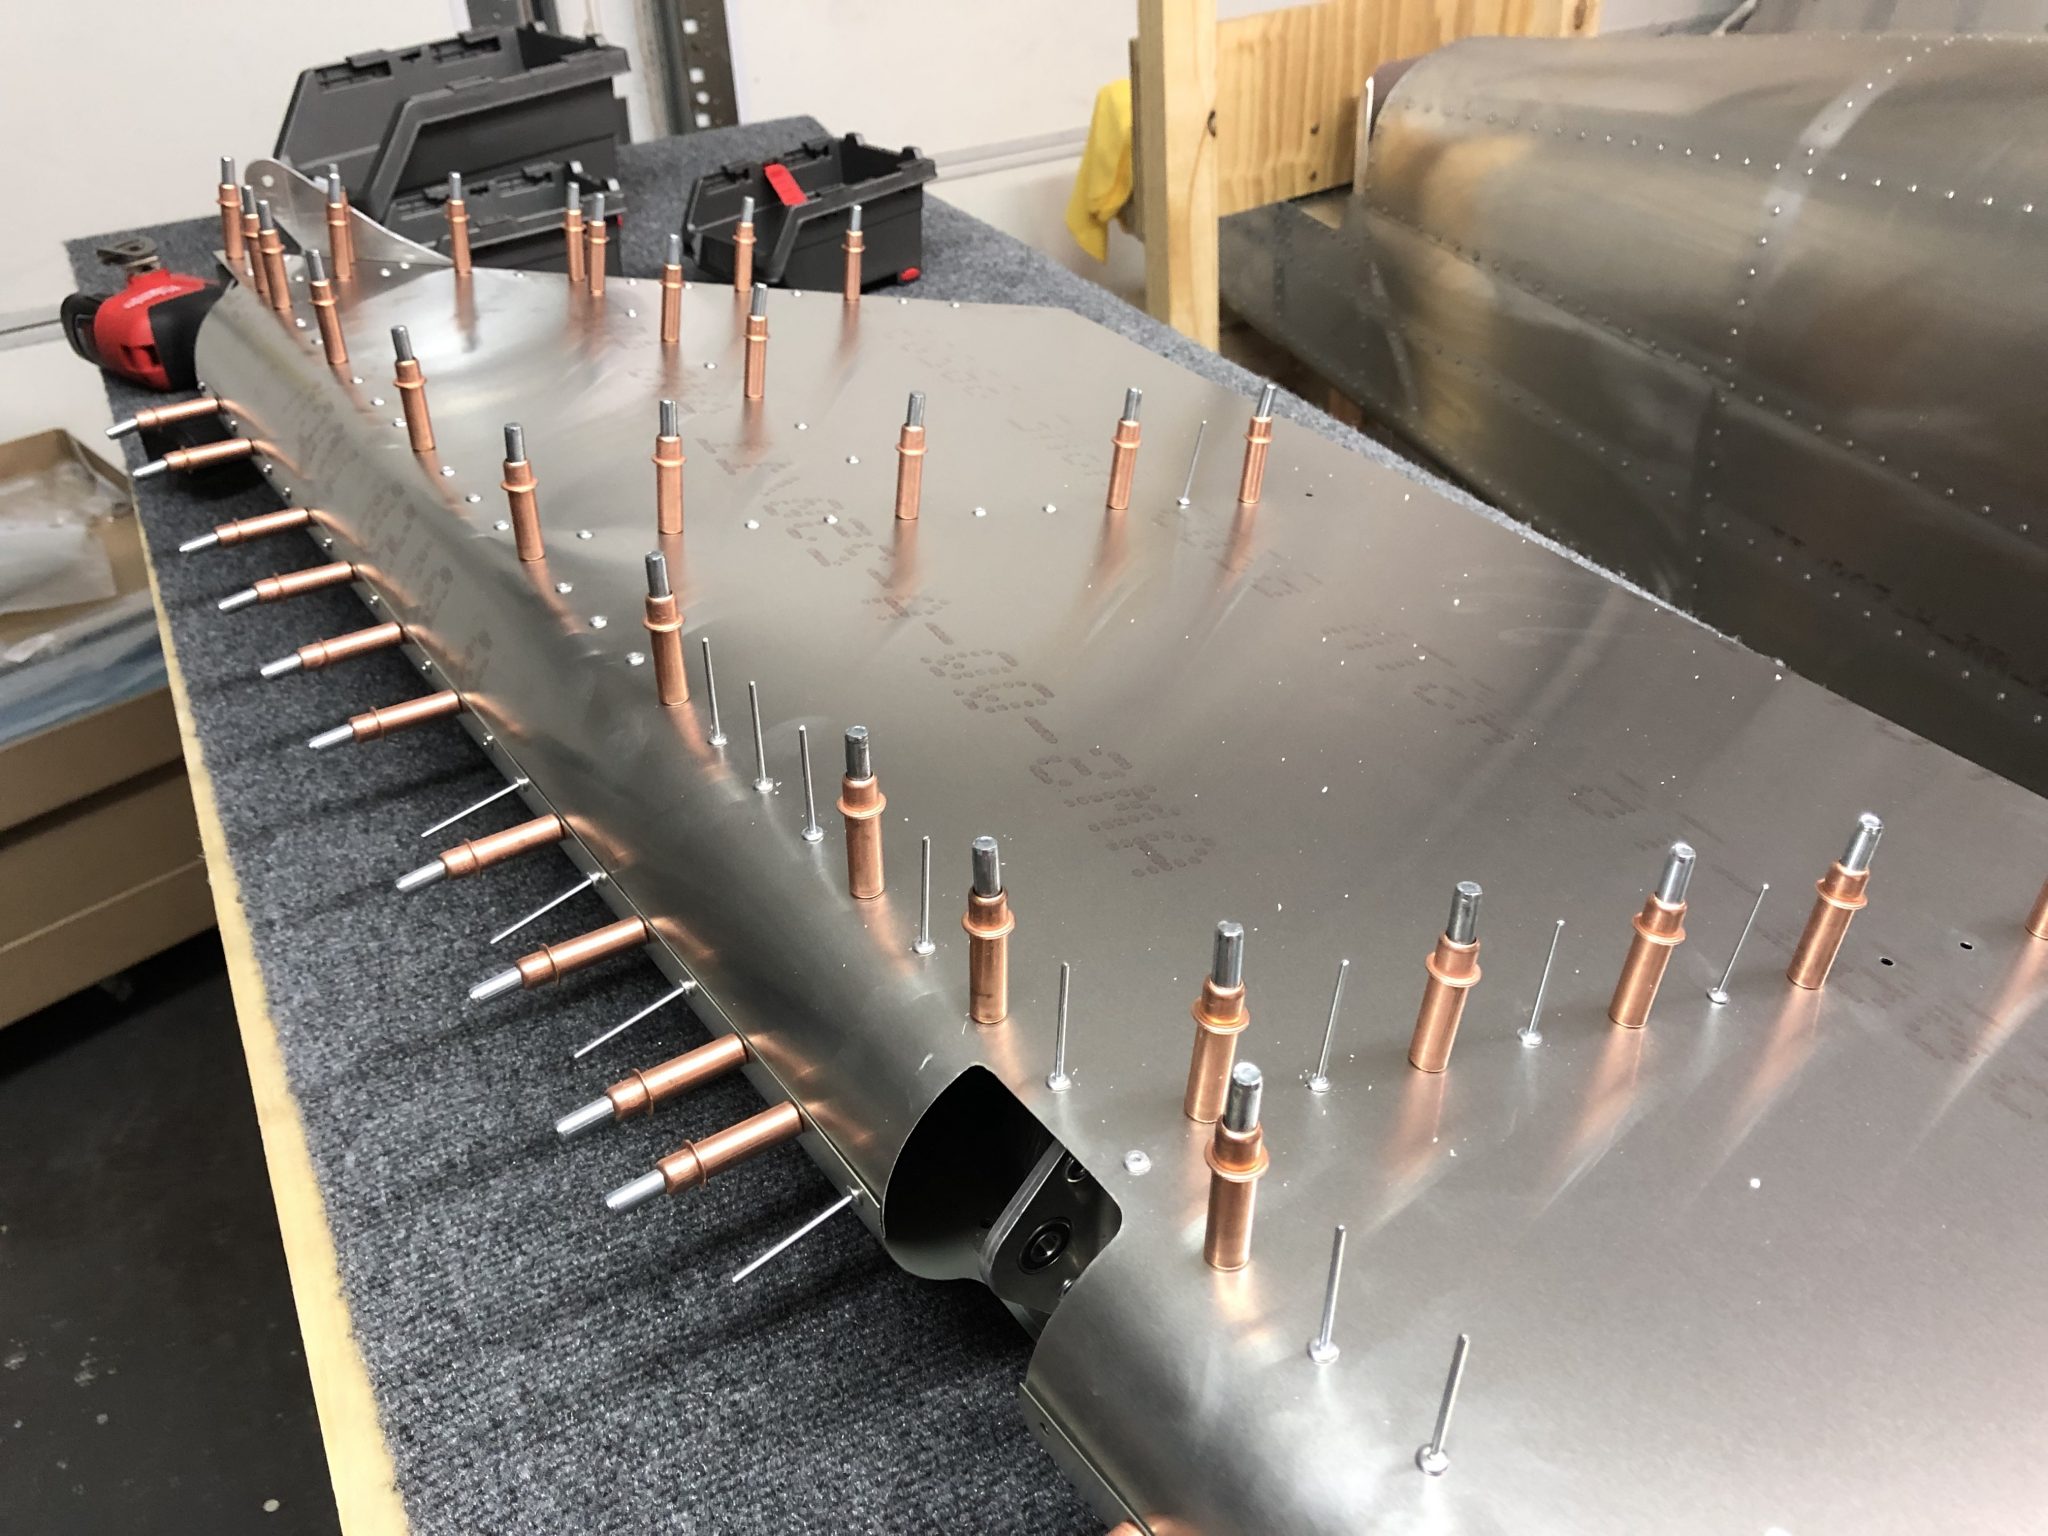
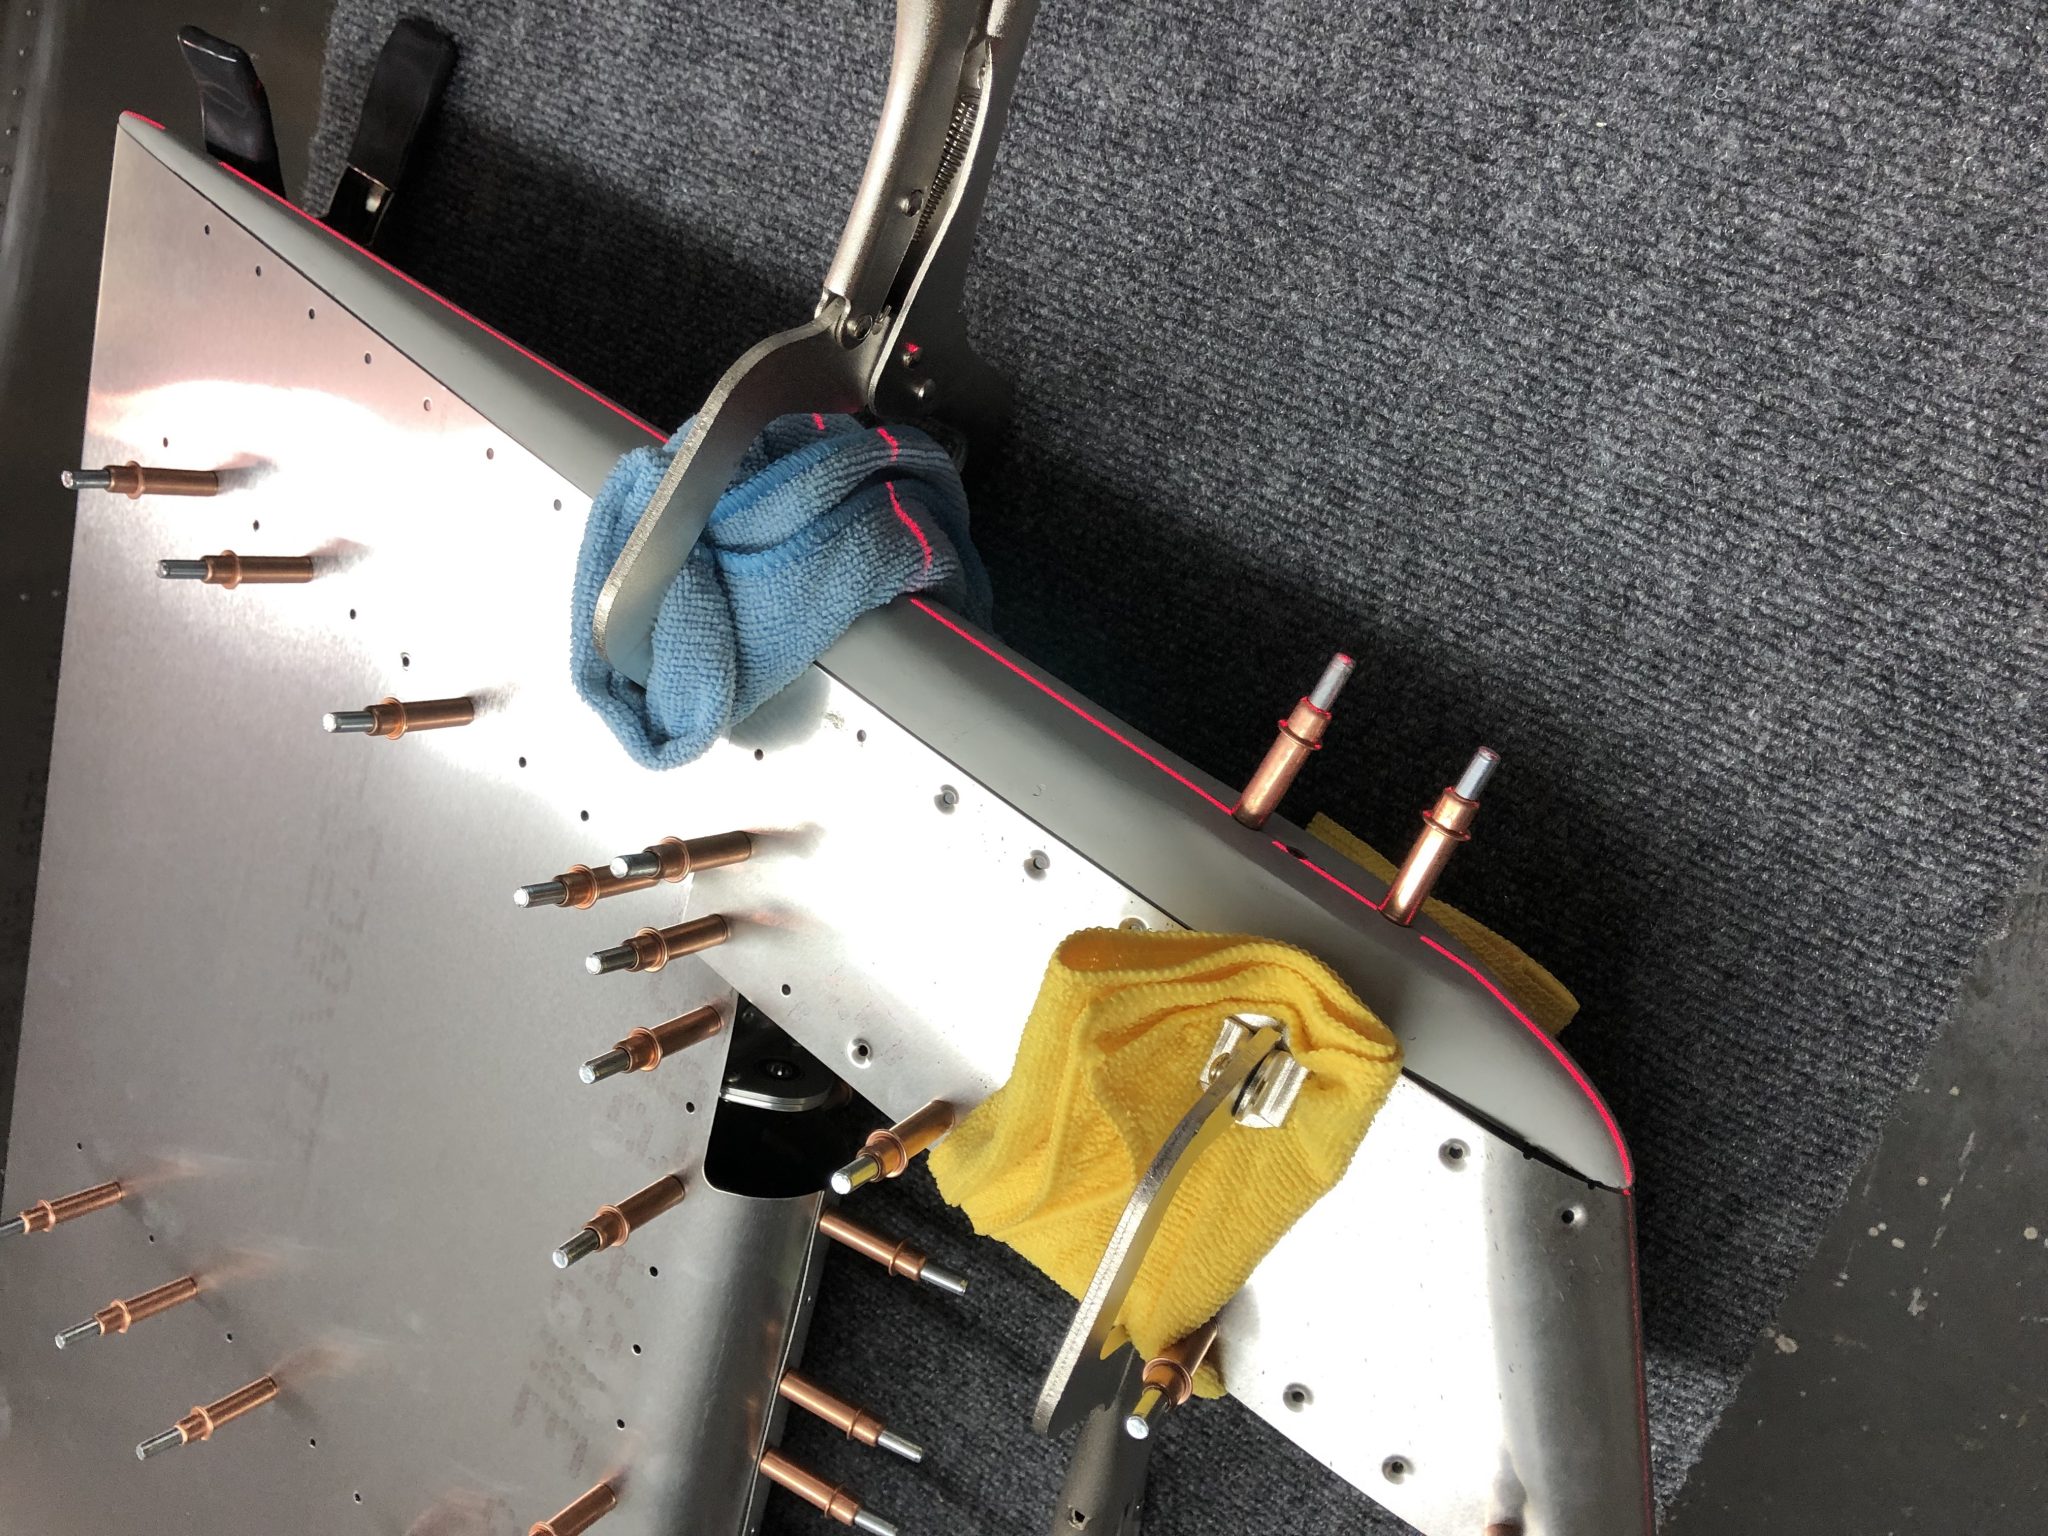
After having primed the inner surface of the Rudder skin the other day, I had all the pieces together to start working on finishing the rudder.
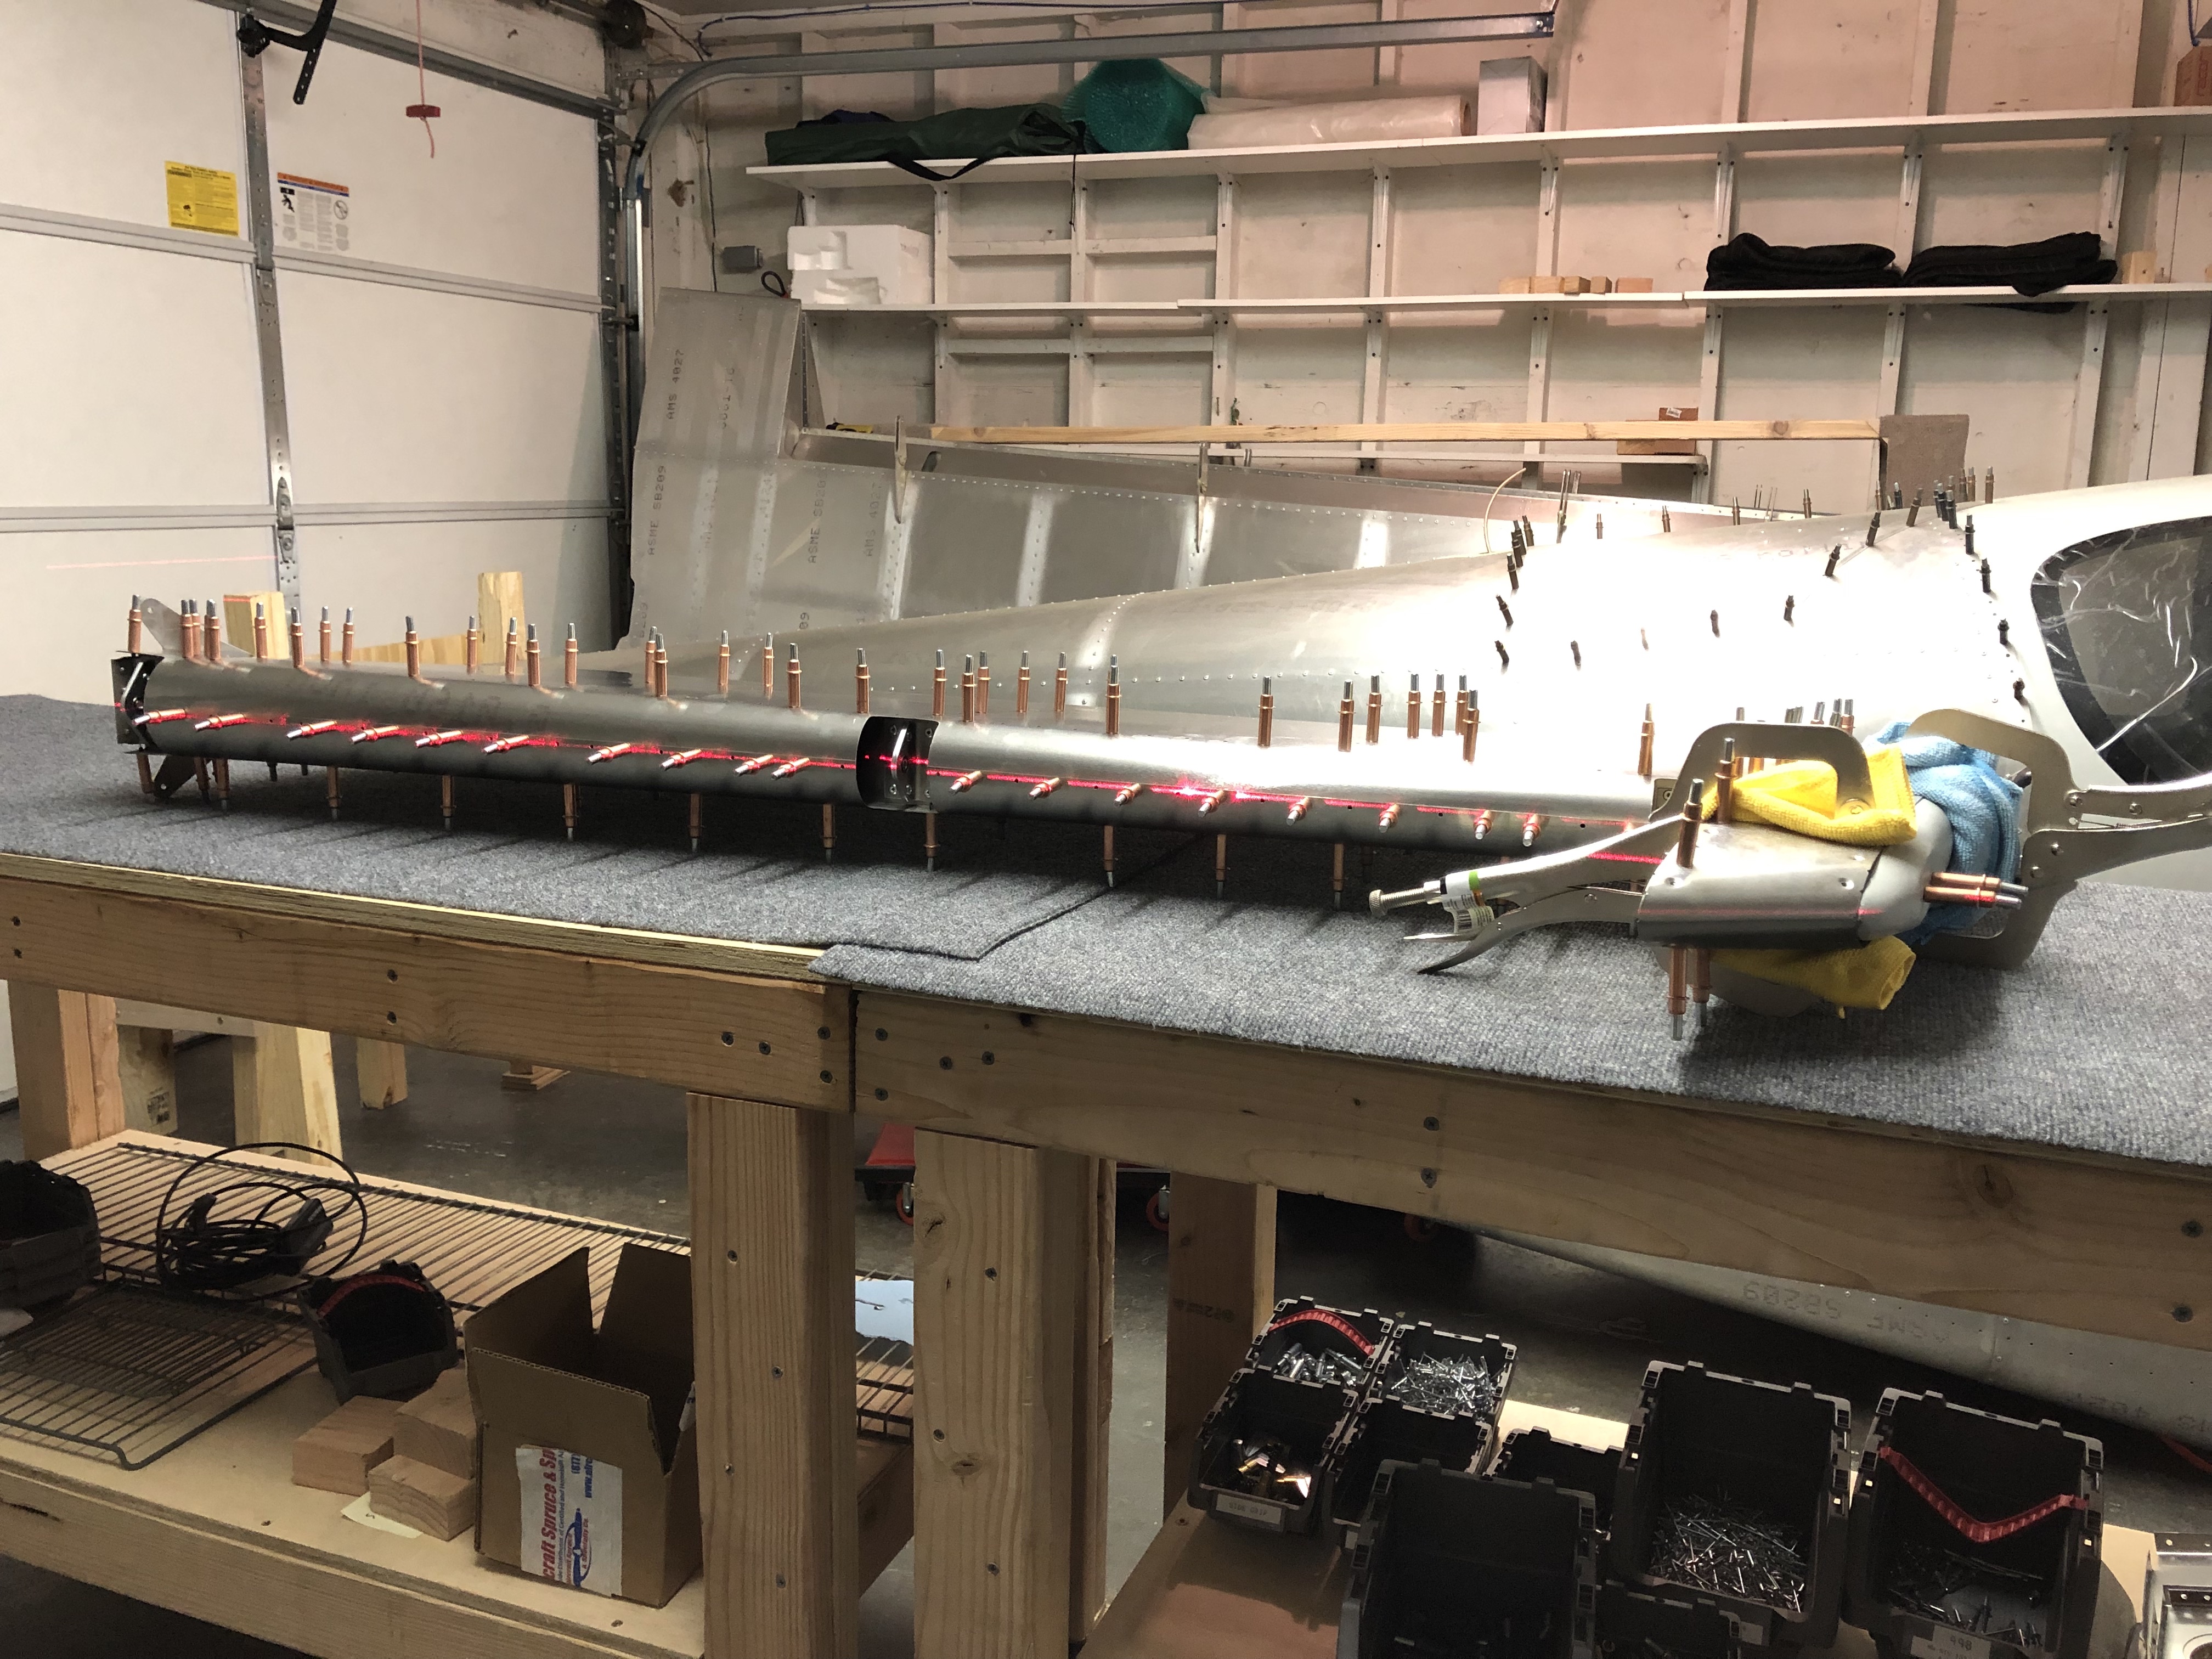
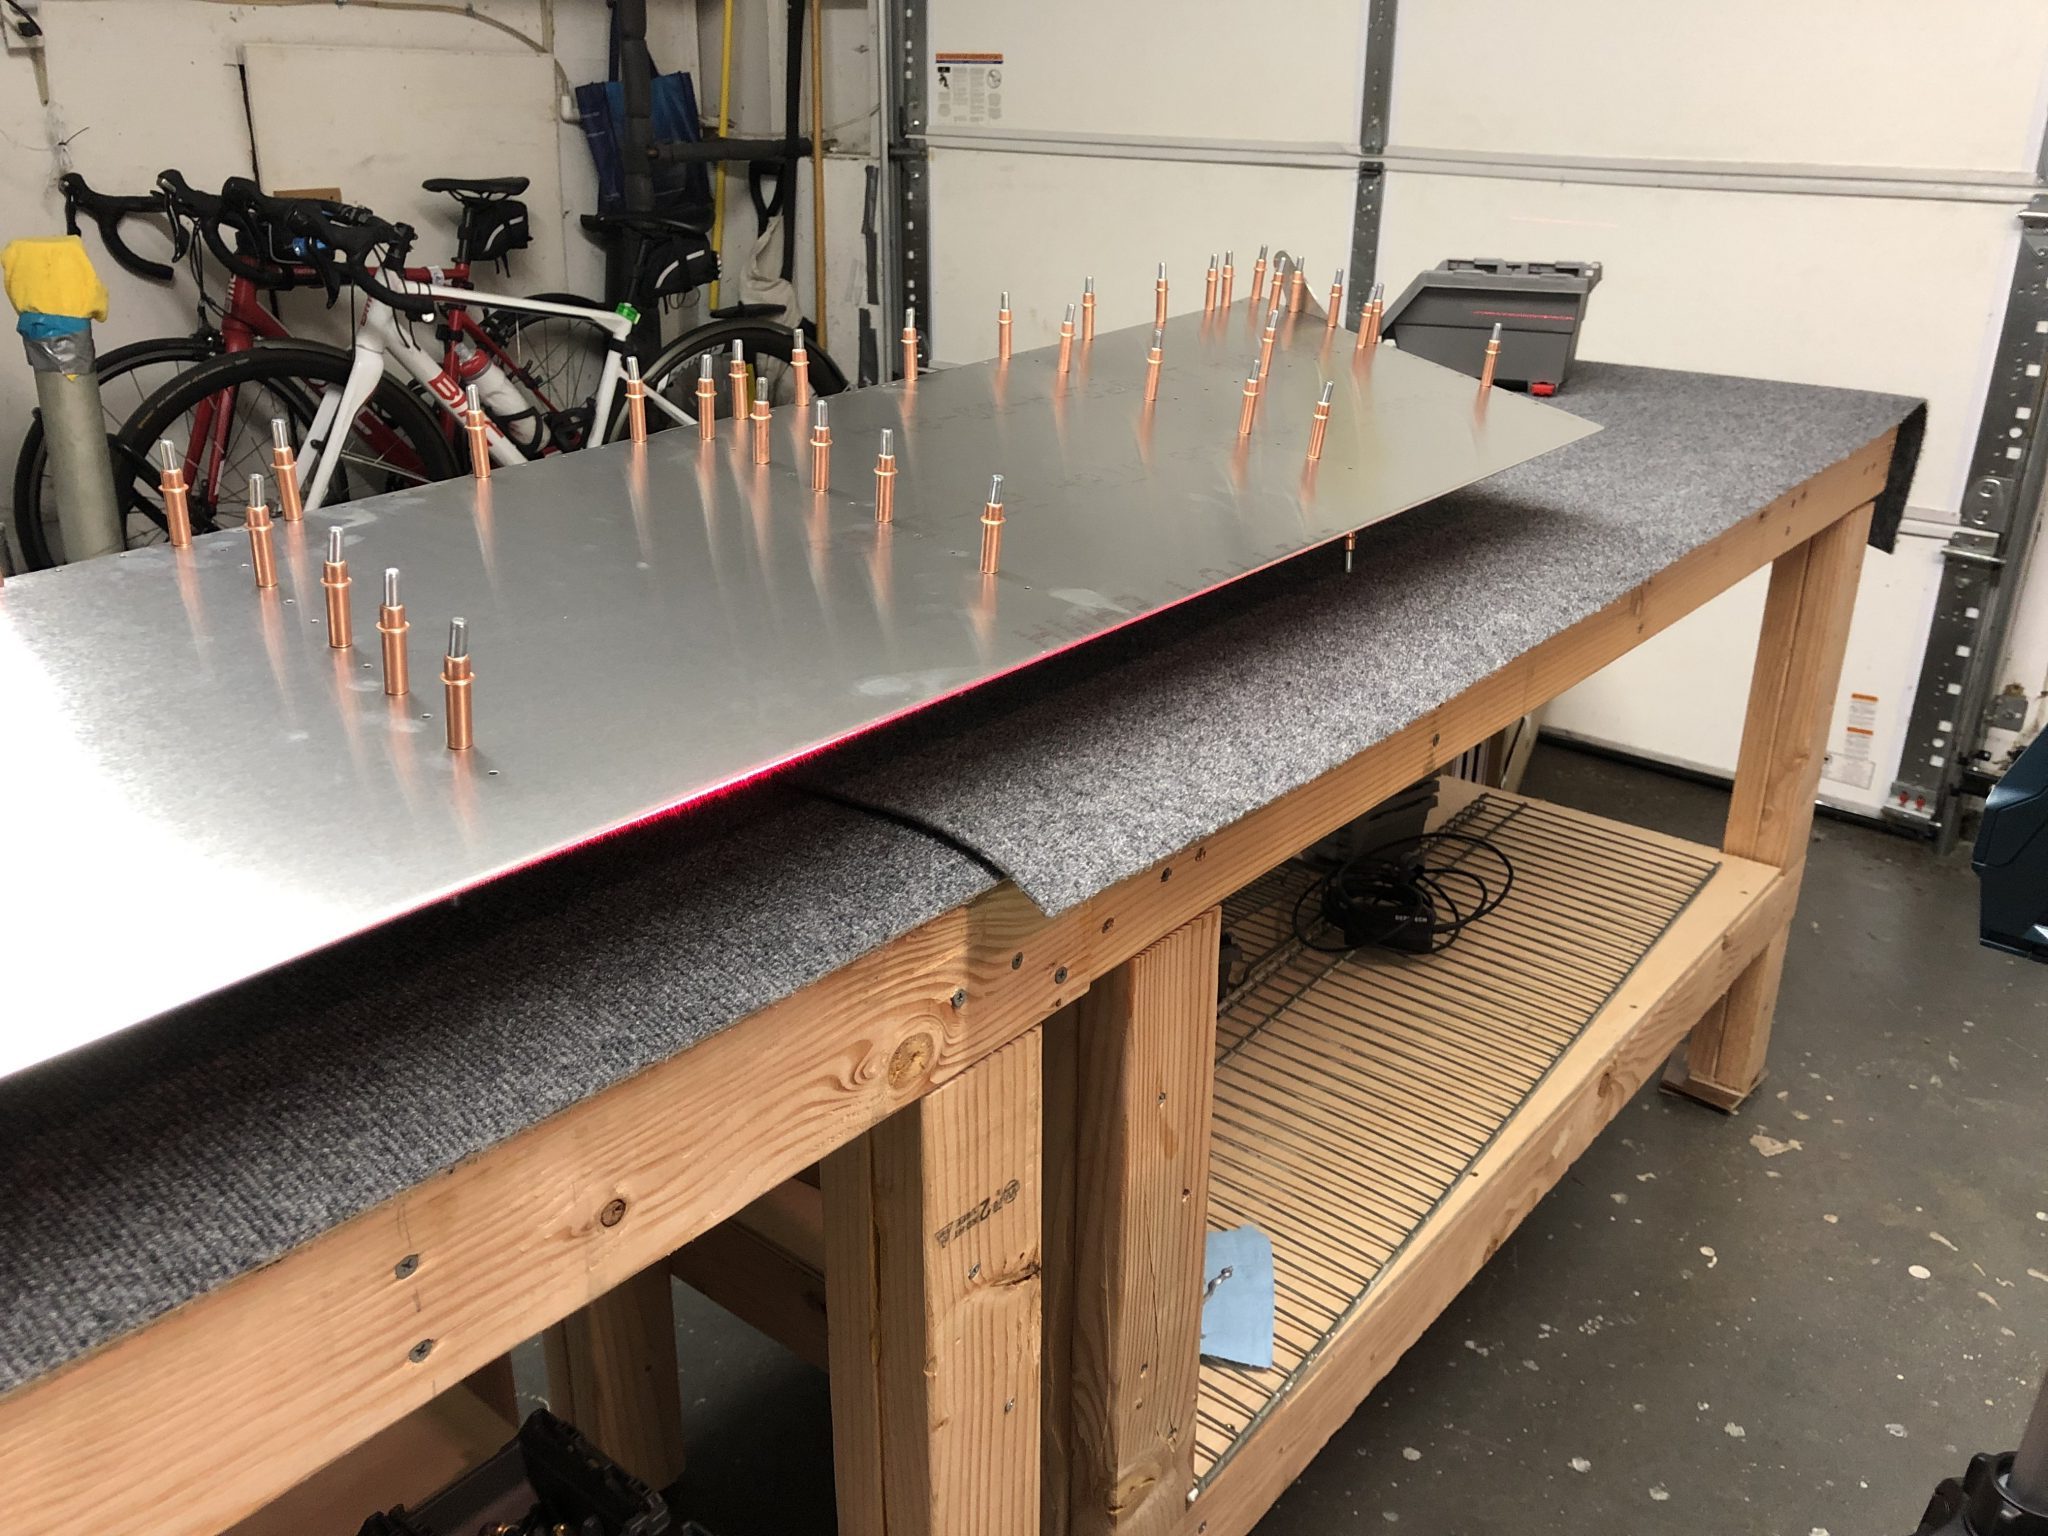
I attached the skin onto the structure and clecoed it into place.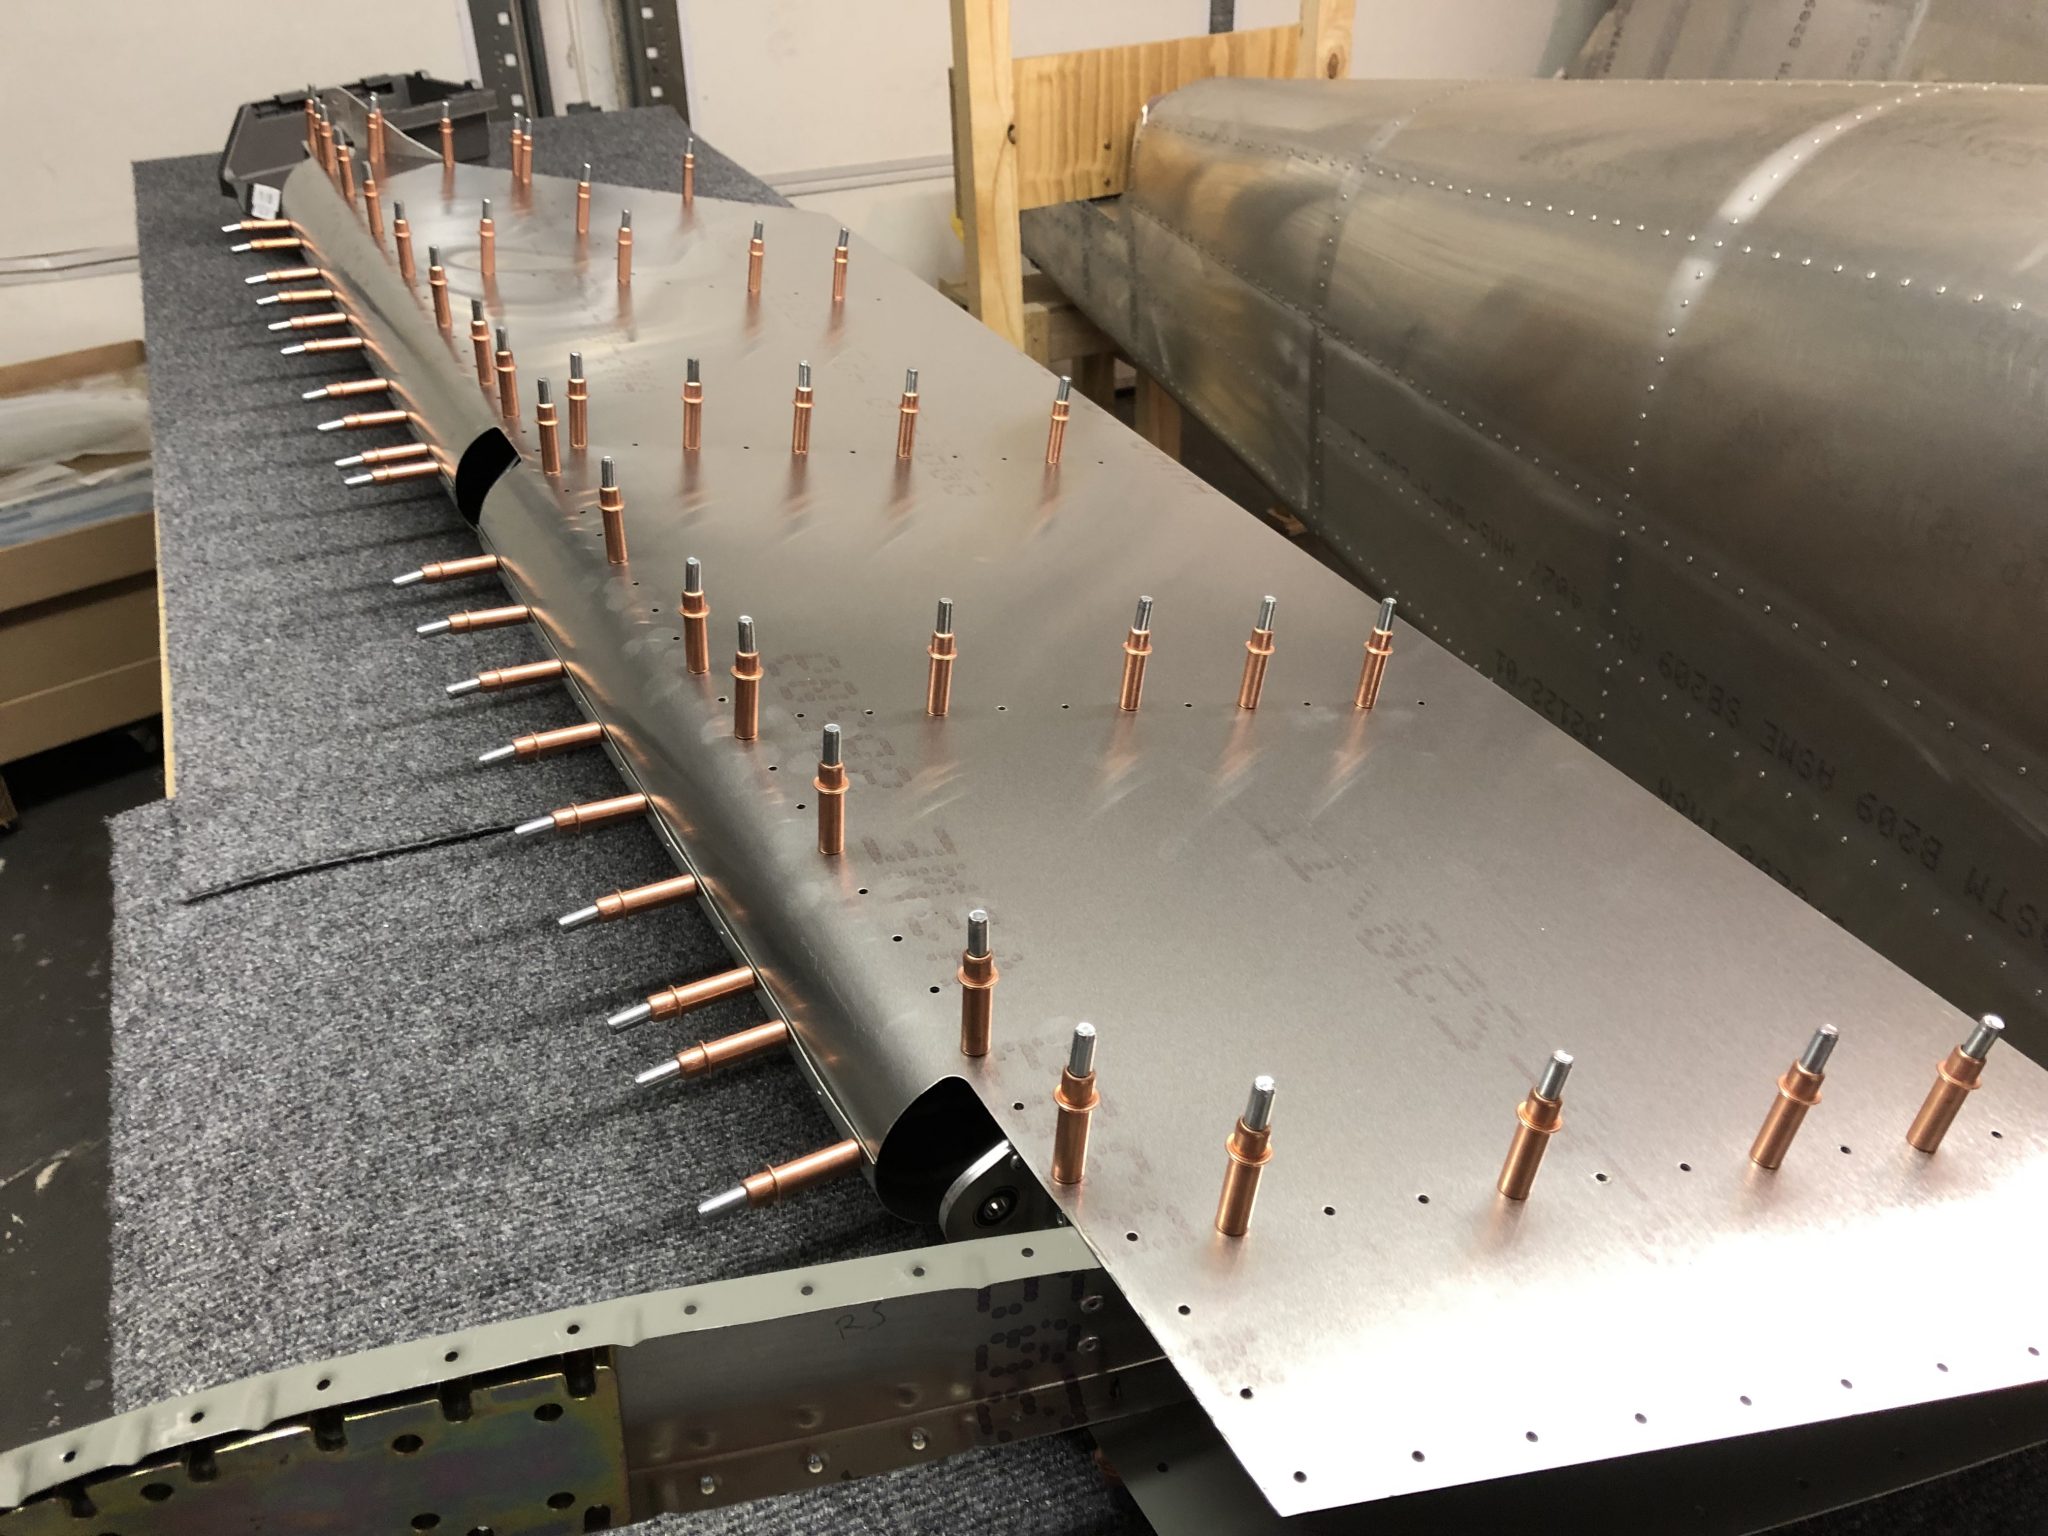
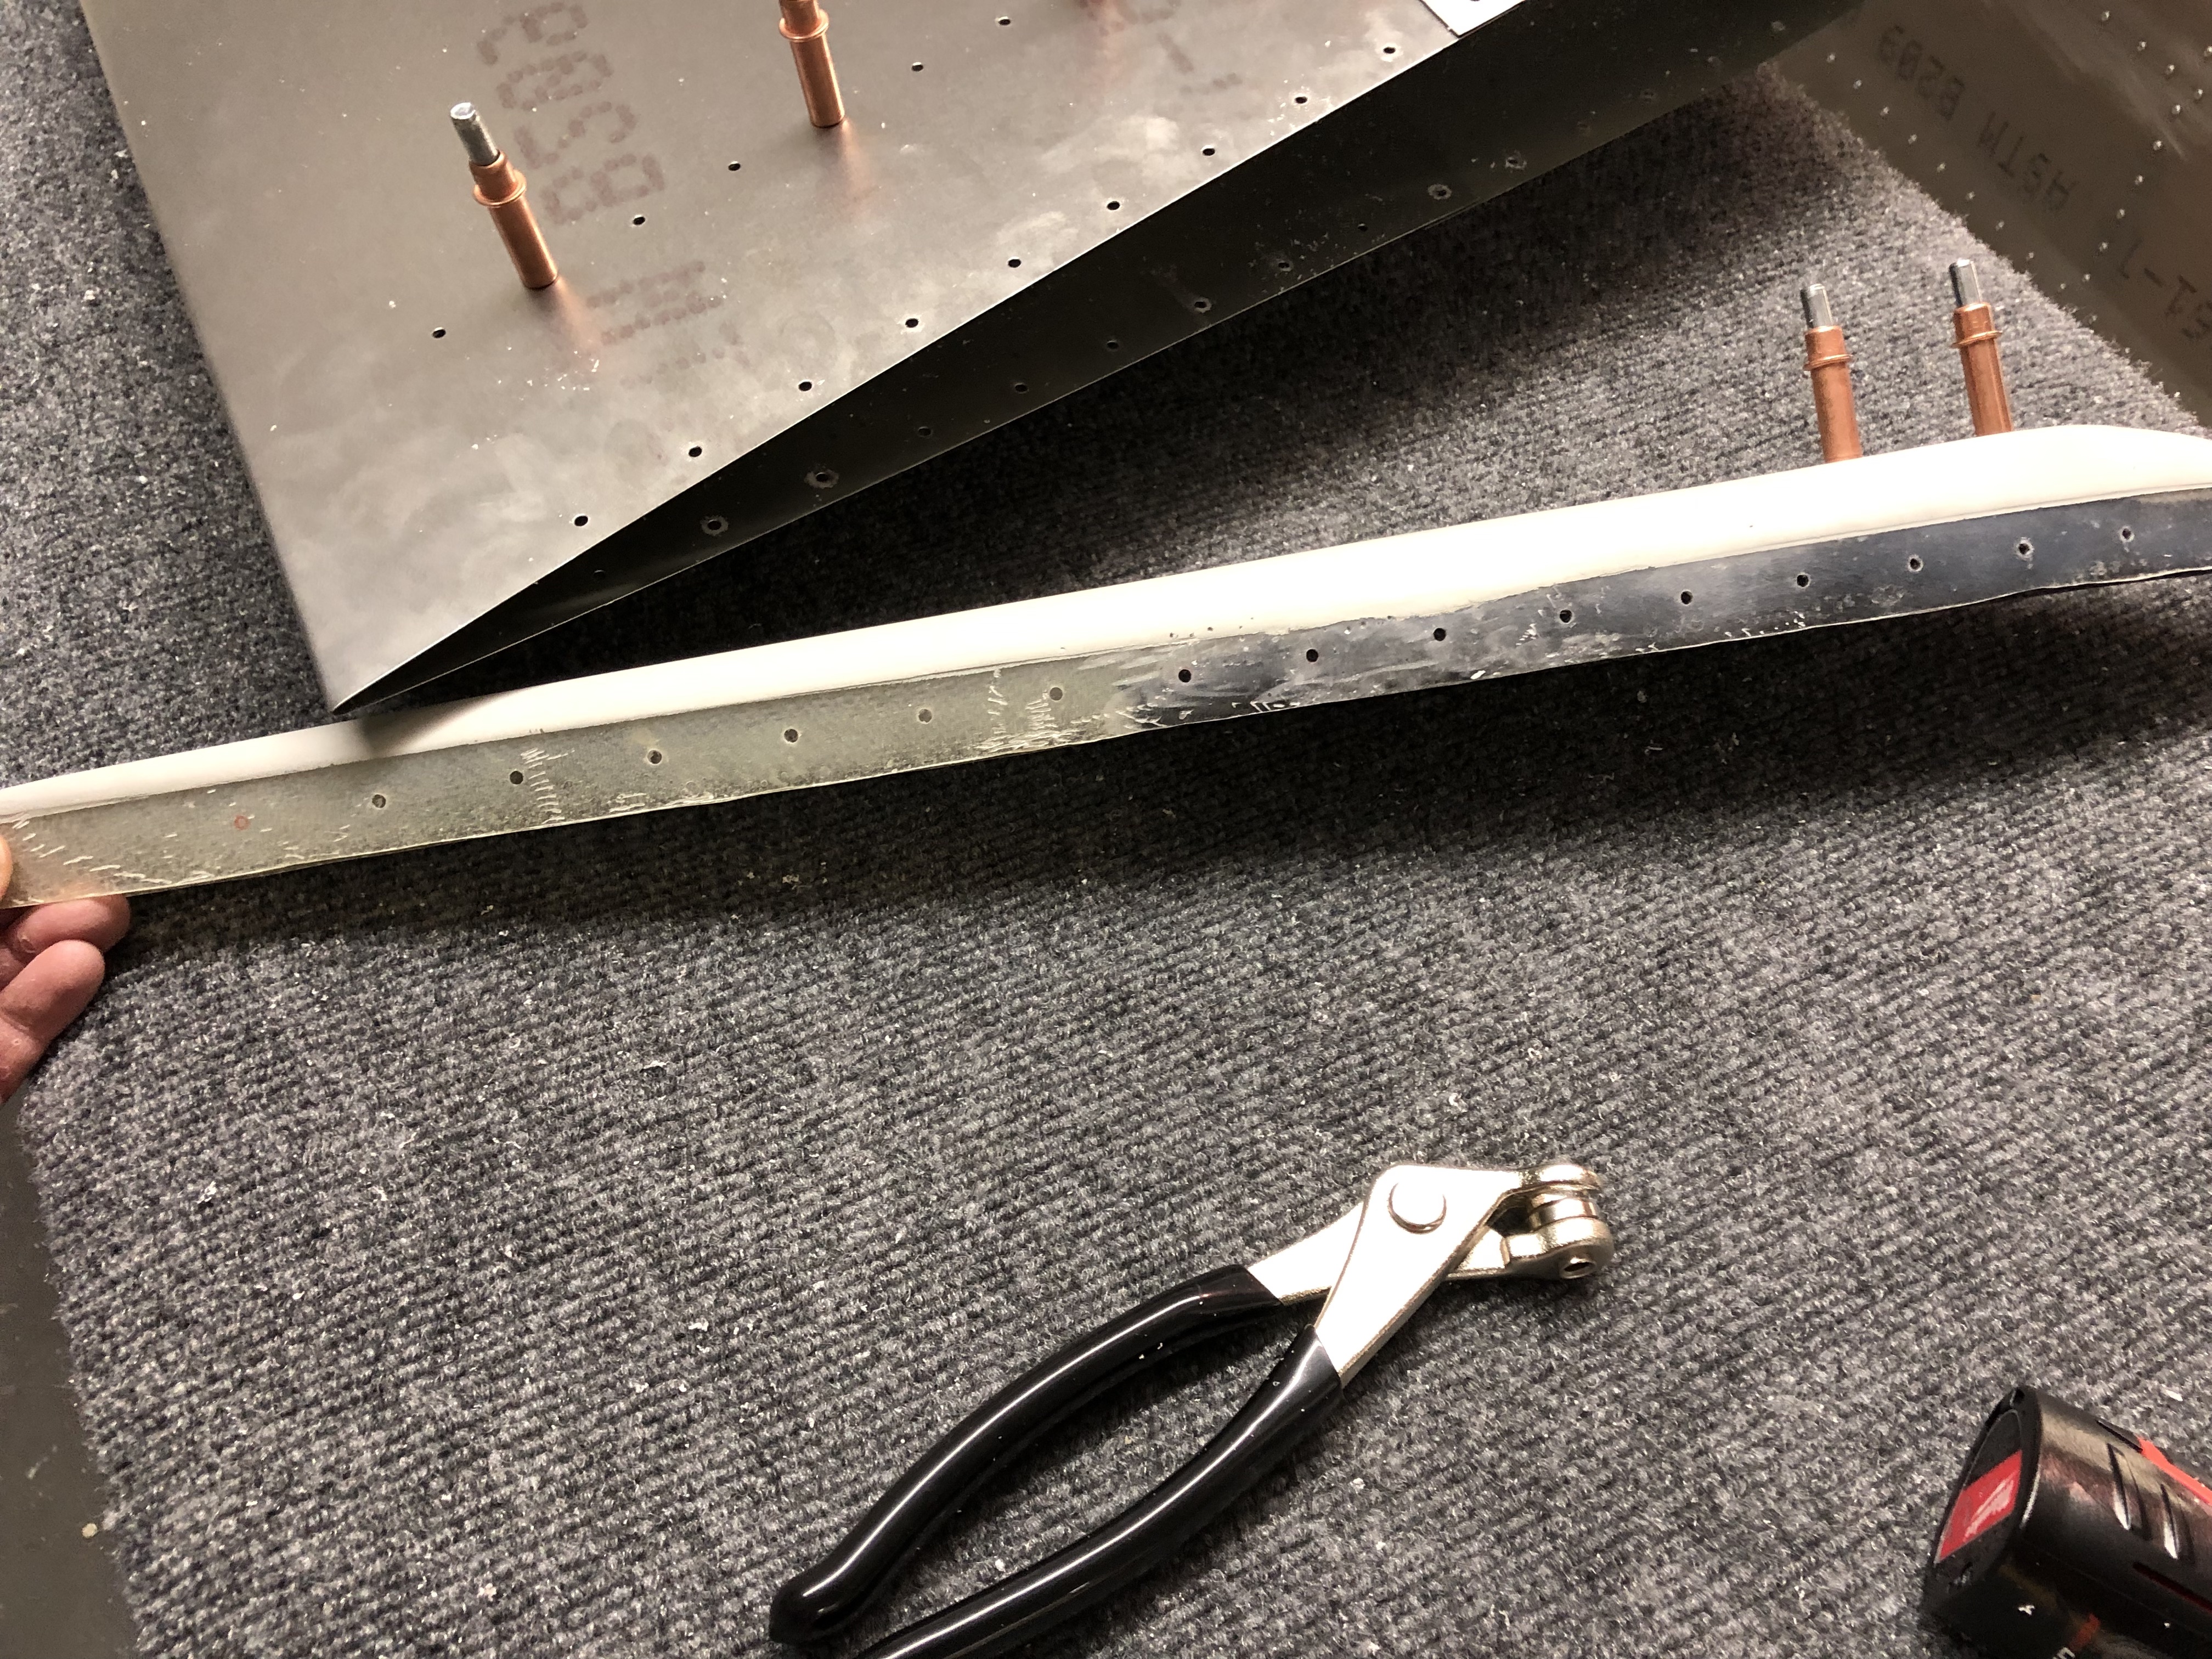
Fitting the fiberglass tip
Once that was done, I went to work to fit the fiberglass tip onto the skin. I had to trim a little bit away from the bottom of the fiberglass. I made a first rough measurement, trimmed it away using my Dremel and then tried to fit it in.
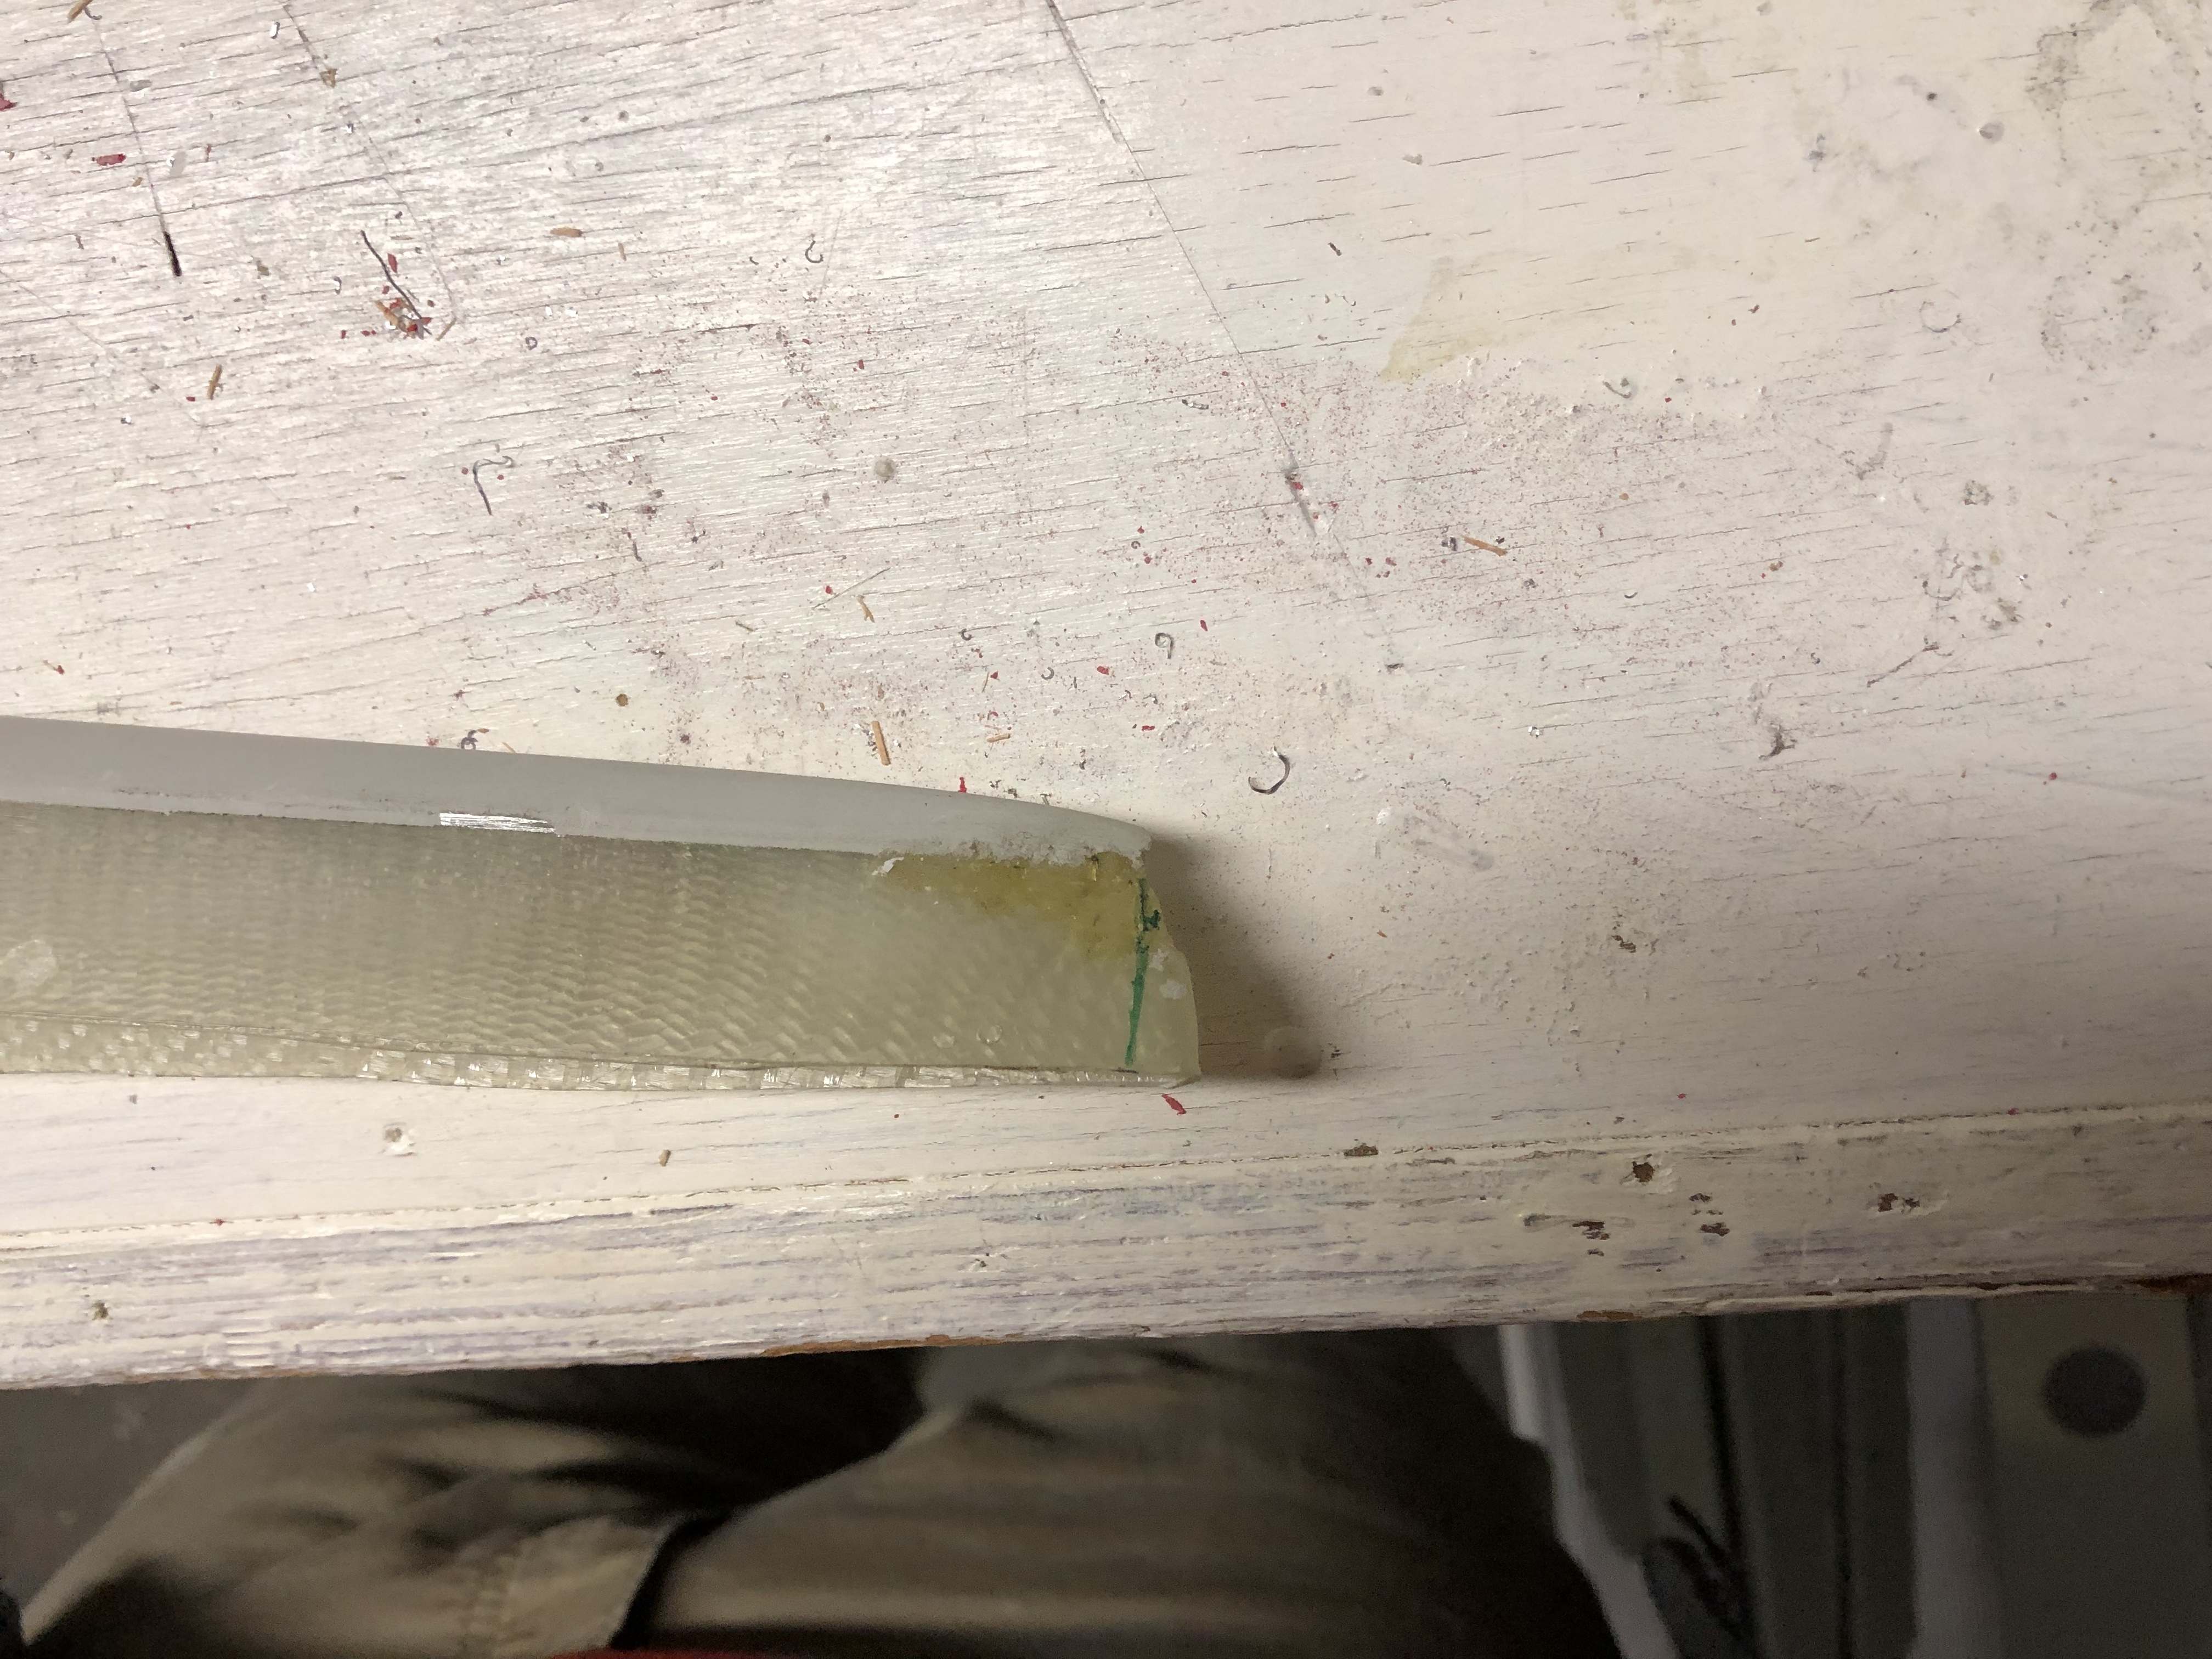
After aligning it all, I did a second small pass to trim a tiny bit more, placed it into the skin again and then it looked all good.
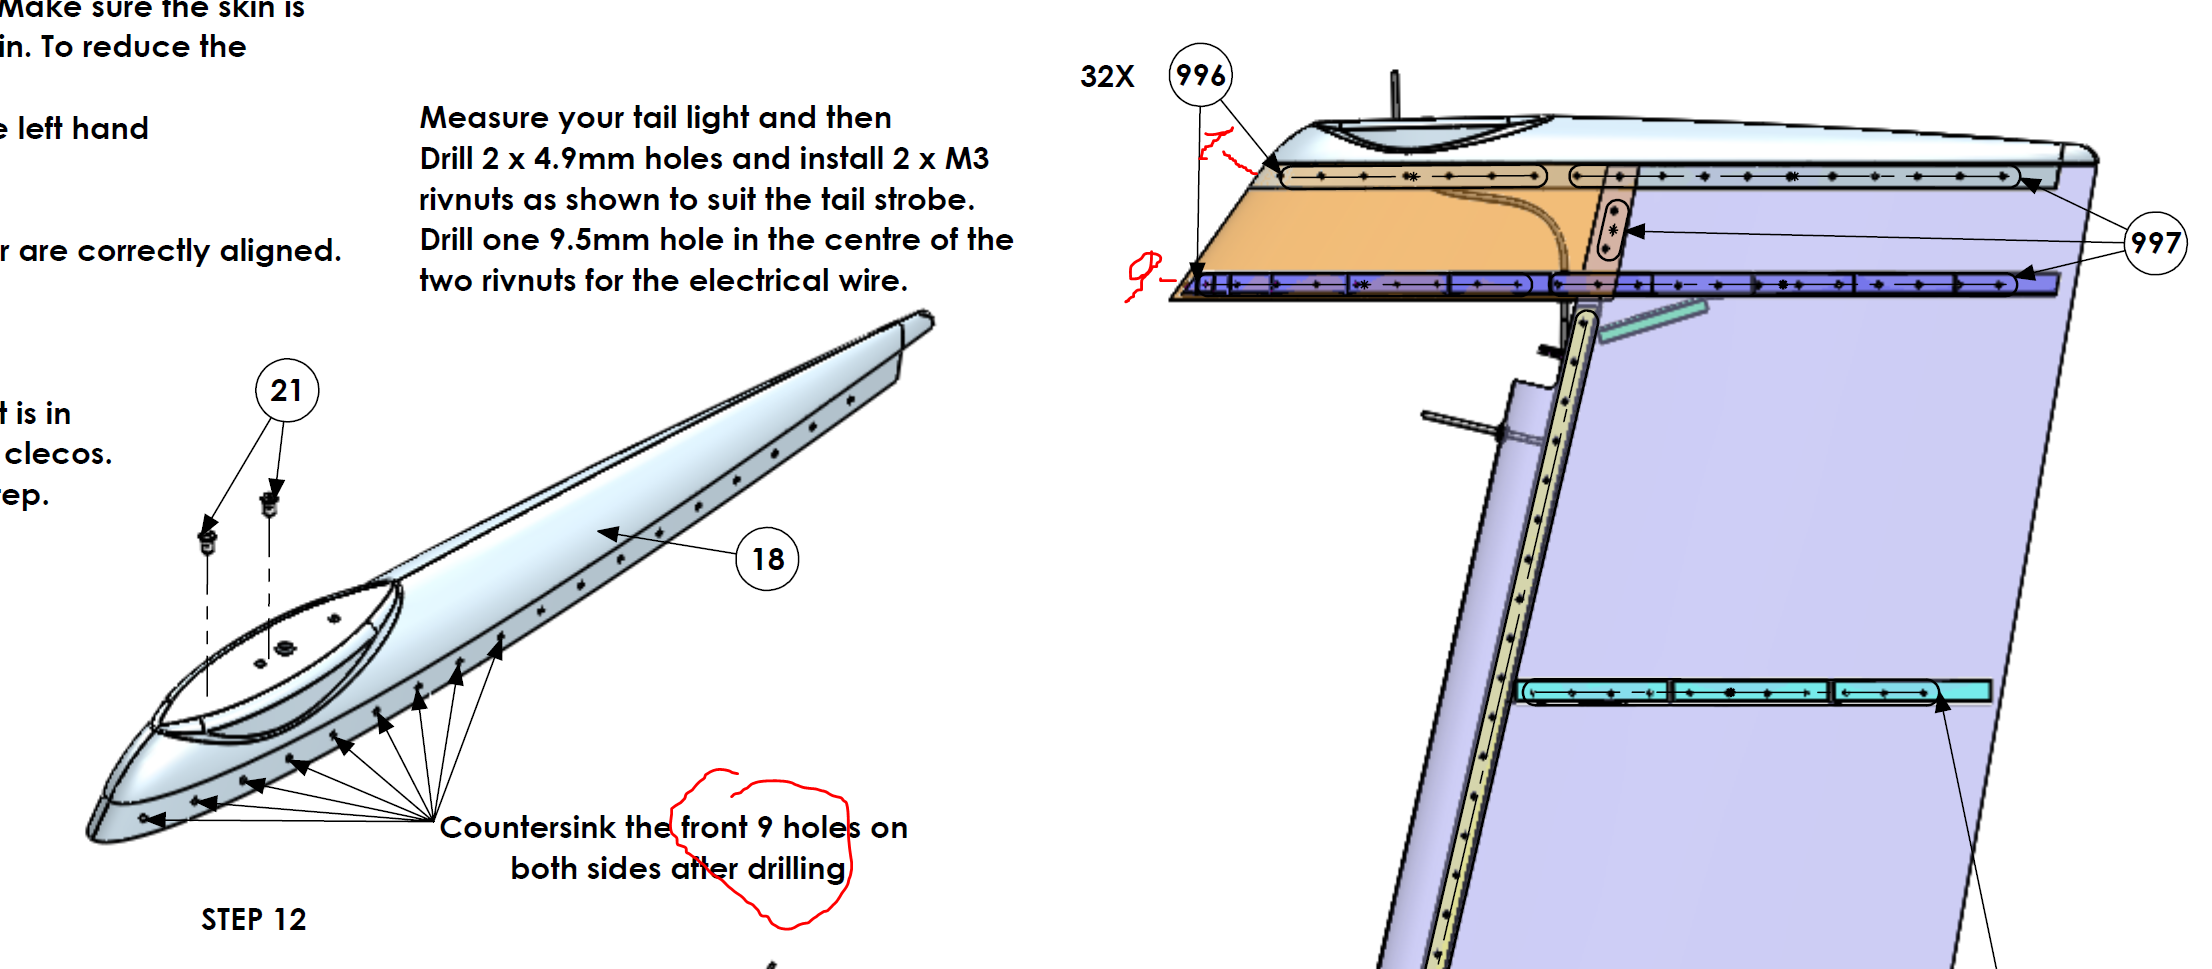
Since the instructions are very explicit to make sure that the alignment of the rudder is perfect, I checked the alignment from all sides and it all looked good.
After all that looked good and triple and quadrupple checking that the fiberglass tip sat flush in the skin I made marks for match drilling the holes and then went to work and carefully drilled the holes into the fiberglass.

Countersinking the front of the fiberglass tip
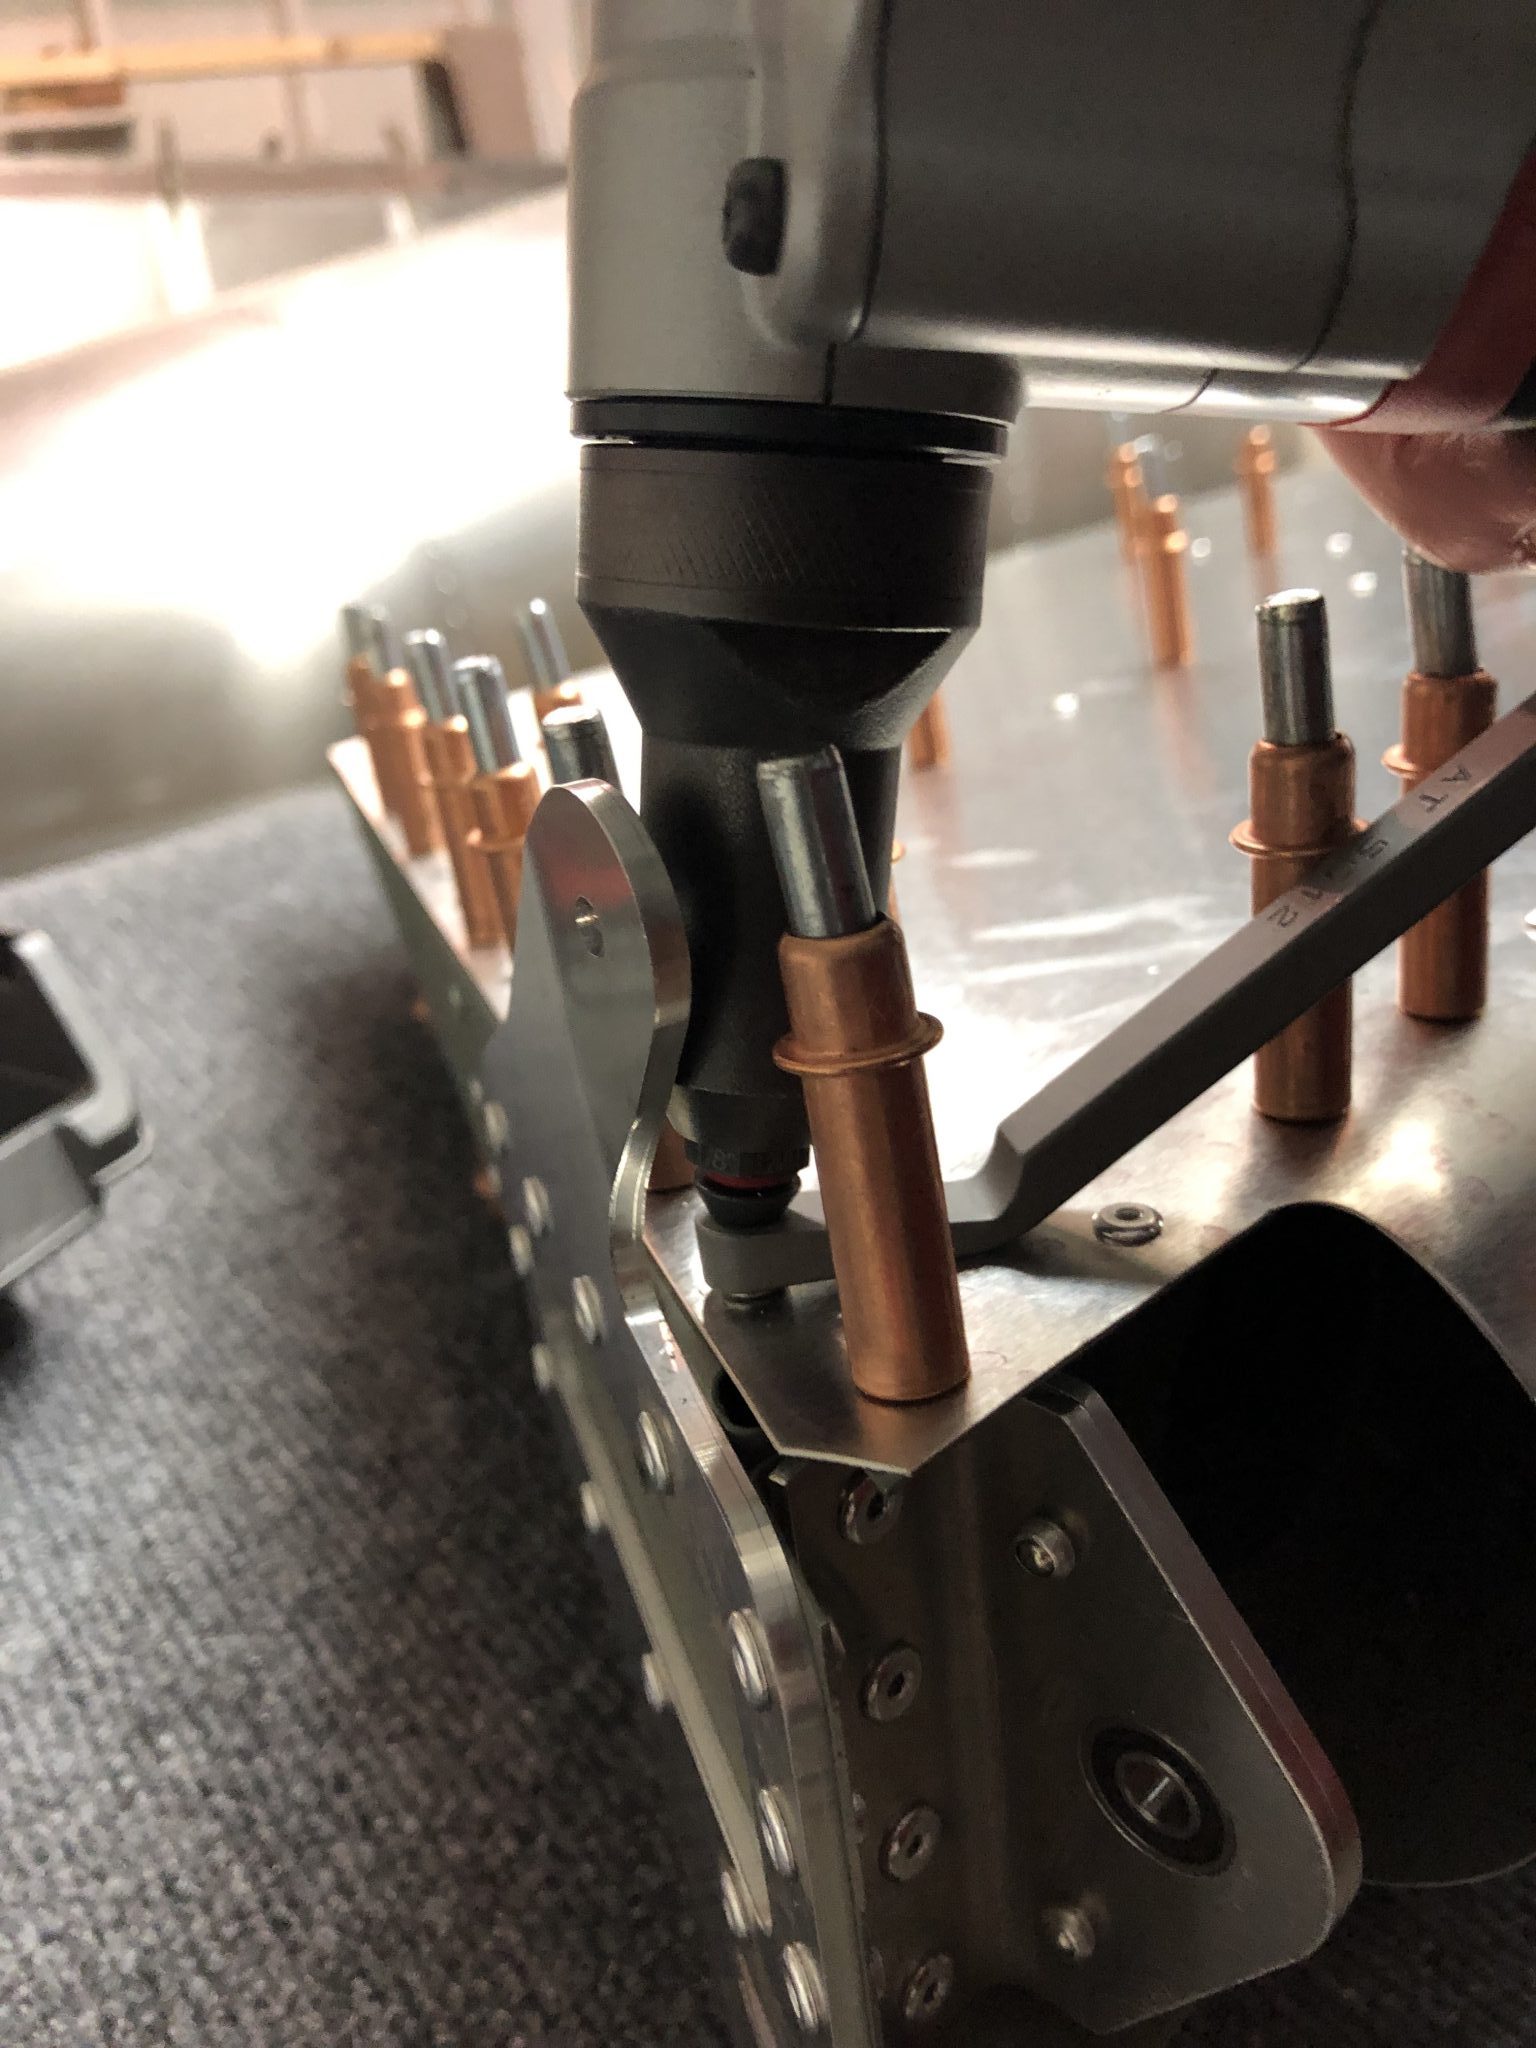
Once that was done, it was time to countersink the holes in the front. The instructions contradict themselves – only the first 7 holes get countersunk rivets, which mathematically adds up properly to the 32 rivets (2 x 7 on the top and 2 x 9 on the bottom = 32). So after counting all the holes and re-checking the instructions and doing basic math, I decided to only countersink the first 7 holes. I sent an email to the factory yesterday and they confirmed that I was right and they’ll fix the instructions in the next iteration.
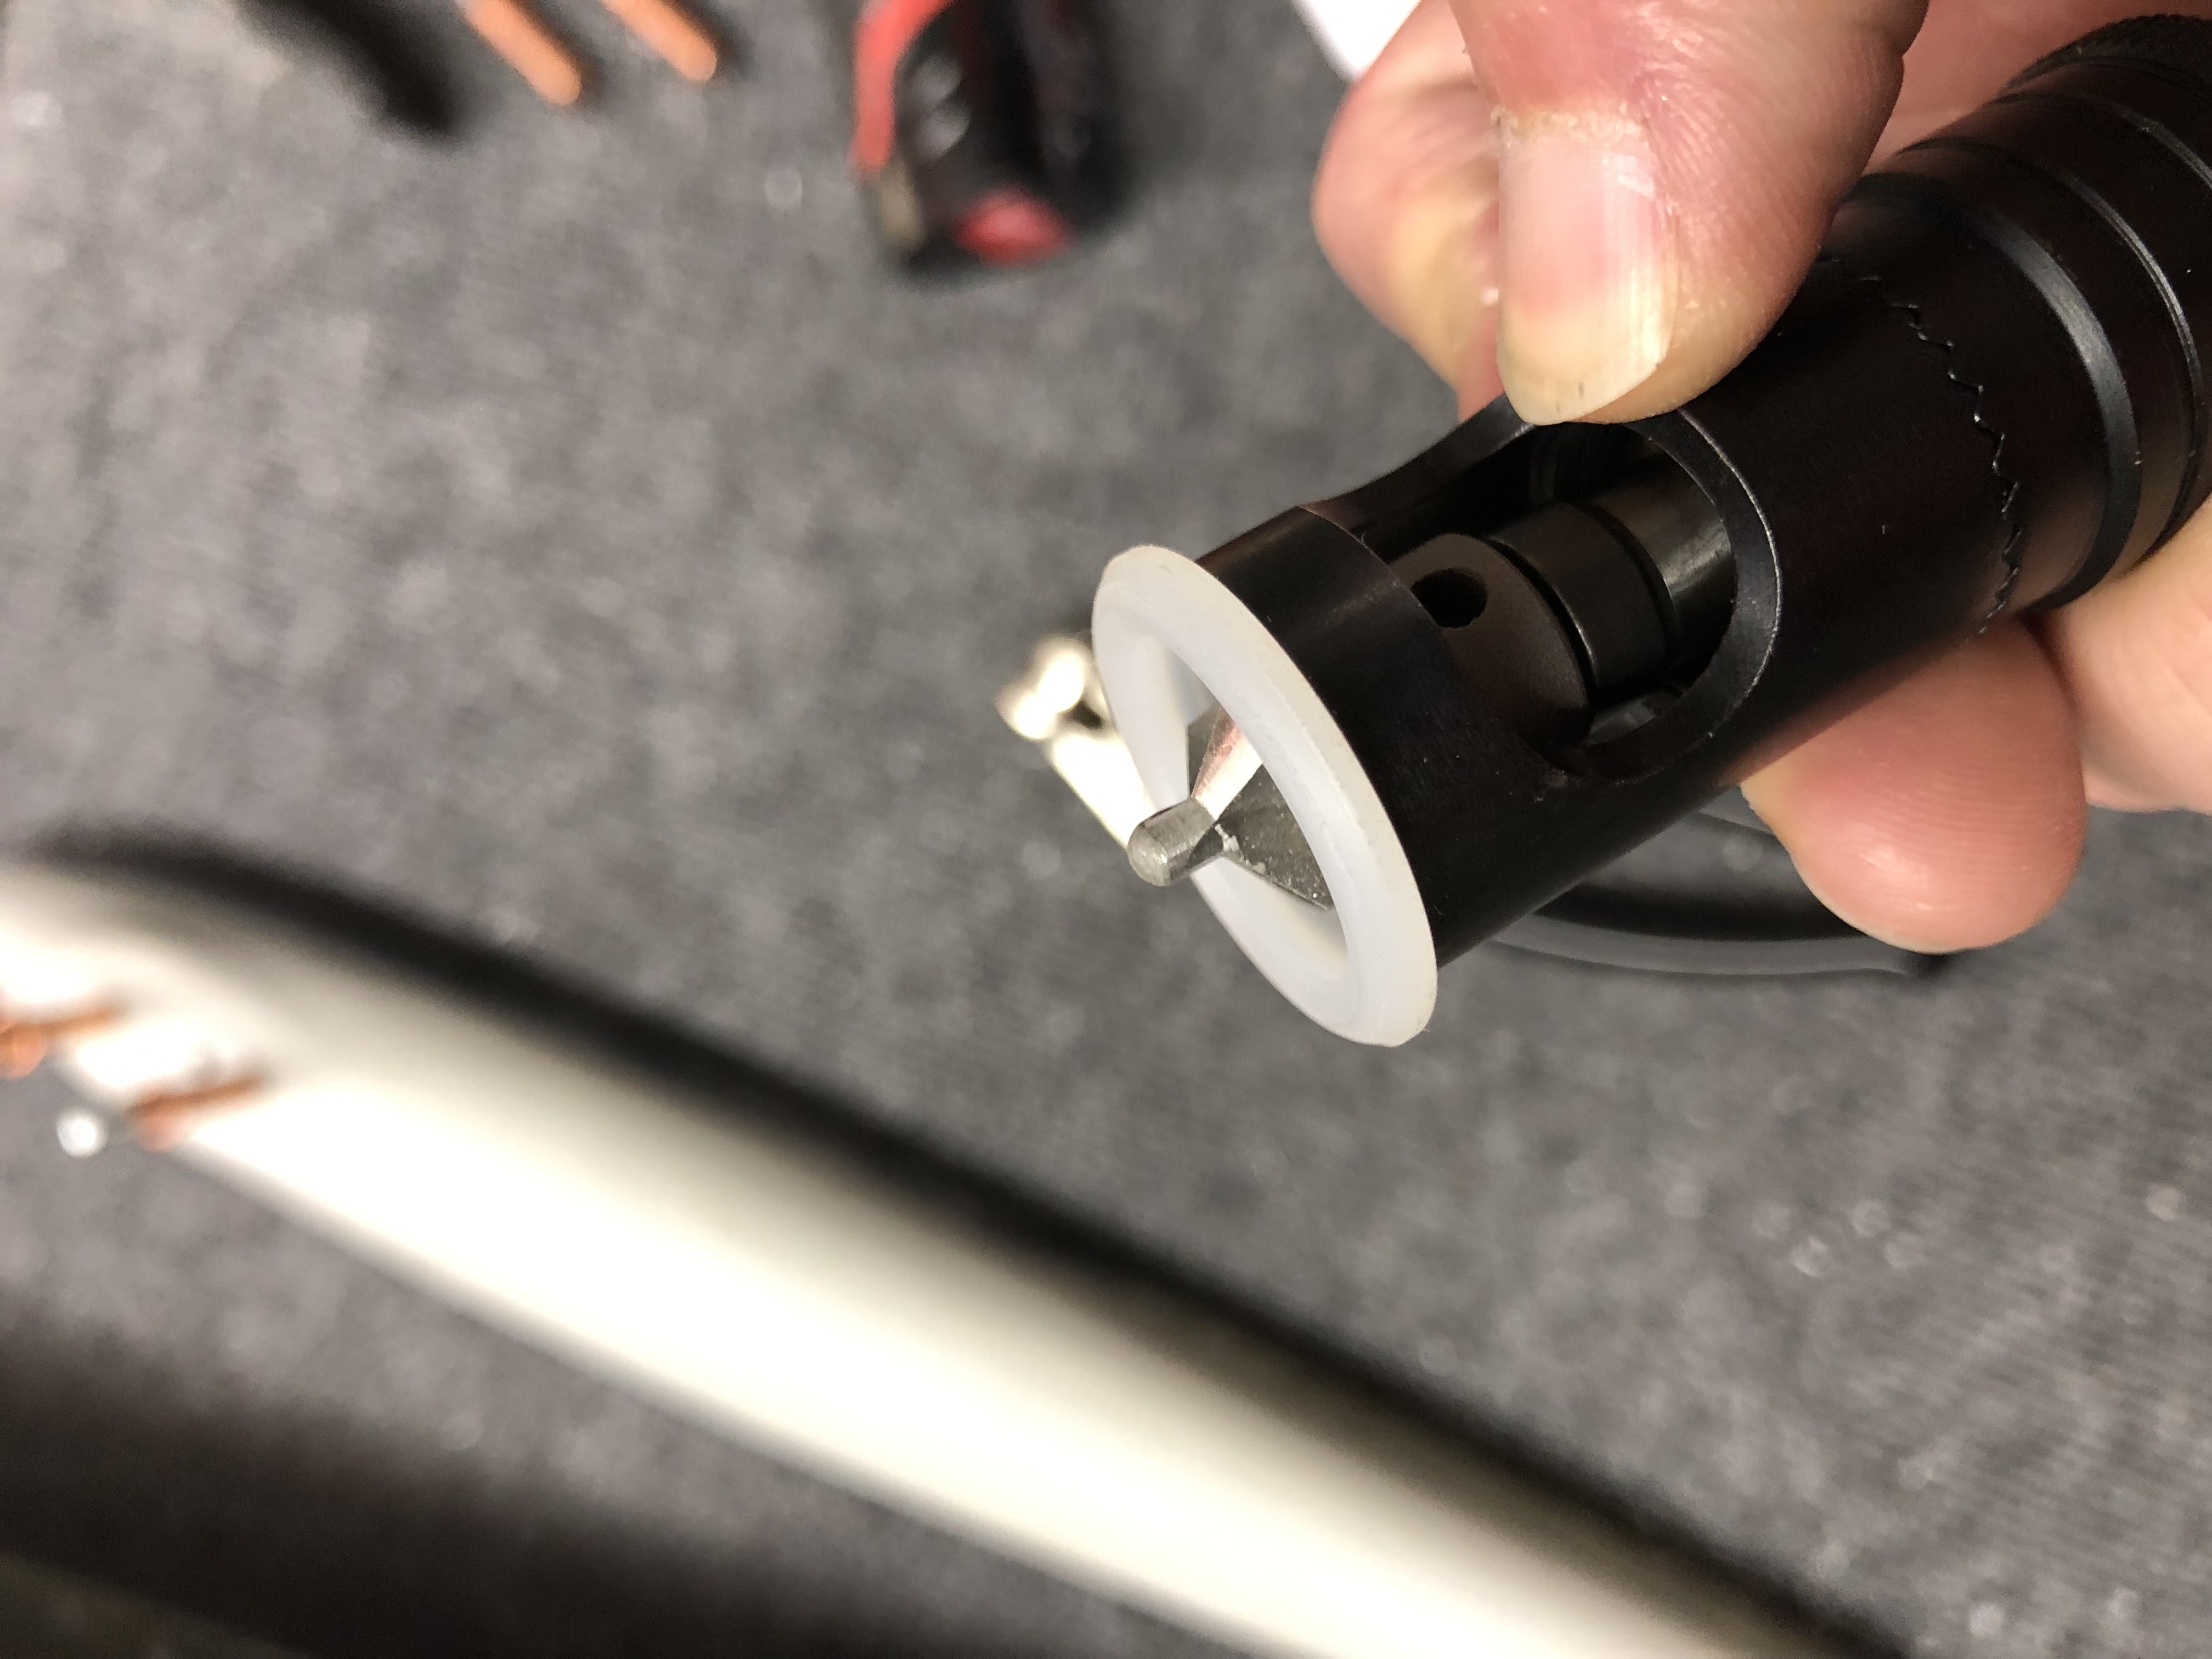
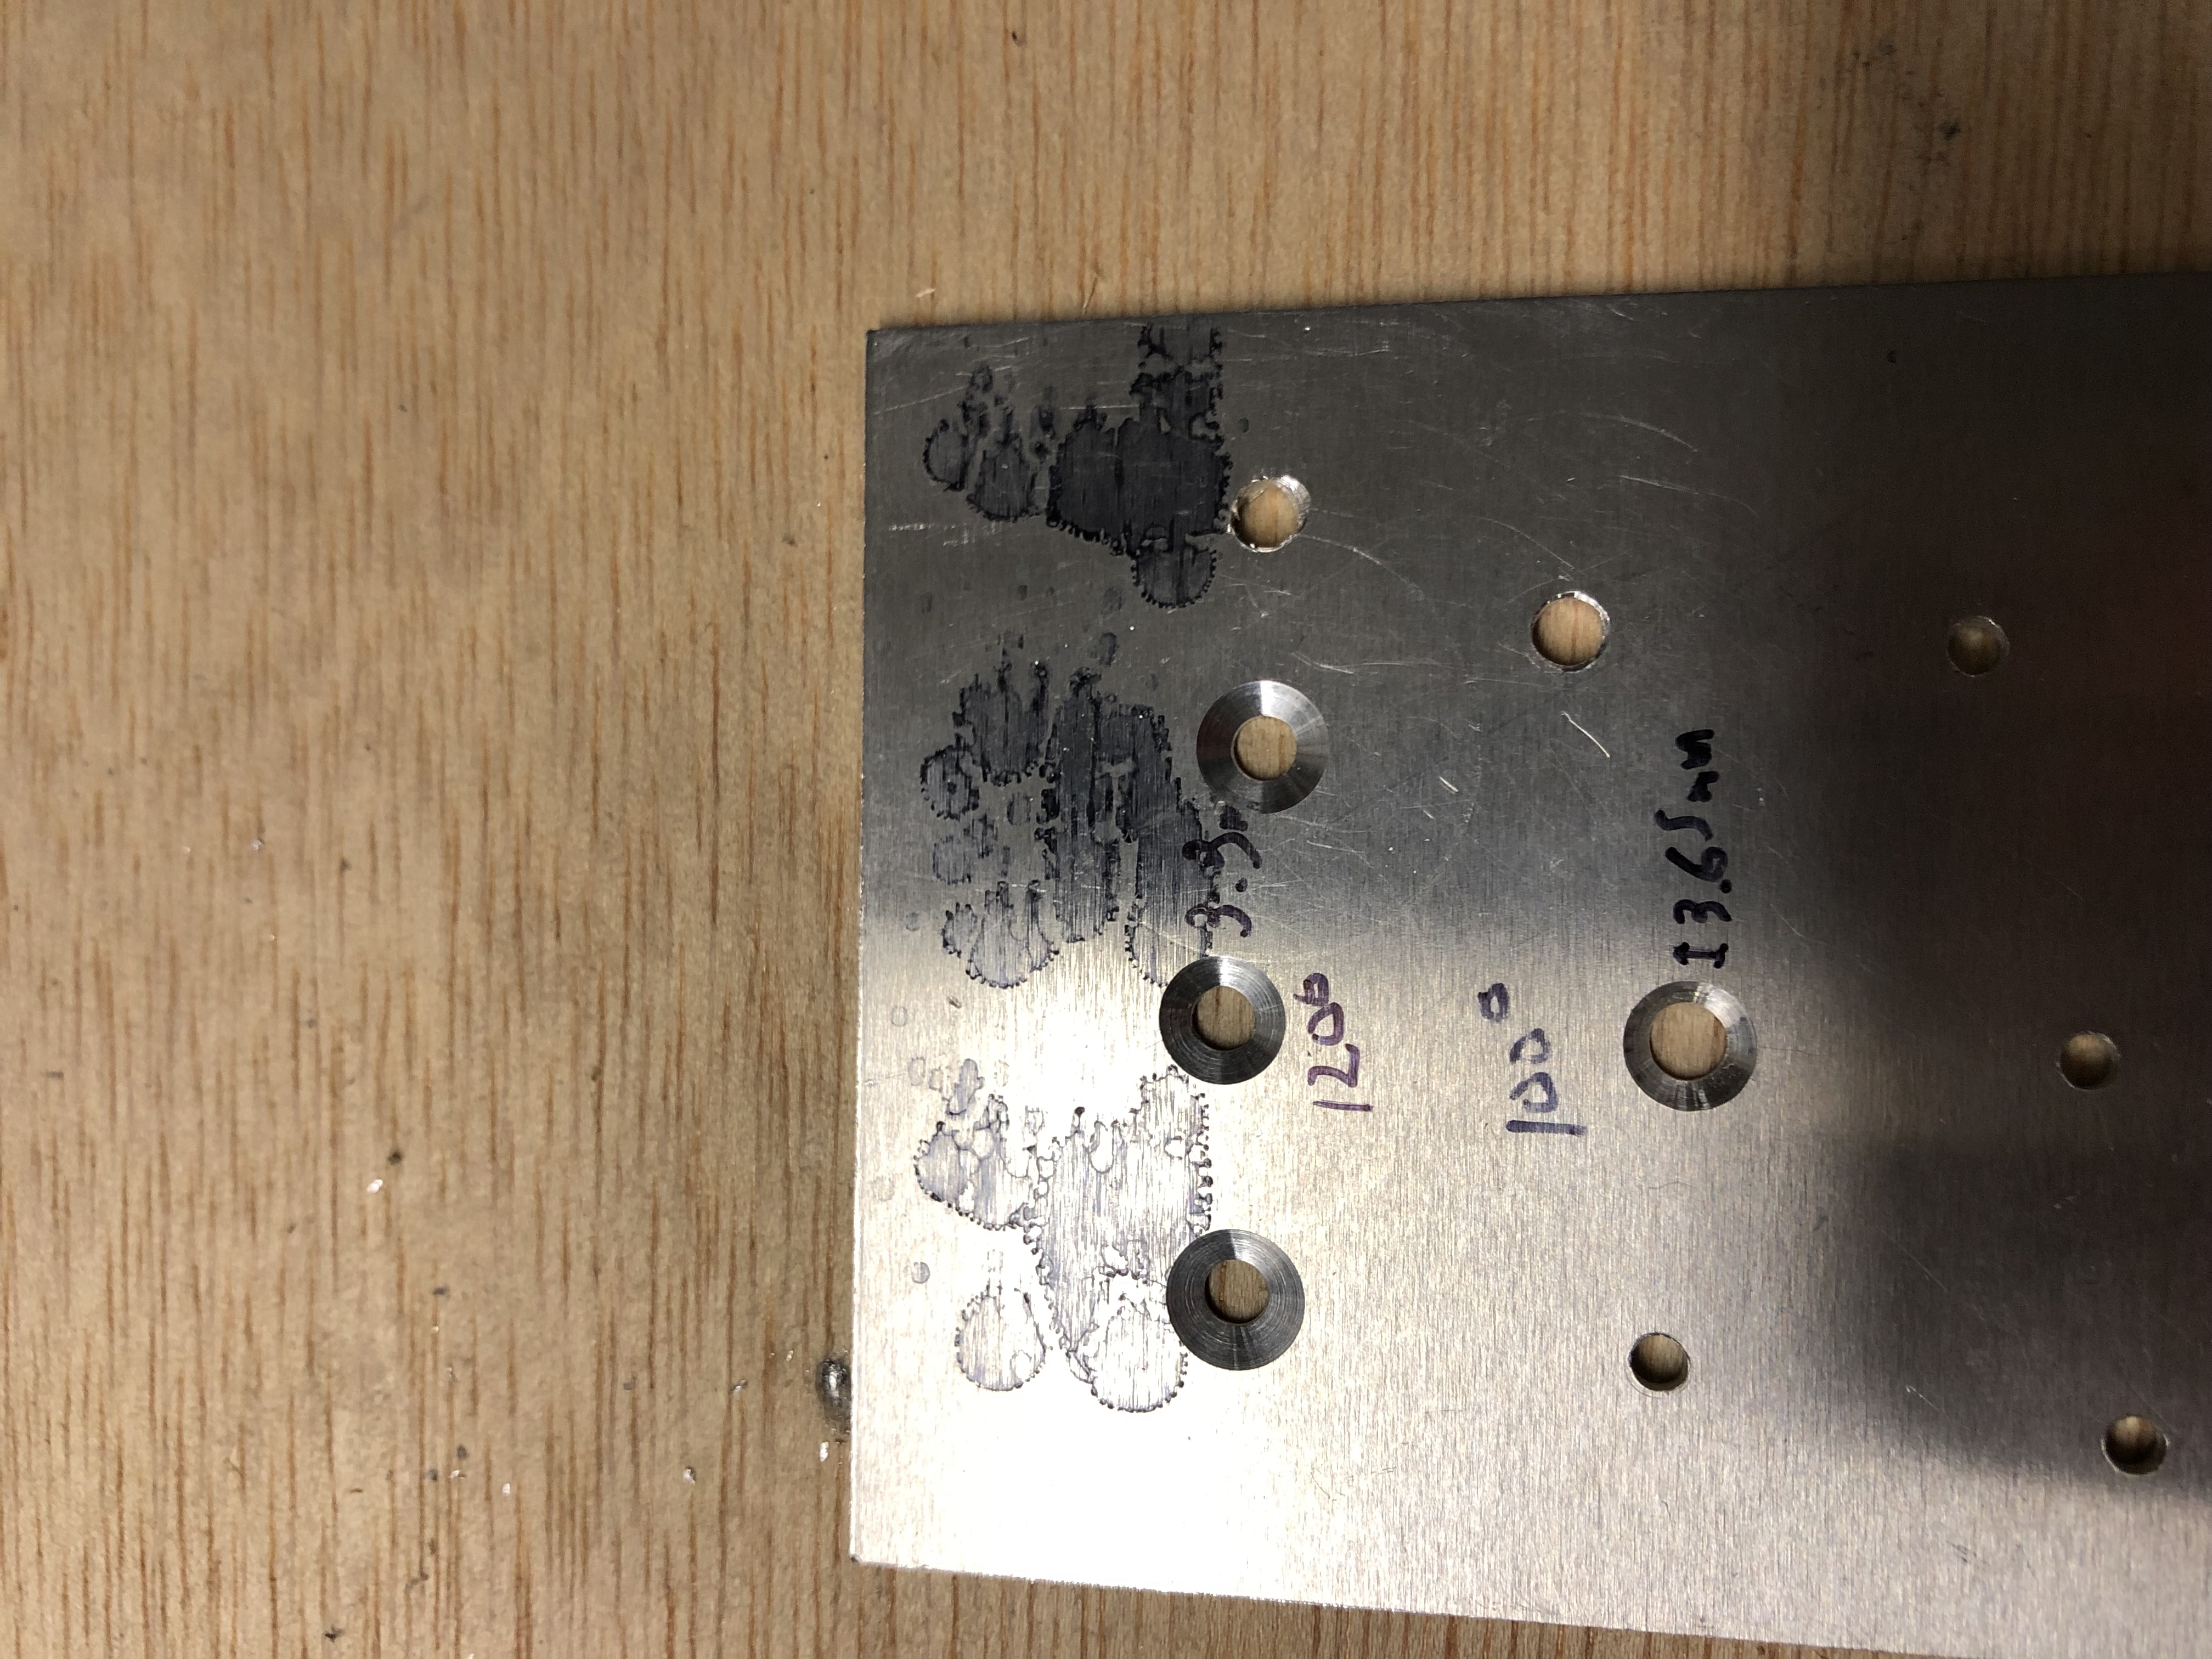
Before I went to work with the countersinking, I calibrated the micro stop countersinking tool using a scap piece of Aluminum to ensure the depth was set correctly and made sure that I had the correct 120 degree pilot cutter in the tool (I made a whole post about why using the 120 degree pilot was important here).
After all that was ready, I went to work, mounted the fiberglass tip gently in my bench vise and started drilling the countersink holes.
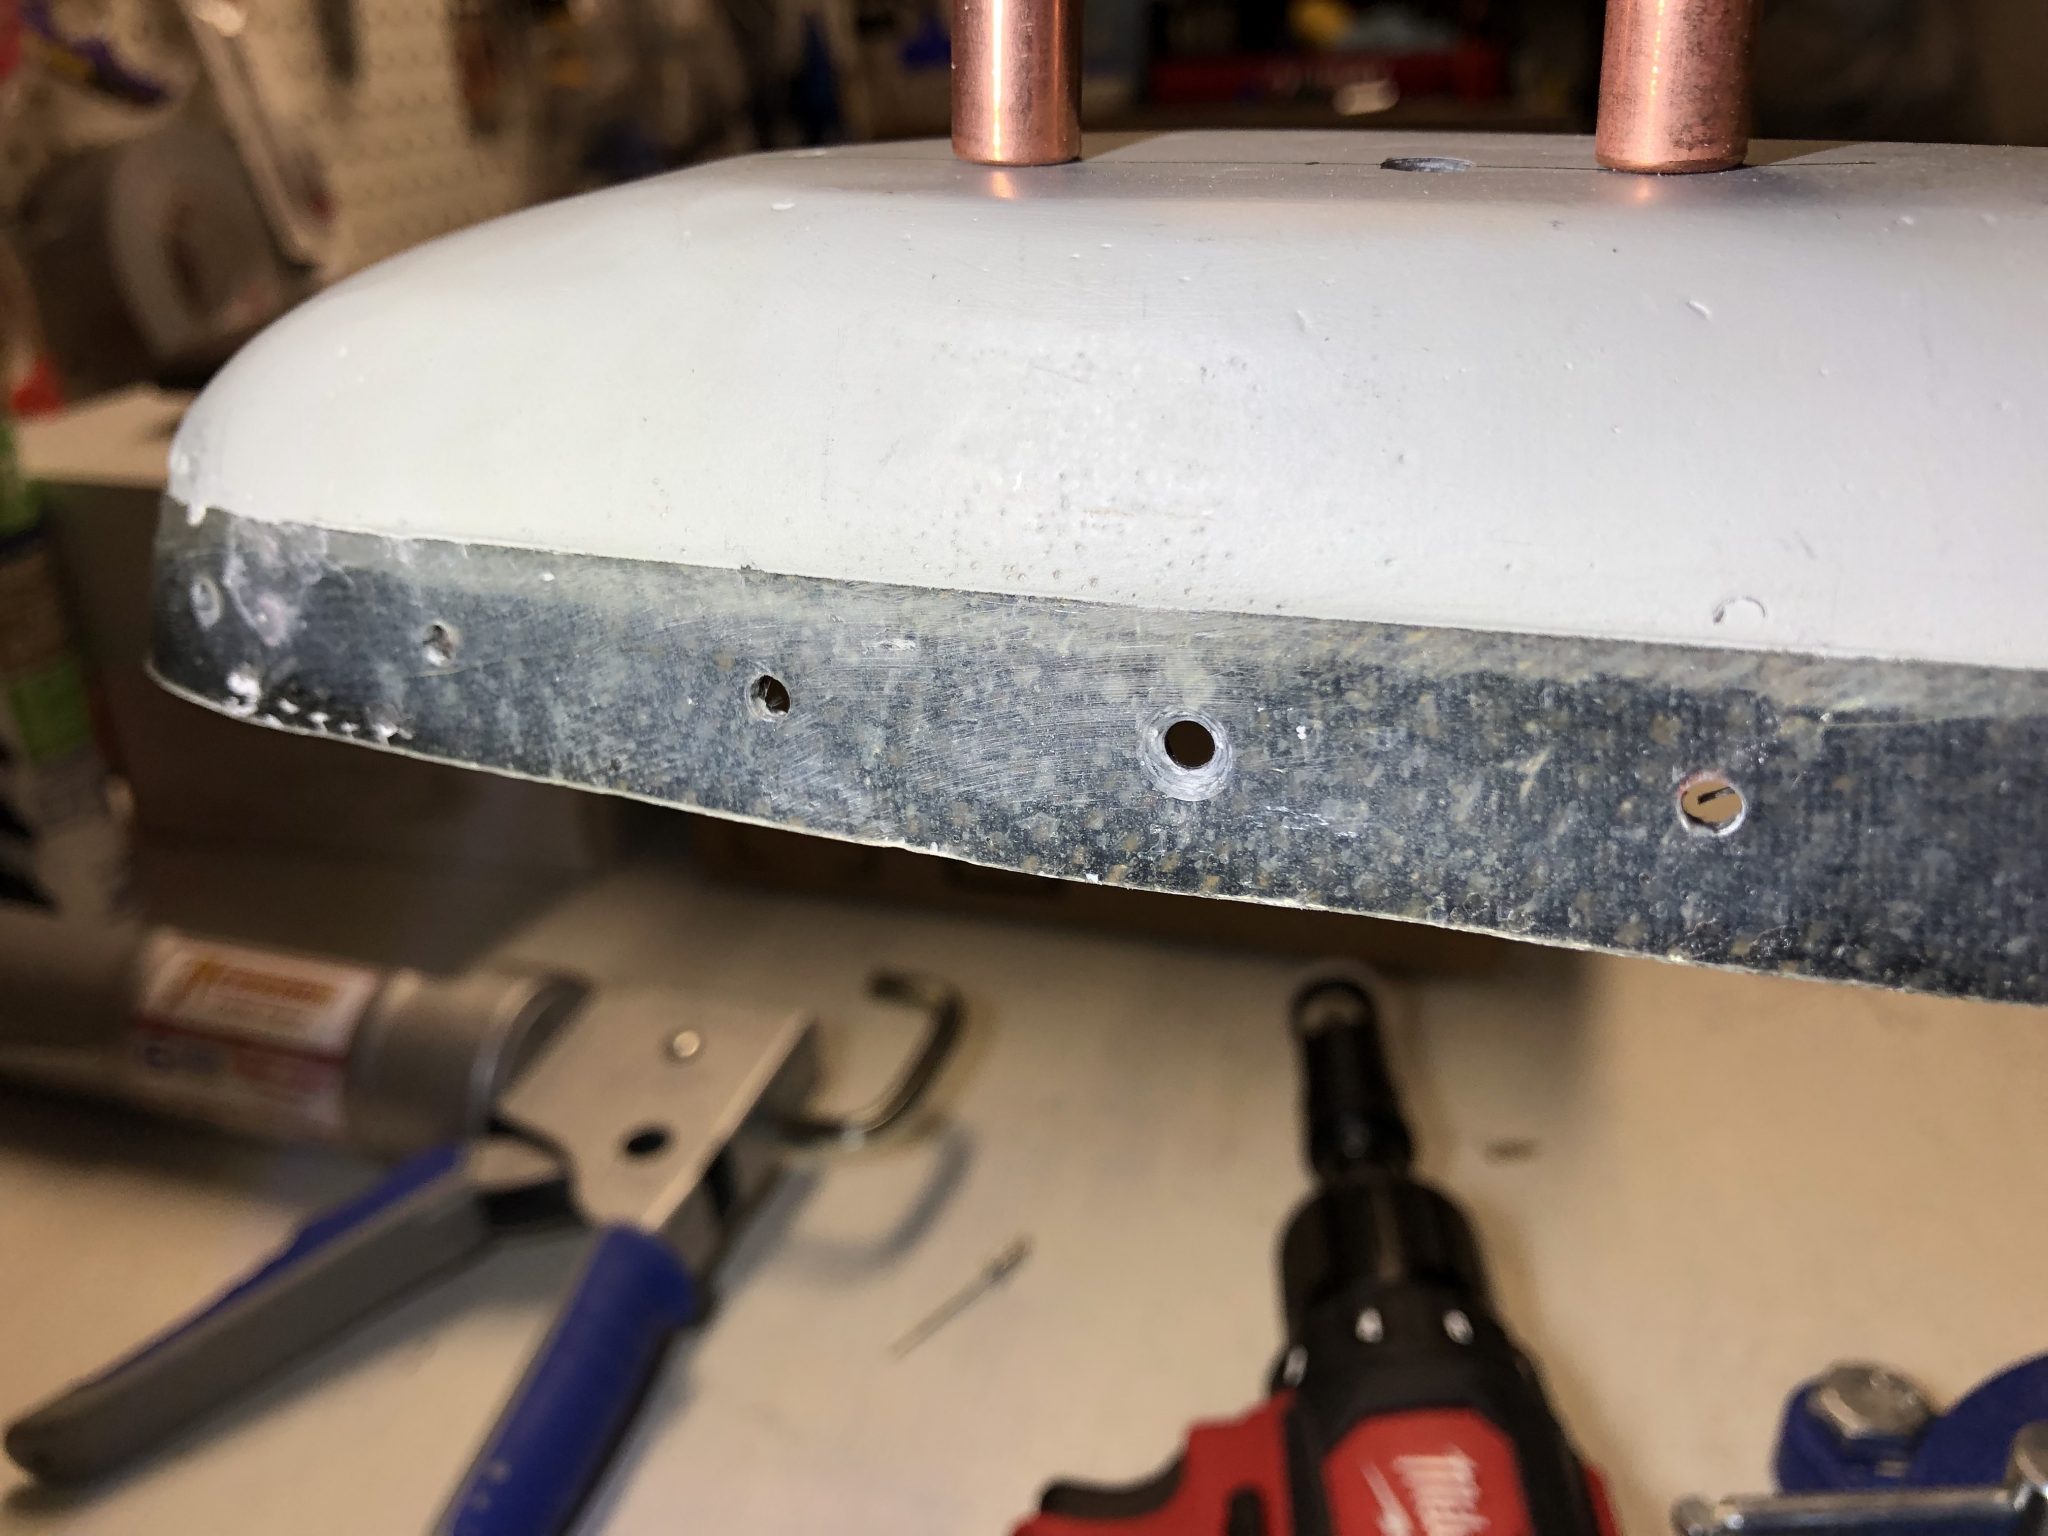
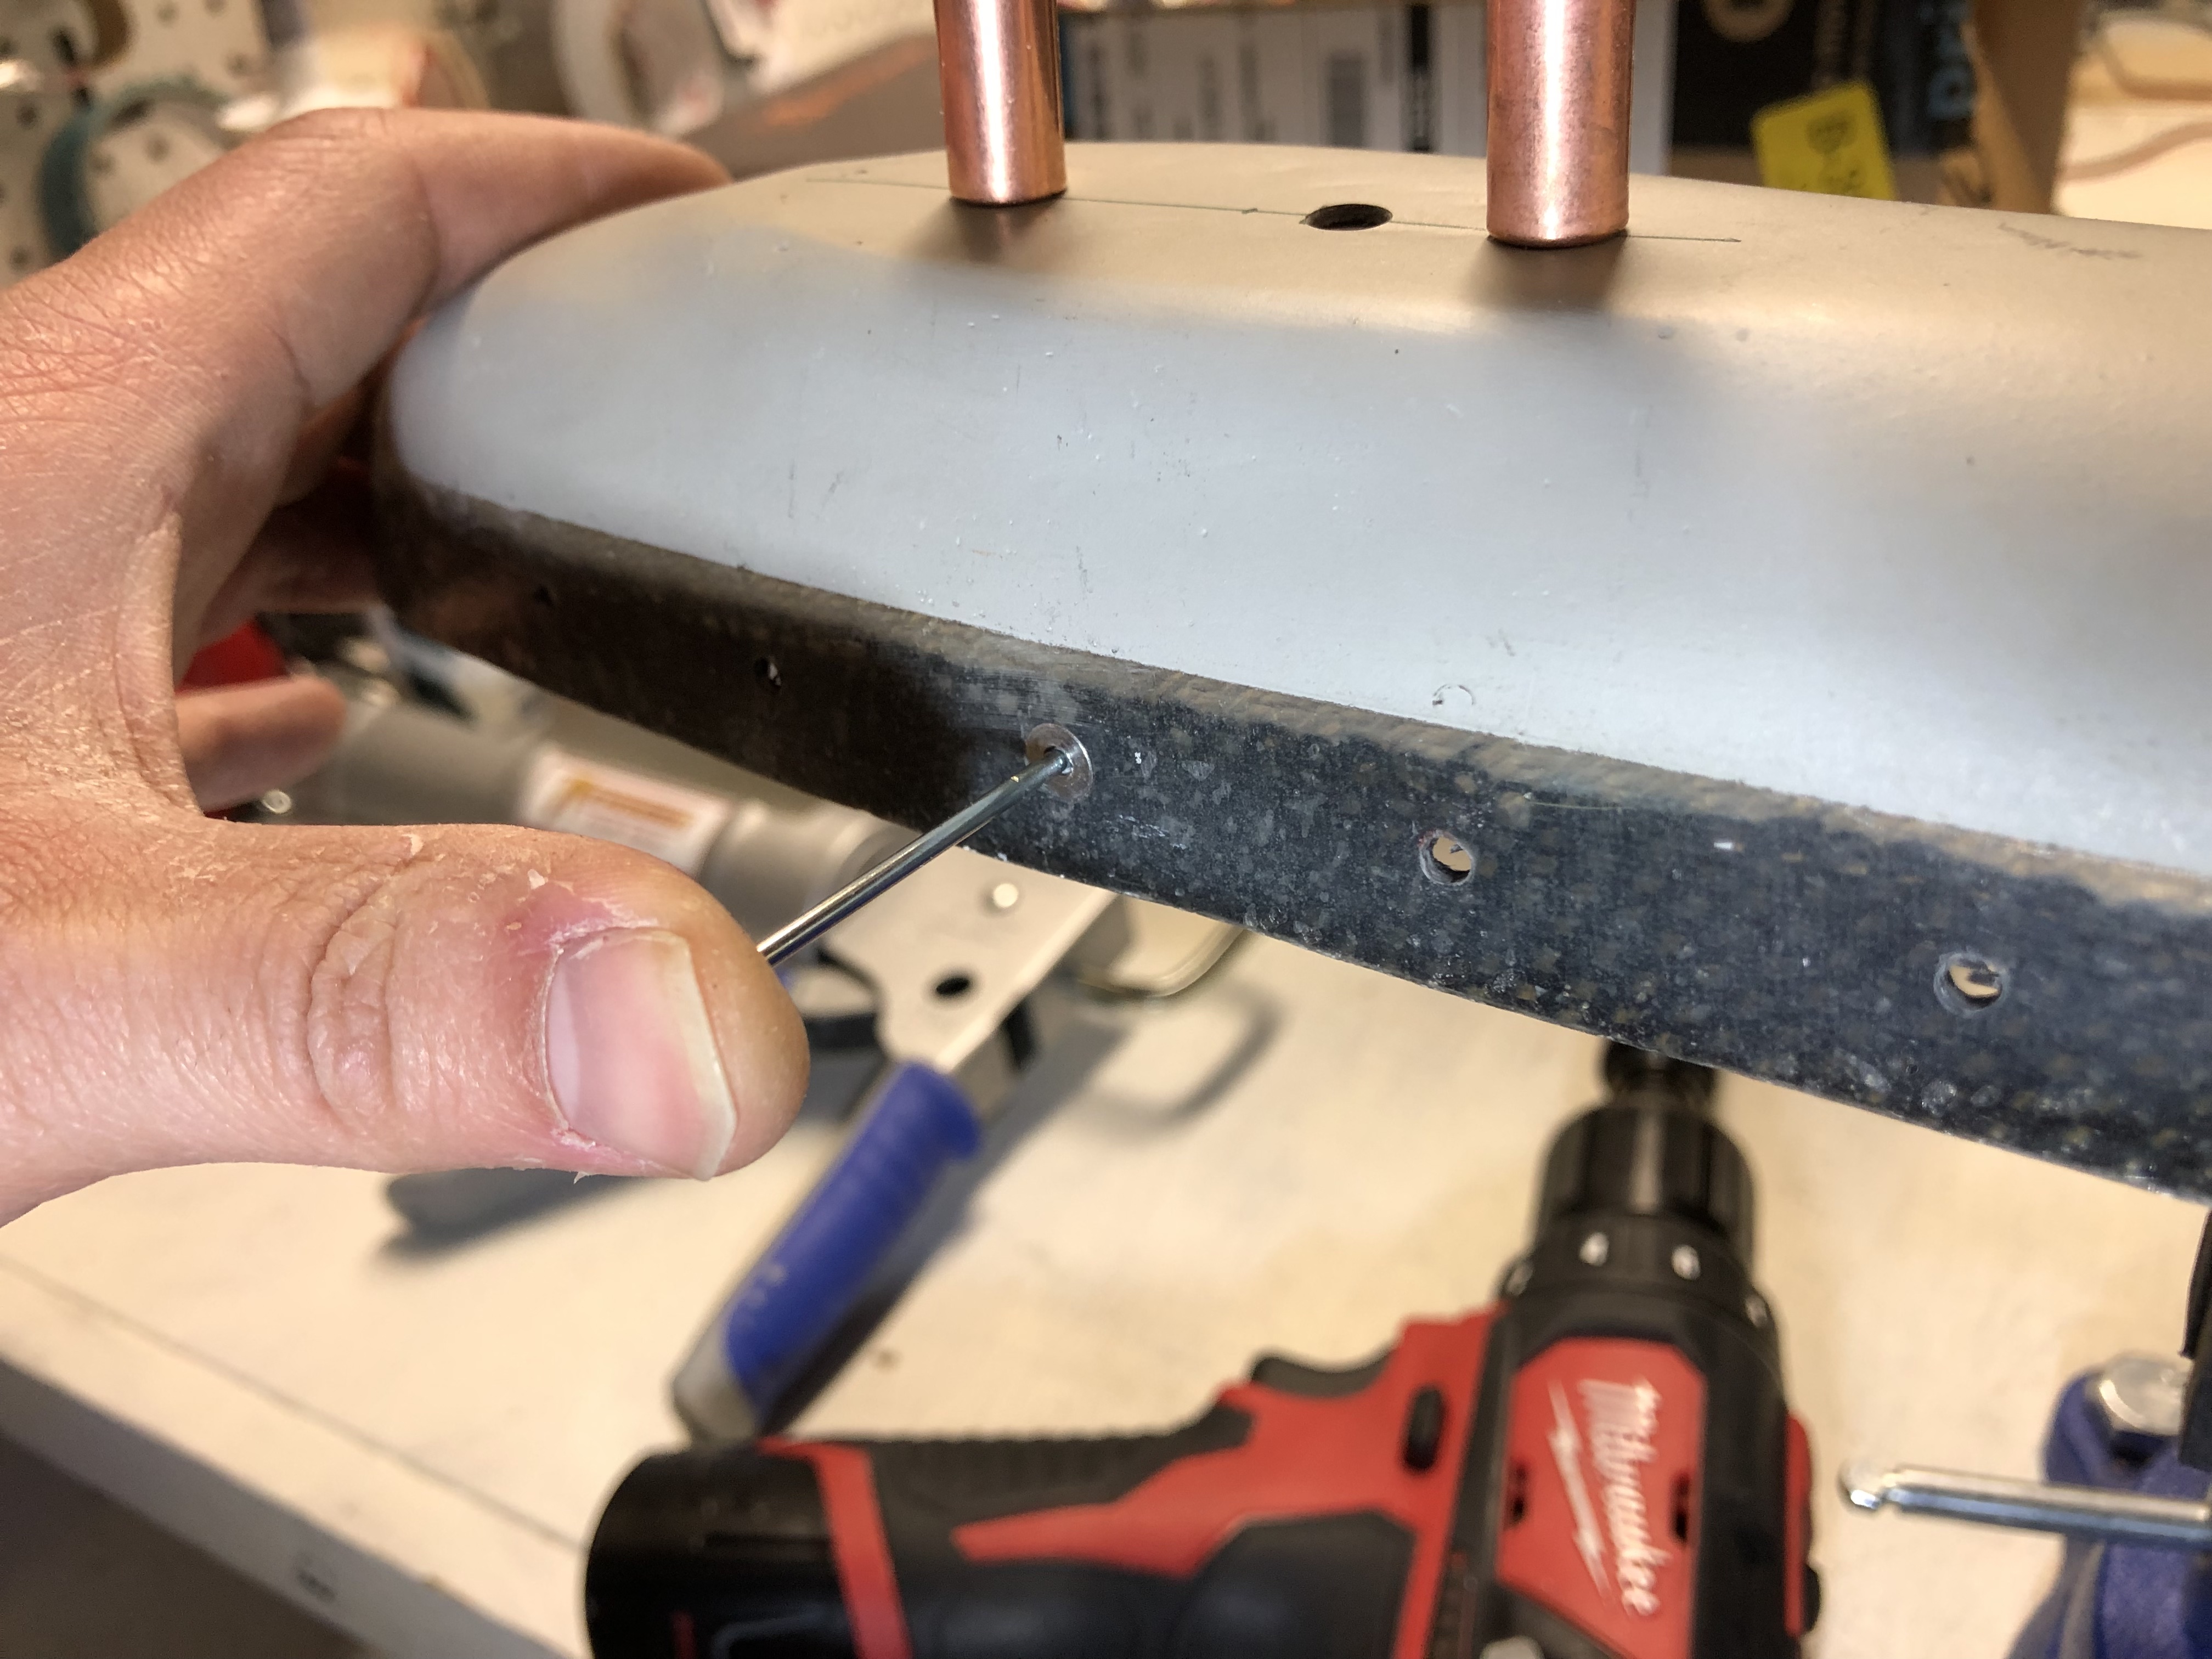
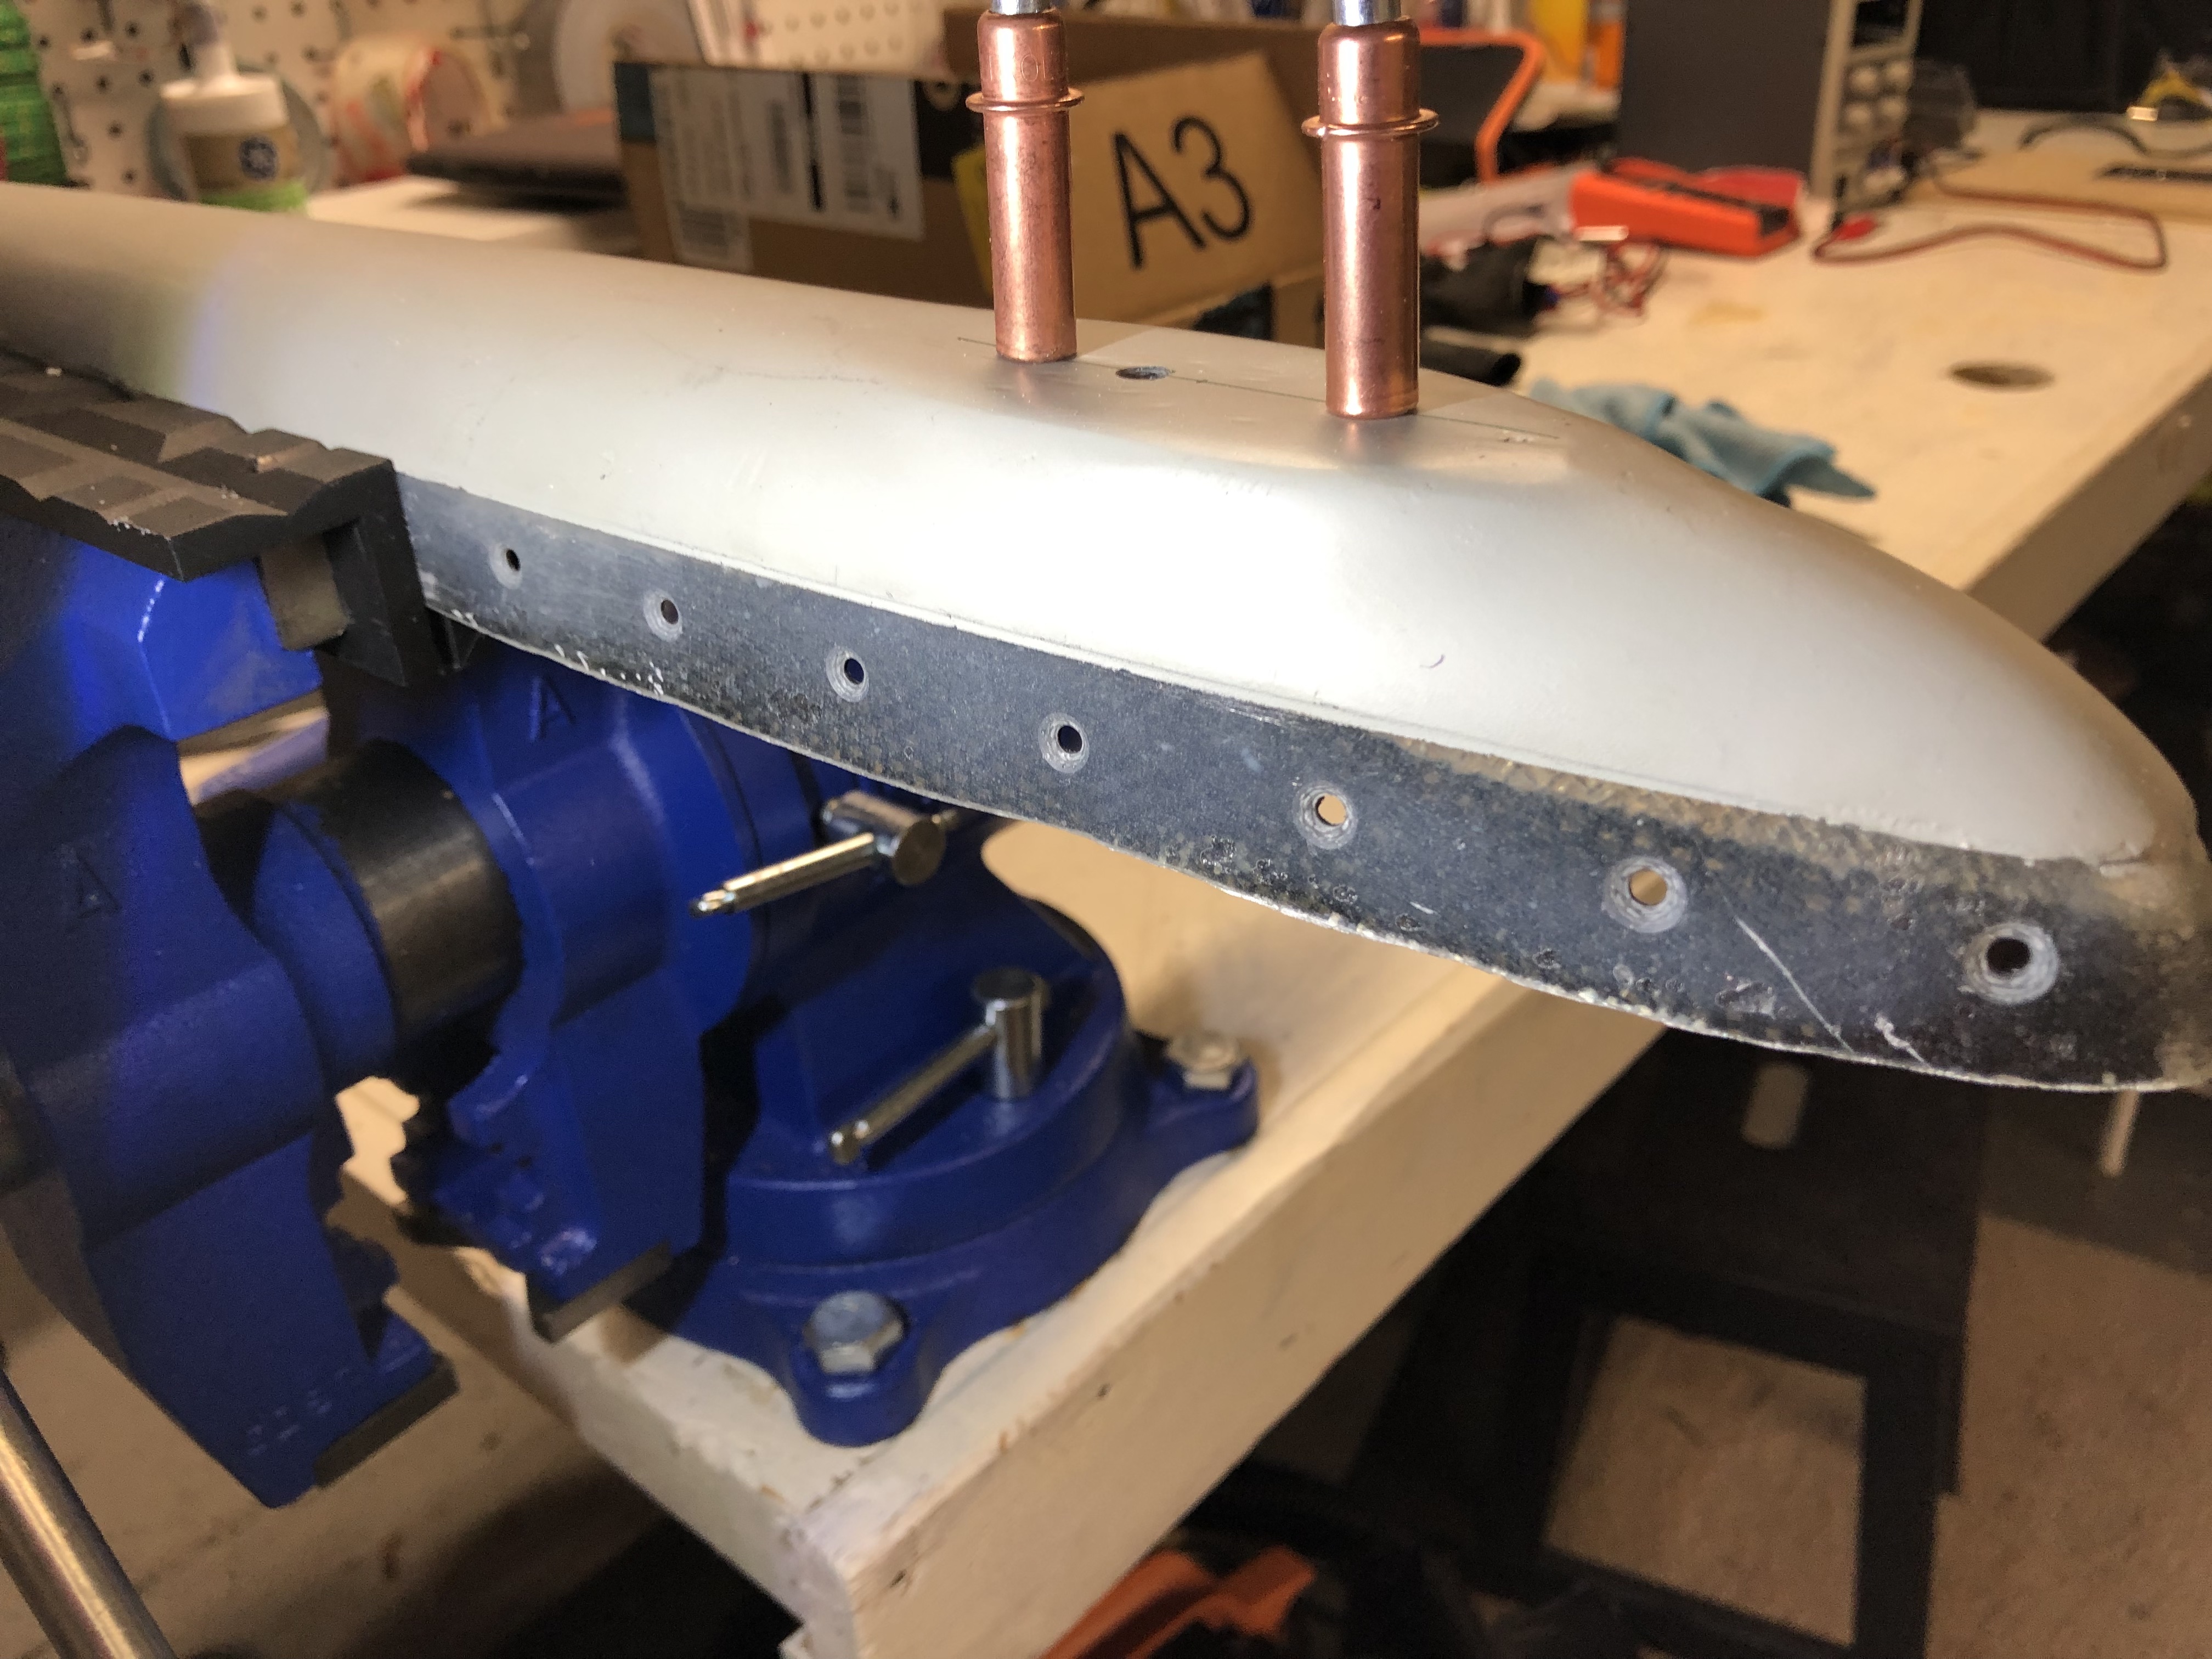
All the countersunk holes came out well and everything sits flush now.
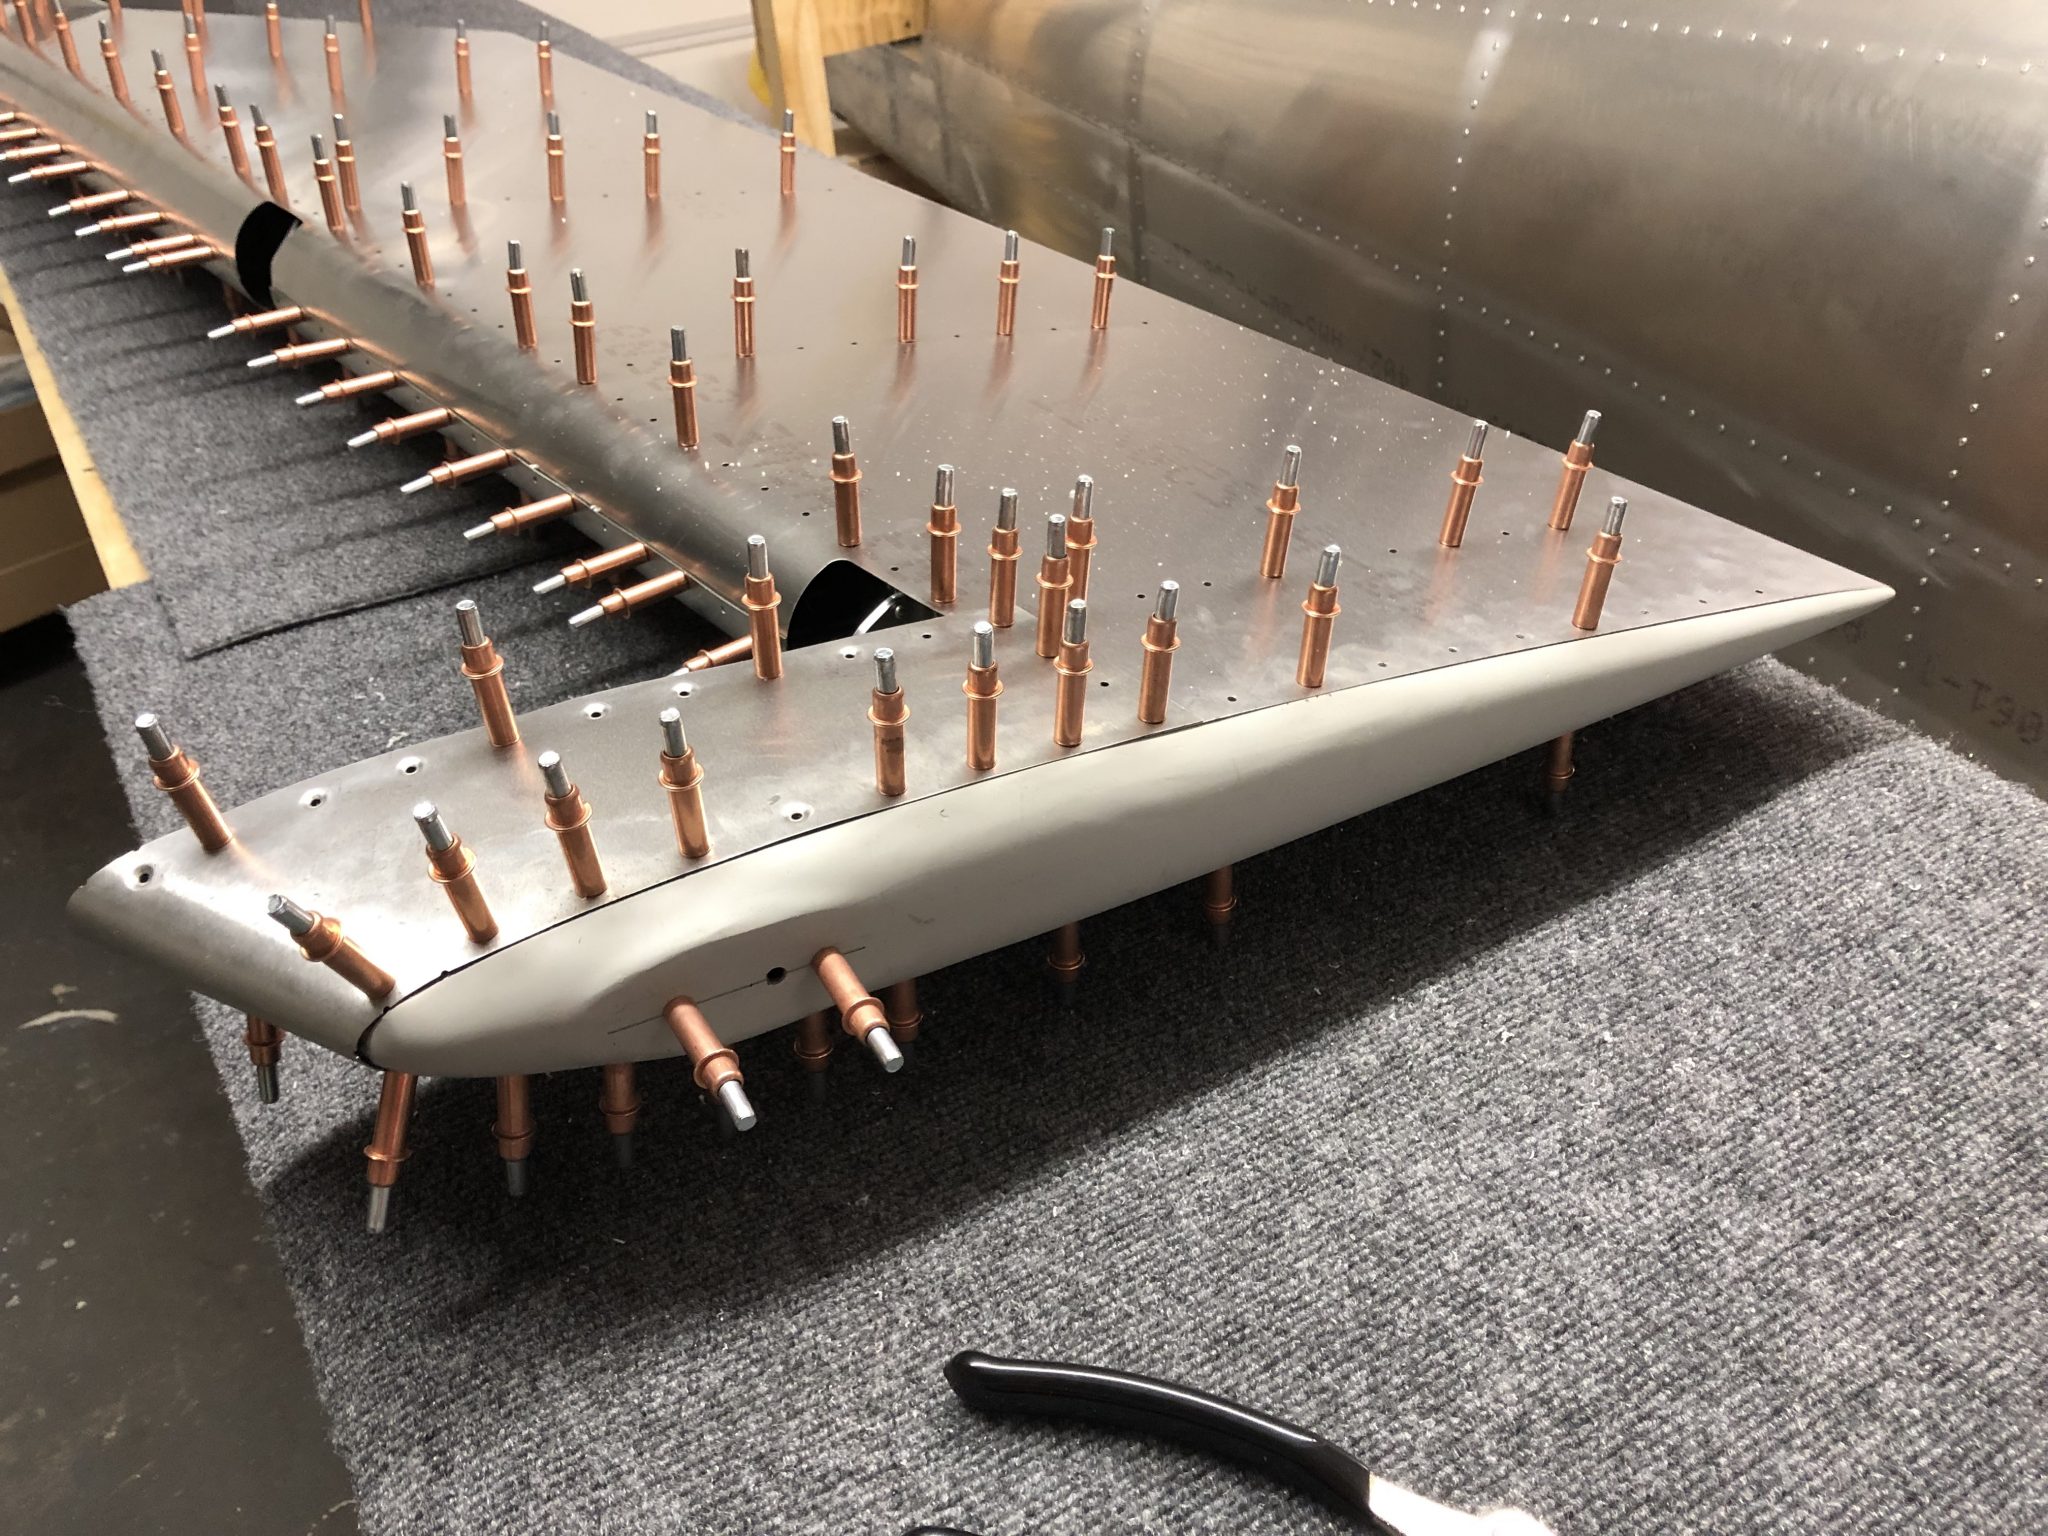
Riveting the skin
So after all that I went to work and started riveting some of the skin.