
With the weather warming up, I got to spend some time sitting in a bit of sun with the garage door open and preparing, deburring, cleaning and then priming more parts of the Elevator.
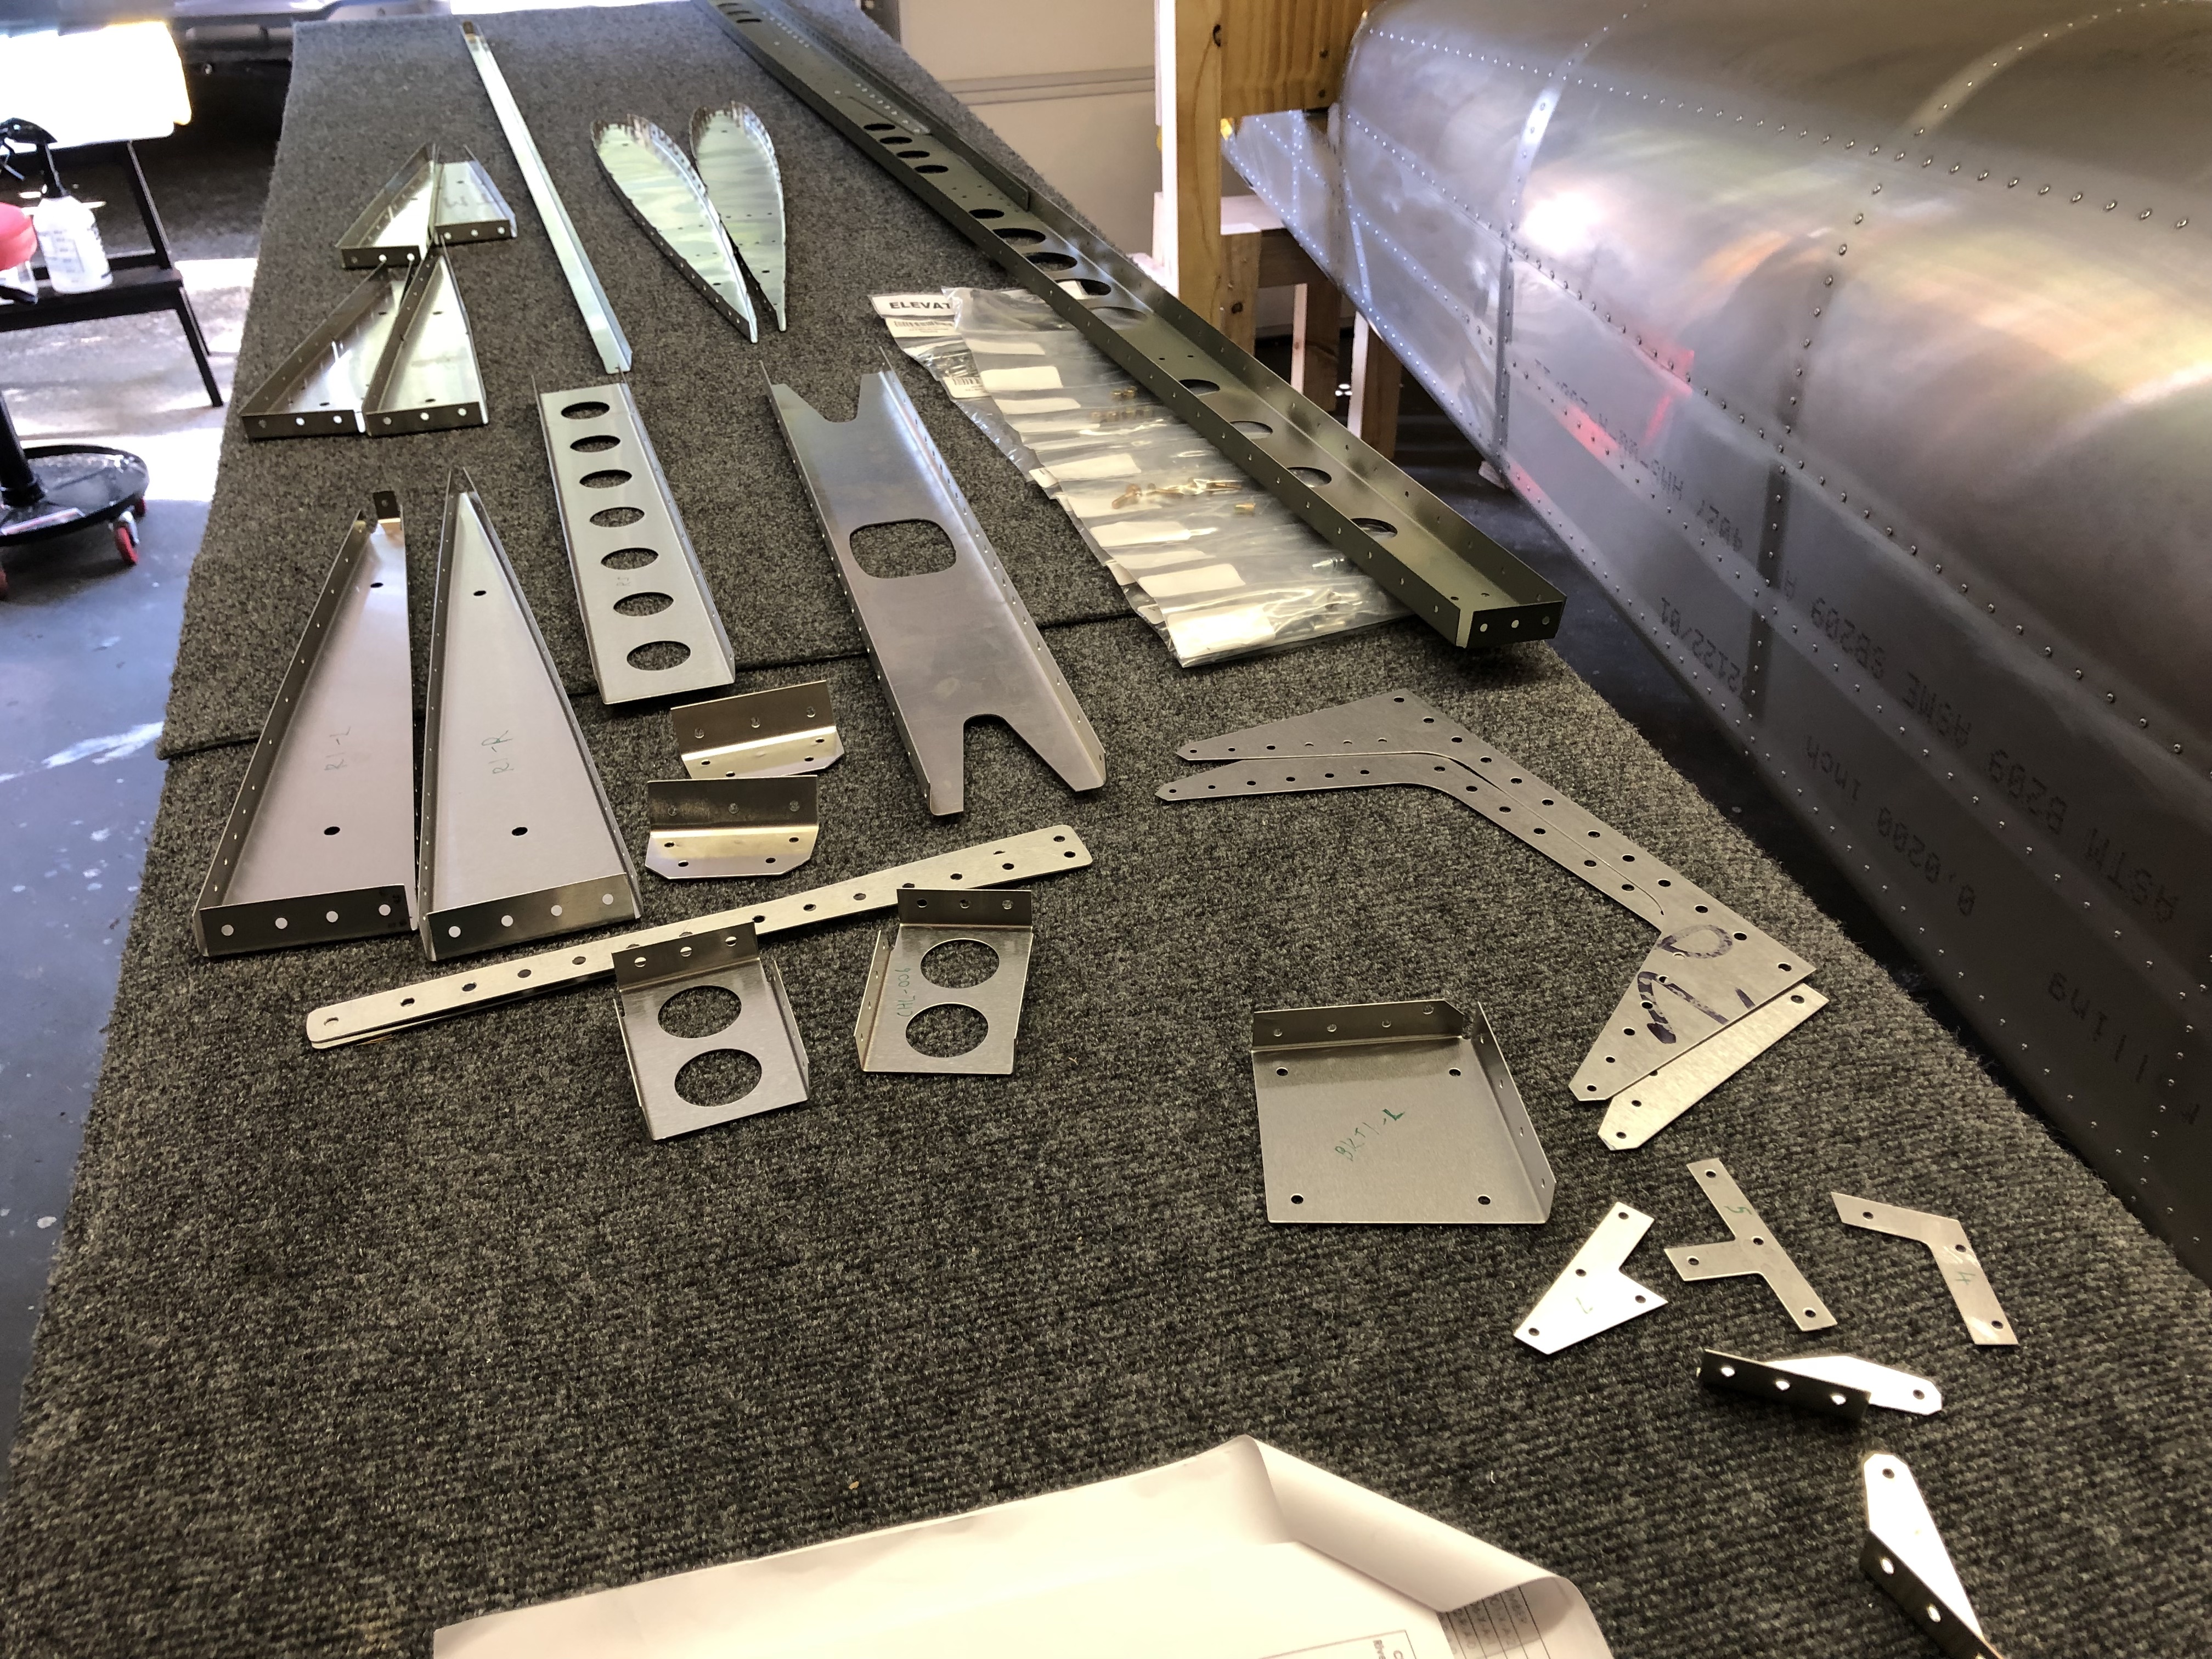

Assembling Elevator center spar
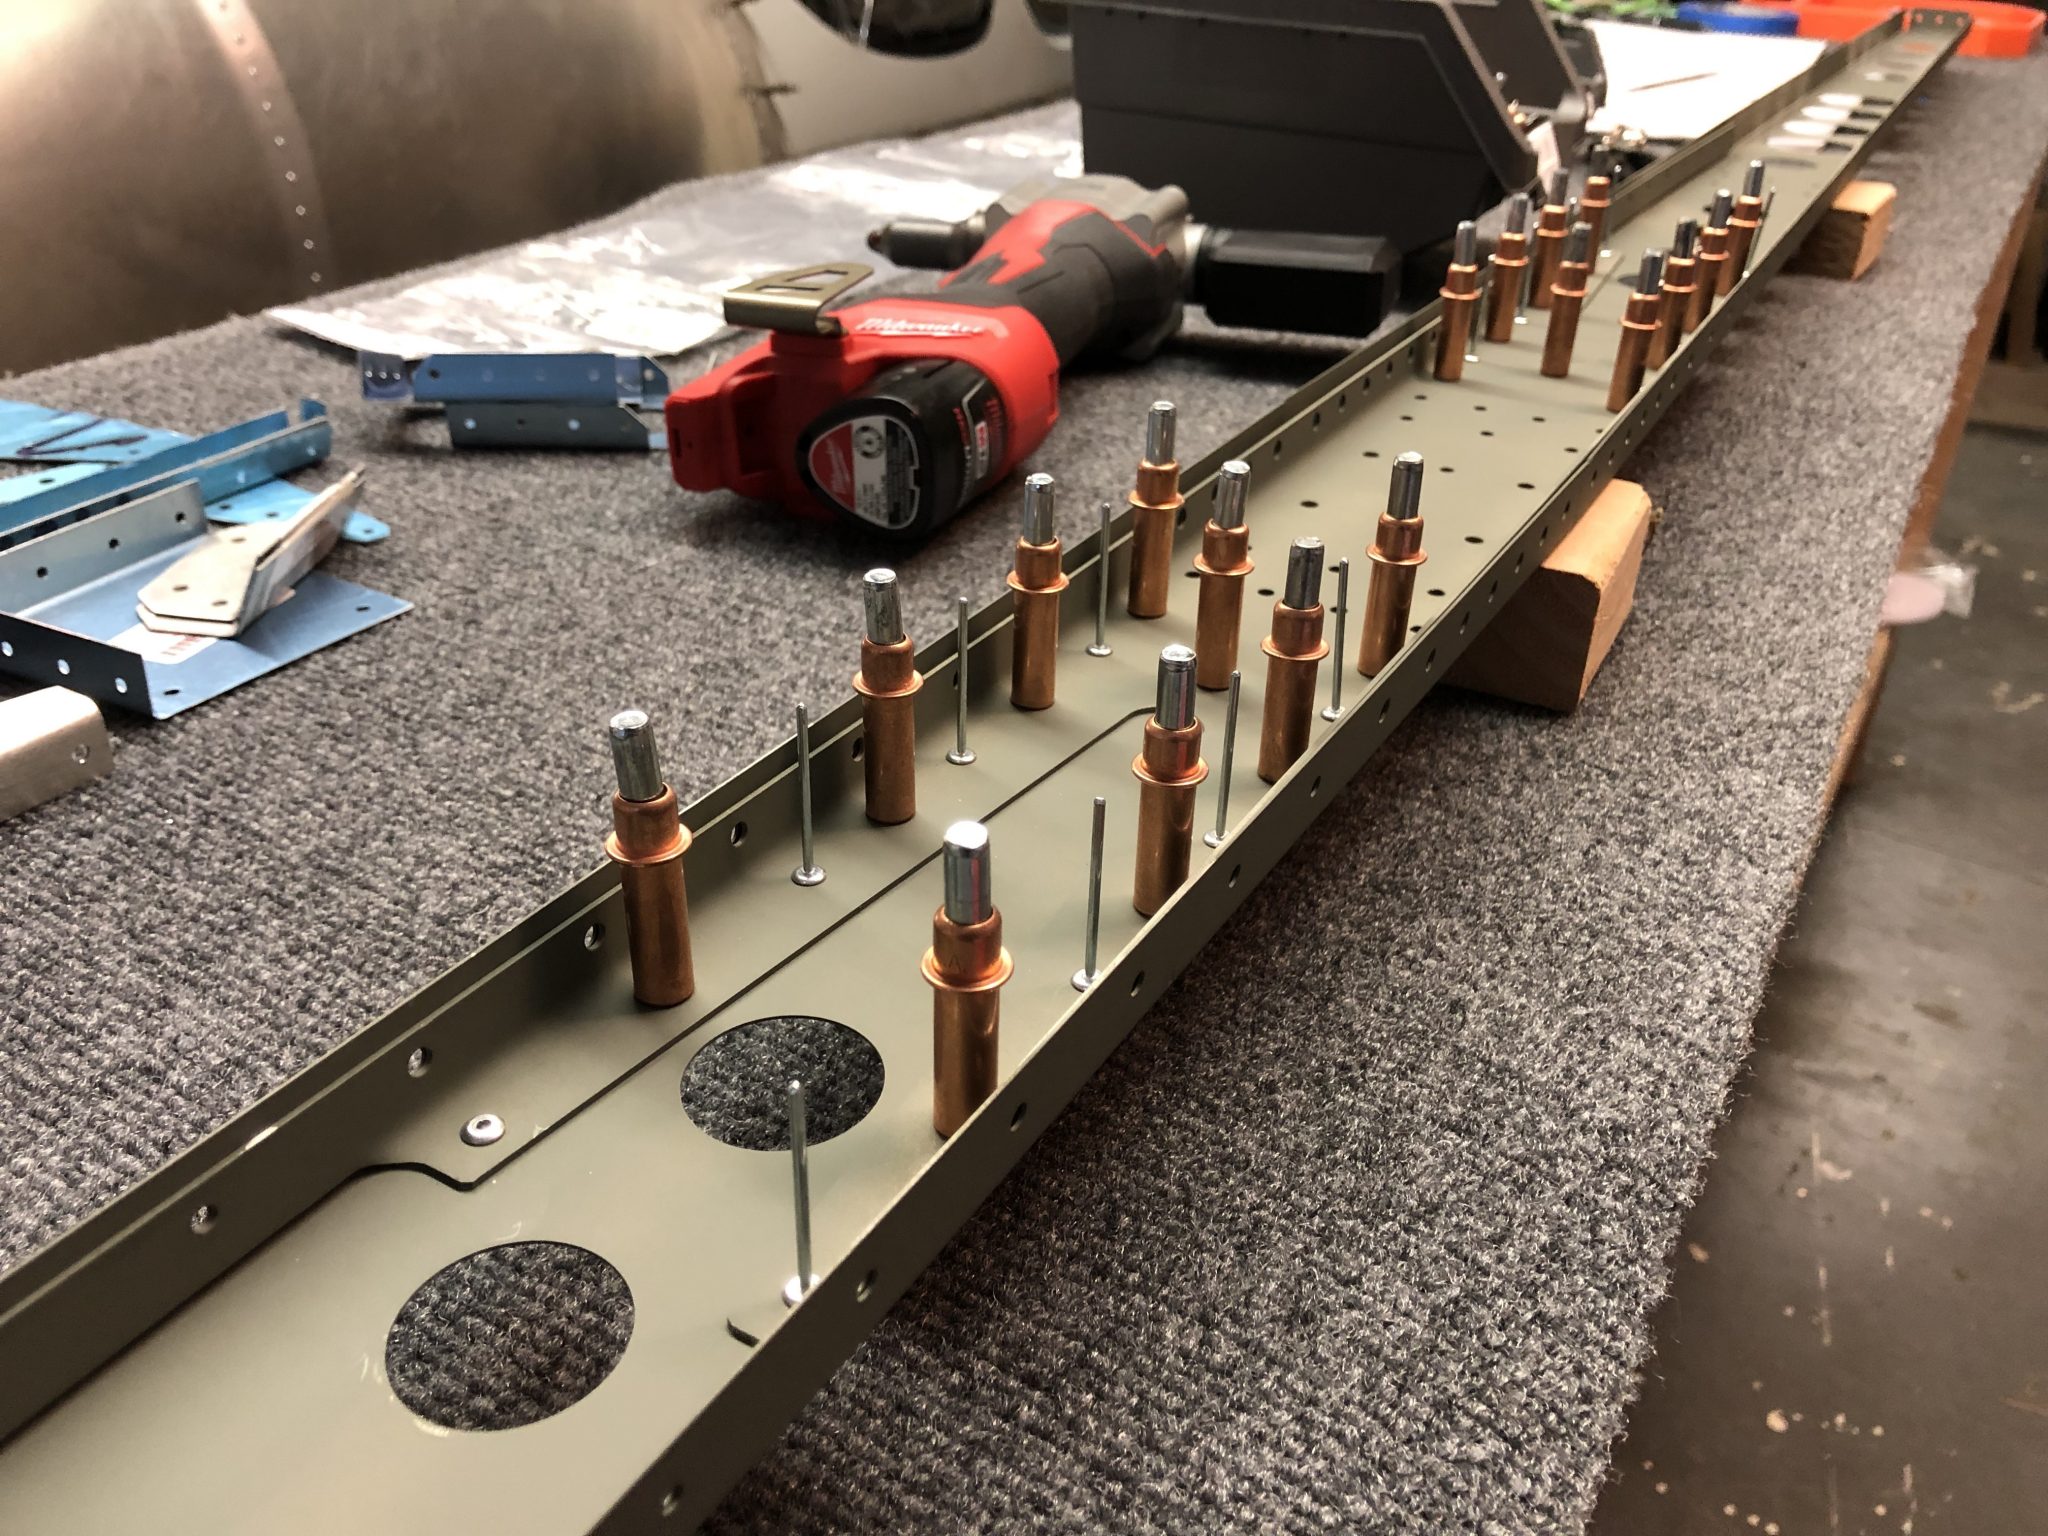
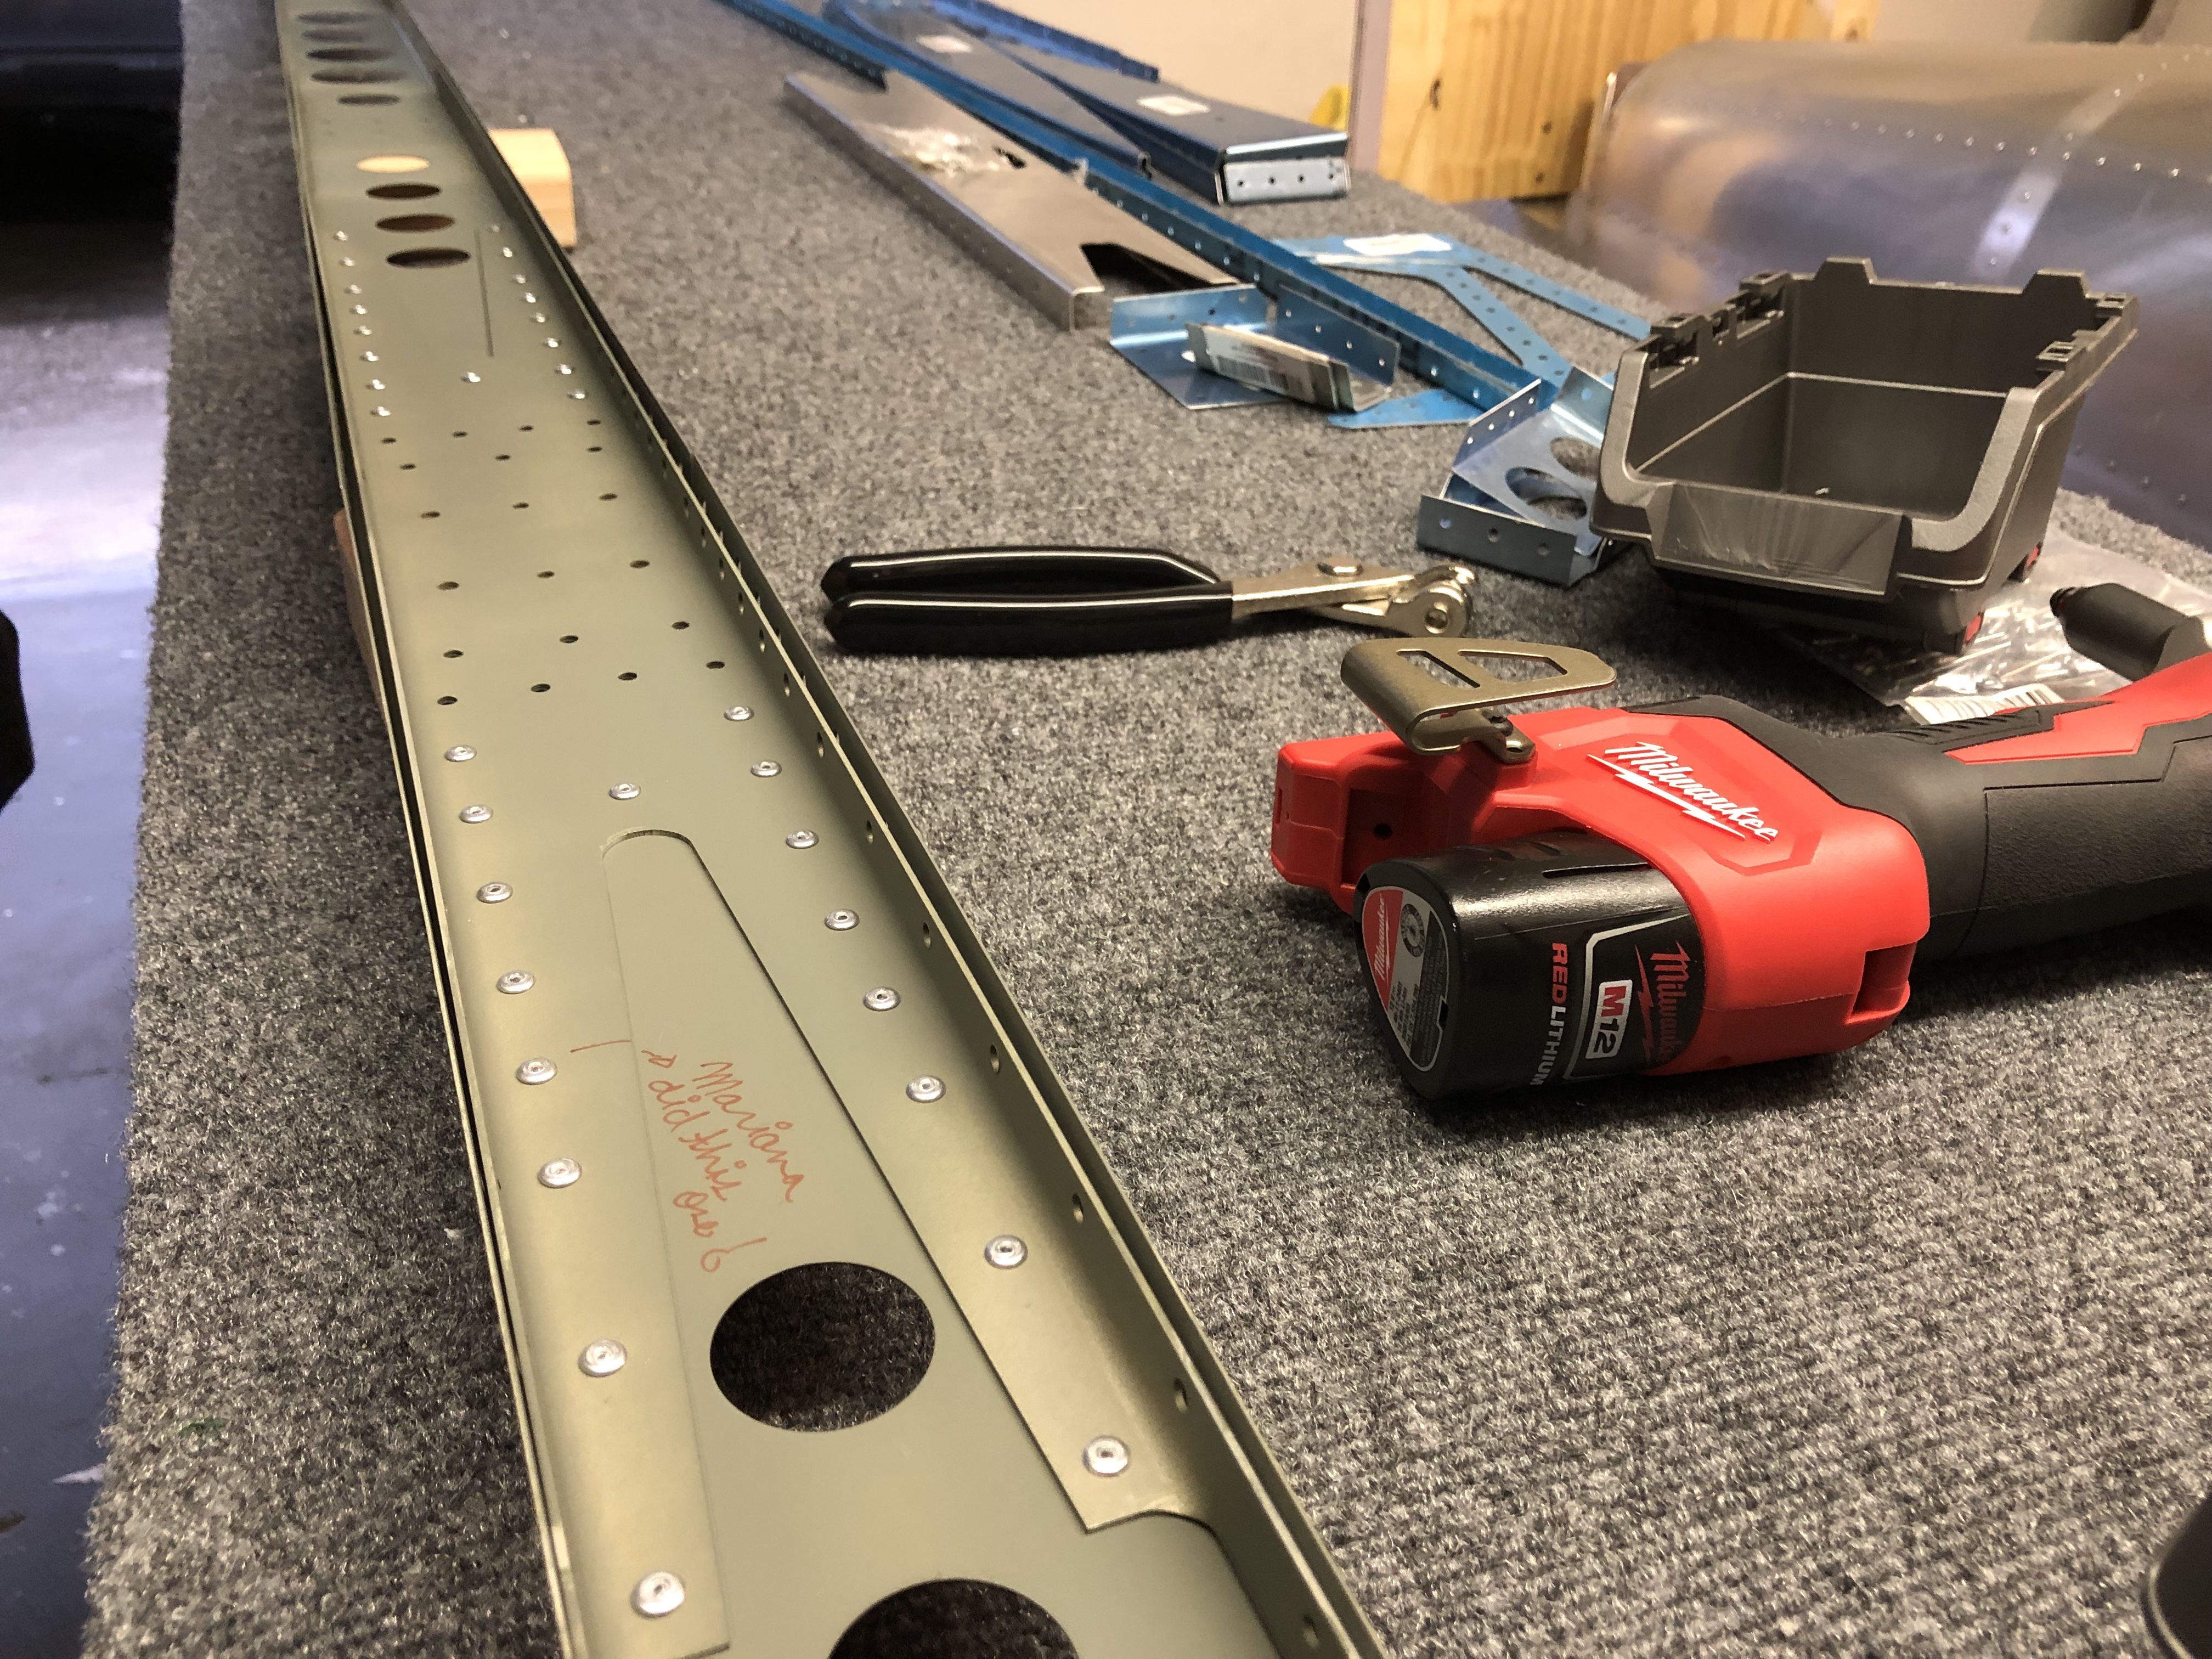
The first thing I put together was the Center Spar itself, which I had primed already together with the counterweight the other day. Setting everything up was pretty straight forward as usual and while I was working on it I had a visit from another builder of the EAA chapter I’m part of who actually happens to live very close by and is building an RV. And then another friend was visiting and I happened to have some rivets ready to be riveted, so I continue my new tradition to have guests pull a rivet on the plane and sign it.
Assembling the center structure to the spar
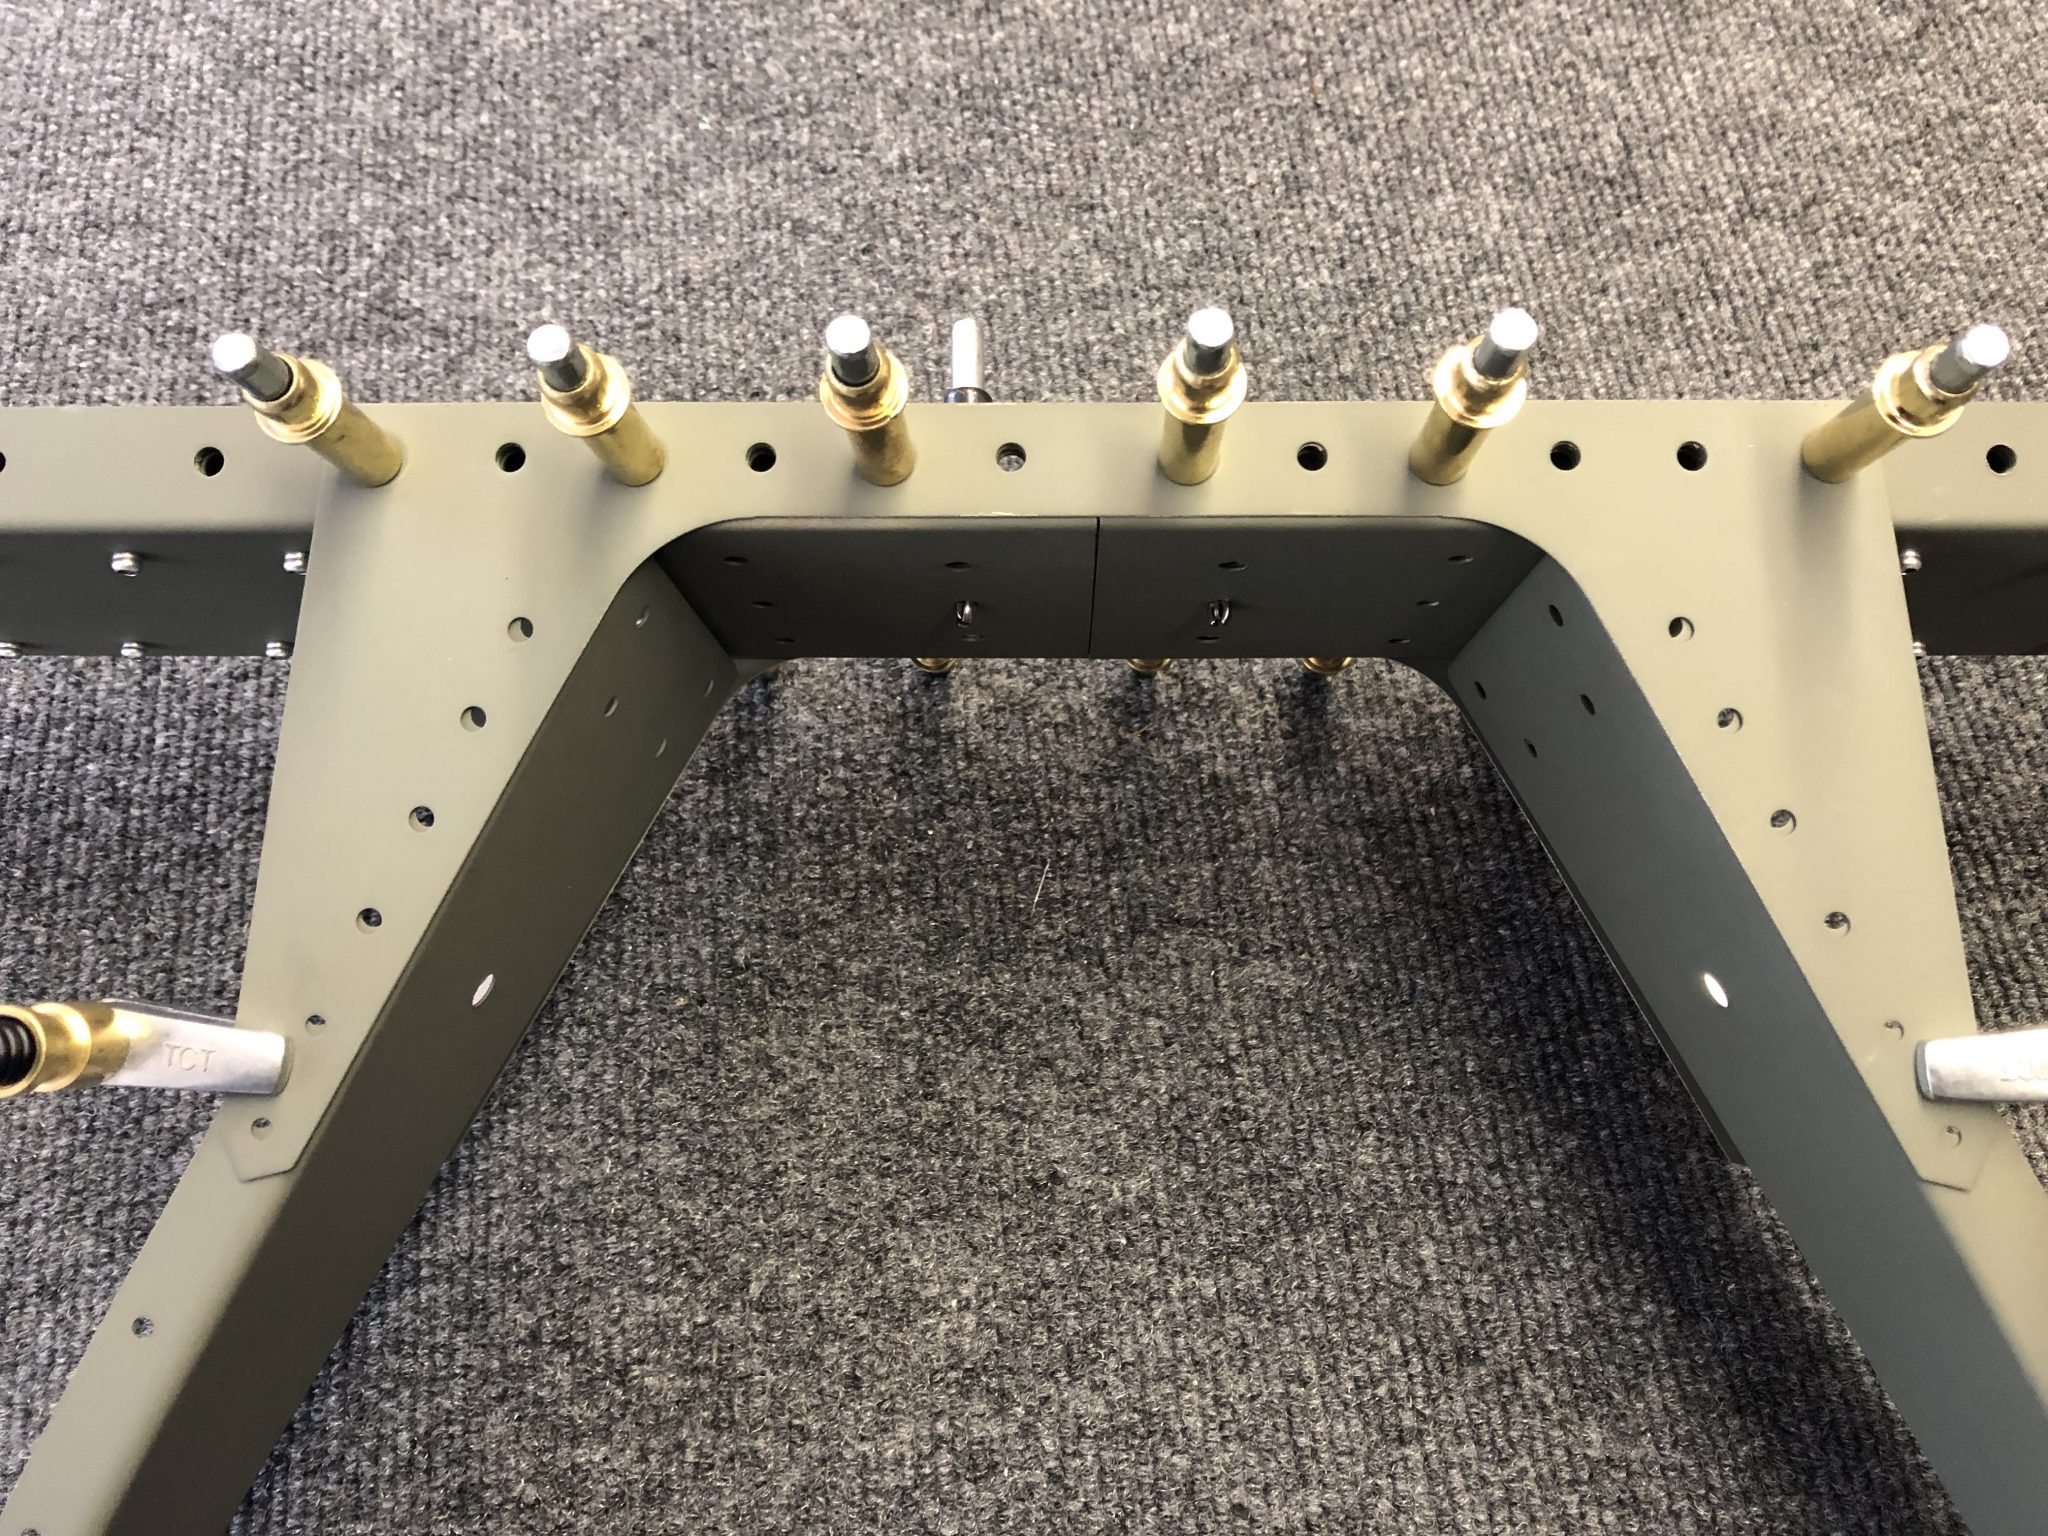
After the priming from yesterday had some time to dry and set, I went to work to put together the center rib assembly with the center spar. There are a lot of pieces that slot together in there, so it took some time to figure out what slots into which piece. for the center channel to go on:
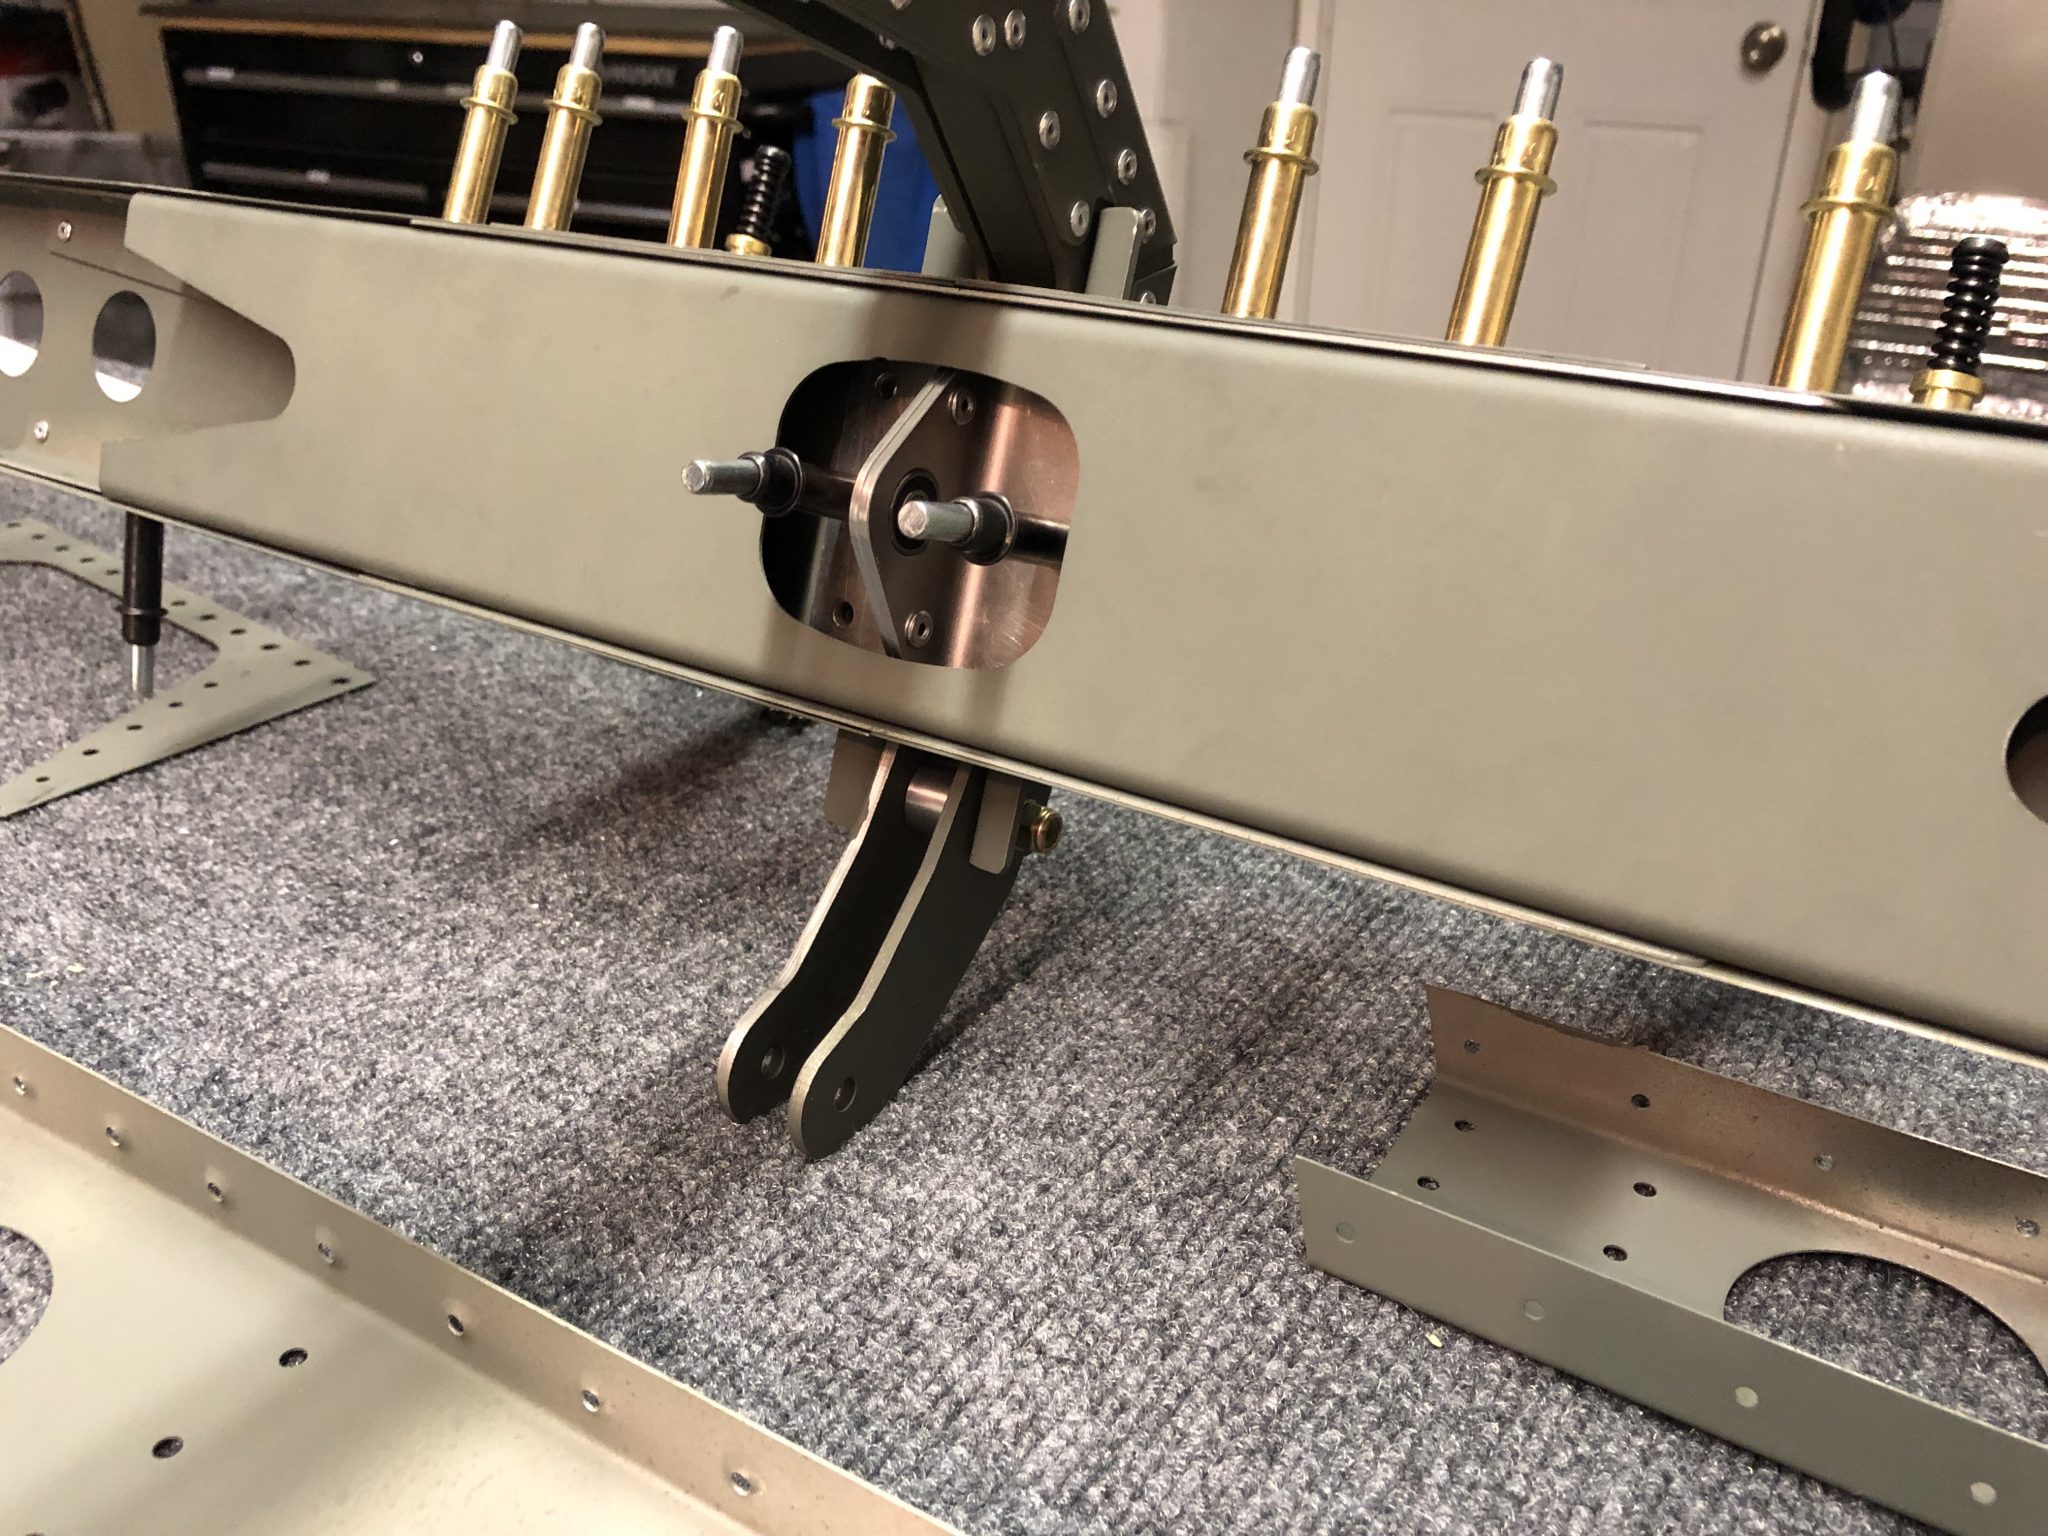
Unfortunately I encountered a problem with the alignment of the holes on the center Rib, both left and right, with the plate as seen below:

In trying to figure out which piece is wrong, I started putting together more of the structure temporarily with clecos and the strange thing is that the other holes on the ribs are aligned fine (the black clecos below), so then I thought that it must be the top center plate.
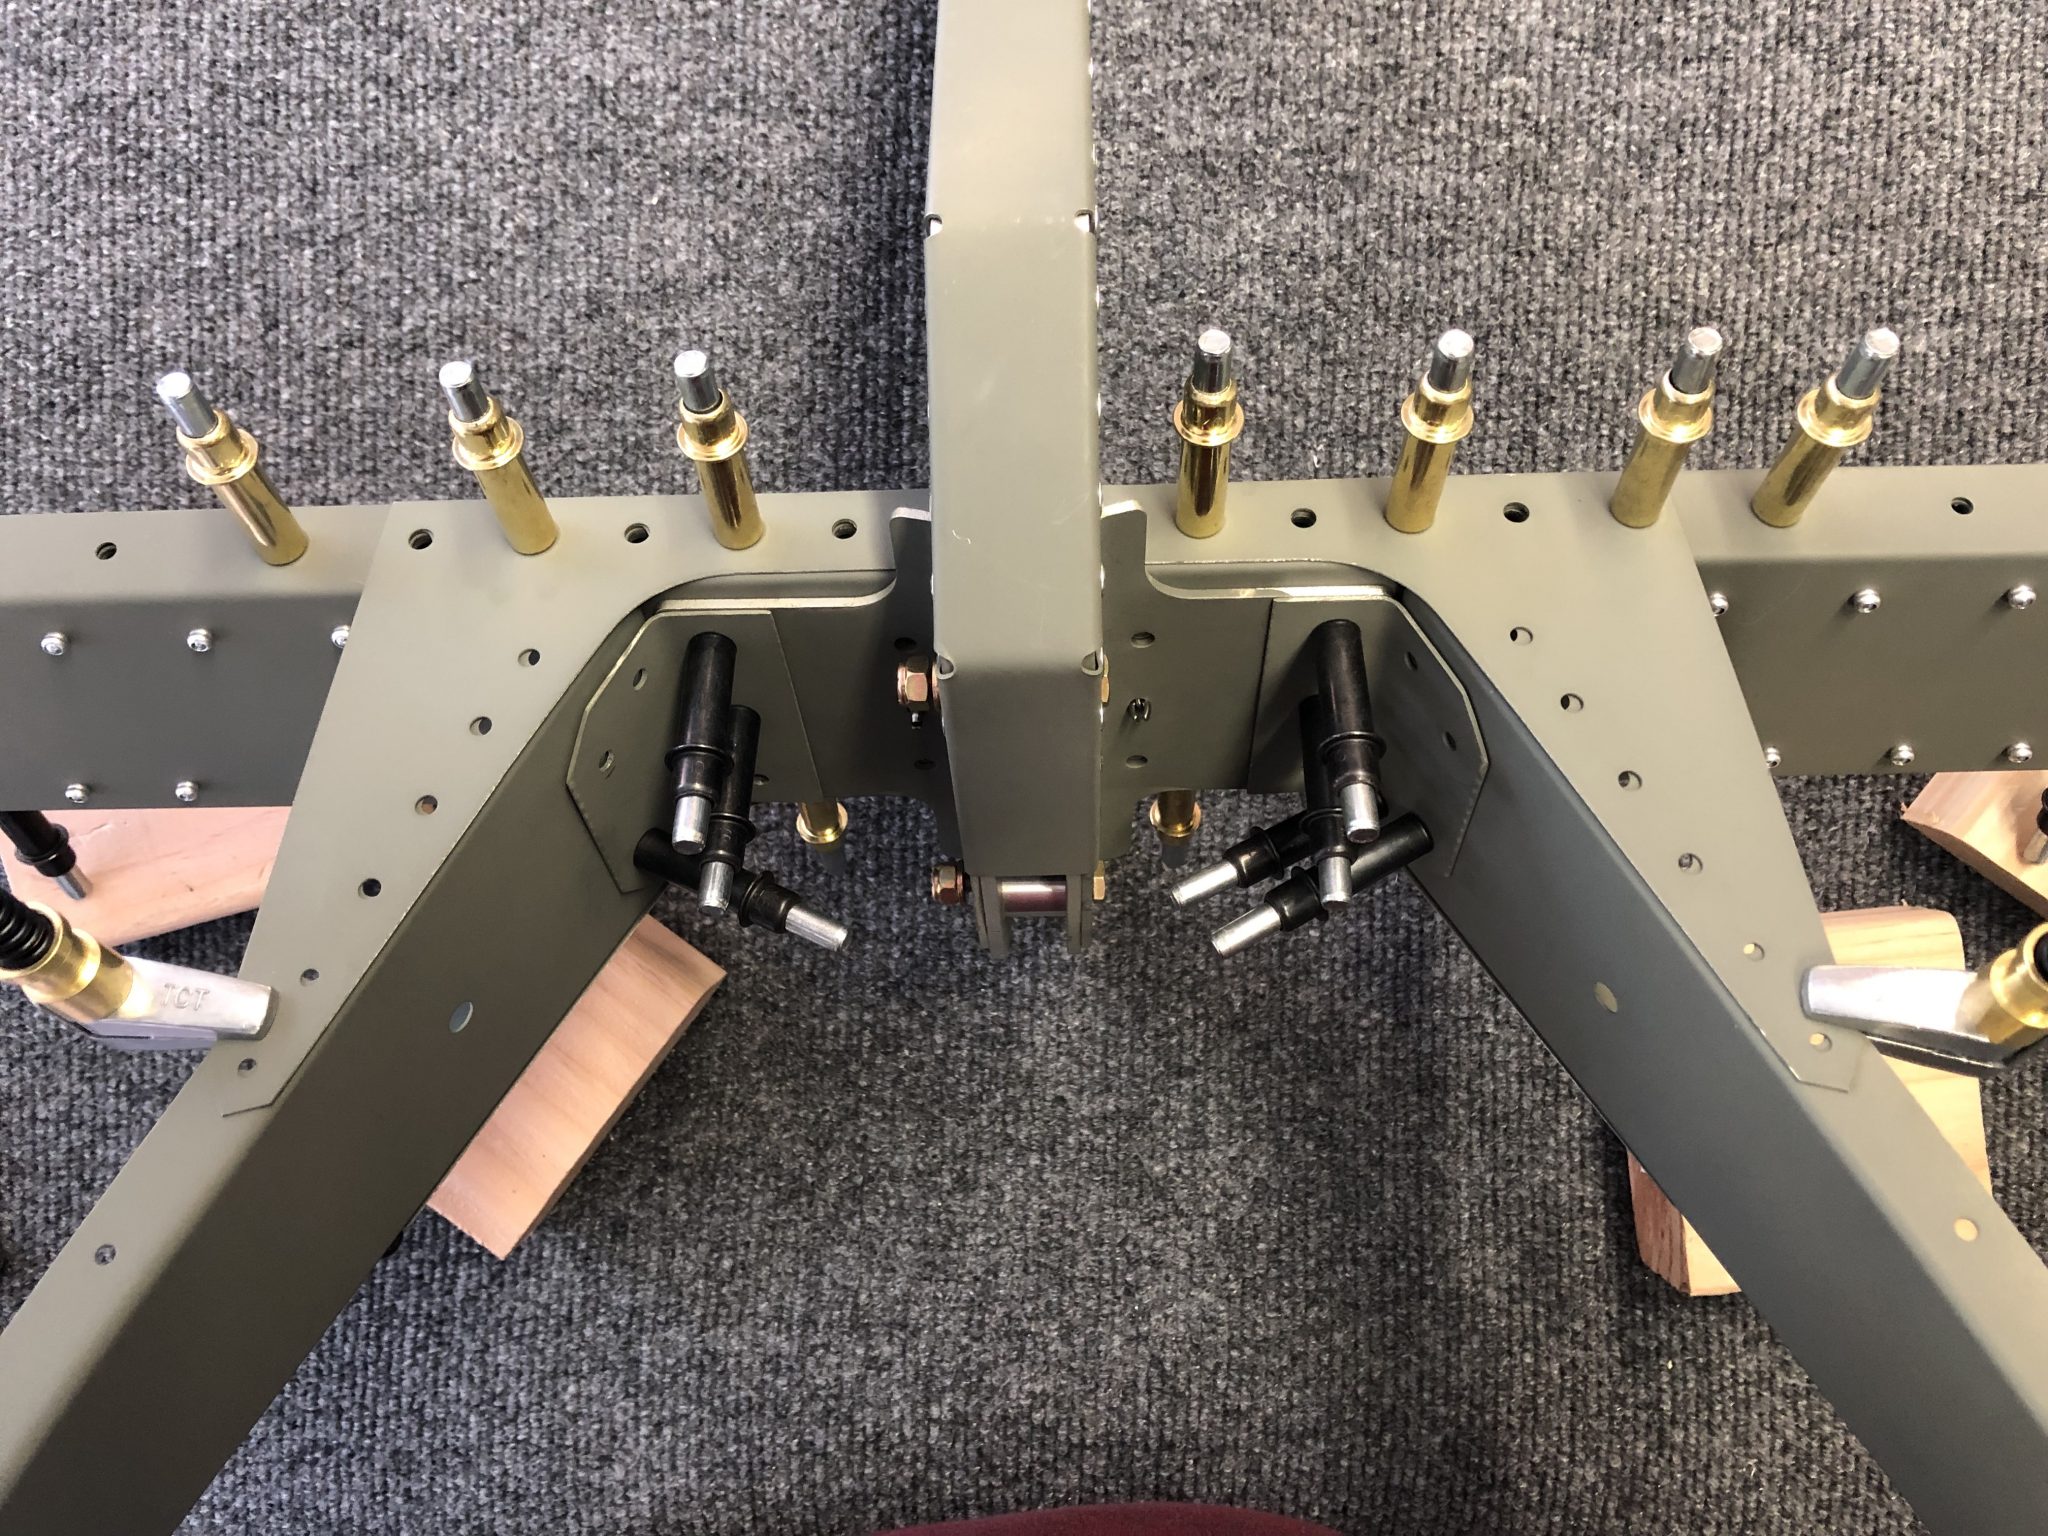
But then I took off the center plate to check its alignment with the outer skin and there the holes of the top center plate align correctly with the holes on the skin. So this in turn then lead me back to determining that the top (and bottom) holes on the Rib 1 must be the culprit.
It is very strange since the misalignment is pretty severe. It definitely doesn’t look like this could just be resolved by up-drilling the holes, so I sent a note to the factory to ask how to proceed. My guess is going to be that I need new center ribs.
Had same issue. Ended up clecoing every other hole on the top and bottom plates without the interior re-enforcement brackets so the ribs could flex. Then had to do some re-bending of the angle brackets to fit the now ridged structure of the clecoed ribs. After some bending I was able to get the angle brackets to fit by placing rivets in the holes for alignment (no clecos). Minimal reaming required without enlarging/deforming holes. Hopefully that makes sense.
Stupid question, but where did you get the carpet/padding for your work tables?
Thanks
Home Depot, it’s simple carpeting and they can cut you a strip by the foot.
Thank ya Sir! Keep up the progress and the videos. I’m currently setting up my shop to facilitate a Sling build.
Thanks,
Austin
Do you find that most parts need duburring or not? One of The Airplane Factory’s original videos stated that parts come ready for assembly already beburred. I figured you have to further debur because you’re priming. I don’t believe when I get my kit that I will prime. It would be nice if they still alodined the pieces before they left the factory.
Most parts are ready and it’s just a matter of inspecting and checking that there are no burrs, but some (mainly the thicker) parts do need a little bit of deburring.
Pingback: Lots of Rivnuts on the Vertical Stabilizer - Philip's Sling TSi Build Log
Pingback: Flaps & Aileron inventory and parts inspection - Philip's Sling TSi Build Log
Like your carpeted workbench and its size and length for one full wing. What size is it? 4′ x 8′ ?
Thanks.
They are 2 tables that are 2′ x 5′ each and the carpeting is literally just a bit of floor carpeting I bought from Home Depot as they sell it by the foot. The tables are based on the design by someone from EAA Chapter 1000 – you can find more details on my post here.