
After putting the Elevator construction on pause due to the alignment issue of the center rib. I decided to get started on putting together the Vertical Stabilizer. I’ve heard back from the Factory and it turns out that they’ve changed the Rib and will be sending me the correct new versions of the ribs (EL-RIB-001-C-E-1 & EL-RIB-101-C-E-1), so I’ll have to wait until I get those.
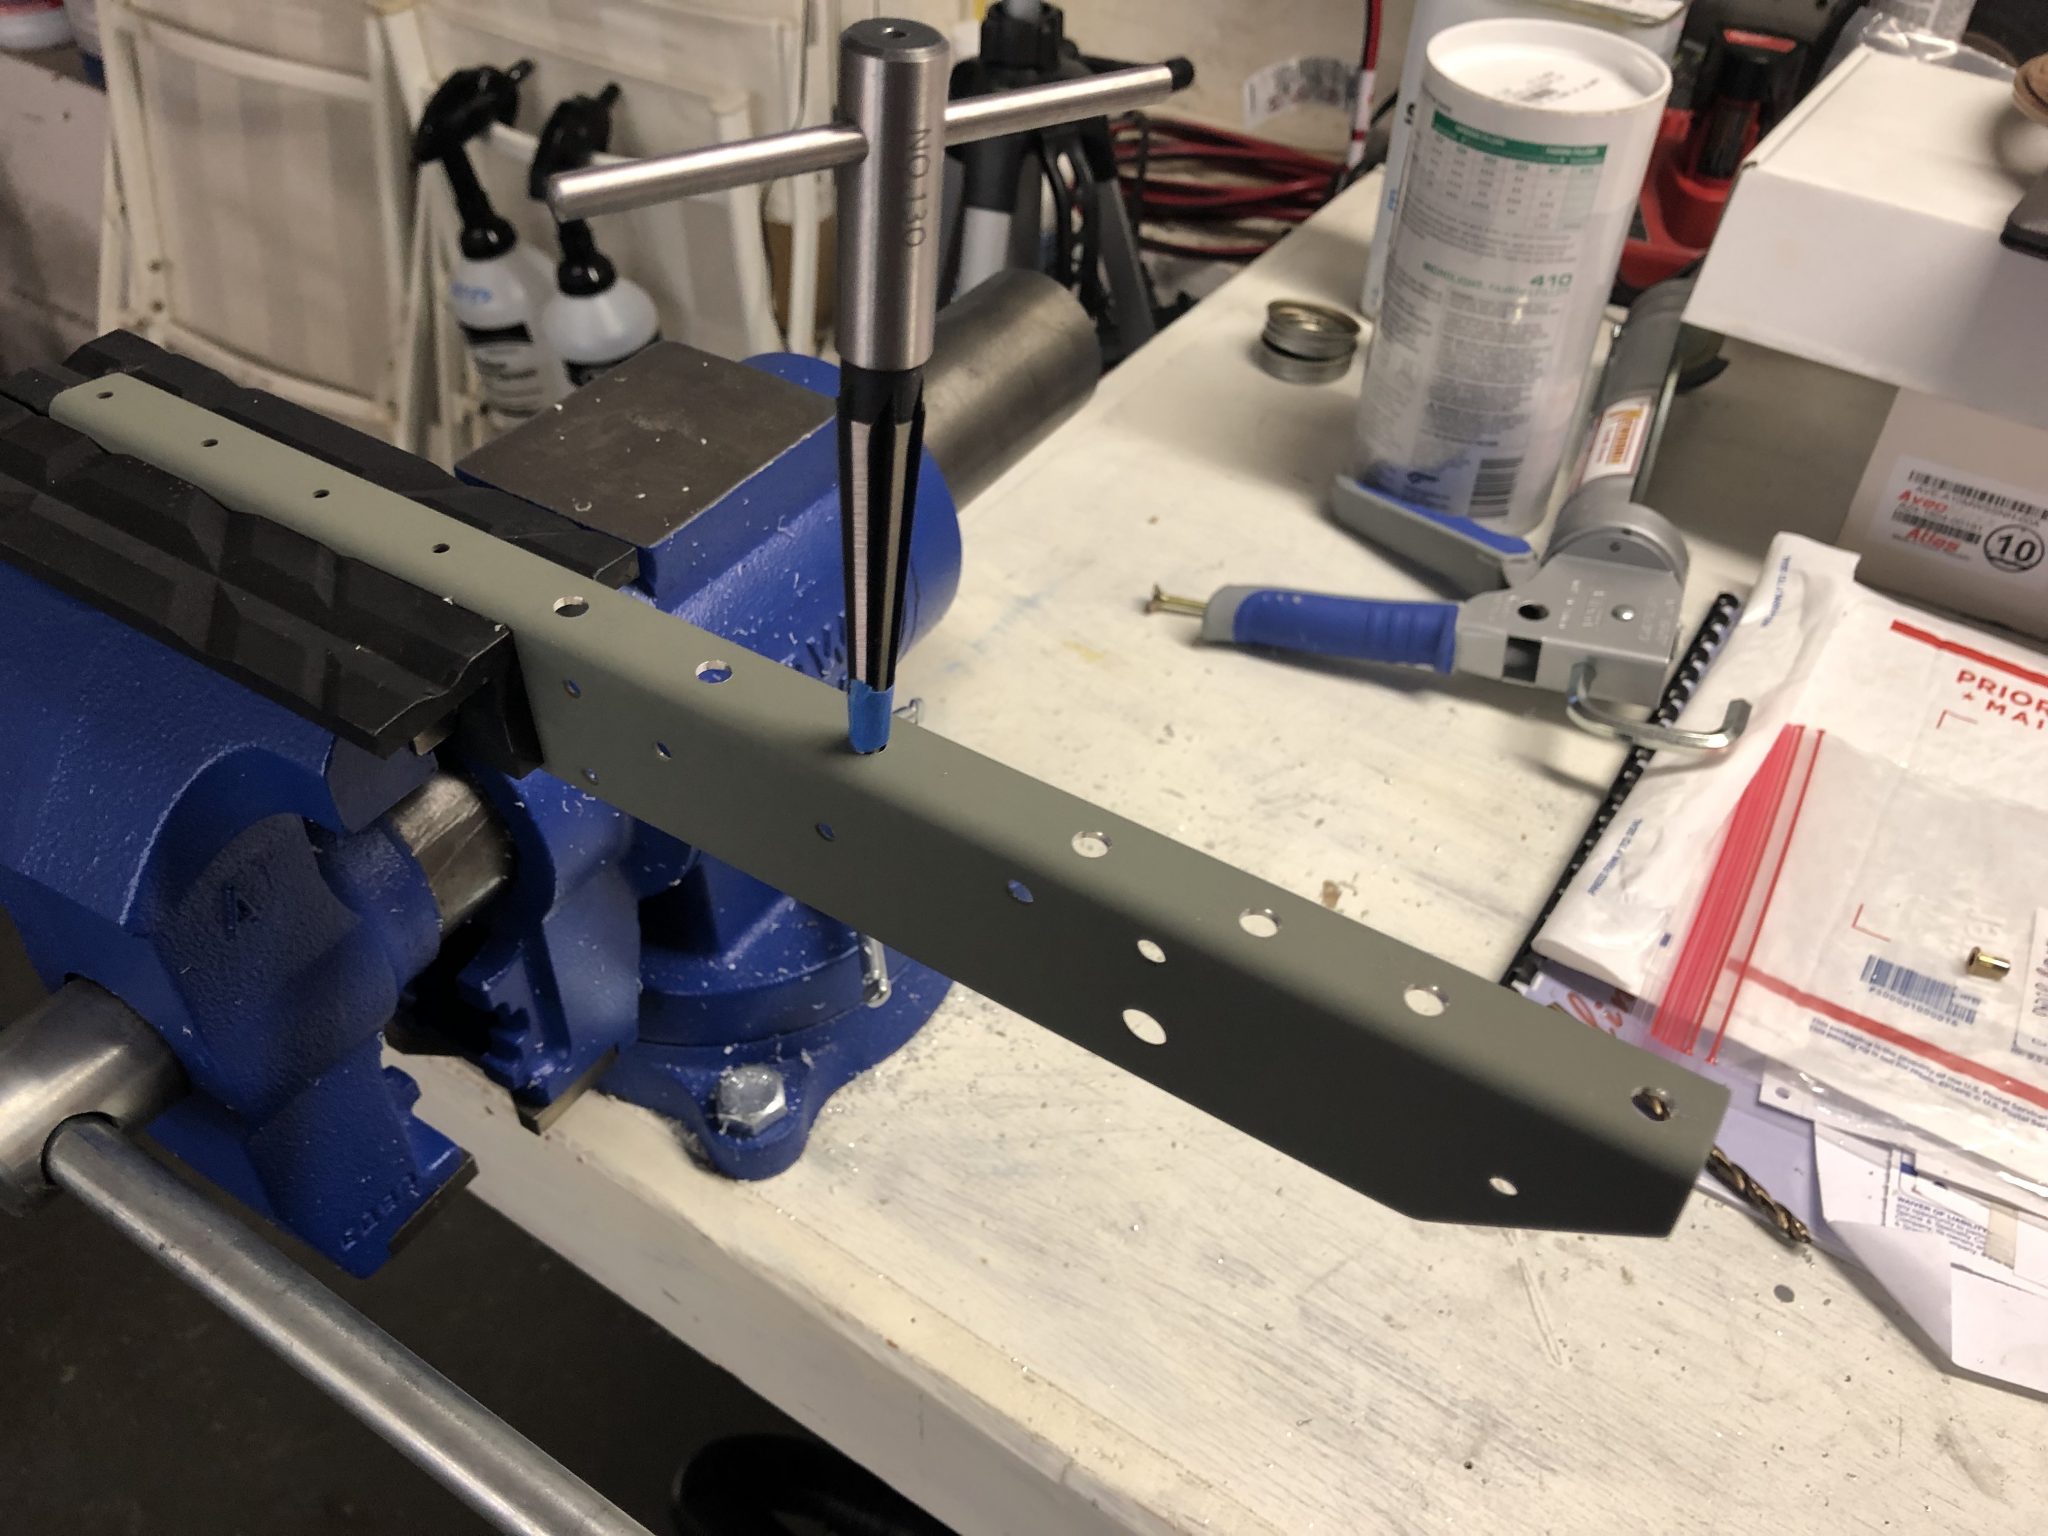
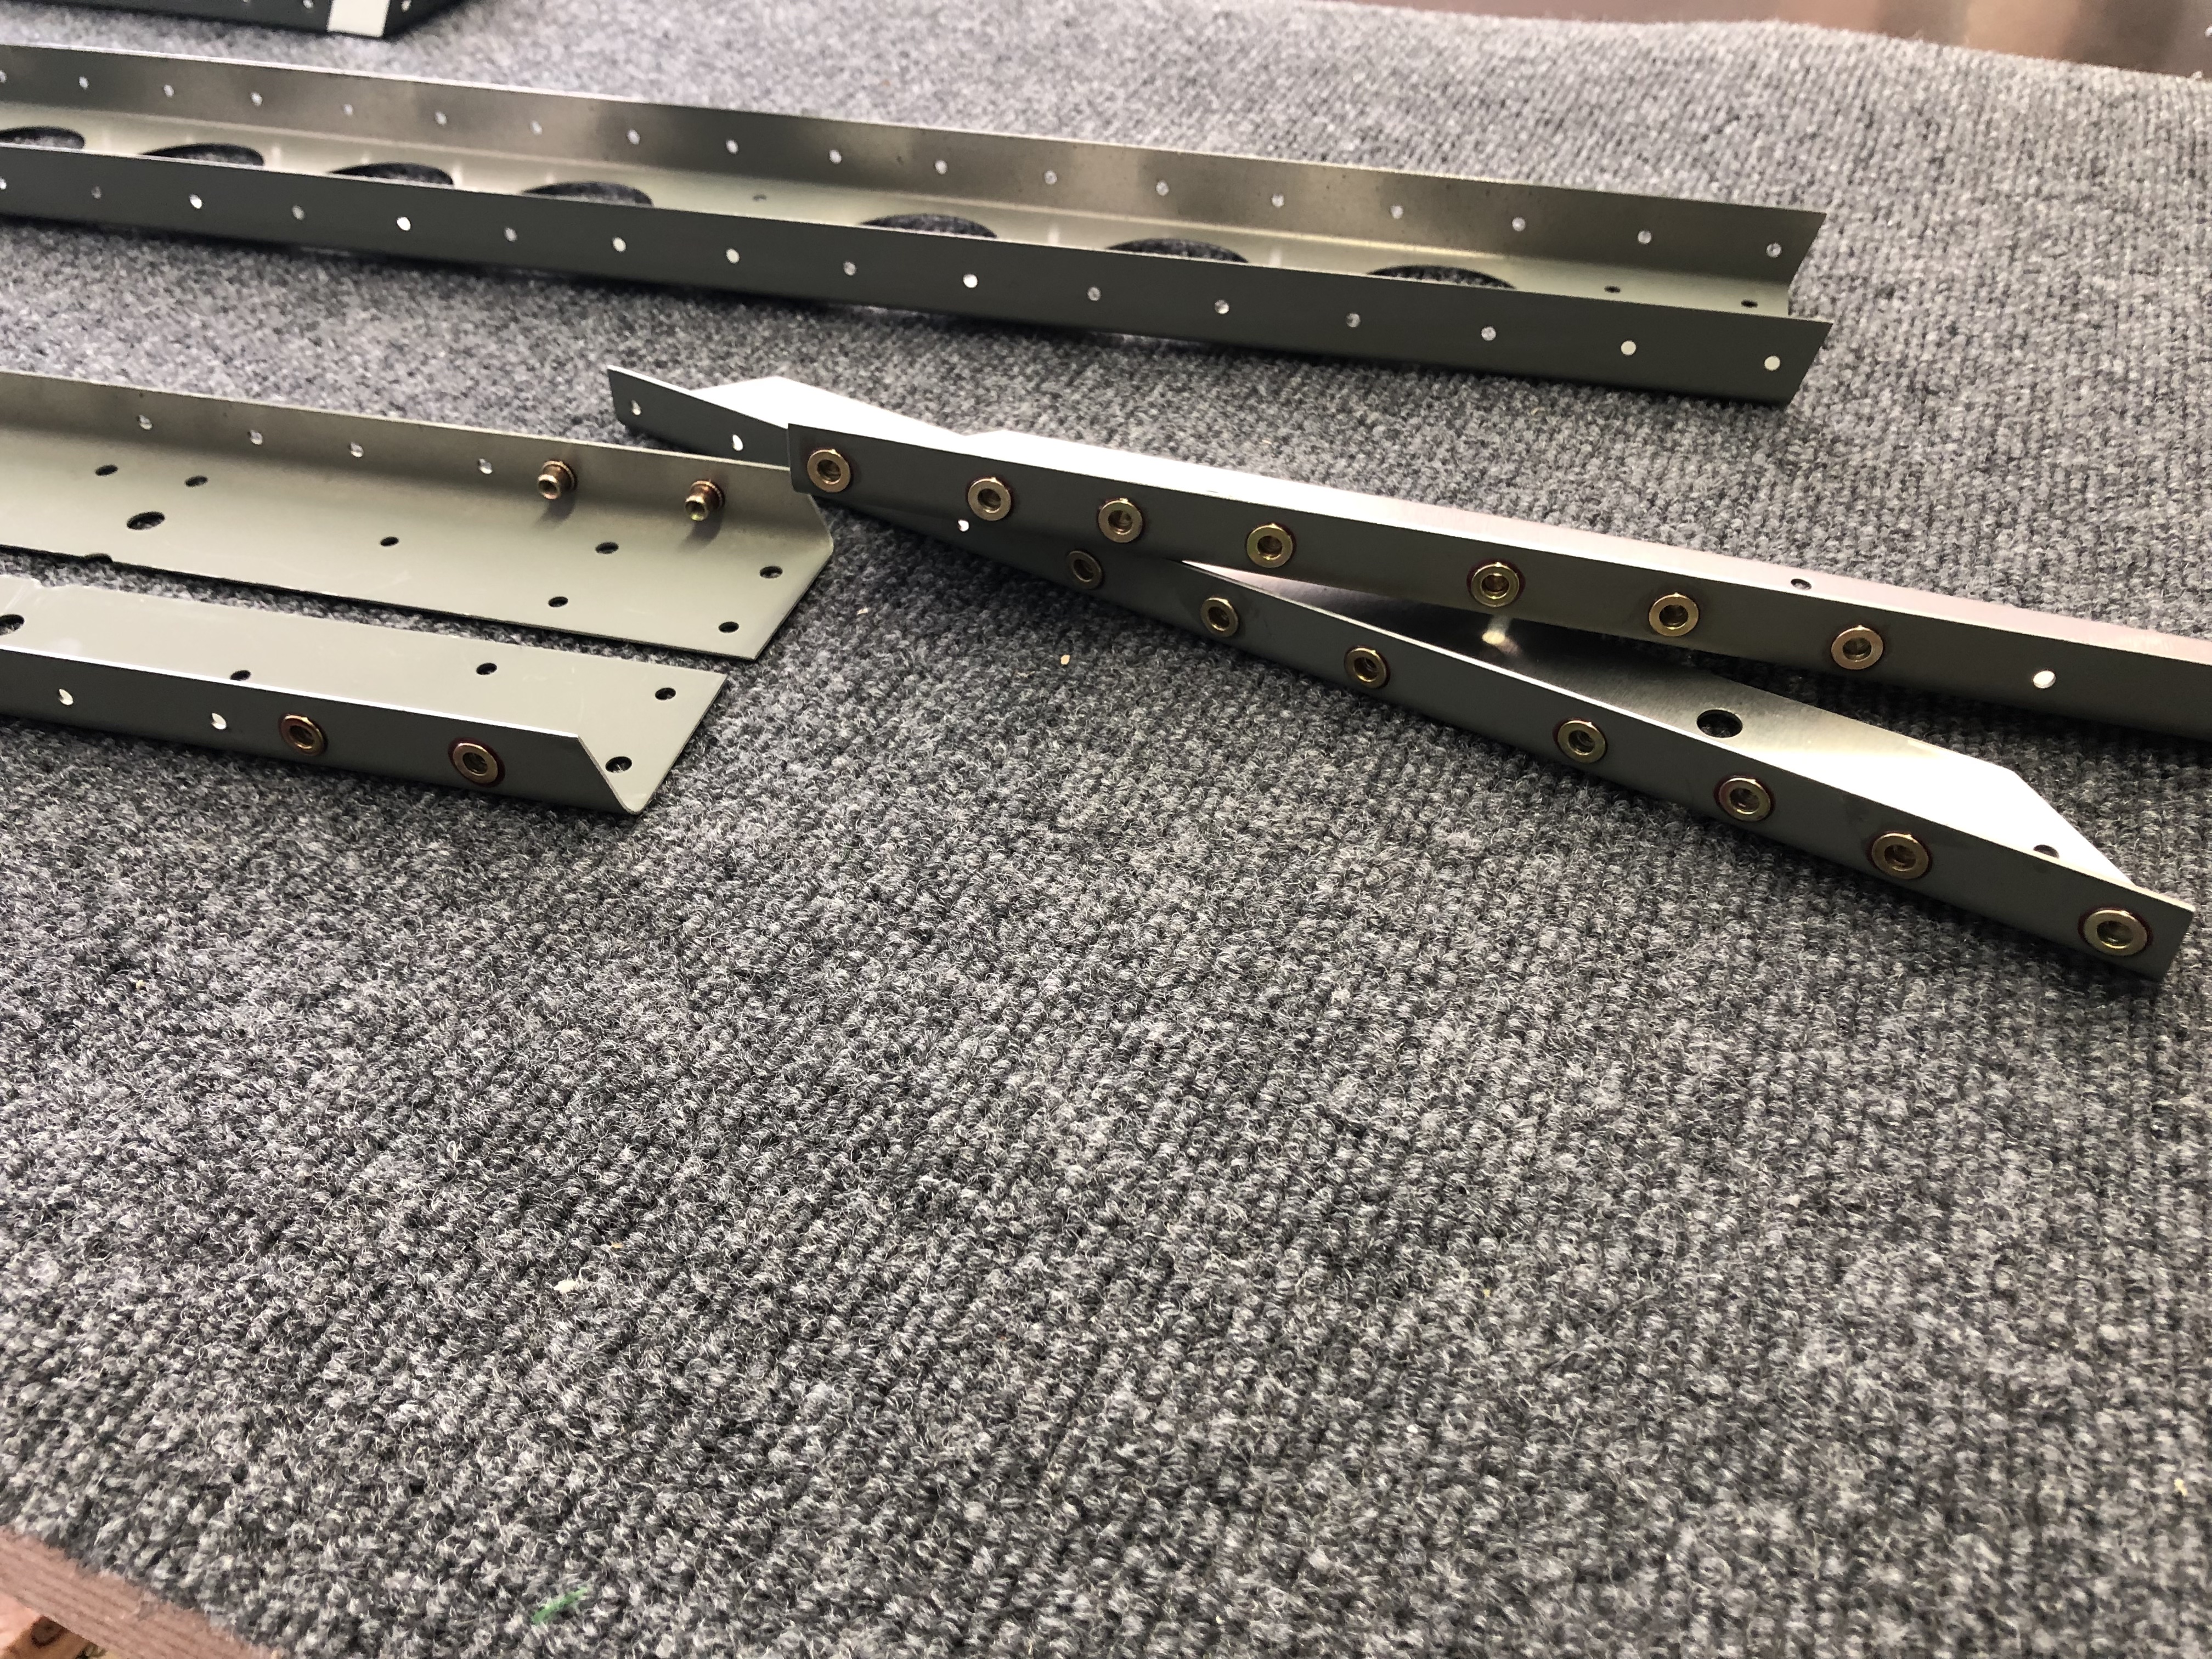
So onto the Vertical Stabilizer – the bottom of the rear spar holds a lot of M4 Rivnuts, so it was time to updrill the holes to the correct size in order to fit the rivnuts.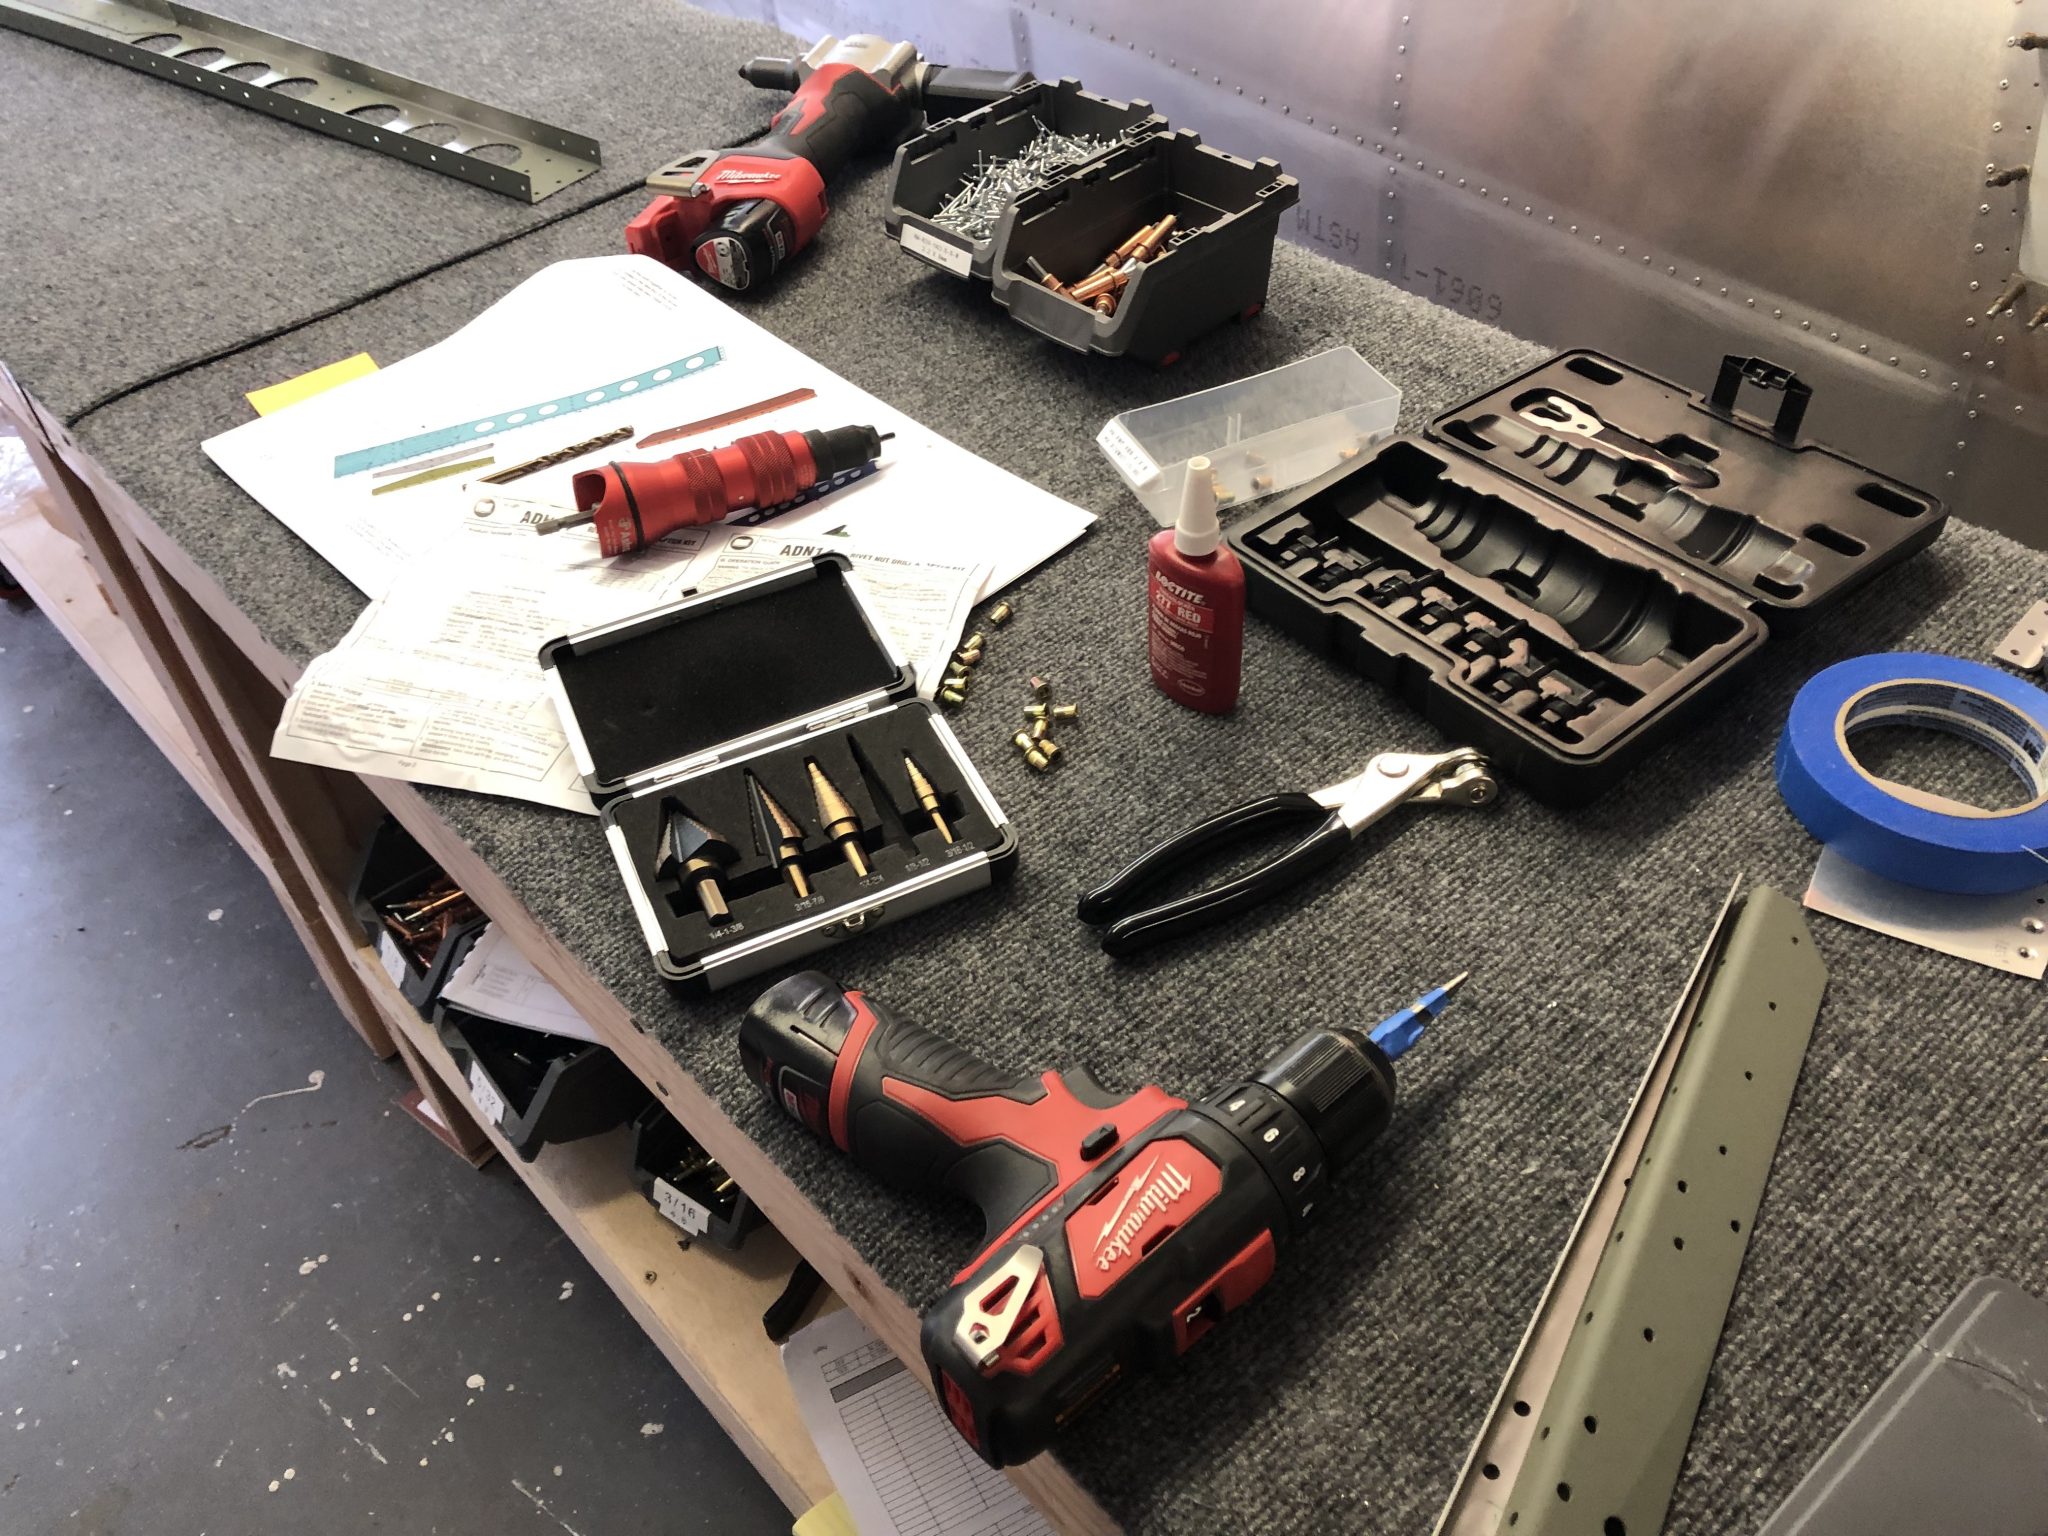
Using the step-drill bit I enlarged the holes just a bit smaller than the Rivnuts and then finalized it to the exact size using a hand reamer since you don’t want the hole to be any larger than the not so it gets a tight fit.

Once I was done enlarging all the holes I took care of deburring the holes and then went to work installing all the rivnuts using the Astro ADN14 Rivnut puller attachment for my drill and adding Loctite 277 (red) Threadlocker for added strength.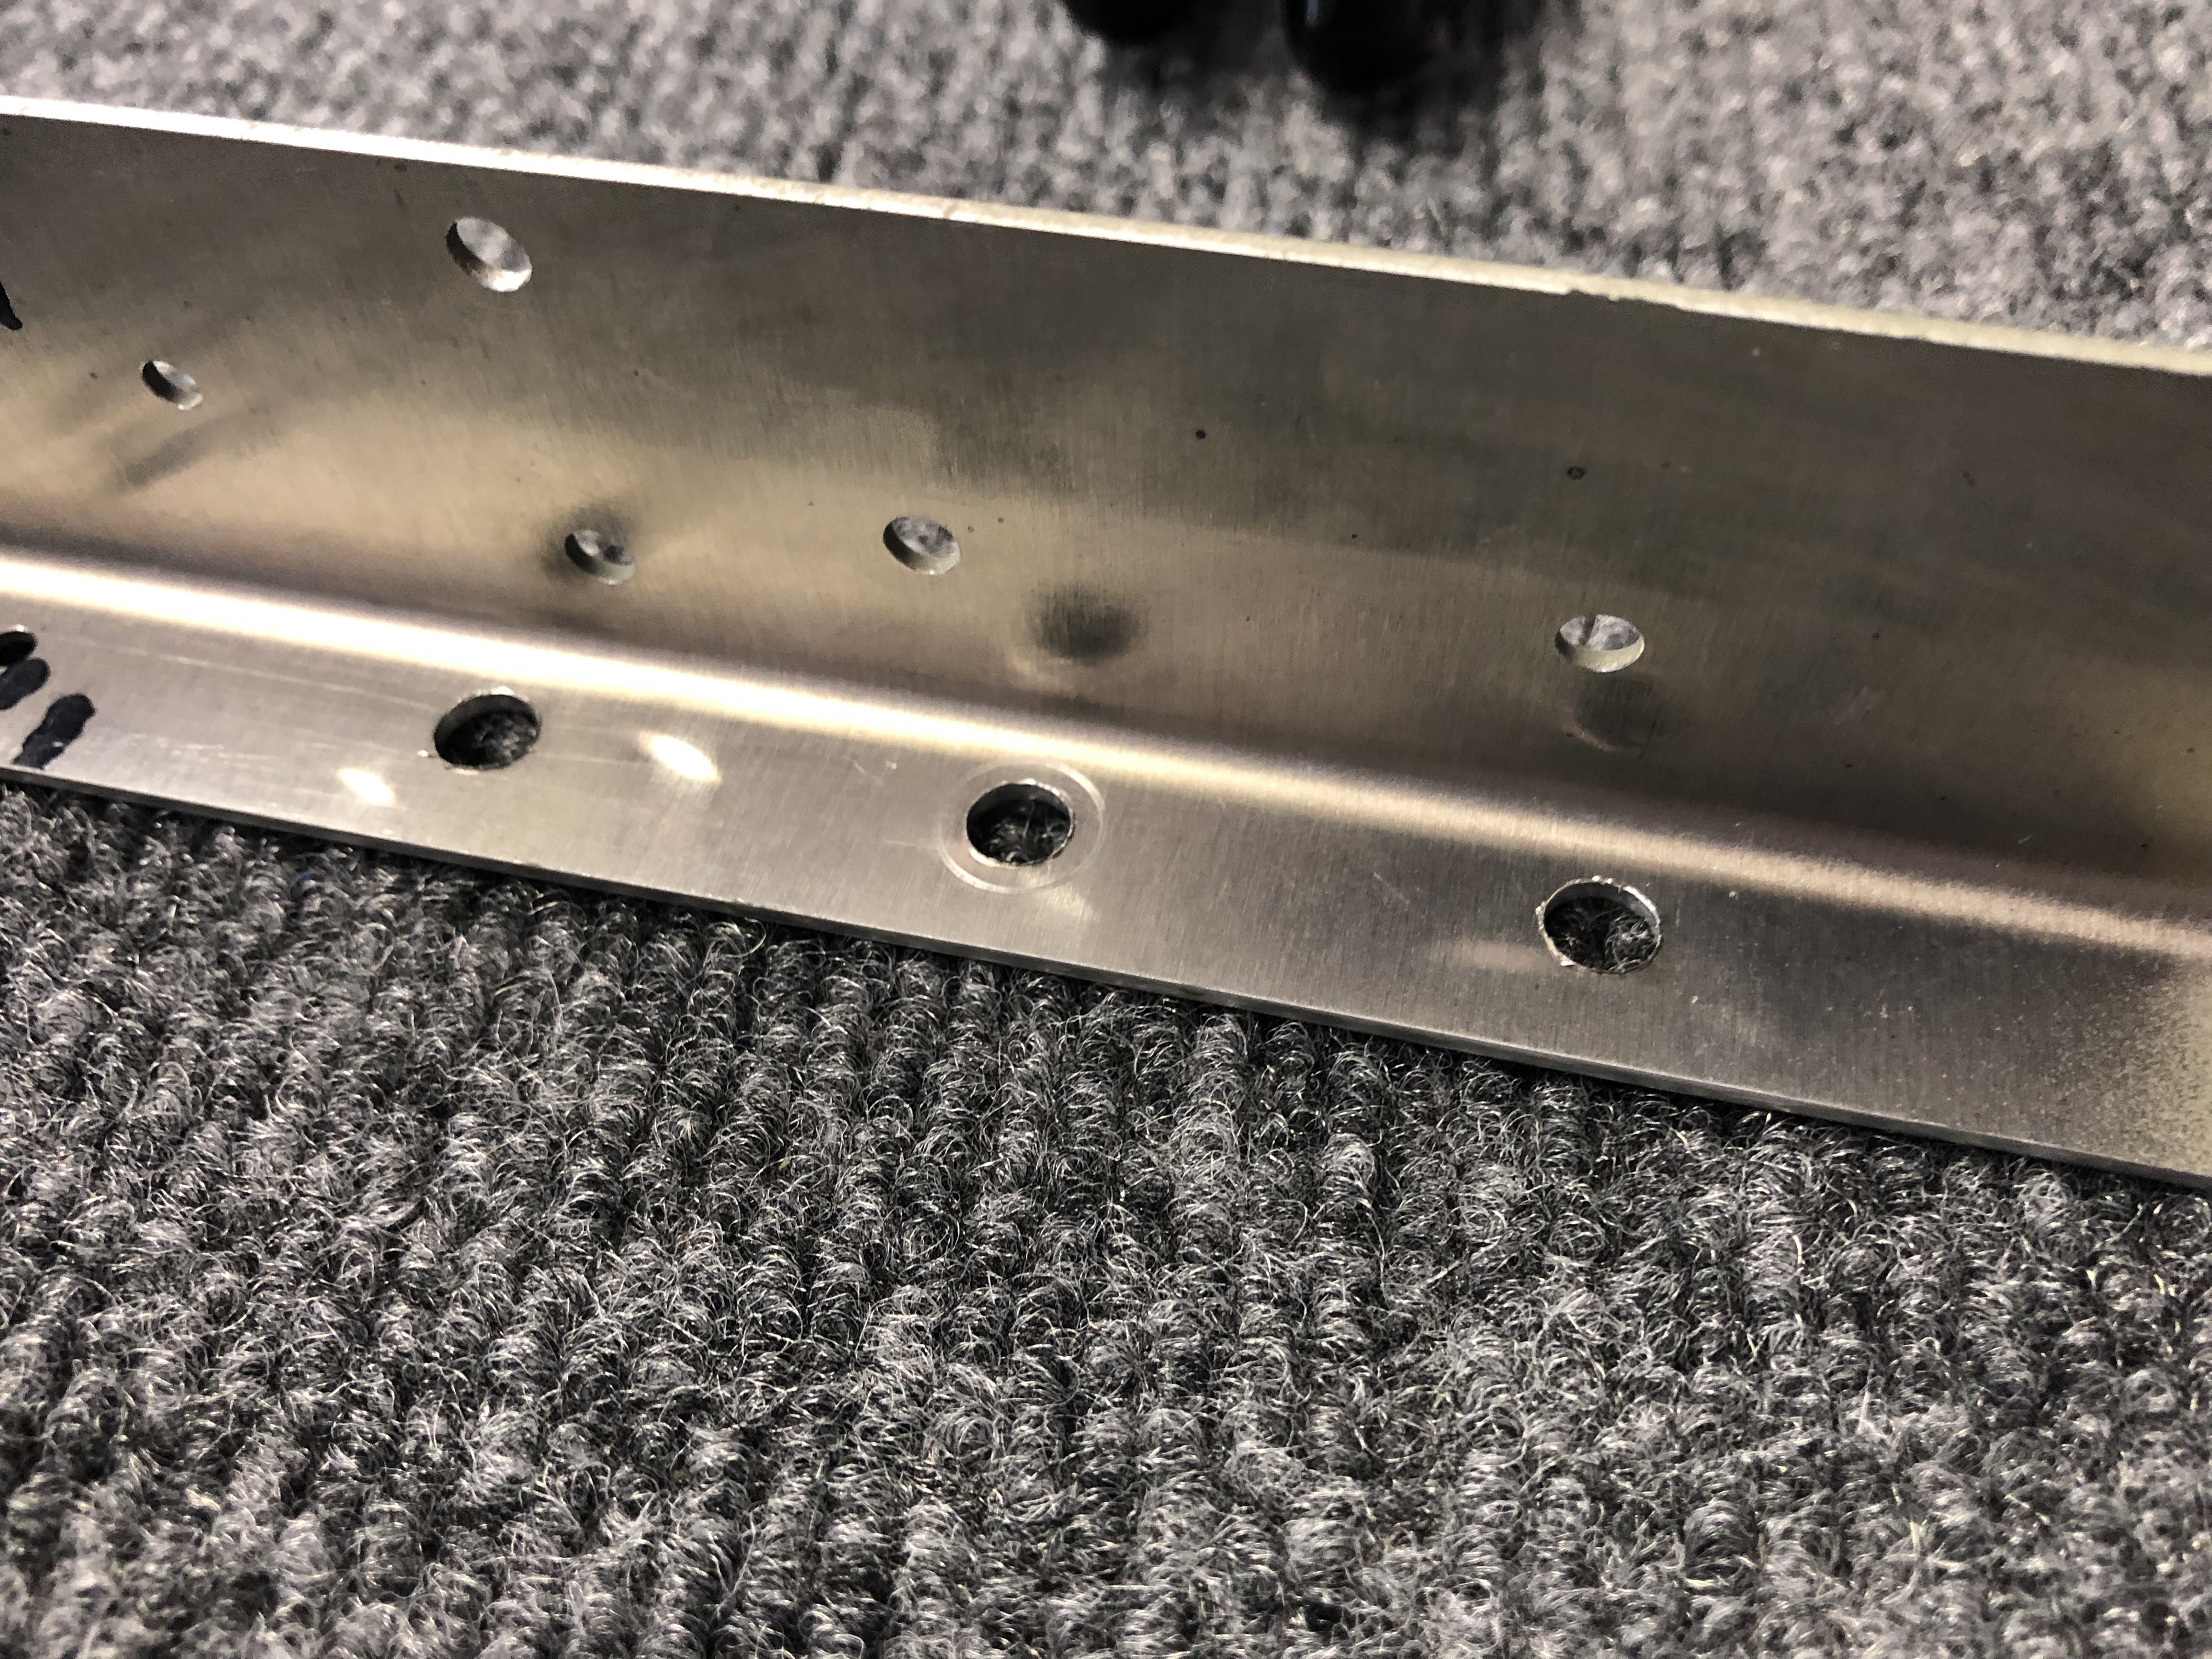

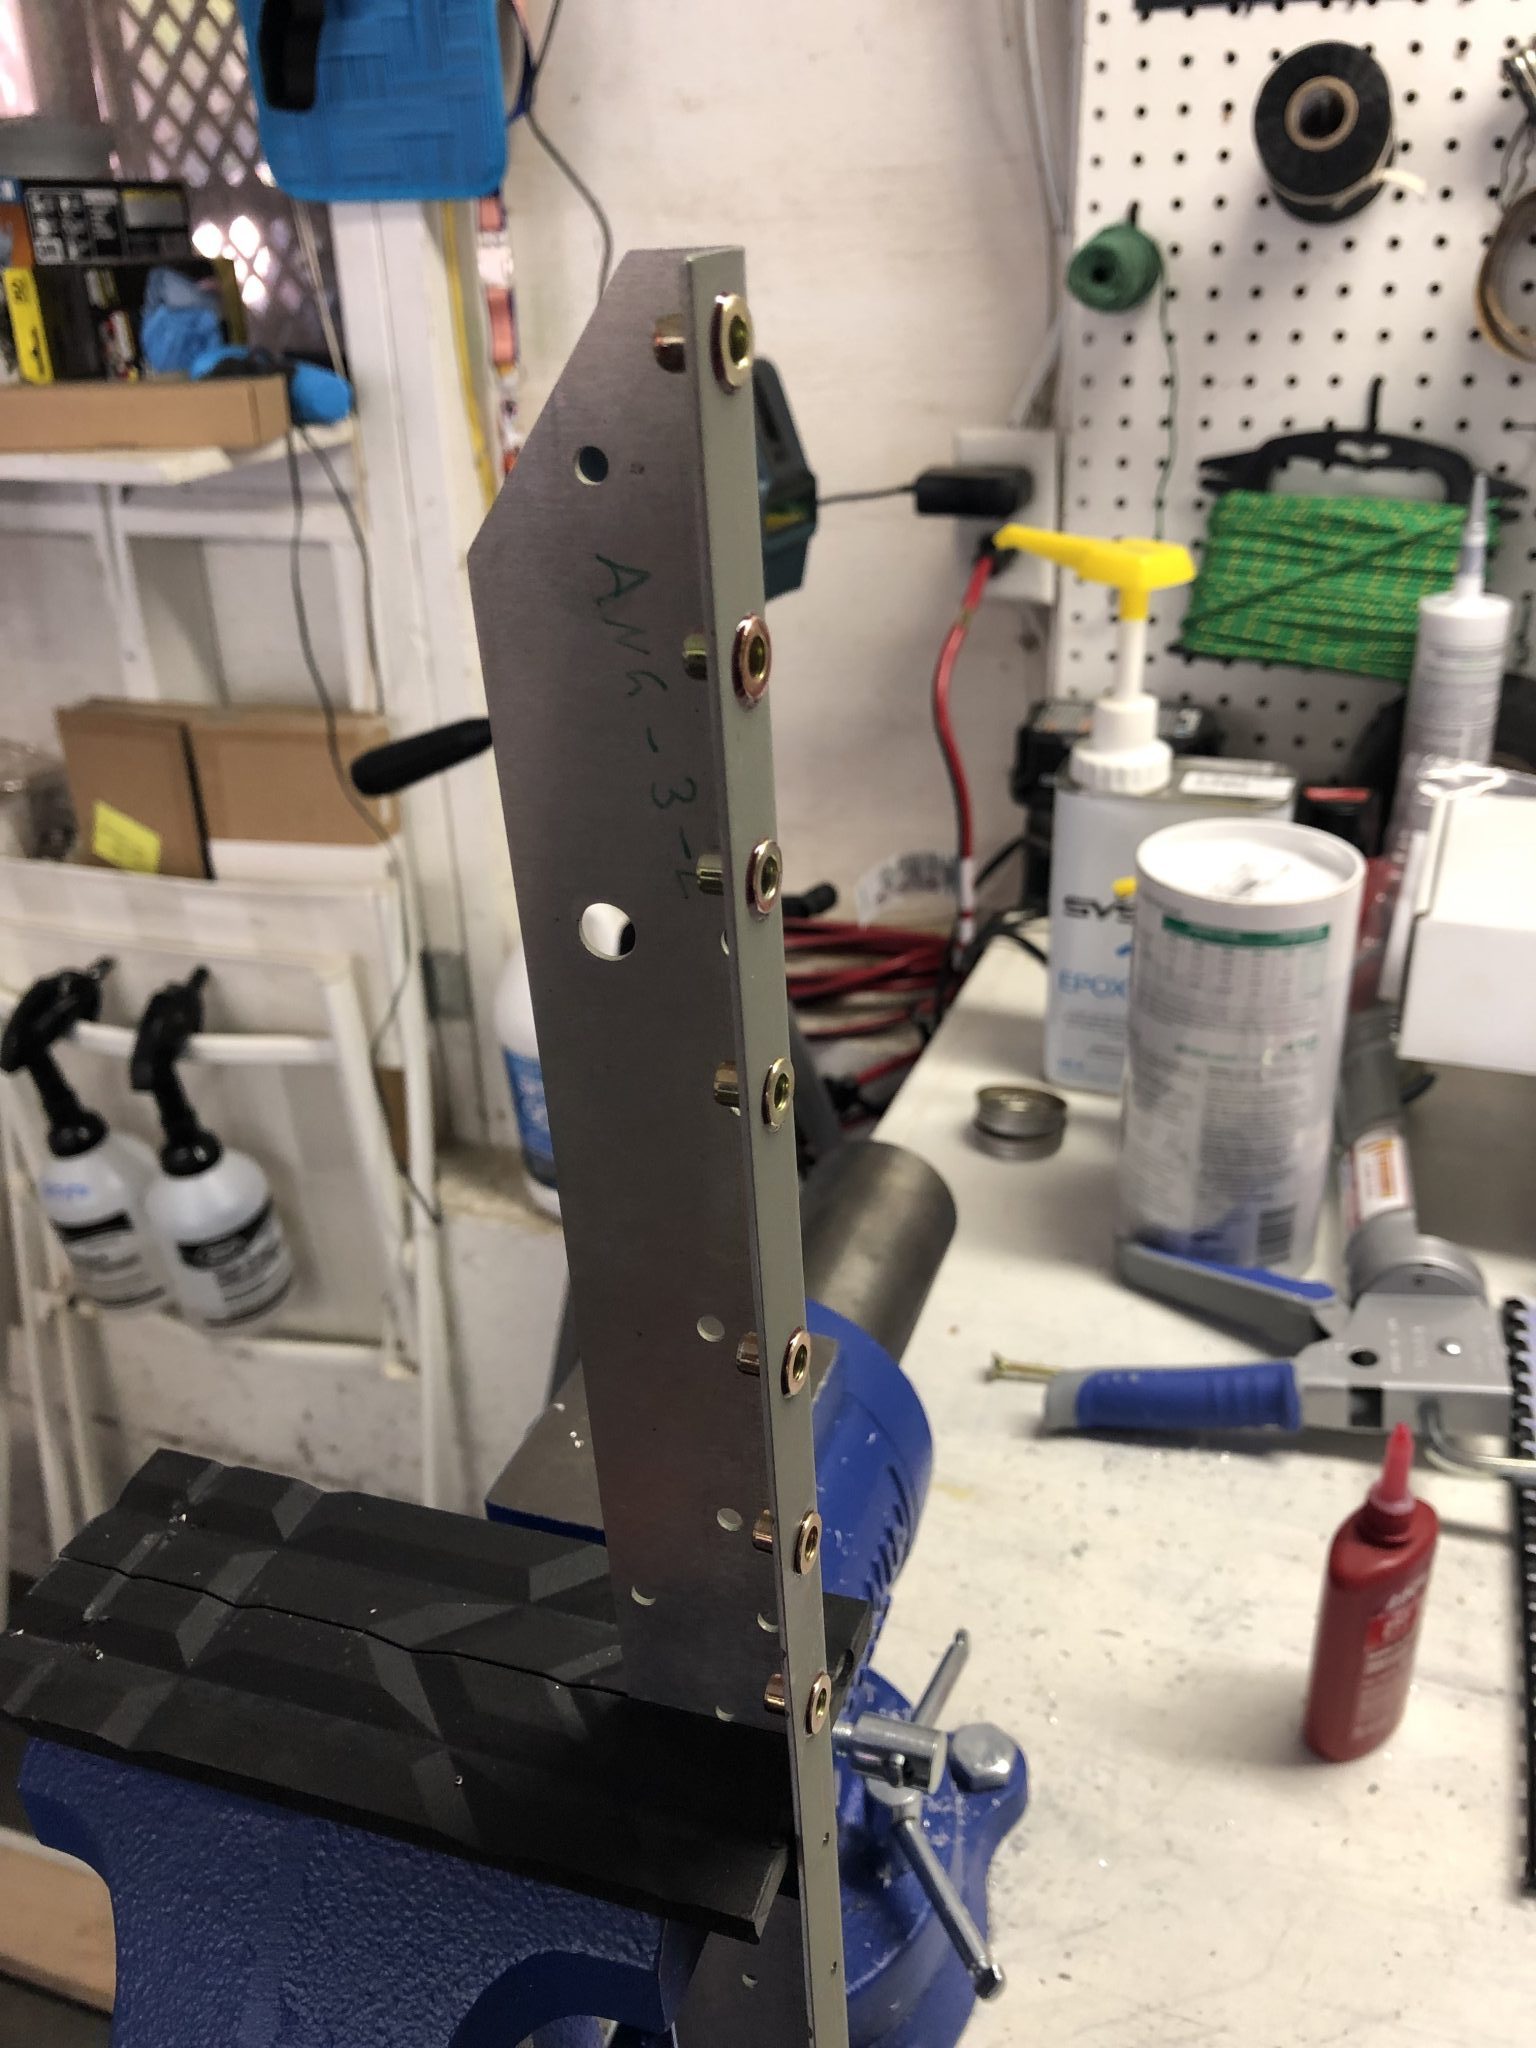
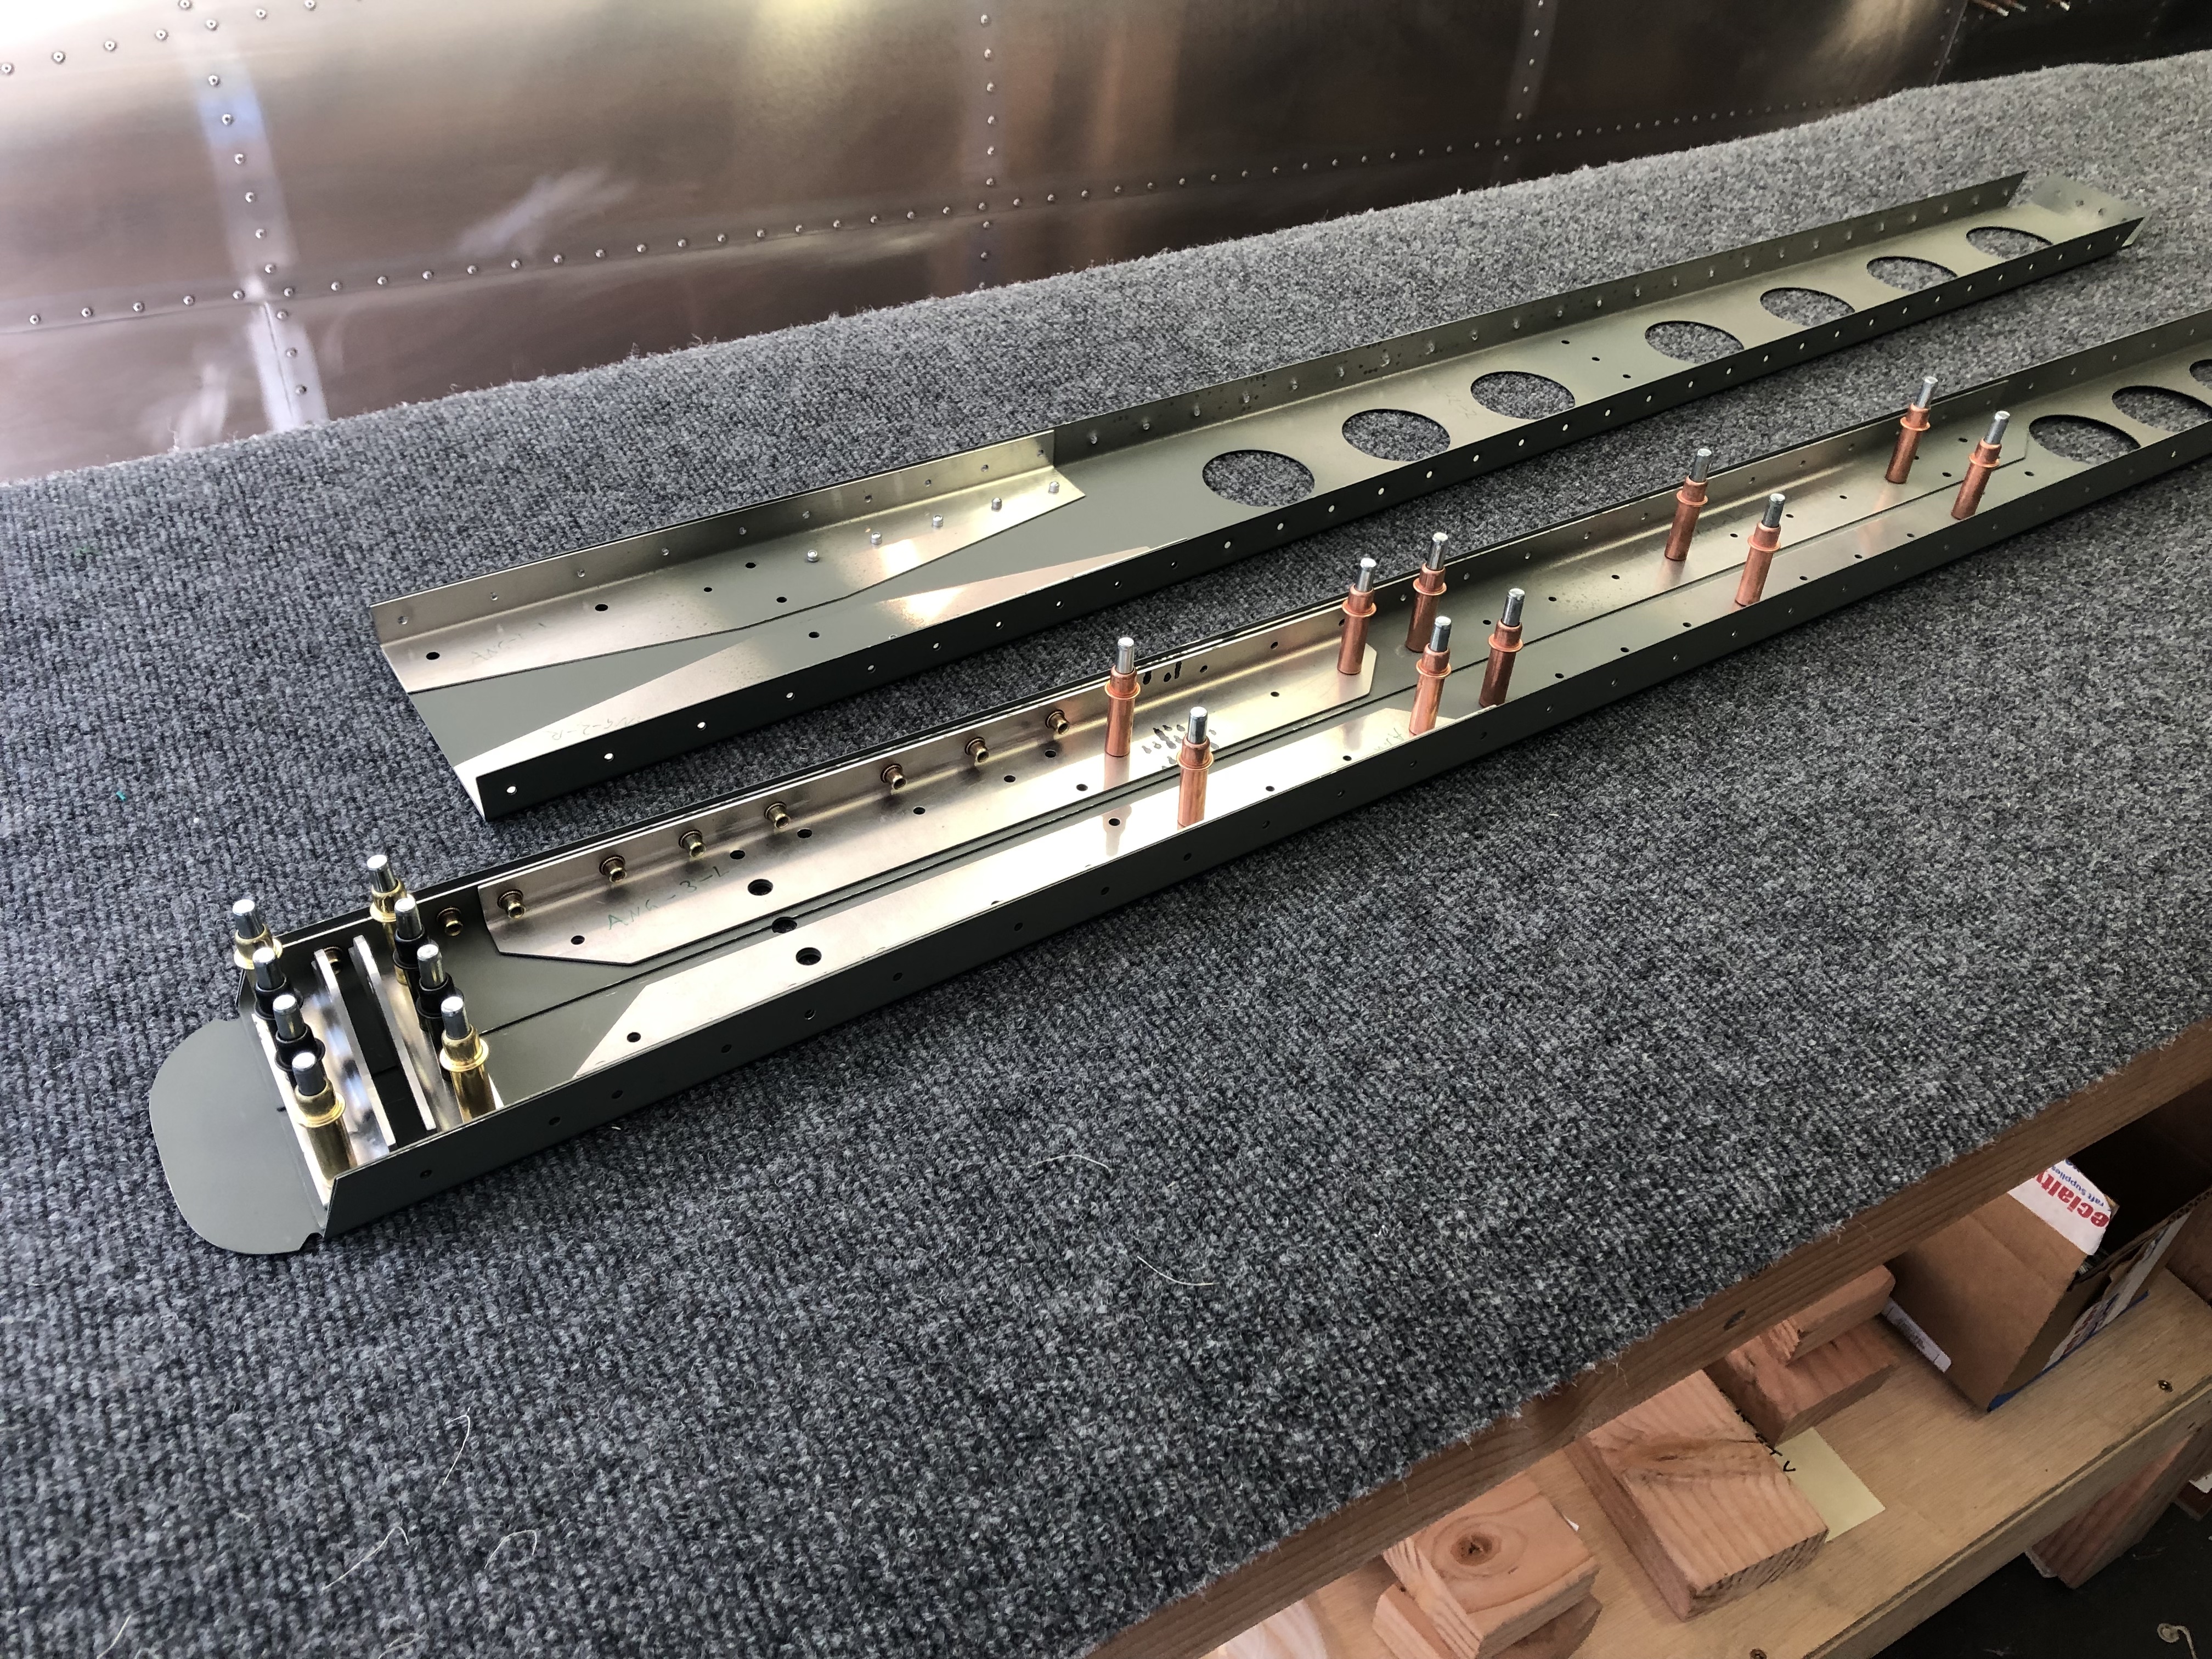
After all that was done, I put together the spar with the brackets for a quick test fit. While doing so I also found an error in the instructions, which say to rivet the hinges on the bottom with 8 (4 a side) 4mm rivets, but actually, only the center one (where I have black clecos) should be riveted, the outer ones will be bolted to the Fuselage (which is why they have larger holes already and I temporarily used the larger golden clecos to hold it in place), so I sent the Factory a note to correct the instructions.
Philip hi! Sometime lurker, first time poster. Its crazy how you’re catching these little errors all the time! Does it get frustrating for you or do you think its a natural part of the process? We’re about to start building our own Sling and have a bit of trepidation 🙂 thanks for your blog!! Its been super helpful and fun to read!
Sometimes it’s annoying, but most of the time it’s fairly obvious something is up (like the hole size clearly being bigger than what the instructions would have you do) and so then easy enough to figure out. Part of the fact that I’m finding a bunch of errors errors obviously also has to do with the fact that the TSi is pretty new and so some of the instructions are in their early iterations. But hey, building your own airplane comes with lots of time you invest in research, so like they say, measure twice, drill once.
I look forward to following your build along as well, good luck and reach out if there’s any questions.
Thanks to early builders like yourself for catching mistakes and presenting solutions.
Your post is dated 2019-05-17. I am disappointed that you let TAF know of the errors and yet 1 year later there was no amended build notes for the later builders such as myself.
Thanks again for the thorough presentations.
Matt Jakus