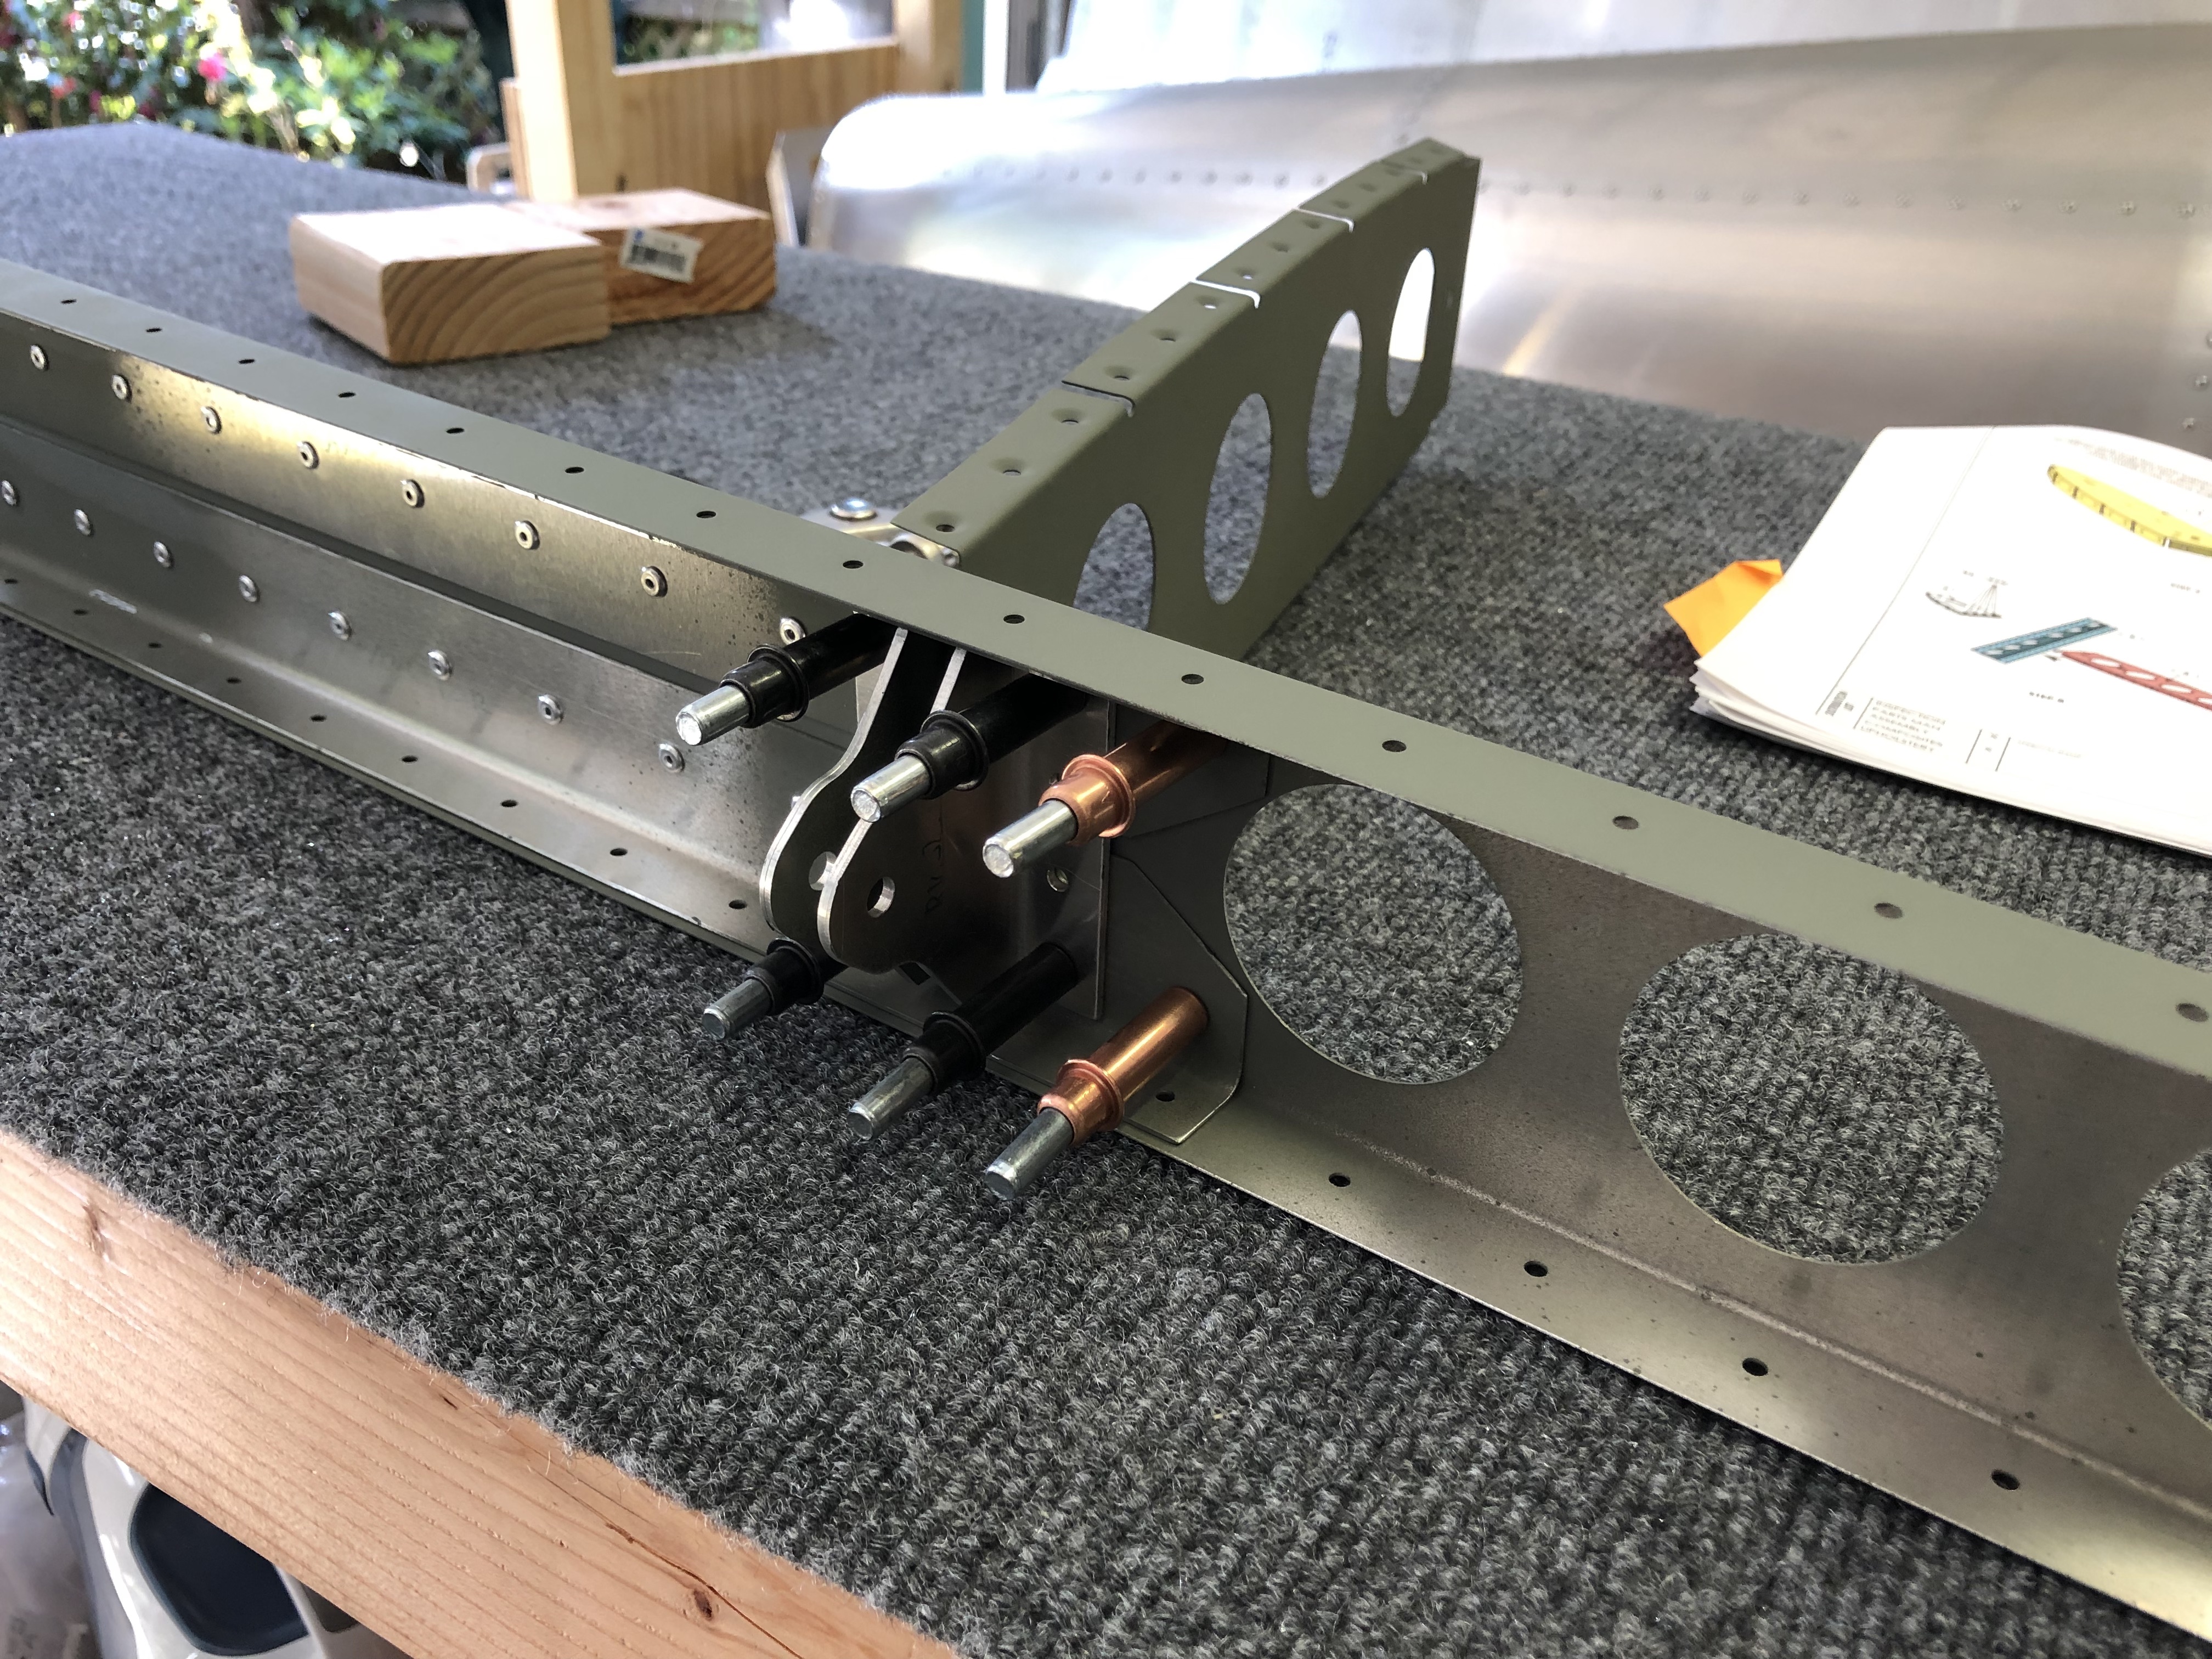
After finishing attaching the rivnuts to the rear spar parts the other day, I put everything together and did a brief test fit with the Fuselage where it attaches into. 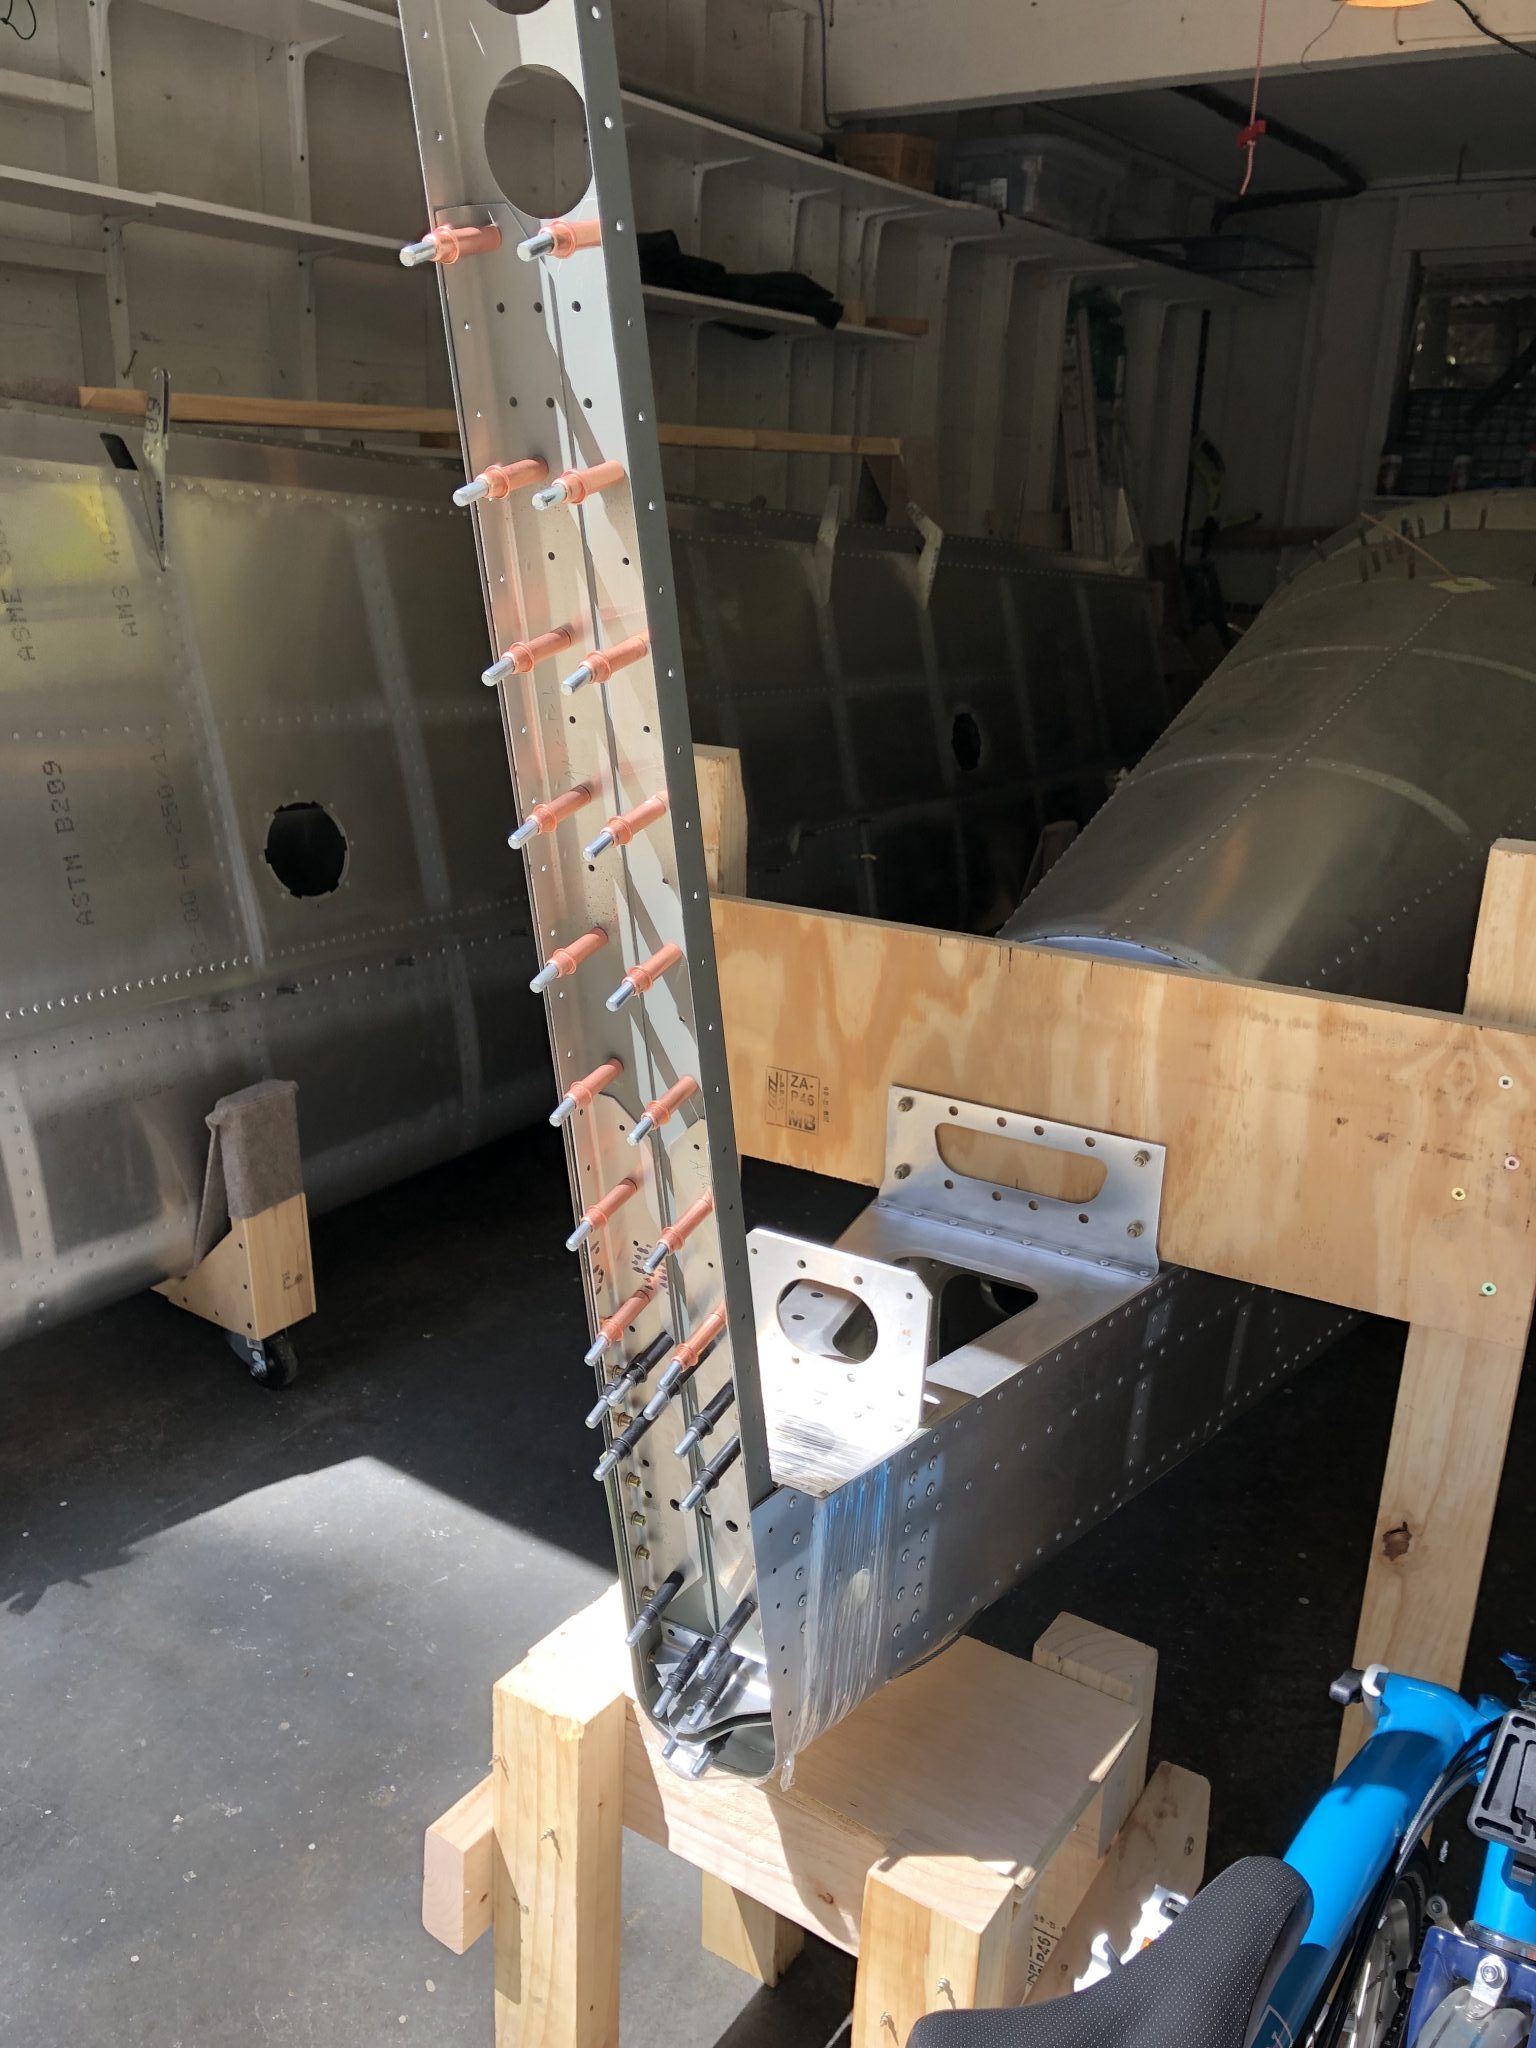
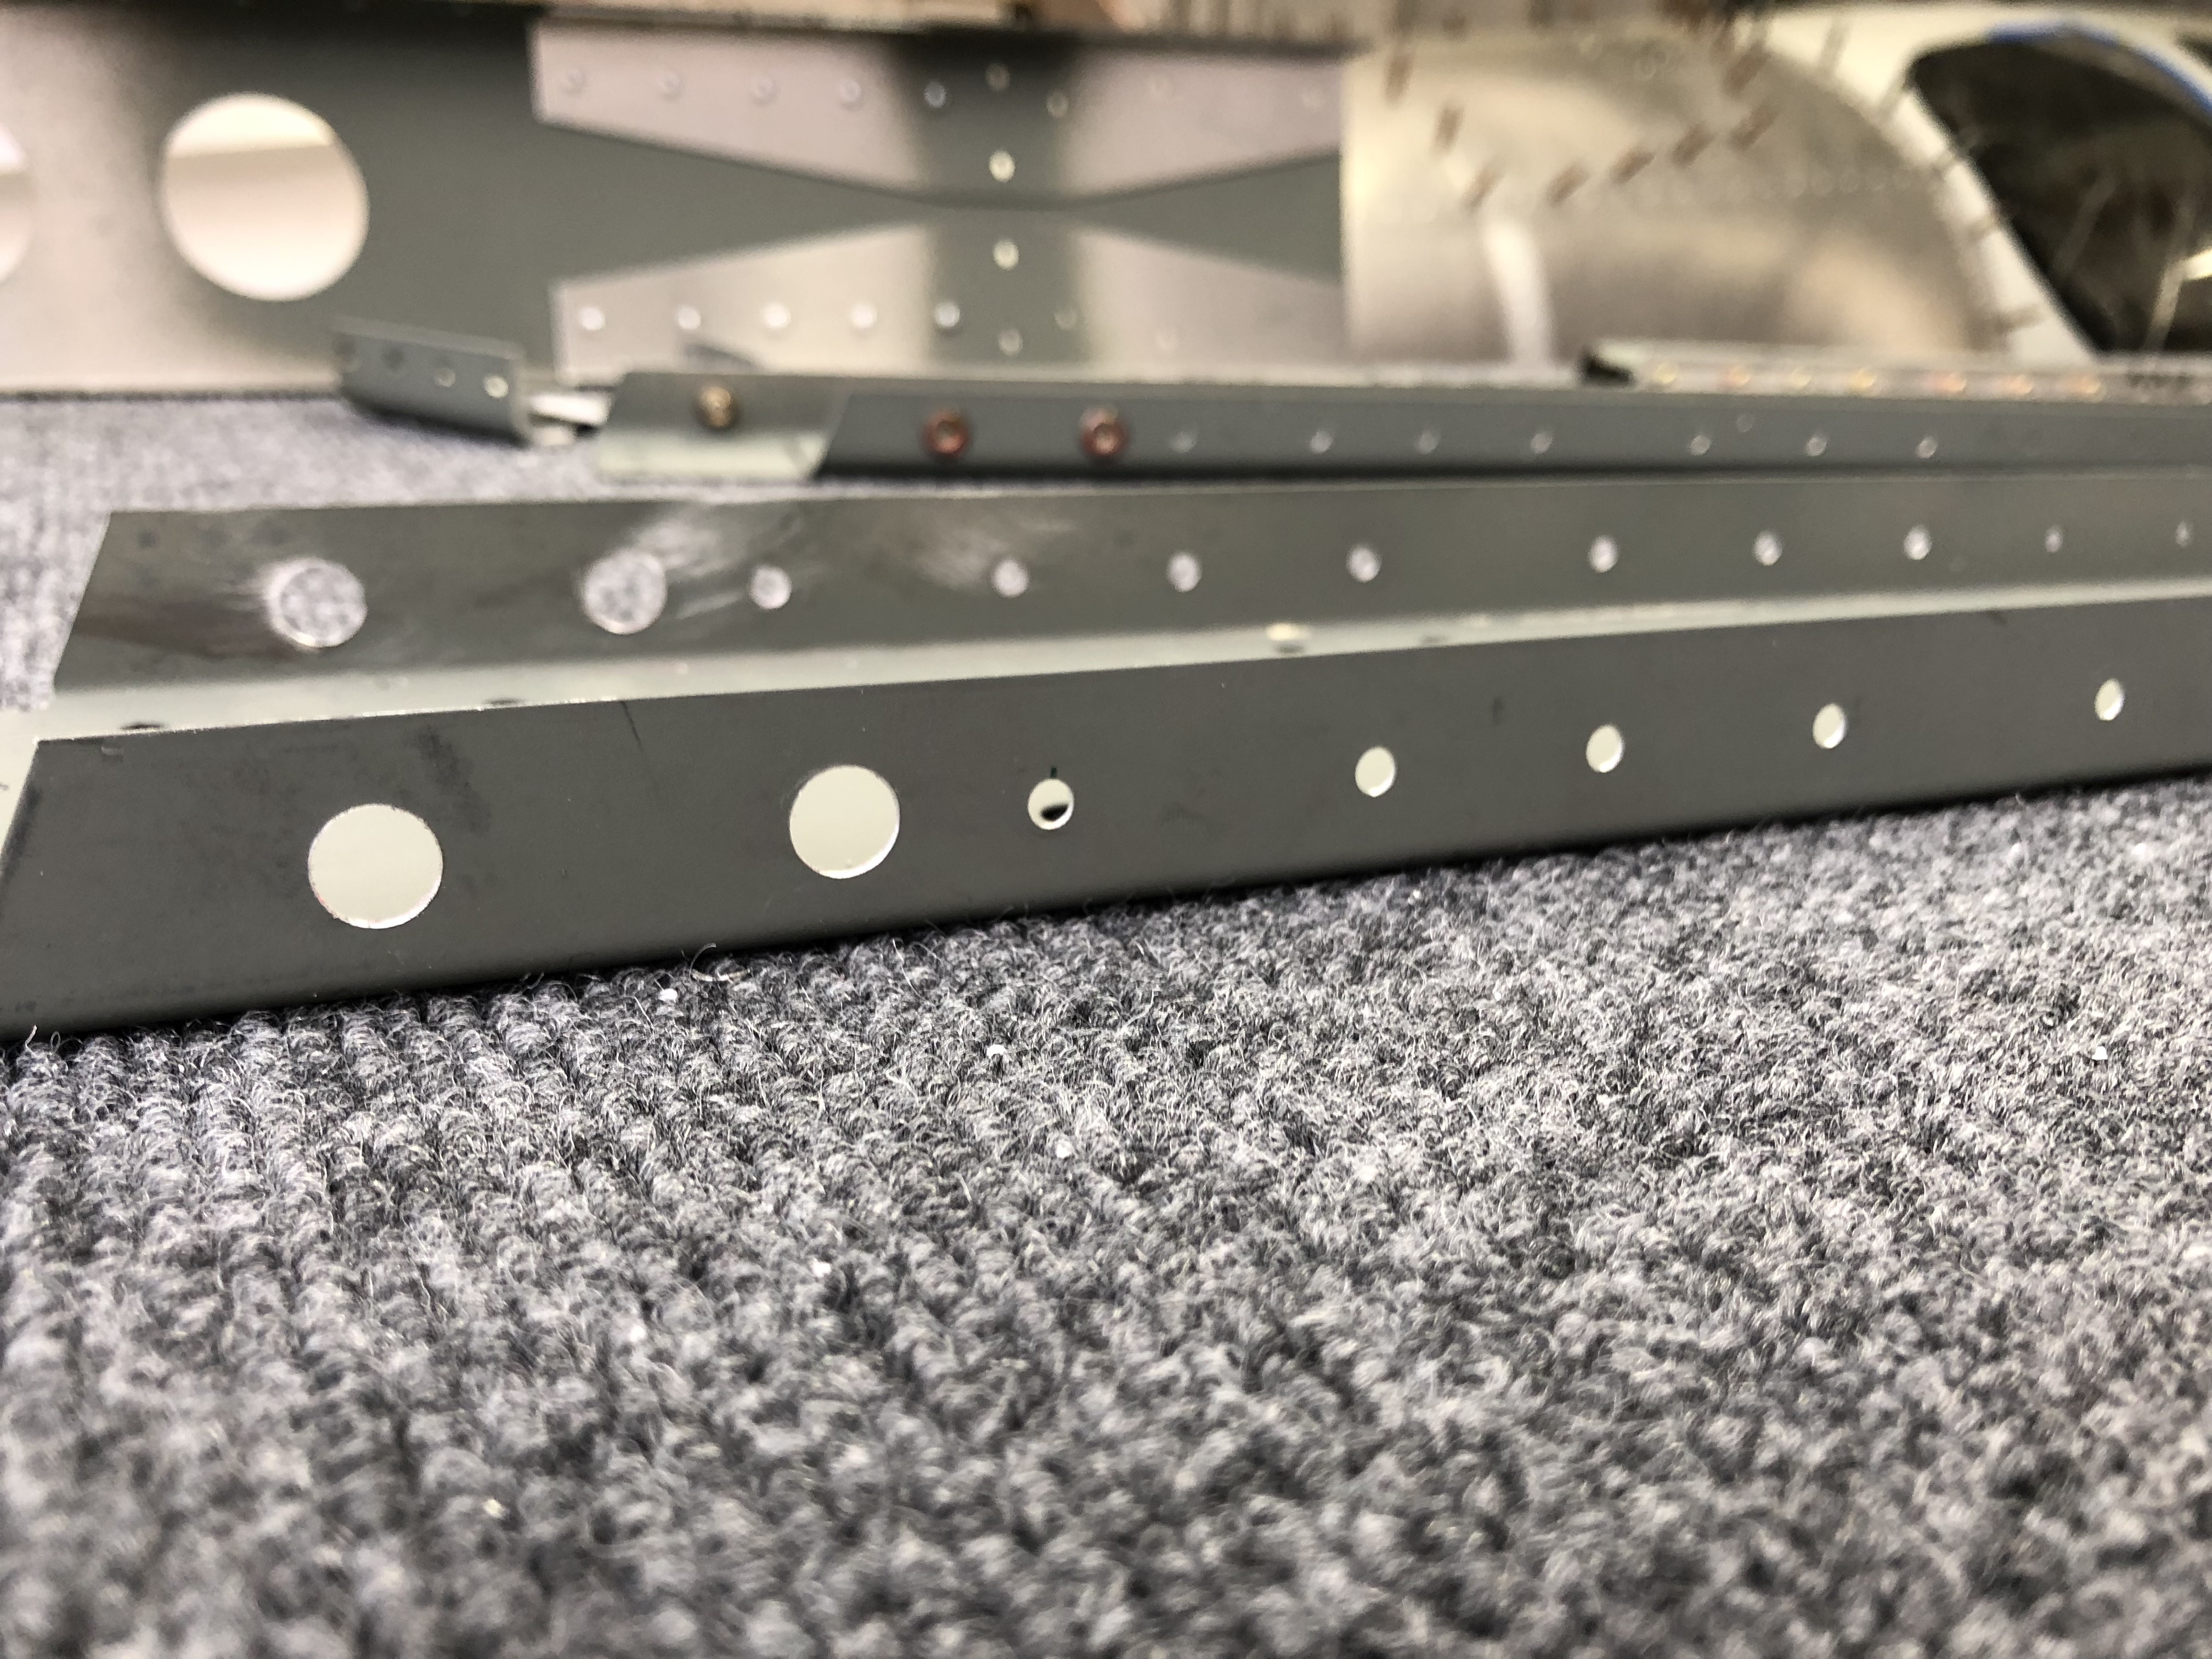
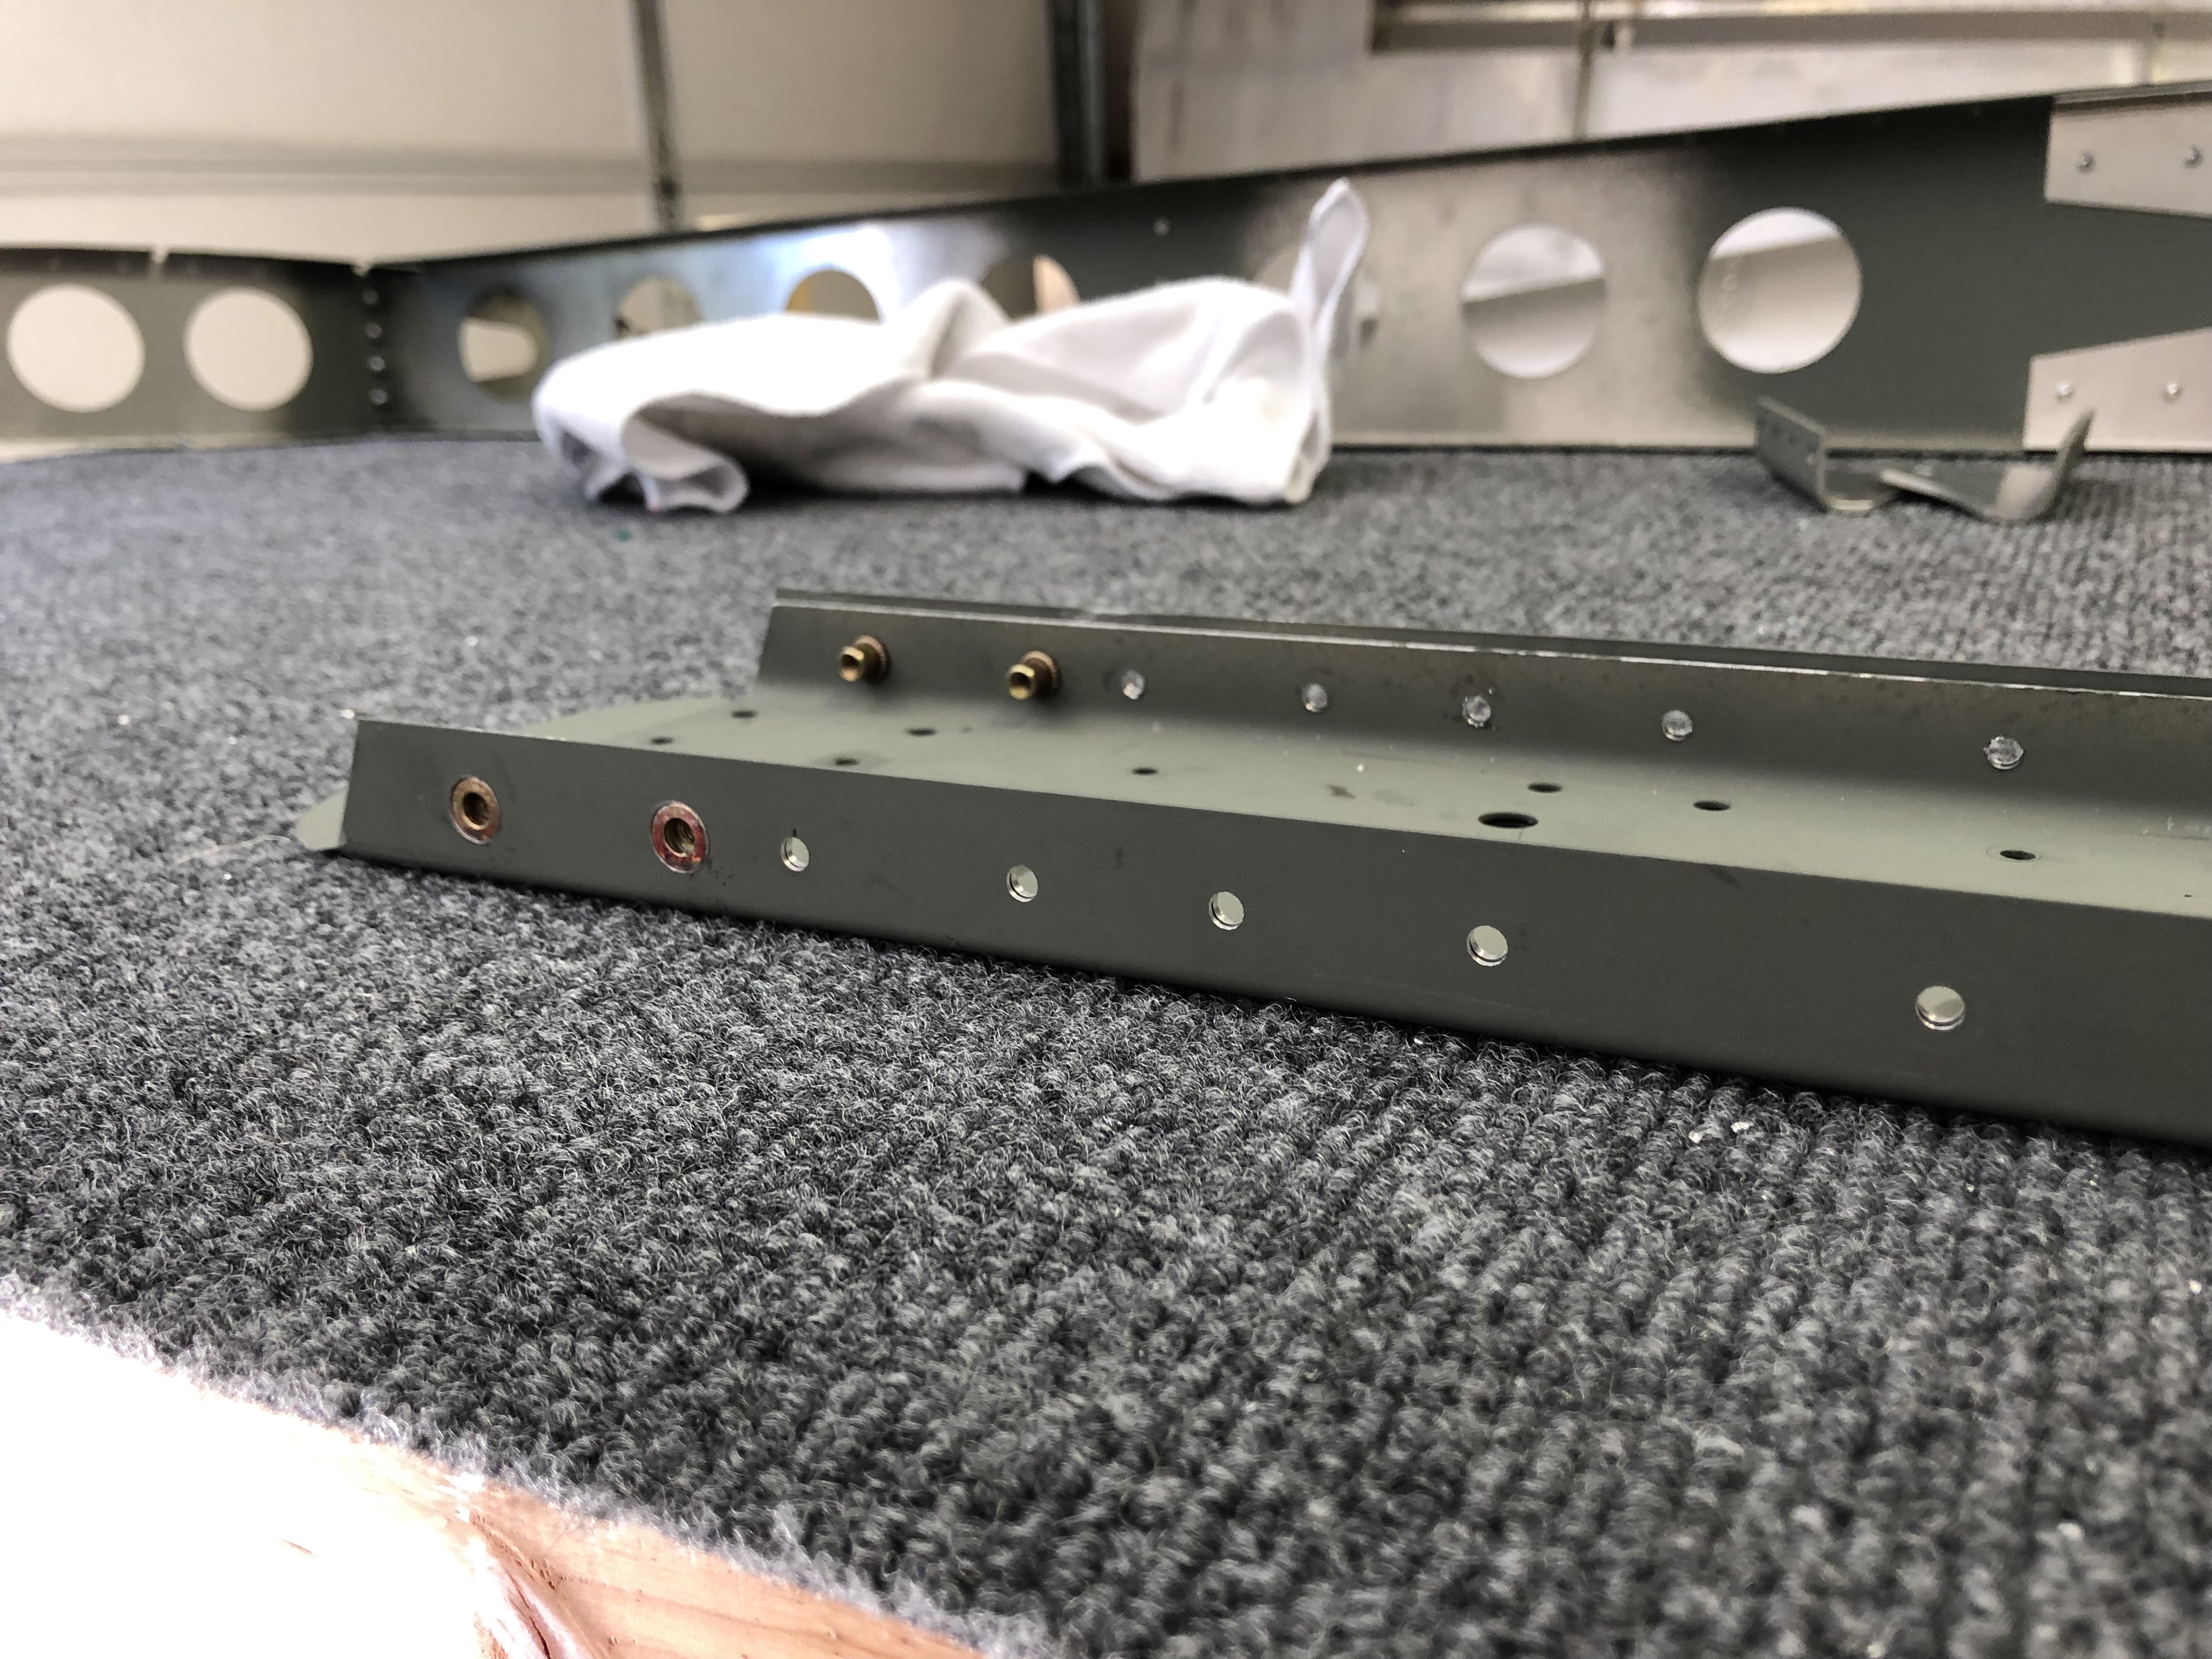
After putting together the rear spar, I also enlarged the holes in the spar so that the M4 screws can actually be screwed in and enlarged the bottom two holes so that the bottom rivnuts sit flush with the spar.
 ,
,
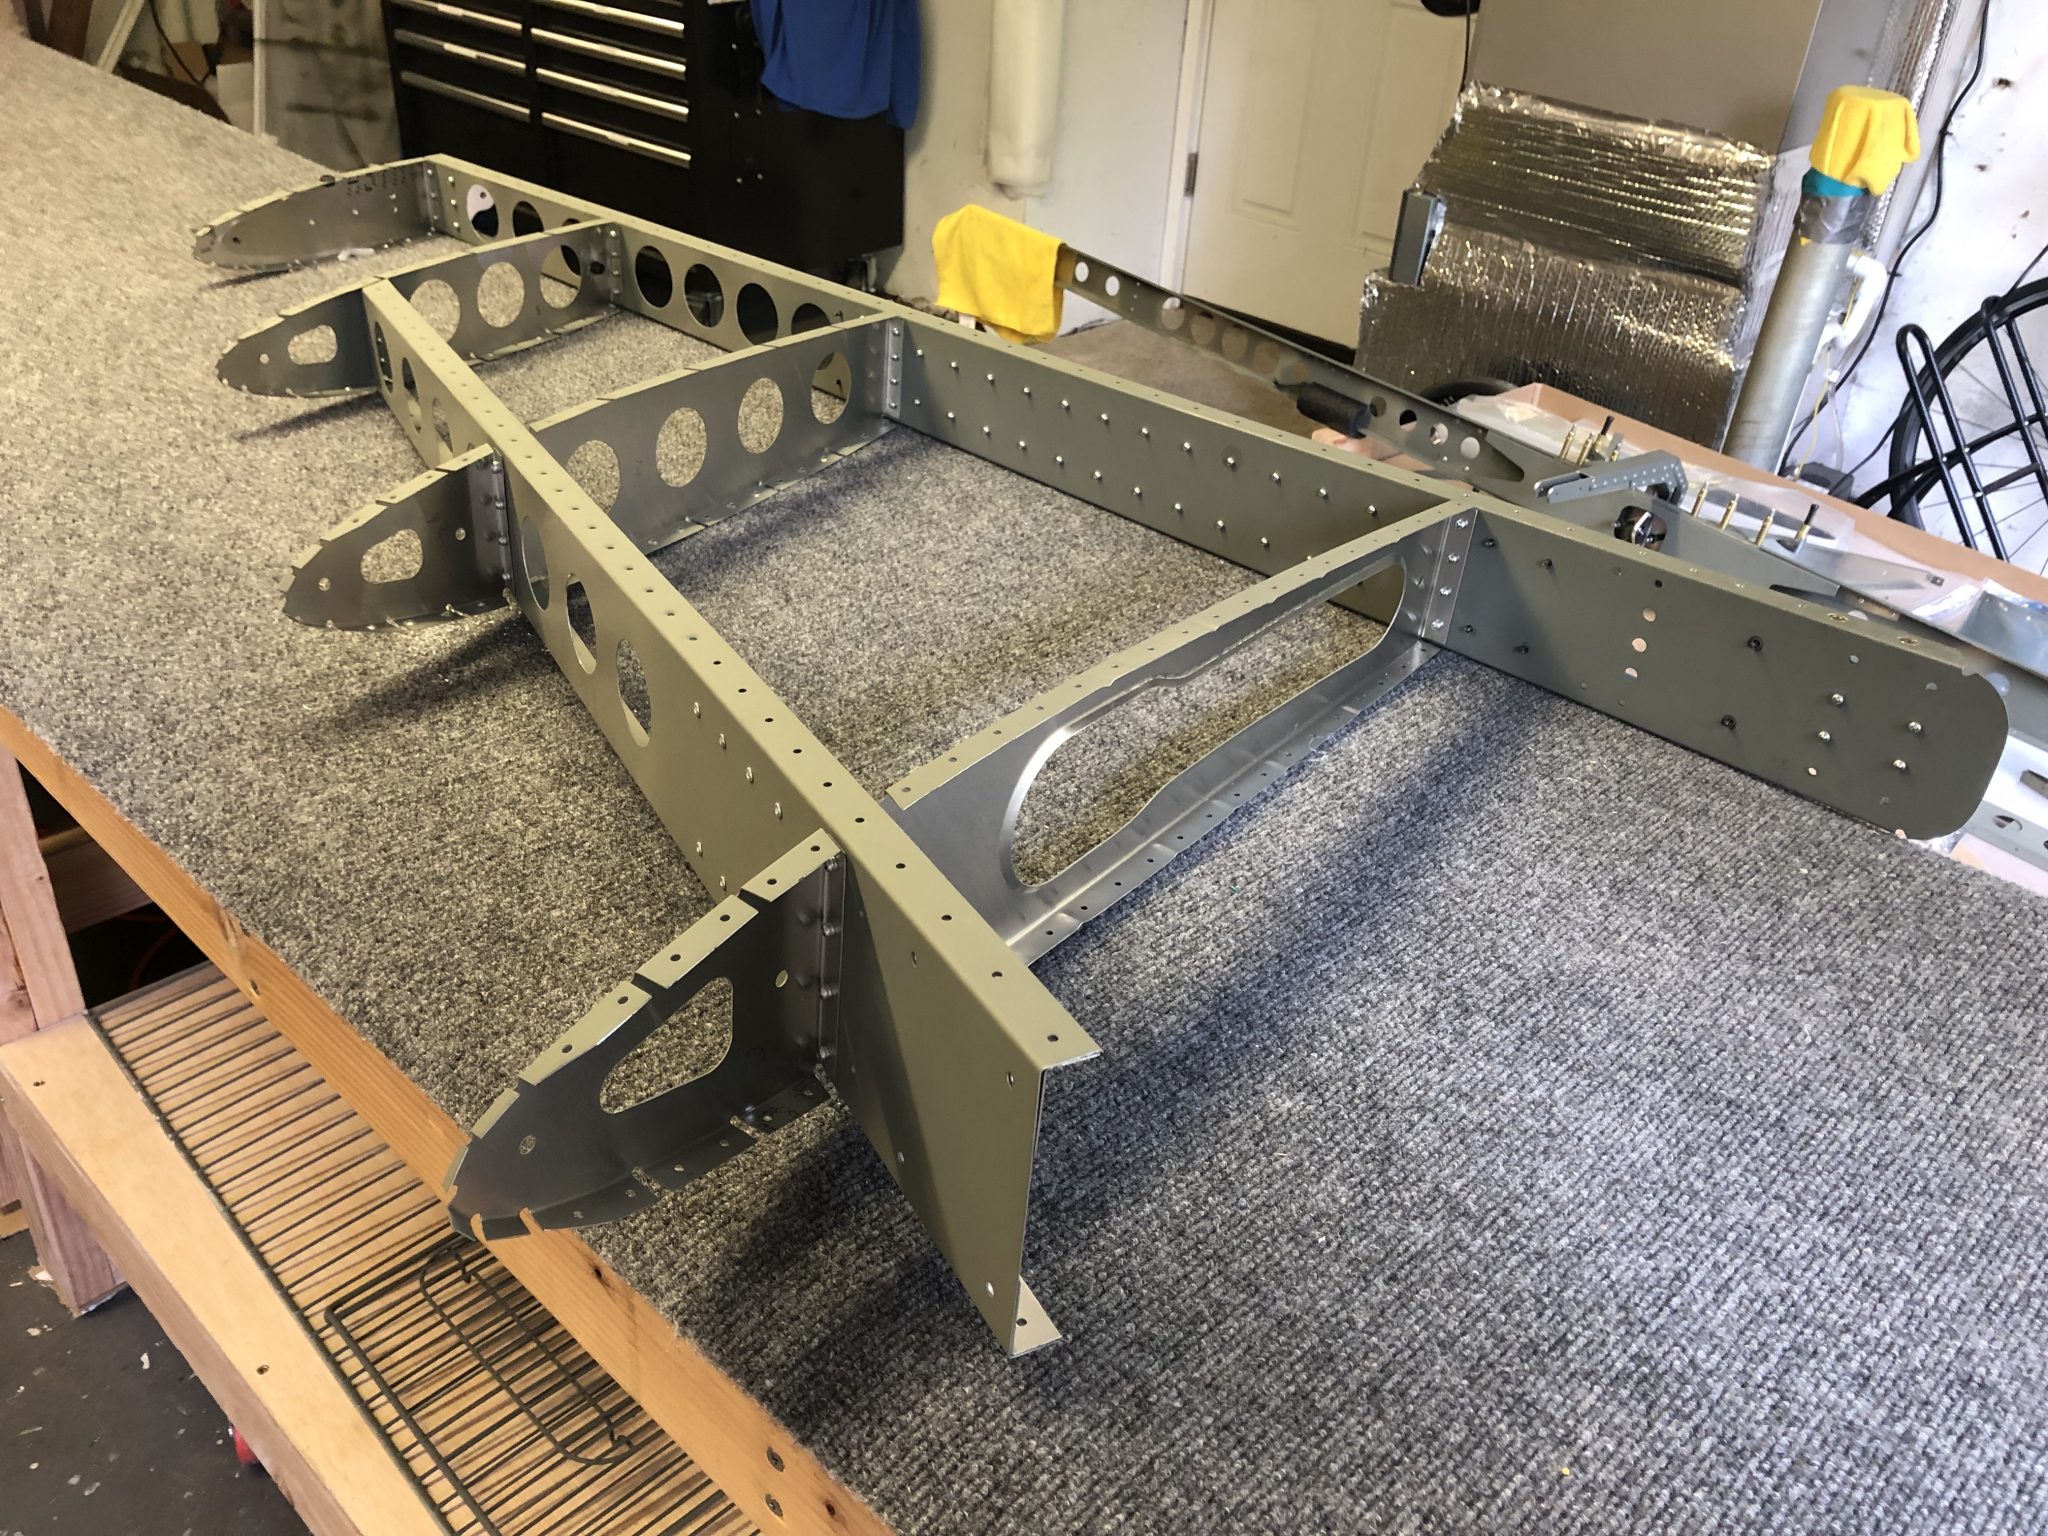
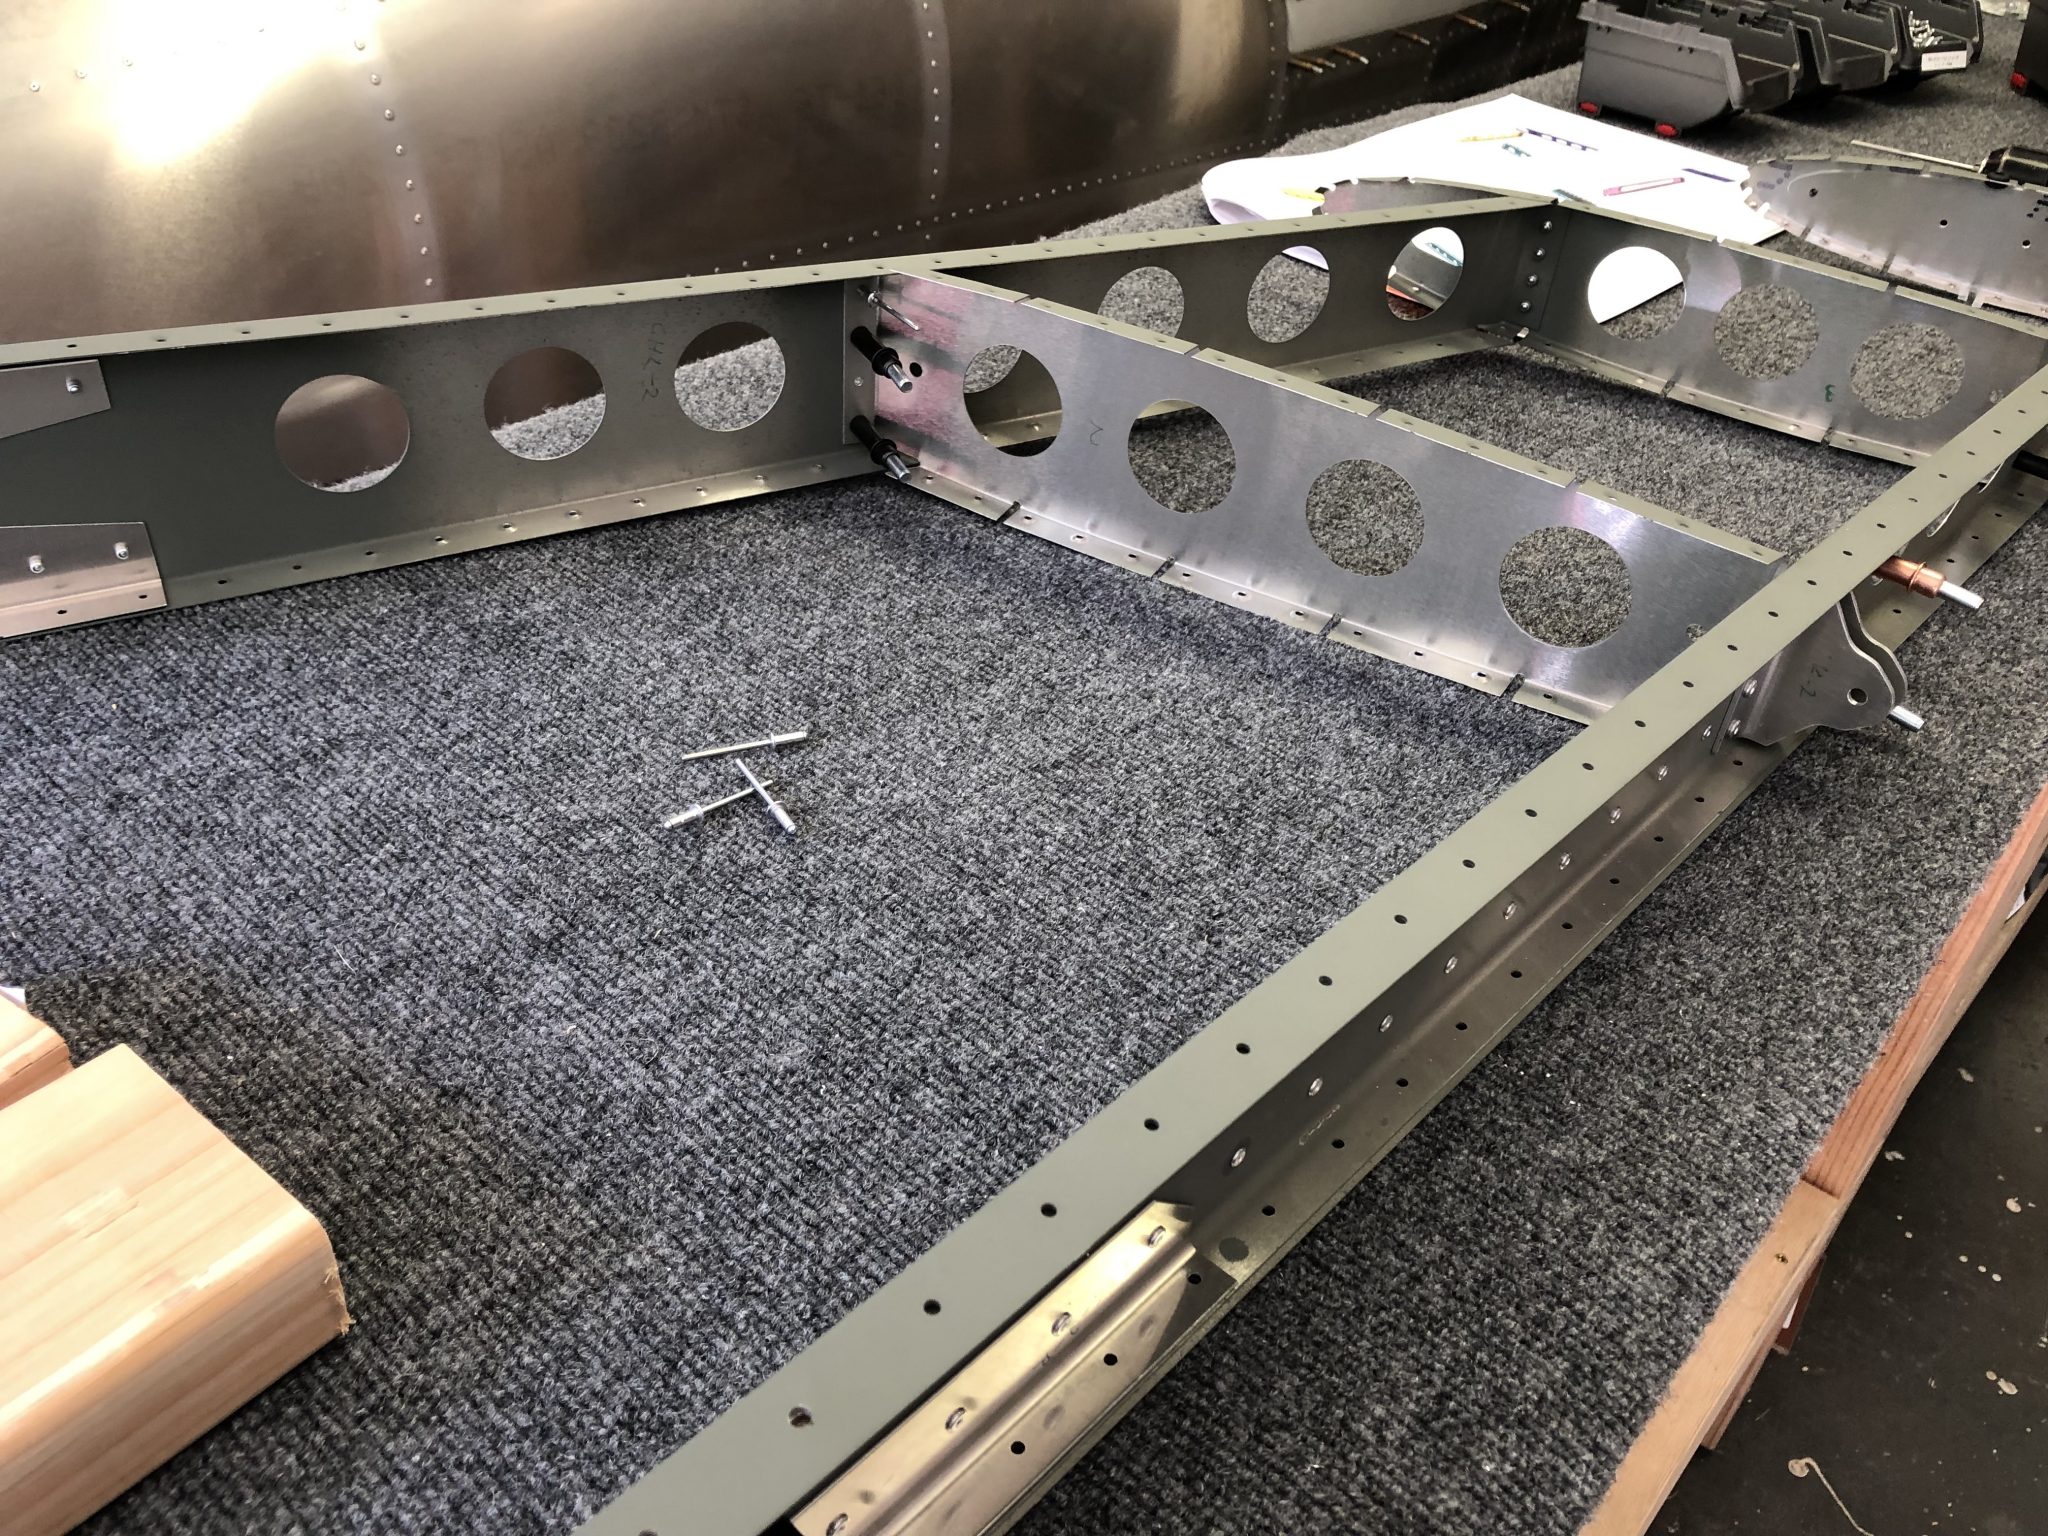
Looked all good, so onto riveting together the inner structure of the Vertical Stabilizer.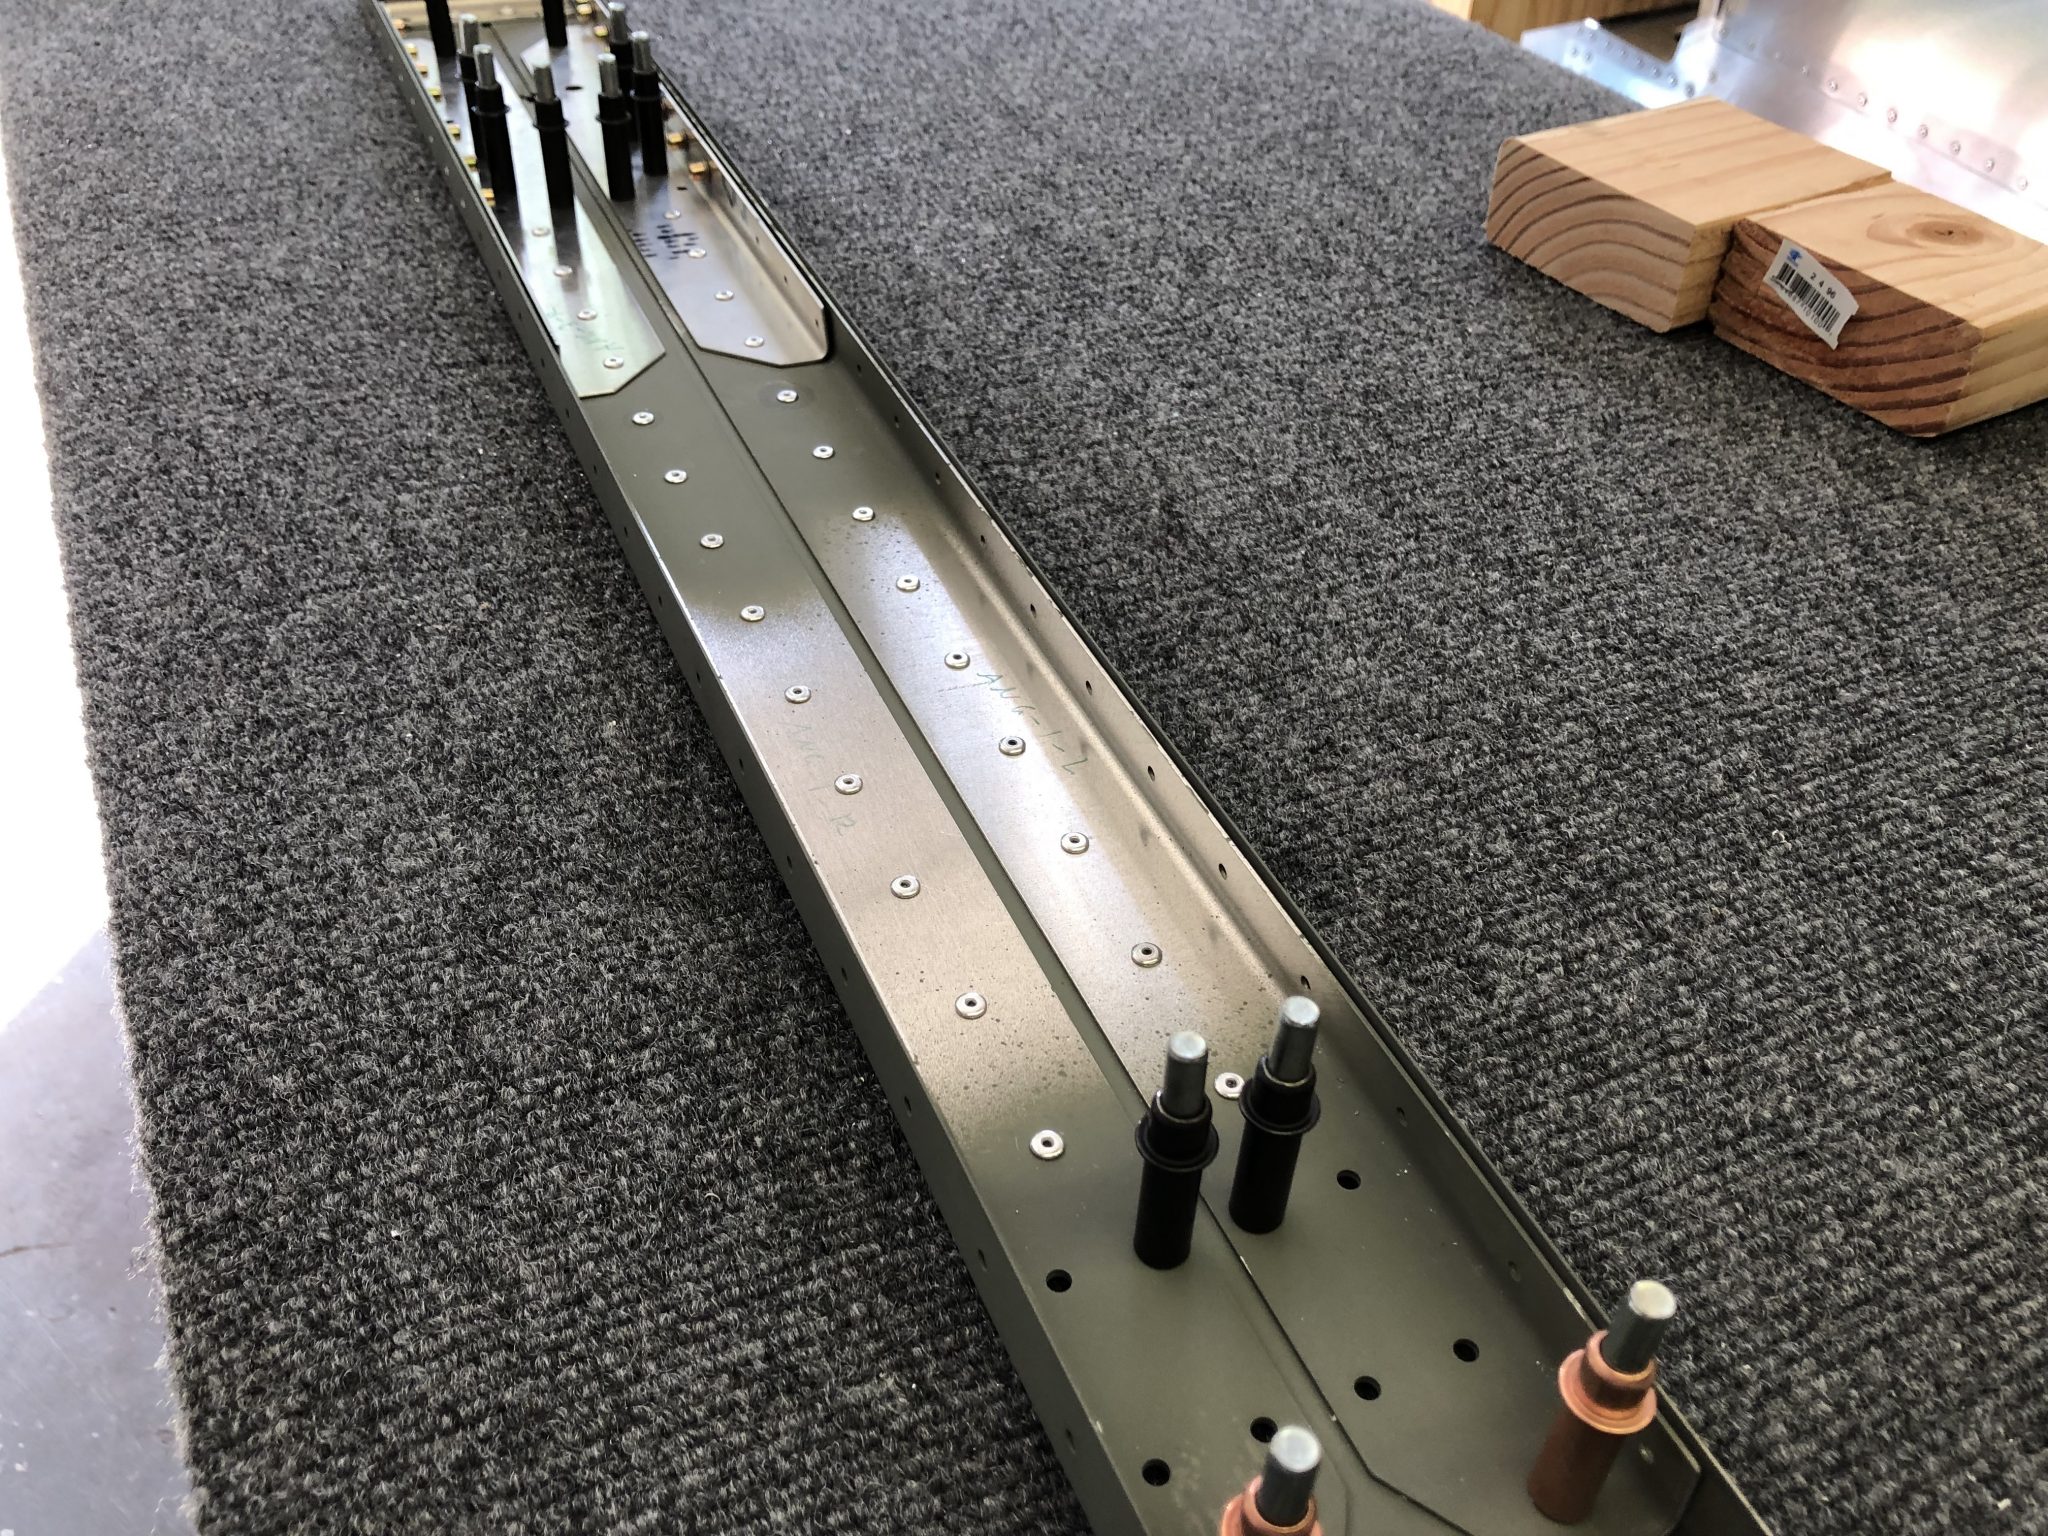

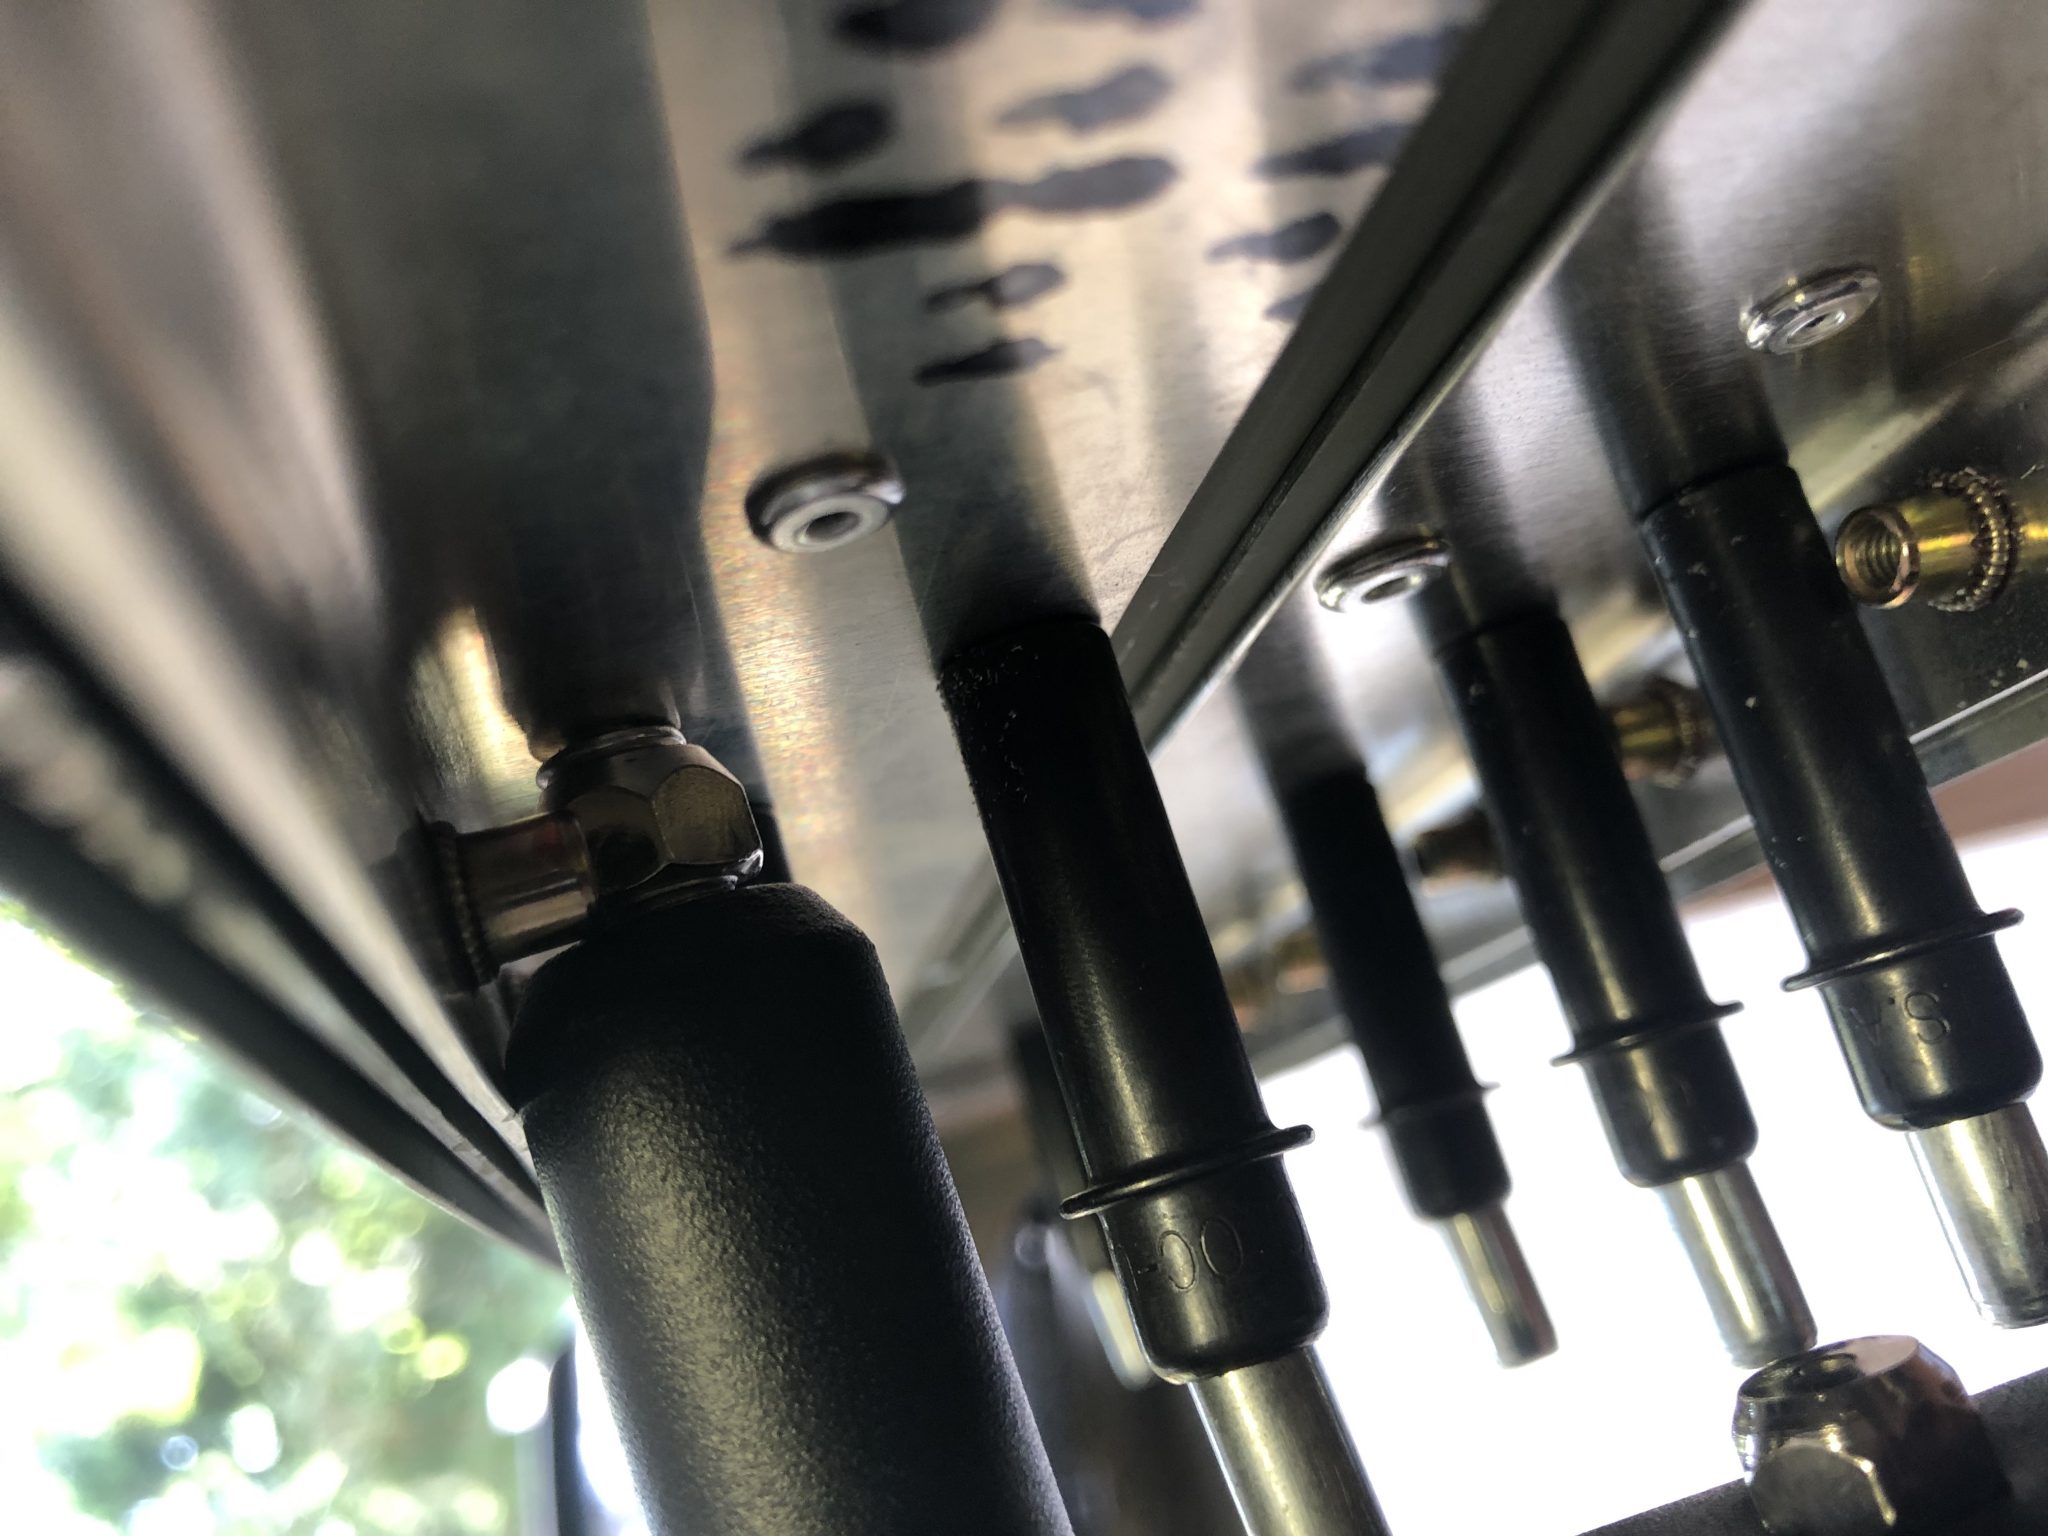
I also enlarged the holes for the wiring and added snap bushings since the inside won’t be accessible once it’s closed up and the snap bushings have a better durability than rubber grommets.

There was one spot on the rear spar where one rivet was very close to one of the rivnuts and I had to use my manual hand rivet gun to pull the rivet as the head of the Milwaukee was too large to get in there.
Completed inner structure of the Vertical Stabilizer: