
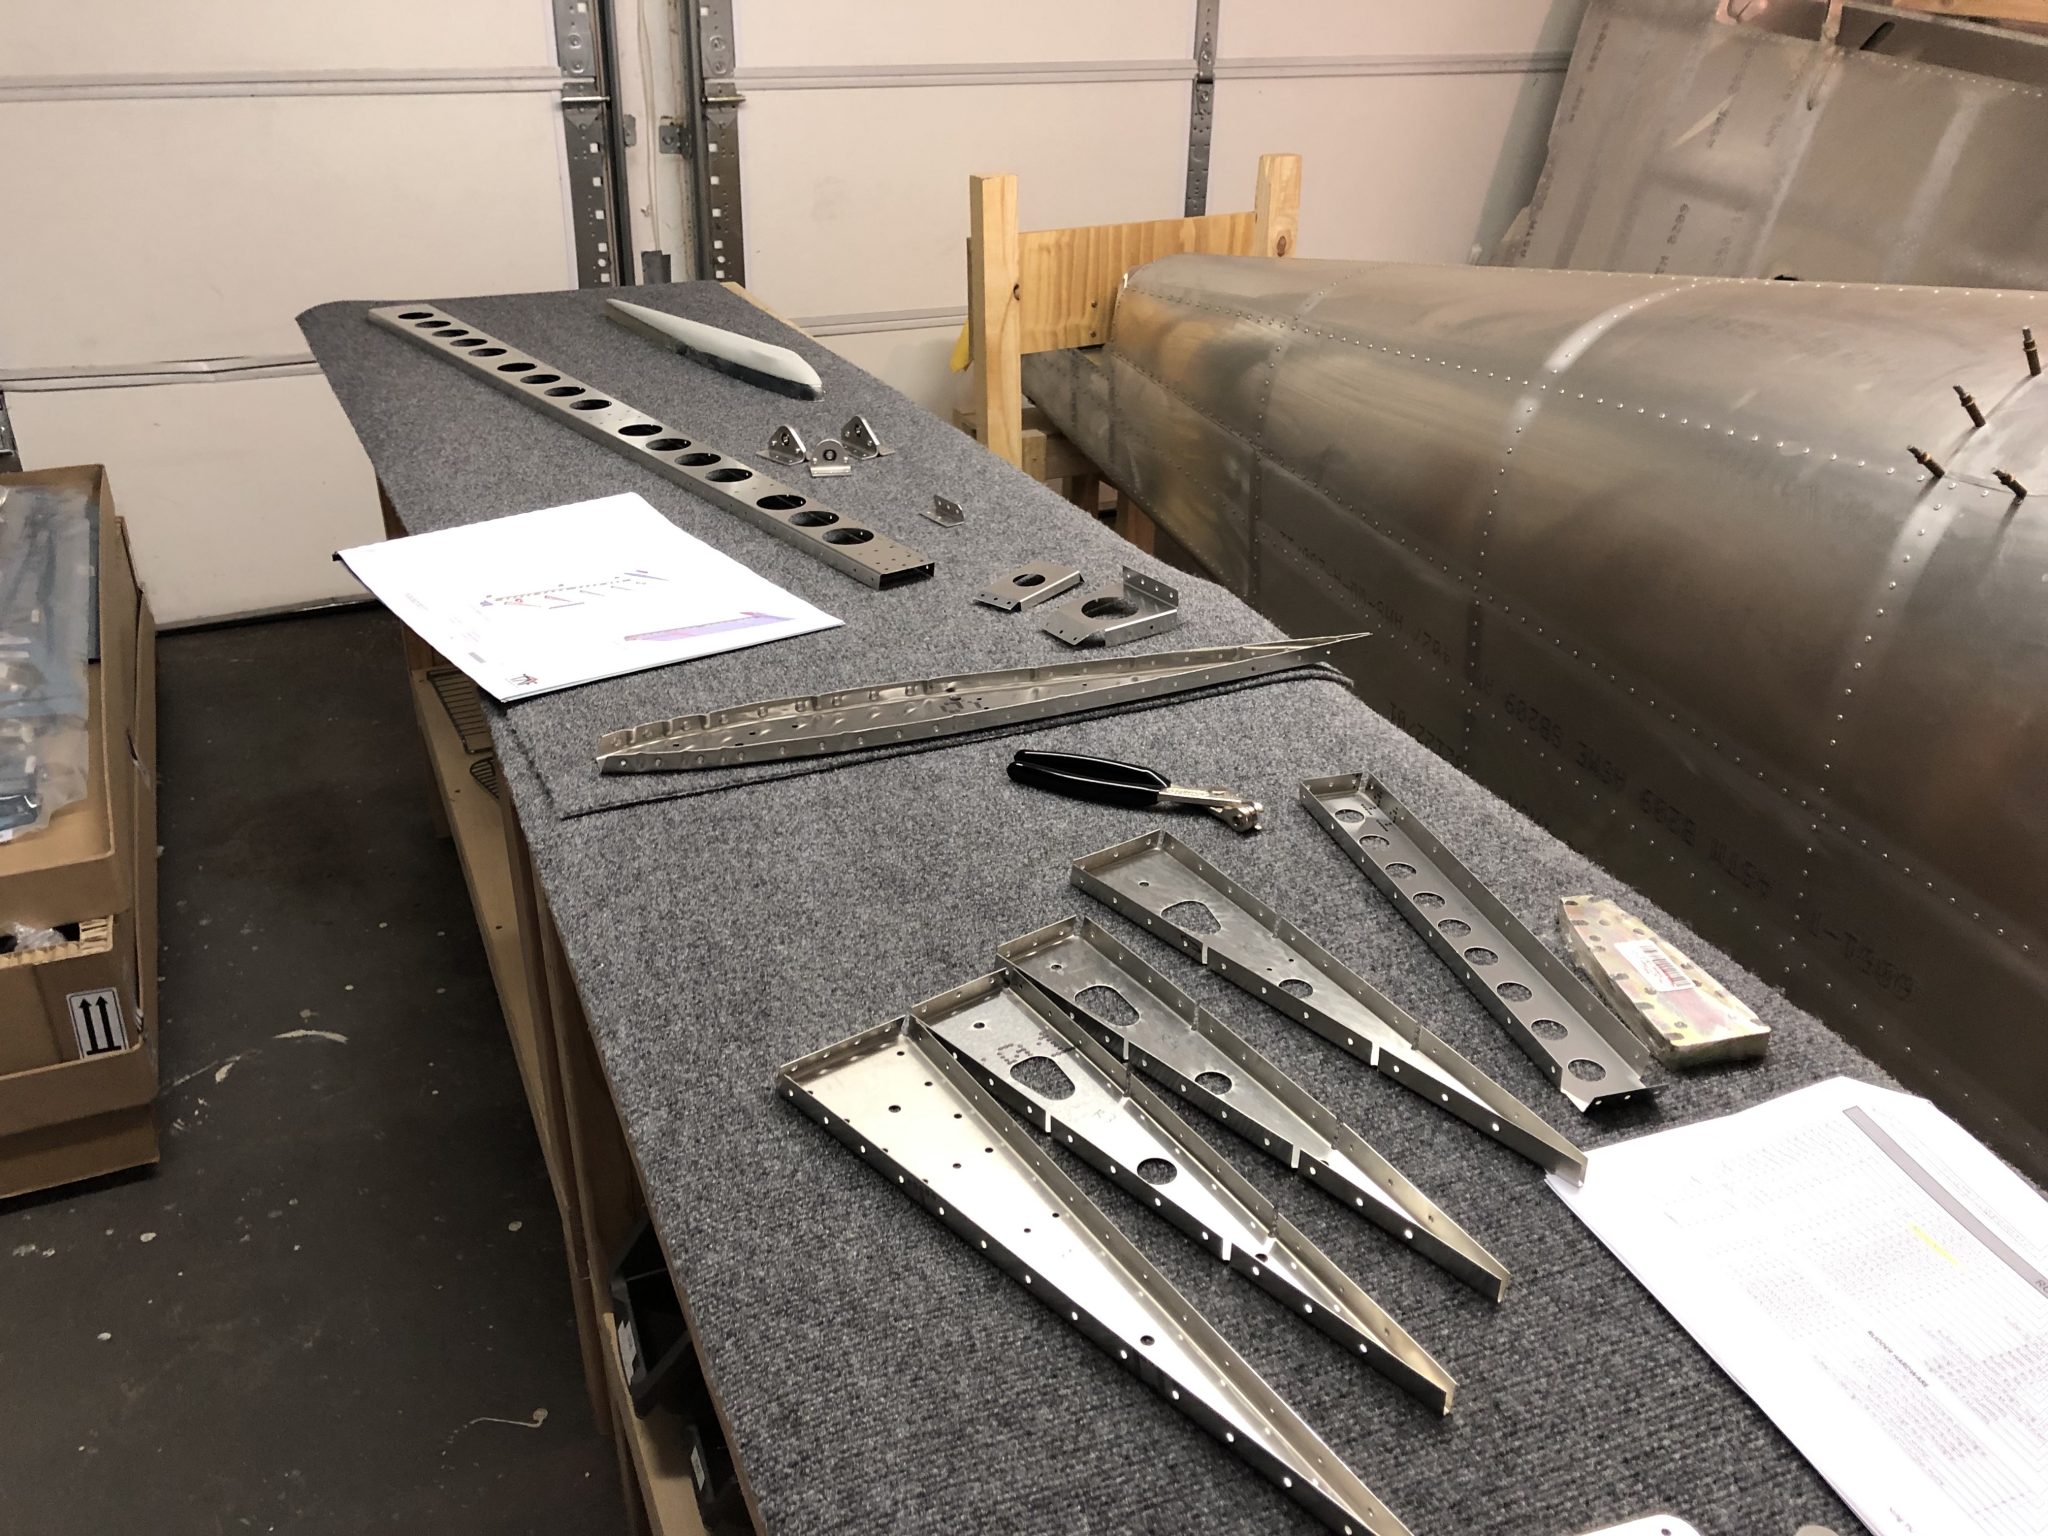
I did a quick test fit of the skin on the Horizontal Stabilizer yesterday and everything looks good. I’m waiting for the sealant that goes between the Support Plate and the skin, which should arrive tomorrow. So I decided to prepare the next part of the Empennage and and prime the Rudder parts and the mating surfaces of the Horizontal Stabilizer skin.
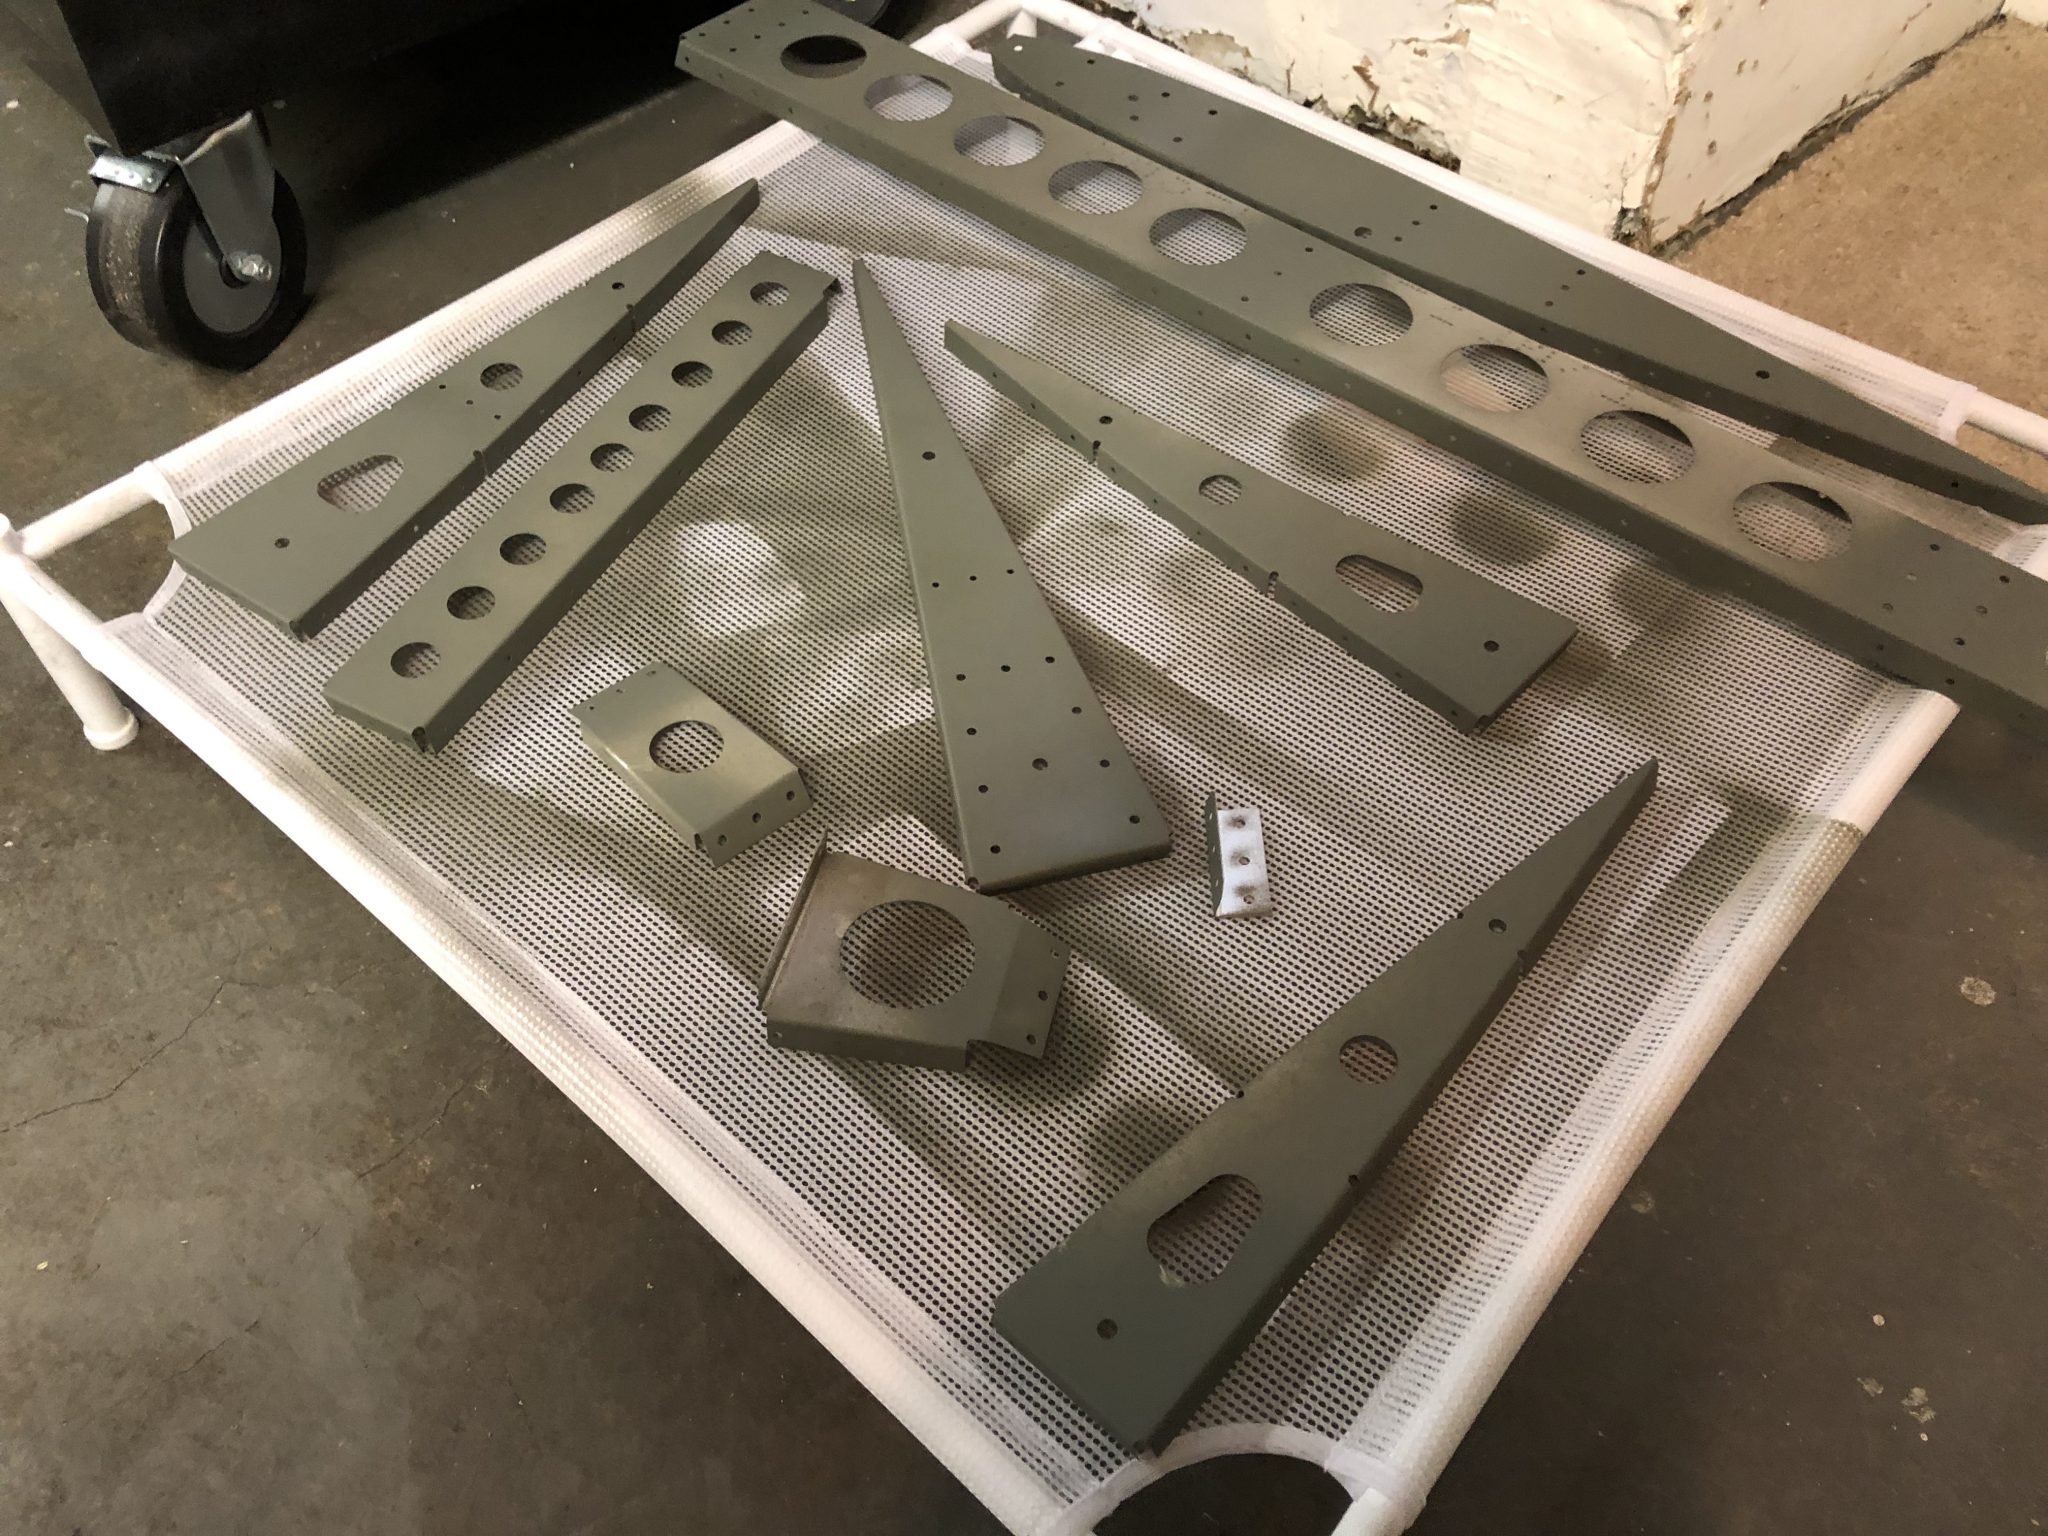
After I did some more reading about priming preparation and I’ve slightly changed the process for the Rudder pieces. I’ll see how it turns out tomorrow once it’s dried. After removing the protective plastic, I cleaned off the parts with MEK, then scruffed them up with a red (fine) Scotch brite pad and then went on to priming.

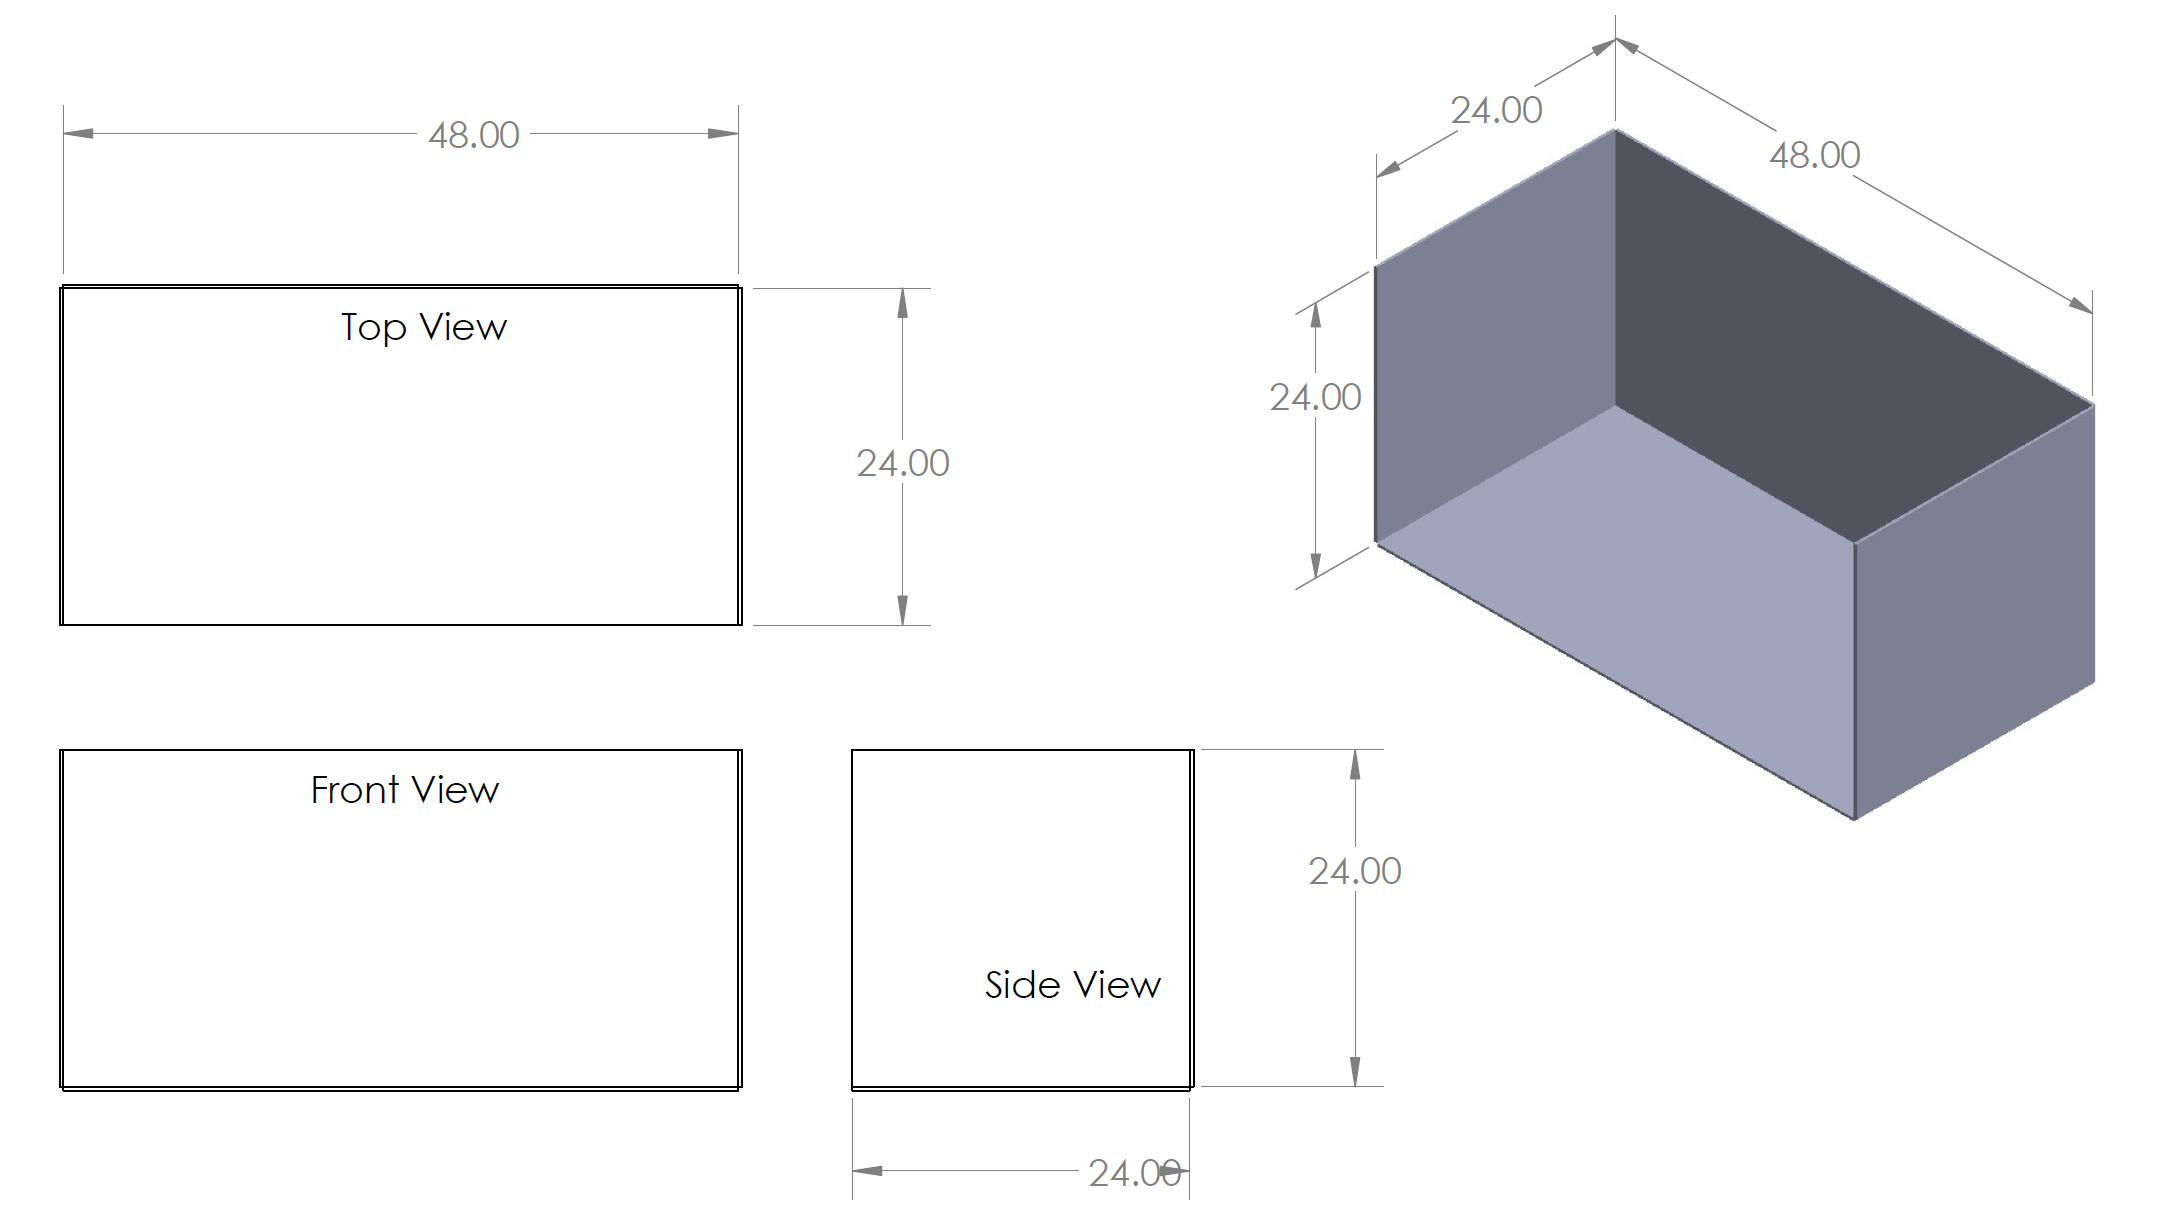
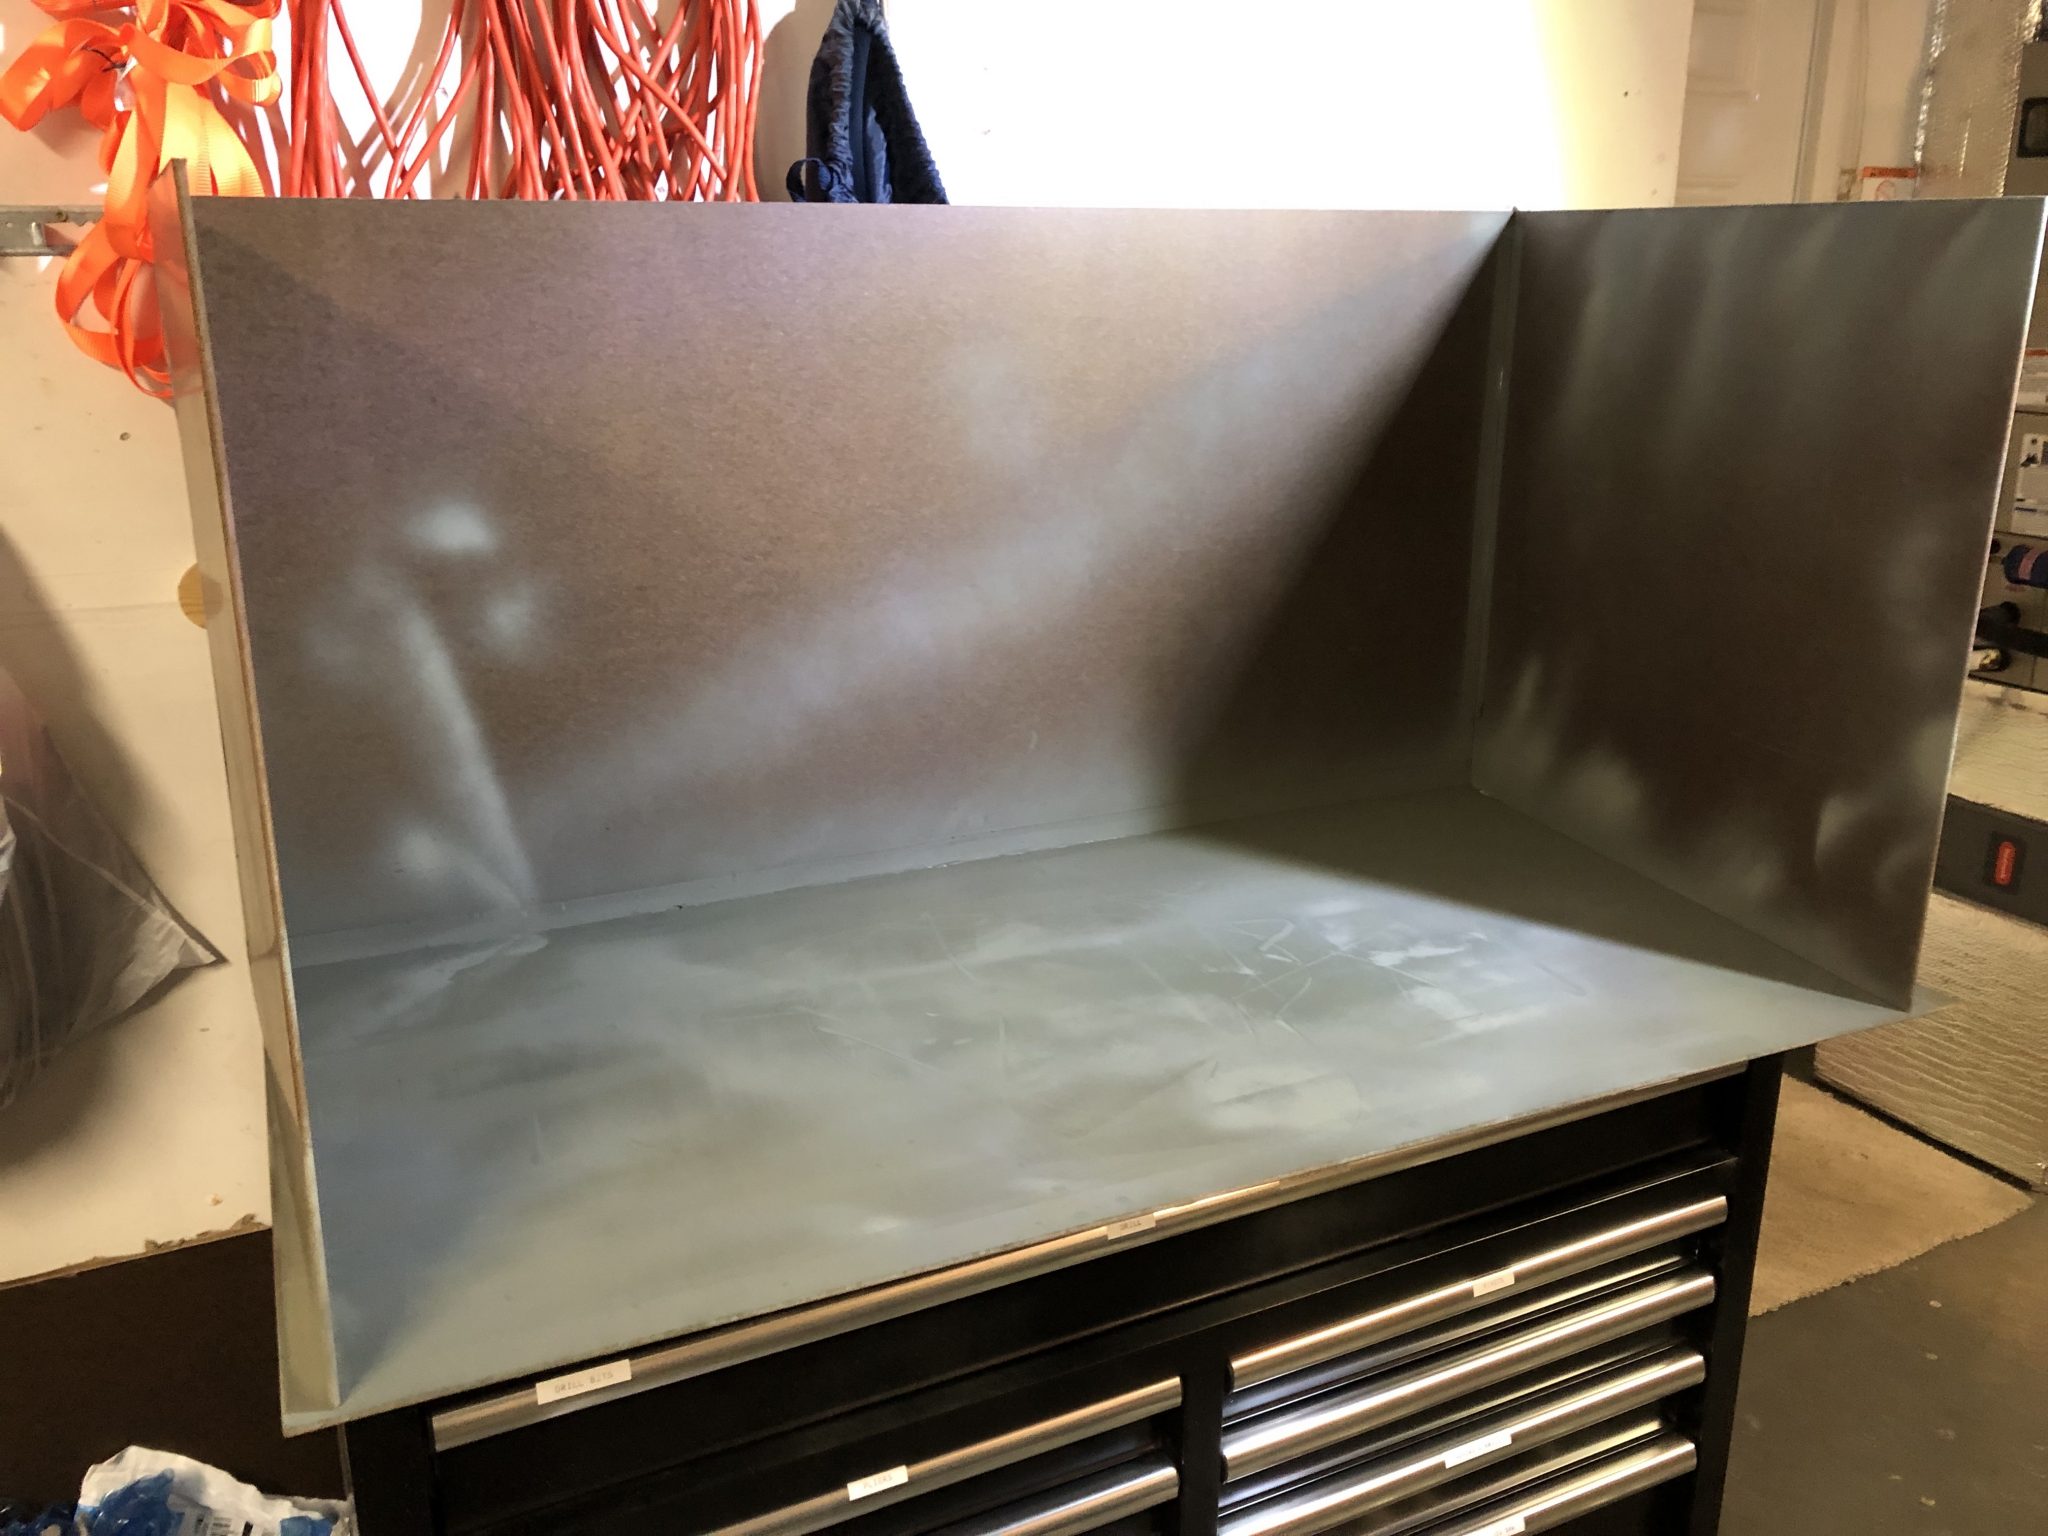
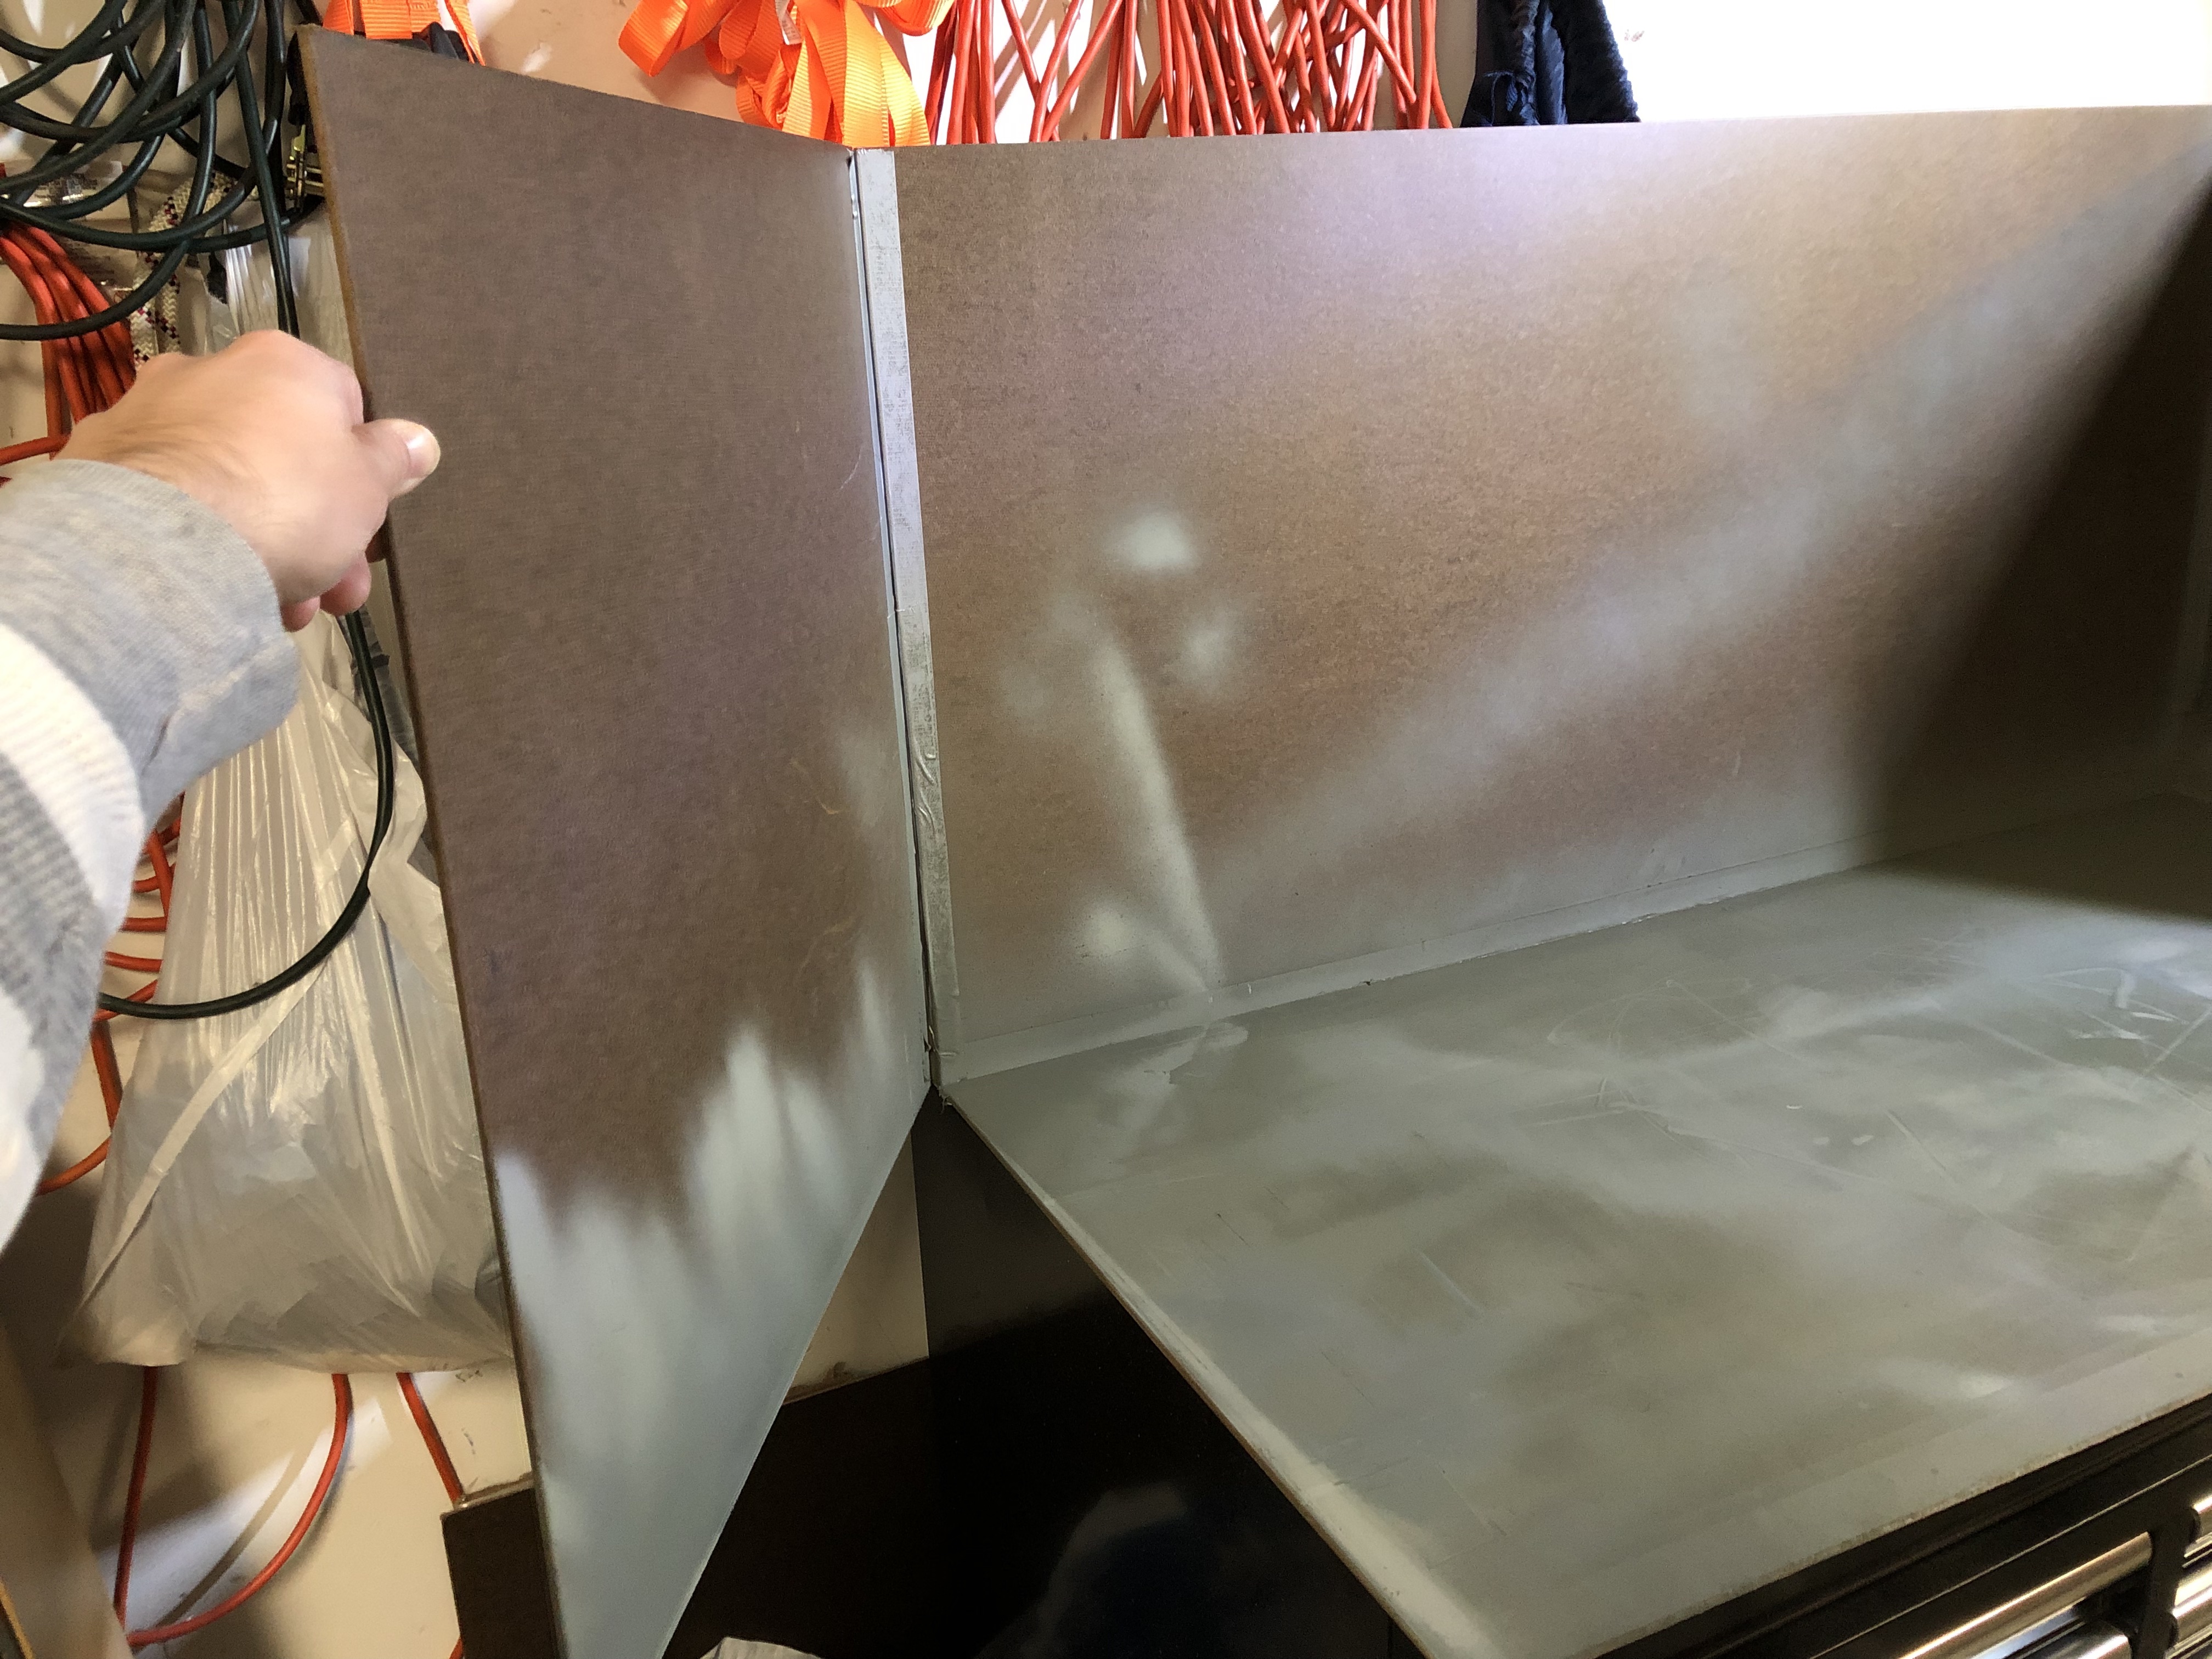
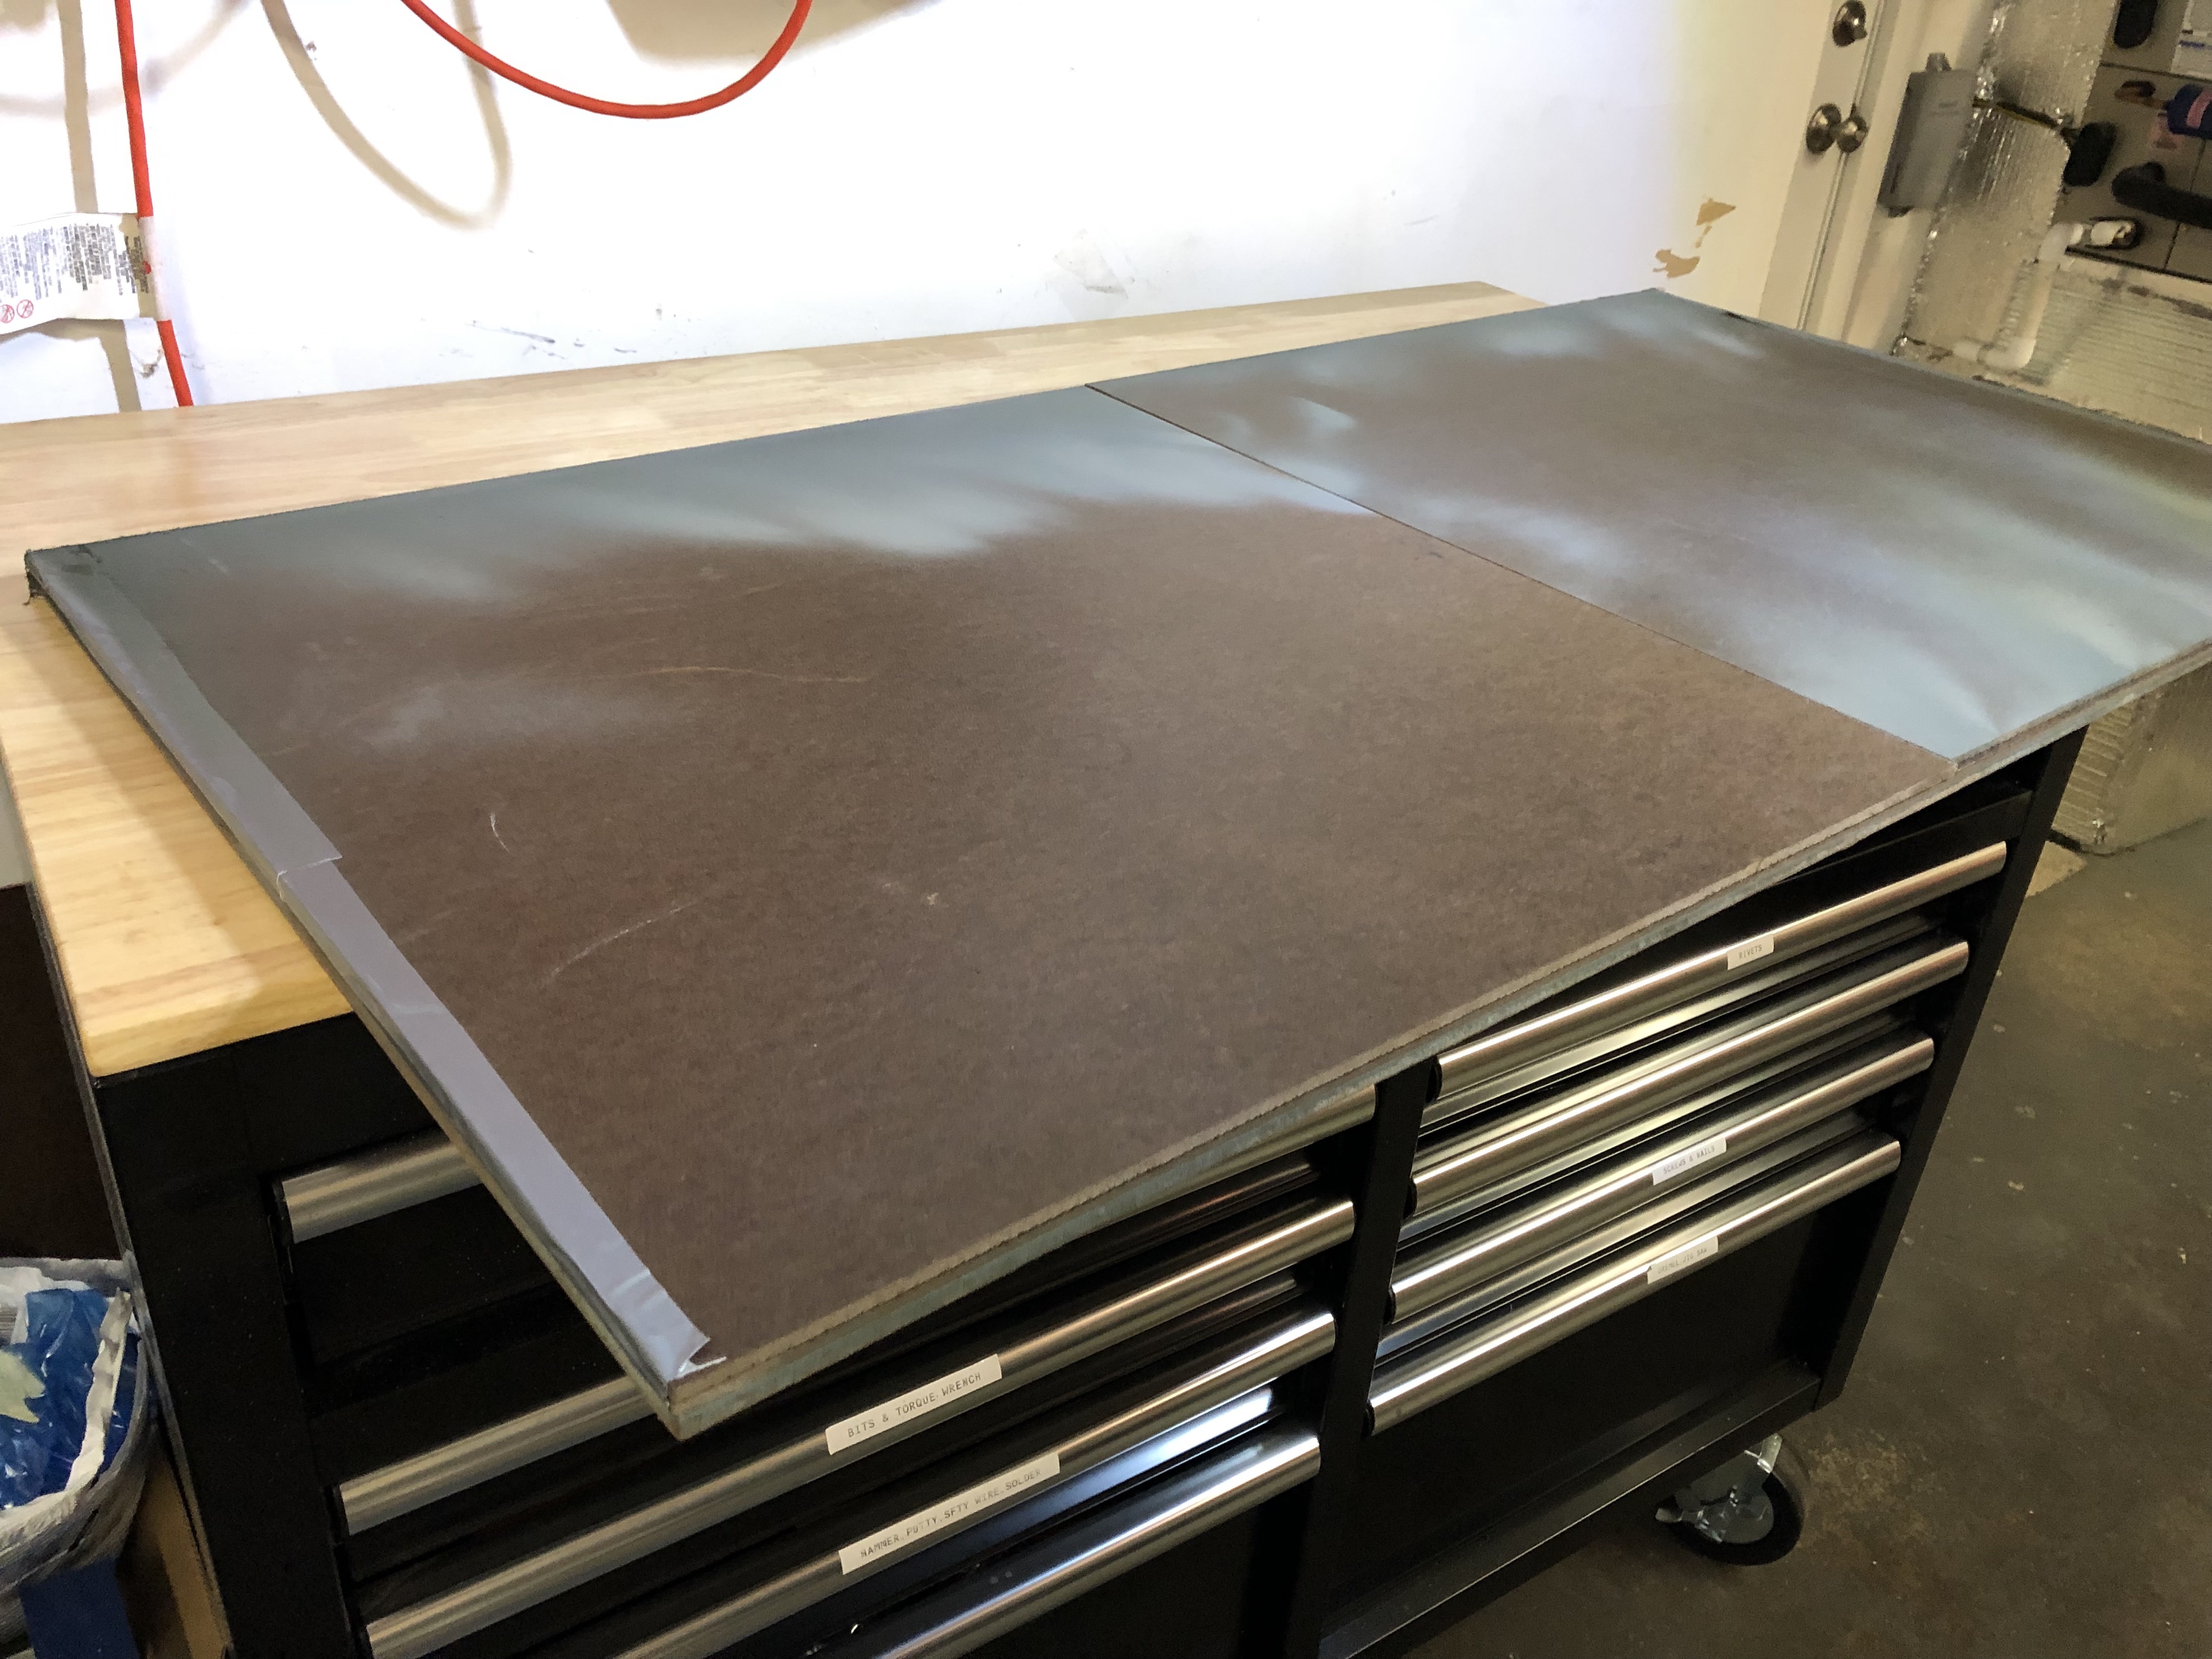
After the preparation, I unfolded my small paint booth I made out of some hardboard. I got the design from a video on the Family Handyman. If anyone wants to make their own and wants to skip the video, I’ve created some quick plans in Solidworks and took some pictures of the folding. What you need:
- 2 sheets of 24 by 24 inches
- 2 sheets of 24 by 48 inches
- Duct tape to create the “hinges”

Lastly, I did some more organizing of the Rivets and Clecos and making use of my label maker.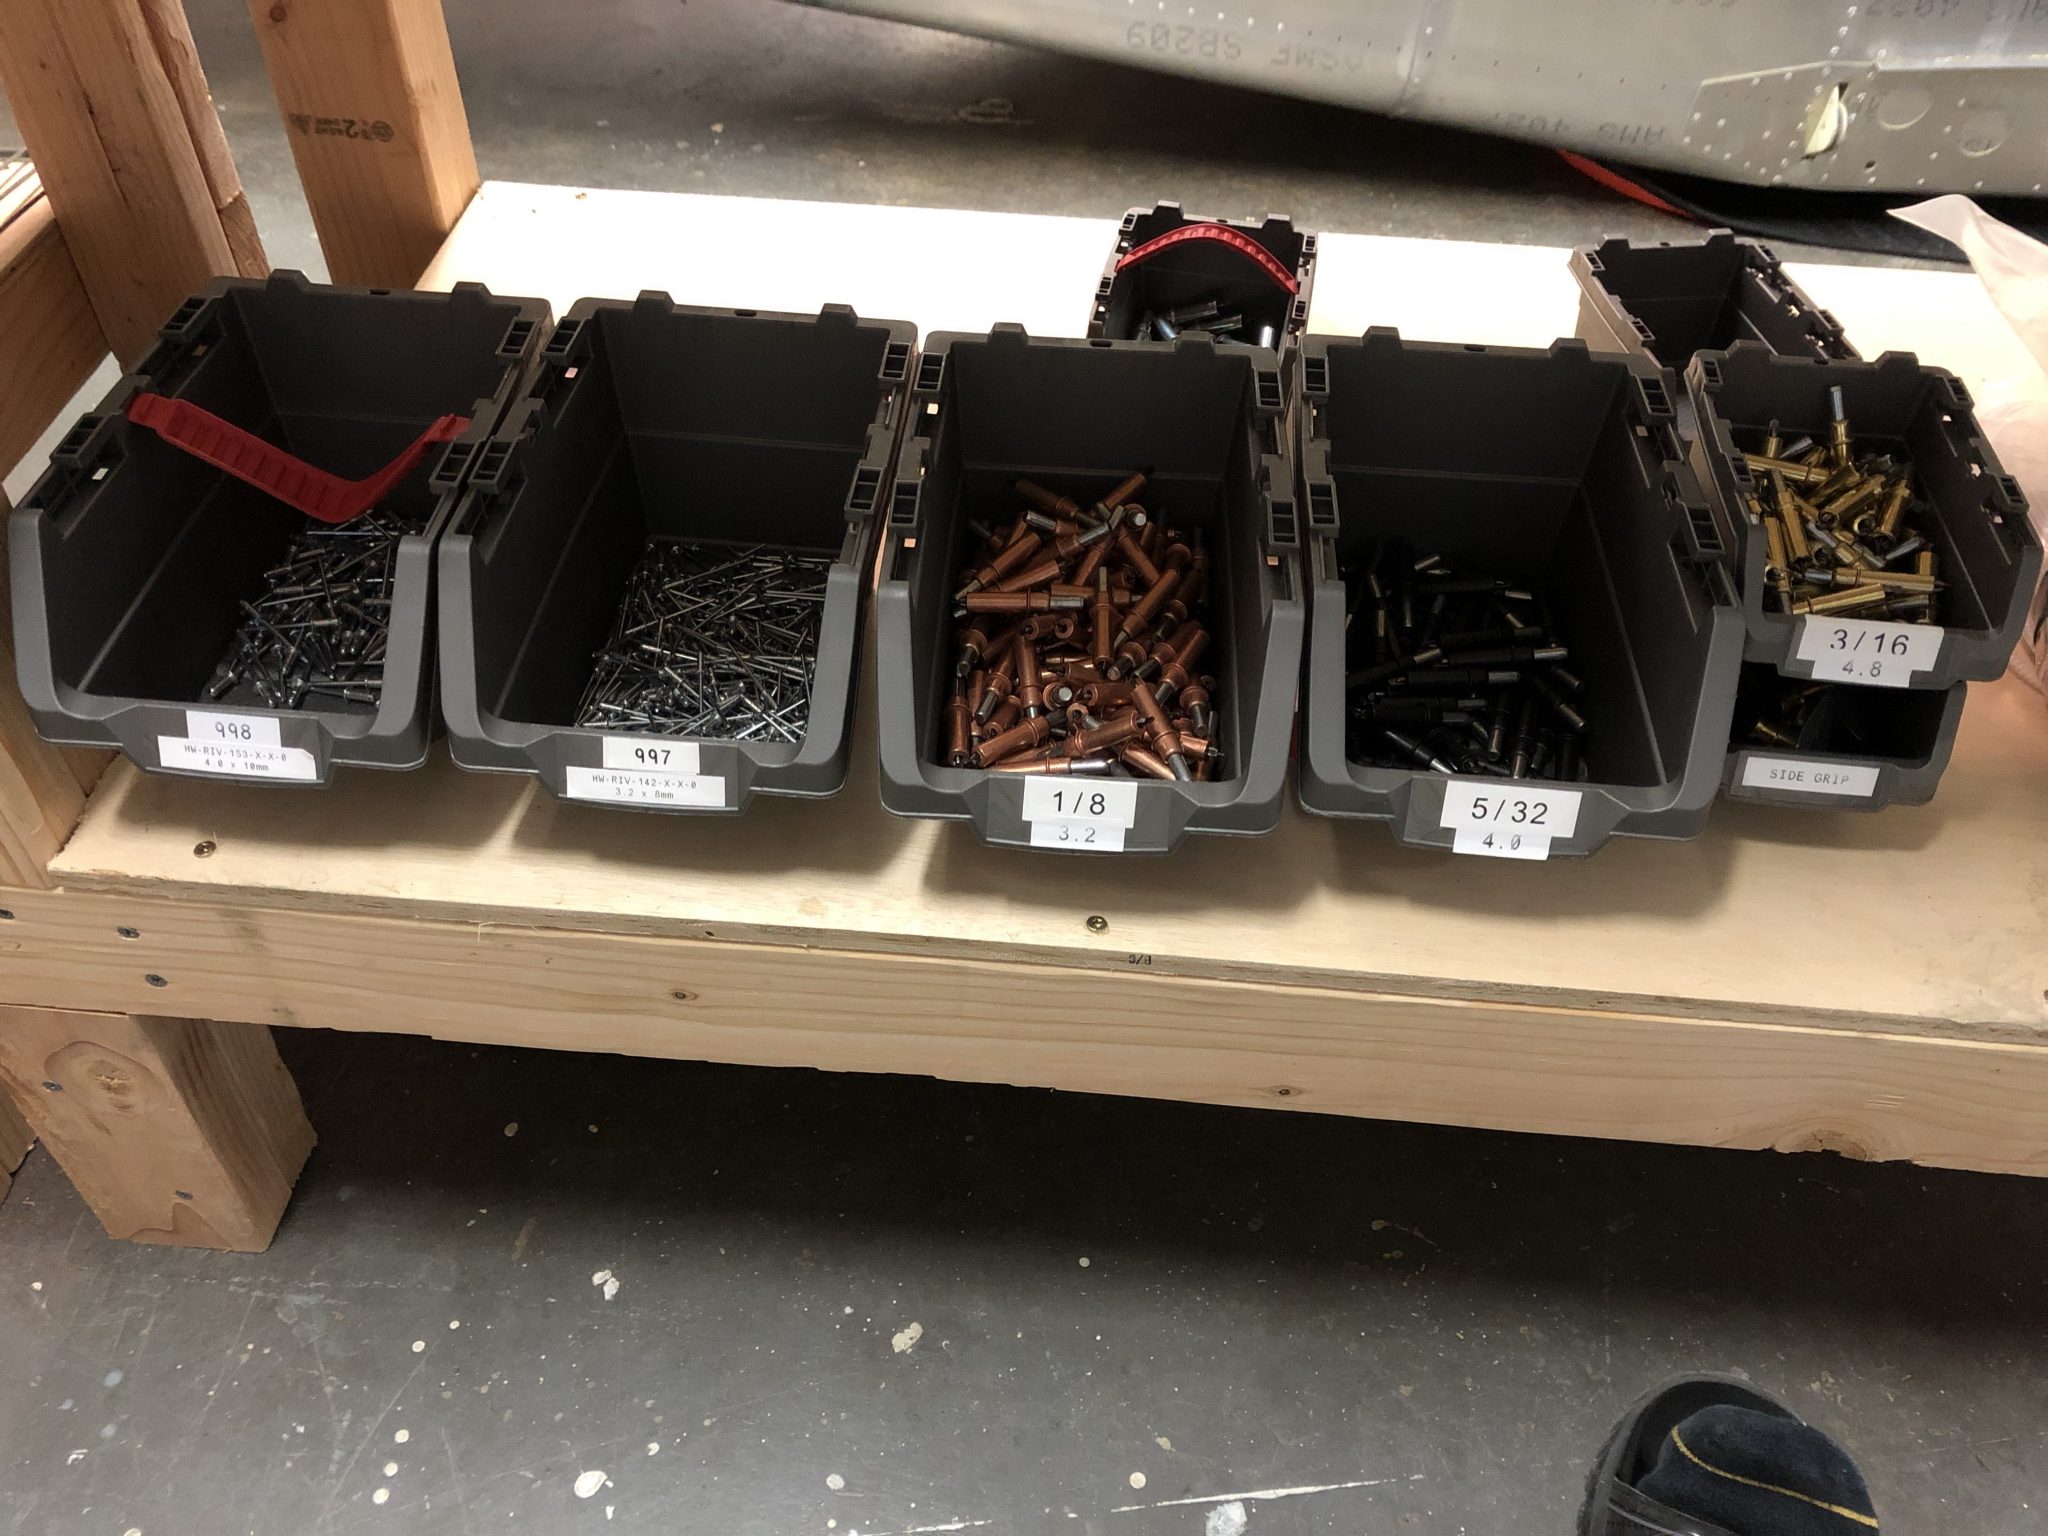
Pingback: Flaps priming & Aileron inventory - Philip's Sling TSi Build Log