
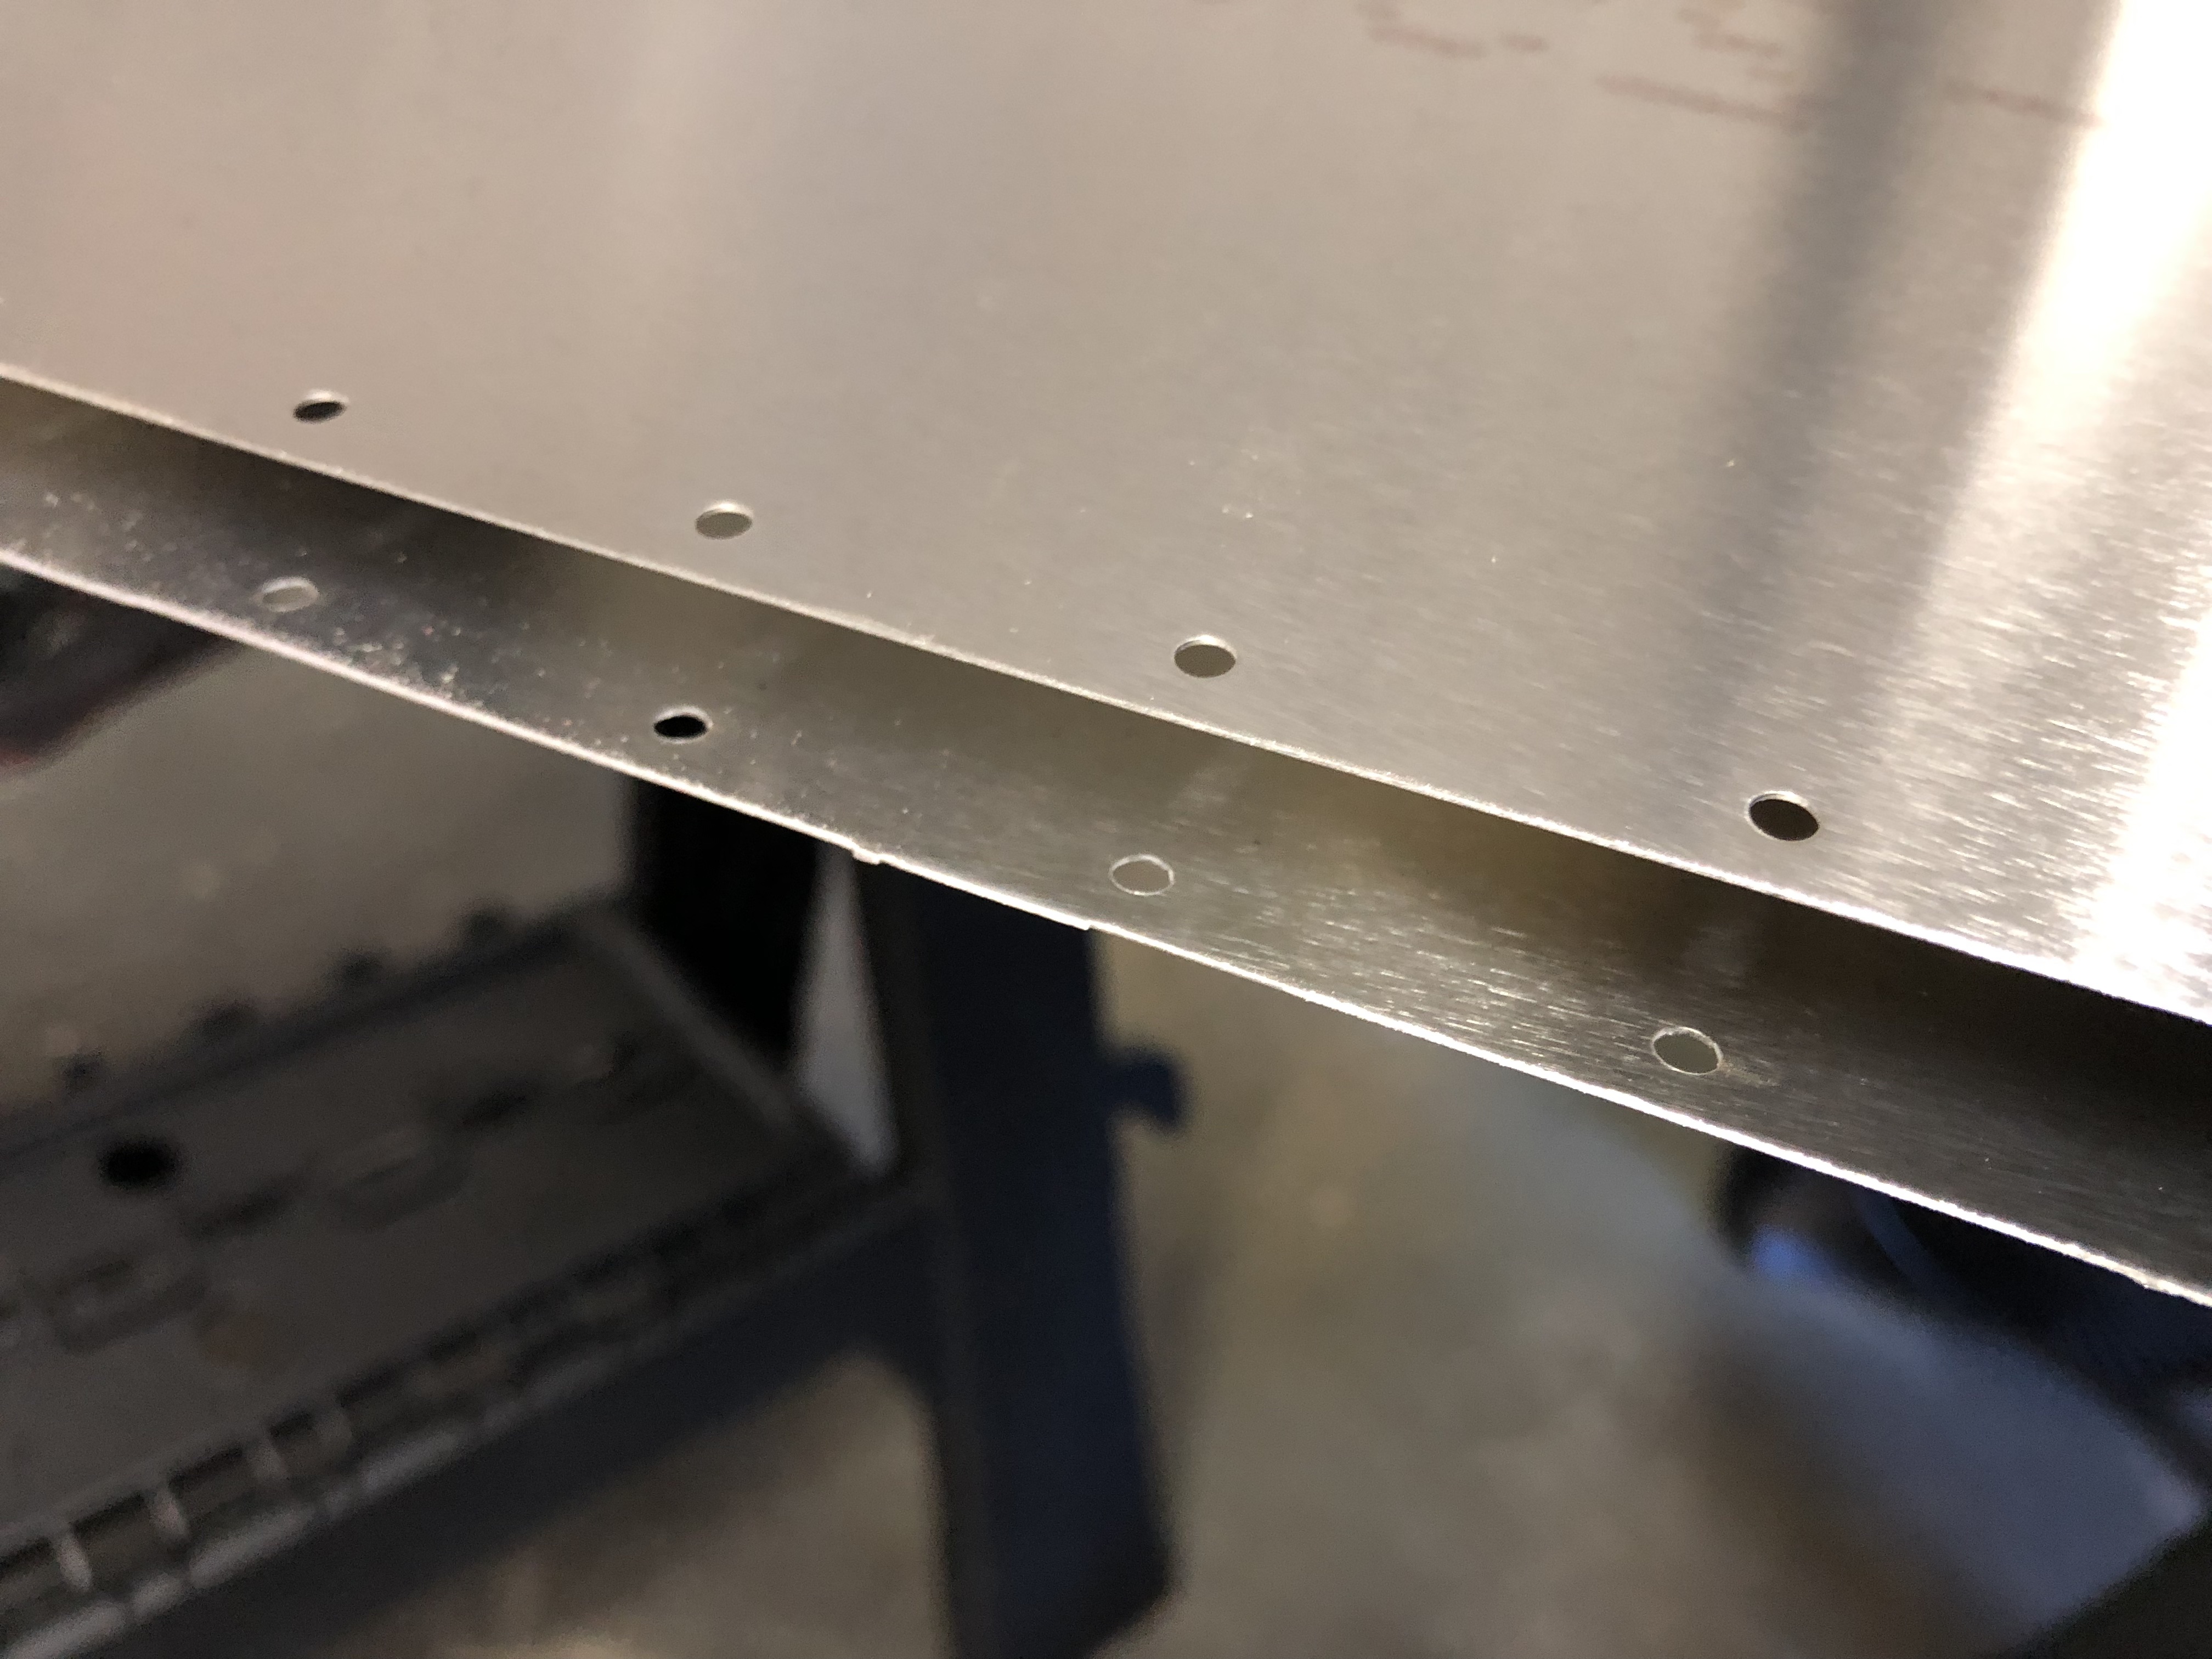
First order of business for the Elevator skin was inspecting all edges and holes and there were a few edges that needed some deburring action.
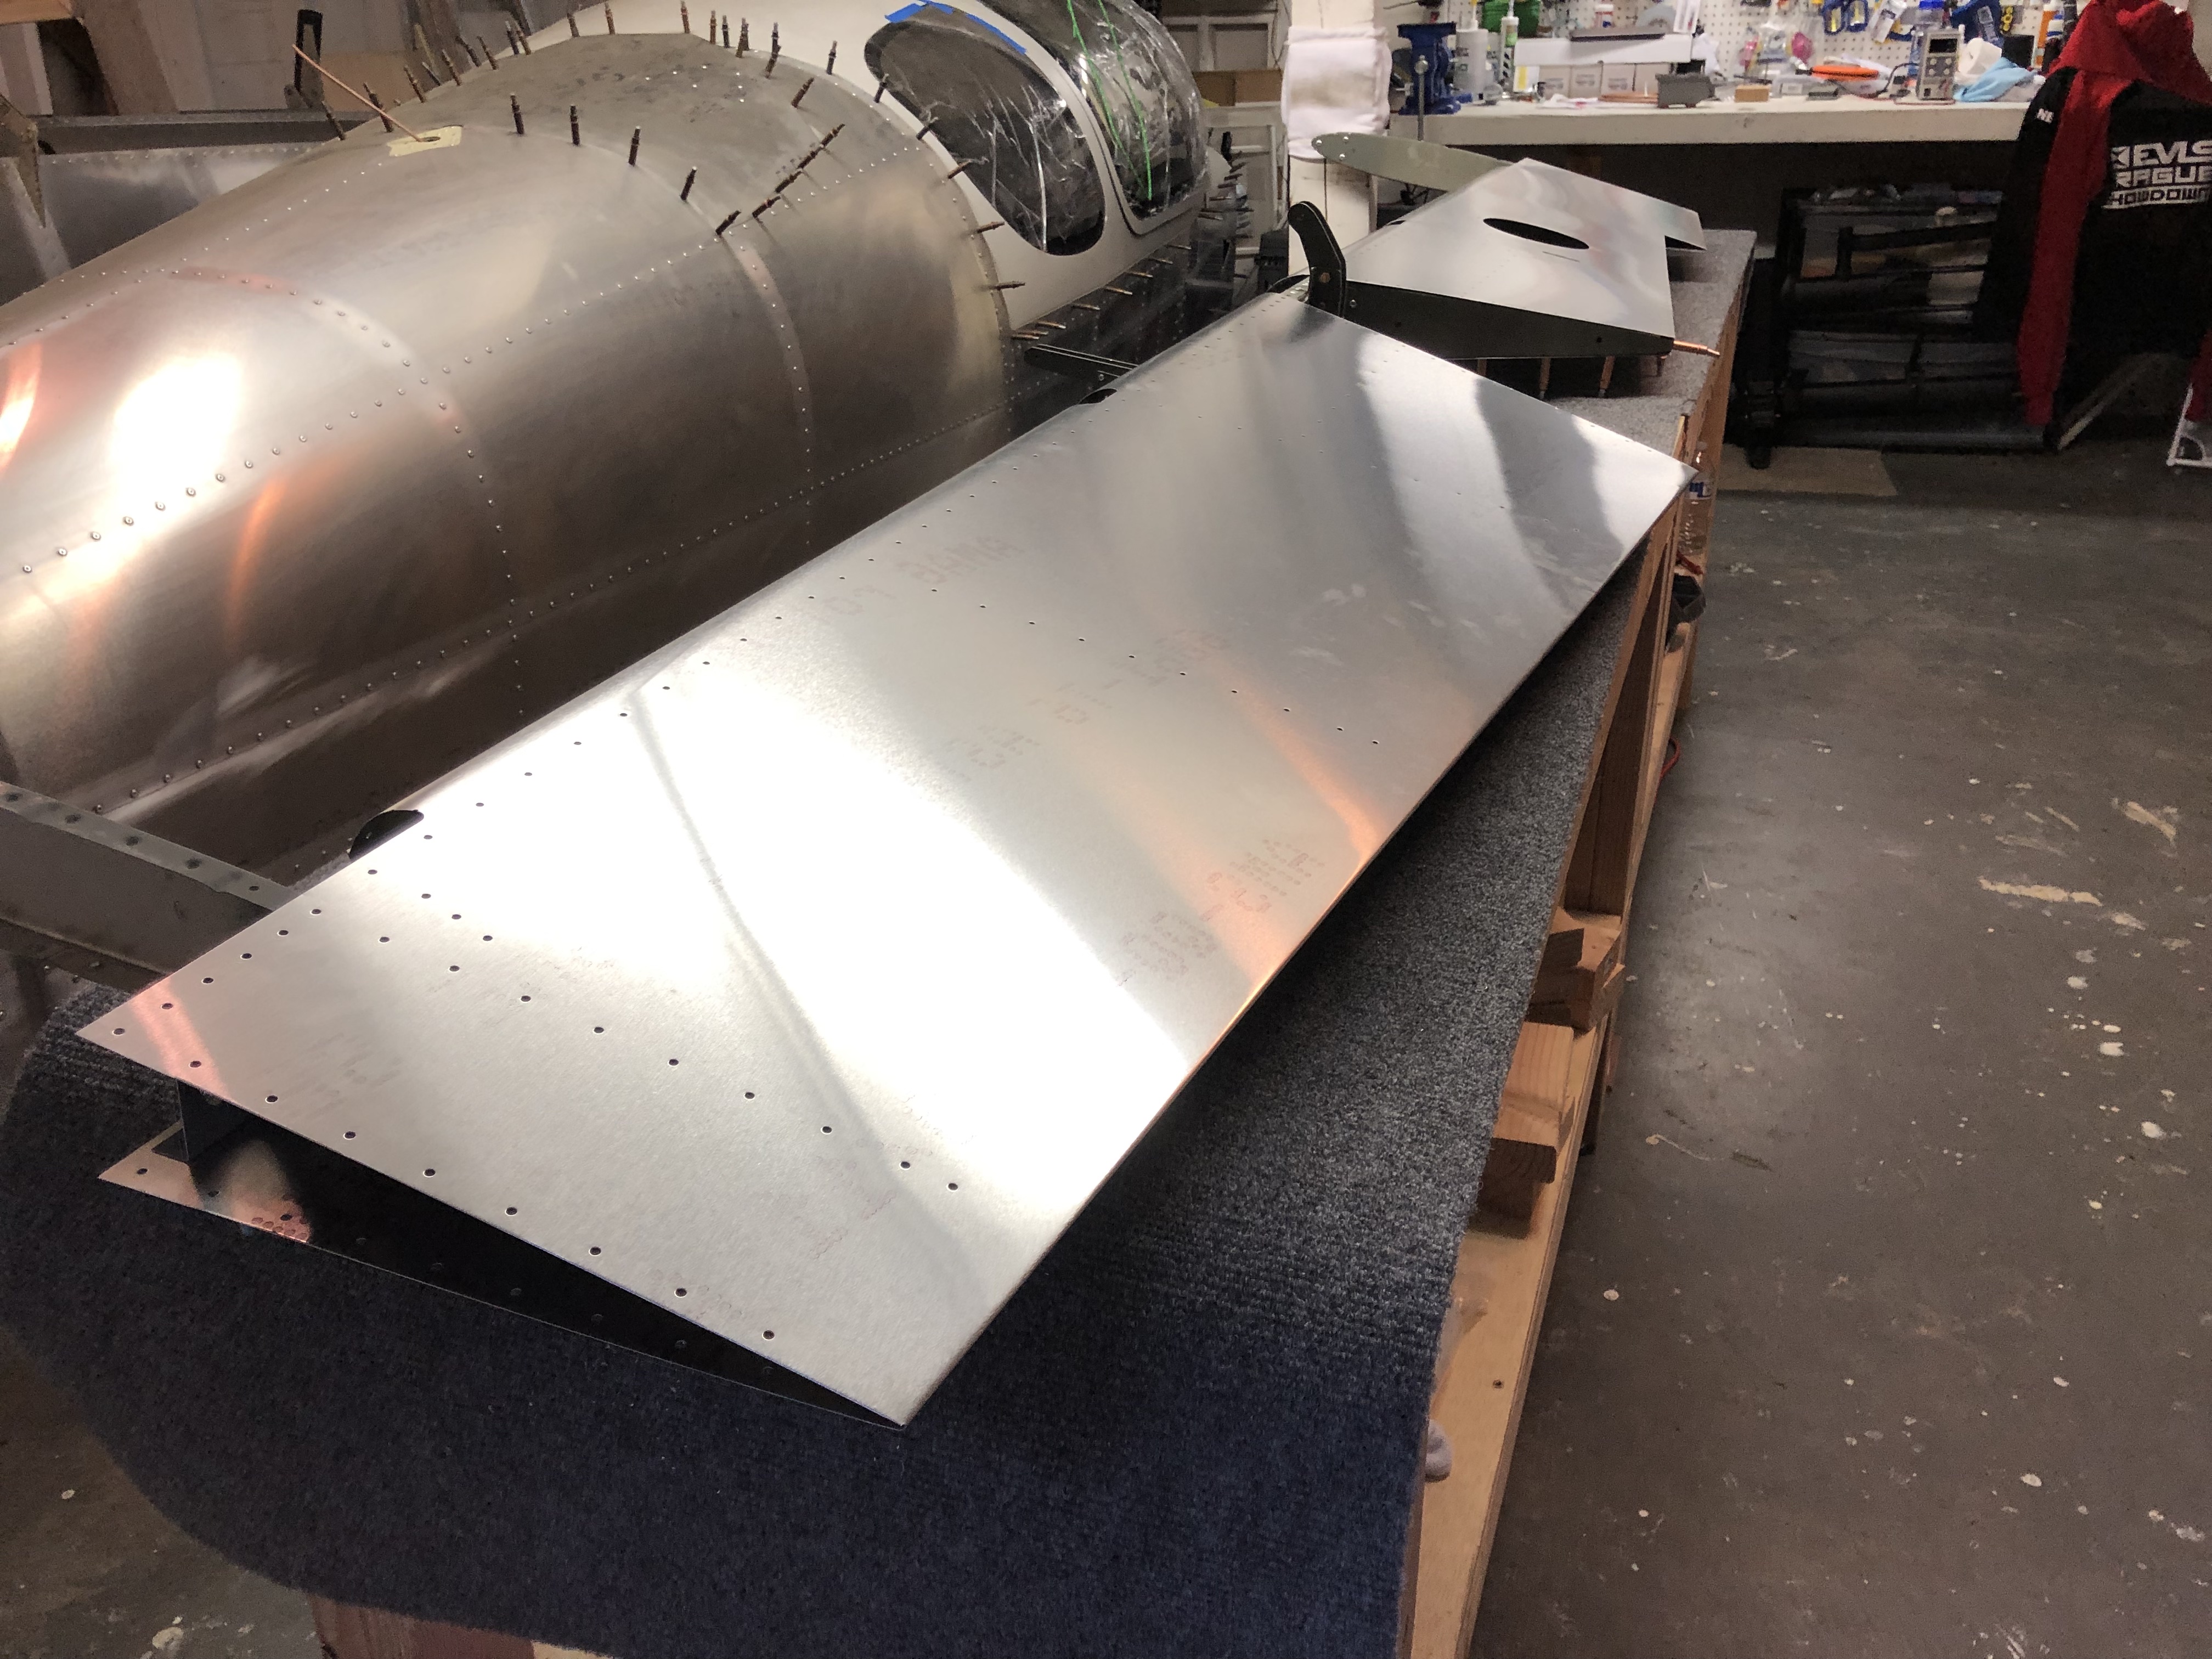
After deburring everything that needed attention, we wrapped the skins around the rib structure. Since the Elevator is a pretty big part, it was very helpful to have a second pair of hands for this.
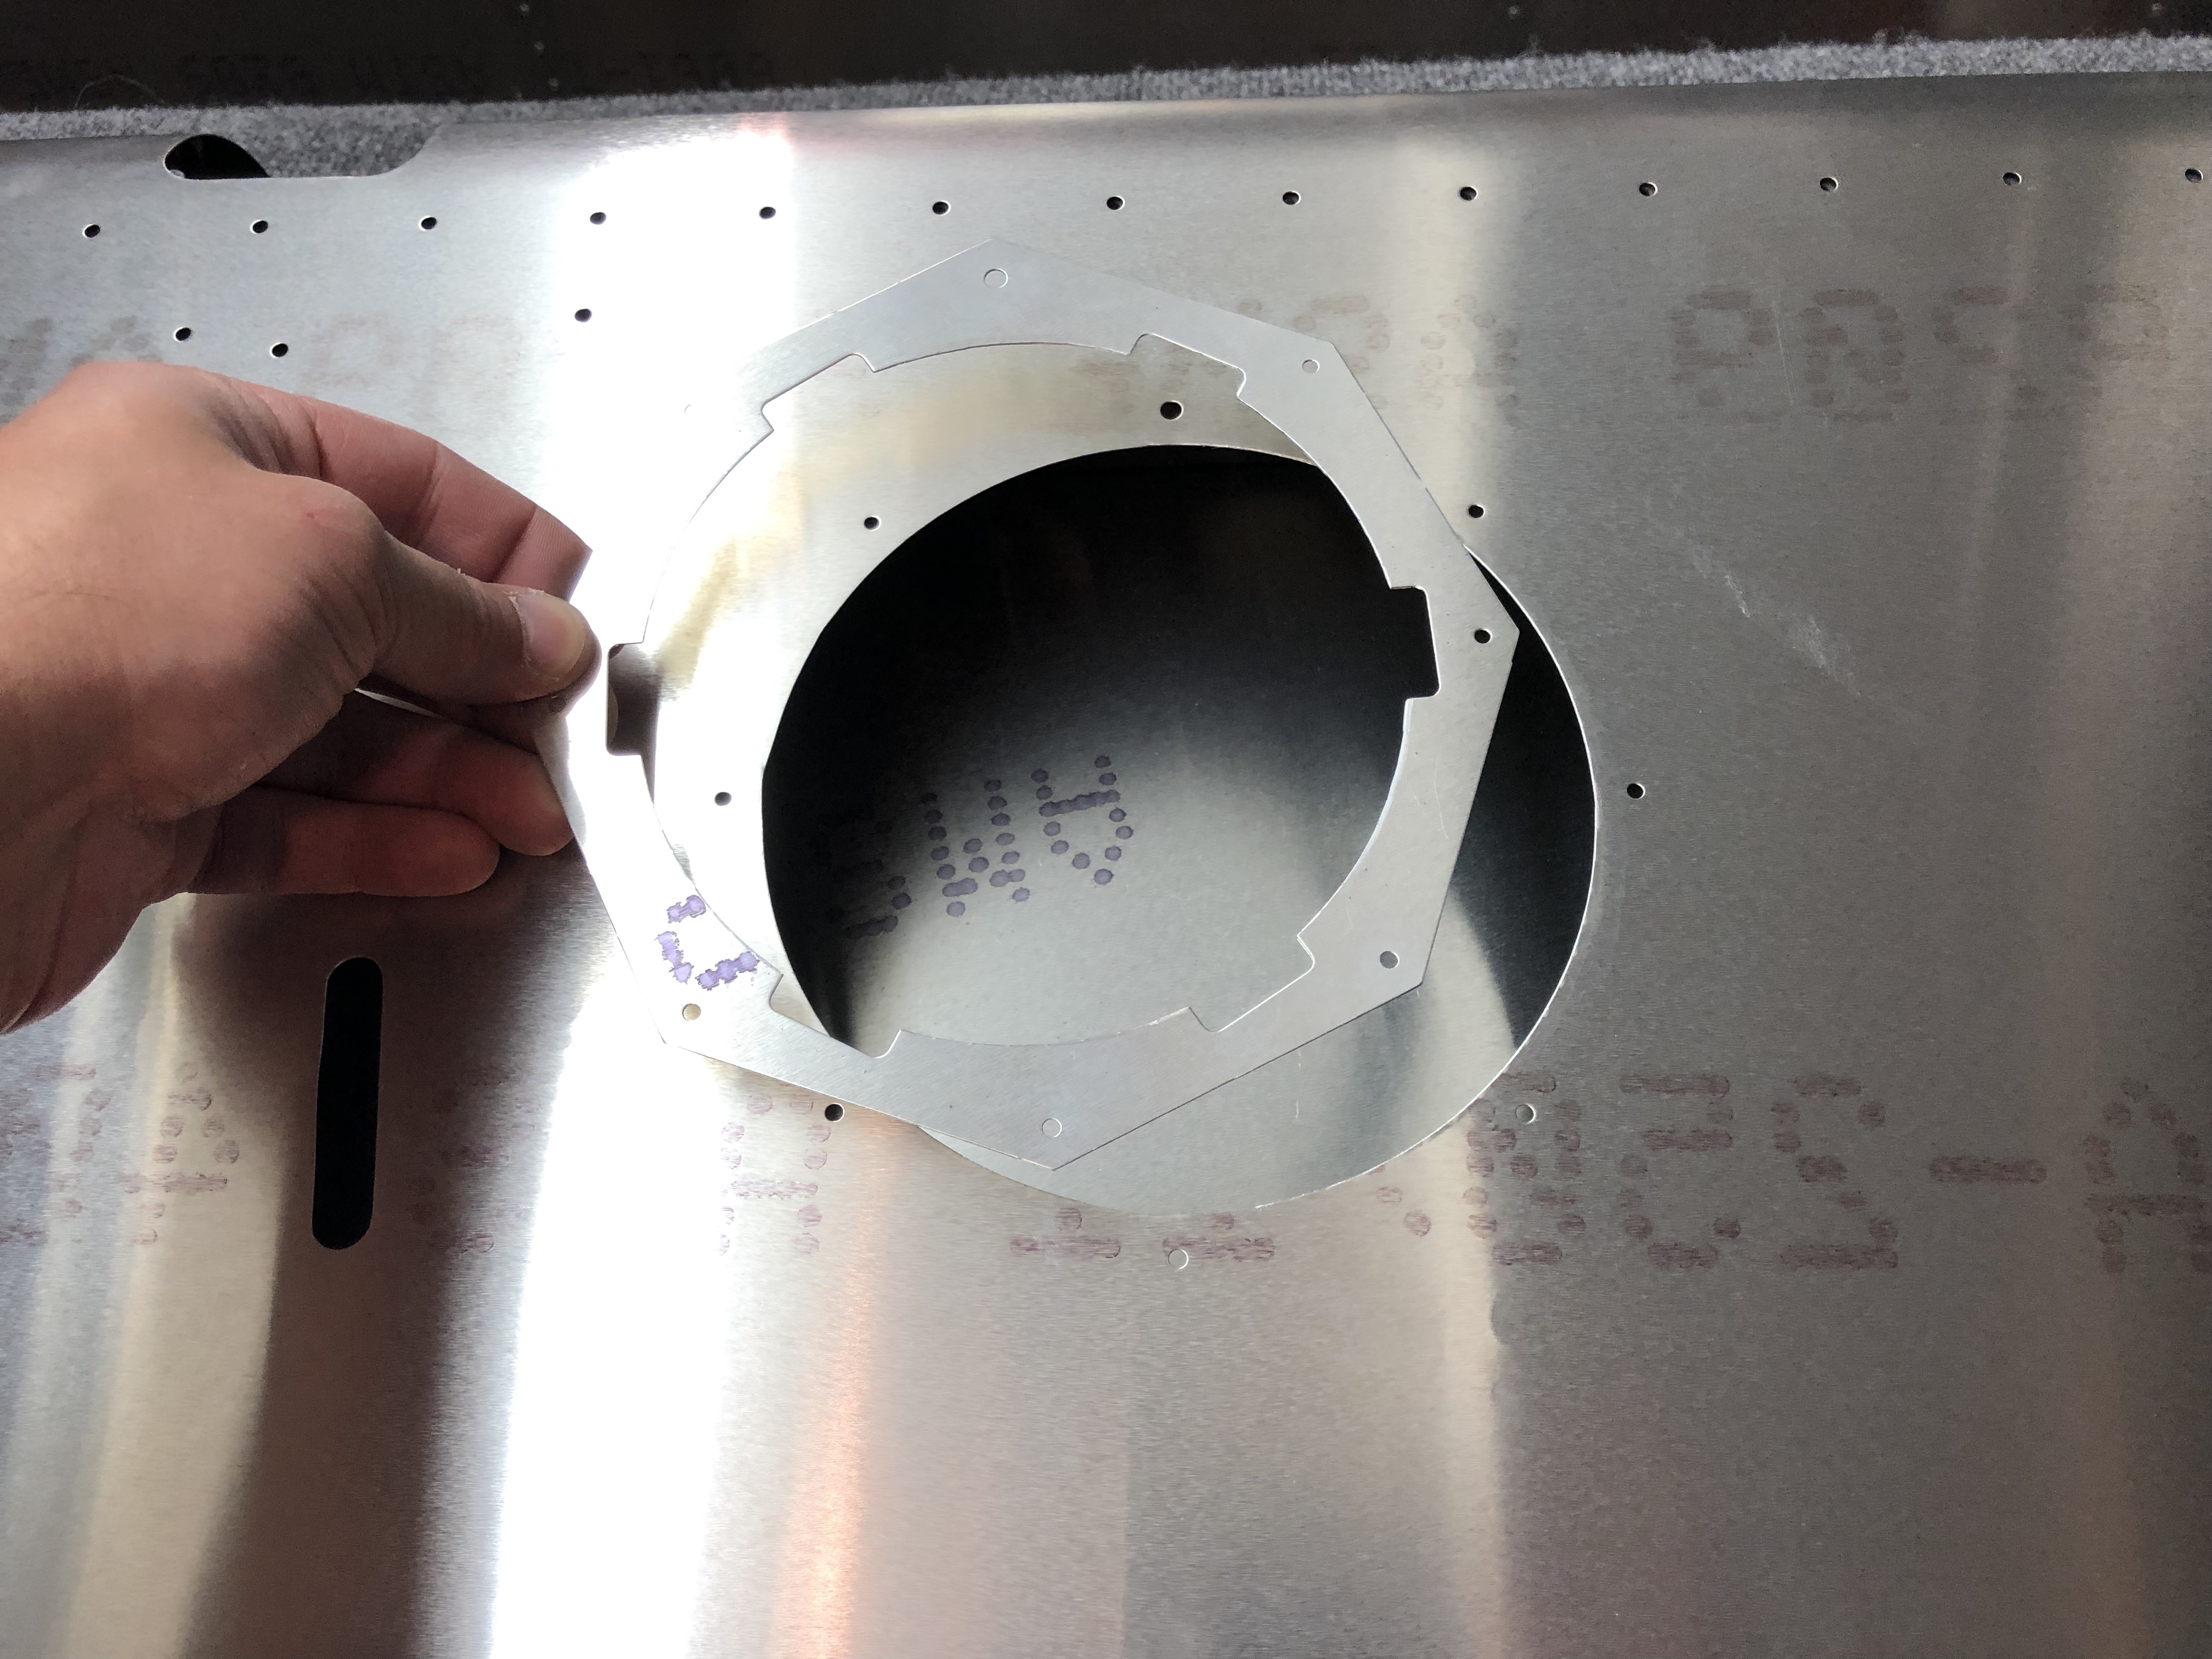
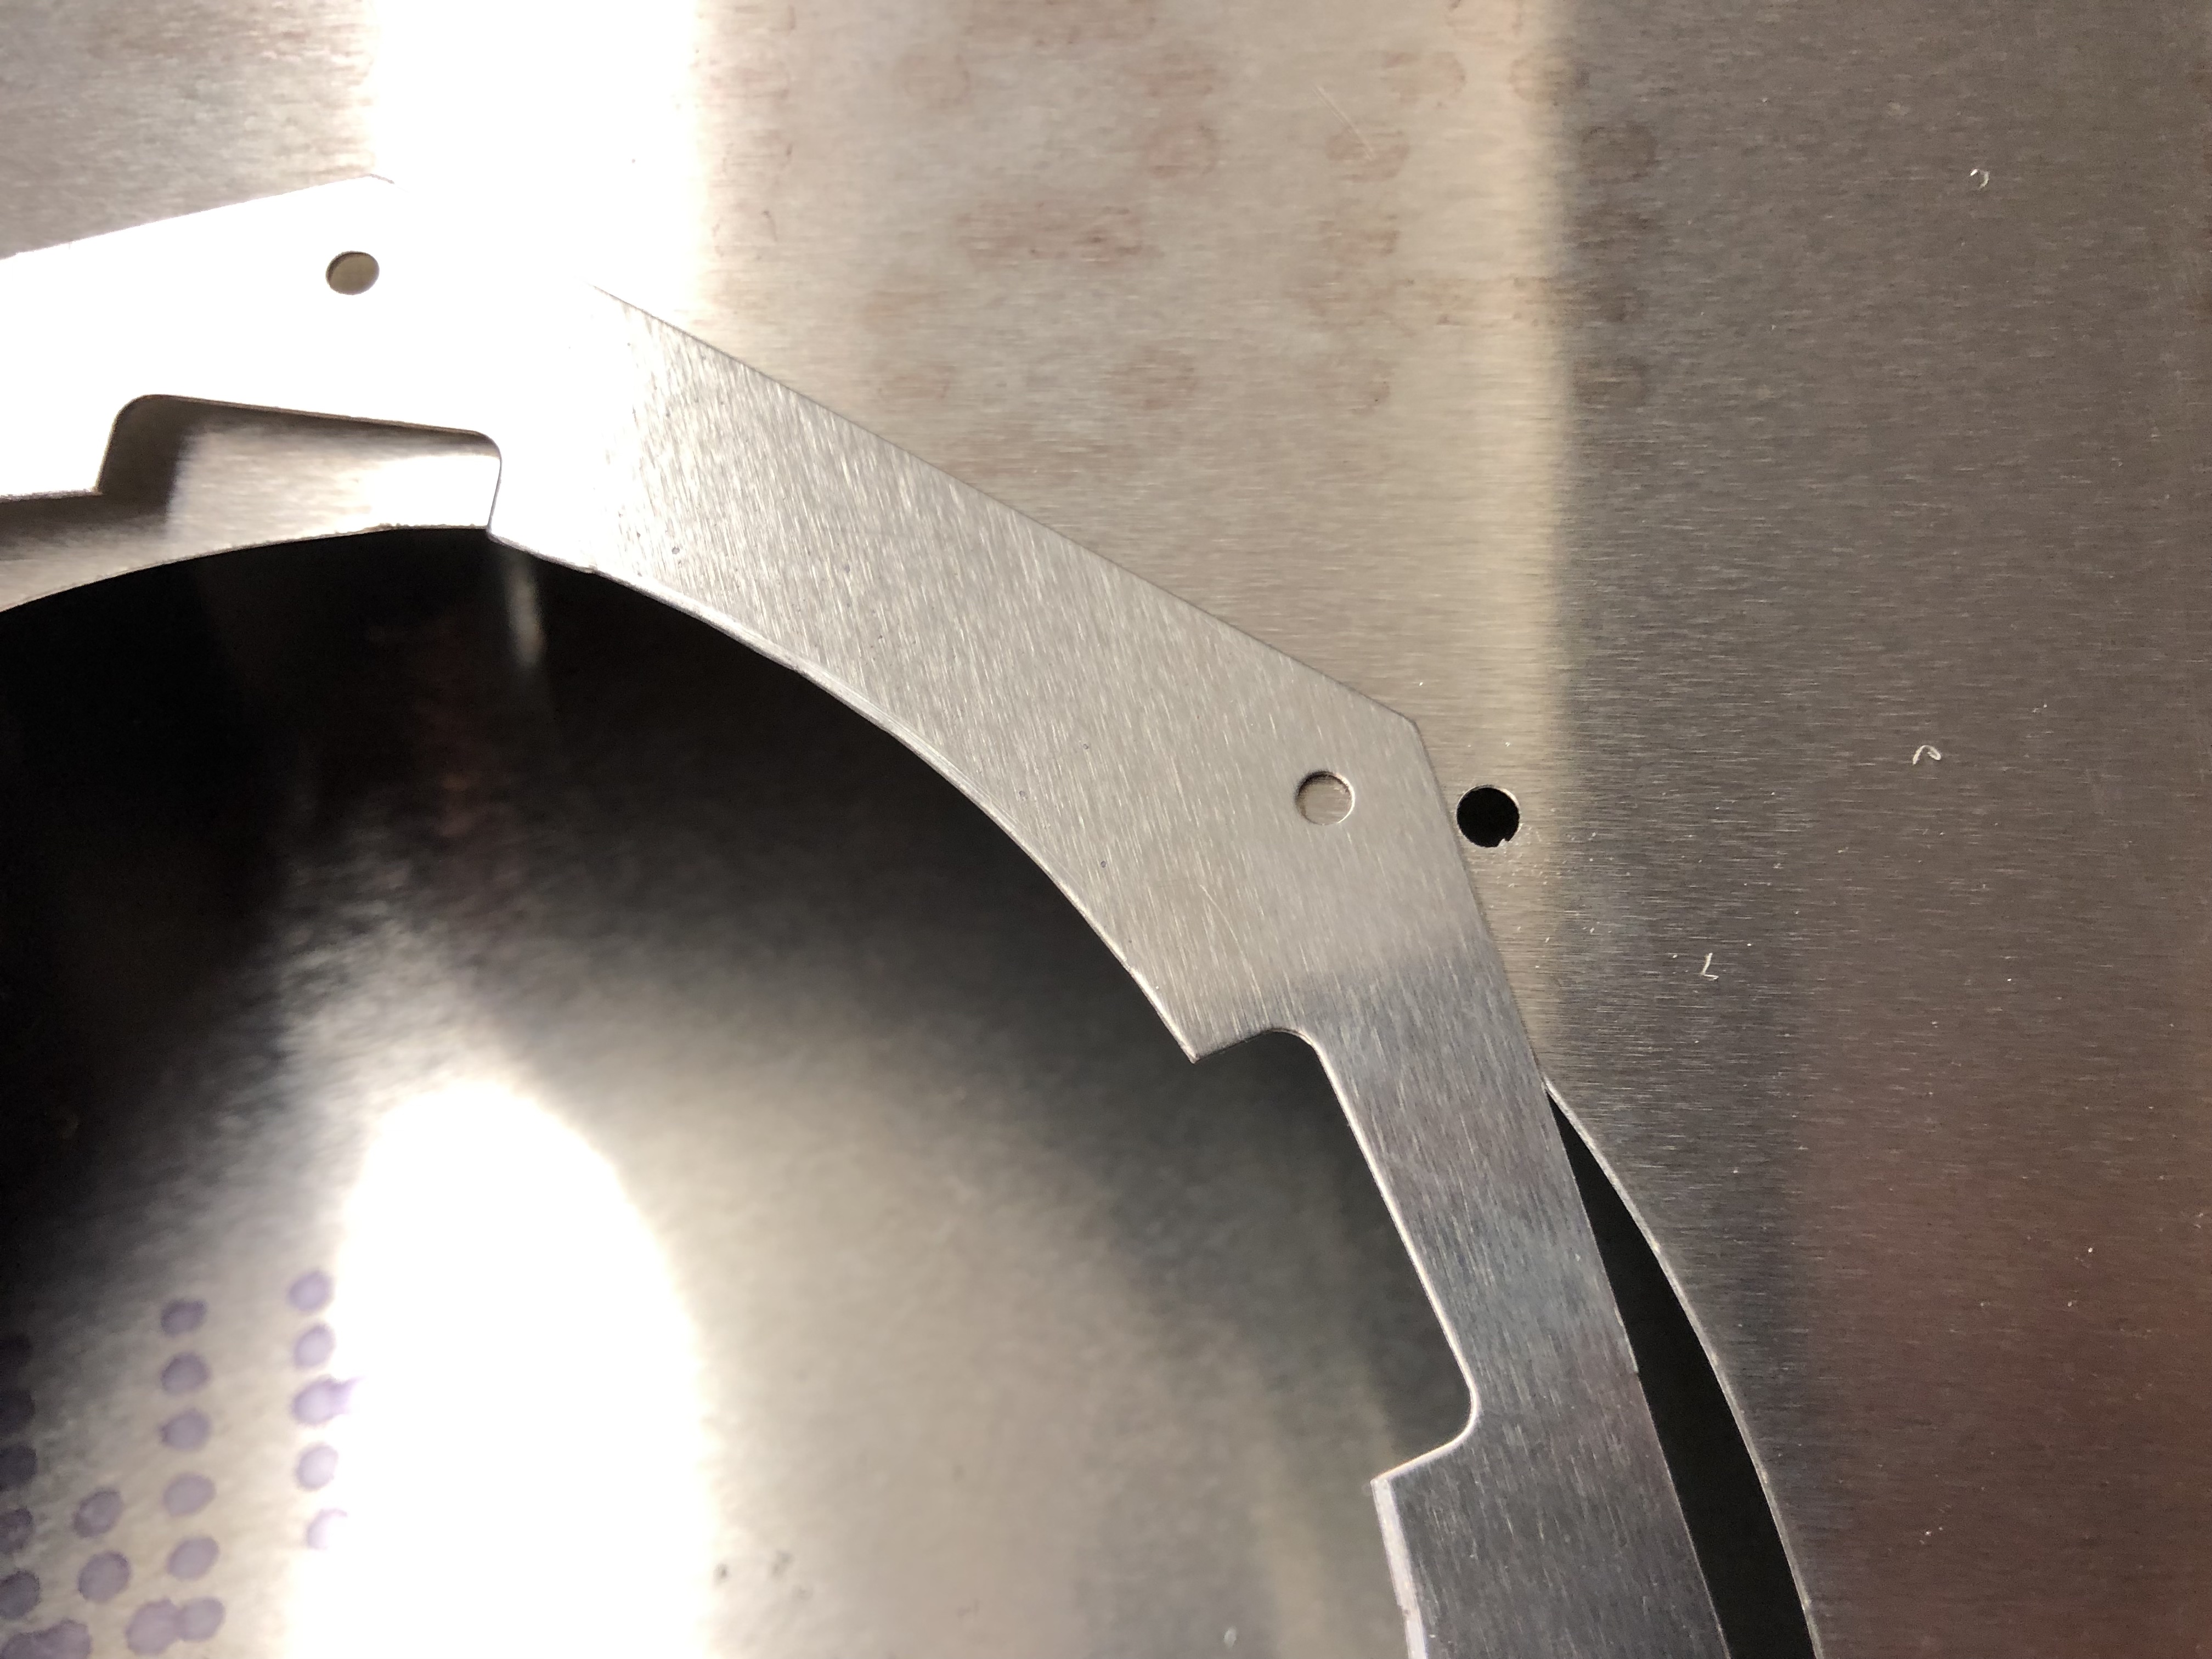
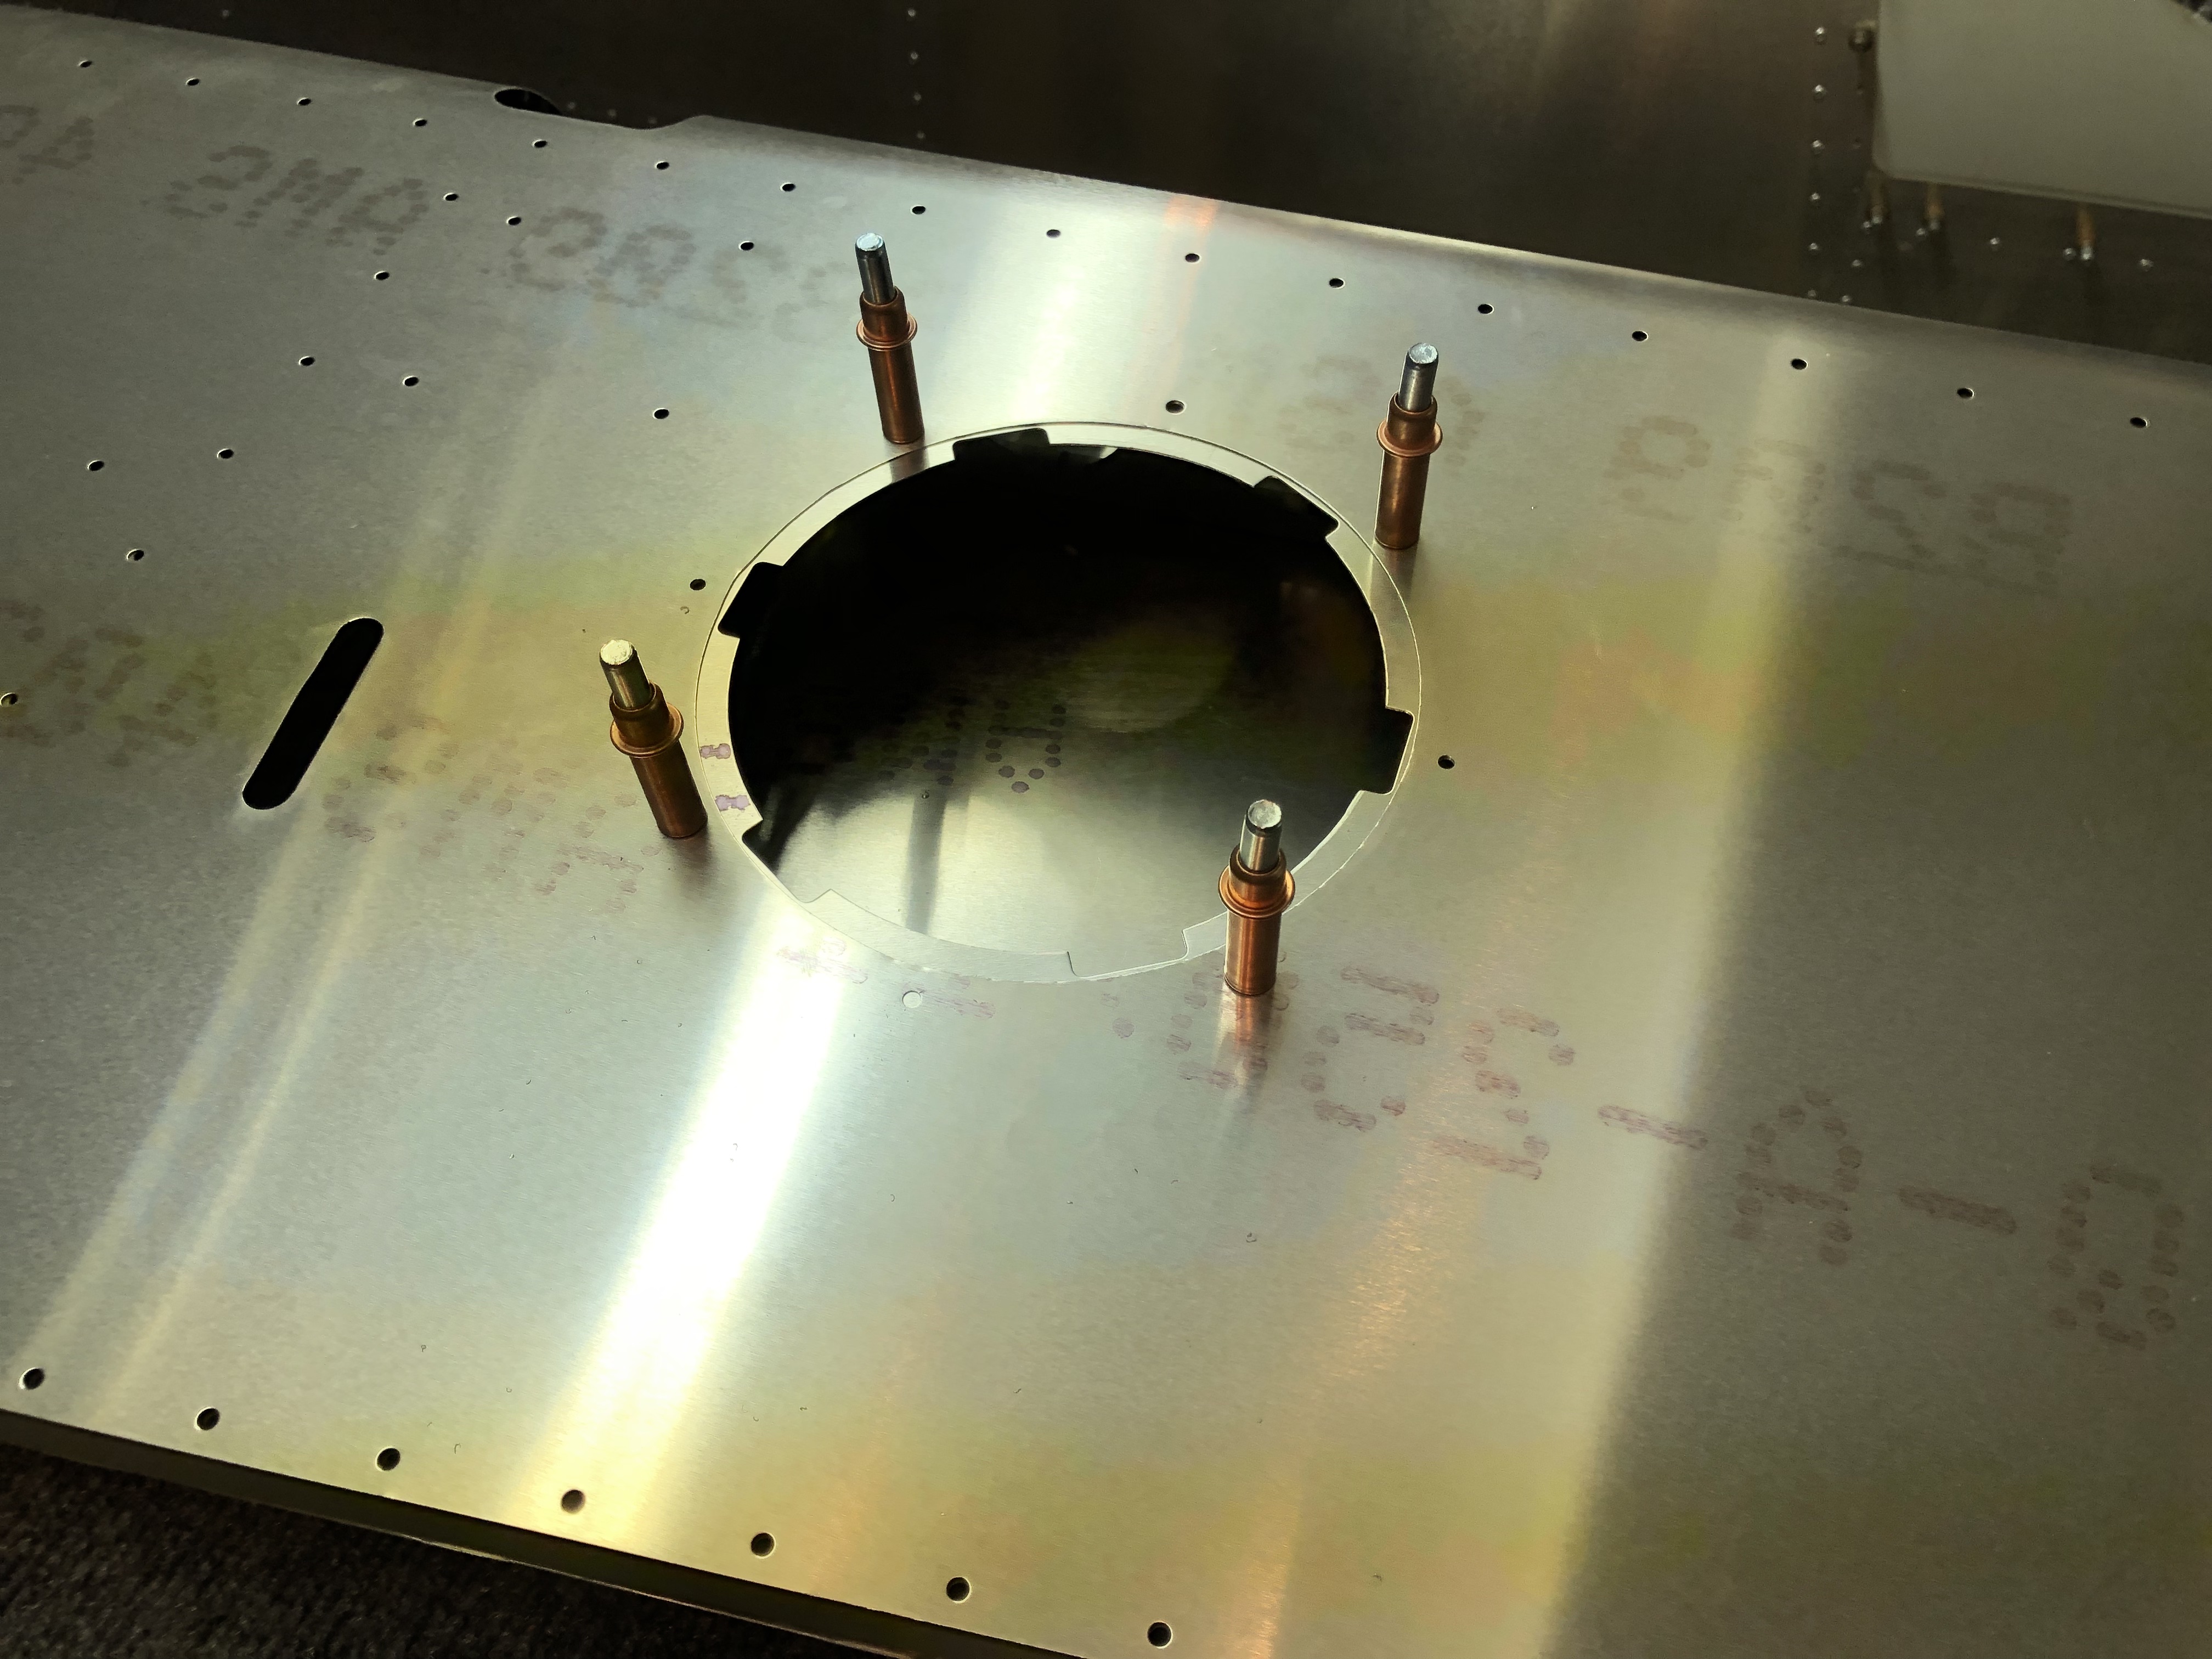
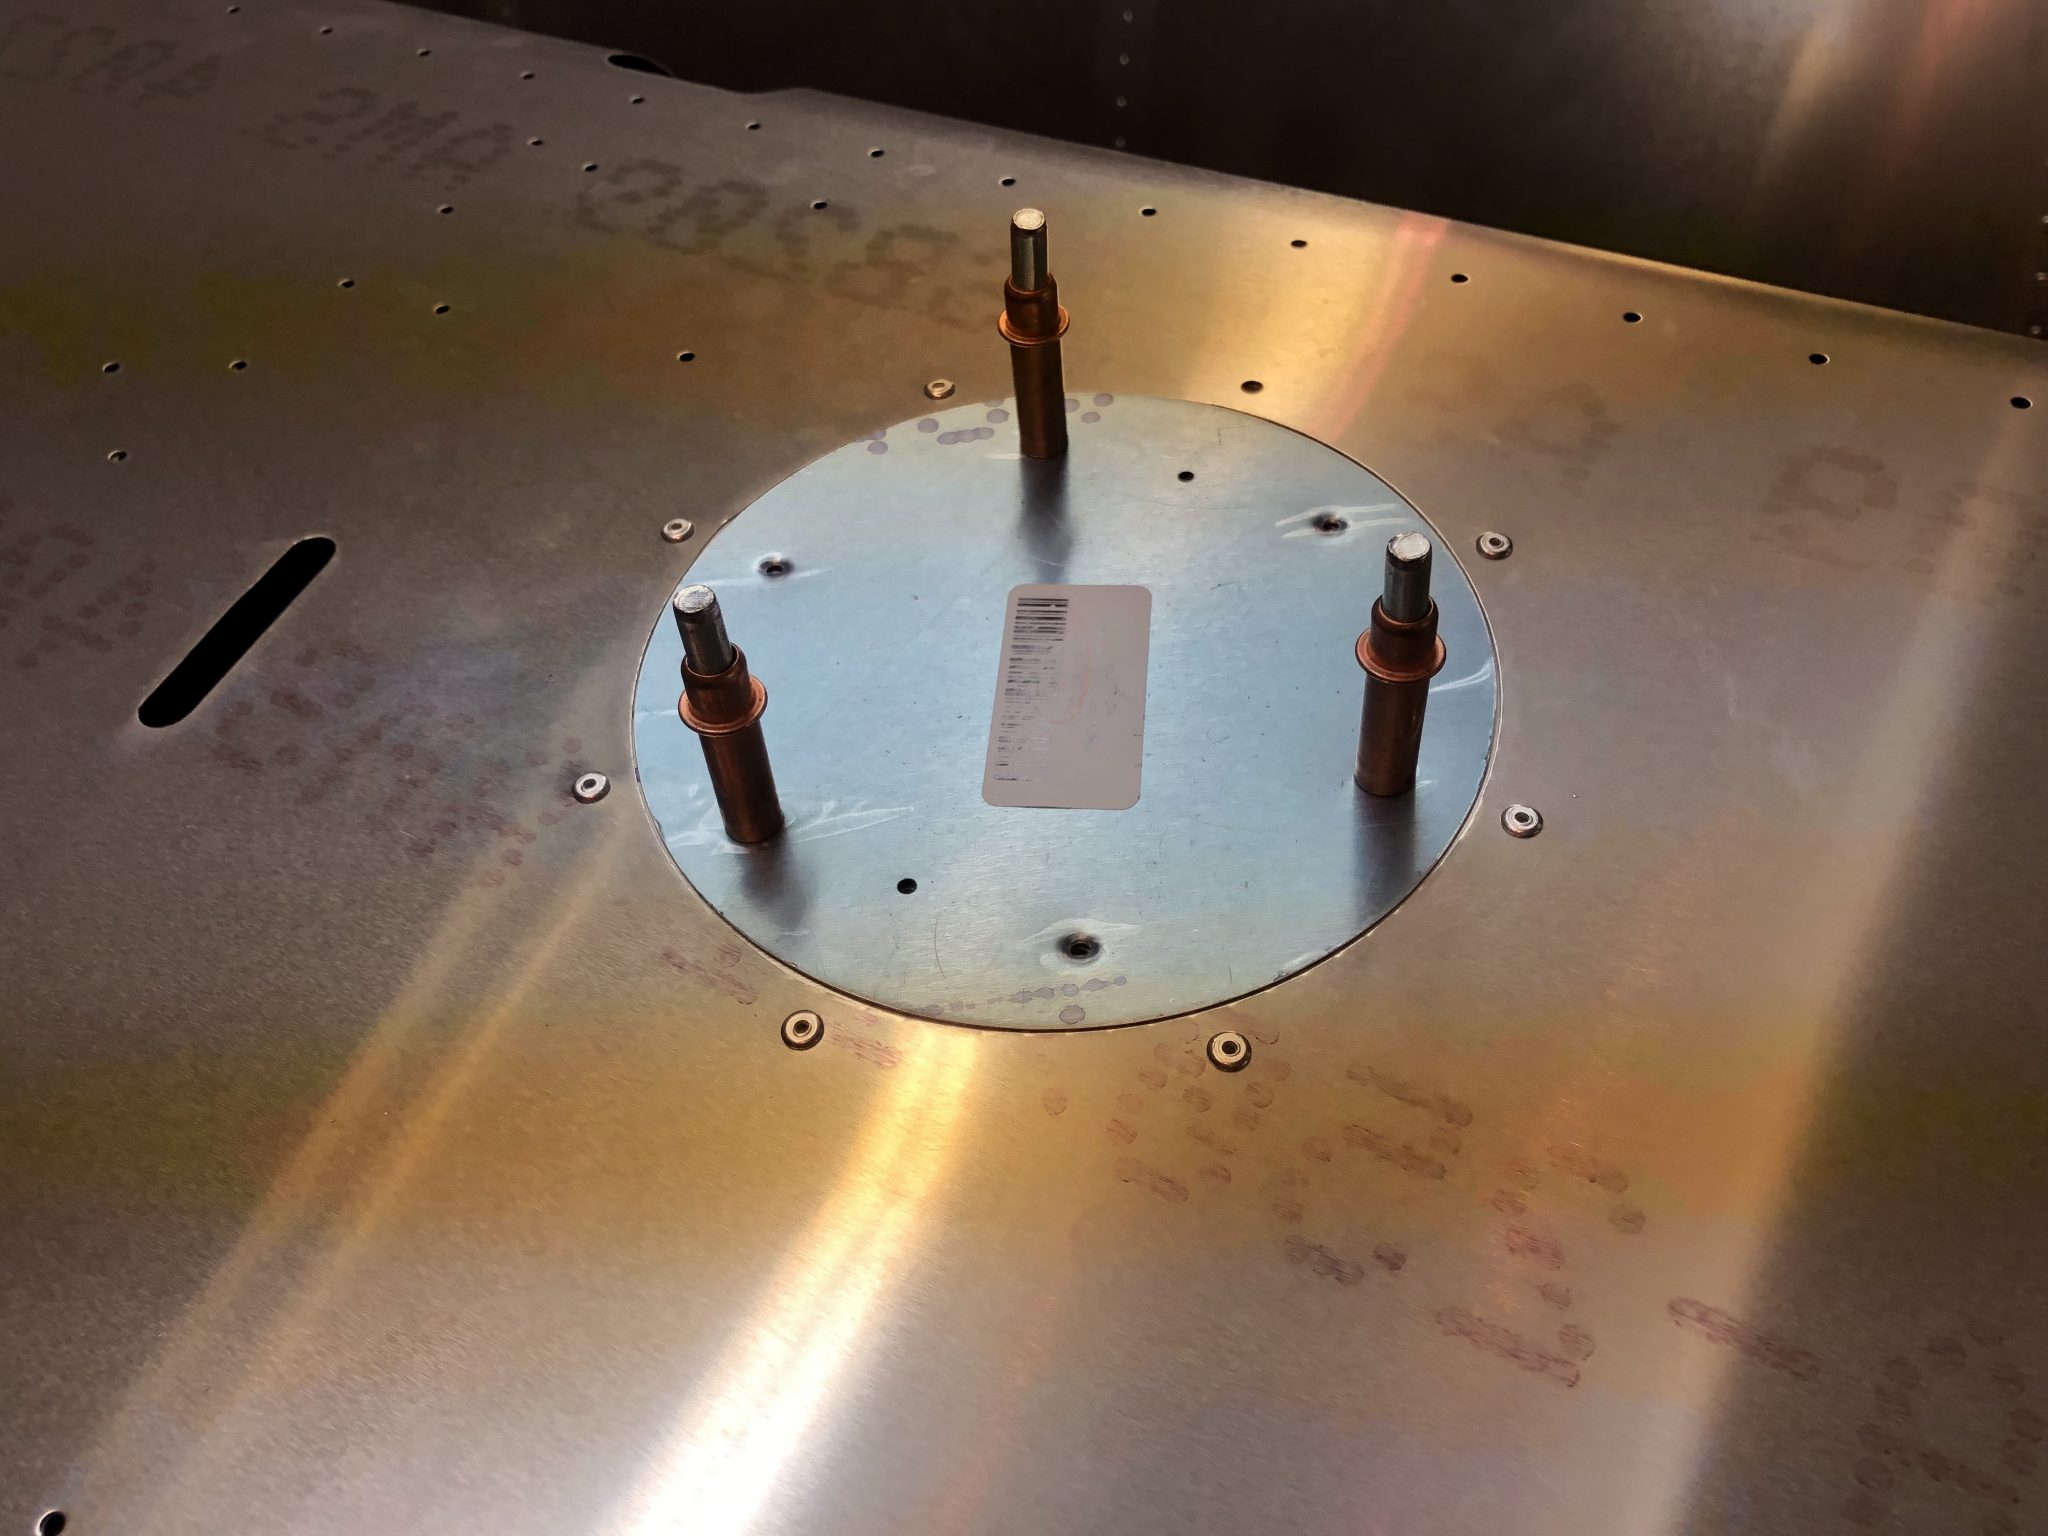
The last thing I had to do before I can start on closing up the skin is to install the backing plate for the Trim motor inspection plate. The plans call for 1/8 rivets, but the holes were actually 3/32, so I had to first up-drill them. There’s also another small error in the plan, in that it says to rivet all 8 holes, but actually only 7 should be riveted, since the top hole is for the screw that holds the inspection plate in place.
Pingback: Elevator Trim tab & left fiberglass tip fitting - Philip's Sling TSi Build Log