
Today I spent another hour on riveting the Horizontal Stabilizer to finish closing up the right side.
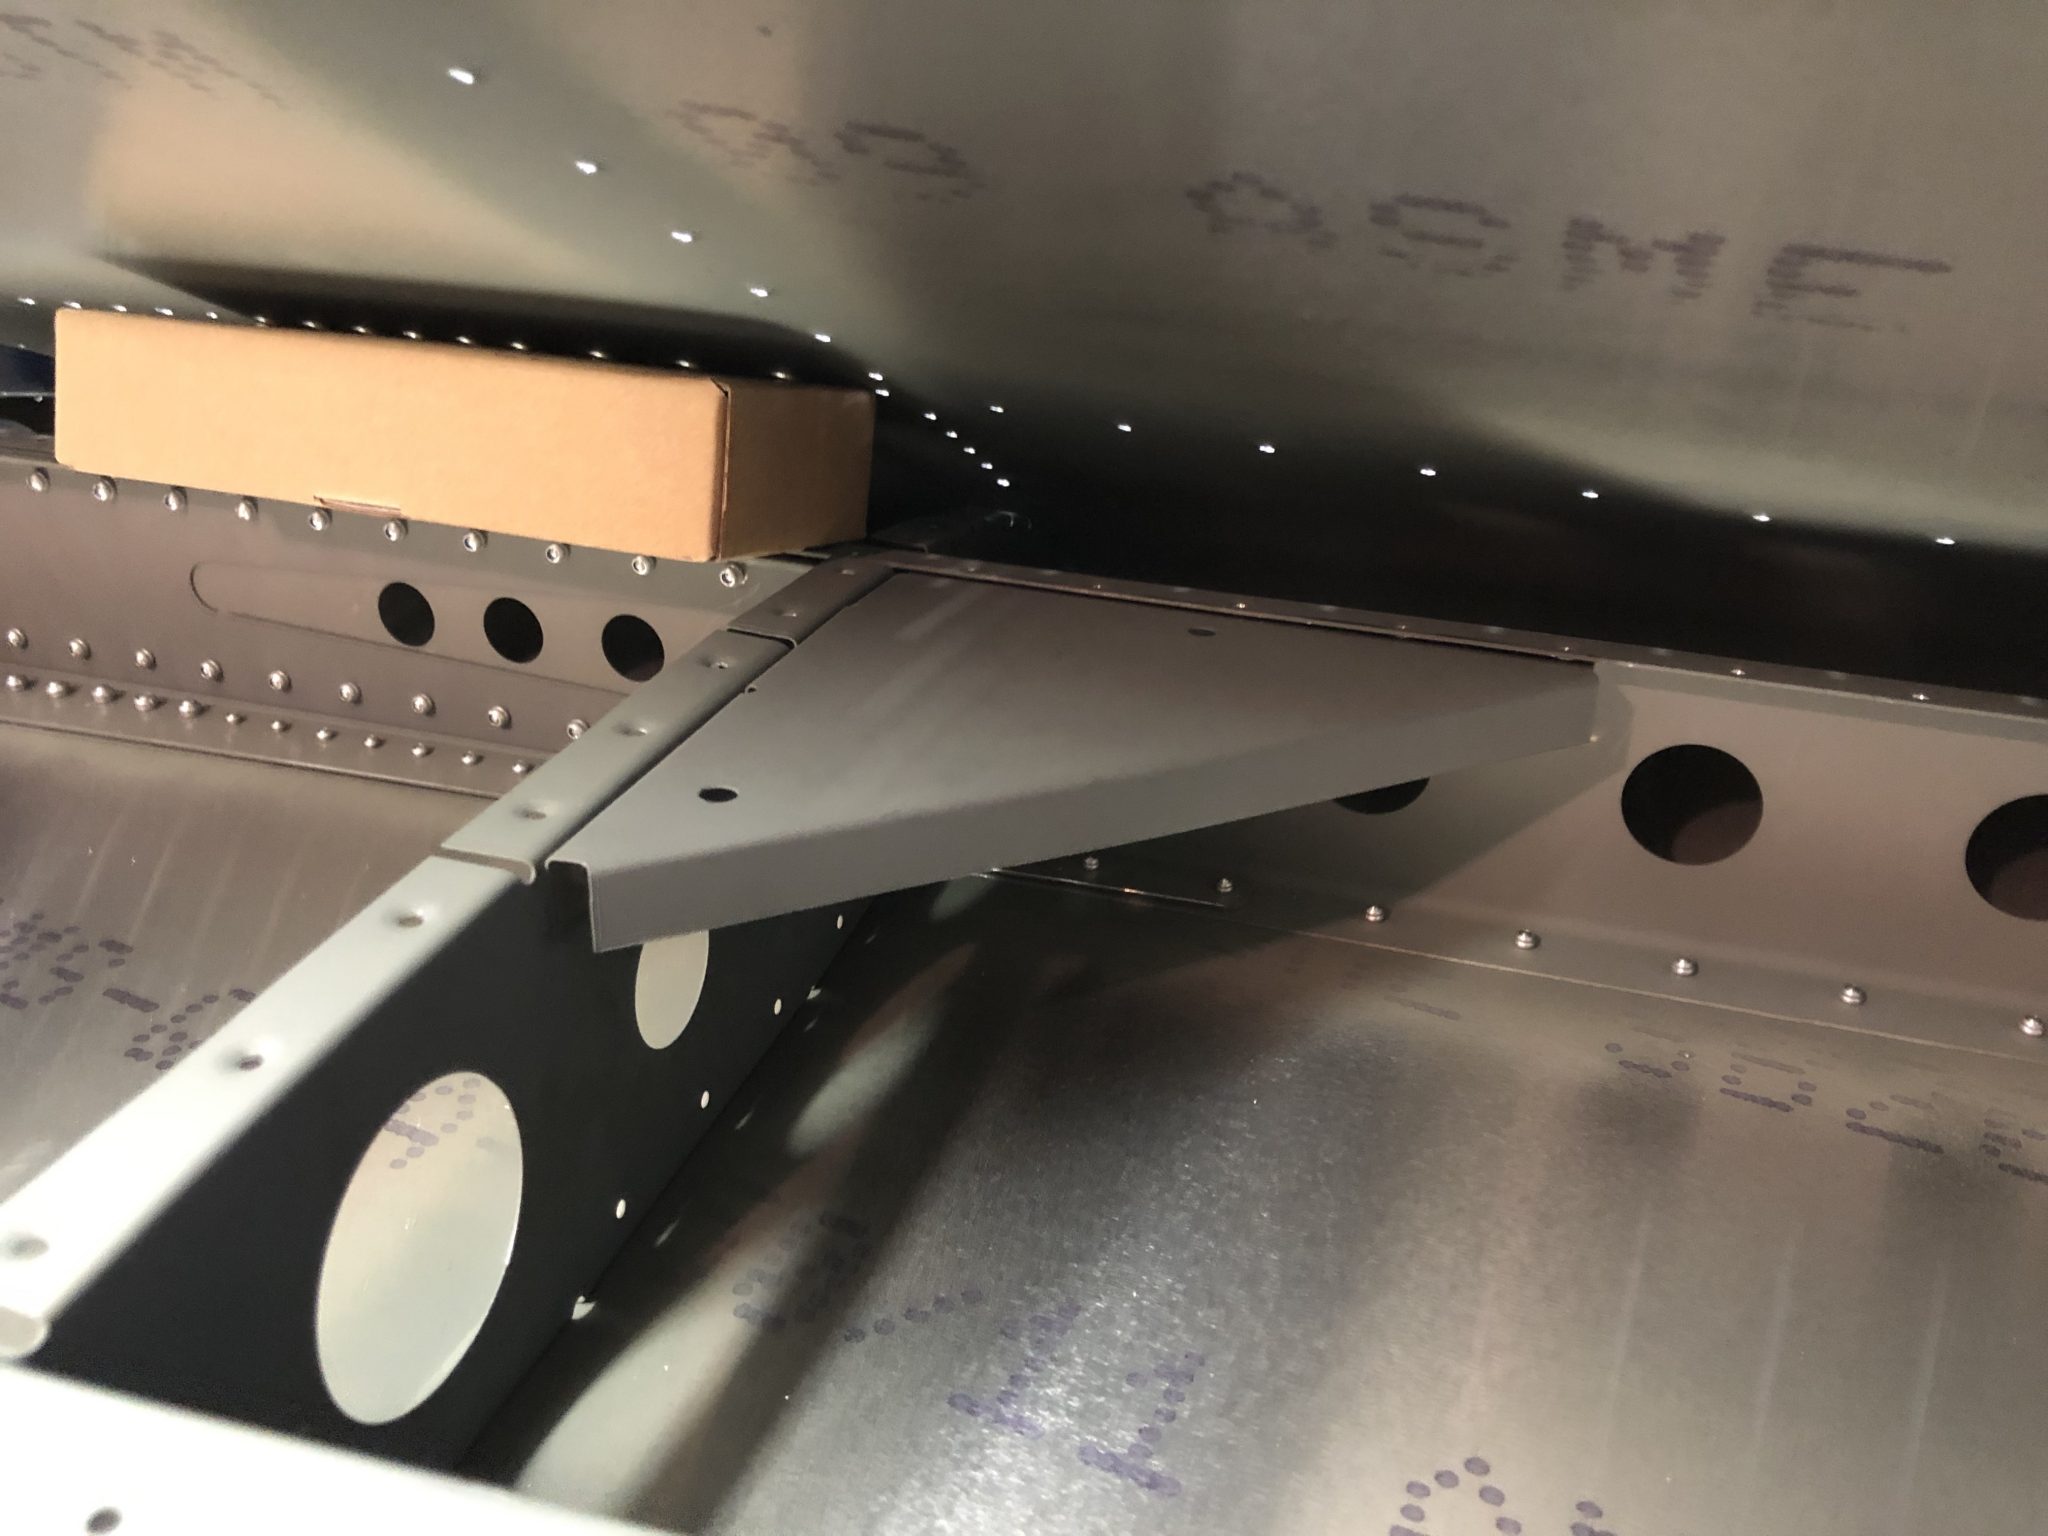
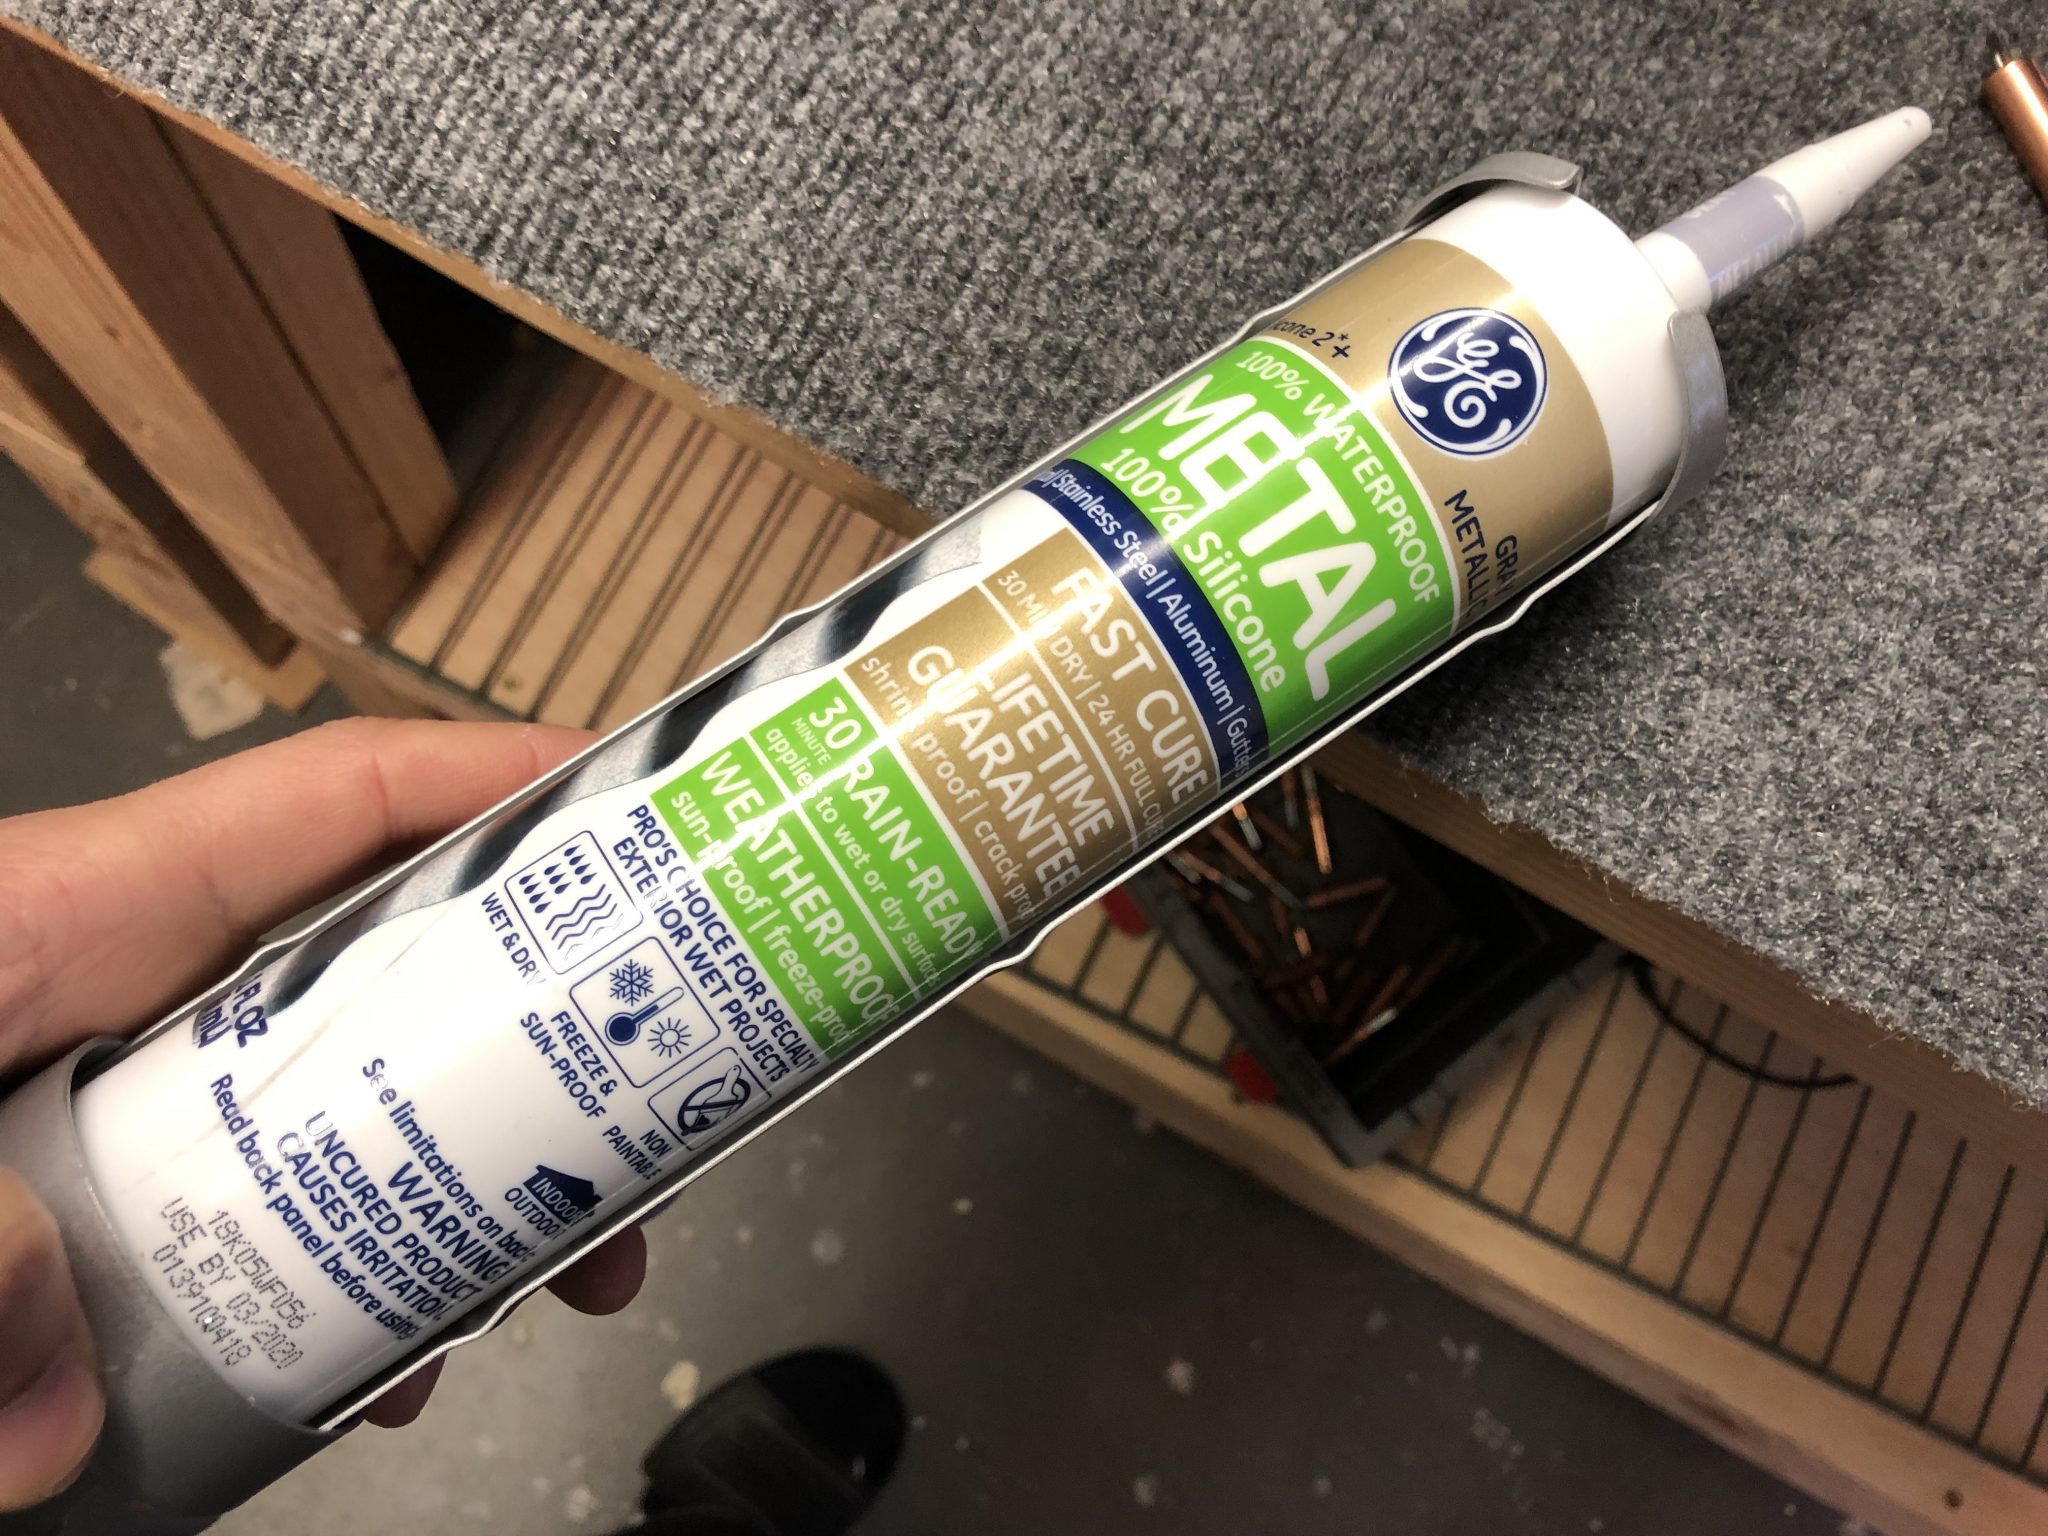
The top has a support plate as seen below to add some reinforcement to the skin. To prevent the large metal surfaces from rubbing, the instructions call for sealant to be added between the plate and the skin before closing it up. Luckily Matthew had already clarified with TAF what the right sealant to use is, GE5050 Metal Silicone, so I had it ready for a while.
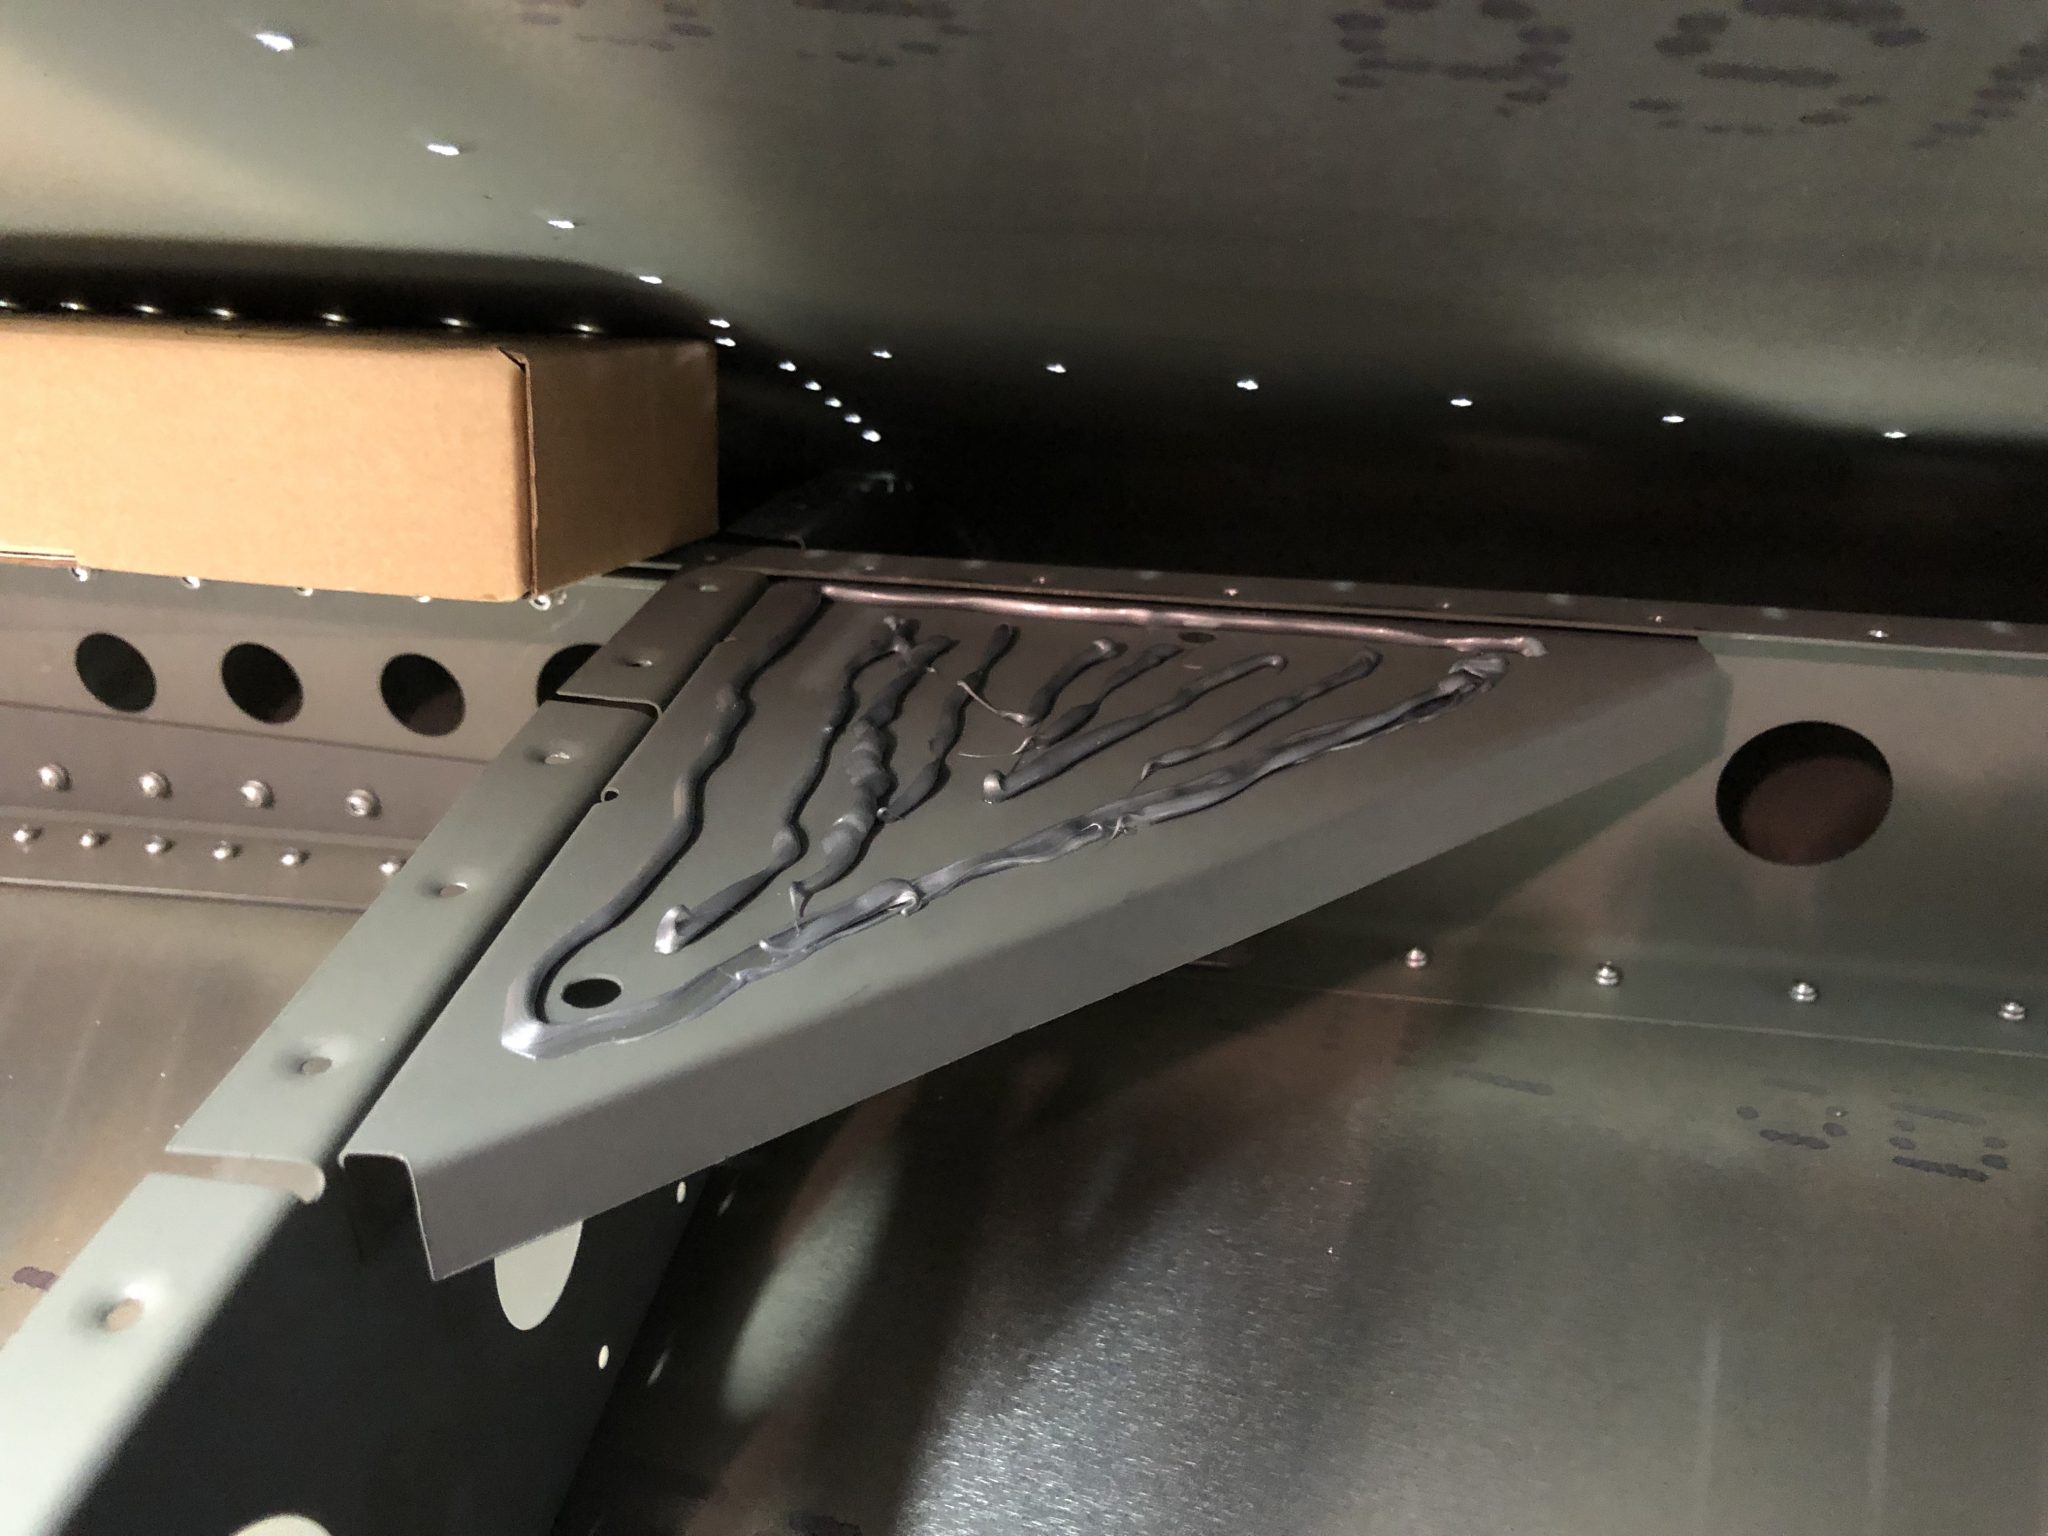
Once that was done, I closed it up one last time, ensuring a proper fit and the finished the riveting work.

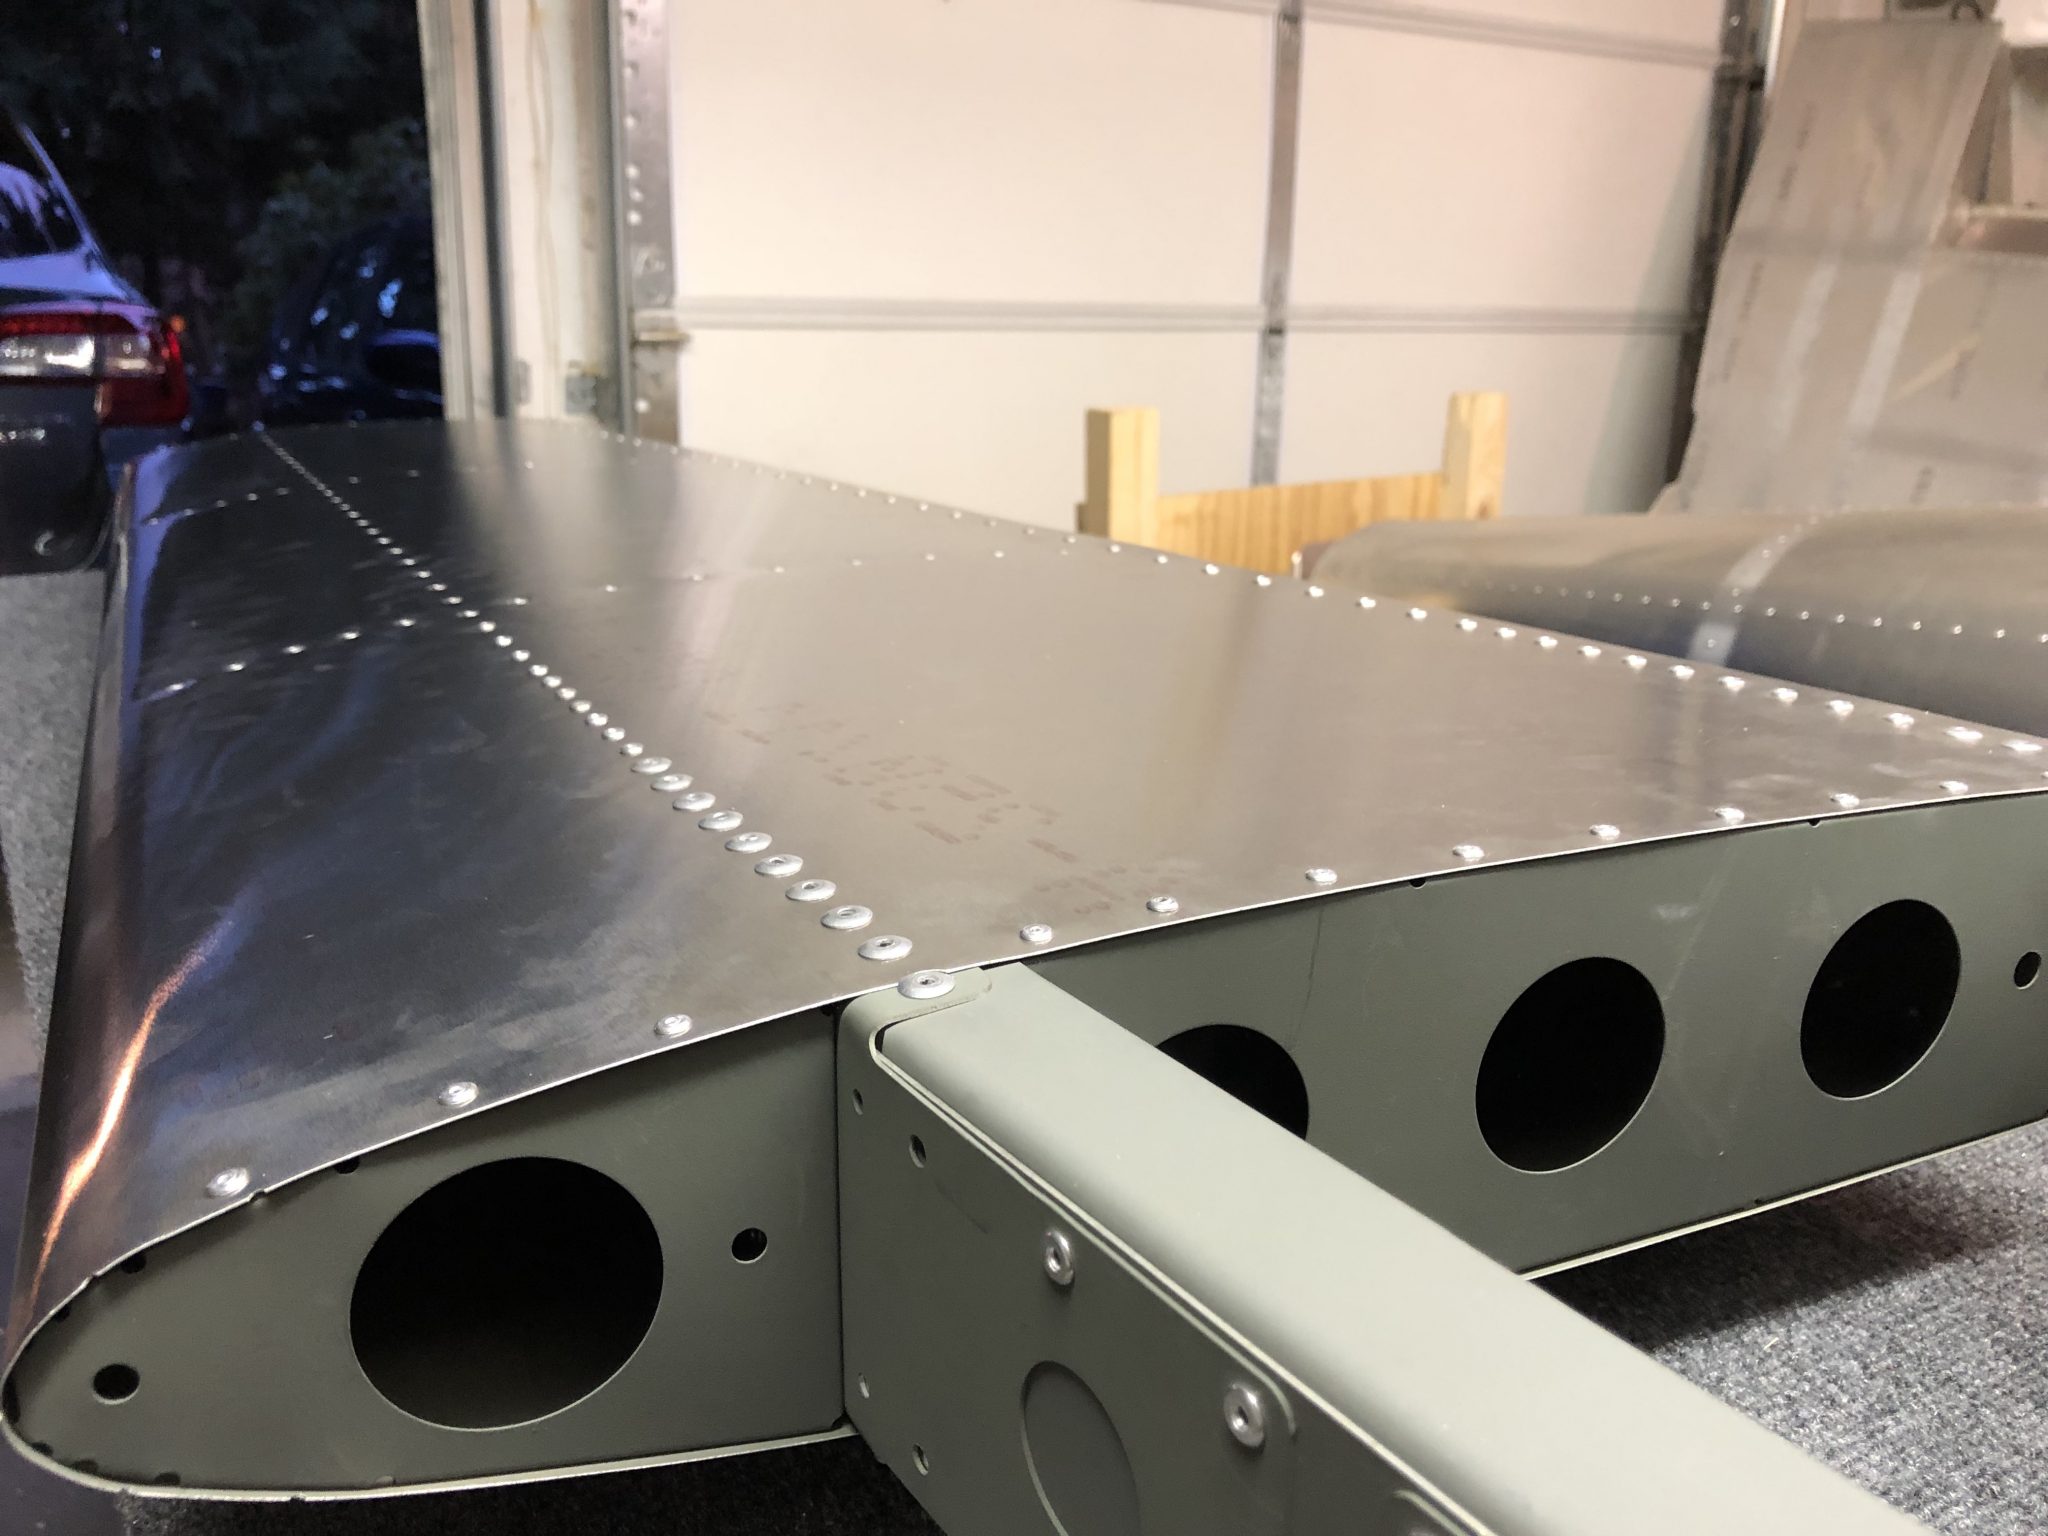
So now I’m done with the complete skin on the right side and just need to do the same thing on the left side, but I need to add one more dimple on that side that was missed, so I’m waiting for a dimpling tool to finish that, which should hopefully come in the new few days.
Hi, did the horizontal stab. come with the holes already dimpled?
Yes, the factory can dimple the Empennage parts before they ship it out. It’s an optional extra, but it saves you some time on the dimpling.
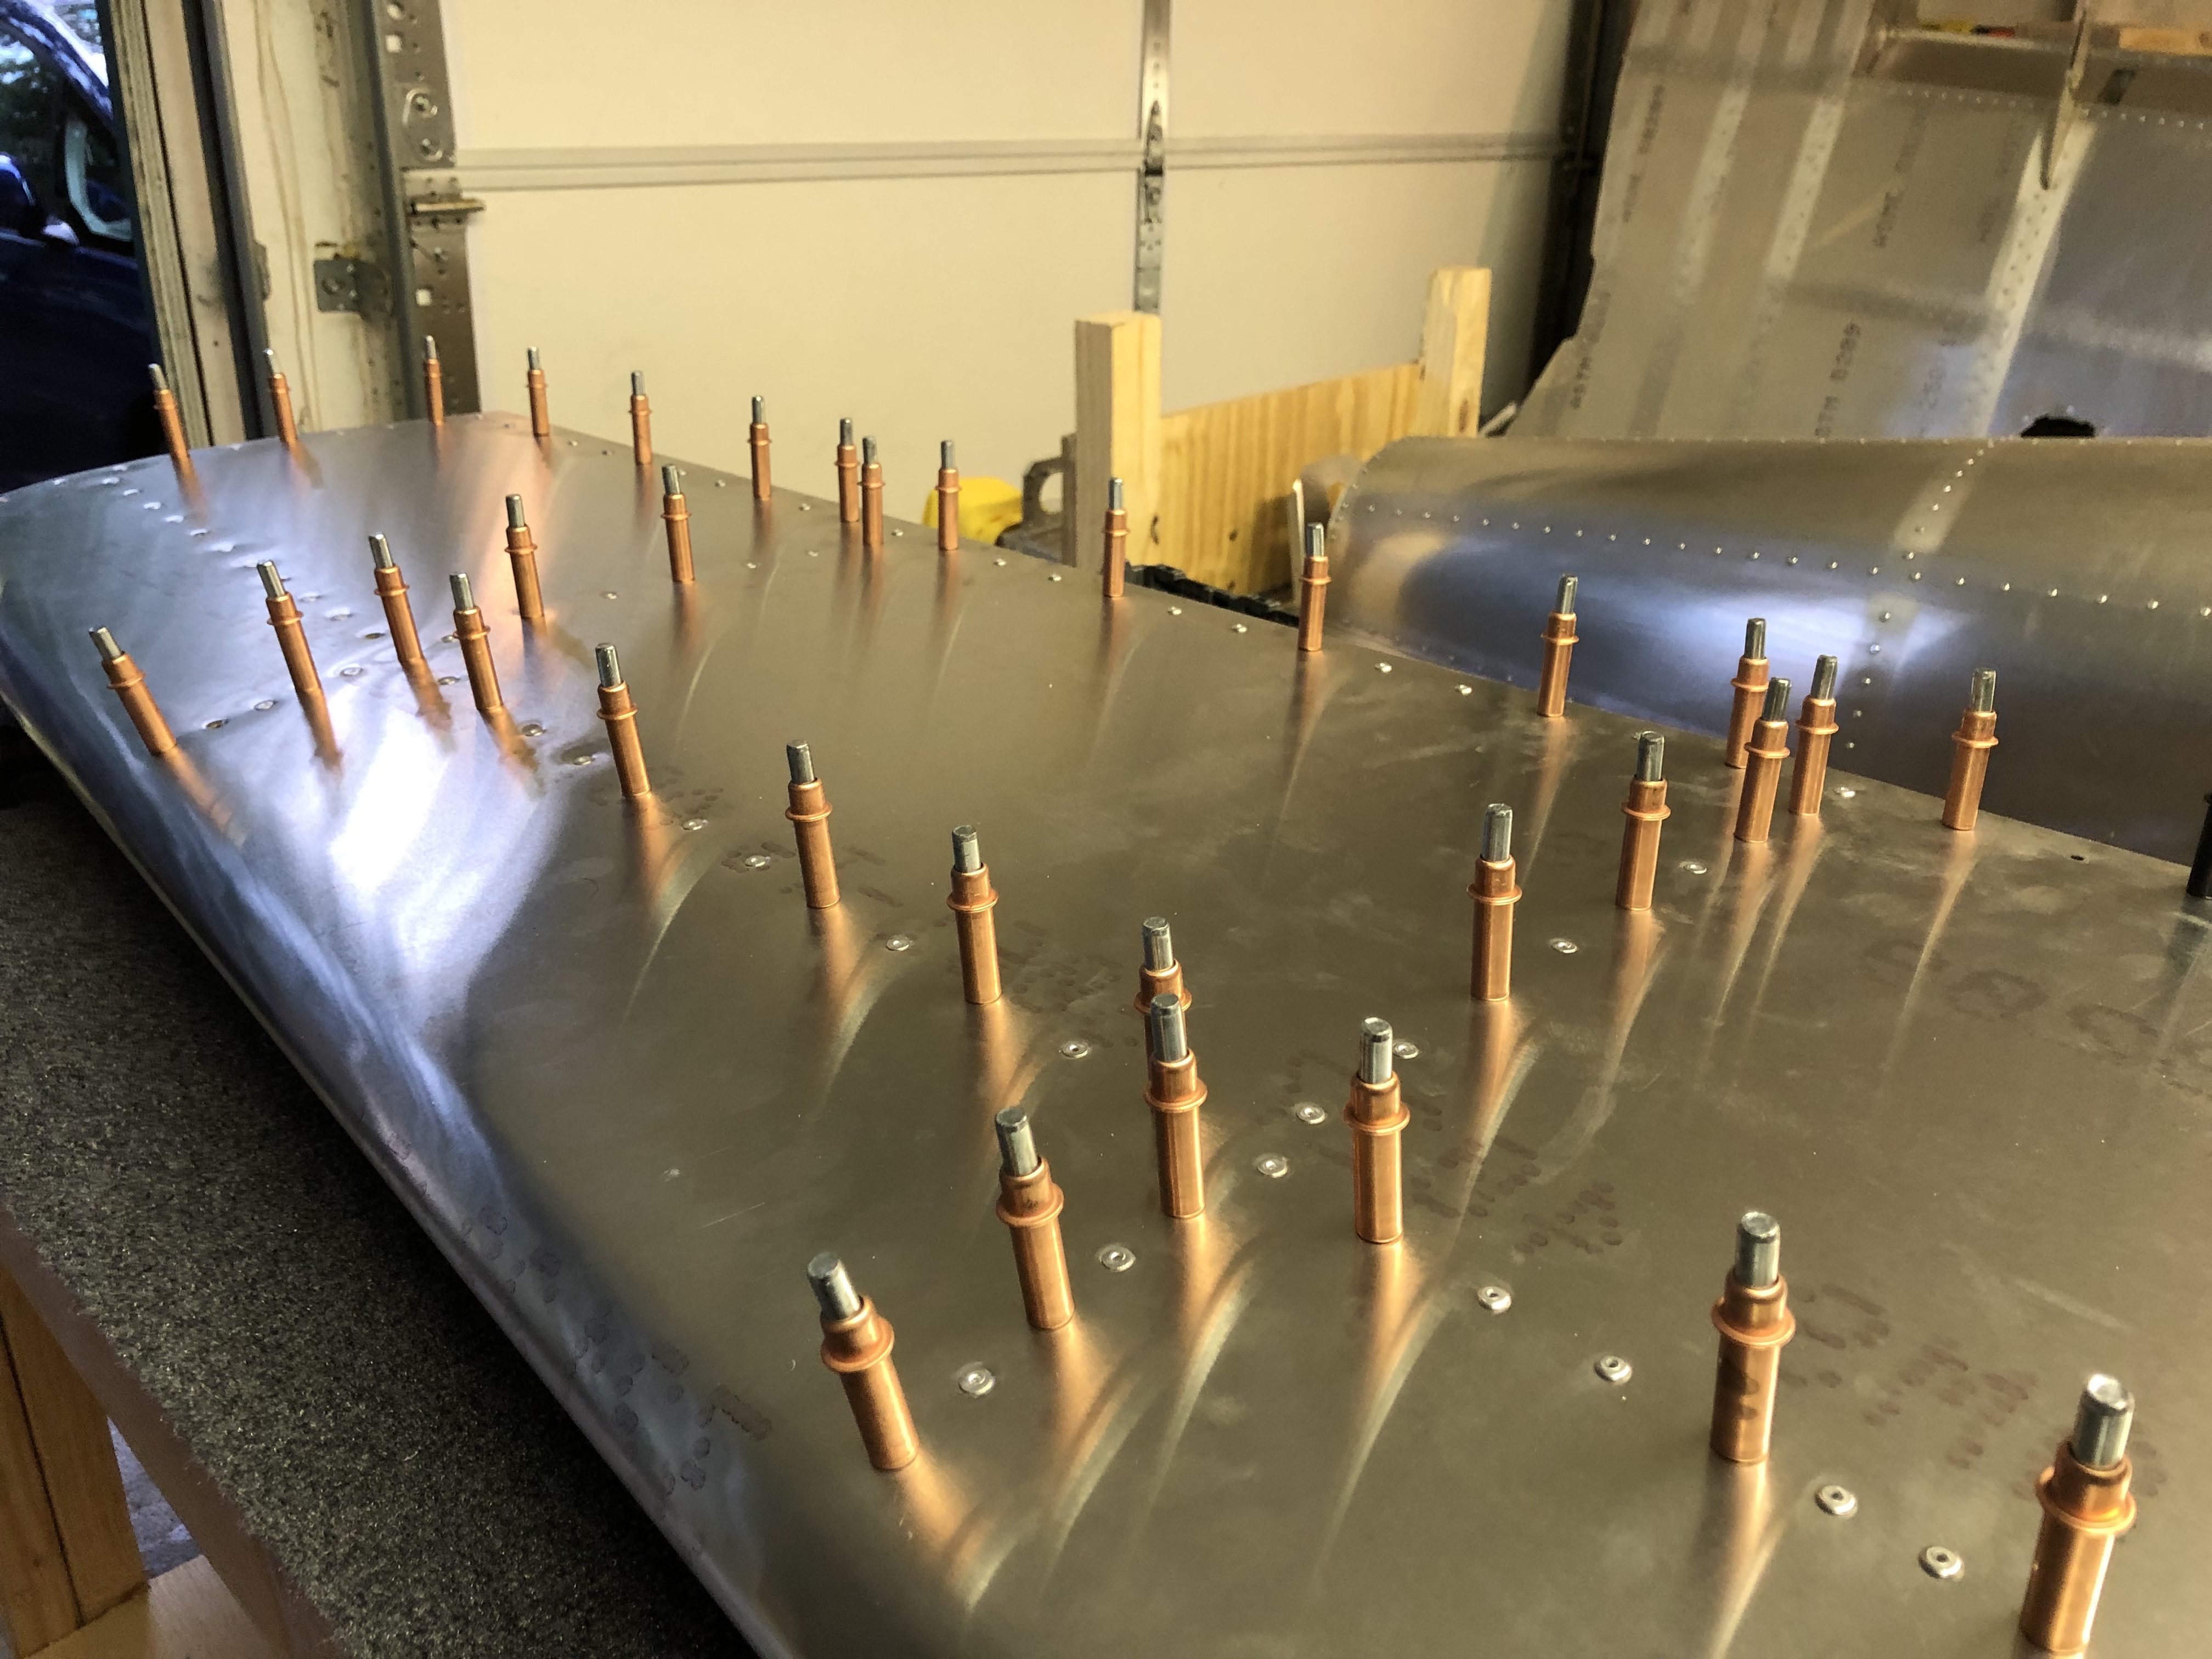
I still had to drill all the holes to the final size after mating the skins to the structure, as the dimples are smaller than the final size of the hole – this ensures best fit for the riveting, as per the instructions.
Pingback: Finished riveting the Horizontal Stabilizer skin - Philip's Sling TSi Build Log