This morning I had my first visit from my local EAA Chapter 84’s Technical Counselor to look over my build and give me some advice as part of EAA’s Technical Counselor program.
This was the first Sling kit for him and he was impressed by the quality of the kit, its completeness and the instruction plans. We looked over my completed parts of the Empennage and talked about wiring, avionics and things to look out for. He also gave me some good general advice and stressed the point of documenting, particularly around wiring, since many years down the line there’s nothing worse than finding a wire and not knowing what it is for exactly, so he was happy to see my label maker and my active use of it.
We filled out the visit report and agreed to meet again after I’m further into the build and working on the interior of the Fuselage.
Vertical Stabilizer wiring
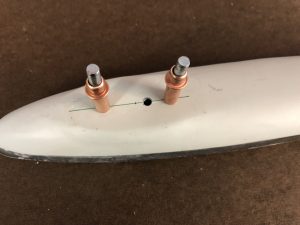
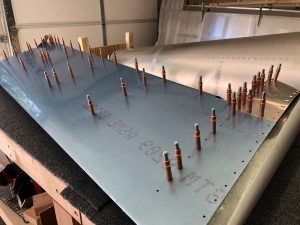
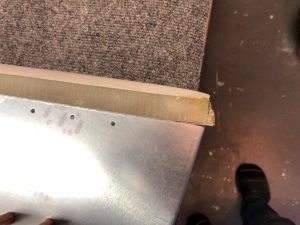
Now, back to building. As I finished the match drilling of the dimpled holes the other day, I had to dimple the hole that was missing a dimple, so I got out my modified hand dimpling tool and quickly did that dimple.
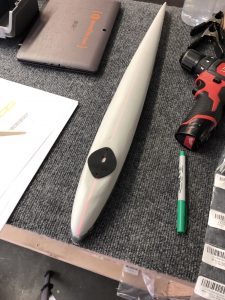
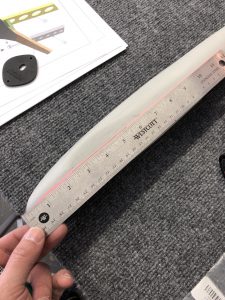
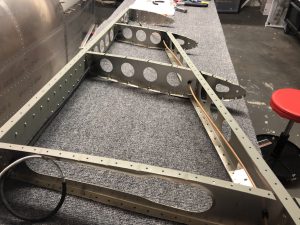
After that I worked on finishing the wiring the run through the Vertical Stabilizer for both the Anti-collision light on the Rudder, as well as the NAV Antenna.
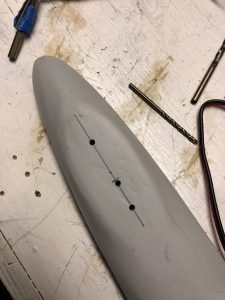
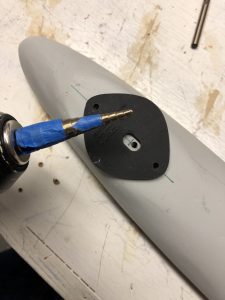
First I had to make another hole to run the Antenna wire through the top rib since the factory plans assume that you either install the light or the Antenna, but not both. I marked the hole location using the center punch, then drilled a pilot hole and then used my step-drill bit to up-drill the hole to the right location for the snap bushing to go in.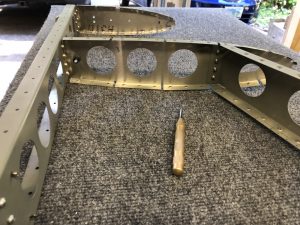
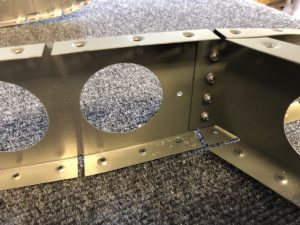
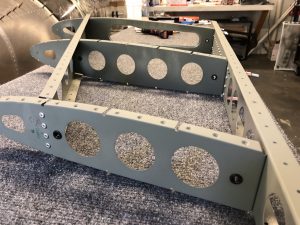
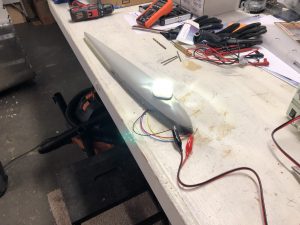
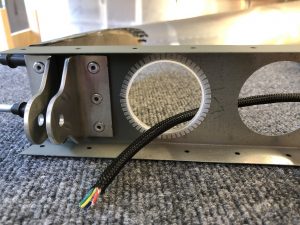
After that was done, I wrapped the wire for the light in some braided sleeving for some extra protection and then ran it through the rear holes. I also installed some flexible edge protection for the hole where the wire will meet the wire from the Rudder.
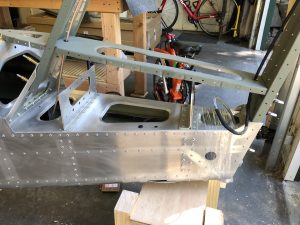
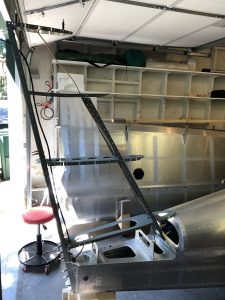
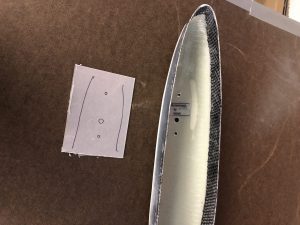
Quick test fit on the Fuselage
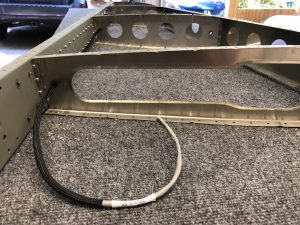
I then quickly measured out the length of the Antenna wire to install in the Vertical Stabilizer, cut it to size and ran it through the front holes. After I was done with that, I wanted to do a quick test fit of the Vertical Stabilizer Structure on the Fuselage to see where the holes would pass through.
Antenna Coax wiring
Once that was figured out, I moved on and did my first crimped coax connection. After a tip I saw on the homebuiltHELP channel, I bought this rotary coax stripper, which strips both the front, as well as the braided shielding in one go.
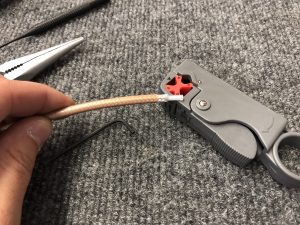
Before it was ready to use I had to do some adjustments for the lengths and depths for the cut, so I took it apart, while following the instructions and then moved the blade as needed. I’m using the SteinAir BNC Connectors, so I had to move the blade that exposes the outer shielding back by one position to the point marked E and the inner blade on mark B.
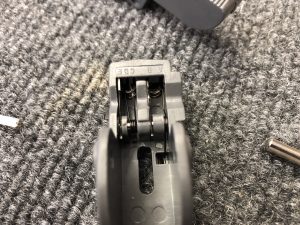
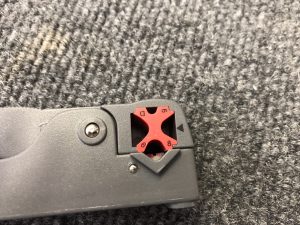
Then I adjusted the blade depth using the screws on the bottom and did a few test cuts to make sure the results are repeatable. I then put some light strength thread locker on the screws so they stay in position so I can now just use it without any further adjustments needed.
After that I did a quick test crimp of a connector to the small piece of wiring I used to calibrate the wire stripper, following the instructions from SteinAir.
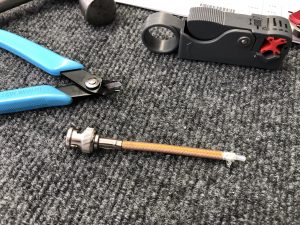
Looked all good, so I repeated everything on the actual wire for the Vertical Stabilizer.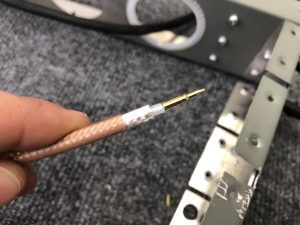
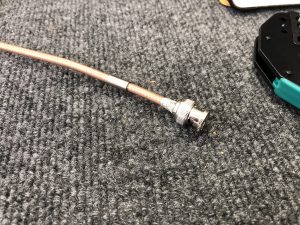
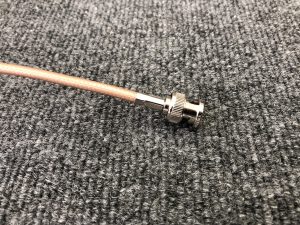
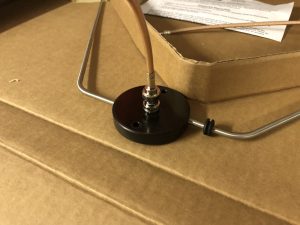
With all that done, I installed the wire in the Vertical Stabilizer and now I’m ready to install the Antenna and close up the skin.
Interesting side note on coax wiring and the use of a balun
One other interesting thing I learned while doing this – I tested the wire I crimped for continuity to make sure there are no problems with the wire itself by checking (lack of) continuity between the shielding and the center core. This was all good, so my crimp is good.
After attaching the wire to the Antenna however, I figured I’d also check it with the wire attached to the Antenna and had a brief moment of confusion when I did get a positive continuity readying between the core and the outside. So I did some digging and found out that the use of a balun (in my case with the Rami AV-525, it is an internal balun) can create a DC short and thus will produce a continuous reading using a Voltmeter.

