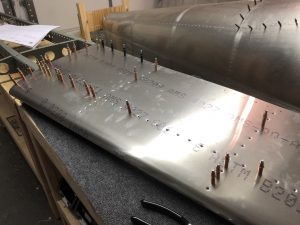
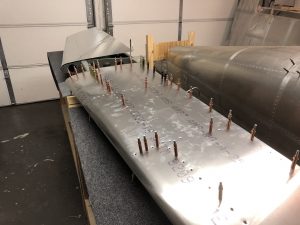
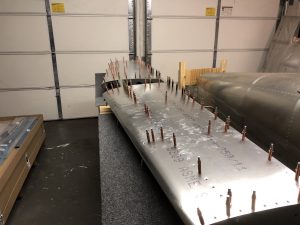
Today I was working on fitting the skin onto the Horizontal Stabilizer. It took a lot of clecos to align everything, but eventually it all came together well on both sides. The next step will be to match-drill up the dimpled holes as per the instructions.
The design for the dimples is such that the holes are drilled slightly smaller than the final size. Then they get dimpled and then you assemble everything to fit it together and finally match-drill up the dimpled holes to the final size.
I will post another timelapse video of the whole process once I’m done with the drilling and riveting.
Countersinking experiment
Why it’s important to use a 120 degree countersink pilot for pull rivets
Another thing I recently did was do a small experiment to showcase the reason to use the correct 120 degree countersinking pilot for the countersinking holes that are not dimpled due to the thickness or type of the part (such as the fiberglass tips), after we had a thread about dimpling and countersinking it on the Sling Builders discussion group.
Normal AN style solid aviation rivets are 100 degrees, so most countersinking tools sold by aviation tool supplies by default come with 100 degree countersinking pilots, but blind pull rivets like those used in the Sling are 120 degree, so hence the need to use a 120 degree pilot to get the best fit.
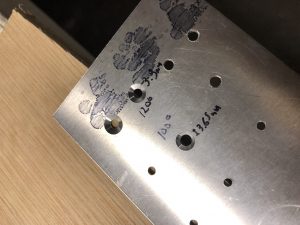
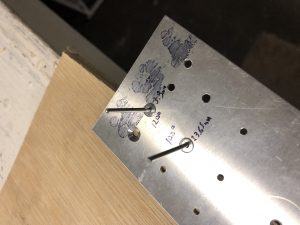
To showcase the why that is so important, I drilled some holes in a 0.04 inch piece of metal (which is the thickness where you start to countersink instead of dimple) and used the 100 degree pilot on one hole and the 120 degree pilot on another. The goal was to insert the same countersunk rivet (which has a 120 degree slant) used for the Sling in both and have it sit flush.
In order to get a flush fit with the metal using the rivet, the 100 degree countersunk had the be deeper. This in turn results in a larger hole and thus wouldn’t have as much material to grip onto. As can be seen below, the 120 degree countersink resulted in about 3.3 mm hole, while the 100 degree resulted in a much larger 3.65 mm hole.
So the moral of the story, make sure you use the correct countersinking pilot when working with pull rivets. I’ve created a separate page on drilling, rivet sizing and countersinking as a quick reference for myself and figured it might be useful for others.

