
When we took inventory of the Empennage kit, we thought we were missing some parts of the Elevator and so I decided to start with the Horizontal Stabilizer instead, but as it turned out after double checking again, the parts were just hiding inside a channel.
Parts Prep
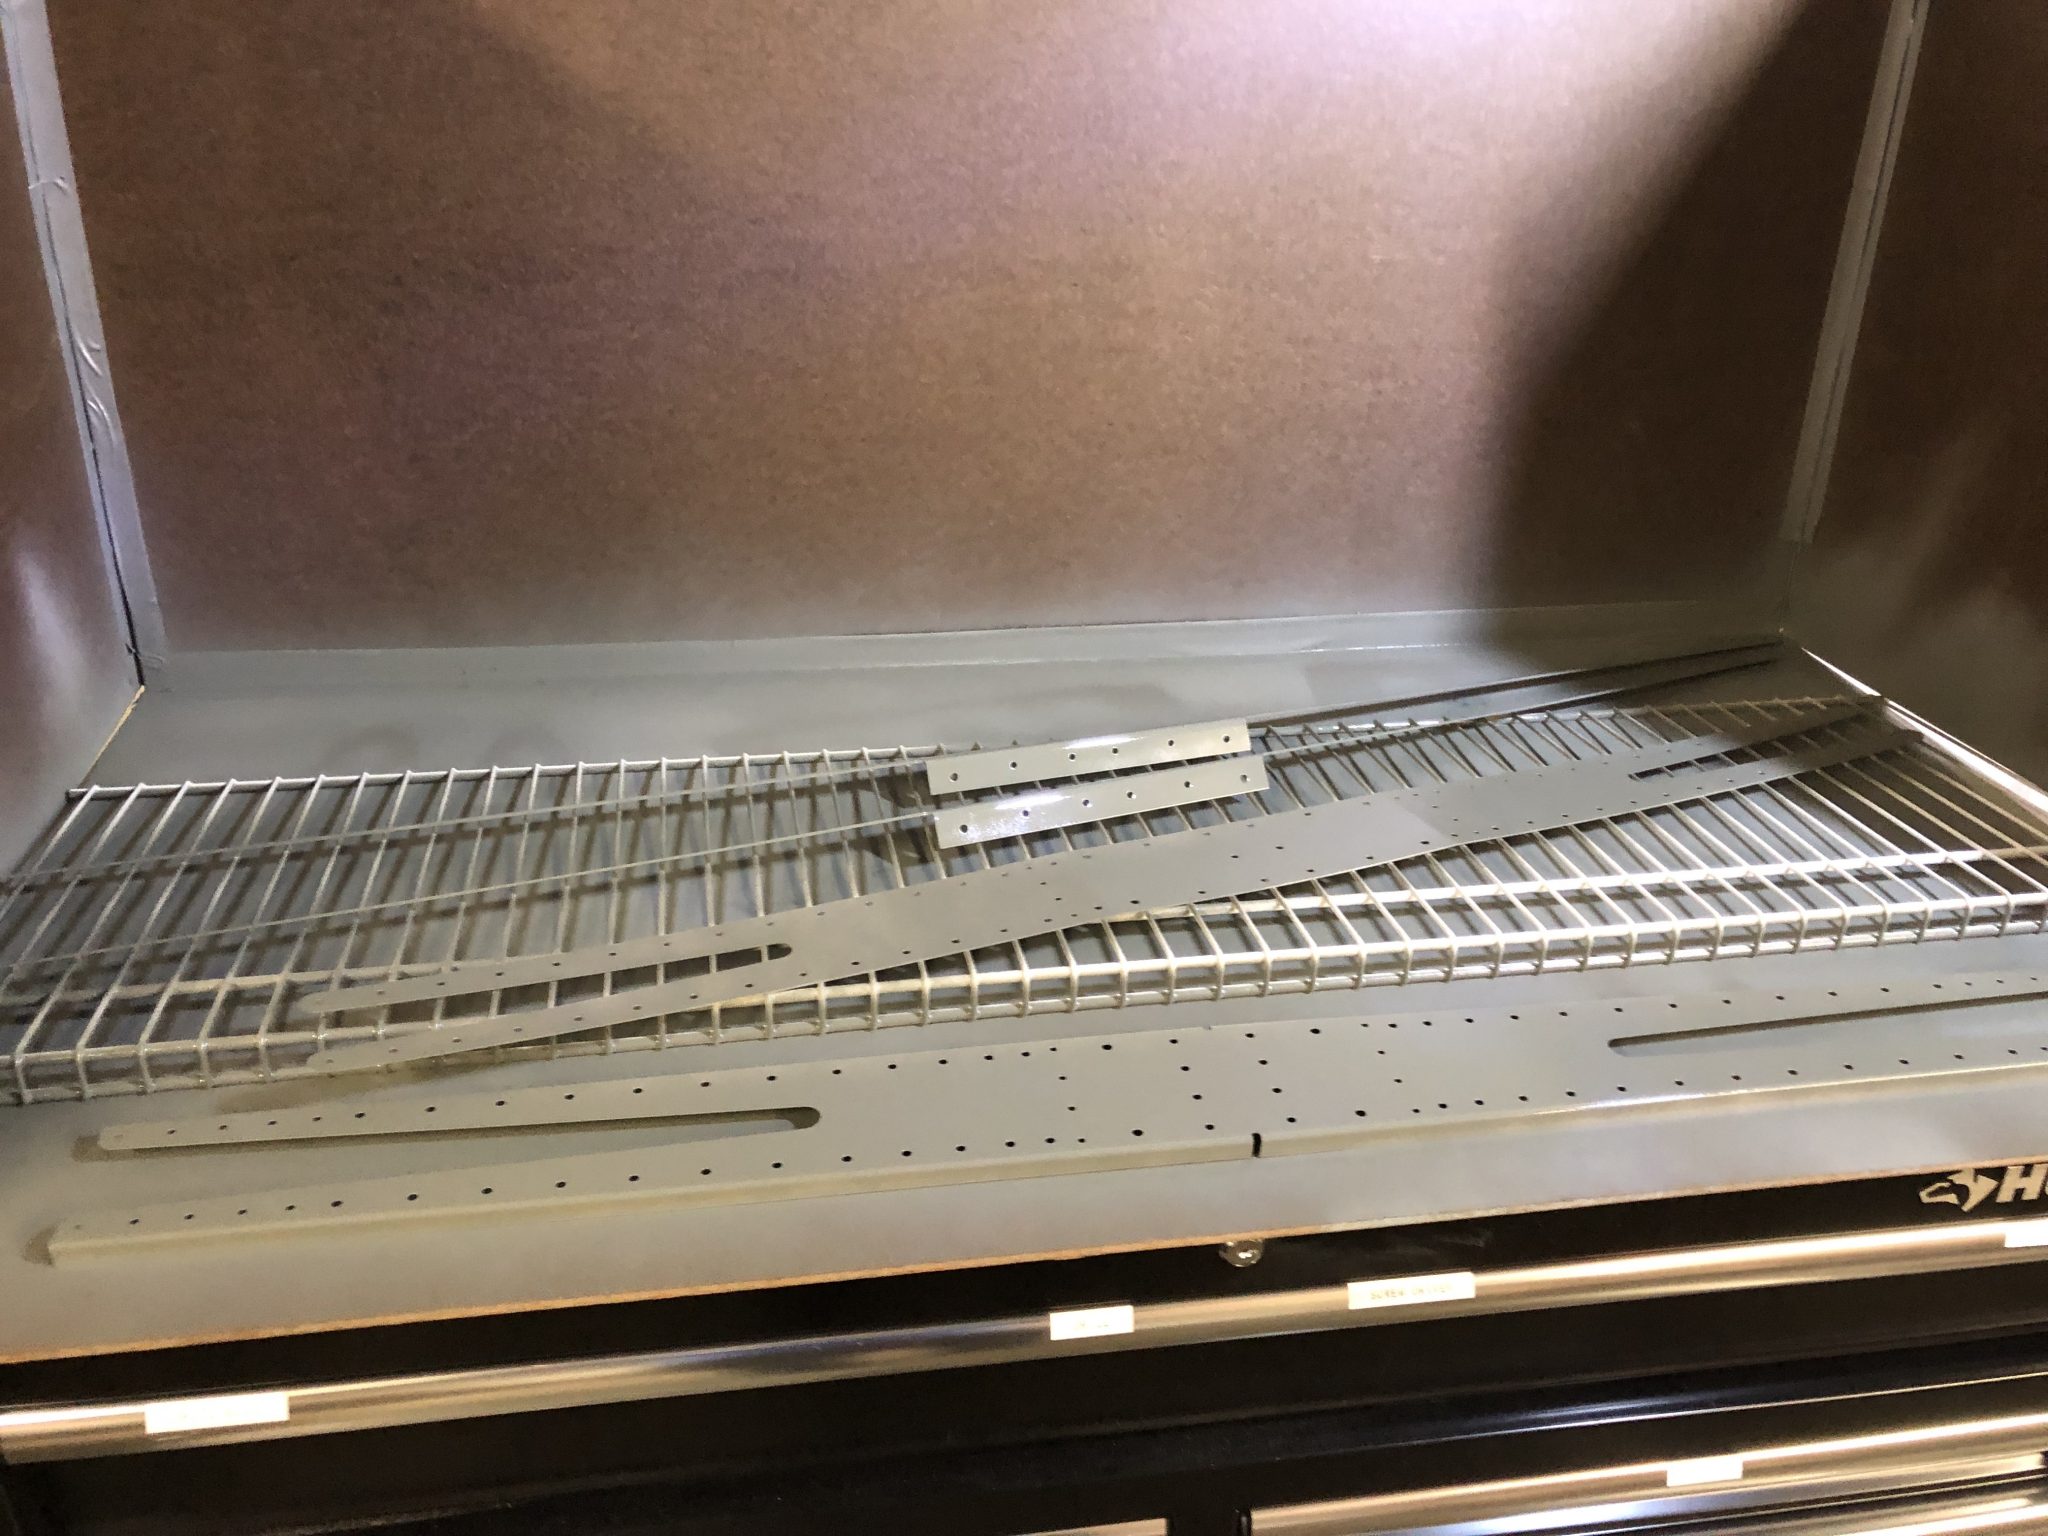
So after some researching I had done ahead of time, here’s the process I decided to follow for preparing the parts for priming:
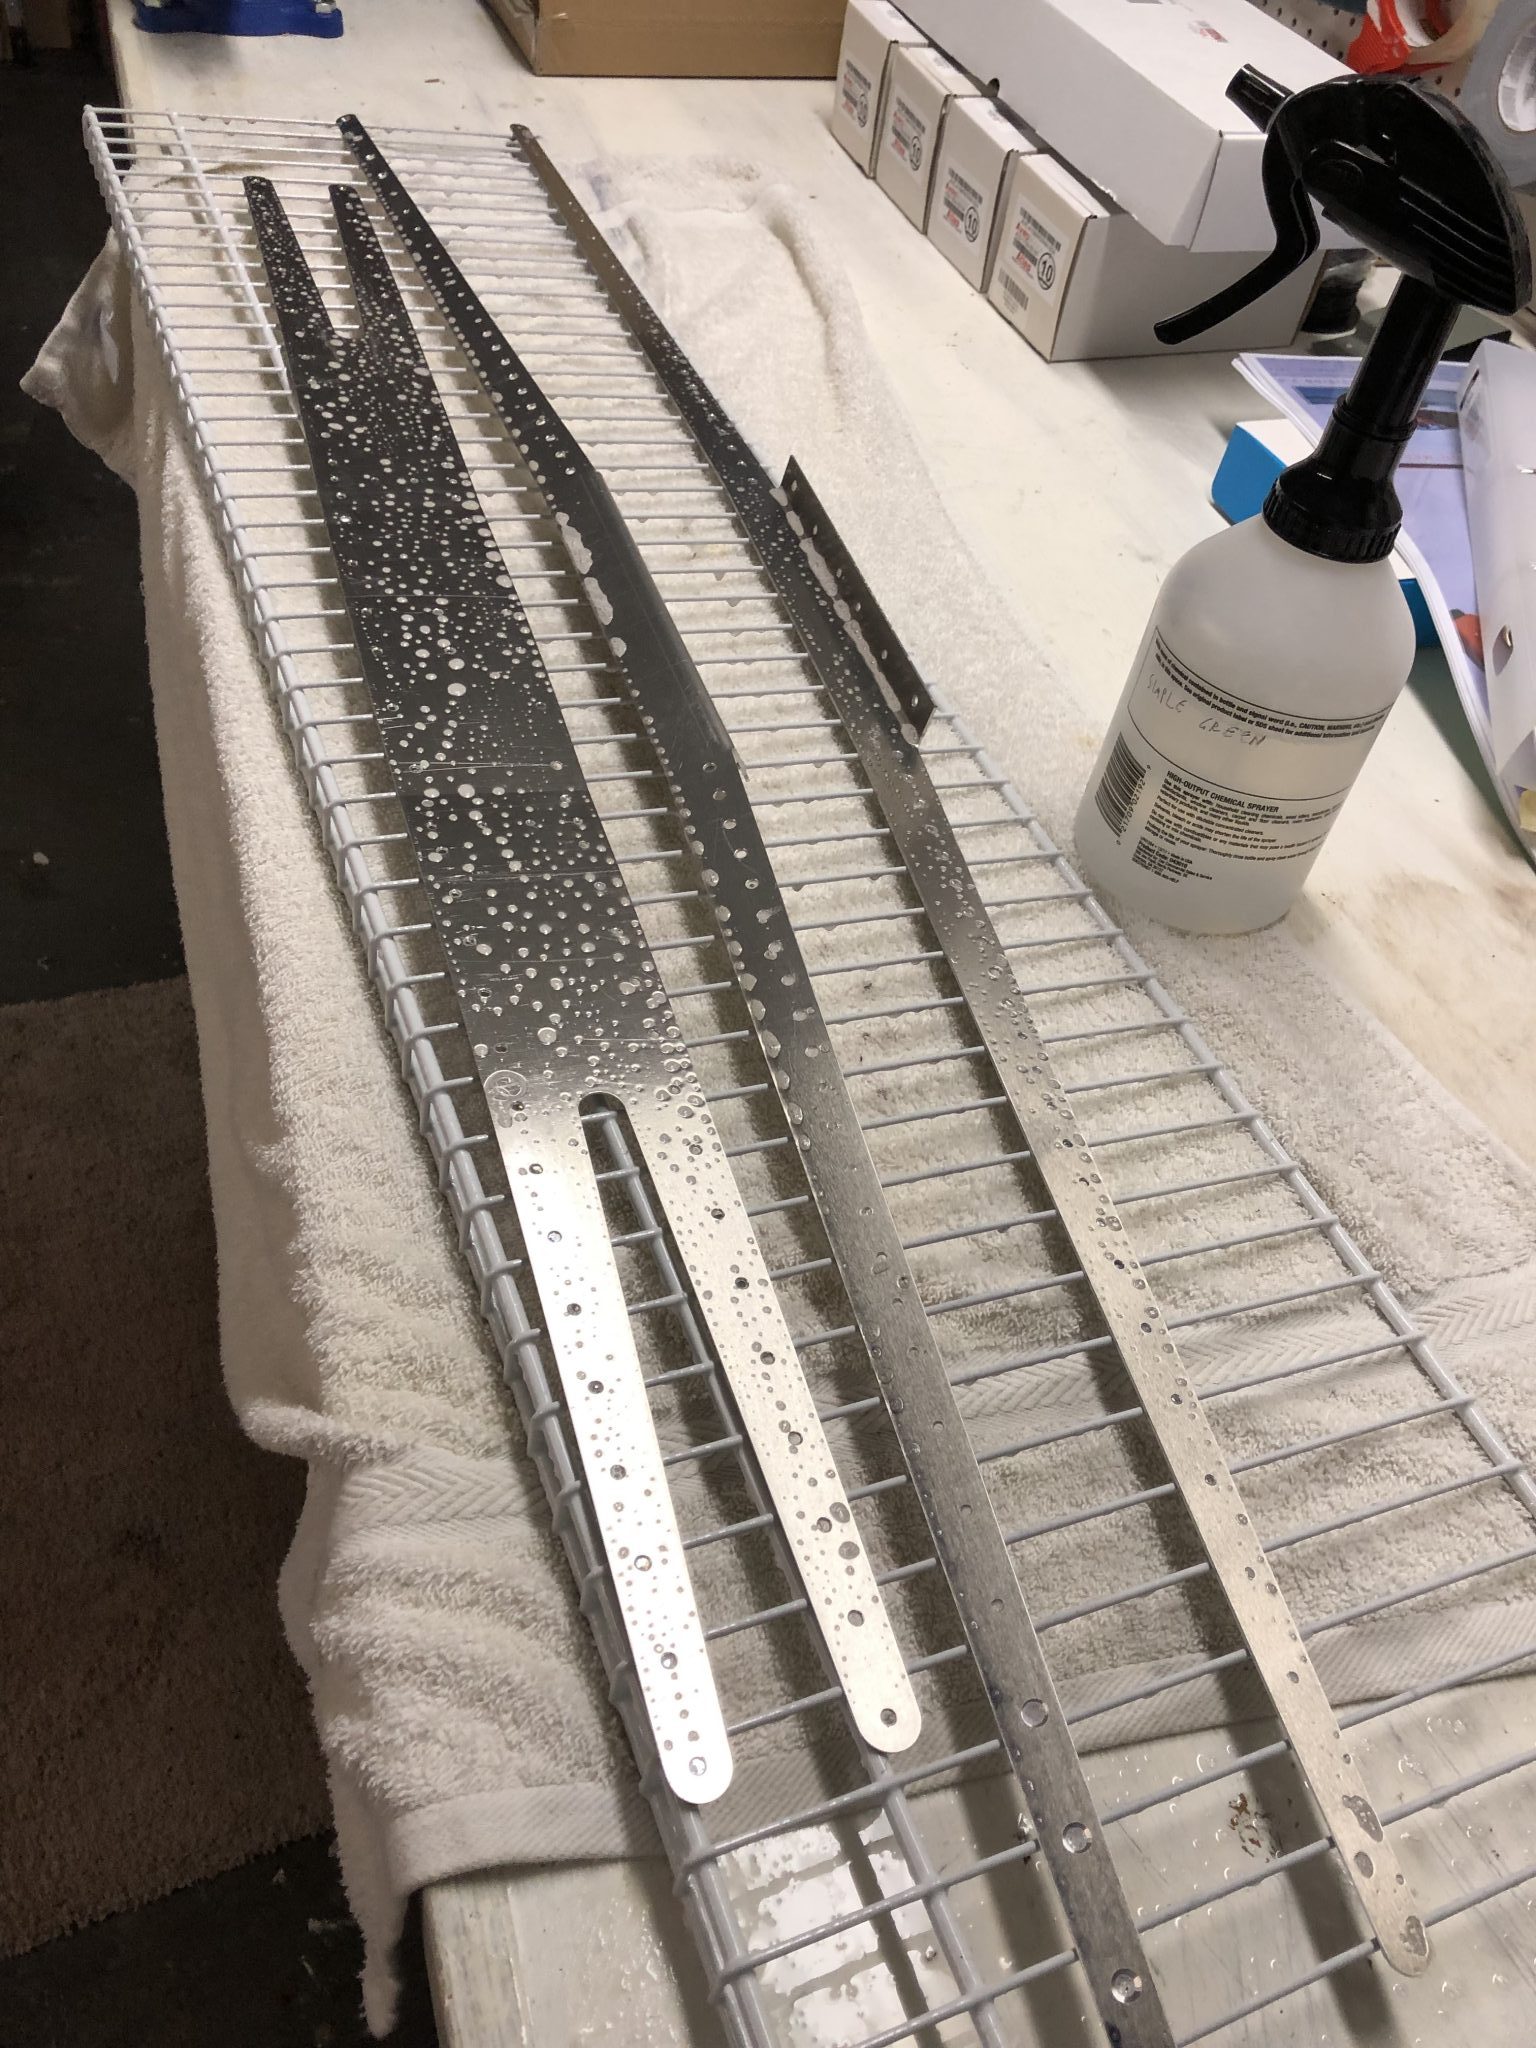
- Removing the protective plastic
- Cleaning and Scrubbing the parts with Simple Green Extreme Aircraft cleaner (diluted 1 part cleaner to 2 parts water) and Scotch Brite Pads.
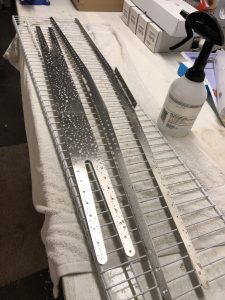
- Washing off the cleaning solution with water and drying the parts

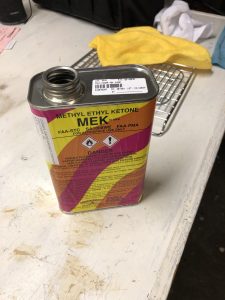
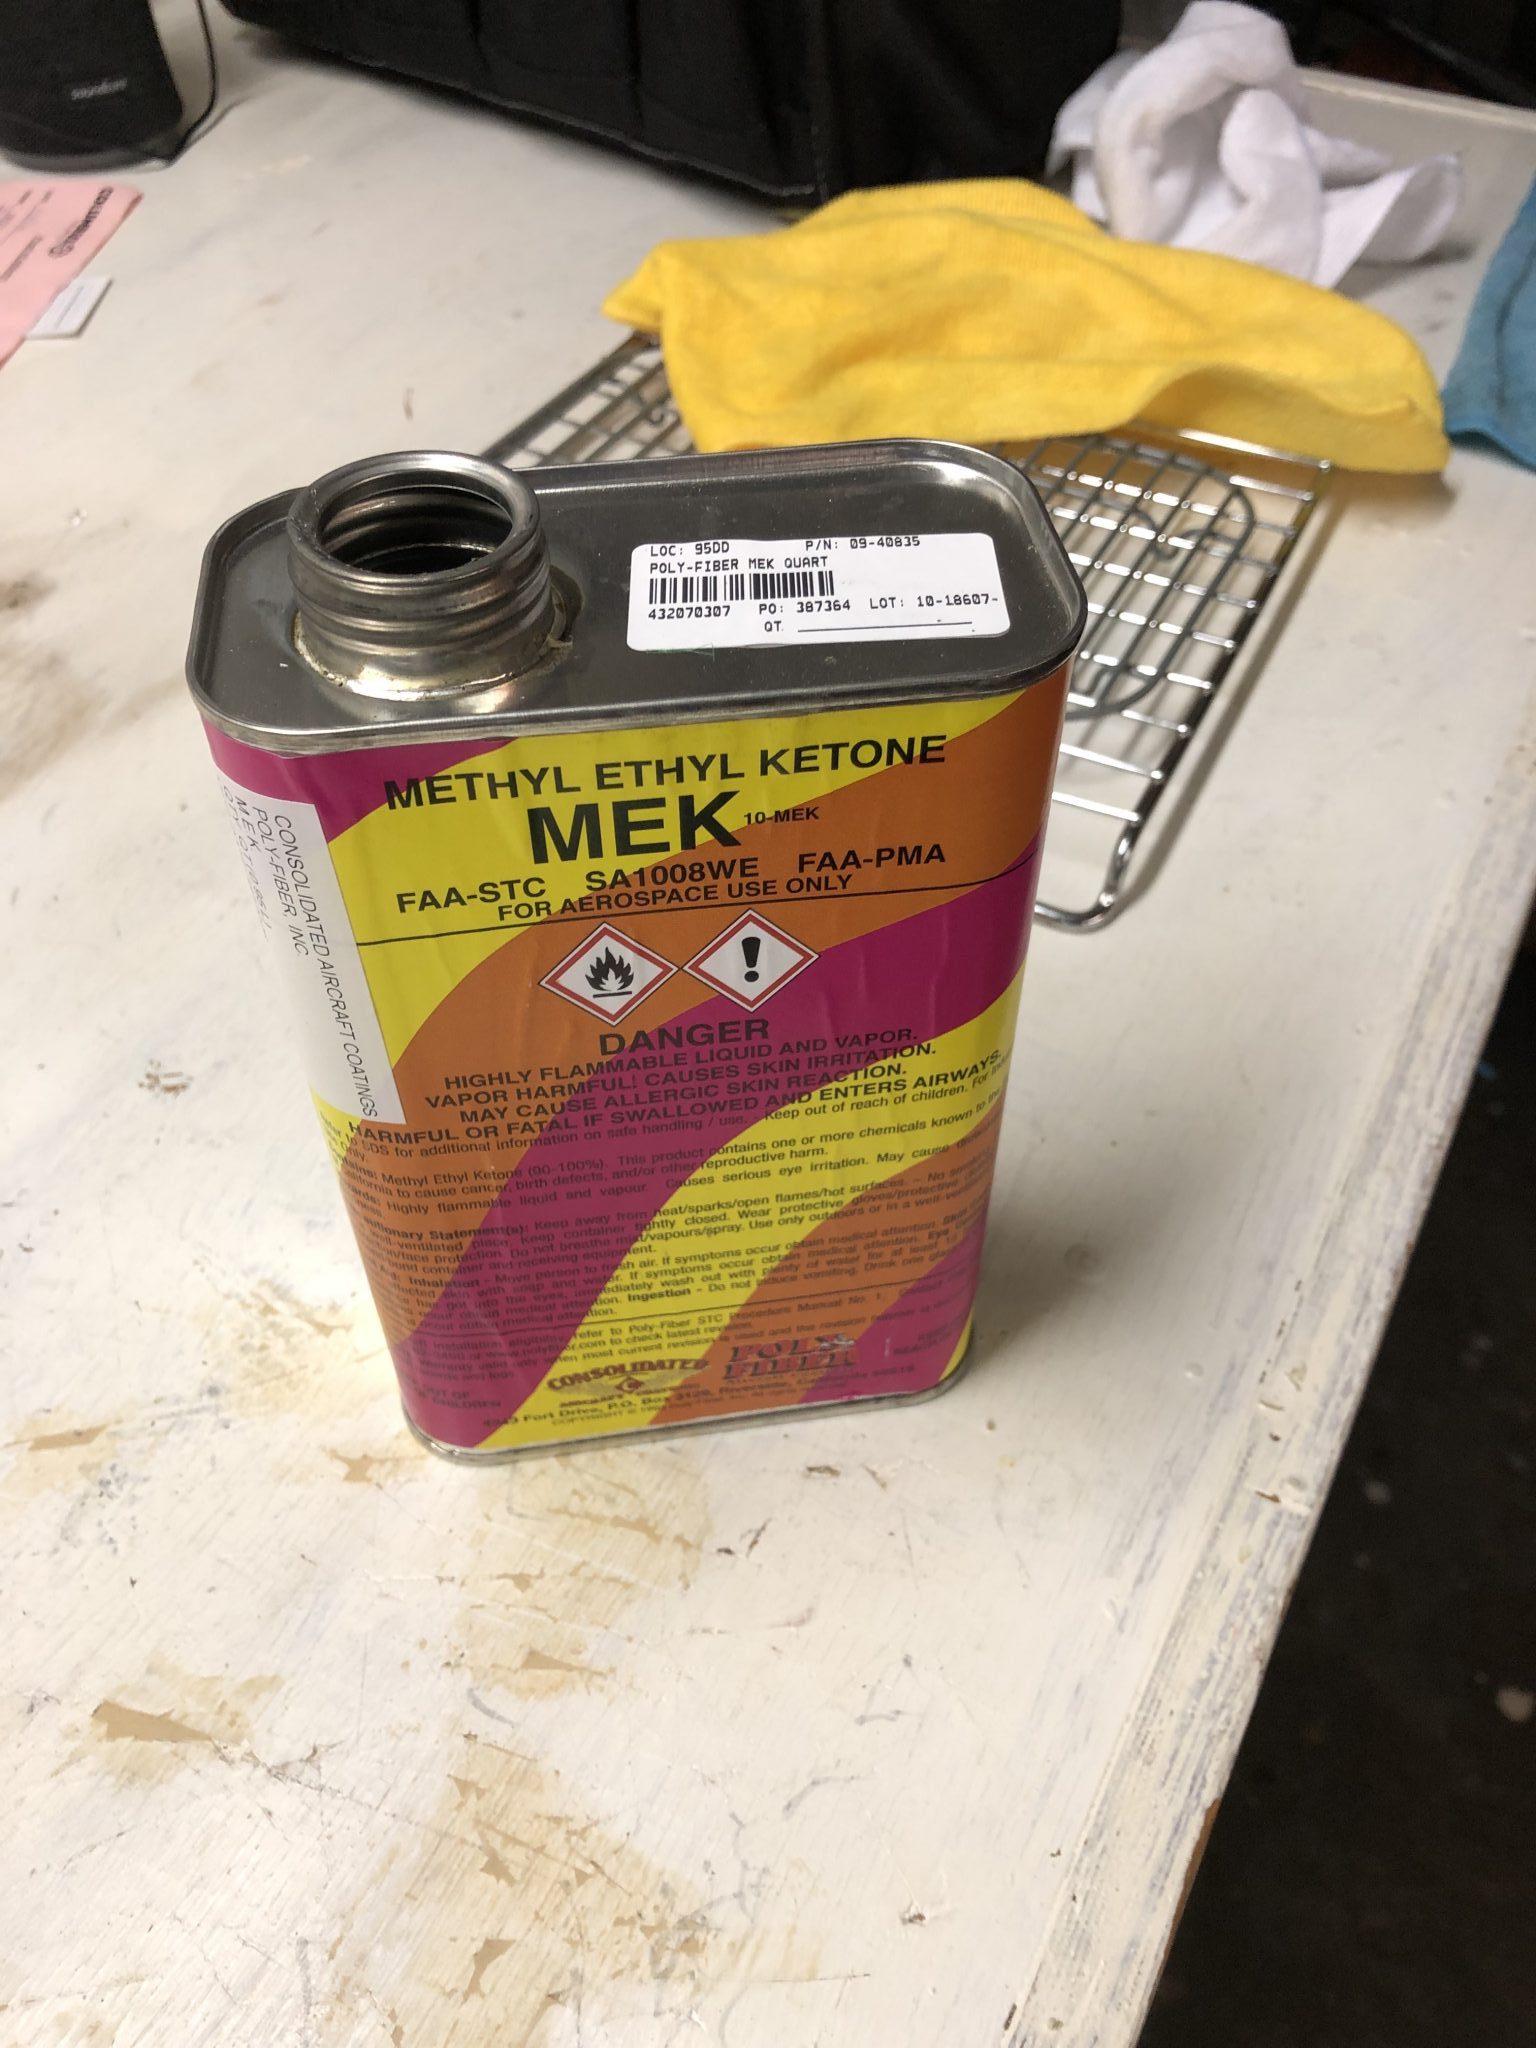
- Final de-greasing using MEK


Priming
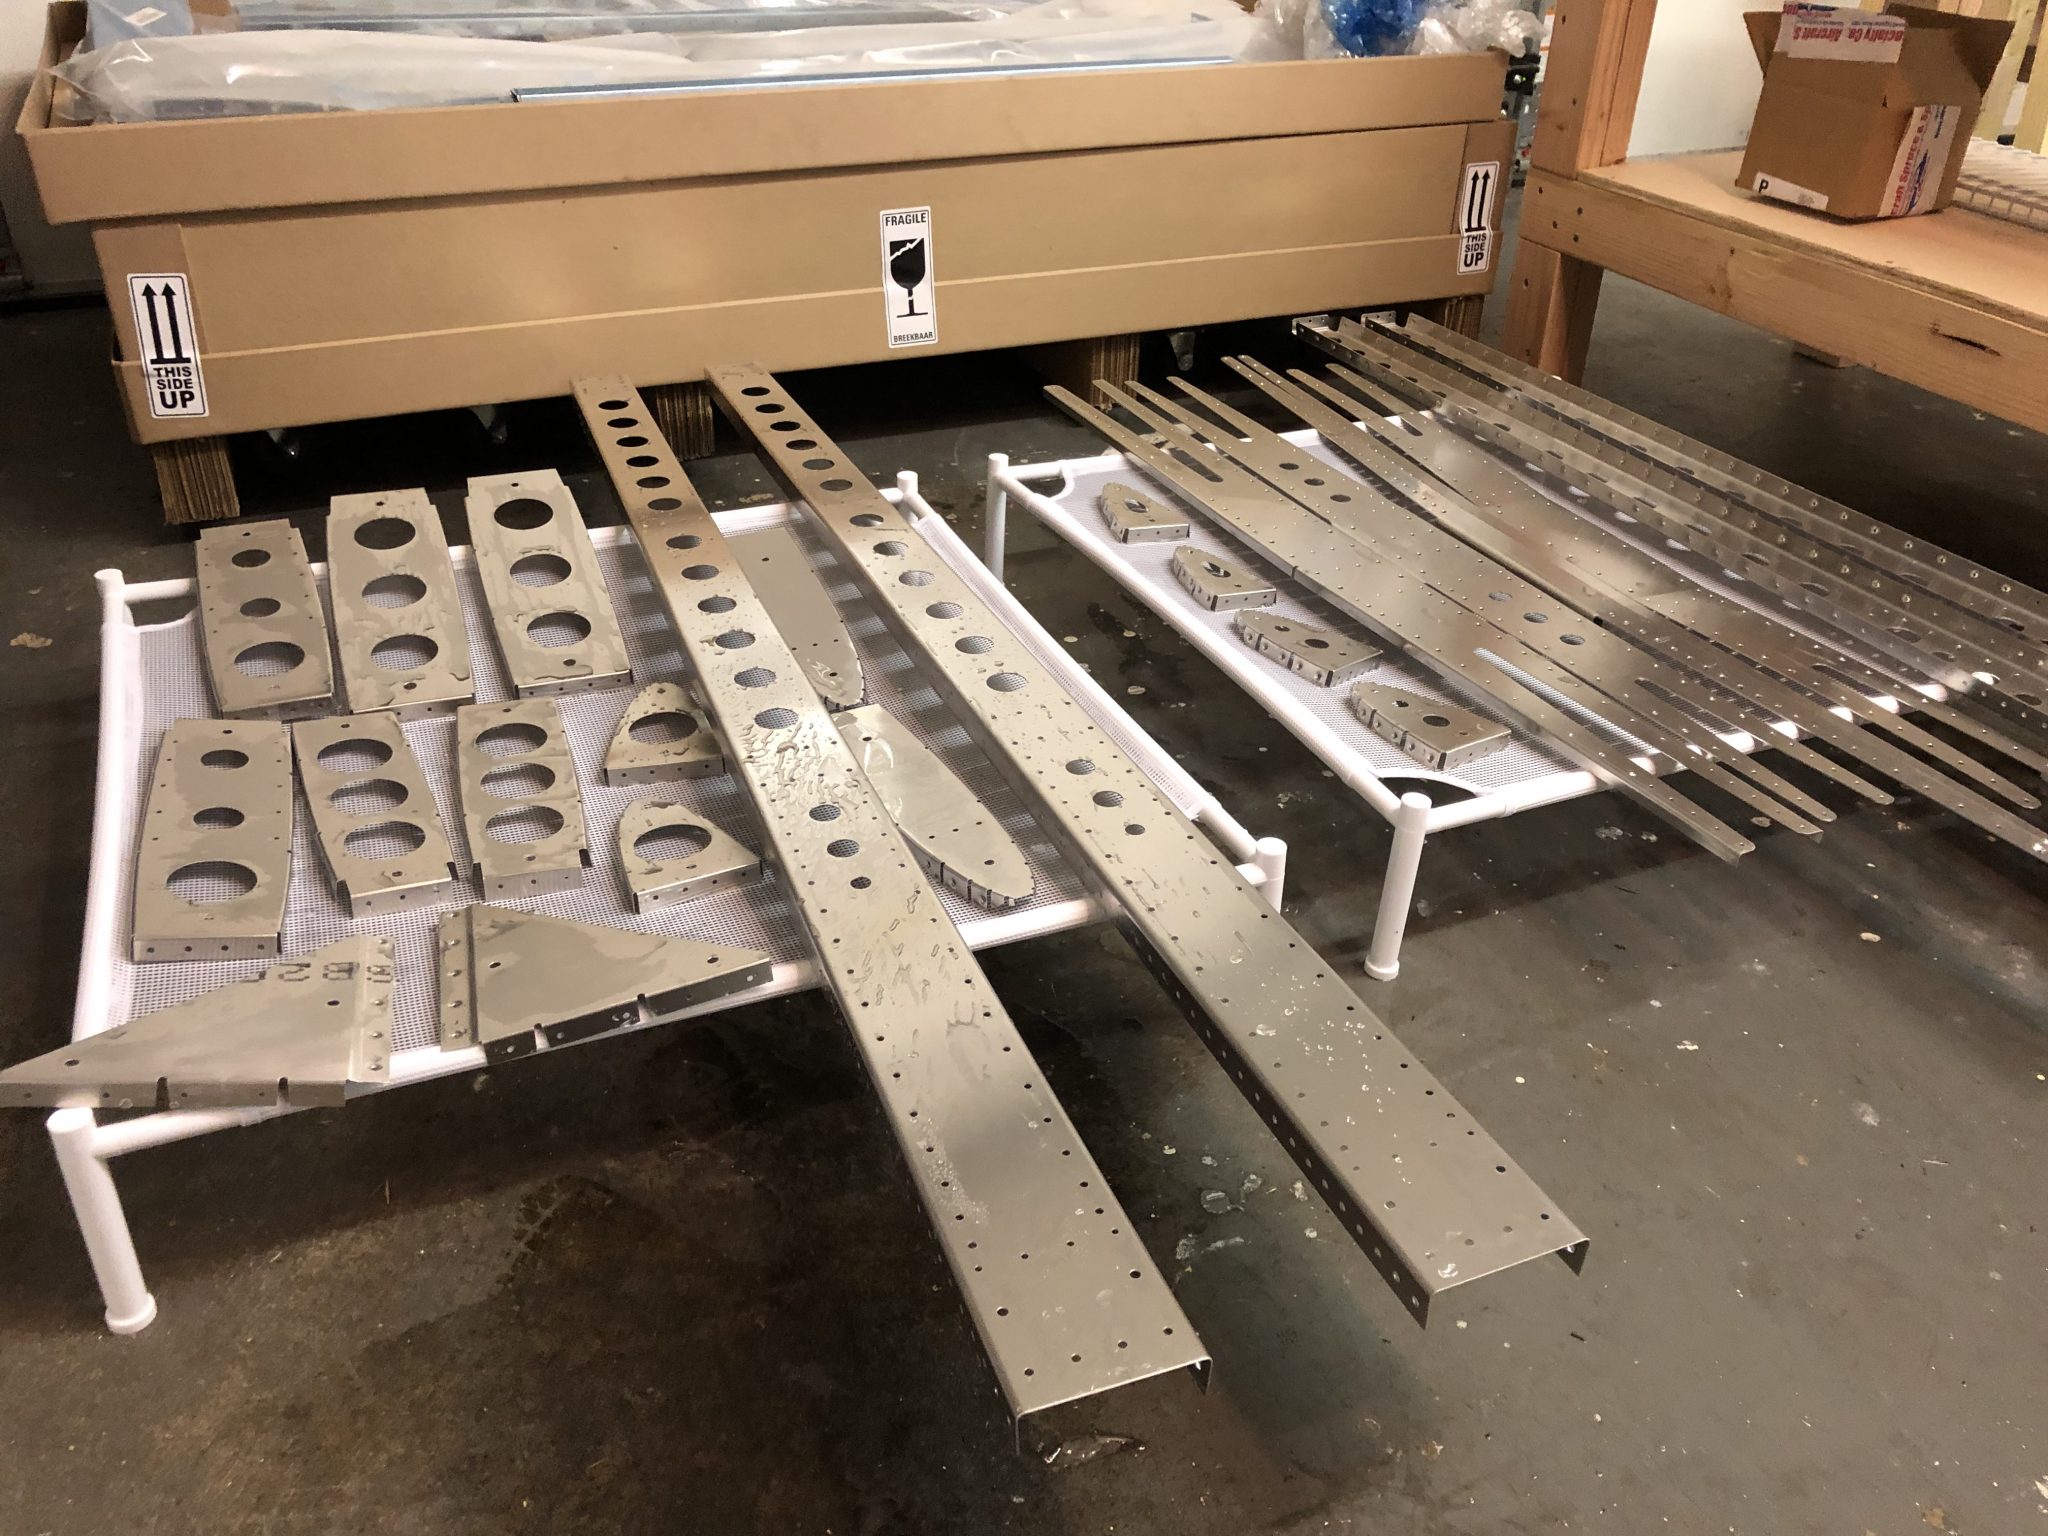
After all that was done, it was time for priming, which in on itself is a whole big topic with different opinions the more people you ask. I’ve decided to prime the mating surfaces and while at first I was thinking of using NAPA 7220, ended up using Rustoleum Self Etching Primer after I saw that Matthew seems to have good results with it and it’s easier to find in the local hardware store.
Riveting
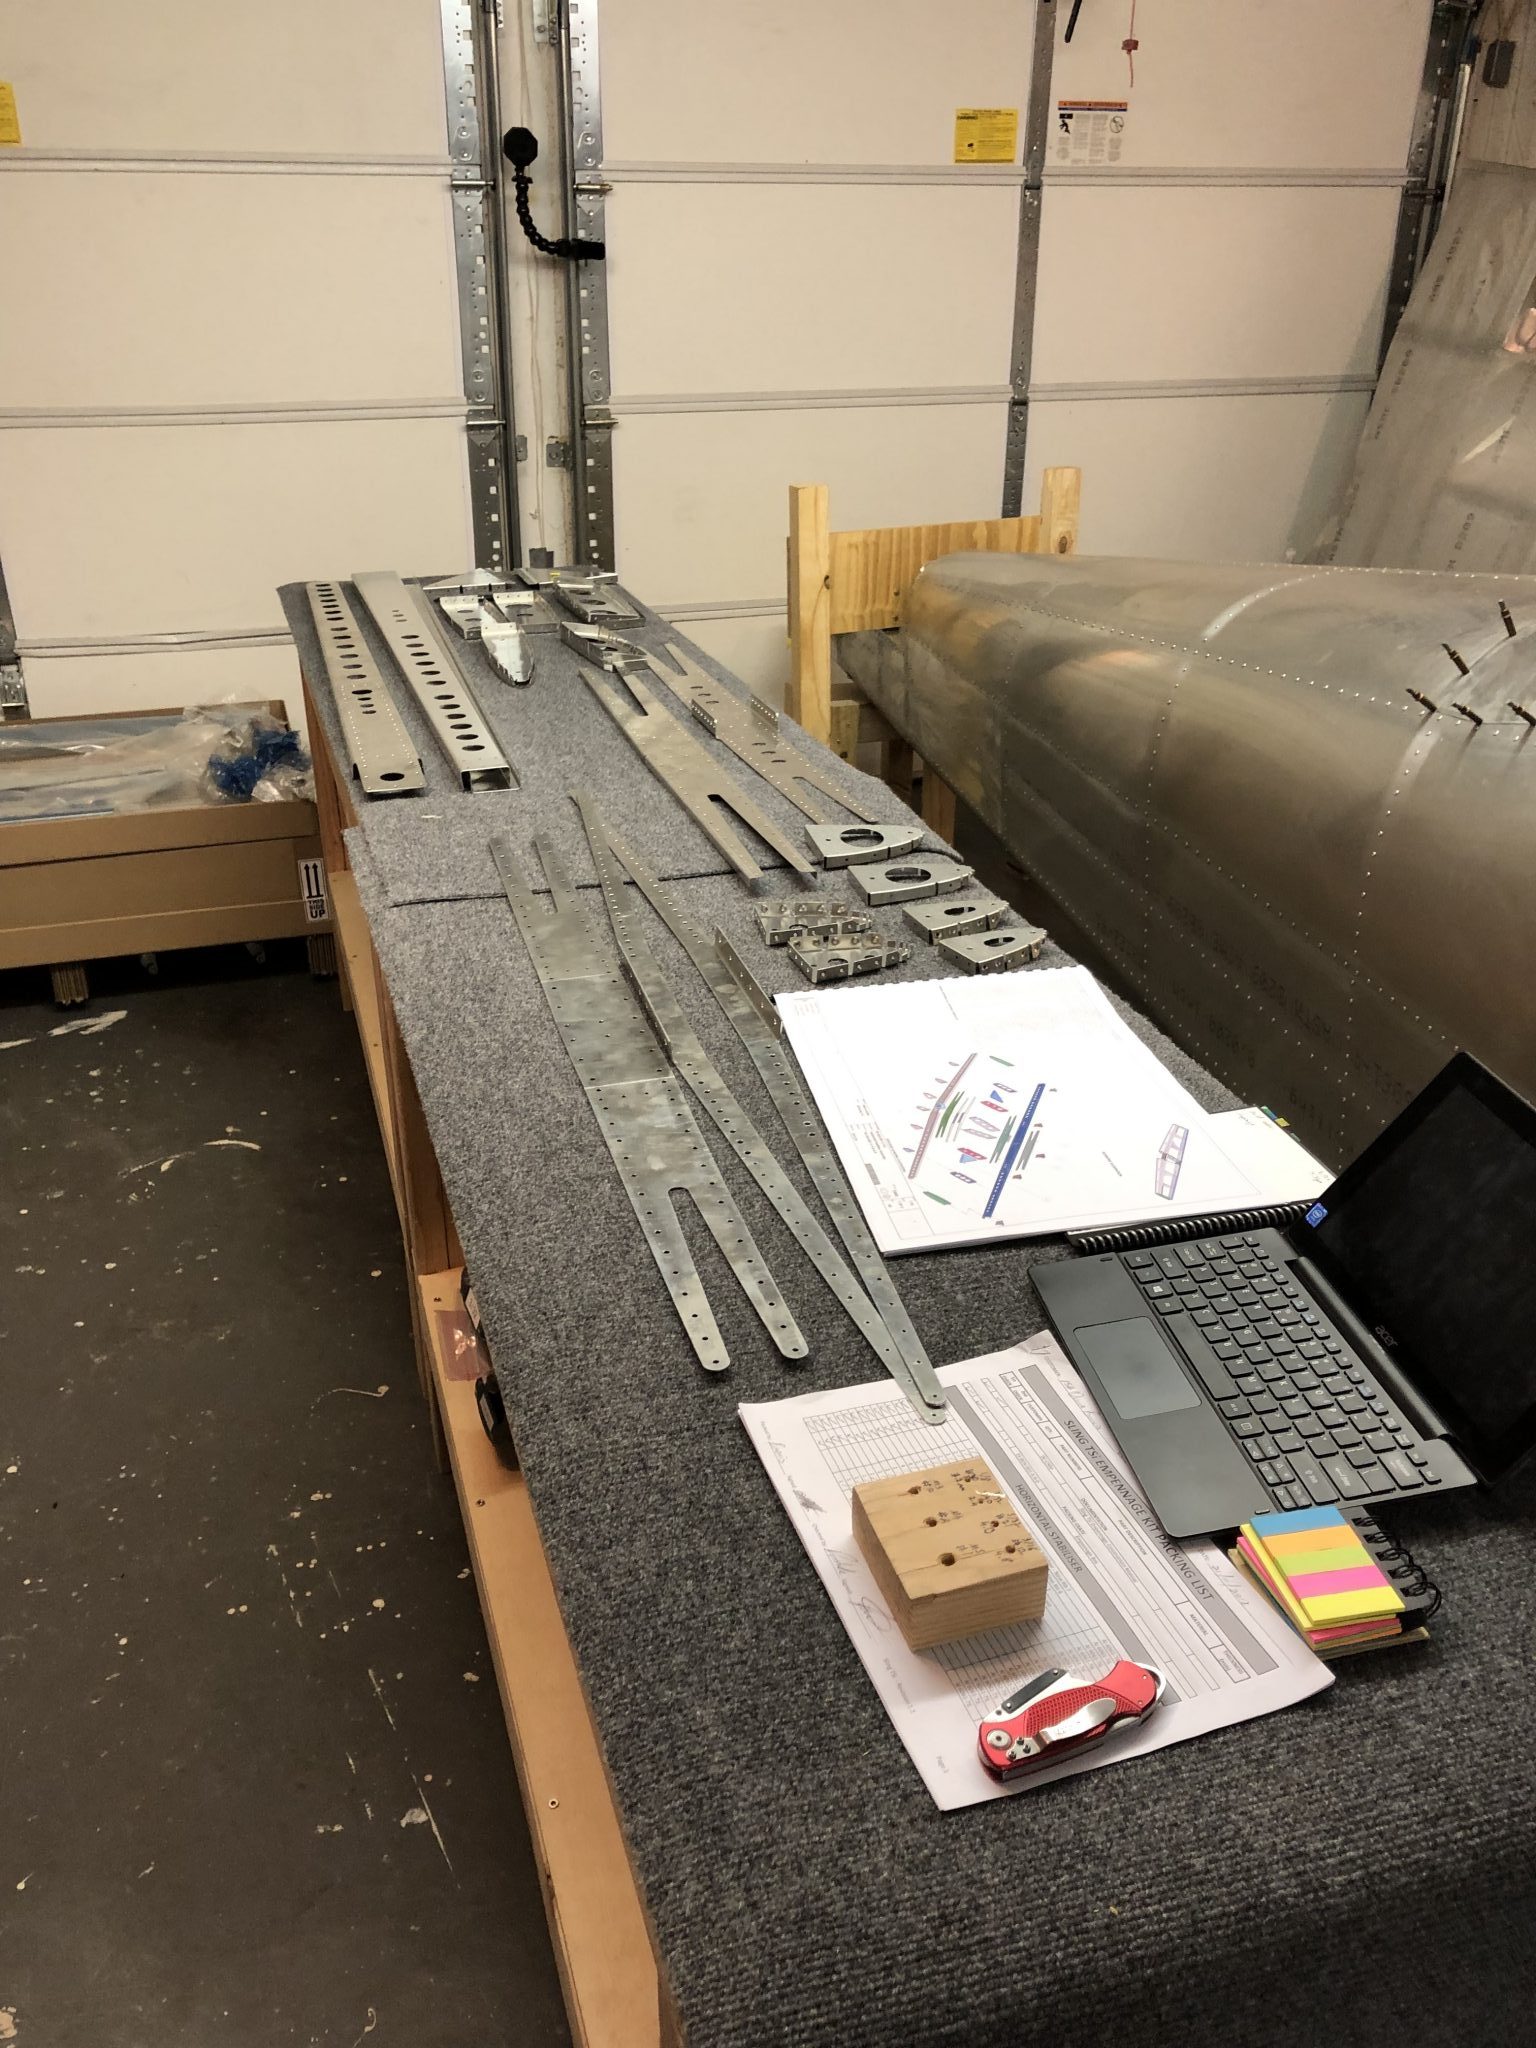
Since my kit was shipped out before the newer revision for the Empennage kit was finished, the printed copy only had the basic CAD drawings, but no instructions, so it’s a matter of combining the larger print outs with the instructions using my small laptop.
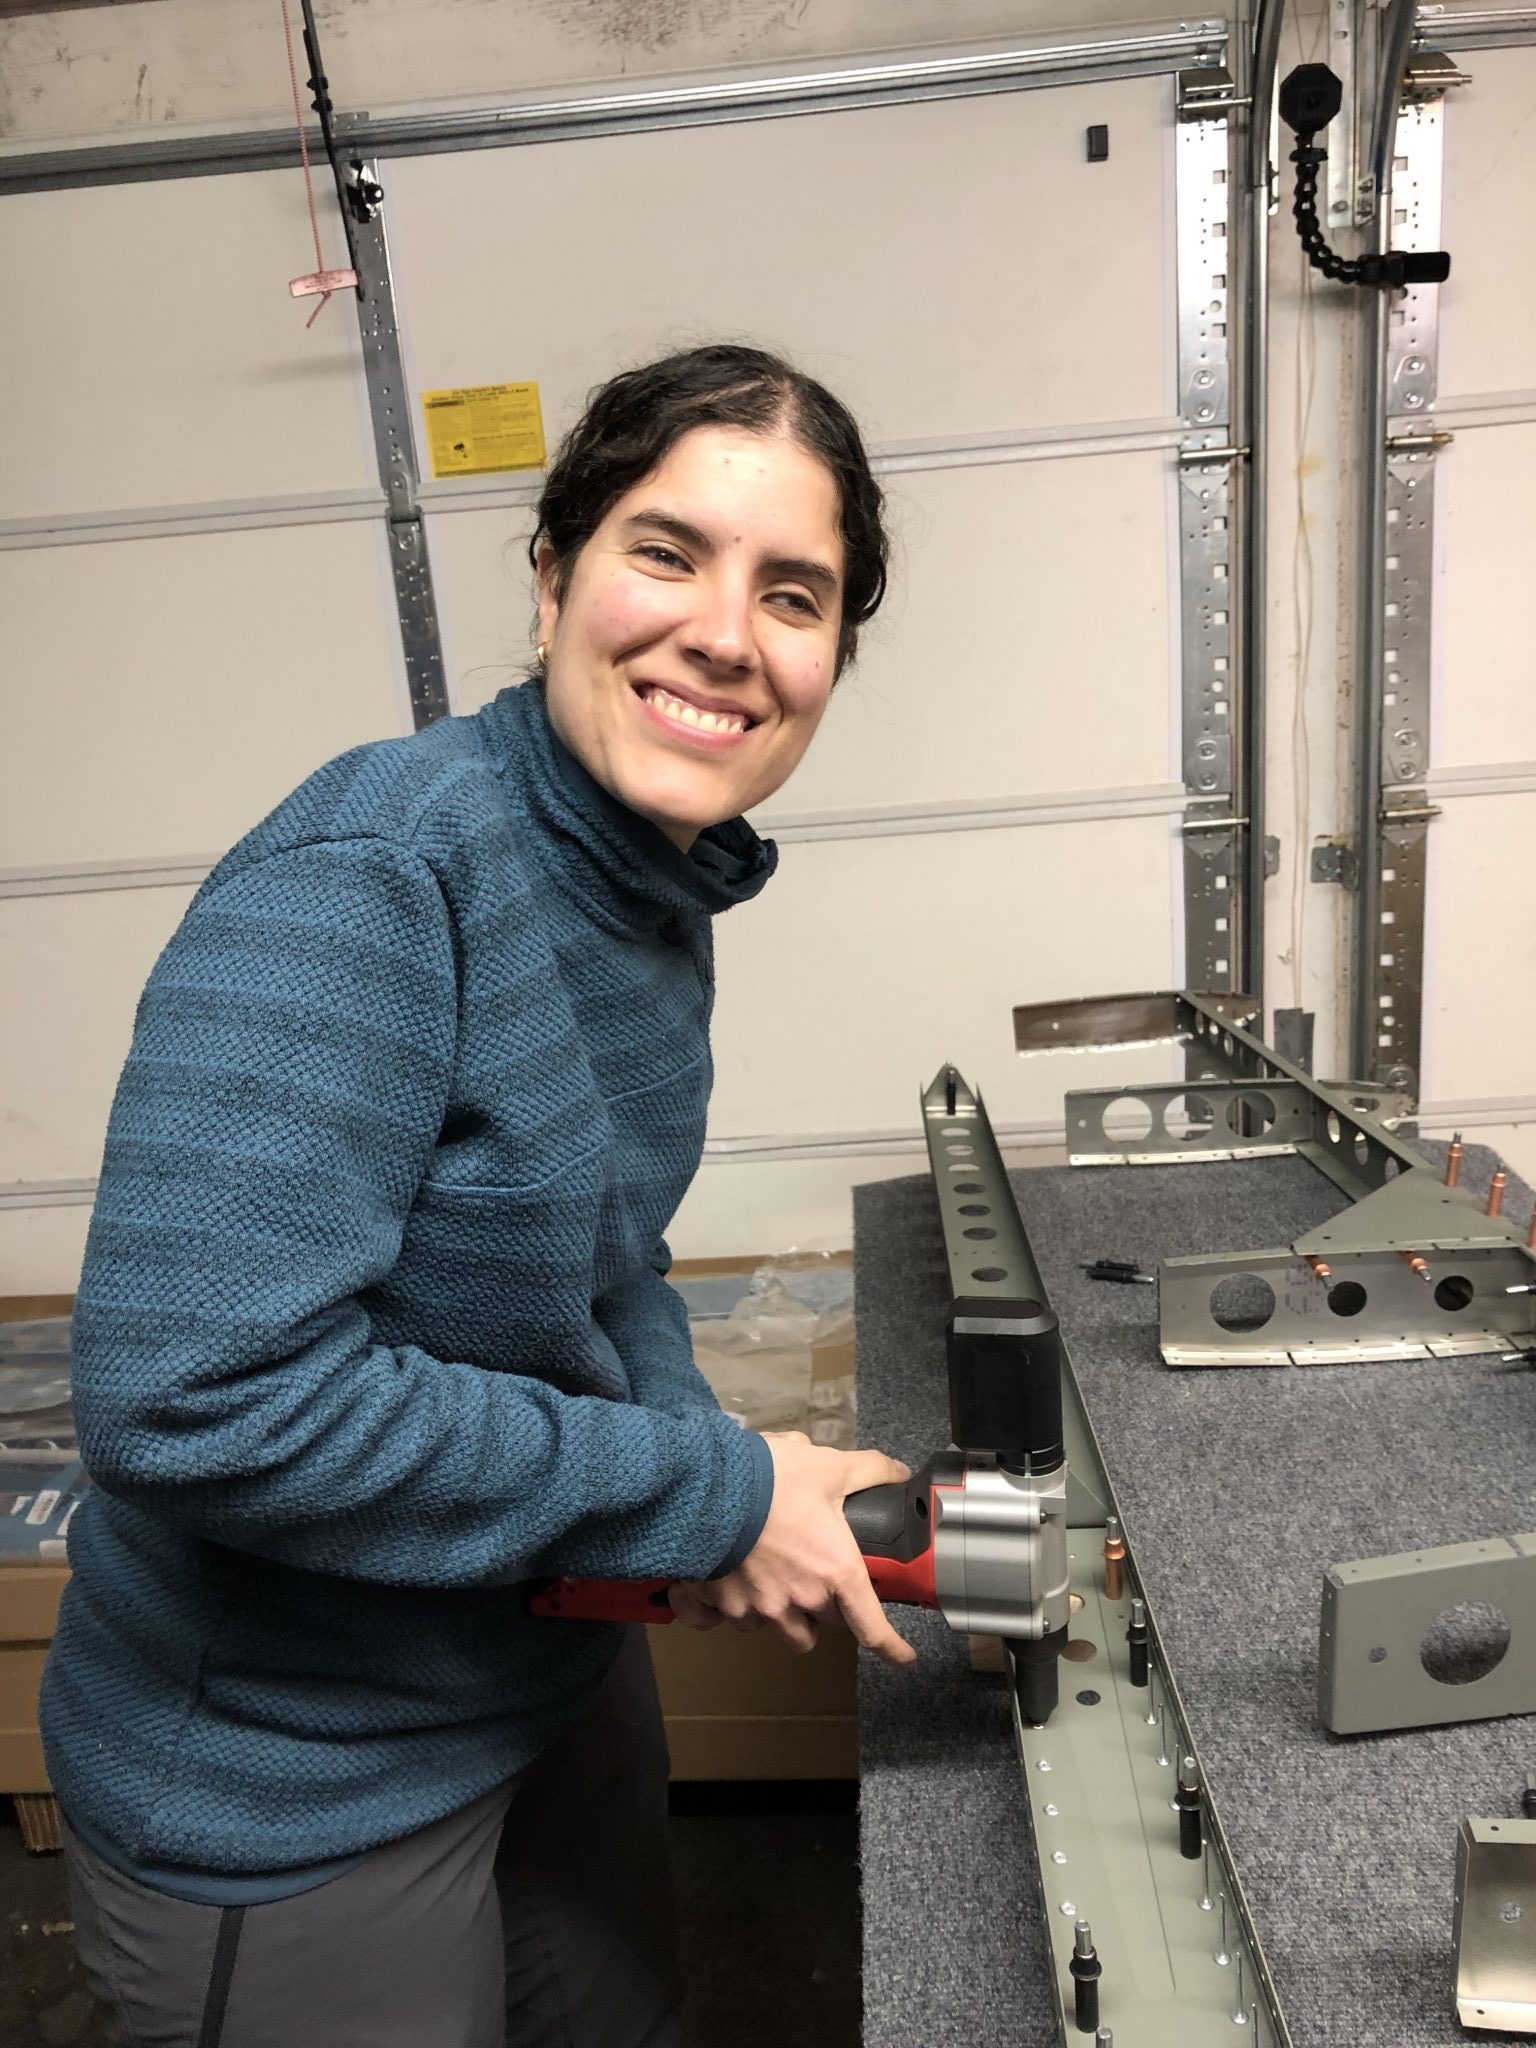
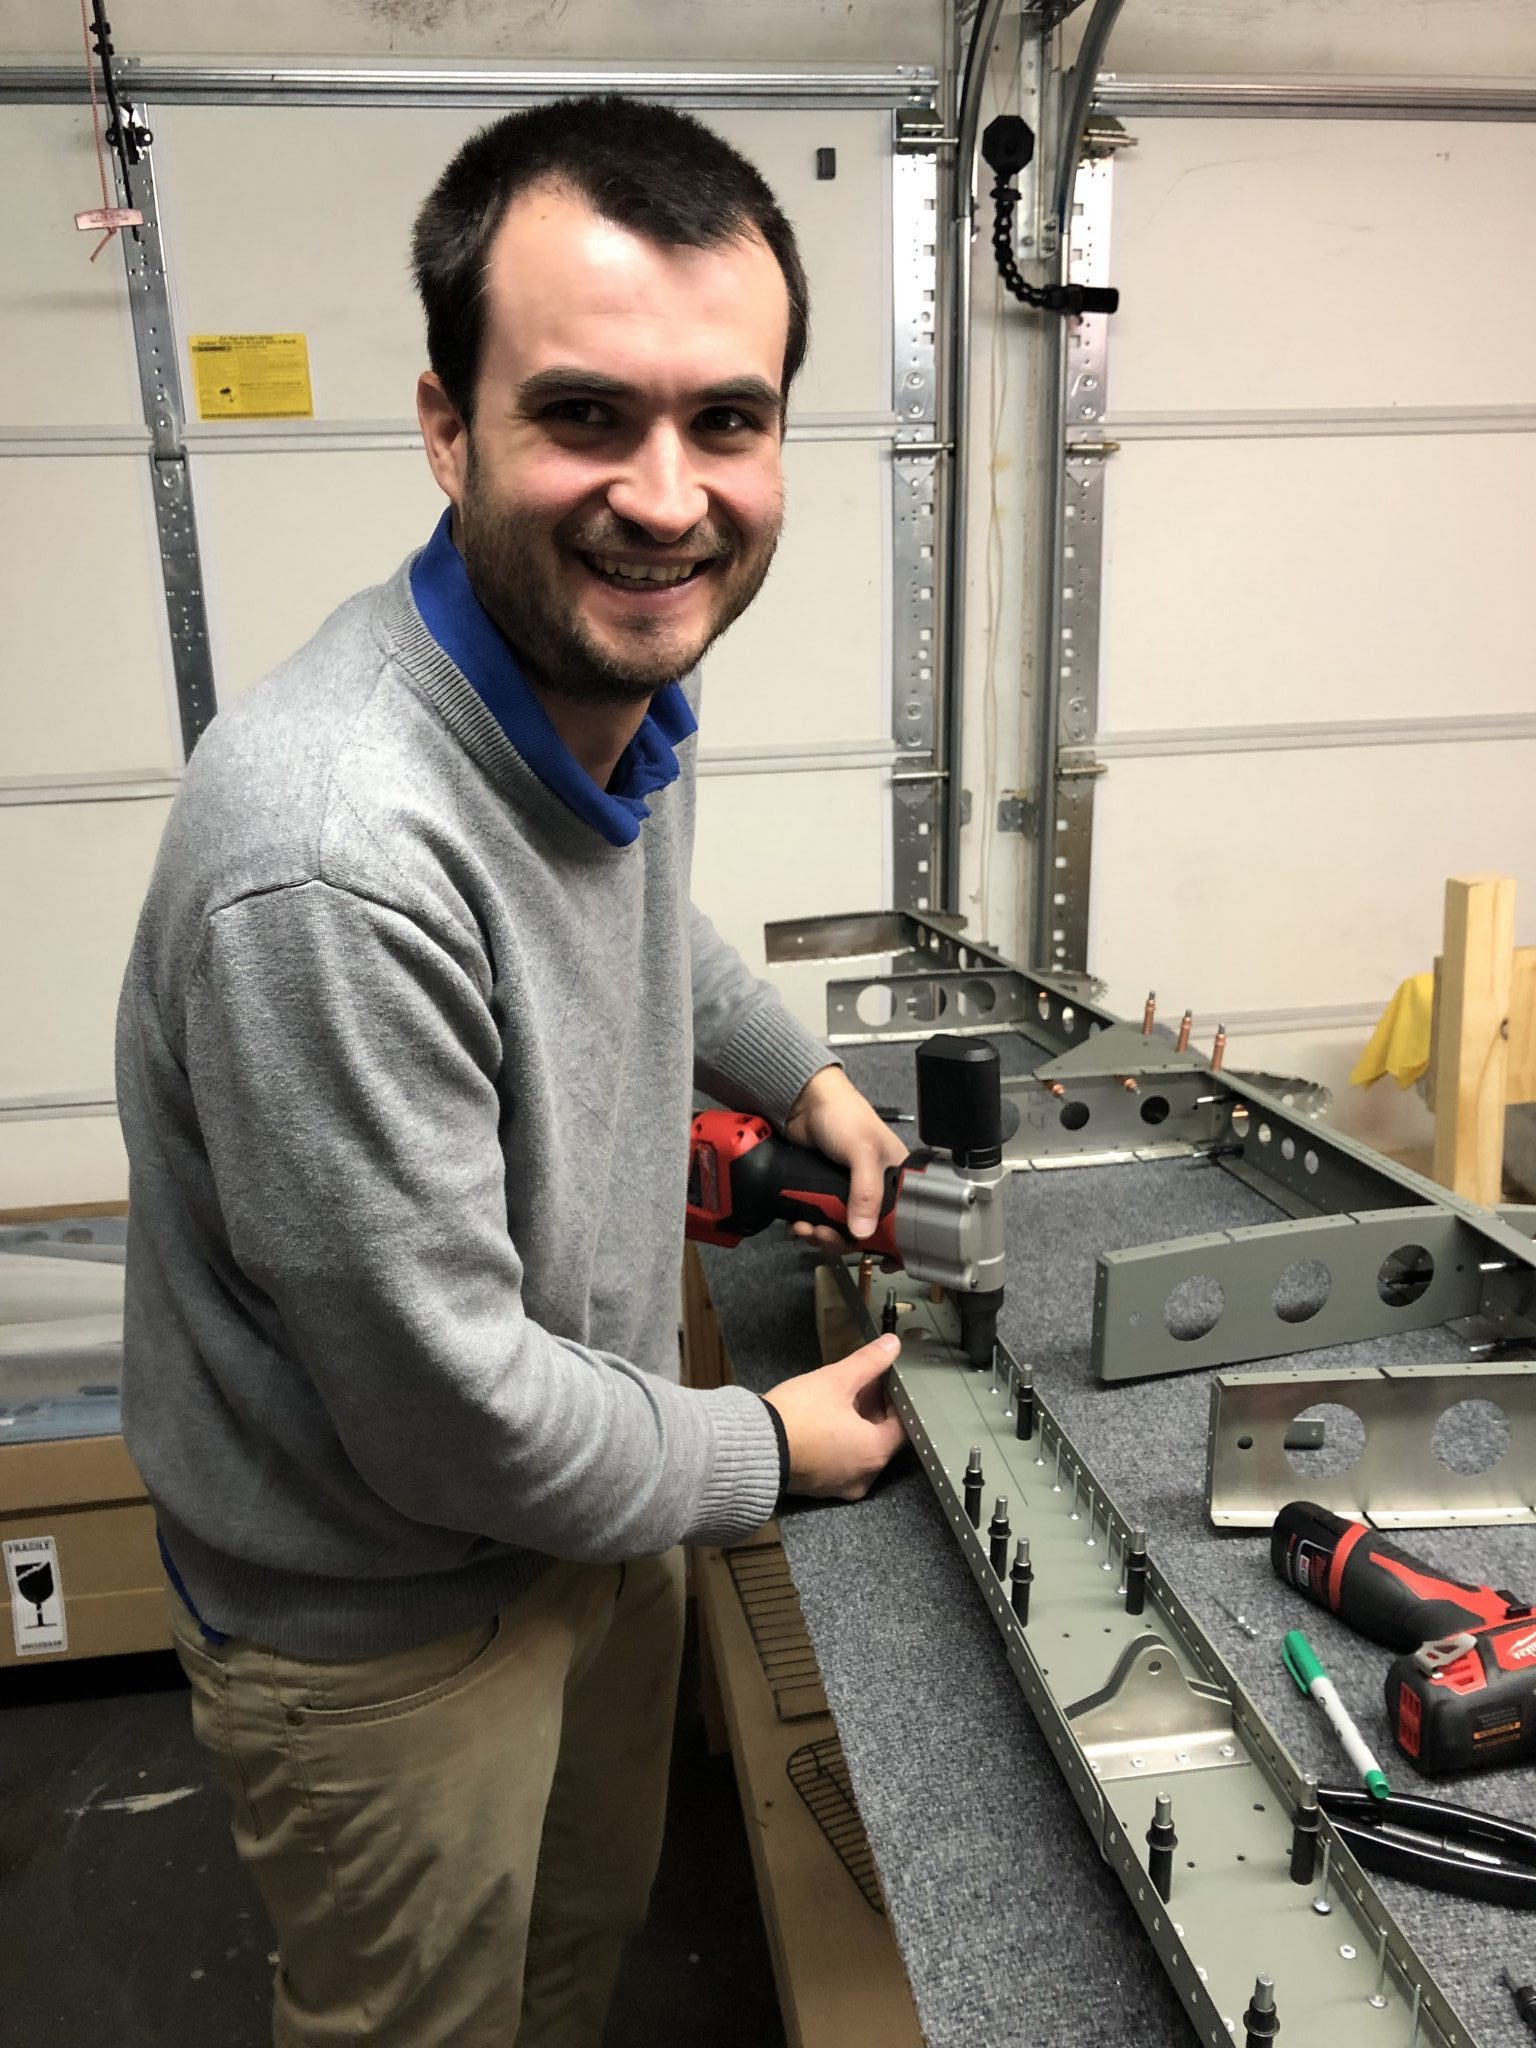
Also seen above is the Rivet Gun I’m using – it’s the Milwaukee M12 Rivet gun, which fits in nicely with all my other tools and allows me to build the airplane without the need for a noisy compressor.

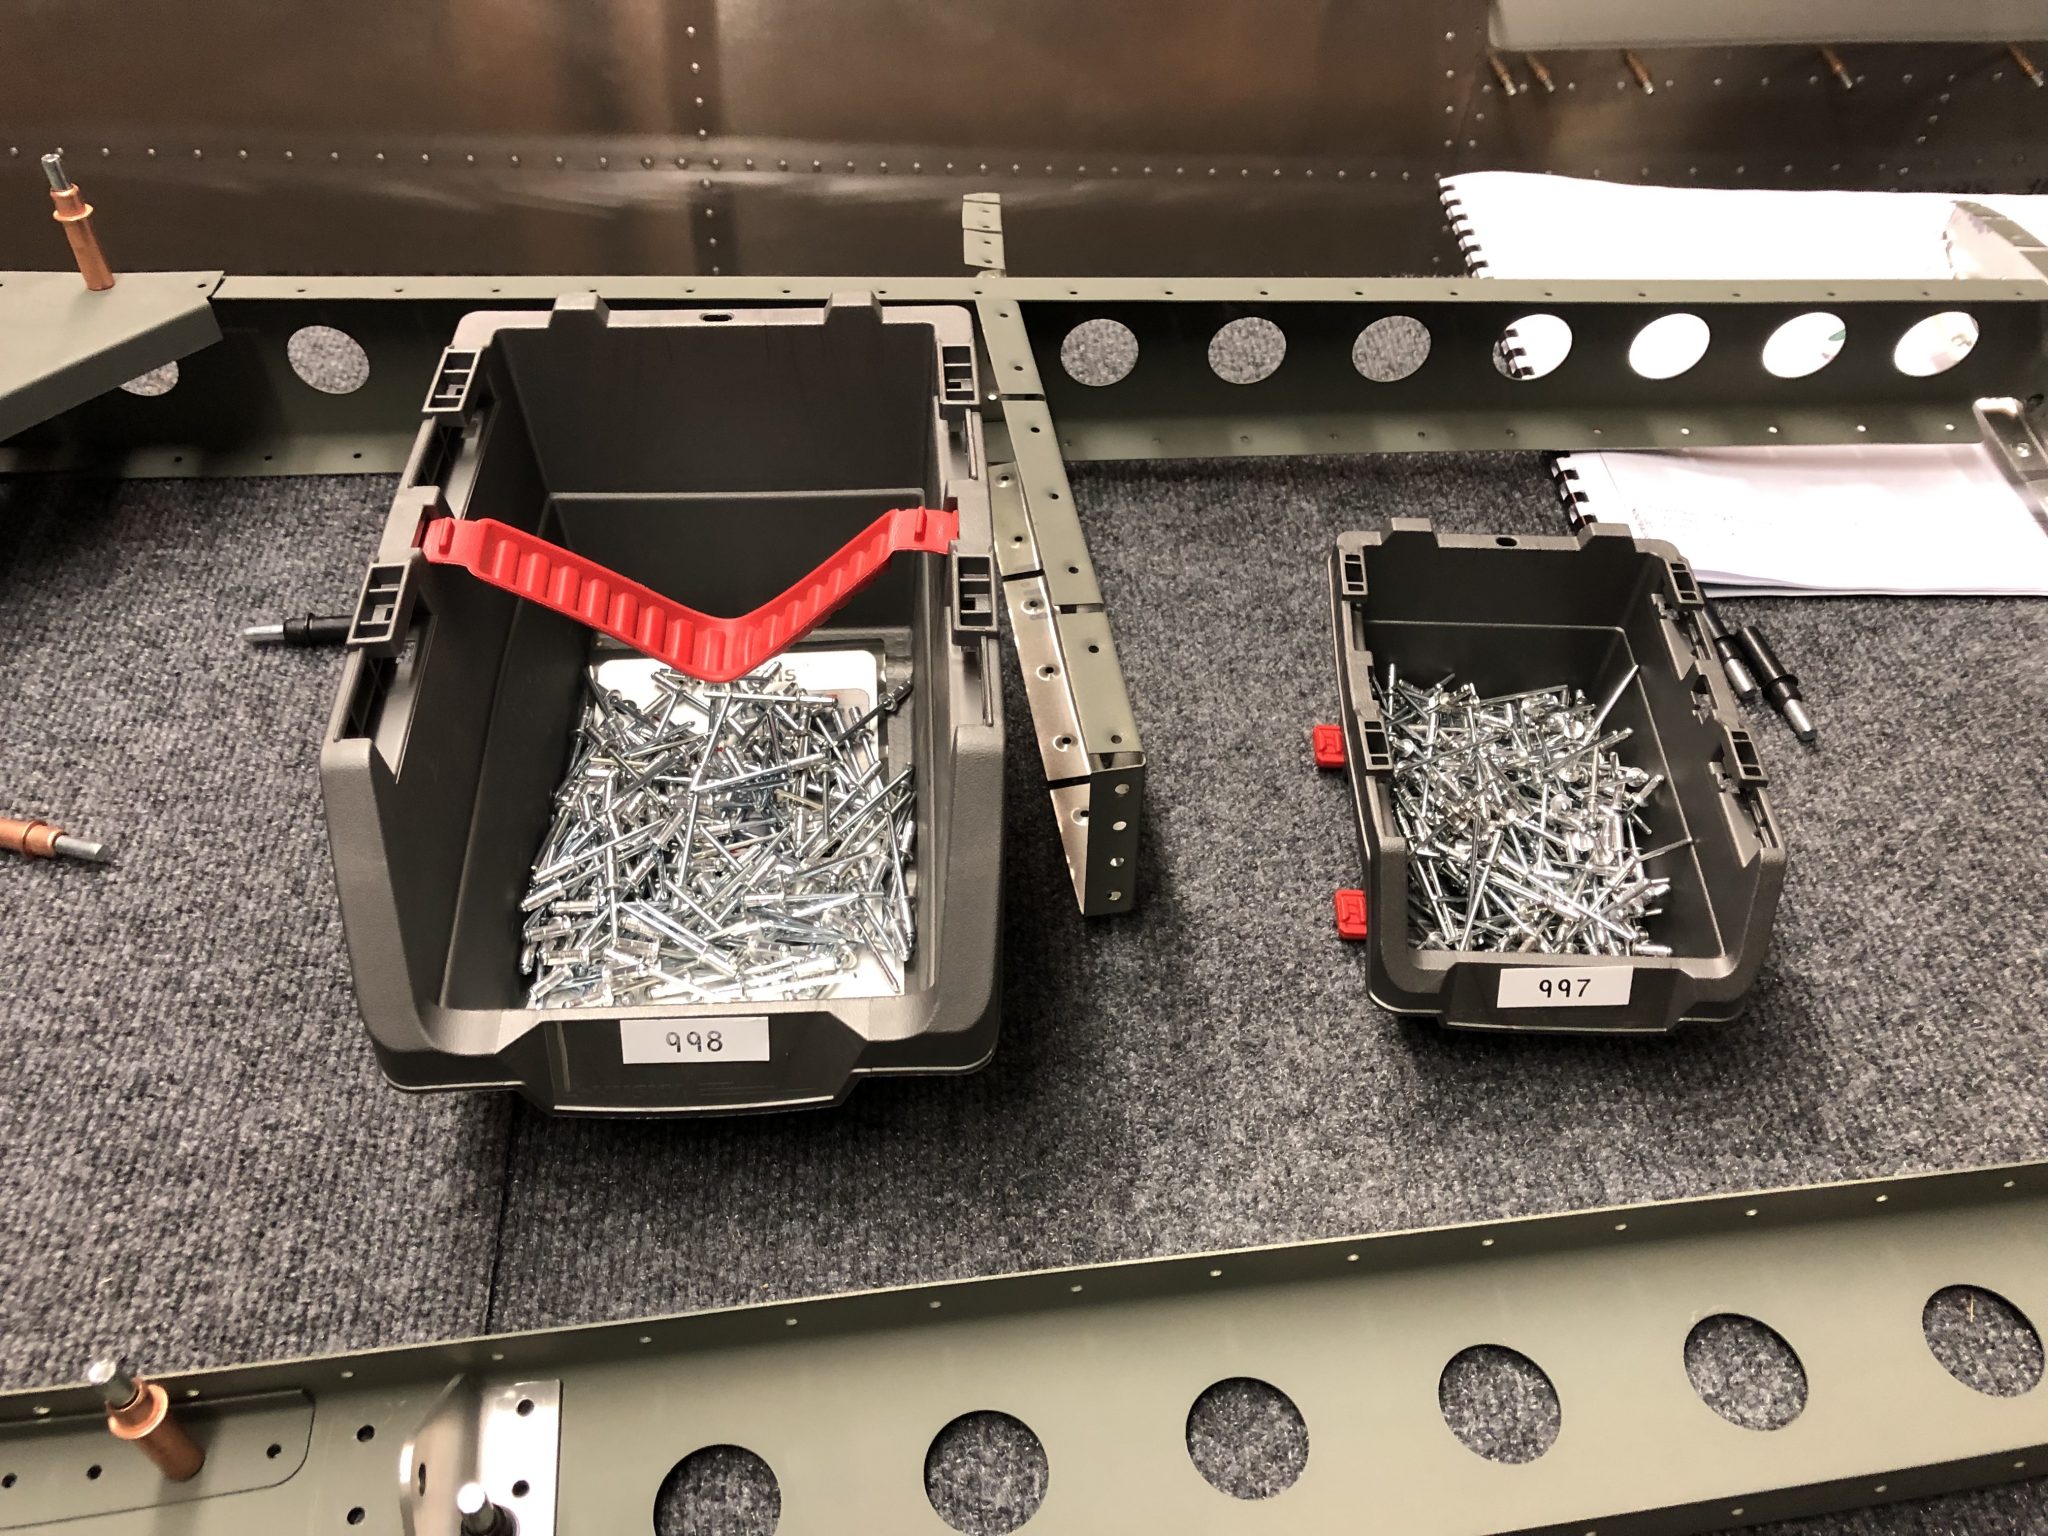
After I put together everything with Clecos it was time to pull rivets.

And here’s the riveted structure (minus the skin) of the Horizontal Stabilizer: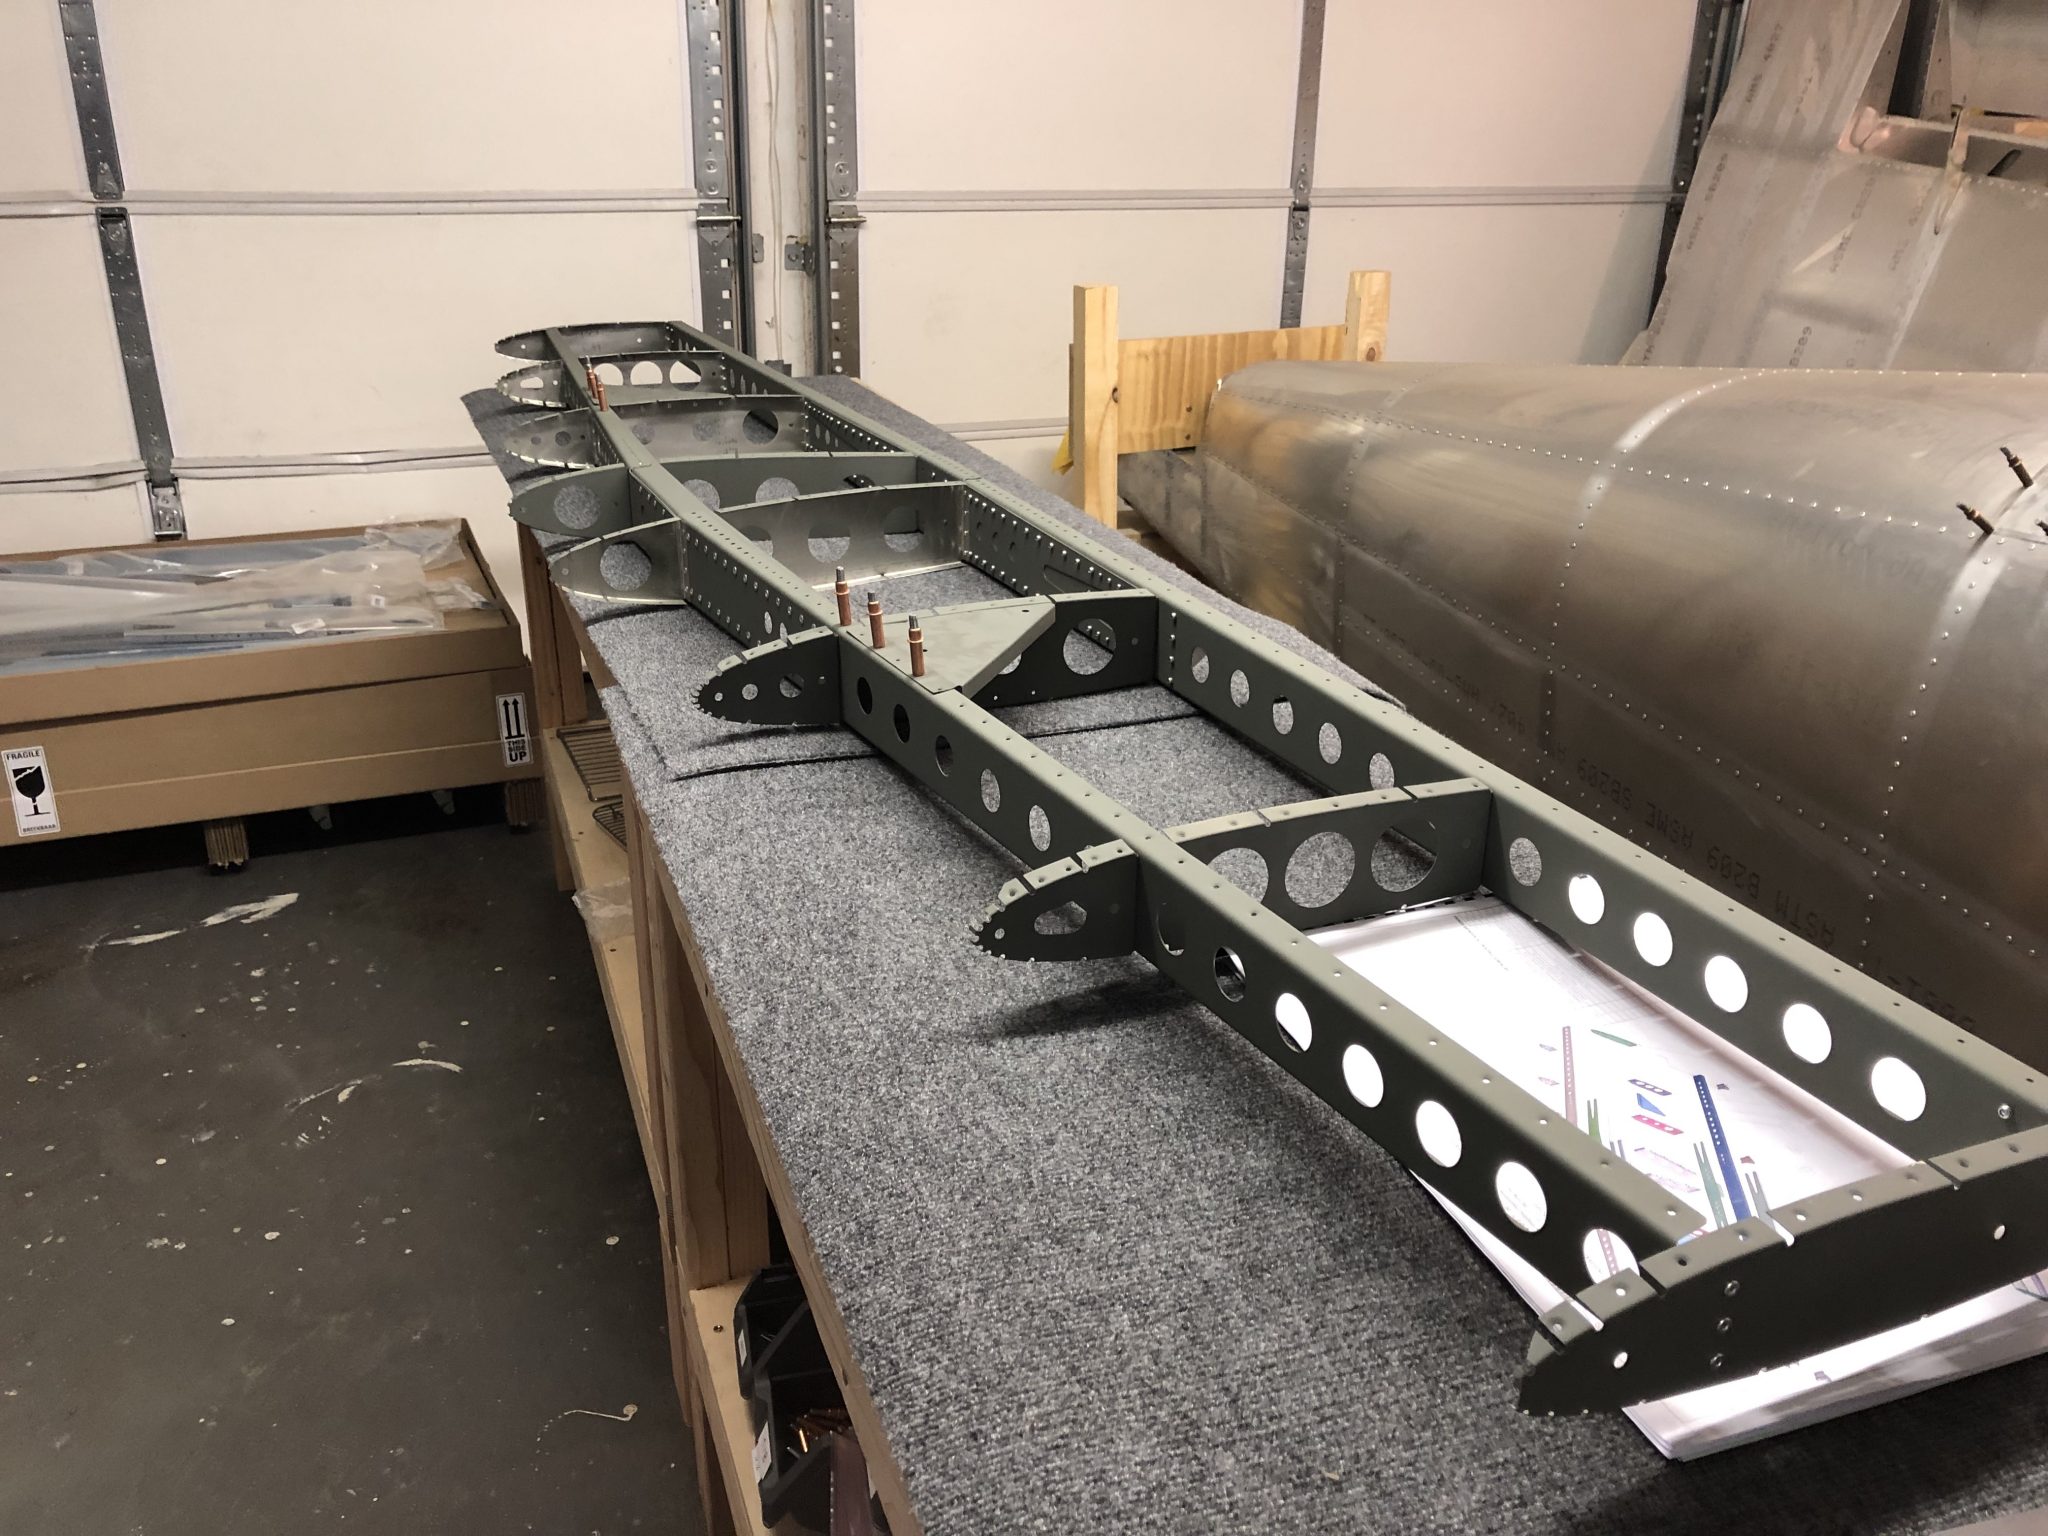
I’m also trying to record my progress with some timelapses, so here it goes:
Why do you attach the wings? I guess it is to attach and then deattach, so you can be sure they fit?
Yes first you want to make sure that you have all the parts in the right place before you rivet it together, since the rivets are permanent (unless you drill them out).