After cutting the hole for the inspection panel a few days ago, I continued and ran the wires for the heating.
I figured out where I want to run the wires a while back after some tinkering and I am using one of the strut channels for the length of the wing, except the very end at the wing-walk where I had to make one curve down the bottom.
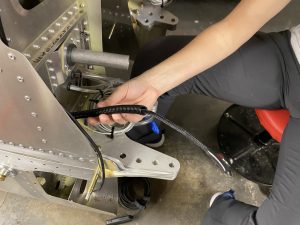
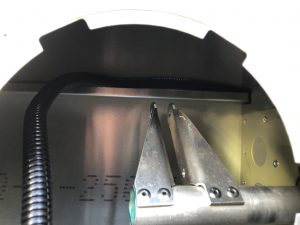
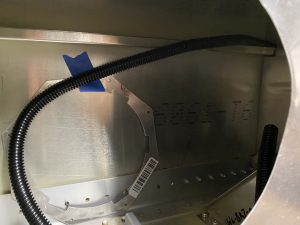
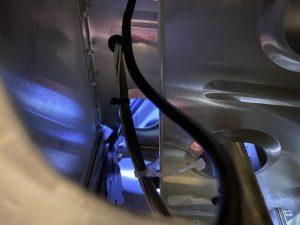
After some trial and error, I found that 3/8 in size wire loom tubing fits perfectly in the channel and with the help of my Wireless Endoscope connected to my phone I was able to finagle it through the wing with some mild scrapes on my arms.
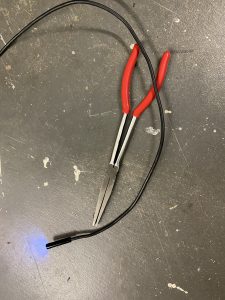
The hardest part was figuring out a good way to come out the bottom where the wing-walk is, since the strut channel doesn’t go through there. On the last picture above, you can see when I finally managed to grip on to where I want the loom to come out of with the help of some duckbill pliers, which were a suggestion from my EAA chapters Technical Counsellor when he visited a few months ago.
Running the wire
With the question of where to run the wire solved, onto actually running the wires.
I am installing the Garmin GAP 26 Heated/Regulated Pitot Tube, which comes with a Regulator that needs to be installed next to the Pitot tube and controls whether the Pitot tube actually needs to be heated.
For this, there are three wires to run – two for the power and one for the discreet output, which integrated into the Garmin G3X Panel to show when the Pitot Tube is actually heated.
I ran the three wires through some braided sleeving to give them some extra protection and make running them through the wire channel easier in one go.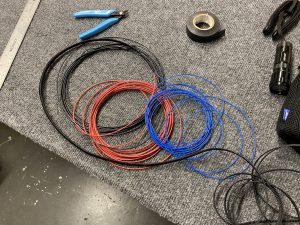
With that out of the way it “just” took a lot of back and forth, more use of the Endoscope and the thin arms of Juliana and repeated shouts of “push, push” and together we managed to run the wire all the way. She cheerfully pronounces “Congratulations, it’s a wire” as it came out the other end.


Pingback: Installing the Pitot Tube - Philip's Sling TSi Build Log
Are the all 3 wires required the 12 AWG spec Teflon wire?
No, two wires are 16 AWG for power and one is 22 AWG for the discrete signal to the panel. This was based on my chat with Adam from Midwest Panel.
You can find more details about the pitot installation in the Garmin G3X installation manual, note that you will find it would ask for 14 AWG, but I confirmed with Adam that 16 AWG is sufficient.