
With the front seats almost complete apart from the lock pin mechanism, time to assemble the rear seat.
First order of business was to remove the protective plastic and do some inspecting and deburring of the edges and holes.

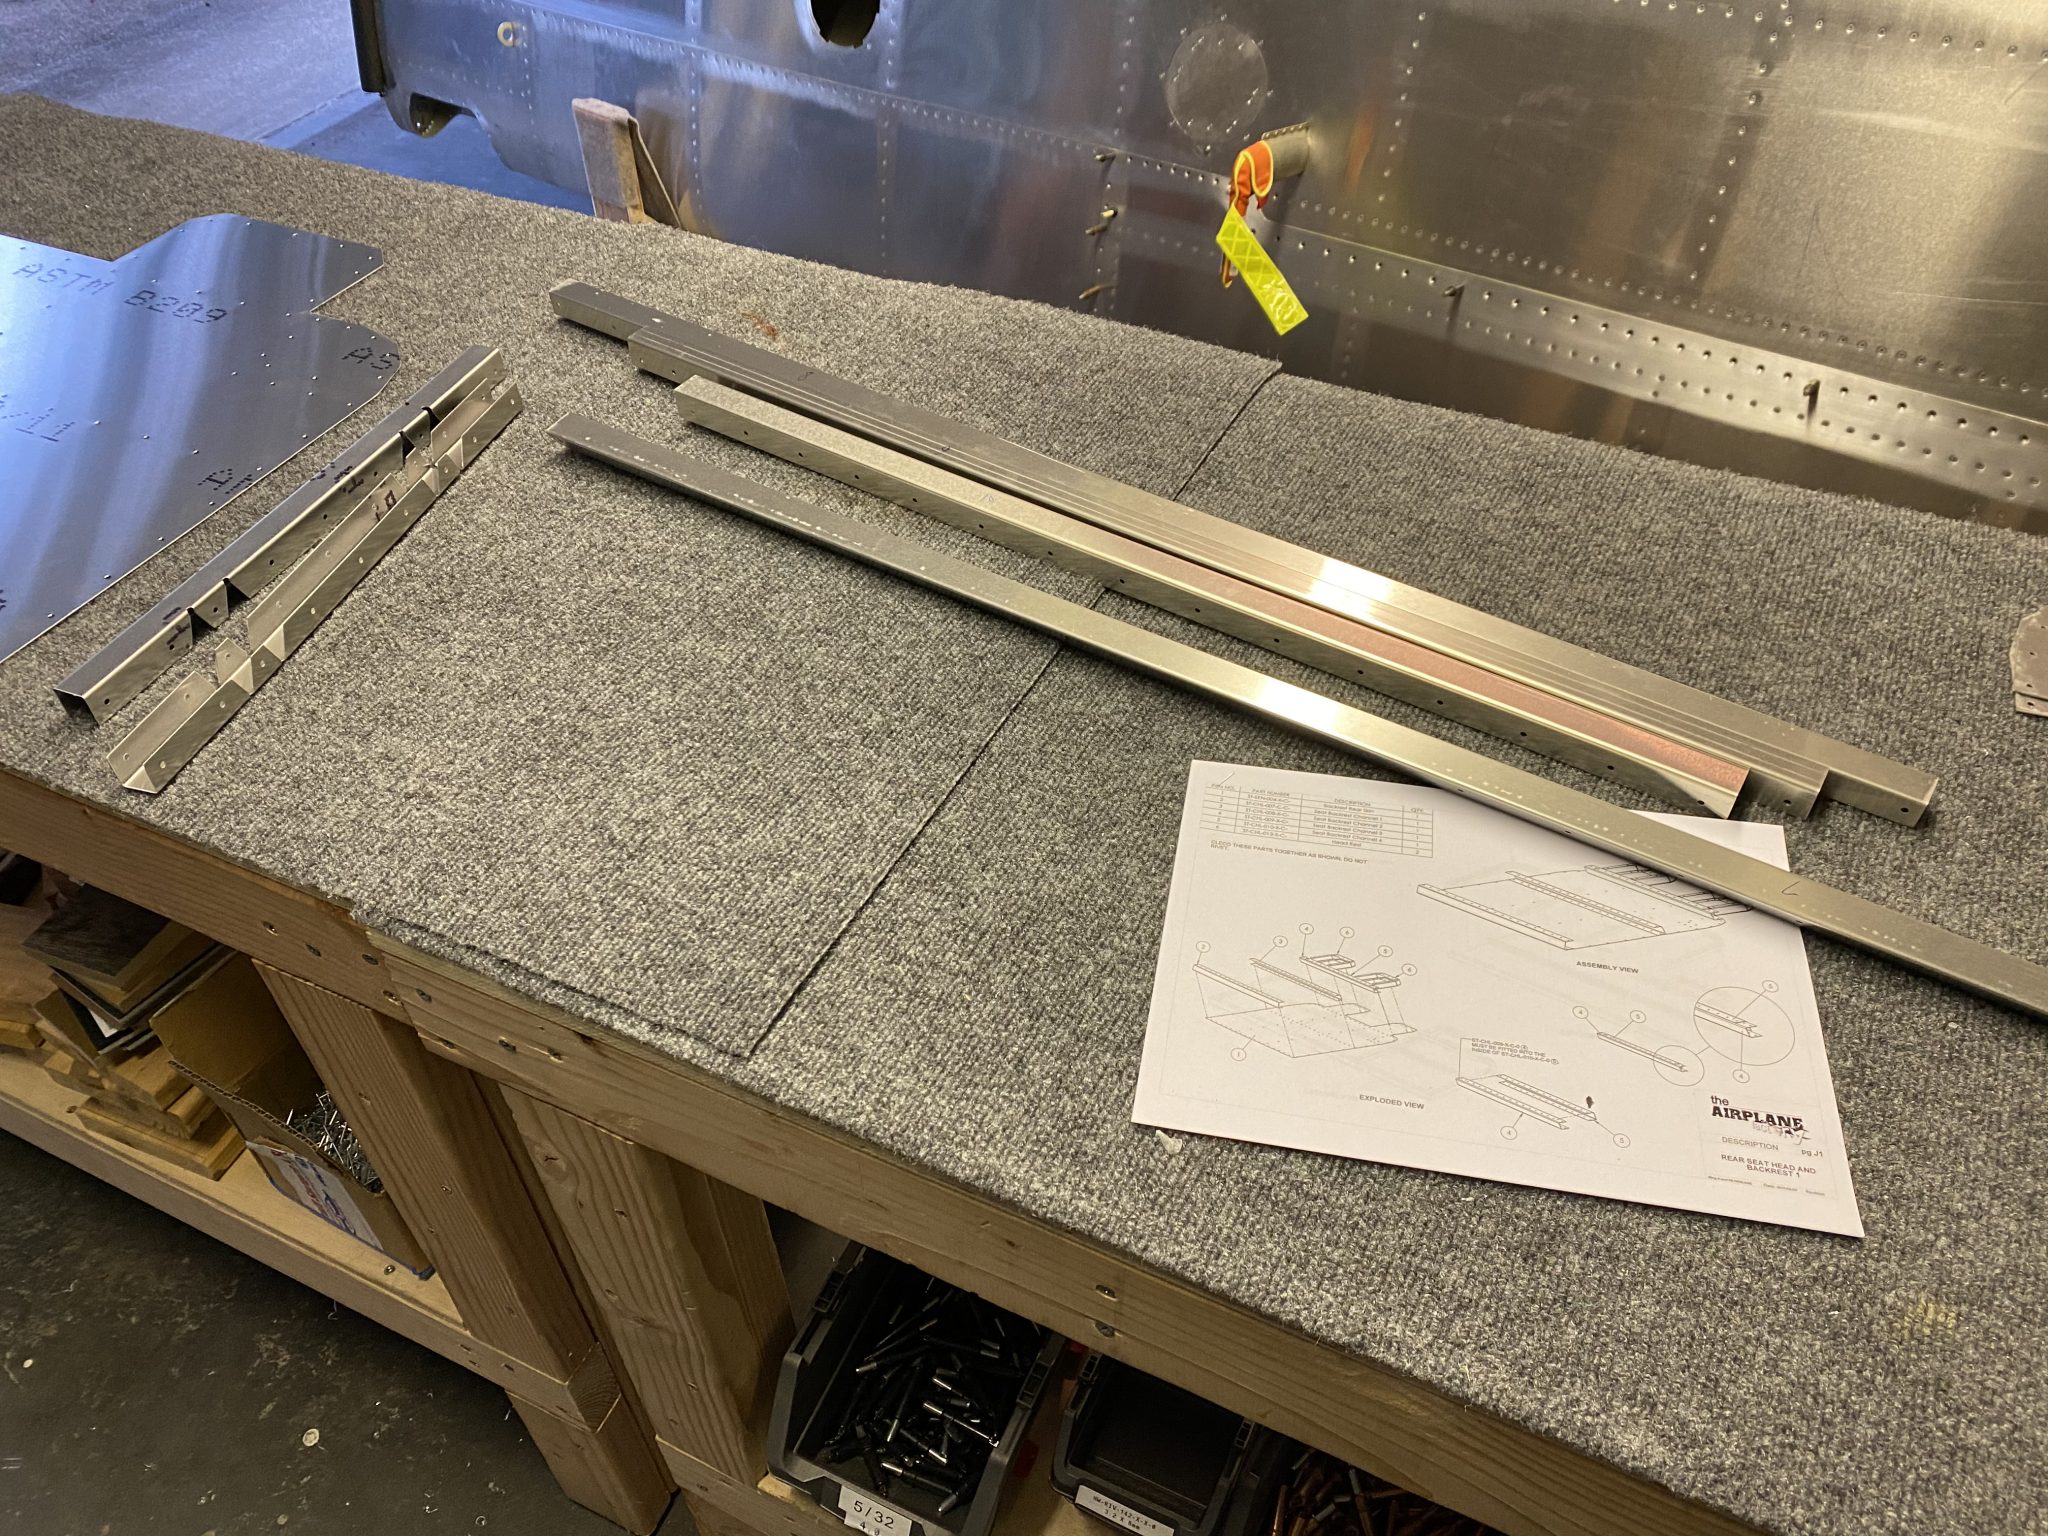
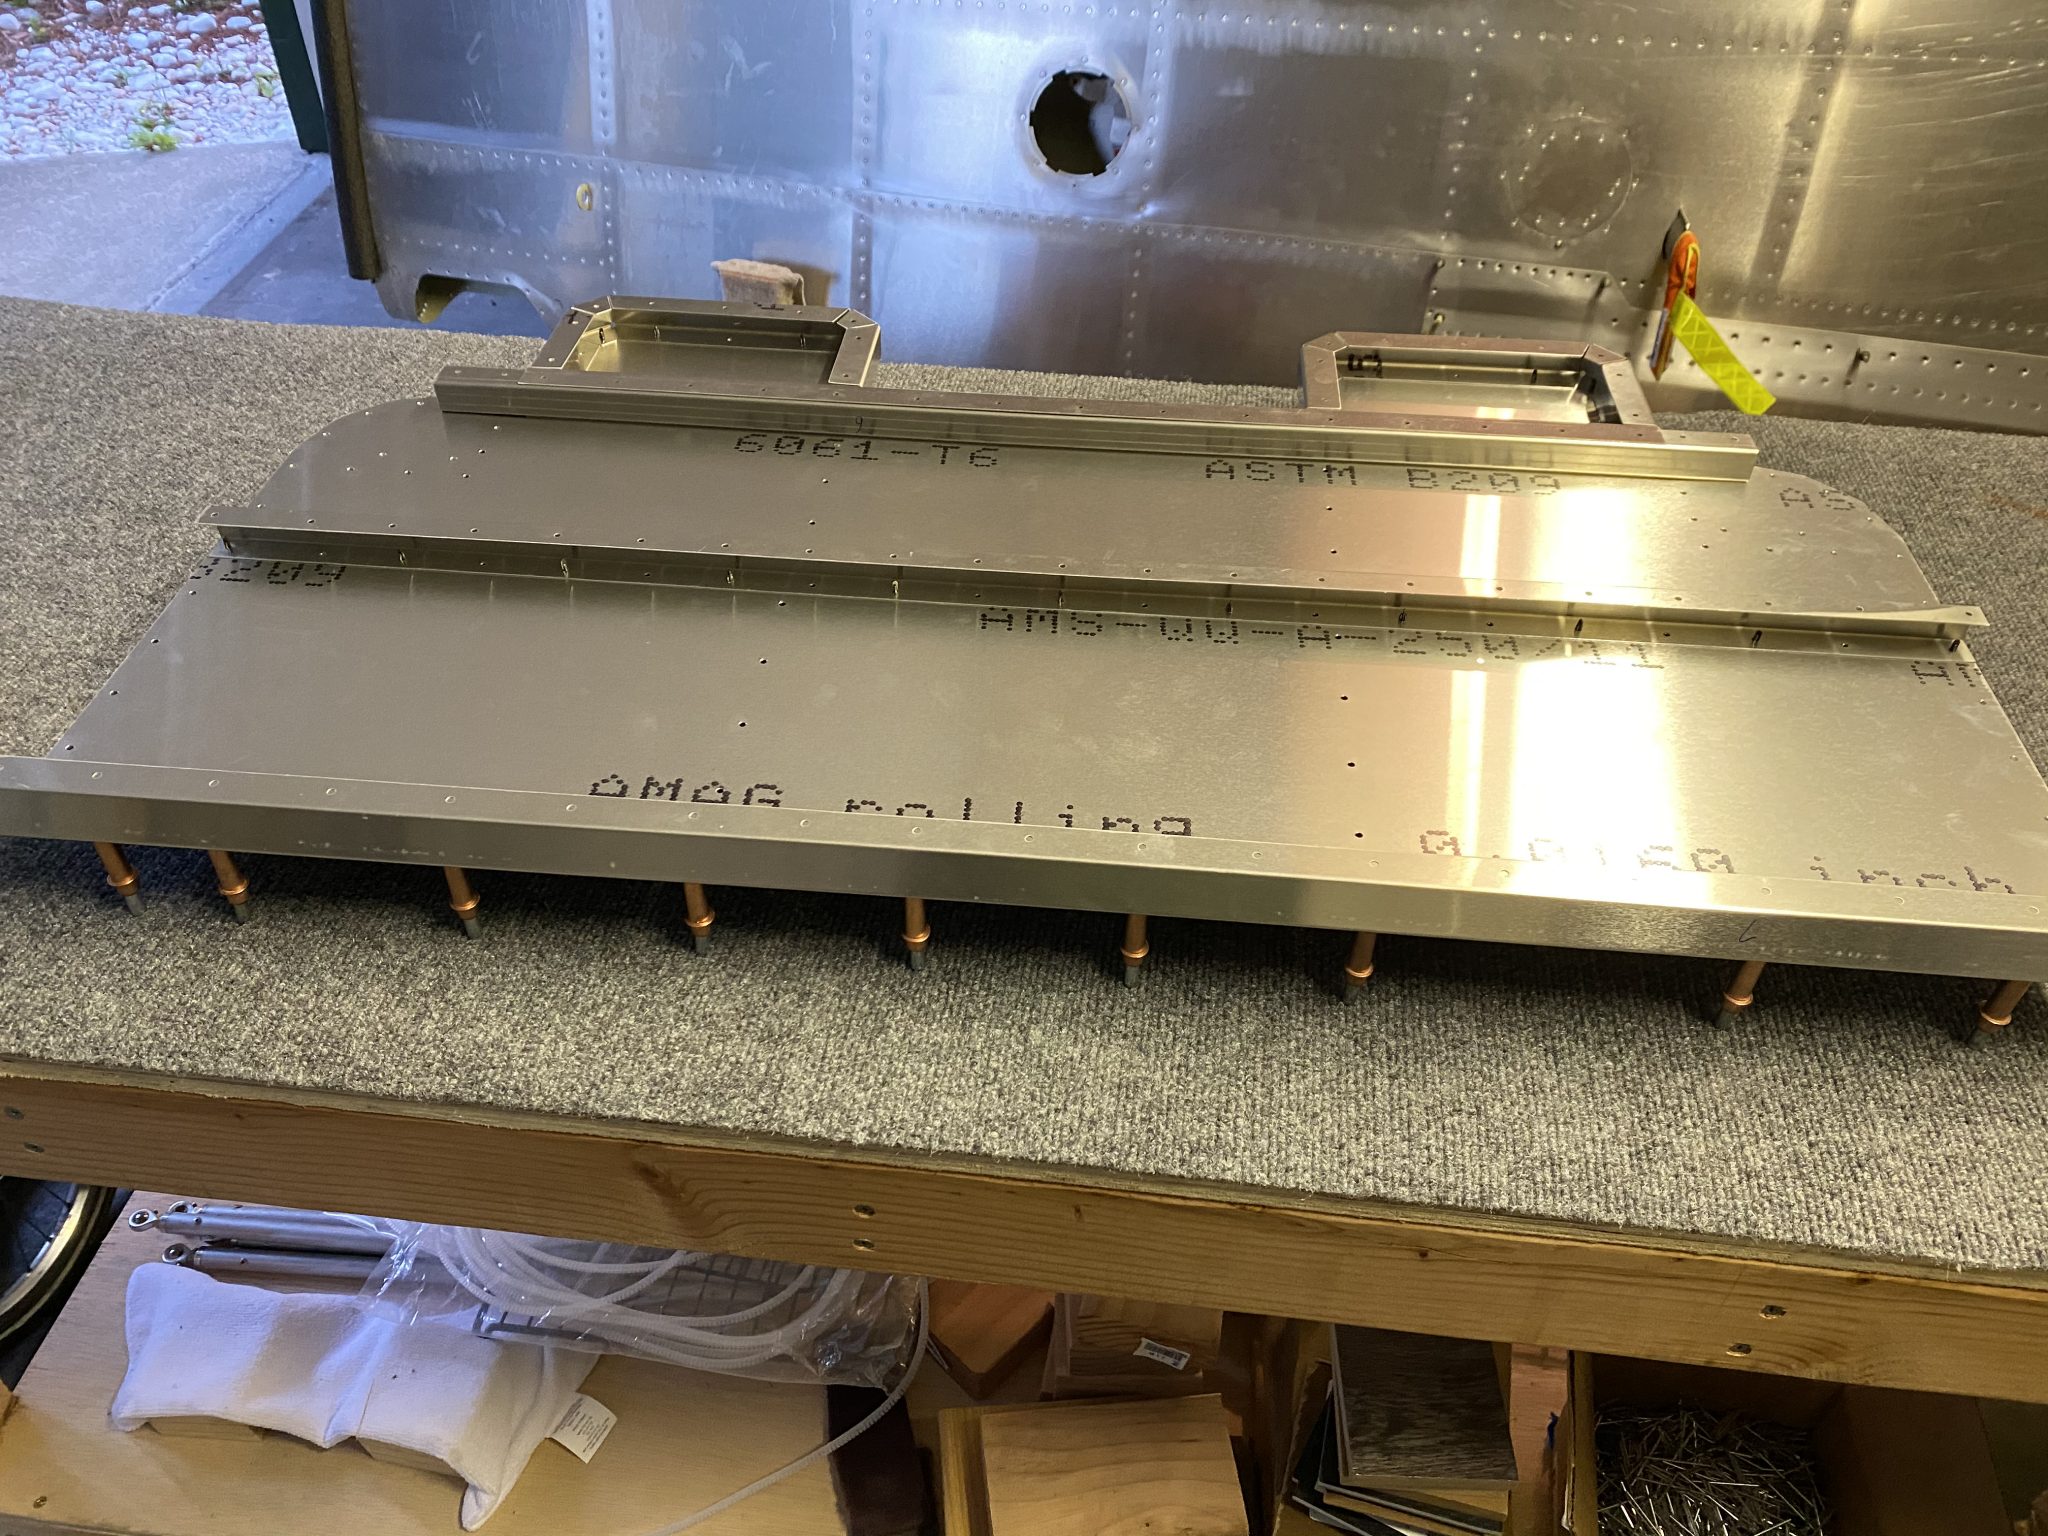
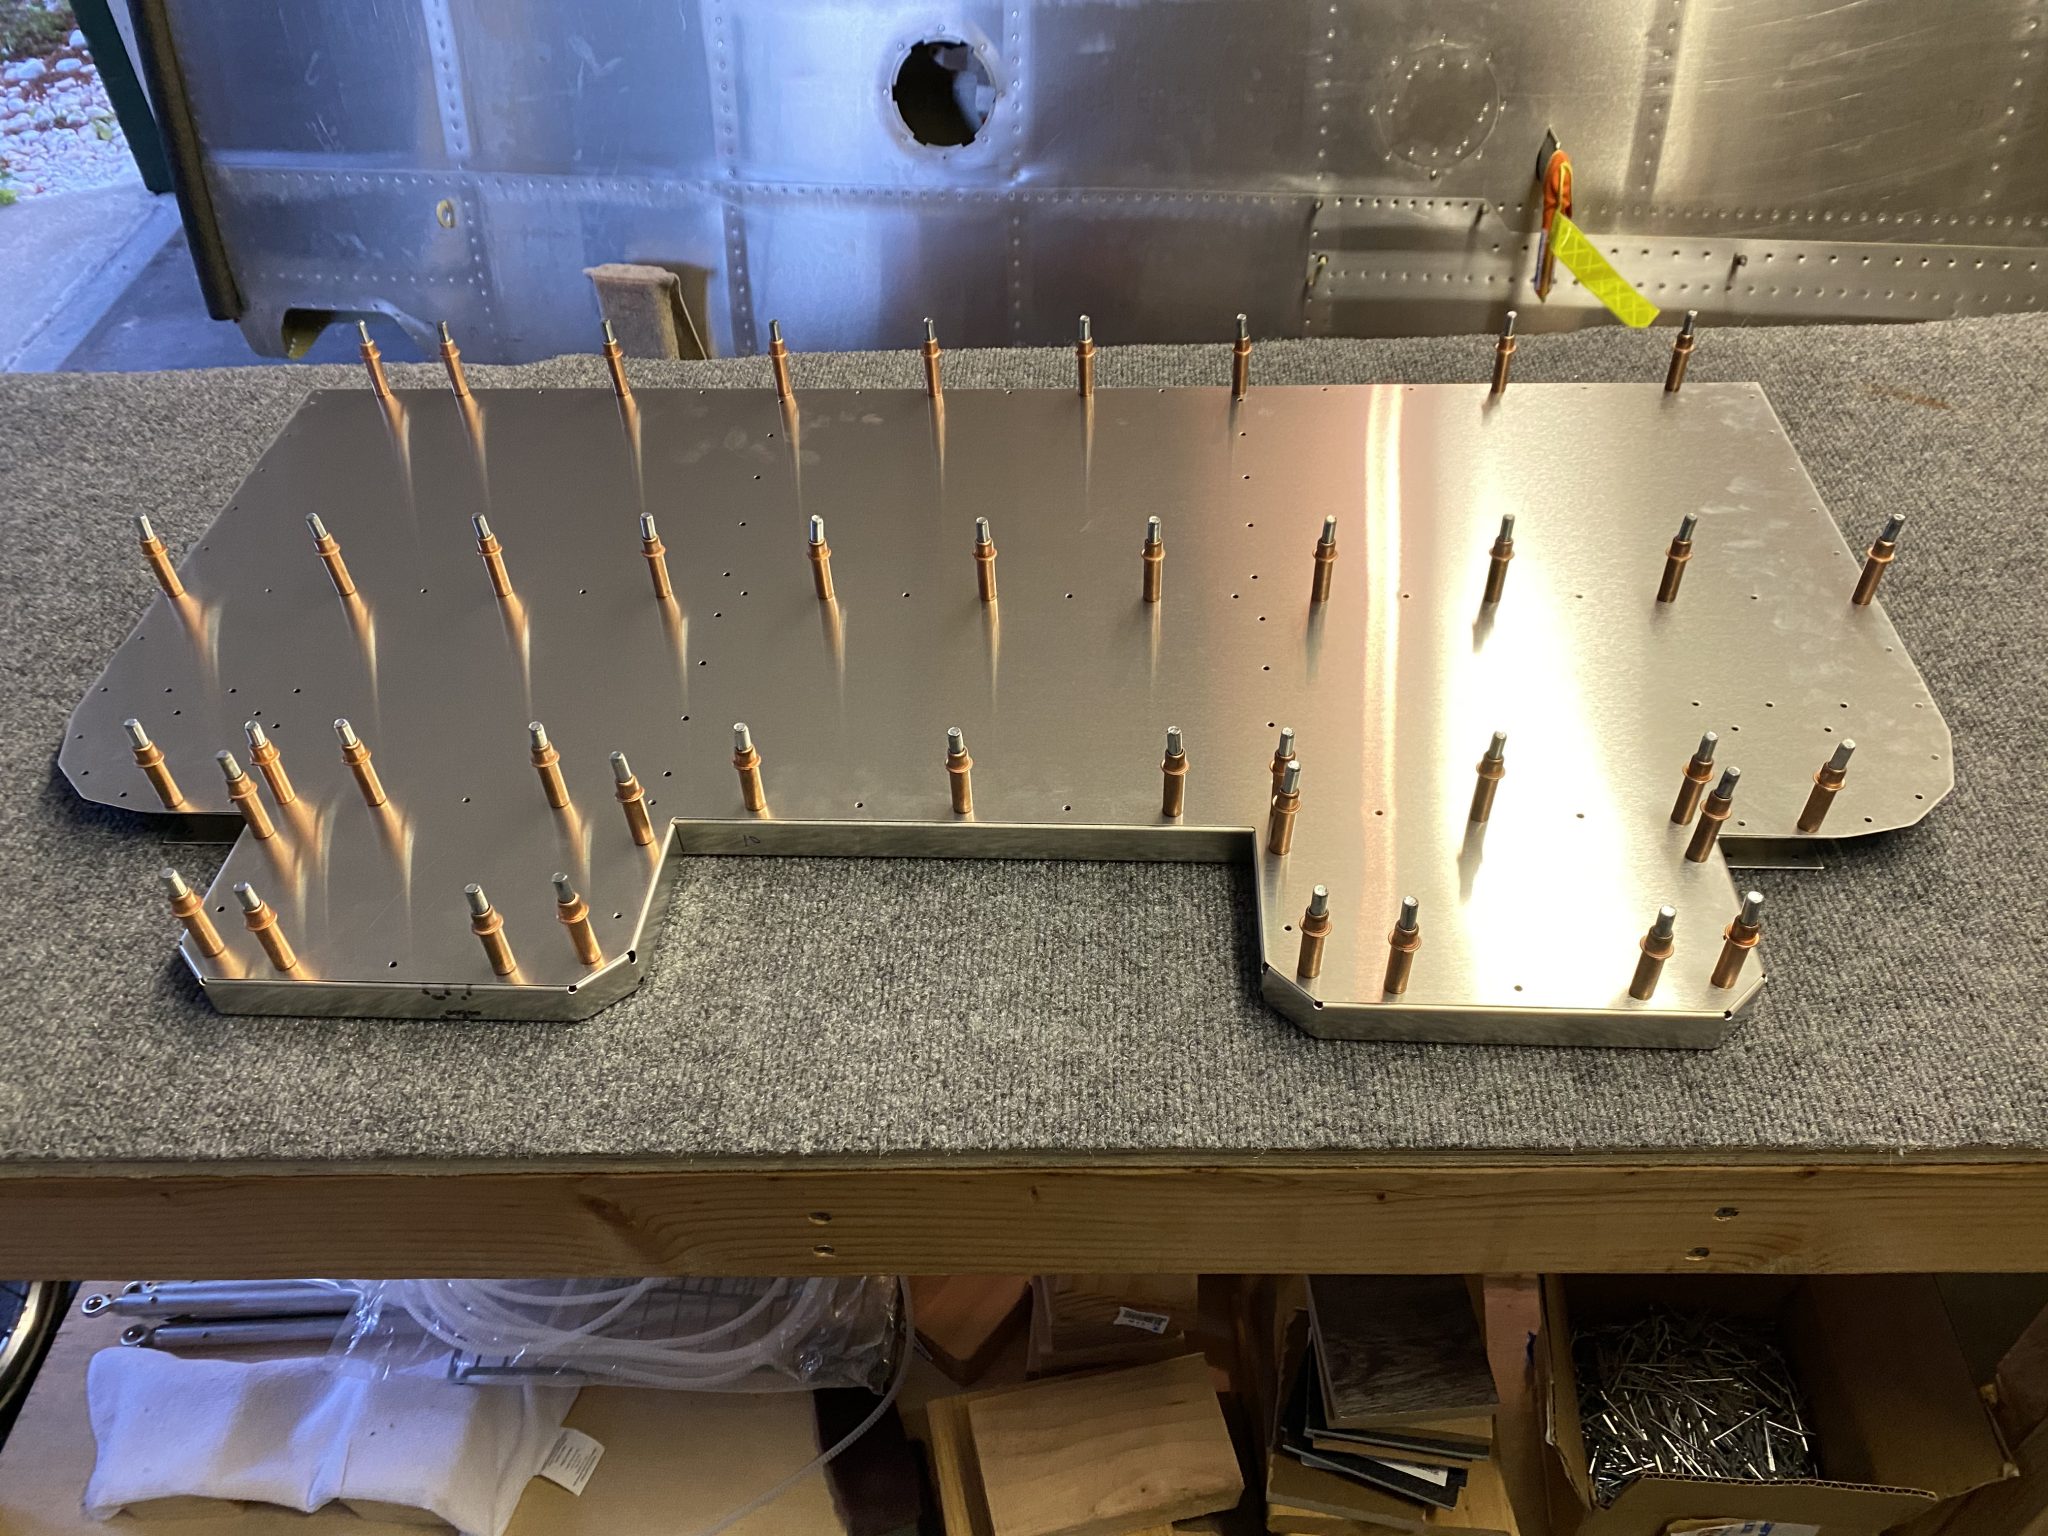
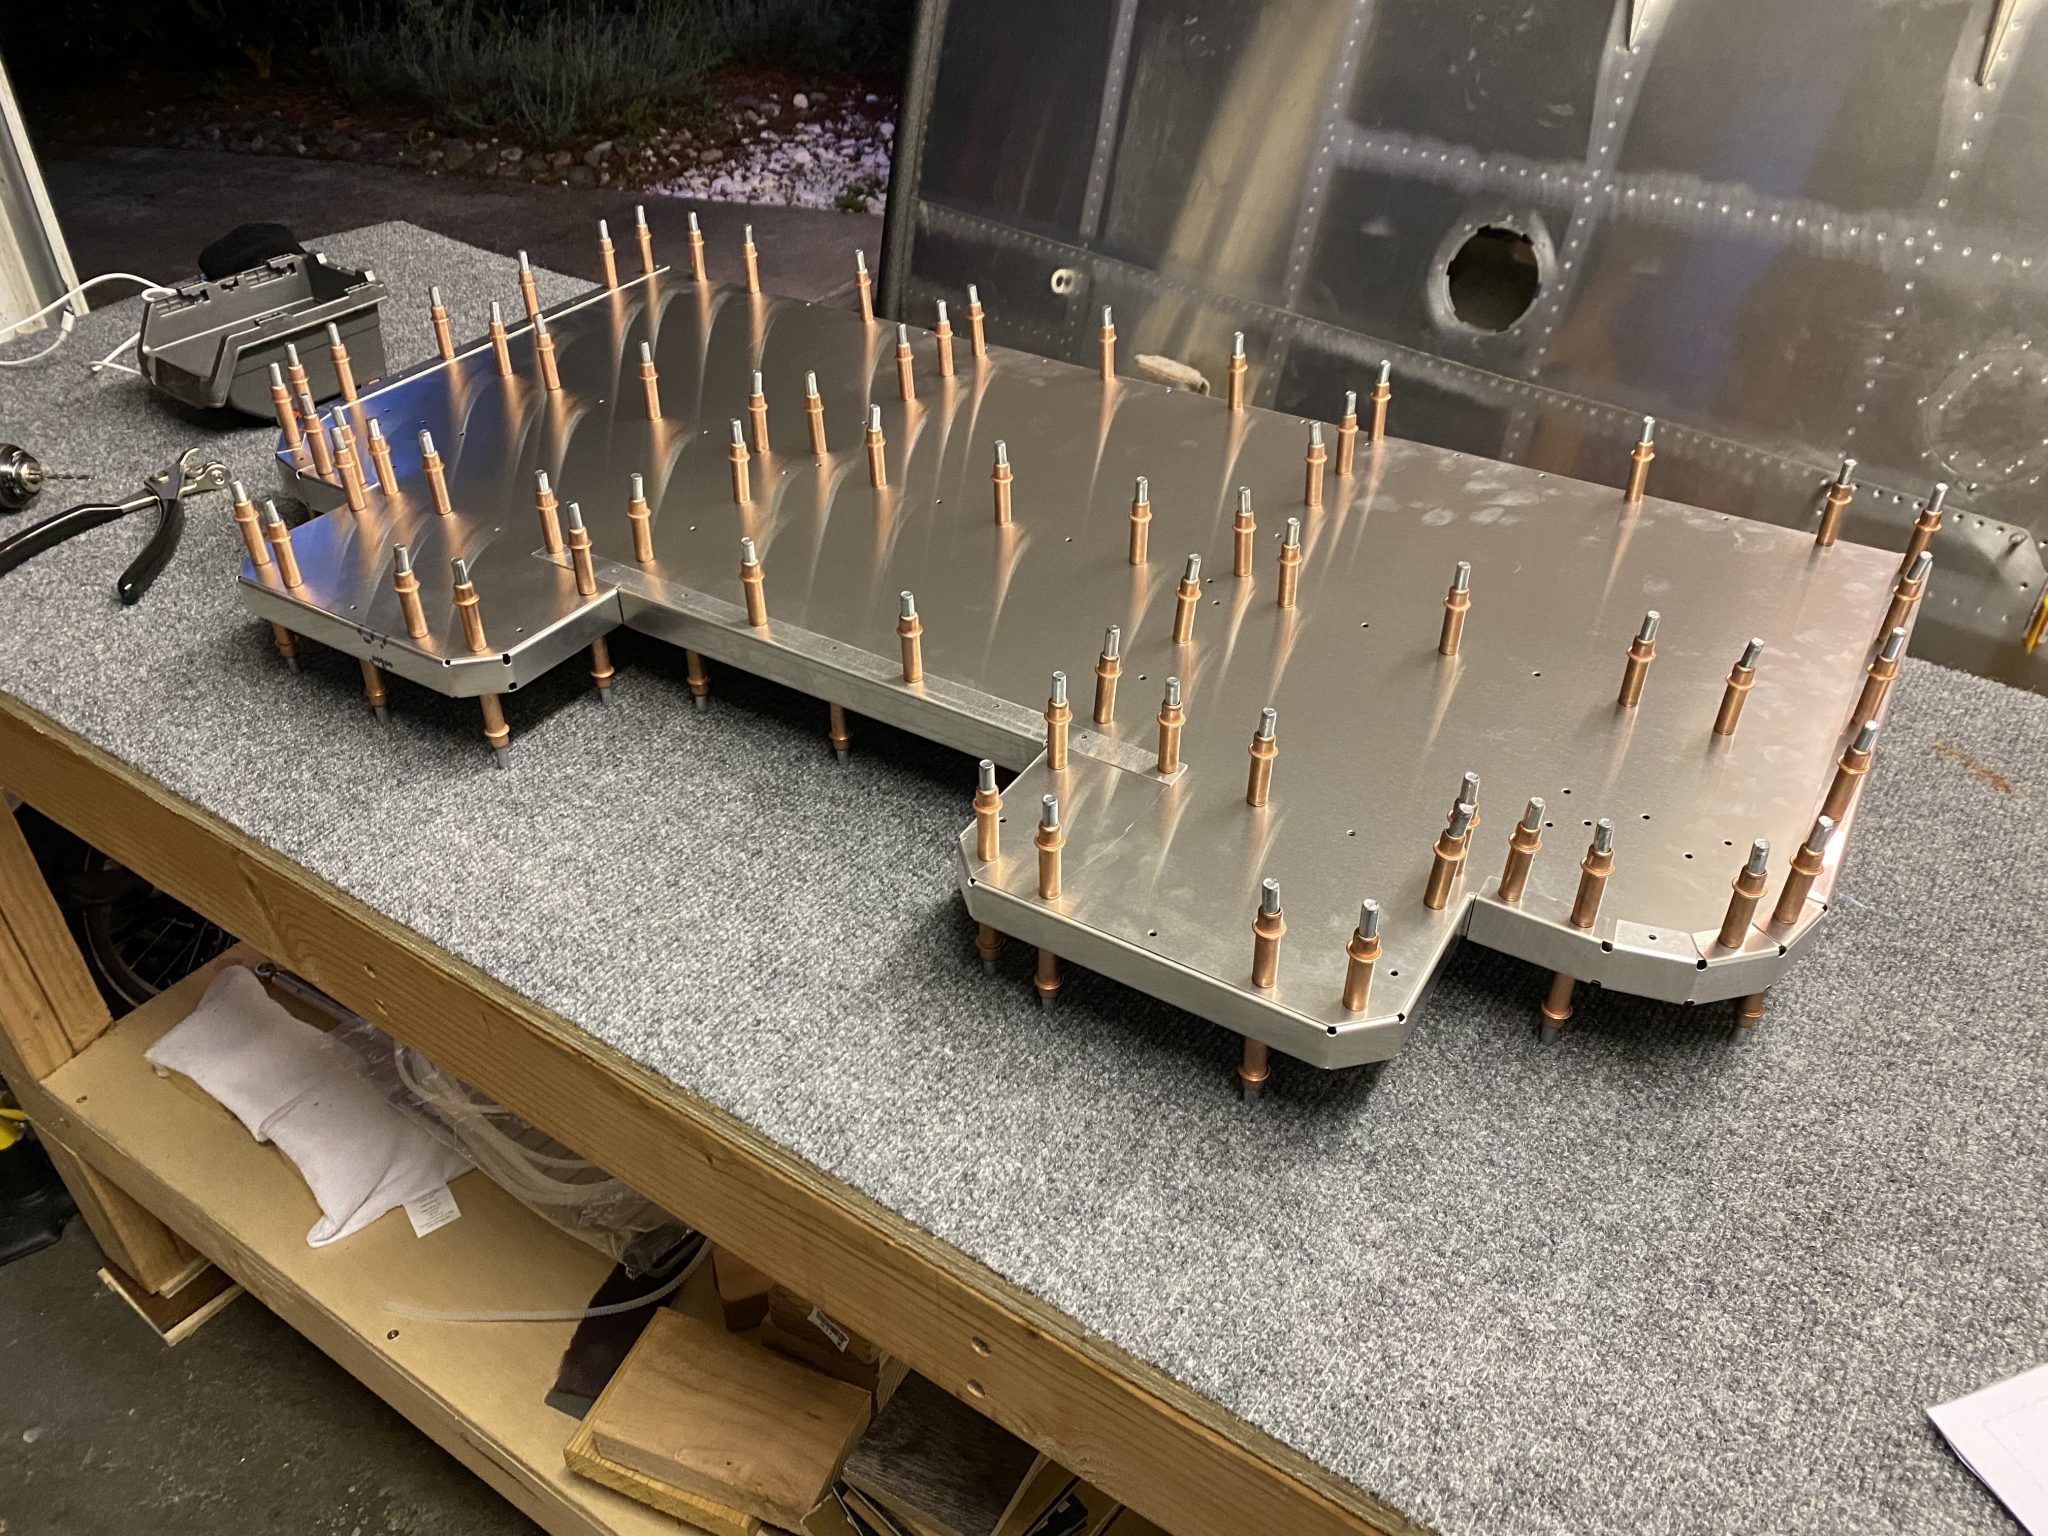
With that out of the way, time to assemble the main rib structure.
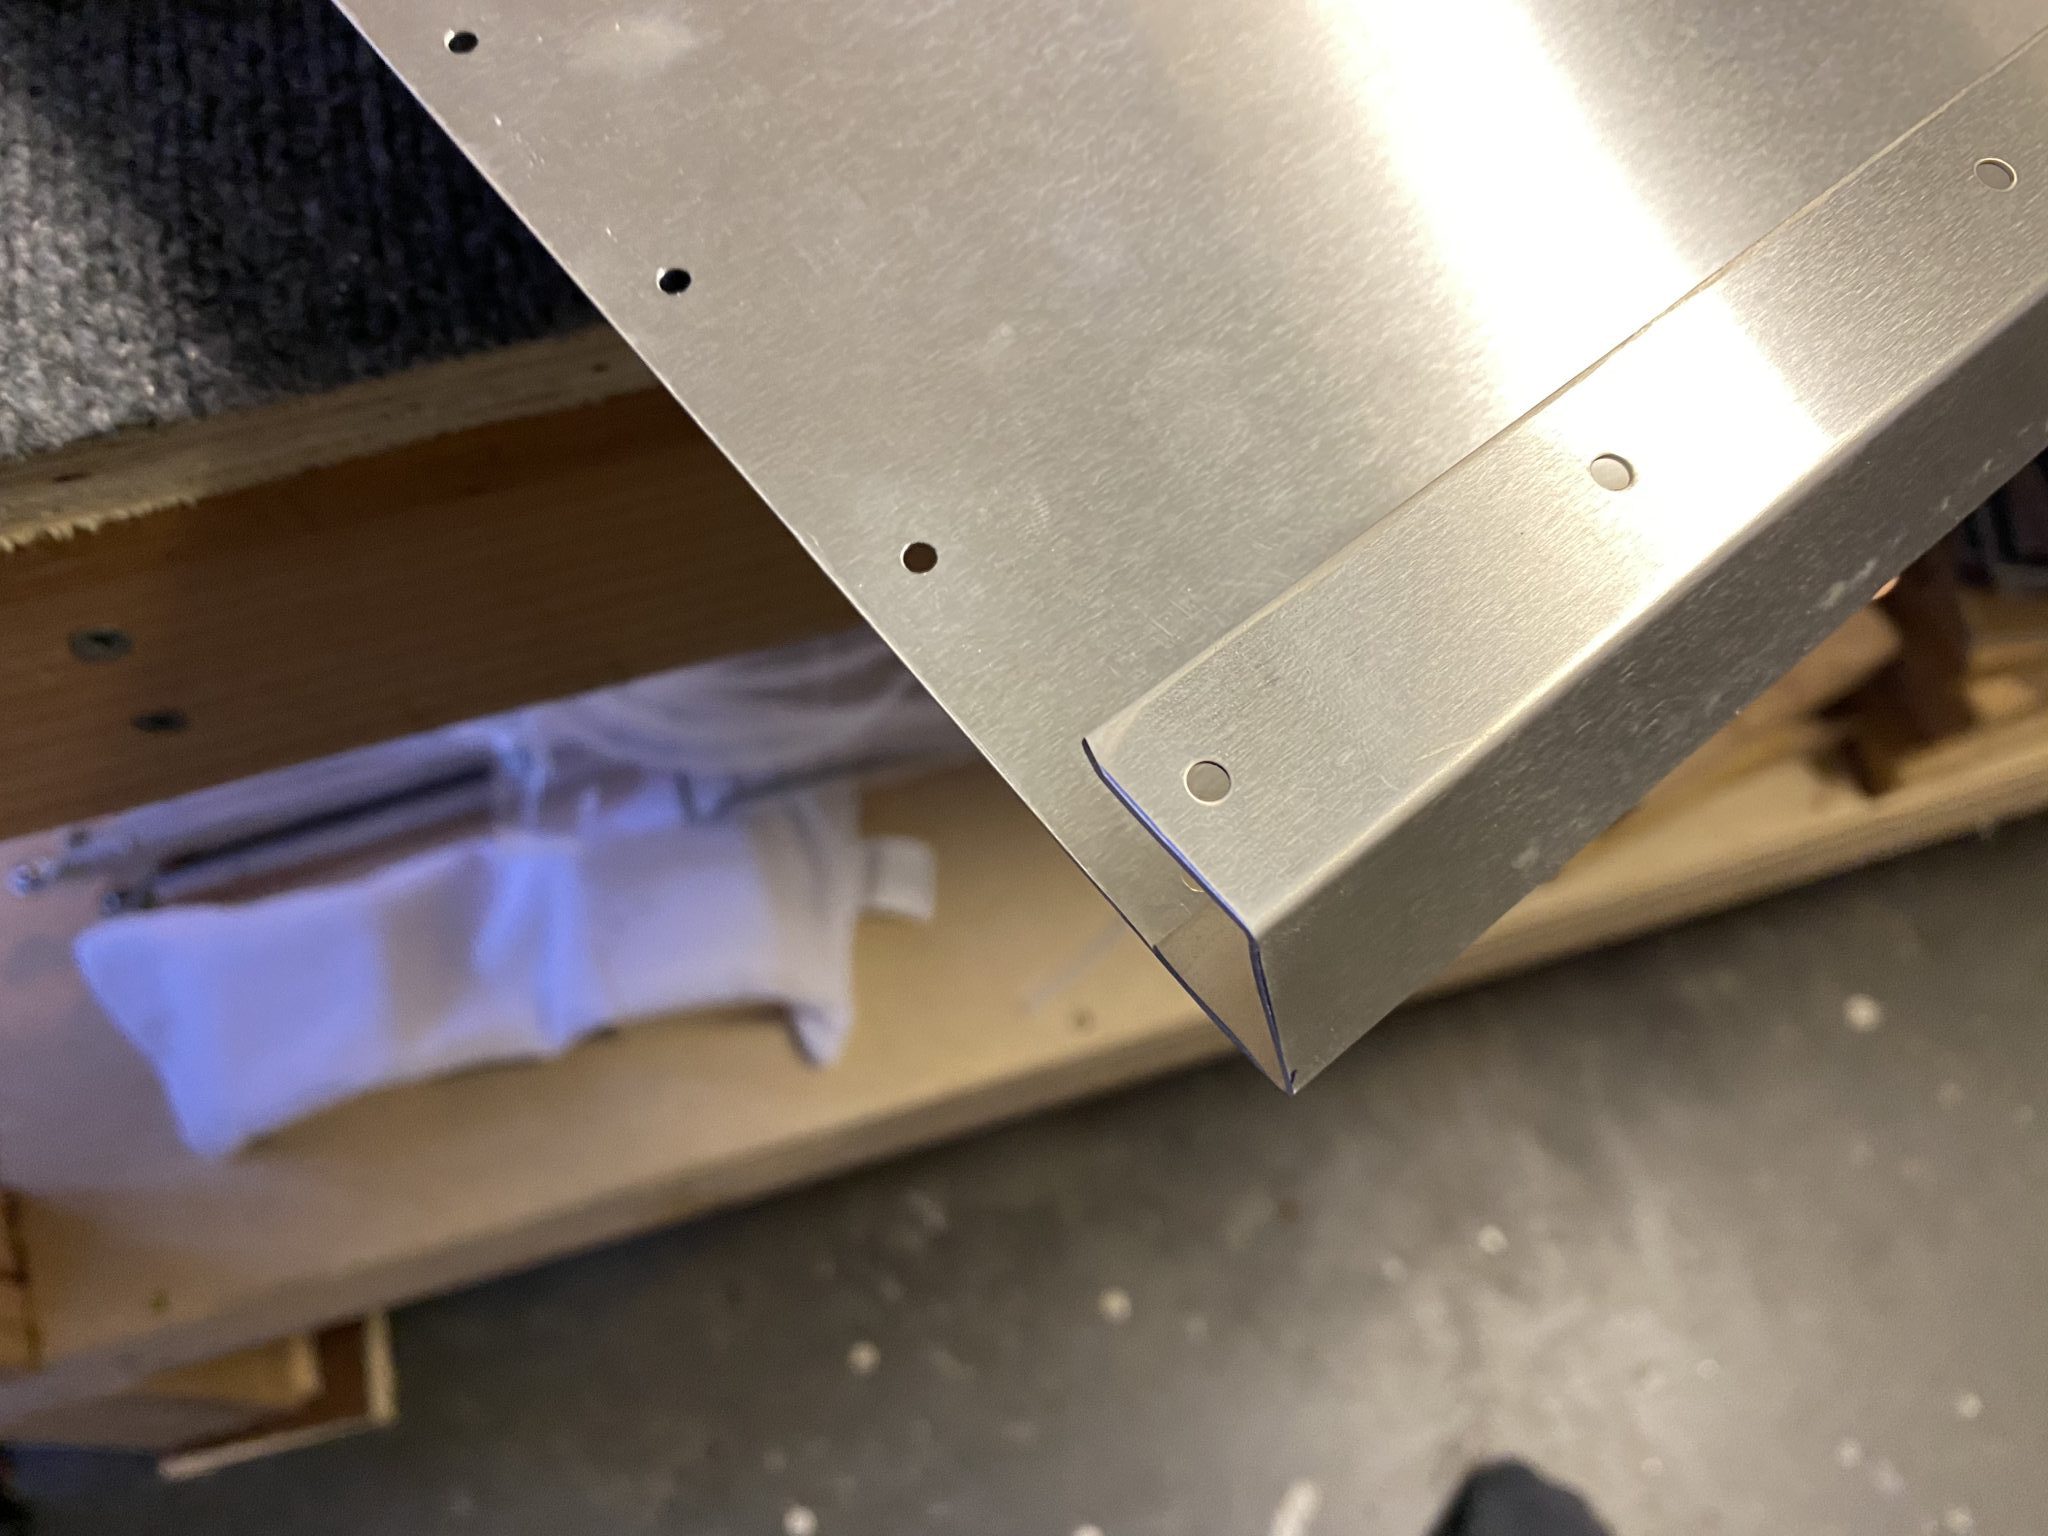
On the bottom rib there was a minor misalignment of the rib. The rib extended a little bit beyond the skin, but the holes were all drilled fine.
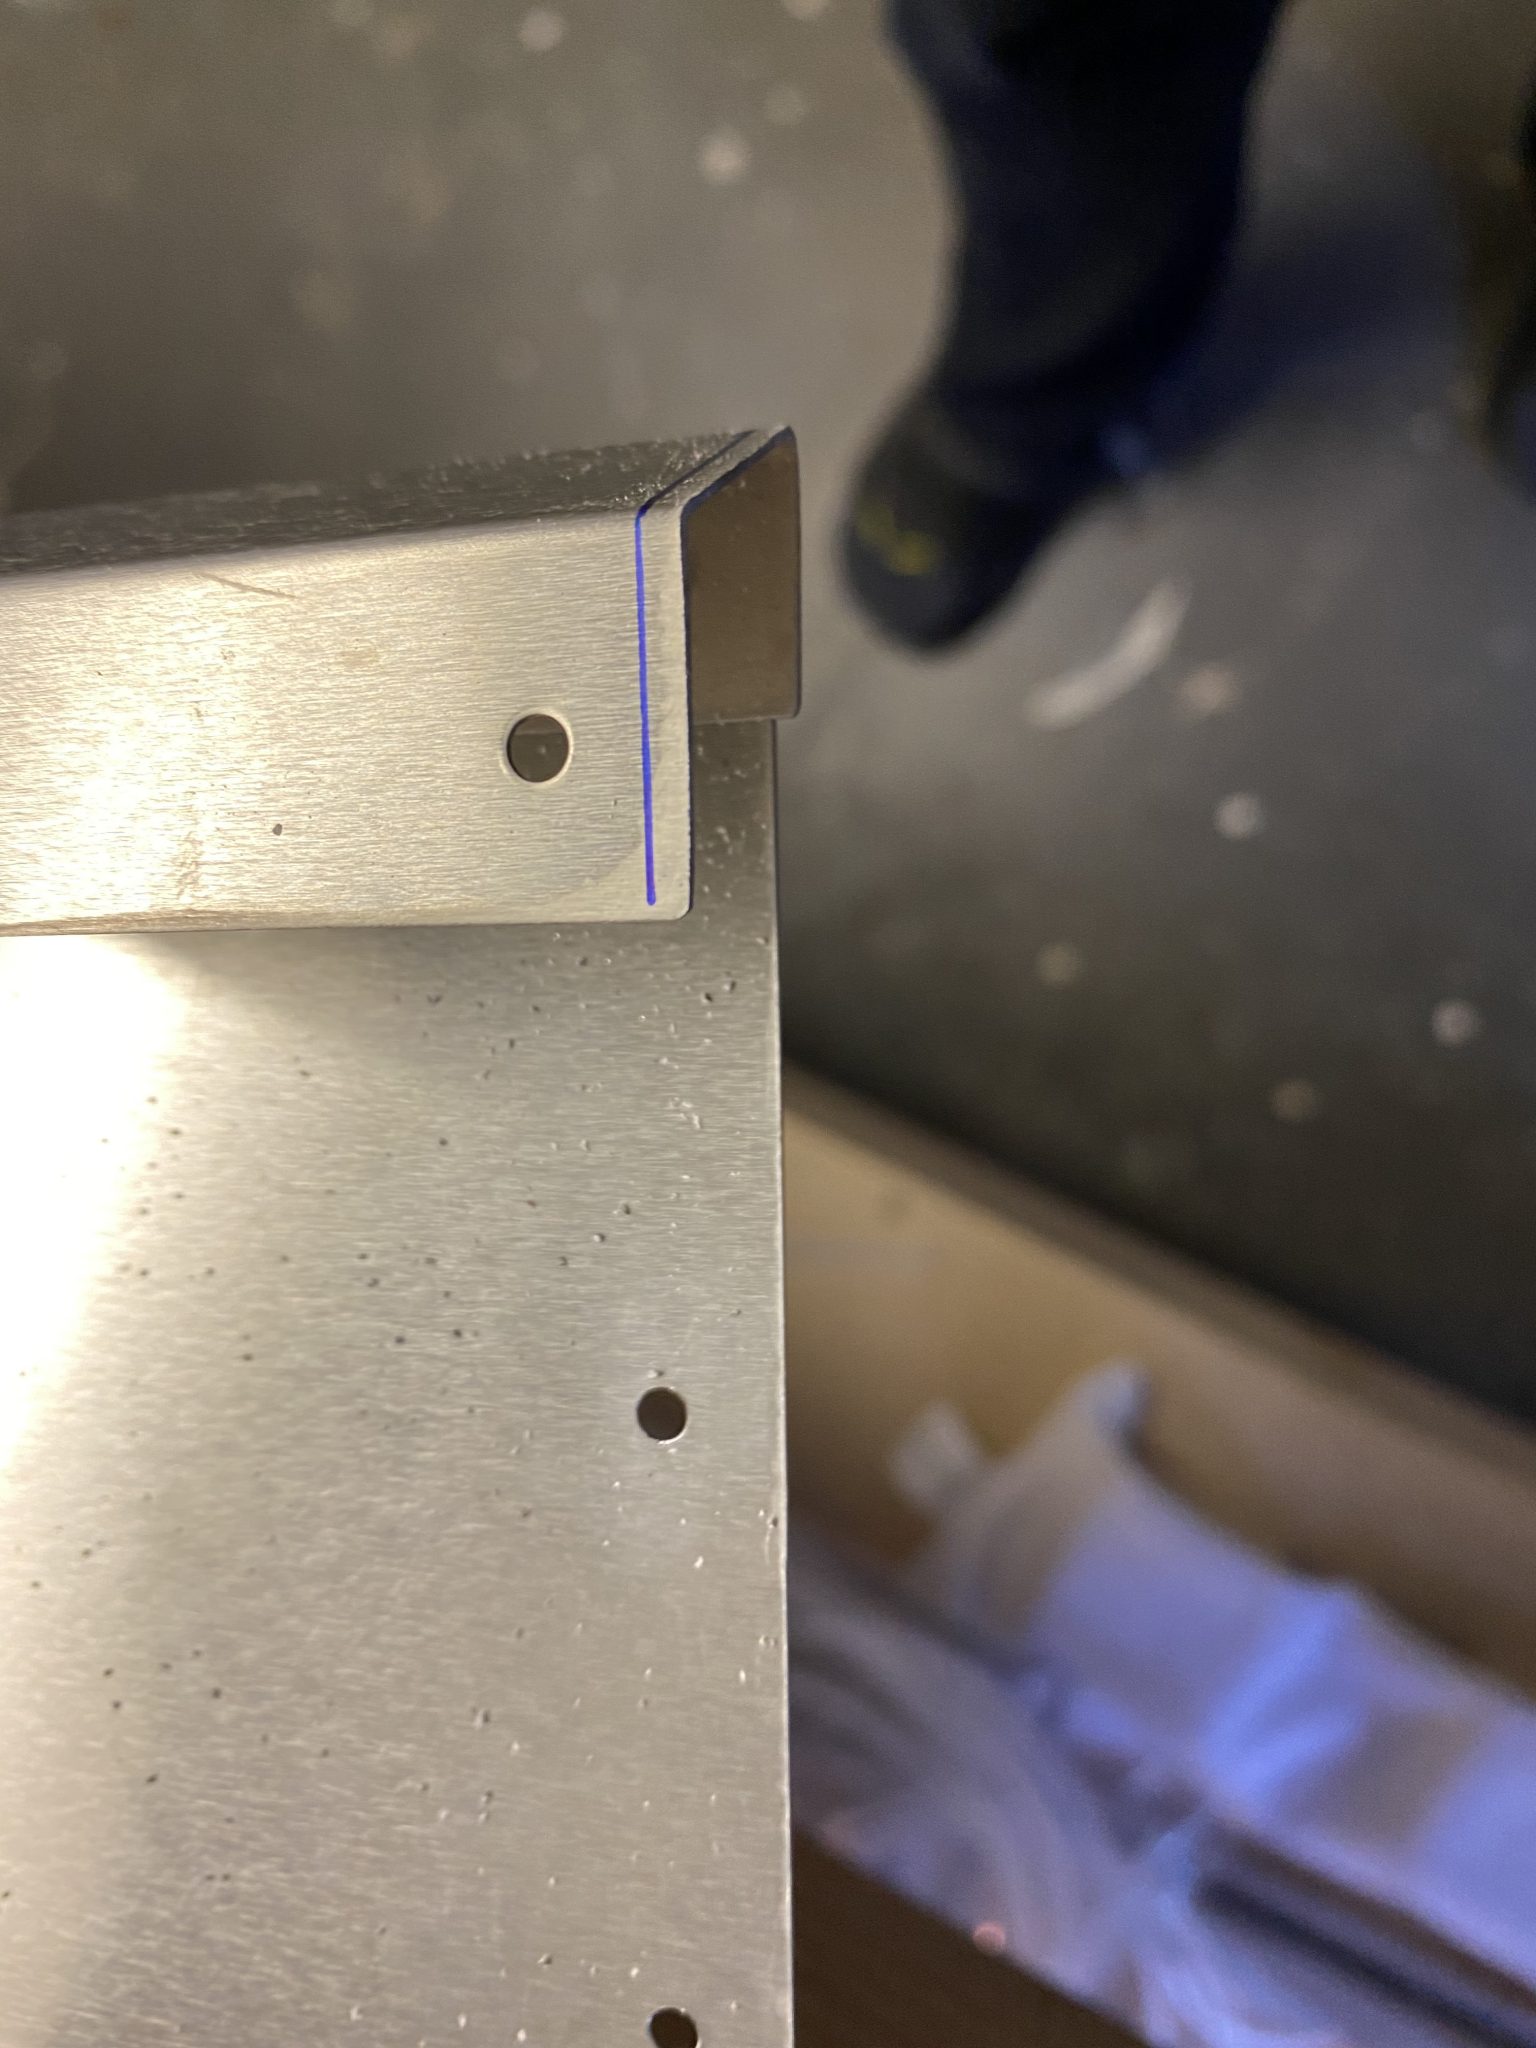
So I trimmed off the small part that extended too far.
And on to more ribs to make it a really solid seat.

The last part was to put on the front skin and make sure everything lines up. When I first clecoed it on some of the ribs didn’t align, so I unclecoed the skin again, then centered it and clecoed it again and everything fit well.
Next step will be to rivet it all together.