With the wiring finished and the Antenna fitting done, I am now finally able to close up the Vertical Stabilizer and rivet the skin.
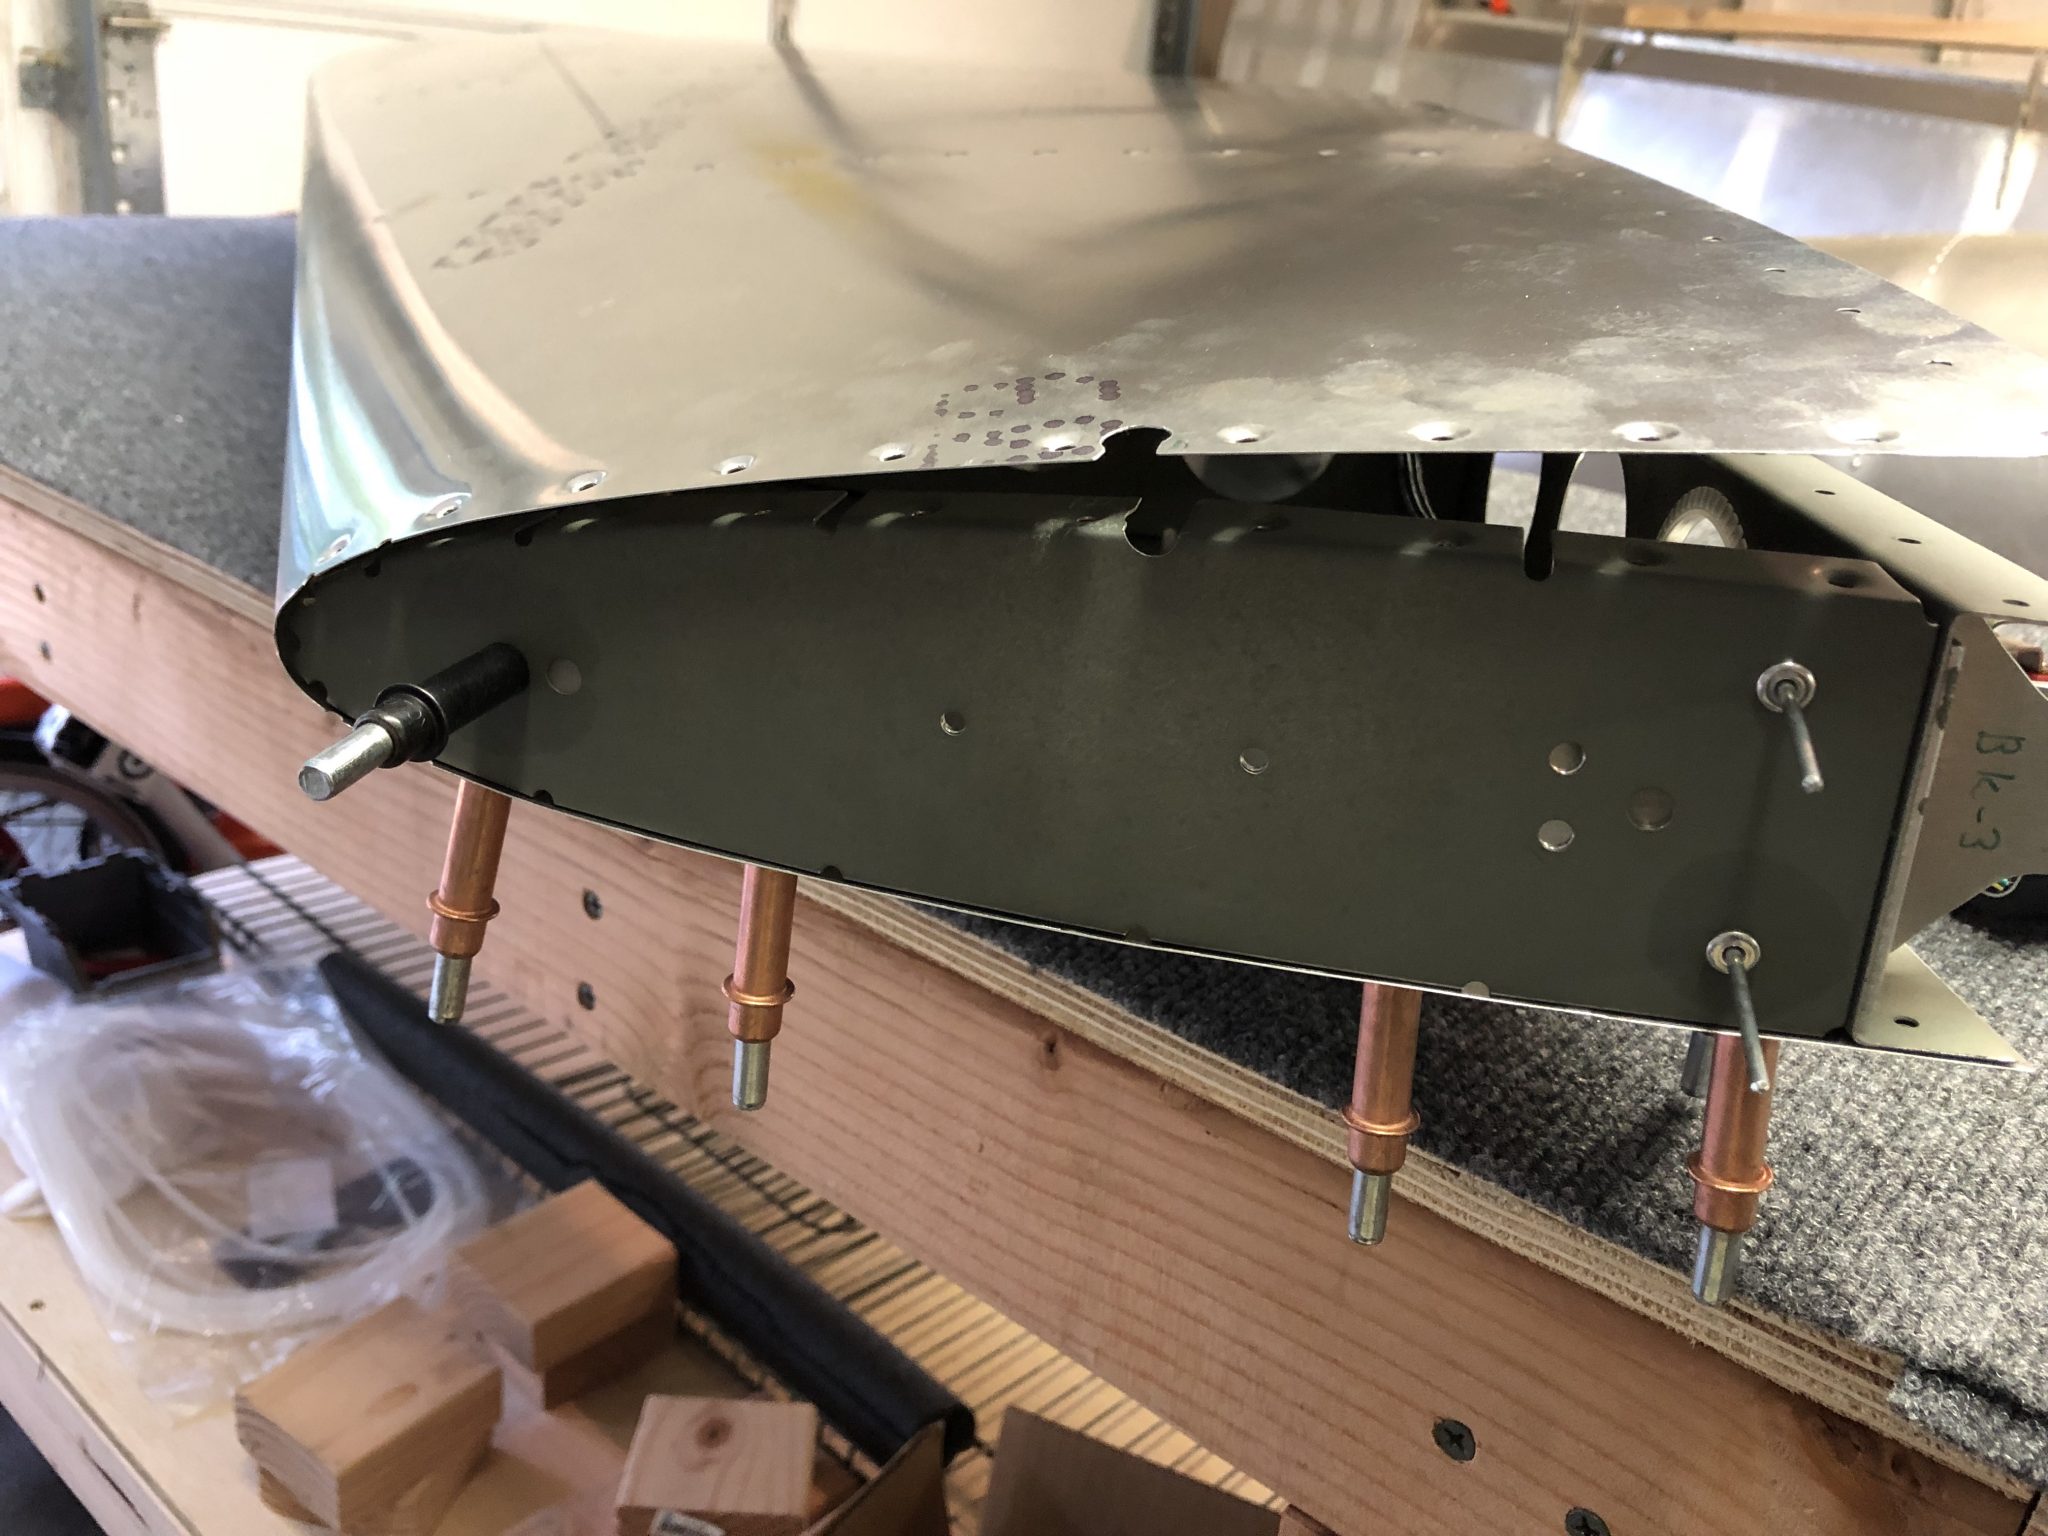
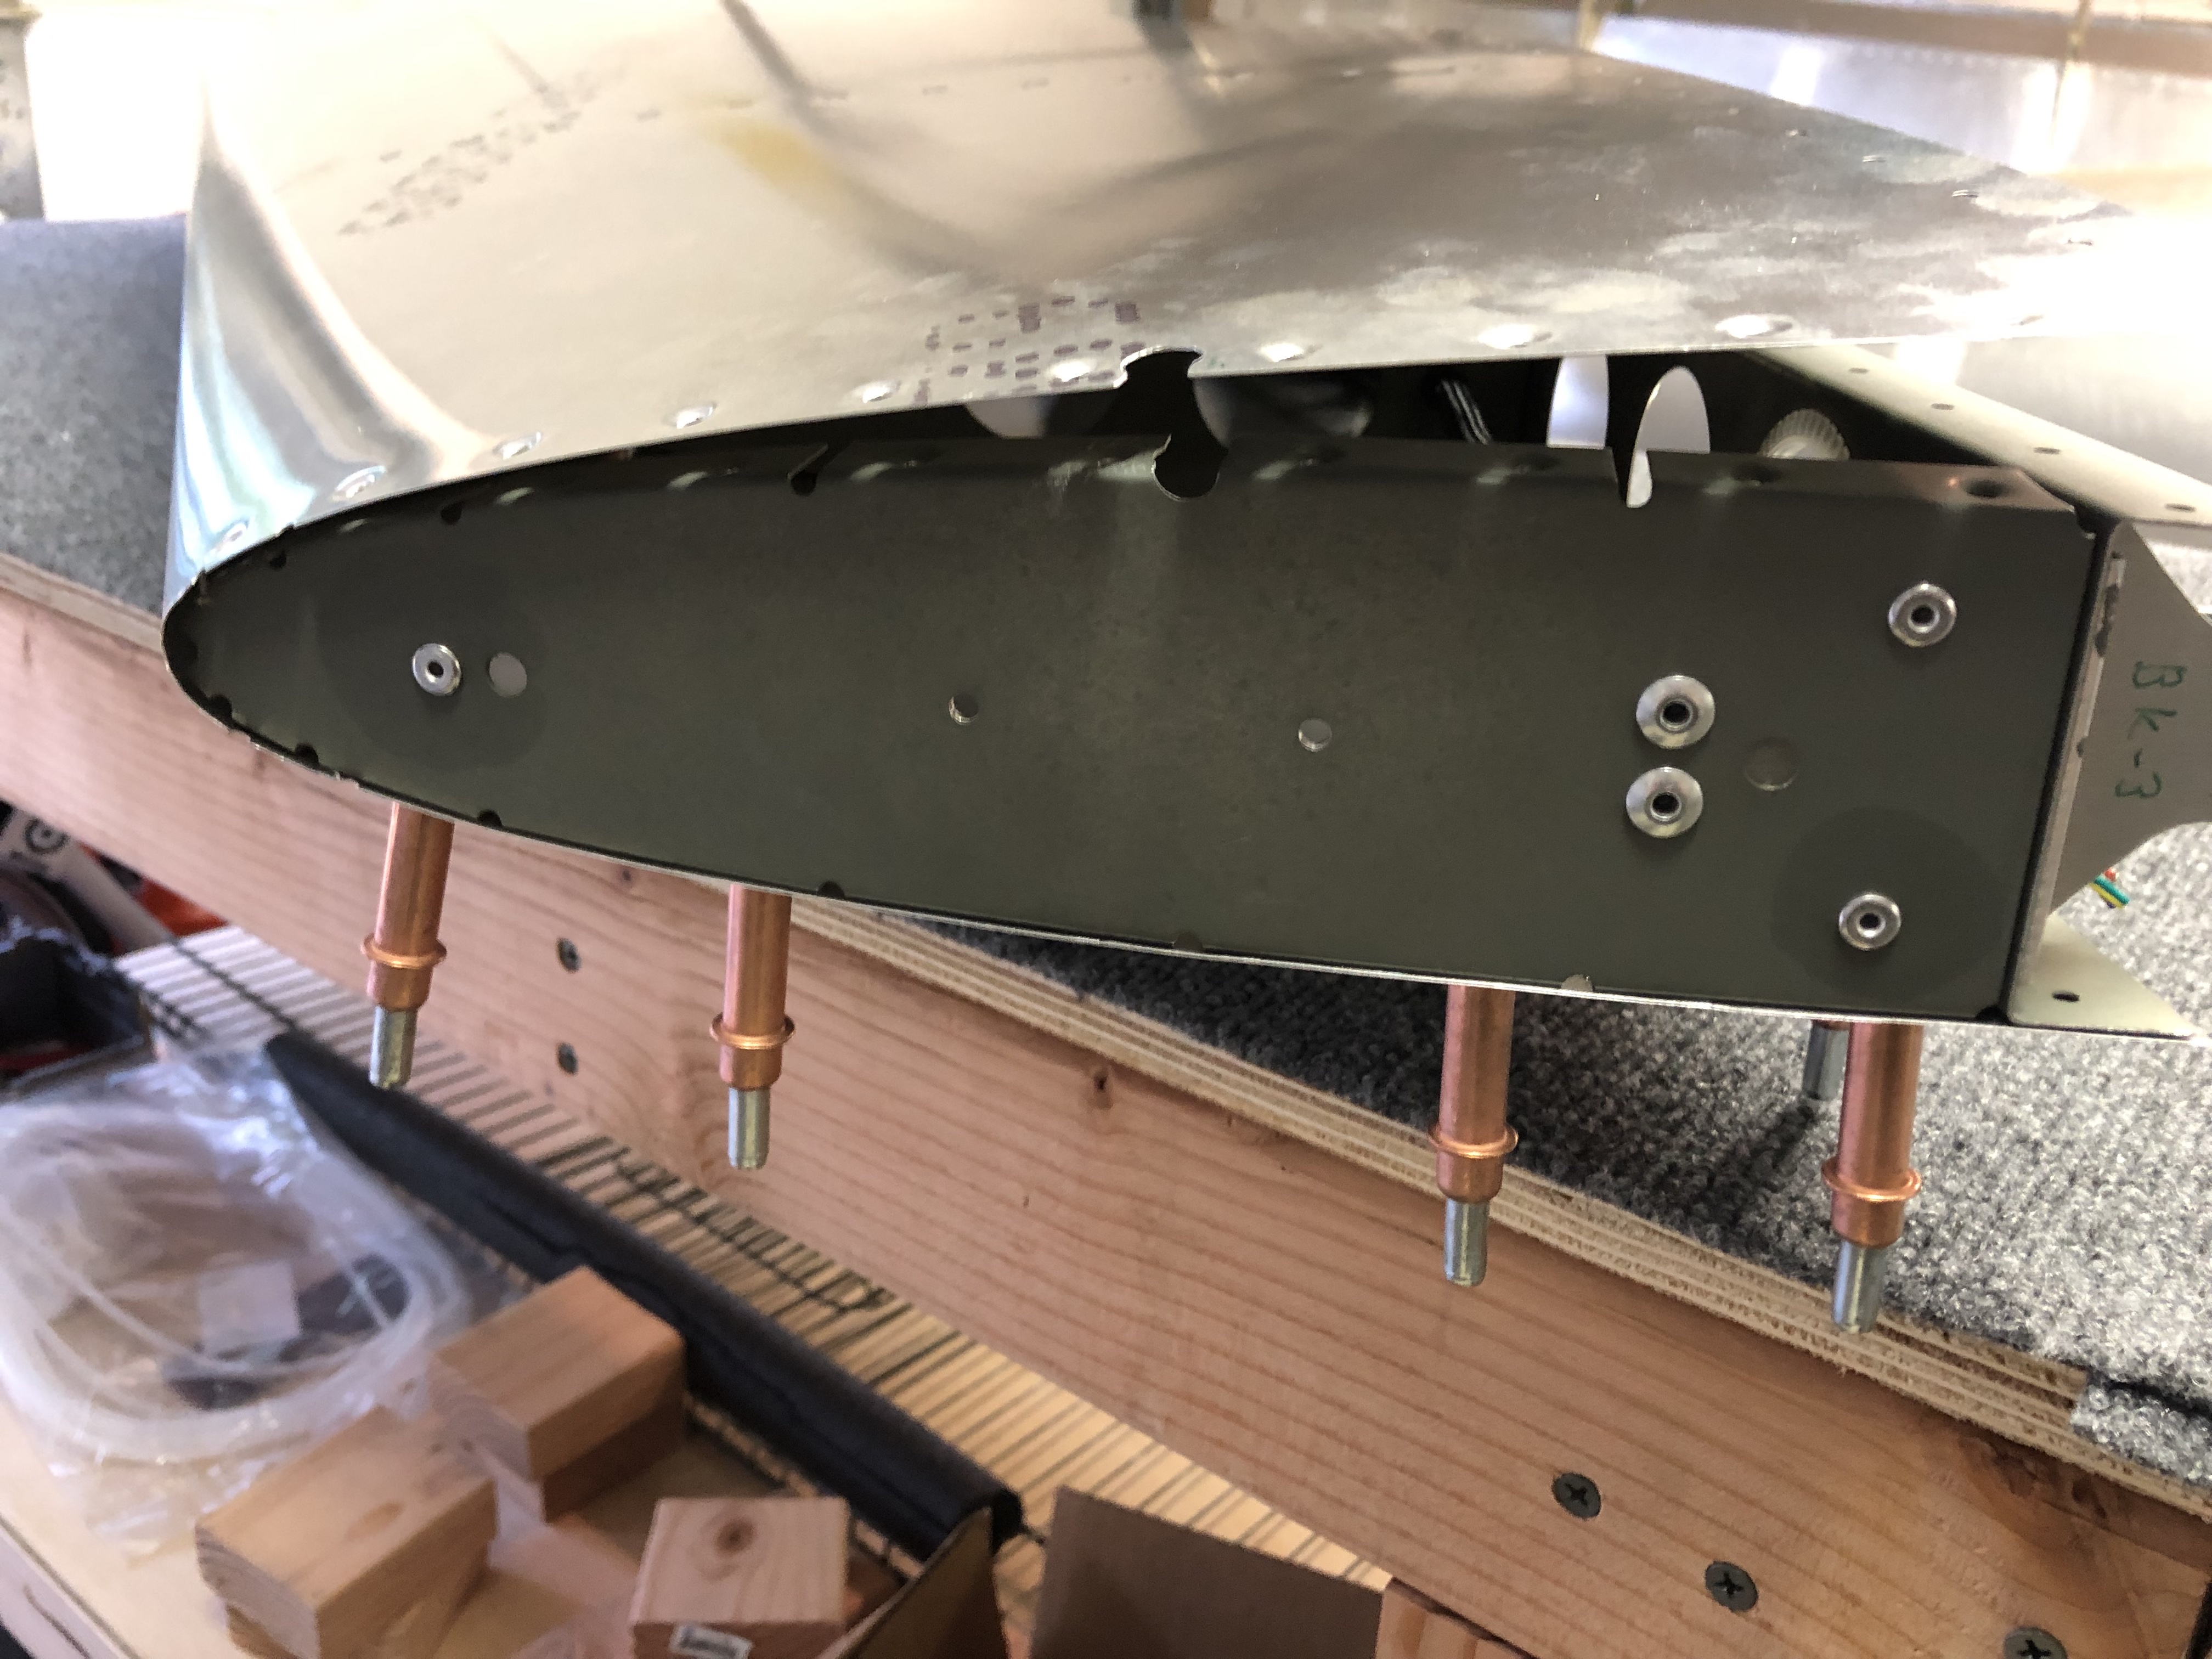
To begin, I closed up the left side of the skin and held it in place with clecos, since this is the side where the Antenna slides through the enlarged rivet hole, while on the right side I had to create the custom notch so that I can pull the skin around the Antenna.
Once that was done, I riveted on the support plate for the Antenna onto the top rib of the Vertical Stabilizer.
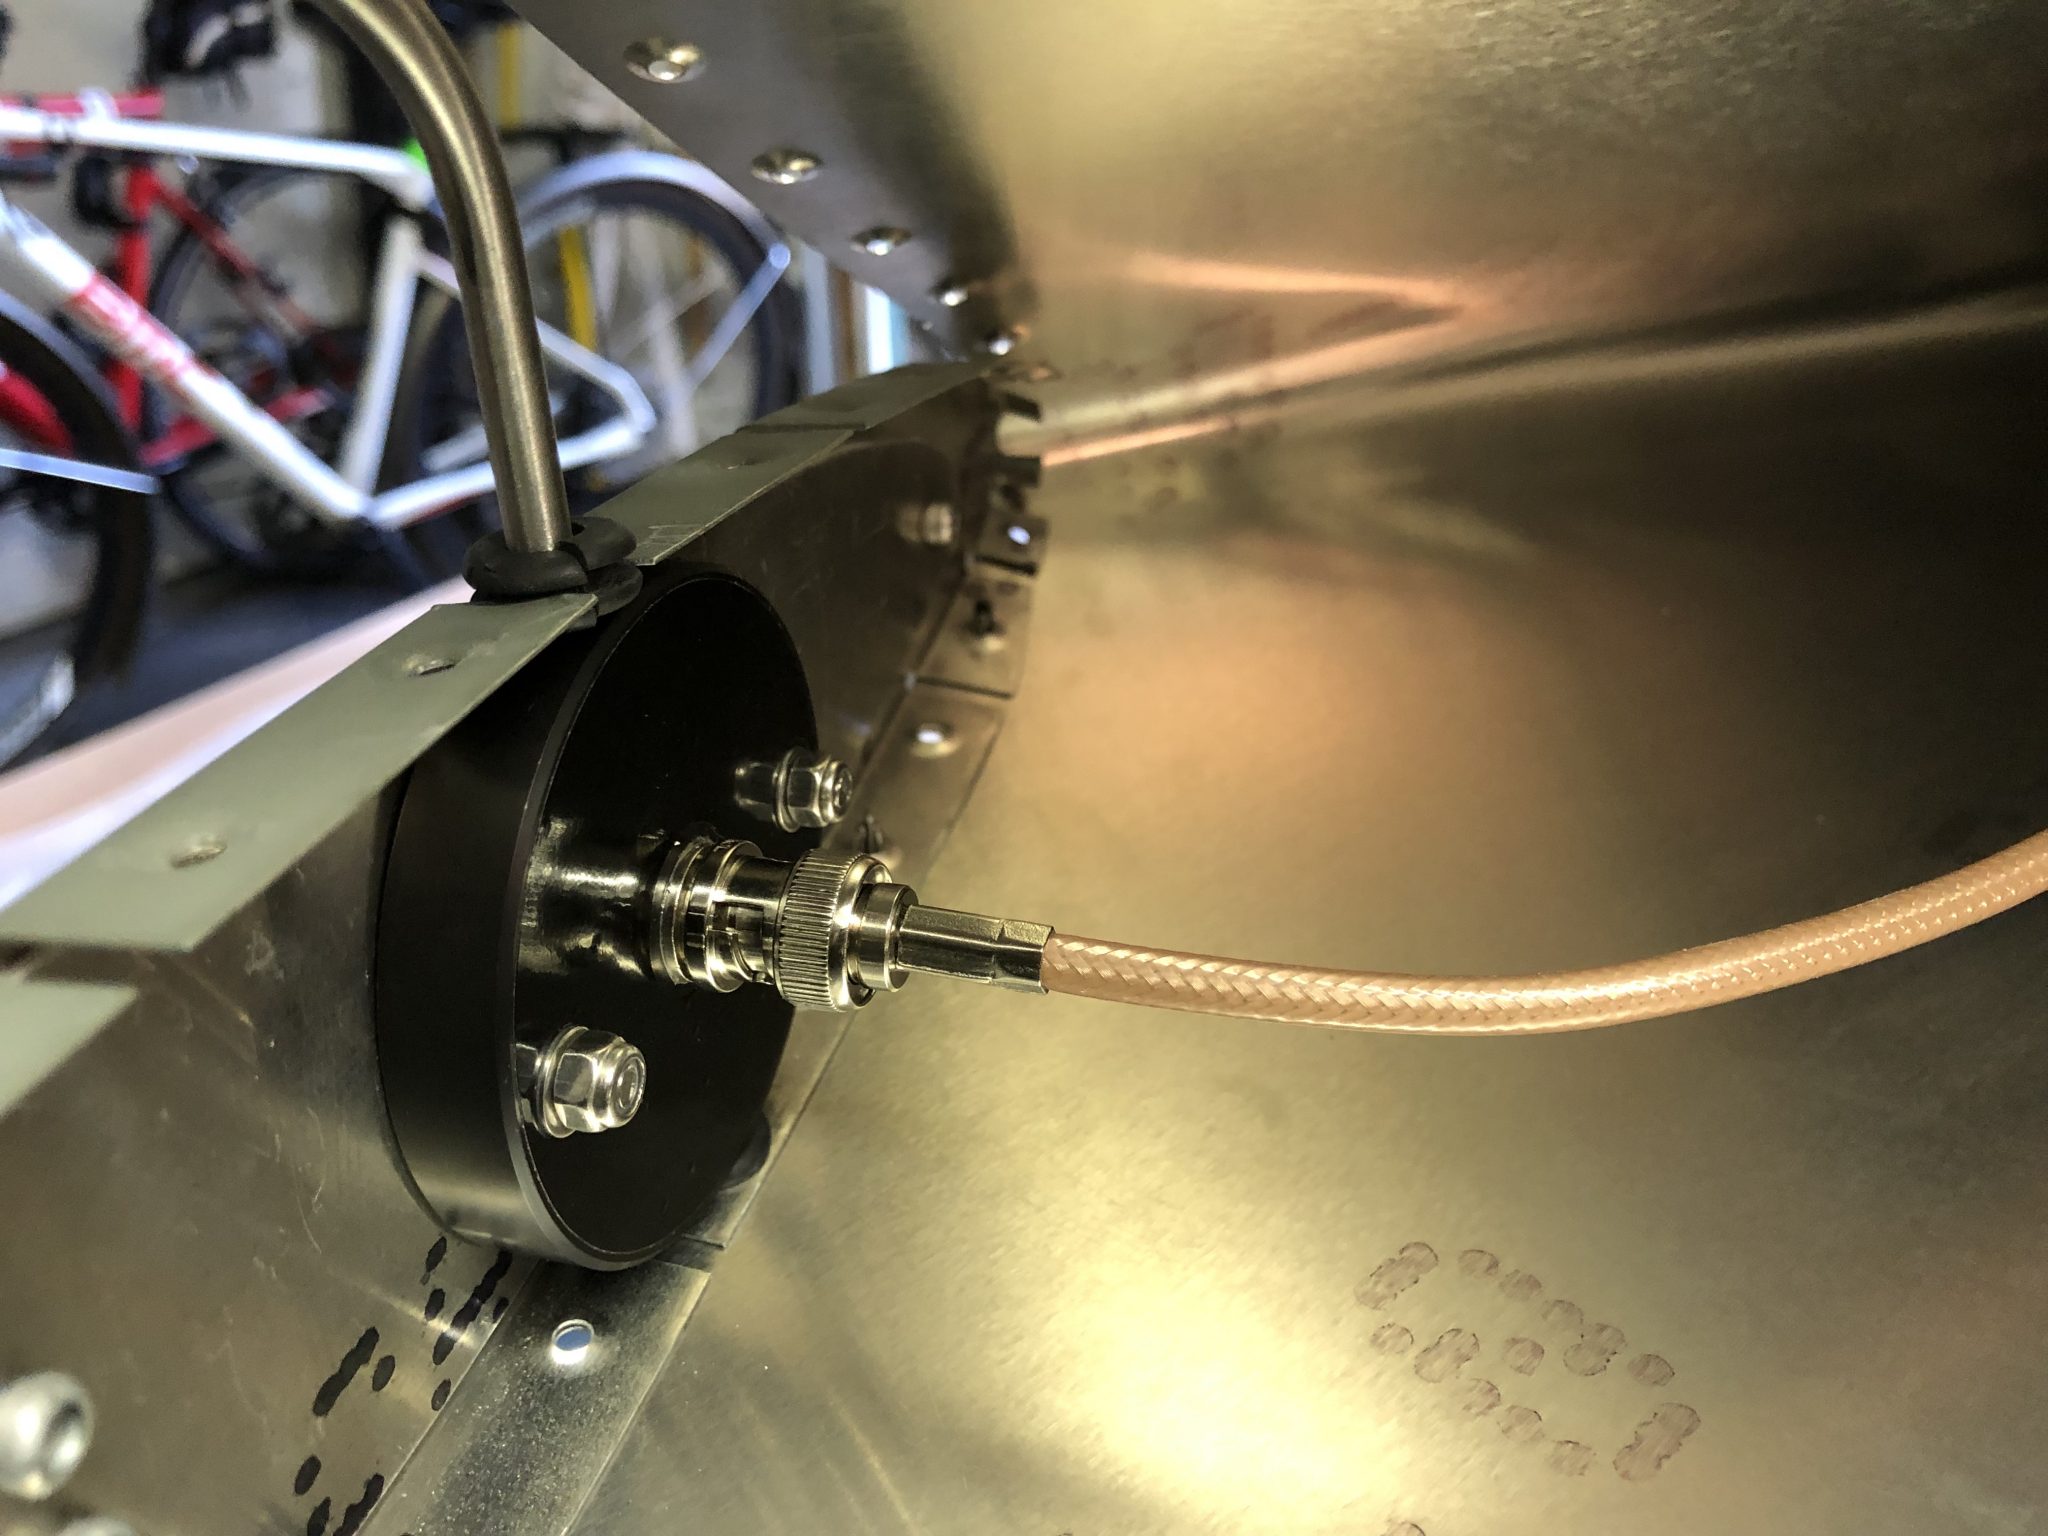
Now that the structure is complete, time to mount the Antenna permanently in place. Using two 20mm long M4 screws, washers and Nyloc nuts and some medium strength threadlocker I mounted the Antenna in place. Here’s the Antenna mounted in place and the wire connected to the Antenna using the BNC connector I crimped onto the wire. 
Riveting the skin
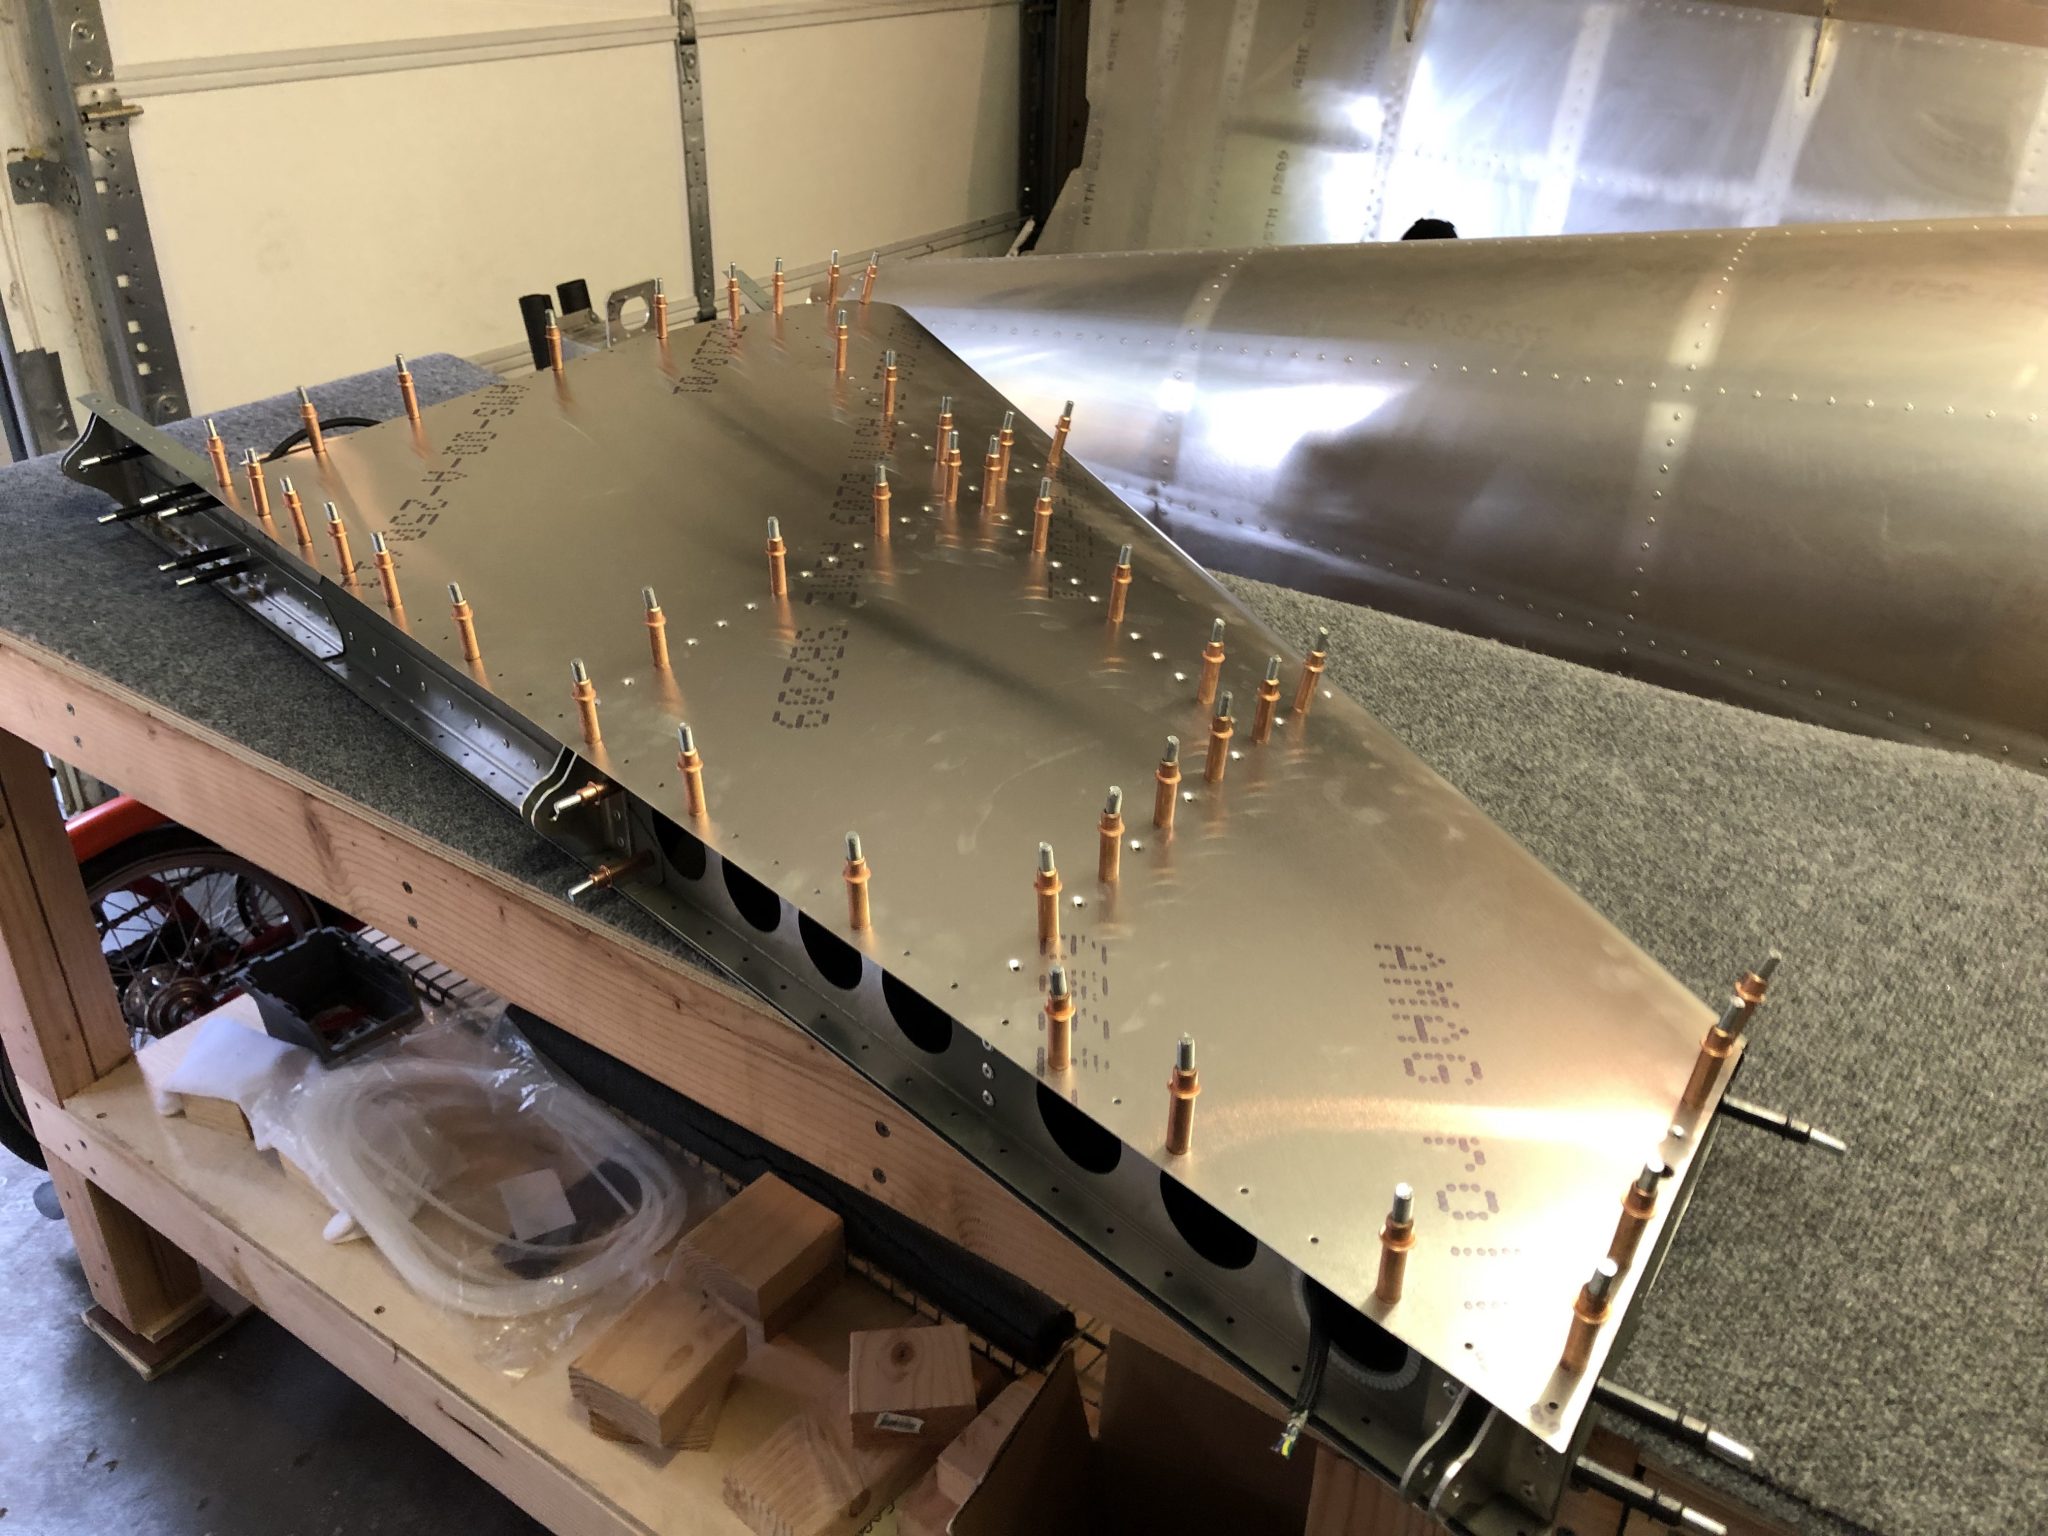
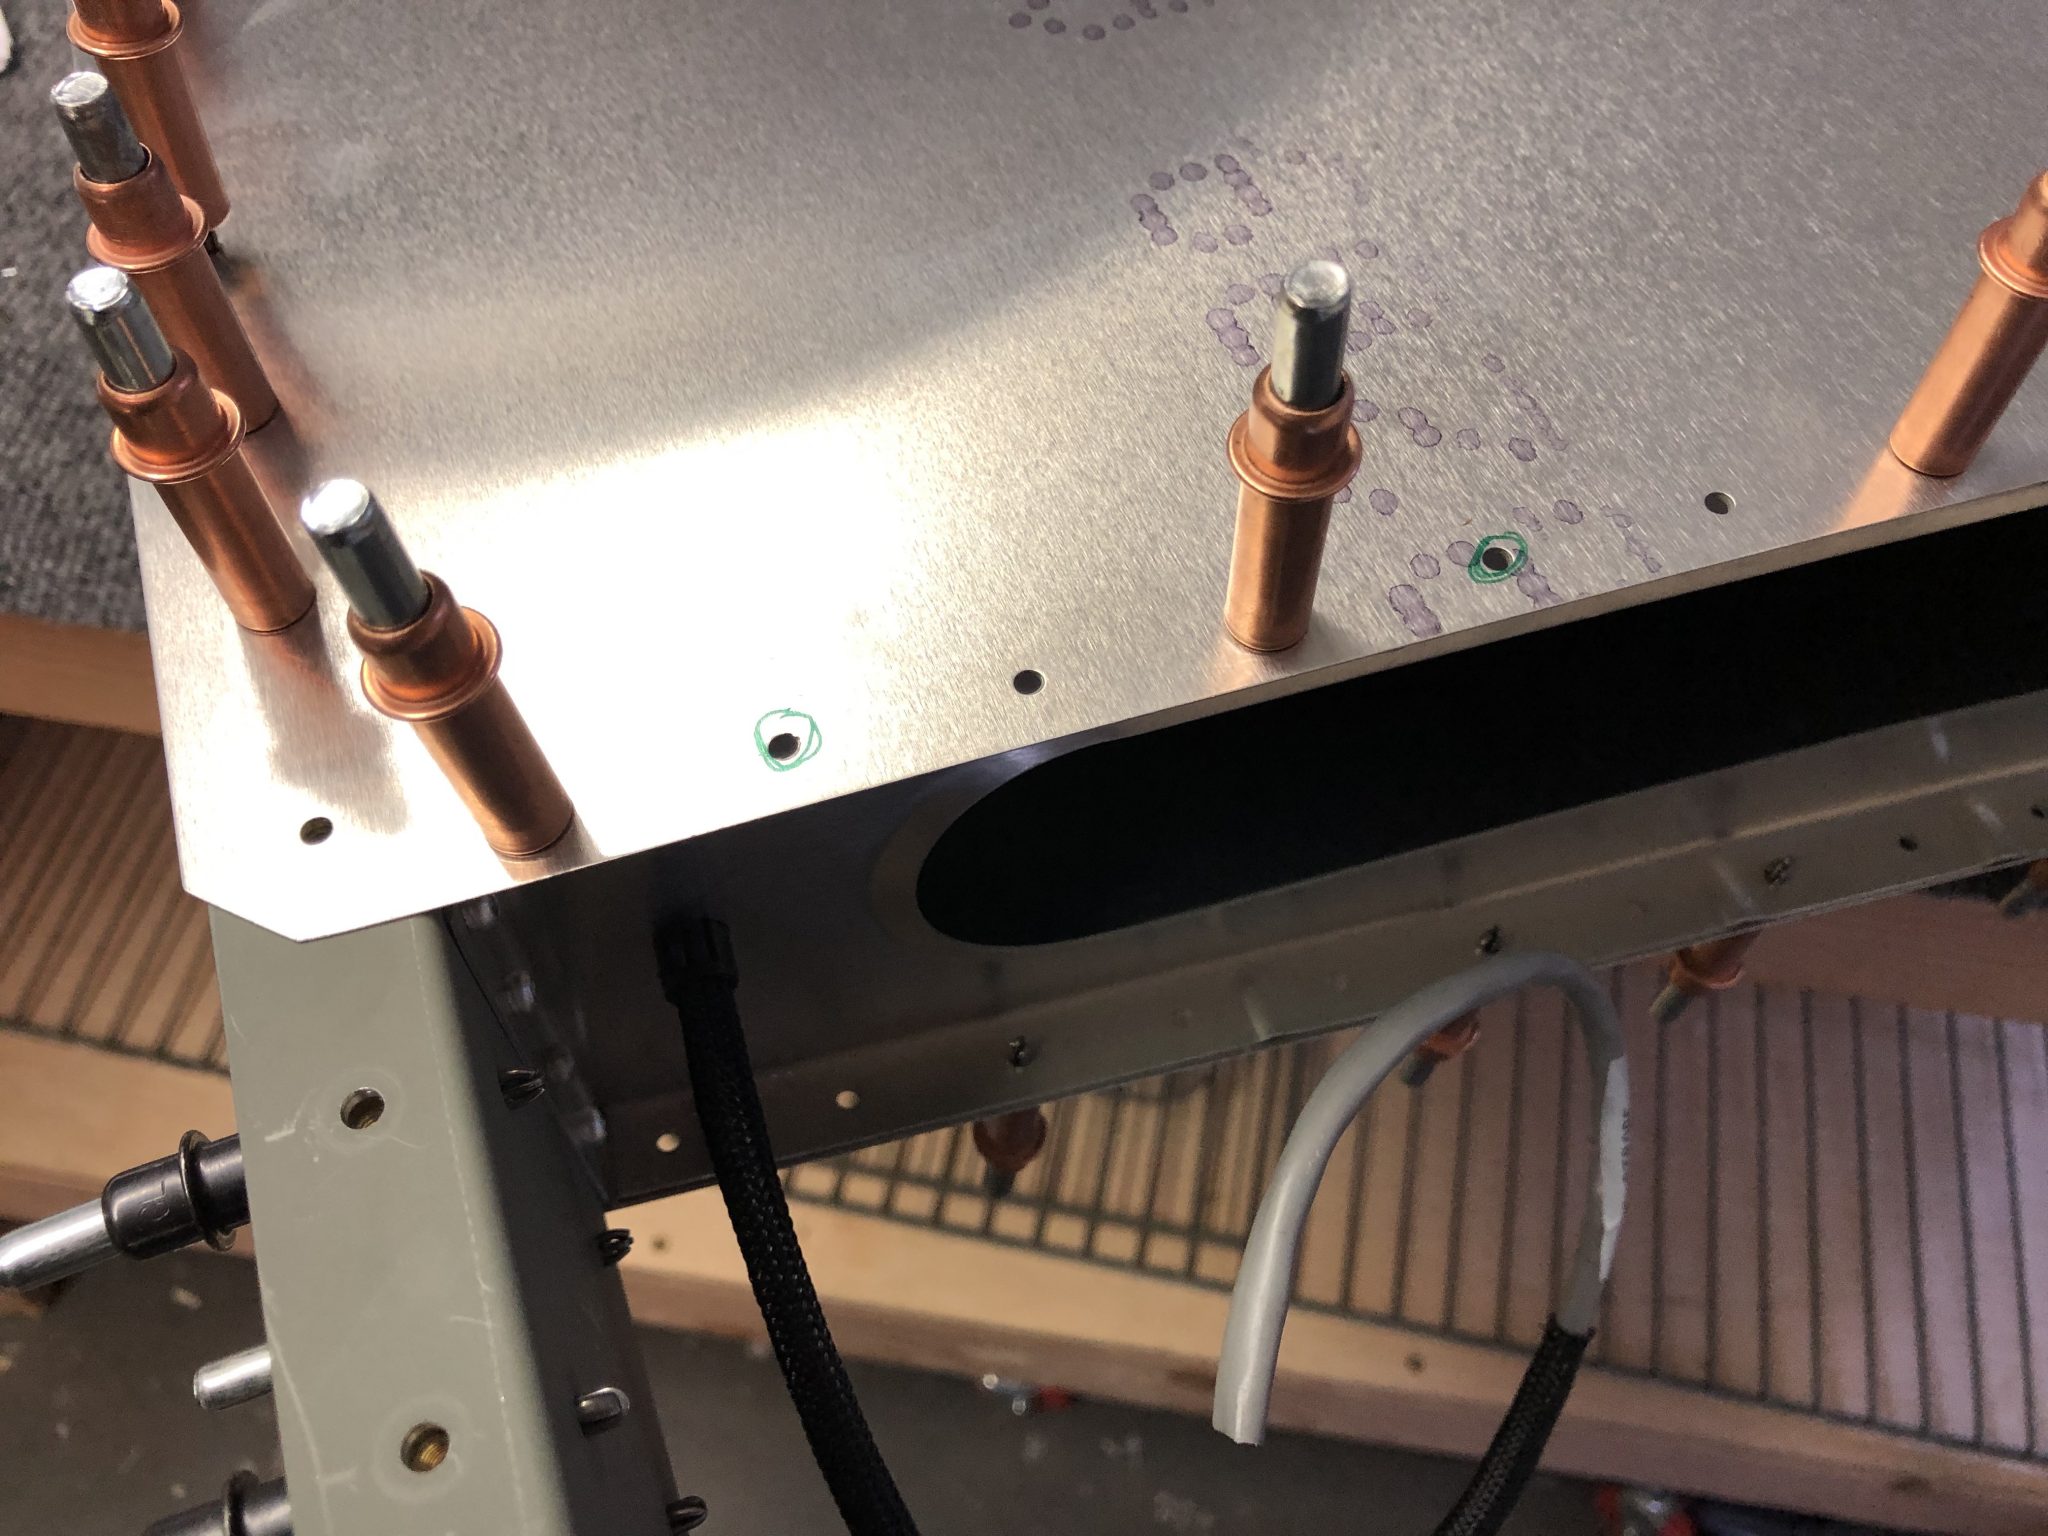
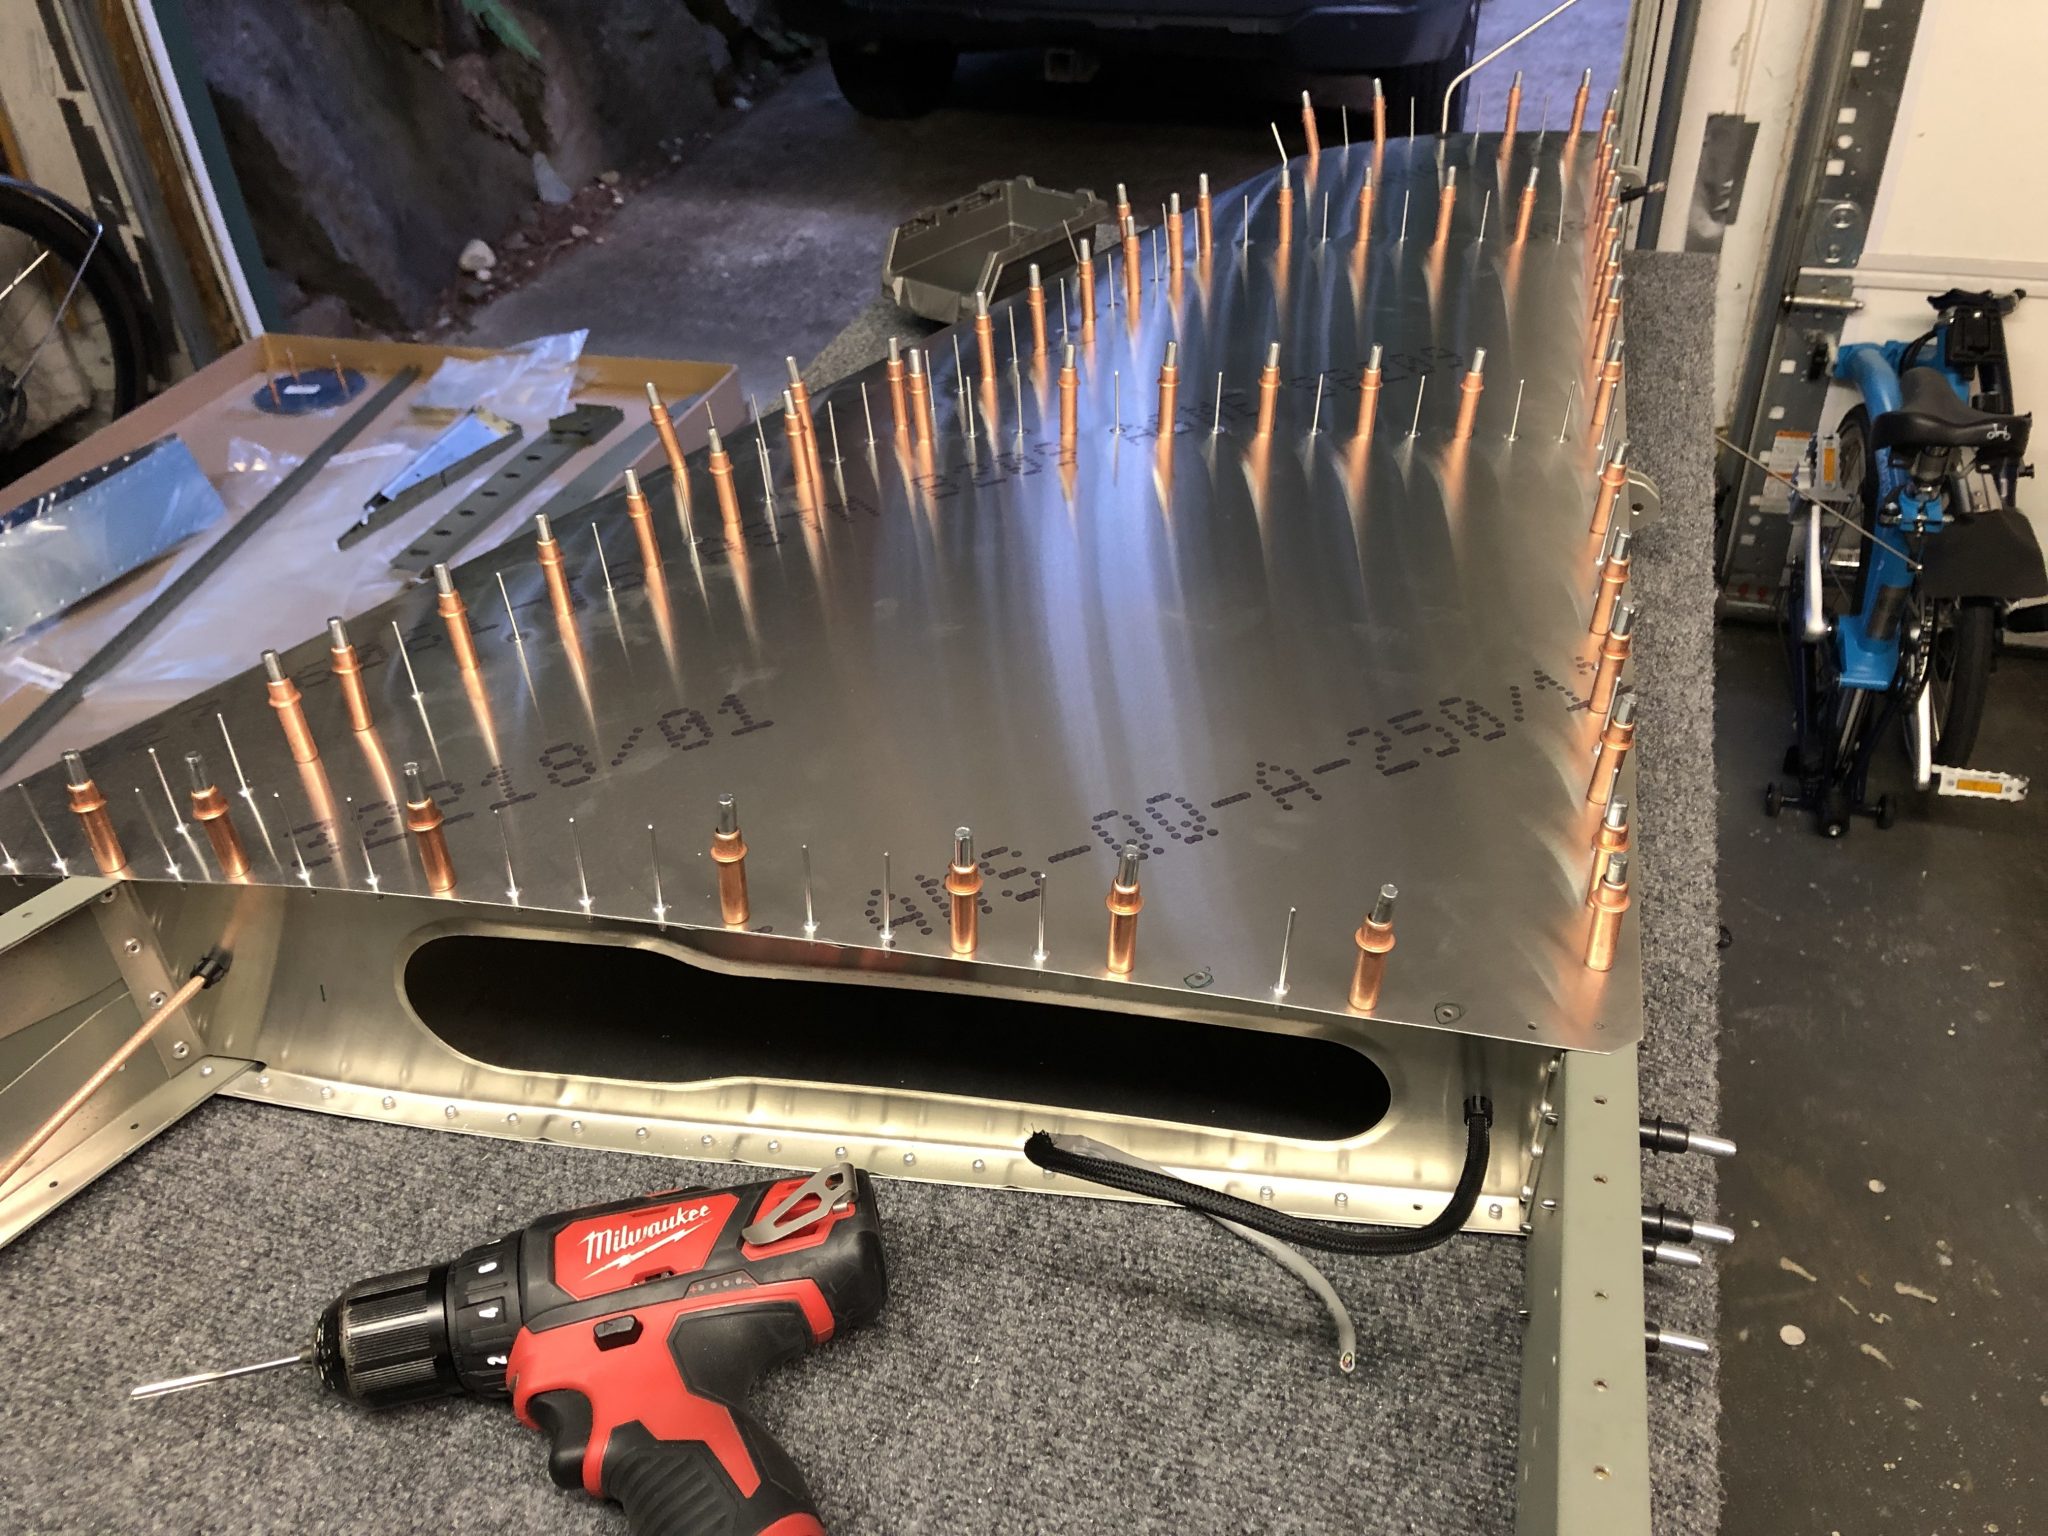
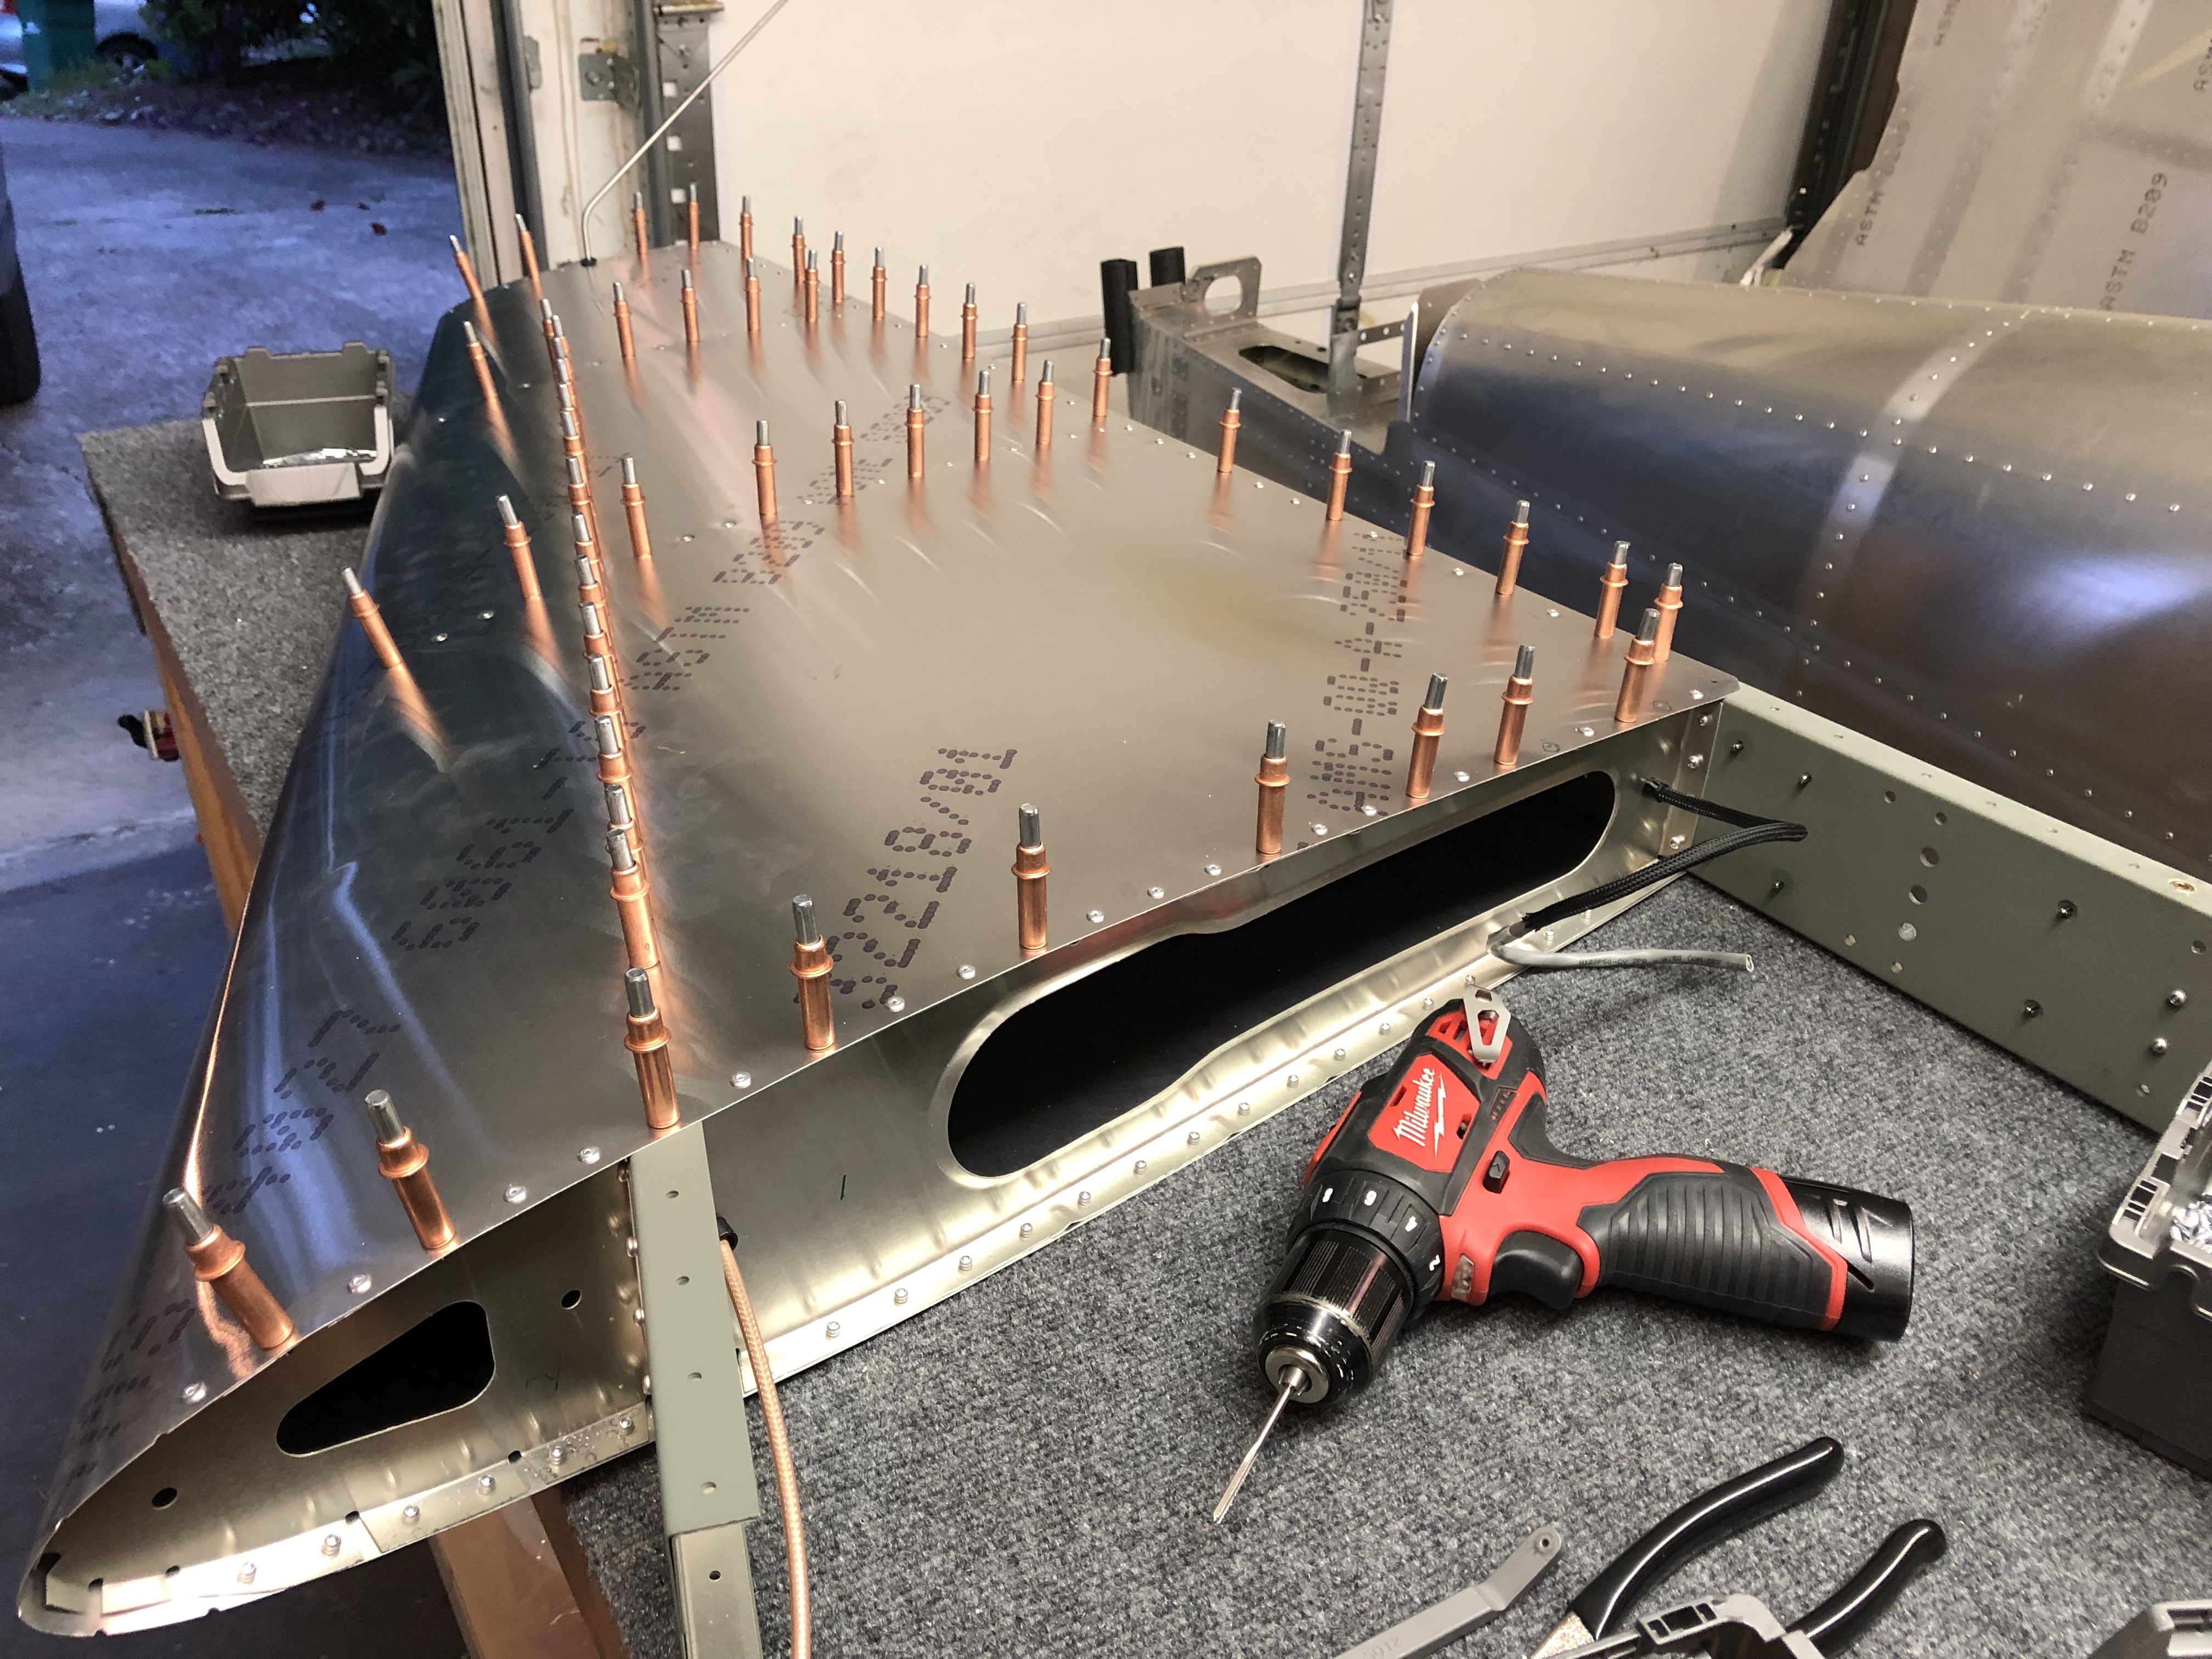
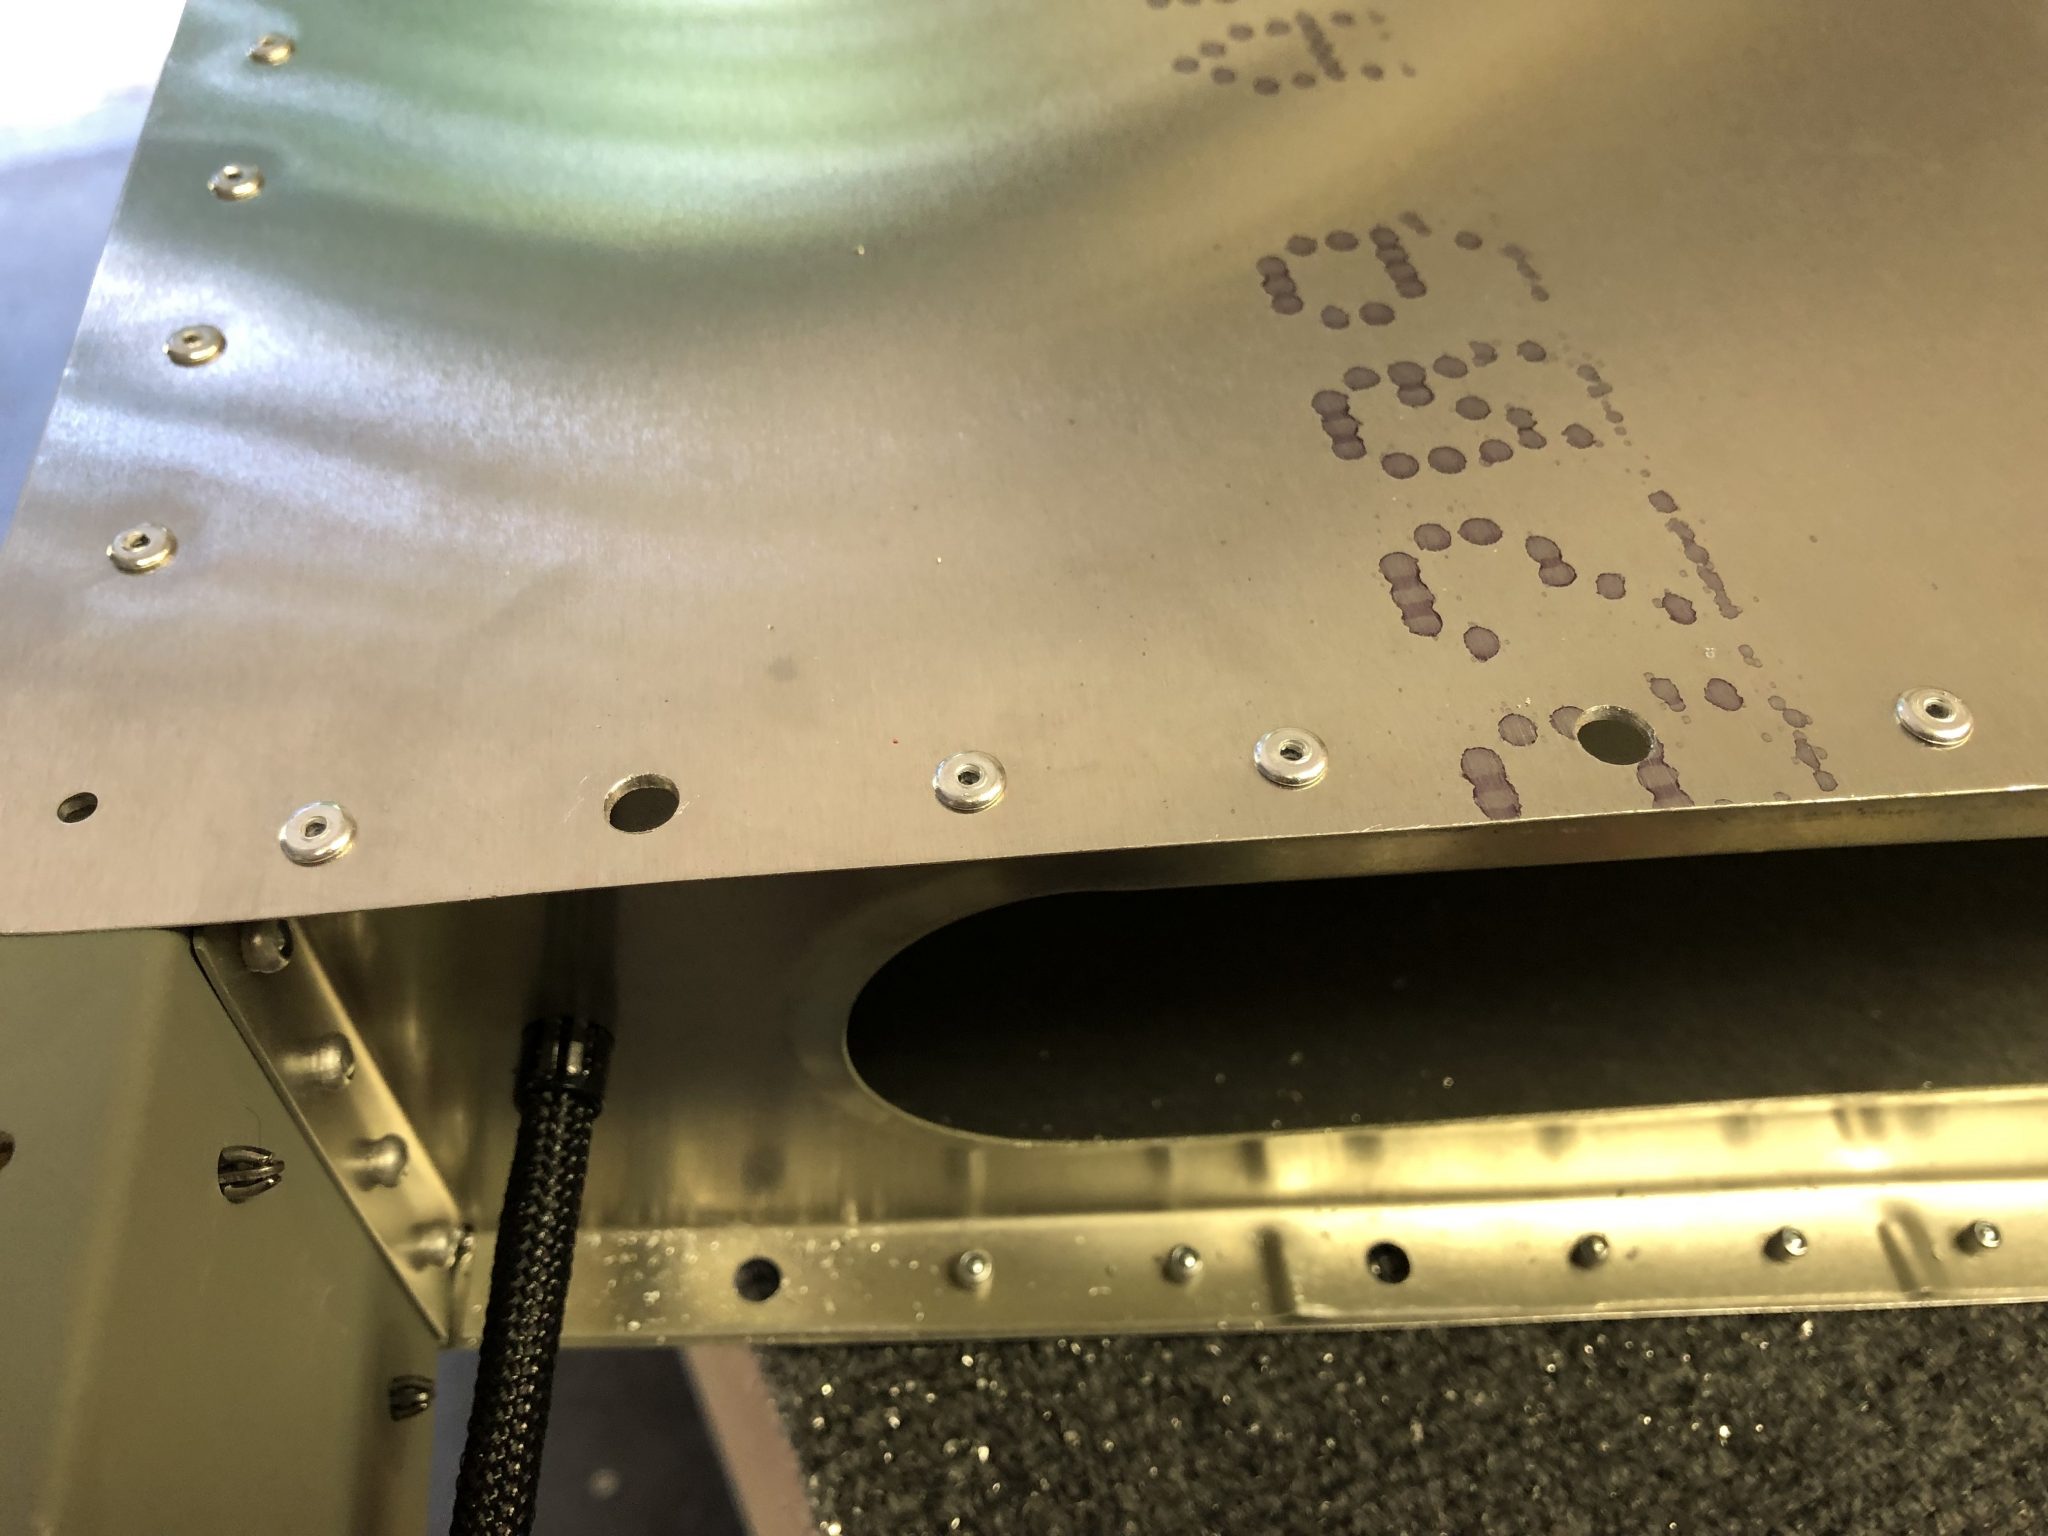
With all the prep work finished, I closed up the right side of the skin, made sure everything fits correctly and clecoed it in place. There are two holes on the bottom on each side that are not riveted, but instead I have to install Rivnuts in them, so I marked out those holes, so I don’t accidentally rivet them.
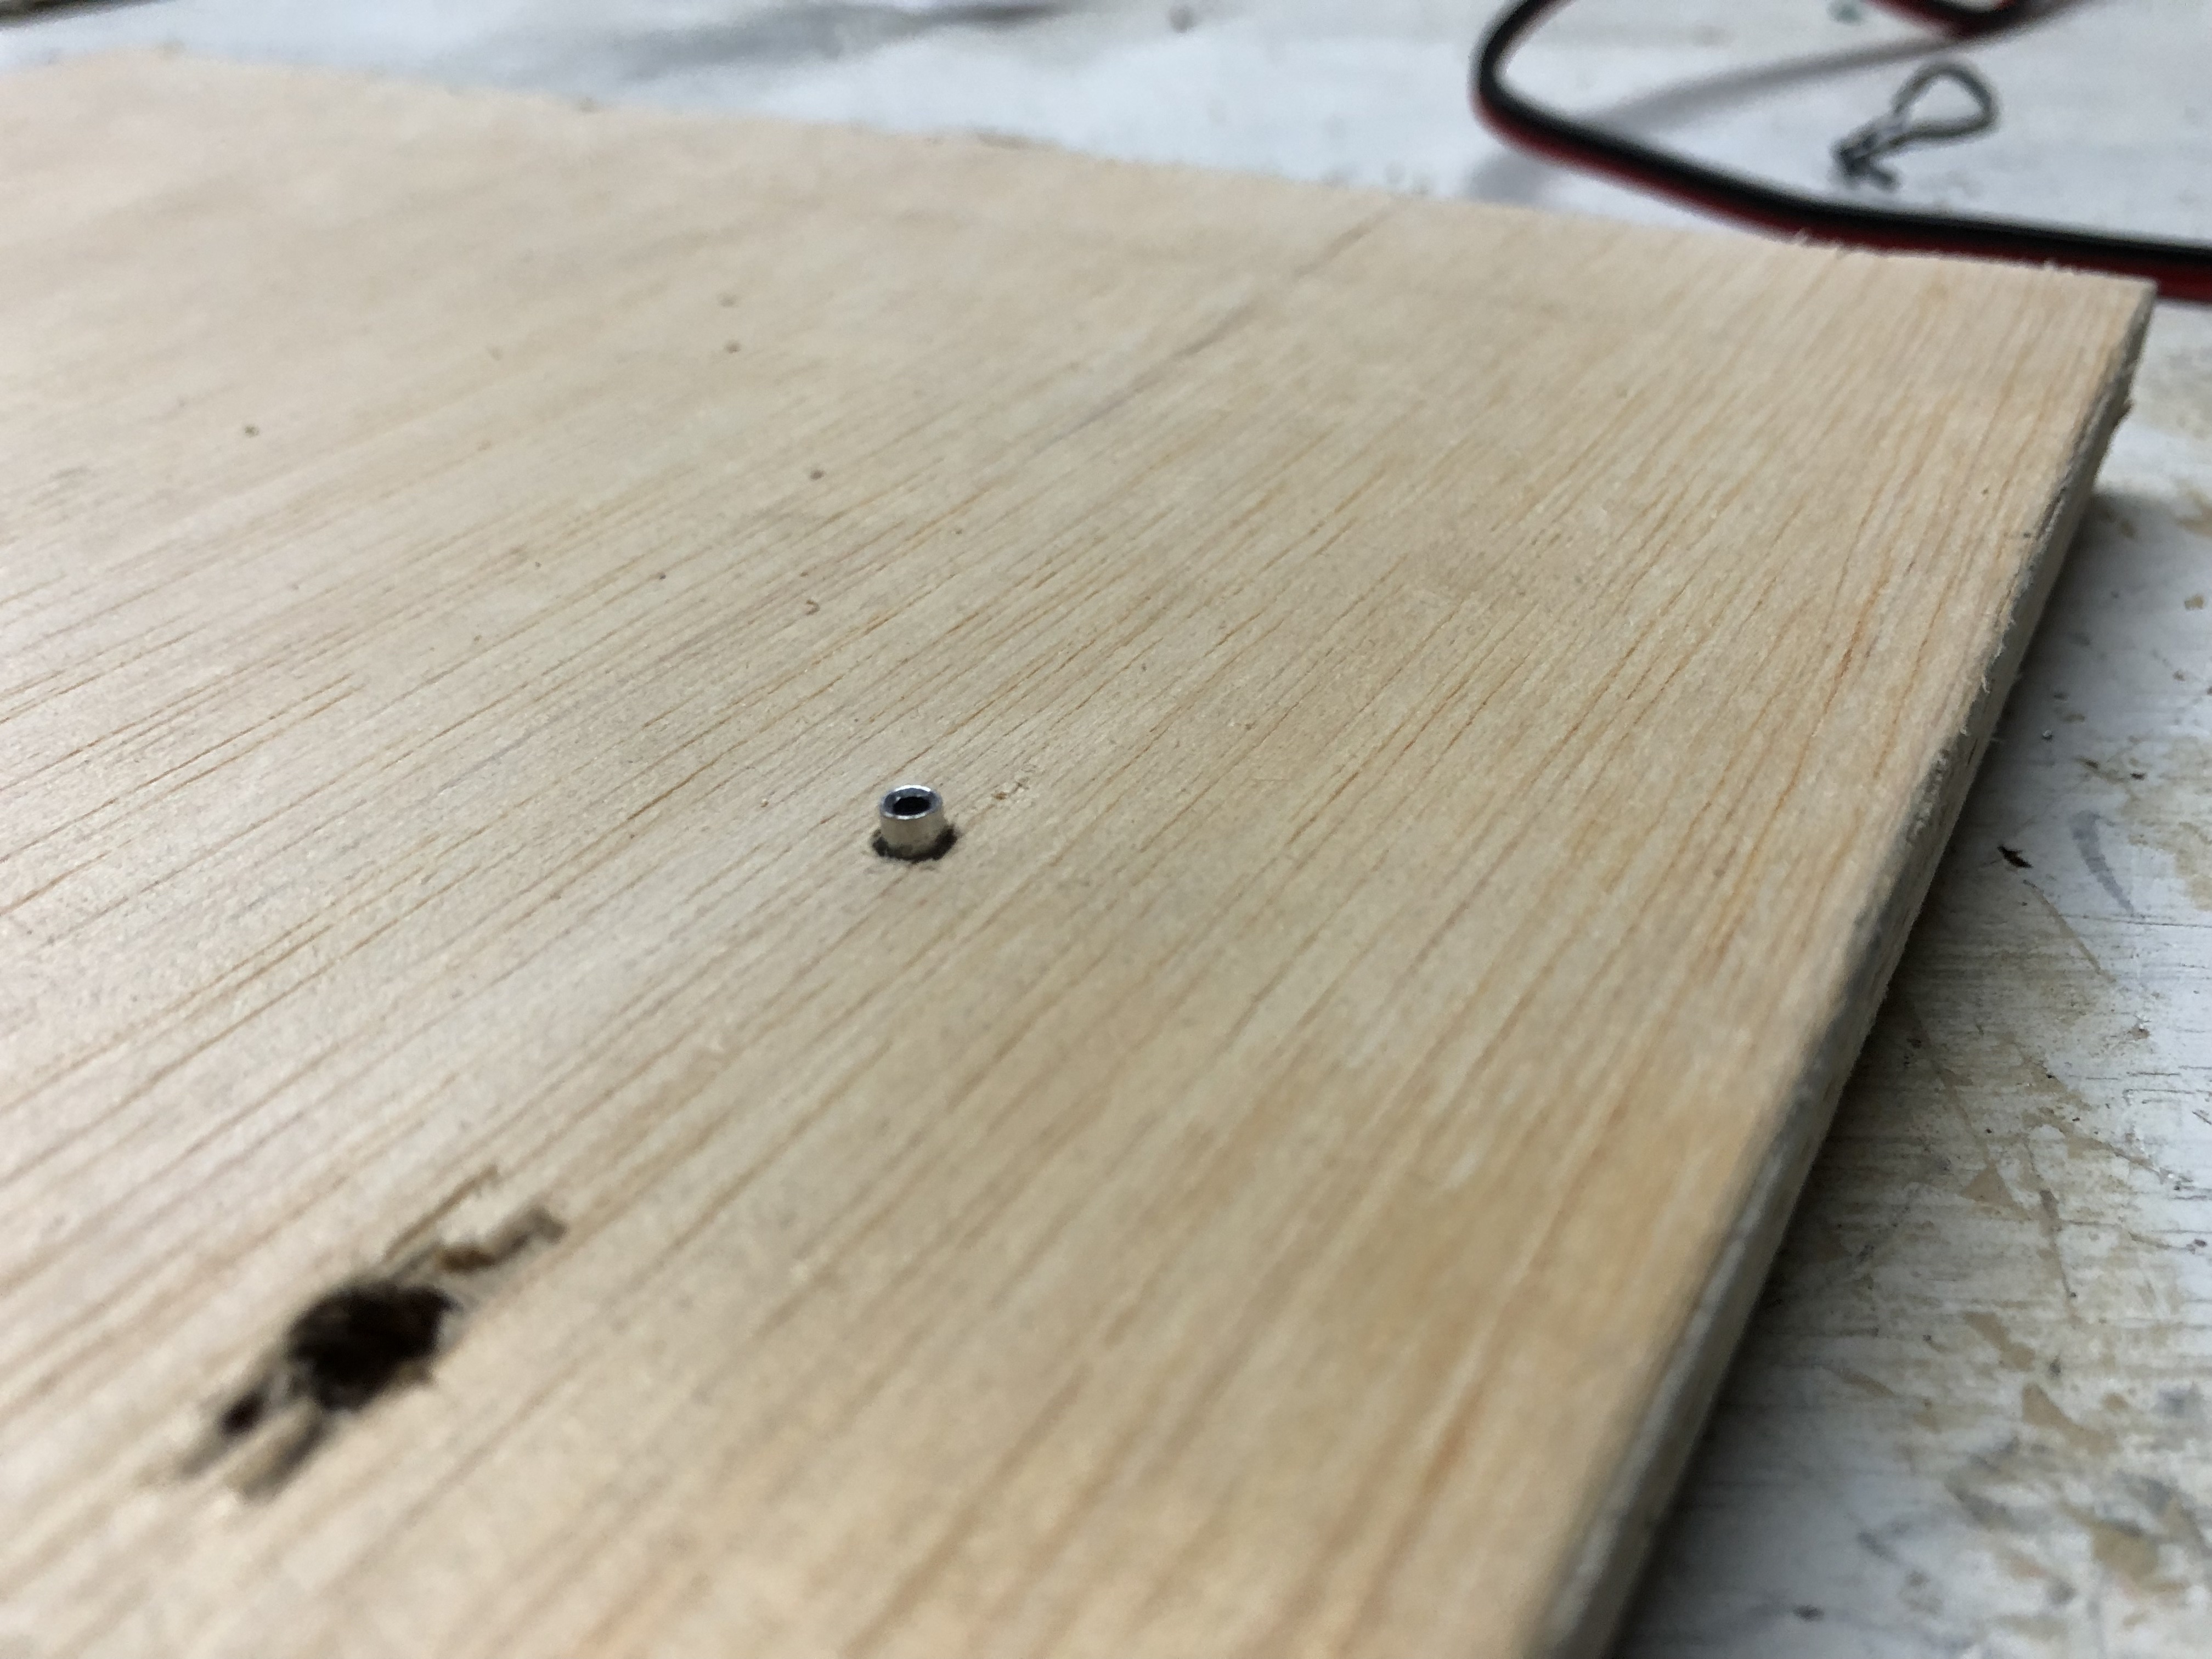
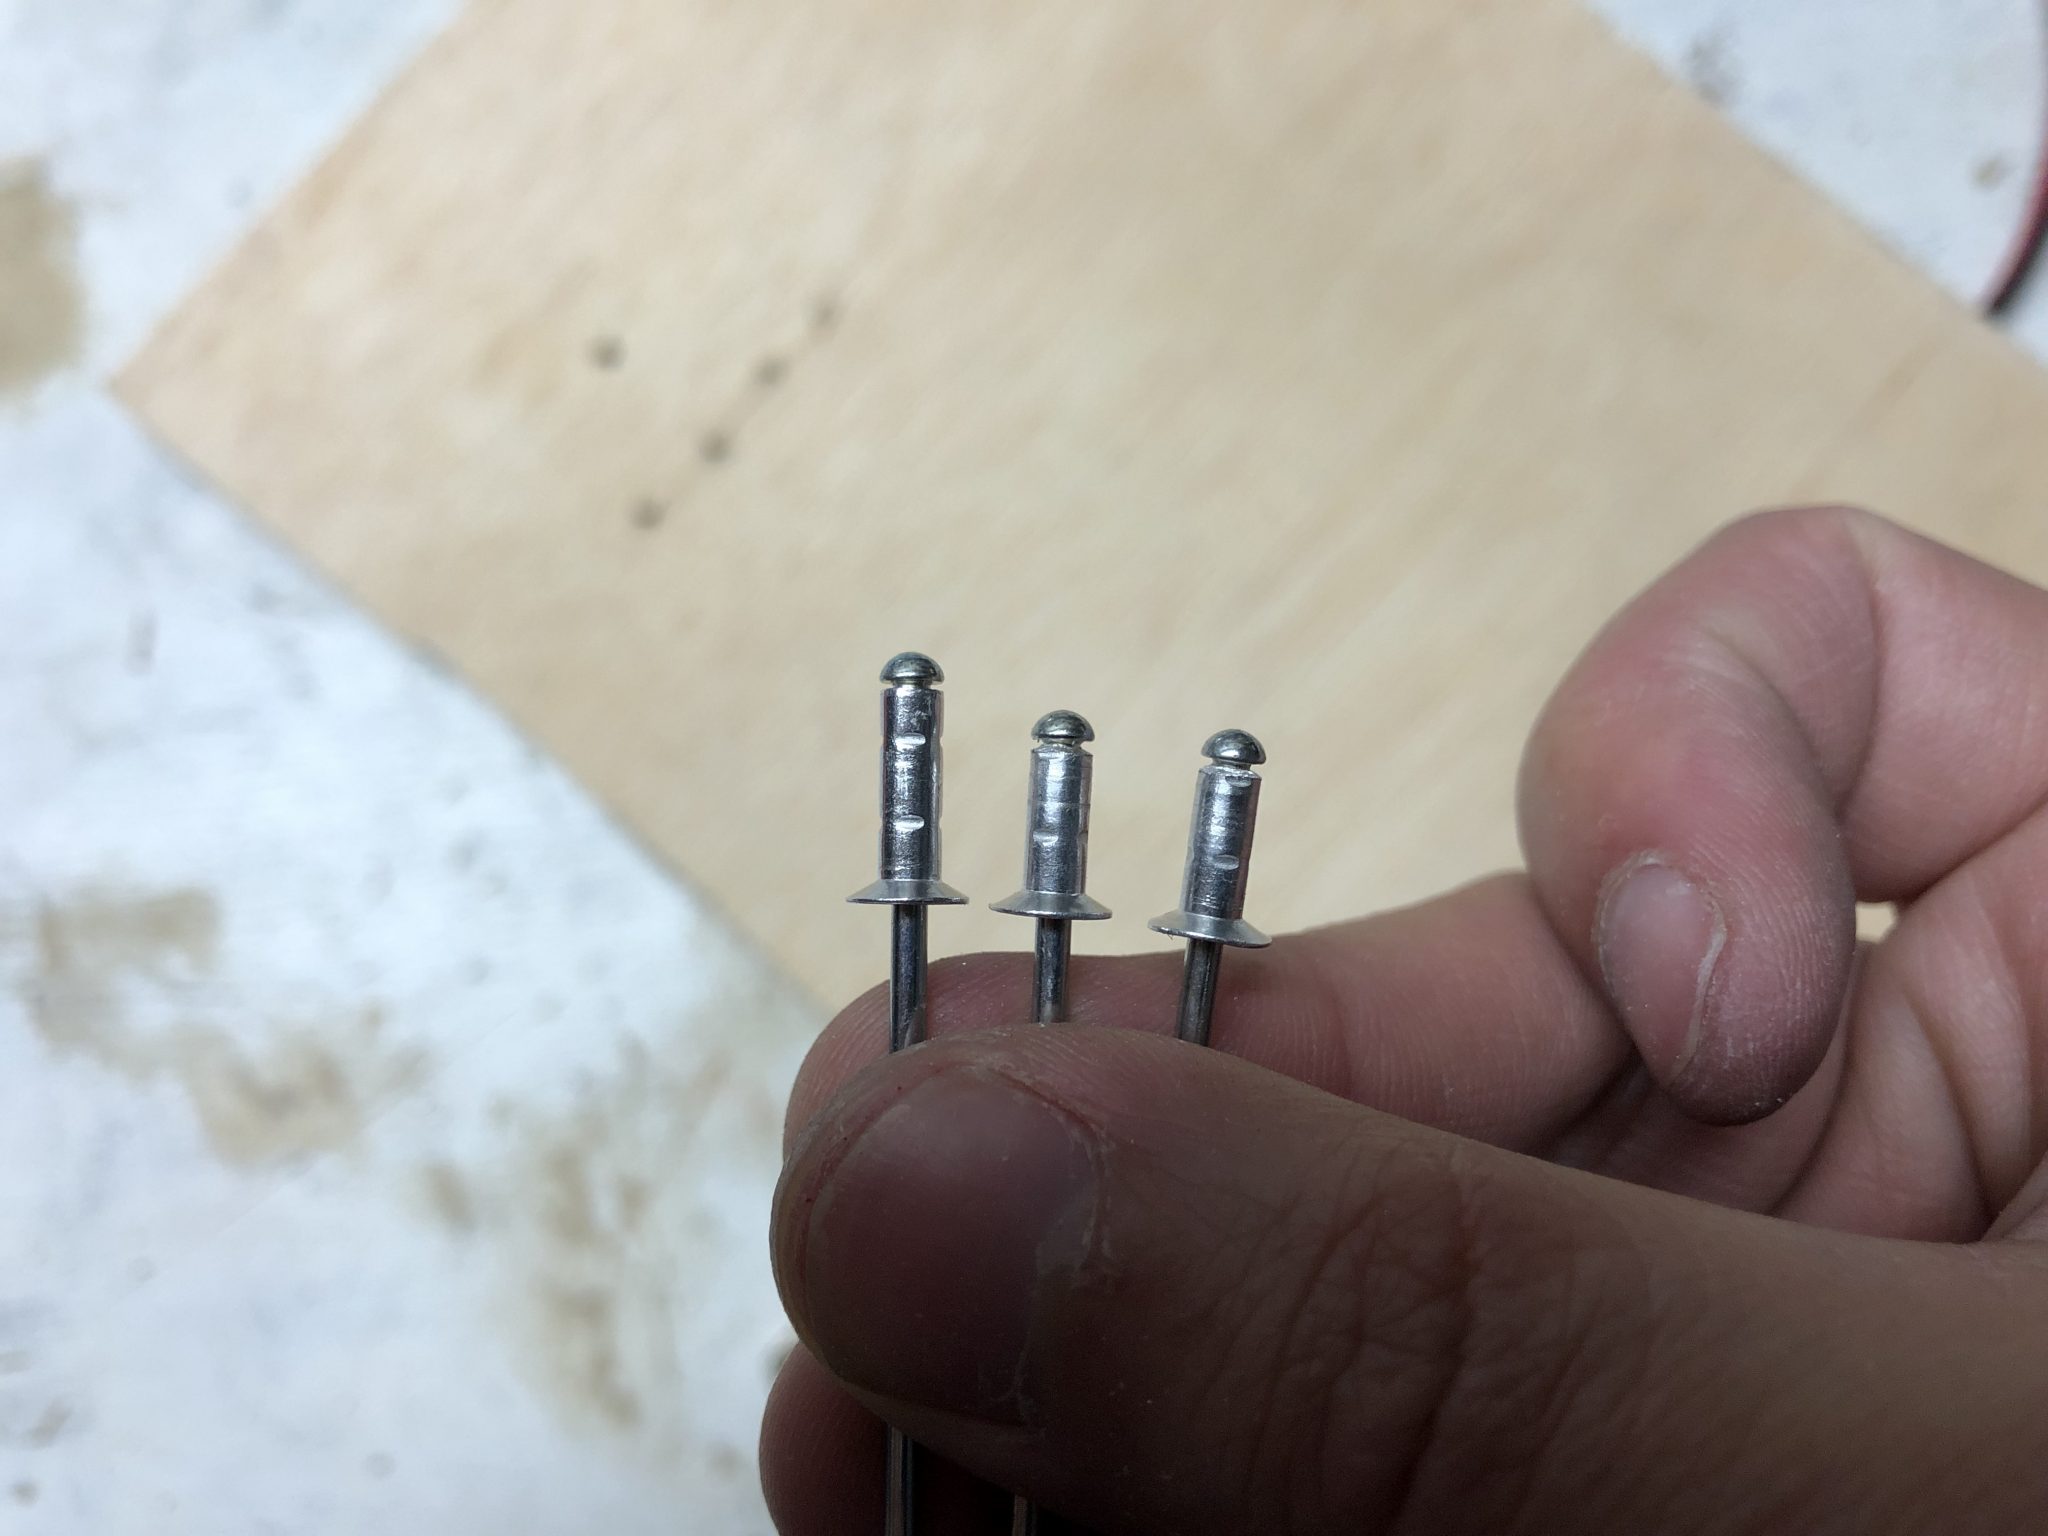
There were two rivets that I had to shorten in order for them to fit flush near the Antenna. So I made a small template for the dept through a piece of wood and then shortened them accordingly.
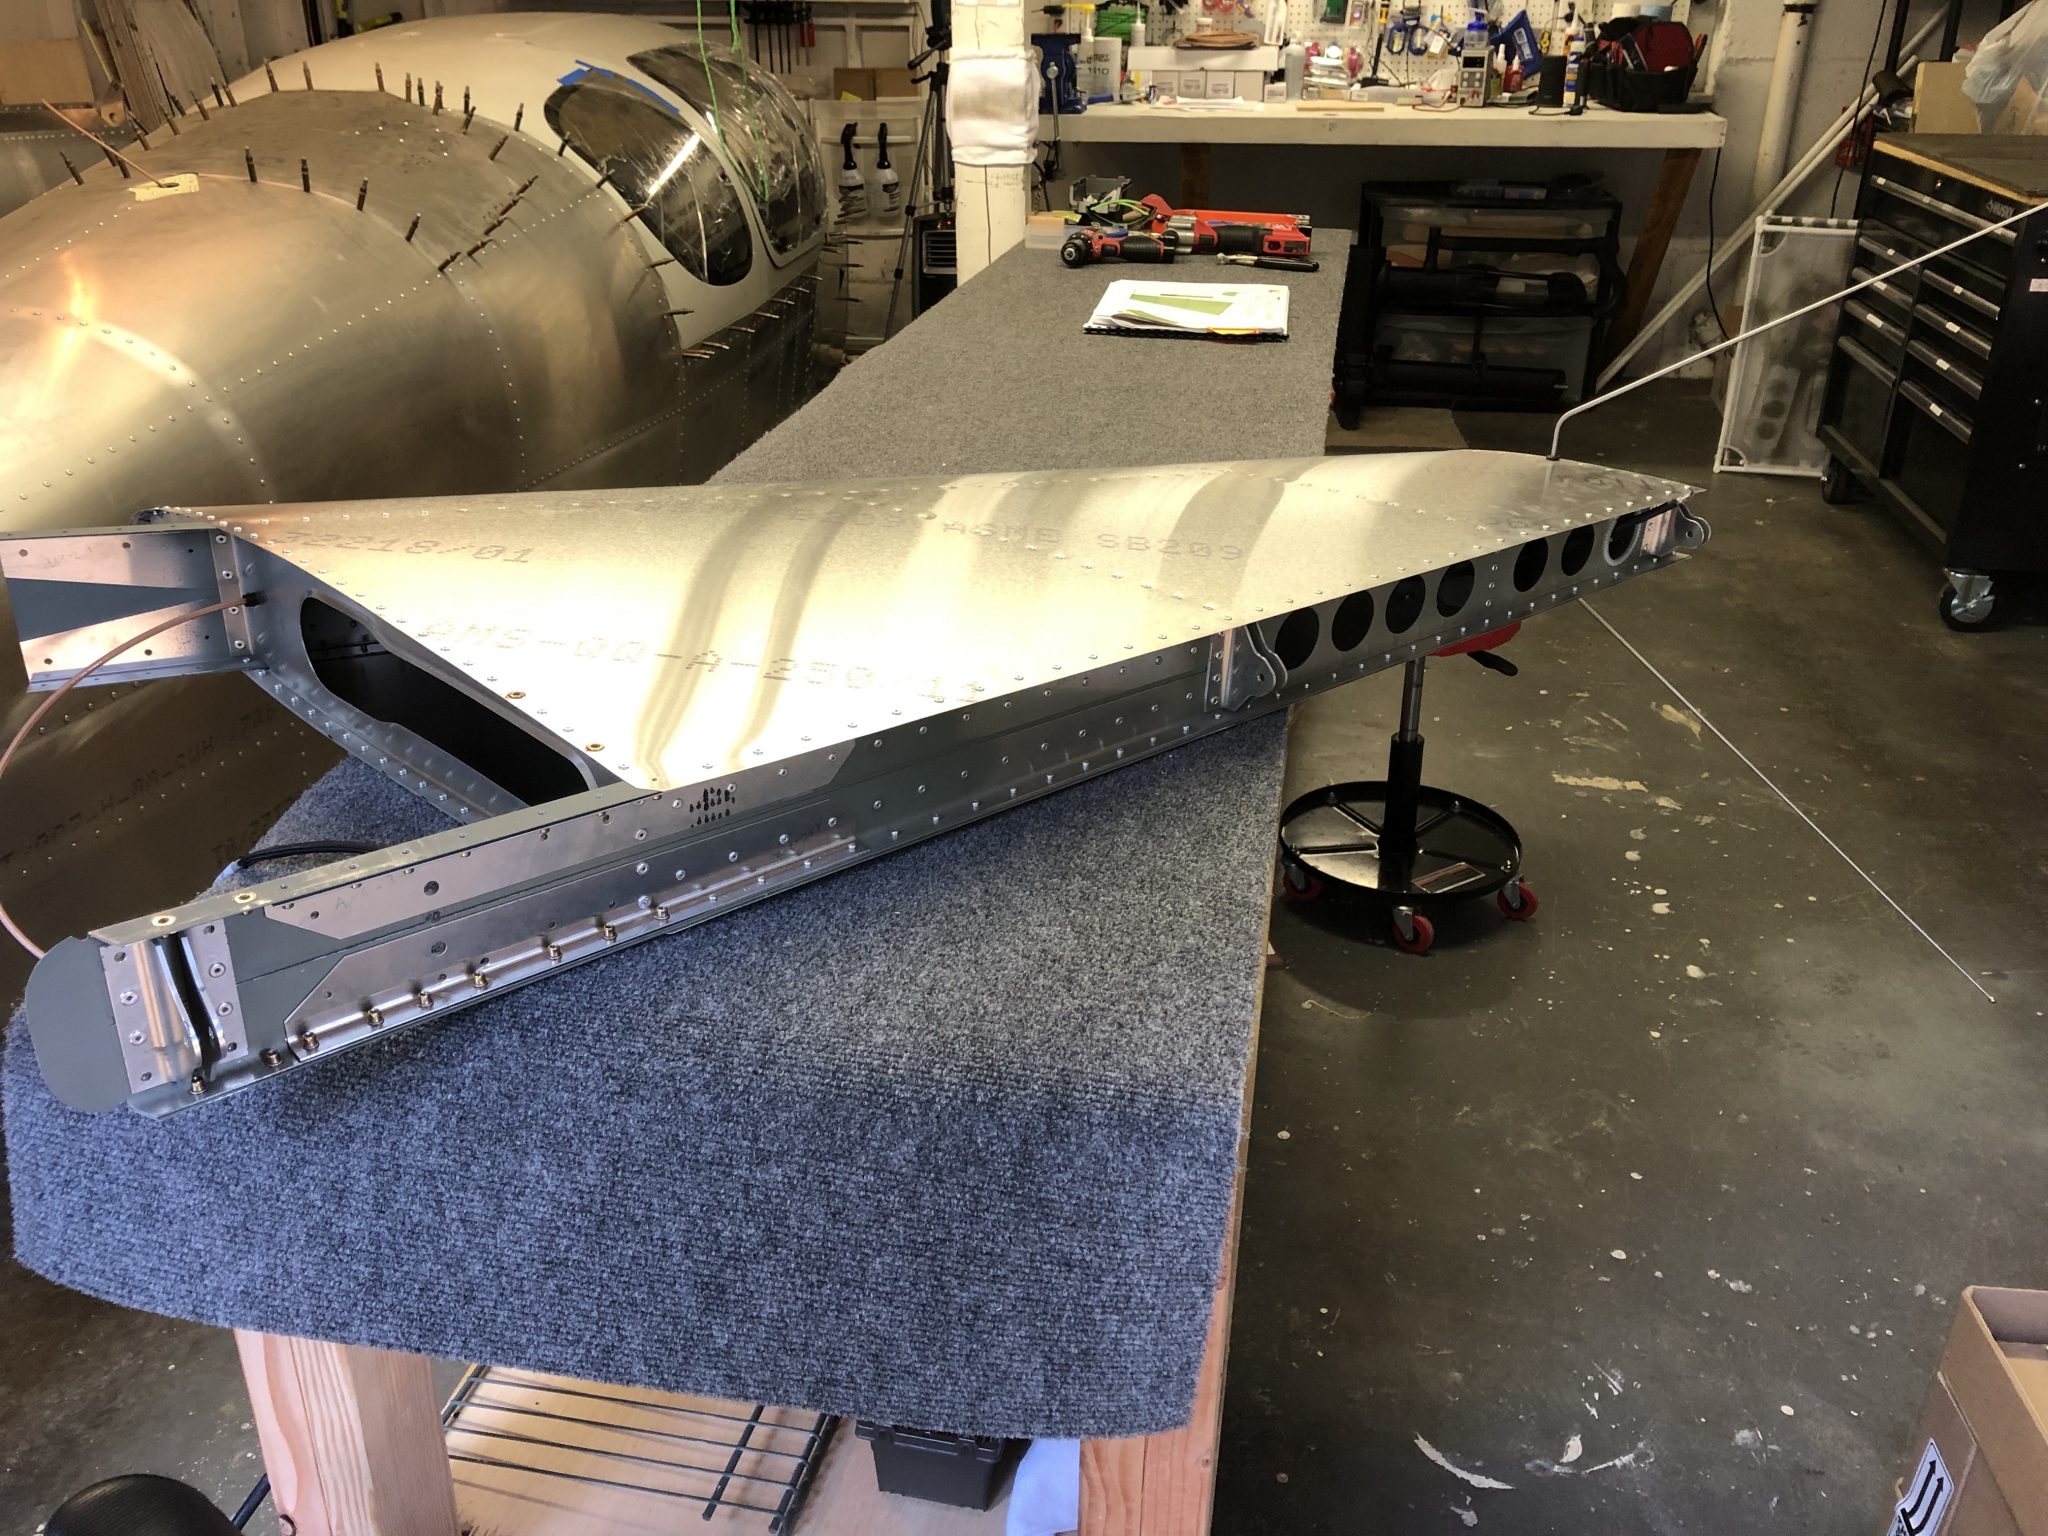
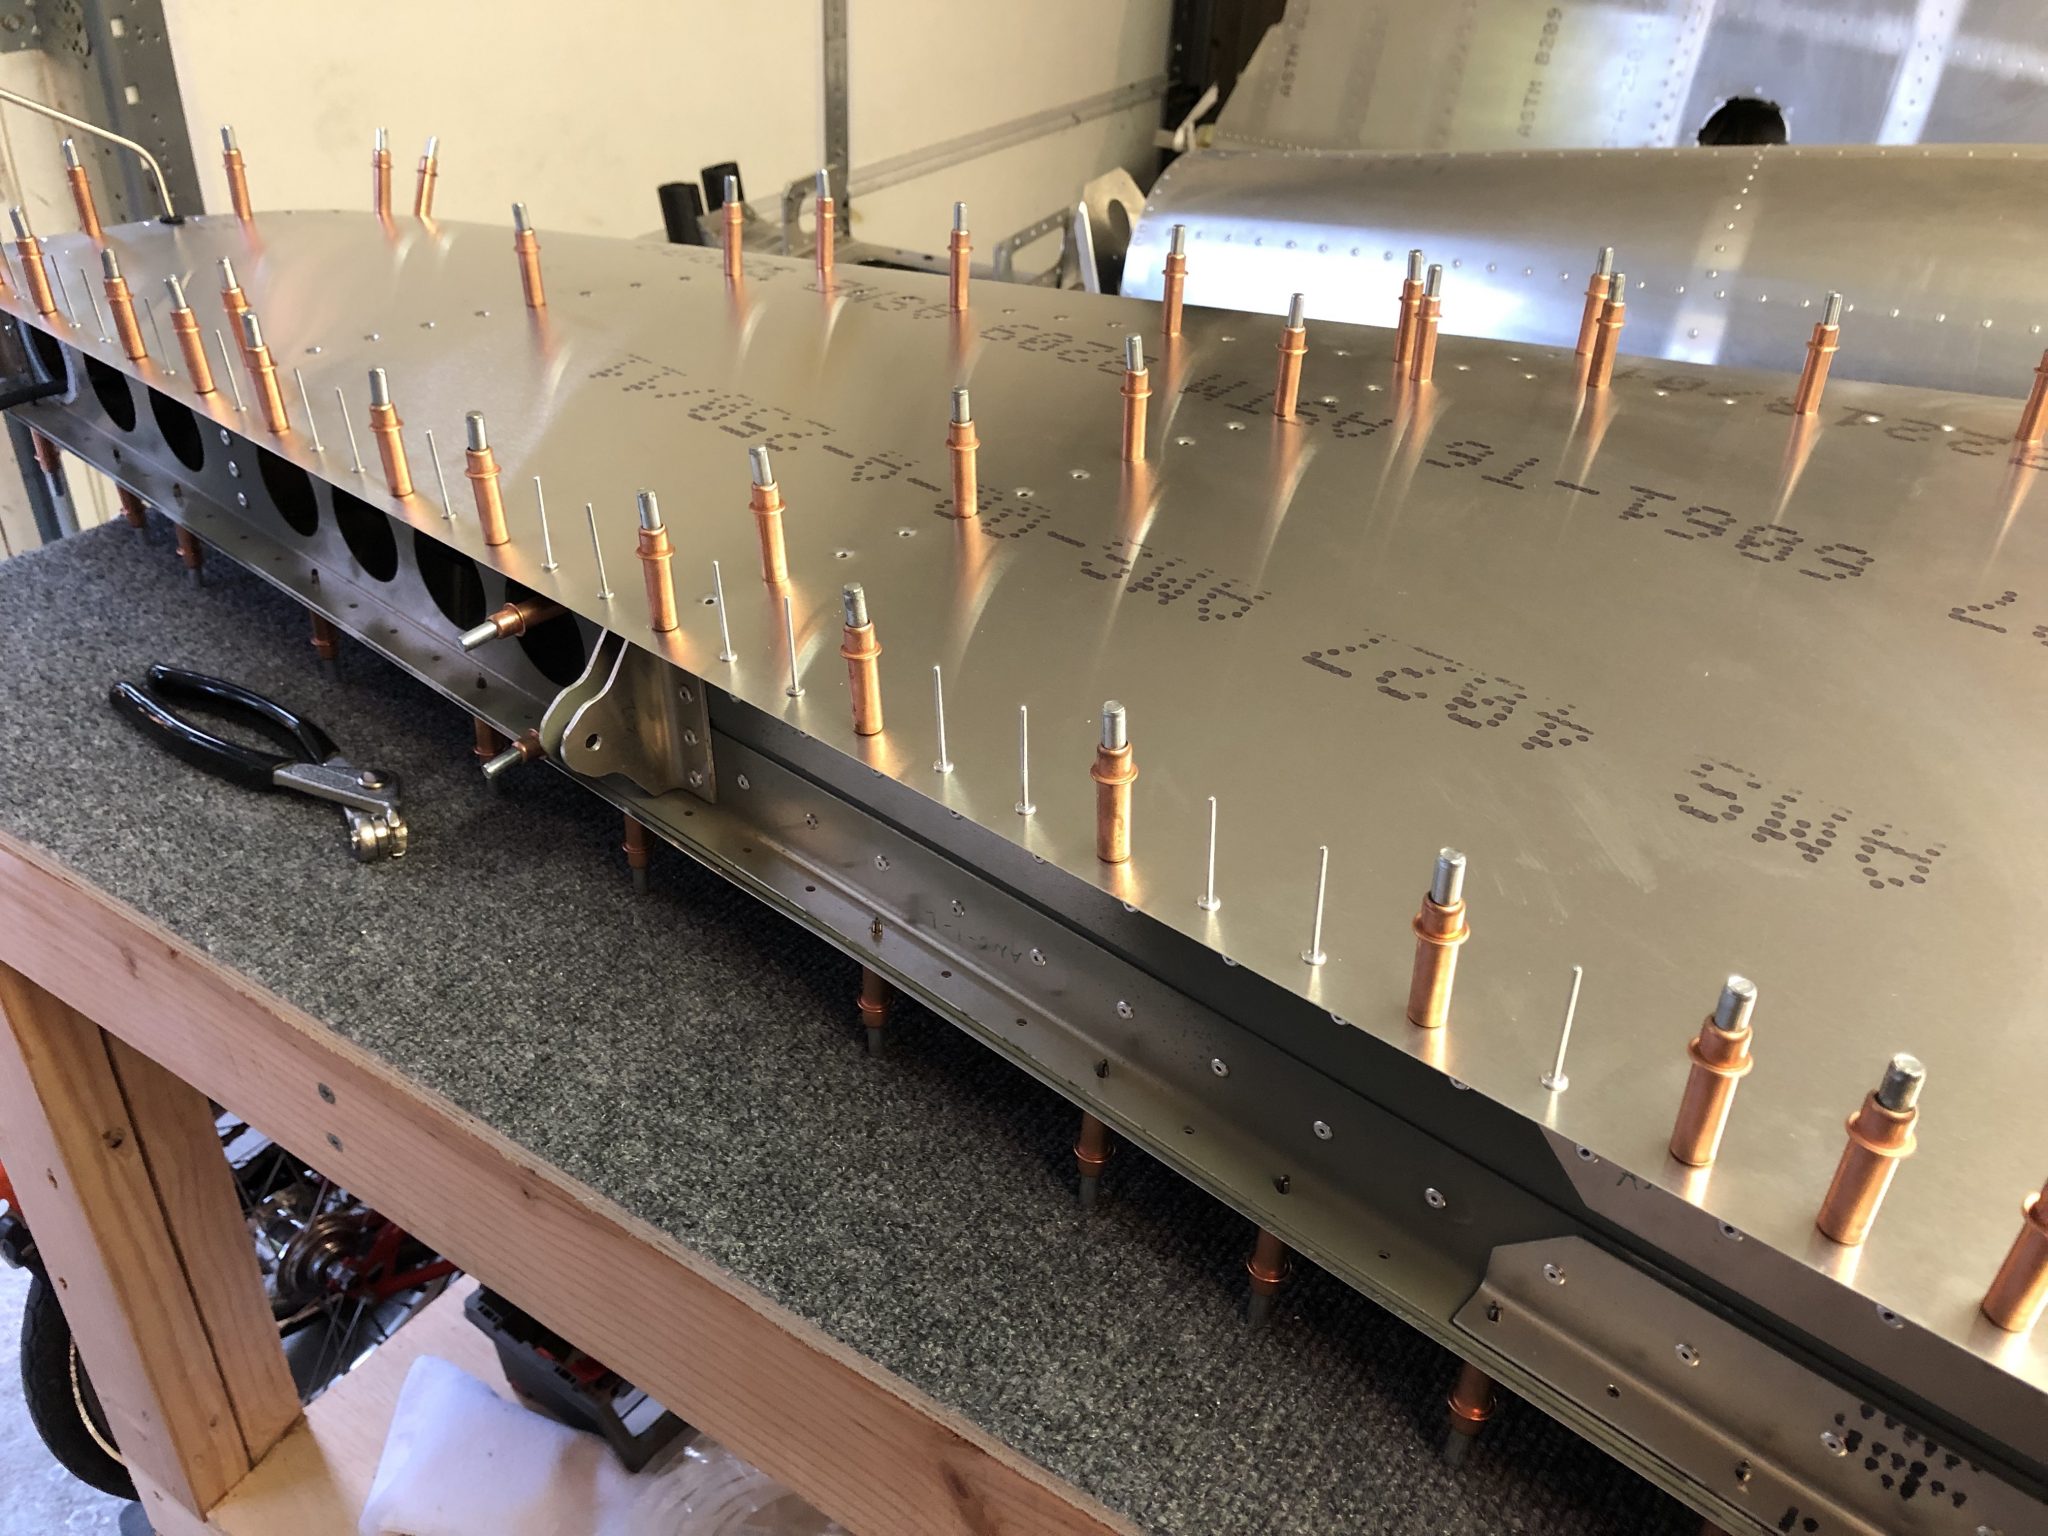
After that, it was just a matter of pulling the many rivets on both sides of the skin to close the Vertical Stabilizer up for good.

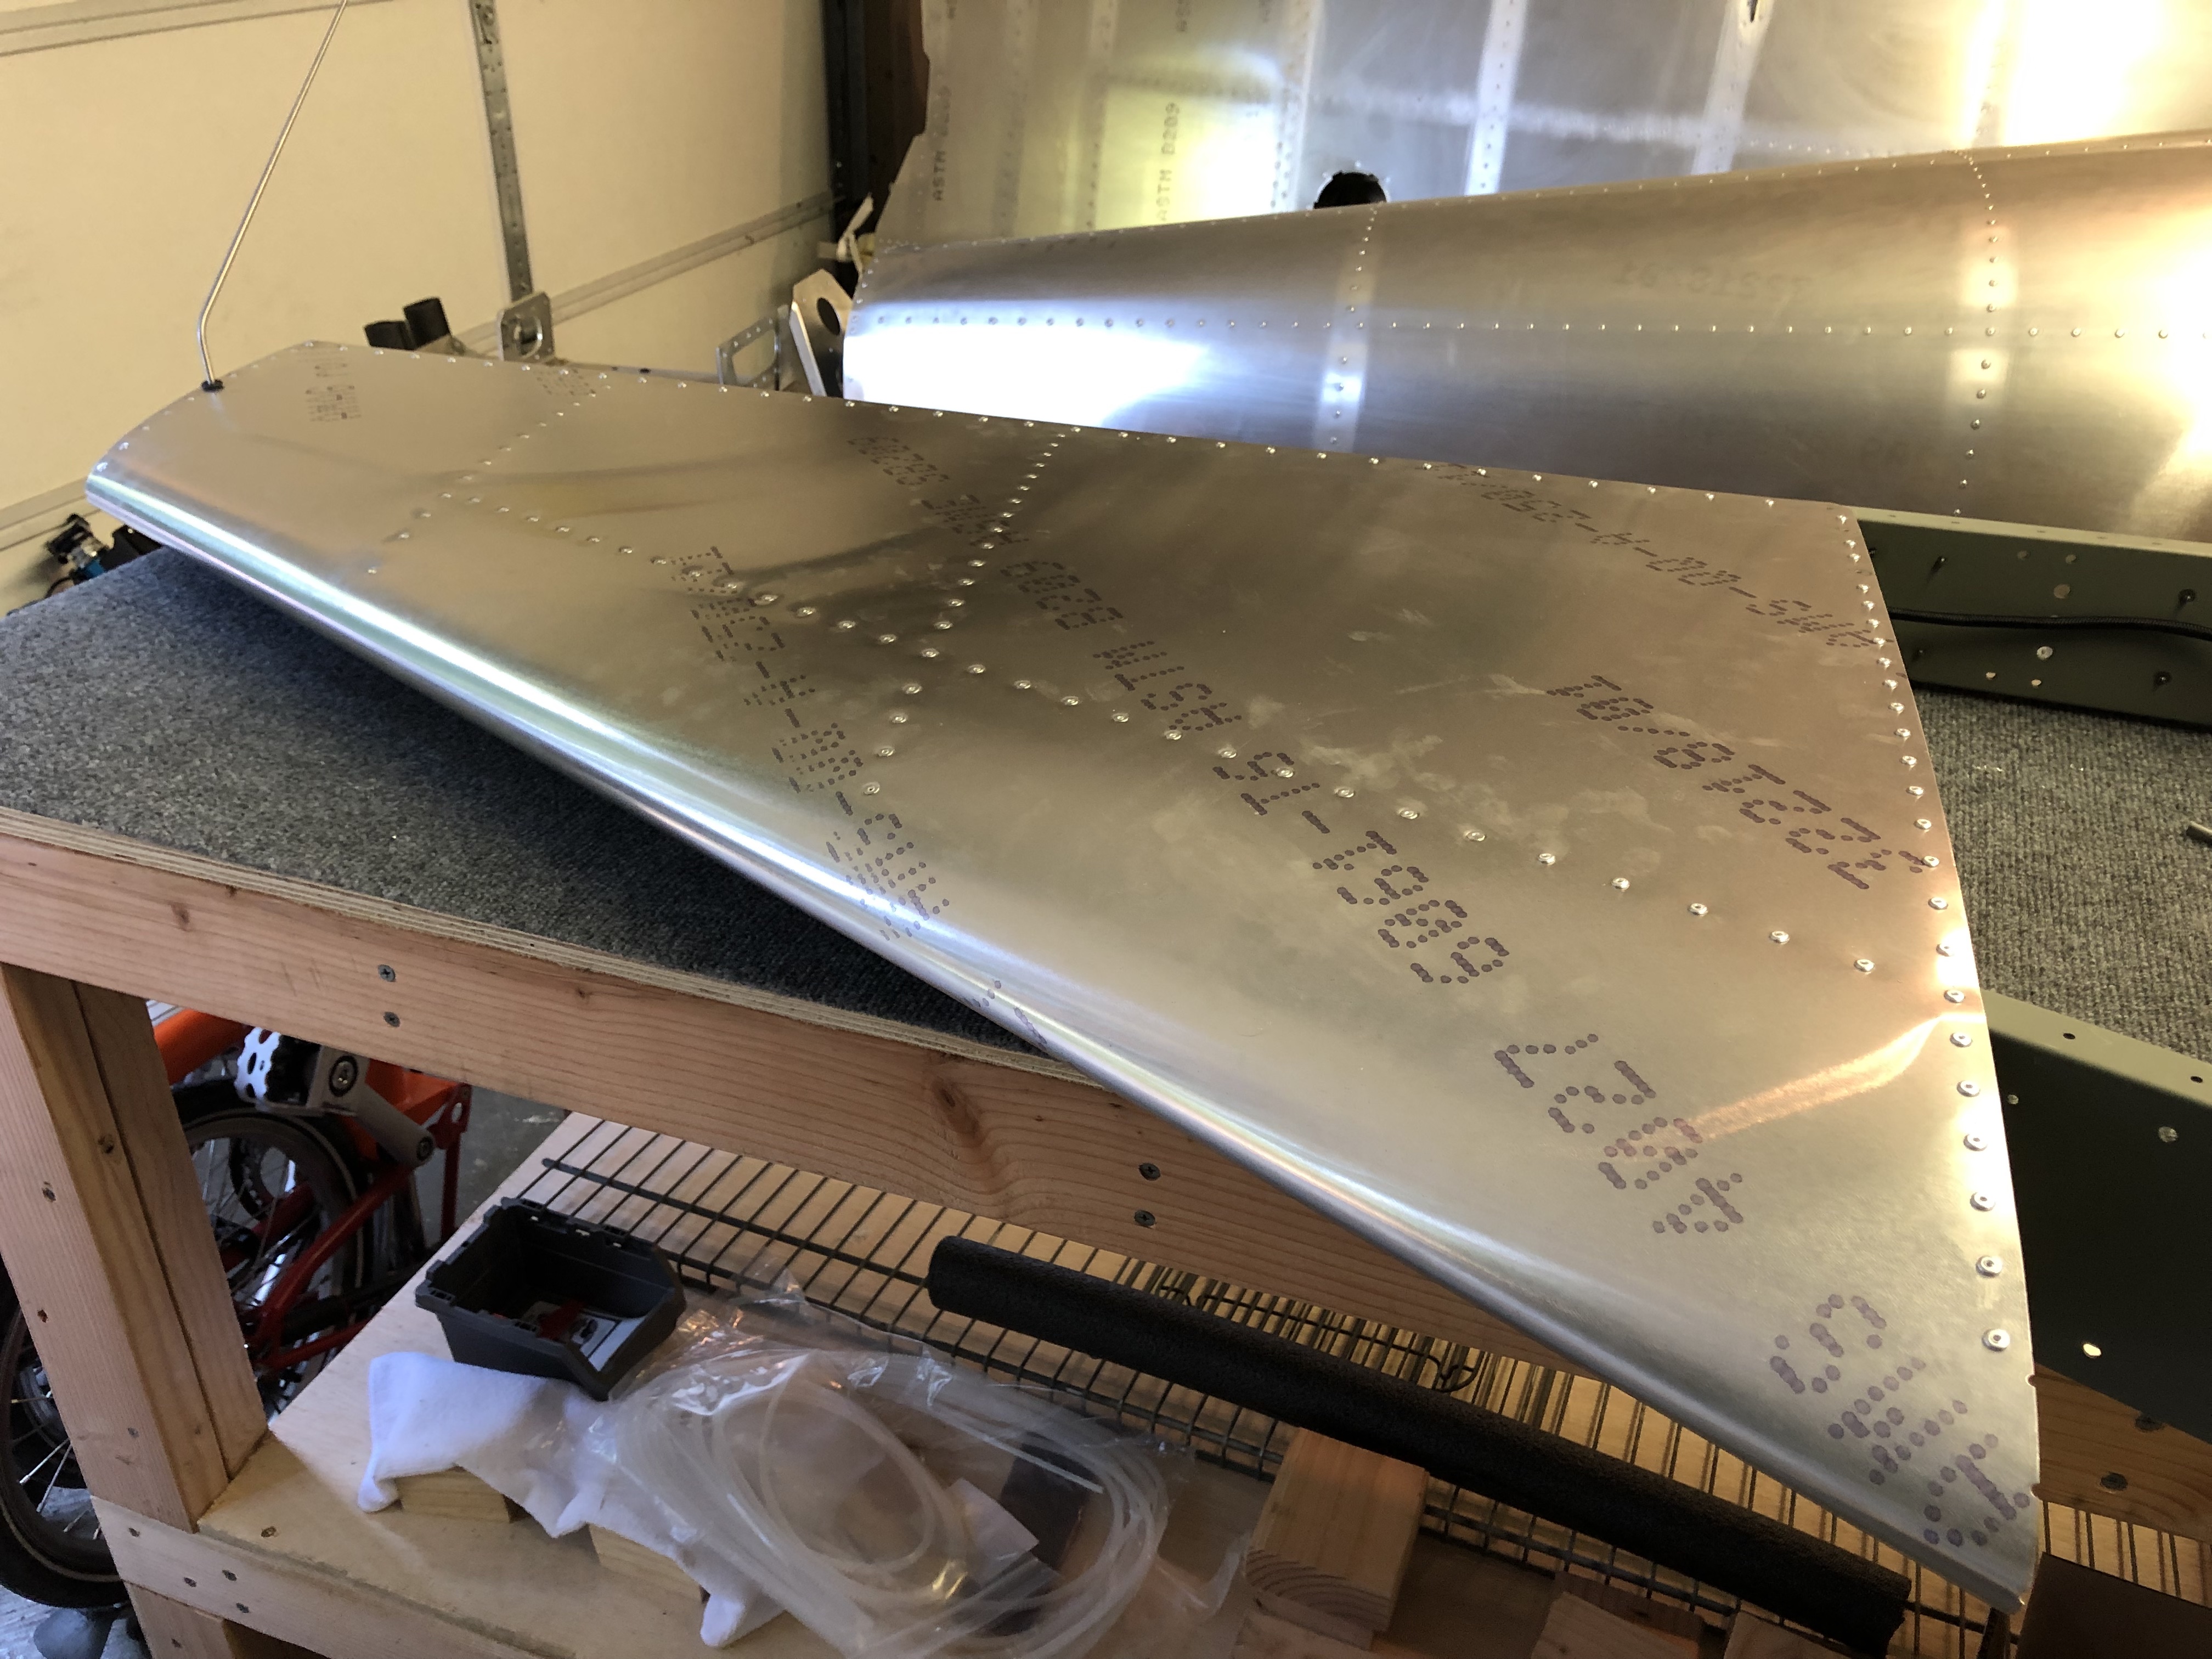
The last part was to install the two rivnuts on the bottom on each side, so after enlarging the holes using my step drill and reaming them out using my hand reamer, I got out my rivnut puller and high strength loctite and put those in place.

With the Vertical Stabilizer completed, I then did a quick test fit and mounted it on top of the Fuselage and also attached the Rudder for a moment – almost looks like an airplane.