Monthly Archives: June 2020

Finishing the Right Aileron

Hours: 2.5

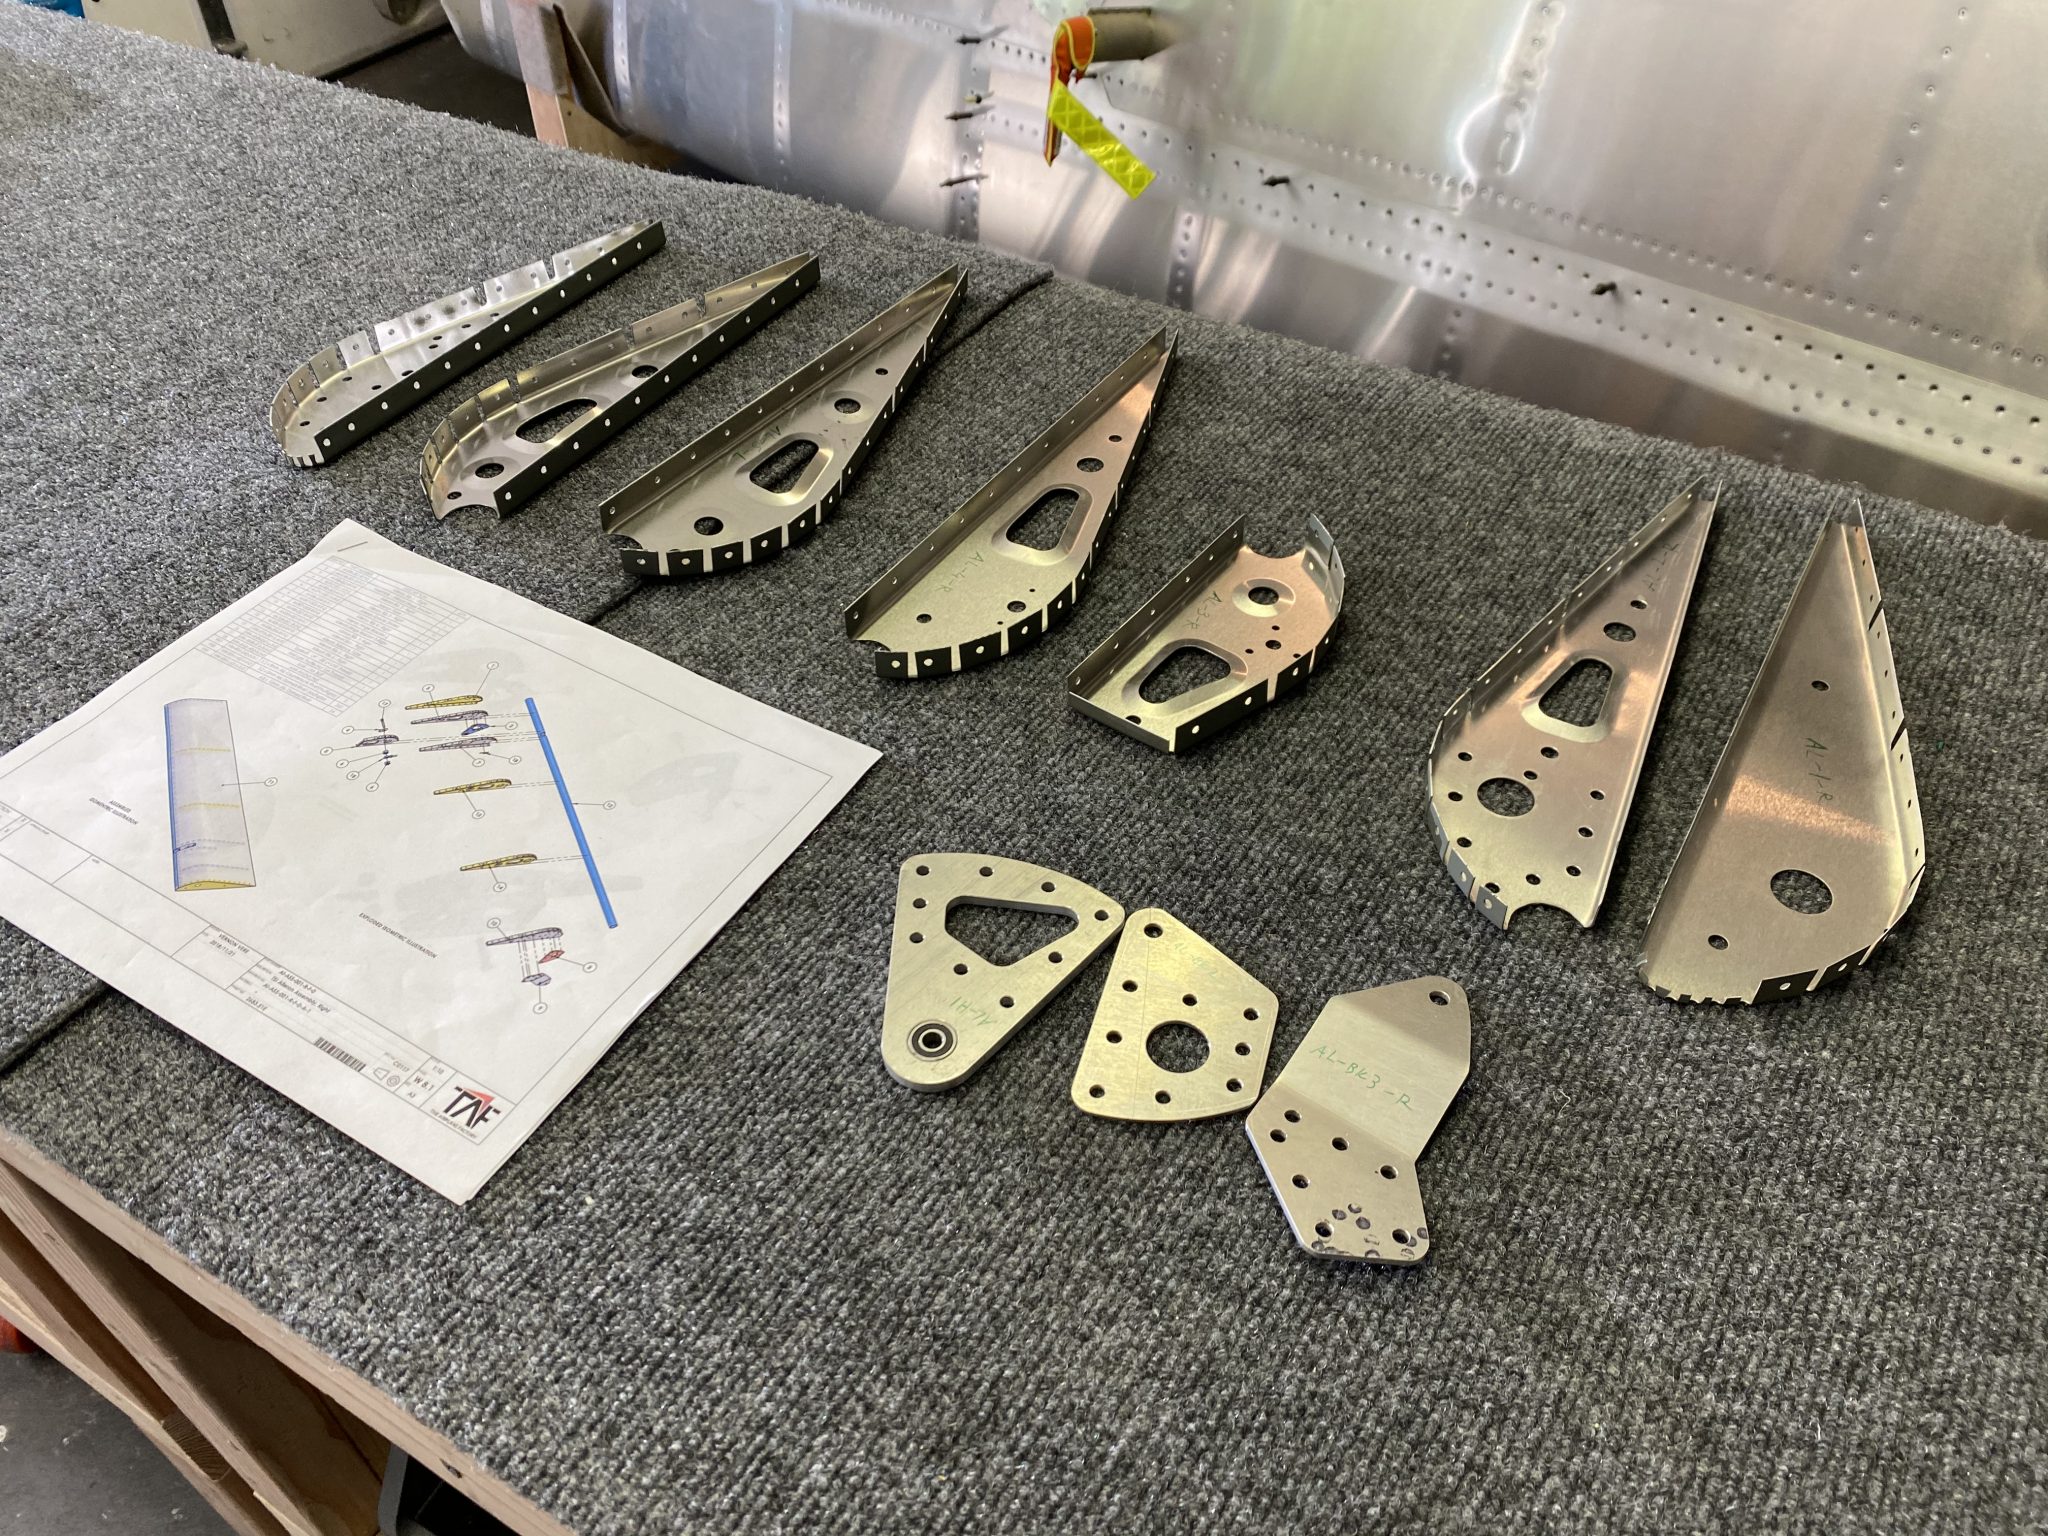
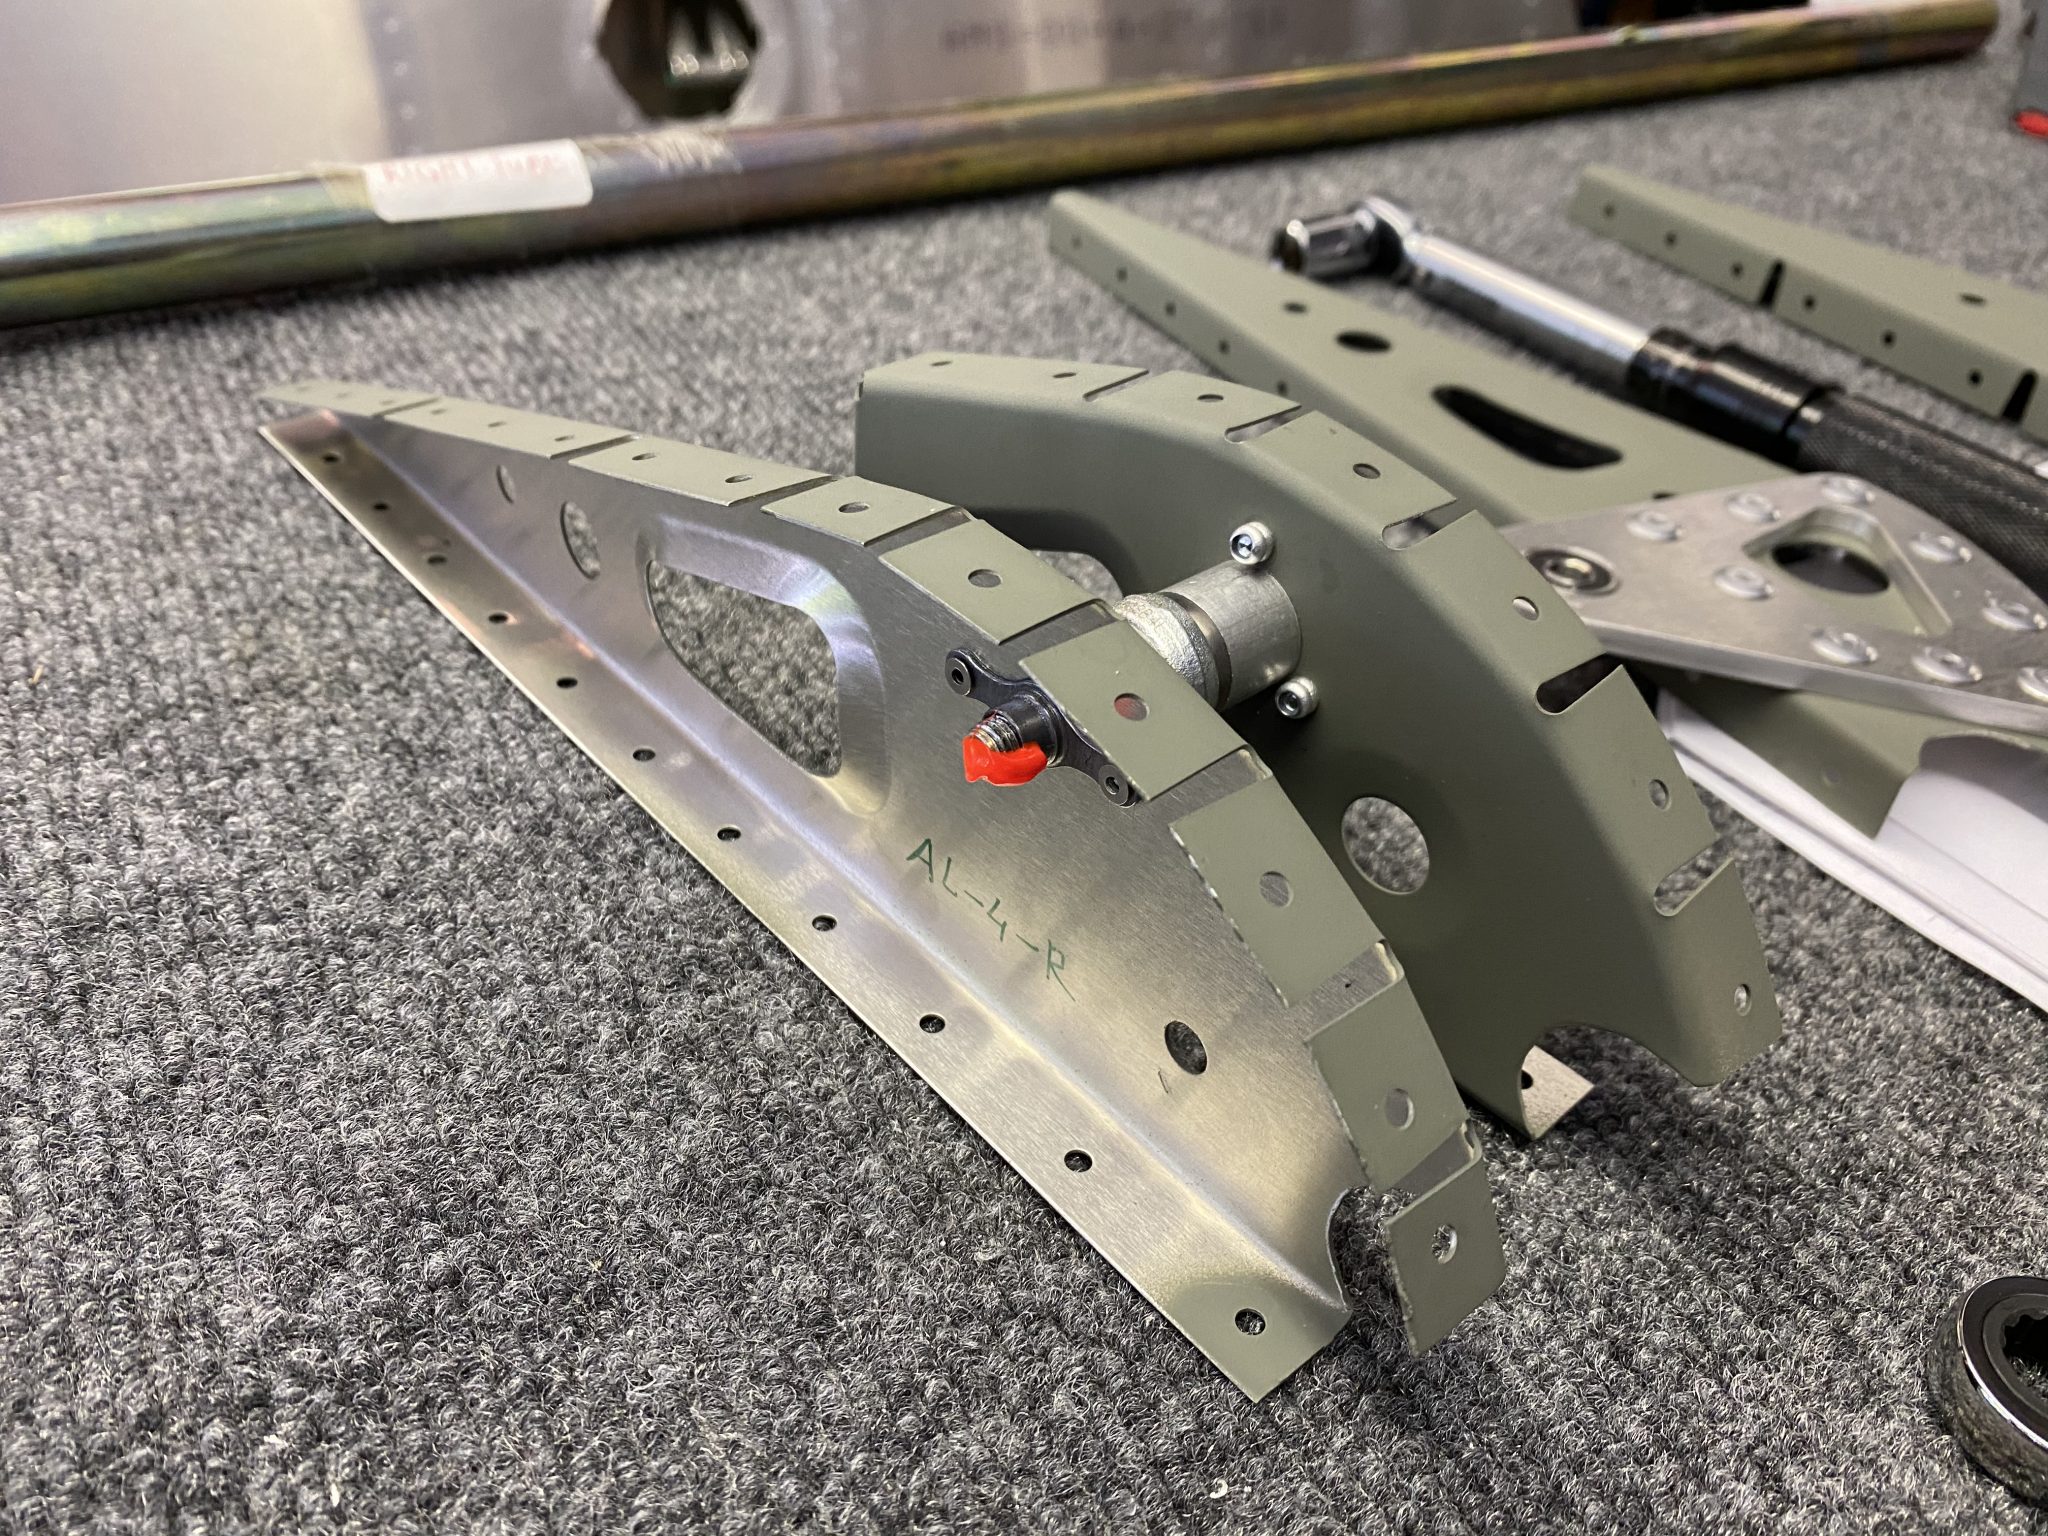
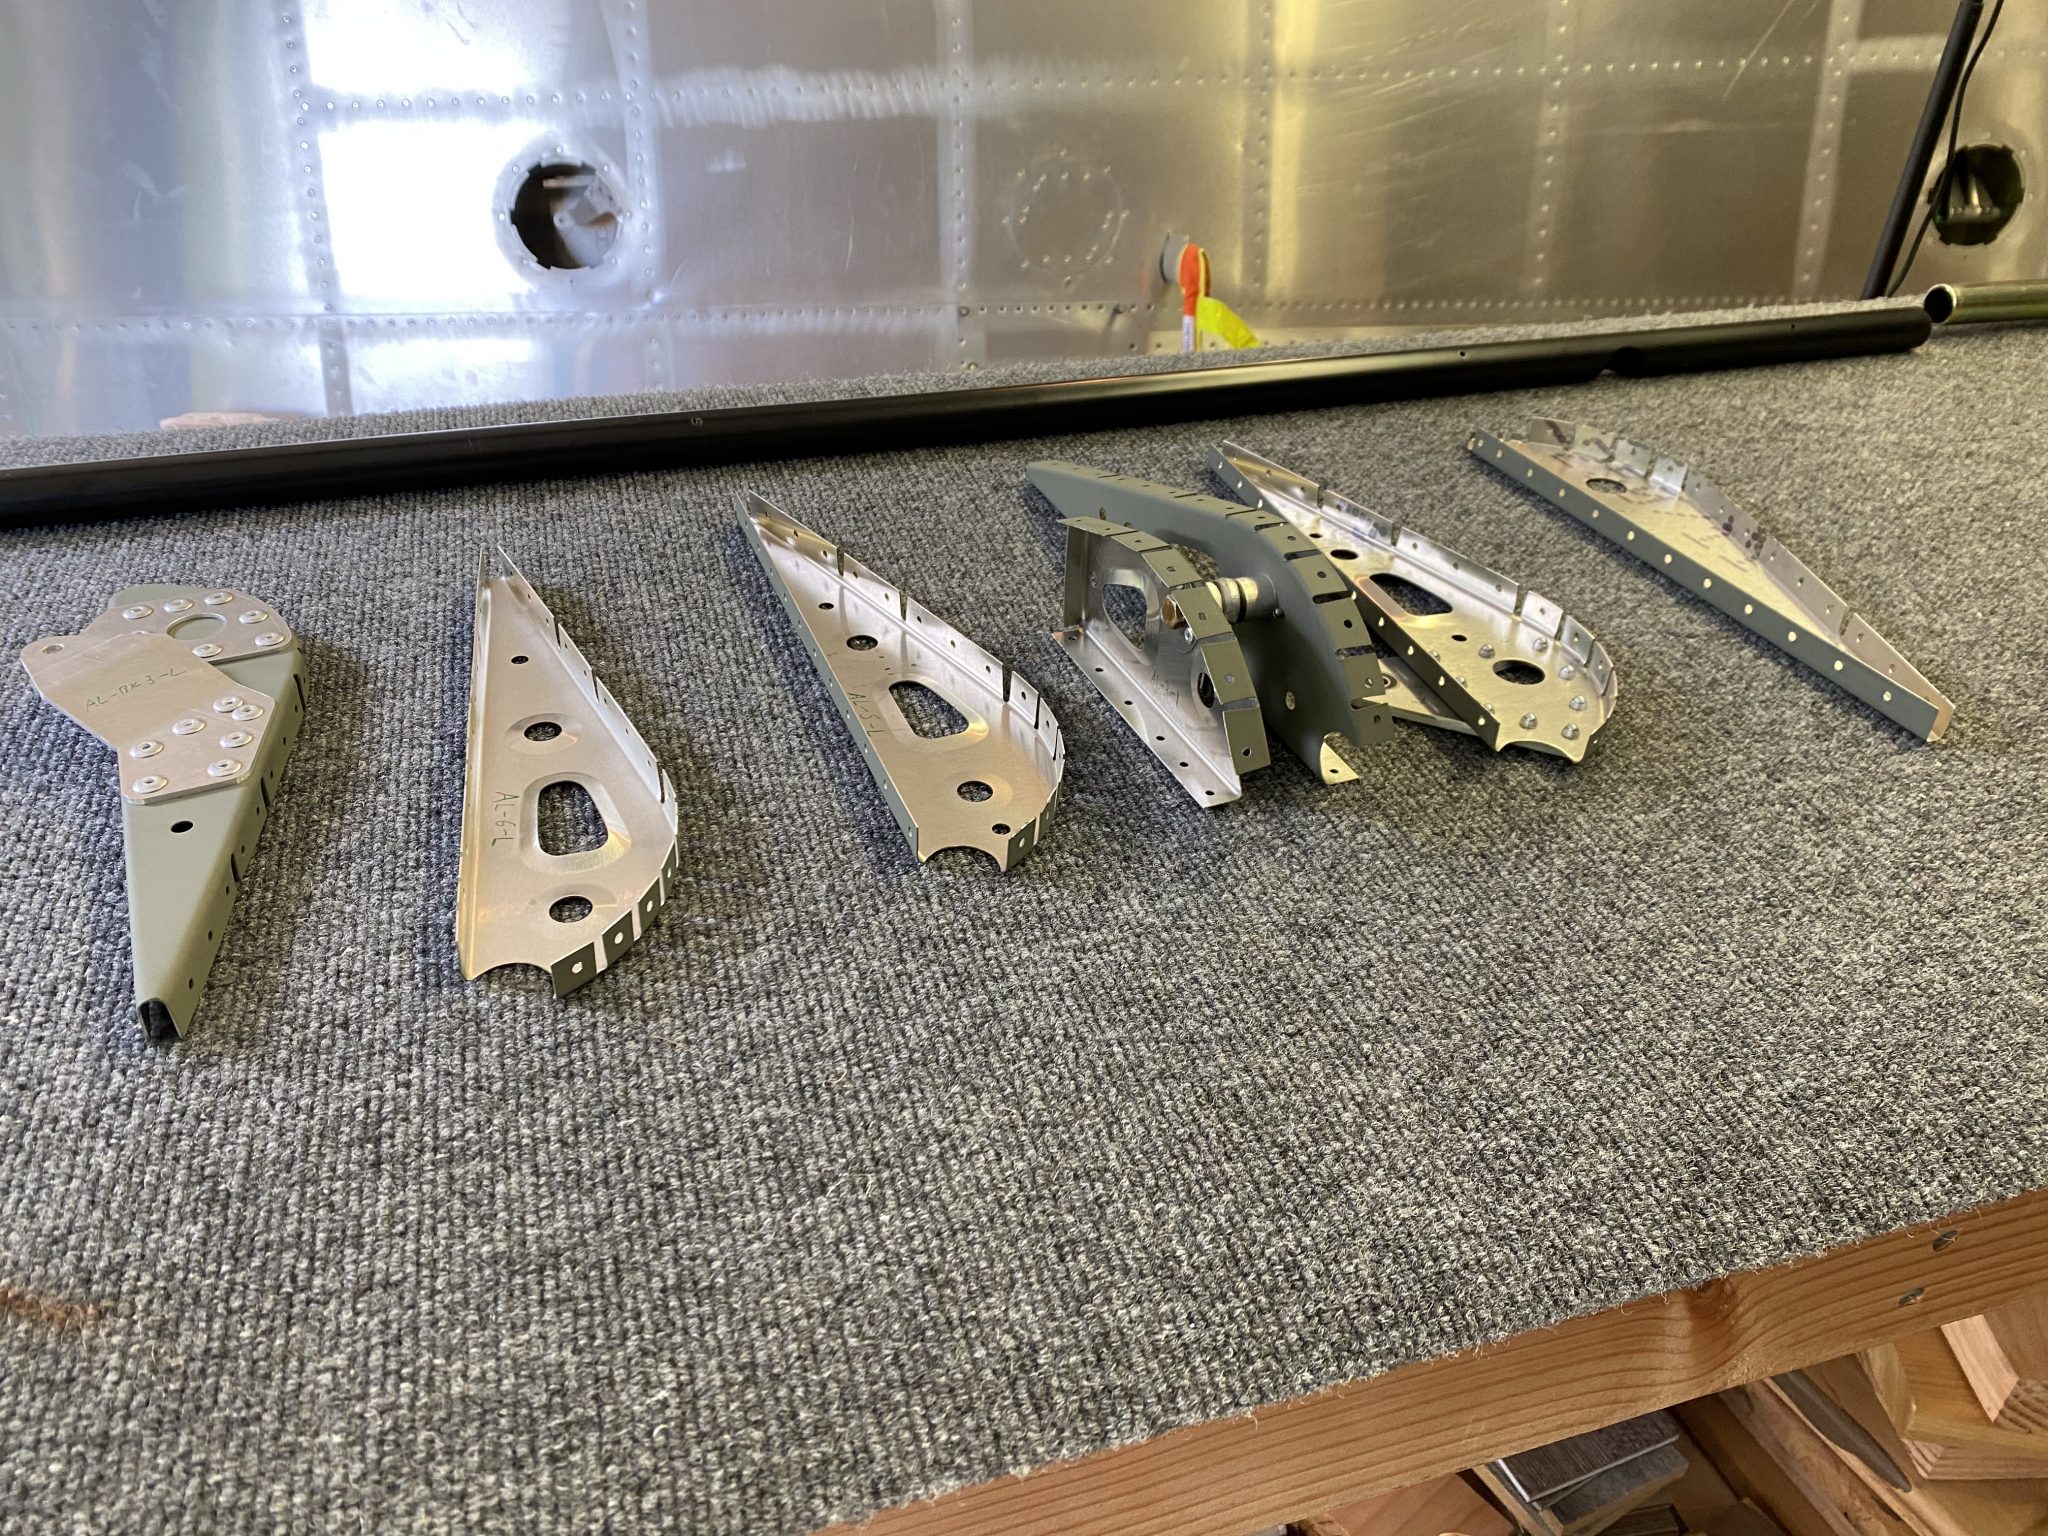
With the ribs for the ailerons prepared, time for me to complete and rivet the ribs and the skins to make a complete Aileron.

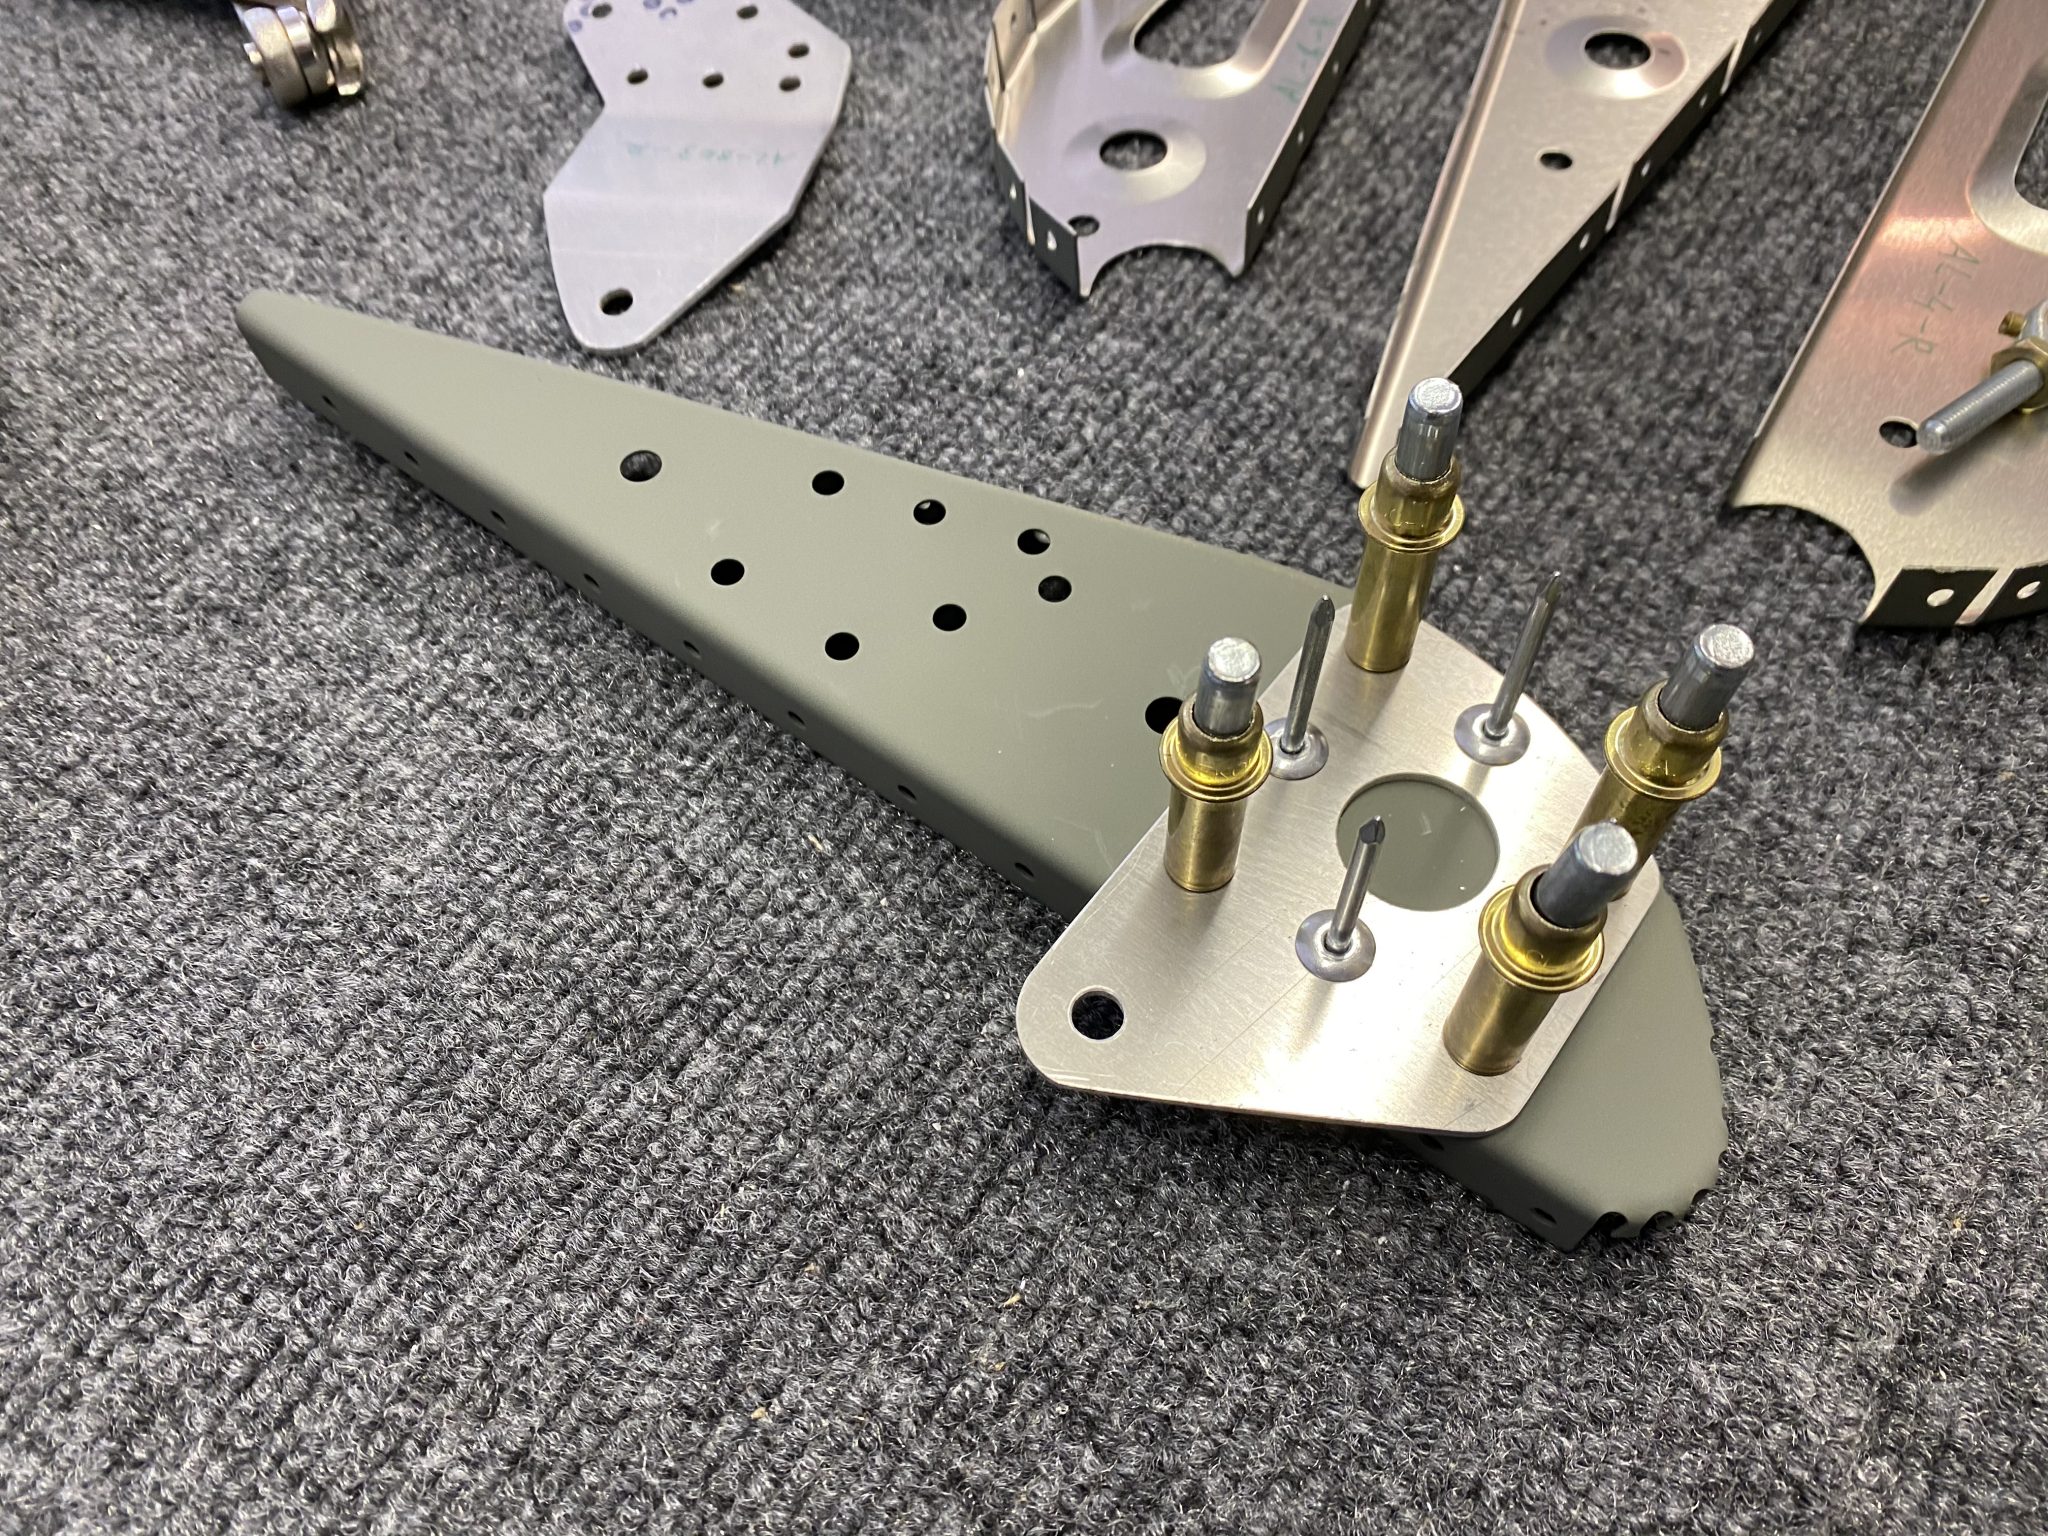
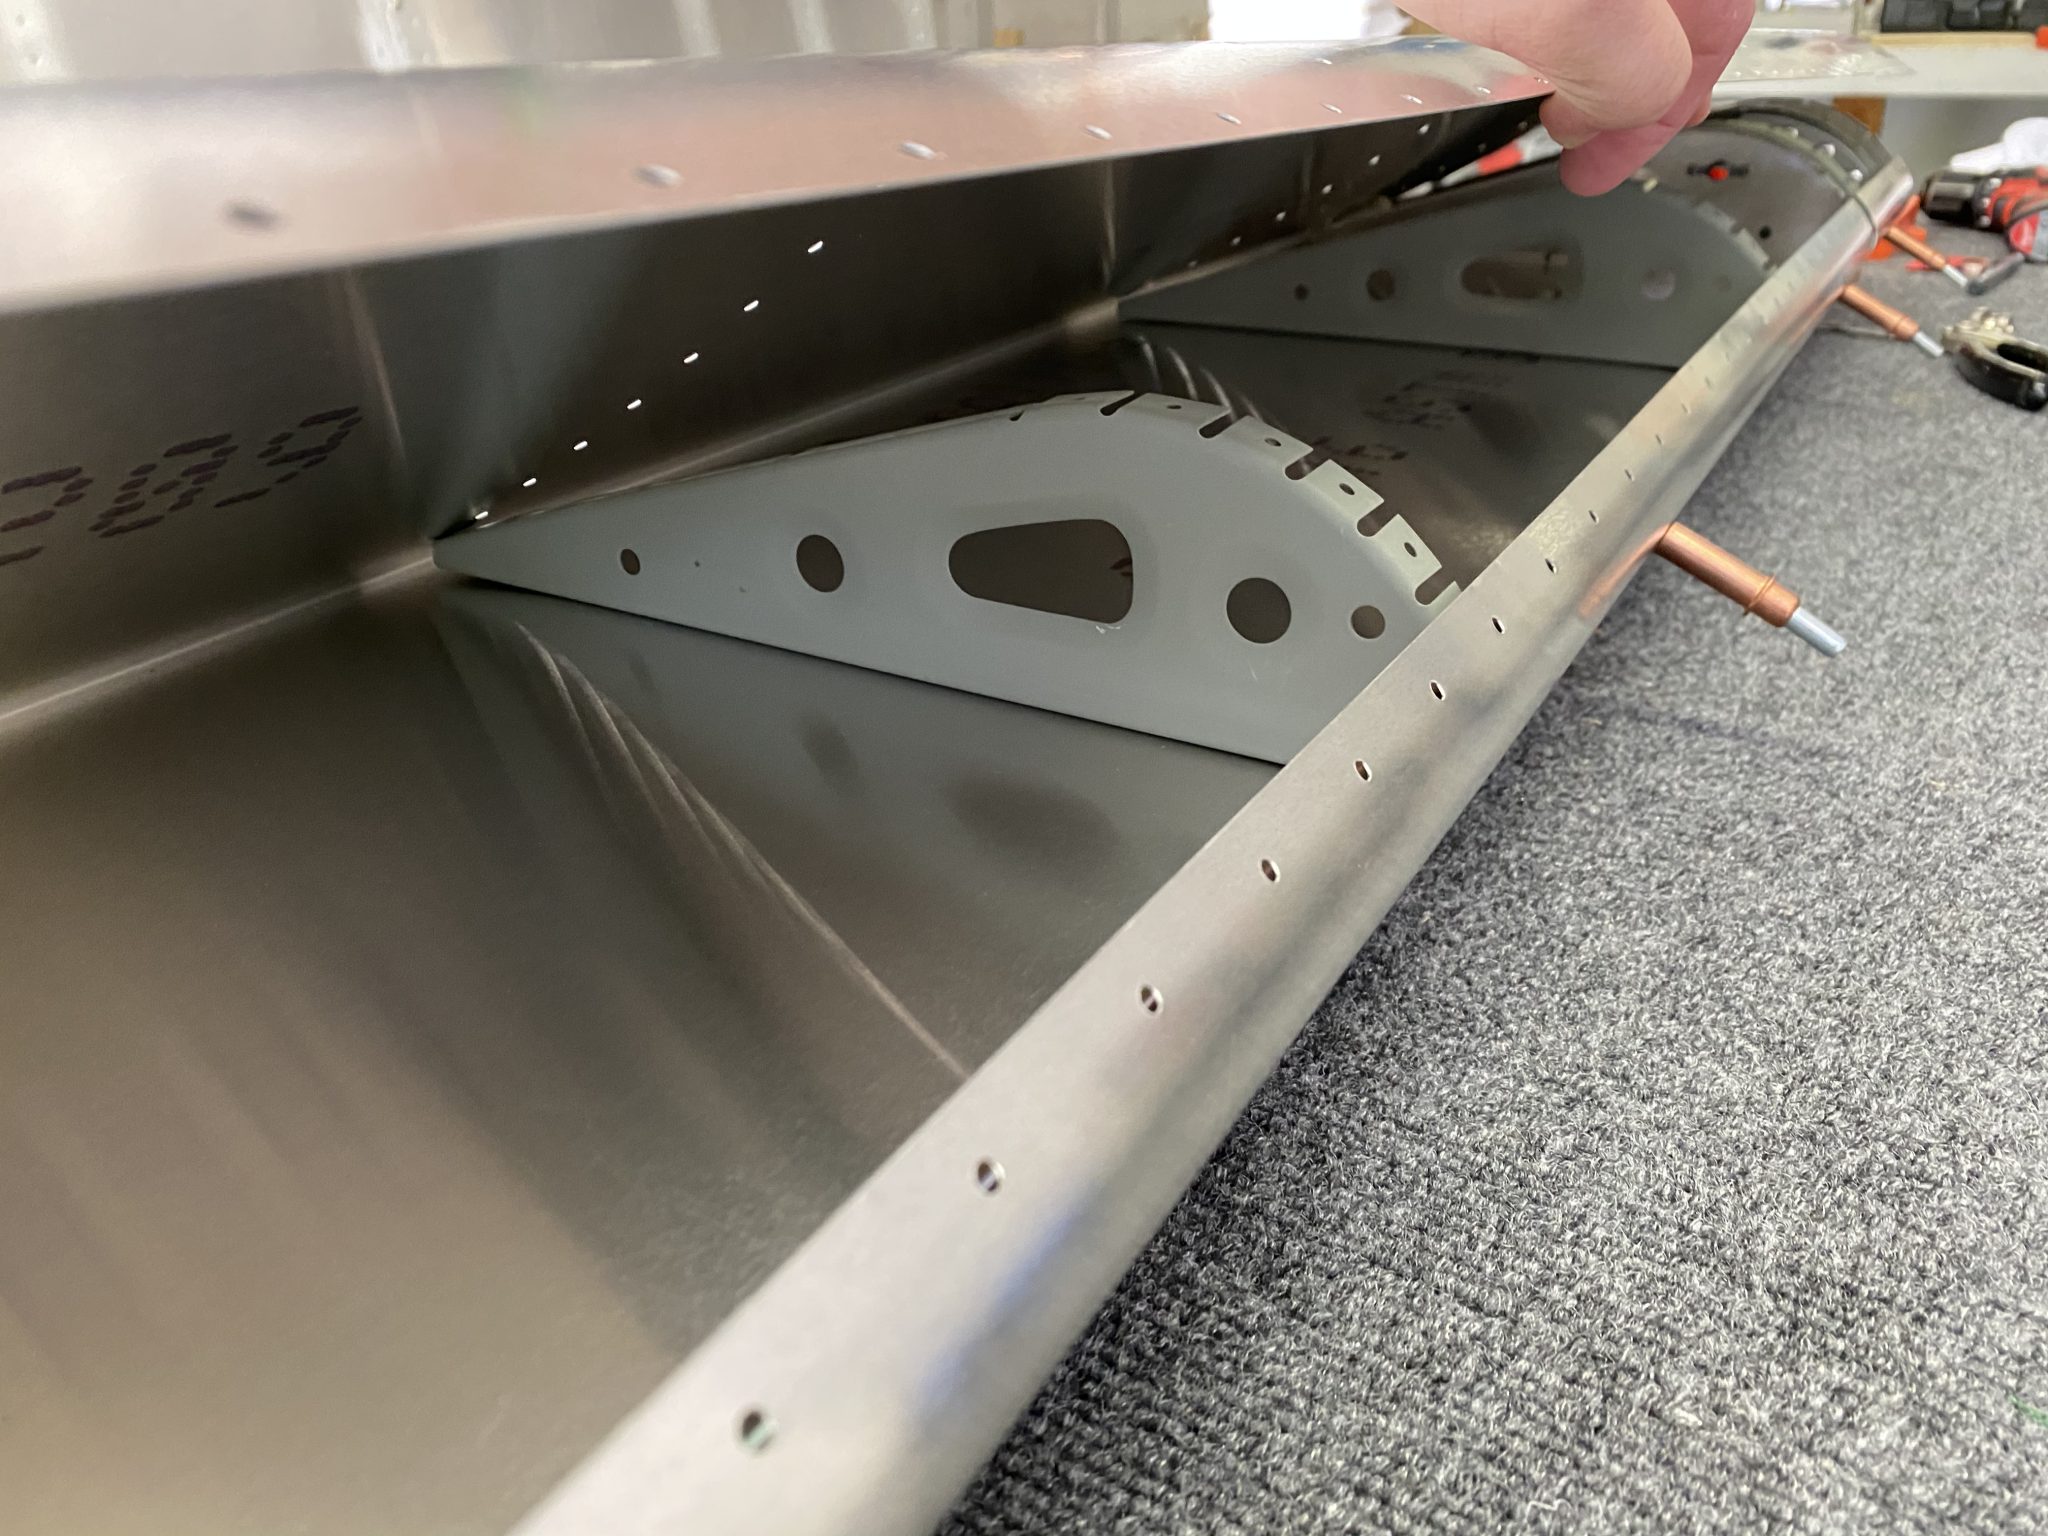
The instruction manual on the Aileron is still a bit light, so I first had to figure out the order of things. After first doing it wrong and placing the balance tube in first, I realized that this doesn’t allow to place the ribs. So back out with tube, and in with the ribs first.

Lining up the ribs inside the aileron

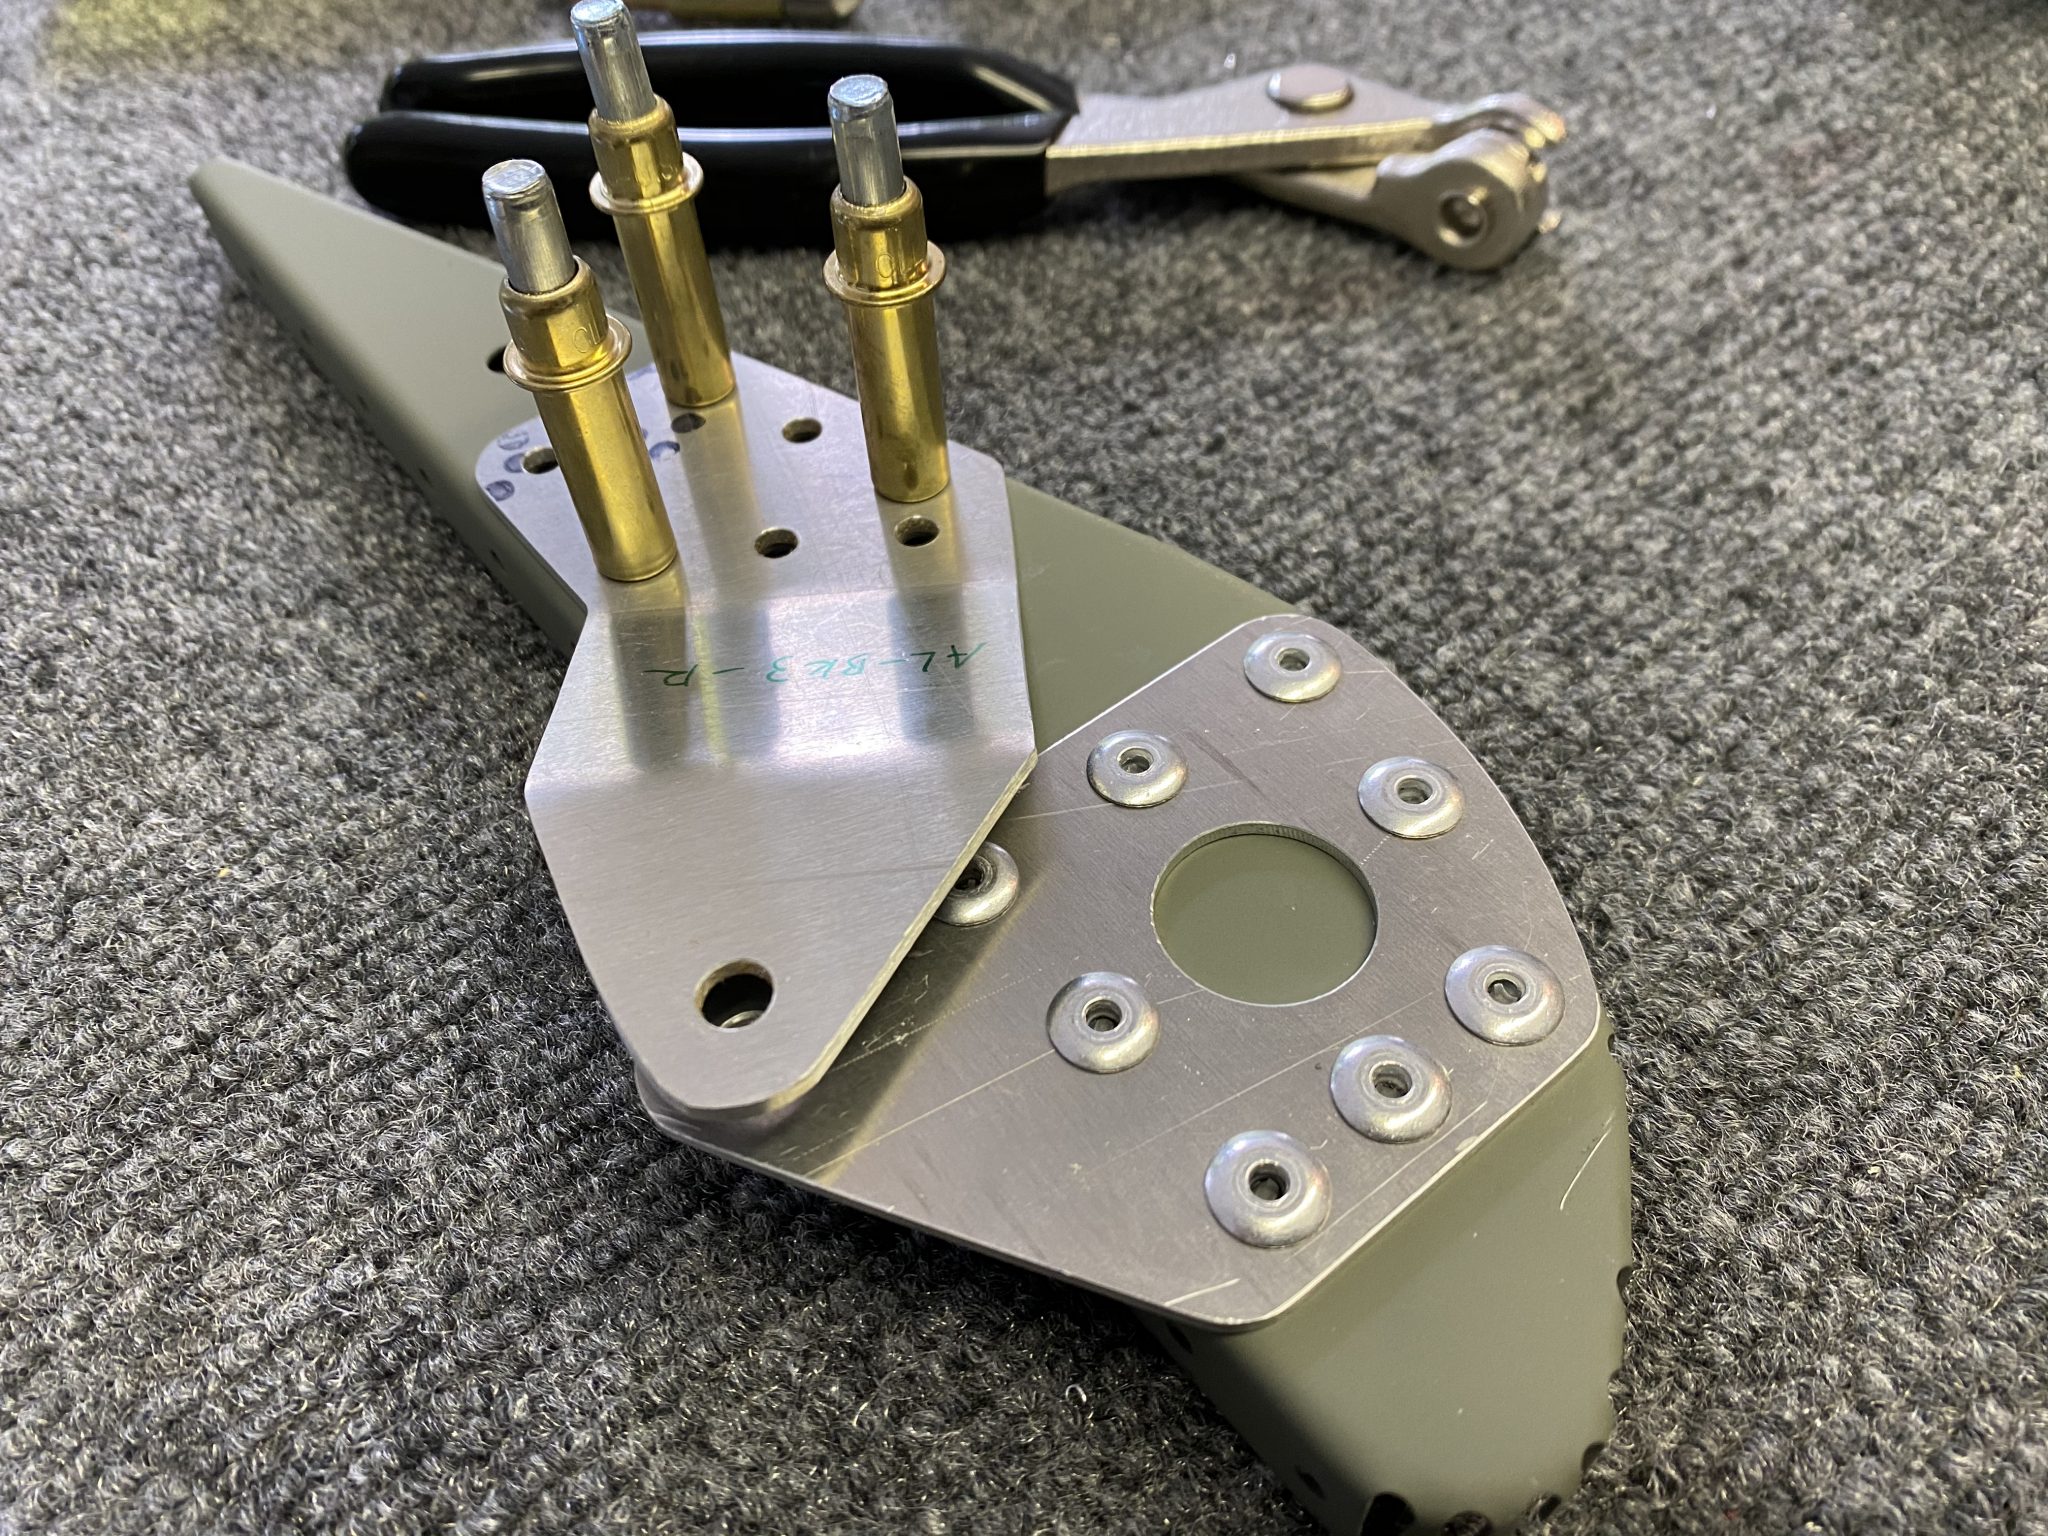
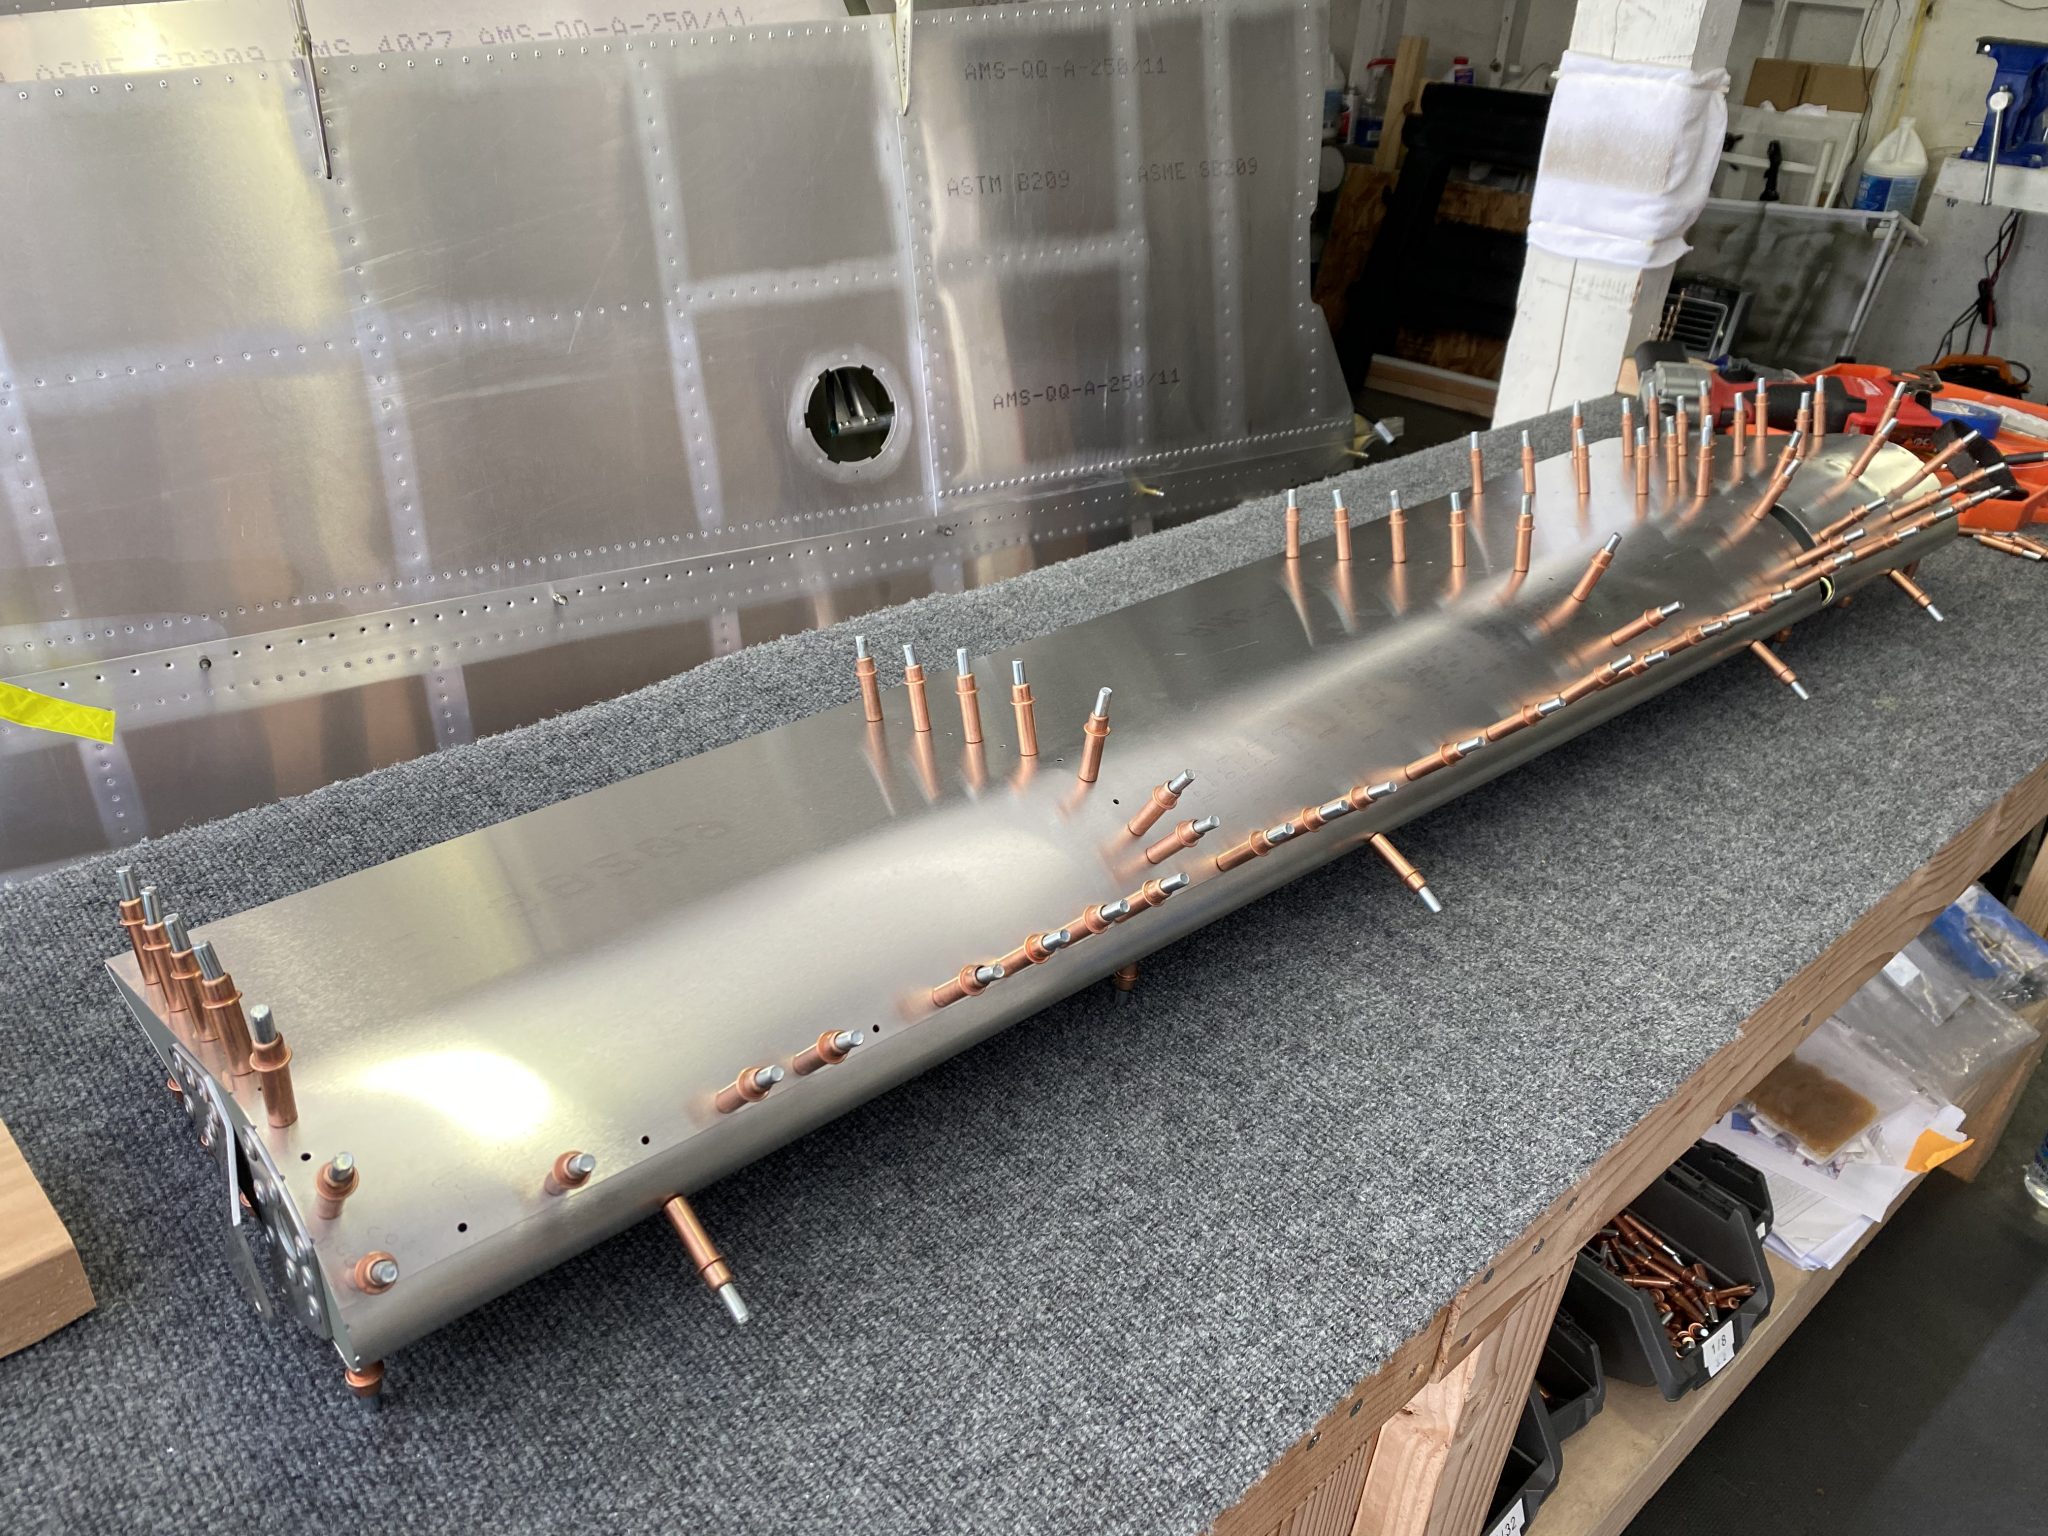
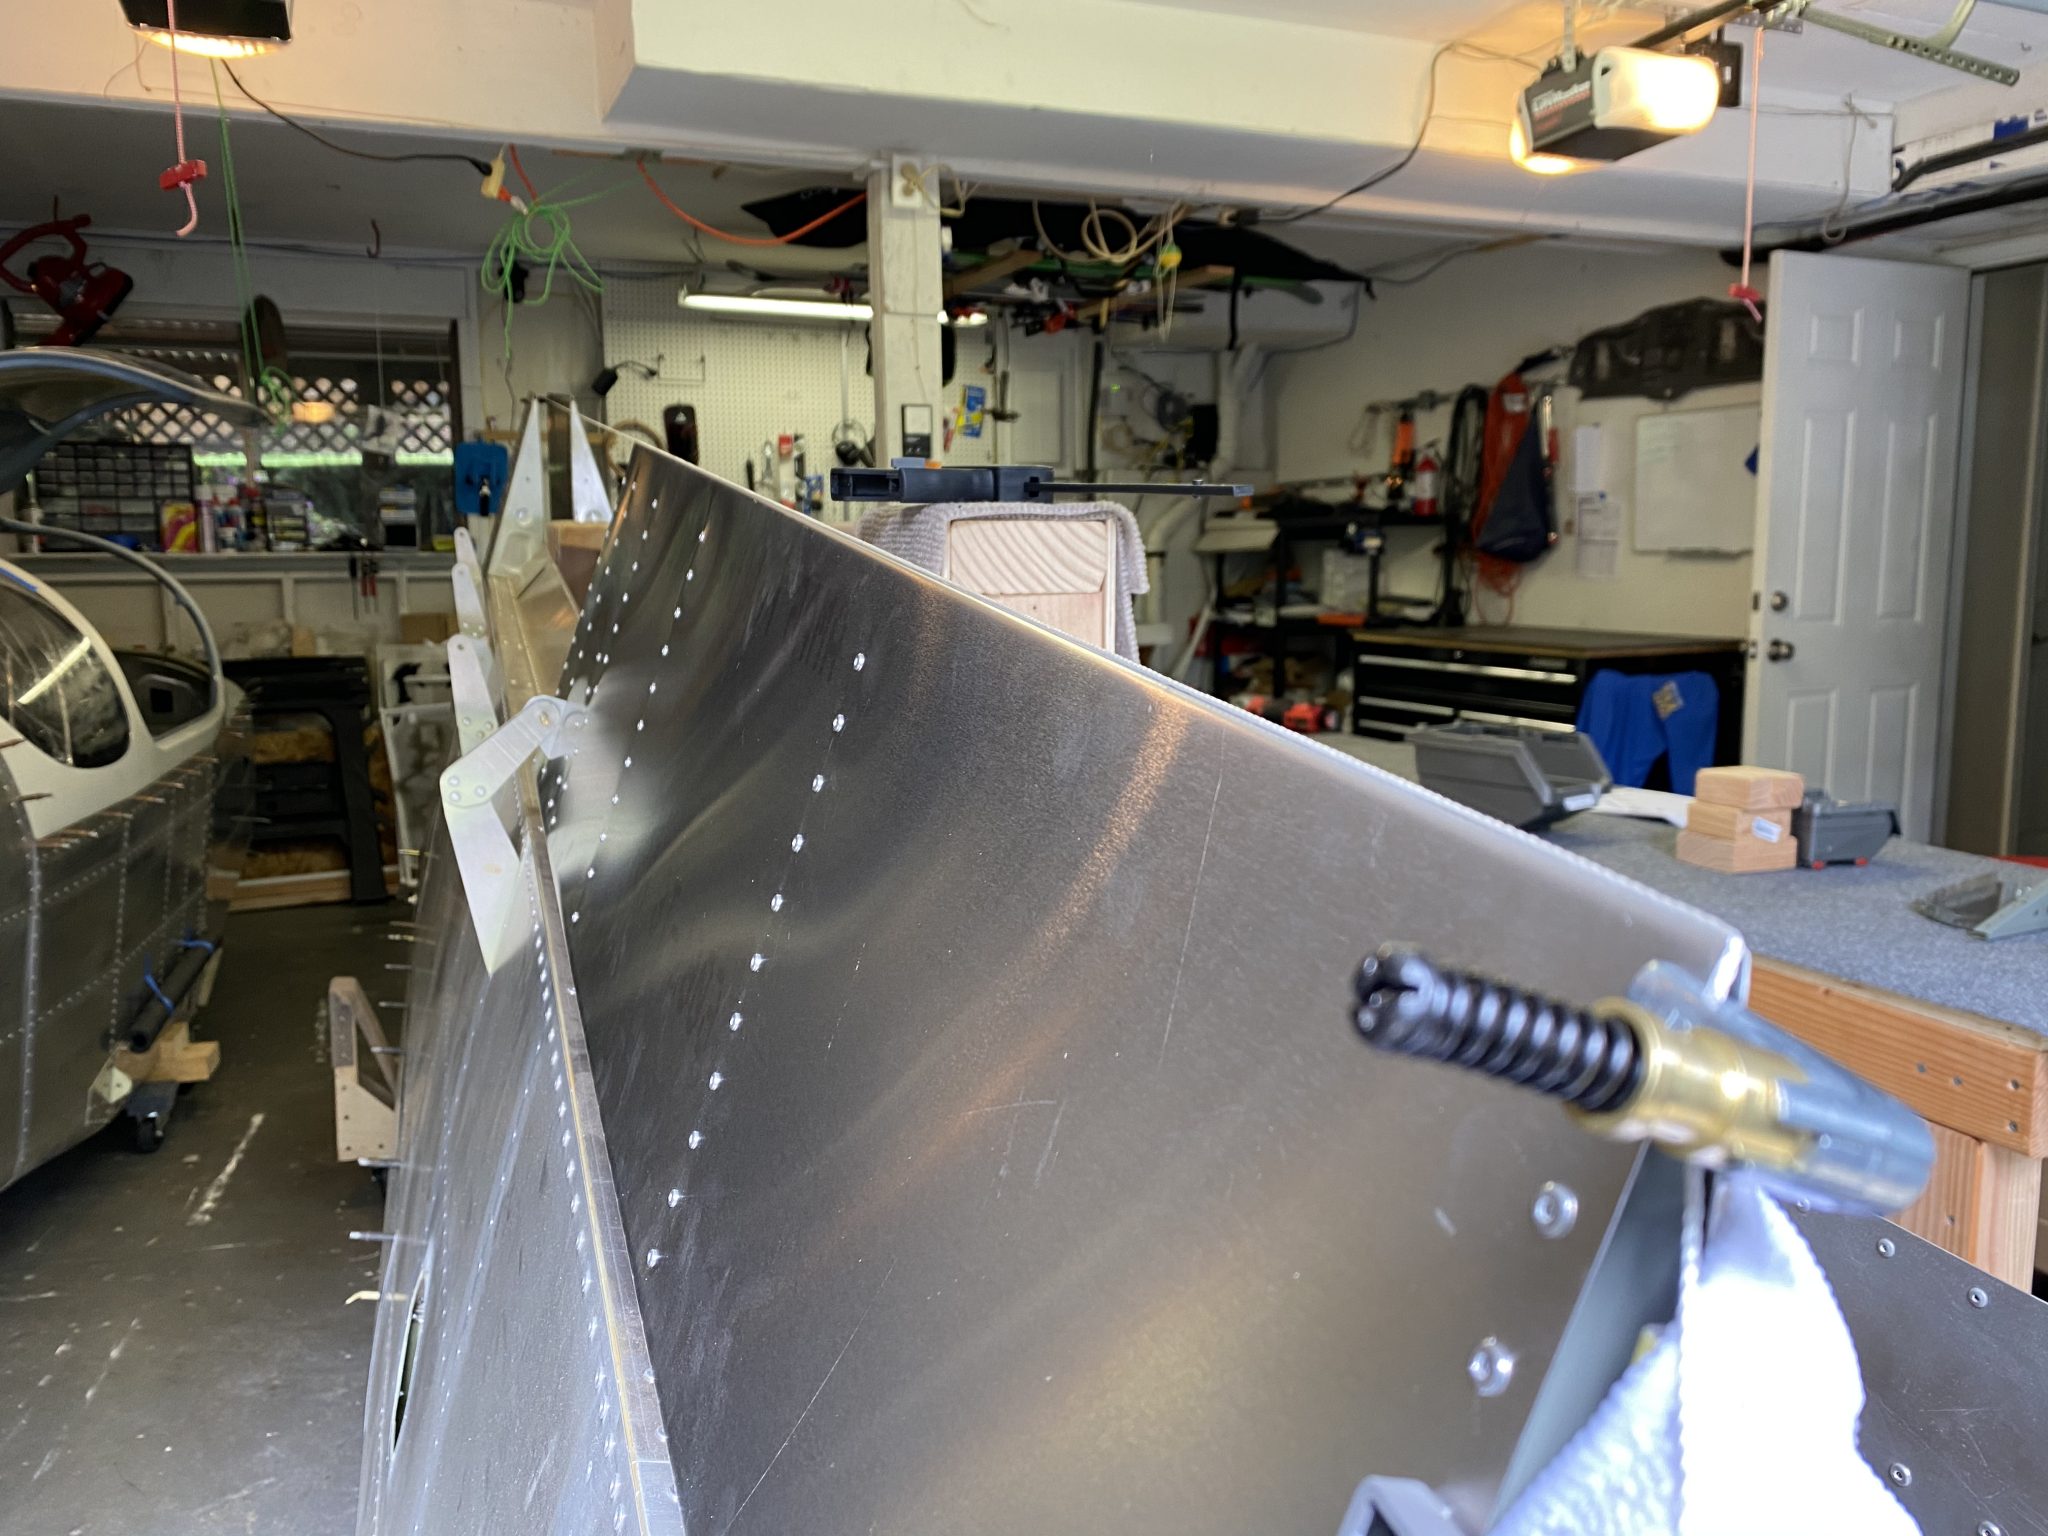
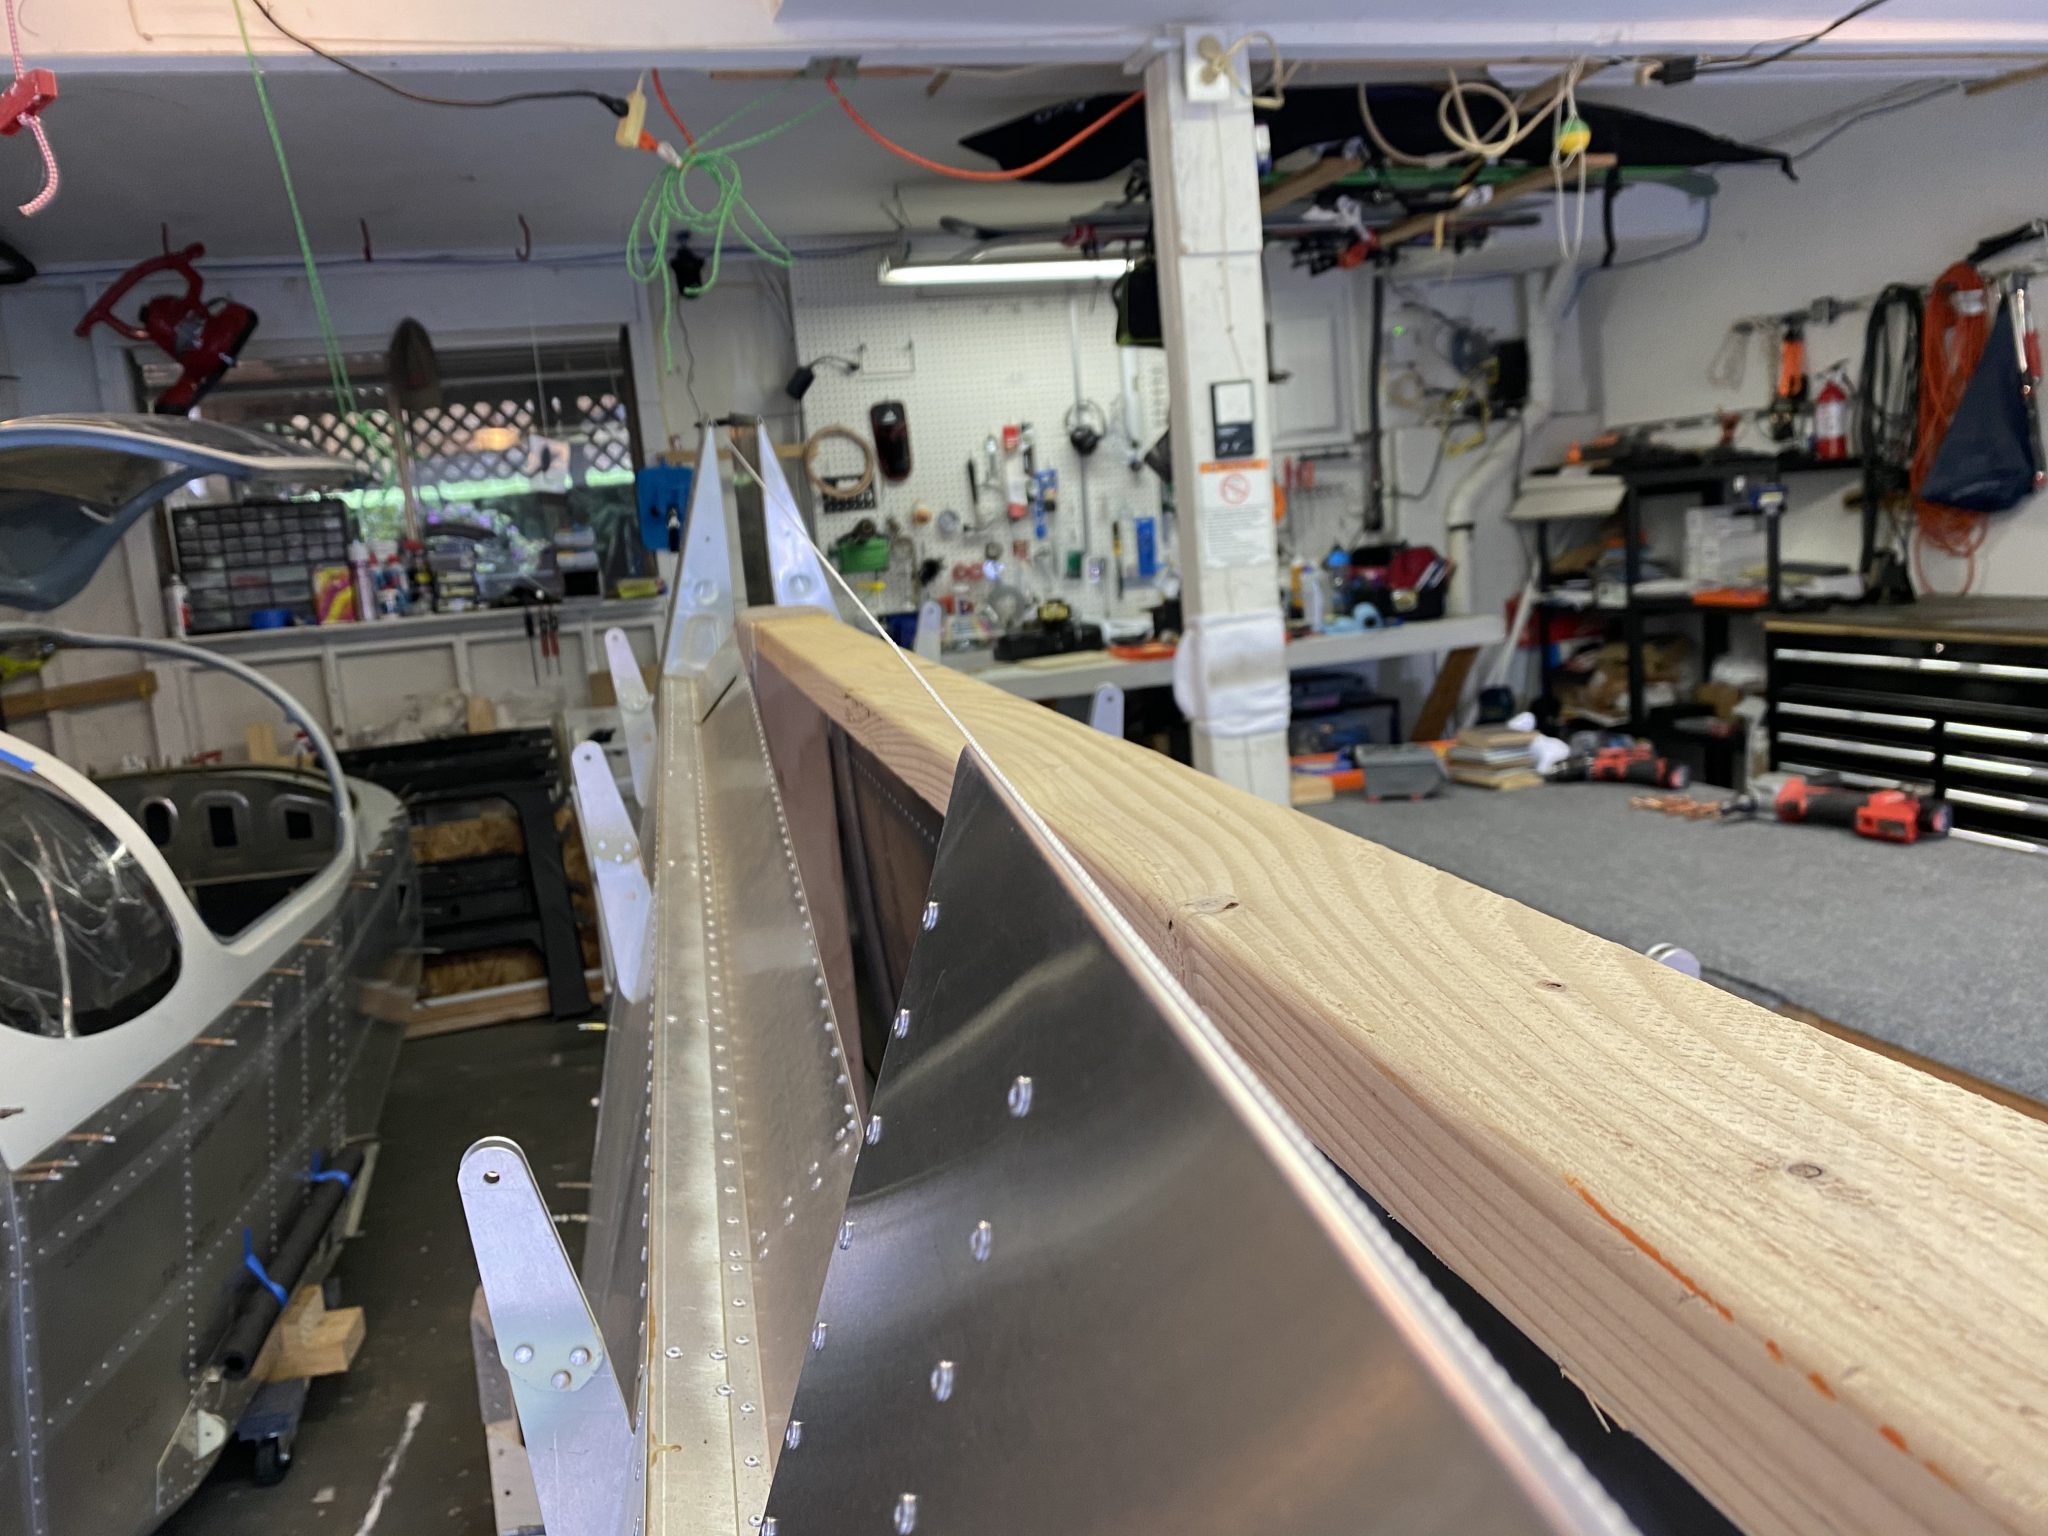
After I aligned all the ribs I inserted the balance tube and lined it up with the rivet holes. Then I clecoed both sides to start riveting the top and bottom of the skins.

Clecoing the right Aileron
Starting to rivet the top

After I was done with riveting the top and bottom of the skins, I took off the clecos from the front and did a test fit on the wings to check the alignment.

Checking alignment using a mason line

Everything looks good, so I clecoed the front line again and started riveting to finish the Aileron.

Riveting the balance tube
Clecoed the front line after checking the alignment

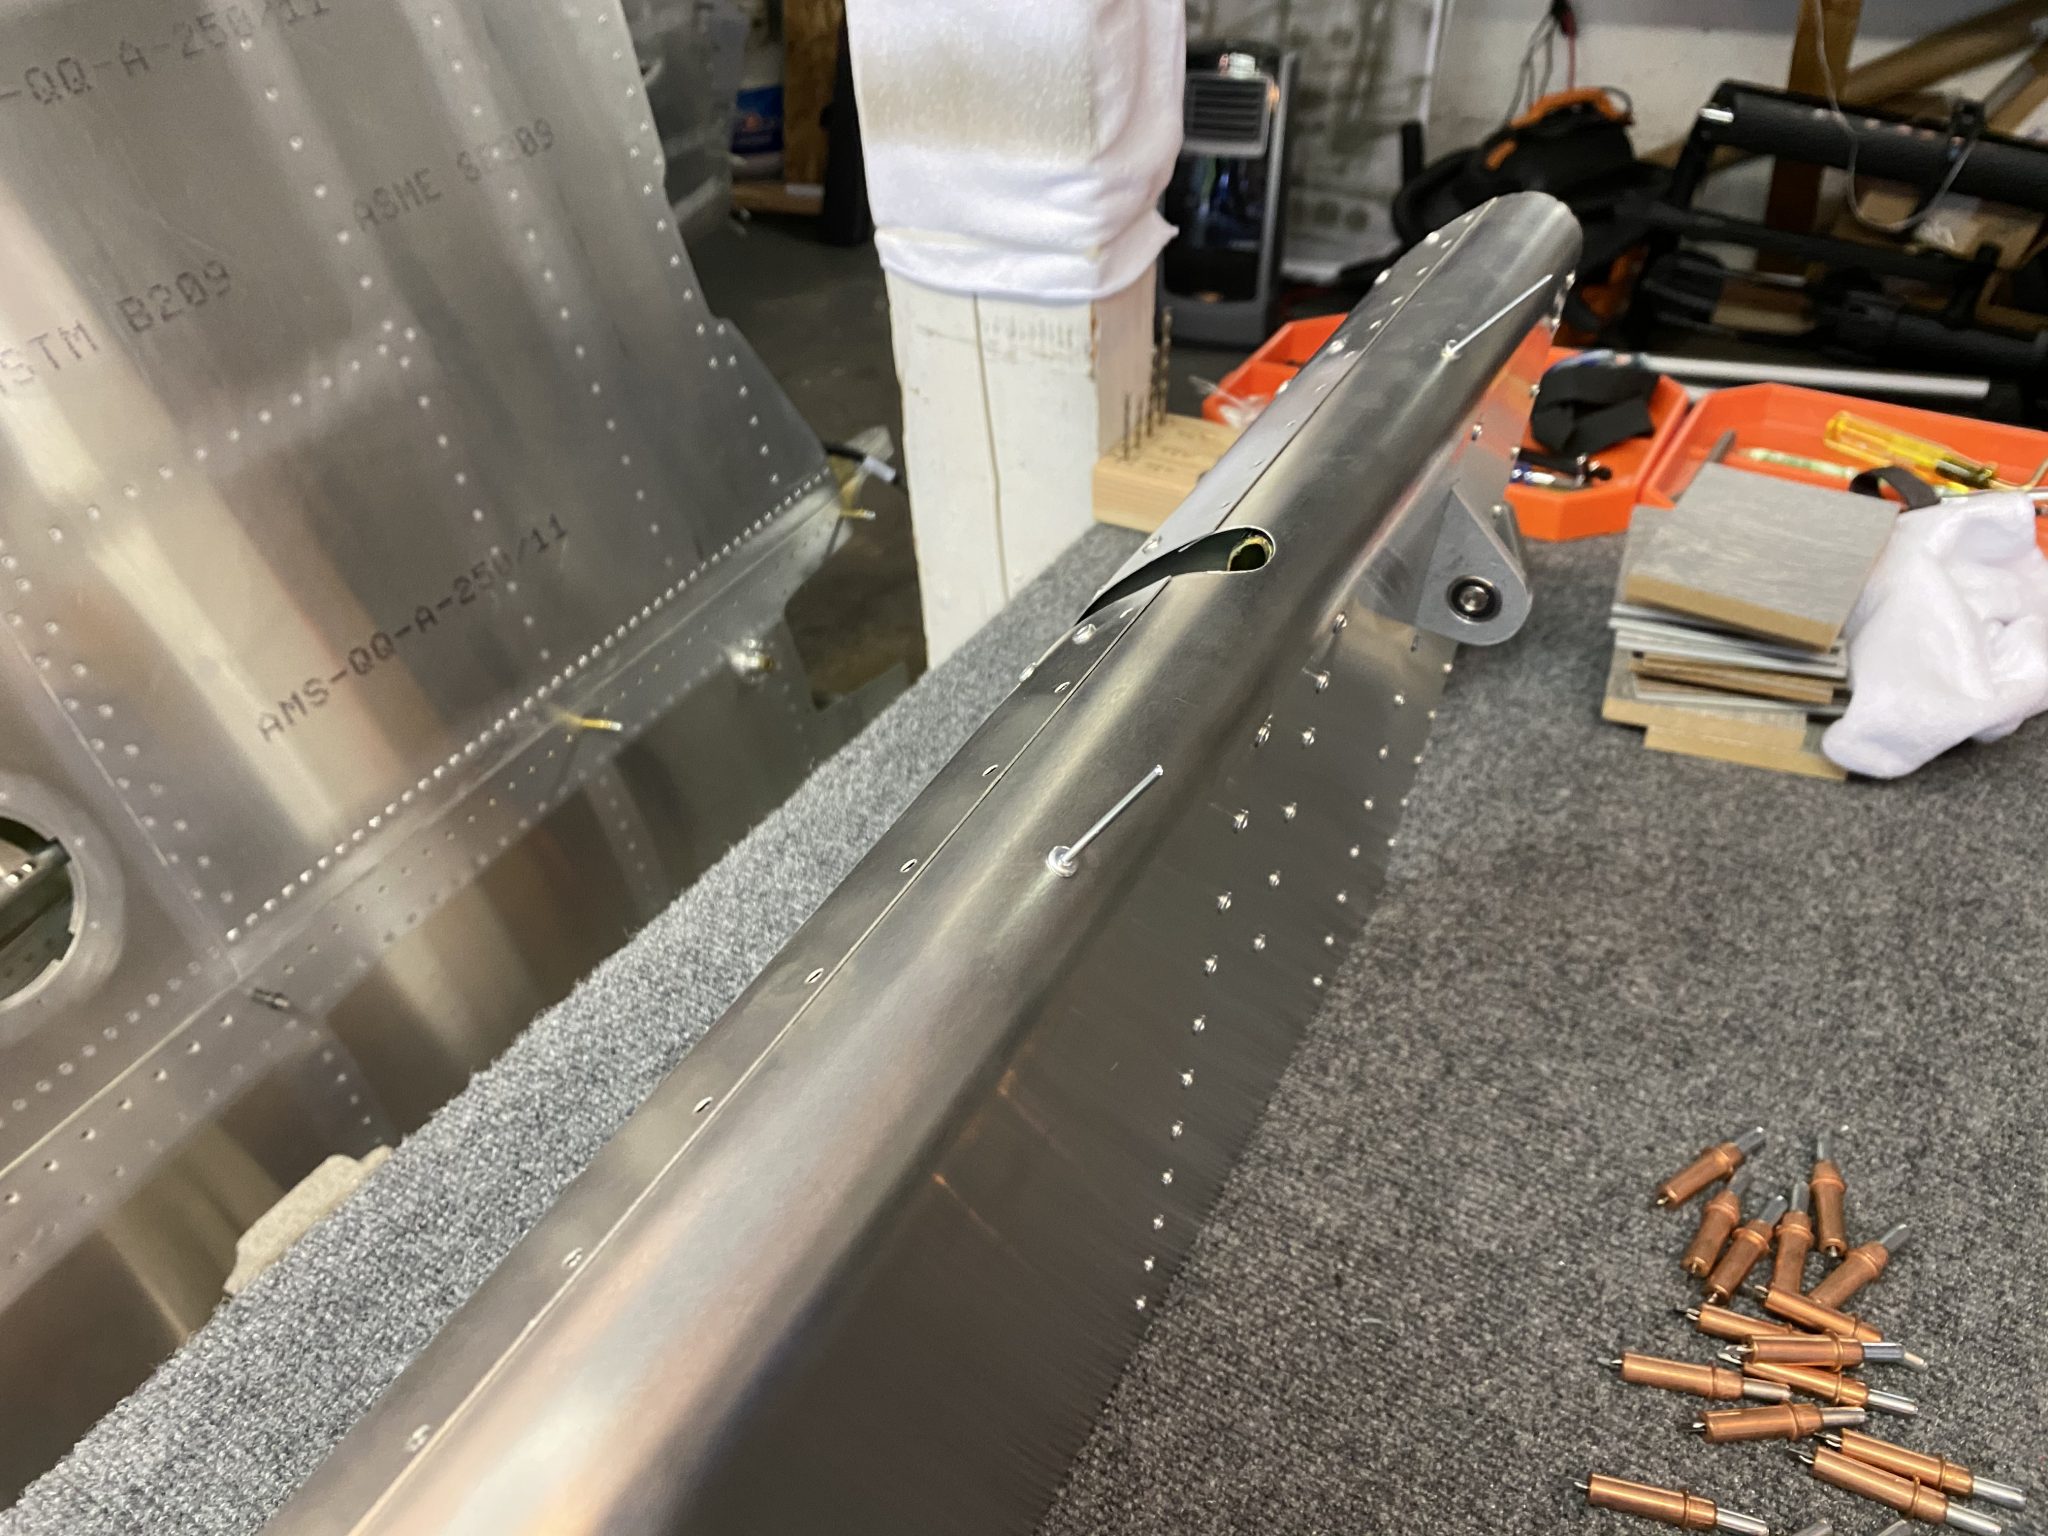
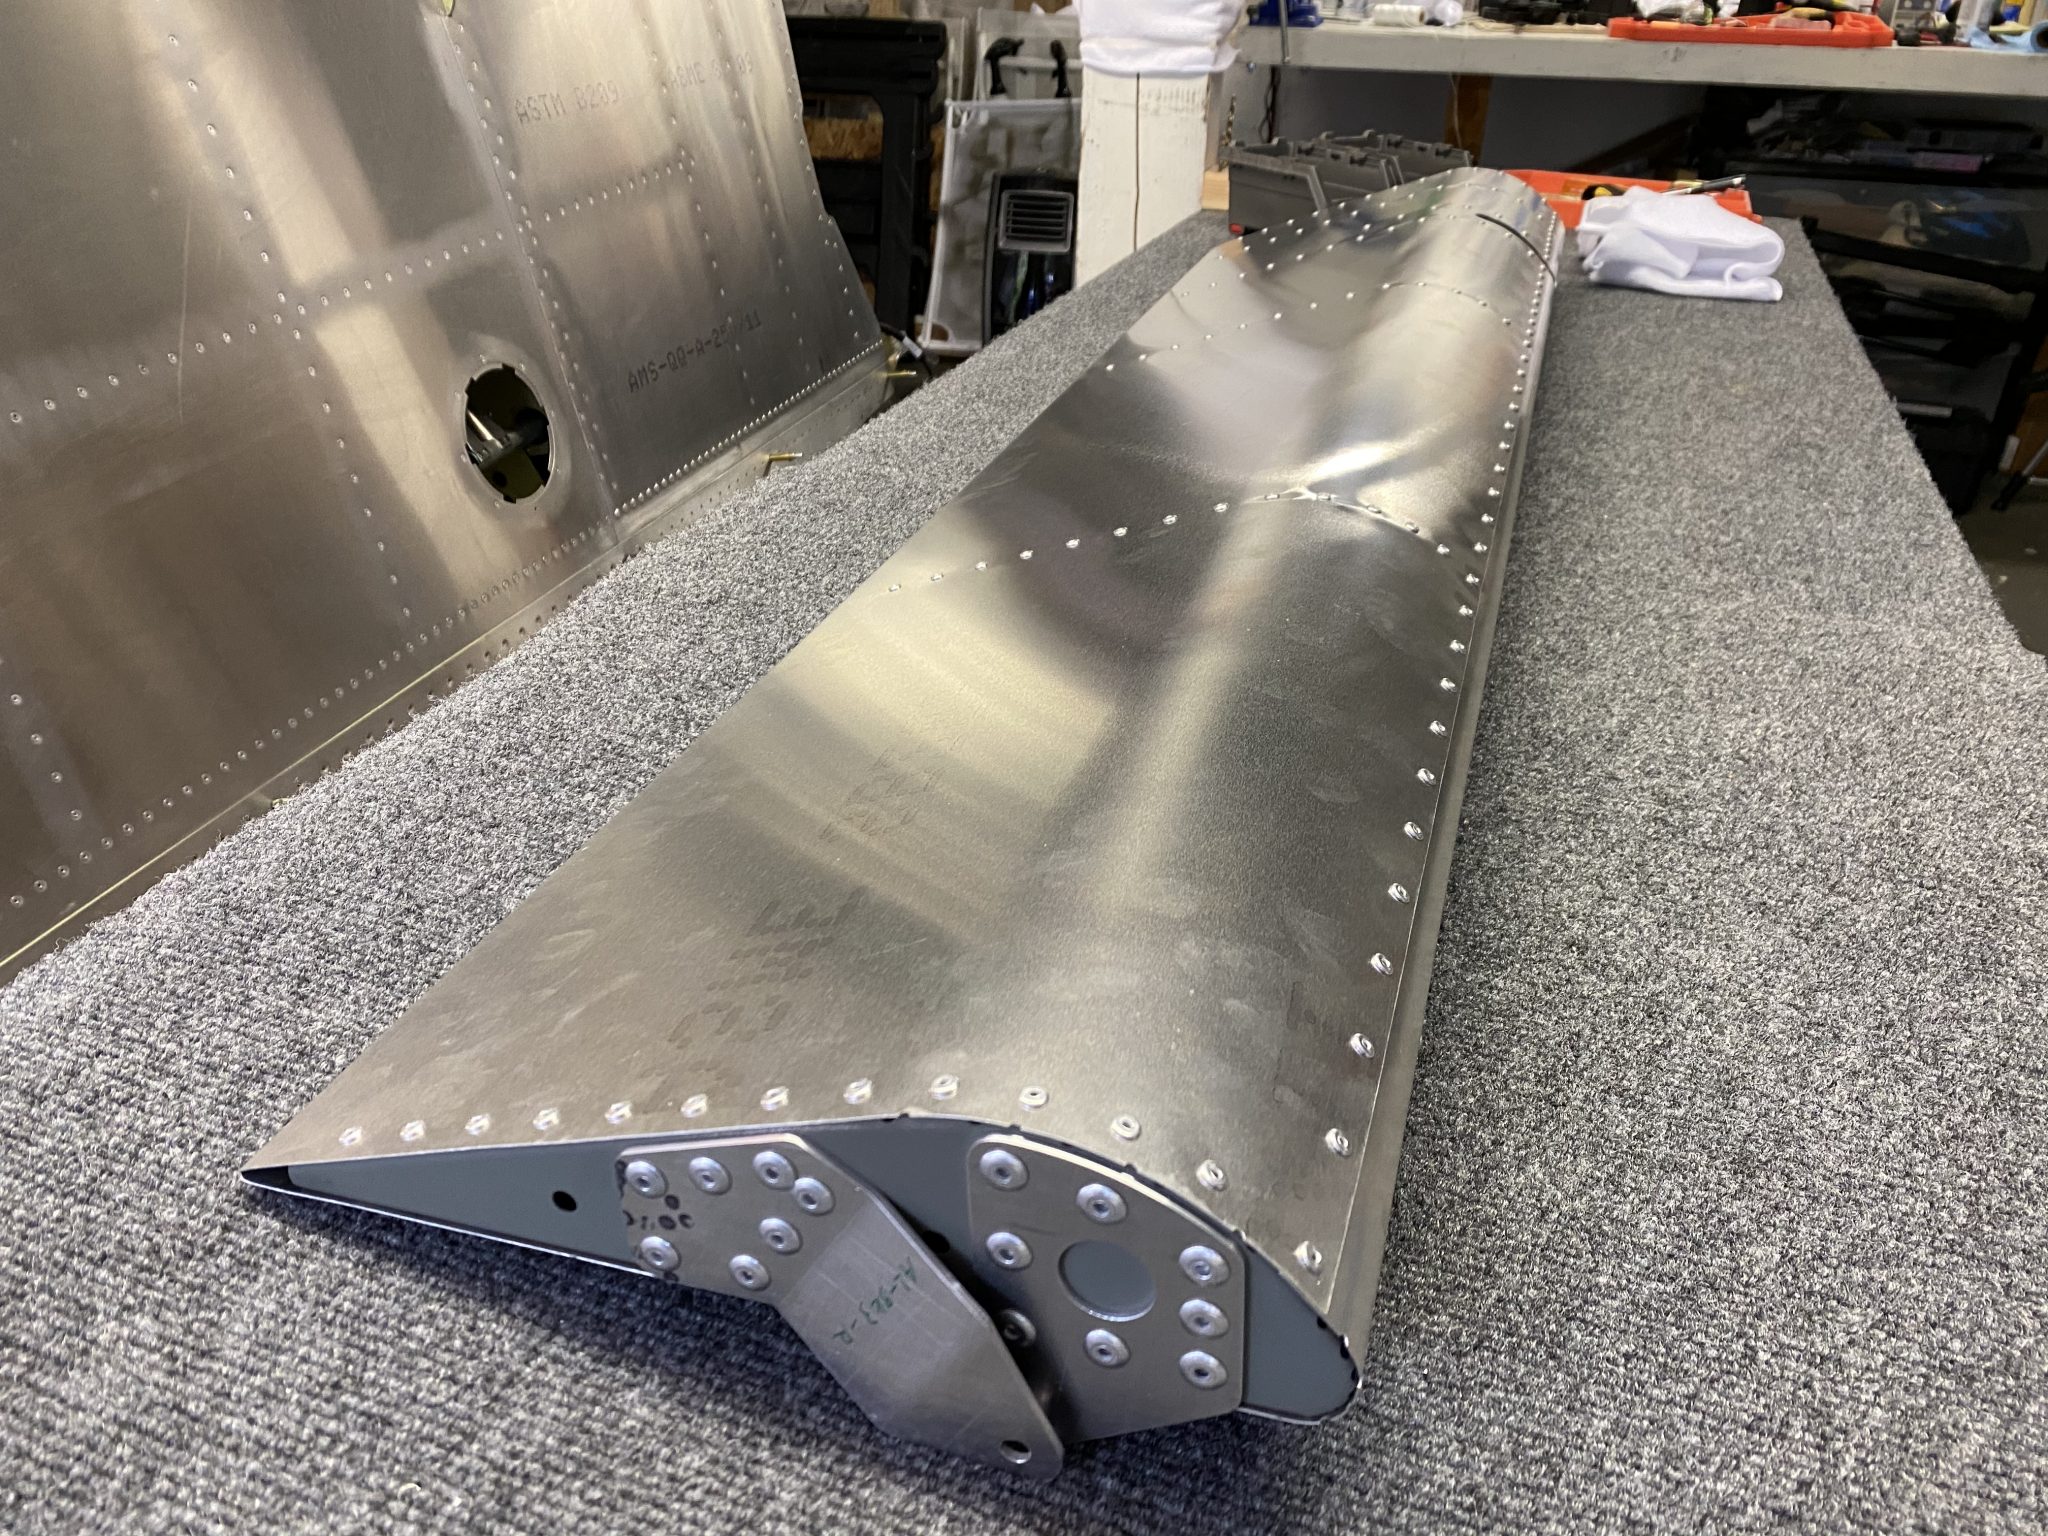
And here’s the completed right Aileron:

Completed right Aileron

Aileron Ribs

Hours: 1.5

Time to finish off the external control surfaces with the Aileron. I already primed them a while back, so time to assemble the ribs.

First order of business was sorting the ribs between left and right aileron. Then I checked off all the hardware needed. I already knew from my earlier investigating that the AN bolts for this is in the finishing kit, and the eyebolts are attached to the control rods.

Right Aileron ribs laid out in order

After laying them out, I started riveting the control brackets using the 4.8 mm rivets.

Riveting the hinge bracket 1 to rib 2

Then for rib 7 I laid out both brackets. The instructions are missing details about this rib, but it was easy to figure out that it uses the remaining 4.8 mm rivets (24 total per the part list, 9 are used for bracket 1, and counting out the holes of bracket 2 and 3, it comes to 24). I also noticed that one bracket slightly overlaps the other, which means that first I had to fully rivet the bracket 3:

First riveting the bracket 3

With this completed, I then riveted the hinge bracket 2.

Riveting bracket 2 which floats over bracket 3

The final rib that needs preparation is the assembly of the Eyebolt attachment that controls the movement of the aileron. I put it all together and then torqued it and placed some torque marker on it.

Completed assembly of the control rod attachment.
Complete assembly of the control rod attachment rib and torque marker on the torqued bolt.

Then I repeated everything for the left Aileron ribs. Next step will be to lay all the ribs into the skins and rivet it closed.

Completed left Aileron ribs
Completed right Aileron ribs