Time to finish off the external control surfaces with the Aileron. I already primed them a while back, so time to assemble the ribs.
First order of business was sorting the ribs between left and right aileron. Then I checked off all the hardware needed. I already knew from my earlier investigating that the AN bolts for this is in the finishing kit, and the eyebolts are attached to the control rods.
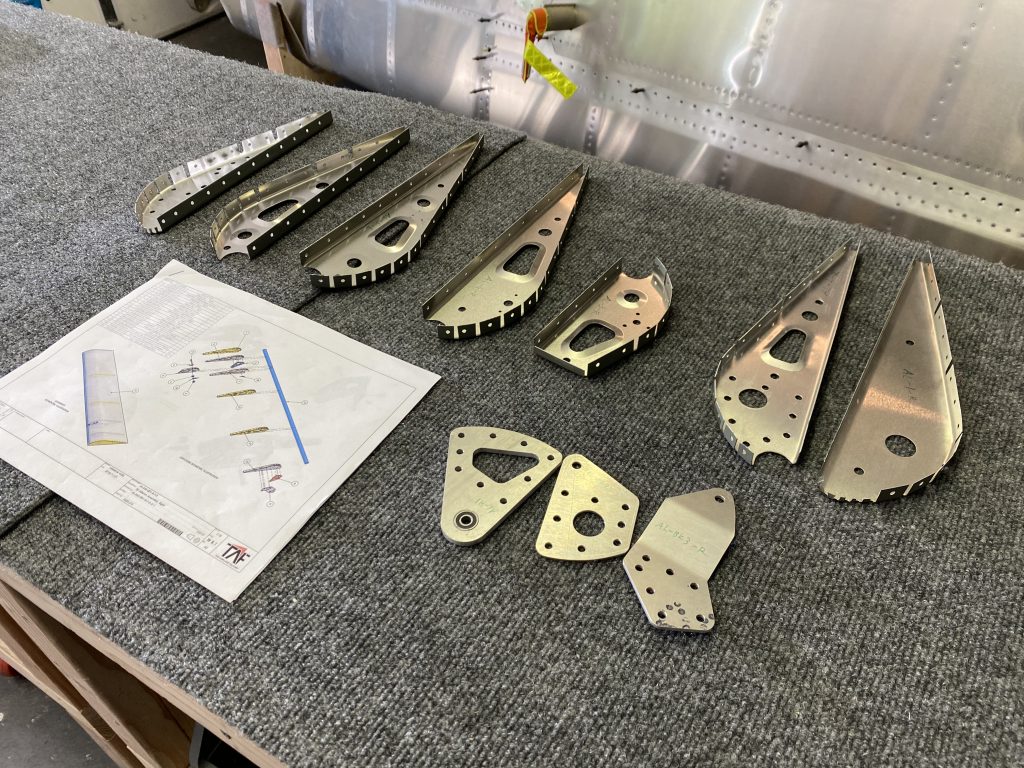
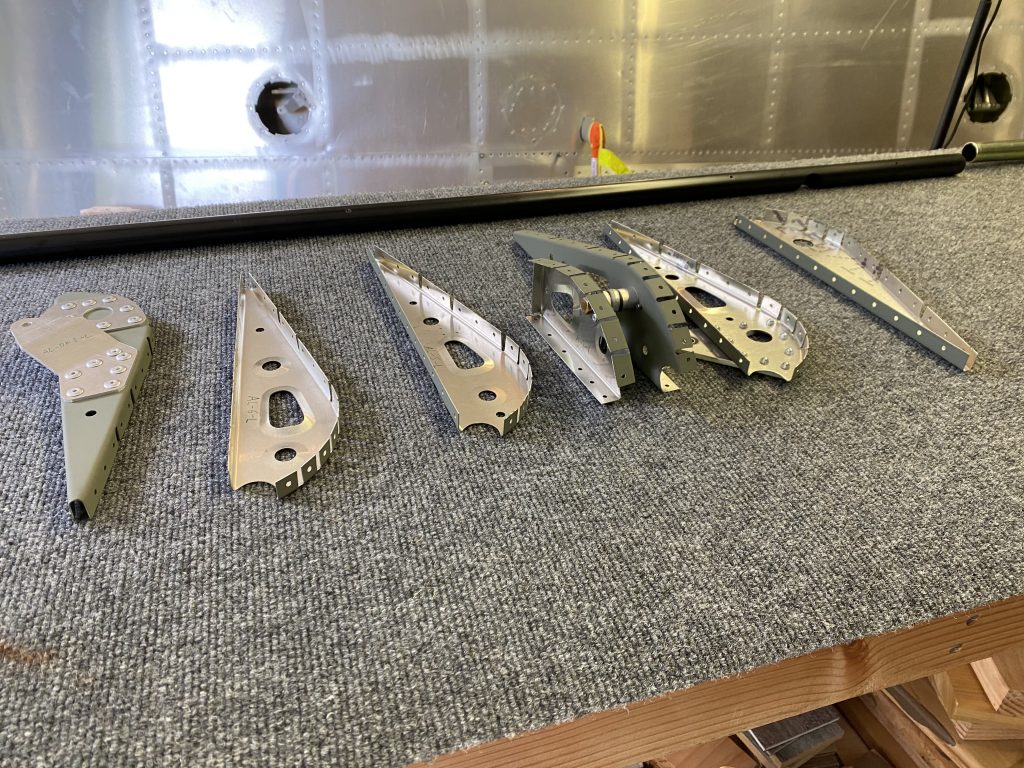
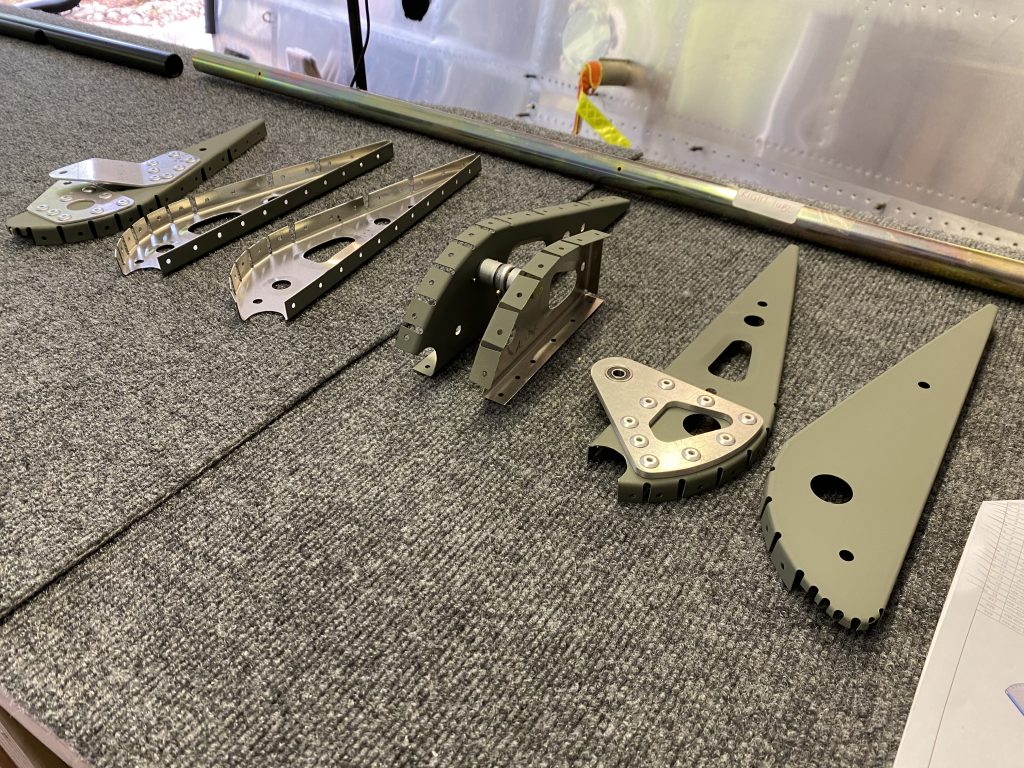
After laying them out, I started riveting the control brackets using the 4.8 mm rivets.
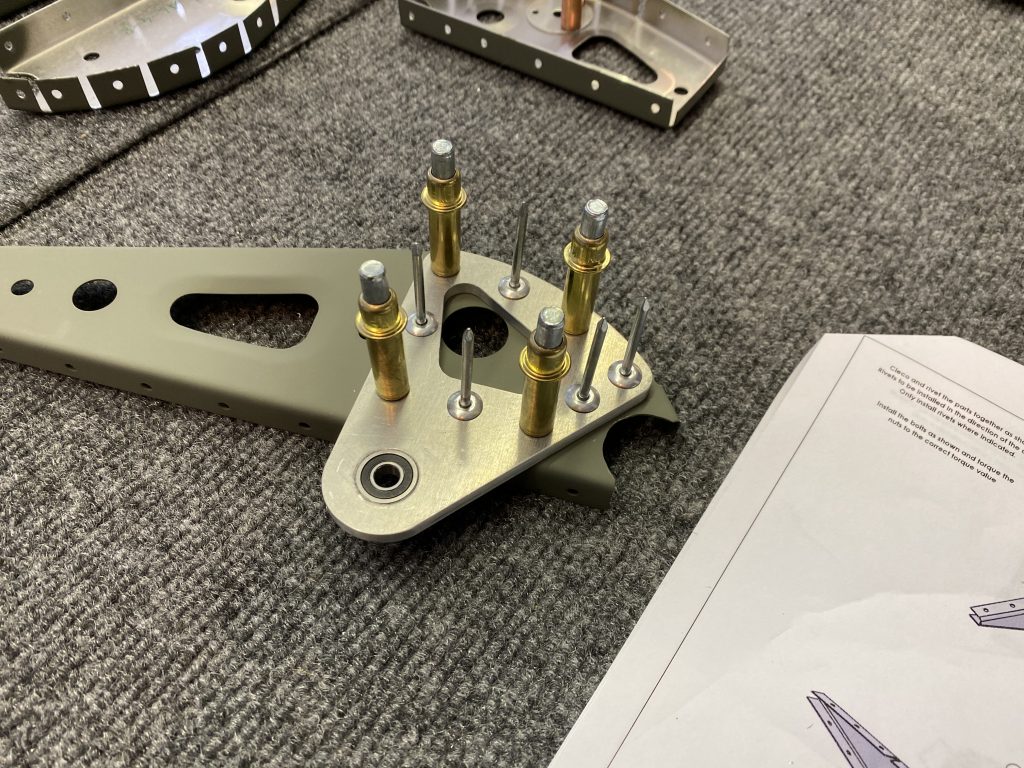
Then for rib 7 I laid out both brackets. The instructions are missing details about this rib, but it was easy to figure out that it uses the remaining 4.8 mm rivets (24 total per the part list, 9 are used for bracket 1, and counting out the holes of bracket 2 and 3, it comes to 24). I also noticed that one bracket slightly overlaps the other, which means that first I had to fully rivet the bracket 3:
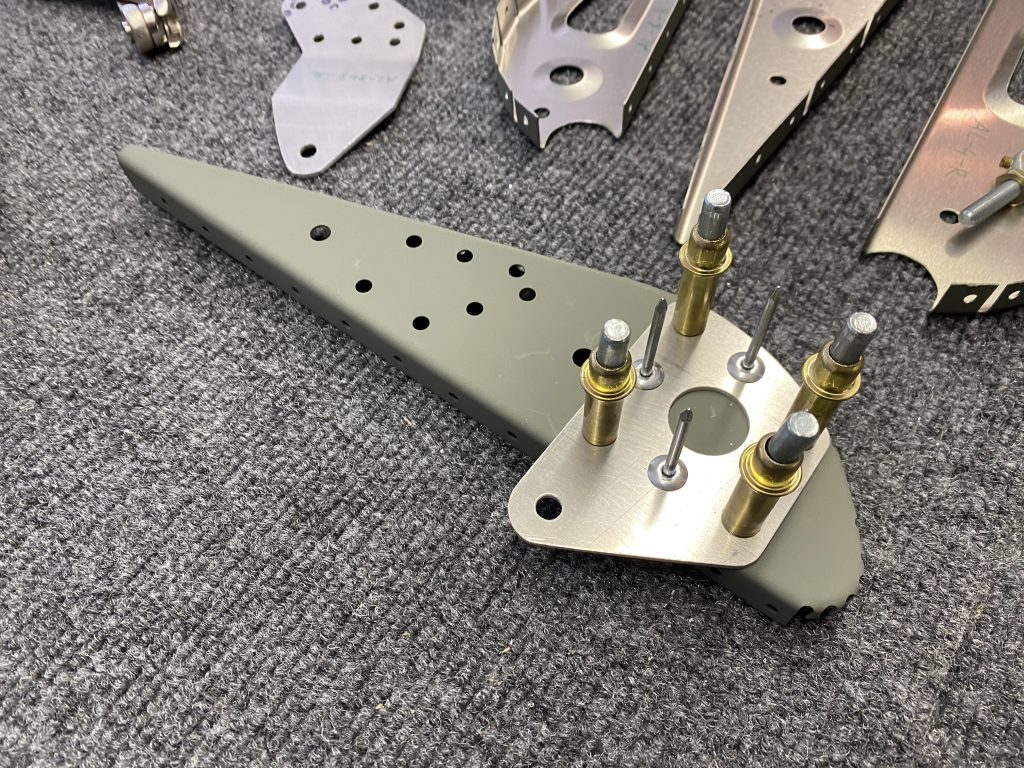
With this completed, I then riveted the hinge bracket 2.
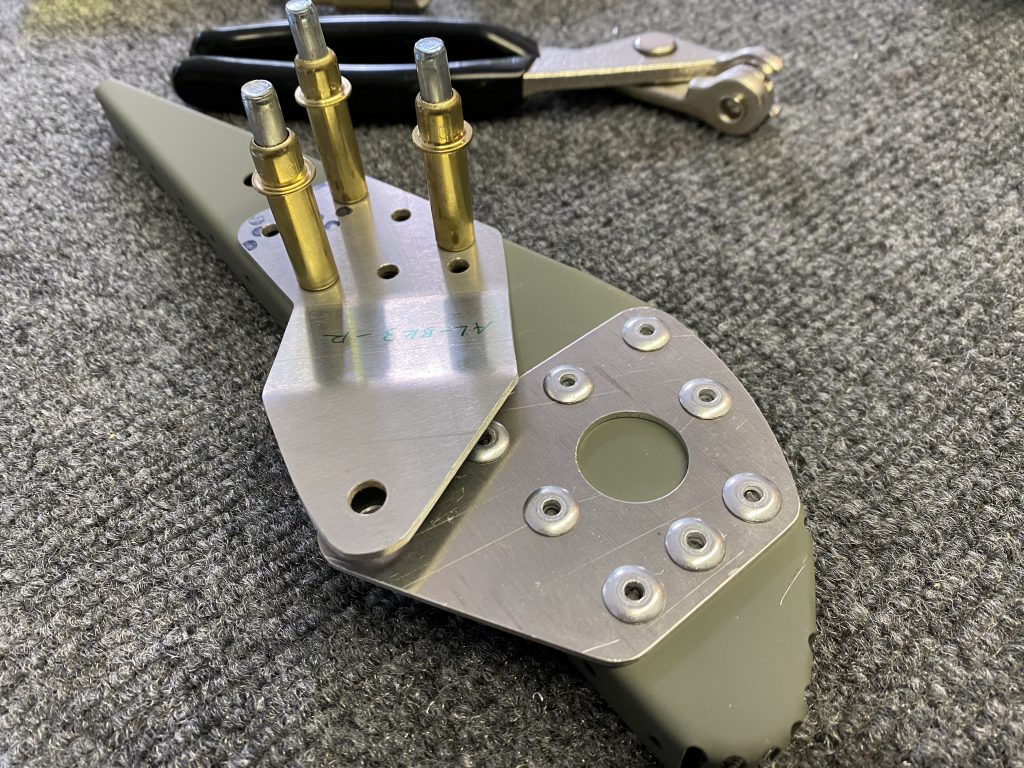
The final rib that needs preparation is the assembly of the Eyebolt attachment that controls the movement of the aileron. I put it all together and then torqued it and placed some torque marker on it.
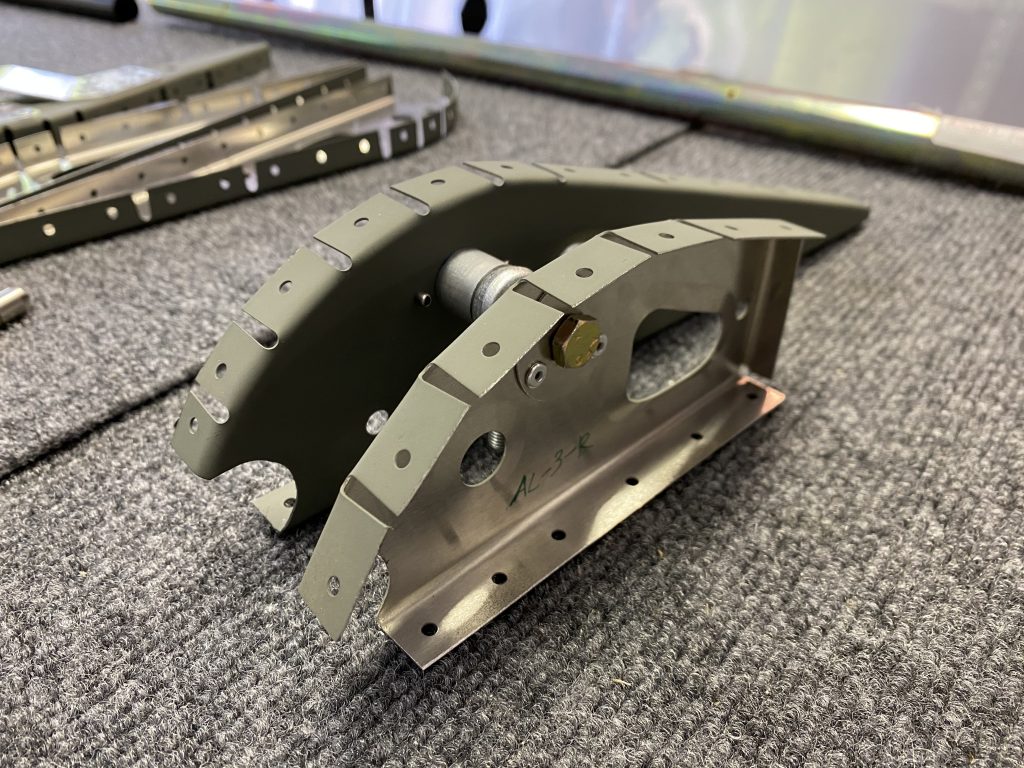
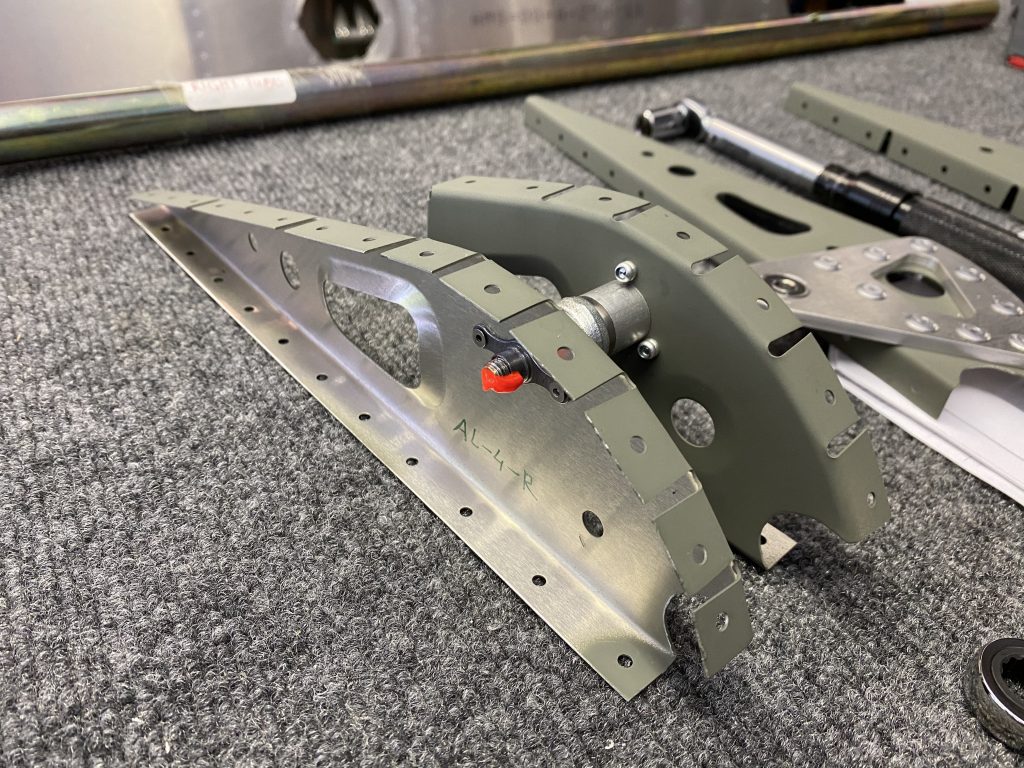
Then I repeated everything for the left Aileron ribs. Next step will be to lay all the ribs into the skins and rivet it closed.

Phillip, When was the last time you received a shipment of anything from TAF?.
I got the tube for the aileron around February. I’m currently waiting for the heater system.
The factory in South Africa started shipping things again two weeks ago.
You can check with Perry from TAF in Torrance if you want an update on something.
Pingback: Finishing the Right Aileron - Philip's Sling TSi Build Log