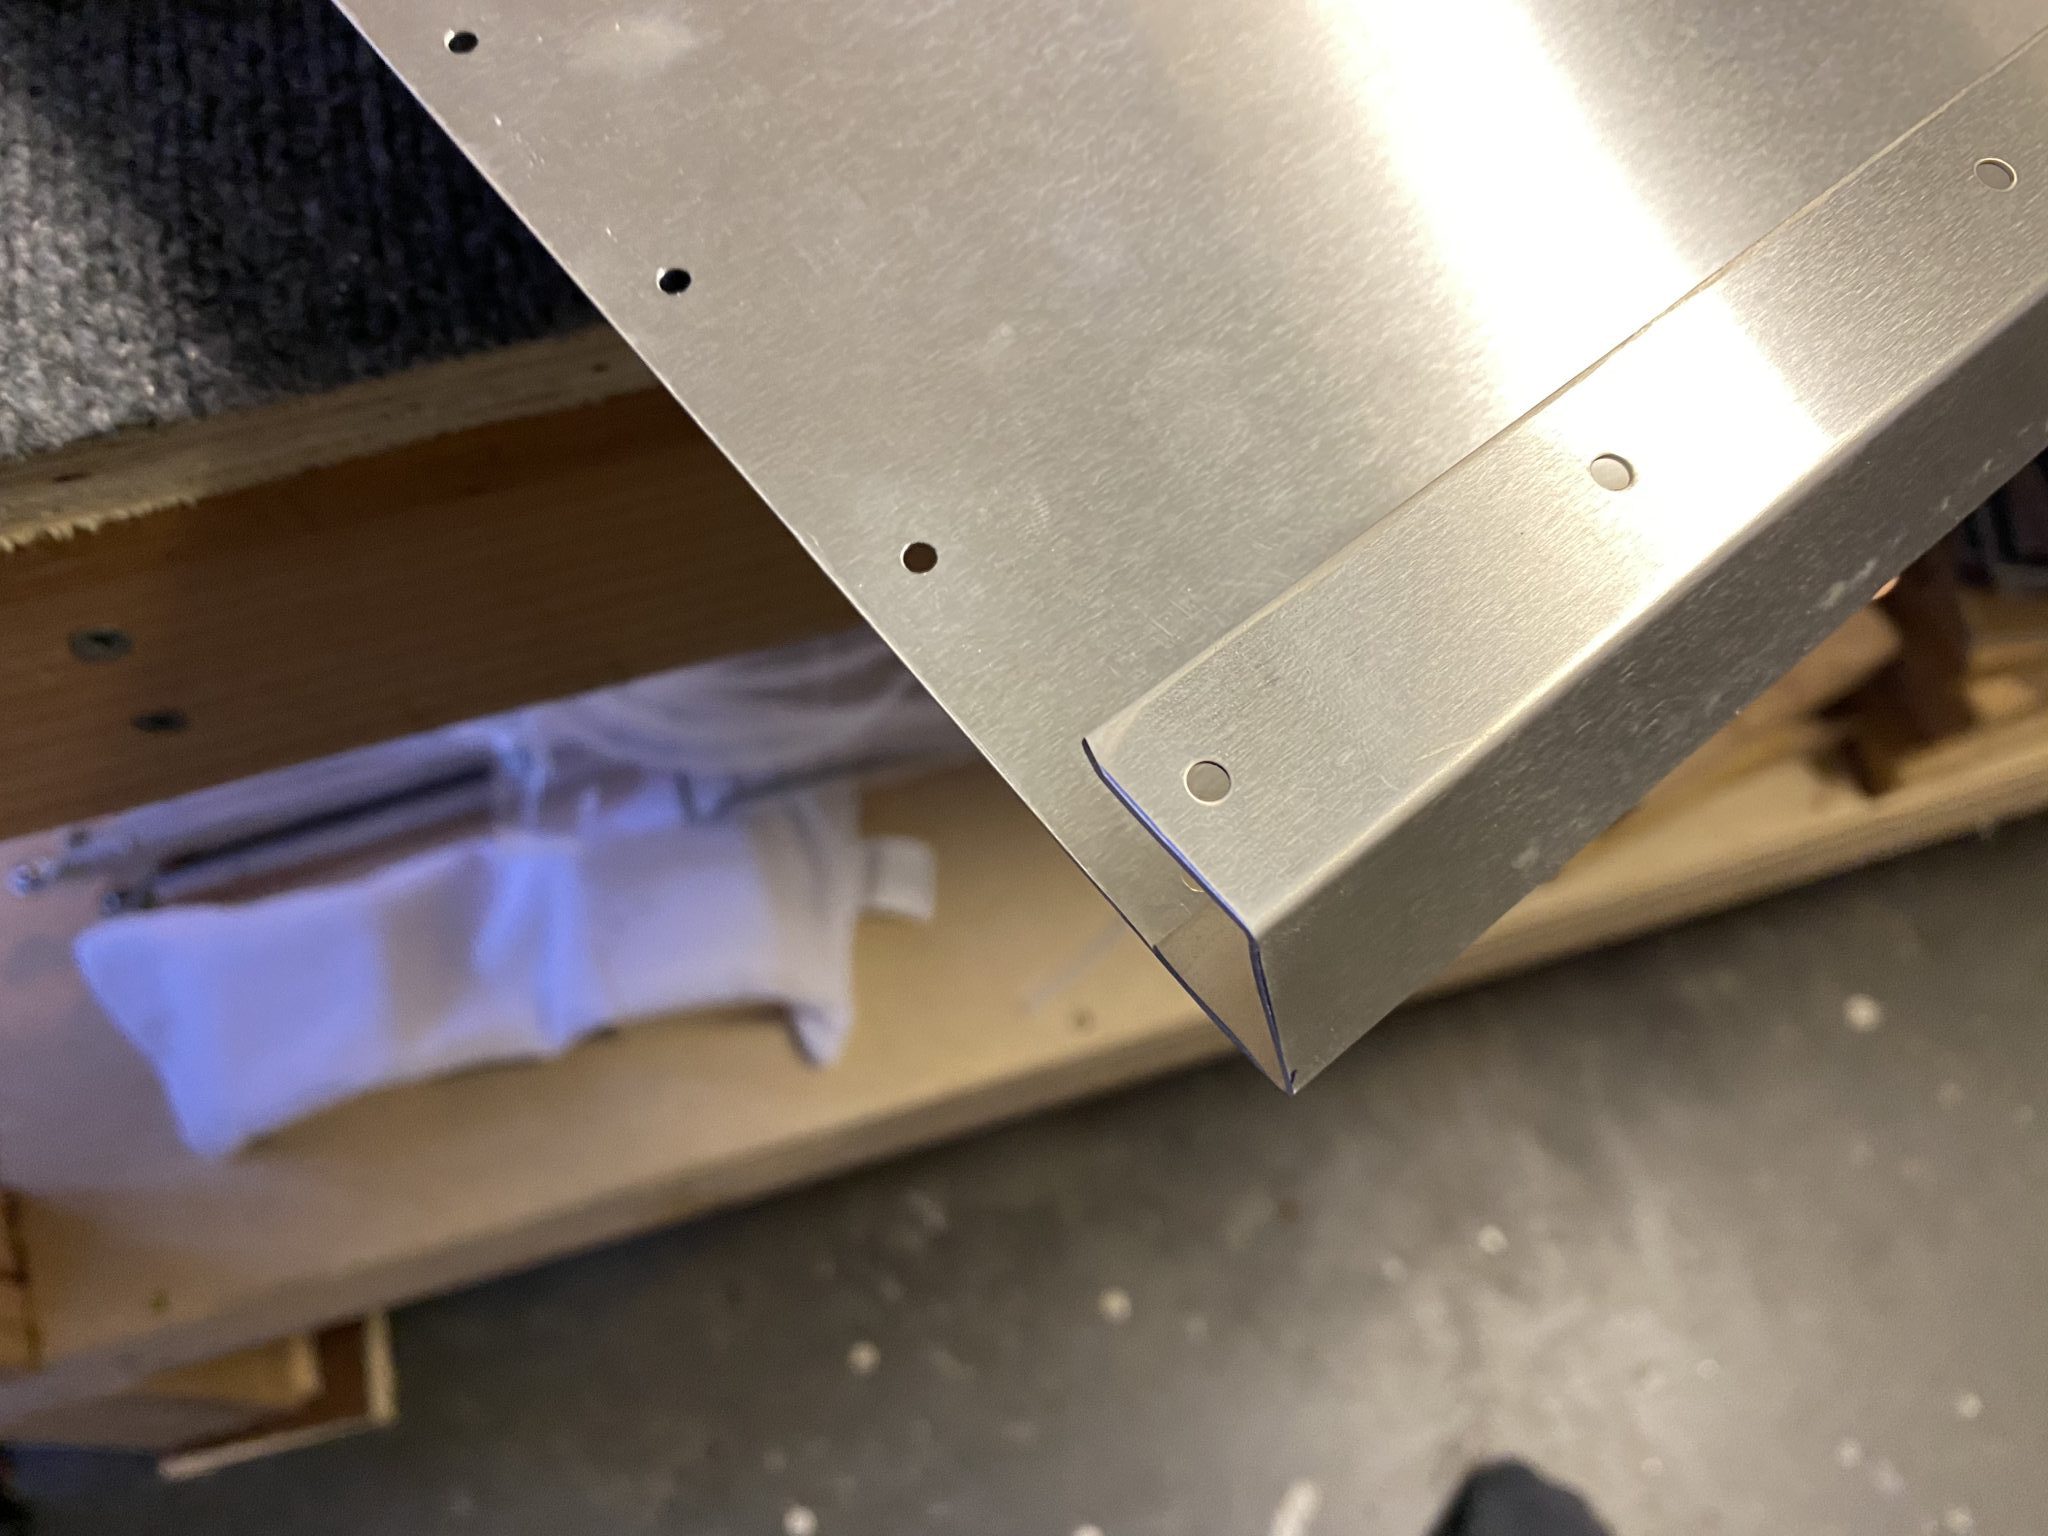
First order of business was to remove the protective plastic and do some inspecting and deburring of the edges and holes.
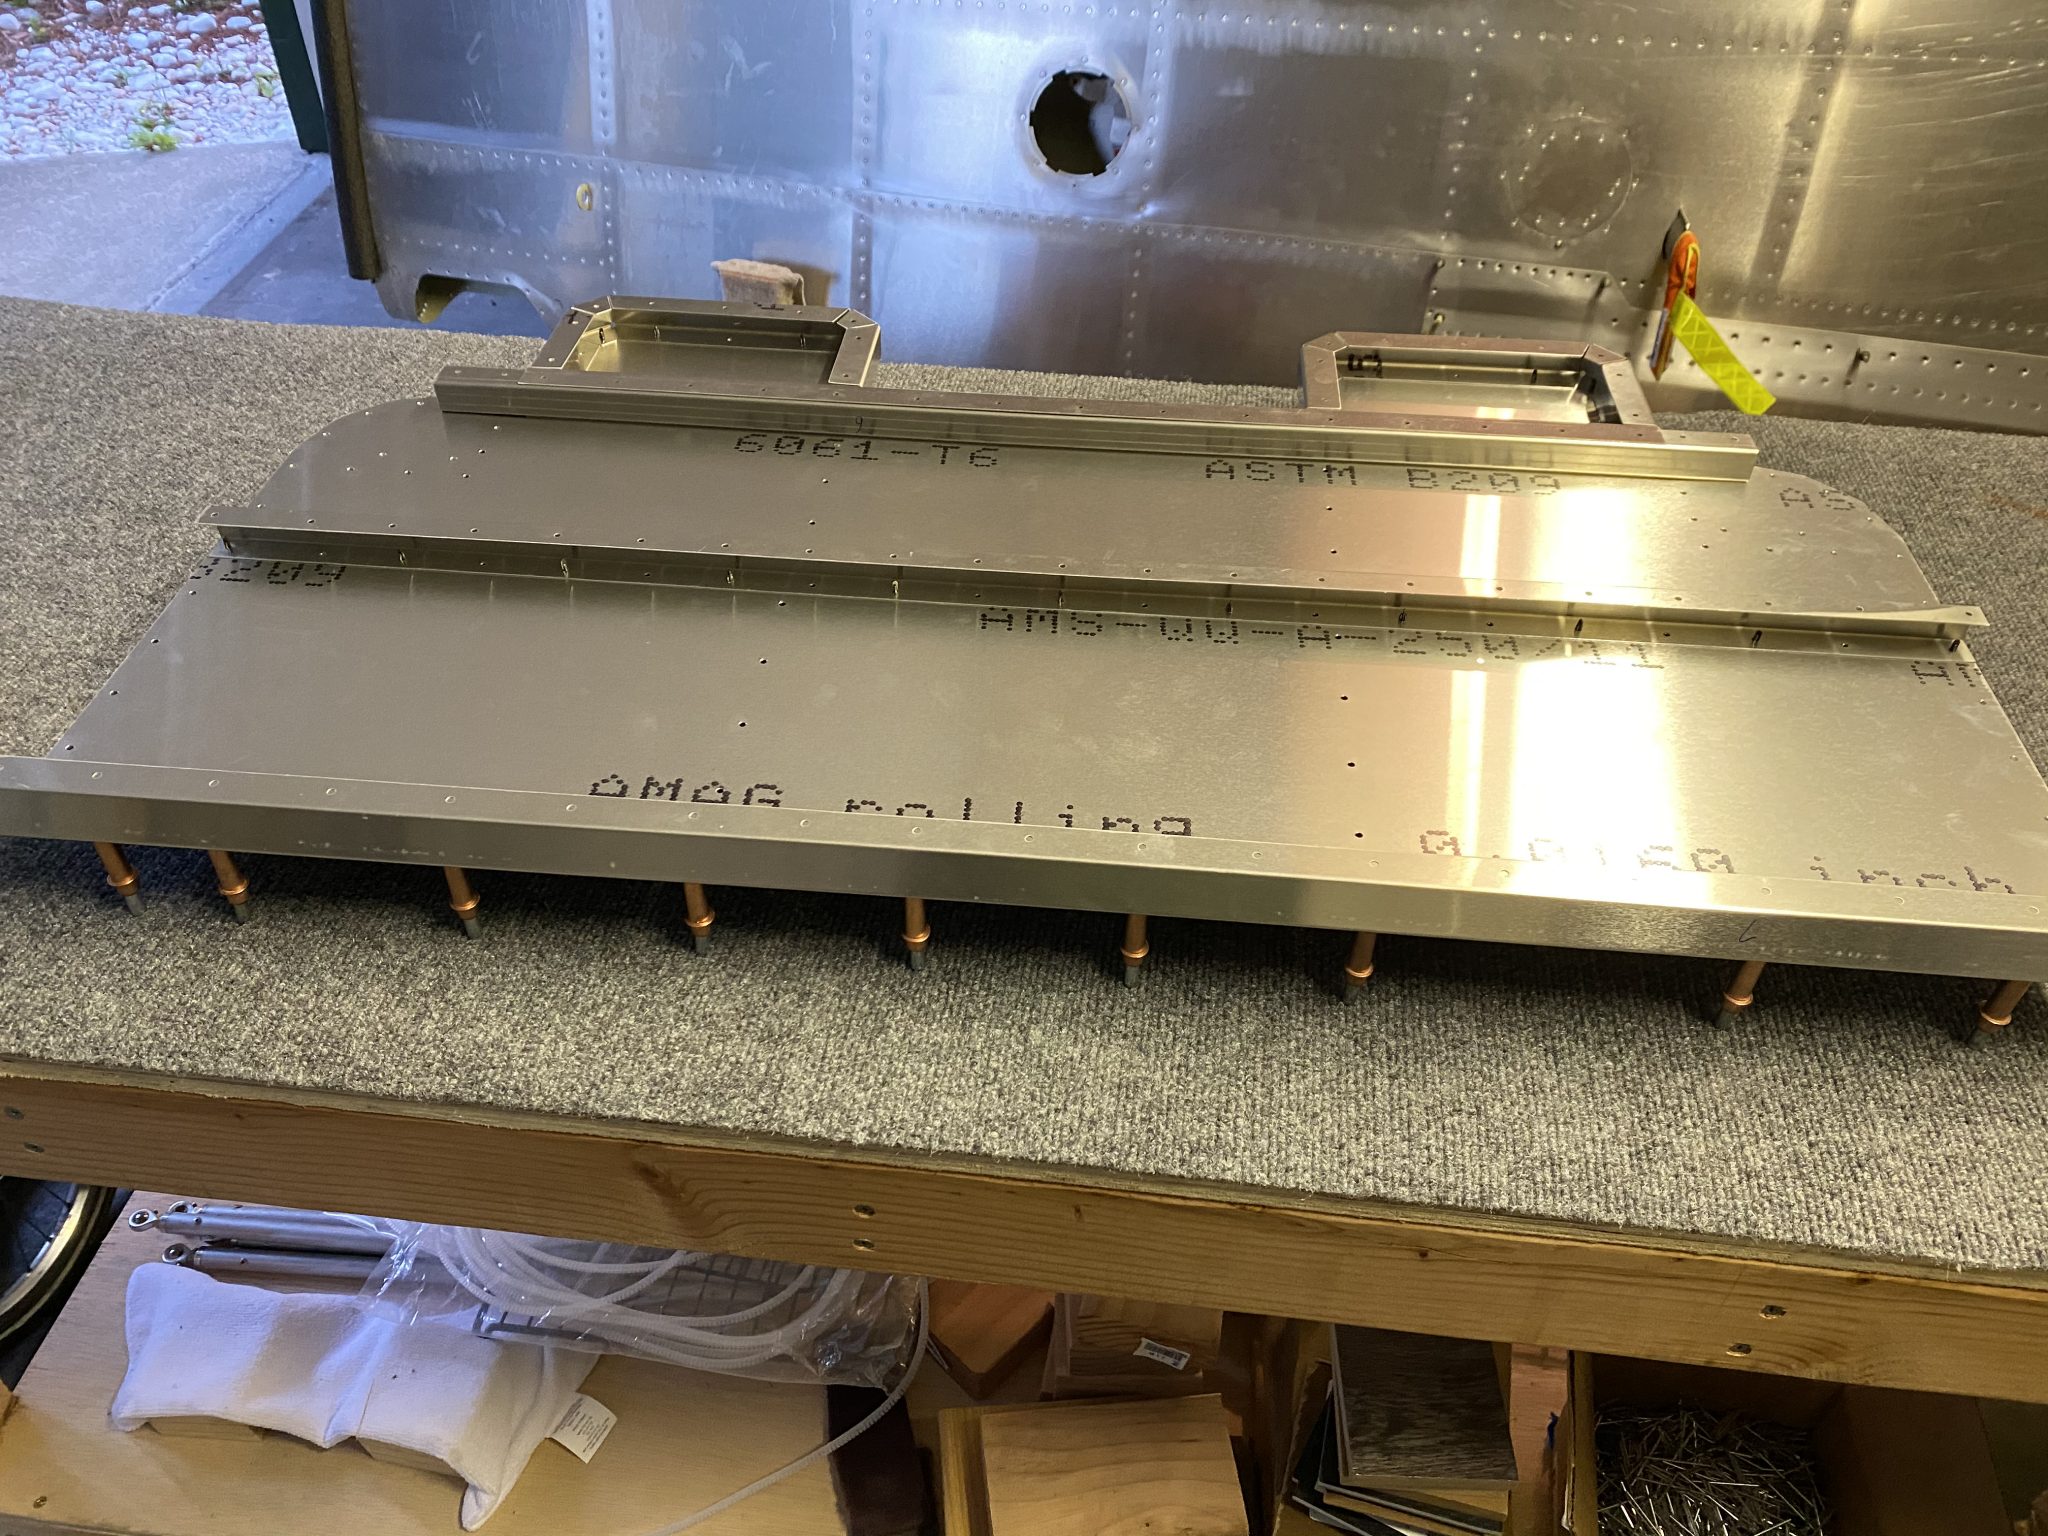
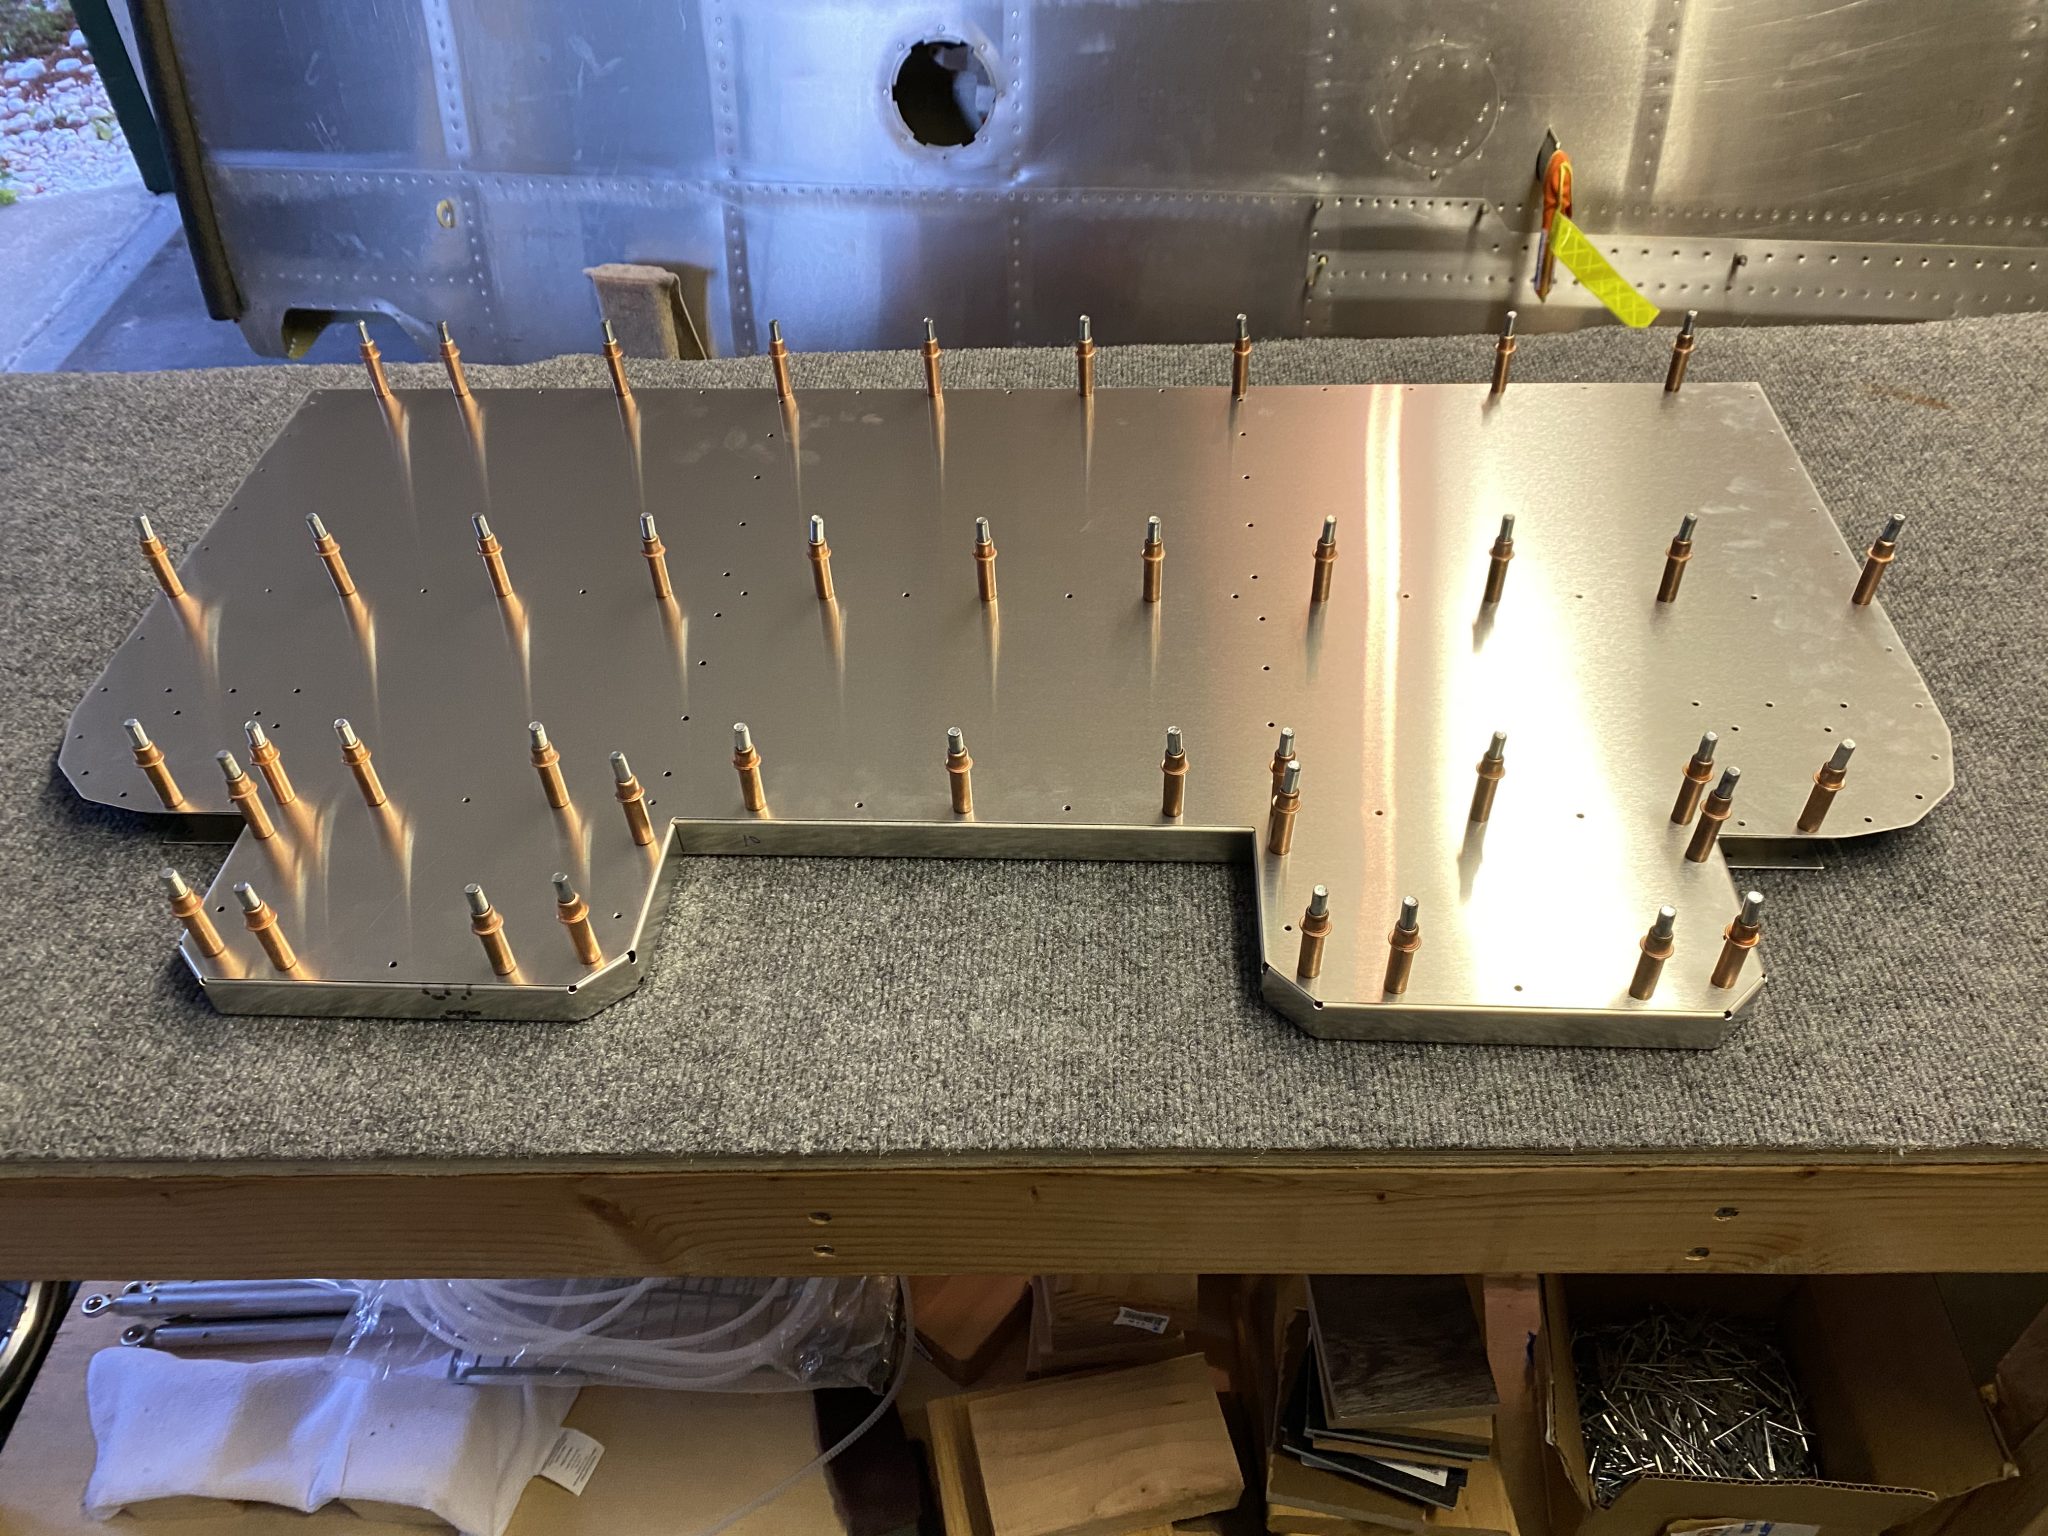
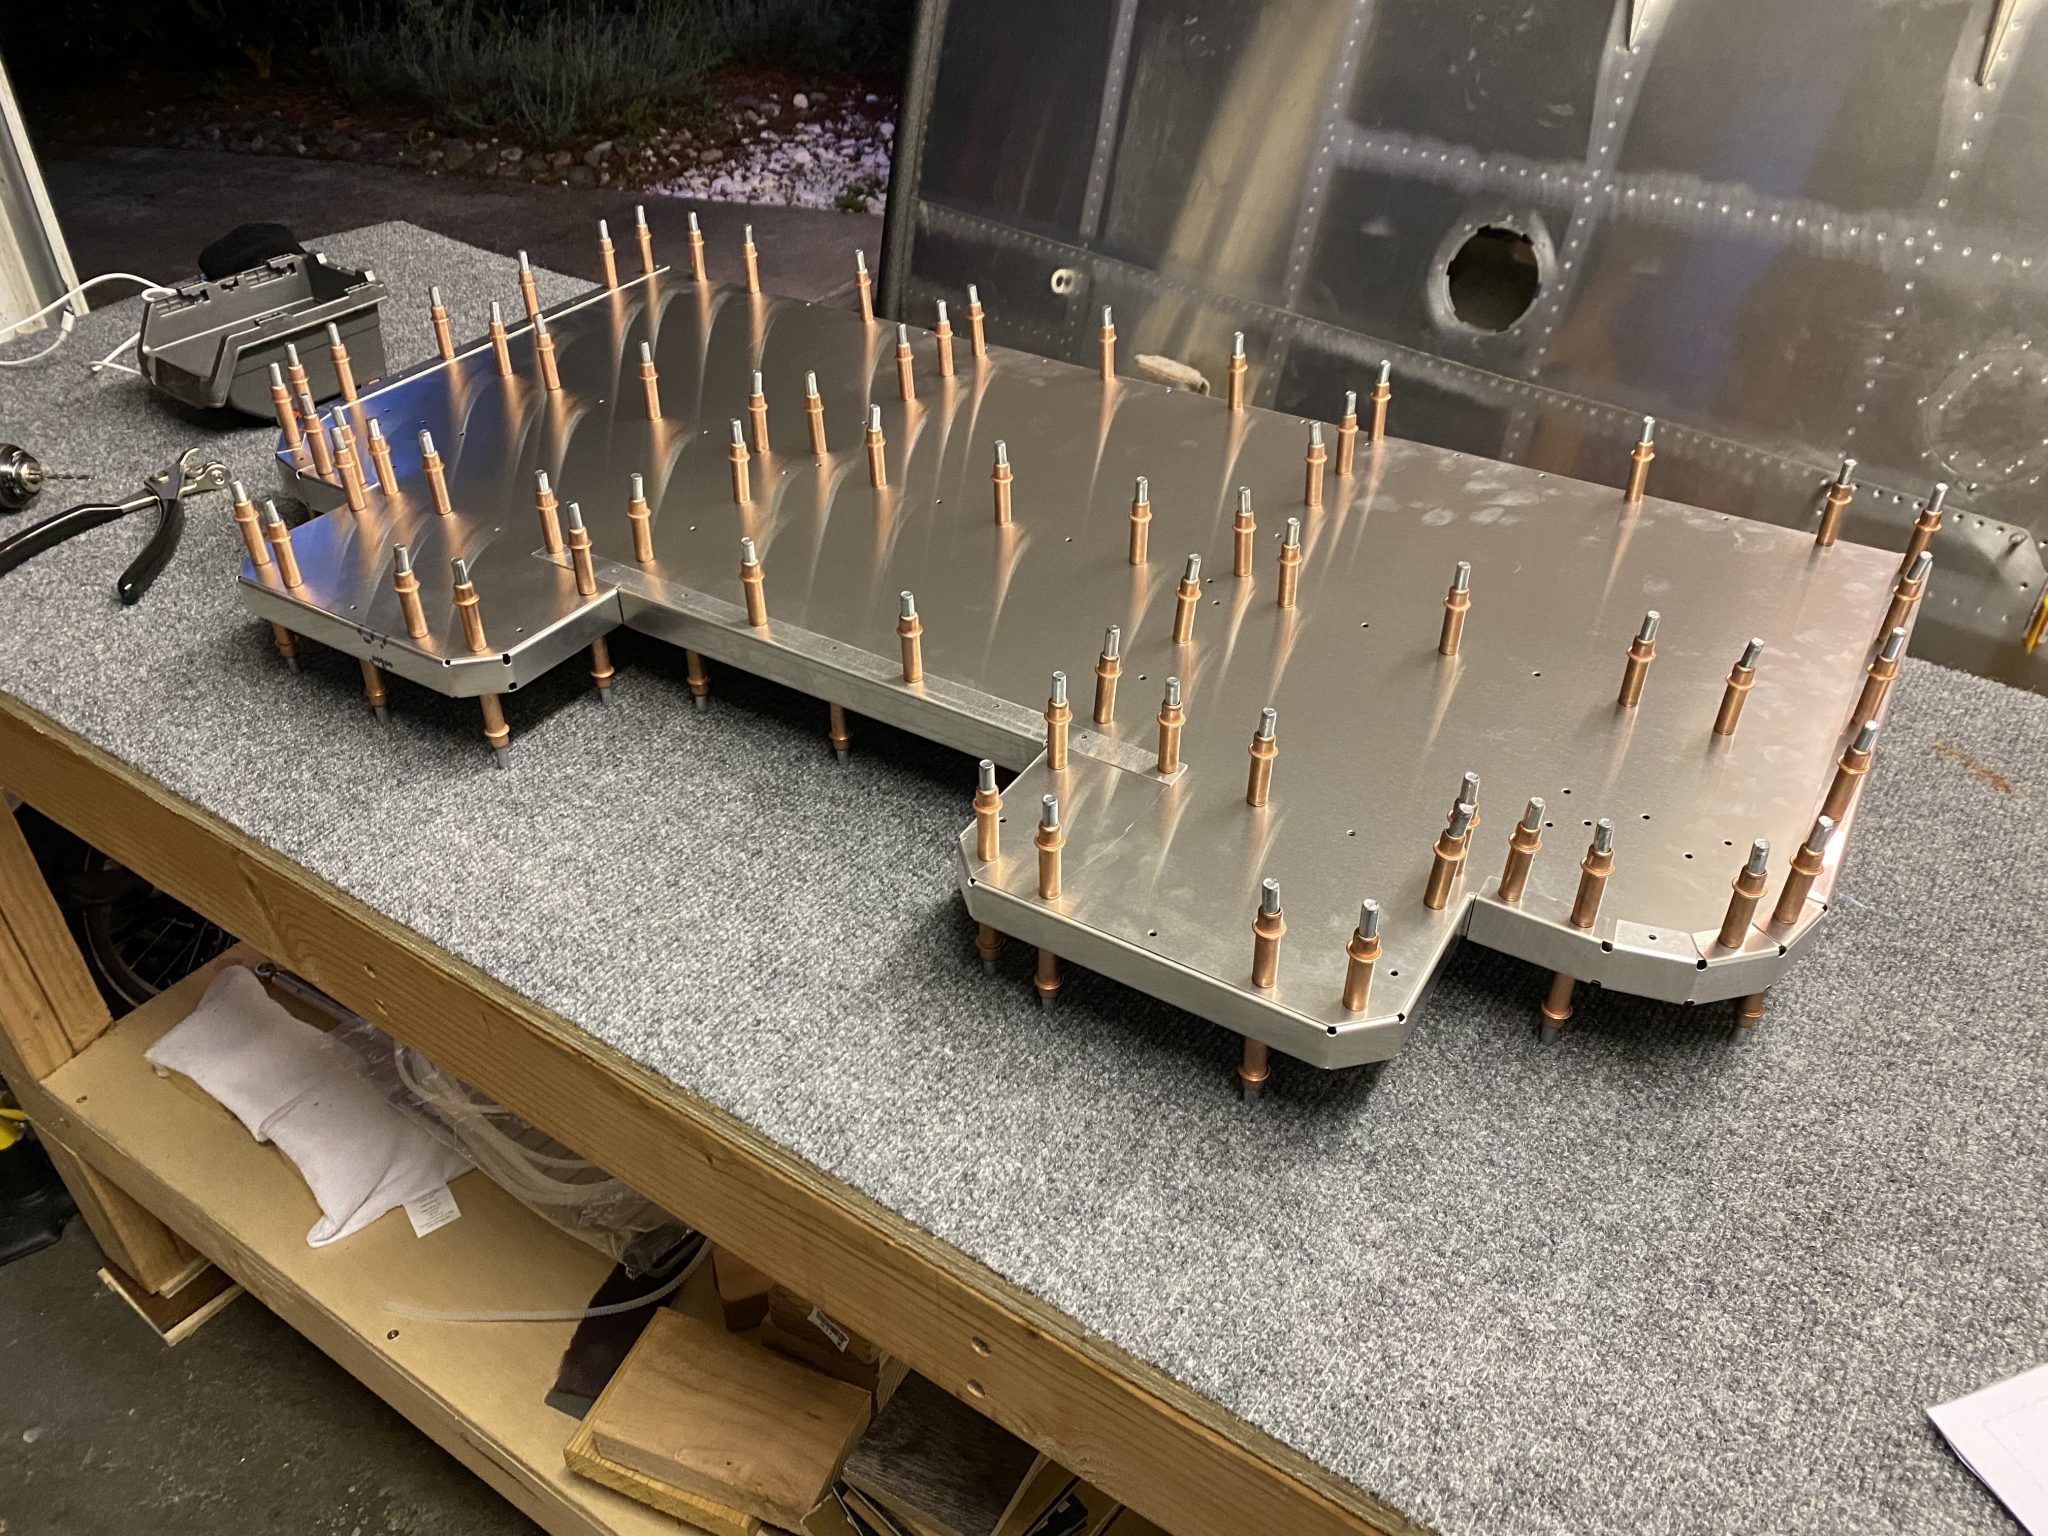
With that out of the way, time to assemble the main rib structure.
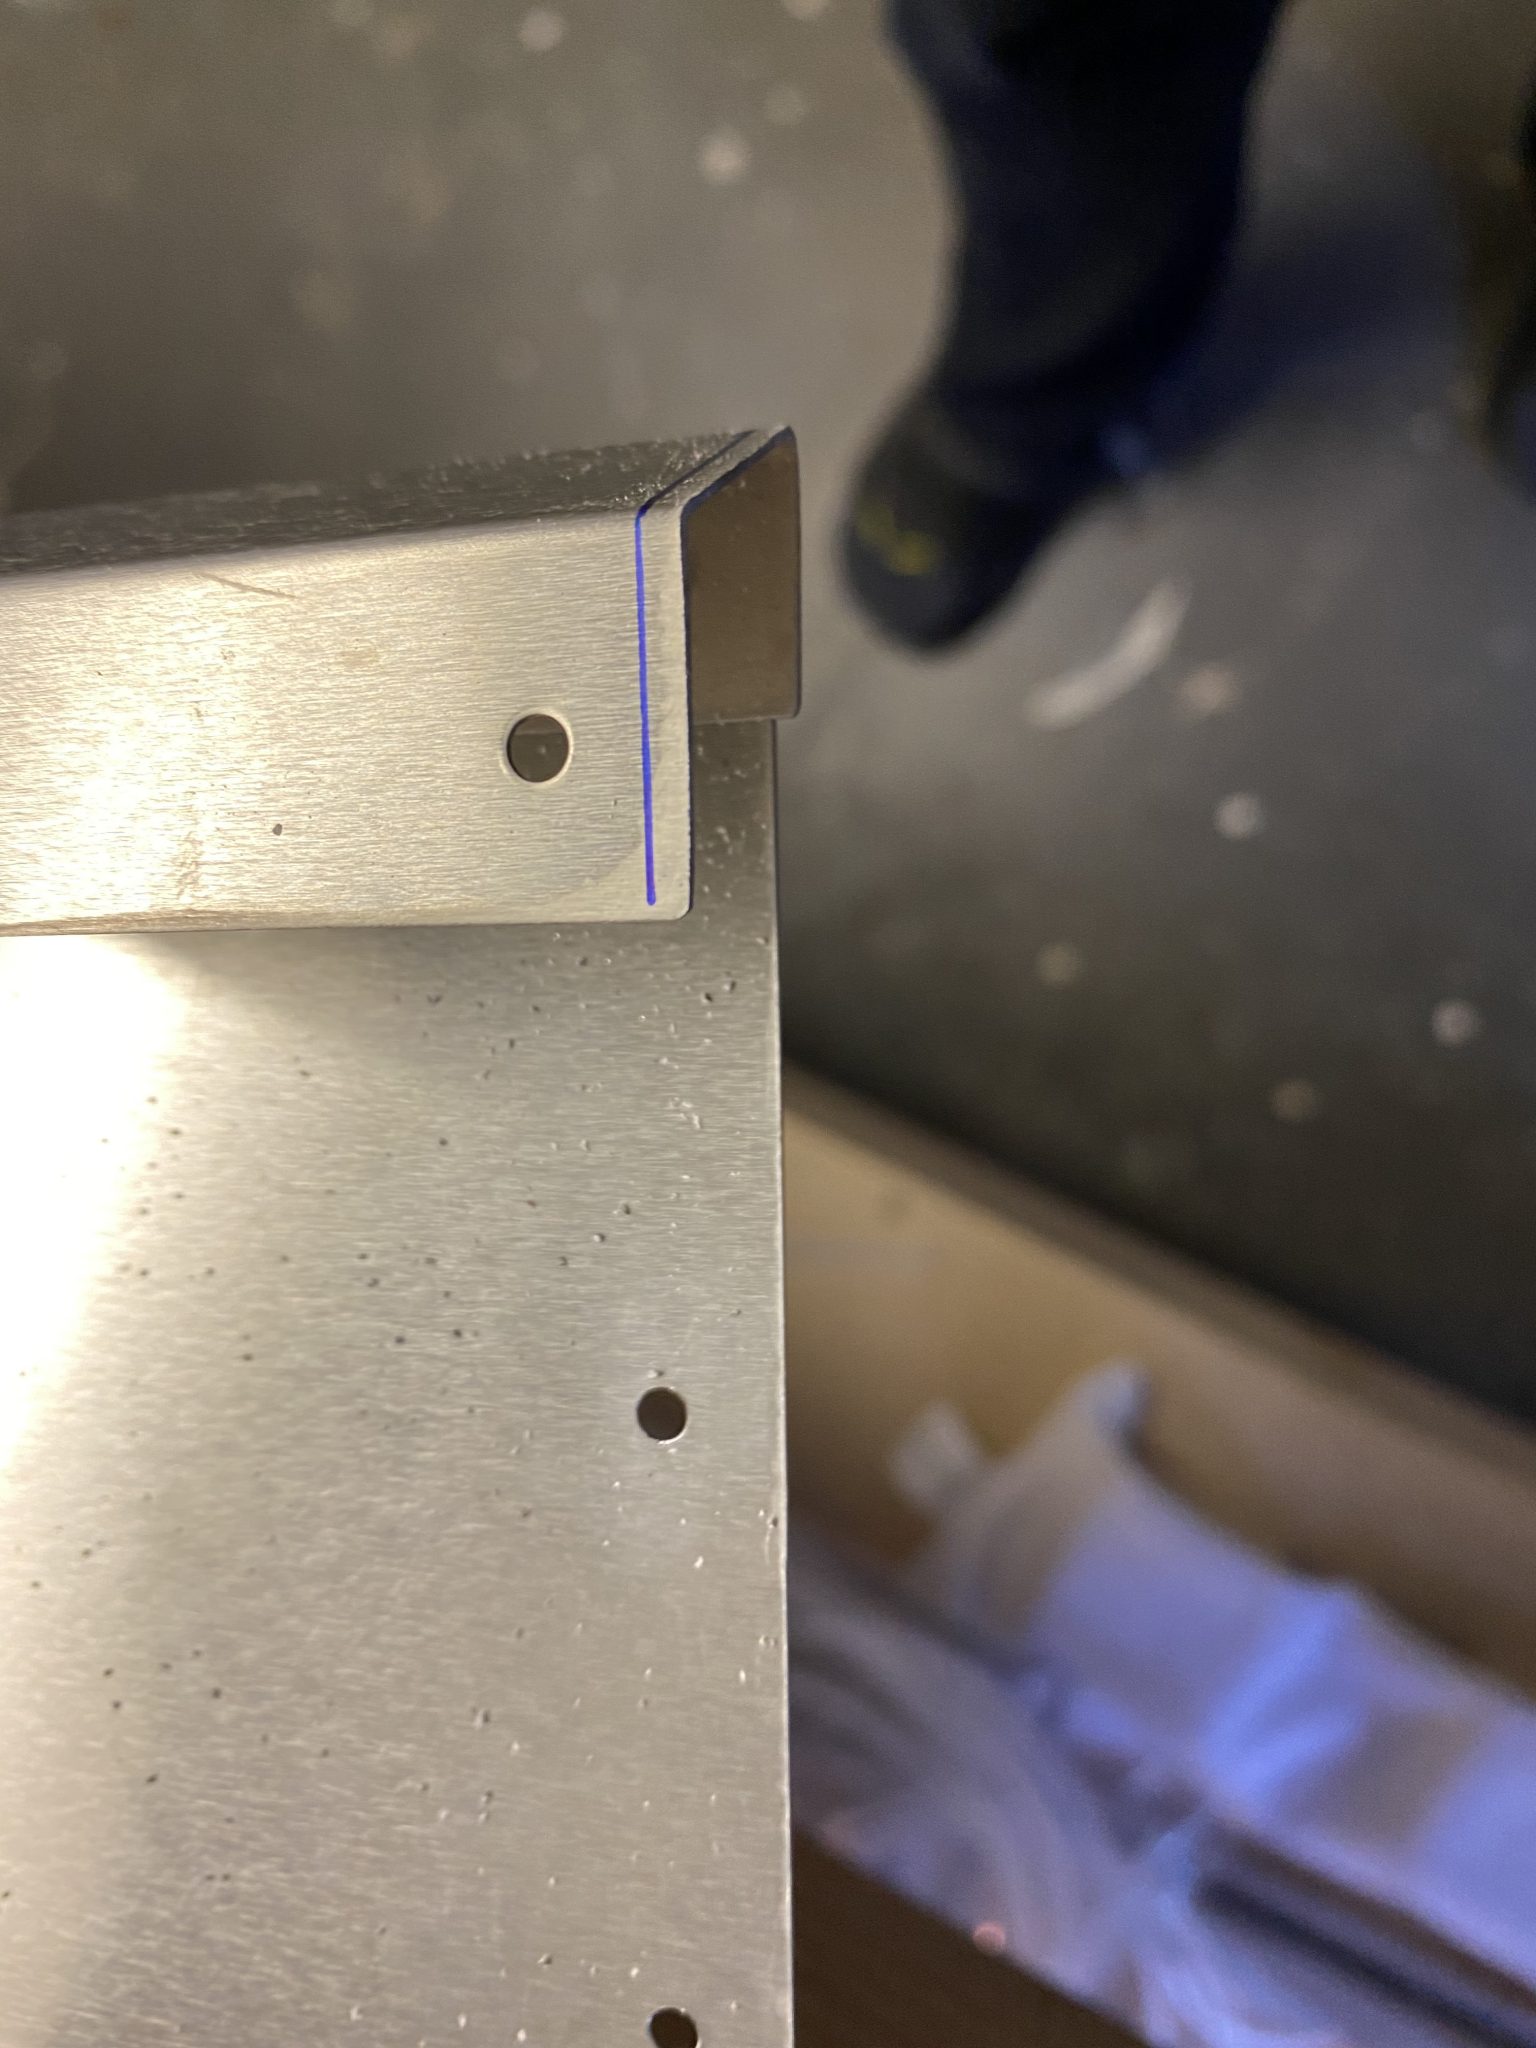
On the bottom rib there was a minor misalignment of the rib. The rib extended a little bit beyond the skin, but the holes were all drilled fine.
So I trimmed off the small part that extended too far.
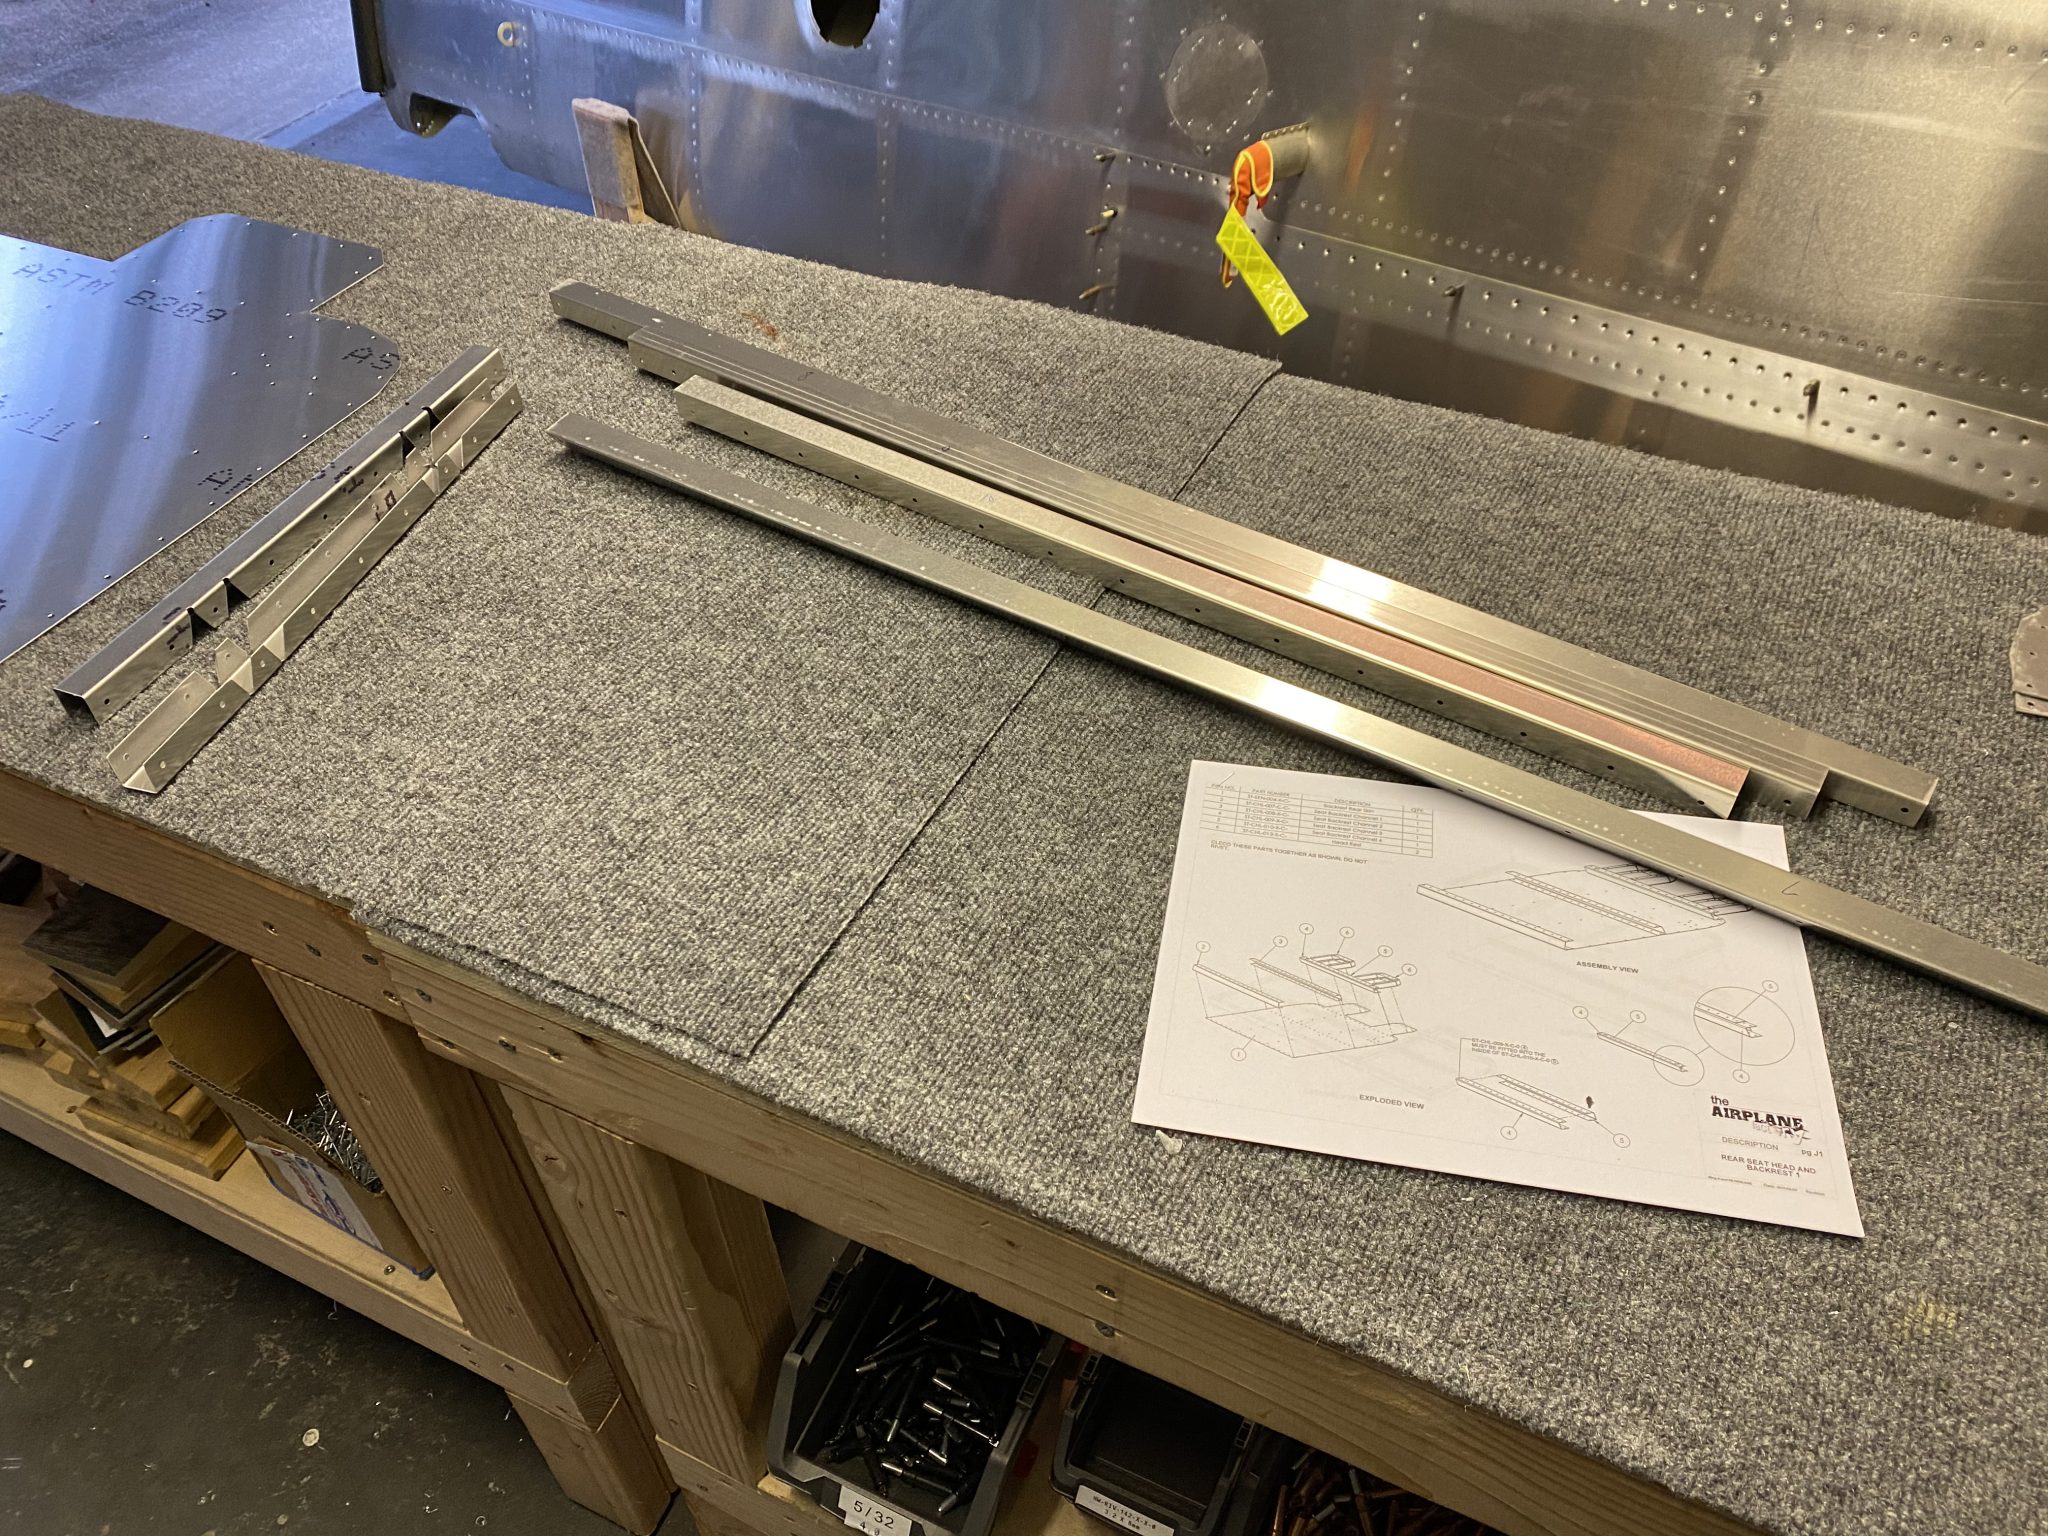
And on to more ribs to make it a really solid seat.
The last part was to put on the front skin and make sure everything lines up. When I first clecoed it on some of the ribs didn’t align, so I unclecoed the skin again, then centered it and clecoed it again and everything fit well.
Last week I finally received the cabin air parts after the lockdown in the past few months that put a hold at the factory for sending out new parts, but they are back up and running.
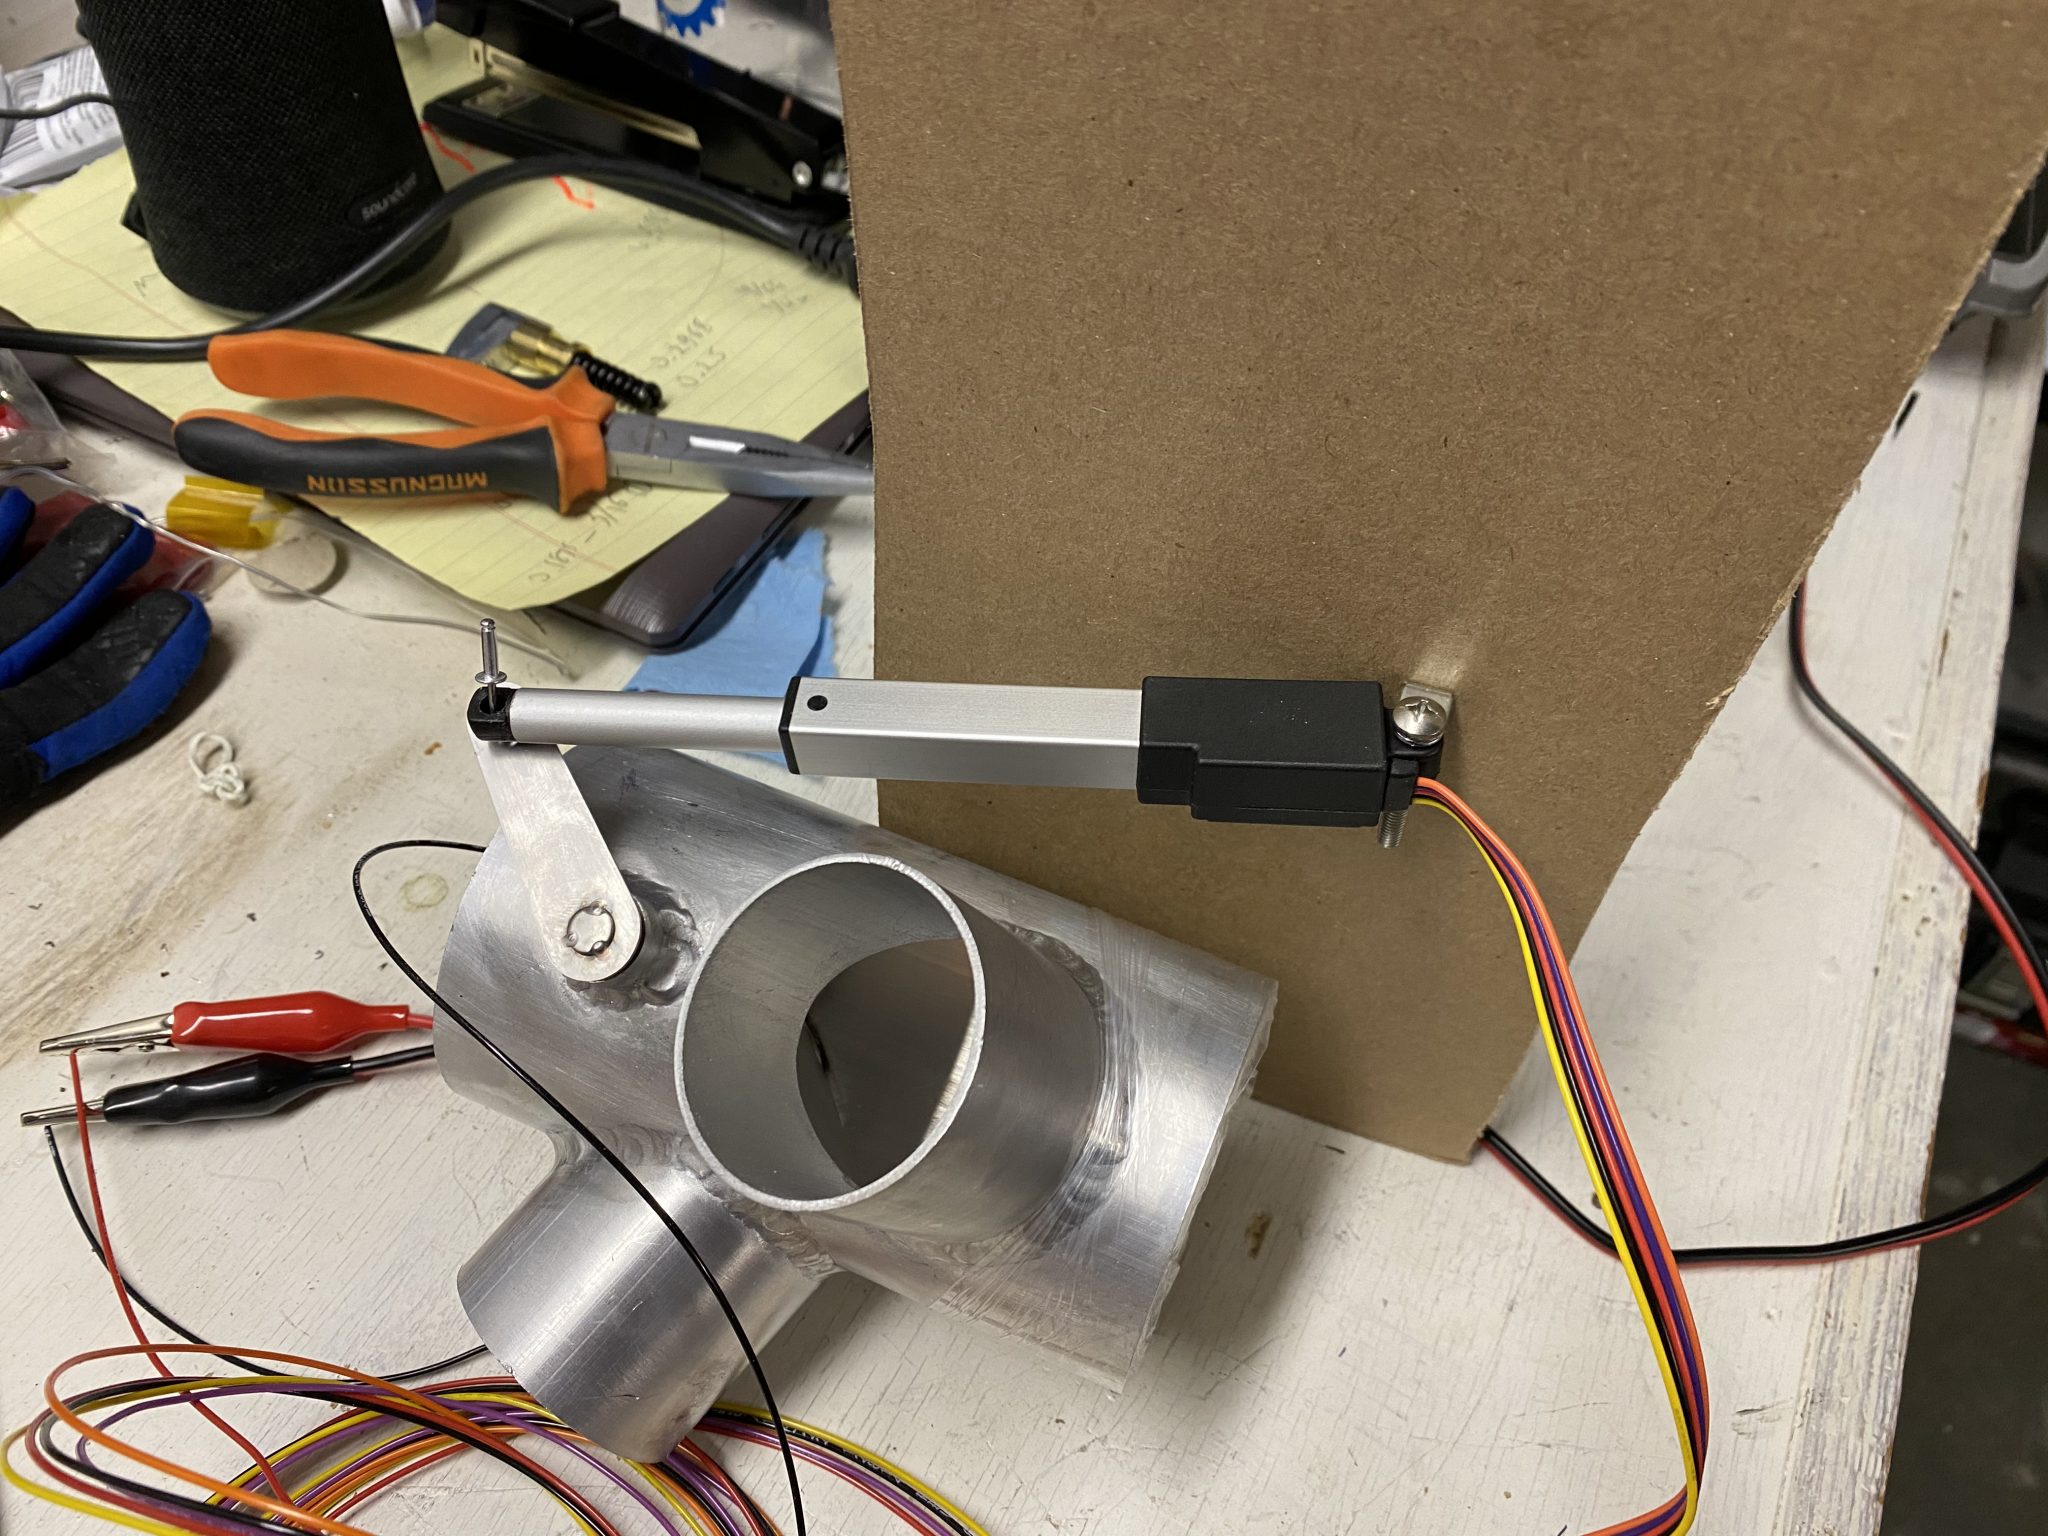
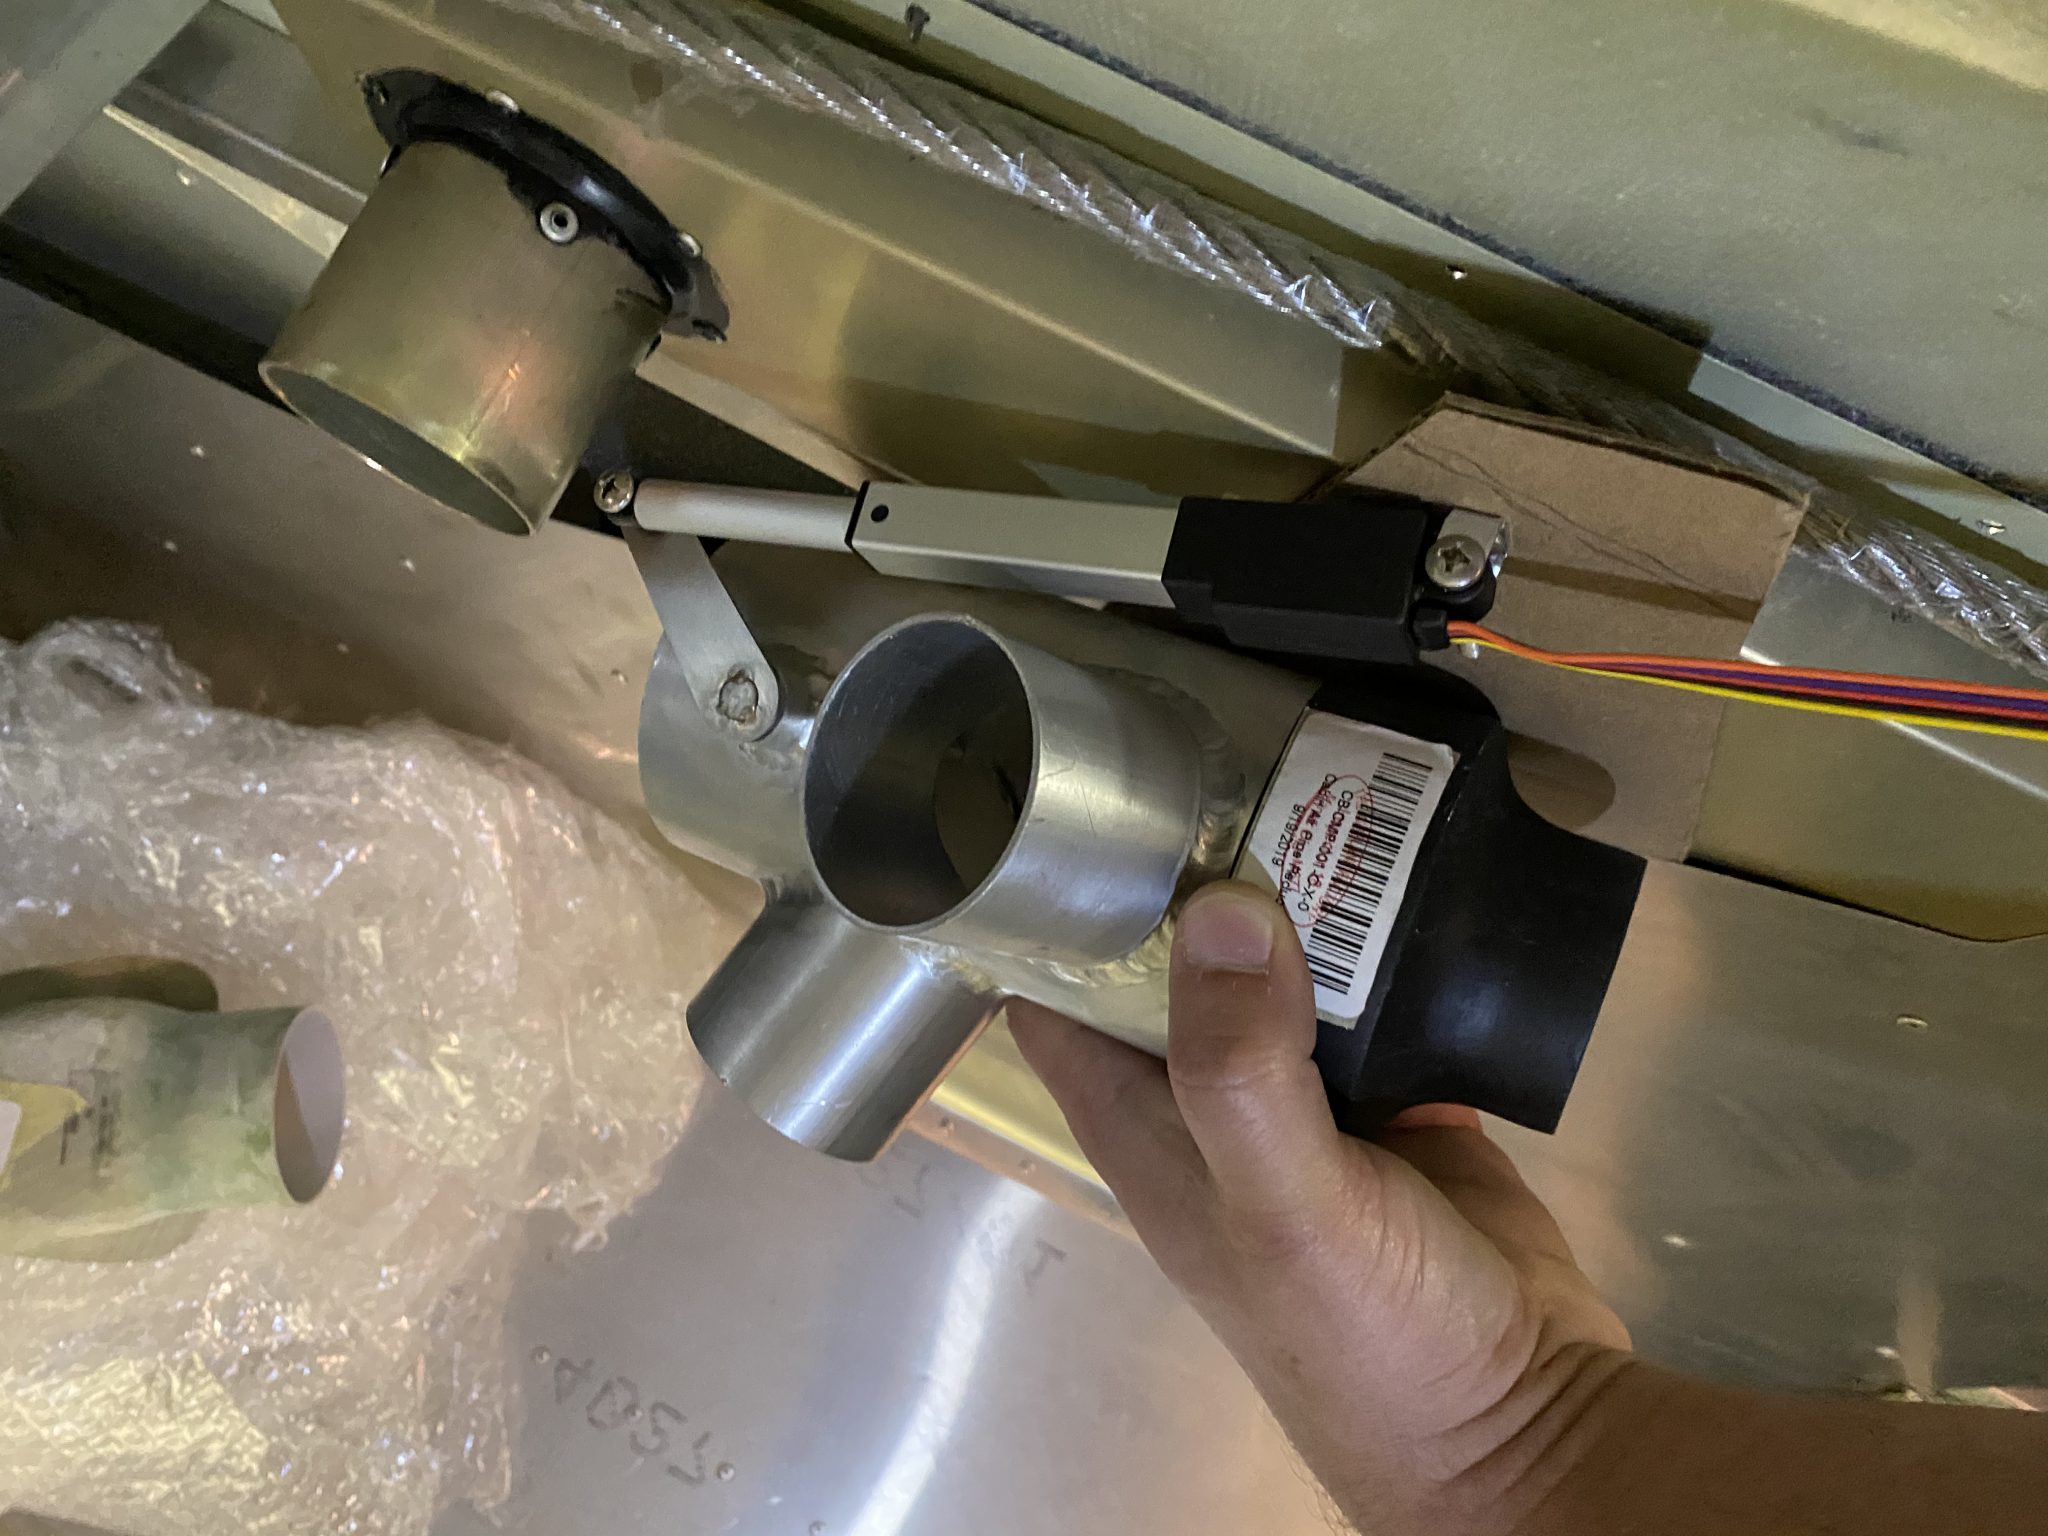
The cabin heat assembly for the TSi has a mixture of forced air from a NACA duct getting air from the outside when the plane is moving, together with an actual radiator heater, for those times where you don’t want cold outside air and instead heat it. To shut out the outside air, the TSi has a butterfly valve that’s operated by a handle from the panel.
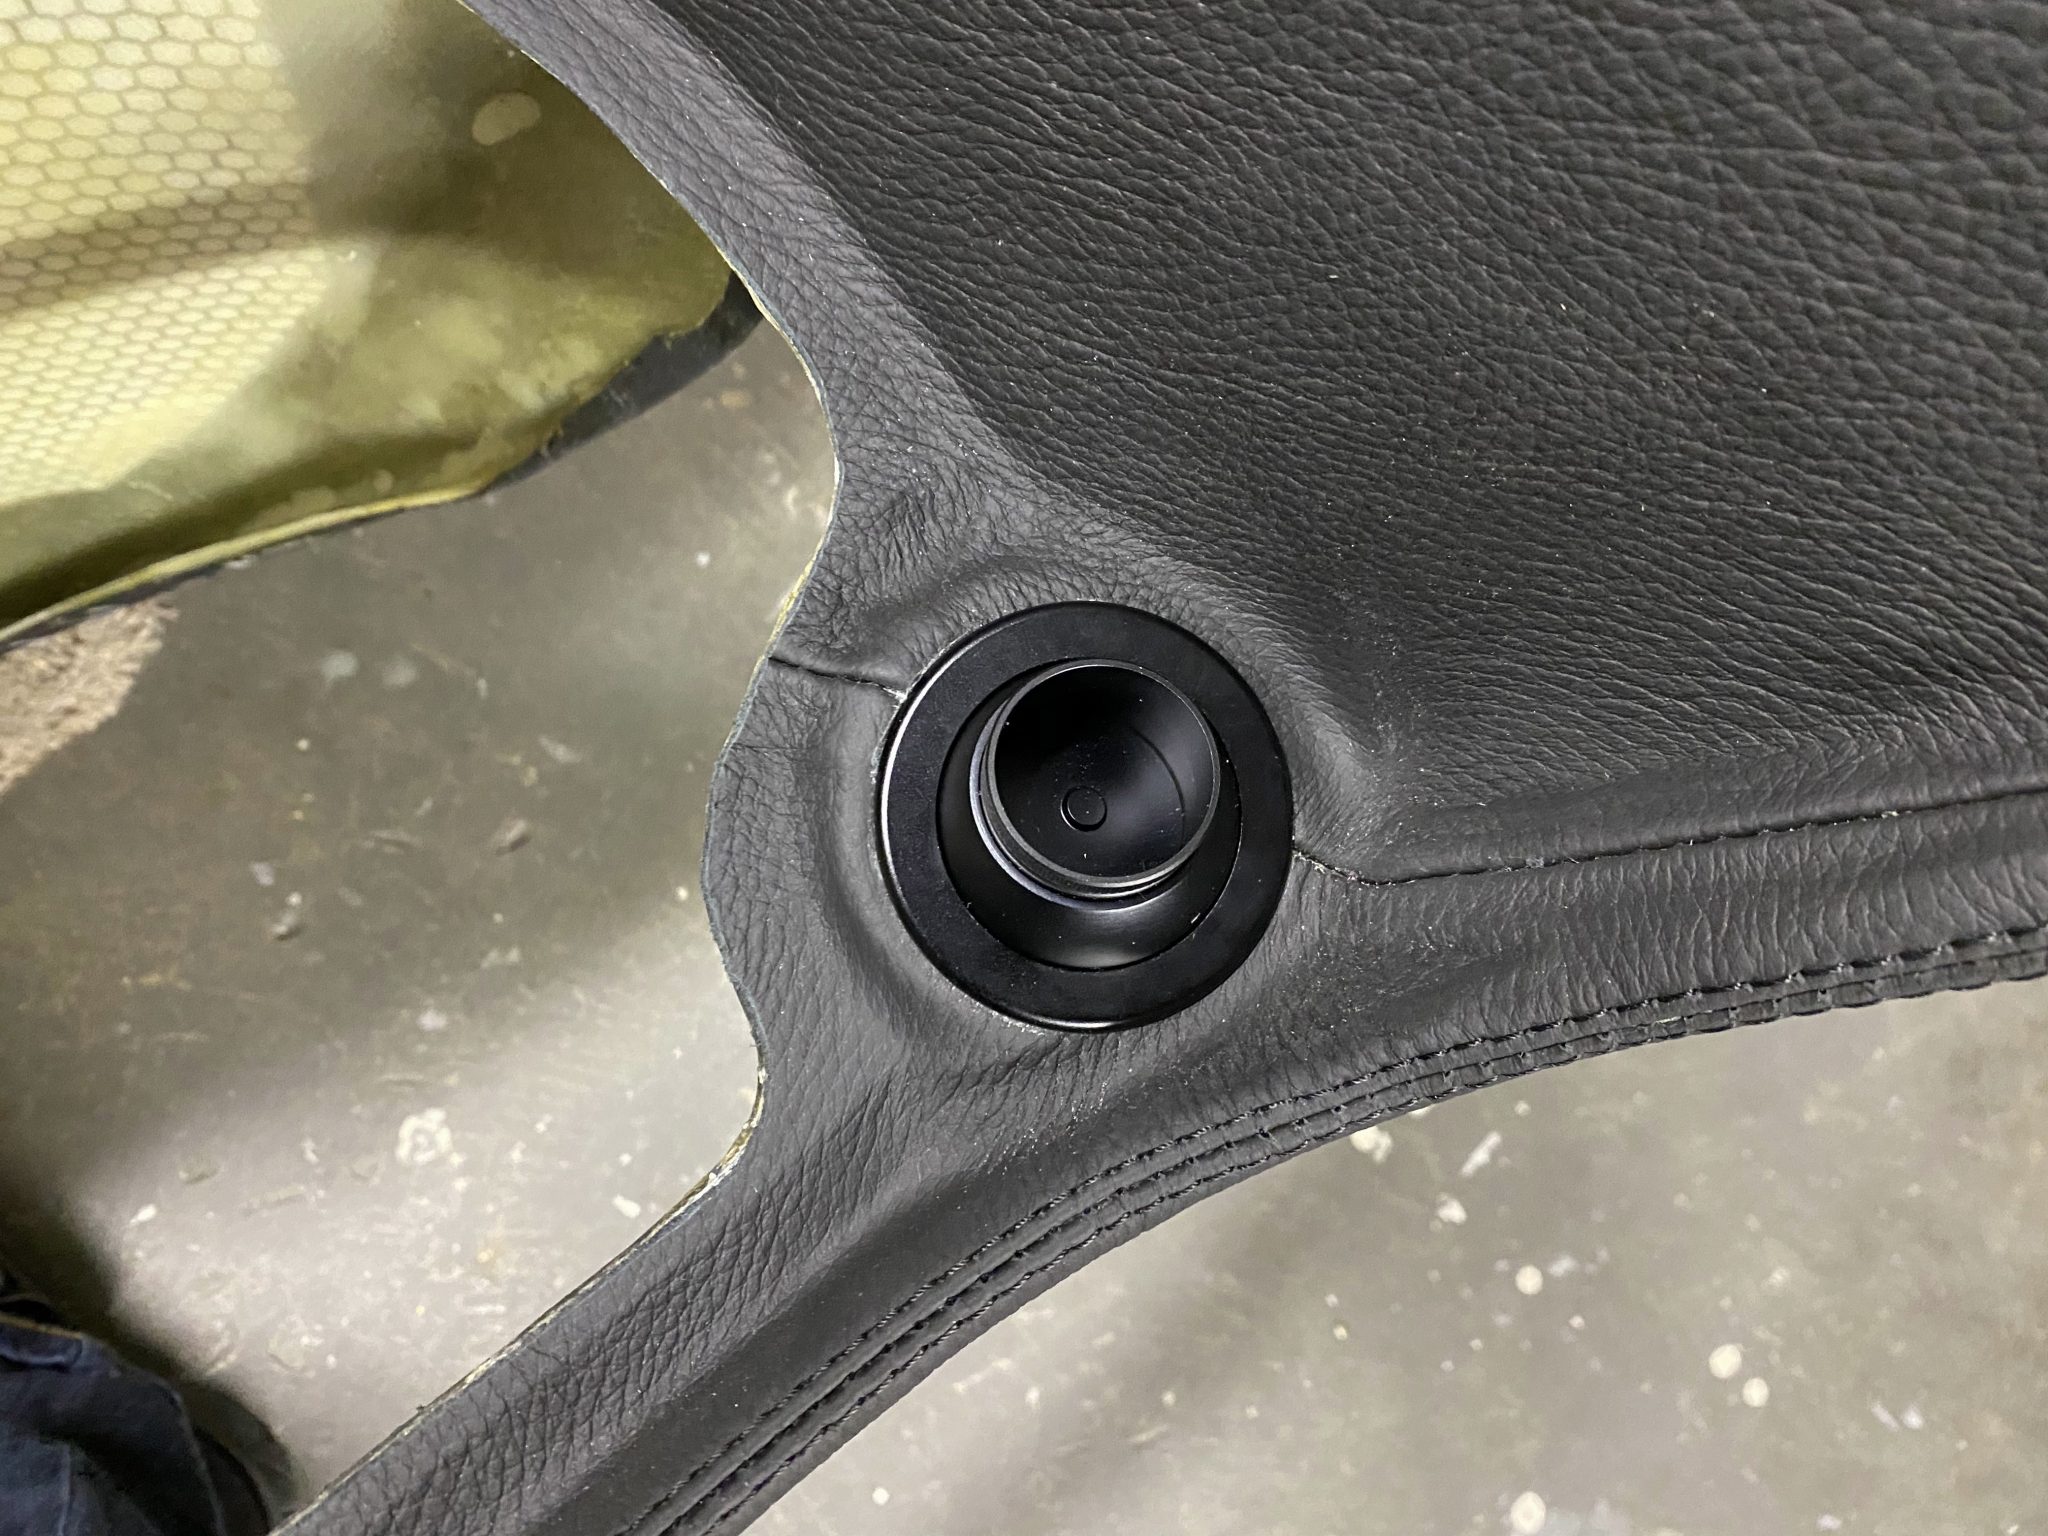
I am planning to replace the manual handle with a servo instead and also replace the front standard plastic vents that come with the kit, with some ball vents typical in airplanes.
I got the Aveo Air Maxi Vents in black since the front is black leather, so it blends in nicely.
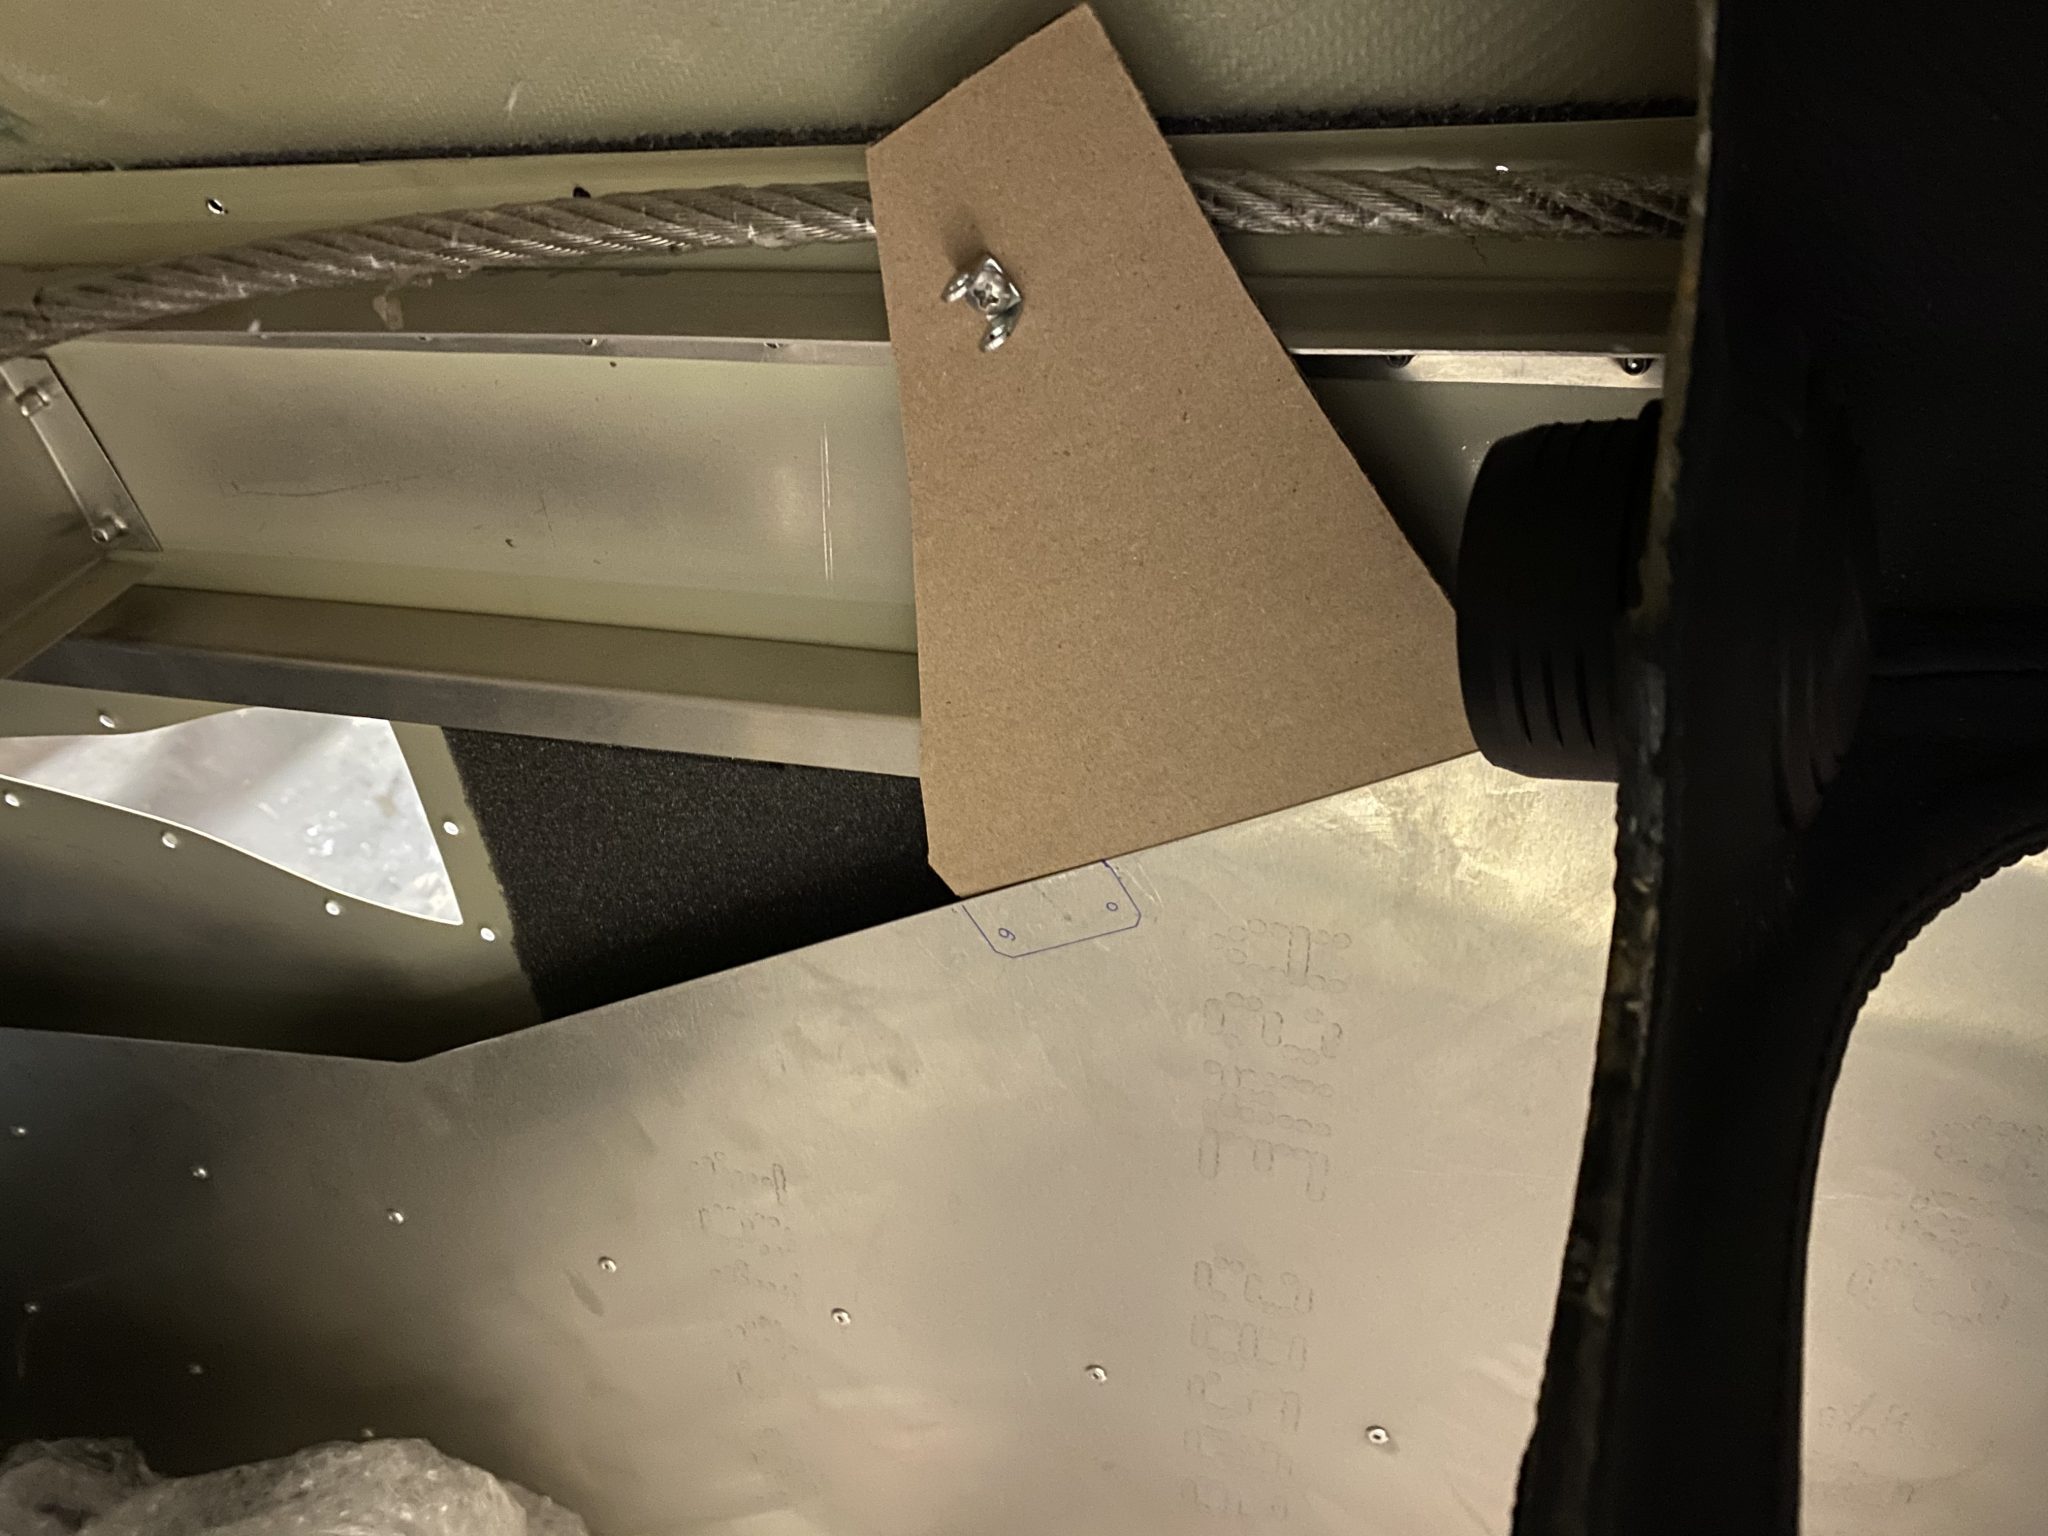
Butterfly valve servo
The servo I’m going to use is from TCW that comes with a linear servo from Actuonix, together with TCW’s control board with the control knob to operate the servo.
The first thing I had to figure out is the travel of the butterfly valve, it is around 40mm long. I made a small cardboard panel, clamped it to the bracket of the box that houses the butterfly valve. Based on the maximum extension I then mounted the back of the servo onto my cardboard panel. Then I tested that retracting and extending works correctly from that position and made small adjustments to the travel distance.
Here’s a small video of testing the operation:
With the operation figured out, then I went to check for alignments in the cabin.
First I had to figure out where exactly the vent box sits inside the cabin. Some quick measuring for the distance based on the construction manual.
Then I put in the channel that moves air to the rear passenger seats to make sure there is no interference wit the operation.
Looks all good. Next step will be to fabricate the bracket out of aluminum.