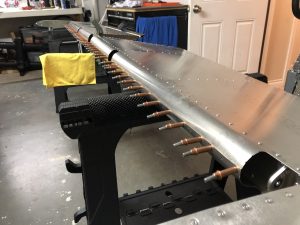
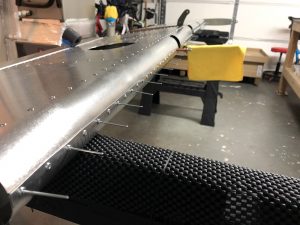
With most of the preparations out of the way and half of the skins riveted, I took one more session to finishing the Elevator.
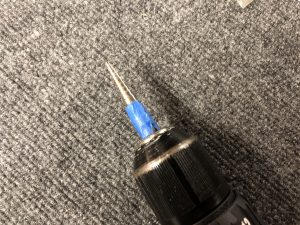
There was only one extra part I had to do for 3 of the rivets that were on the bottom edge. In order for them to fit correctly, I had to shorten the rivets so they wouldn’t protrude out.
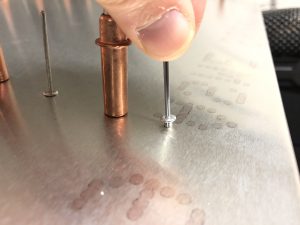
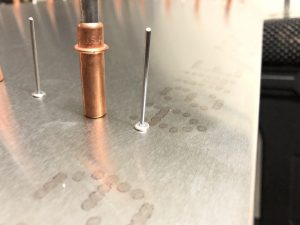
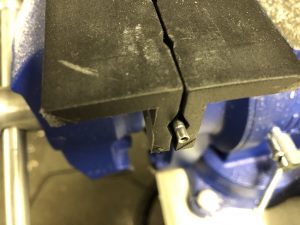
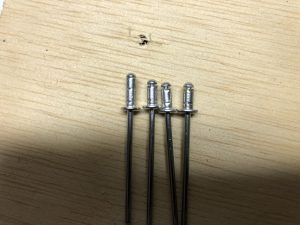
Aside from that, I just went to town and pulled the rest of the few hundred rivets.
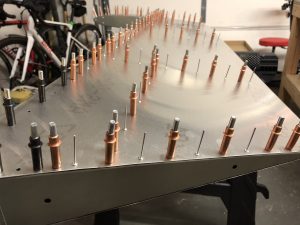
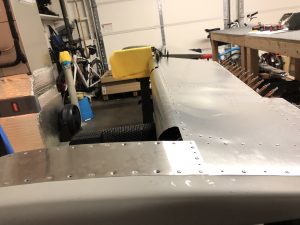
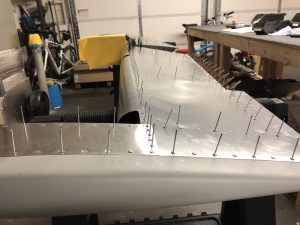
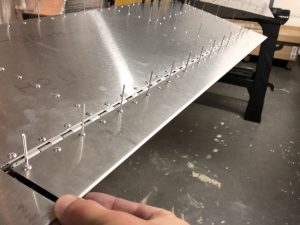
The last part on the riveting side was the front lip.
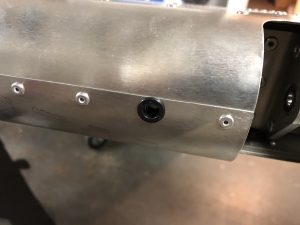
One of the holes on the lip has to be enlarged to fit a grommet for the wiring for the Elevator Trim Tab. I enlarged the hole using my step drill bit and then installed a snap bushing.
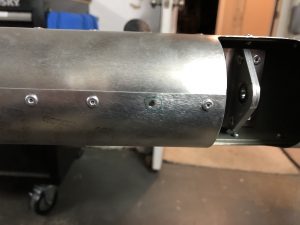
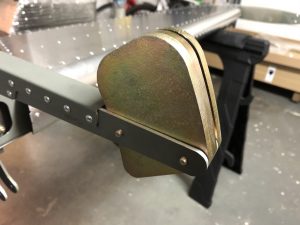
The last part was to install the center balance counterweight. I did some test fitting with this, but the AN3-13A bolts that one of the versions of the manual that I have mentioned are too short, so I’ll check with the factory on the proper length.
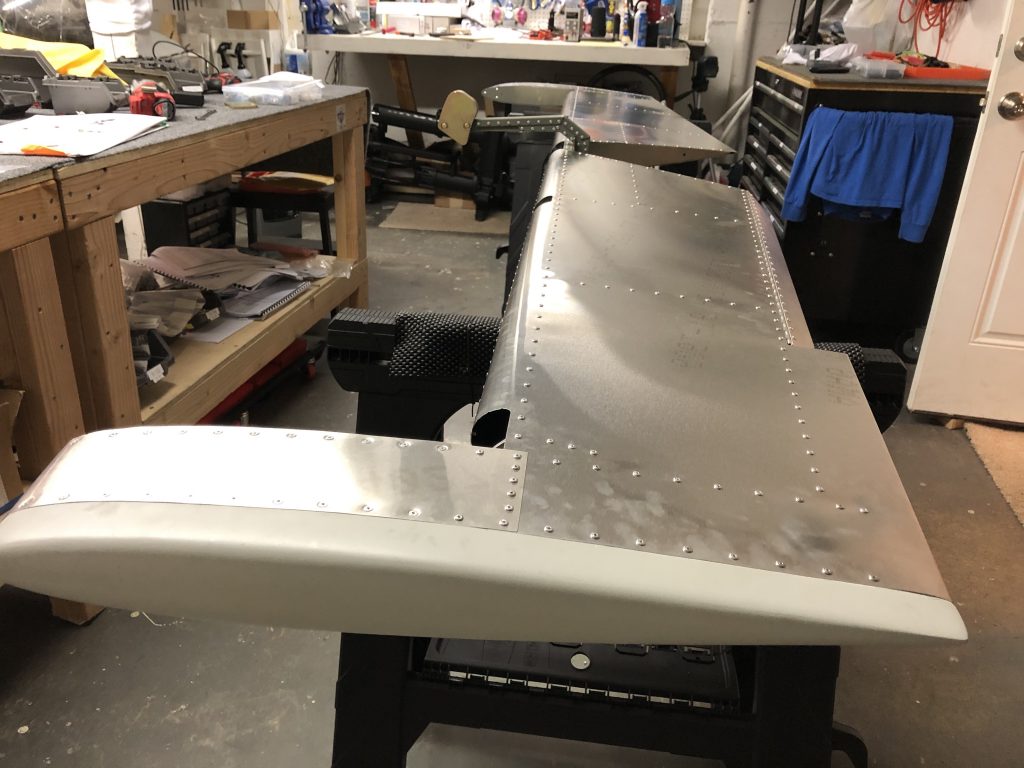
With that being said, the general assembly of the Elevator is completed:
Timelapse of the complete construction of the Elevator
With the Elevator construction completed, I’ve also finished my video timelapse of the process:
