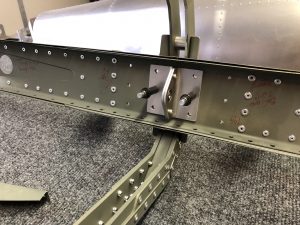
Time to finish off the Empennage and get the Elevator structure going. I received the replacement ribs that are bent just that little bit more in order to properly align with the reinforcement plates and skins and went to work to drill out the bad ribs and put in the replacements.
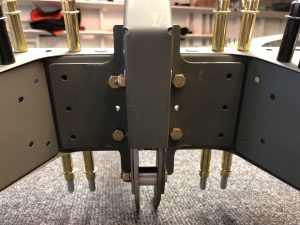
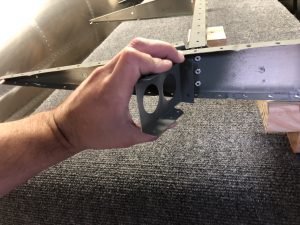
After that, I went to work and torqued the bolts that connect the control rod and counterweight to the Elevator. There’s also a small support bracket that reinforces the center rib to spar attachment, which is a pretty tight fit, so I had to get out the manual hand riveter.
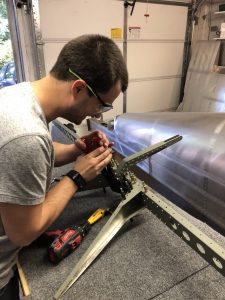
My brother is currently visiting and is enjoying the riveting experience.
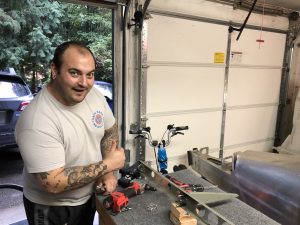
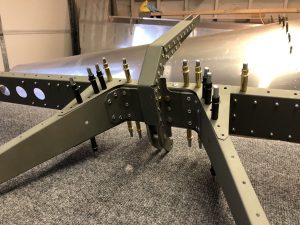
Once the center ribs were finished, we moved on to put the rest of the rib structure in place.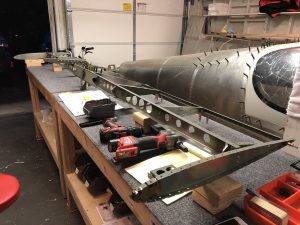
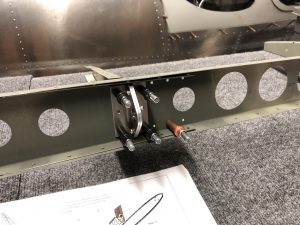
After that I realized there’s a mistake in the plans as they instruct to rivet the edges that hold some of the side counterweights on, but there’s another small end rib that actually has to go on there as I found out after I checked the overall plan for the Elevator. Quickly drilled out the rivets and riveted on the part. A nice trick I learned from another builder for drilling out the rivets without damaging the holes they go through, is to only drill out the top of the rivet (the donut ring) and then use the center punch to push out the back of the rivet. This way you have less chance of enlarging the hole.
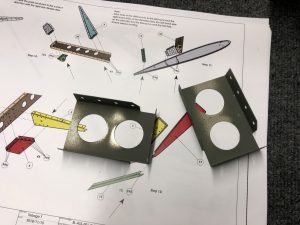
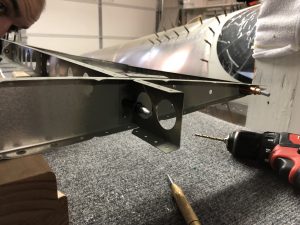
With the rib structure in place, time to work on fitting the skin.

