Monthly Archives: December 2019

Walkthrough of my workshop

It’s been a while in the making after a few requests over the past several months, so I finally took the time and do a walkthrough of my Workshop where I’m building my Sling TSi.

Apart from walking through my garage workshop setup and a bunch of the tools I’m using throughout the build, I’ve also given a small update on my current tasks. I’m waiting for the balance tube to finish off the ailerons and I’m currently finishing up the installation of the pitot tube, after running the electrical wiring the other day.

I’ll make a separate post on the installation of the pitot tube when I’m done, but here’s a preview picture of the first fitting to figure out the length of the tubing:
Fitting the pitot tube to figure out the correct length of the tubing


Pitot Electrical Wiring

Hours: 5

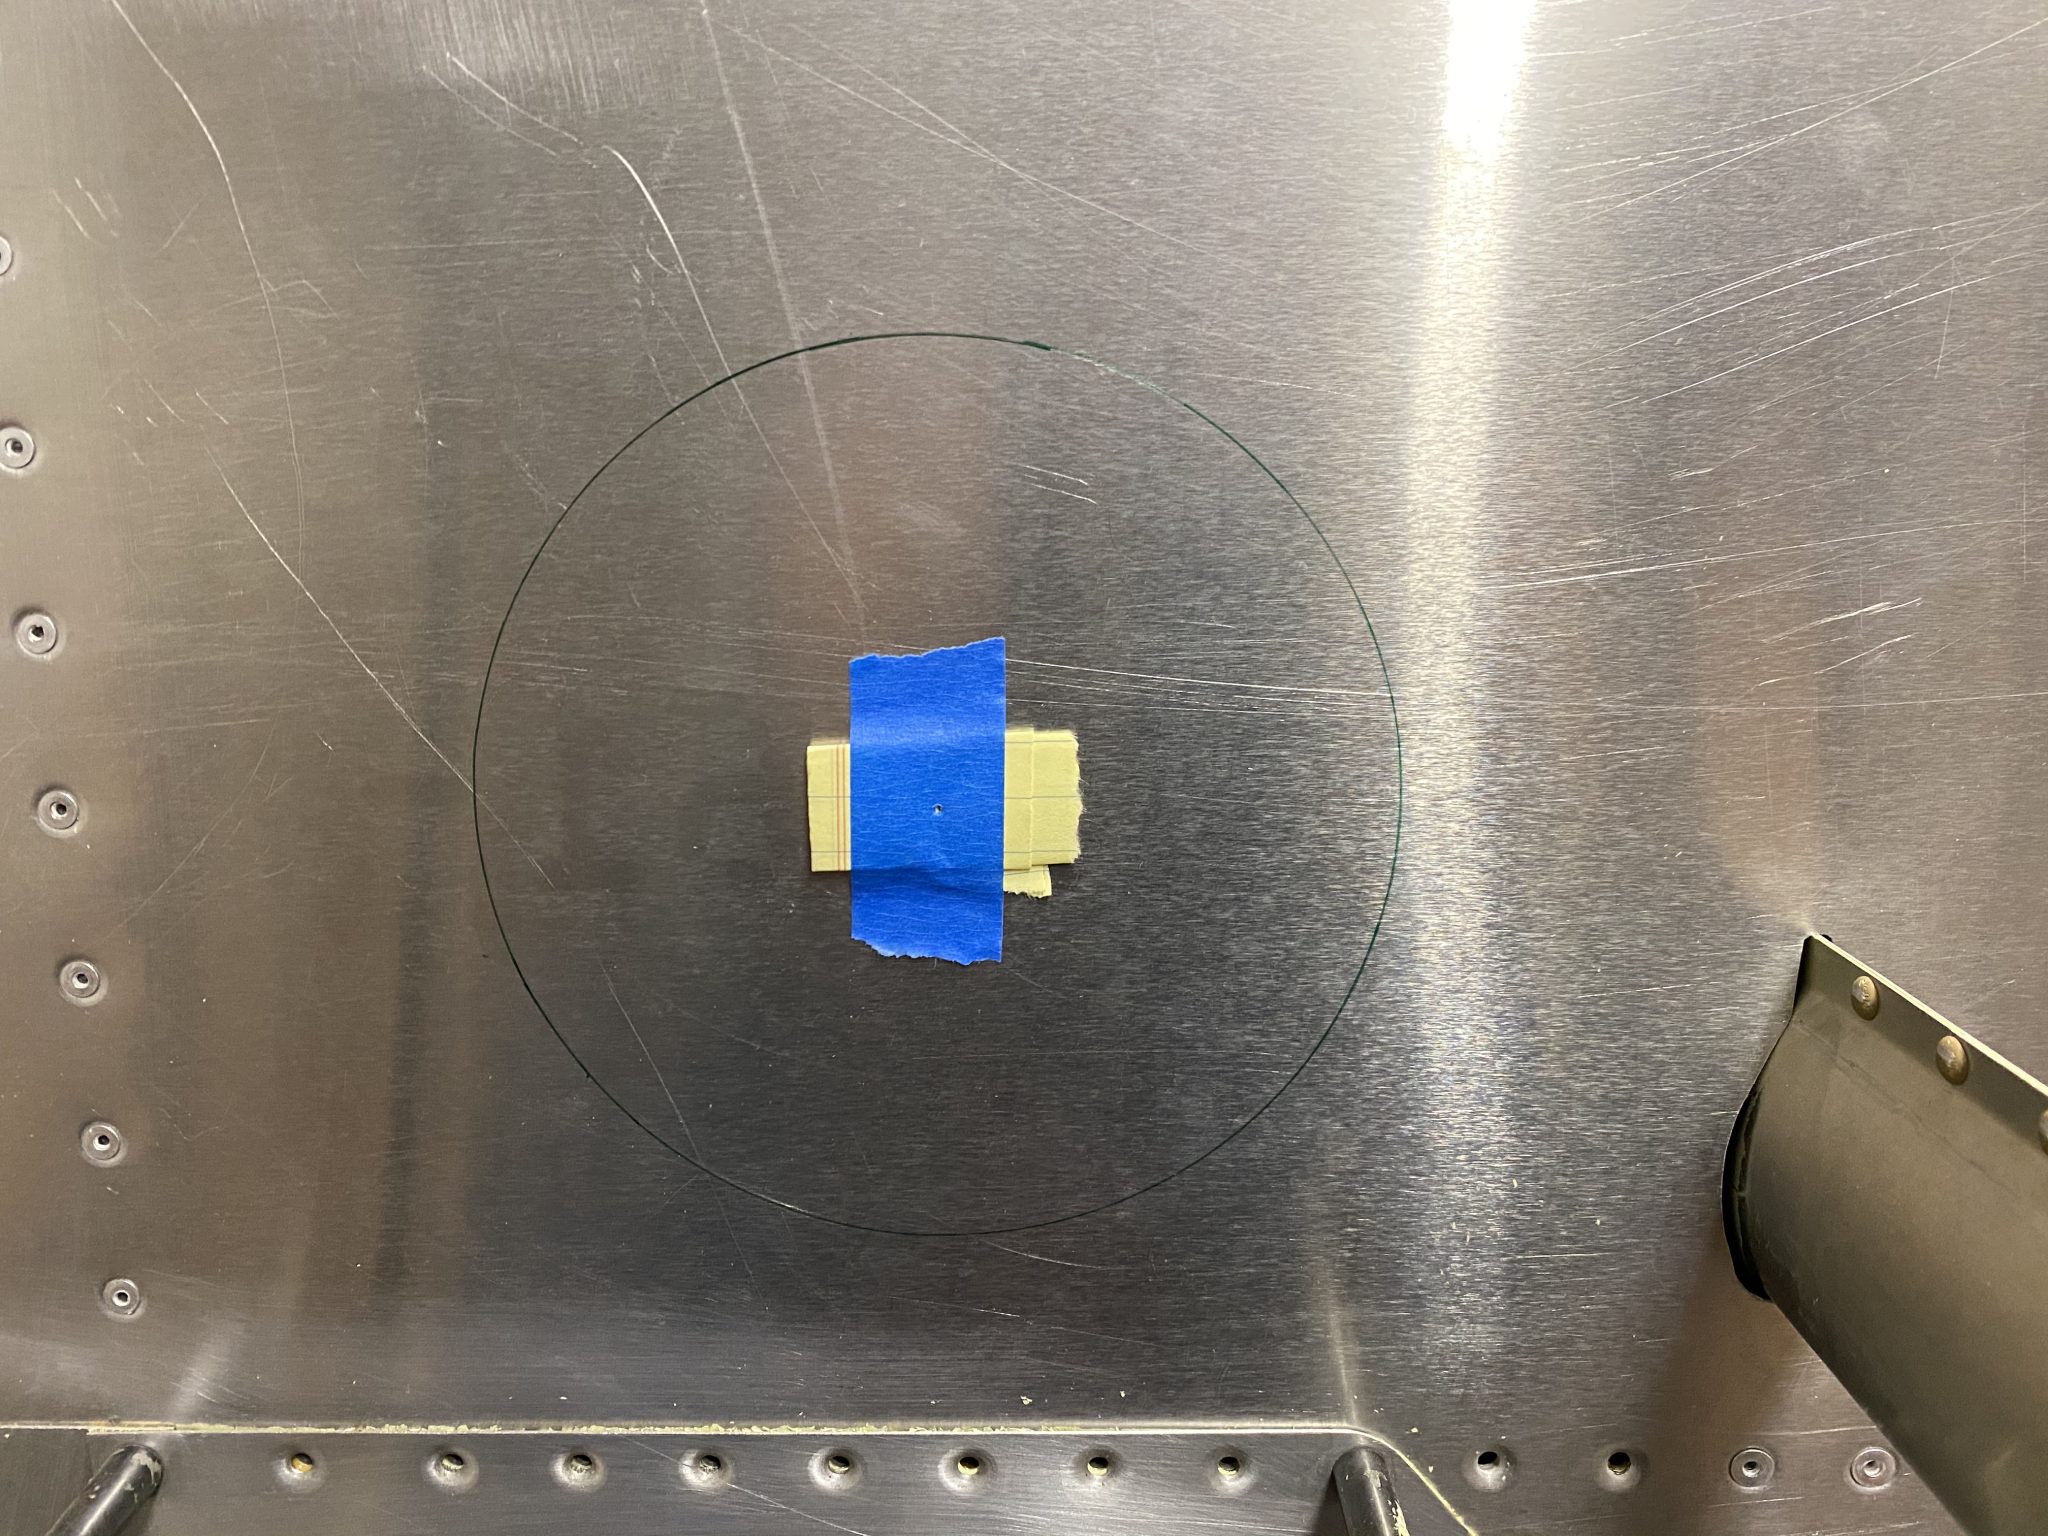
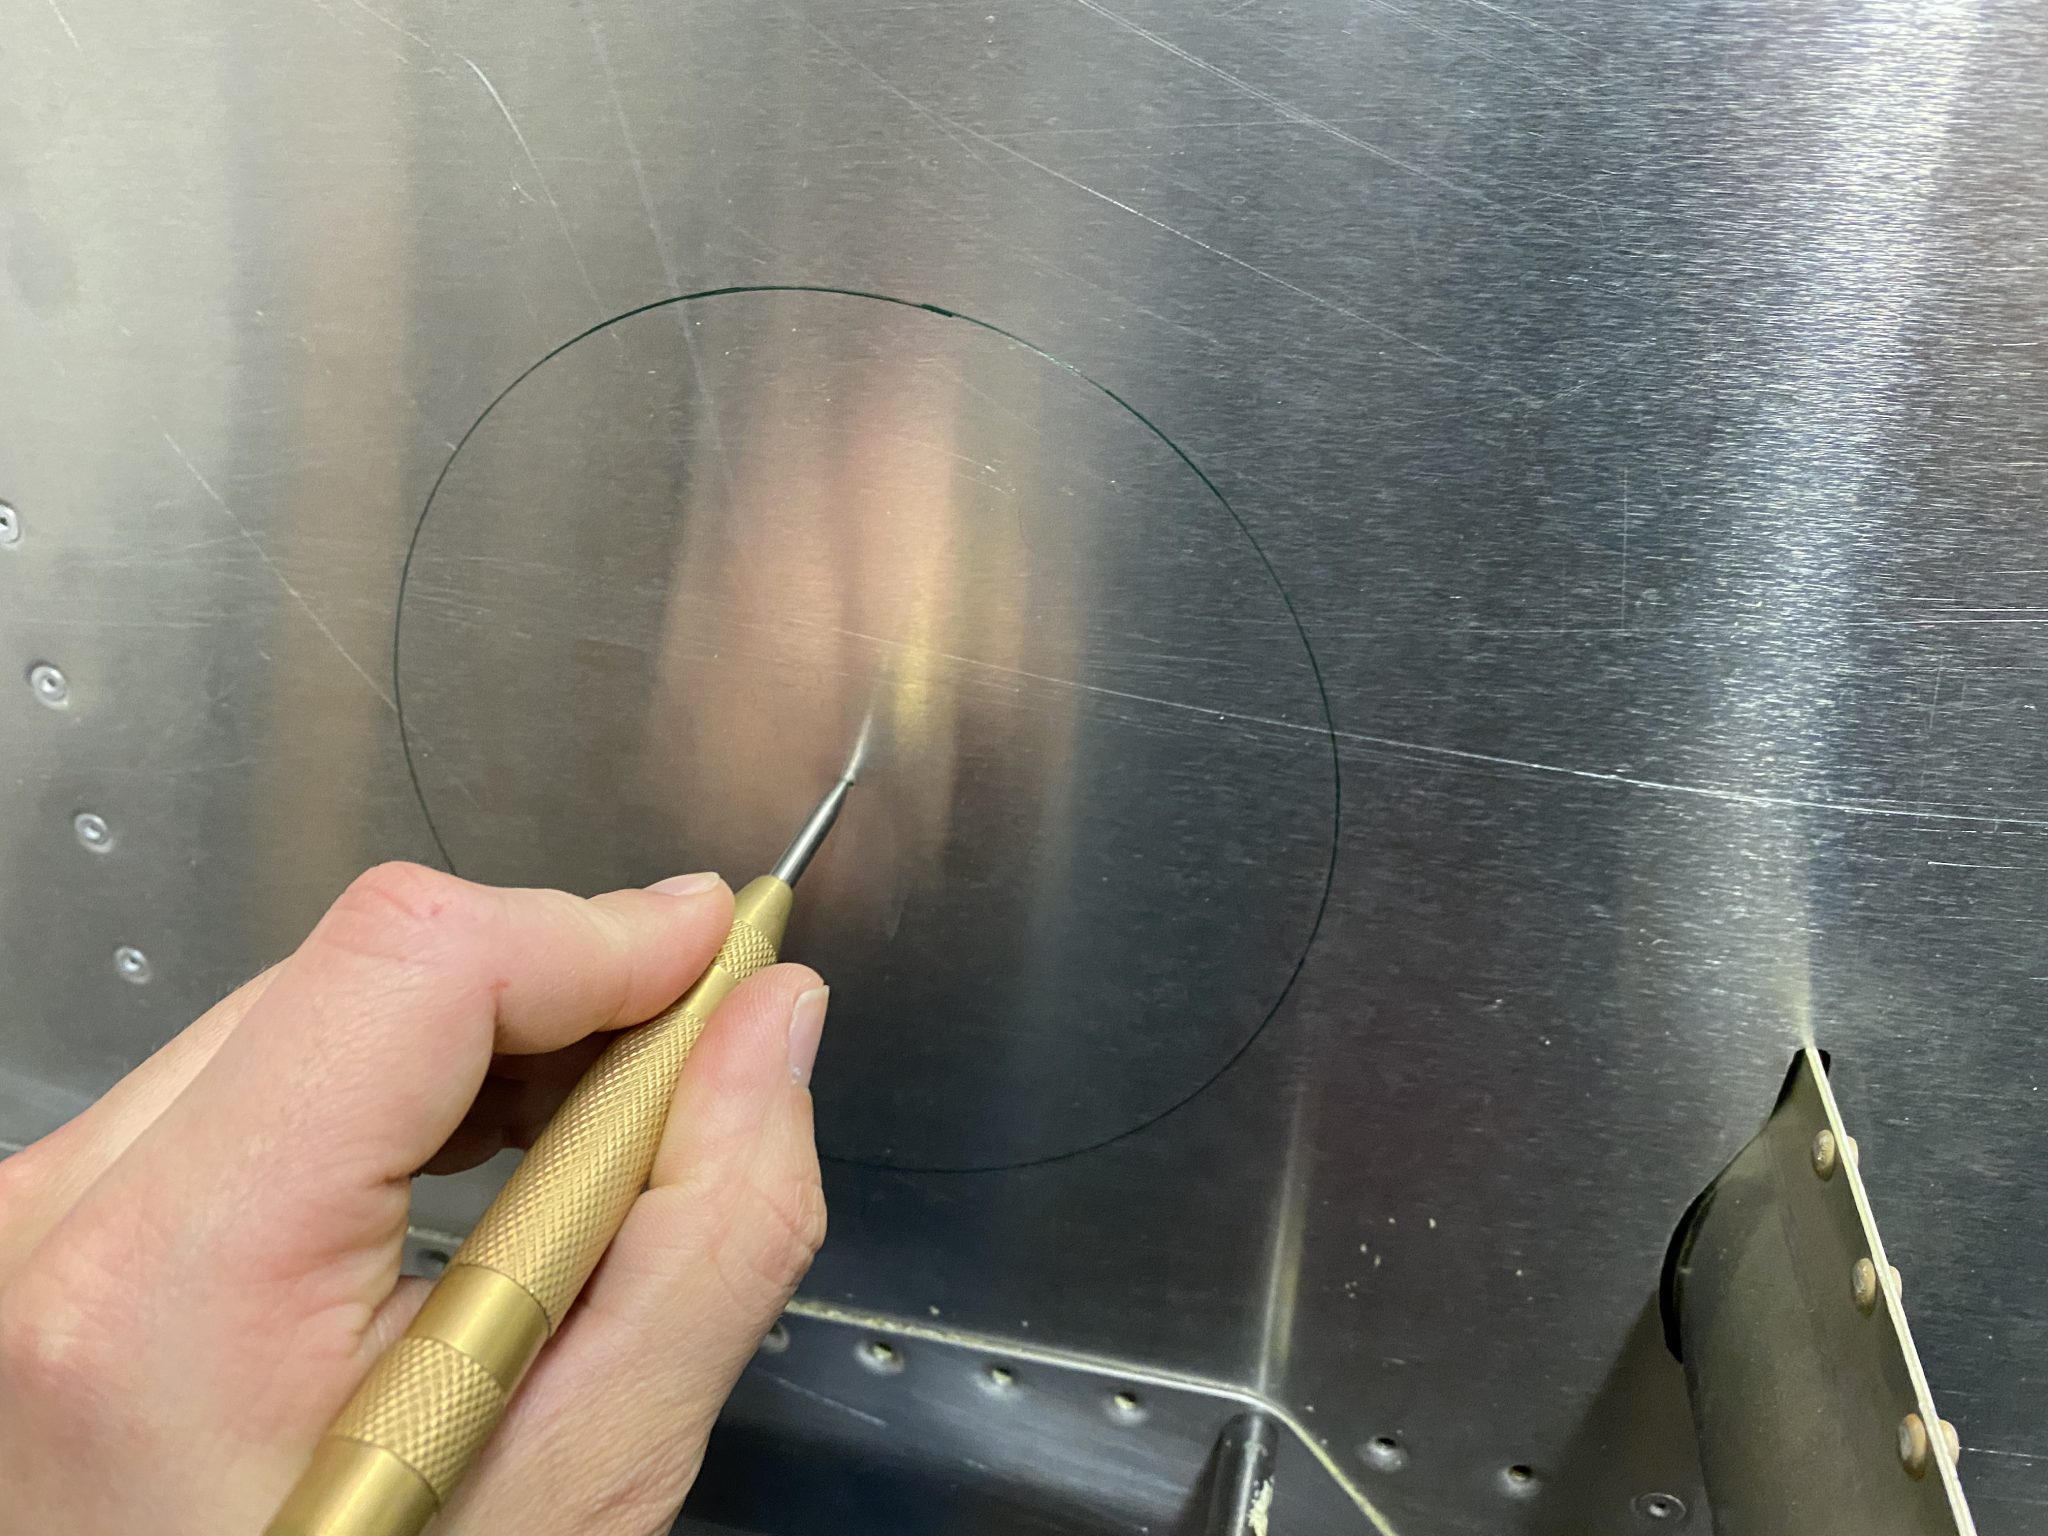
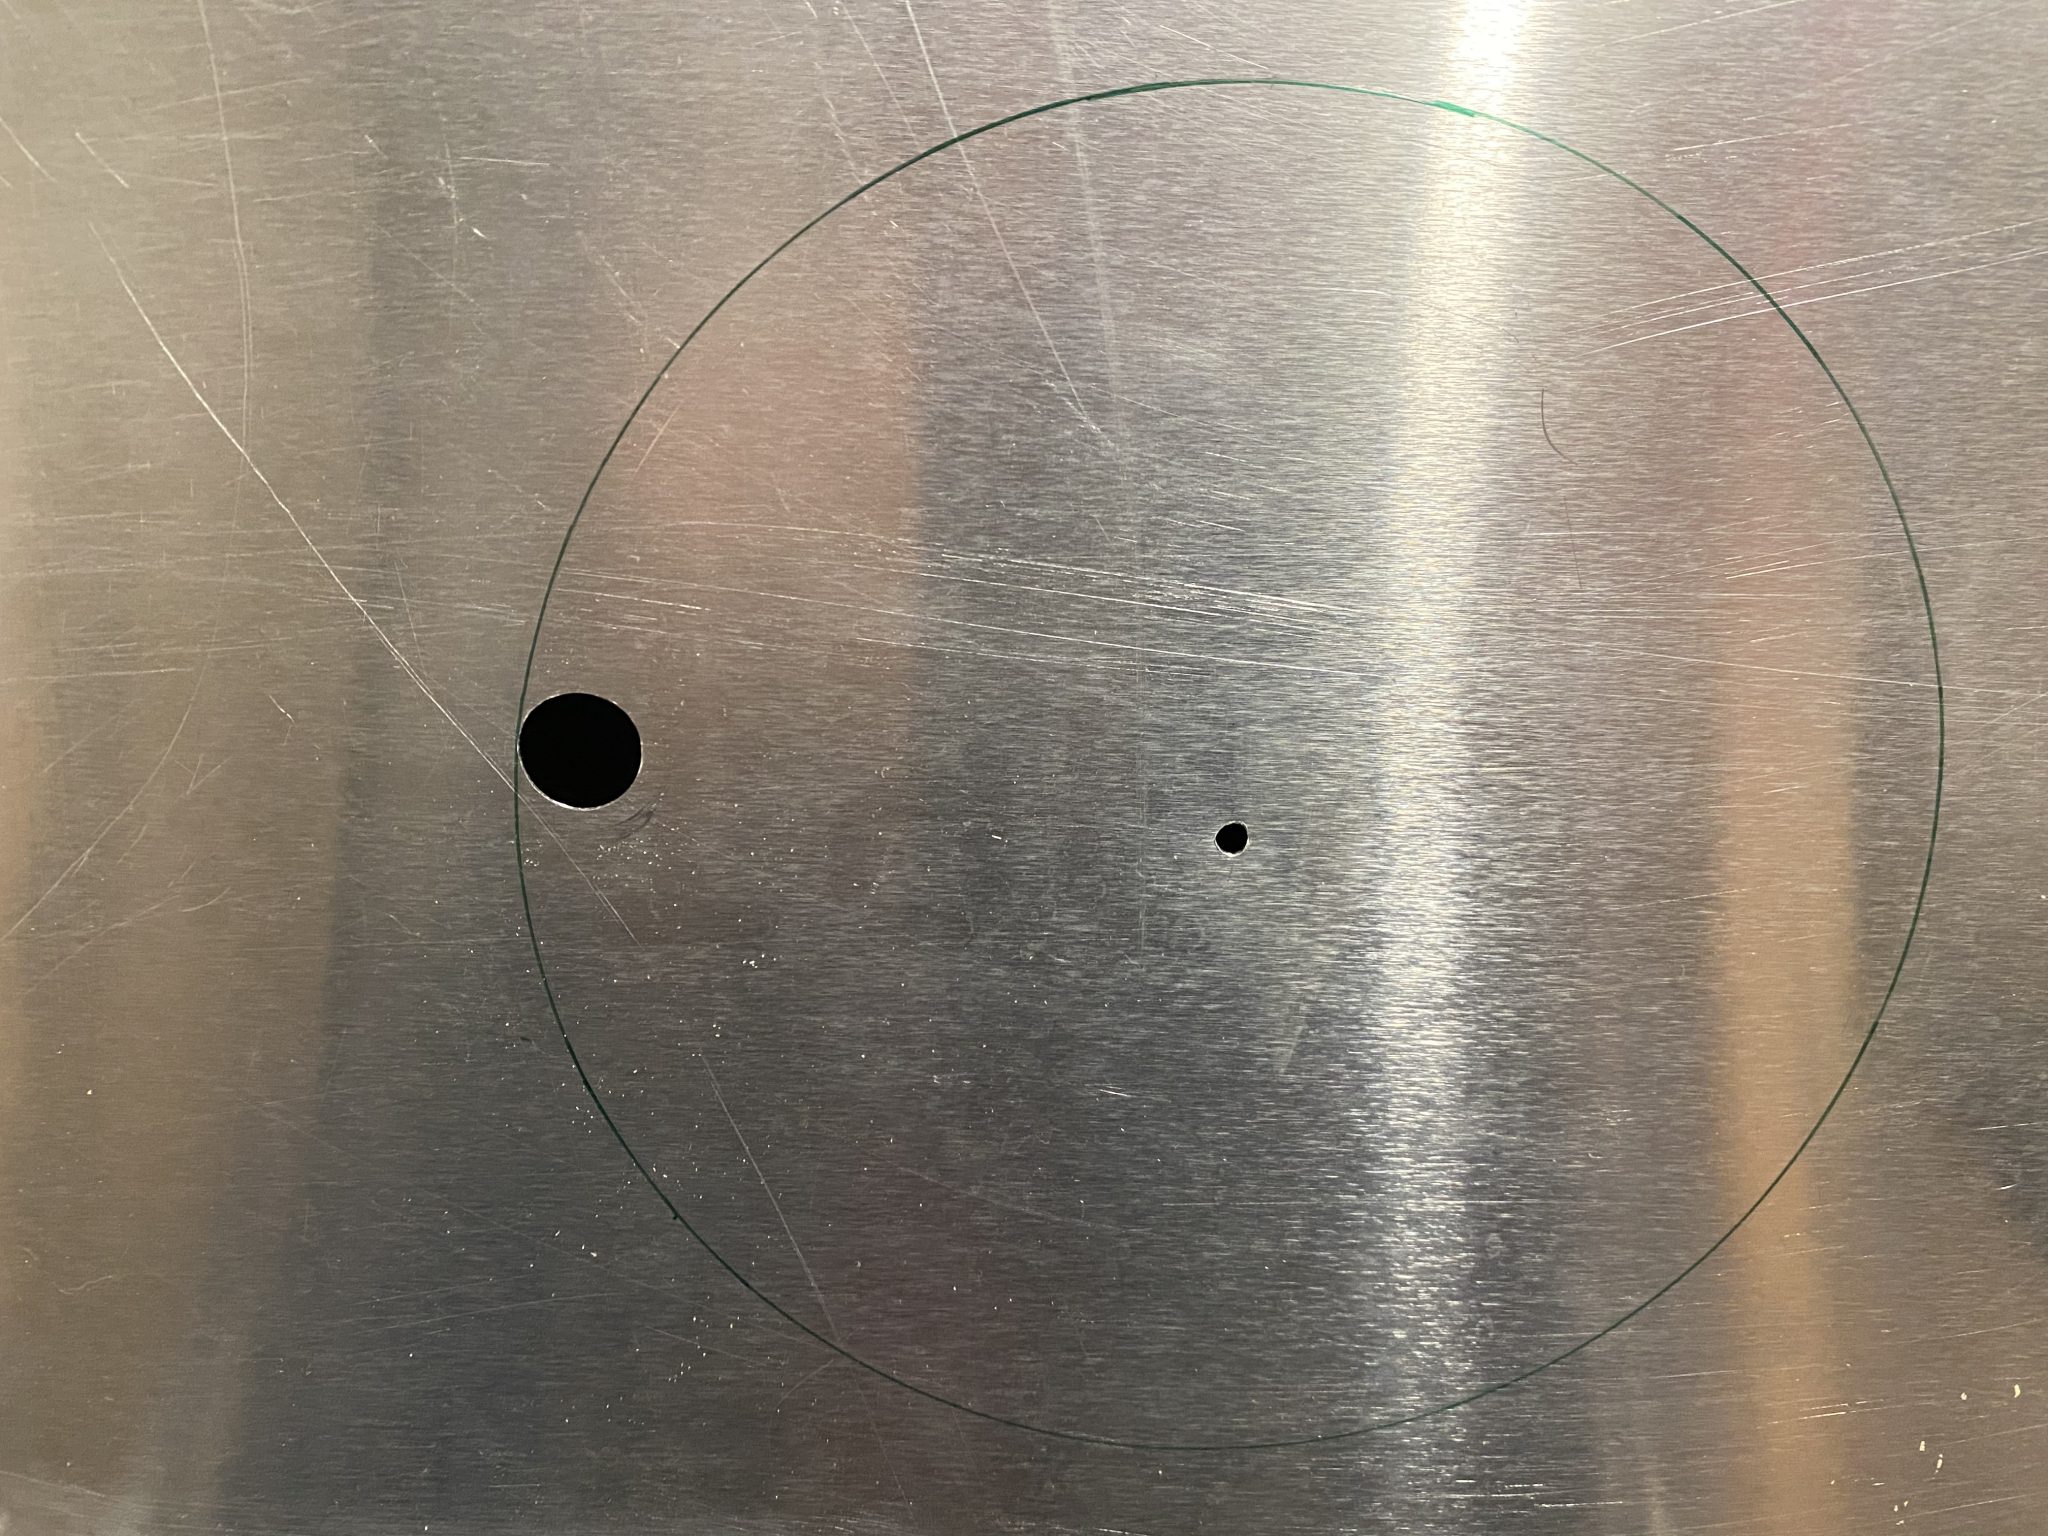
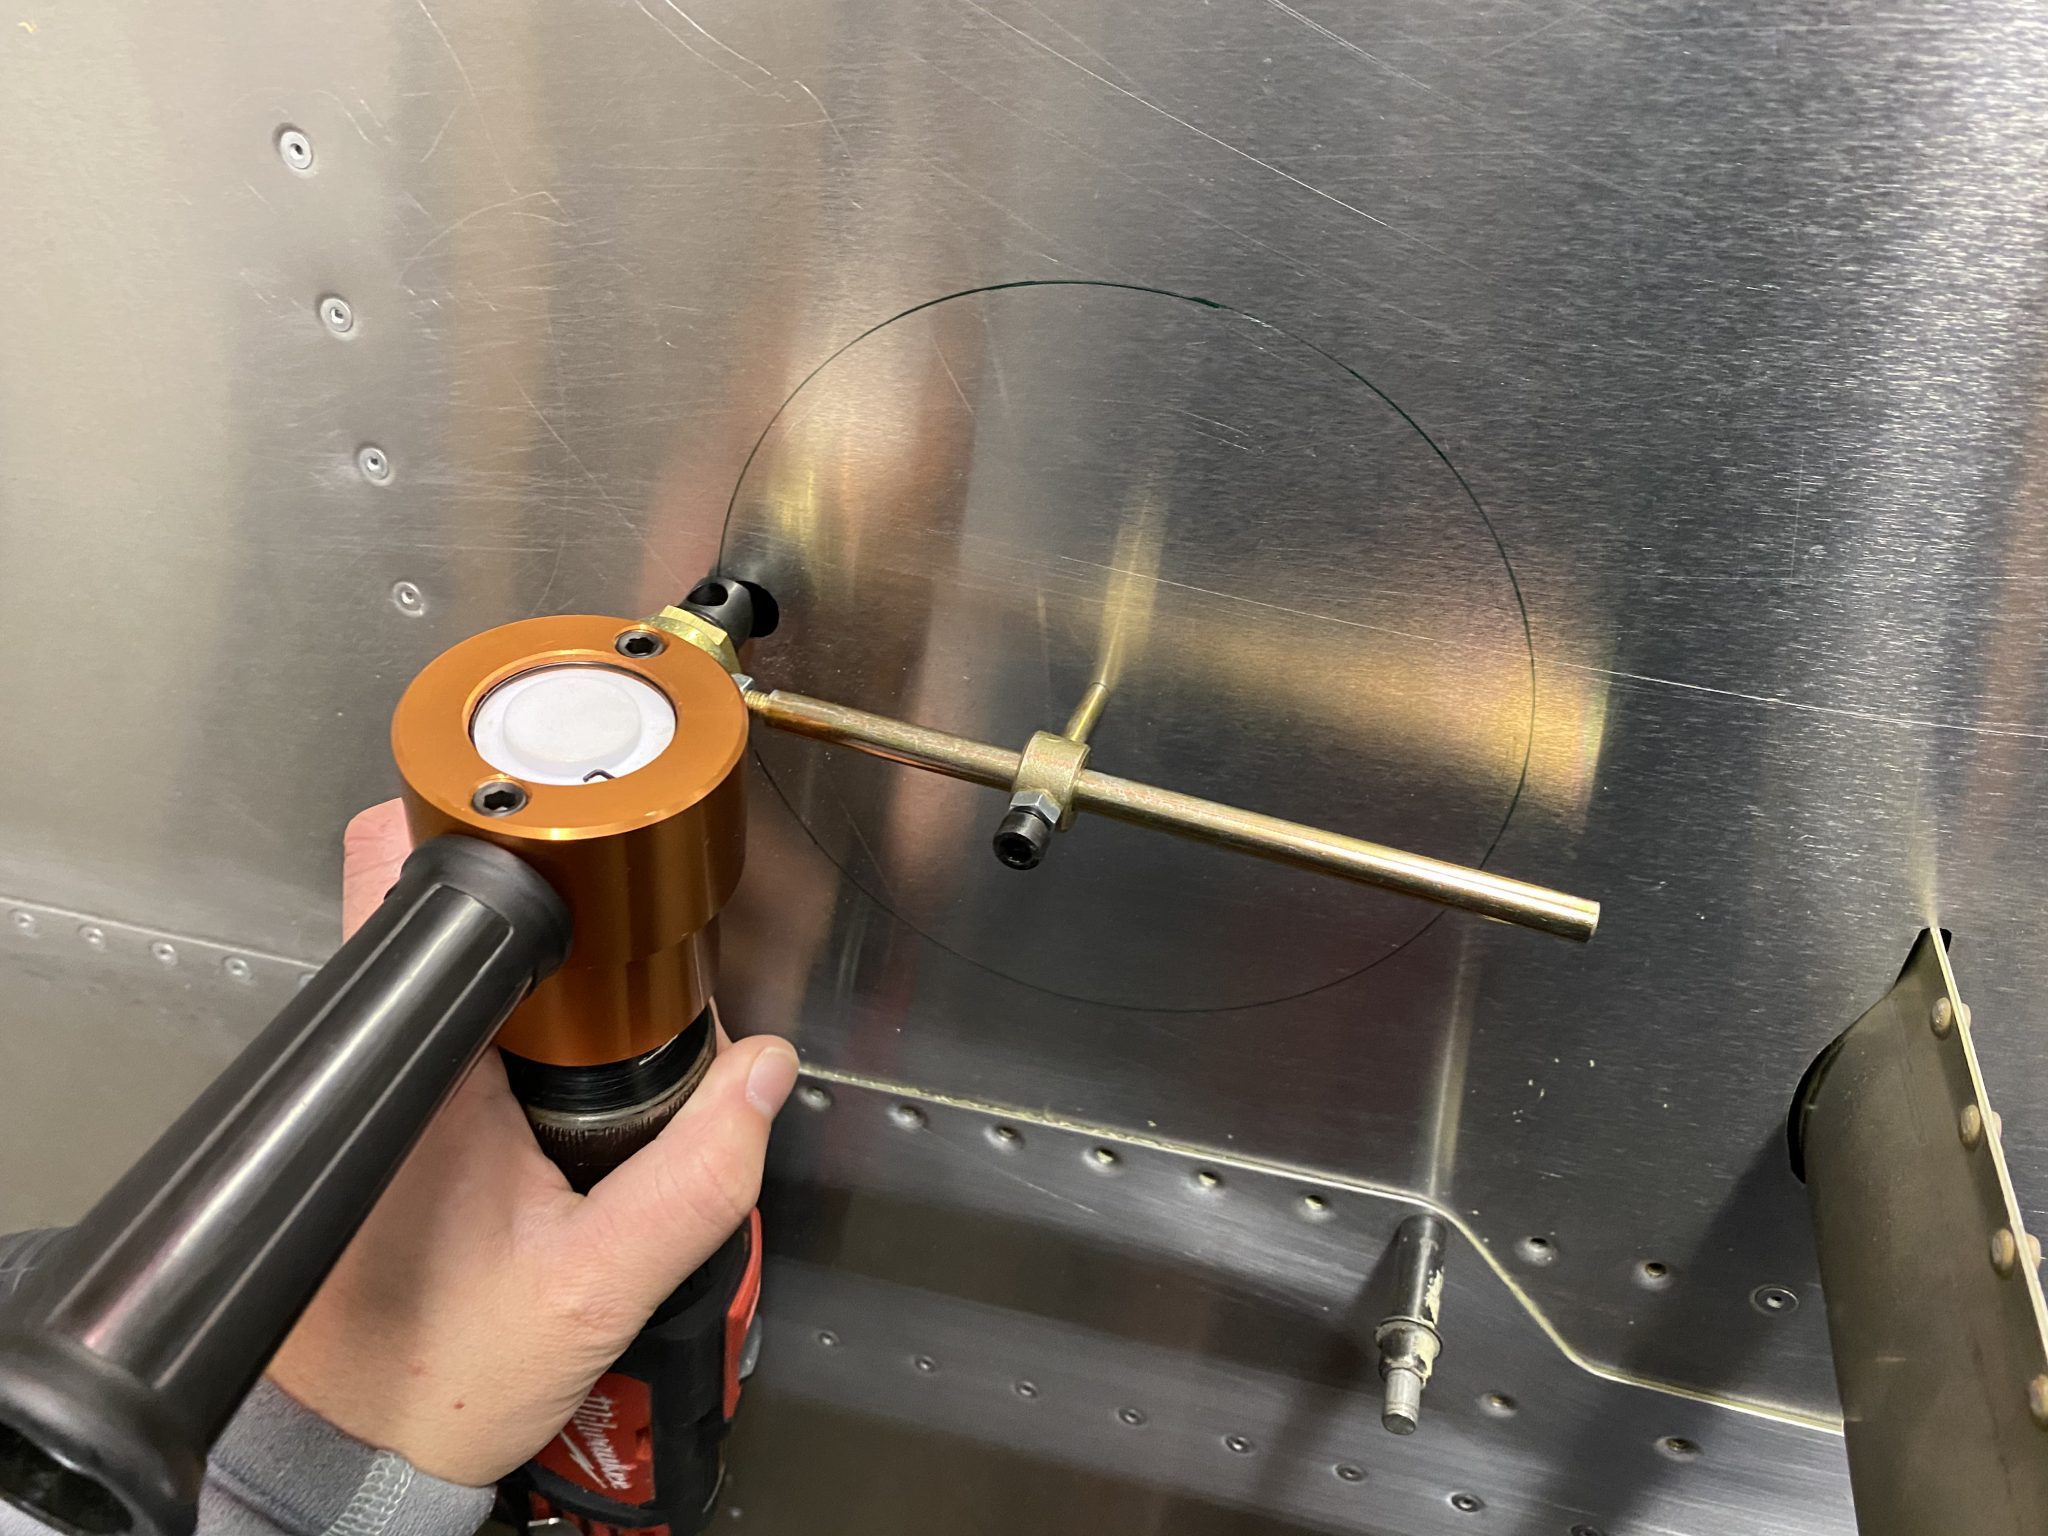
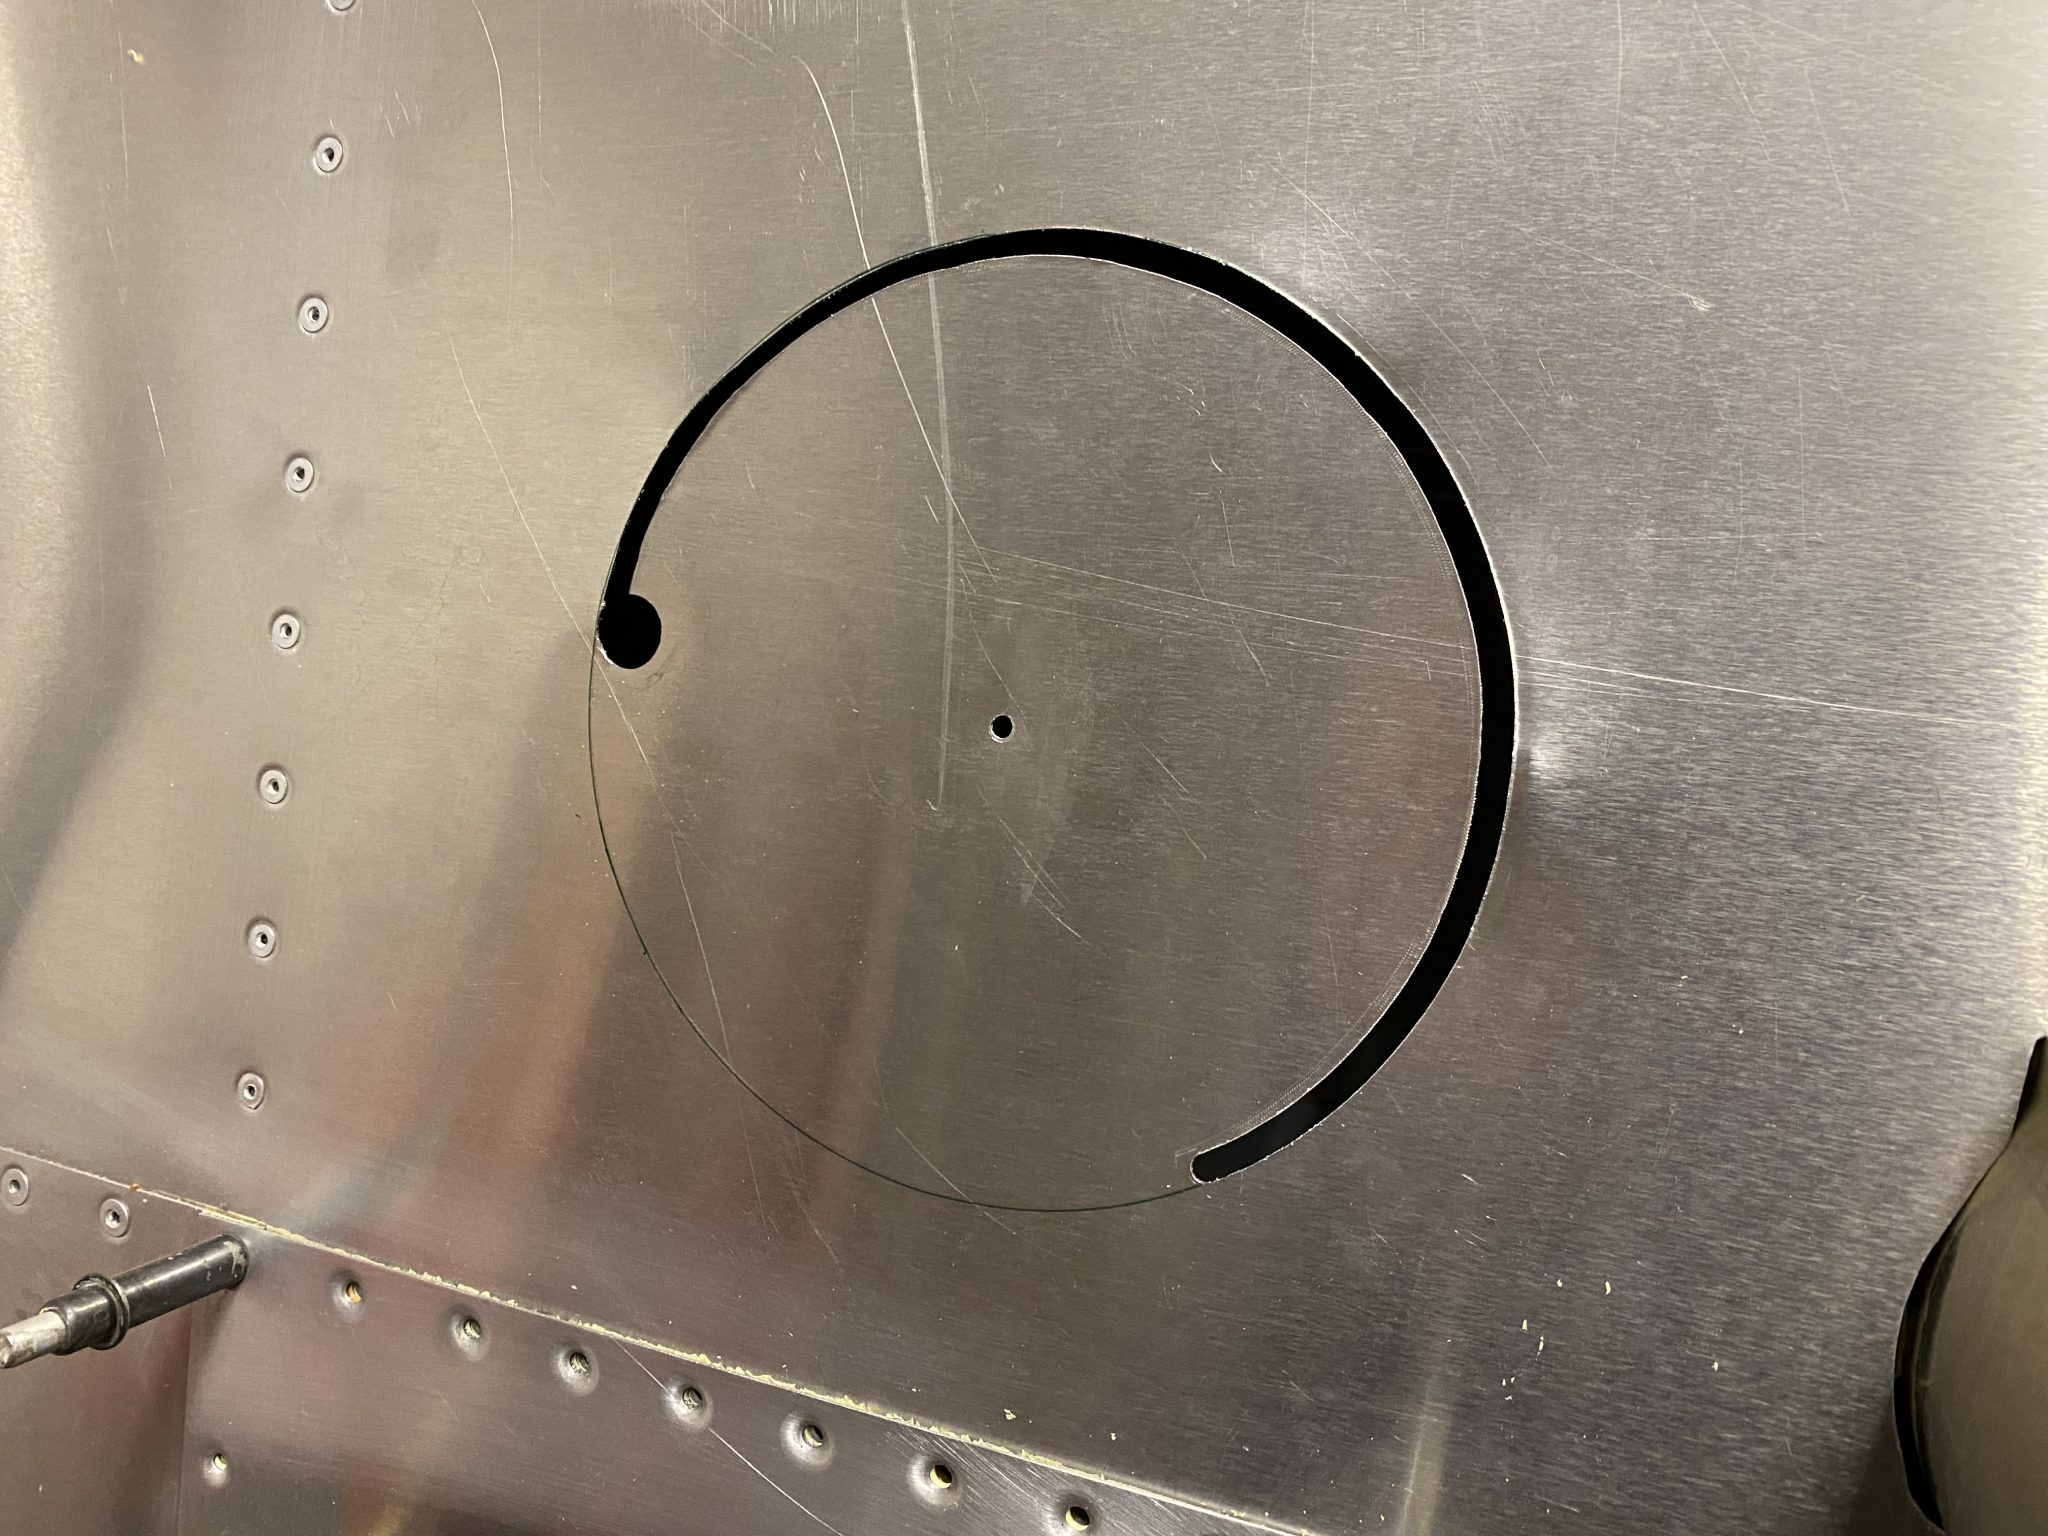
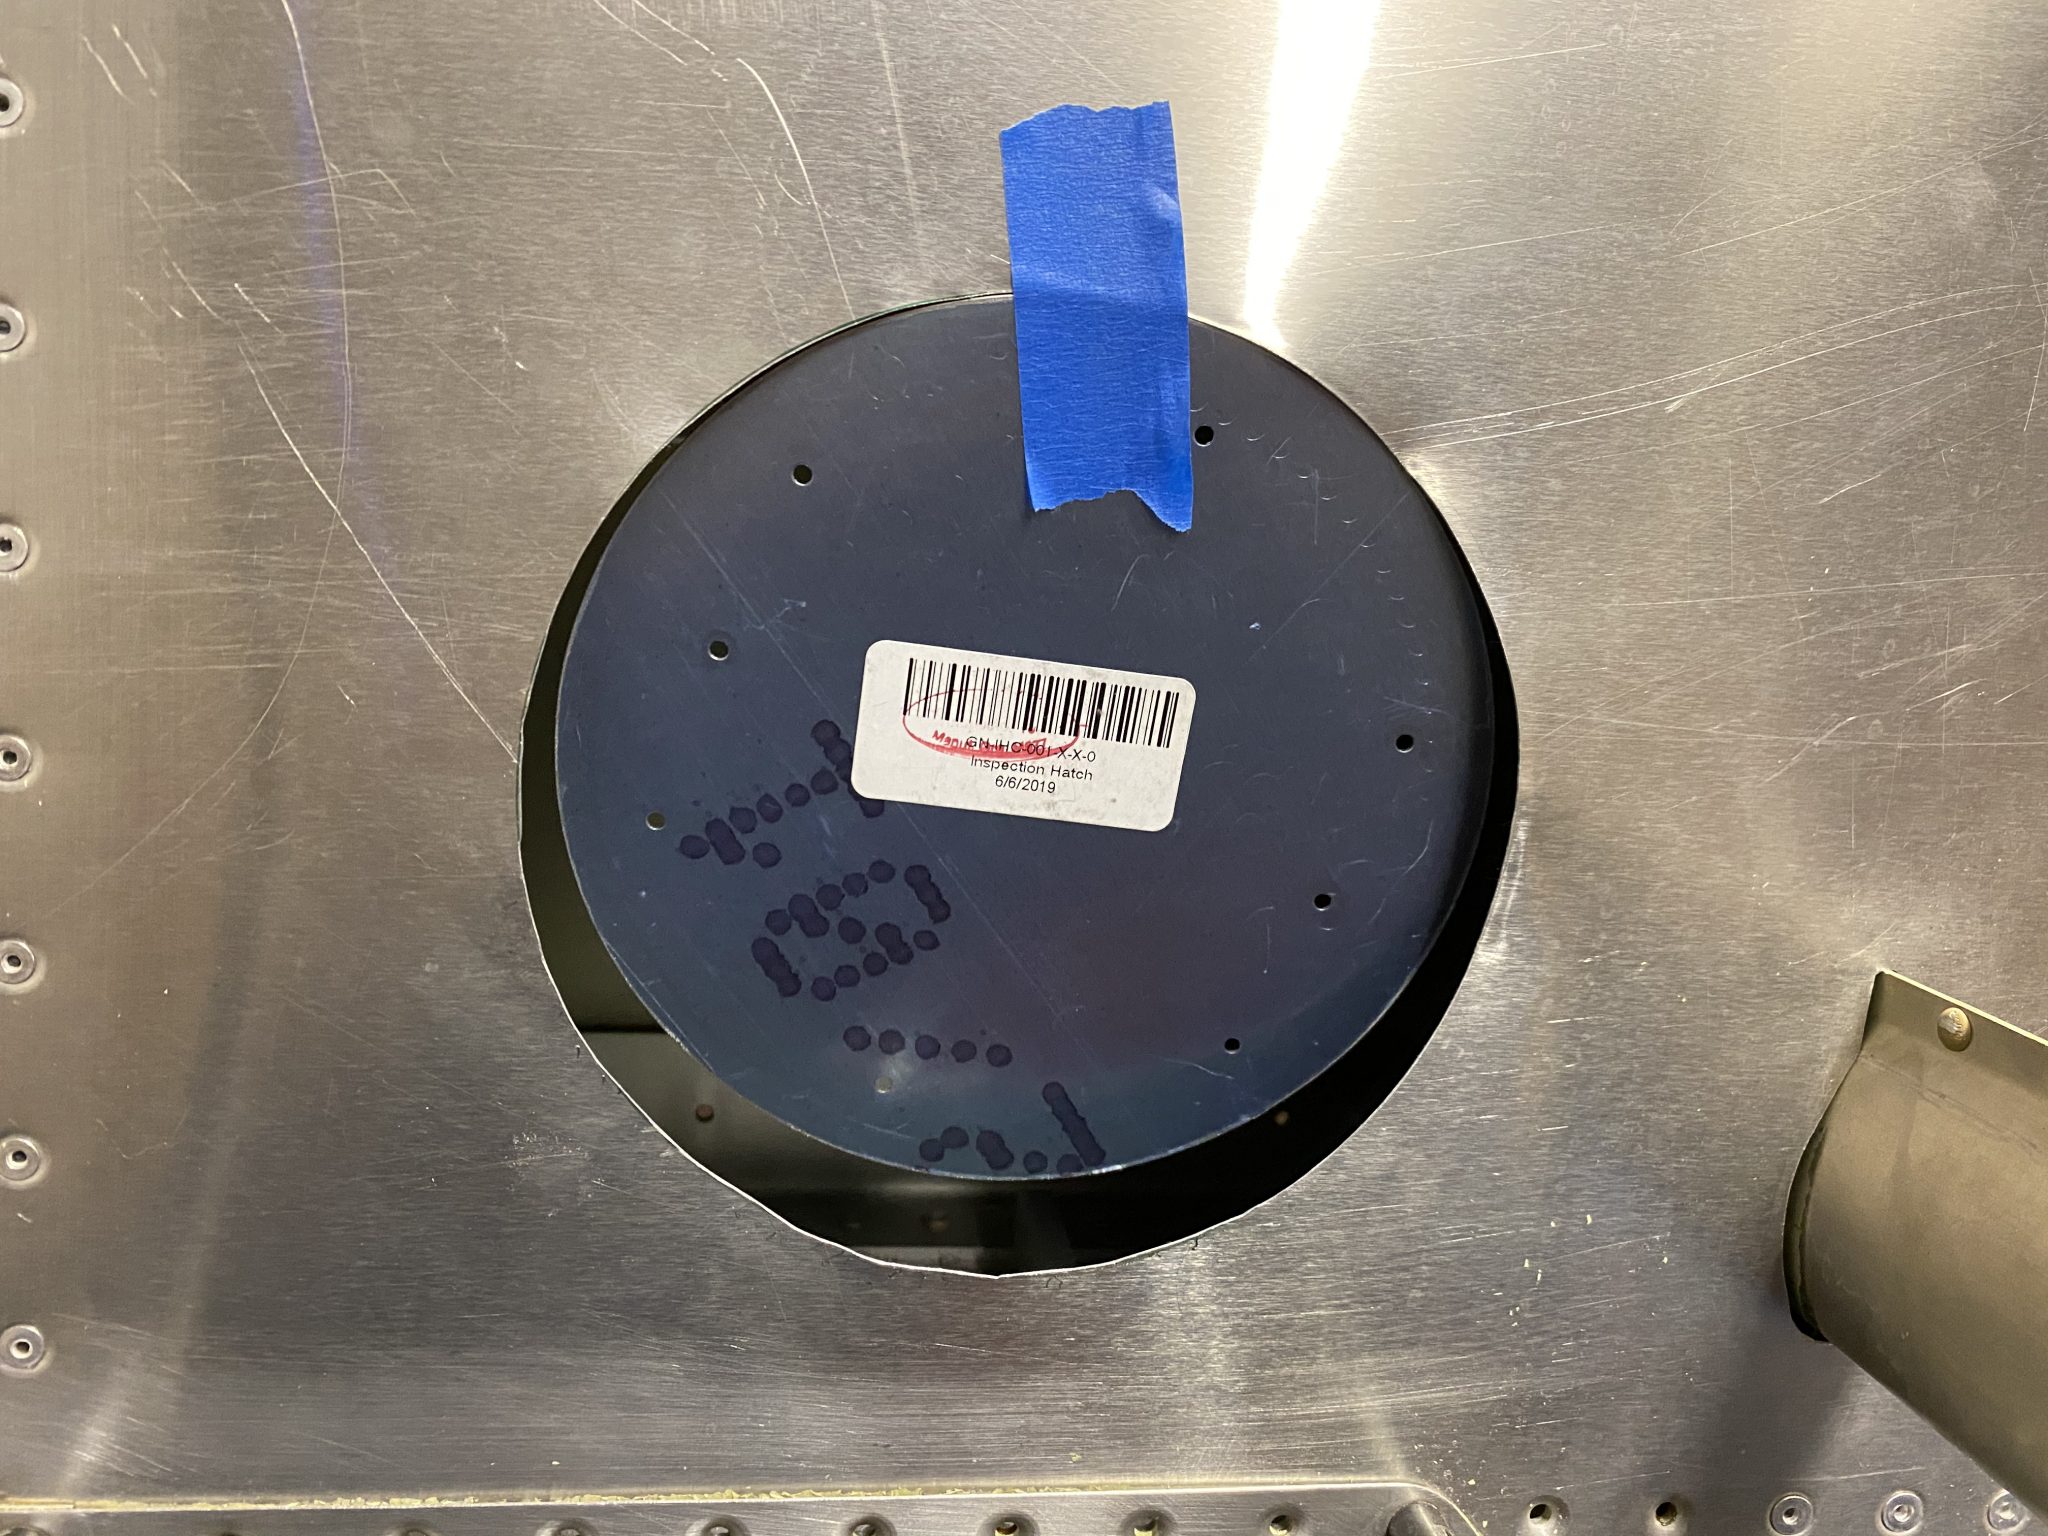
After cutting the hole for the inspection panel a few days ago, I continued and ran the wires for the heating.

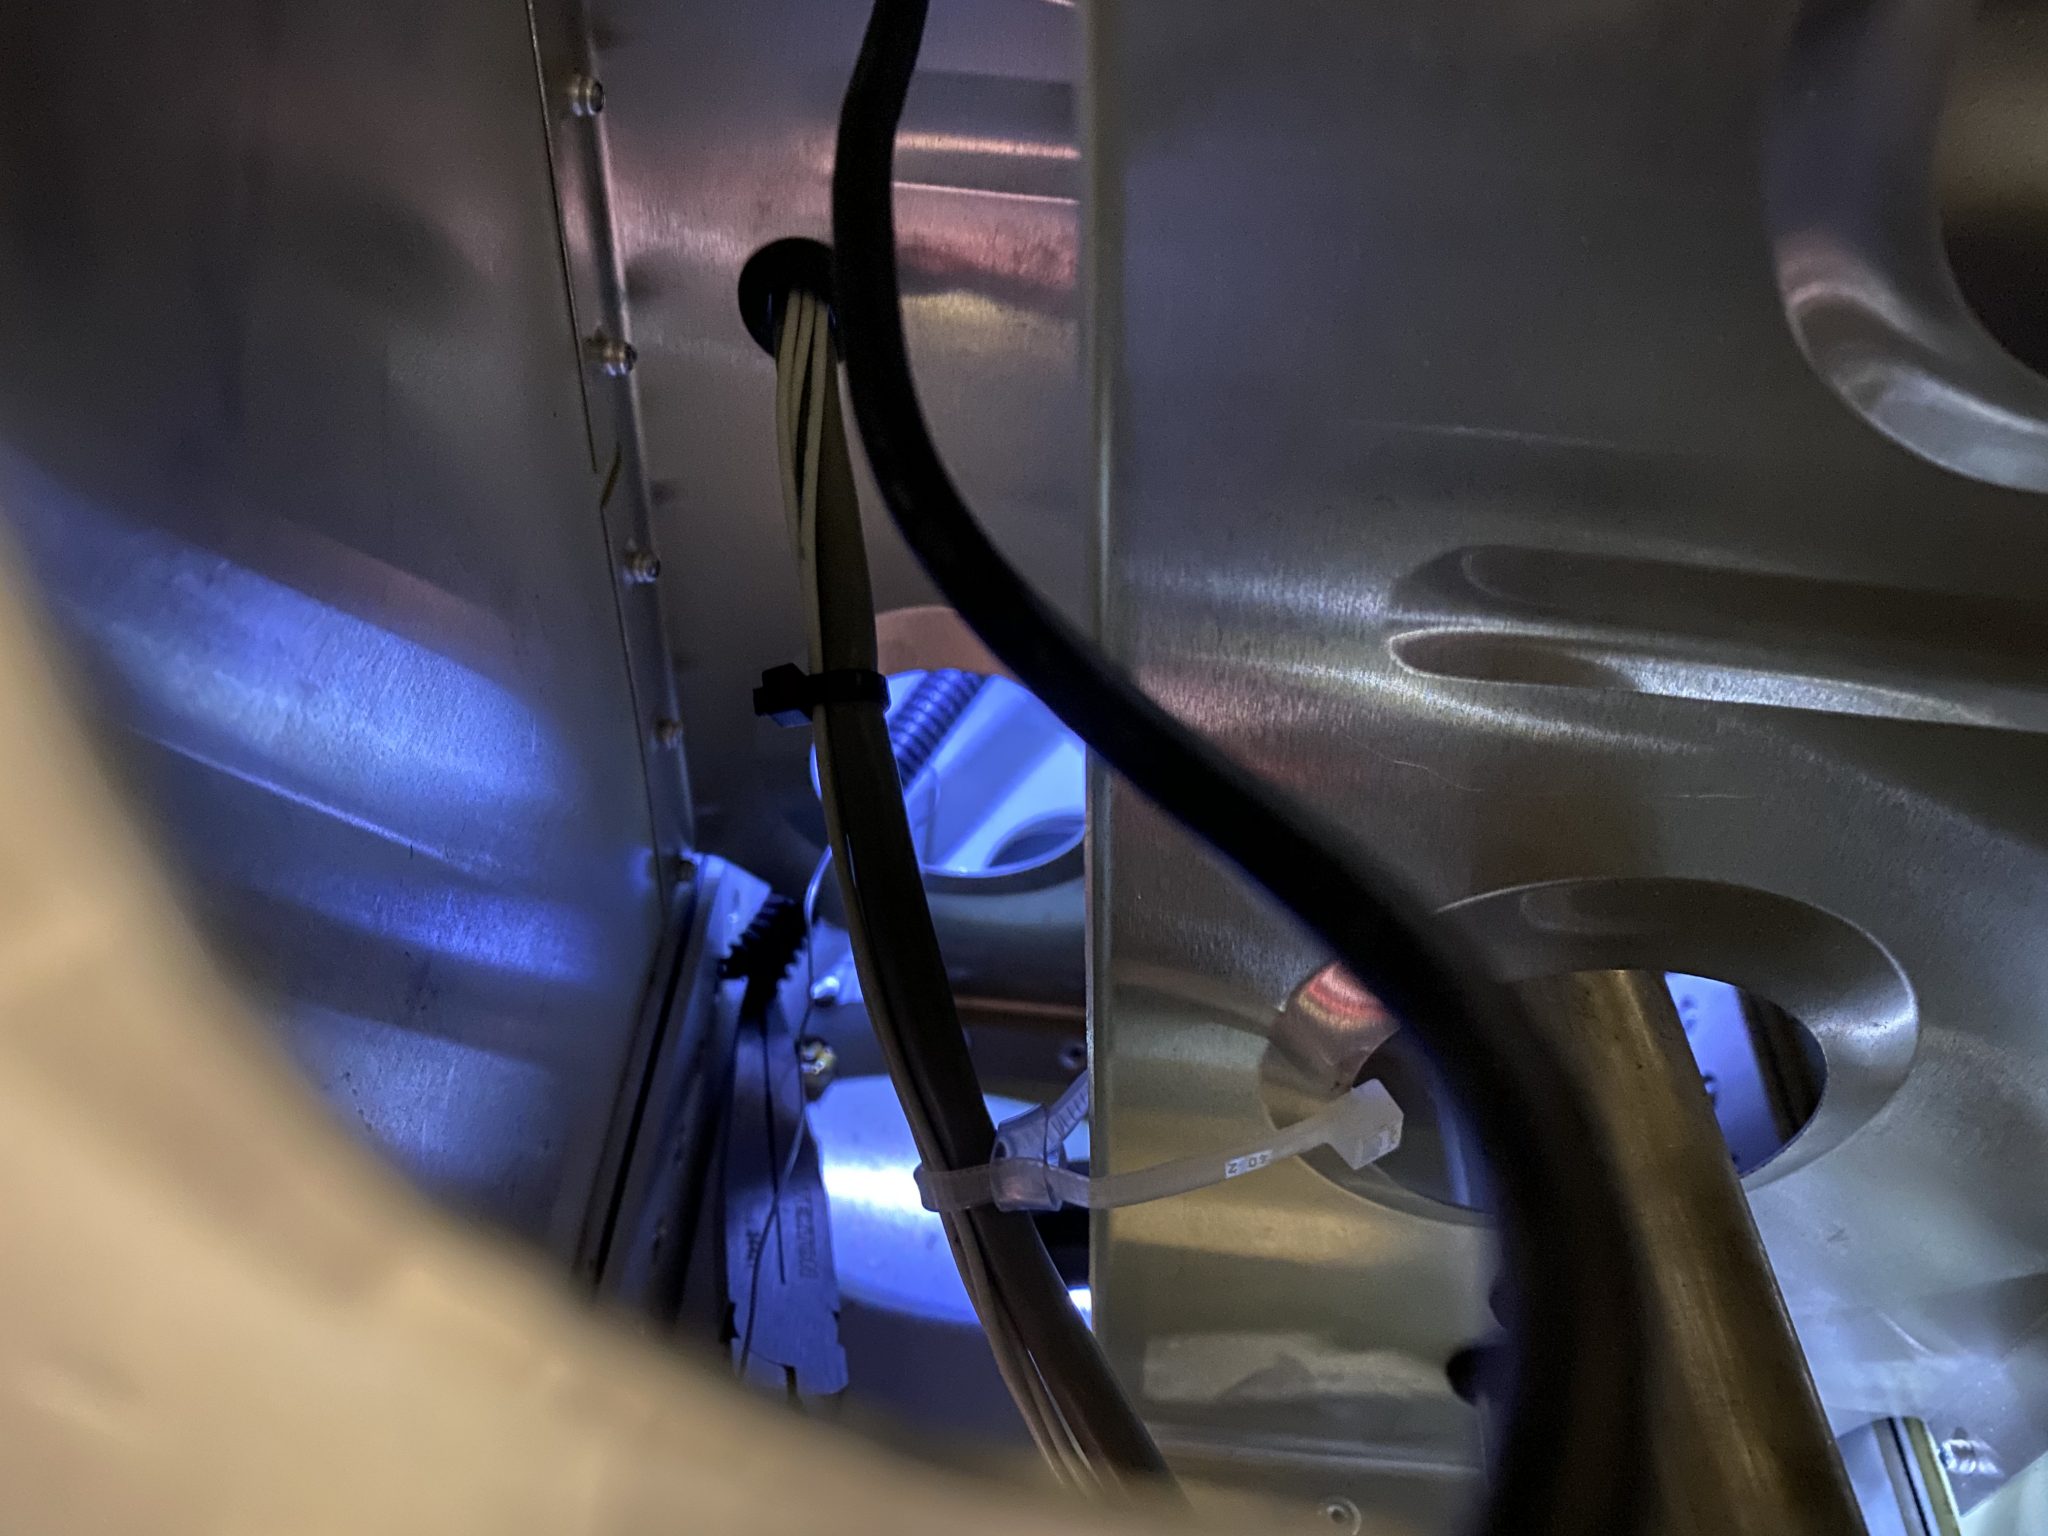
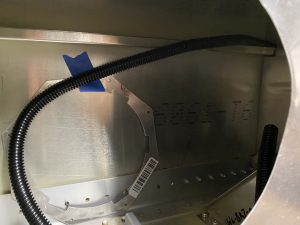
I figured out where I want to run the wires a while back after some tinkering and I am using one of the strut channels for the length of the wing, except the very end at the wing-walk where I had to make one curve down the bottom.

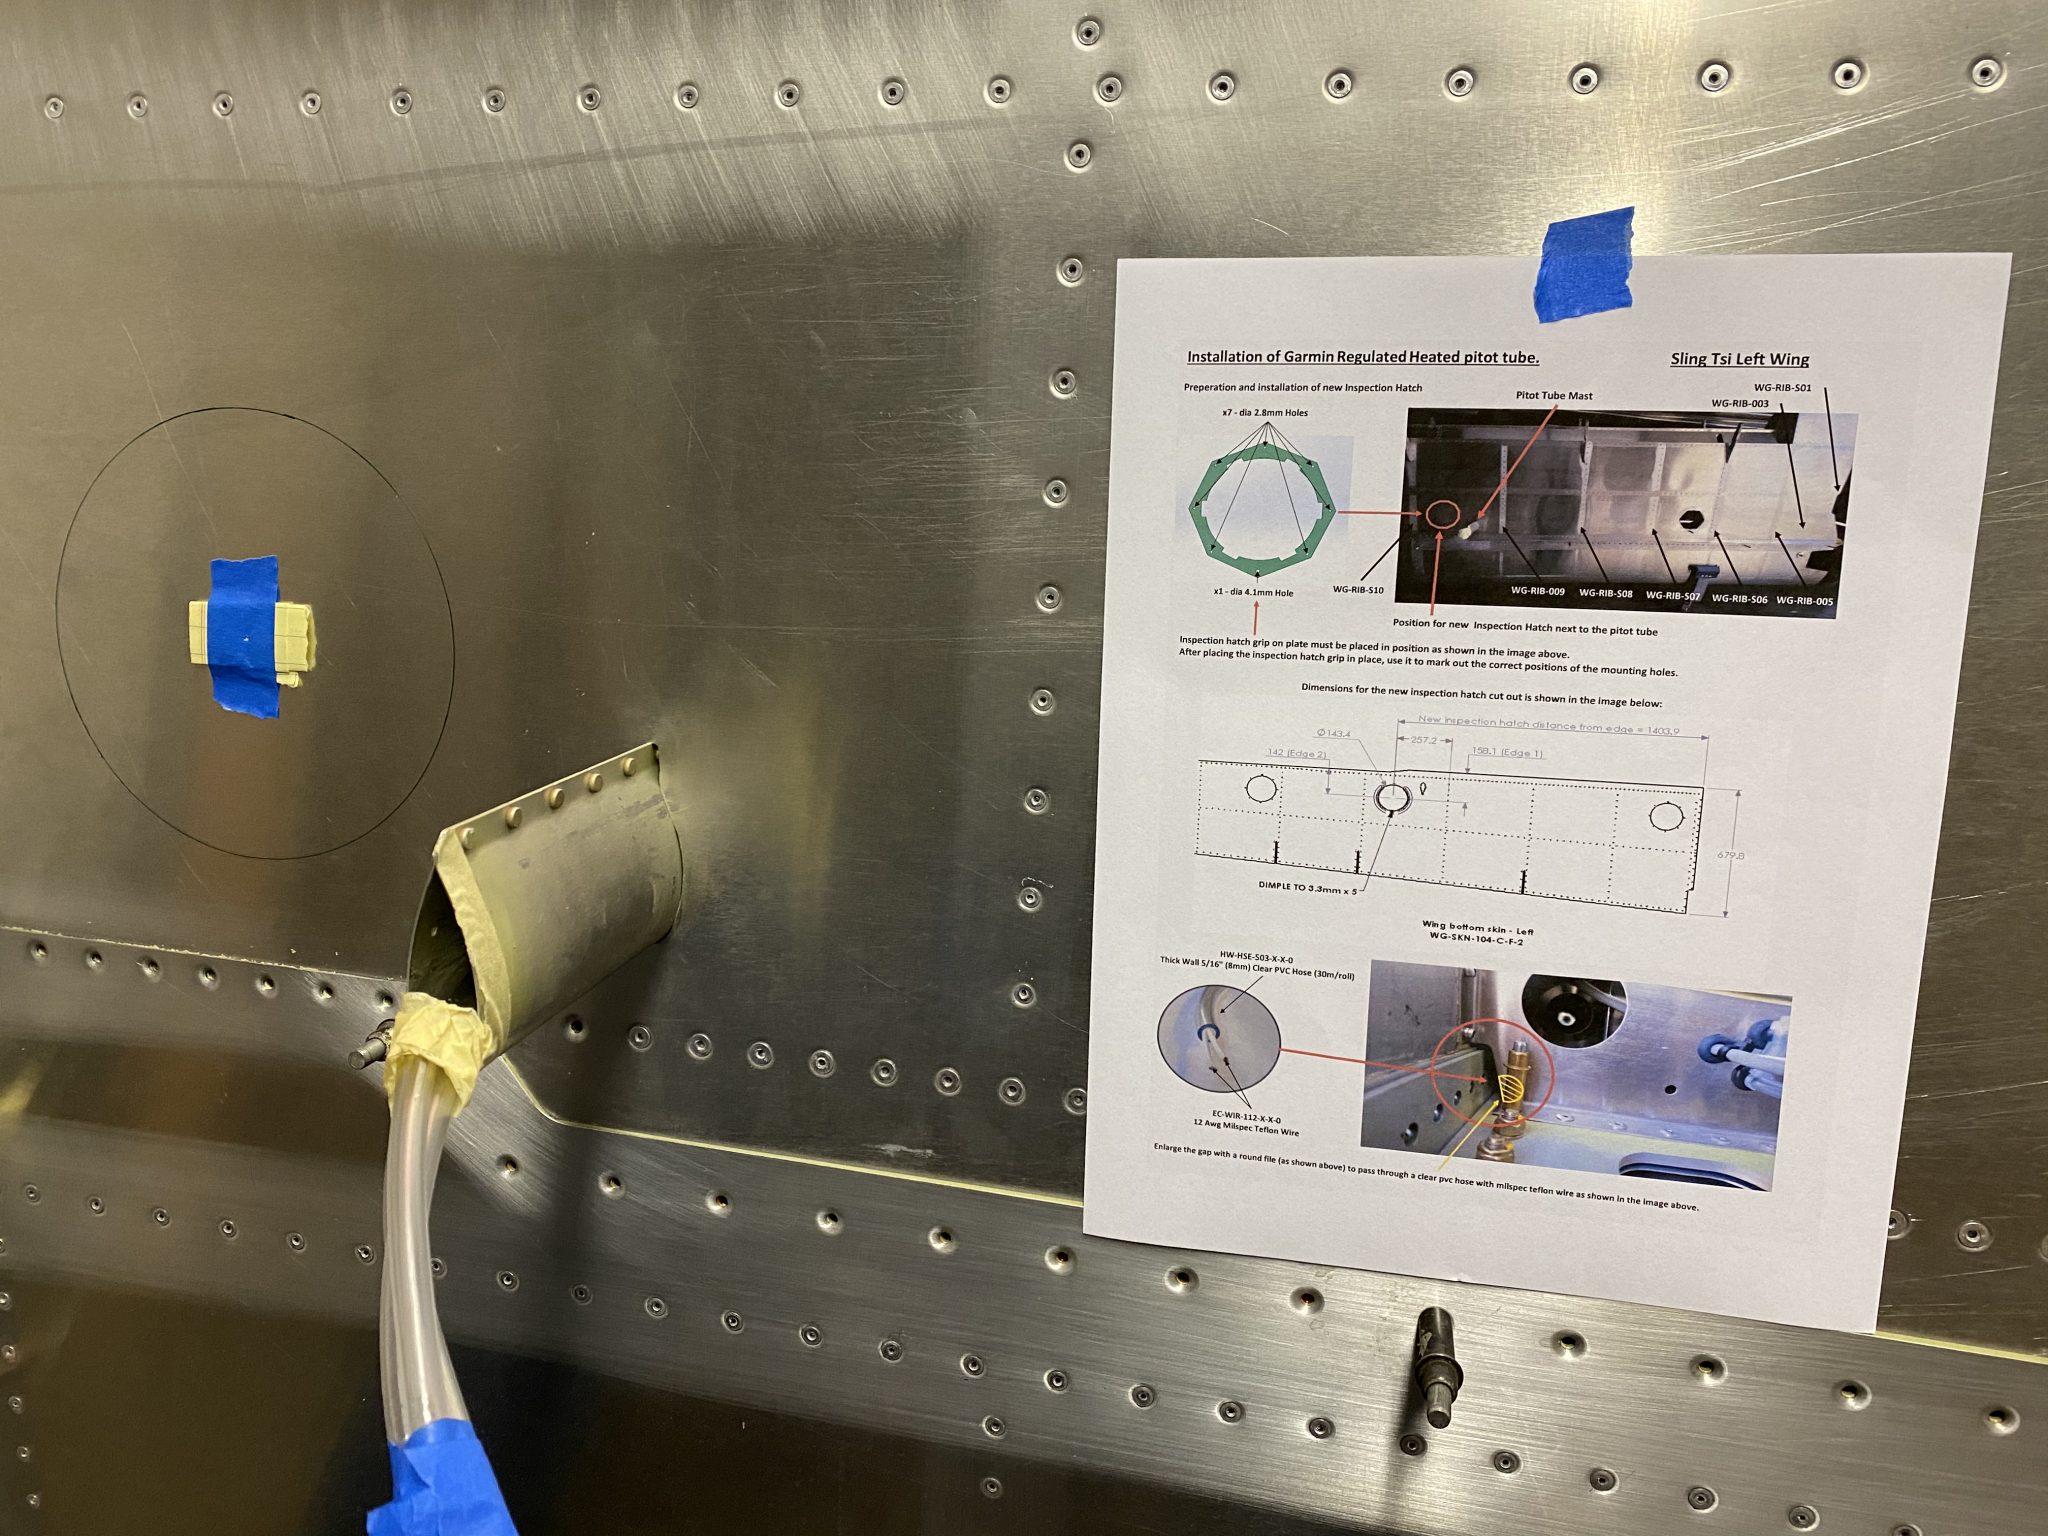
After some trial and error, I found that 3/8 in size wire loom tubing fits perfectly in the channel and with the help of my Wireless Endoscope connected to my phone I was able to finagle it through the wing with some mild scrapes on my arms.

Starting to run the wire loom  Wire loom at the new Pitot Inspection hole Fishing for the loom (very bottom with the pliers)

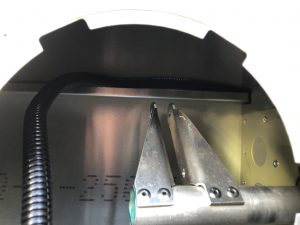
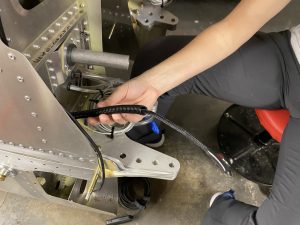
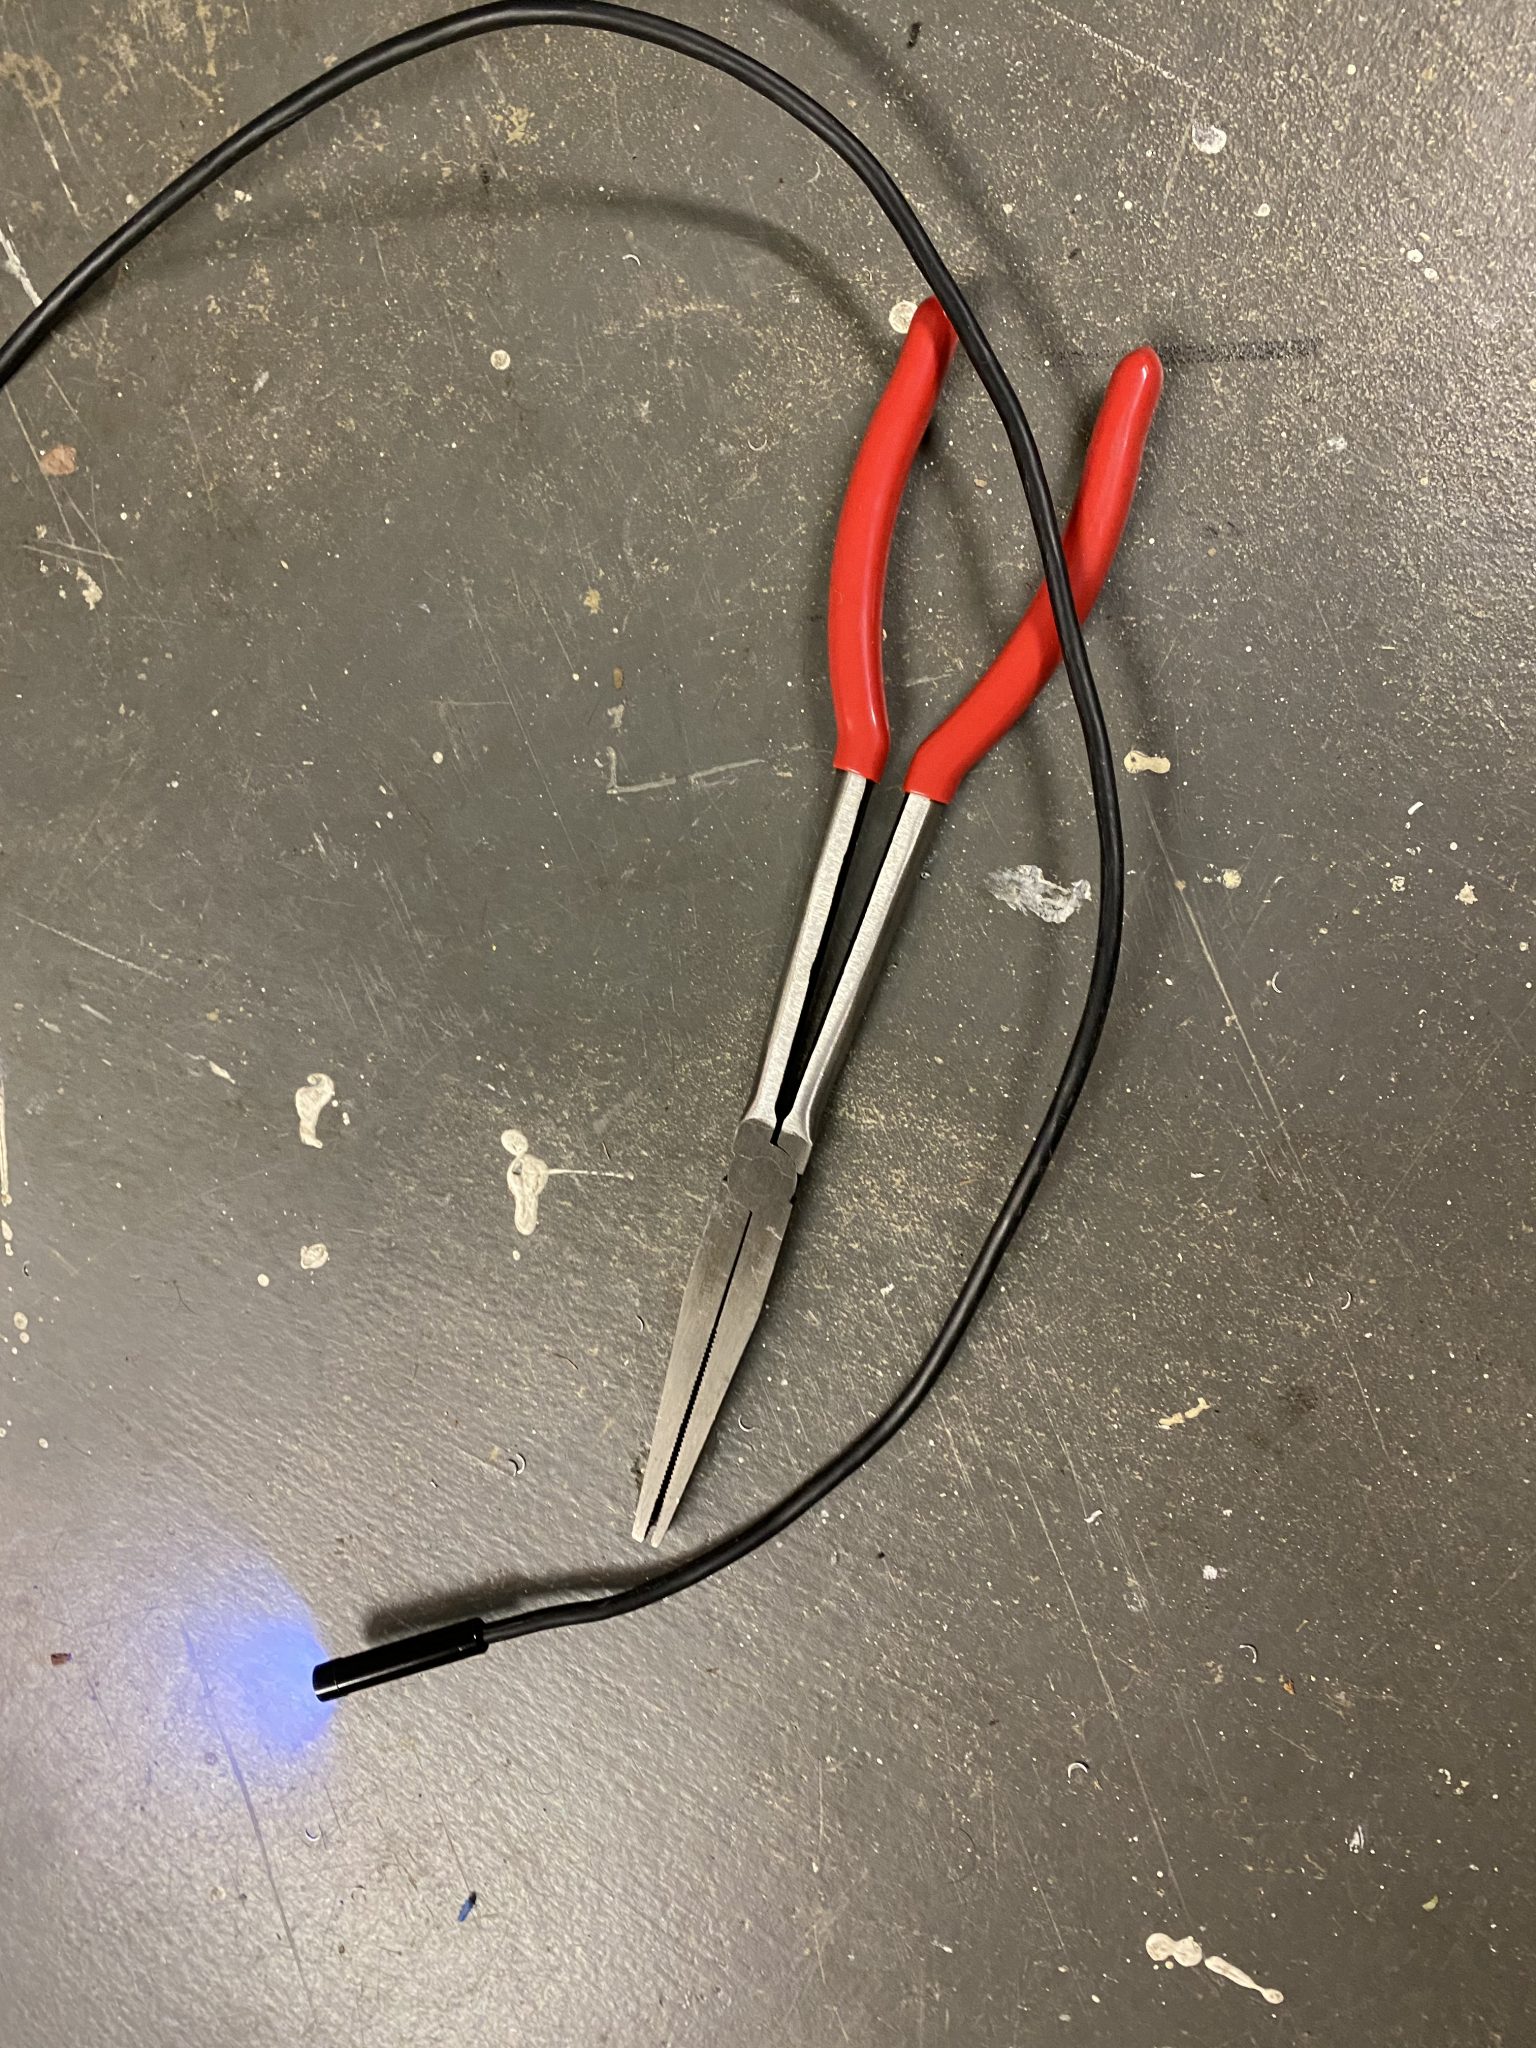
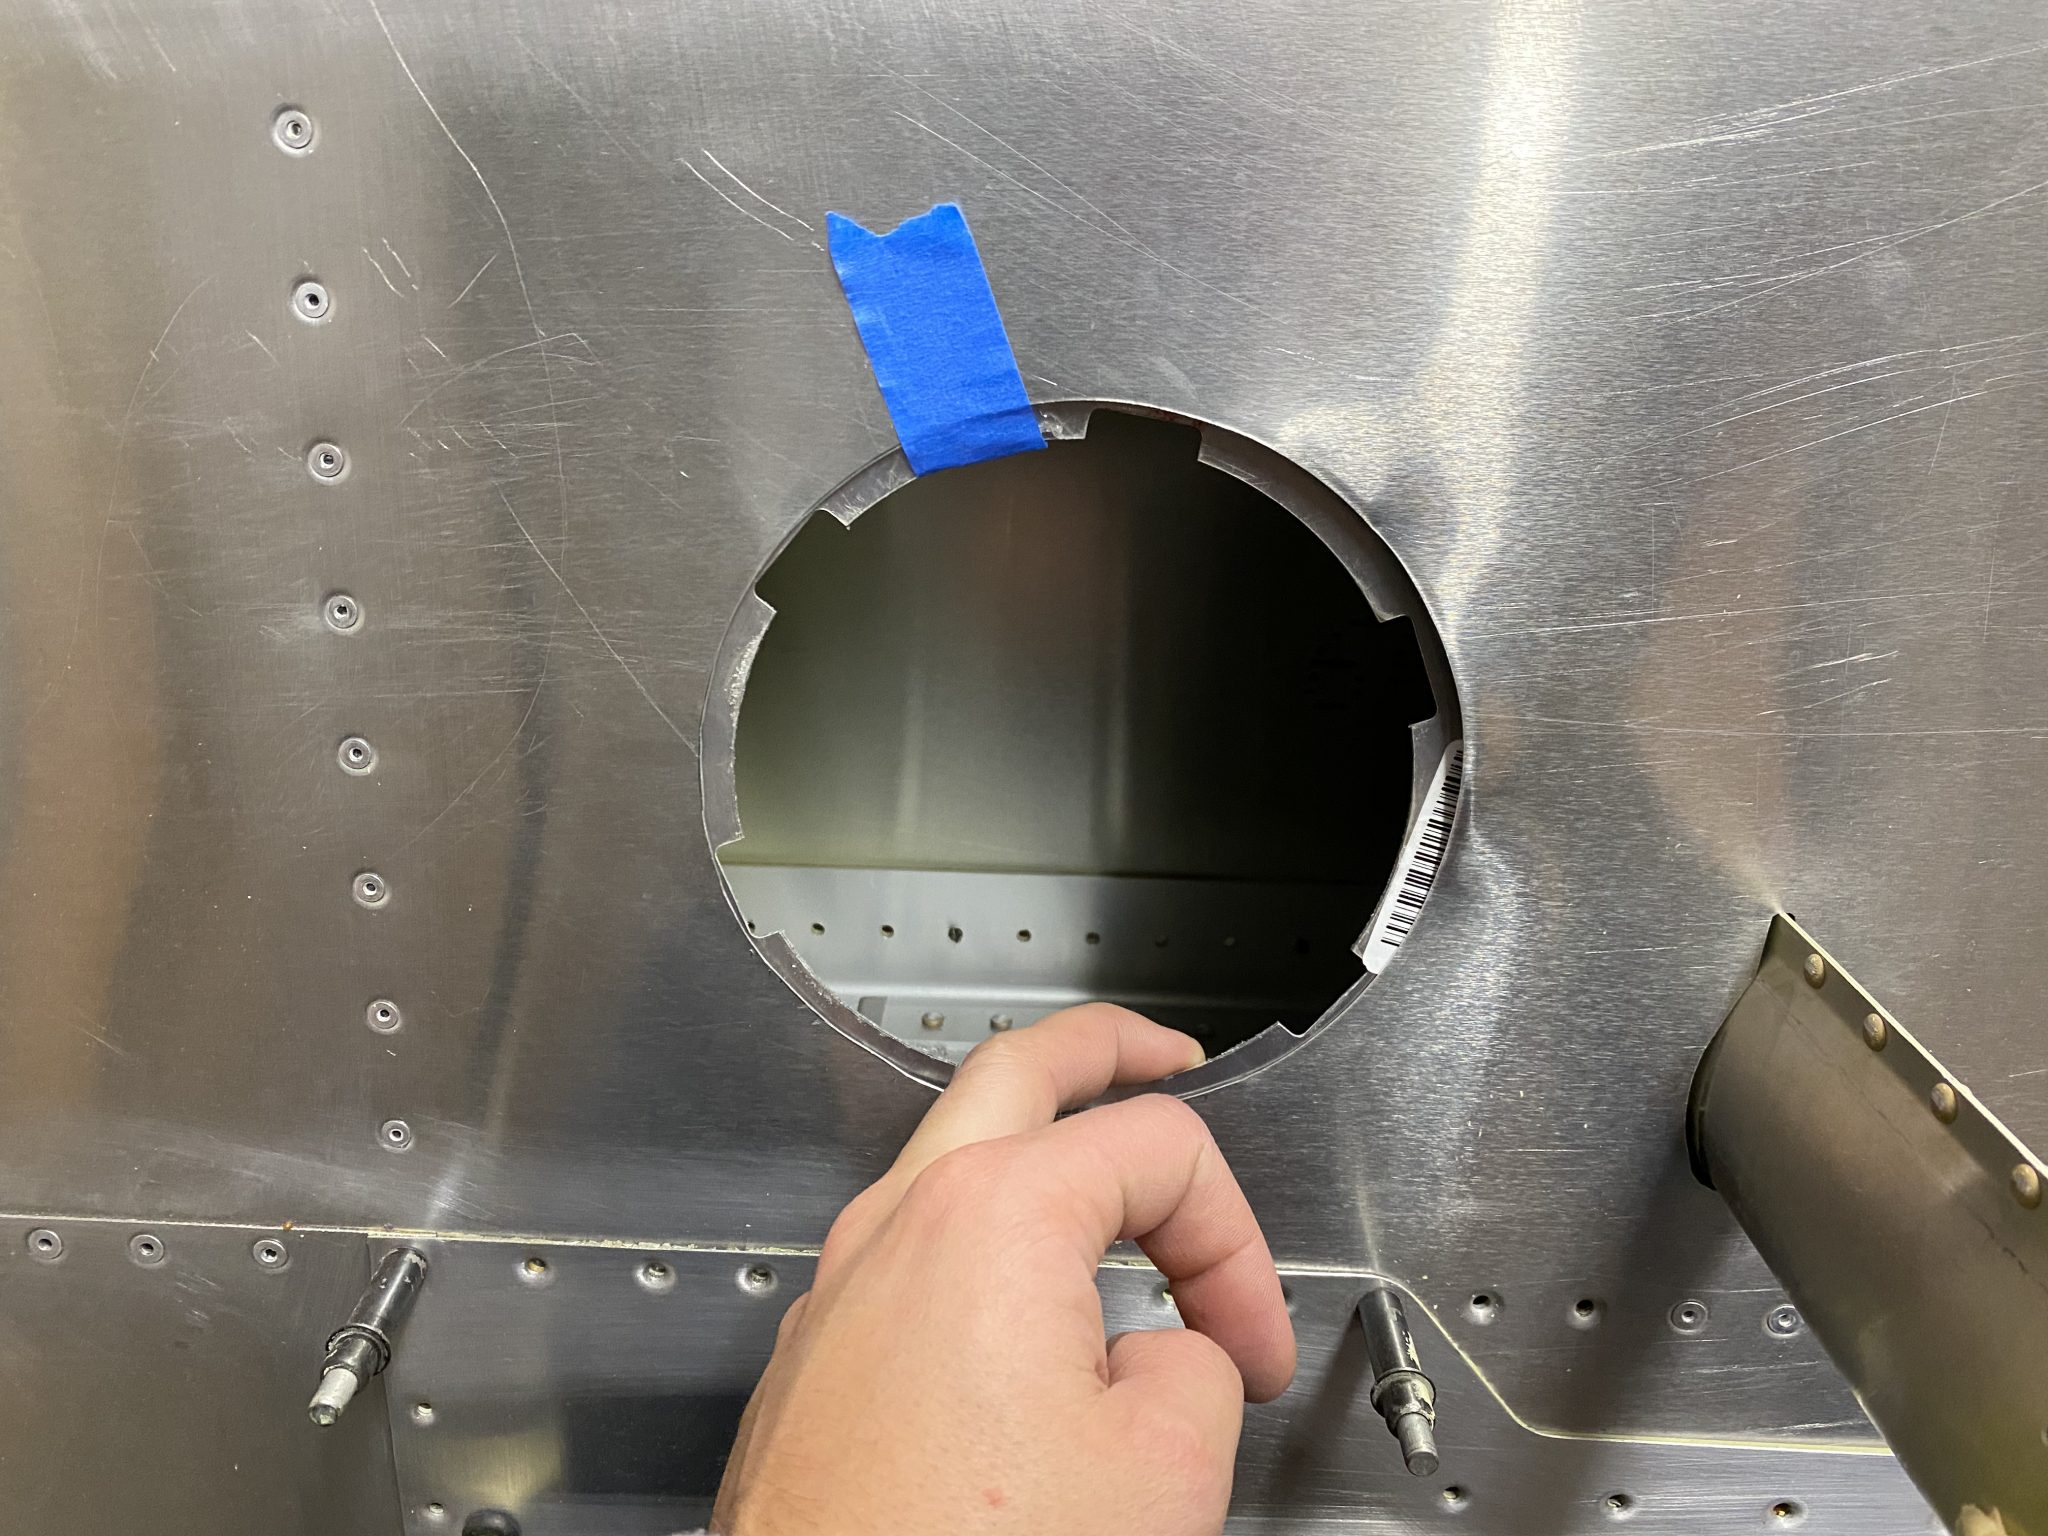
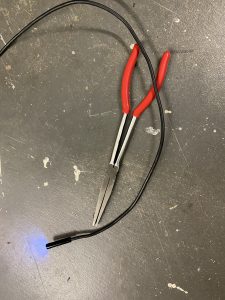
The hardest part was figuring out a good way to come out the bottom where the wing-walk is, since the strut channel doesn’t go through there. On the last picture above, you can see when I finally managed to grip on to where I want the loom to come out of with the help of some duckbill pliers, which were a suggestion from my EAA chapters Technical Counsellor when he visited a few months ago.
Duckbill pliers to the rescue

Running the wire

With the question of where to run the wire solved, onto actually running the wires.

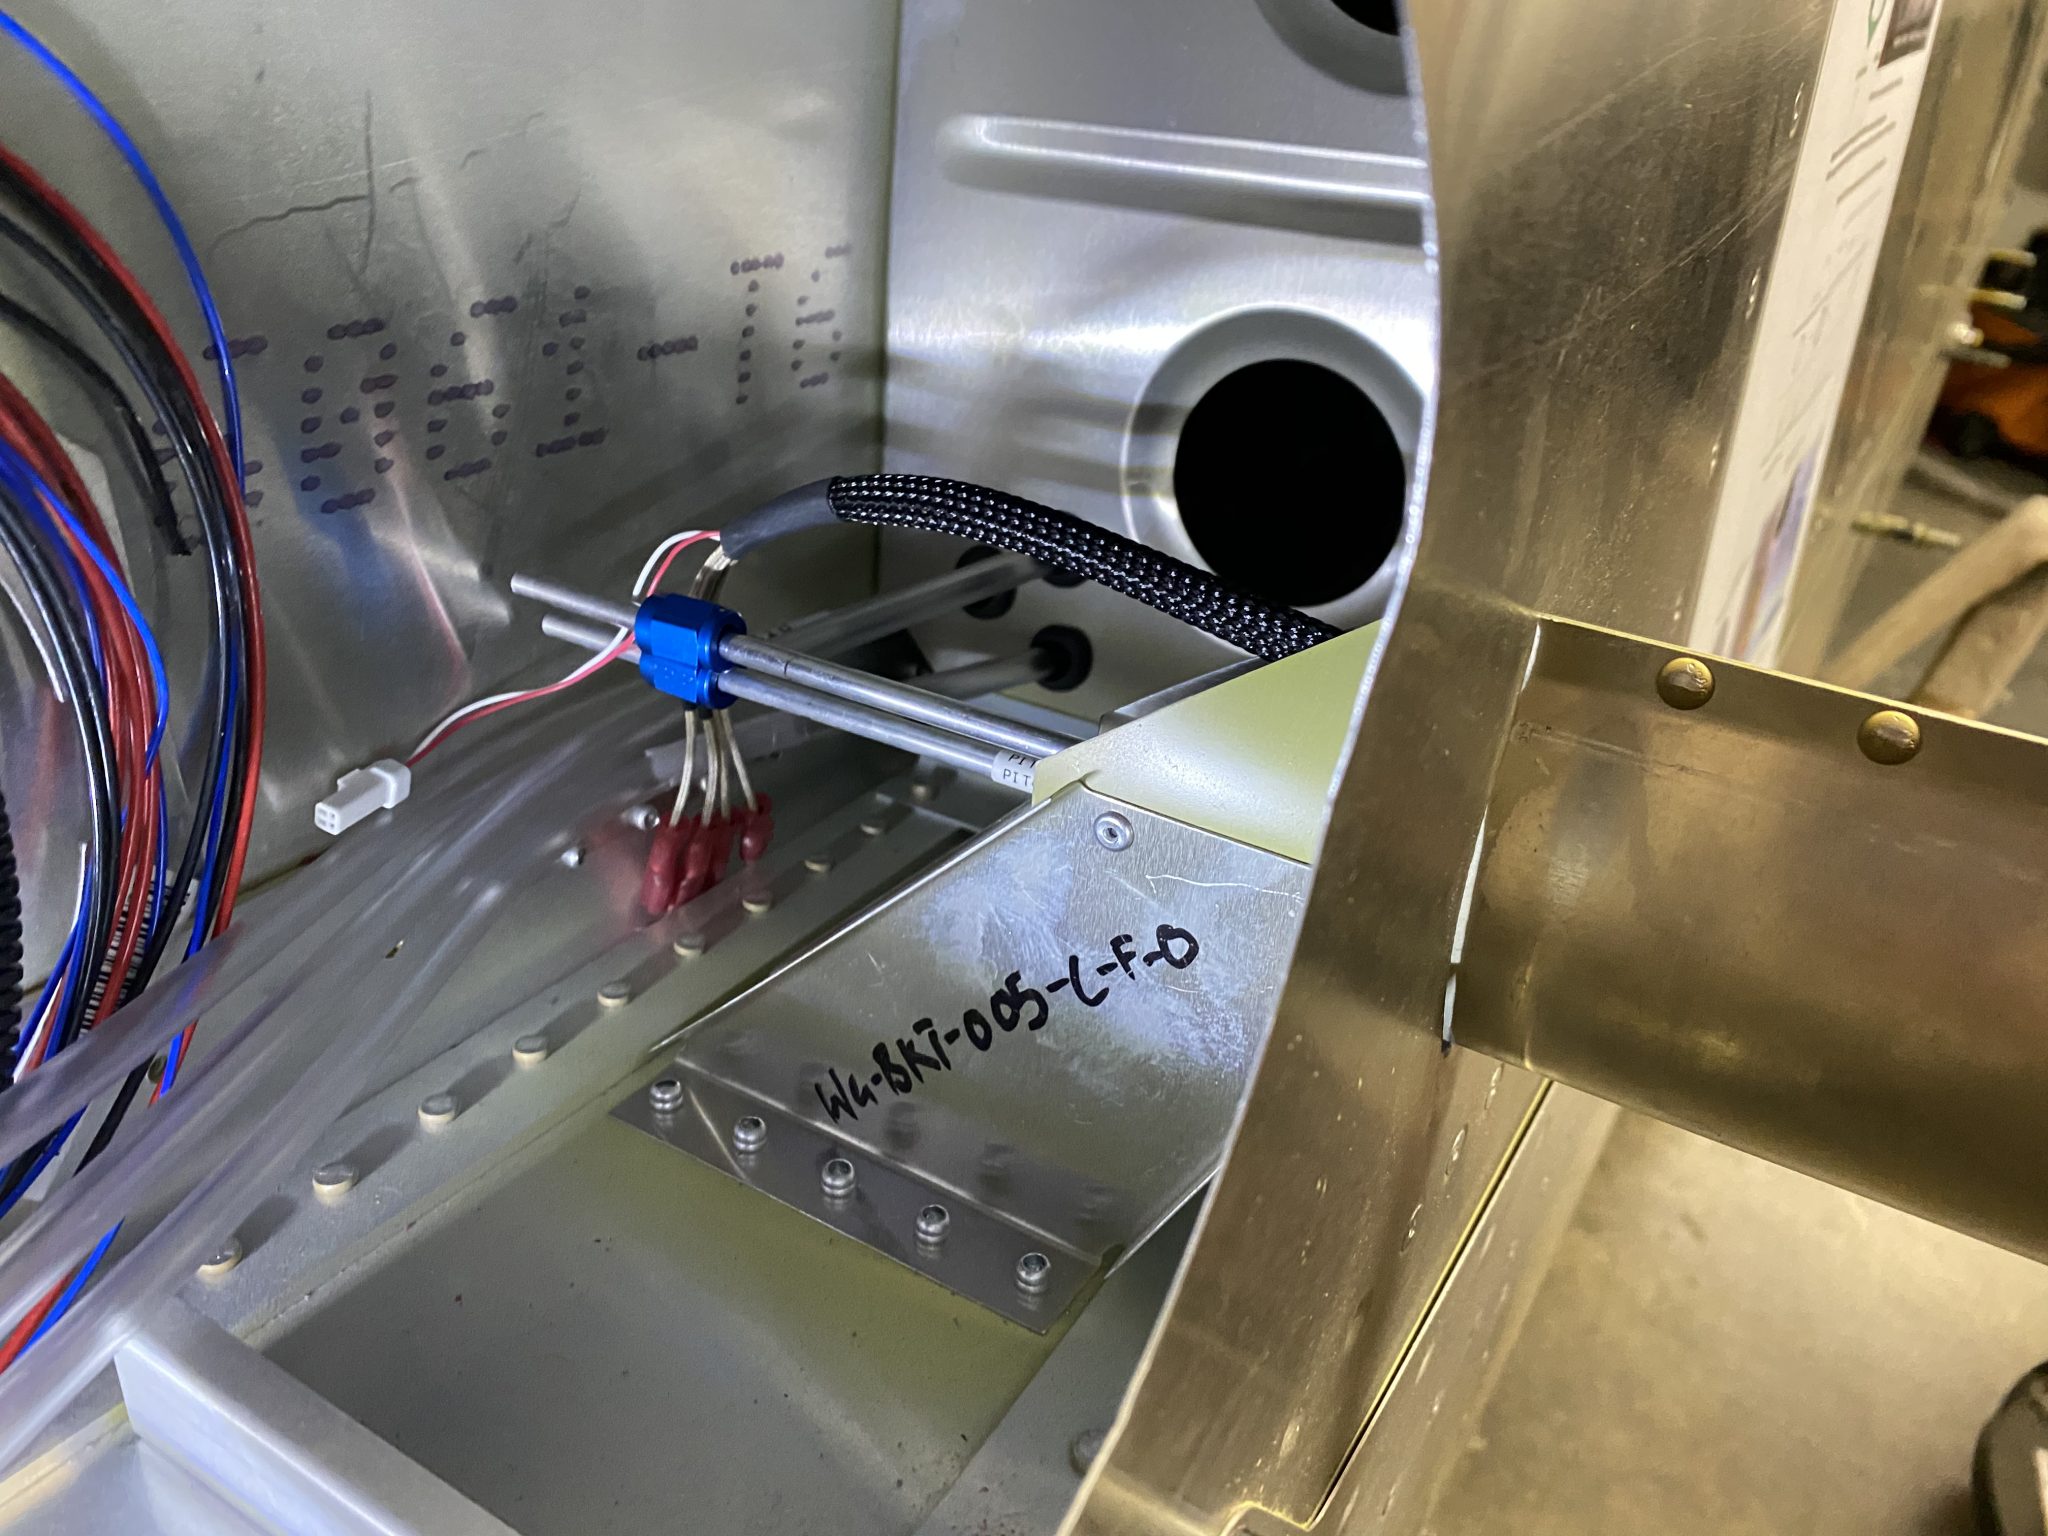
I am installing the Garmin GAP 26 Heated/Regulated Pitot Tube, which comes with a Regulator that needs to be installed next to the Pitot tube and controls whether the Pitot tube actually needs to be heated.

For this, there are three wires to run – two for the power and one for the discreet output, which integrated into the Garmin G3X Panel to show when the Pitot Tube is actually heated.

I ran the three wires through some braided sleeving to give them some extra protection and make running them through the wire channel easier in one go.Feeding the 3 wires into the braided sleeve

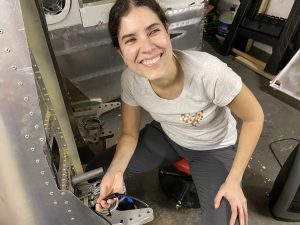
With that out of the way it “just” took a lot of back and forth, more use of the Endoscope and the thin arms of Juliana and repeated shouts of “push, push” and together we managed to run the wire all the way. She cheerfully pronounces “Congratulations, it’s a wire” as it came out the other end.
My friendly helper to run the Pitot wiring Congratulations, it's a wire

Cutting Pitot inspection panel hole

Hours: 1.5

I was planning to finish to Ailerons, but unfortunately in my final prep, I realized that I received two right side balance tubes instead of a left and a right one. The missing tube should be here sometime next week, so until then, the Ailerons are on pause.

This gave me some time to finally make the big step of cutting out the hole in the Wing for the Pitot inspection panel. I received the heated & regulated Garmin Pitot tube from the Factory and verified that it will fit nicely on the back of the round inspection cover, so I will mount that and I can keep my square inspection panel I designed for some other time.

First I did a lot of measuring and marking based on the plans. Since this is truly a moment of measure-twice, cut-once I measured and re-measured a few times.
Marking the center and hole to cut out Hole marked and alignments checked Time to prepare the cutter Marking the pilot hole for the cutter

With all the marks in place, I started with cutting the pilot holes for the center mark and the cutting head.
Using the center punch to mark the pilot holes Using the step drill to upsize the cutter pilot hole Pilot holes drilled

The final moment of truth – Time to cut the hole for the inspection panel using my nibbler cutting tool.
Time to cut a hole in the wing

I cut the first half of the circle and then reversed the tool since the Pitot tube mast was in the way of completing the cut in one direction.
First half of the circle cut - I had to reverse the tool at this point since the pitot tube mast blocked finishing the circle from this direction

The cut came out pretty well and I just had to do a little bit of sanding to smooth the edges.
Inspection hole cut Temporary placing of the backing plate Inspection Cover fits perfectly

 Timelapse video of cutting the hole

Aileron ribs priming

Hours: 1

I prepared most parts of the Aileron a good while ago, but I was missing a replacement for one set of ribs that were damaged, so I had put the Ailerons aside and finished the Flaps and Elevator in the meantime.

Now with the Elevator done and the replacement ribs in hand, back to finishing up the Aileron. After a quick inspection and deburring of the new rib I laid out all the parts and got out my small painting booth to prime the ribs.
Aileron ribs laid out for the left and right side Paint booth setup to prime

Once the primer is set I can get onto assembling everything and riveting the Aileron.

One side of Aileron ribs primed Primed Aileron ribs