Tag Archives: rivnut

Vertical Stabilizer Structure

Hours: 3

After finishing attaching the rivnuts to the rear spar parts the other day, I put everything together and did a brief test fit with the Fuselage where it attaches into. Vertical Stabilizer rear spar in place with the Fuselage
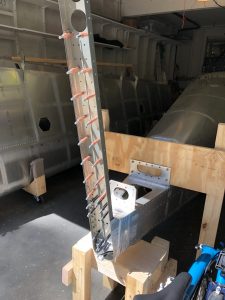
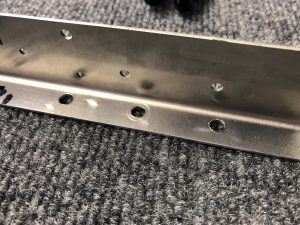
After putting together the rear spar, I also enlarged the holes in the spar so that the M4 screws can actually be screwed in and enlarged the bottom two holes so that the bottom rivnuts sit flush with the spar.
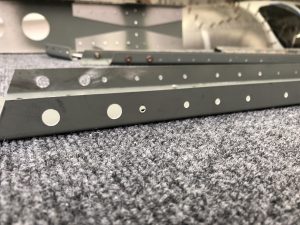
 Holes enlarged for the M4 screws and bottom two holes enlarged for flush fit of those 2 rivnuts,Screw holes enlarged and the bottom 2 rivnuts made flush with the spar

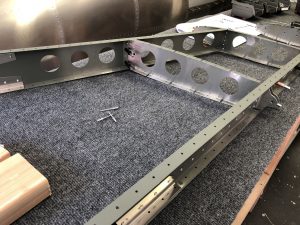
Looked all good, so onto riveting together the inner structure of the Vertical Stabilizer.Riveting the rear spar of the Vertical Stabilizer Adding the inner ribs to the rear spar Structure coming along Inner structure of the Vertical Stabilizer riveted together
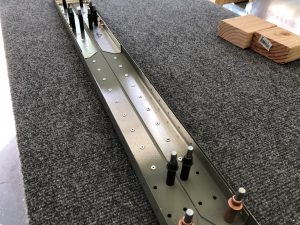
I also enlarged the holes for the wiring and added snap bushings since the inside won’t be accessible once it’s closed up and the snap bushings have a better durability than rubber grommets.
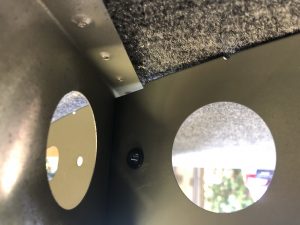
Snap bushings for the wiring

There was one spot on the rear spar where one rivet was very close to one of the rivnuts and I had to use my manual hand rivet gun to pull the rivet as the head of the Milwaukee was too large to get in there.
Clearance between the rivnut and the rivet was very tight so I had to use my hand riveter instead

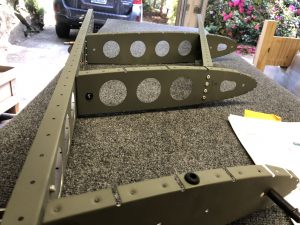
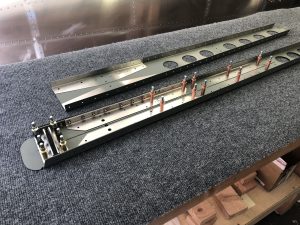
Completed inner structure of the Vertical Stabilizer:Completed structure of the Vertical Stabilizer
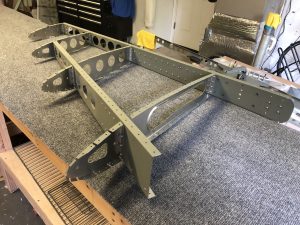
 

Lots of Rivnuts on the Vertical Stabilizer

Hours: 1.5

After putting the Elevator construction on pause due to the alignment issue of the center rib. I decided to get started on putting together the Vertical Stabilizer. I’ve heard back from the Factory and it turns out that they’ve changed the Rib and will be sending me the correct new versions of the ribs (EL-RIB-001-C-E-1 & EL-RIB-101-C-E-1), so I’ll have to wait until I get those.

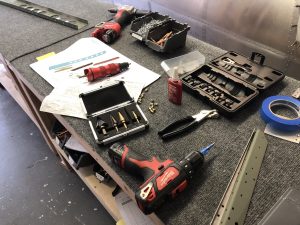
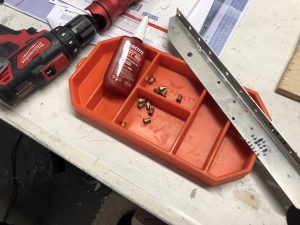
So onto the Vertical Stabilizer – the bottom of the rear spar holds a lot of M4 Rivnuts, so it was time to updrill the holes to the correct size in order to fit the rivnuts.Getting my tools ready to install the rivnuts

Using the step-drill bit I enlarged the holes just a bit smaller than the Rivnuts and then finalized it to the exact size using a hand reamer since you don’t want the hole to be any larger than the not so it gets a tight fit.
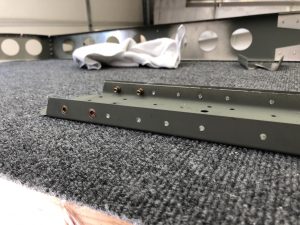
Hand reamer marked to the correct size using masking tape Test fitting Rivnuts after reaming them to the correct size

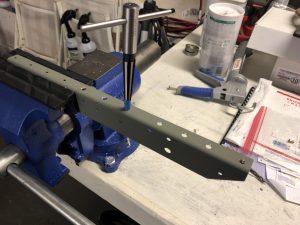
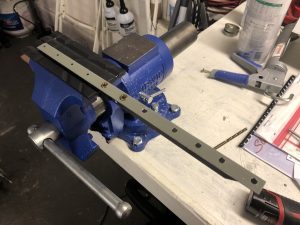
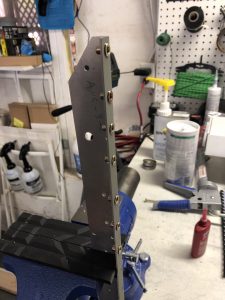
Once I was done enlarging all the holes I took care of deburring the holes and then went to work installing all the rivnuts using the Astro ADN14 Rivnut puller attachment for my drill and adding Loctite 277 (red) Threadlocker for added strength.Before deburring the holes after I enlarged them Tools ready to install the rivnuts Rivnuts installed using my bench vise to hold the bracket in place Done installing all the rivnuts

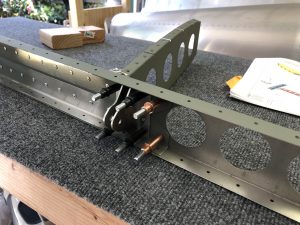
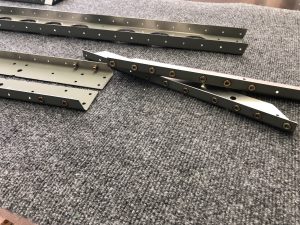
After all that was done, I put together the spar with the brackets for a quick test fit. While doing so I also found an error in the instructions, which say to rivet the hinges on the bottom with 8 (4 a side) 4mm rivets, but actually, only the center one (where I have black clecos) should be riveted, the outer ones will be bolted to the Fuselage (which is why they have larger holes already and I temporarily used the larger golden clecos to hold it in place), so I sent the Factory a note to correct the instructions.
Vertical Stabilizer Rear spar with brackets clecoed in place