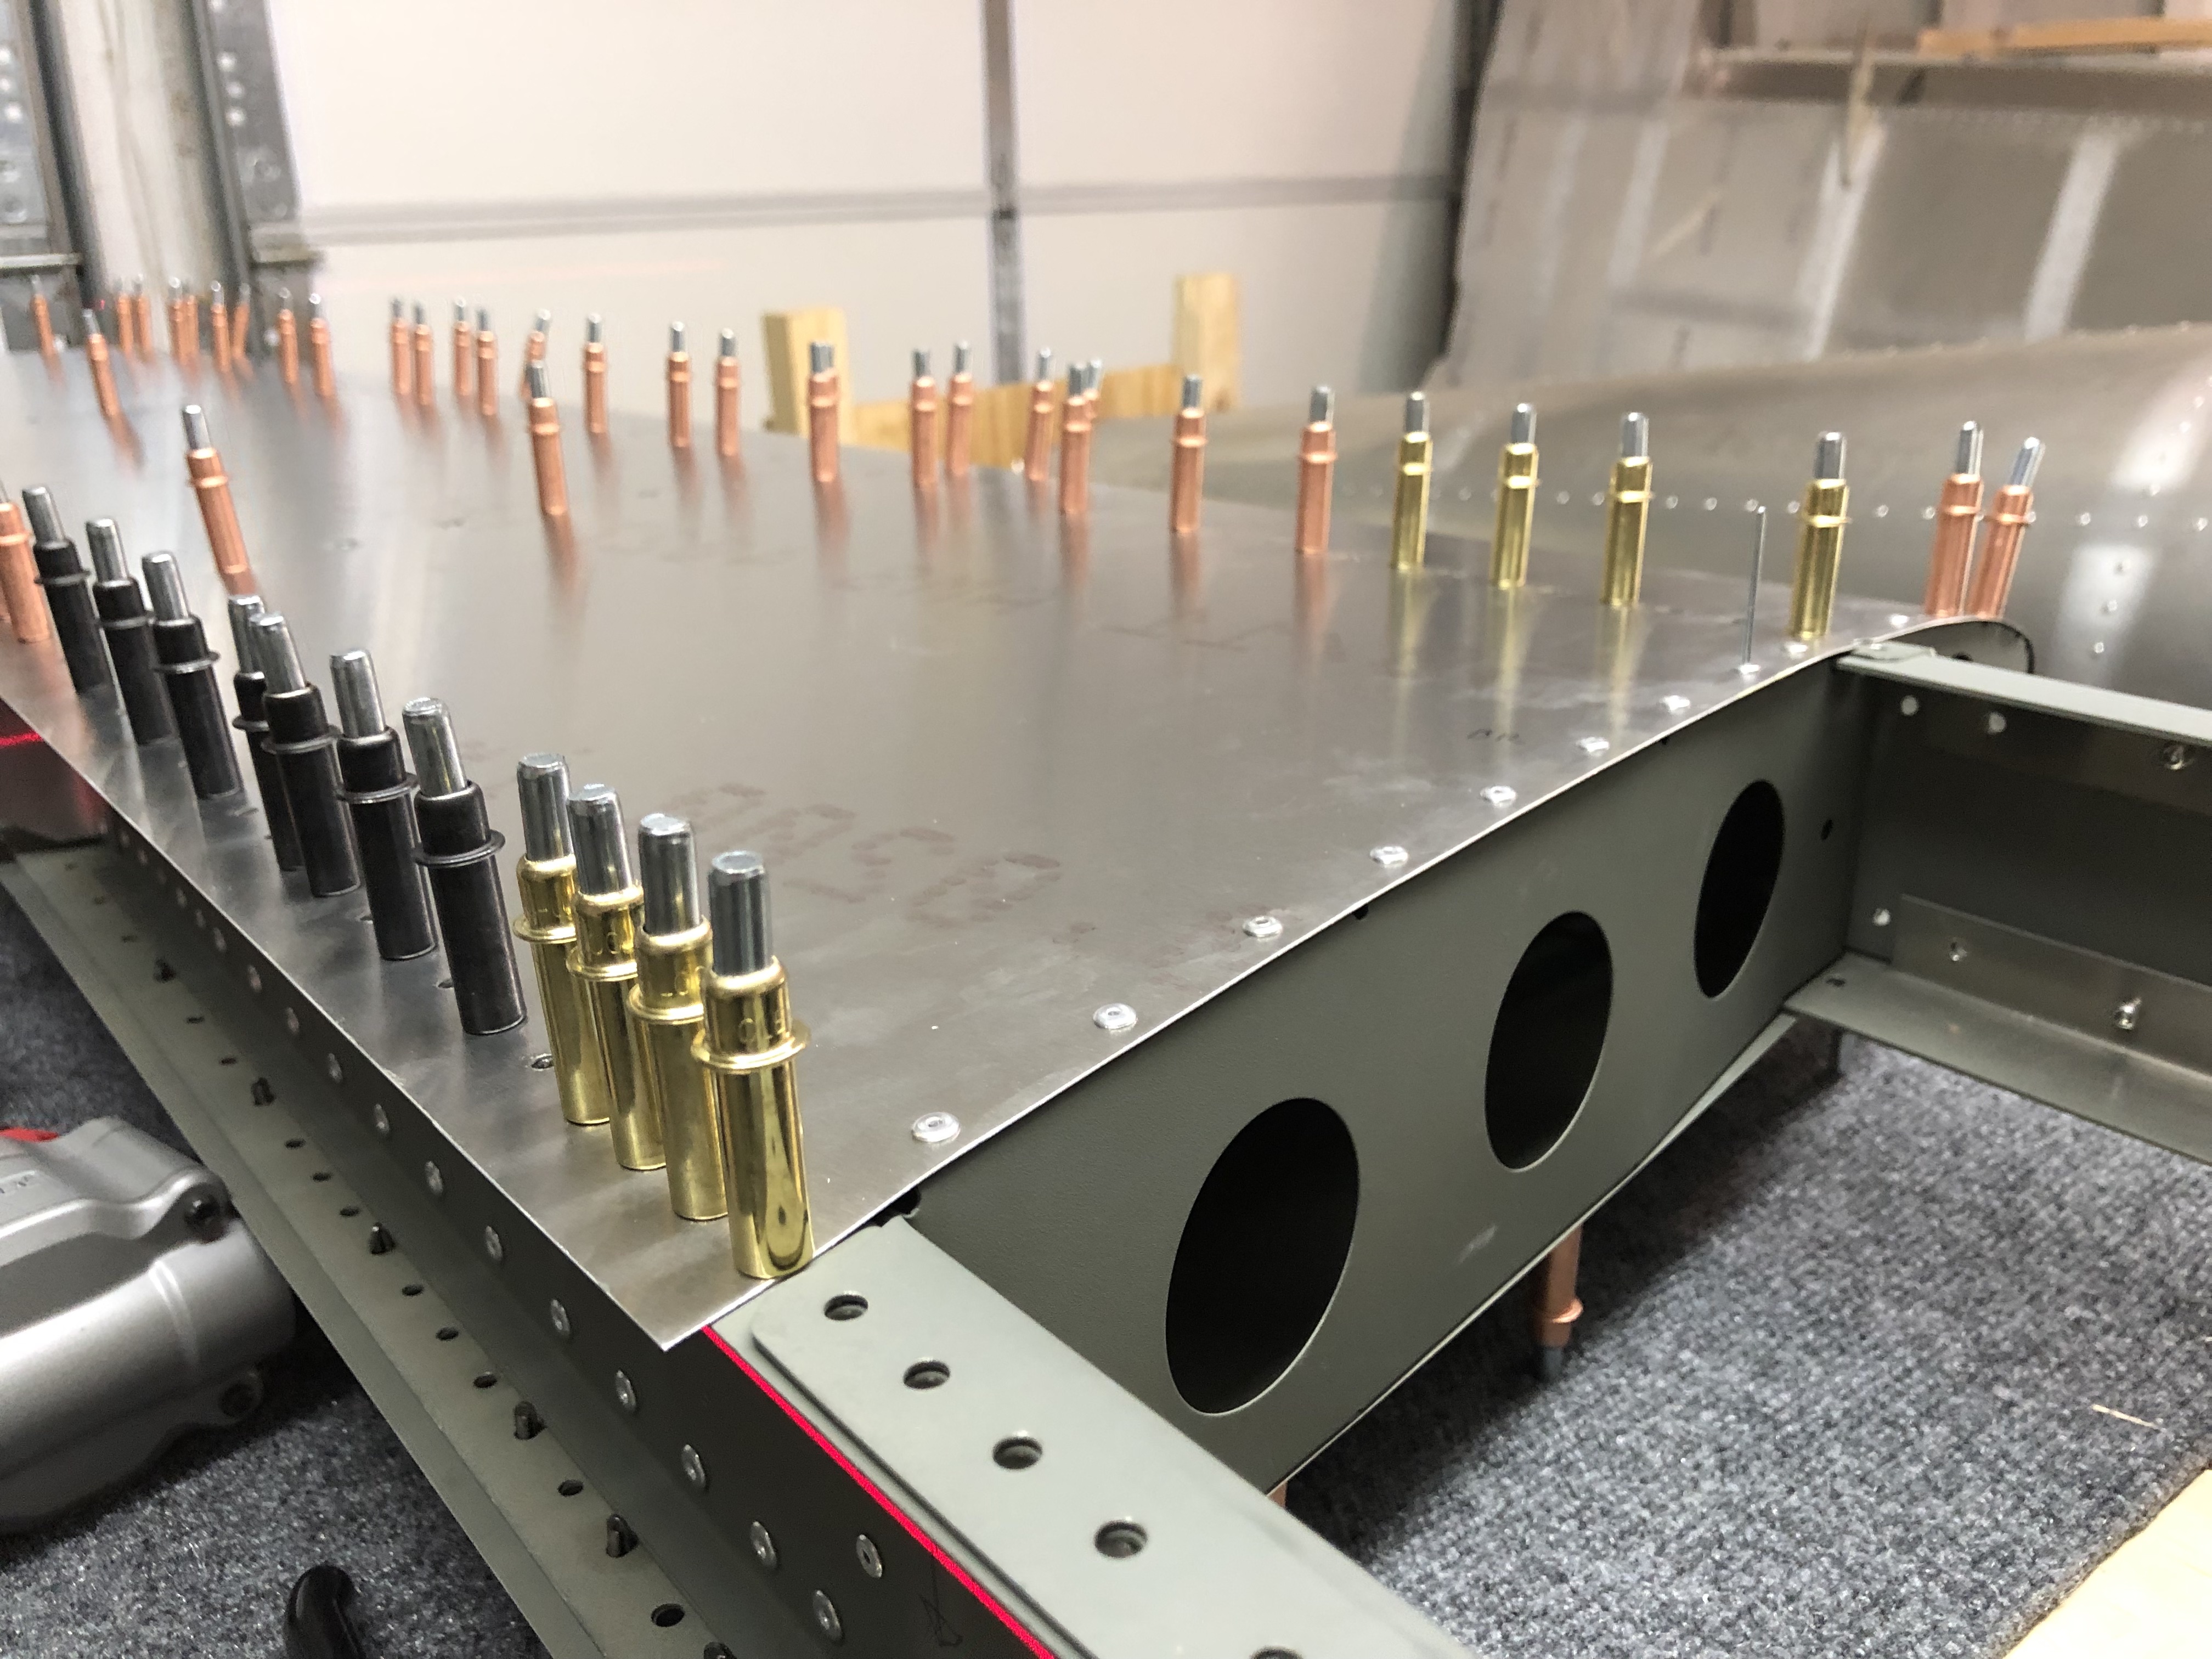
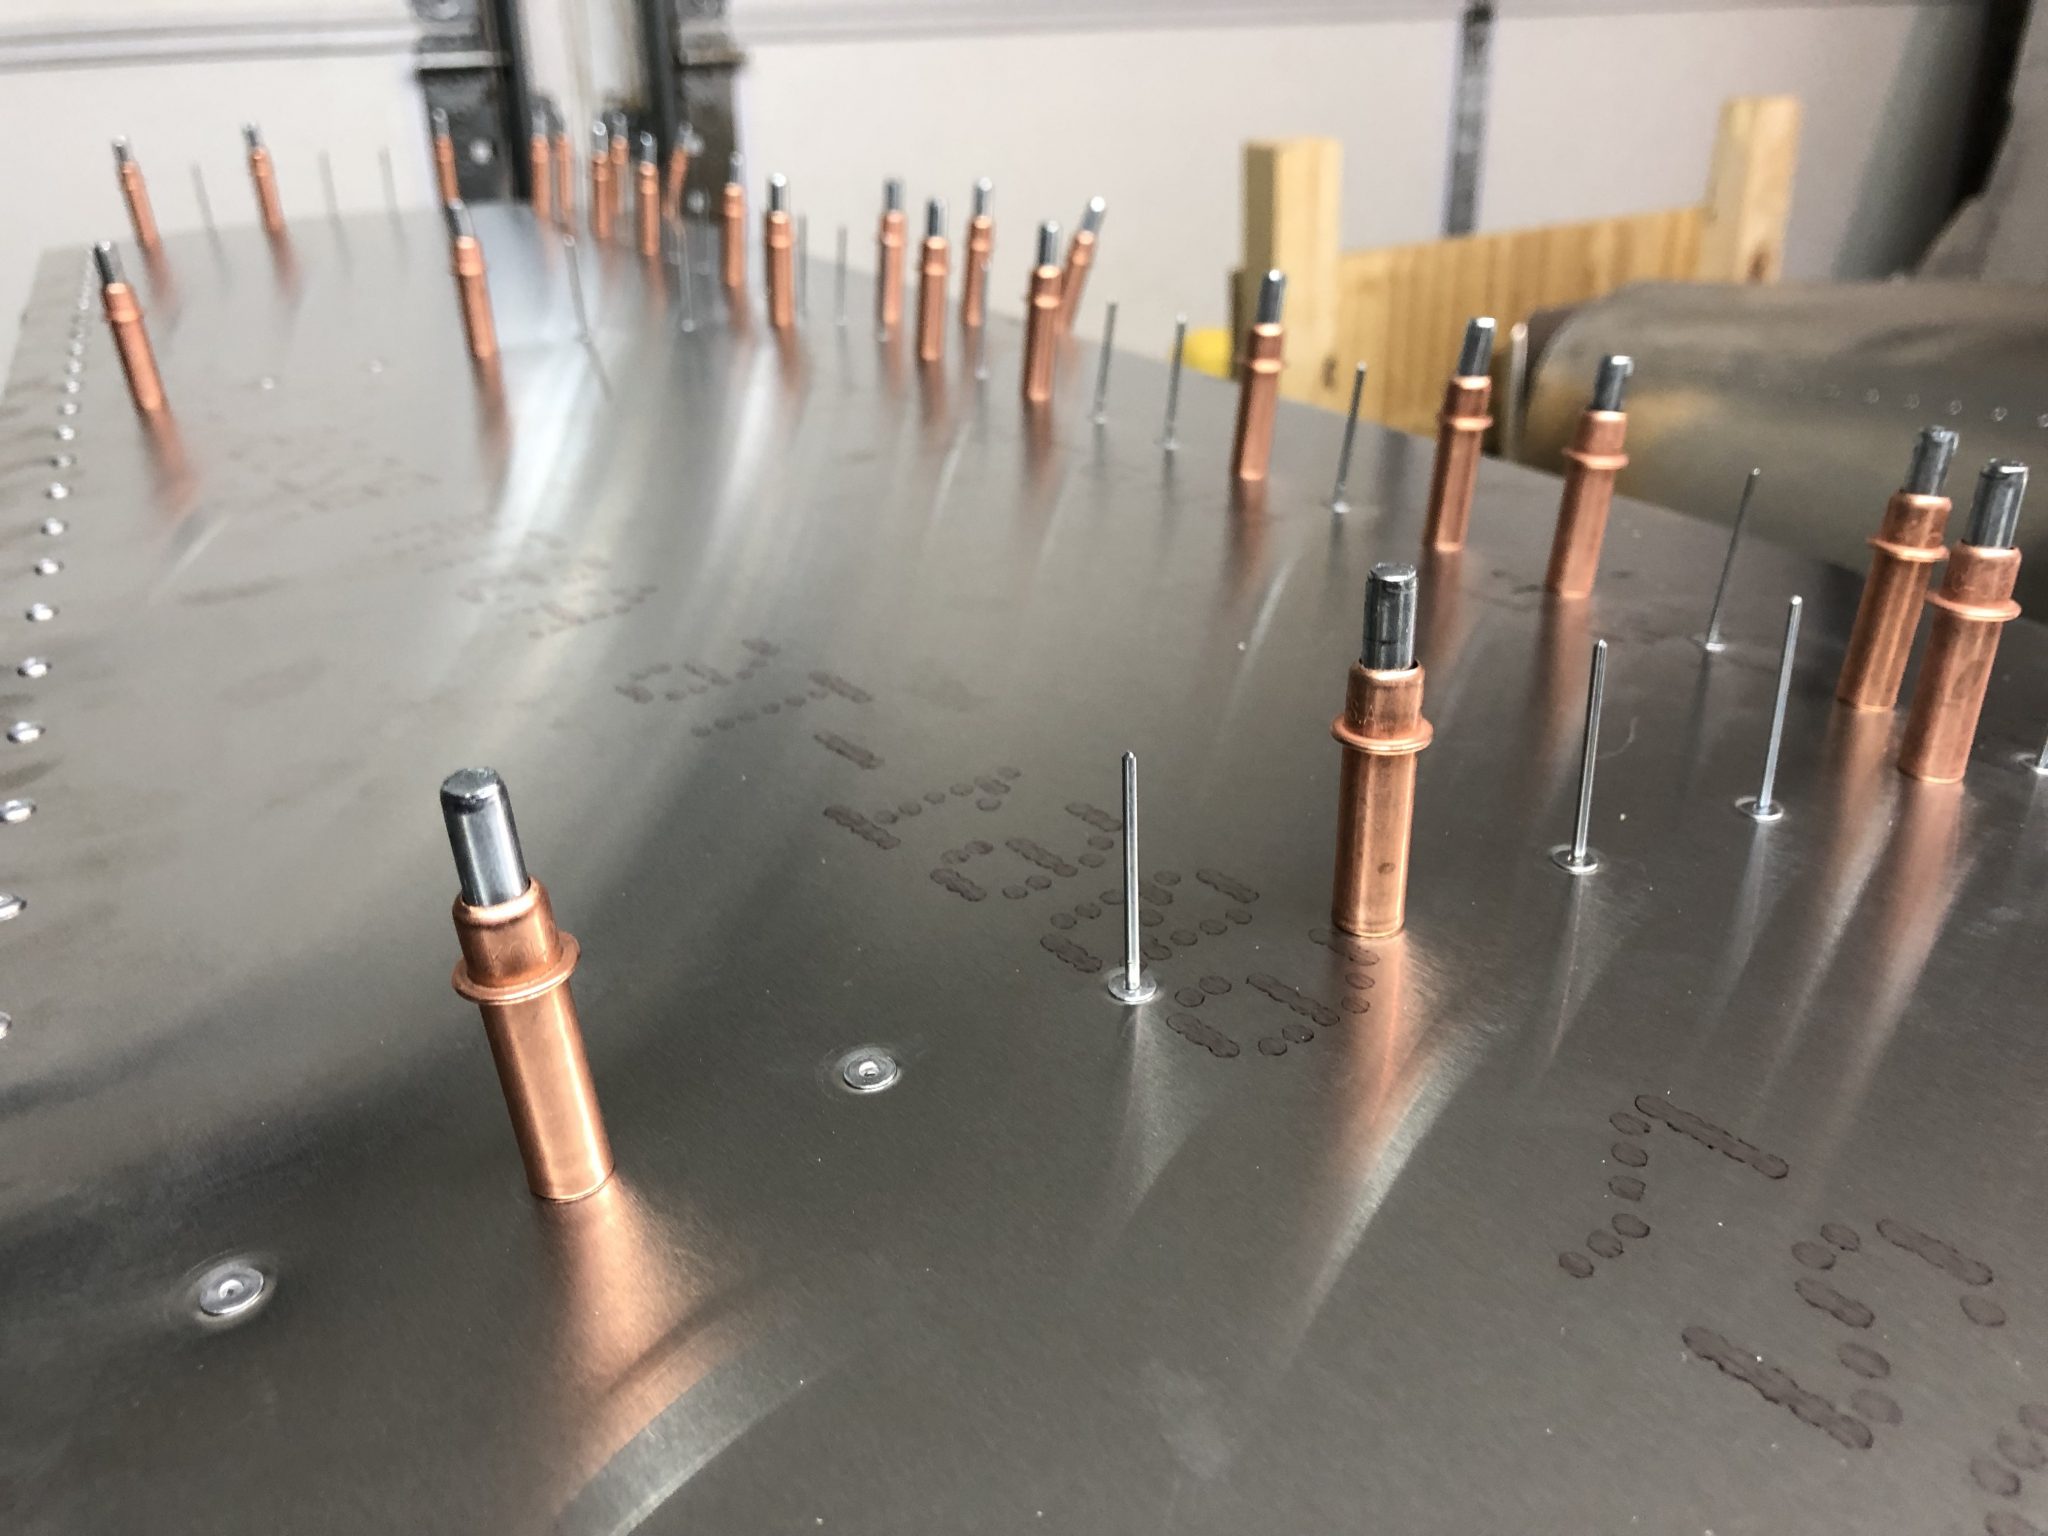
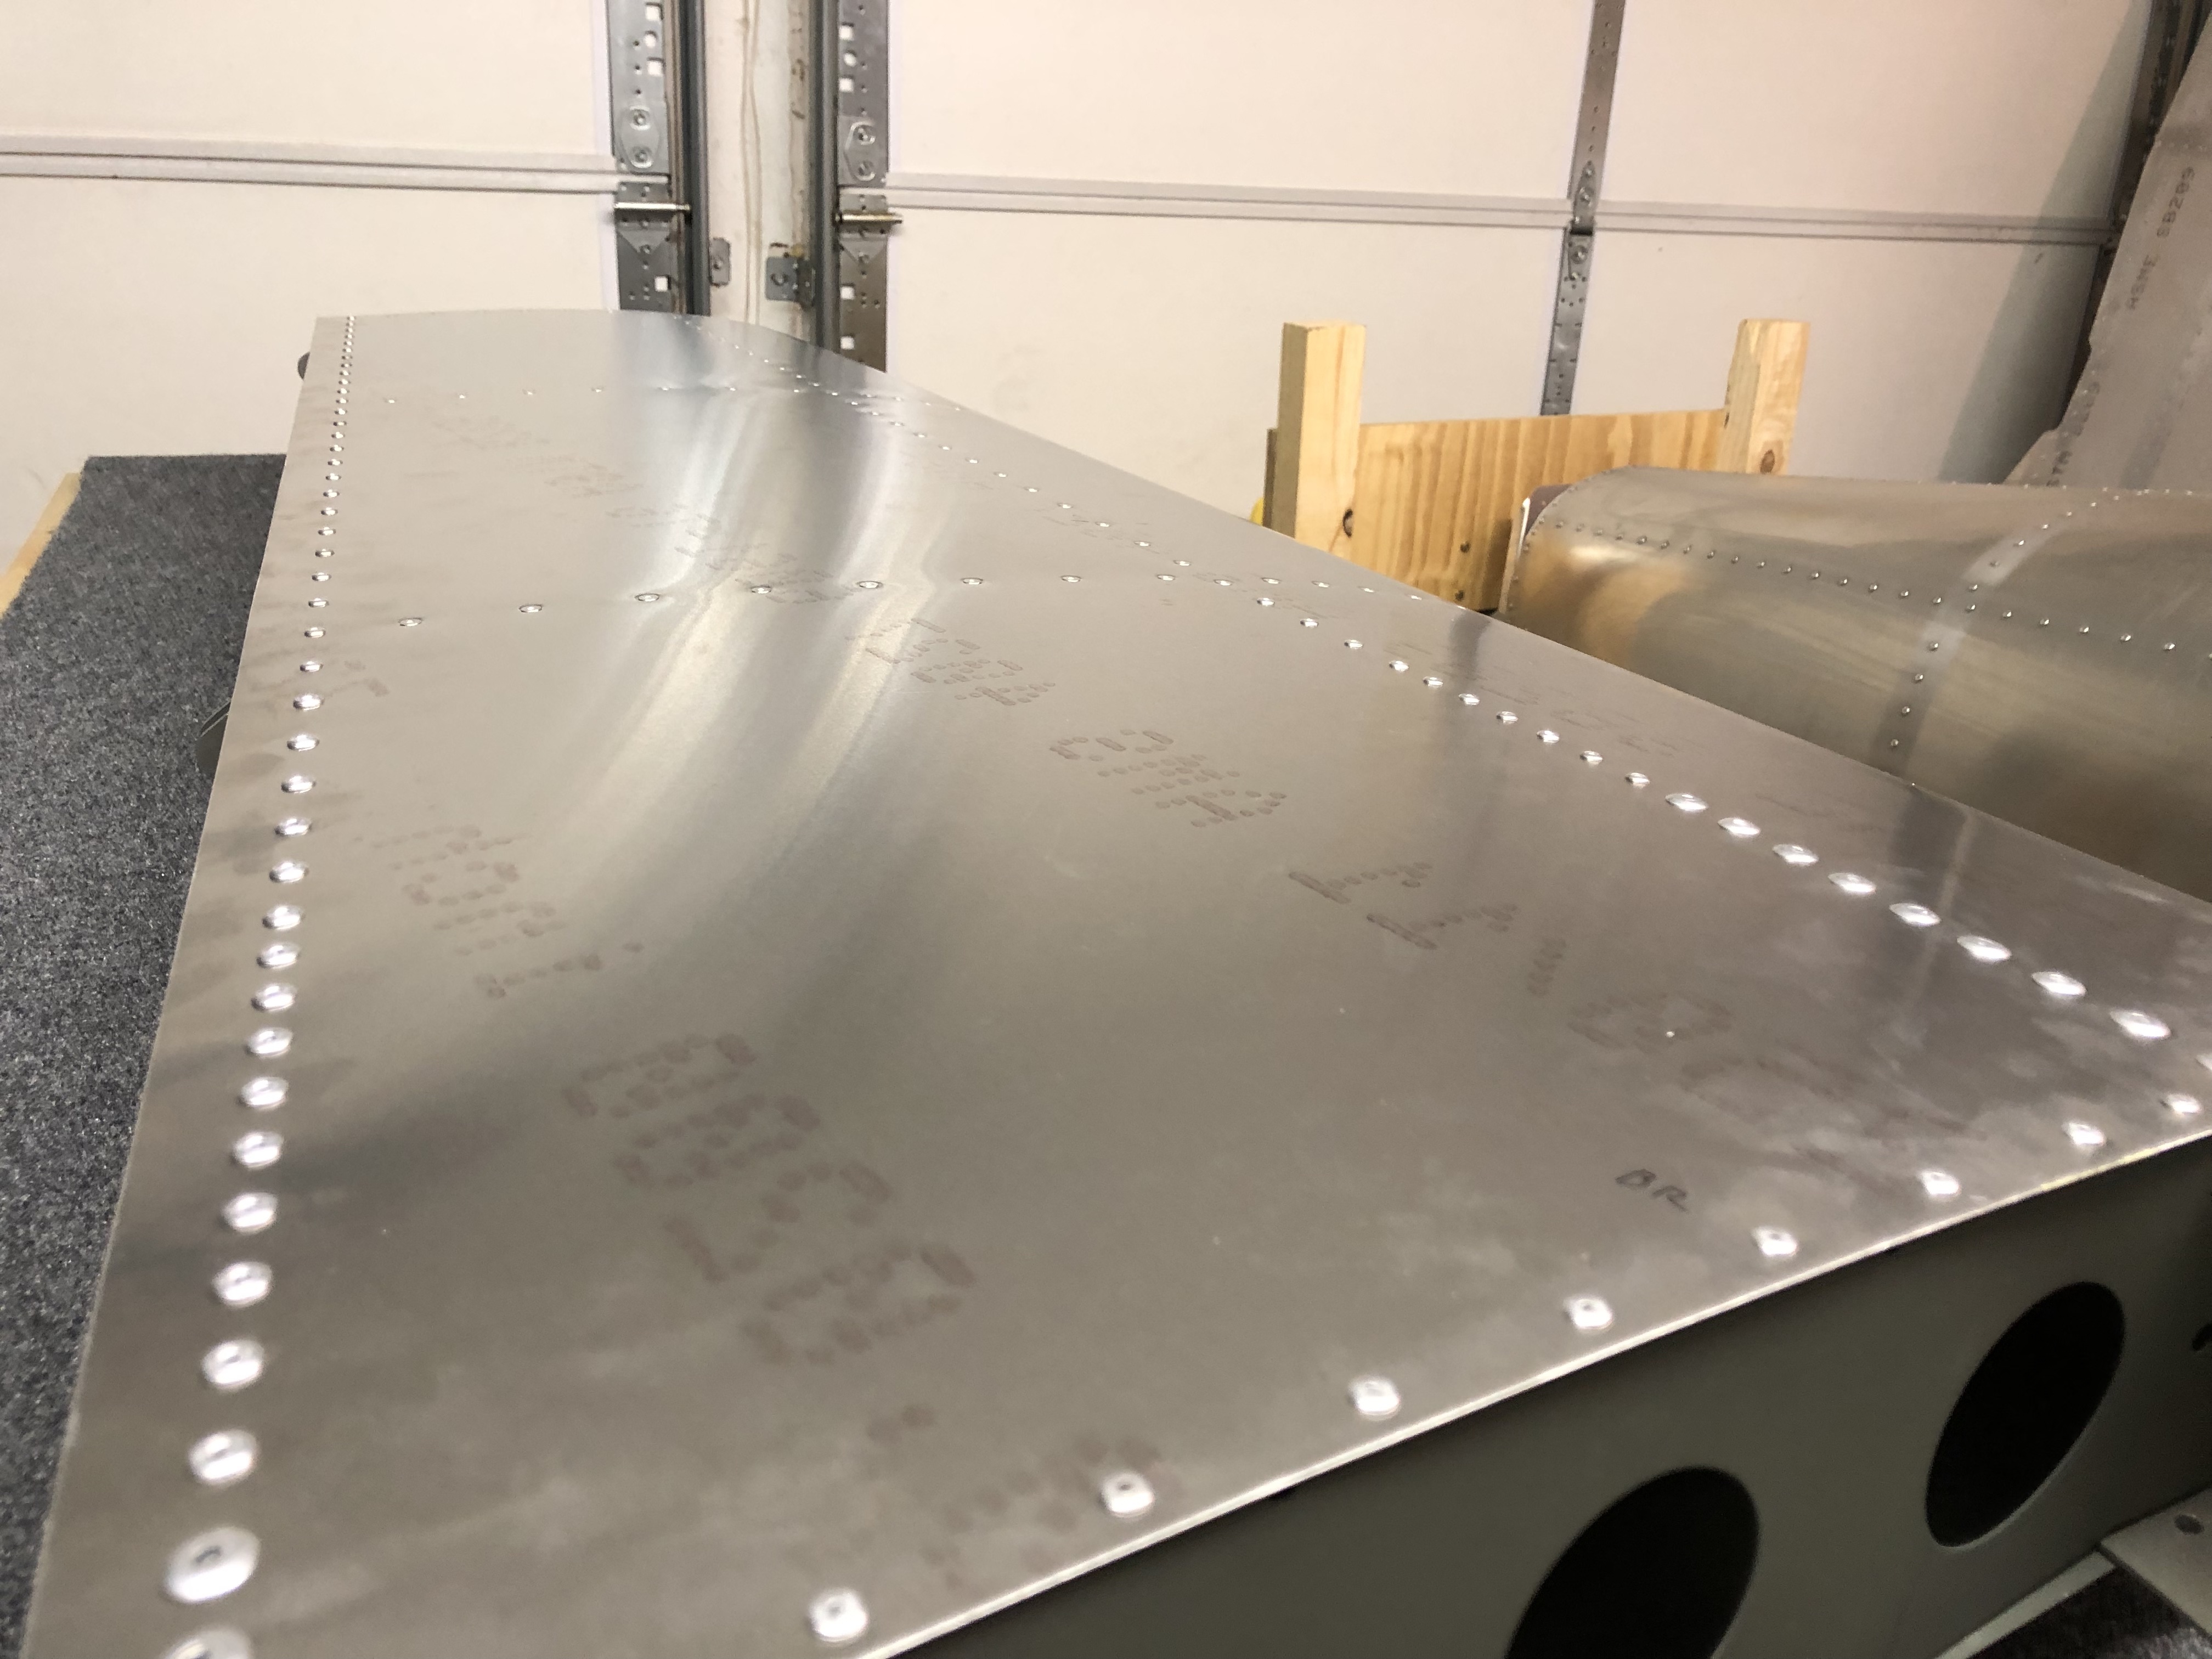
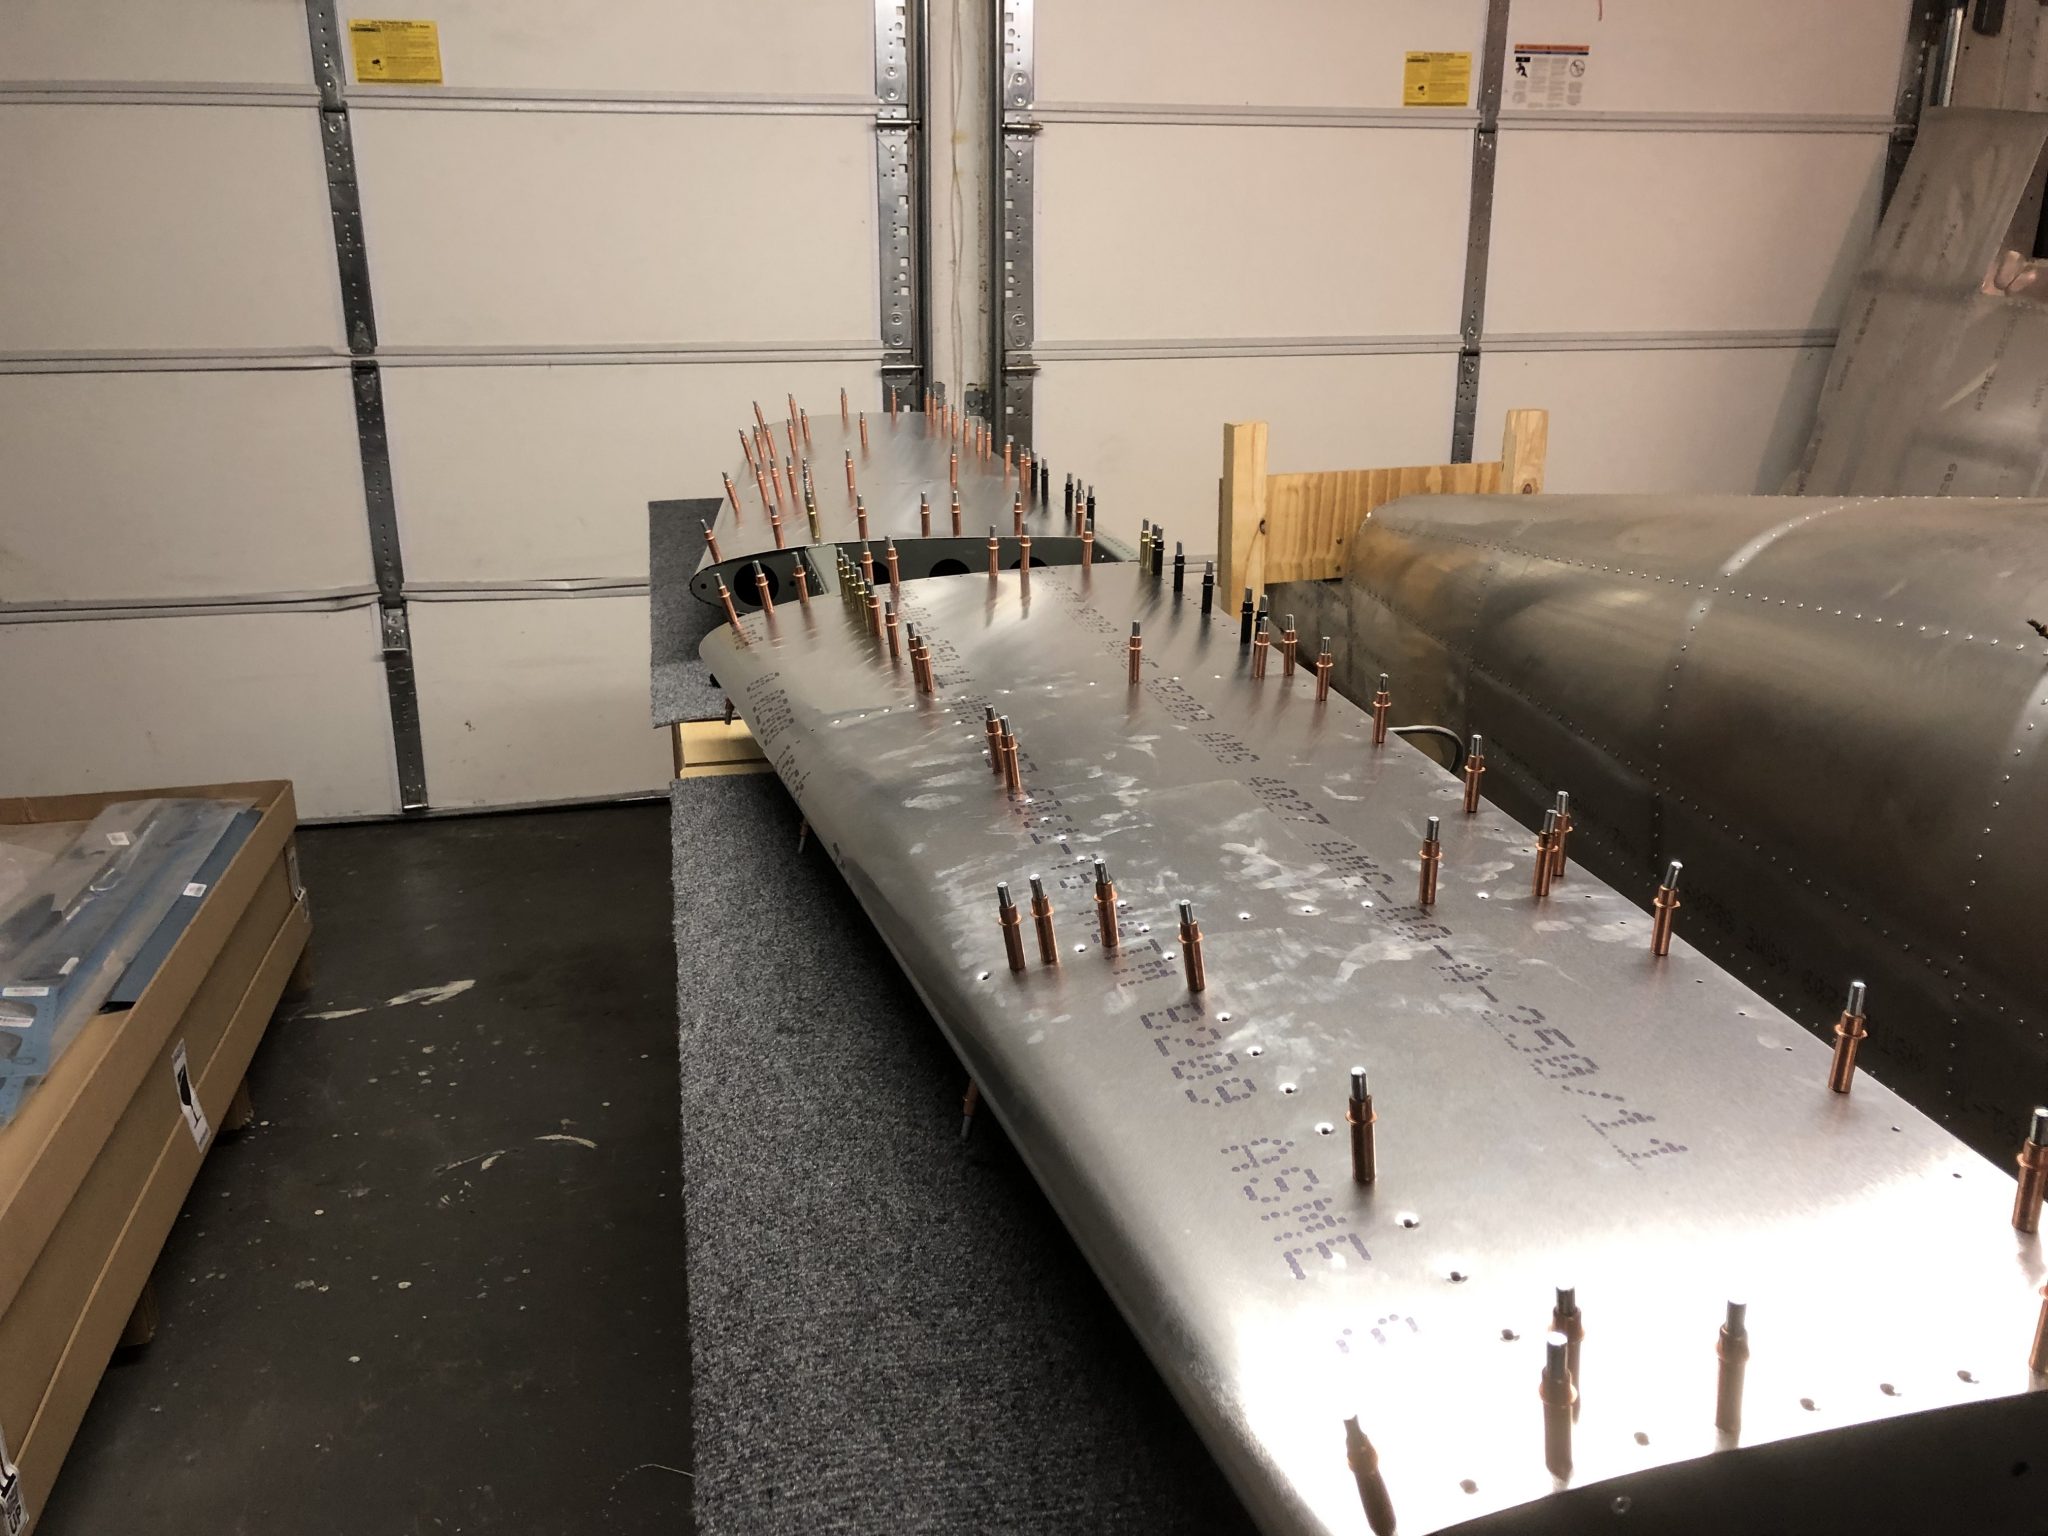
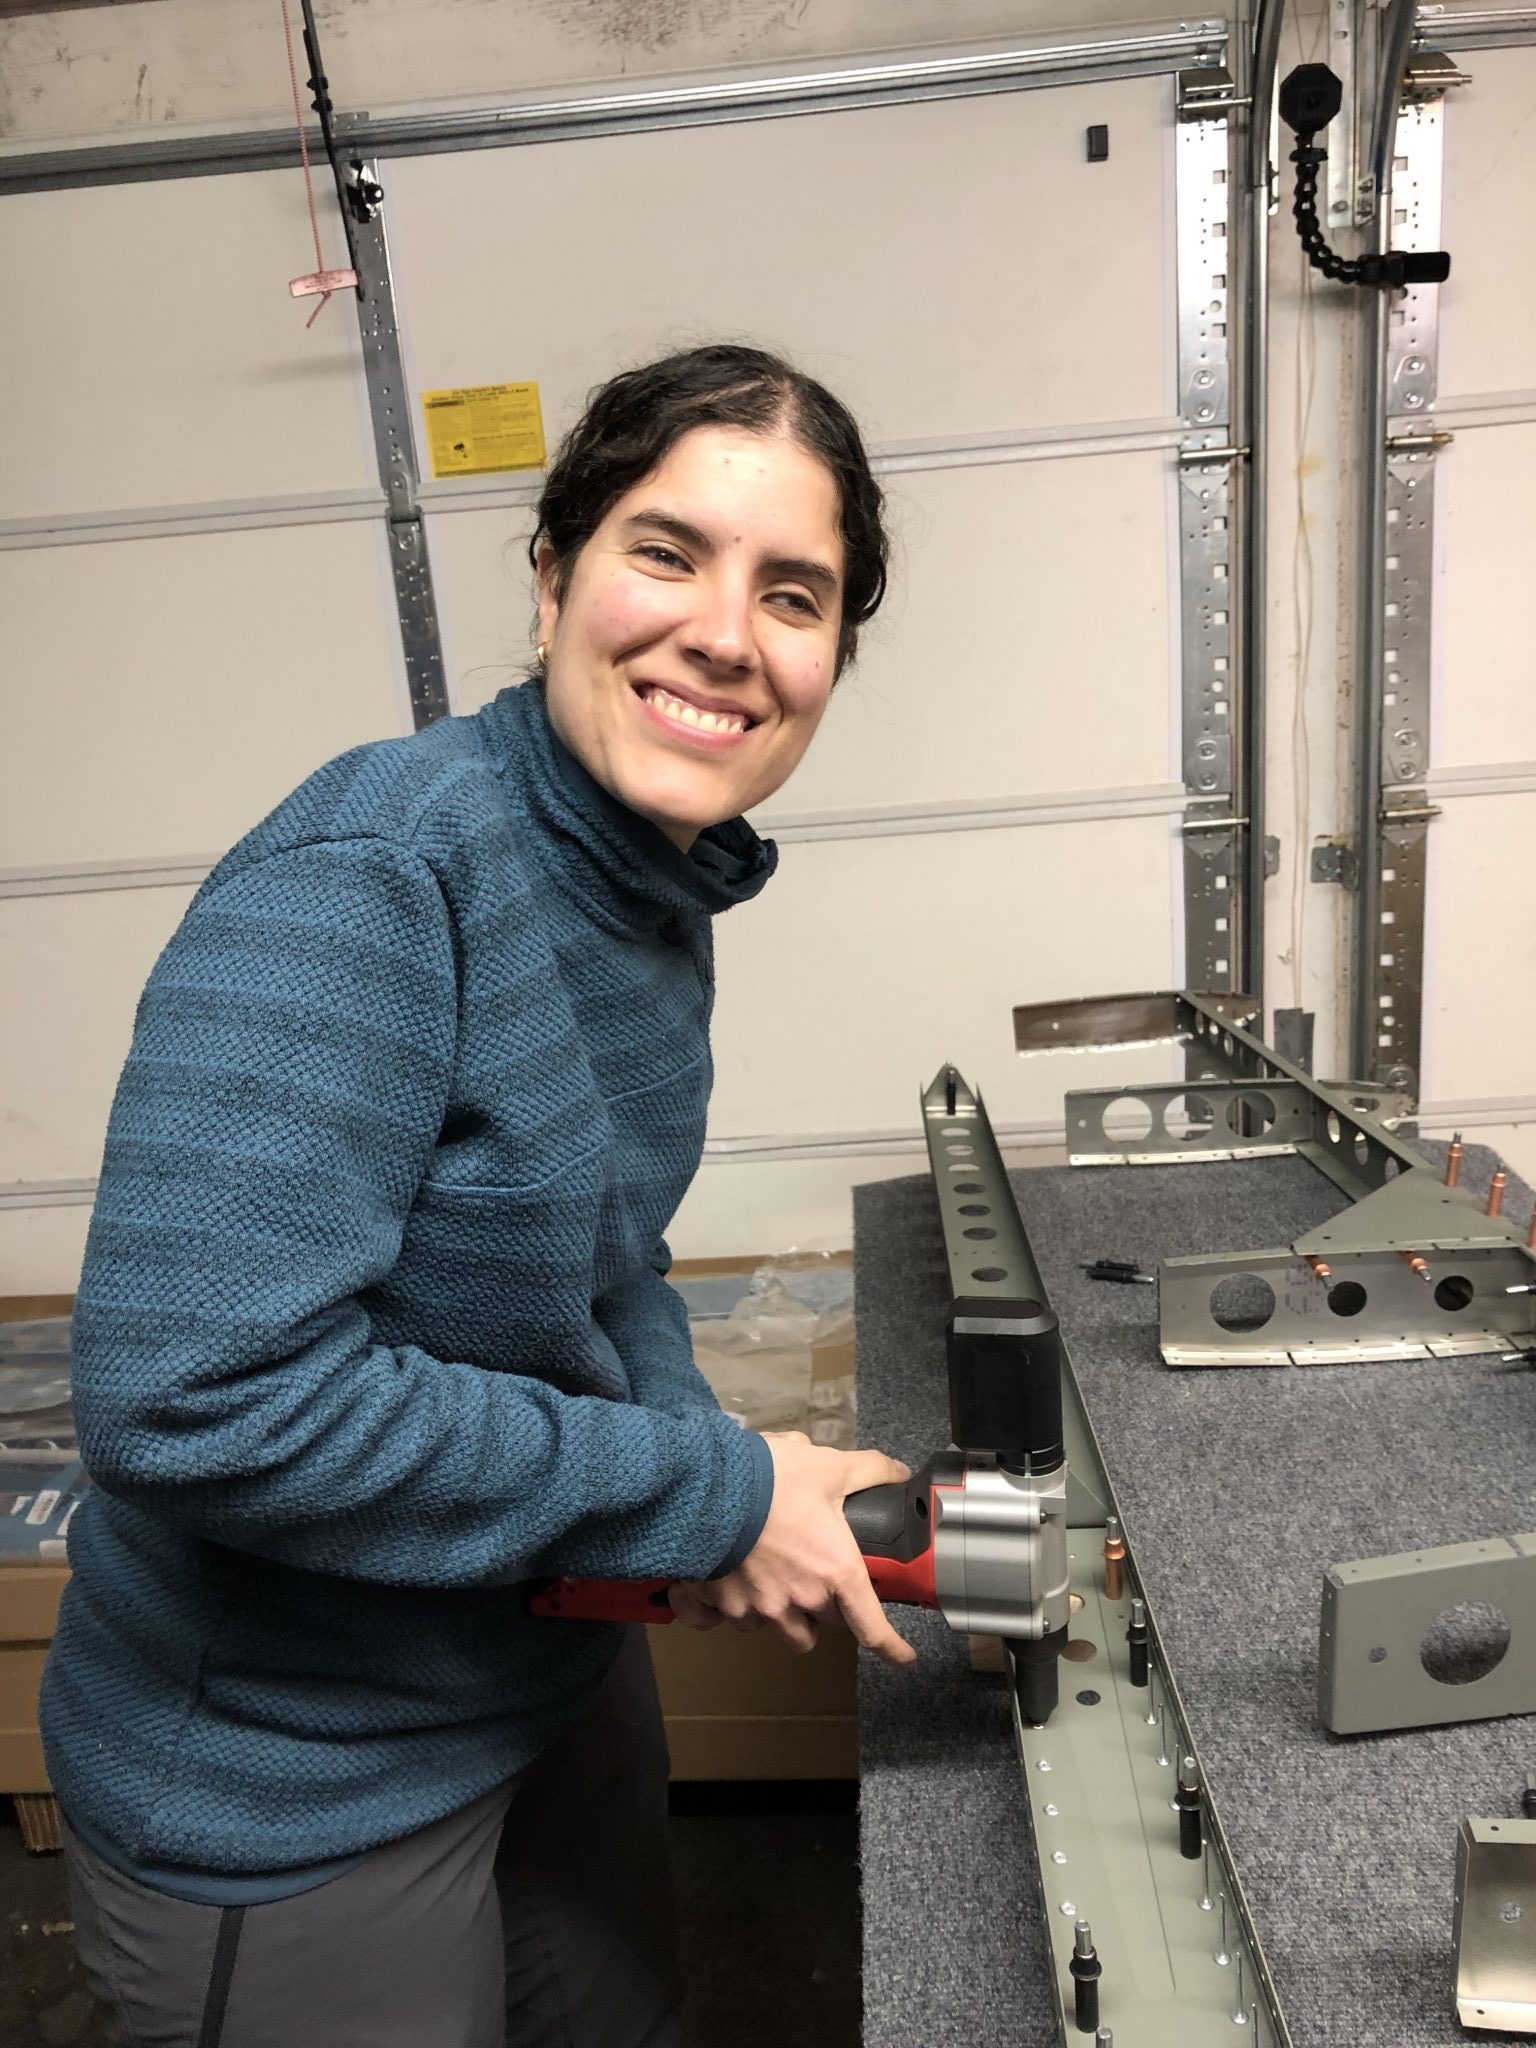
The journey of the Horizontal Stabilizer continues with match up-drilling all the dimpled holes to fit the countersunk rivets. So basically this, multiplied by 200:
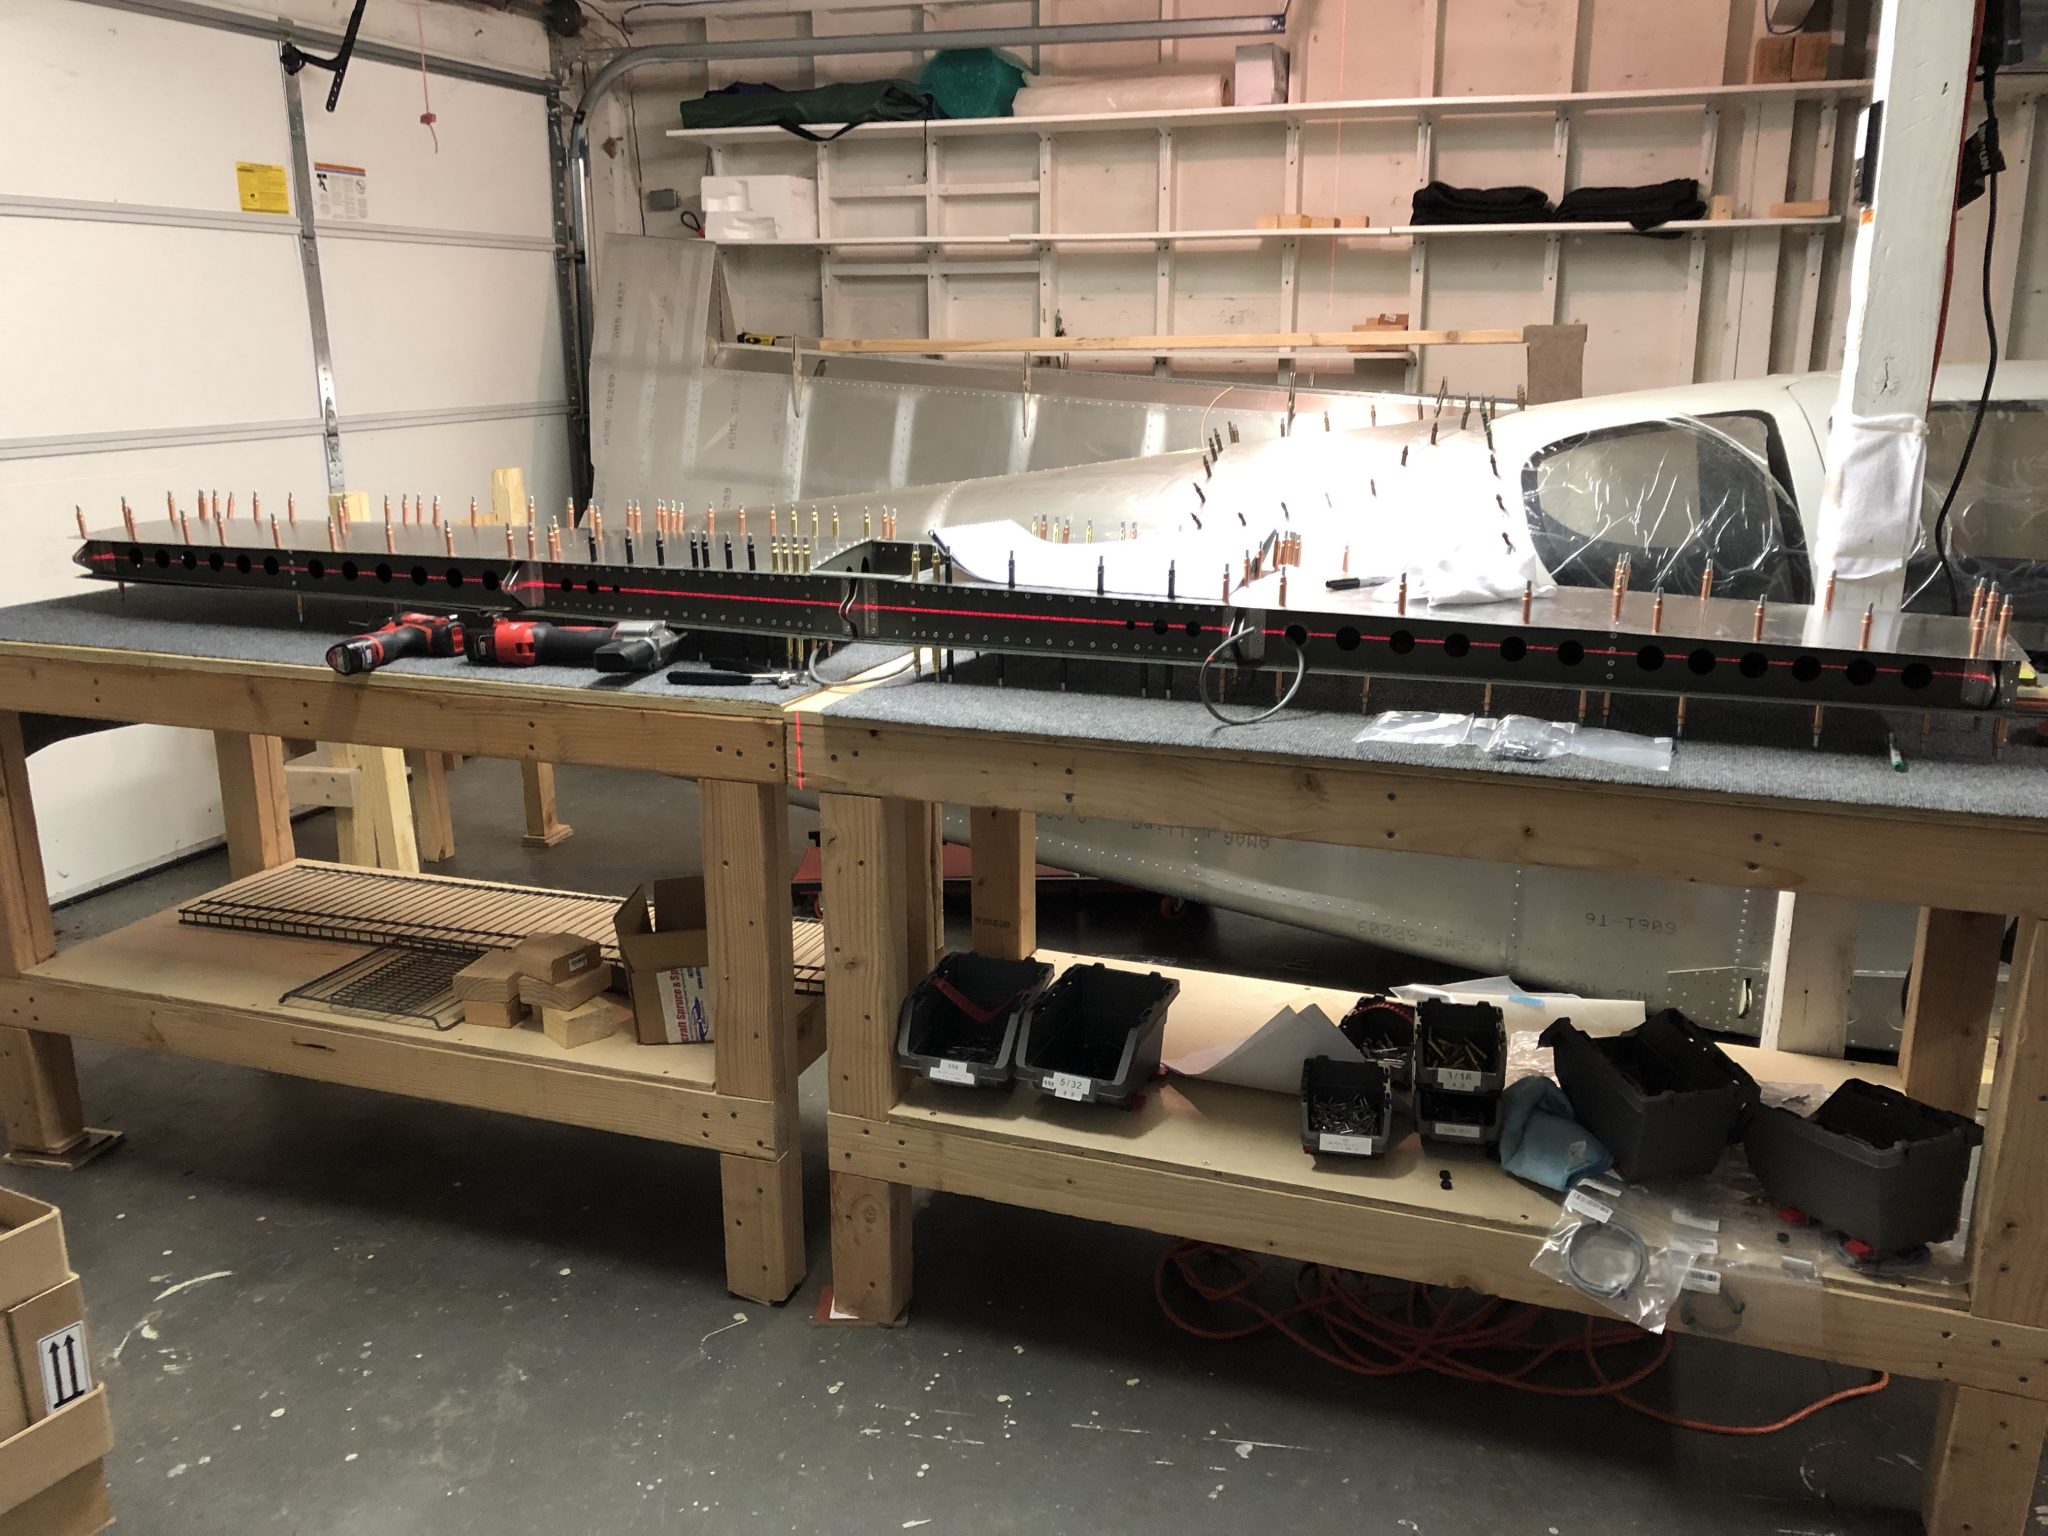
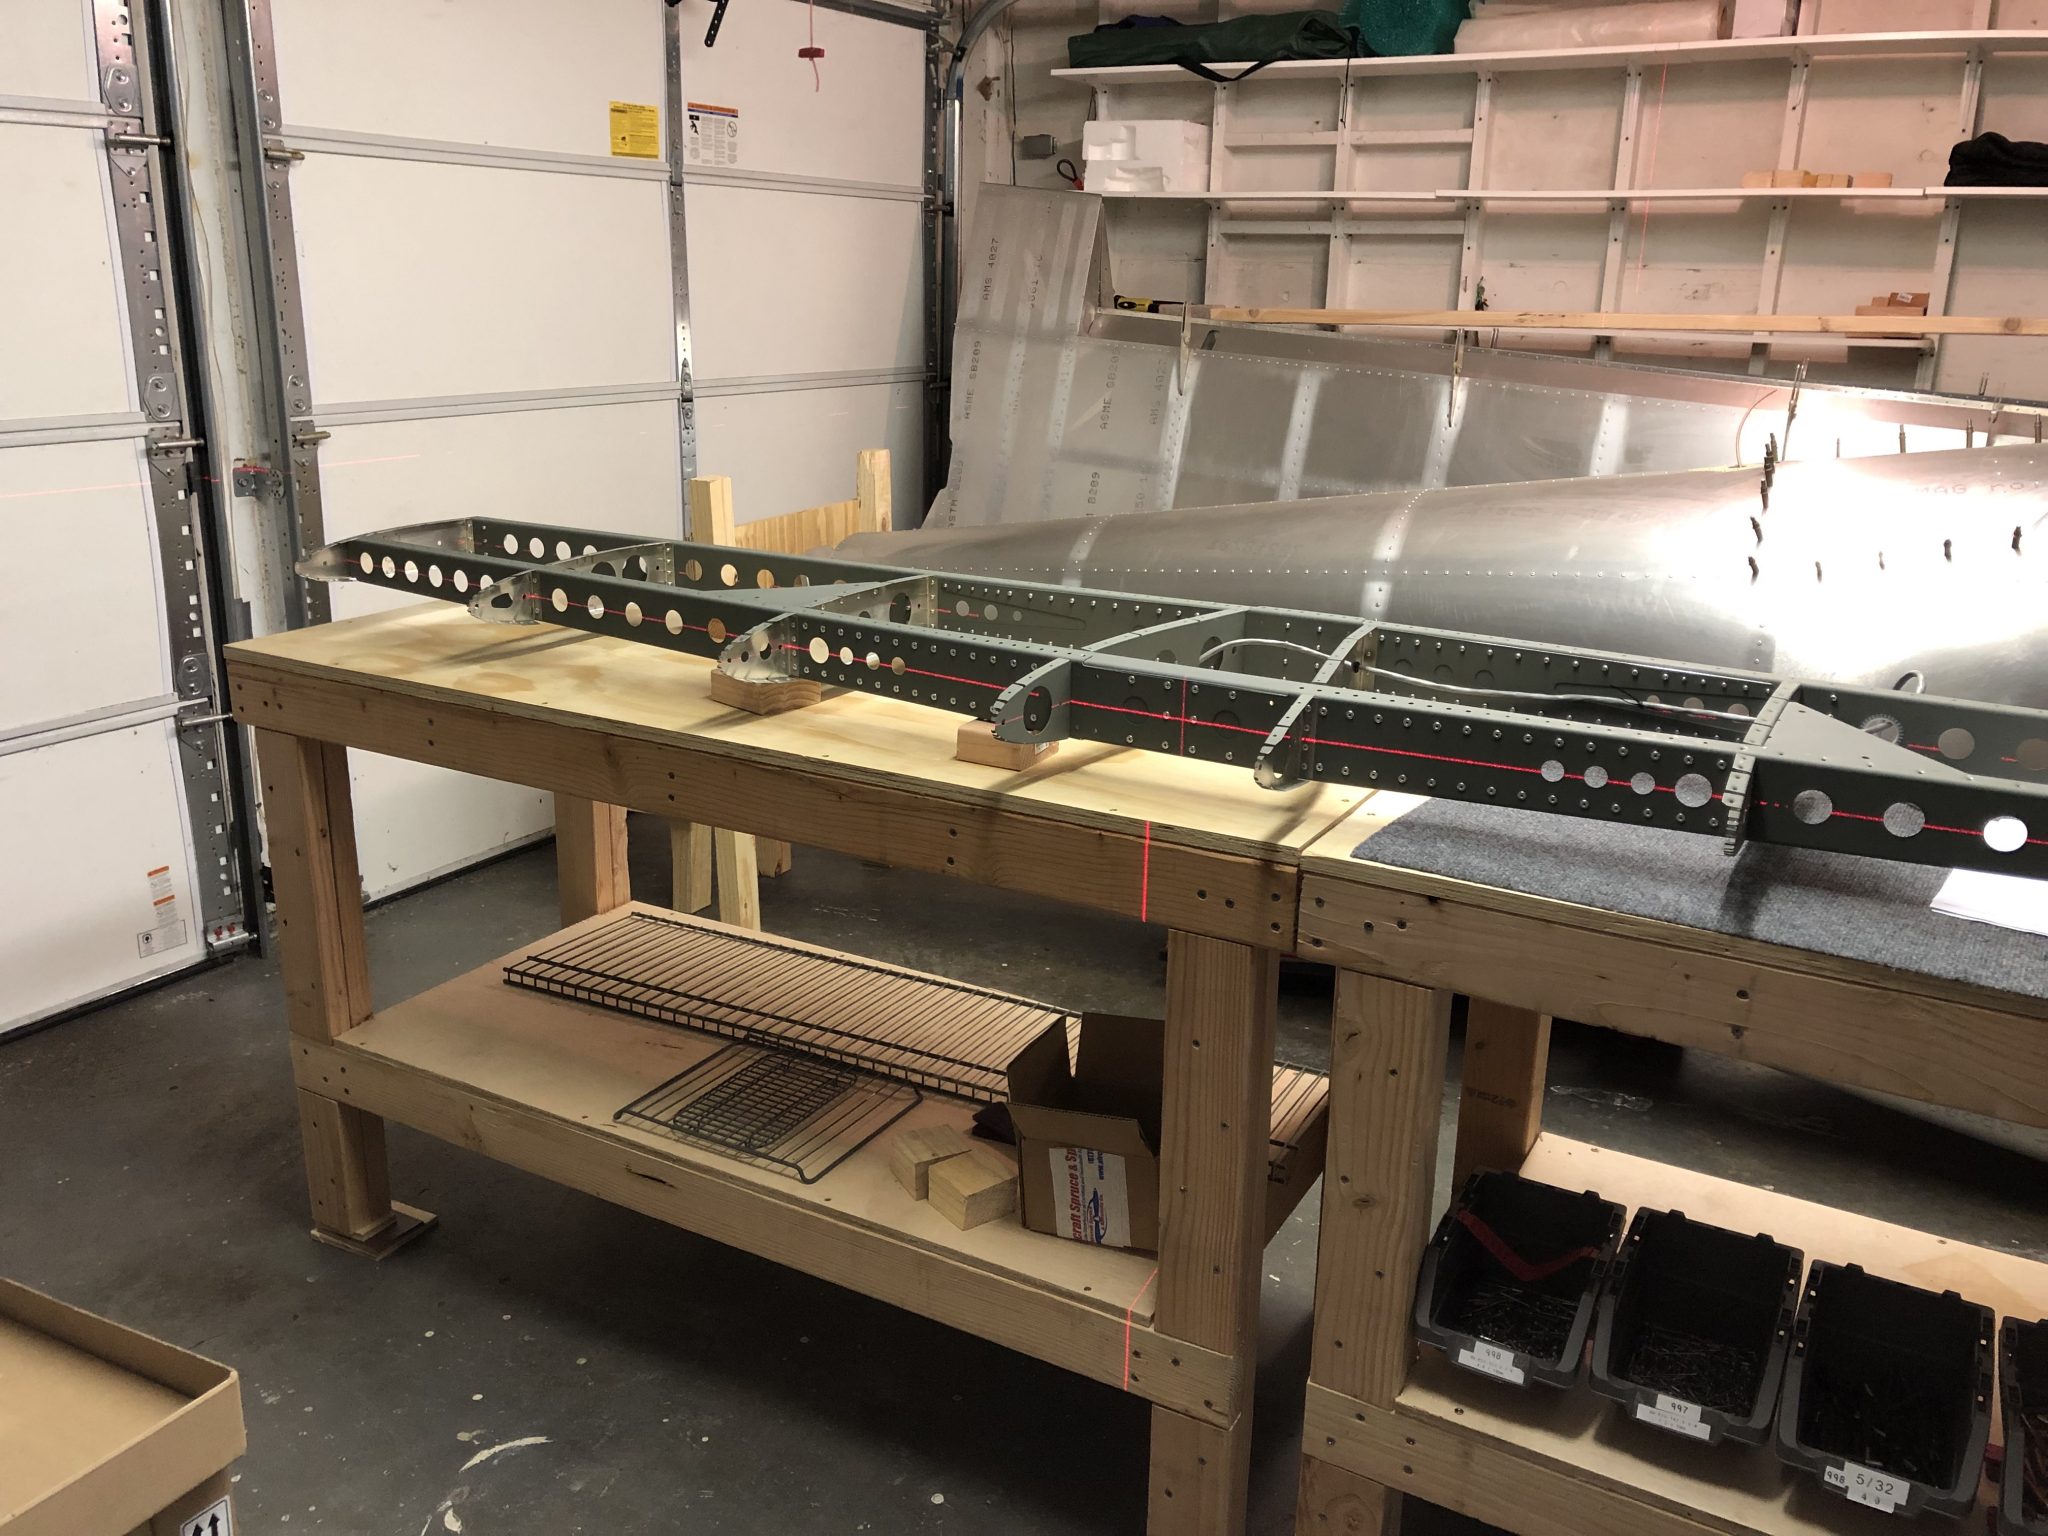
After I was done, I took off the skin one last time to clean out all the debris from the drilling and check and fix any burrs. After that it was time to put it back together again and do one last check for alignments before riveting using my self leveling laser level.
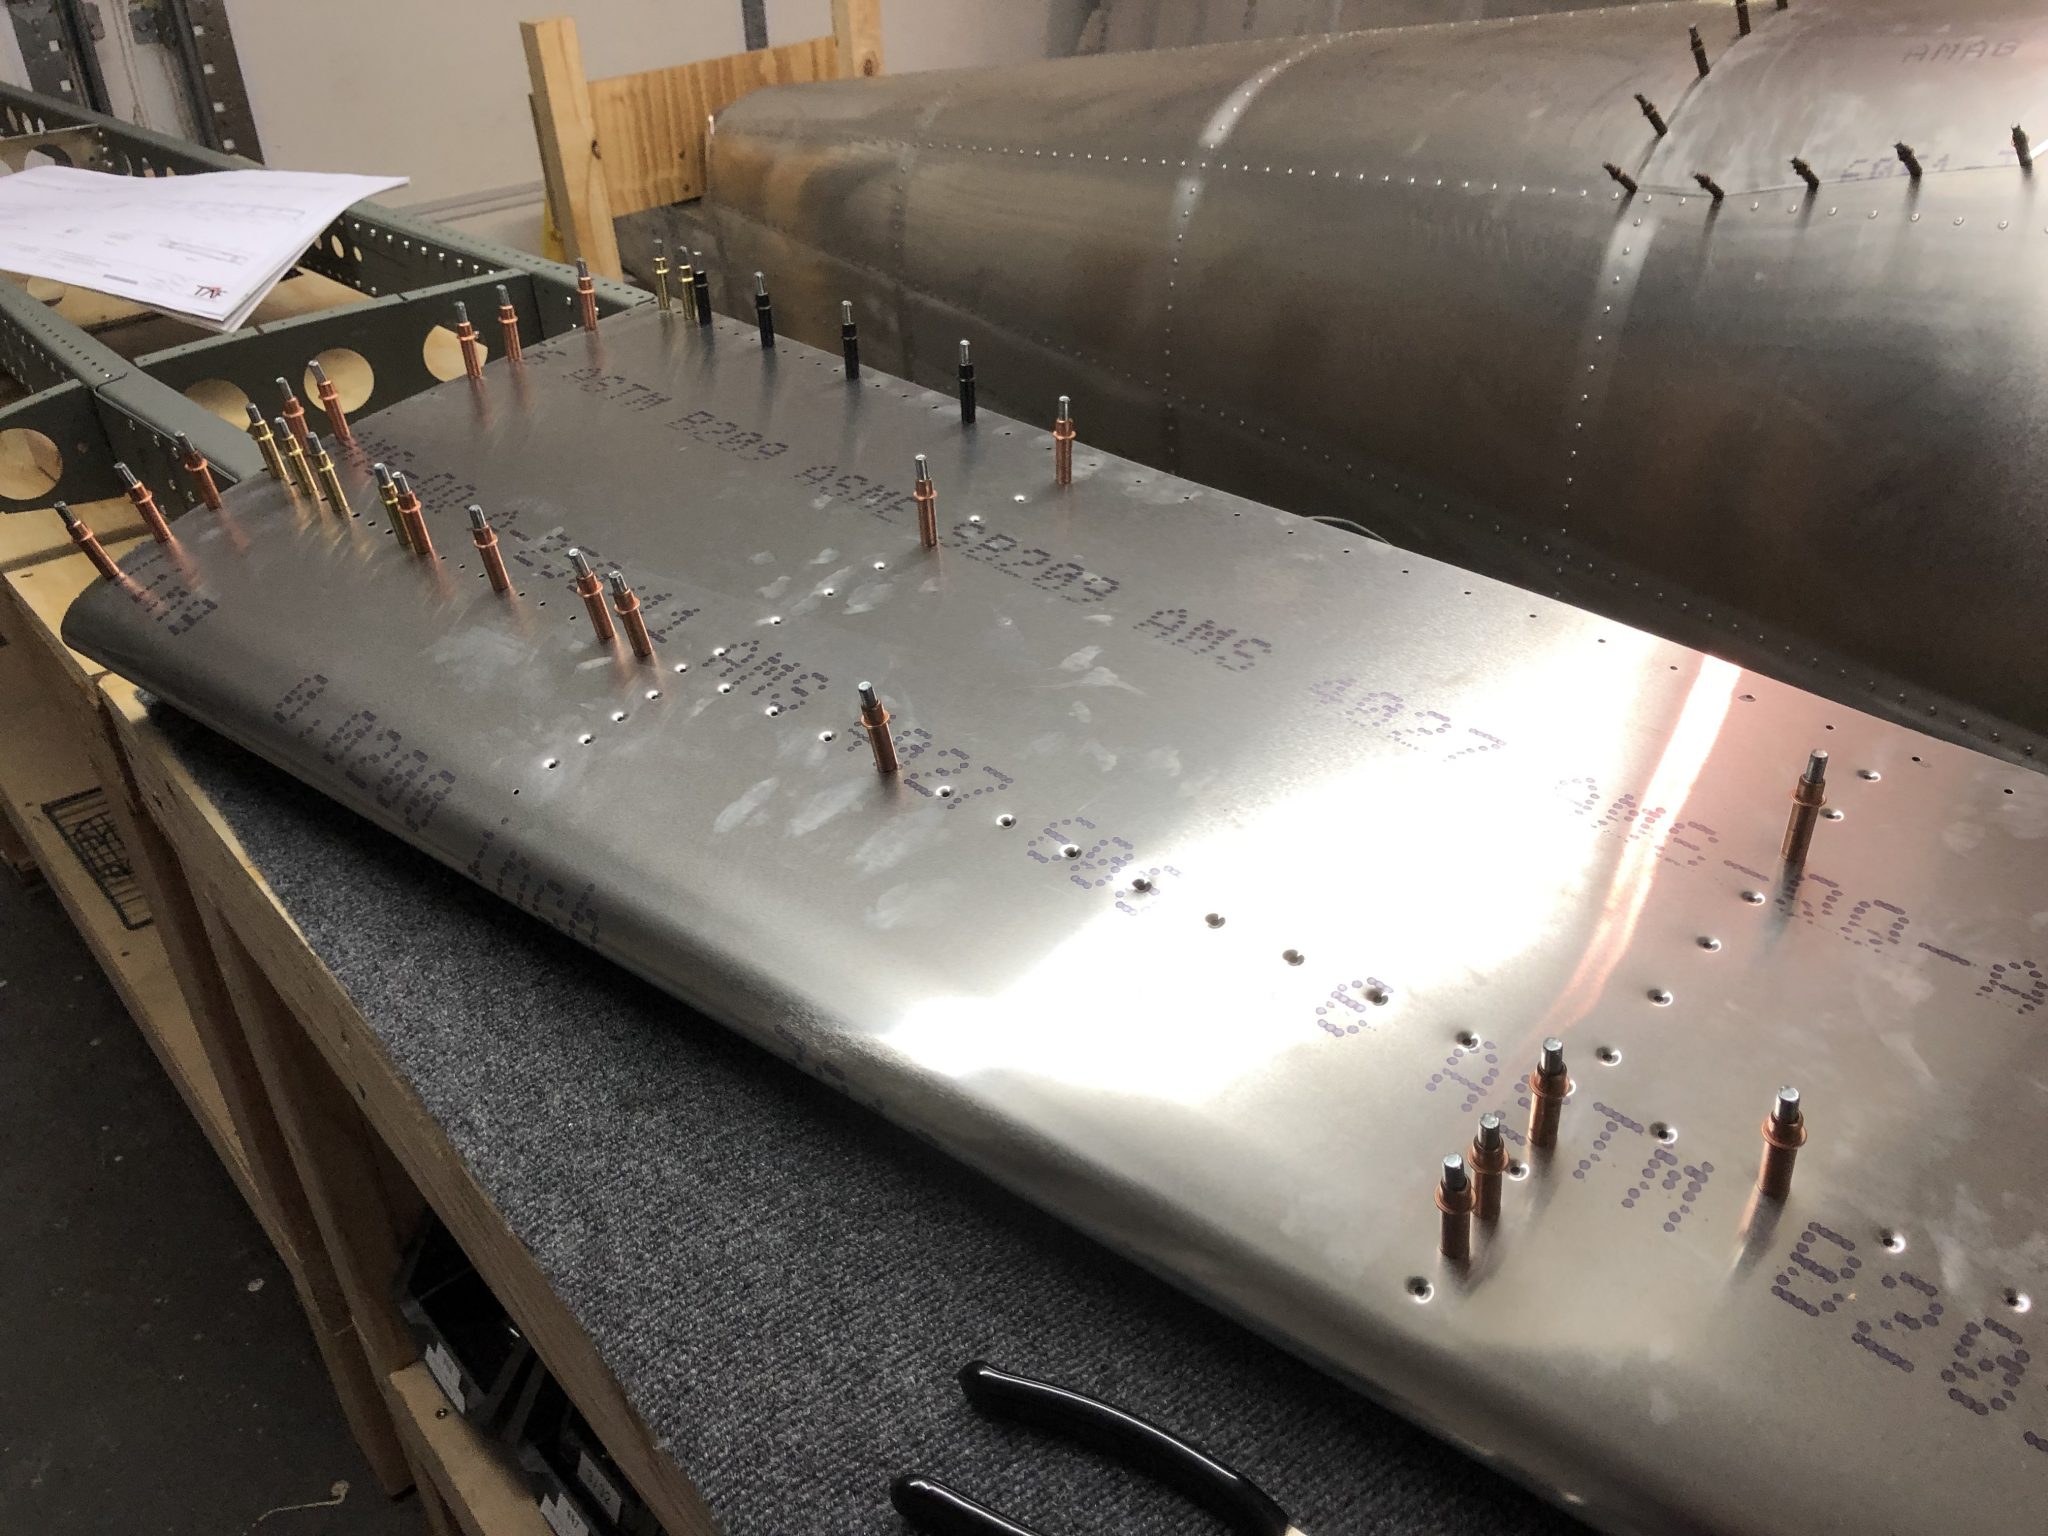
And then at last, time to start the riveting. I managed to finish the bottom of the right side, so 3 more sides to go next time.
Starting the riveting of the bottom right side of the Horizontal Stabilizer
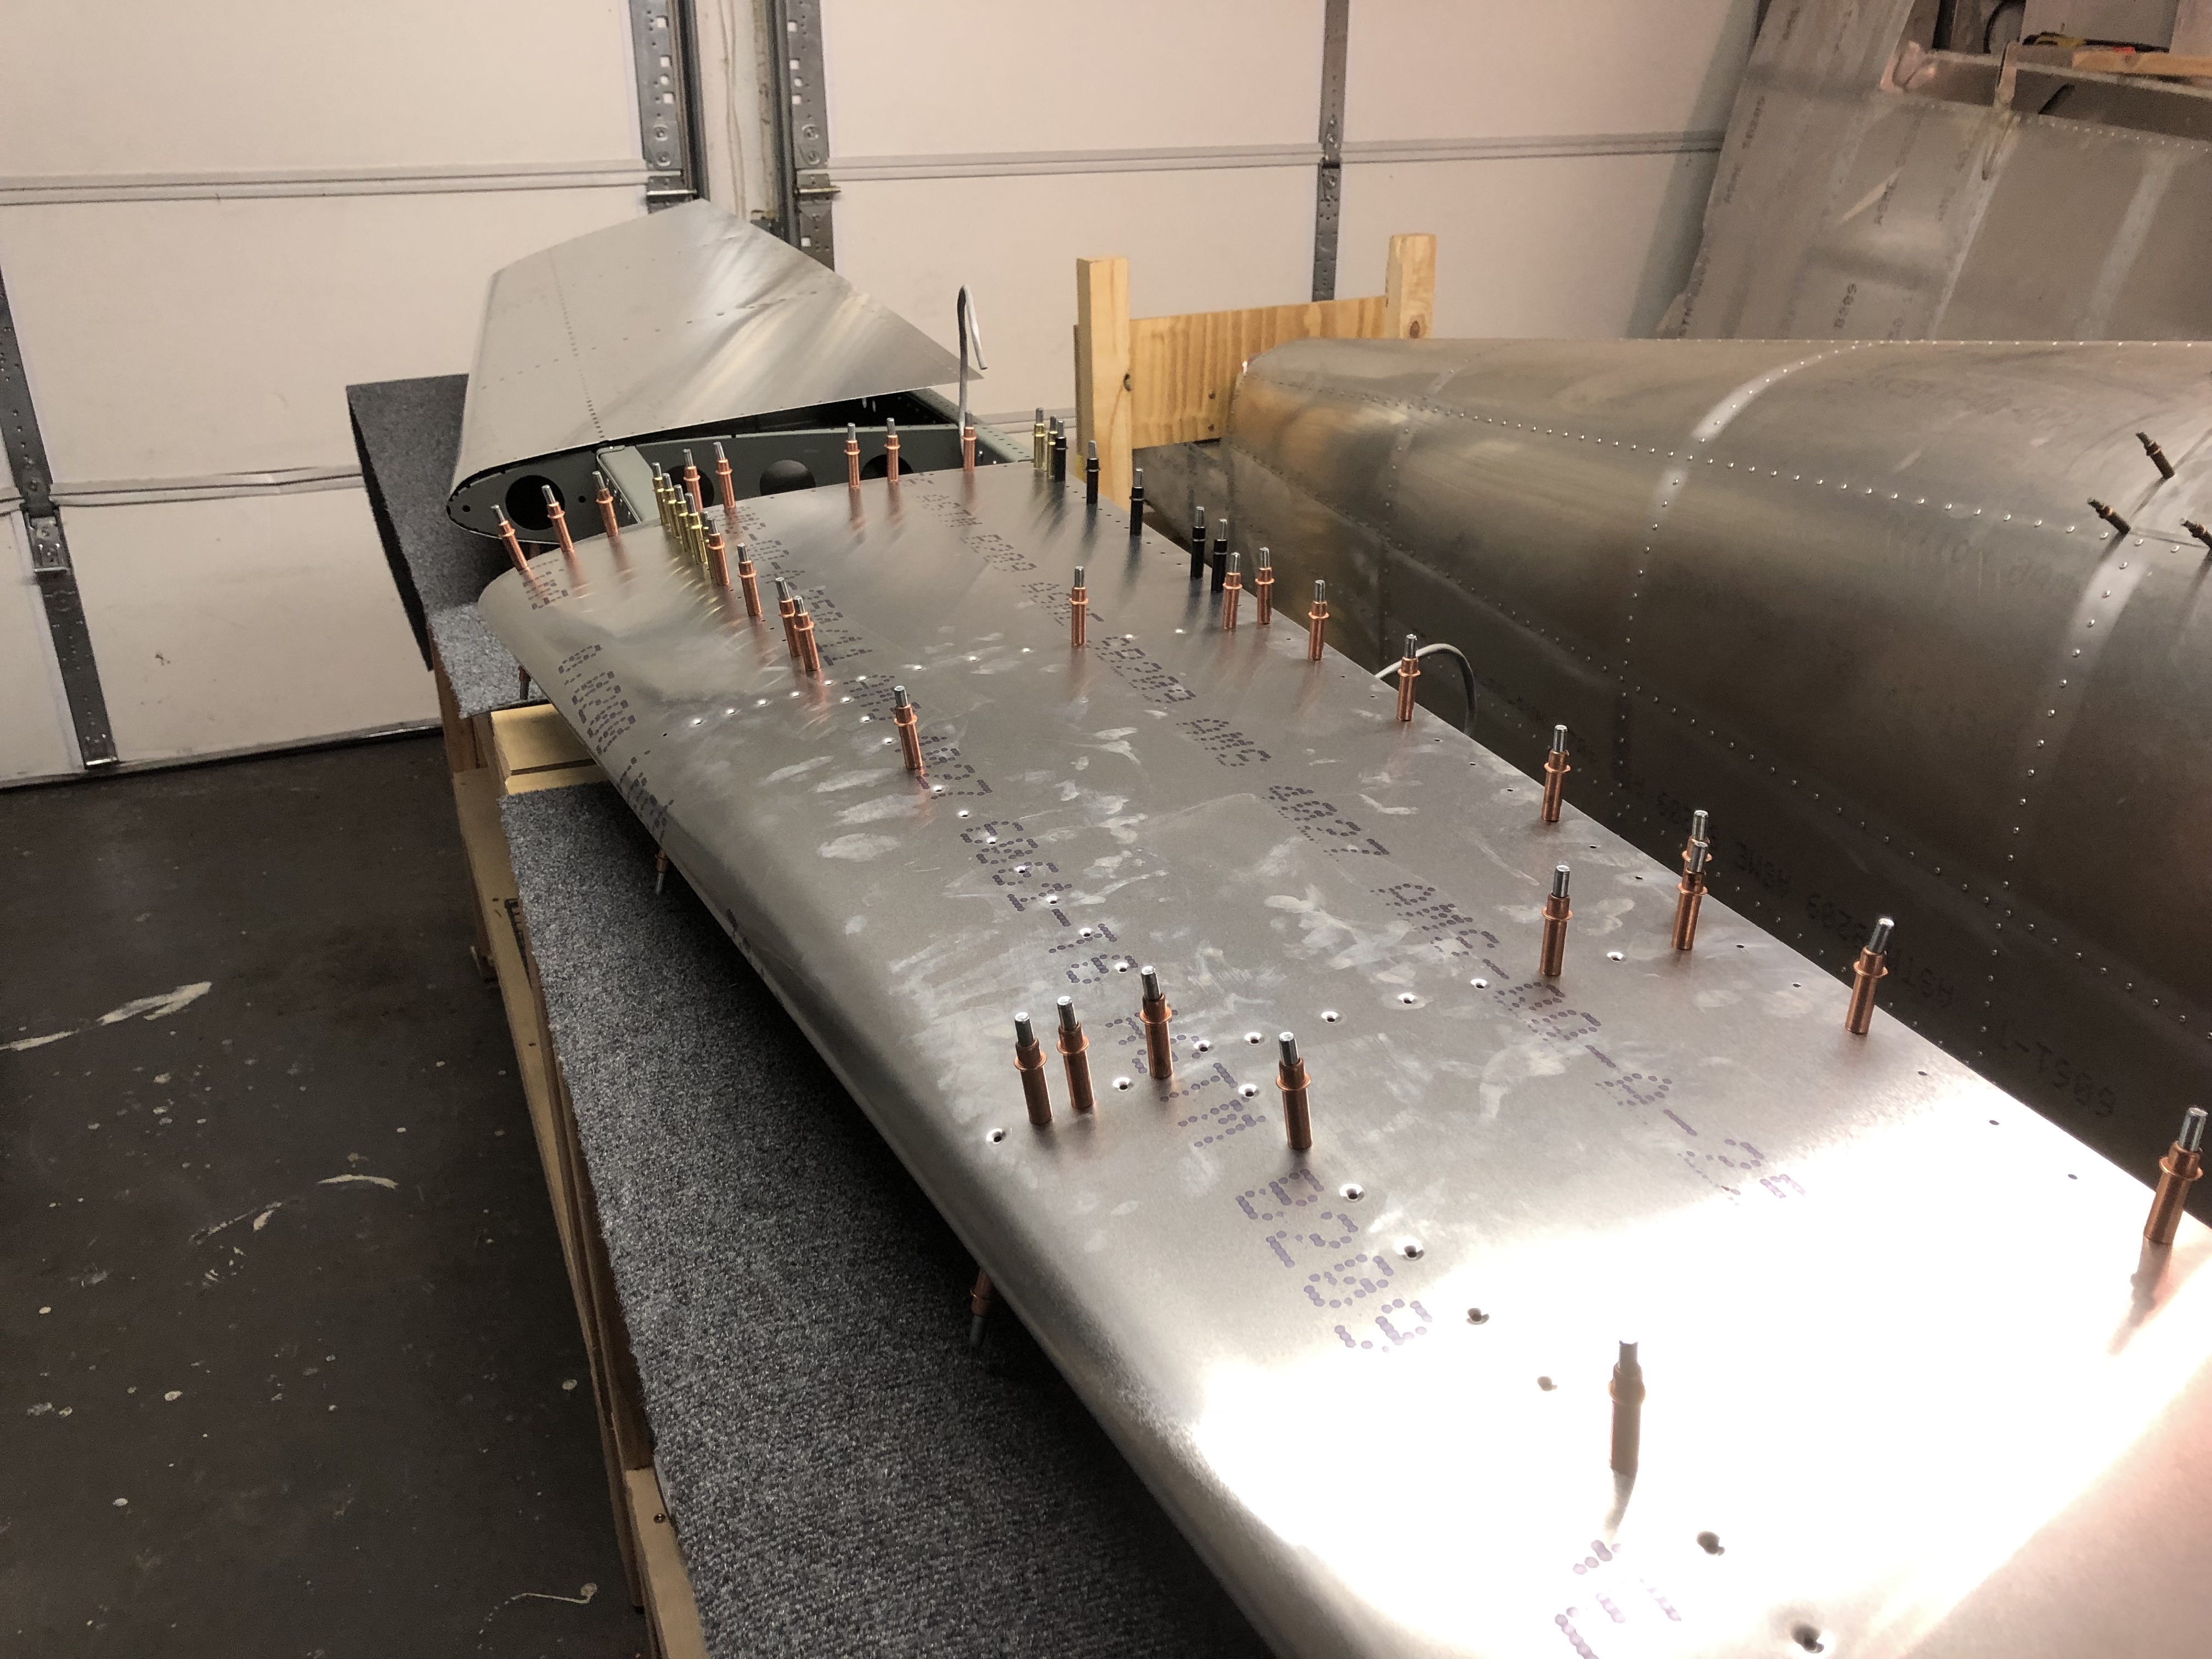
Riveting the bottom right side of the Horizontal Stabilizer Skin
Riveting of the bottom right side of the Horizontal Stabilizer
Finished riveting the bottom right side of the Horizontal Stabilizer
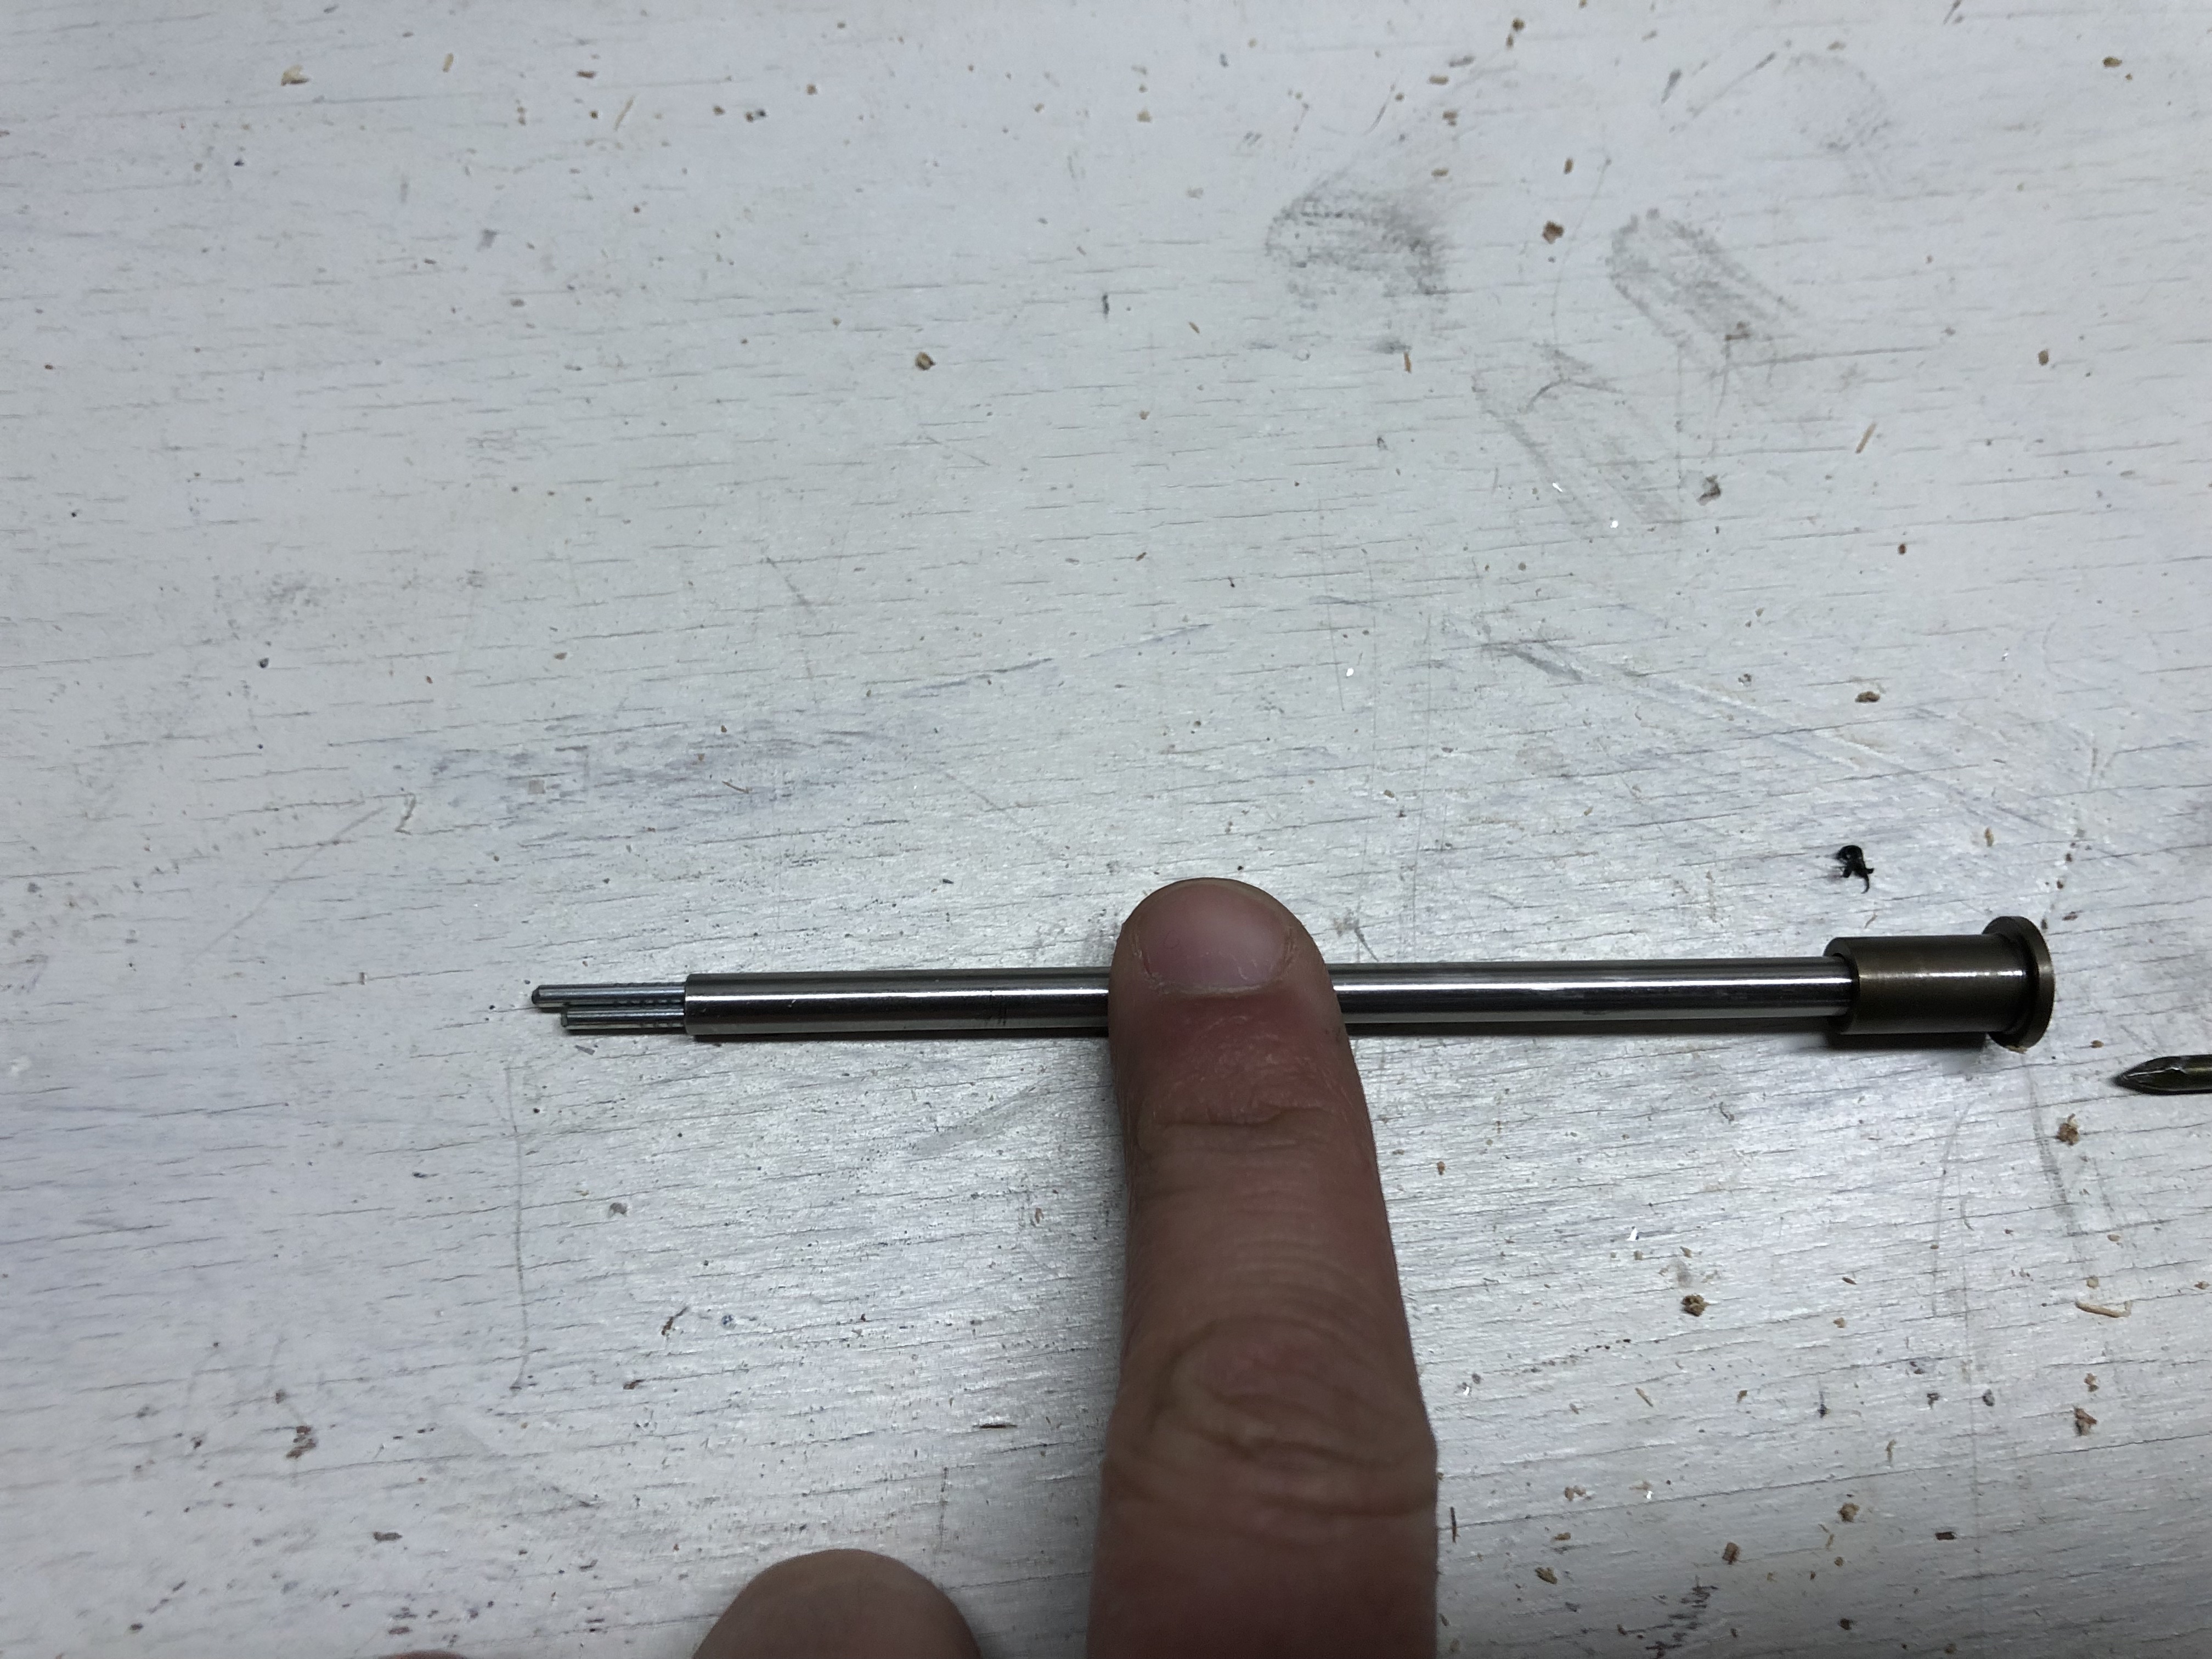
One small problem I encountered while doing the riveting was, that because I was riveting straight down, it happened twice that some of the mandrels of the 3.2 mm rivets got stuck in the rivet gun, so I had to take it apart and push/pull out the mandrels.
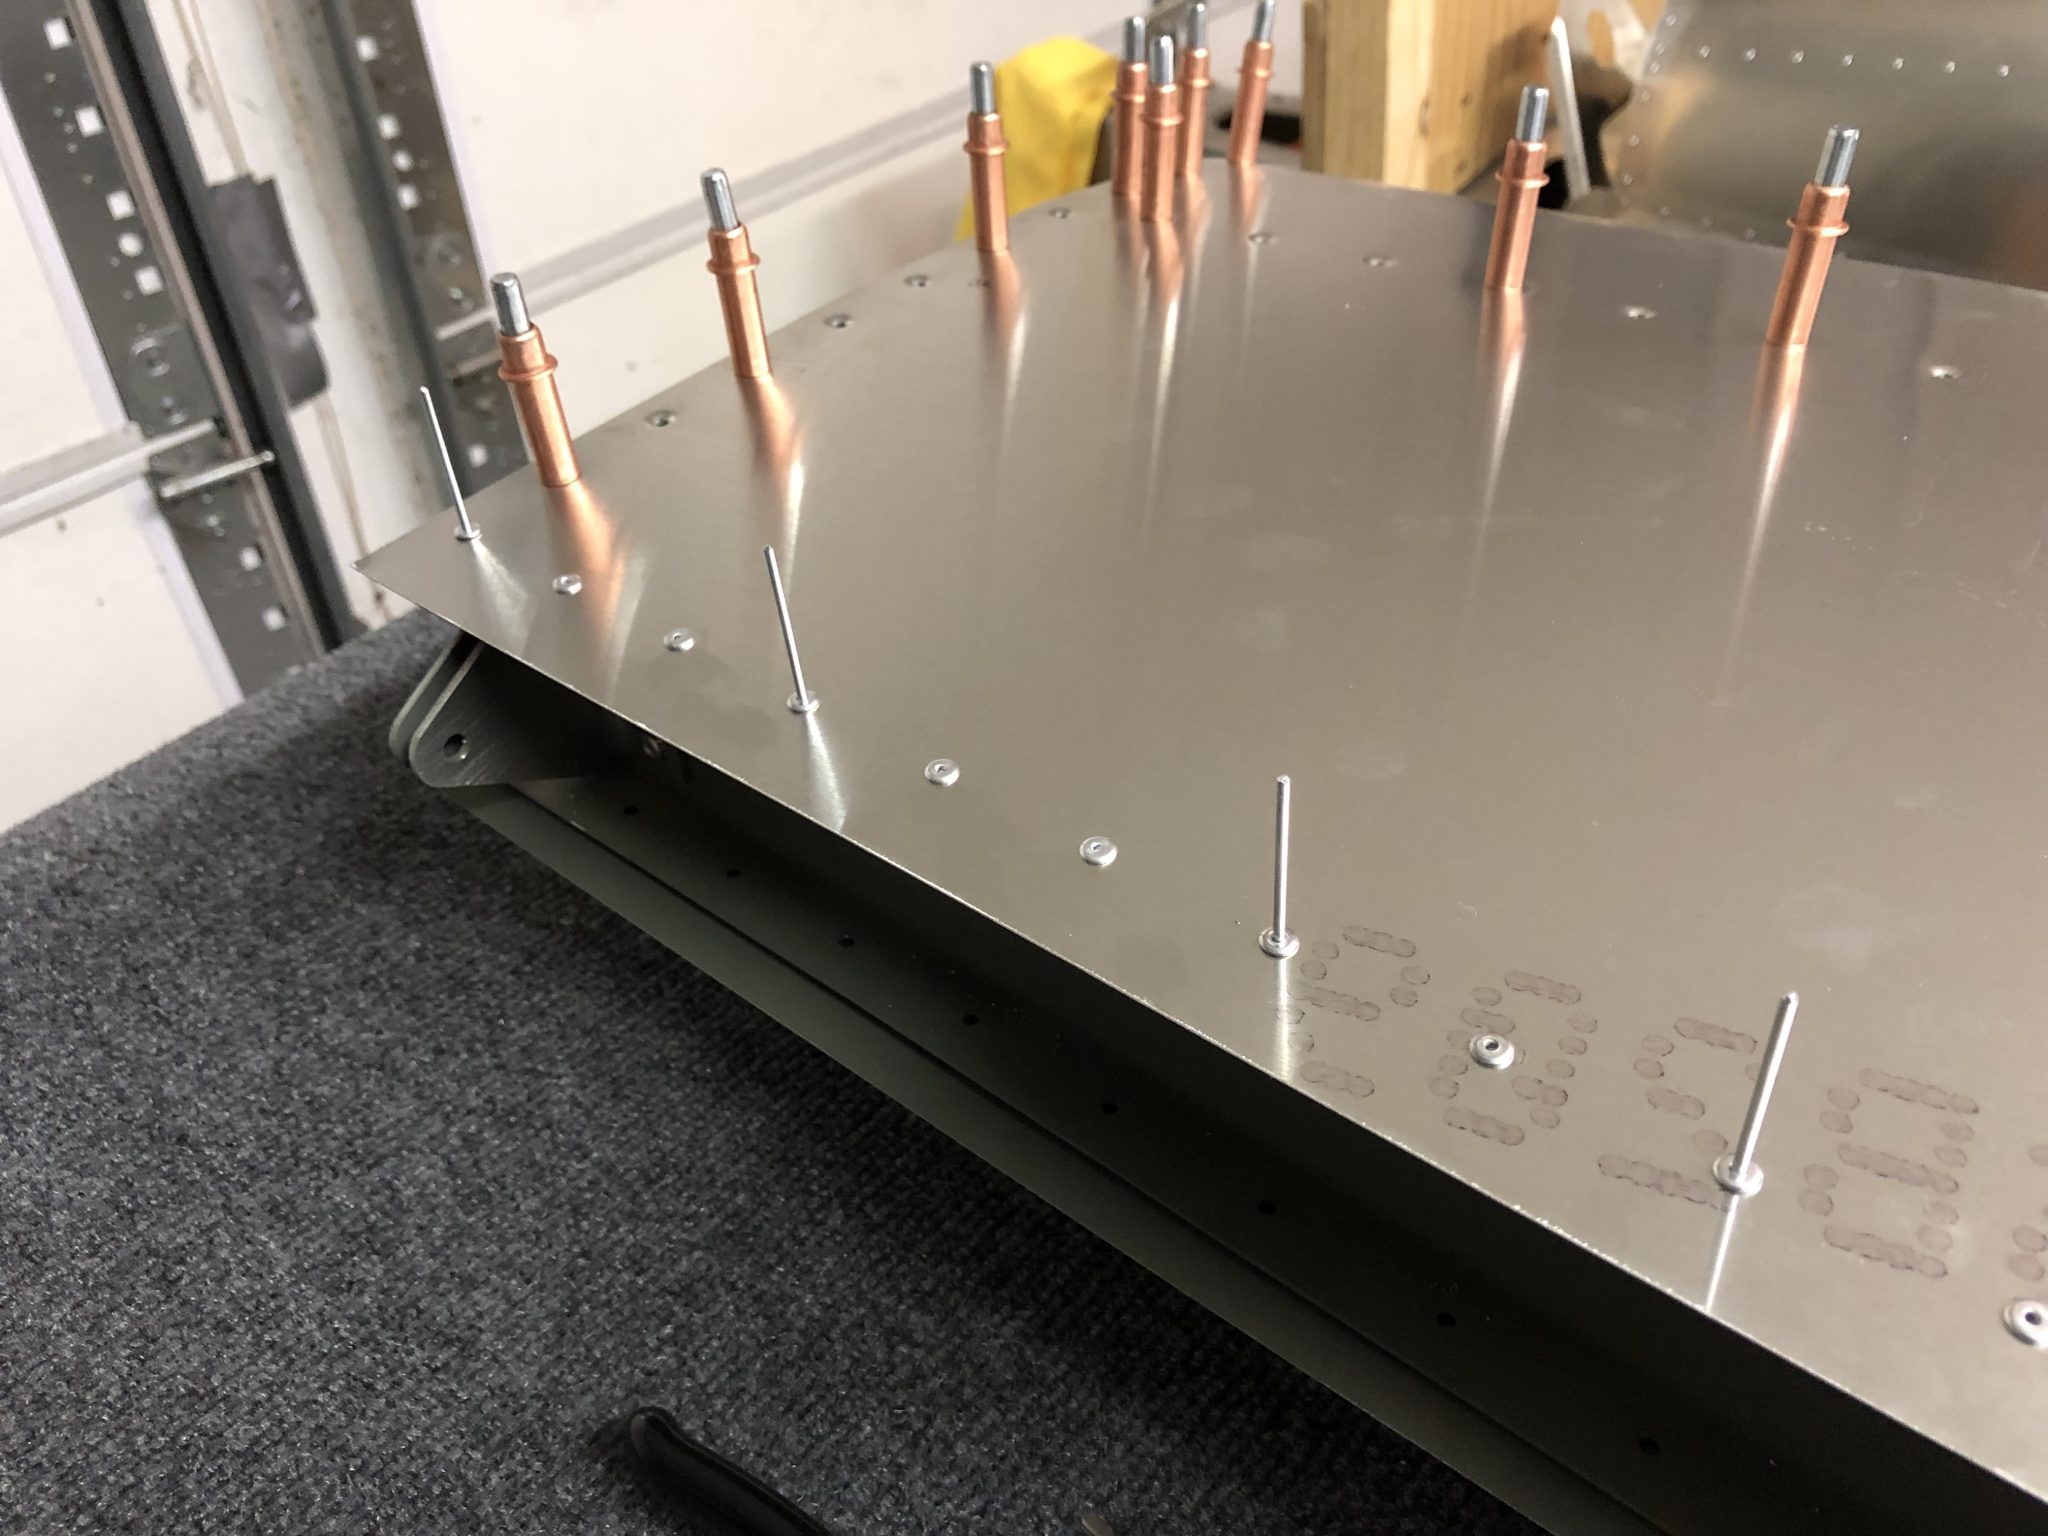
Today I was working on fitting the skin onto the Horizontal Stabilizer. It took a lot of clecos to align everything, but eventually it all came together well on both sides. The next step will be to match-drill up the dimpled holes as per the instructions.
The design for the dimples is such that the holes are drilled slightly smaller than the final size. Then they get dimpled and then you assemble everything to fit it together and finally match-drill up the dimpled holes to the final size.
I will post another timelapse video of the whole process once I’m done with the drilling and riveting.
Countersinking experiment
Why it’s important to use a 120 degree countersink pilot for pull rivets
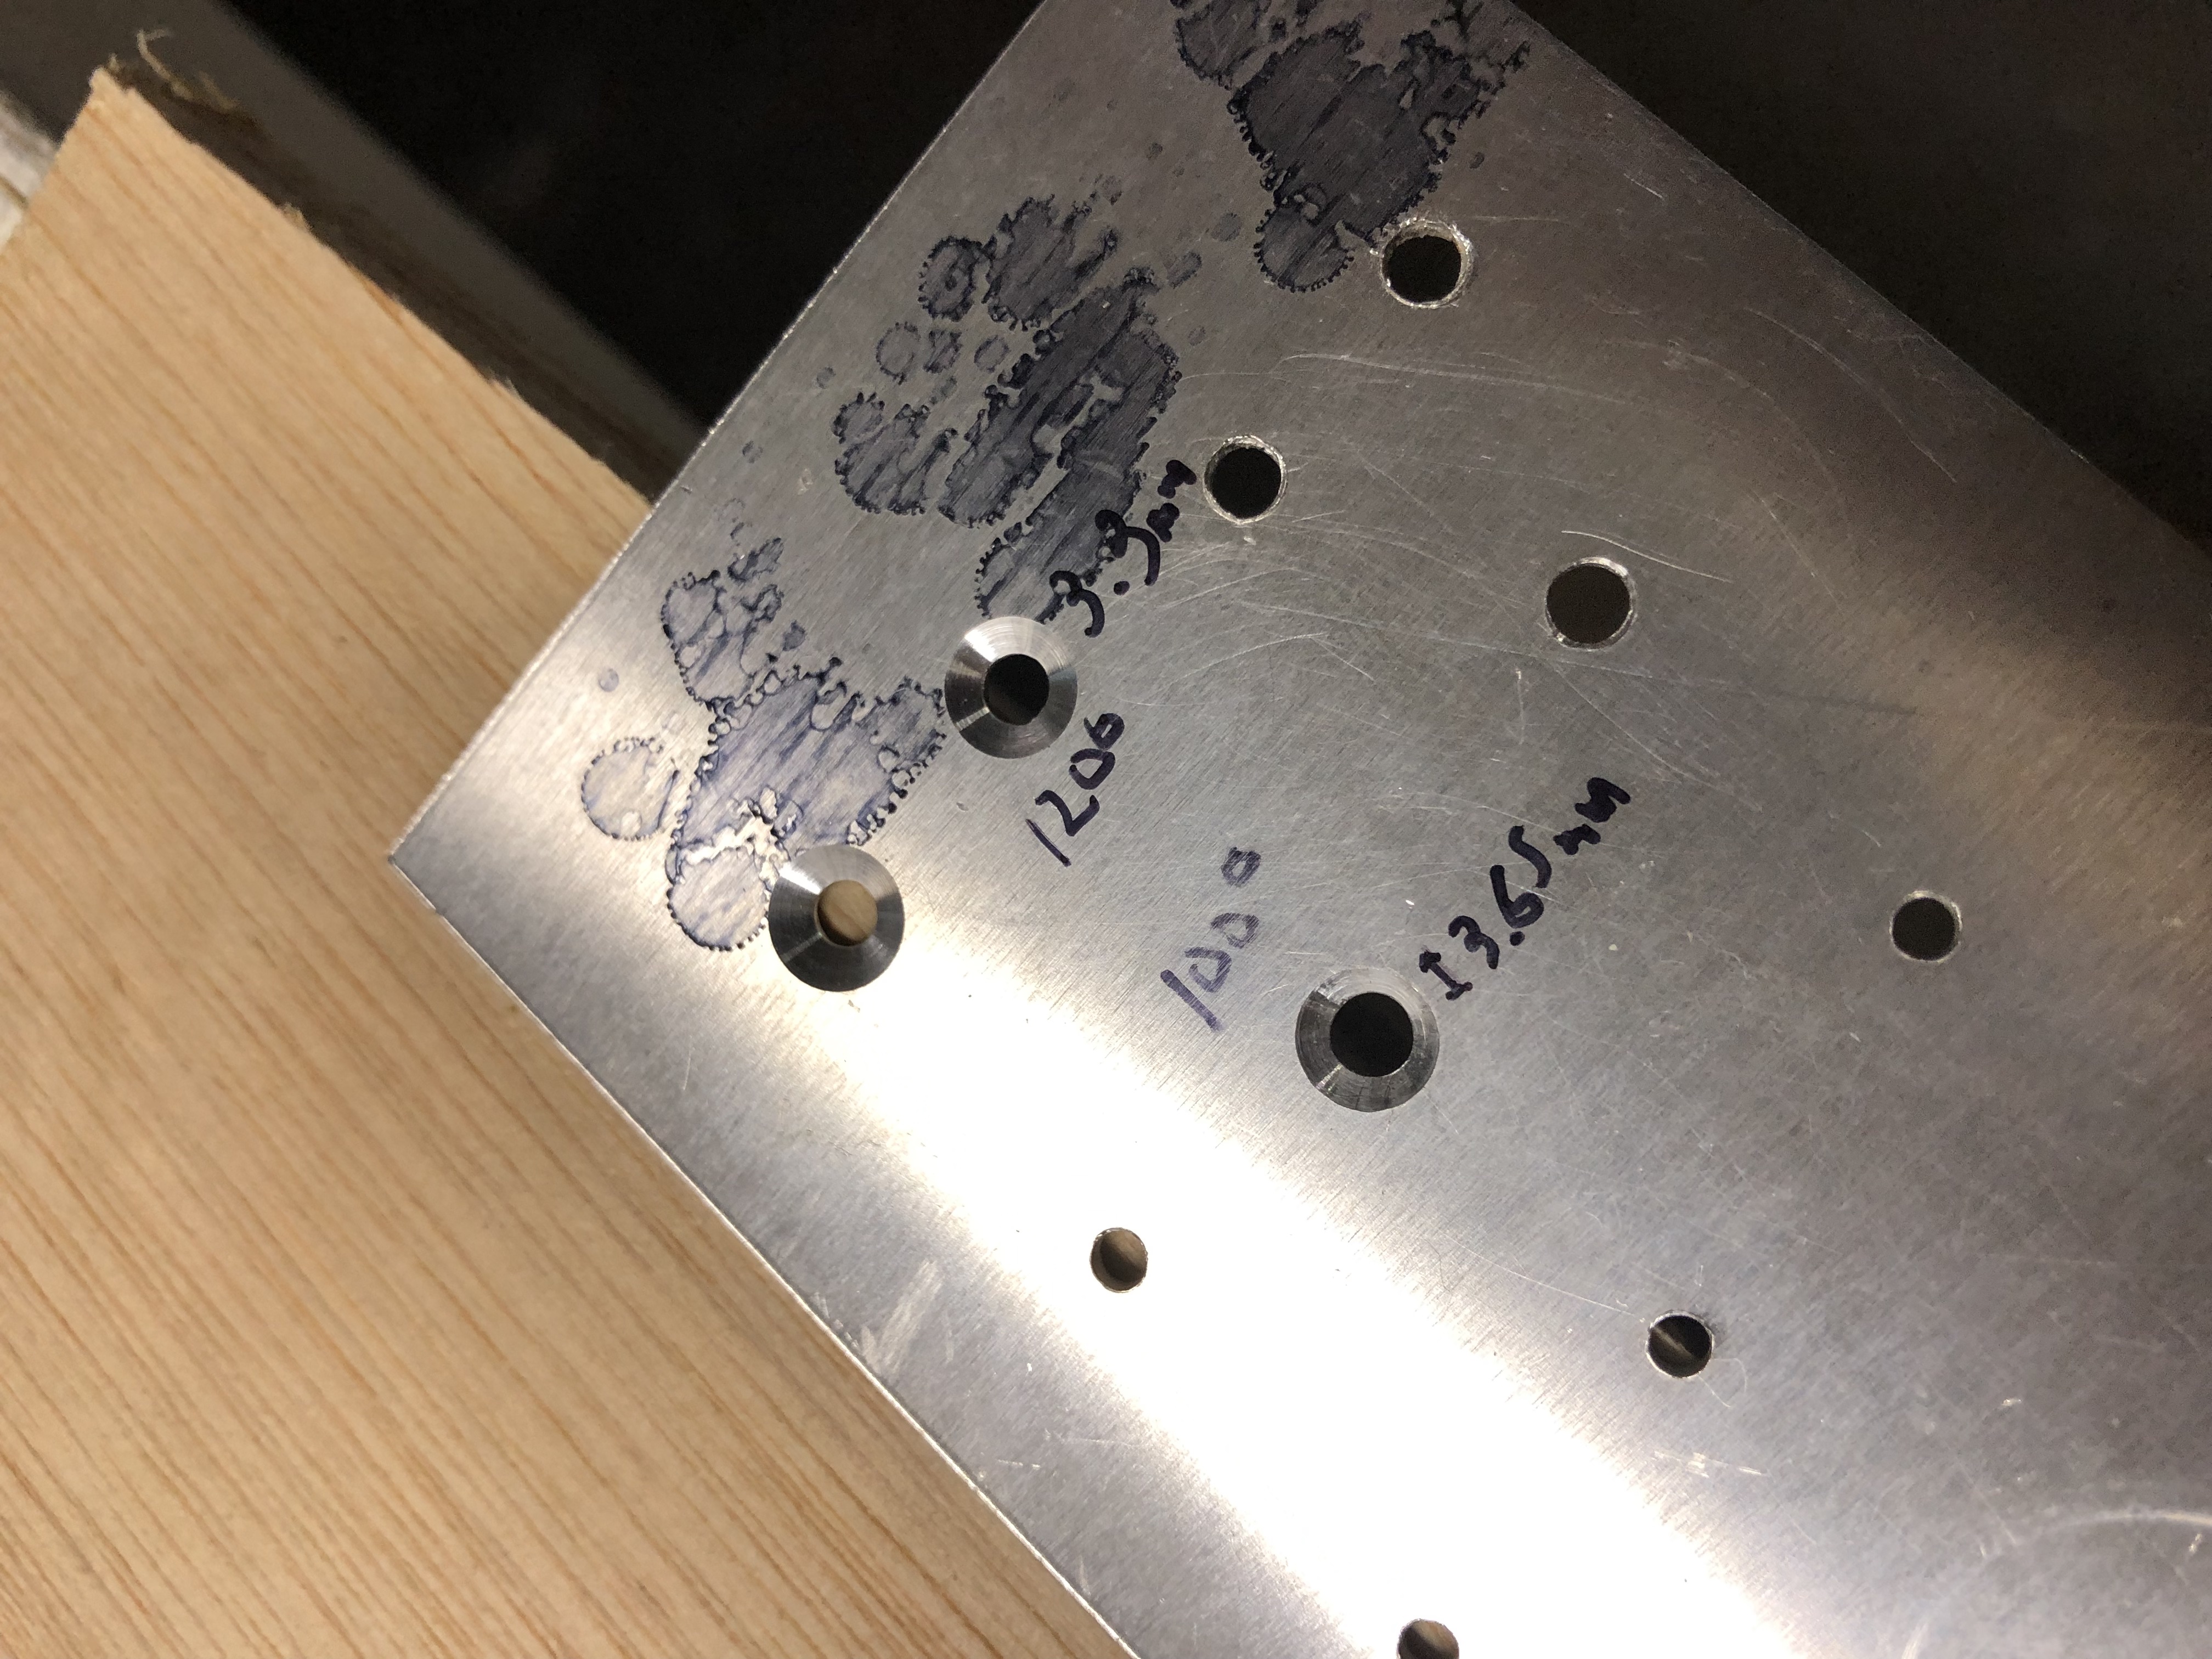
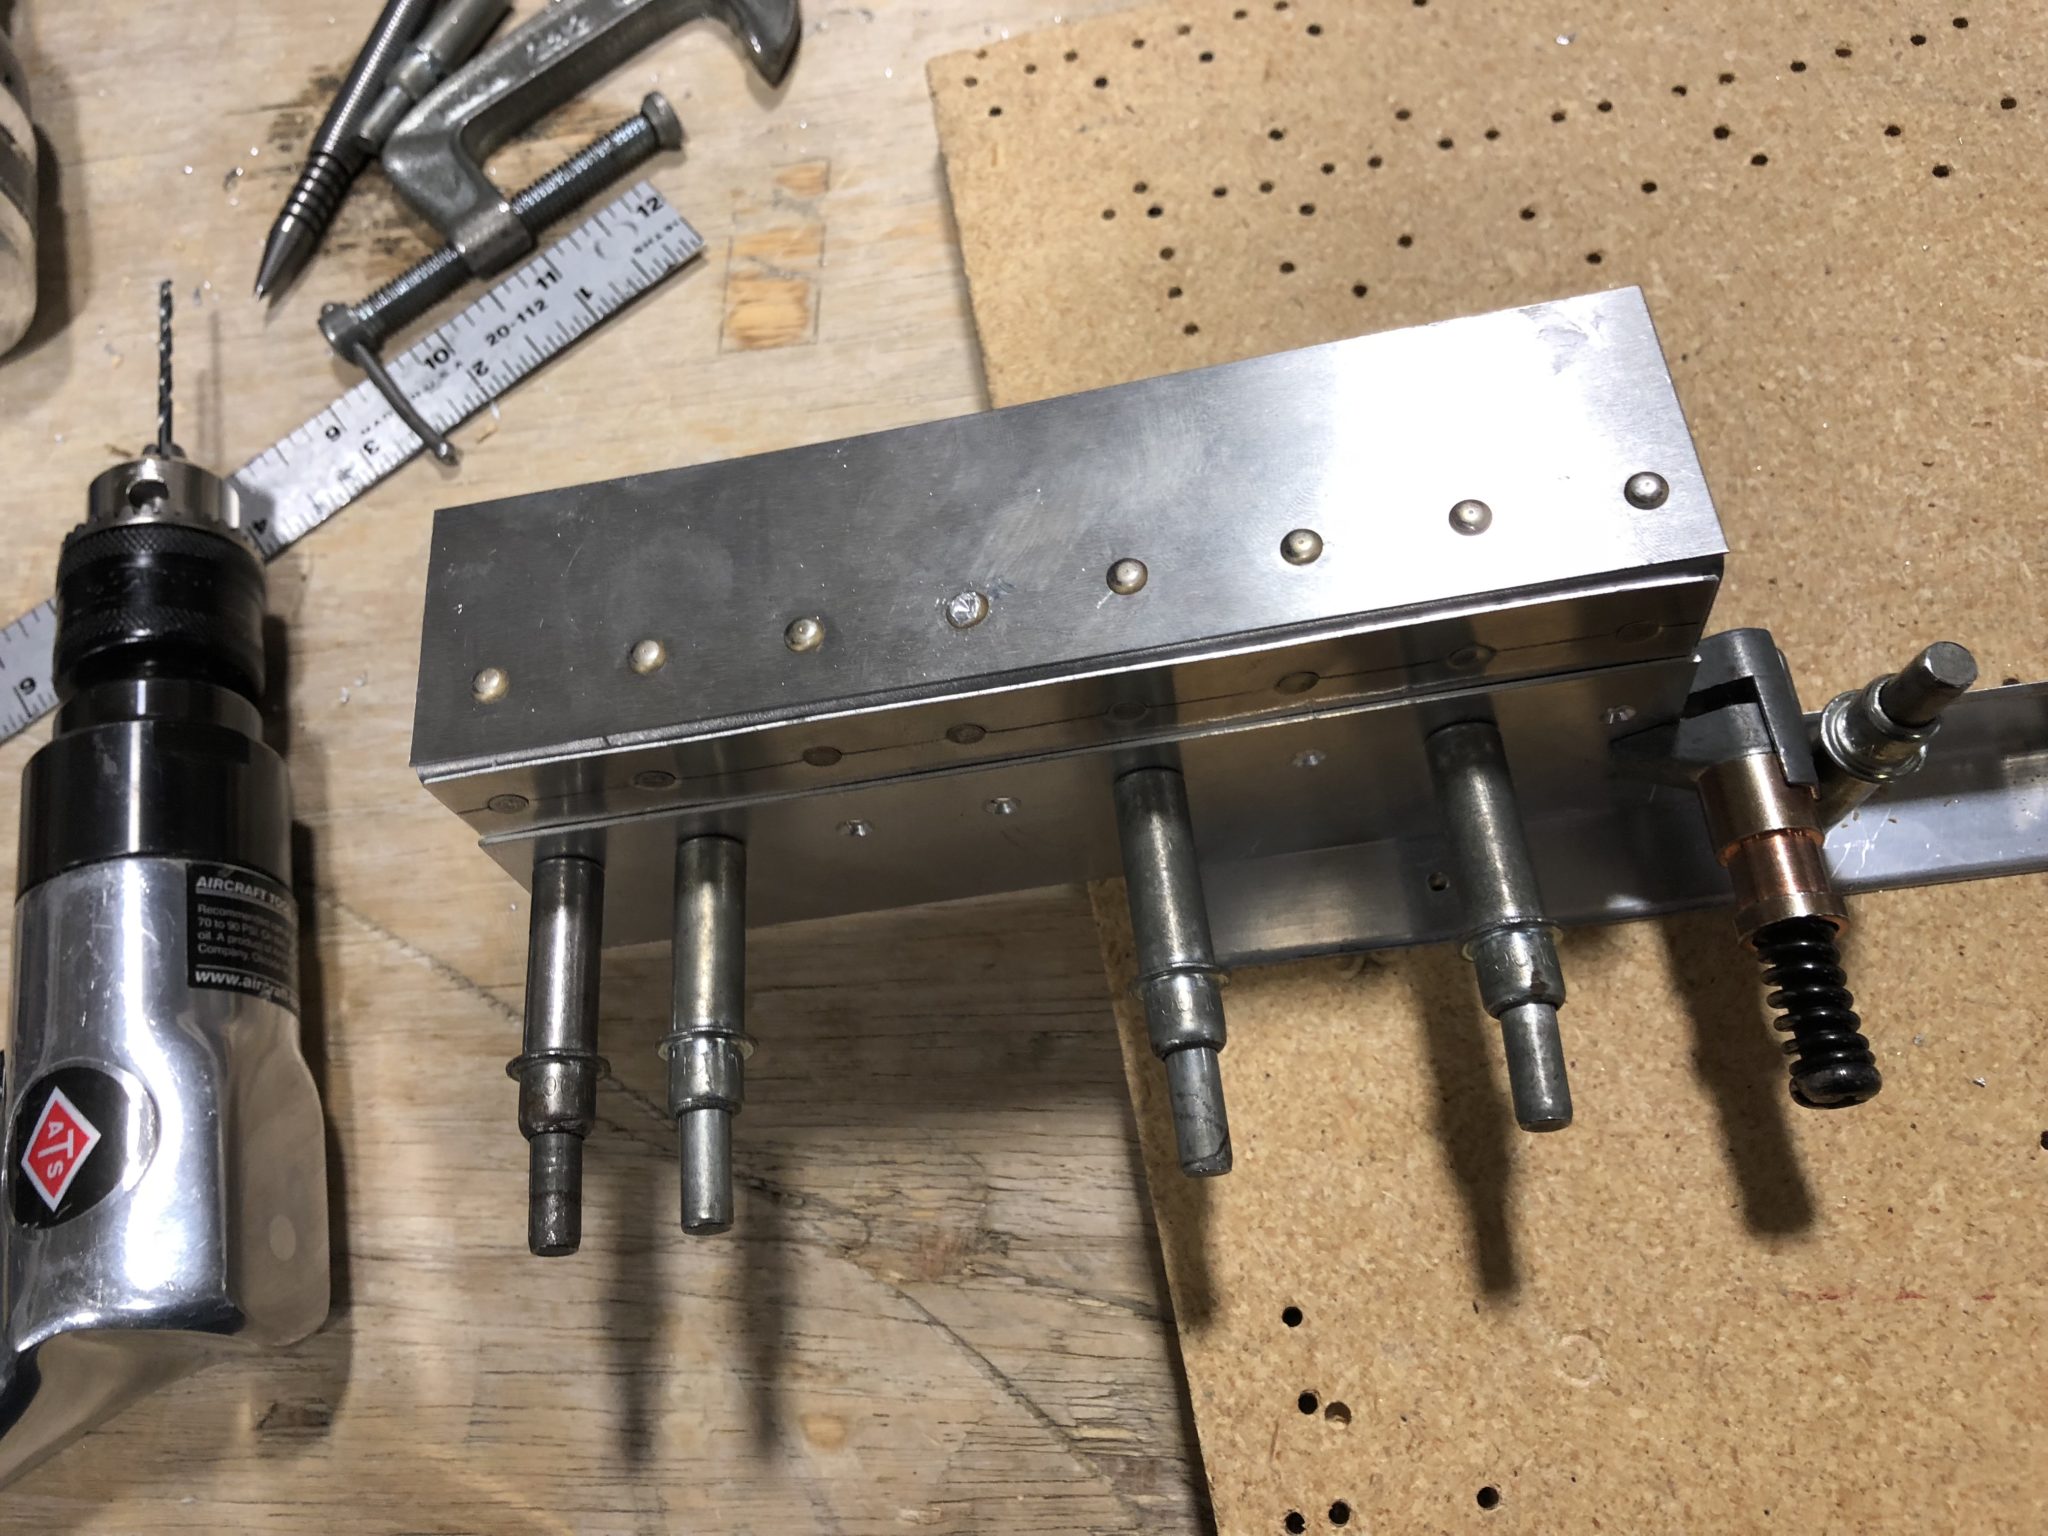
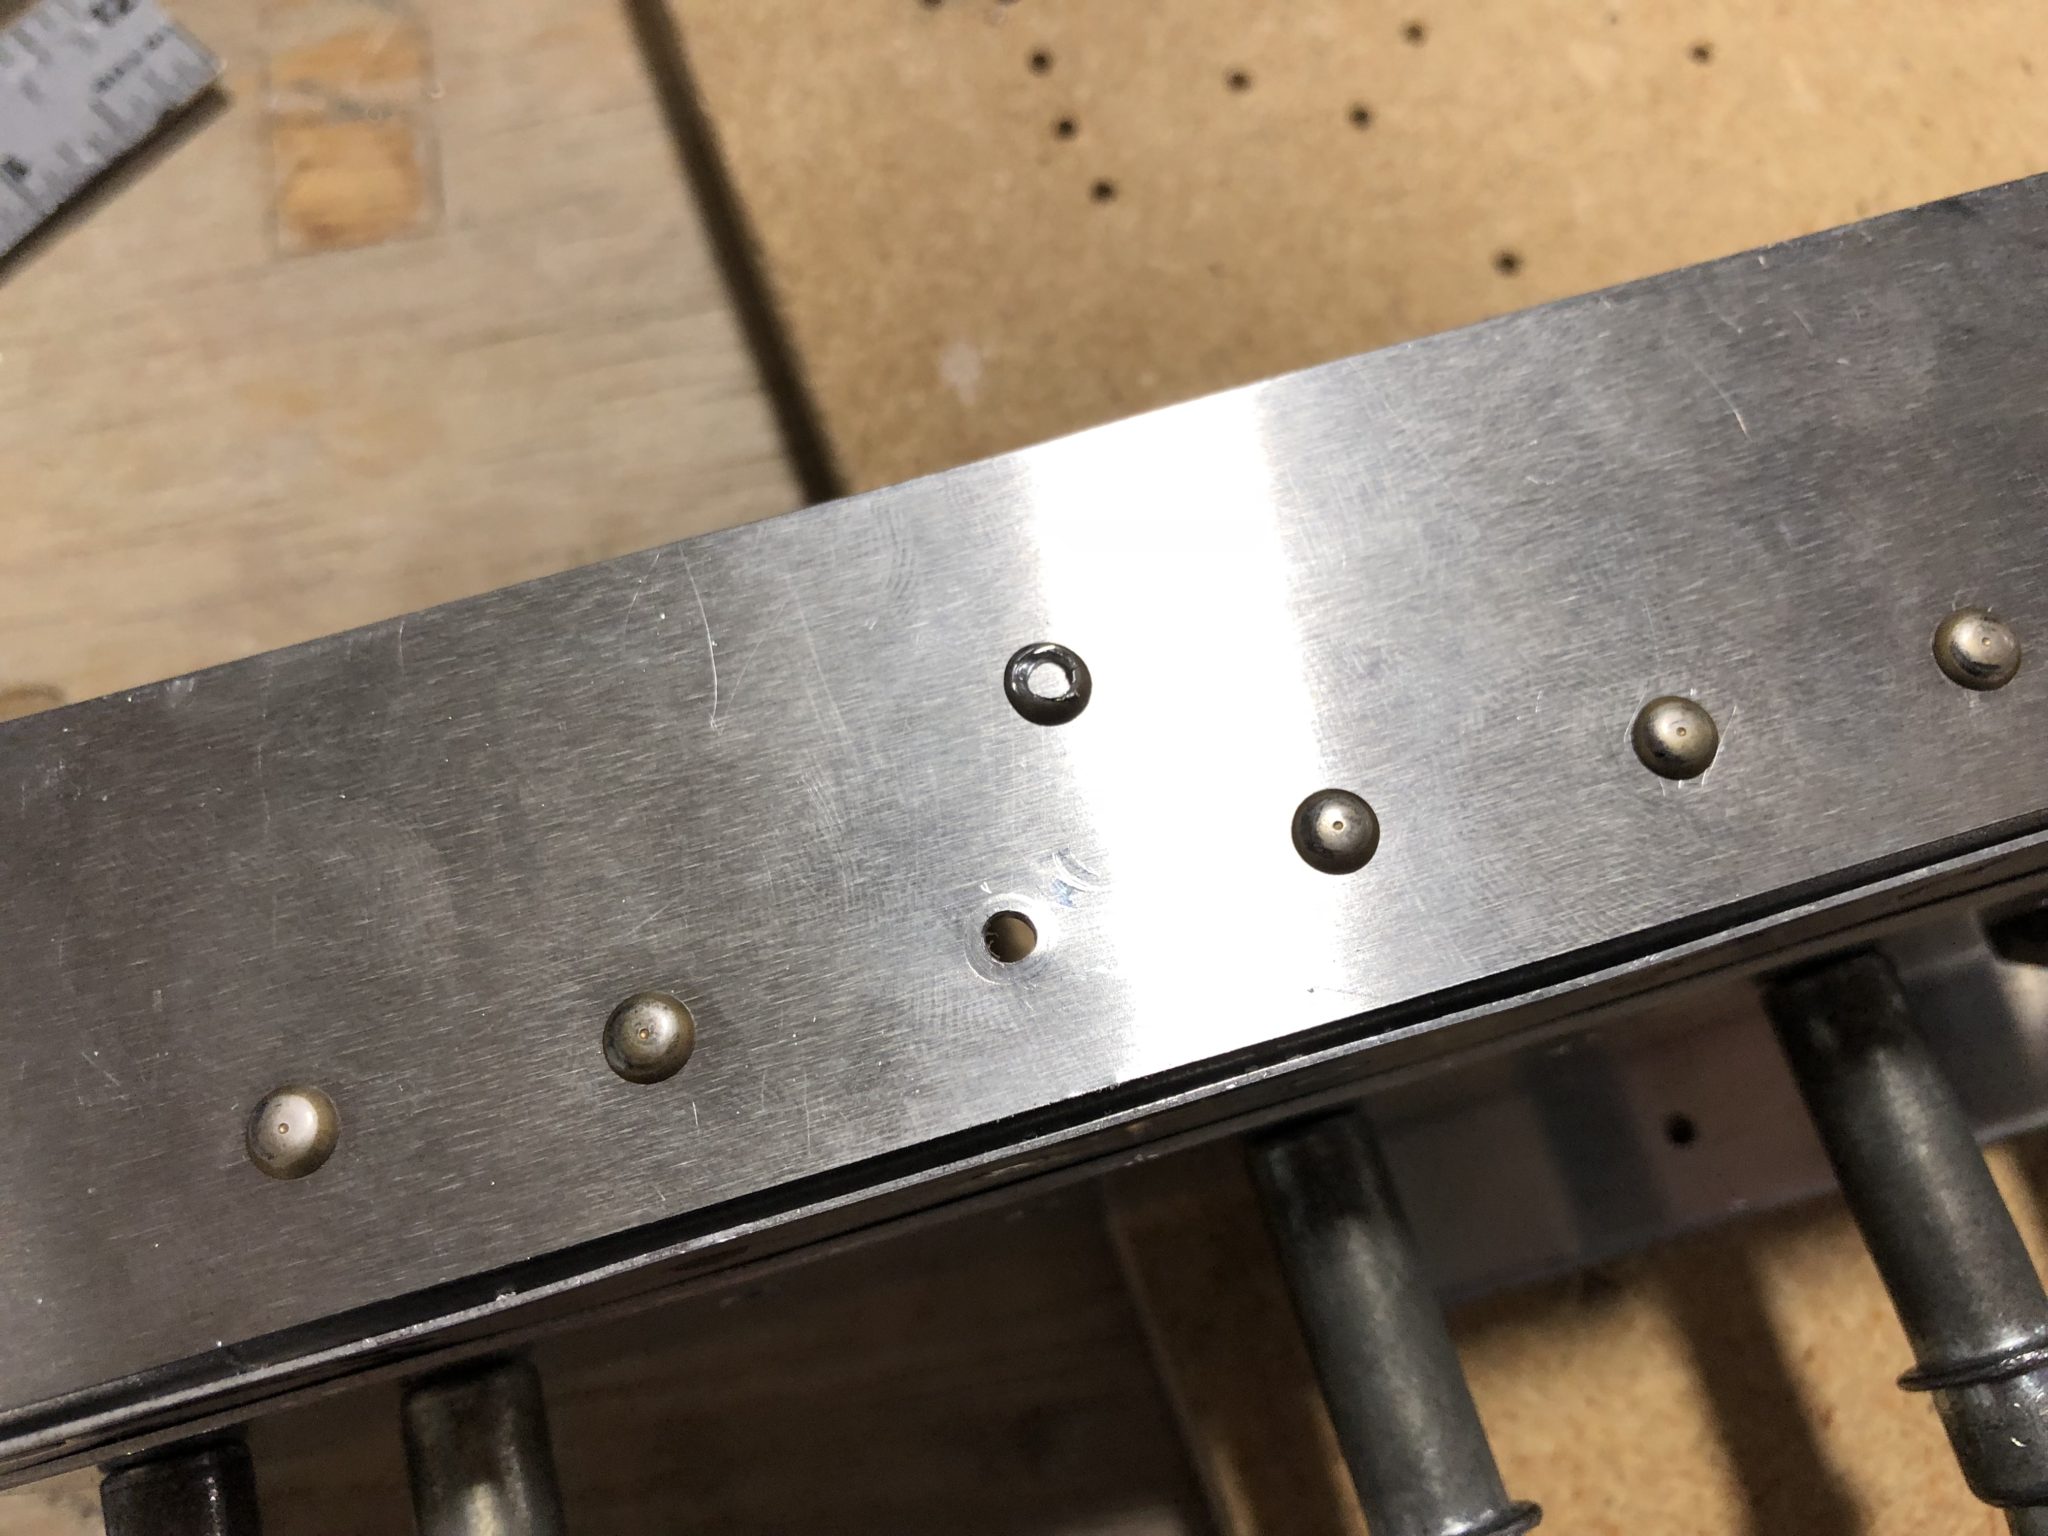
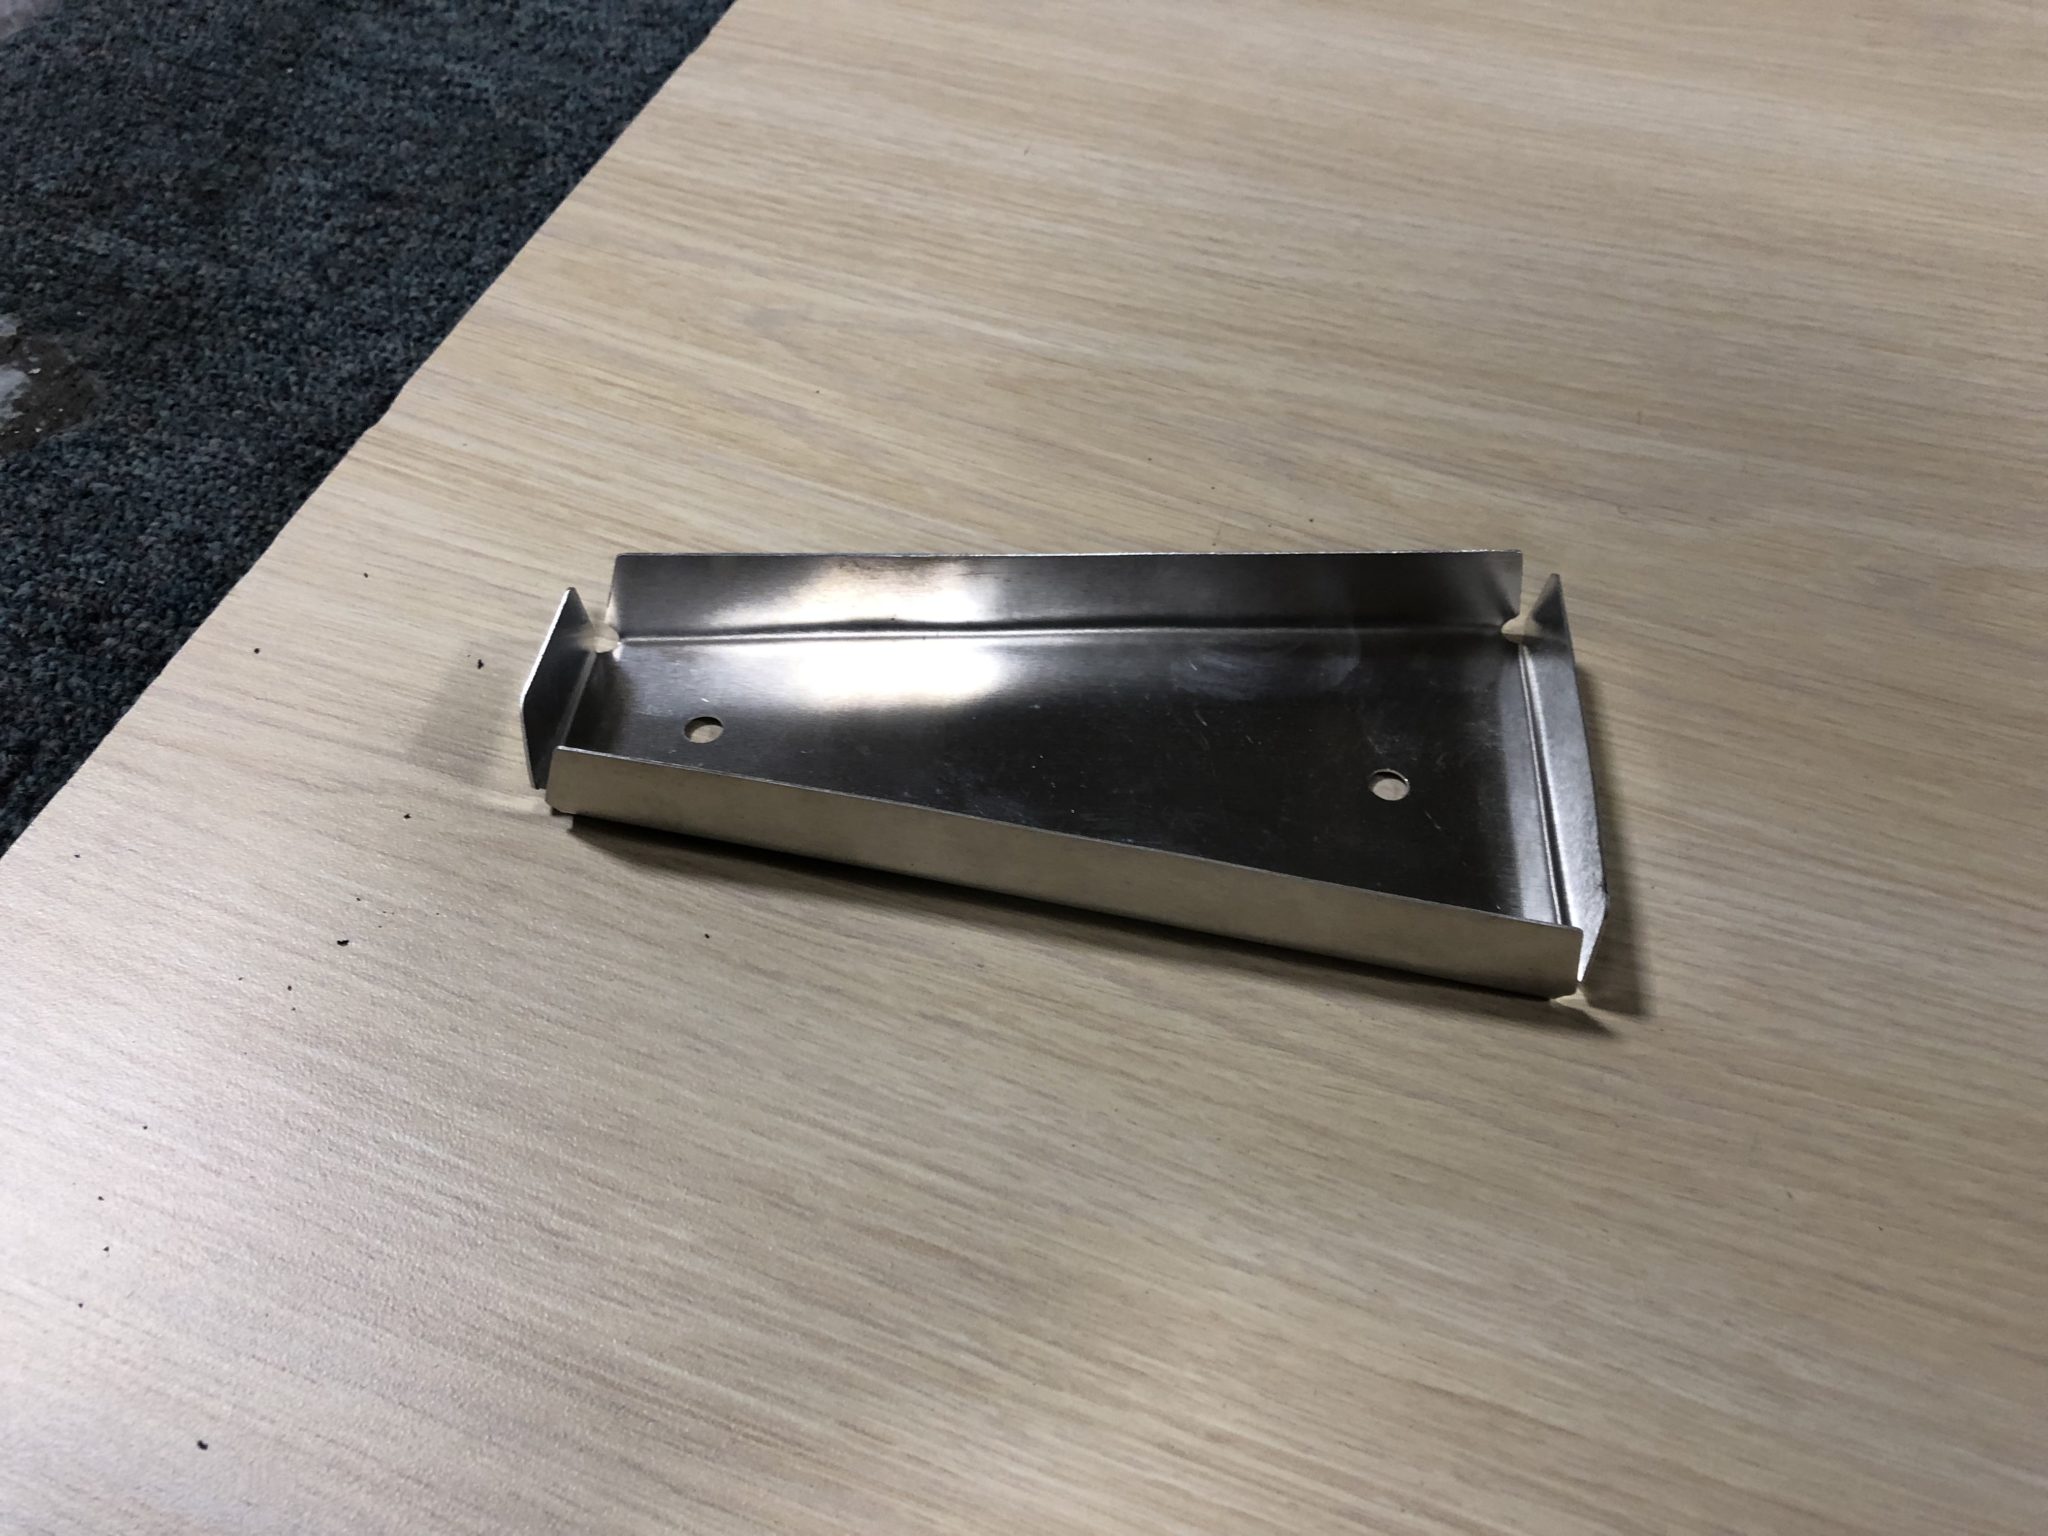
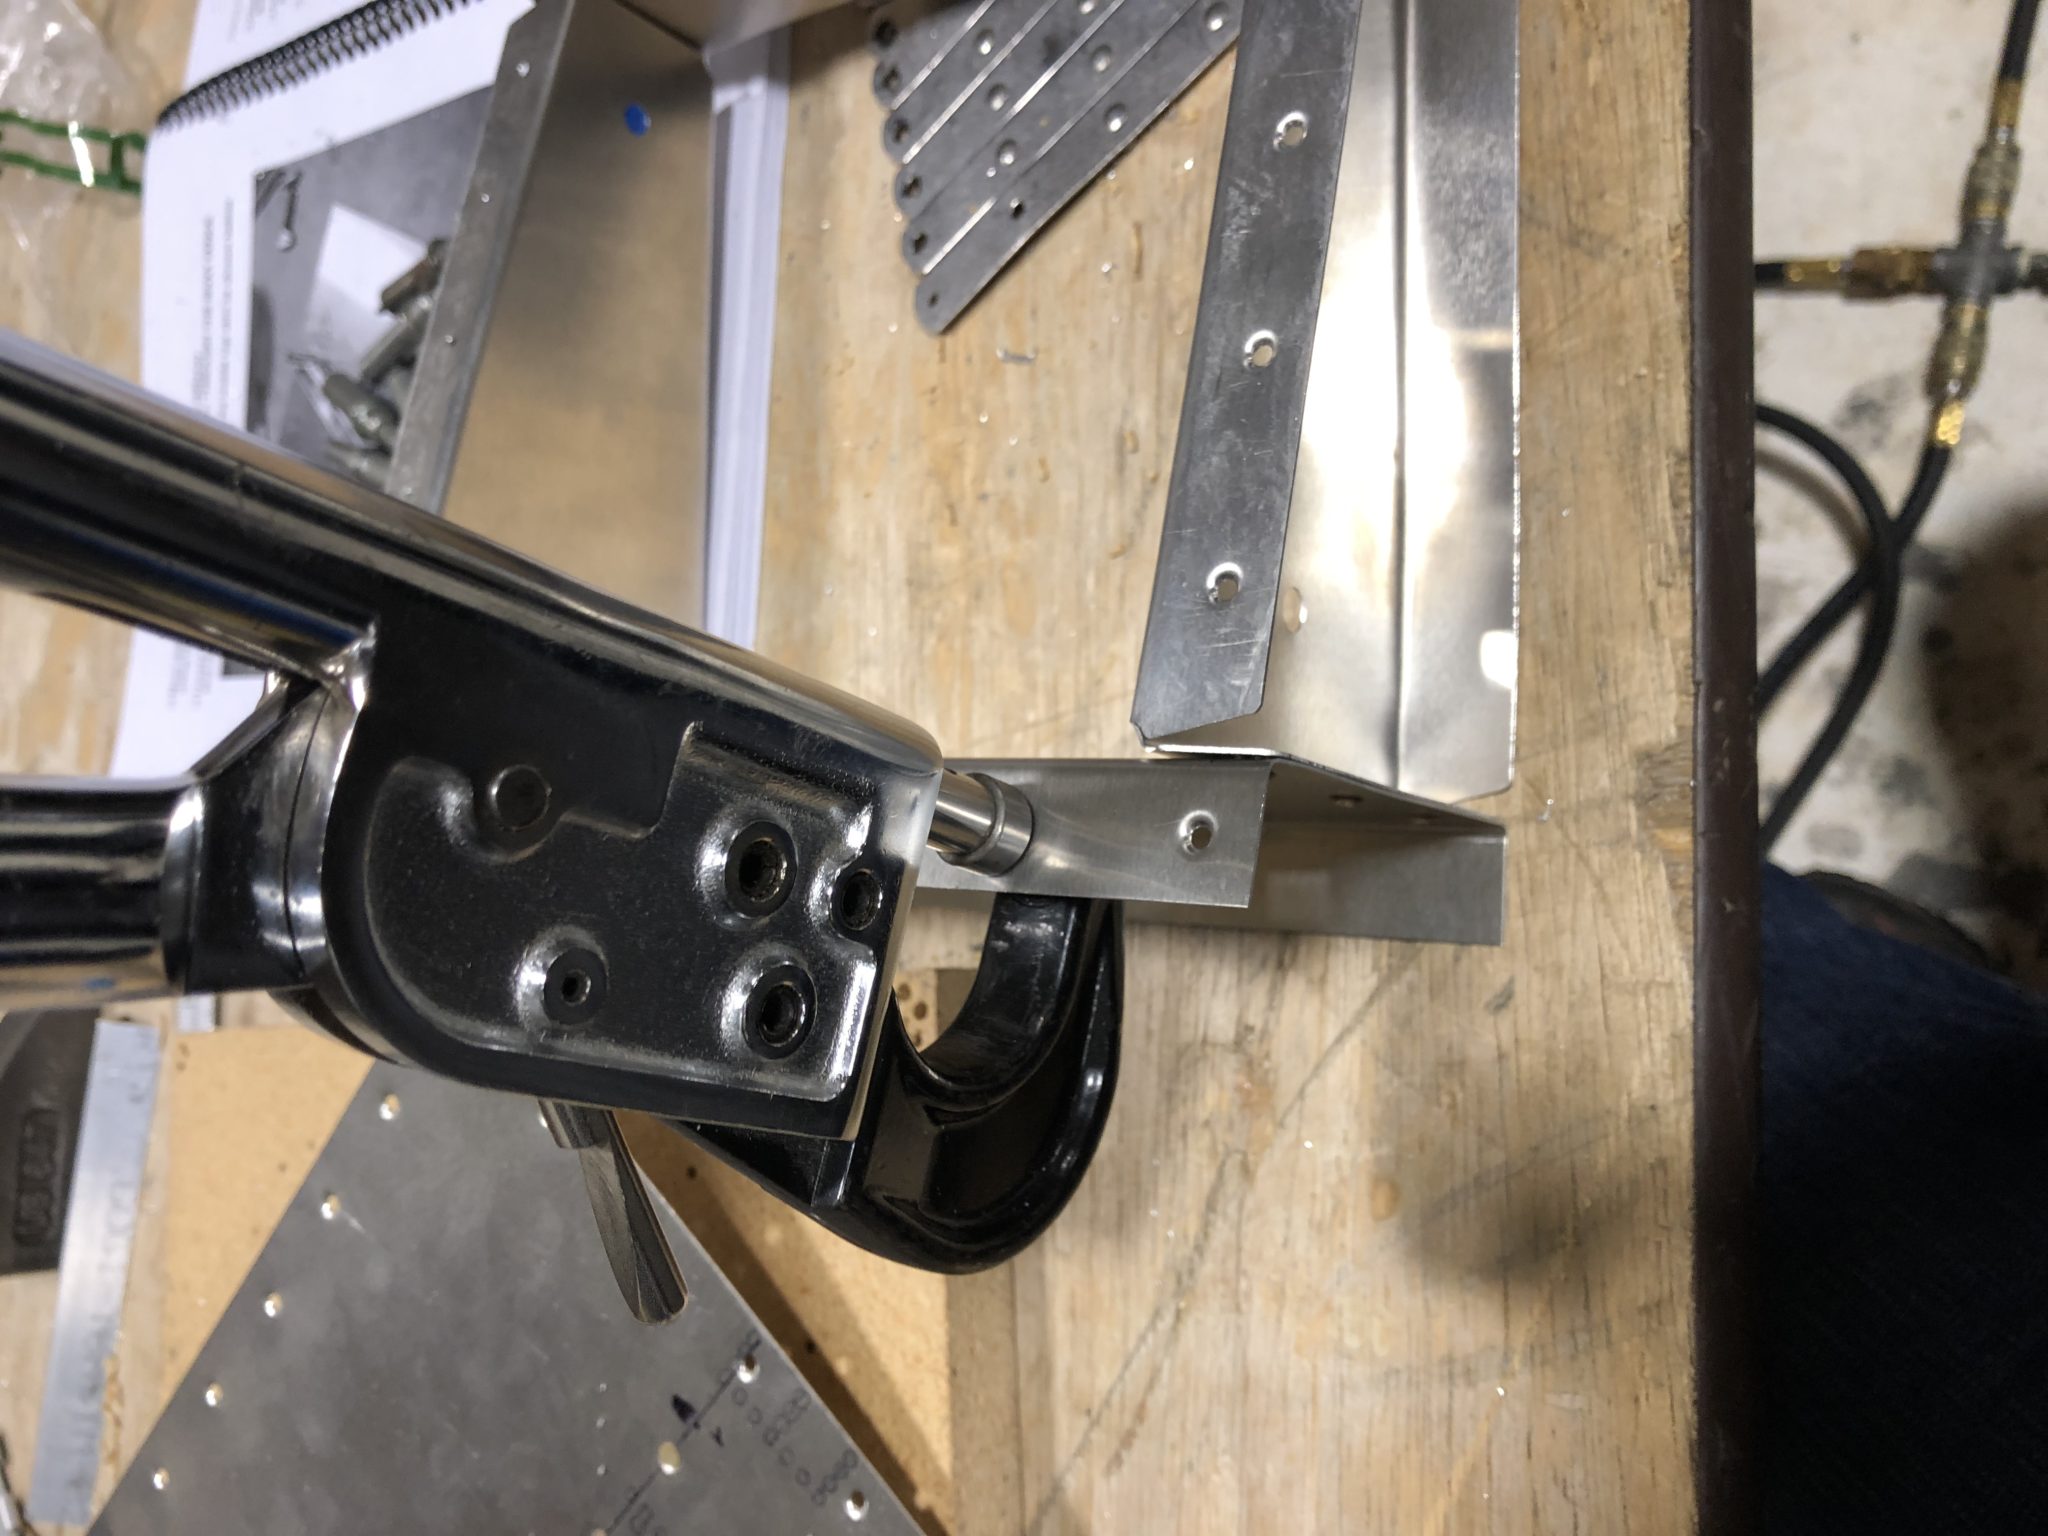
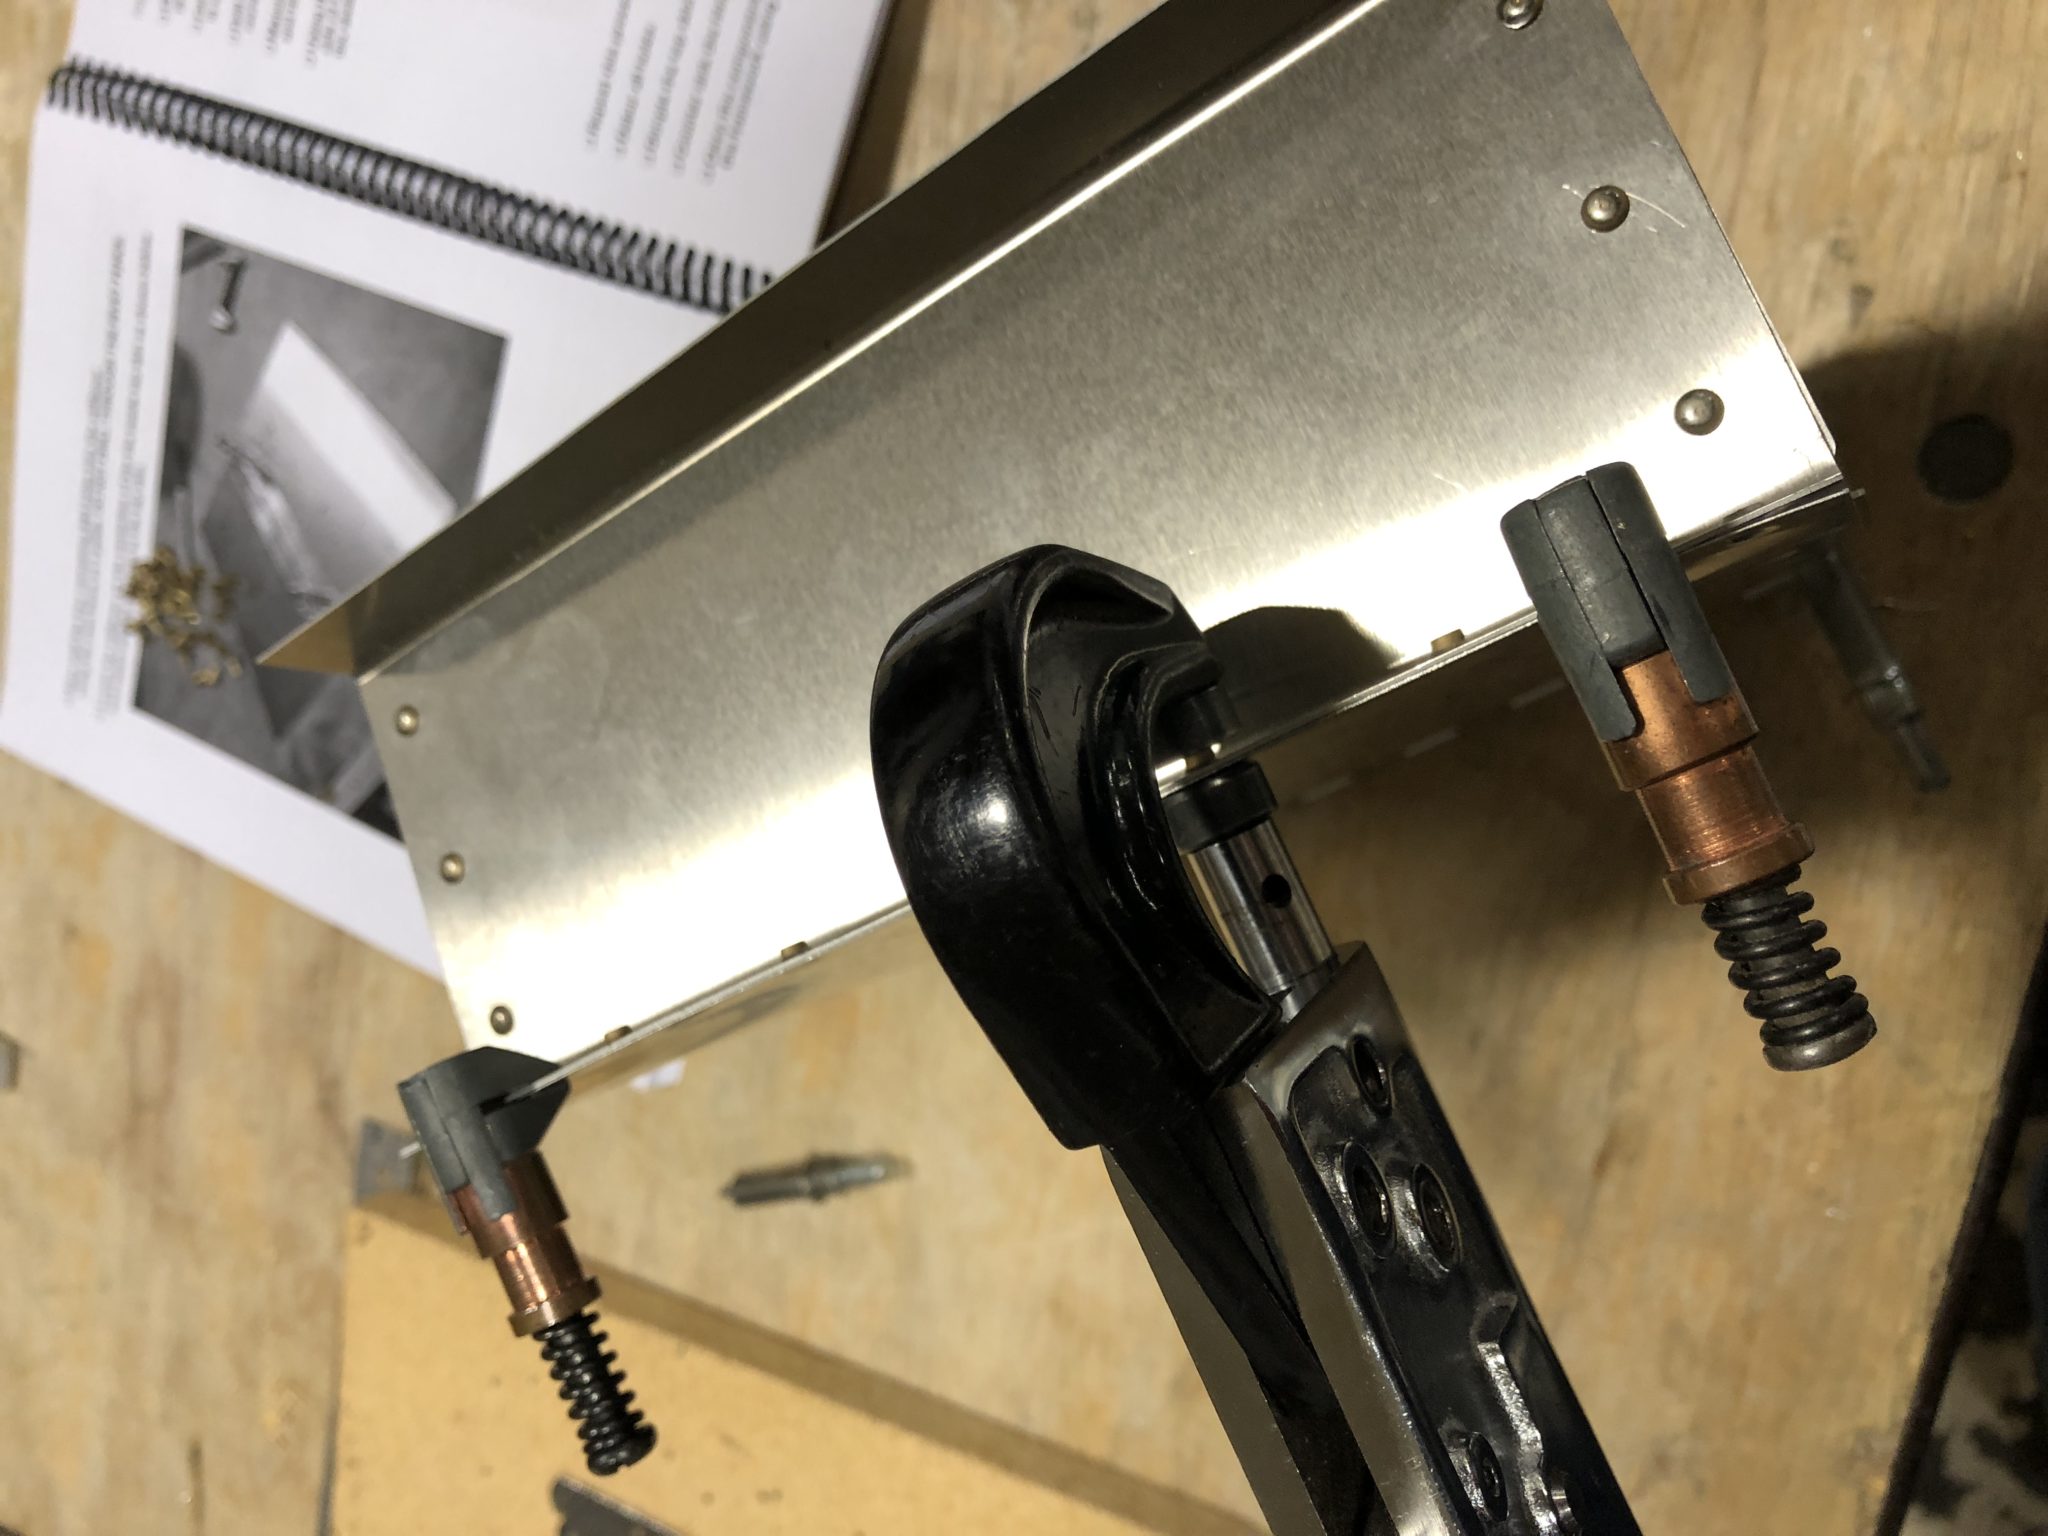
Another thing I recently did was do a small experiment to showcase the reason to use the correct 120 degree countersinking pilot for the countersinking holes that are not dimpled due to the thickness or type of the part (such as the fiberglass tips), after we had a thread about dimpling and countersinking it on the Sling Builders discussion group. Normal AN style solid aviation rivets are 100 degrees, so most countersinking tools sold by aviation tool supplies by default come with 100 degree countersinking pilots, but blind pull rivets like those used in the Sling are 120 degree, so hence the need to use a 120 degree pilot to get the best fit.
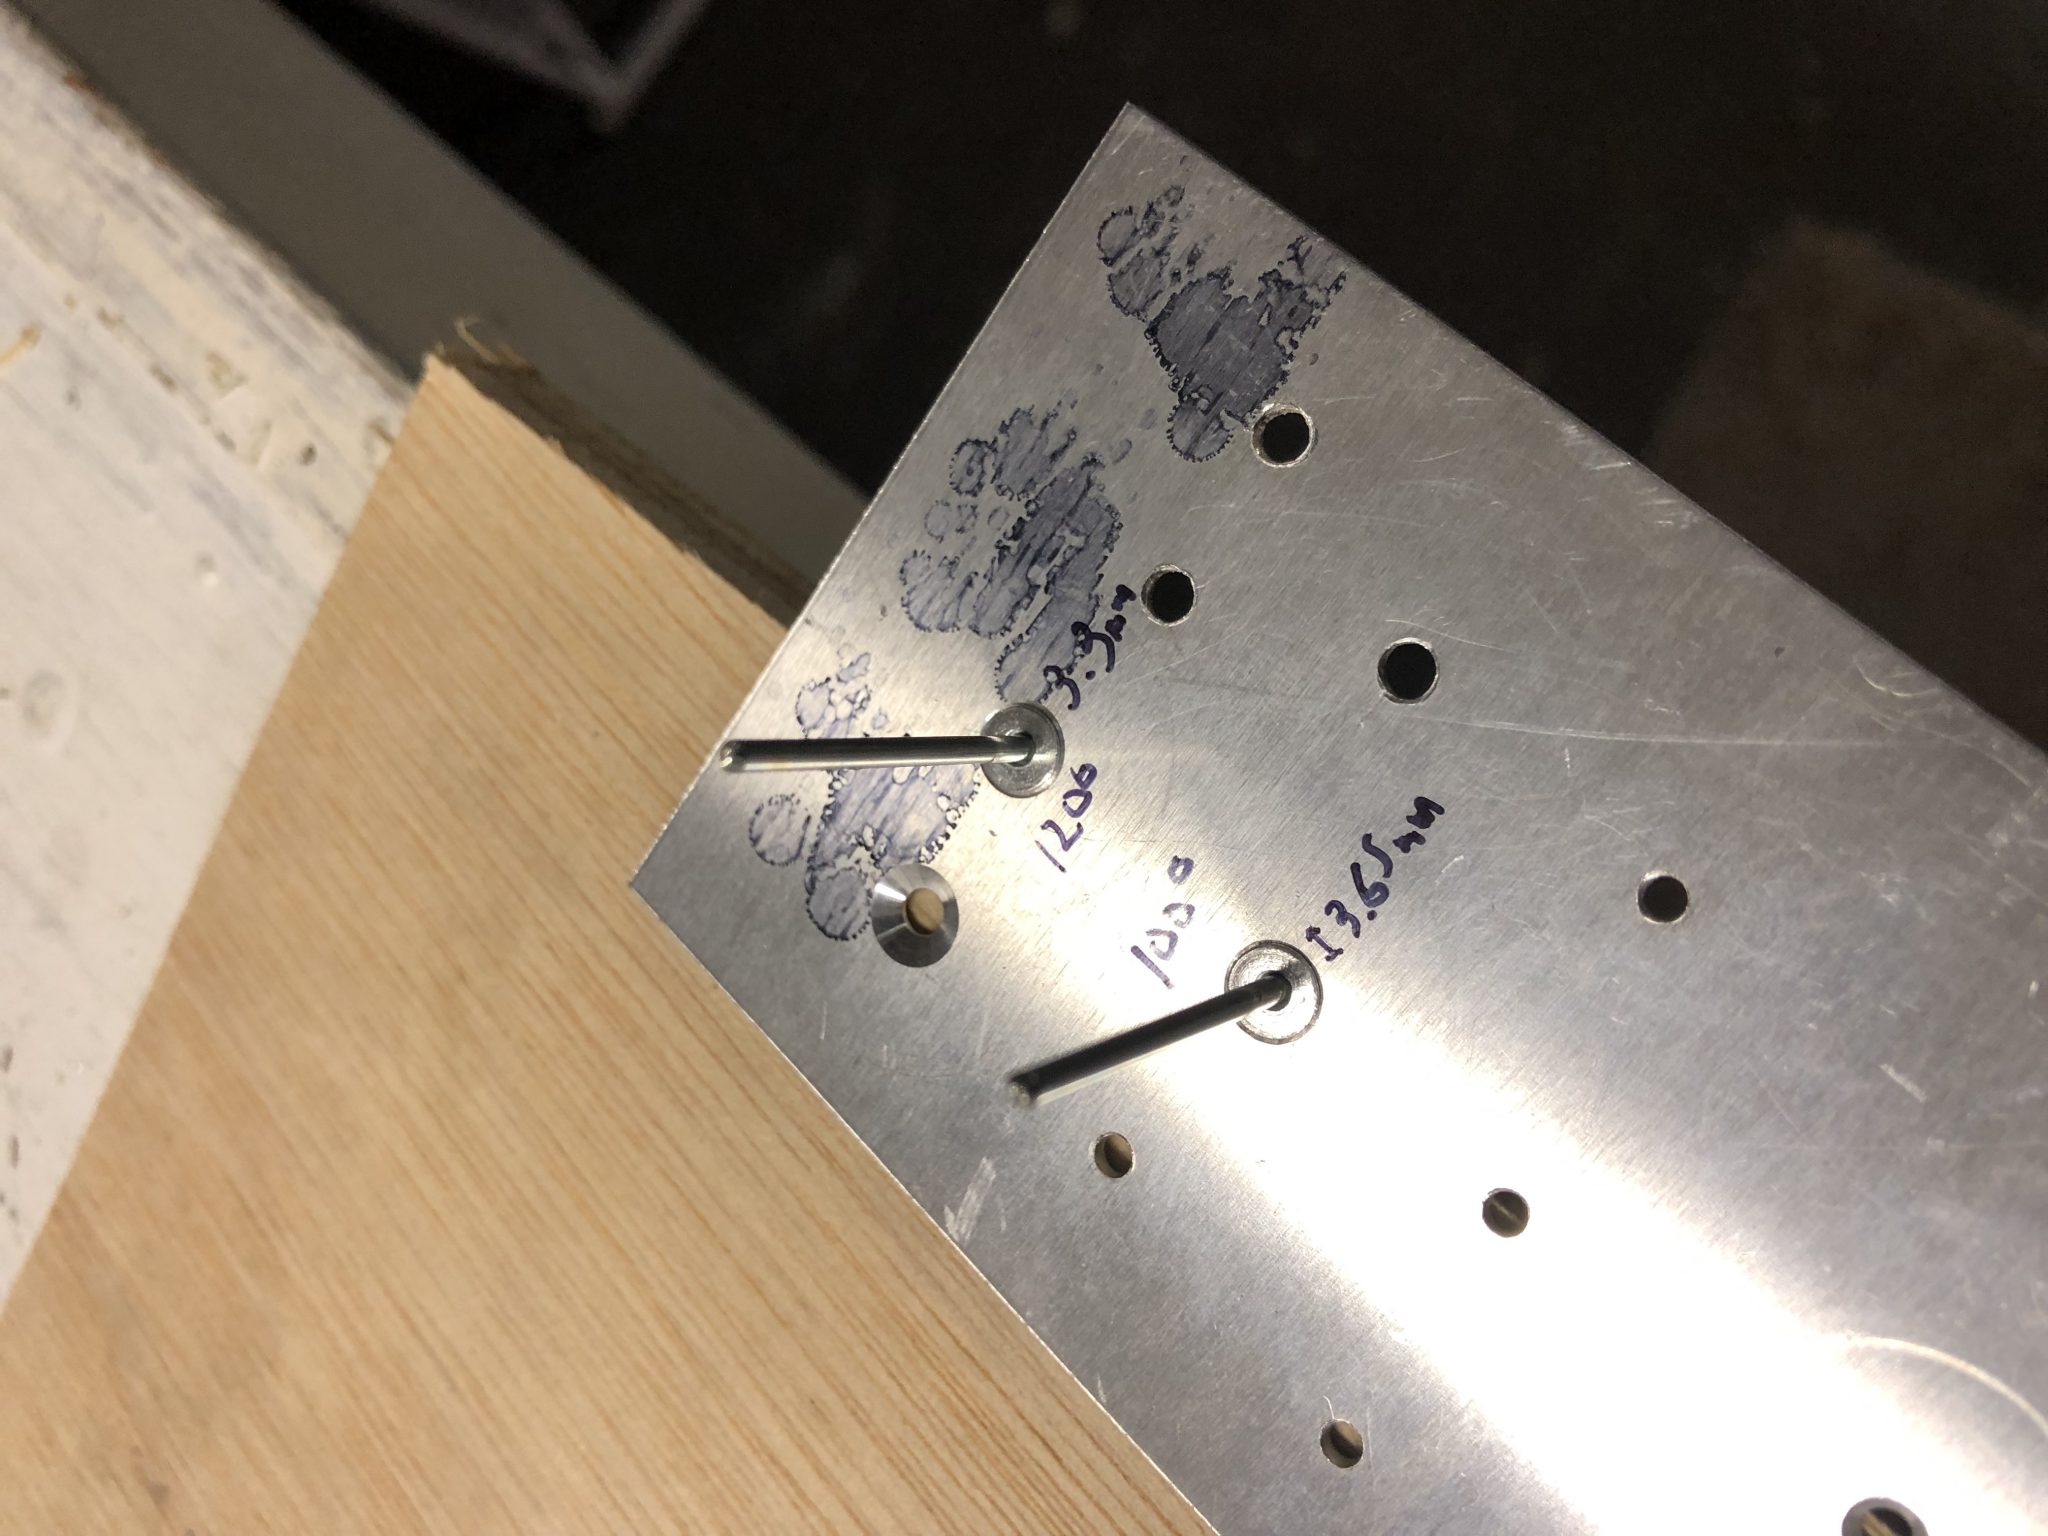
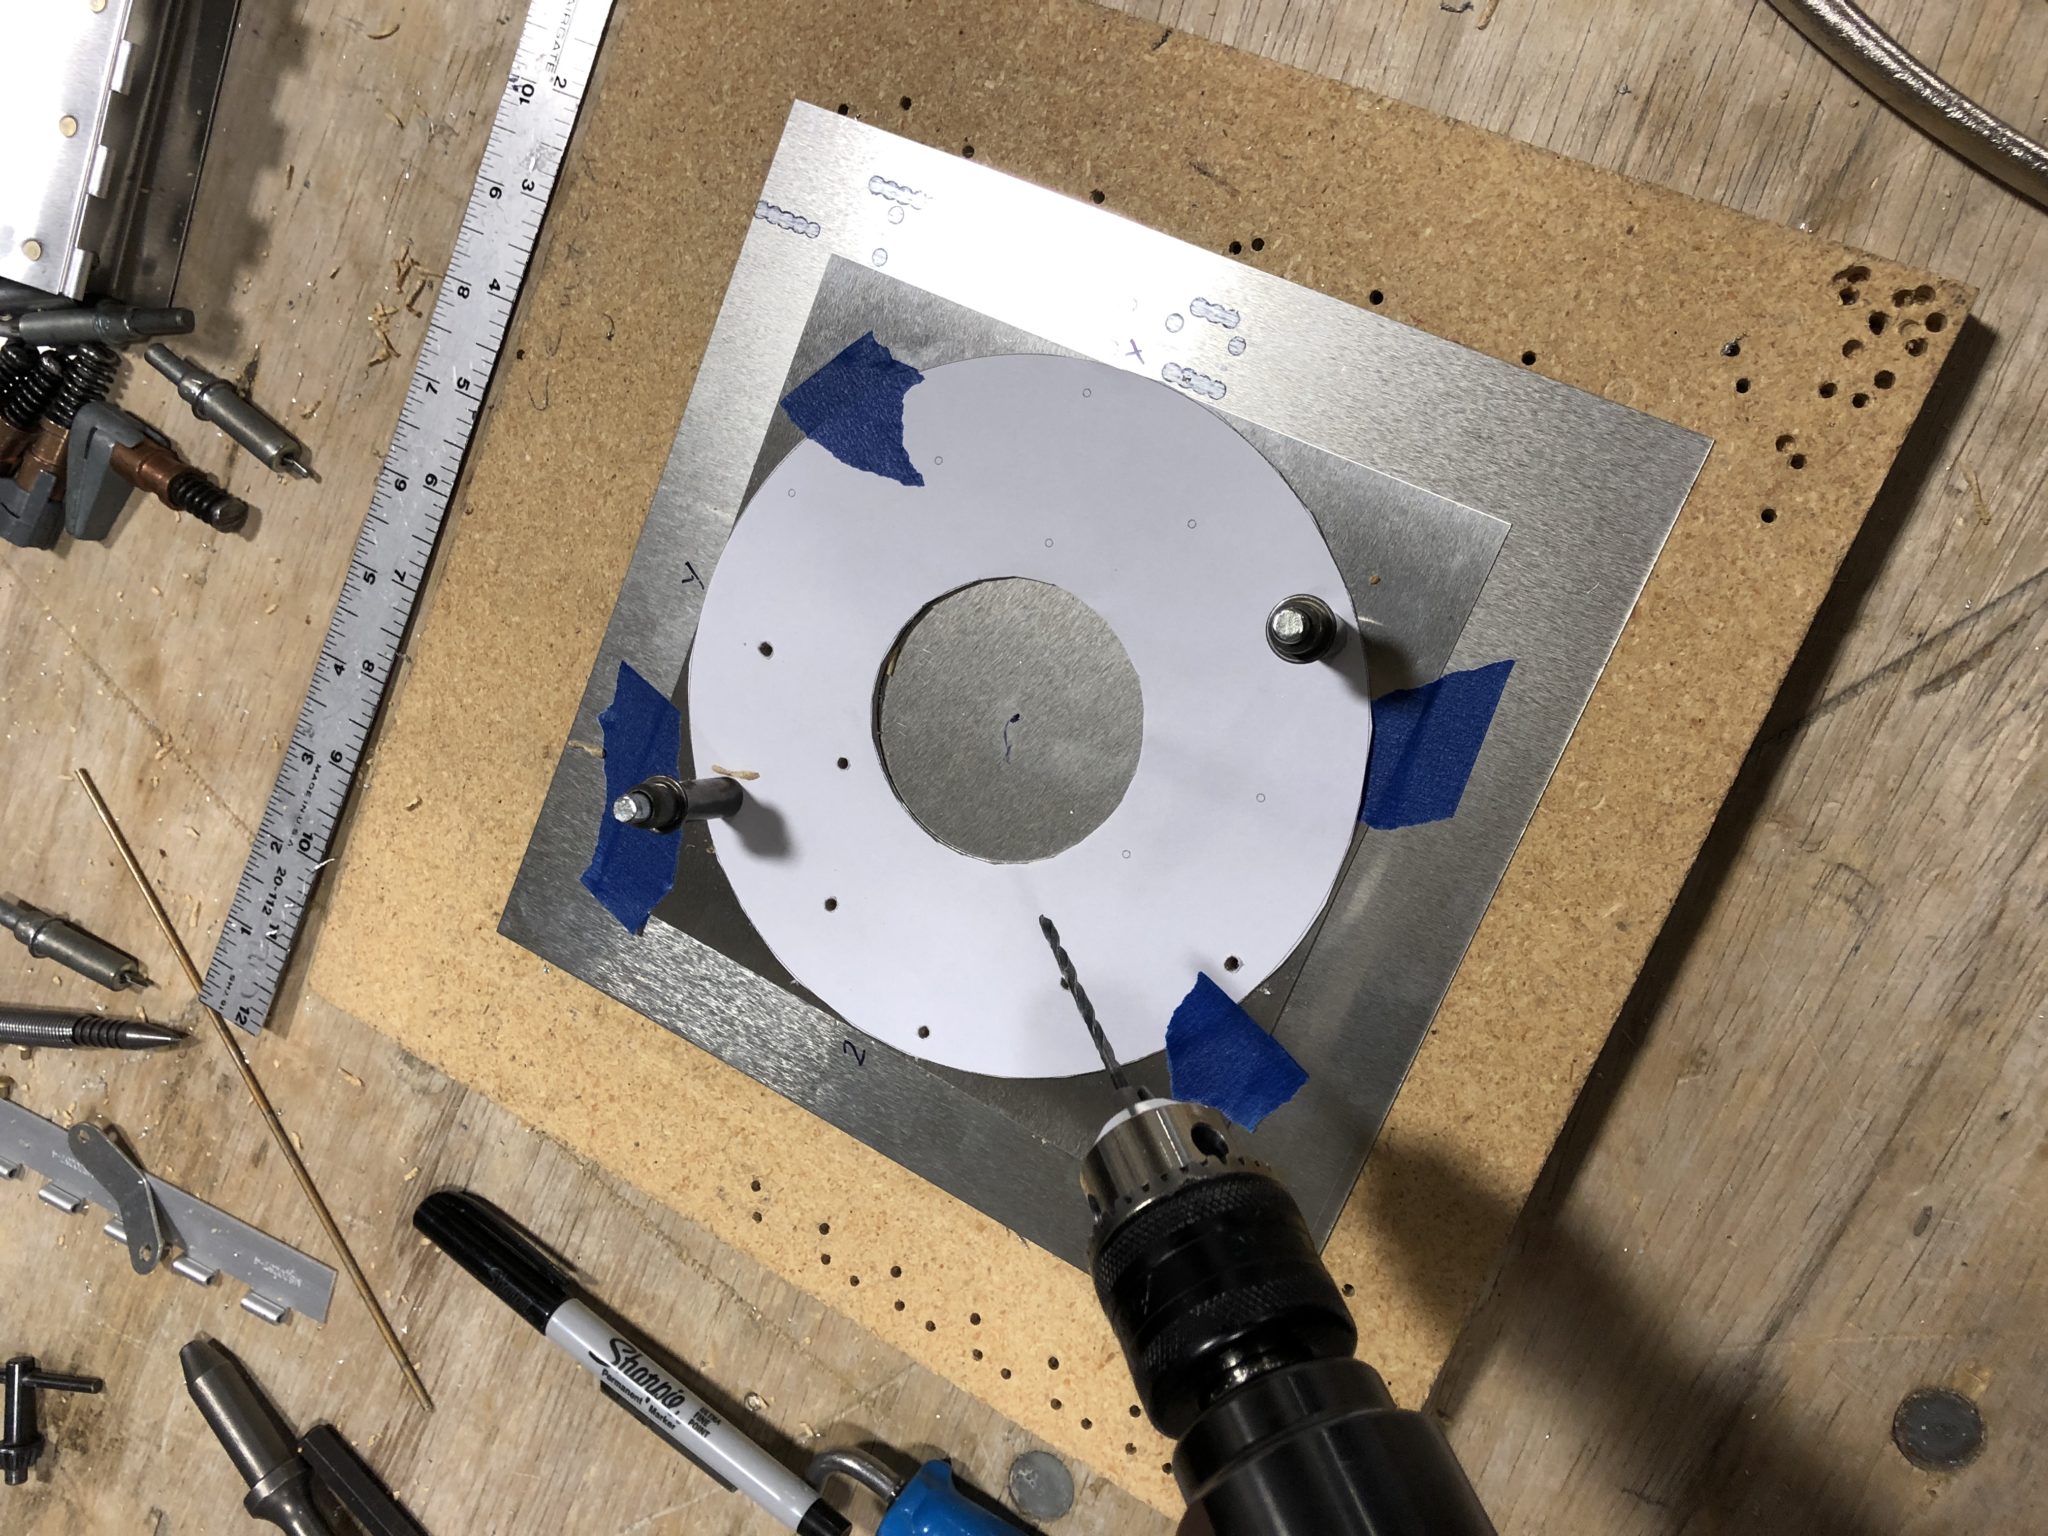
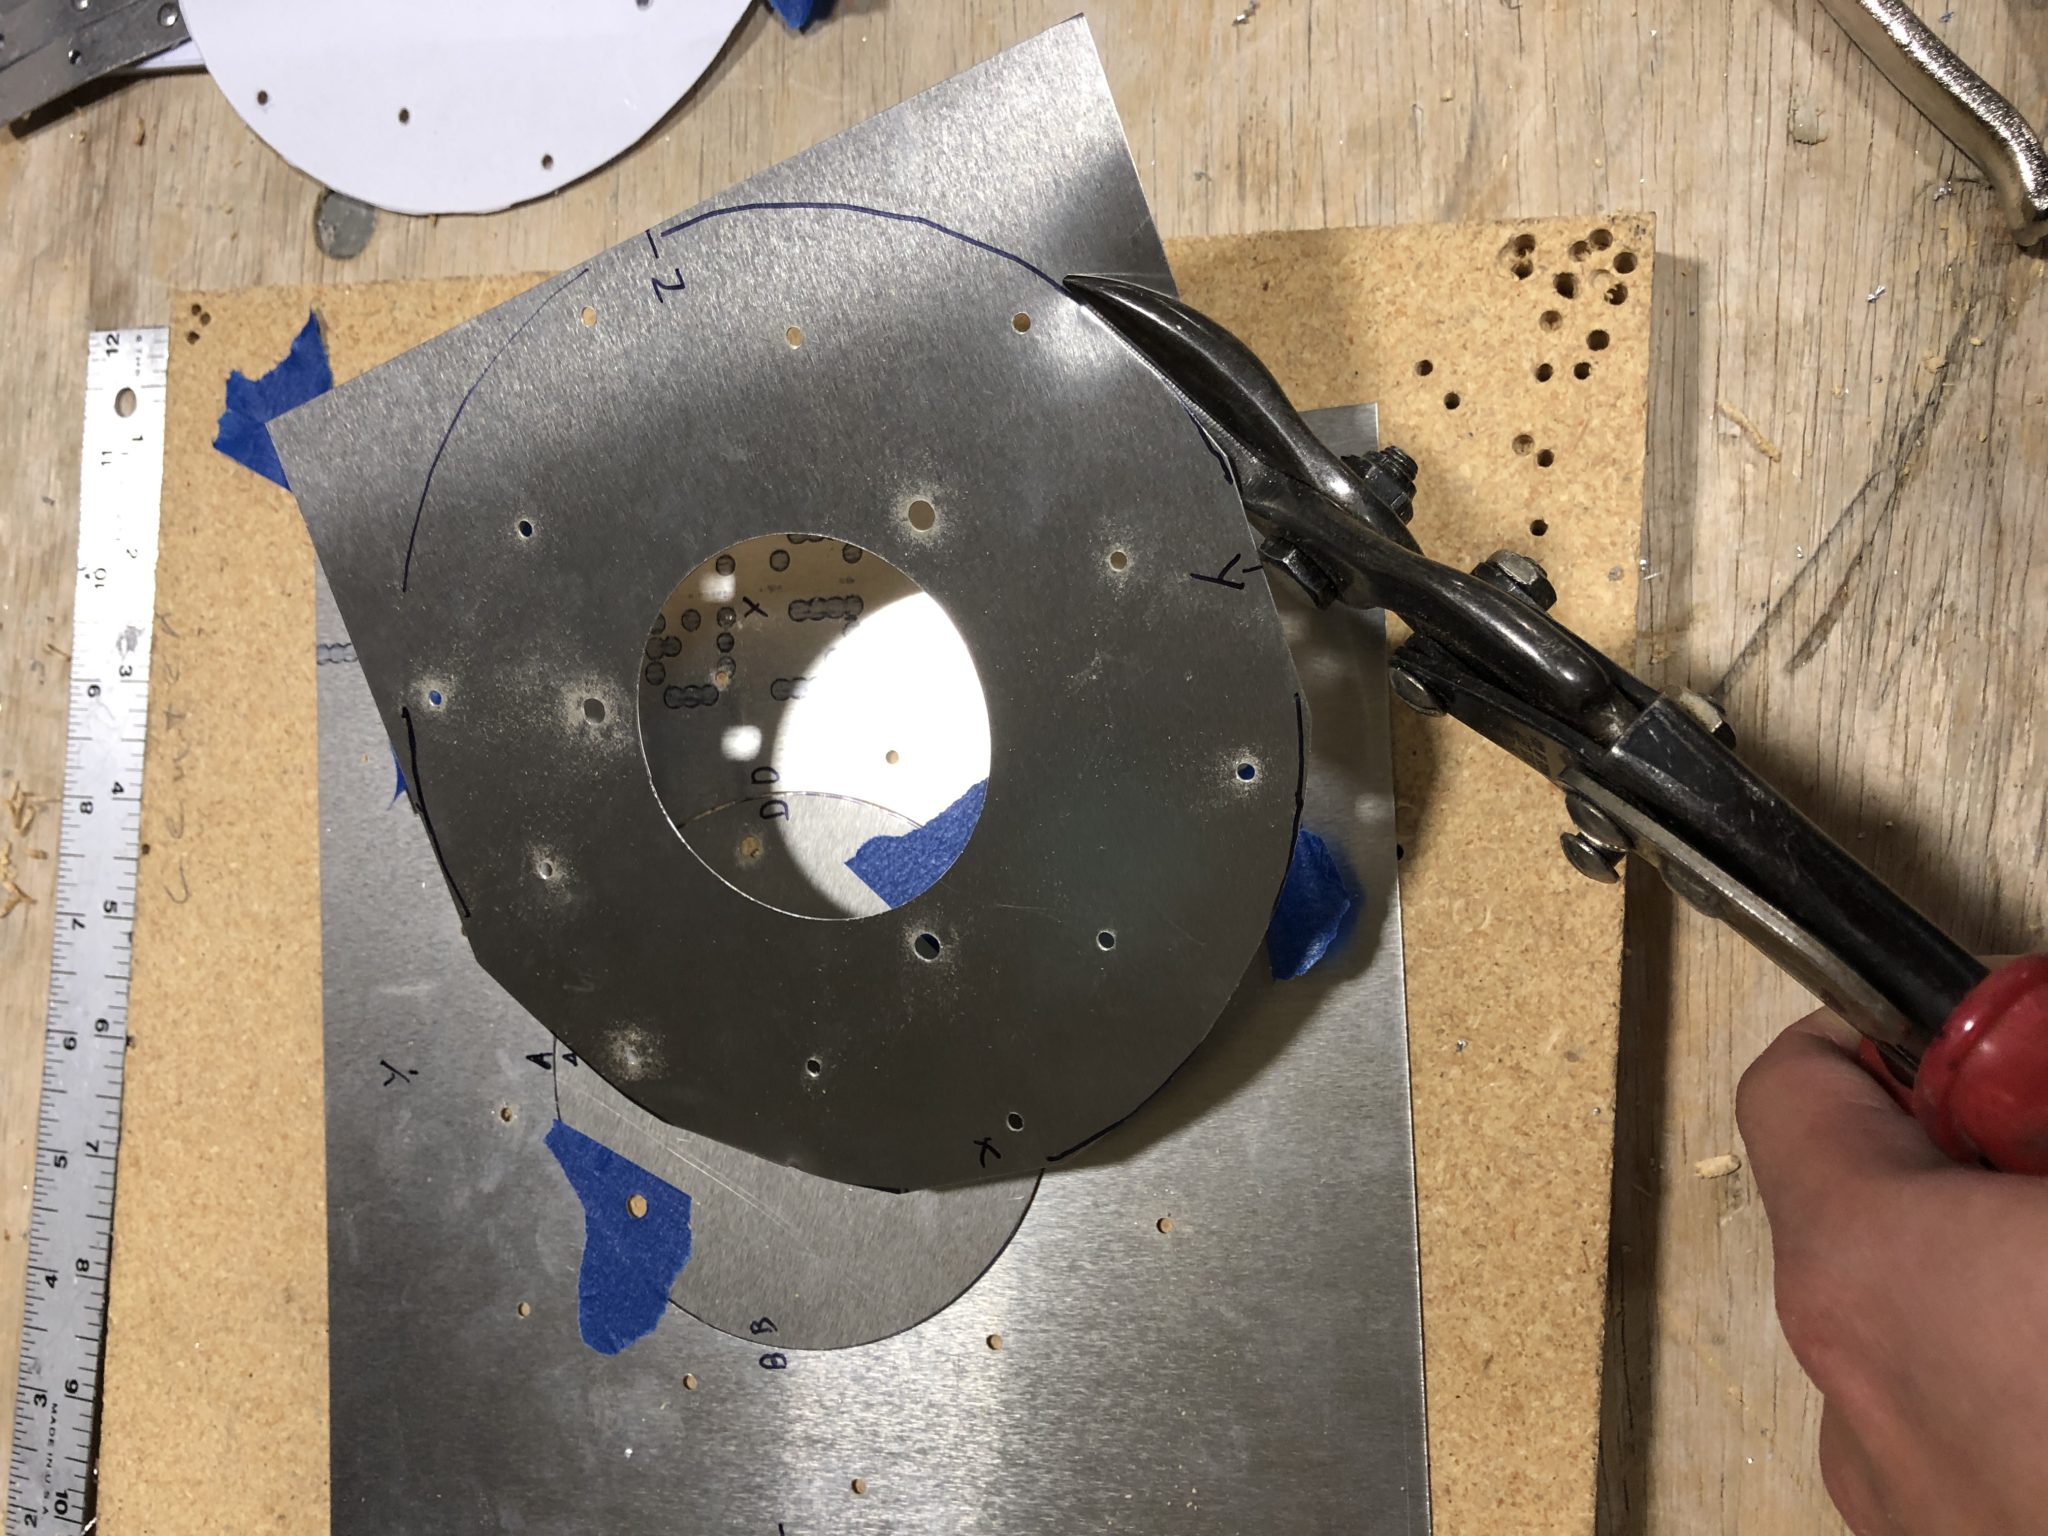
To showcase the why that is so important, I drilled some holes in a 0.04 inch piece of metal (which is the thickness where you start to countersink instead of dimple) and used the 100 degree pilot on one hole and the 120 degree pilot on another. The goal was to insert the same countersunk rivet (which has a 120 degree slant) used for the Sling in both and have it sit flush. In order to get a flush fit with the metal using the rivet, the 100 degree countersunk had the be deeper. This in turn results in a larger hole and thus wouldn’t have as much material to grip onto. As can be seen below, the 120 degree countersink resulted in about 3.3 mm hole, while the 100 degree resulted in a much larger 3.65 mm hole.
So the moral of the story, make sure you use the correct countersinking pilot when working with pull rivets. I’ve created a separate page on drilling, rivet sizing and countersinking as a quick reference for myself and figured it might be useful for others.
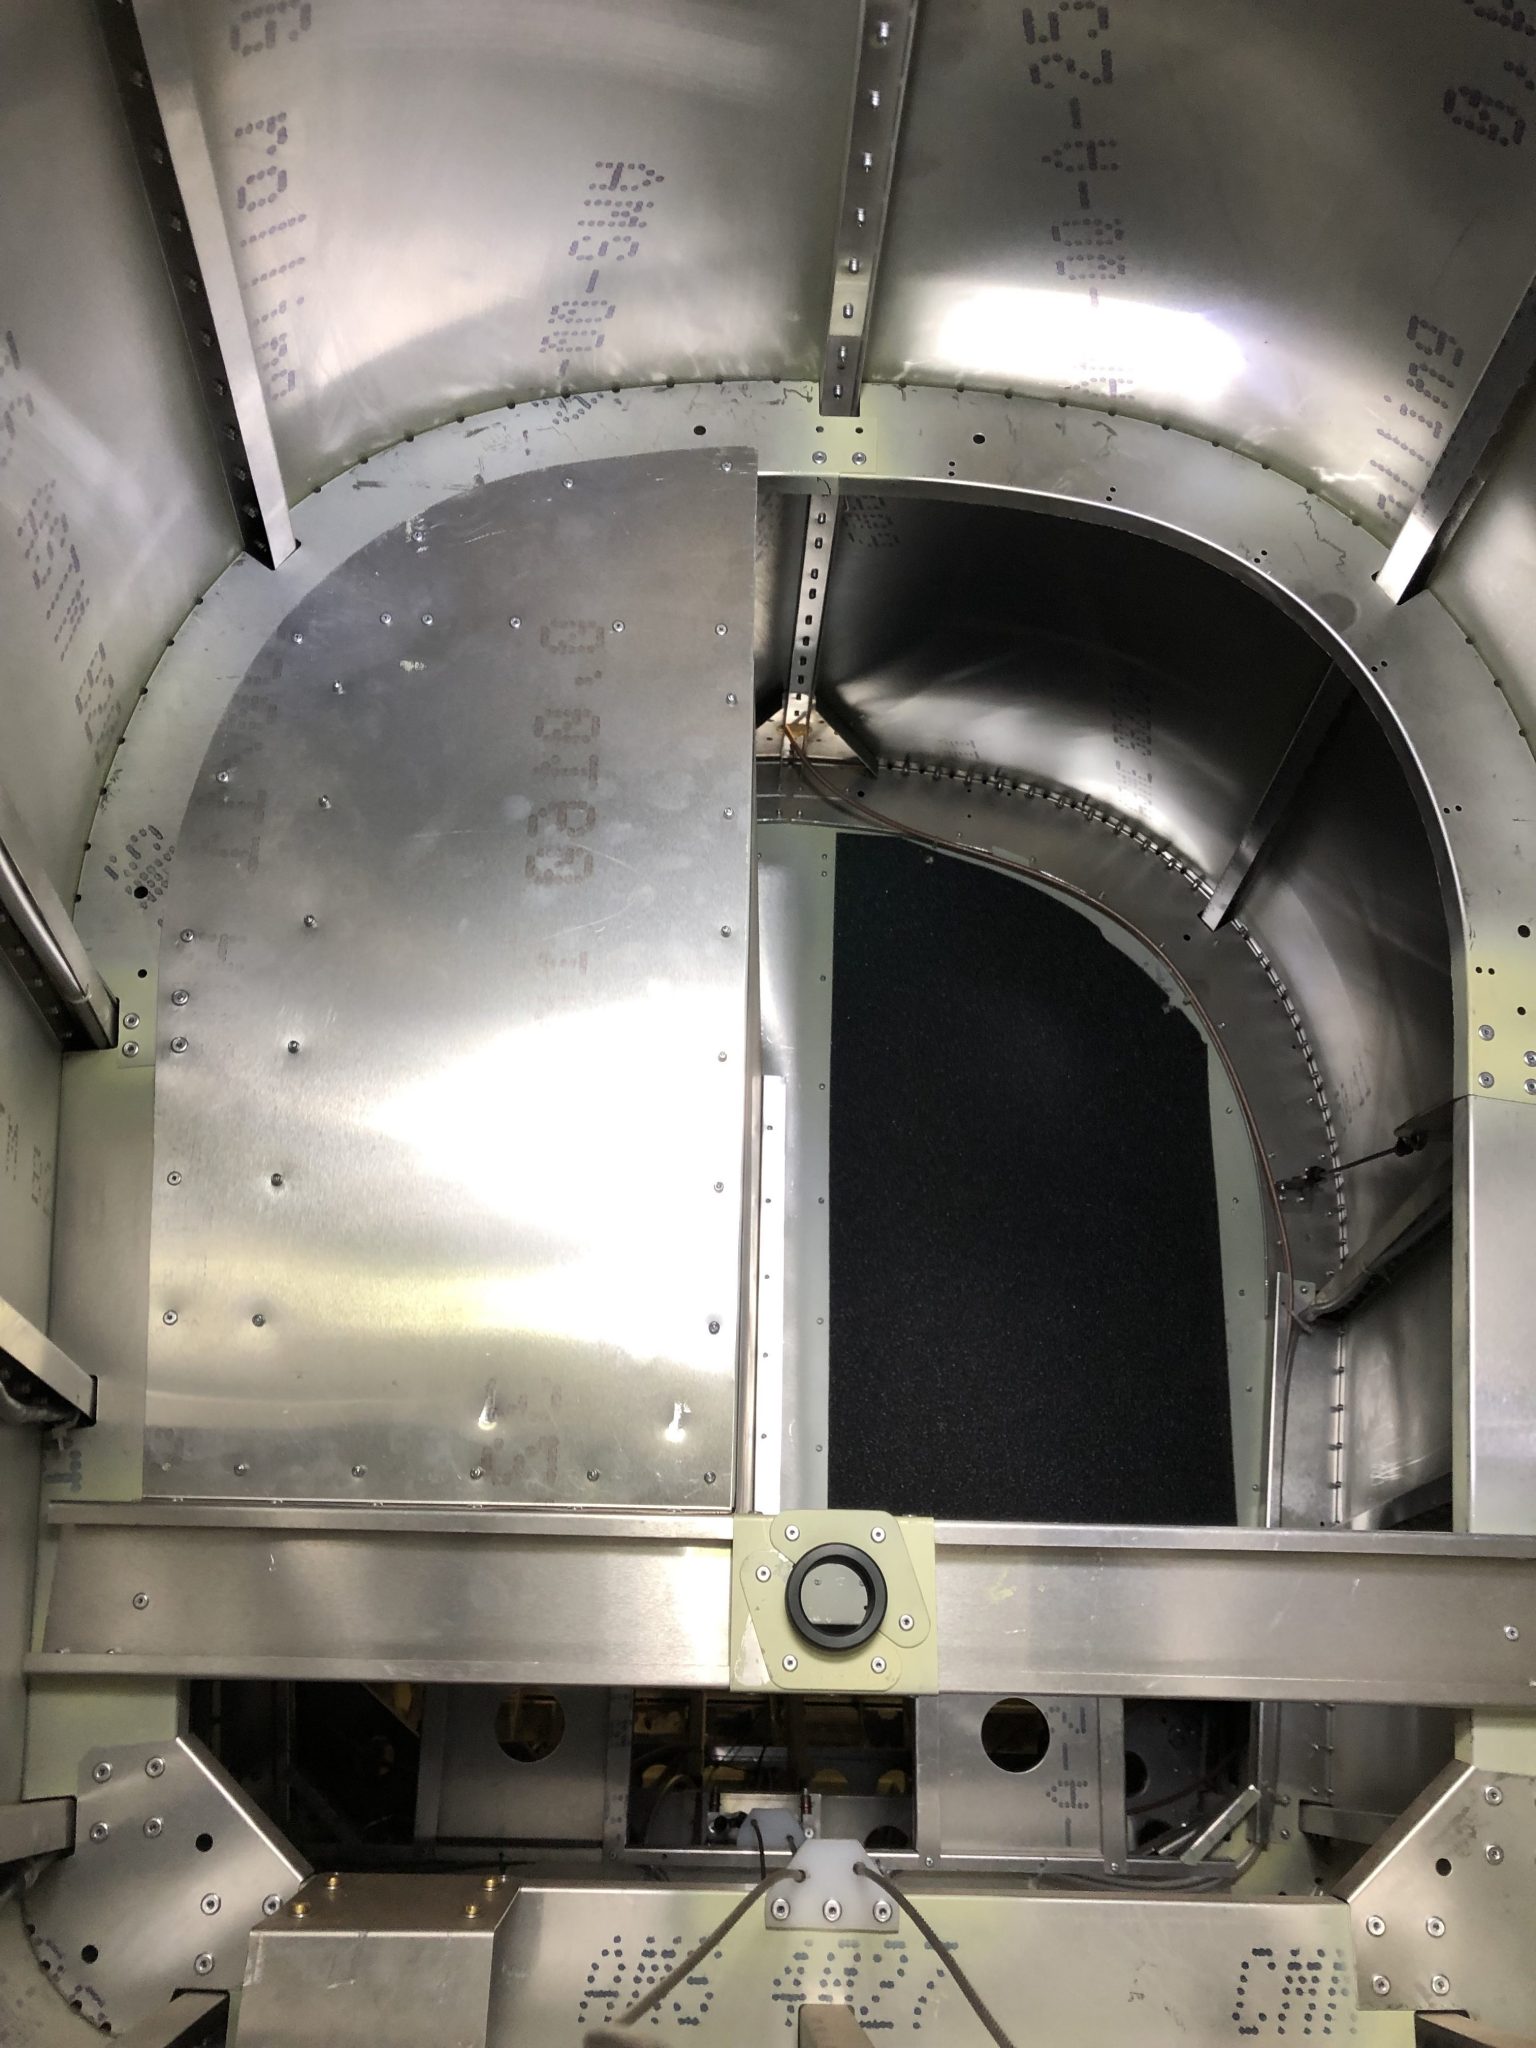
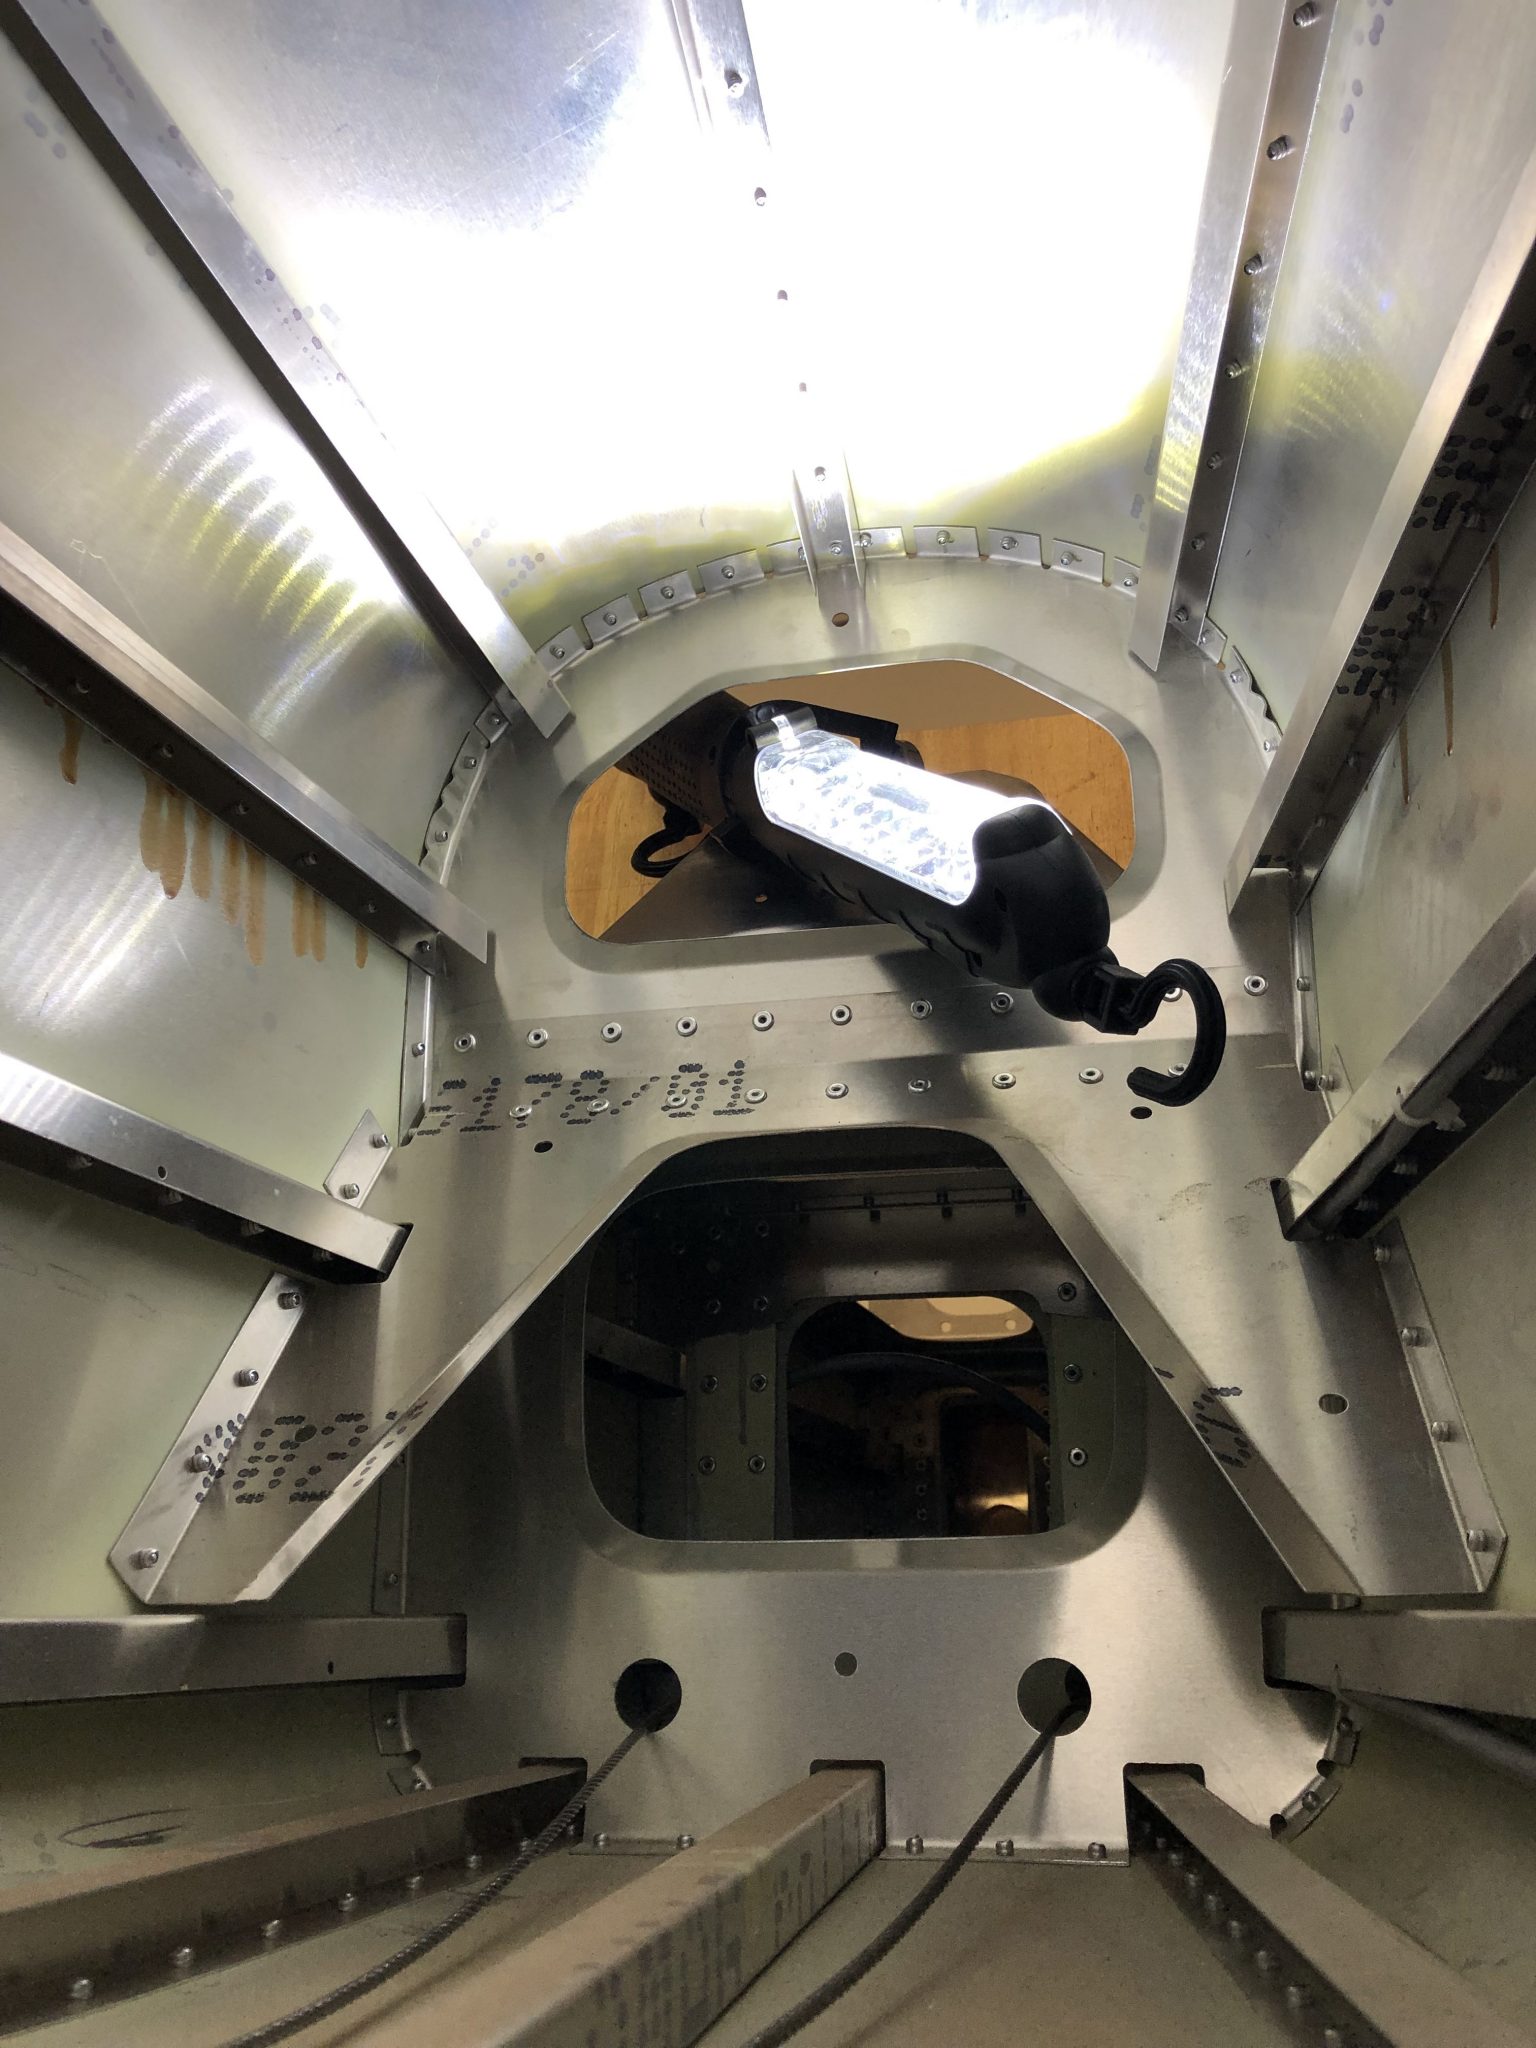
Not much progress, but I took a couple of closer looks at the tailcone of the Fuselage and ran some fishing wire through it for the VOR/LOC/GS wire from the tail.
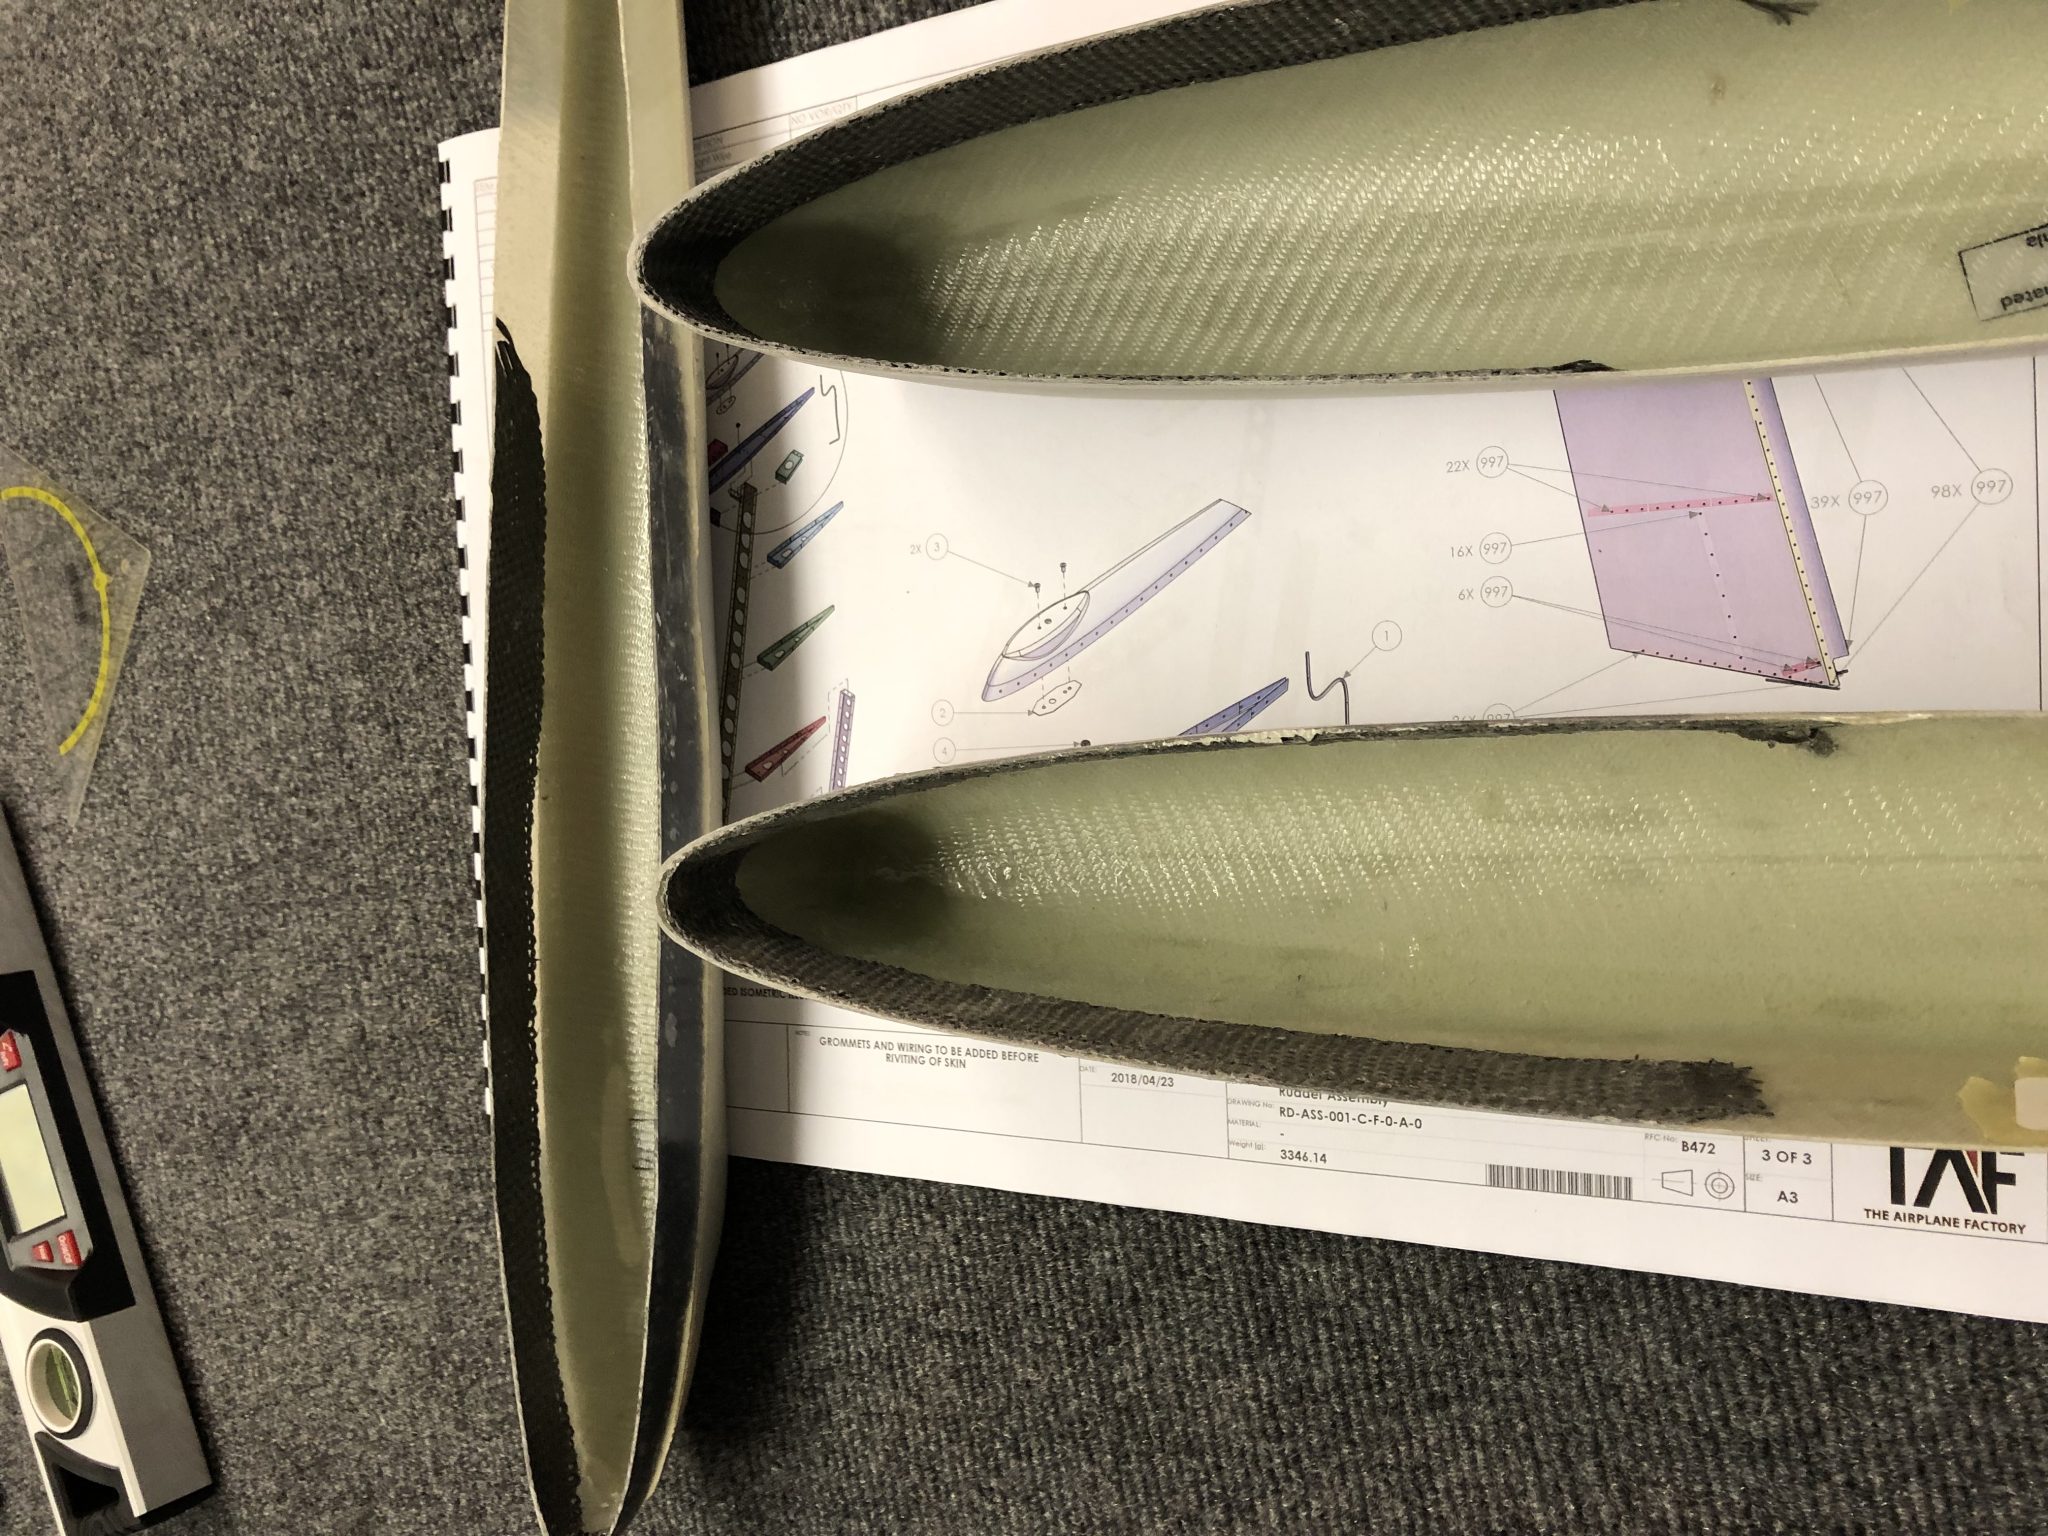
I also had an exchange with Matthew, one of the other Sling TSi builders, about the countersinking and fitment of the tips for the elevators and rudder. It looks like he is missing the reinforcement on the tips that adds material to allow the countersinking. I took some pictures of mine which shows the extra layers of fiberglass (in black) to allow enough material to countersink the tips:
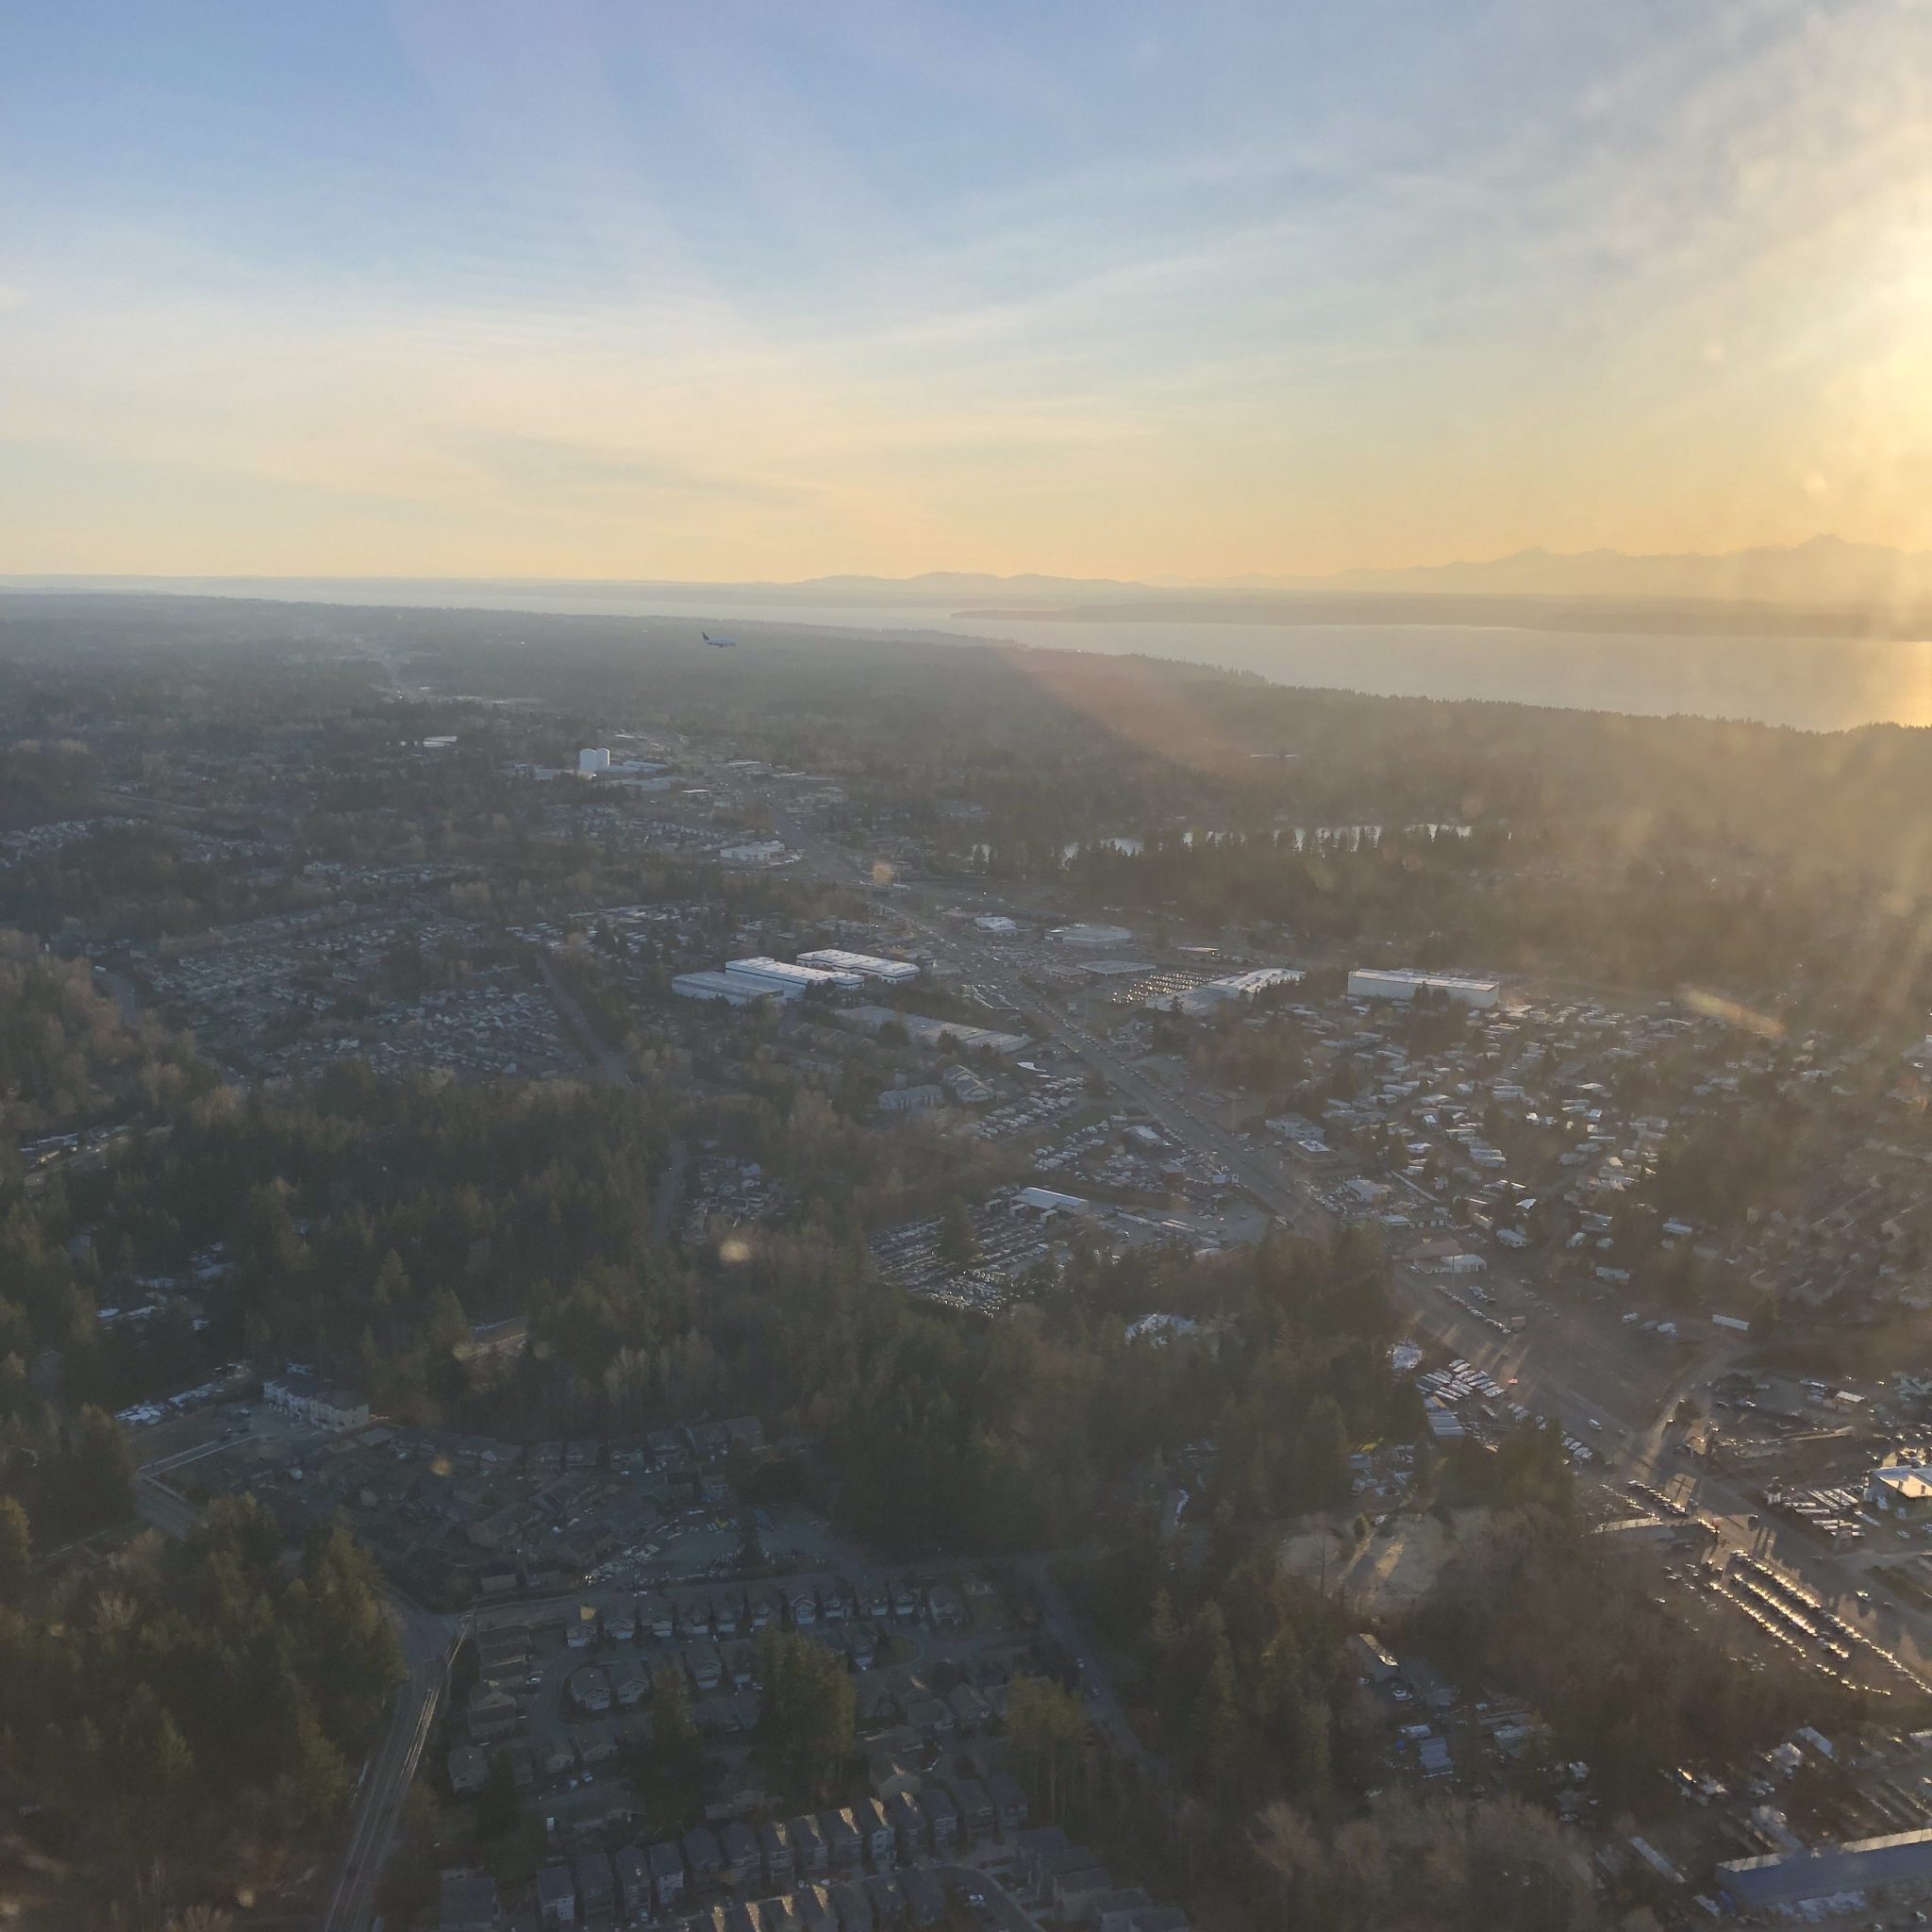
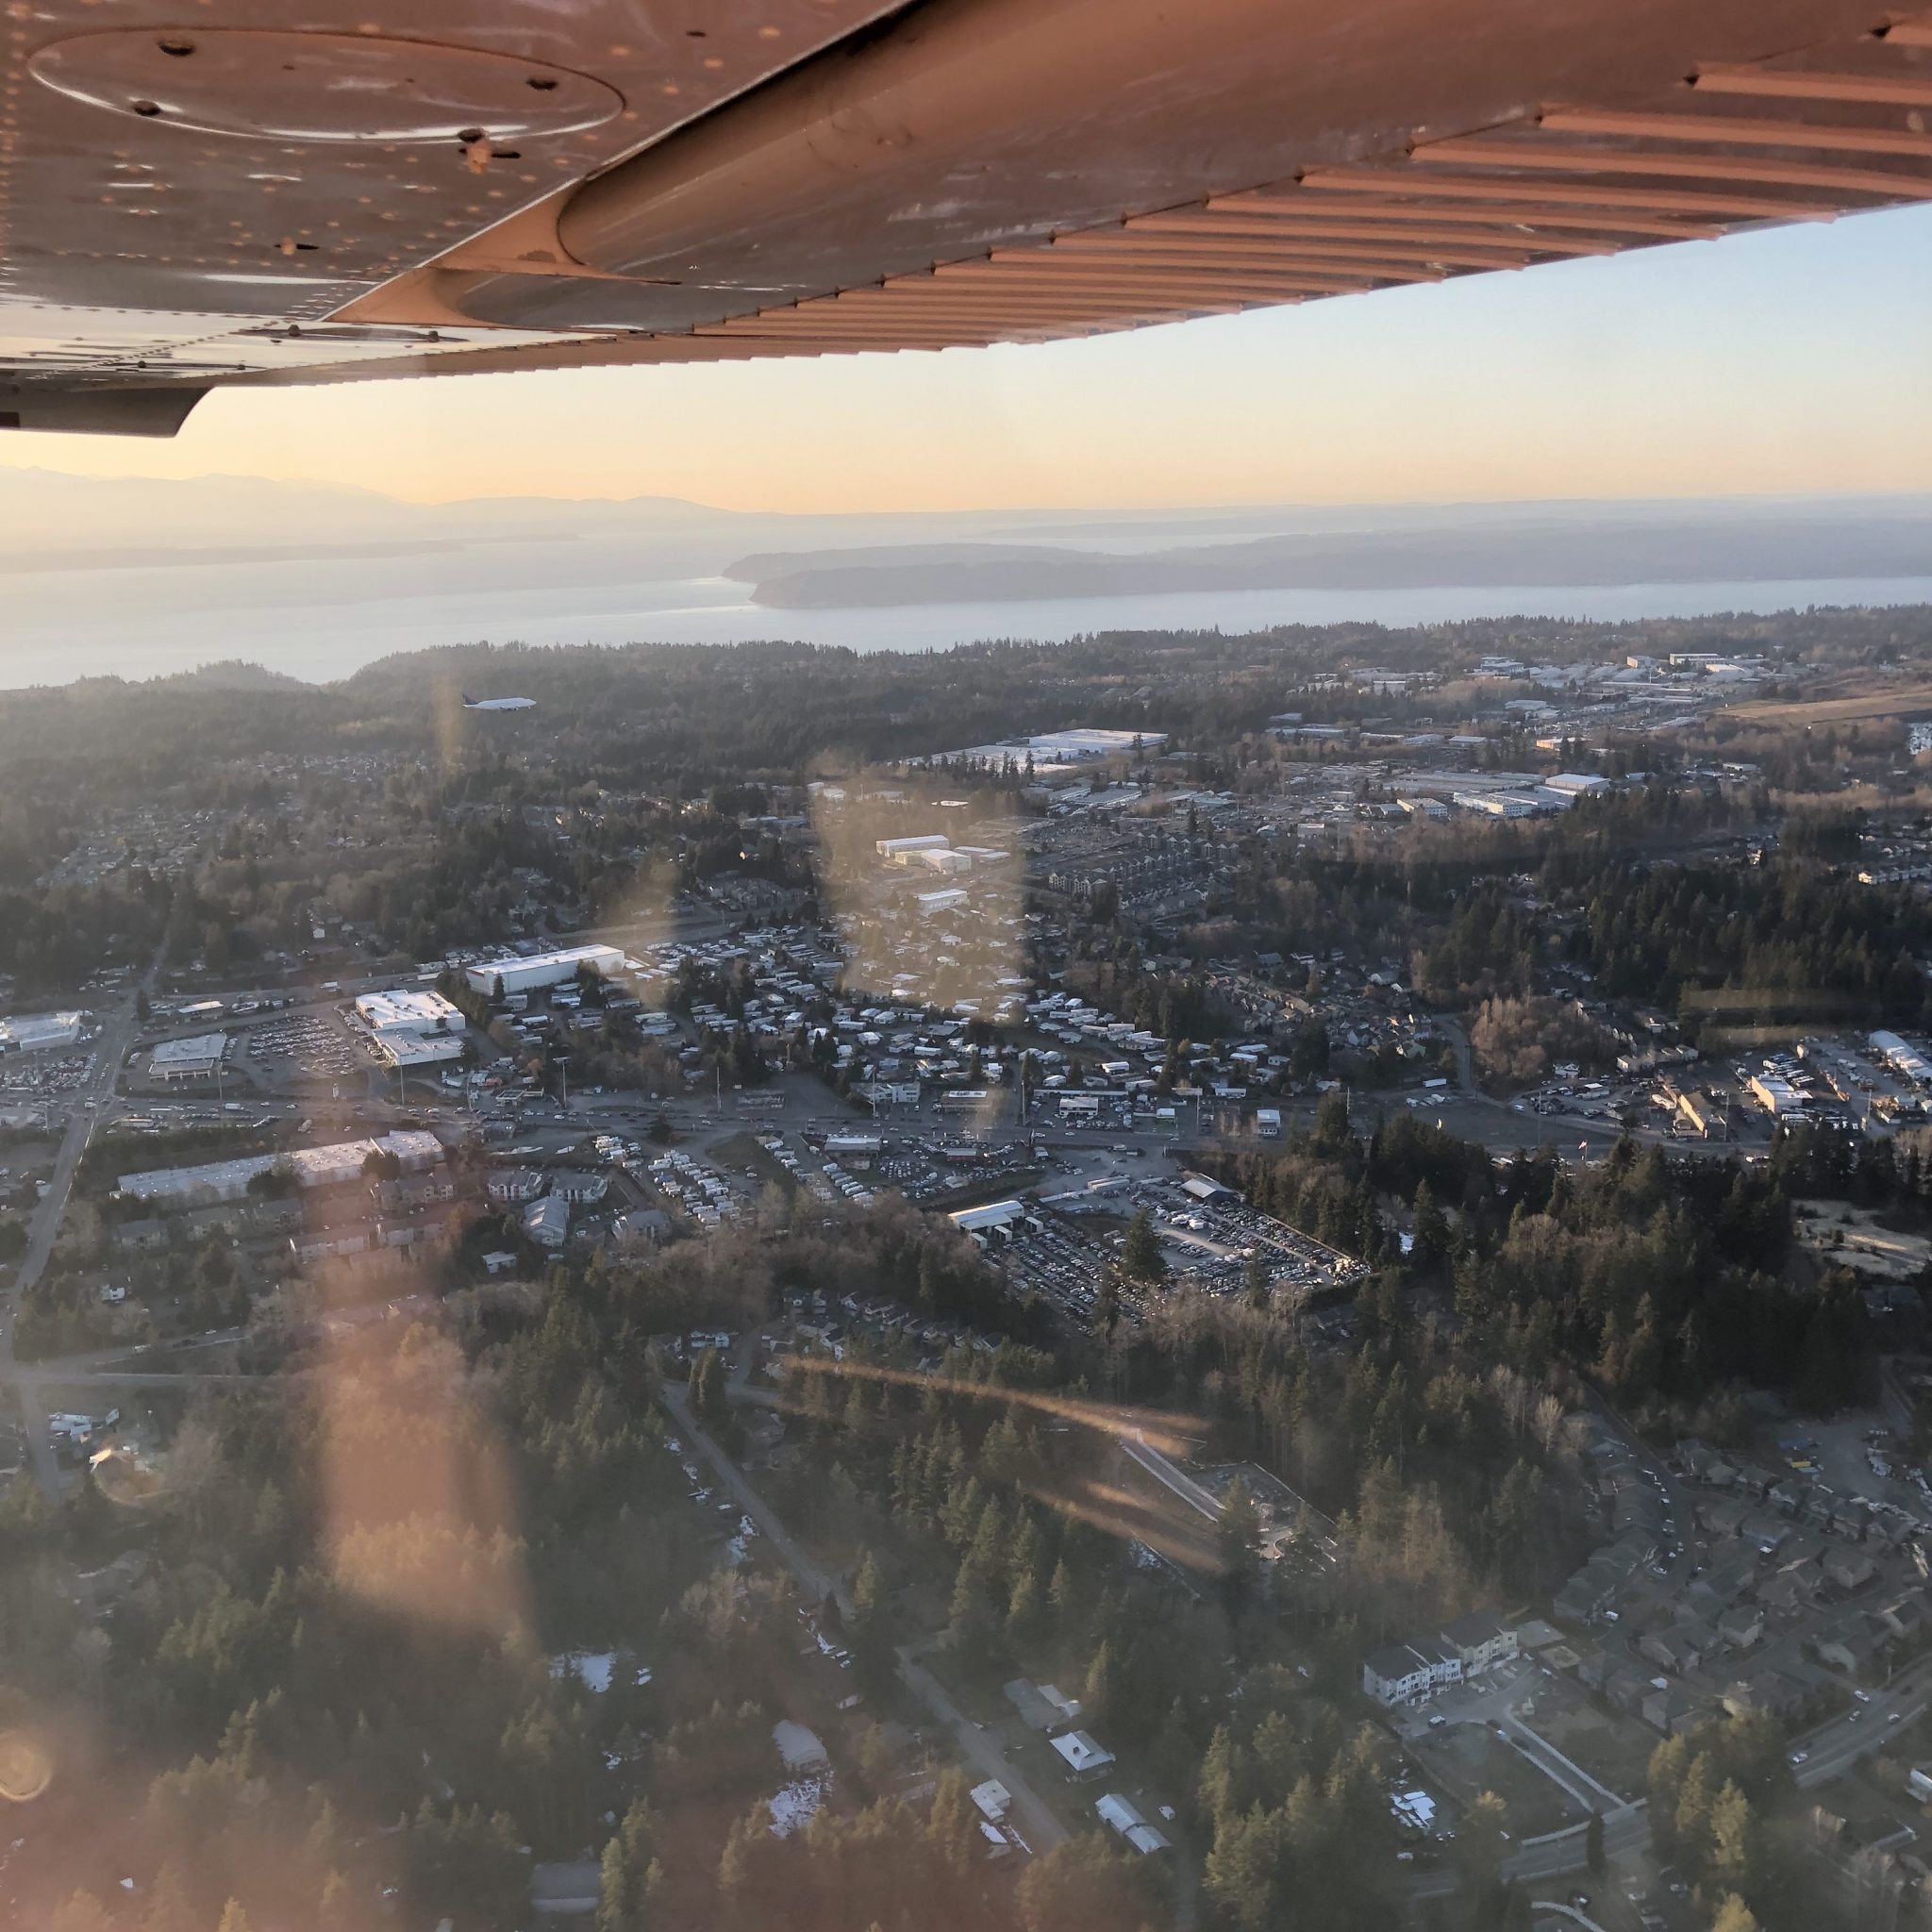
Today is one of those few winter days with nice sunshine, so I went to the airport in the evening and did some pattern work and got a bonus moment when the Boeing Dreamlifter came in to land on the parallel runway.
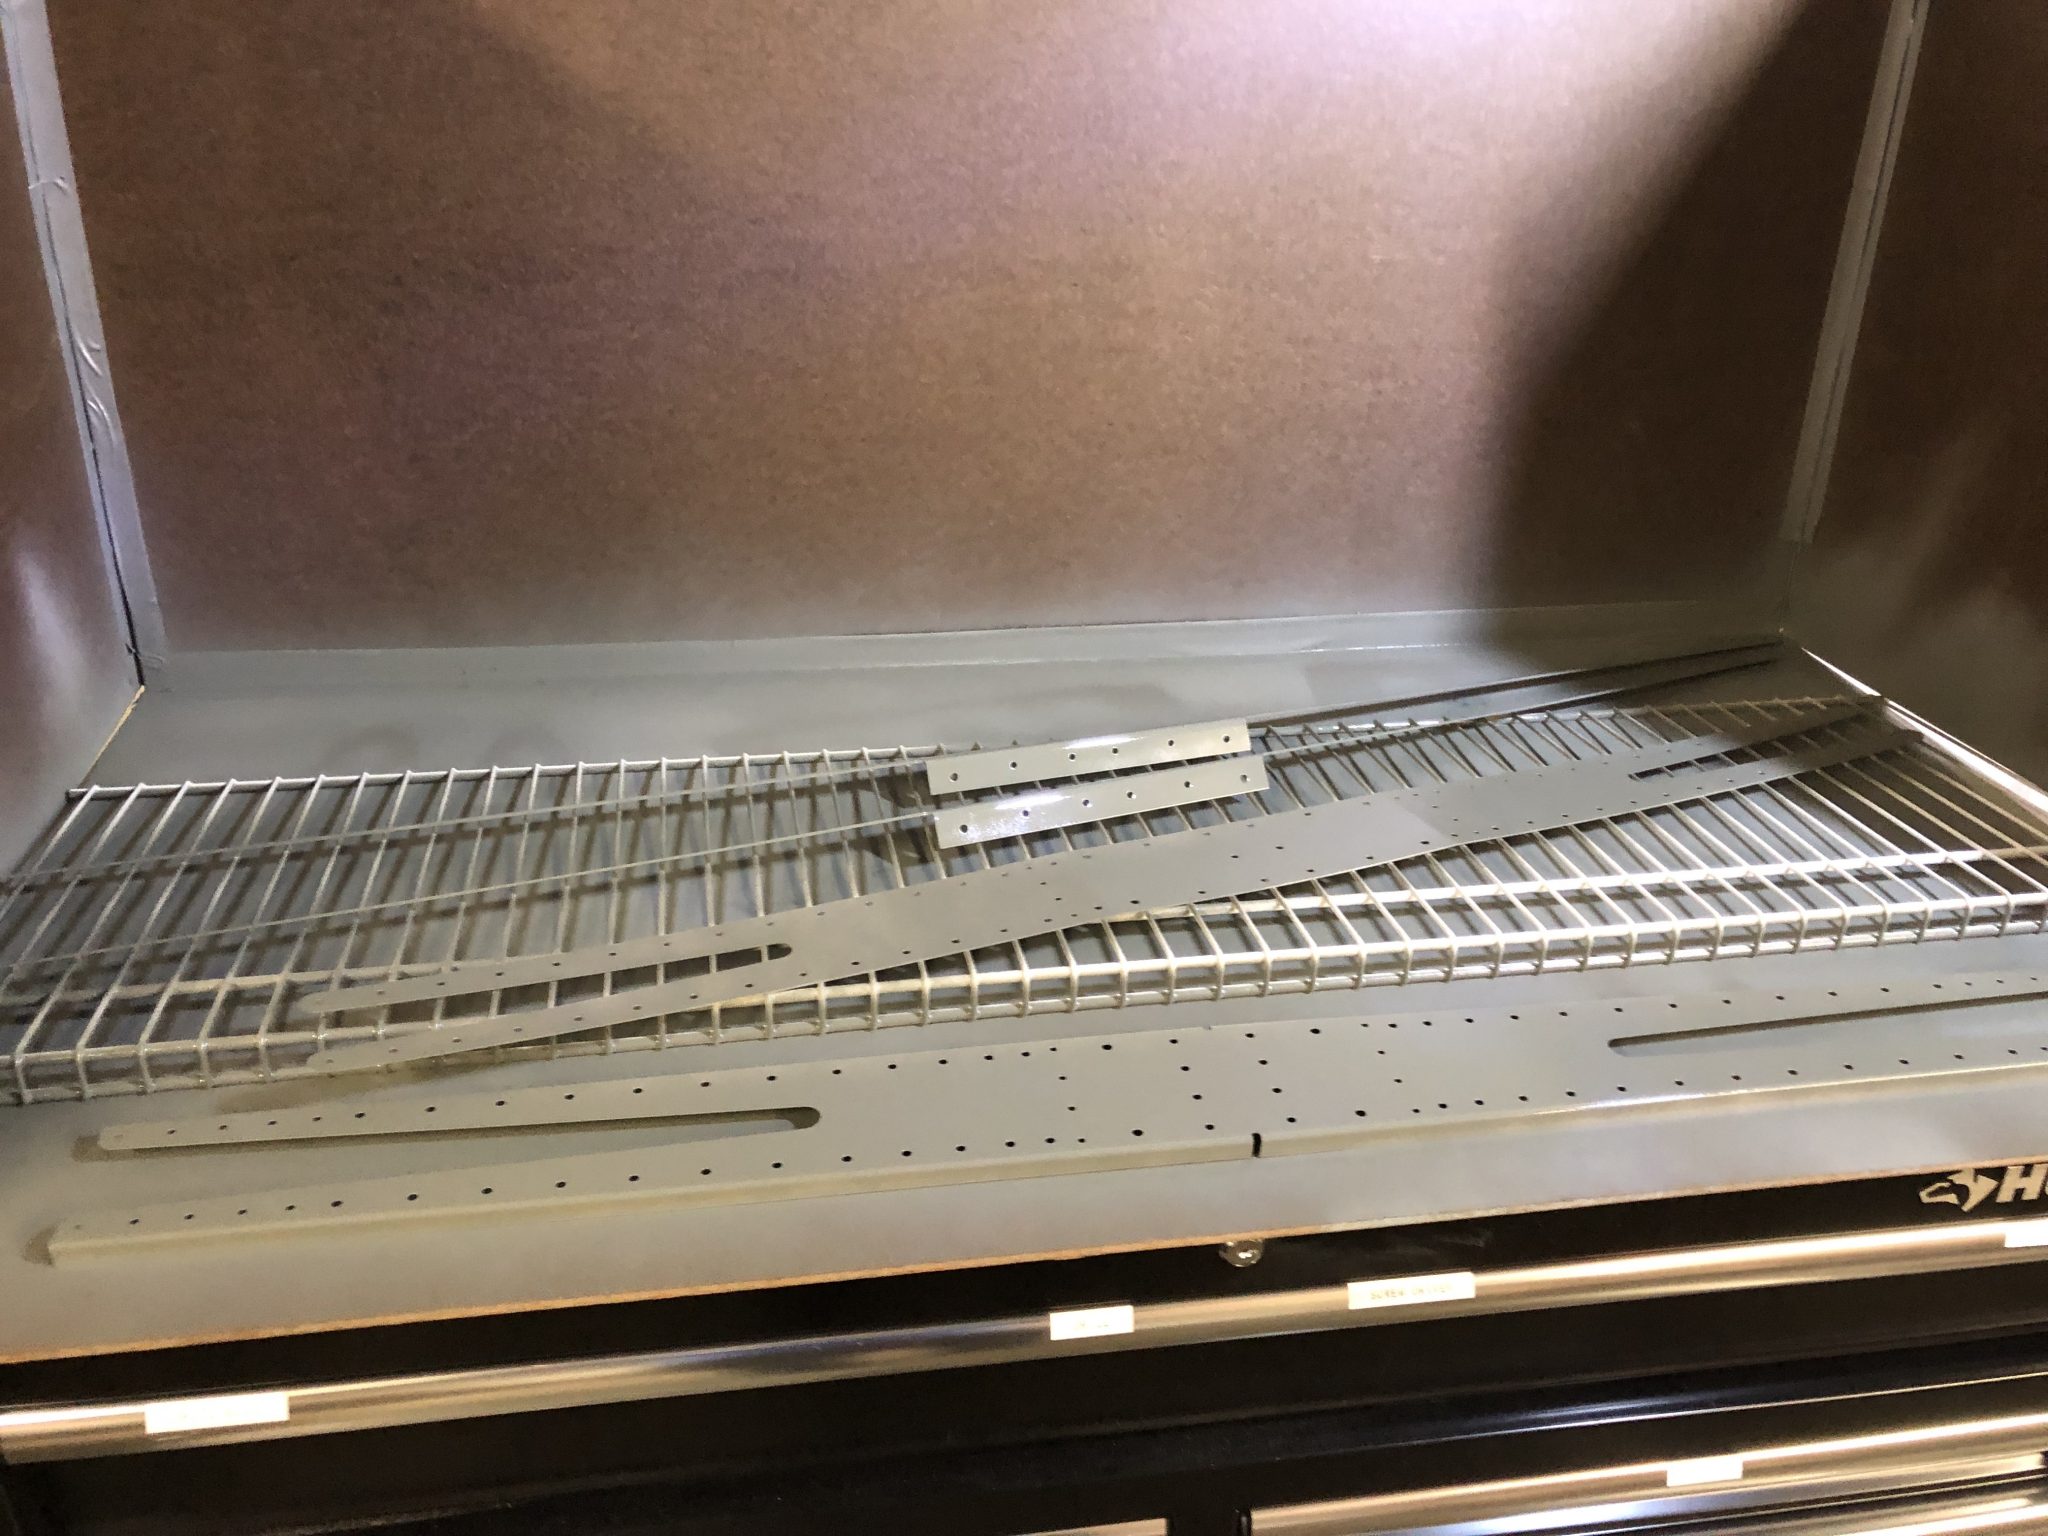
After getting home, I was doing some inventory and trying to figure out which part to put together next. I don’t want to close up the Rudder yet since I don’t have the light yet and want to fit that first. I got the Sealant I need to close up the Horizontal Stabilizer over the weekend, so I took that back out and put it on my workbench.
Then I got out my laser level to see if it all aligned and realized that my working surface is actually pretty slanted, so I spent some time to even out the tables. As it turns out, the garage floor has a pretty good slant as you can see below – 3 pieces of wooden shims on the far side, versus none on the near side.
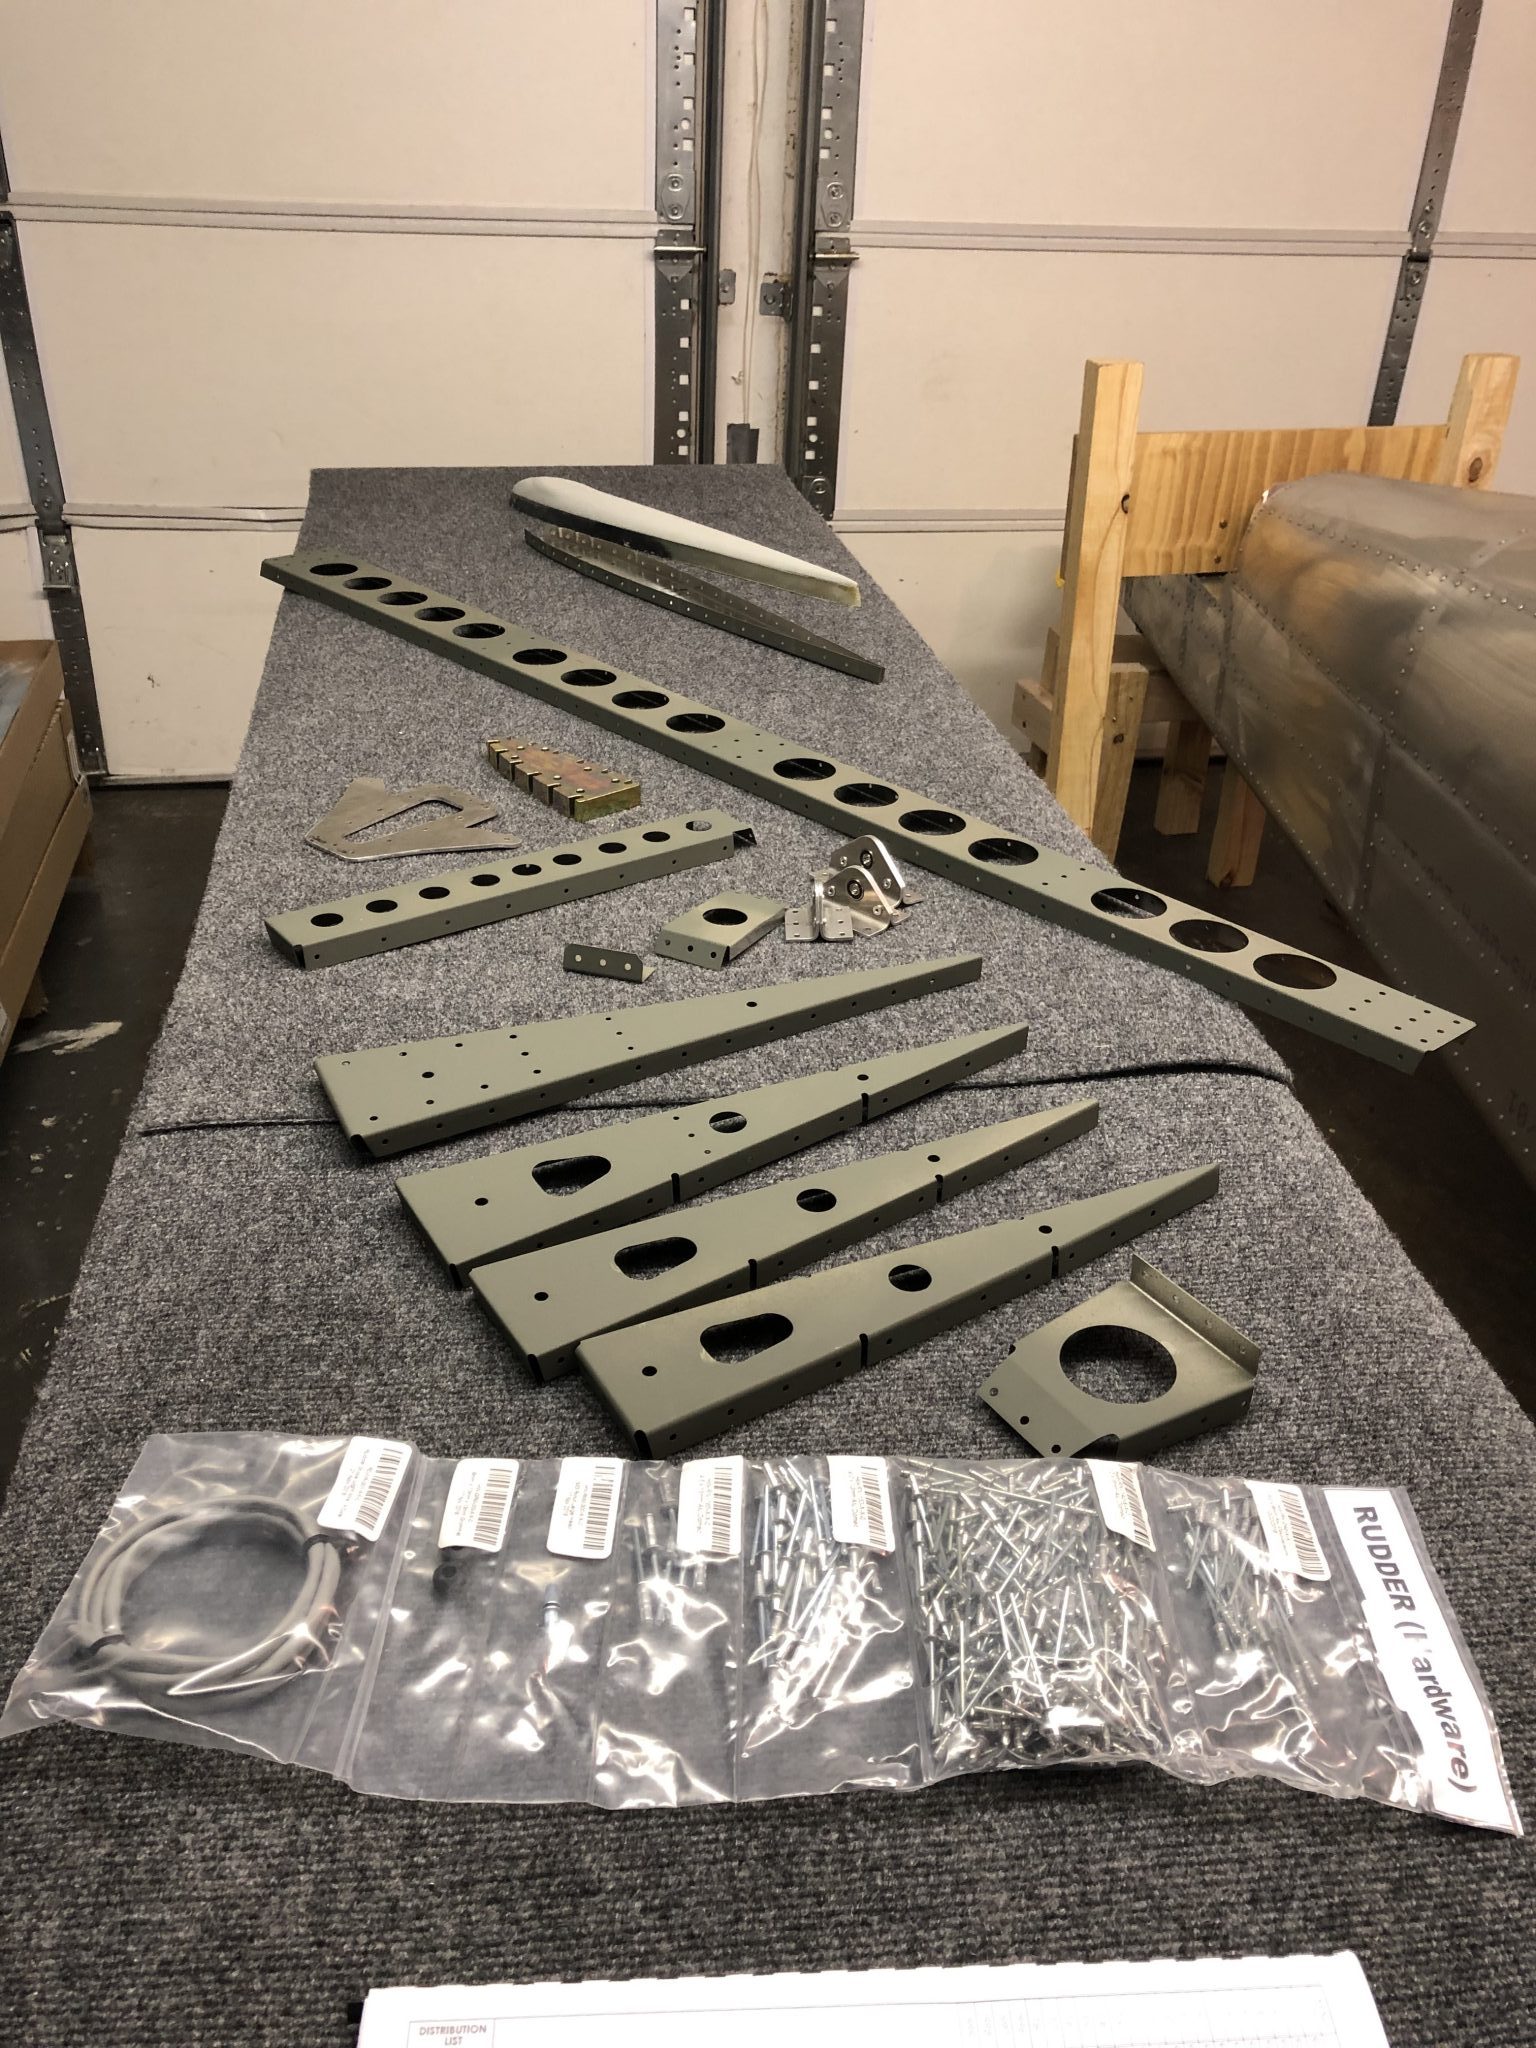
Now that I’ve prepared the Rudder parts with primer for the mating surfaces, it’s time for more riveting. I laid out all the parts and got to work assembling the Rudder structure.
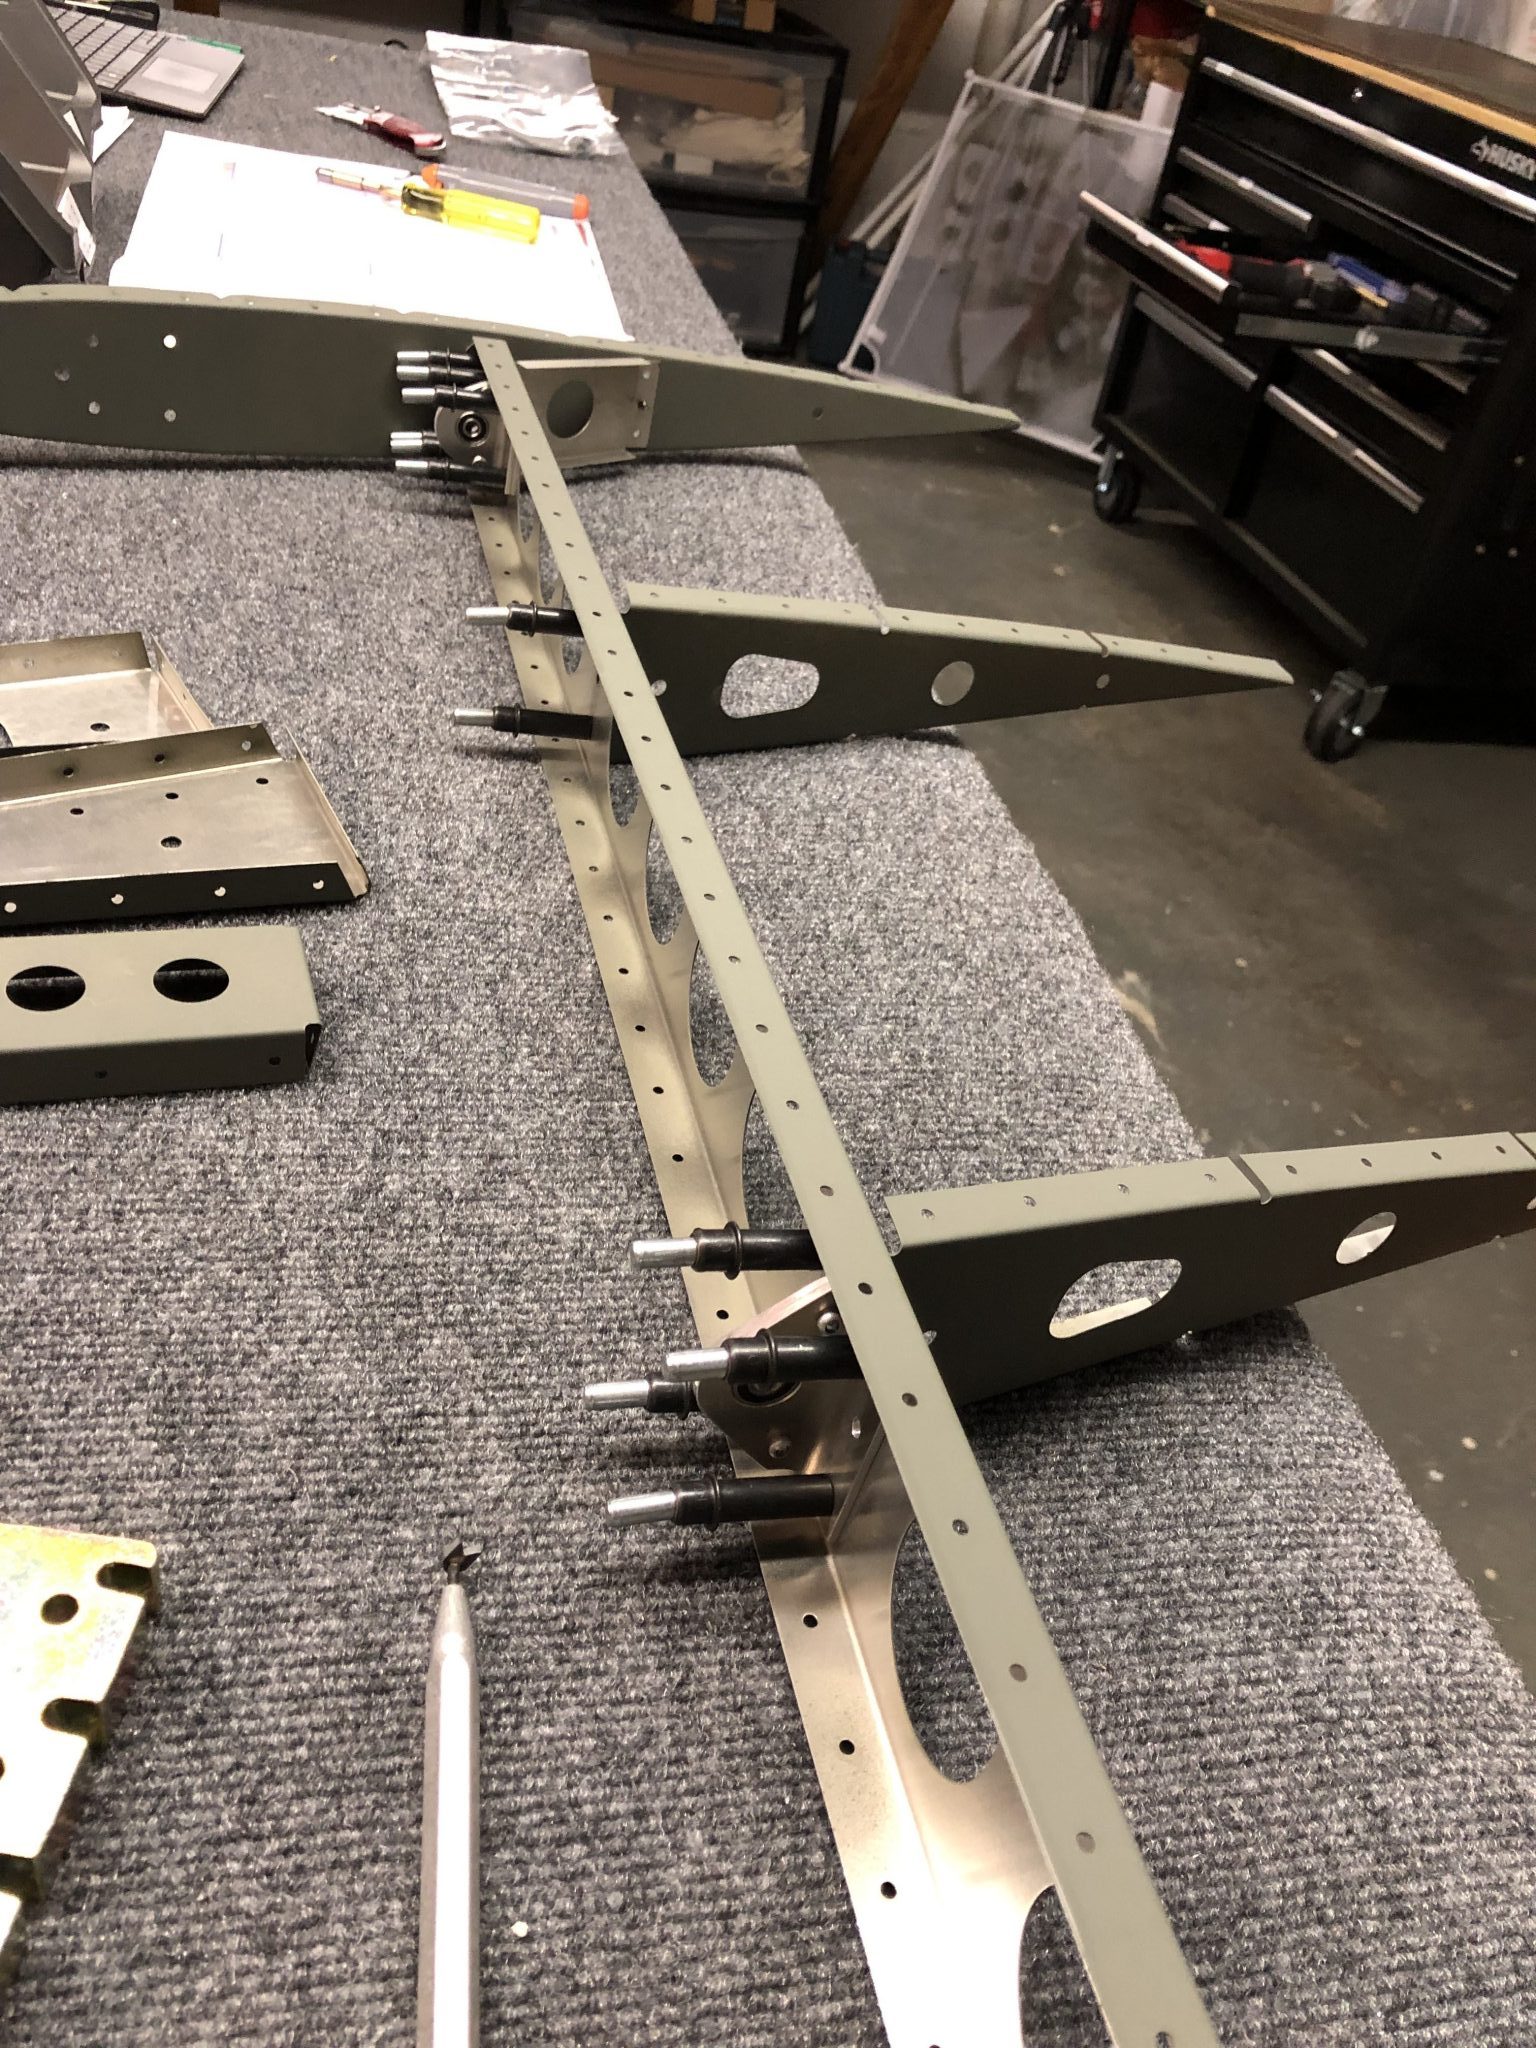
The strengthening plate is thicker and needed a bit more attention to deburr both the big center hole using my straight double edge deburr tool as well as the riveting holes. Most of the other holes were prepped well by the factory after checking them by running my finger over them.
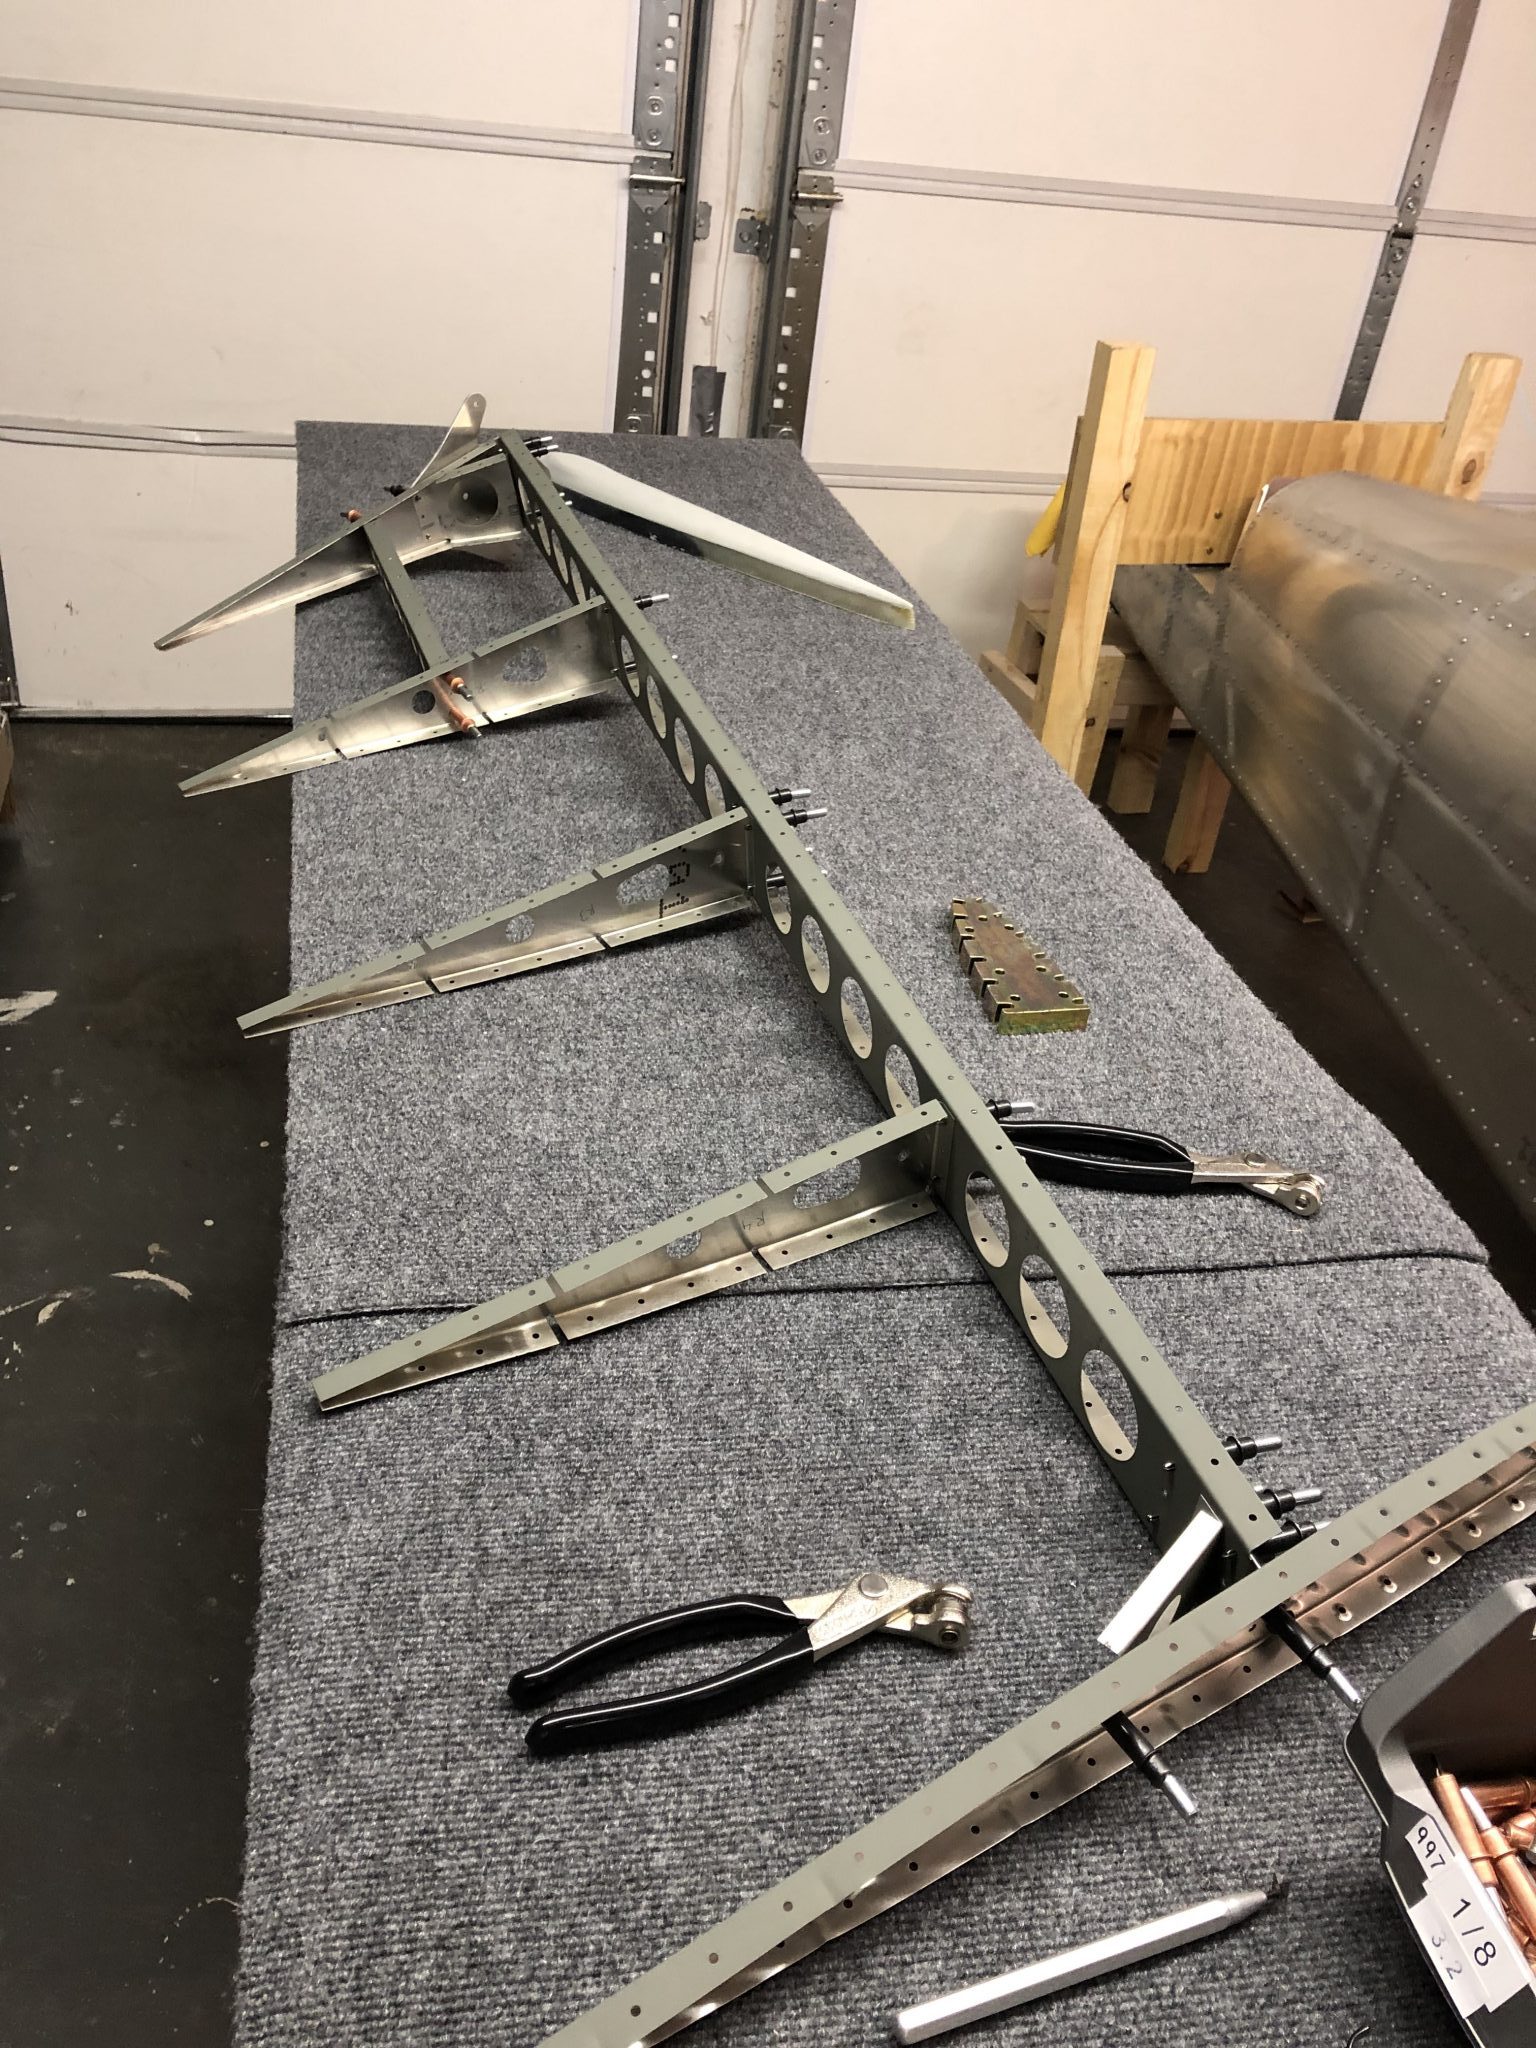
After everything looked good, I finished putting together the structure of the spar and all the ribs and lined up everything with lots of clecos.
And then it was time for another episode of riveting.
I still have to buy the tail anti collision light that will go on top of the Rudder. I’m planning to get the Aveo Posistrobe MiniMax and then I’ll finish up putting on the skin. Since I am planning on installing a VOR/LOC/GS antenna, I will run the wire for both the antenna, as well as the strobe light in one go through the Vertical Stabilizer as the instructions suggest.
I did a quick test fit of the skin on the Horizontal Stabilizer yesterday and everything looks good. I’m waiting for the sealant that goes between the Support Plate and the skin, which should arrive tomorrow. So I decided to prepare the next part of the Empennage and and prime the Rudder parts and the mating surfaces of the Horizontal Stabilizer skin.
After I did some more reading about priming preparation and I’ve slightly changed the process for the Rudder pieces. I’ll see how it turns out tomorrow once it’s dried. After removing the protective plastic, I cleaned off the parts with MEK, then scruffed them up with a red (fine) Scotch brite pad and then went on to priming.
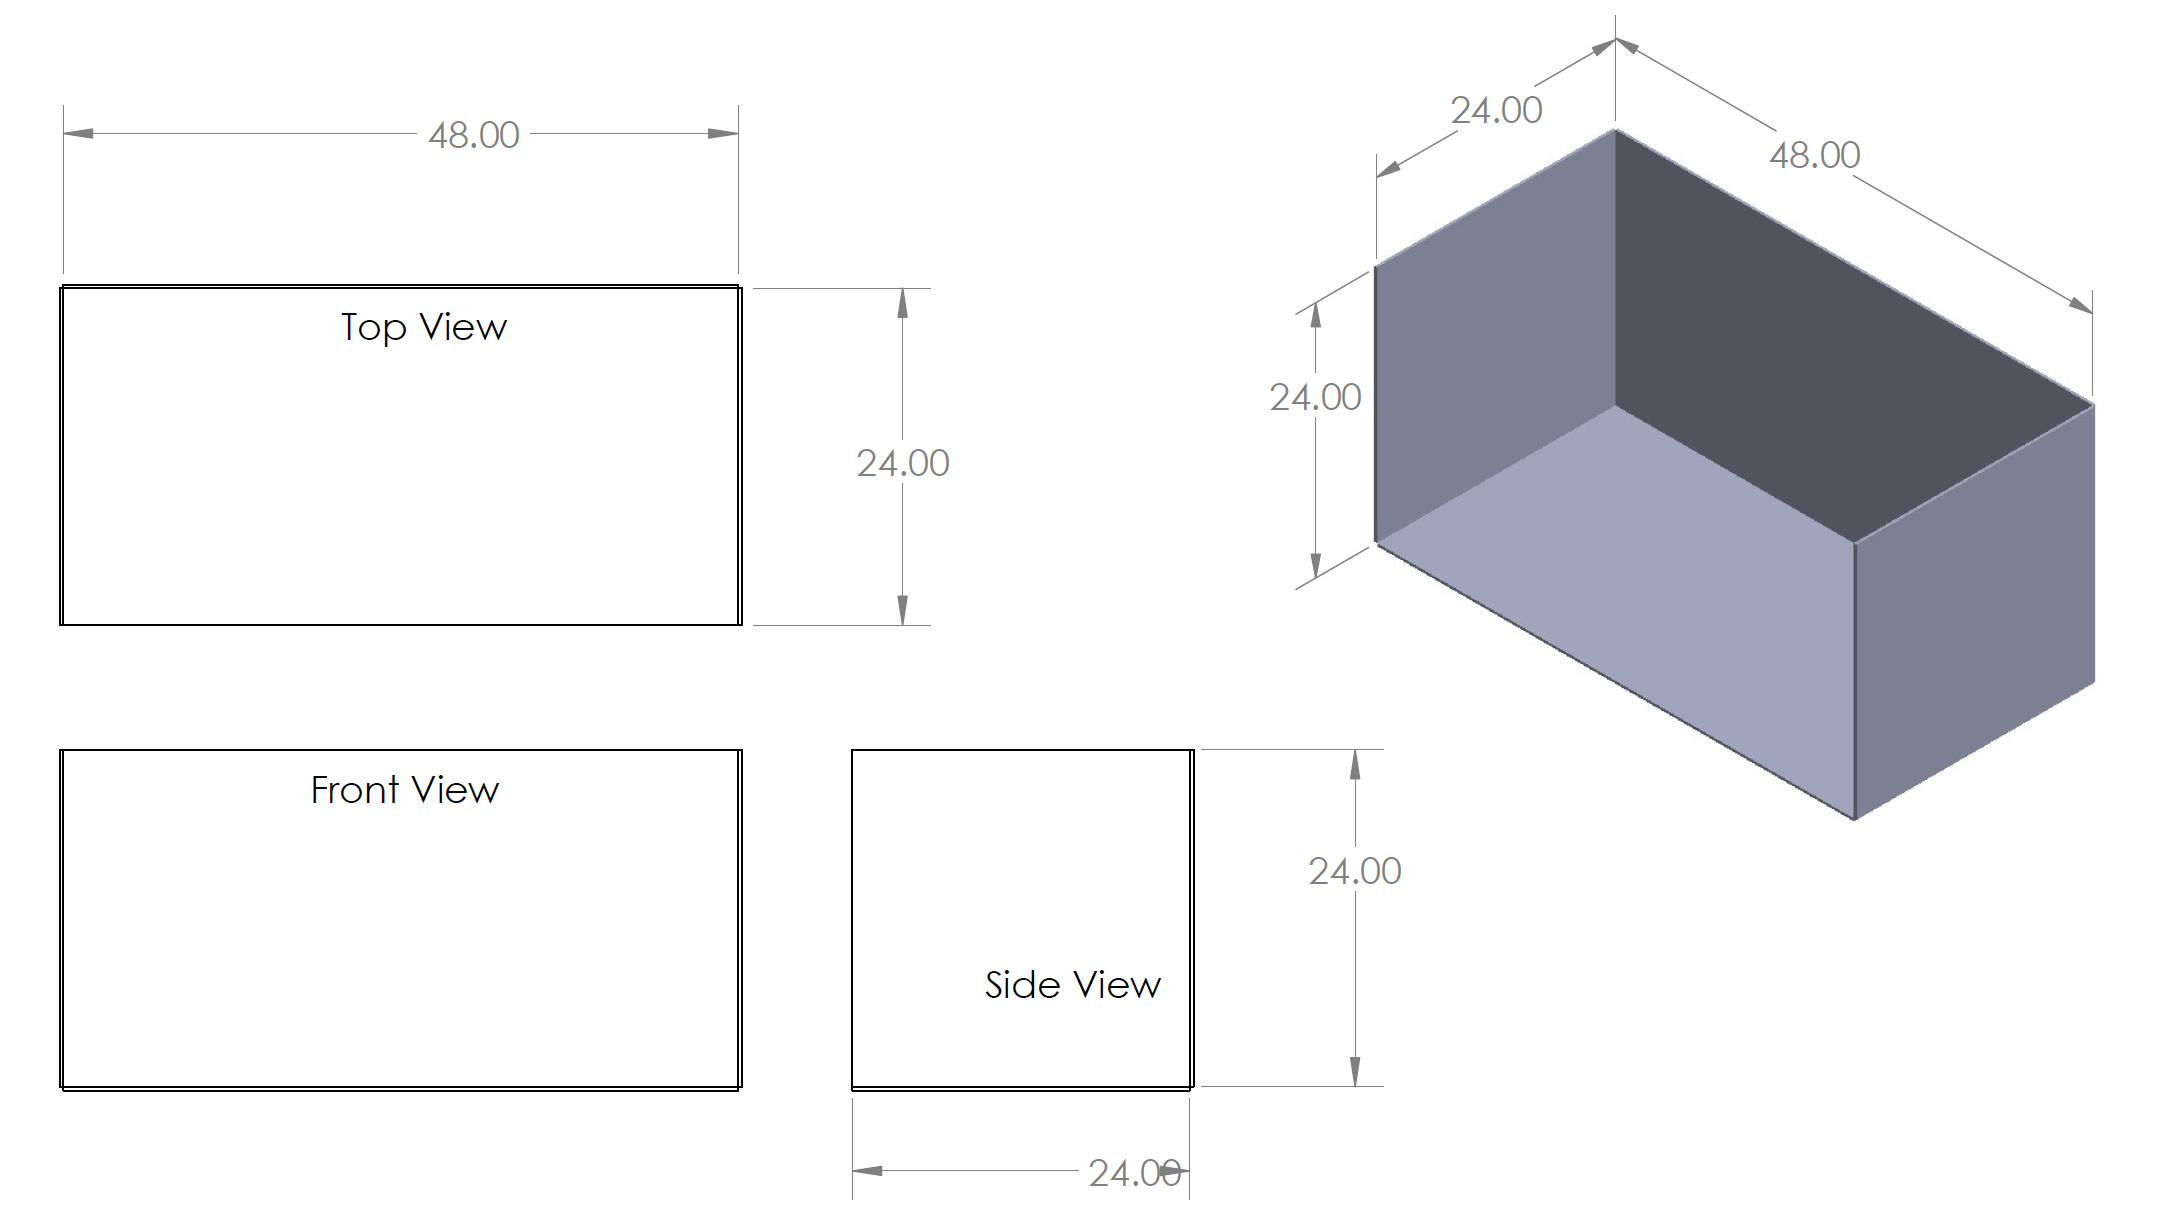
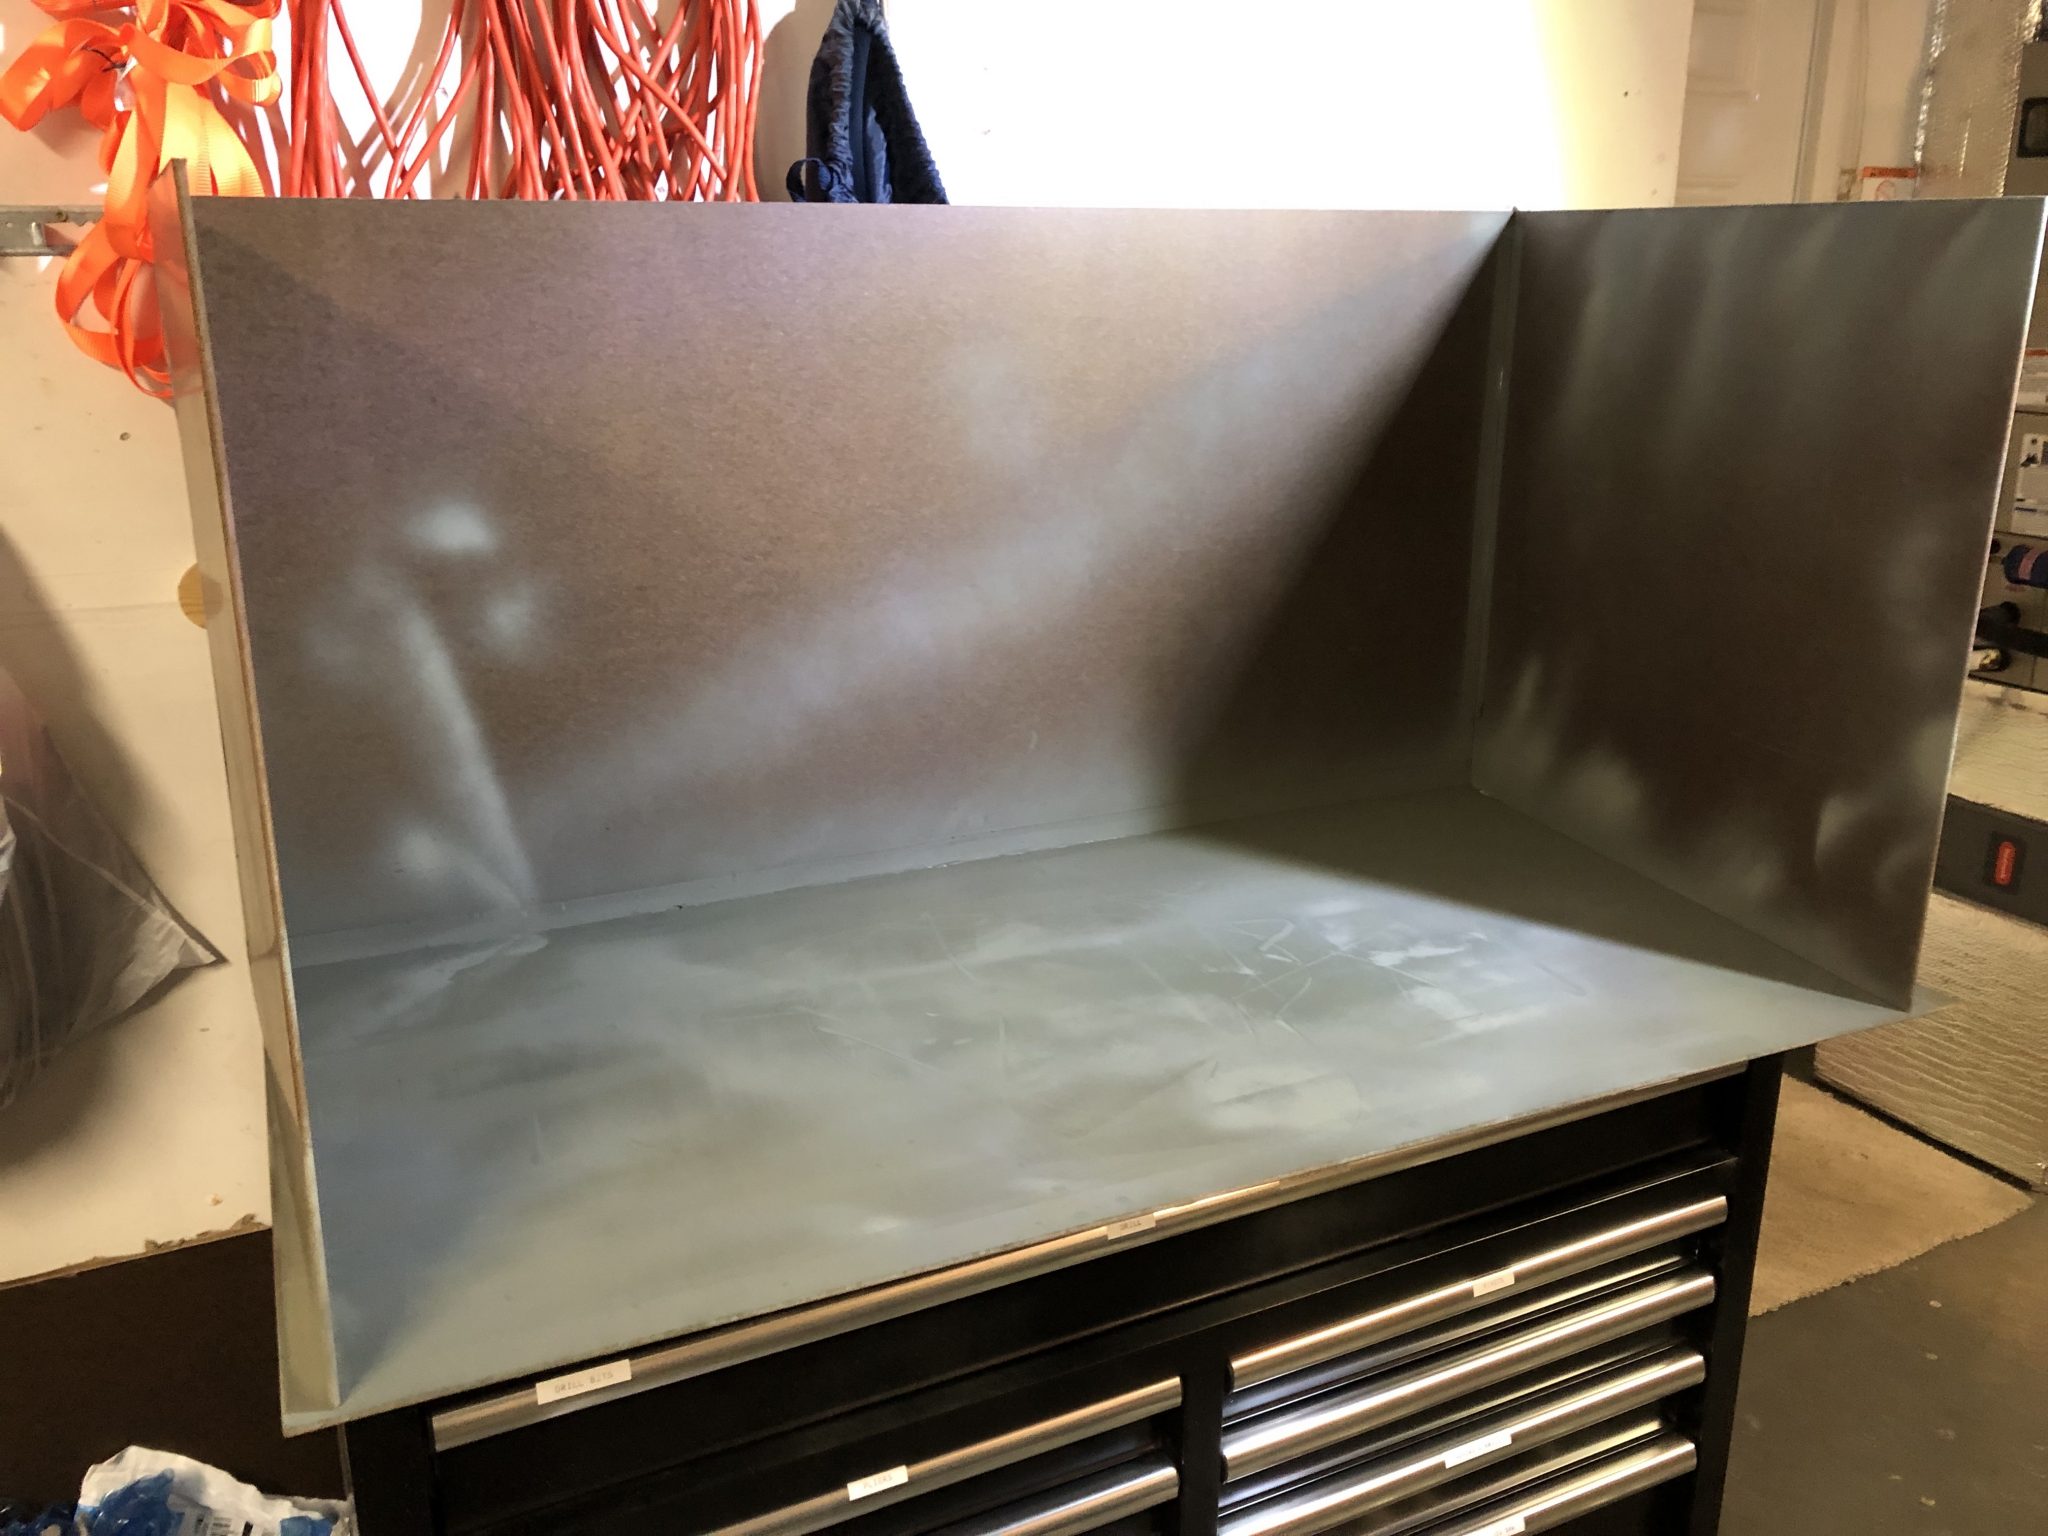
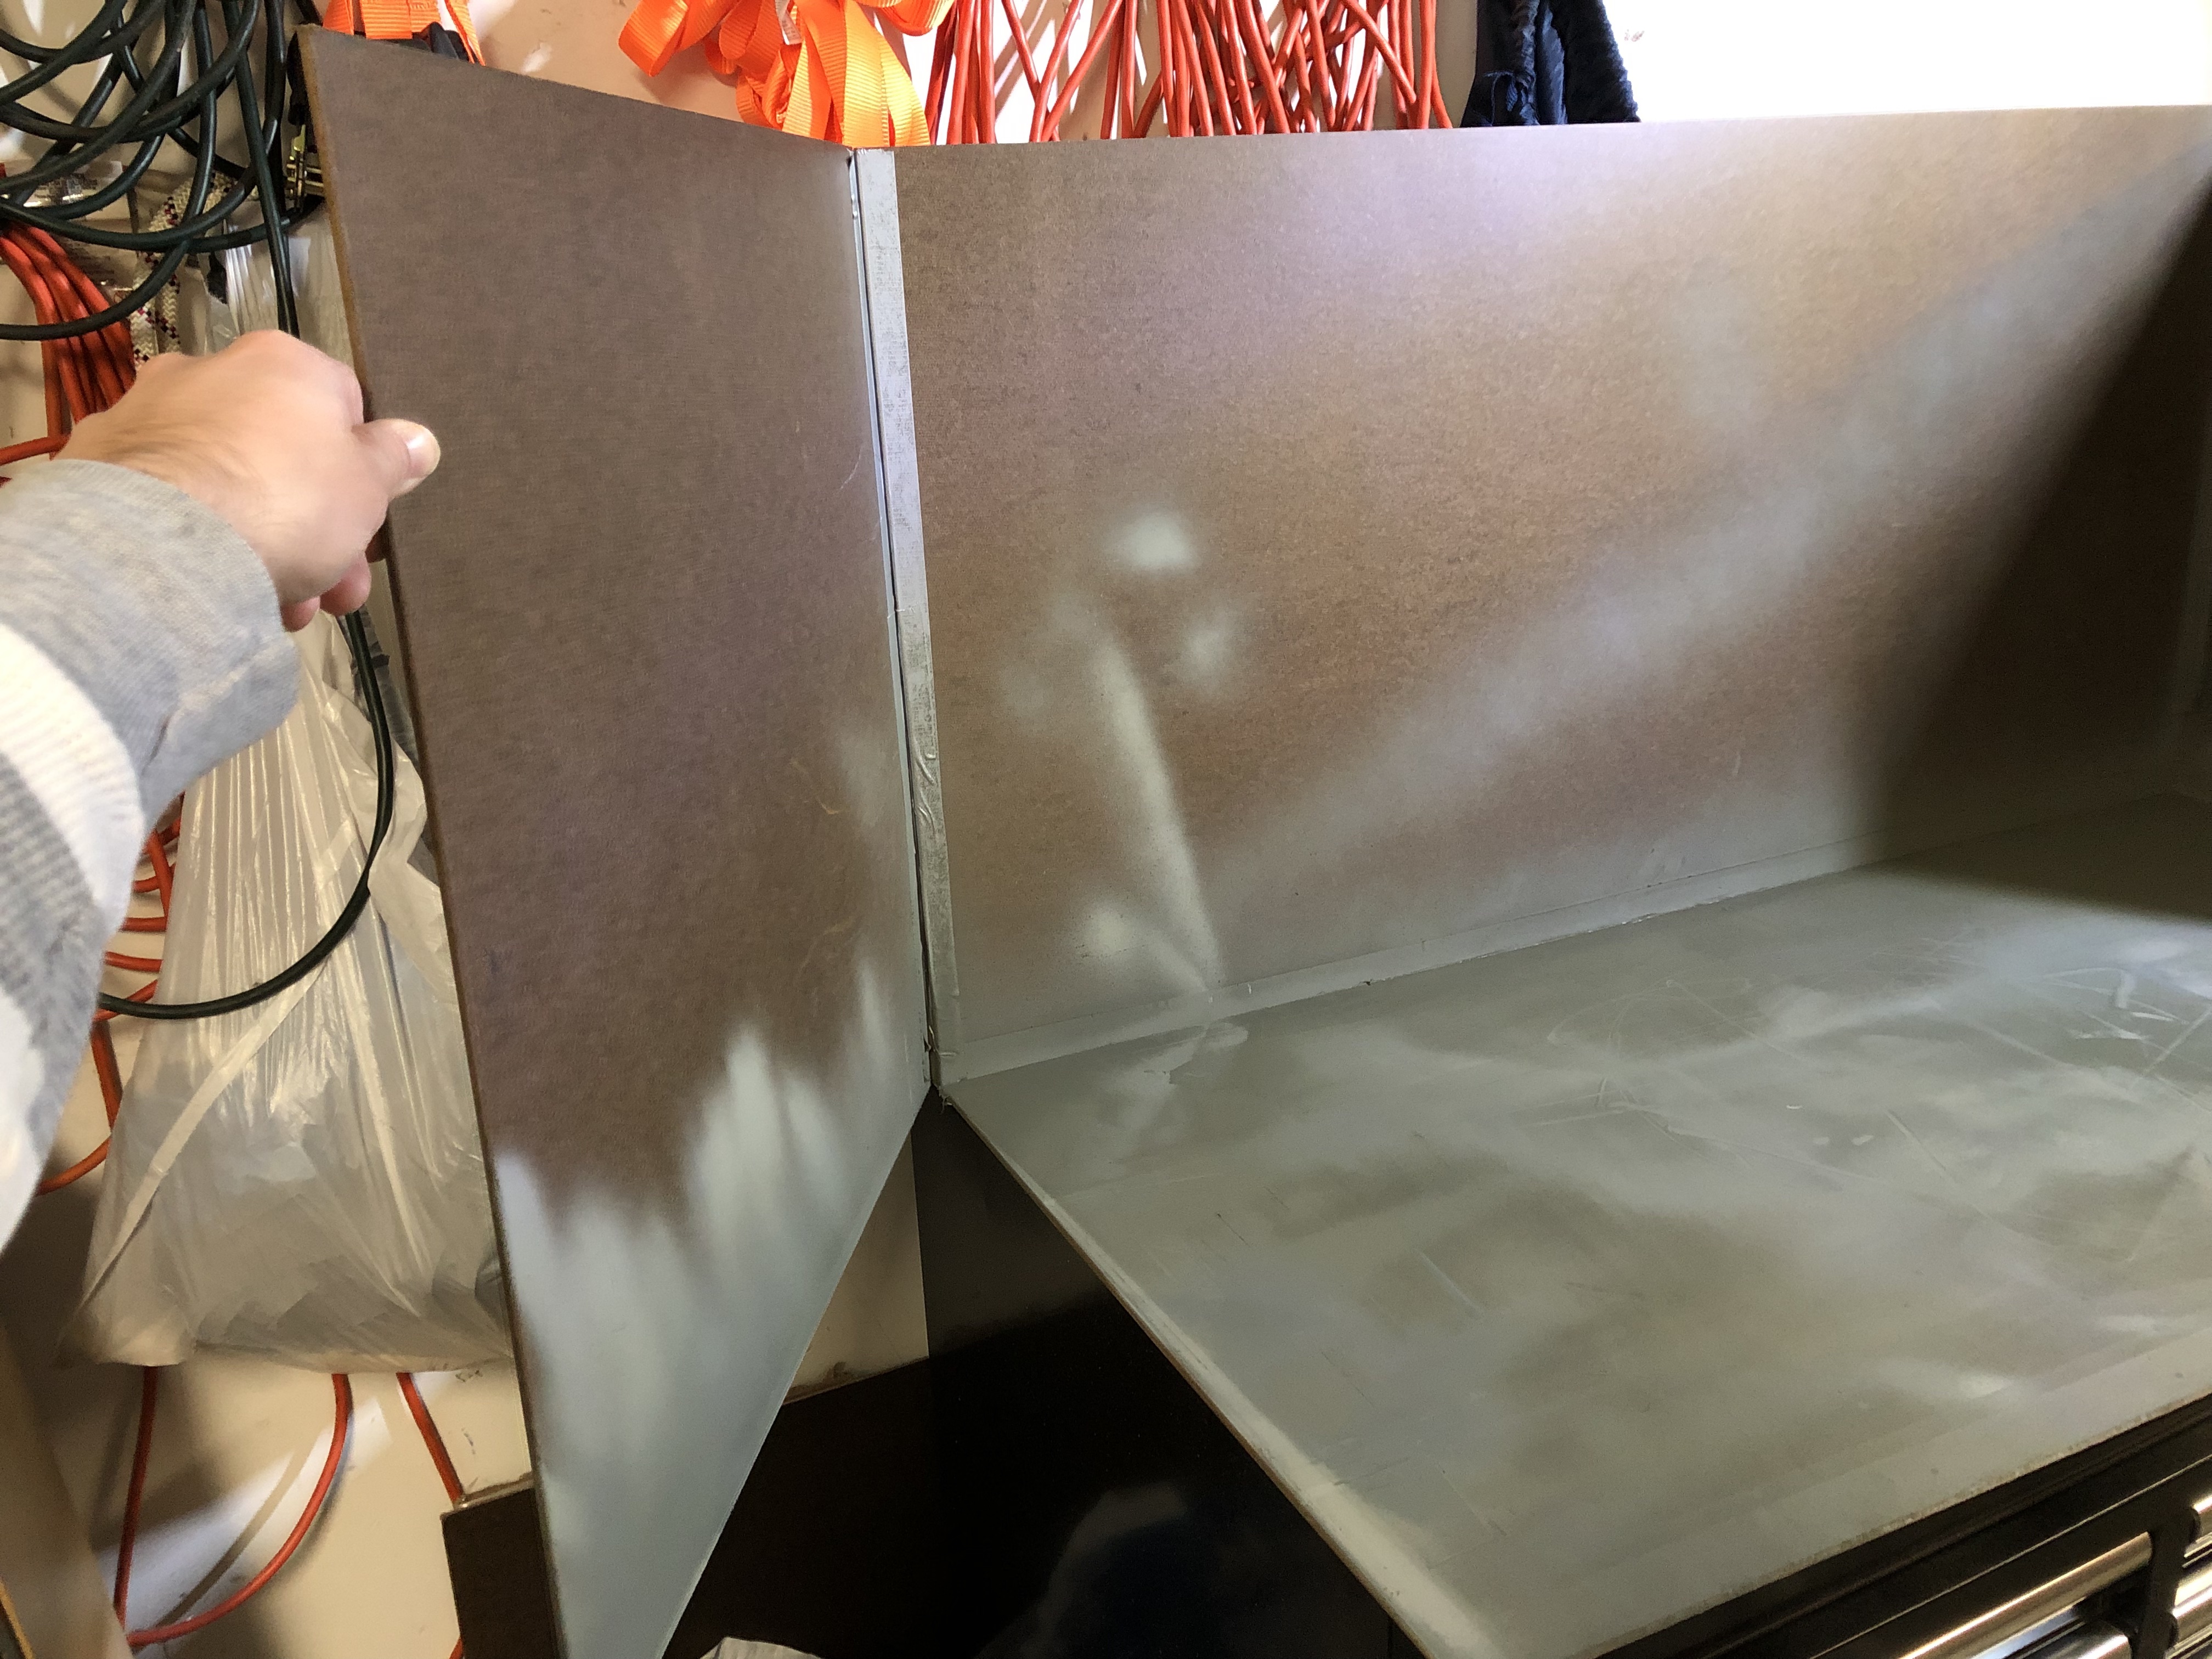
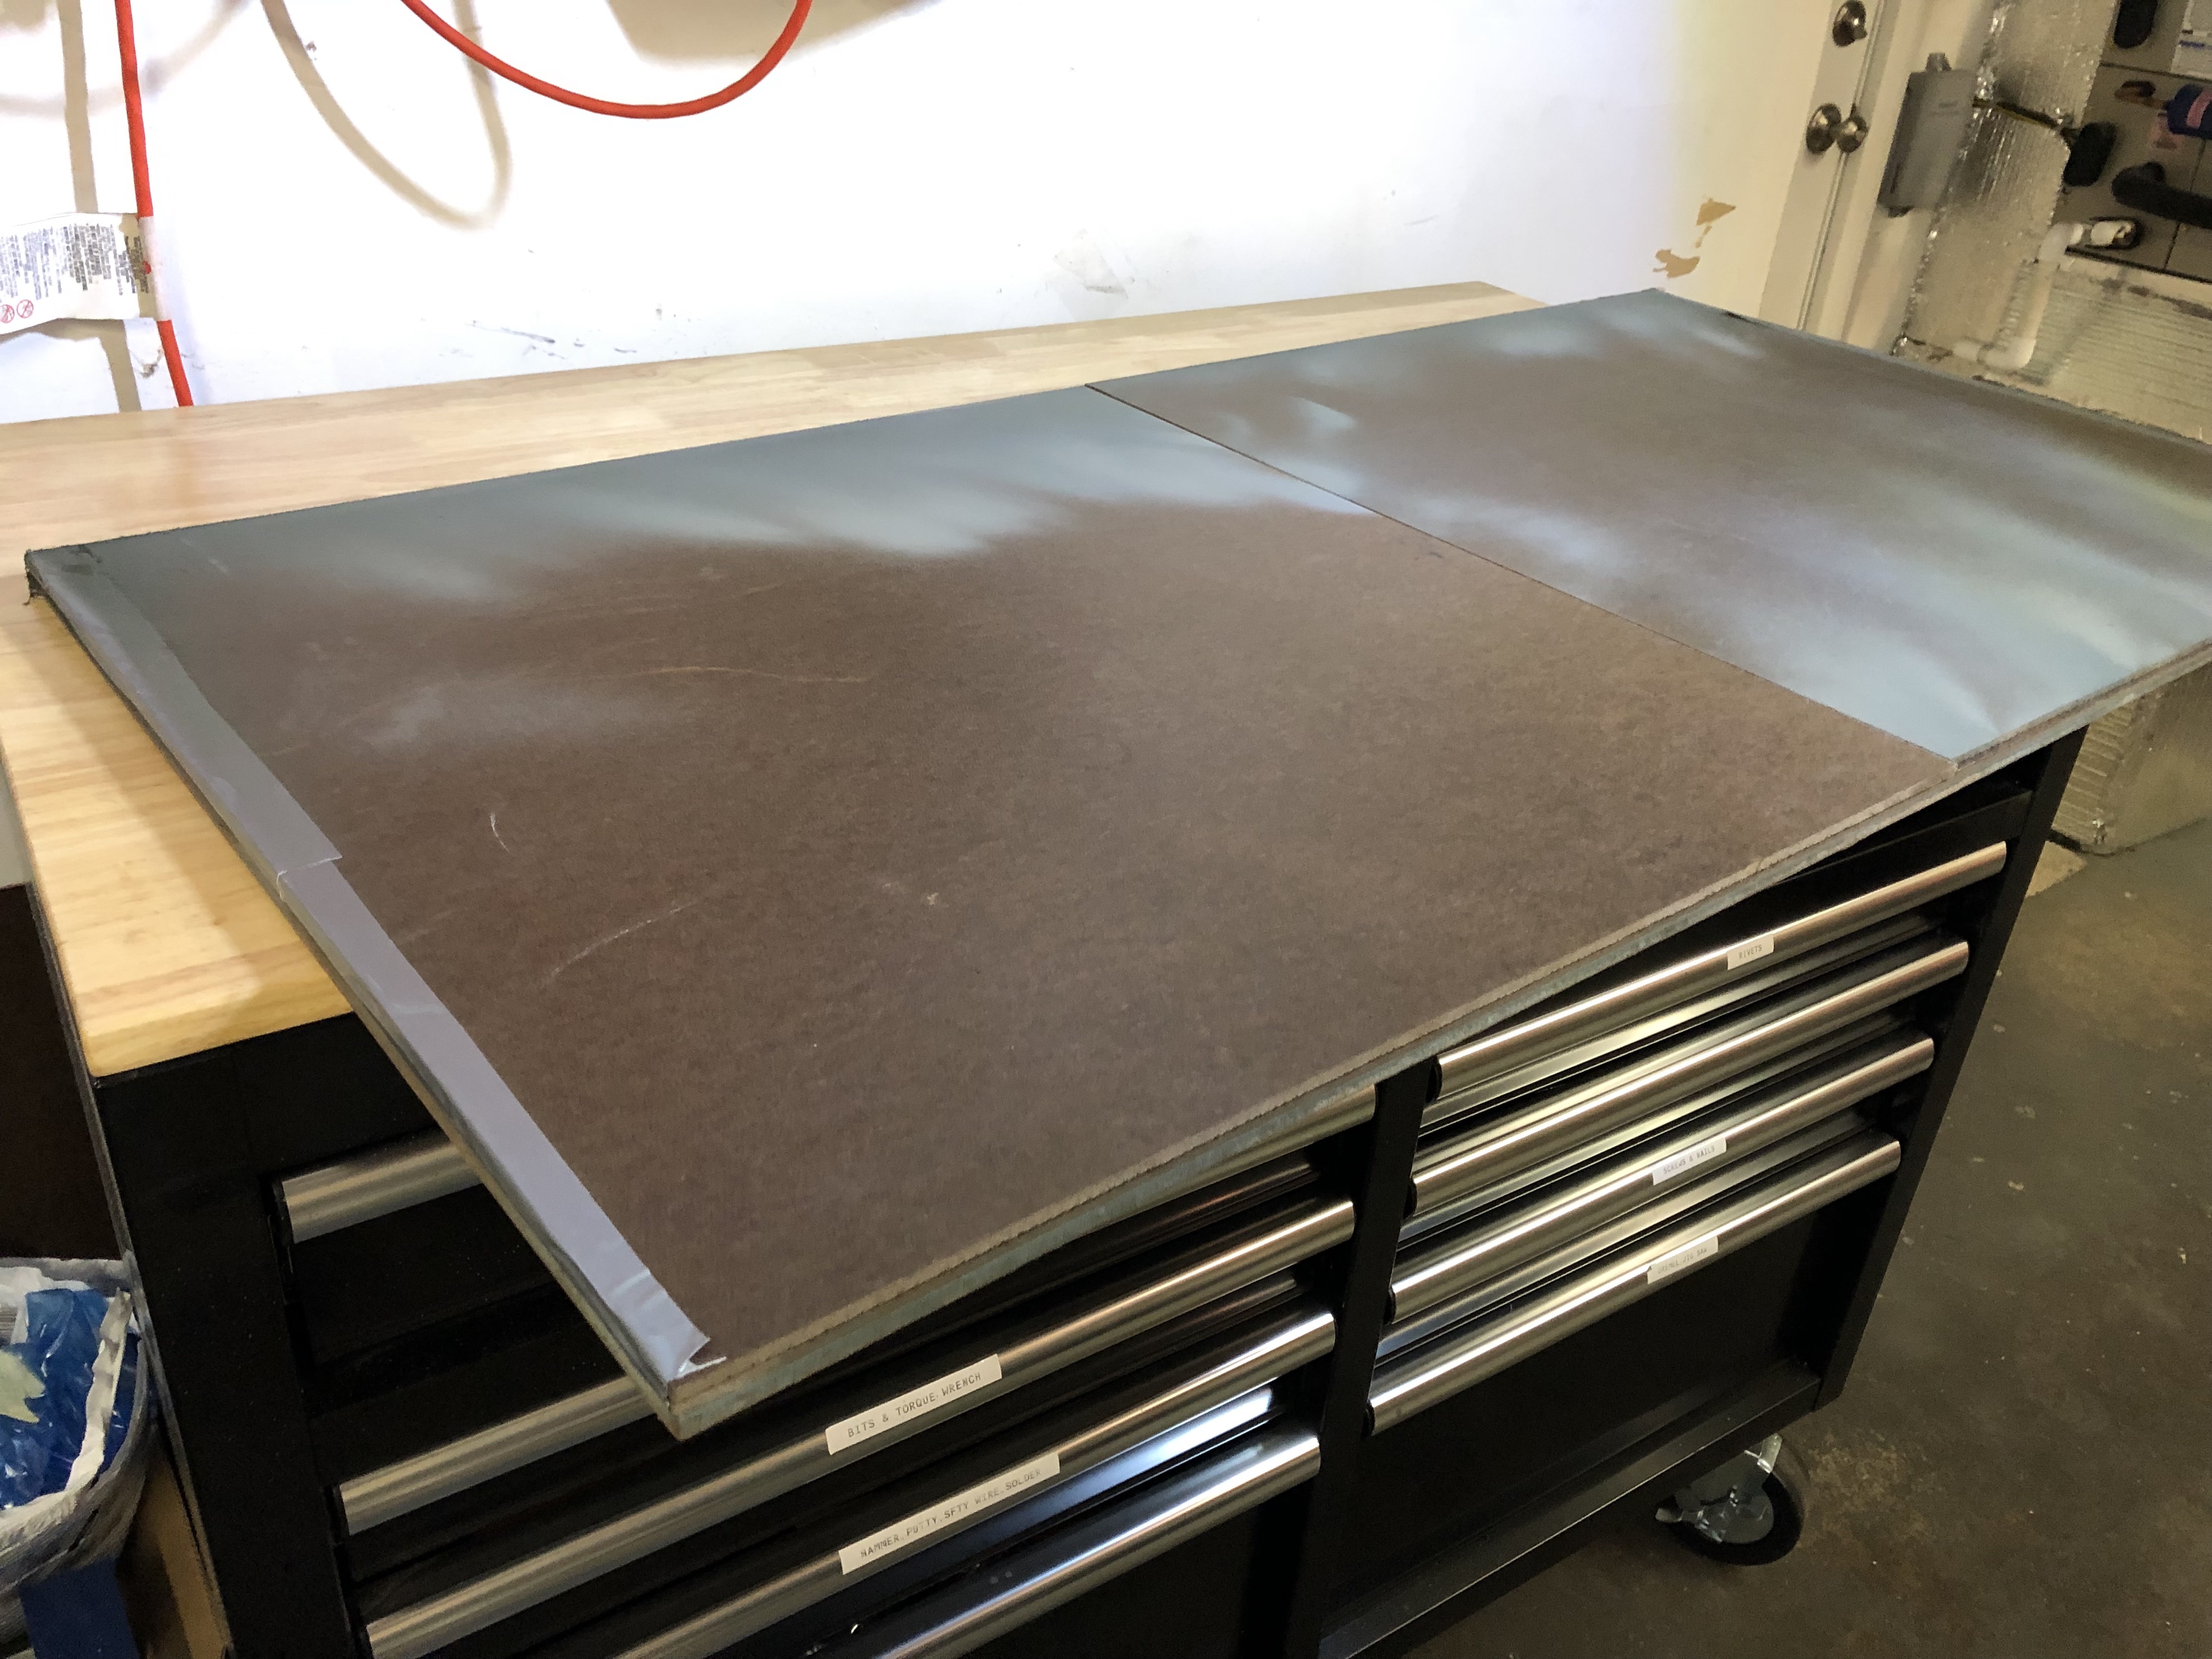
After the preparation, I unfolded my small paint booth I made out of some hardboard. I got the design from a video on the Family Handyman. If anyone wants to make their own and wants to skip the video, I’ve created some quick plans in Solidworks and took some pictures of the folding. What you need:
I was busy on the weekend at the Northwest Aviation Conference helping sell Raffle Tickets for the Charity Airplane Raffle that my Flying Club, Puget Sound Flyers, is holding to raffle off a refurbished Cessna 150 Airplane to fund scholarships for kids that survived cancer.
While at the conference I also briefly met up with a member of the Sling Builders Facebook group, who is considering building a Sling 2 in Sequim. We were talking all things Sling for a while and I look forward to have another Sling builder nearby soon.
I also attended some talks and got to say hi to Jason Miller, who’s a CFII and has a great YouTube channel with training tips about The Finer Points of flying.
Horizontal Stabilizer
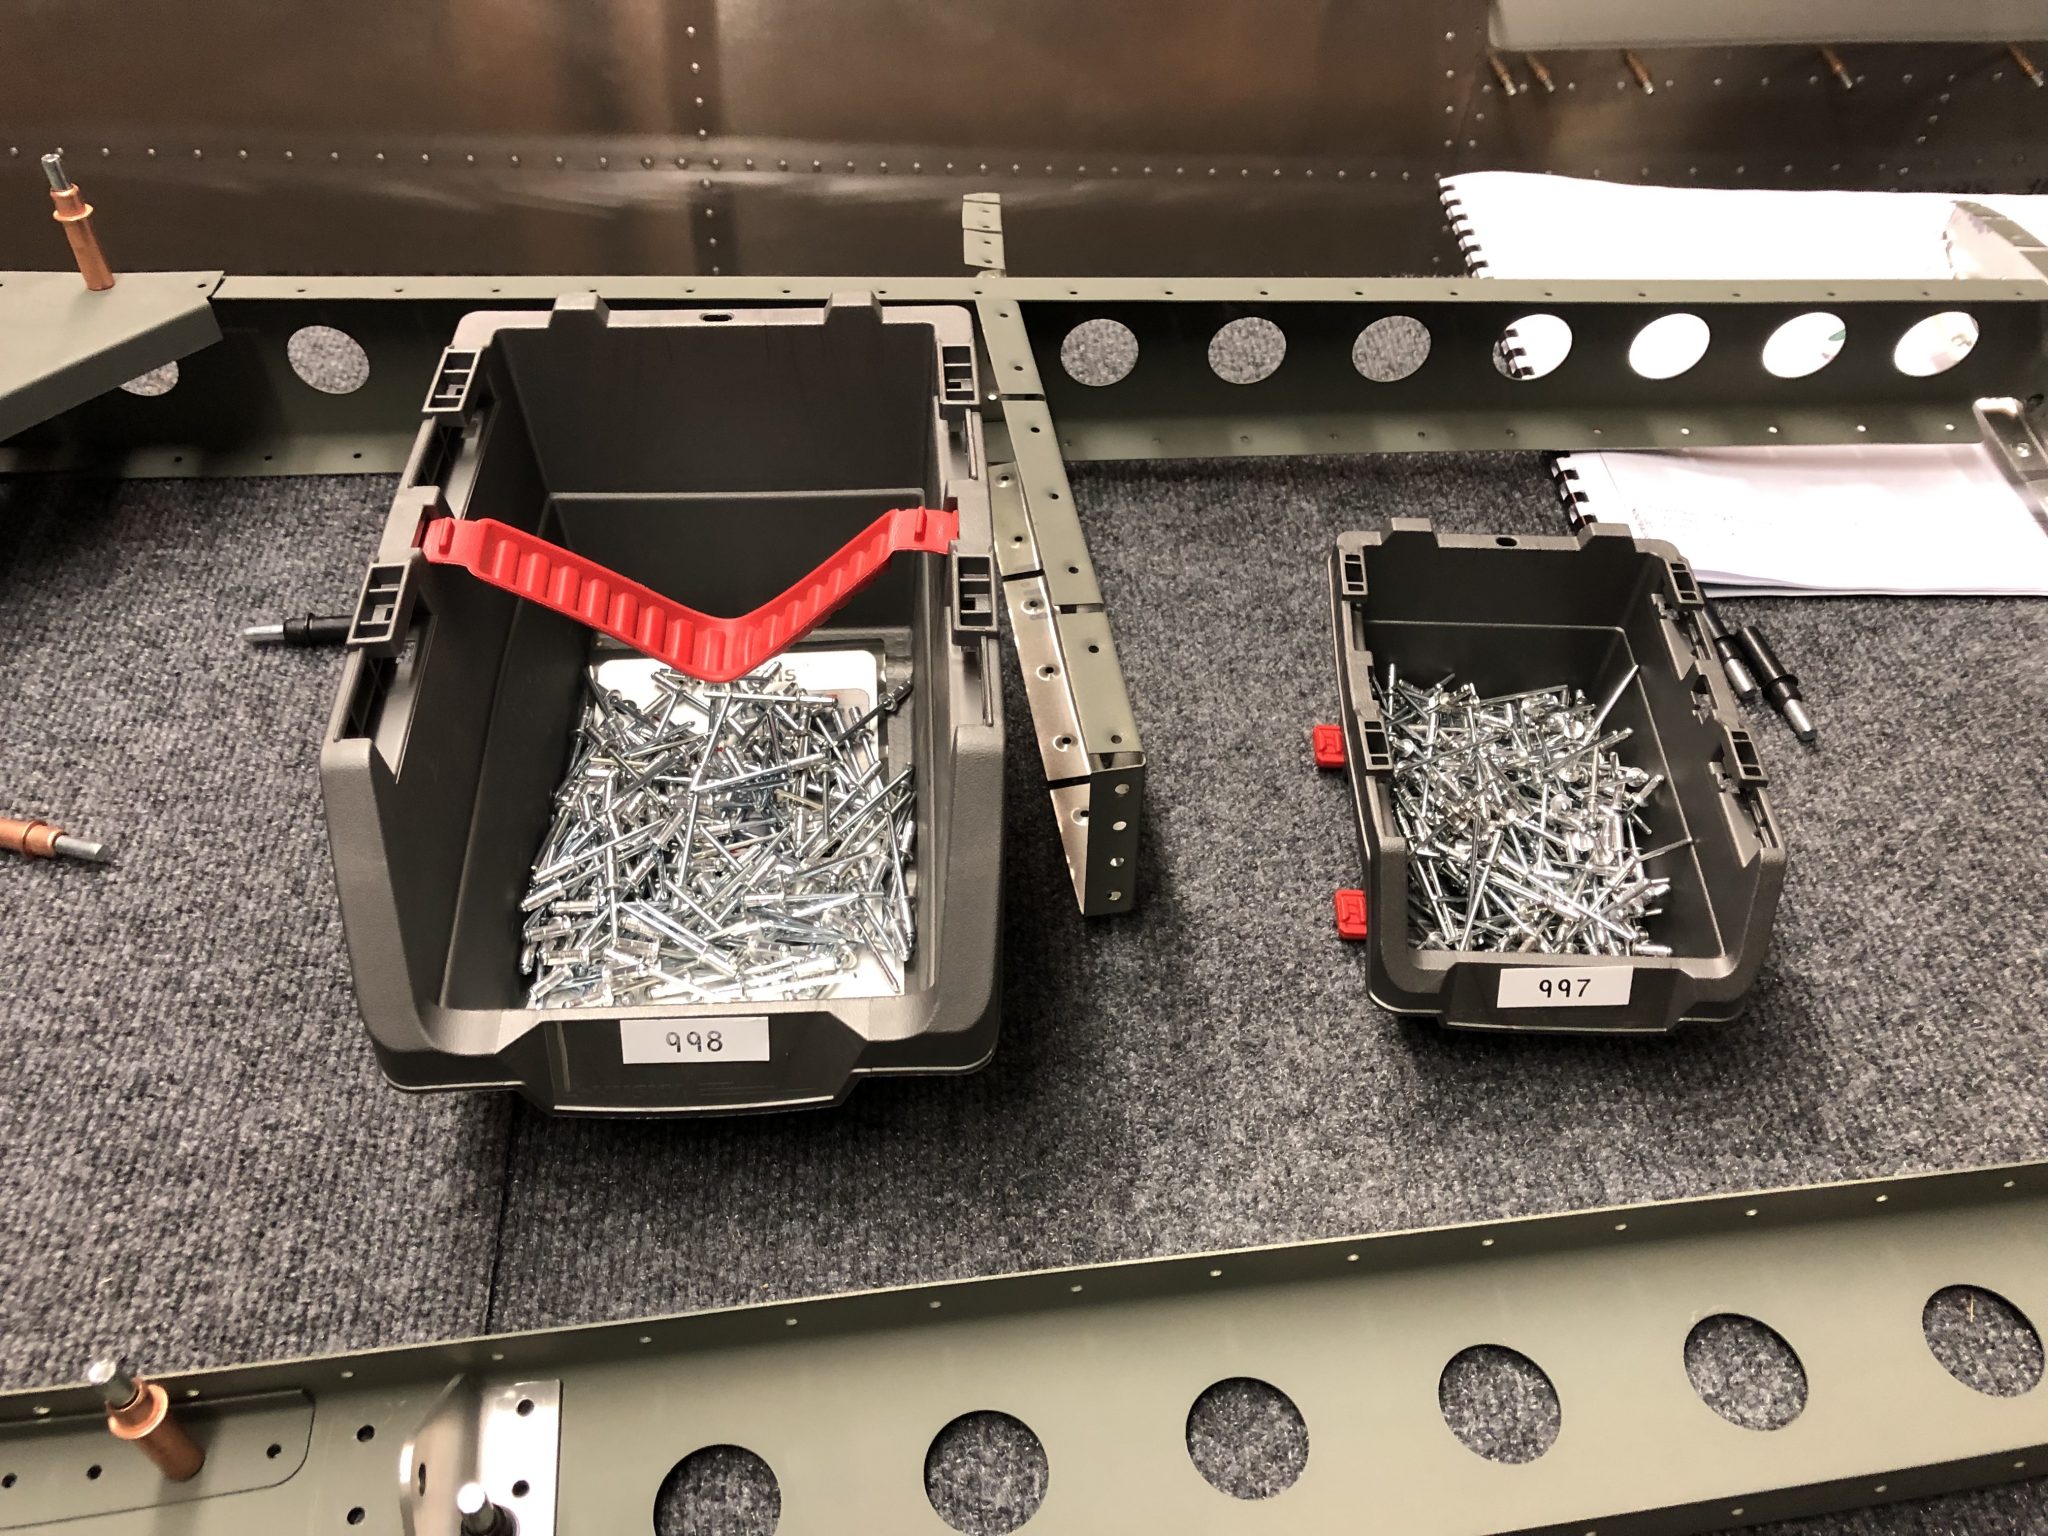
Now back to the building part. When I riveted the ribs and spars of the Horizontal Stabilizer a few days ago, I was short a couple of the 4.0mm rivets. In order to finish the part, I took some from the Elevator hardware bag.
Today I reviewed the rest of the steps for the Horizontal Stabilizer and realized I need a whole lot more of them to actually finish riveting the Skin onto the Horizontal Stabilizer. I also need some sealant to put between the Stabilizer Plate and the skin, which I know Matthew posted on his blog when he did the part, so I re-read his post and noticed that he was actually also missing a bunch of the 4.0mm rivets, so it looks like the factory may be short when they put together that bag, I’ll let them know tomorrow.
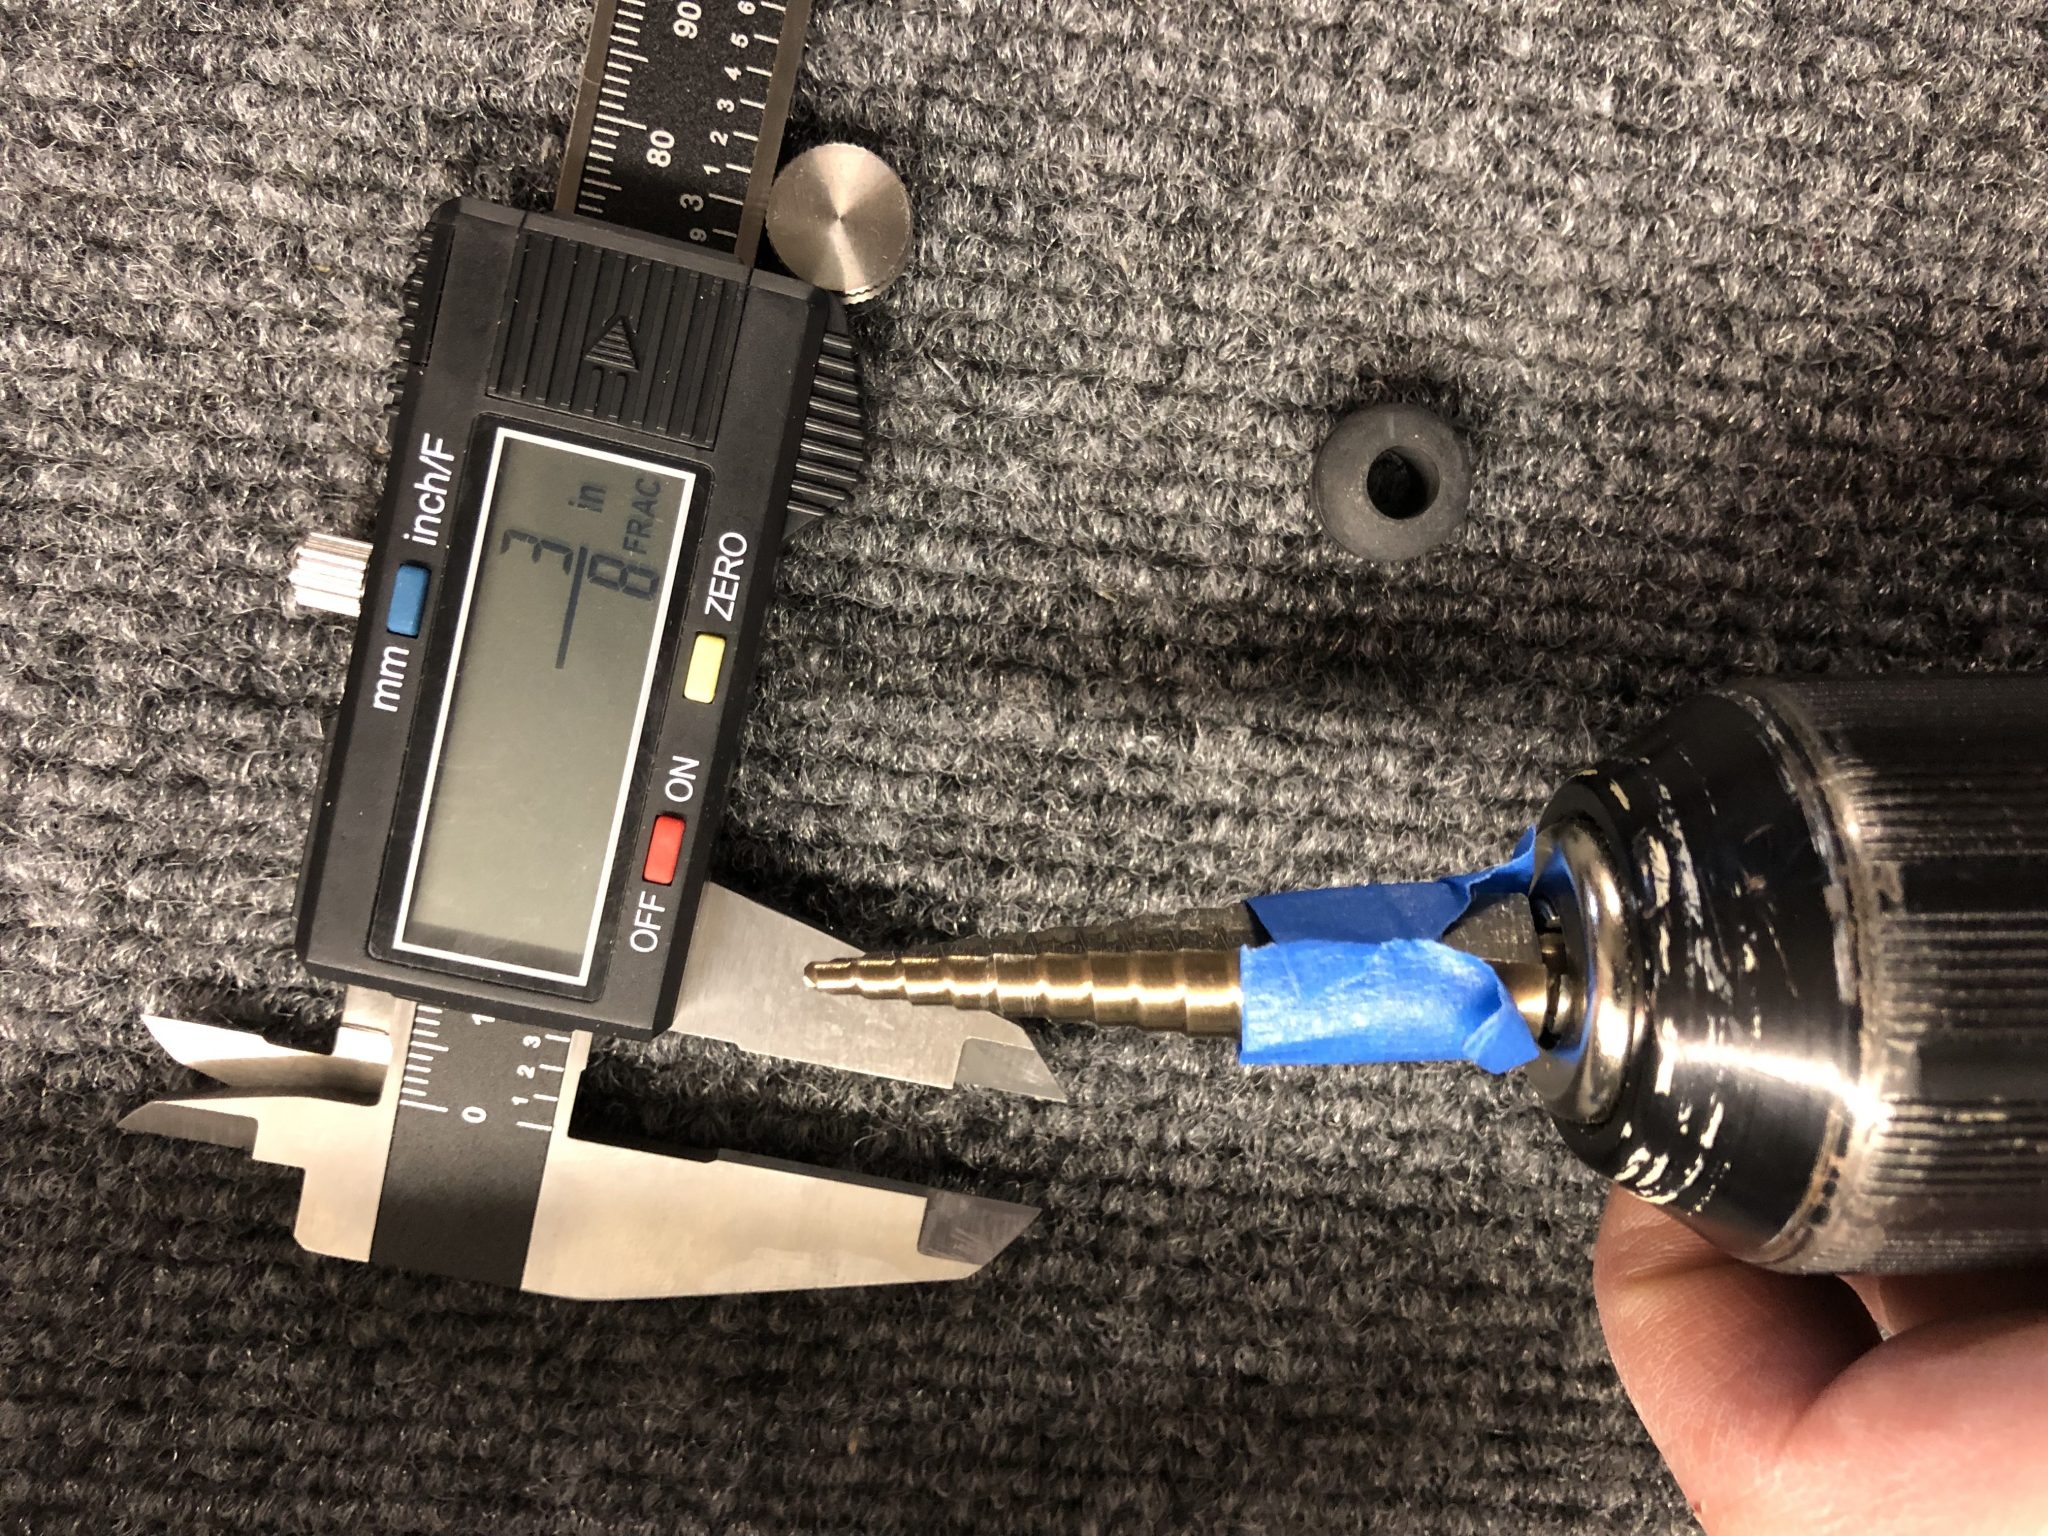
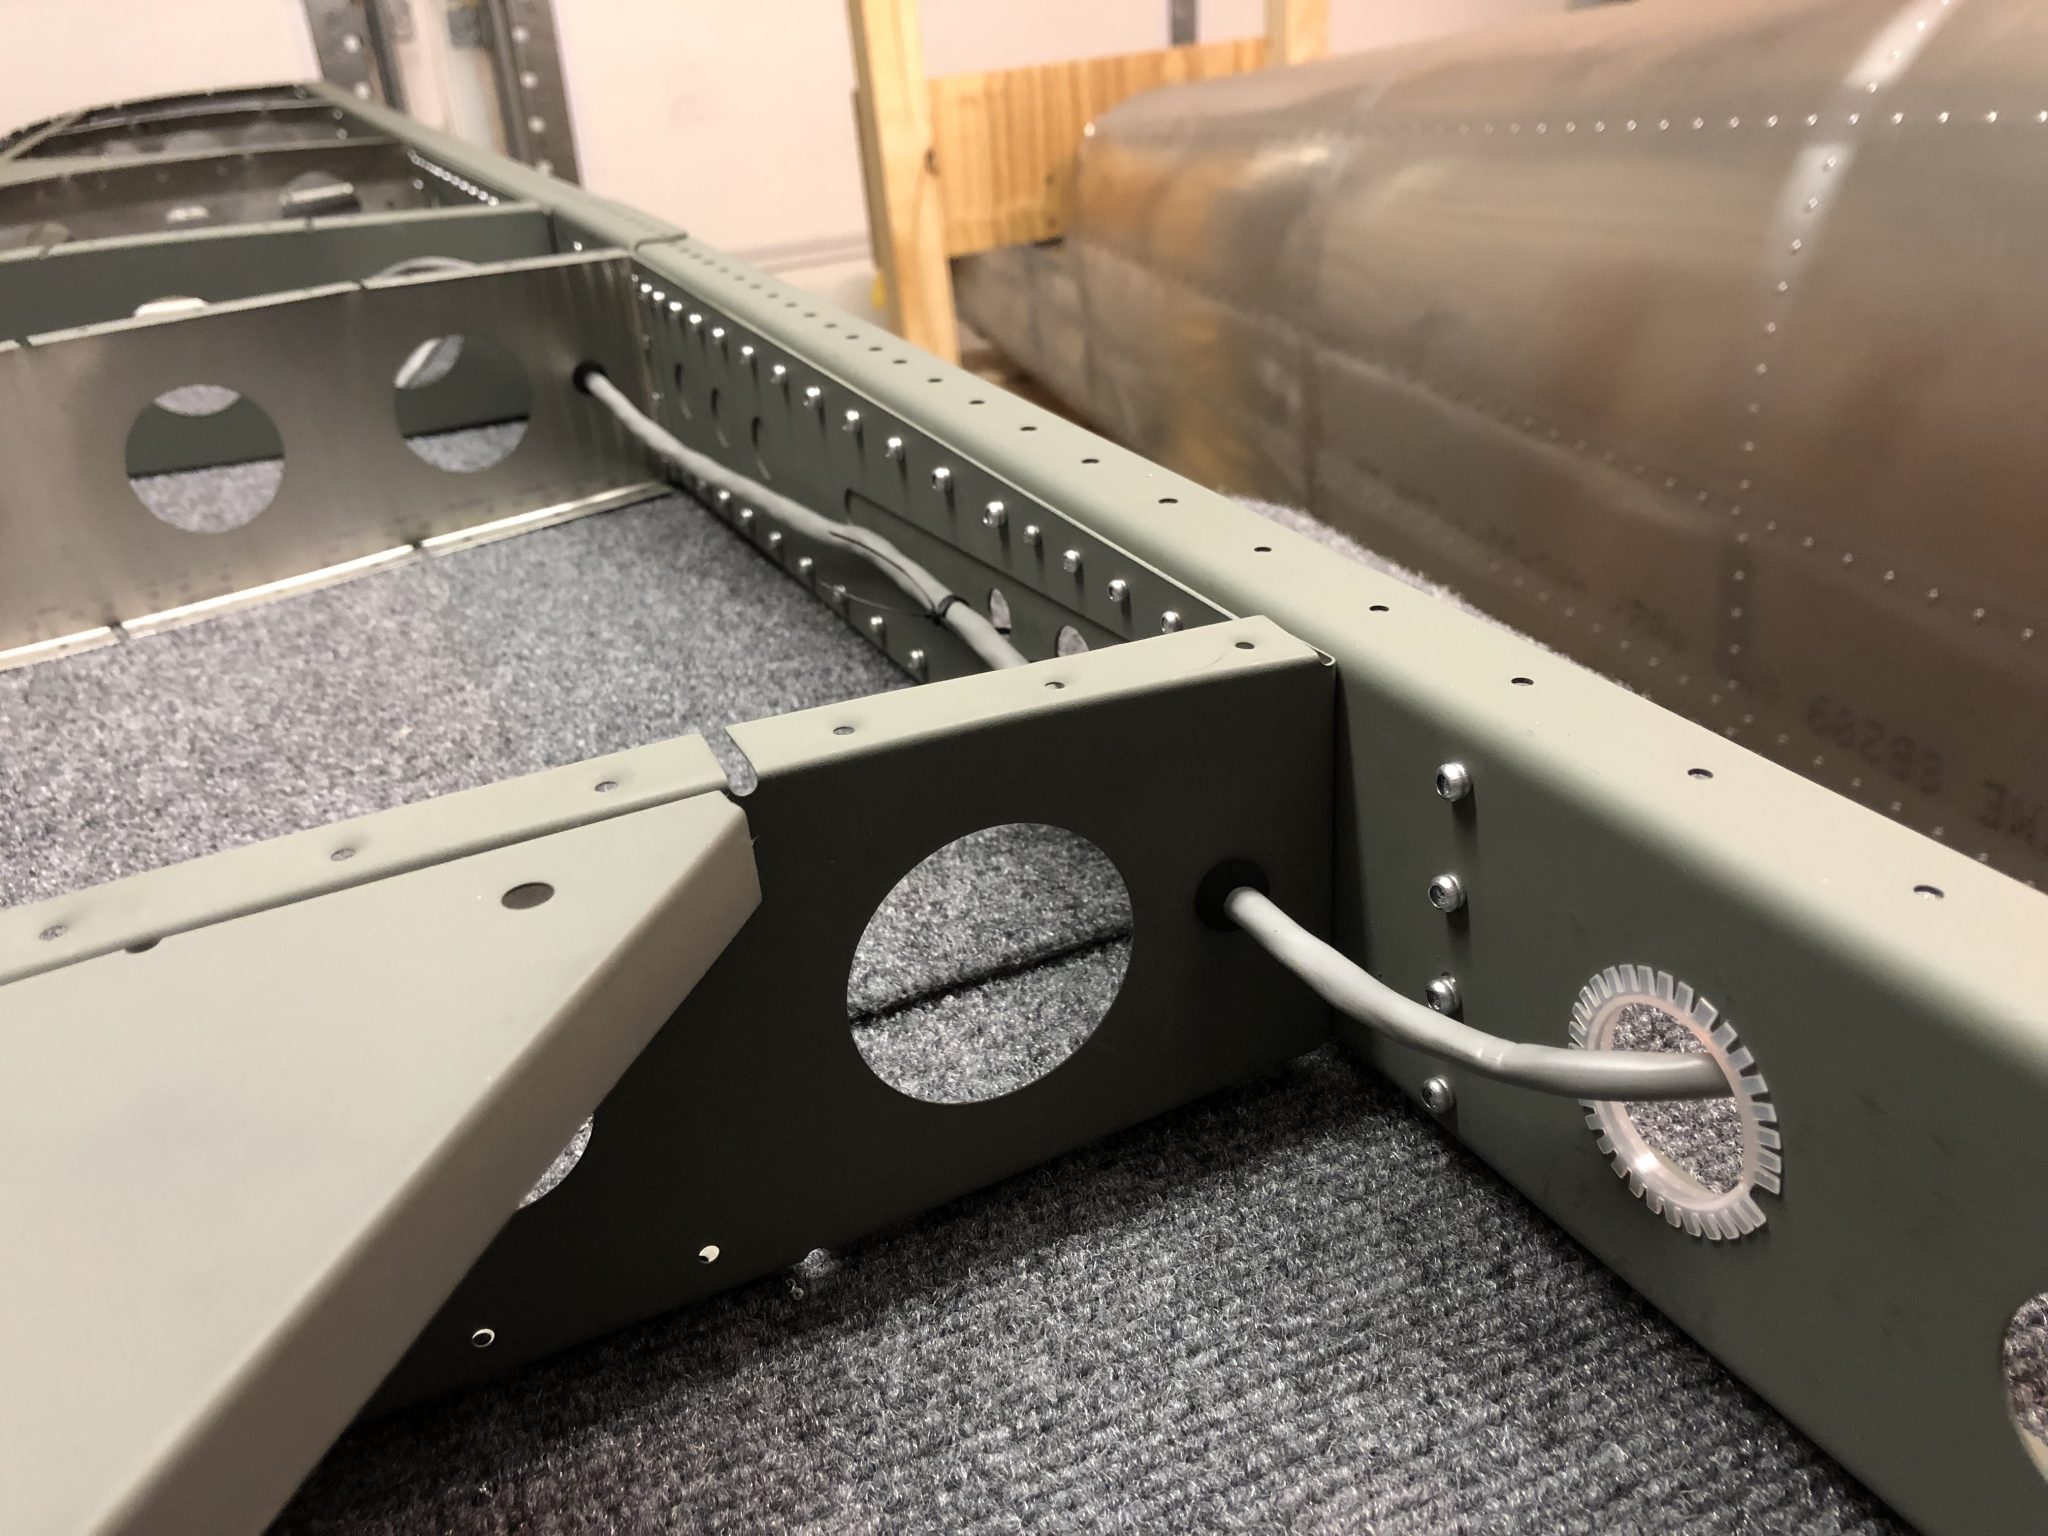
I did finish up the wiring that will connect to the elevator trim. This gave me the chance to make use of the step drill bits I bought. I used my digital caliper to translate the metric instructions (9.5mm) to the closest fractional inches (3/8th) to enlarge some holes for the rubber grommets. After that I installing some flexible grommet edging I bought as spare as the kit was missing that since it was shipped based on Revision 0, which didn’t include that part. I’ll have to see if there were any other parts that were added in Revision 1 after my kit was put together.
Grommet and Edge protector installed
Step drill marked for grommet size
Pulling the wiring through the Horizontal Stabilizer
When we took inventory of the Empennage kit, we thought we were missing some parts of the Elevator and so I decided to start with the Horizontal Stabilizer instead, but as it turned out after double checking again, the parts were just hiding inside a channel.
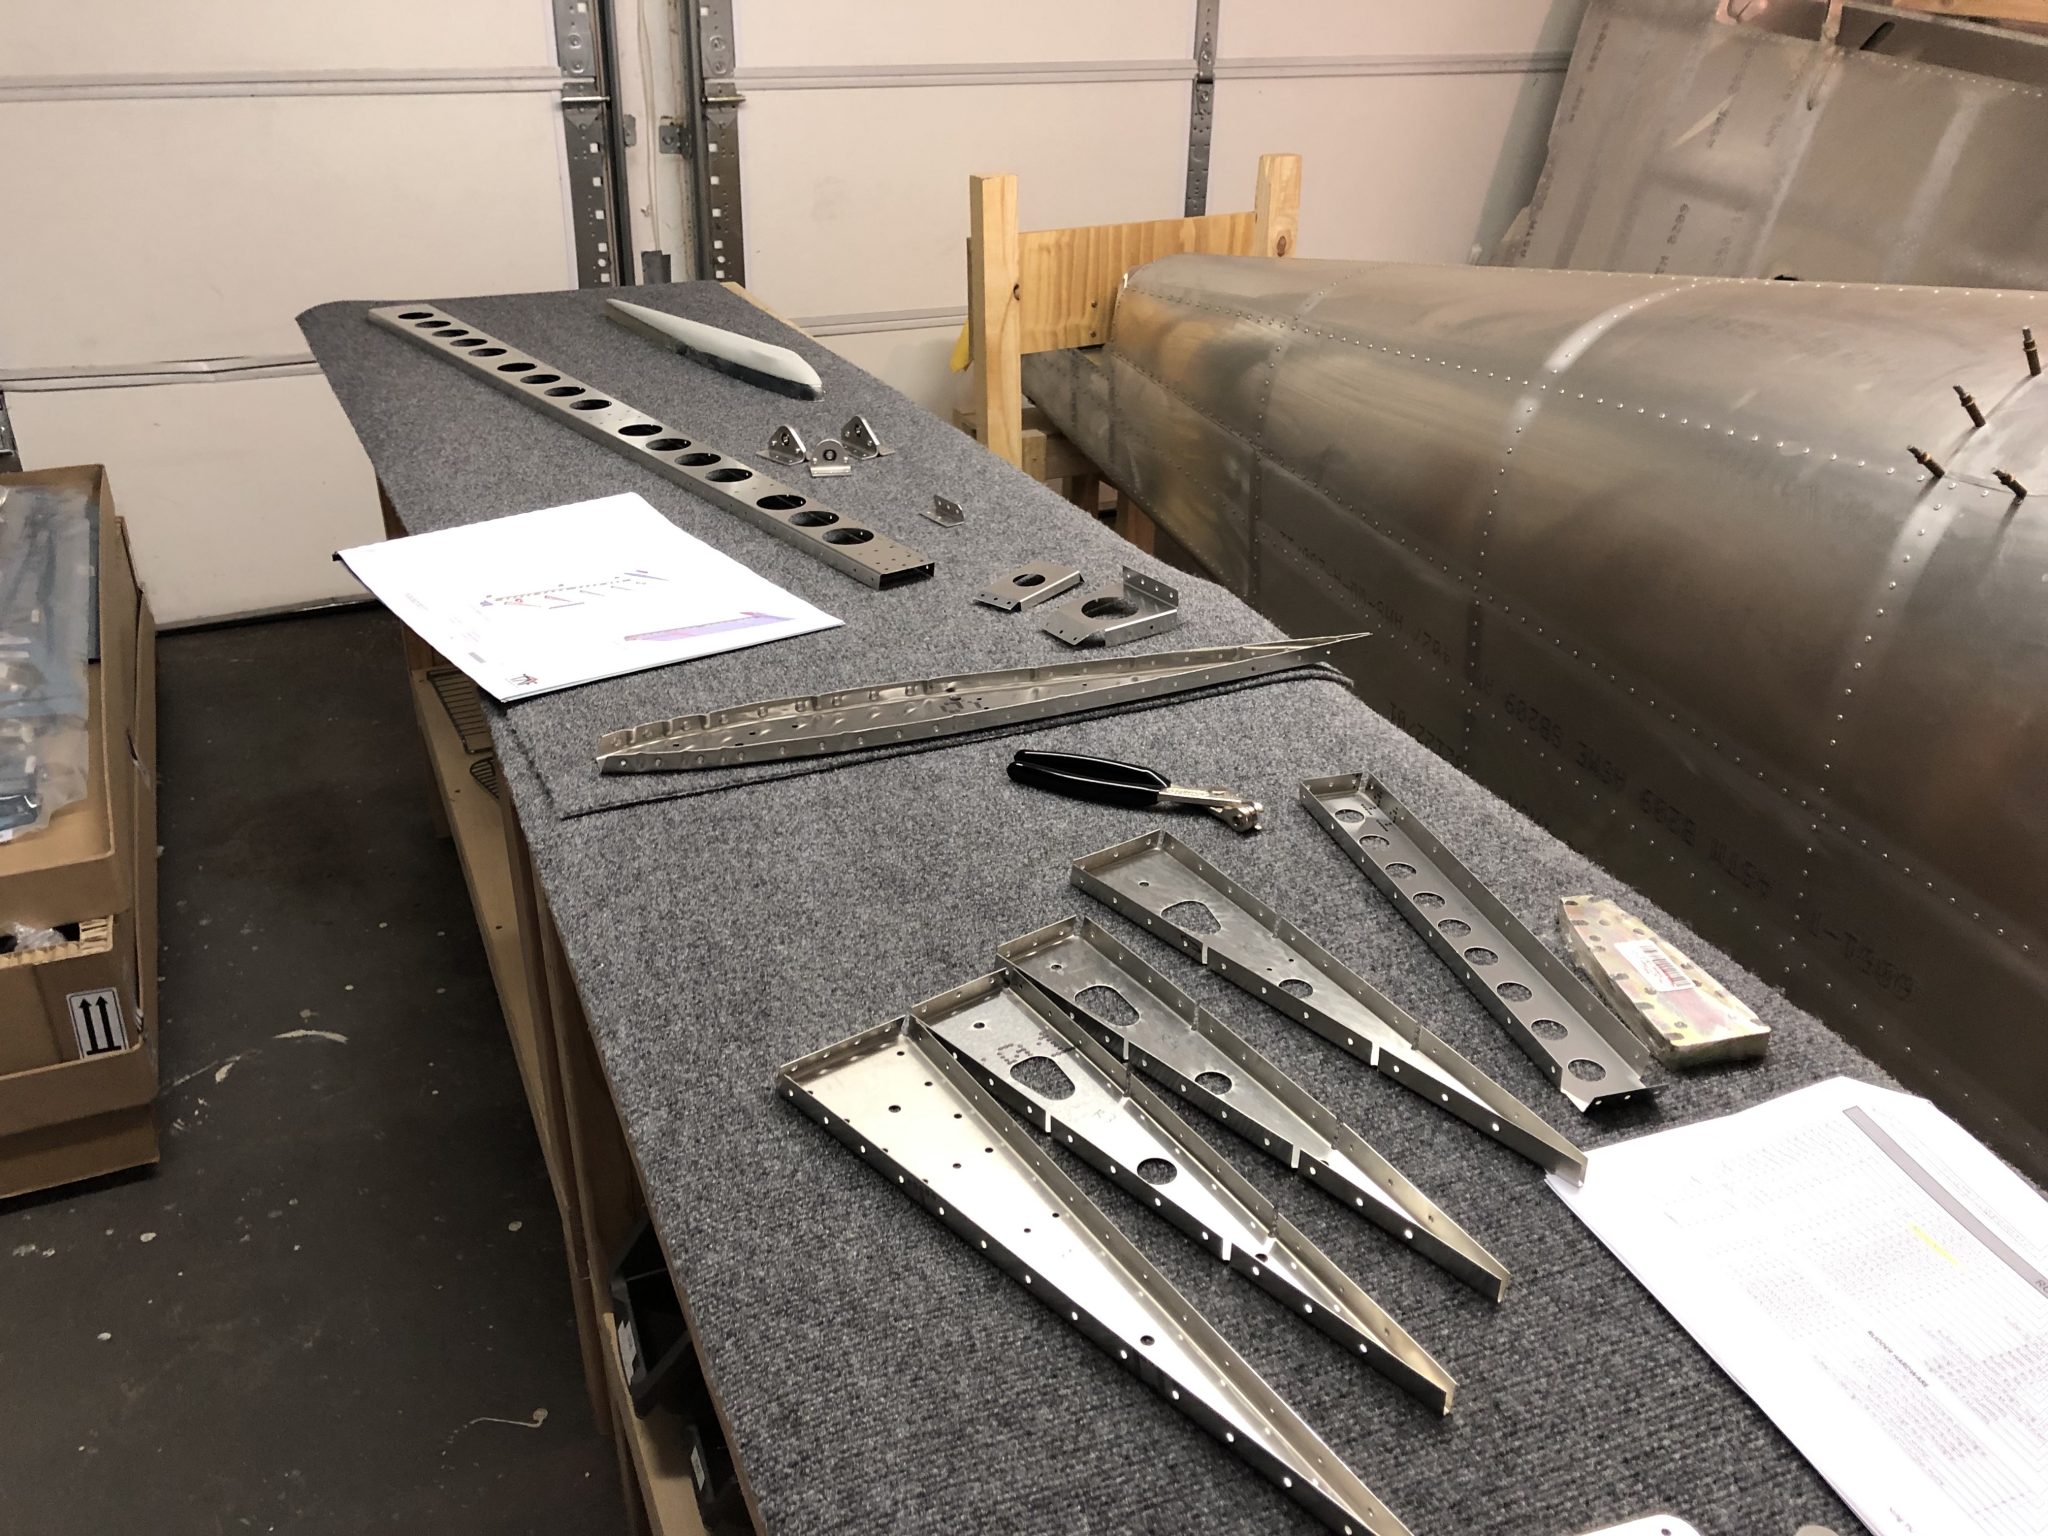
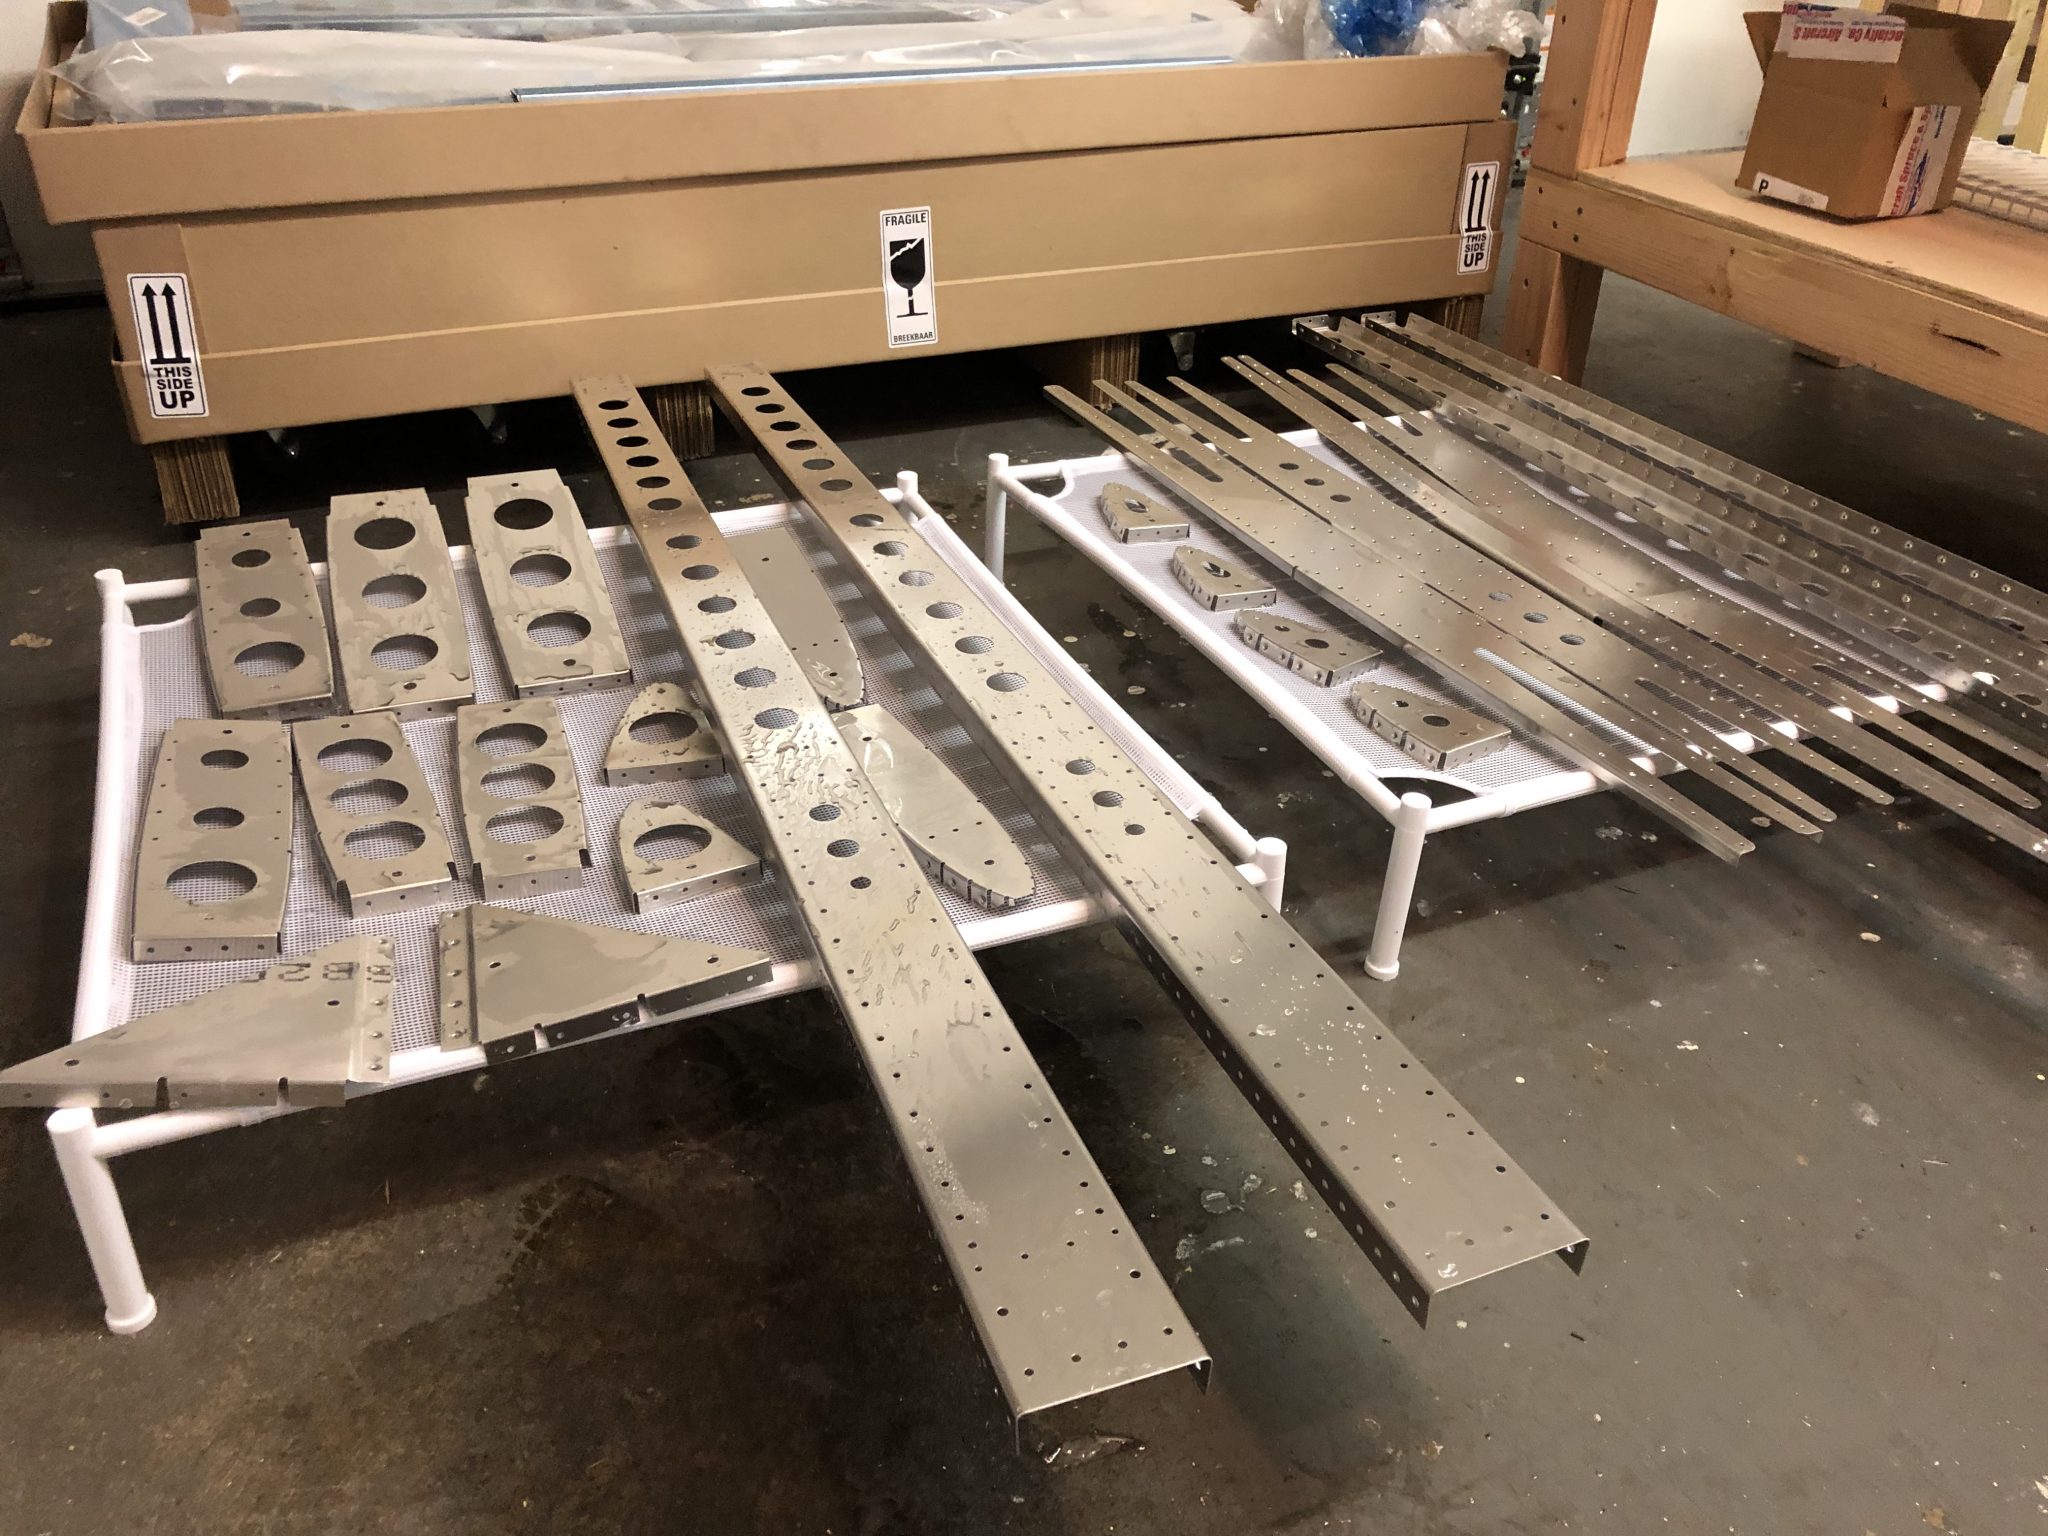
Parts Prep
So after some researching I had done ahead of time, here’s the process I decided to follow for preparing the parts for priming:
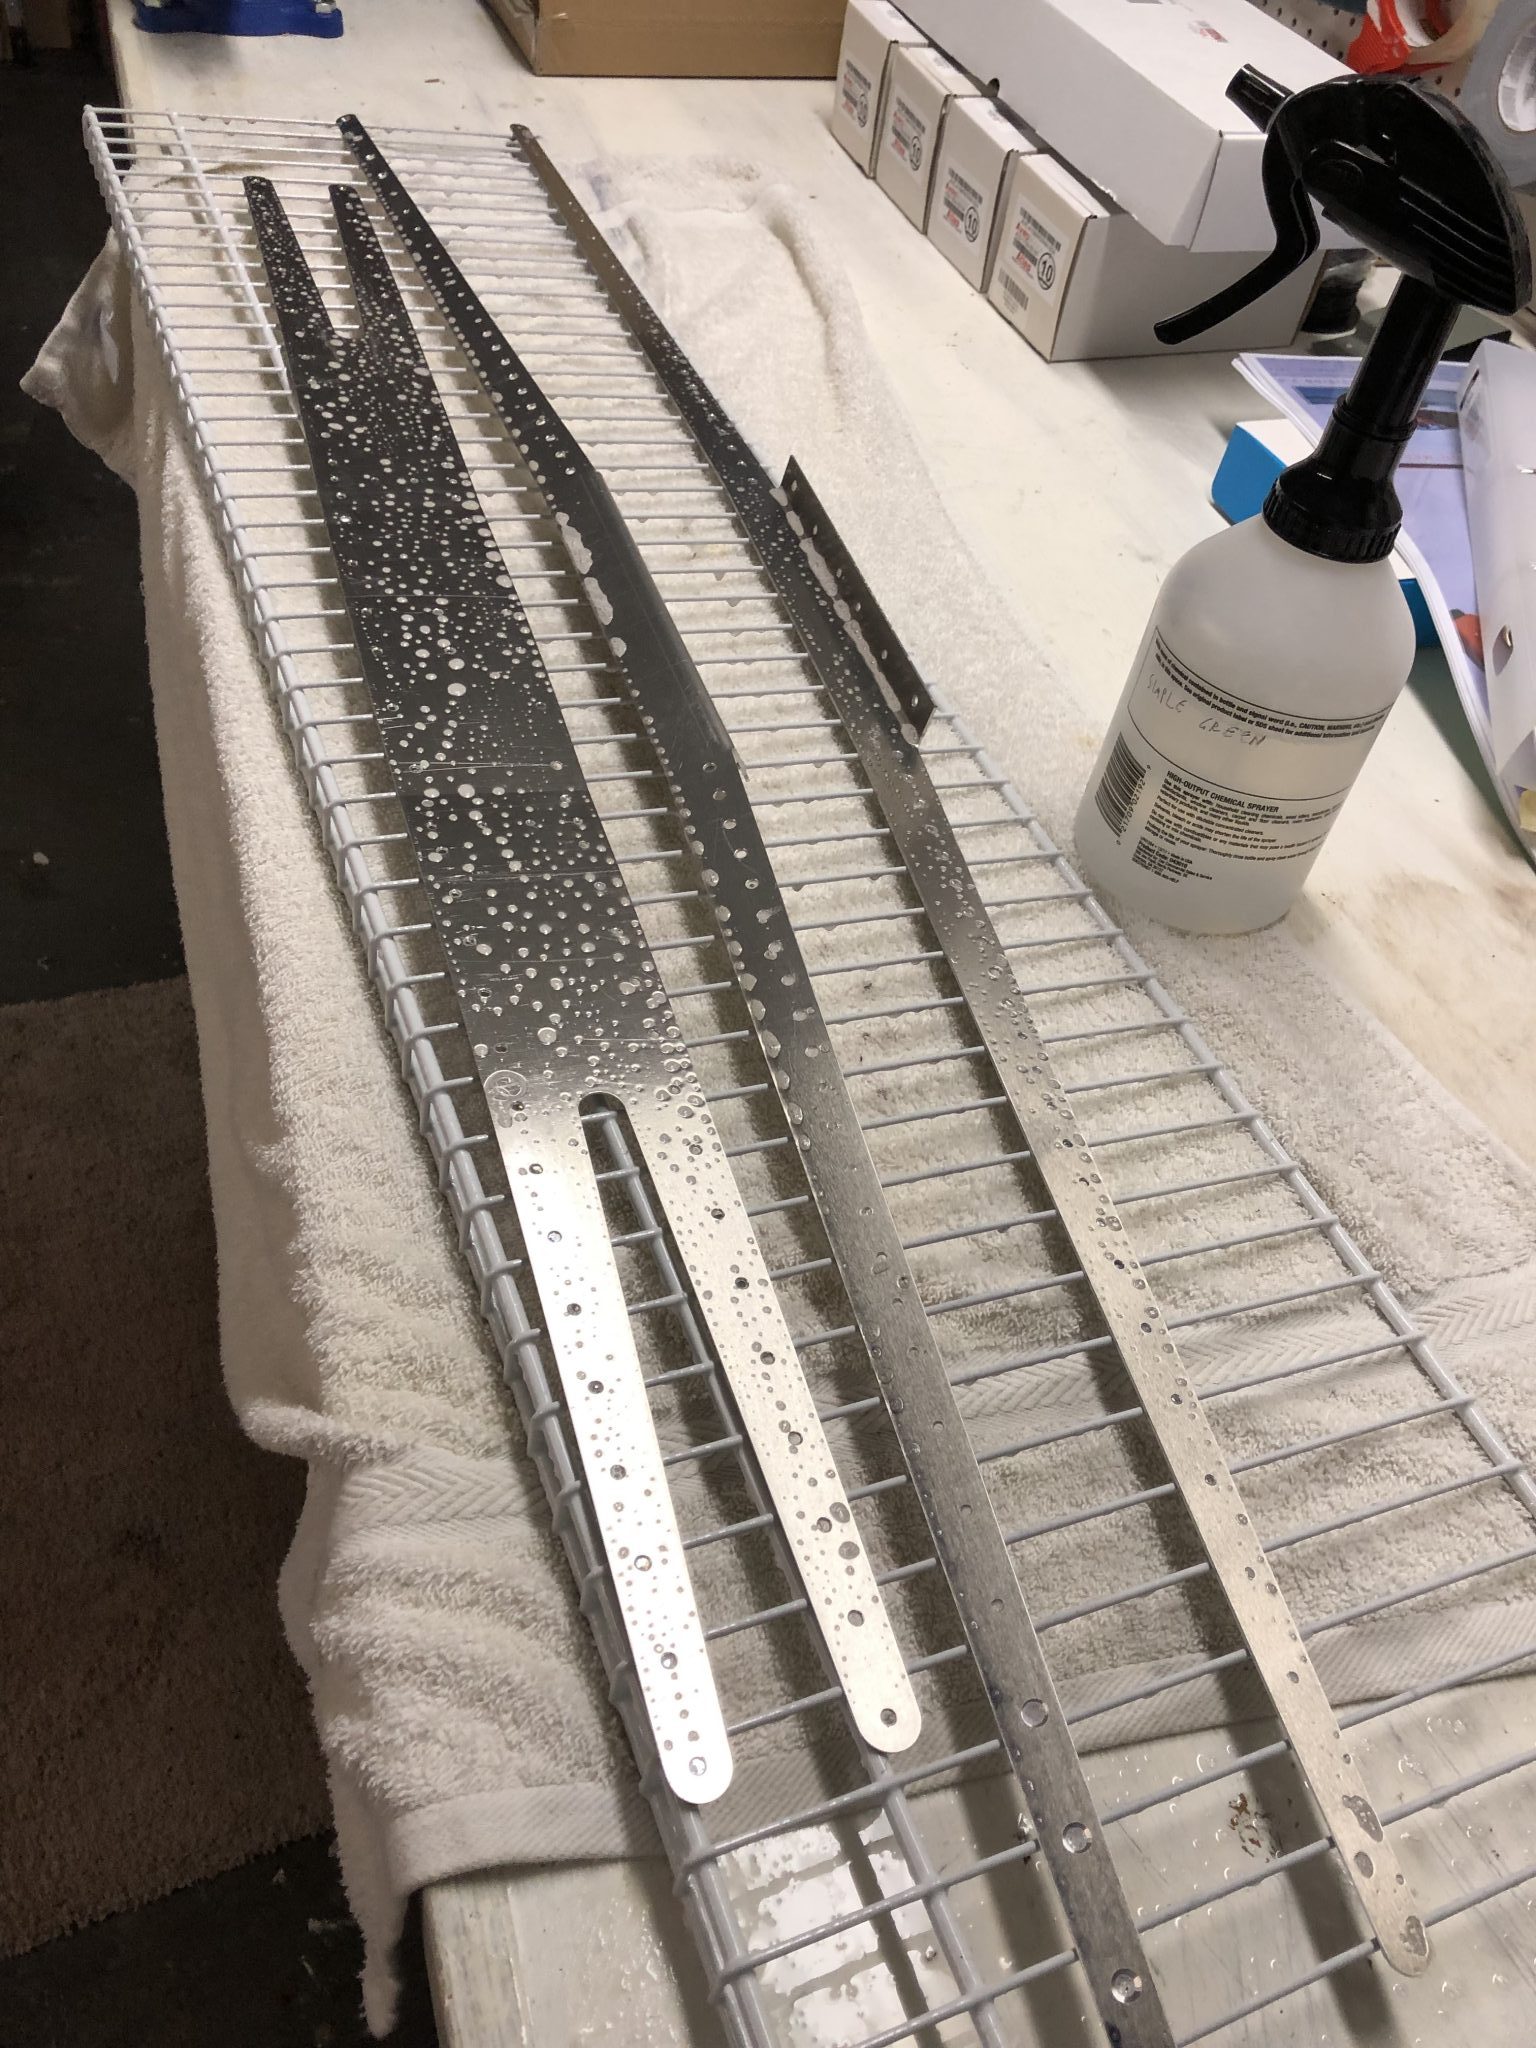
Washing off the cleaning solution with water and drying the parts
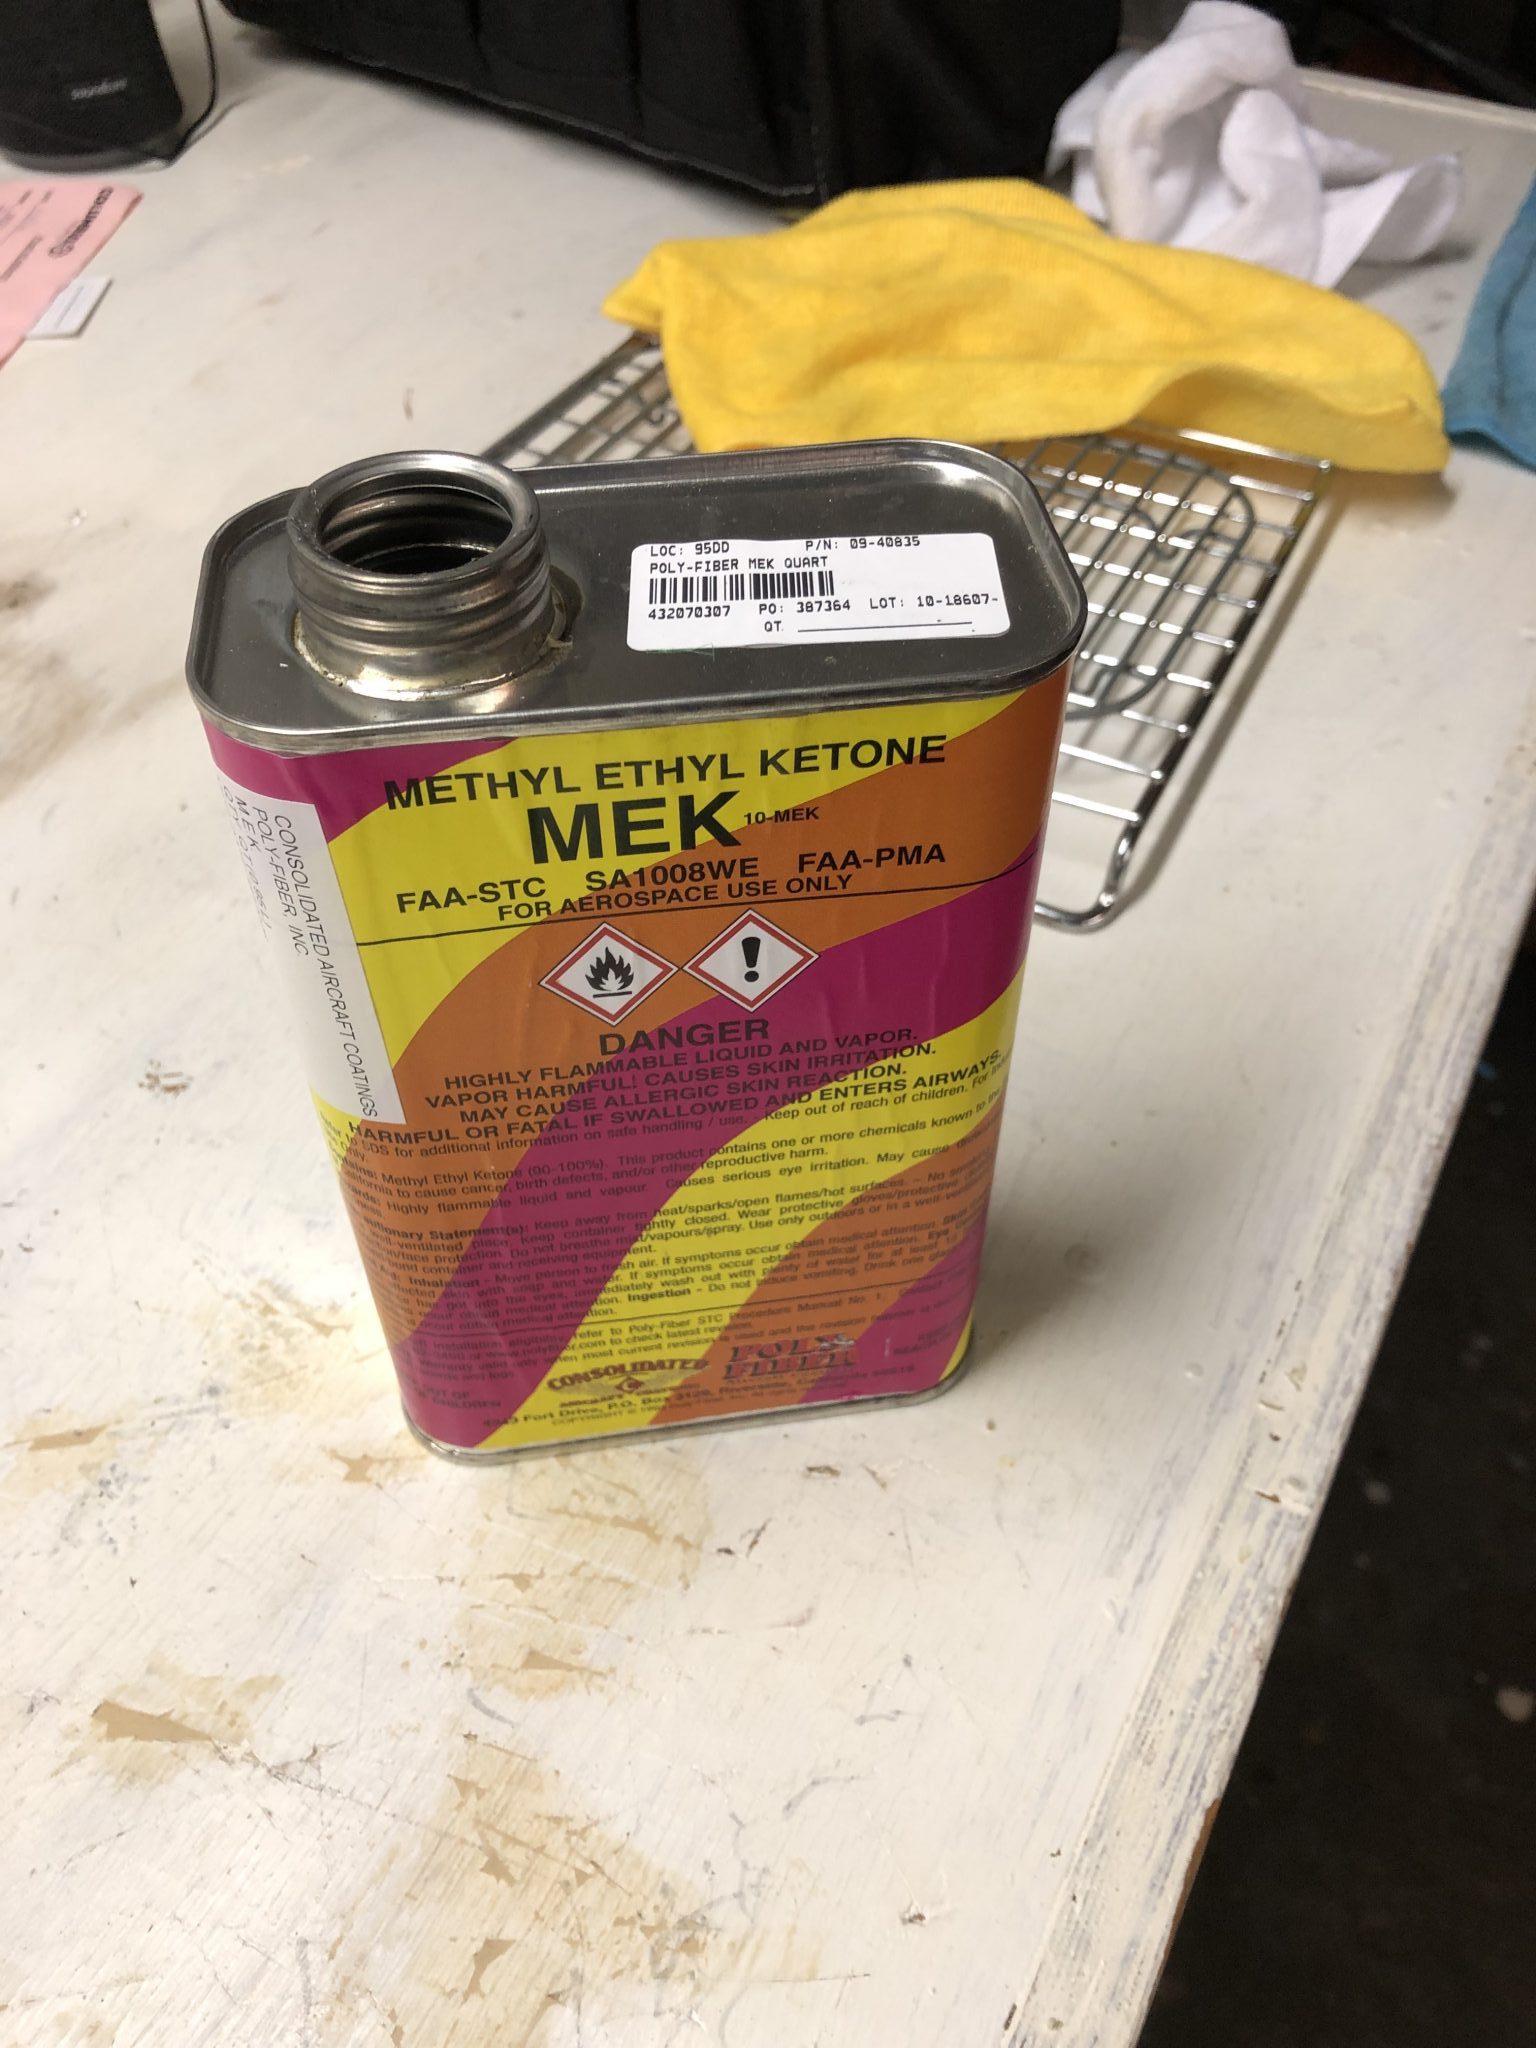
Final de-greasing using MEK
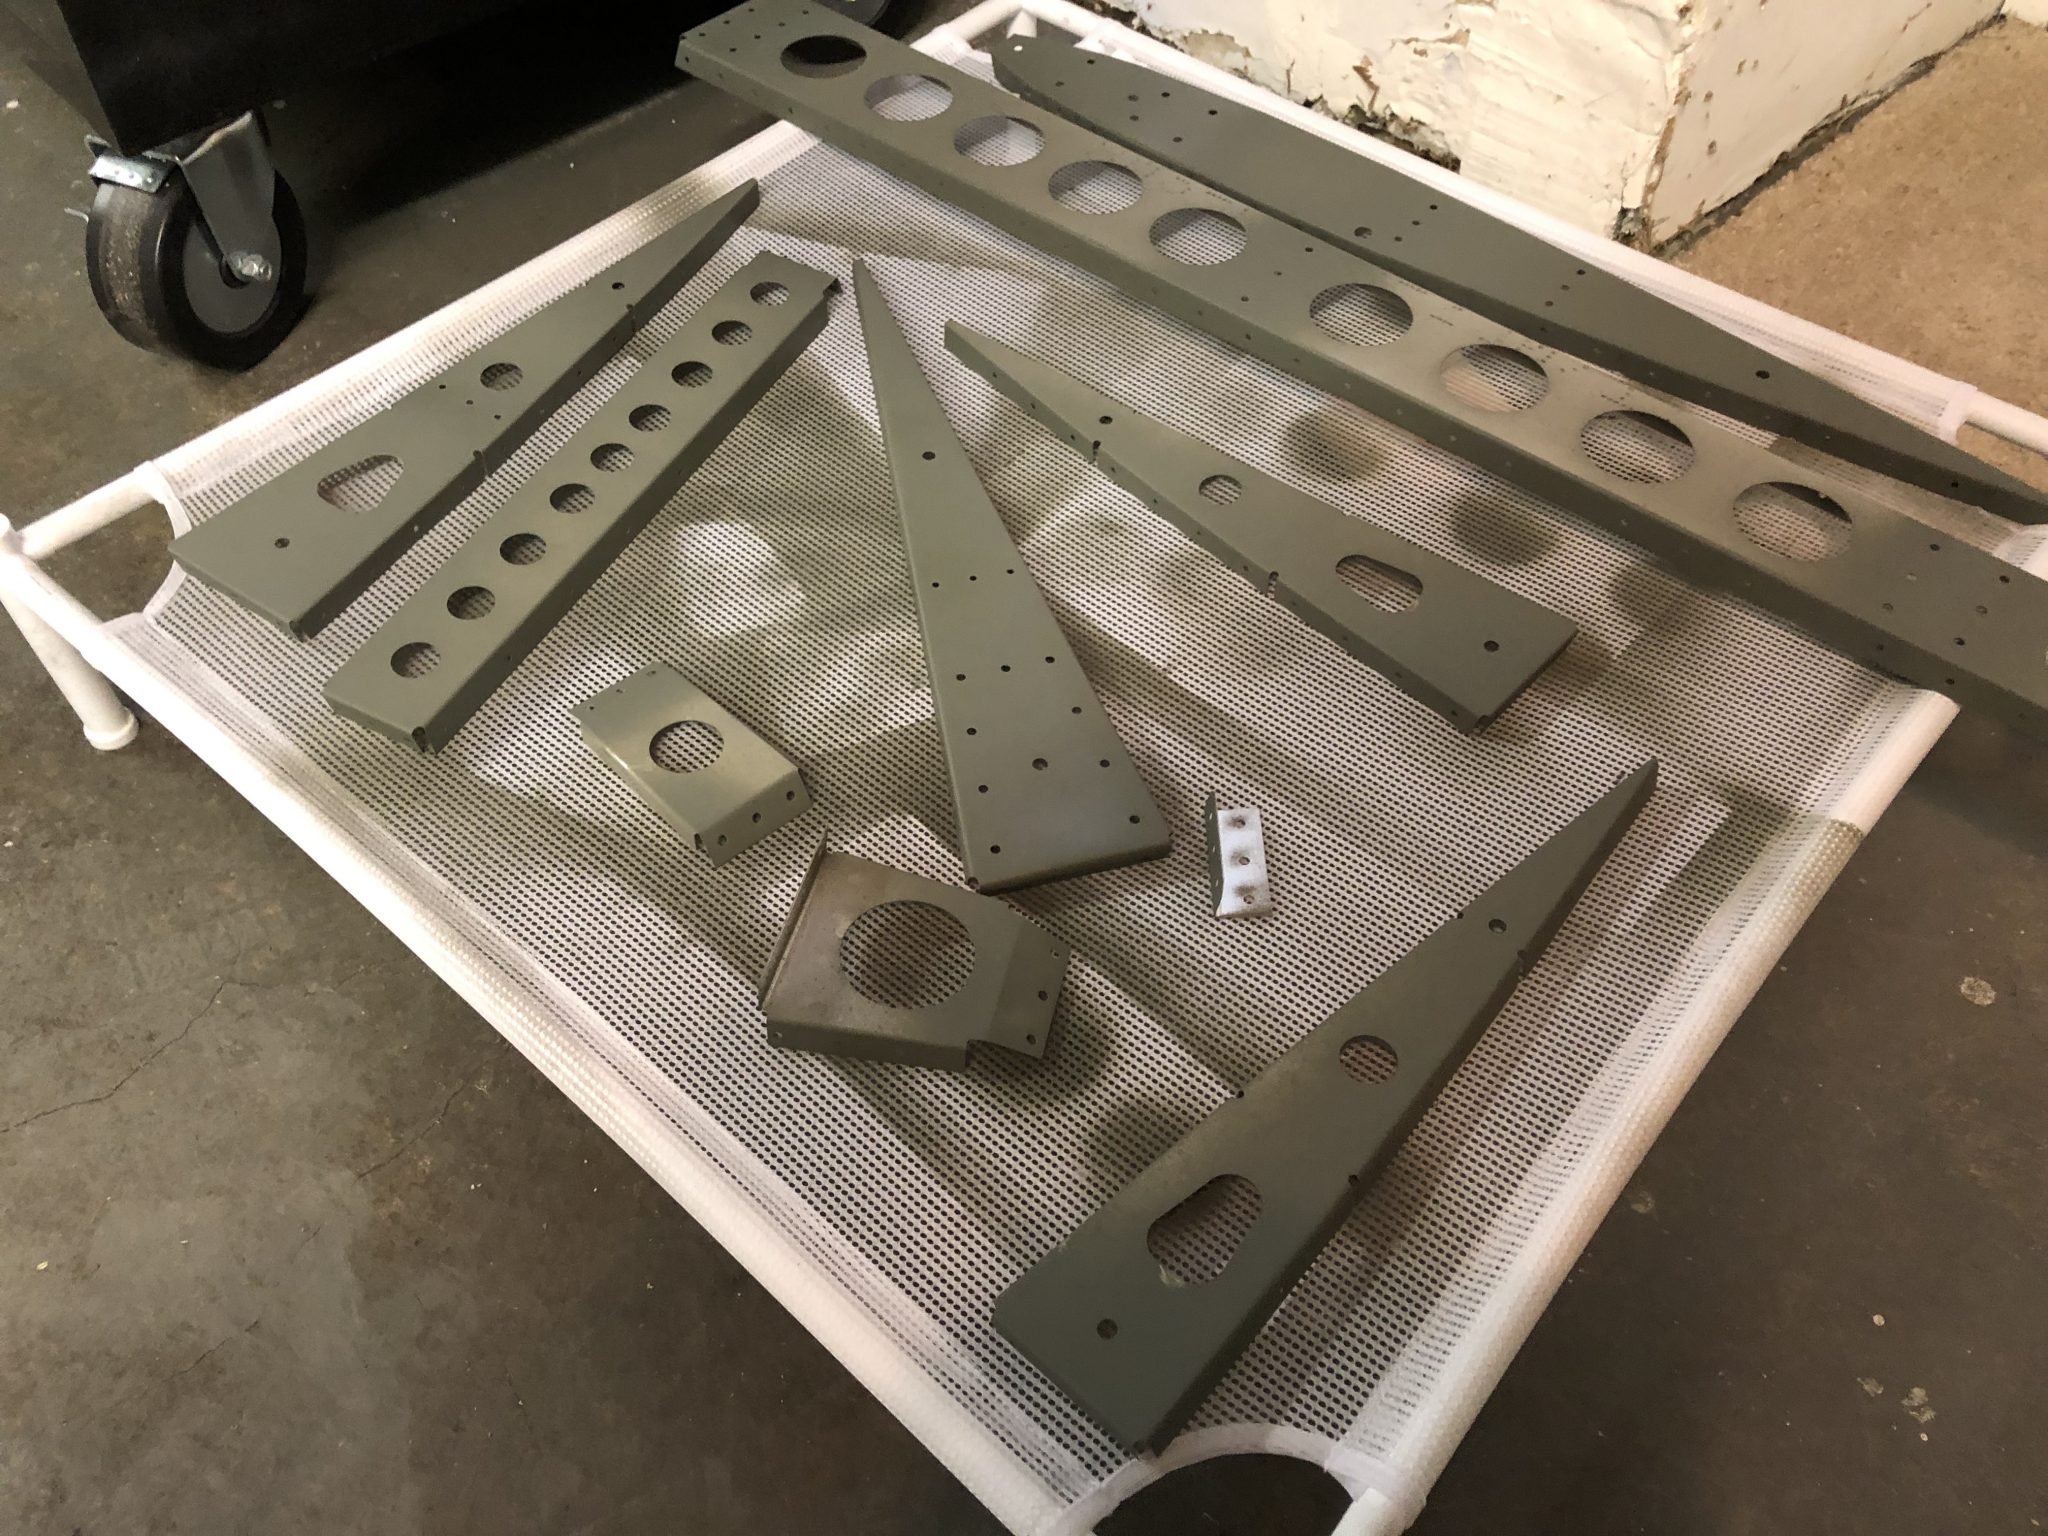
Priming
After all that was done, it was time for priming, which in on itself is a whole big topic with different opinions the more people you ask. I’ve decided to prime the mating surfaces and while at first I was thinking of using NAPA 7220, ended up using Rustoleum Self Etching Primer after I saw that Matthew seems to have good results with it and it’s easier to find in the local hardware store.
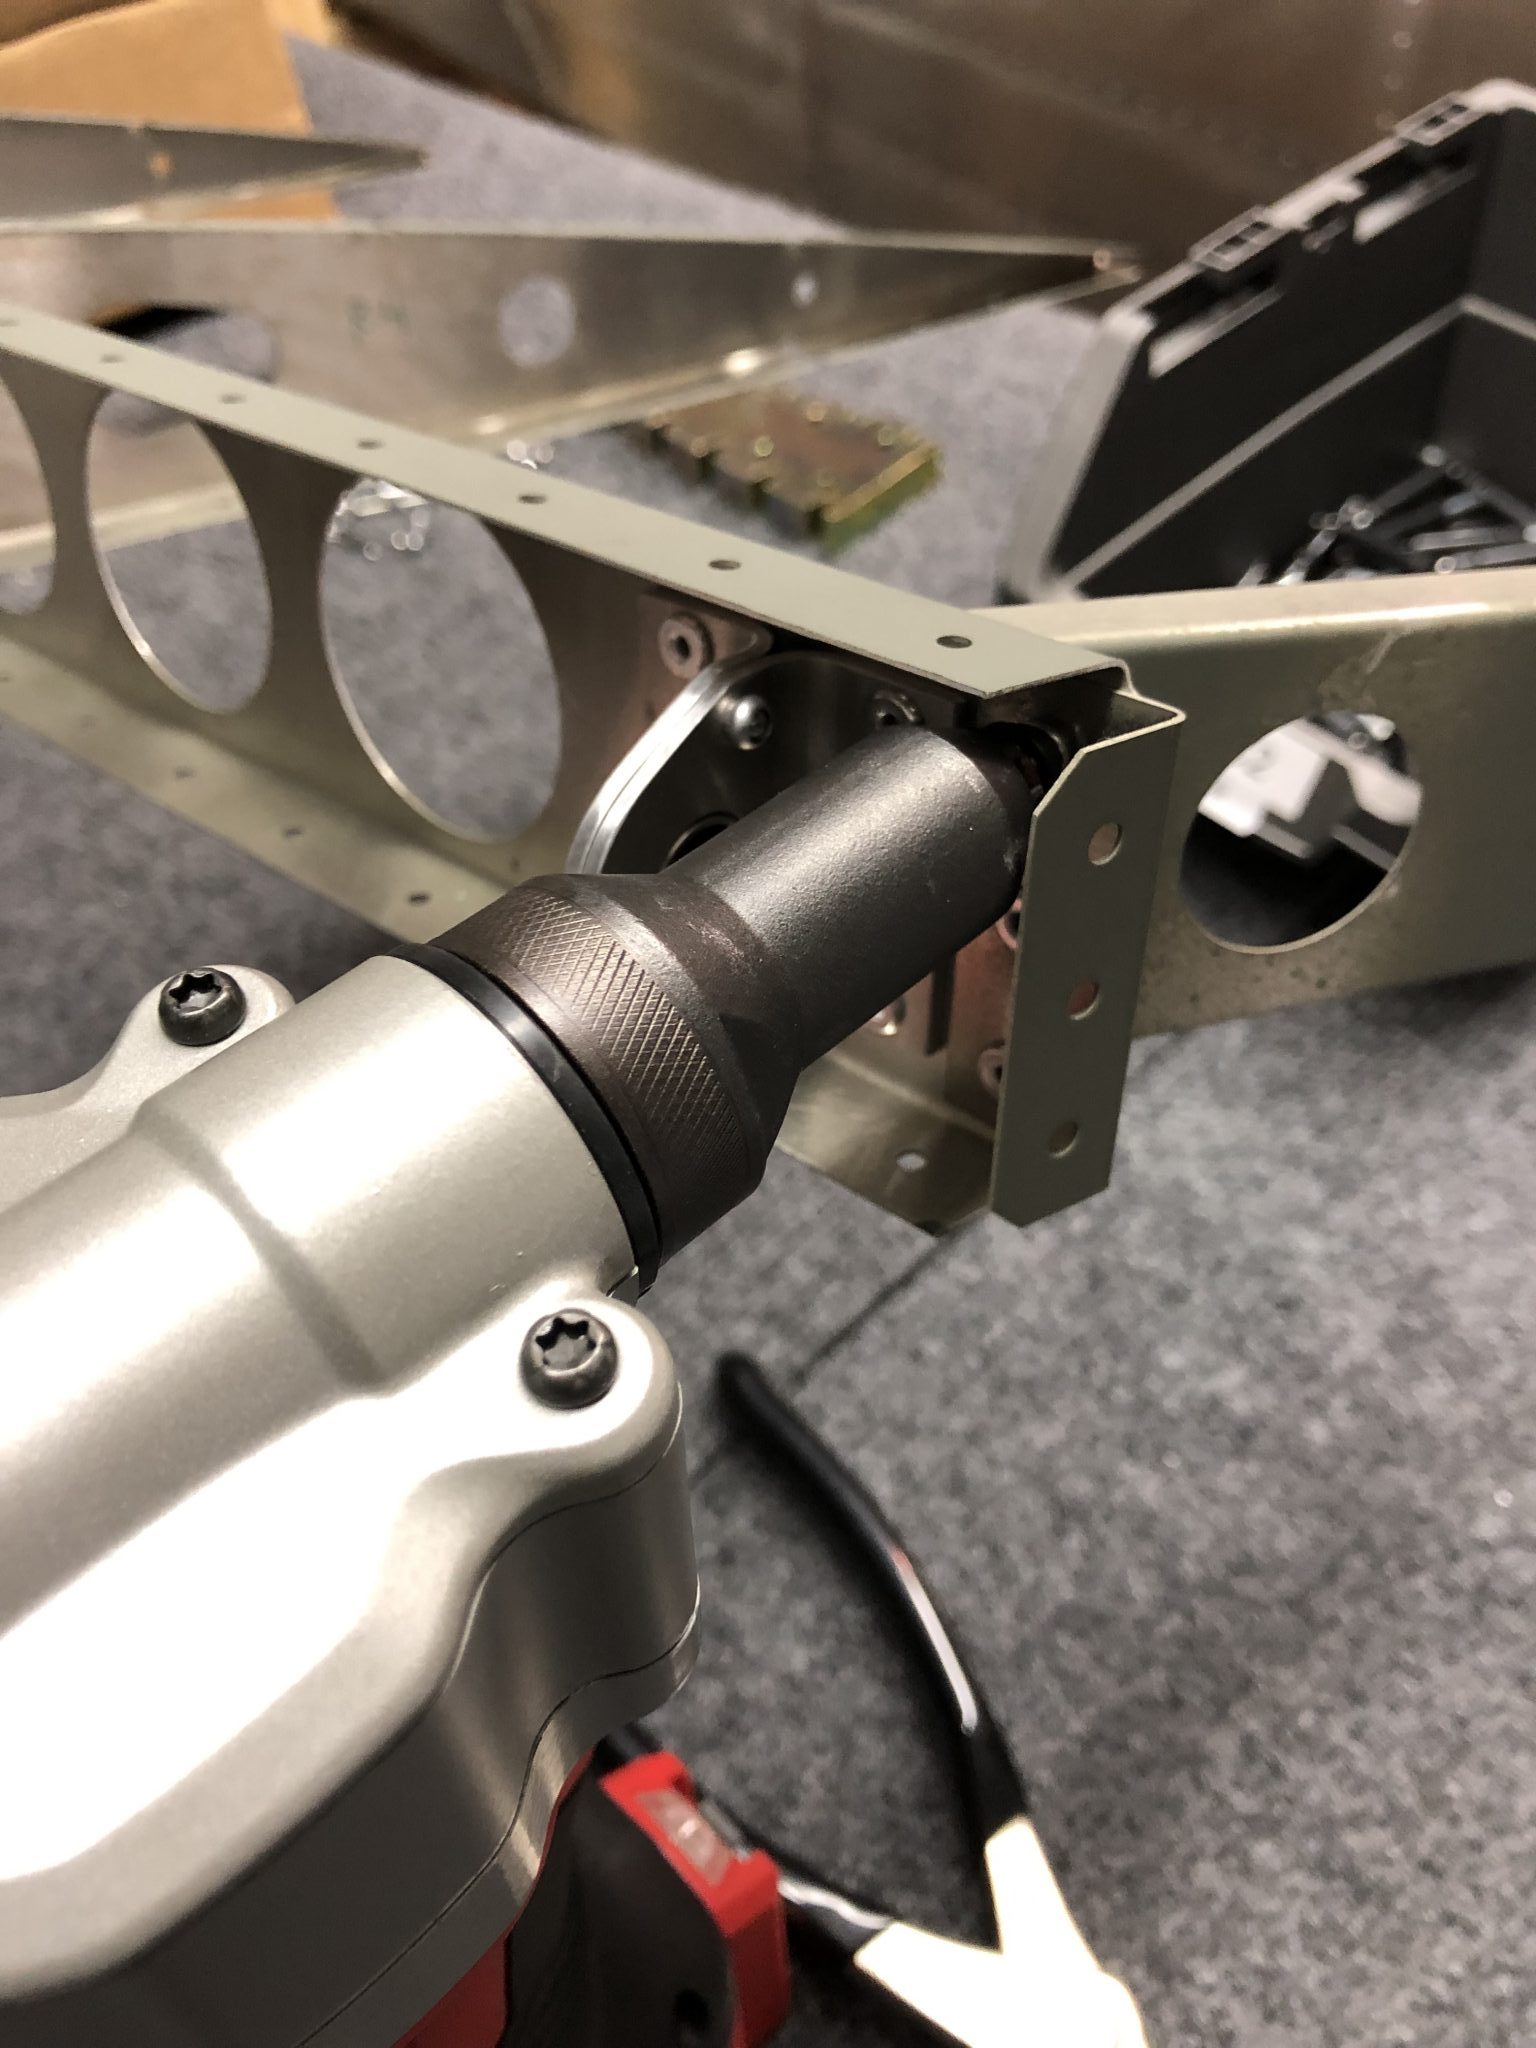
Riveting
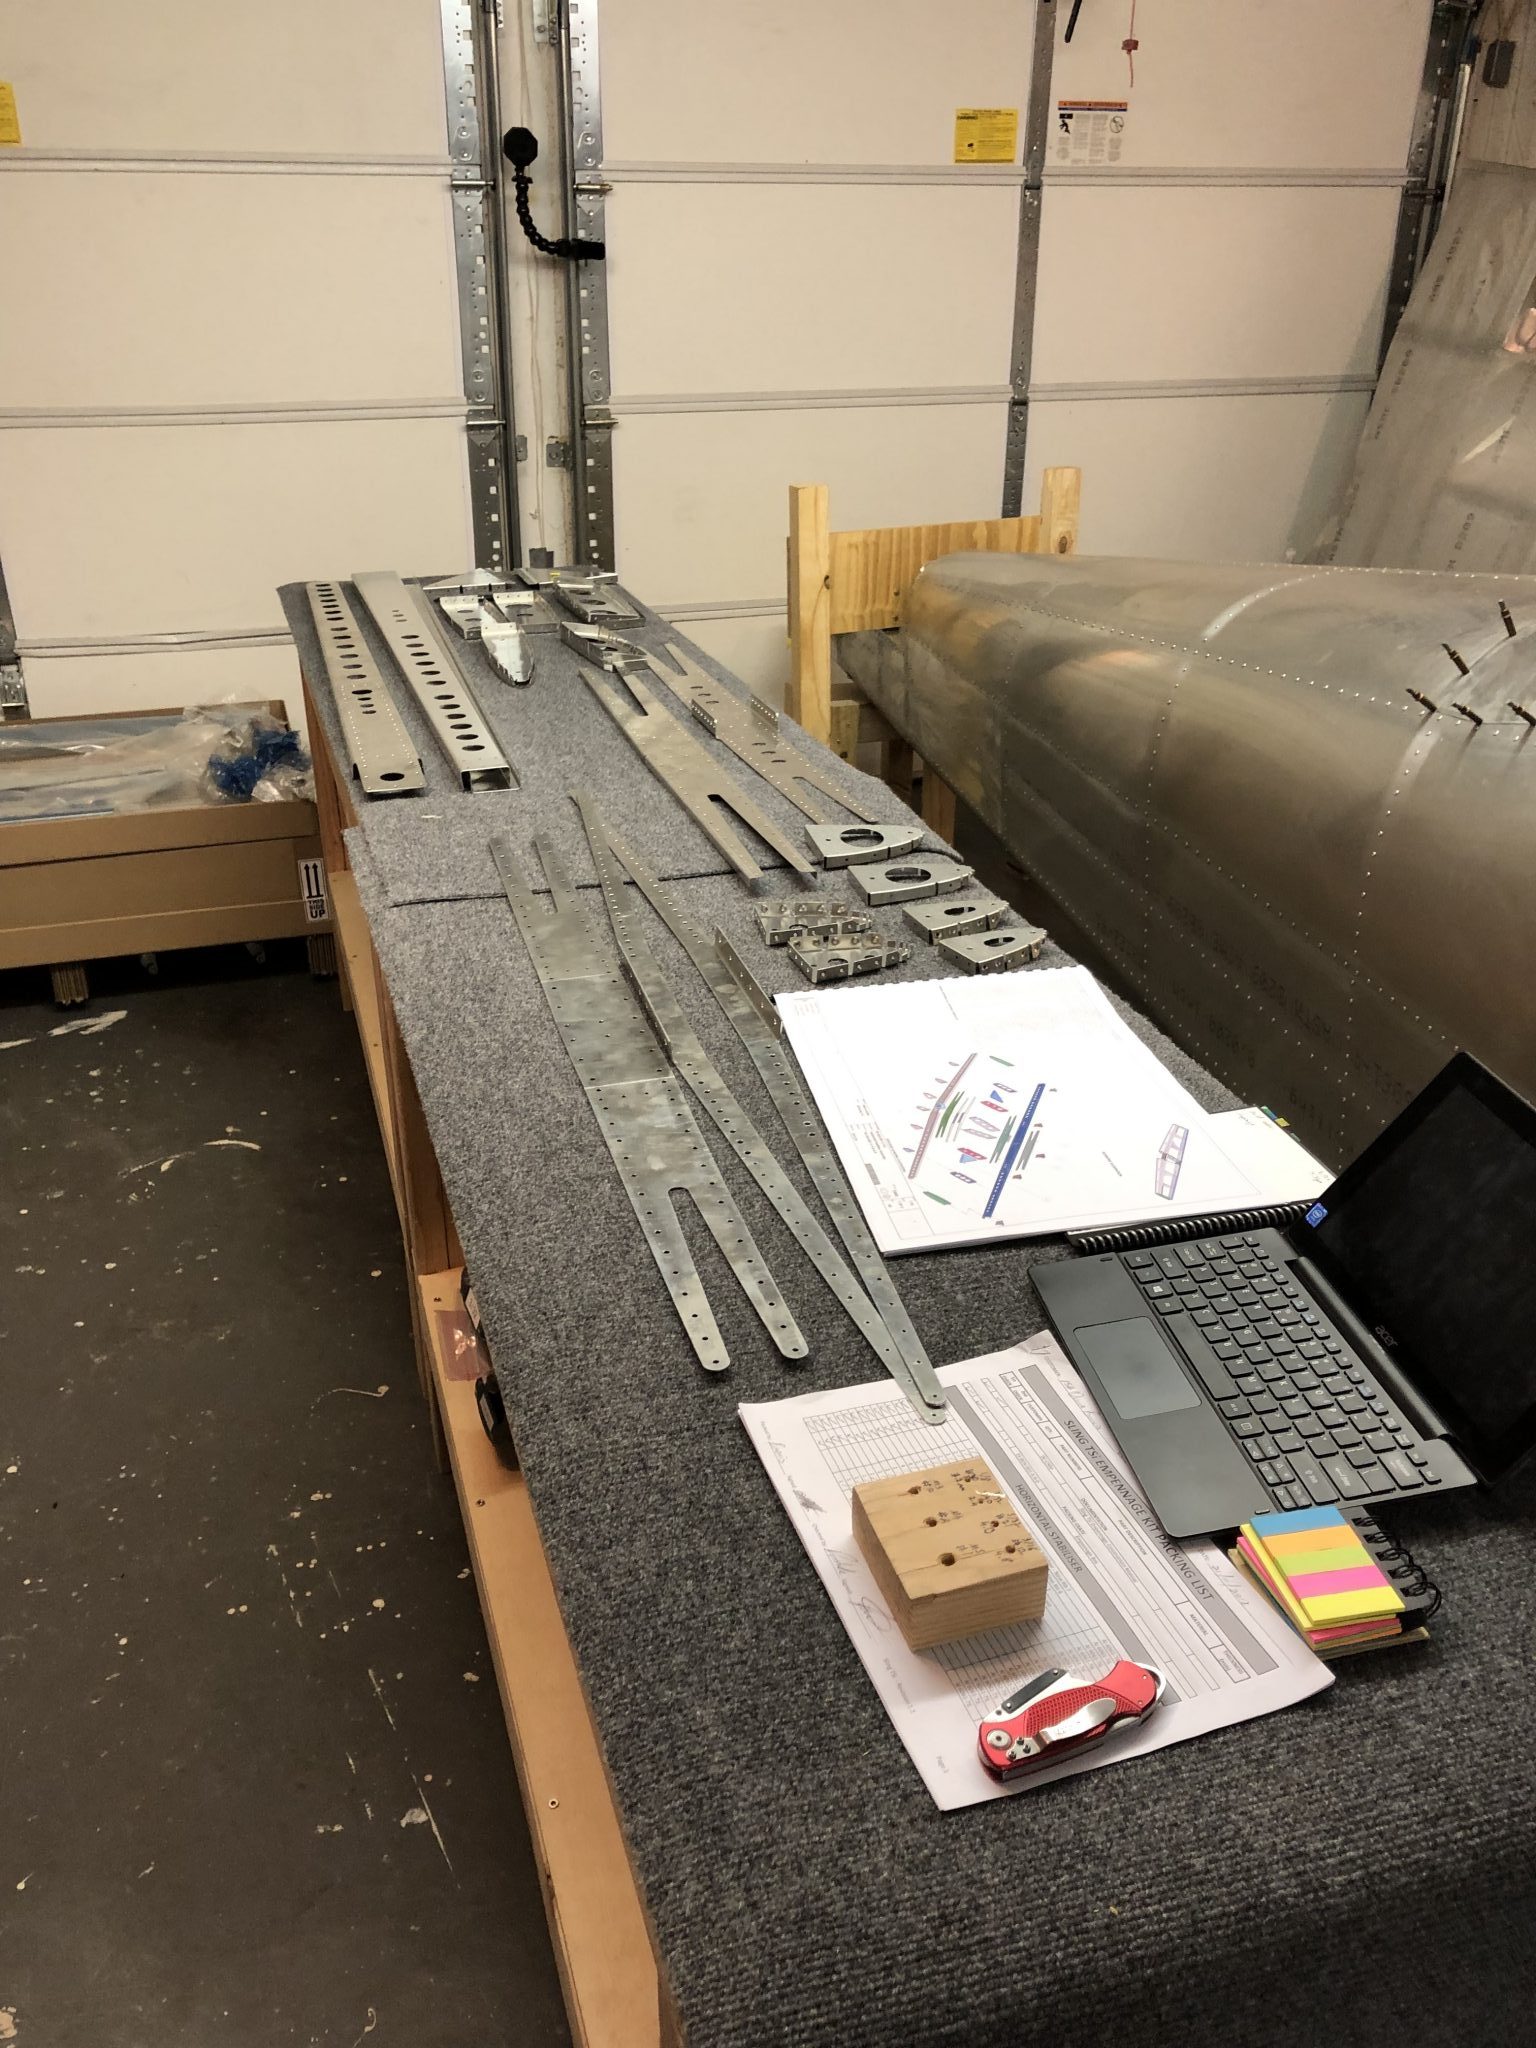
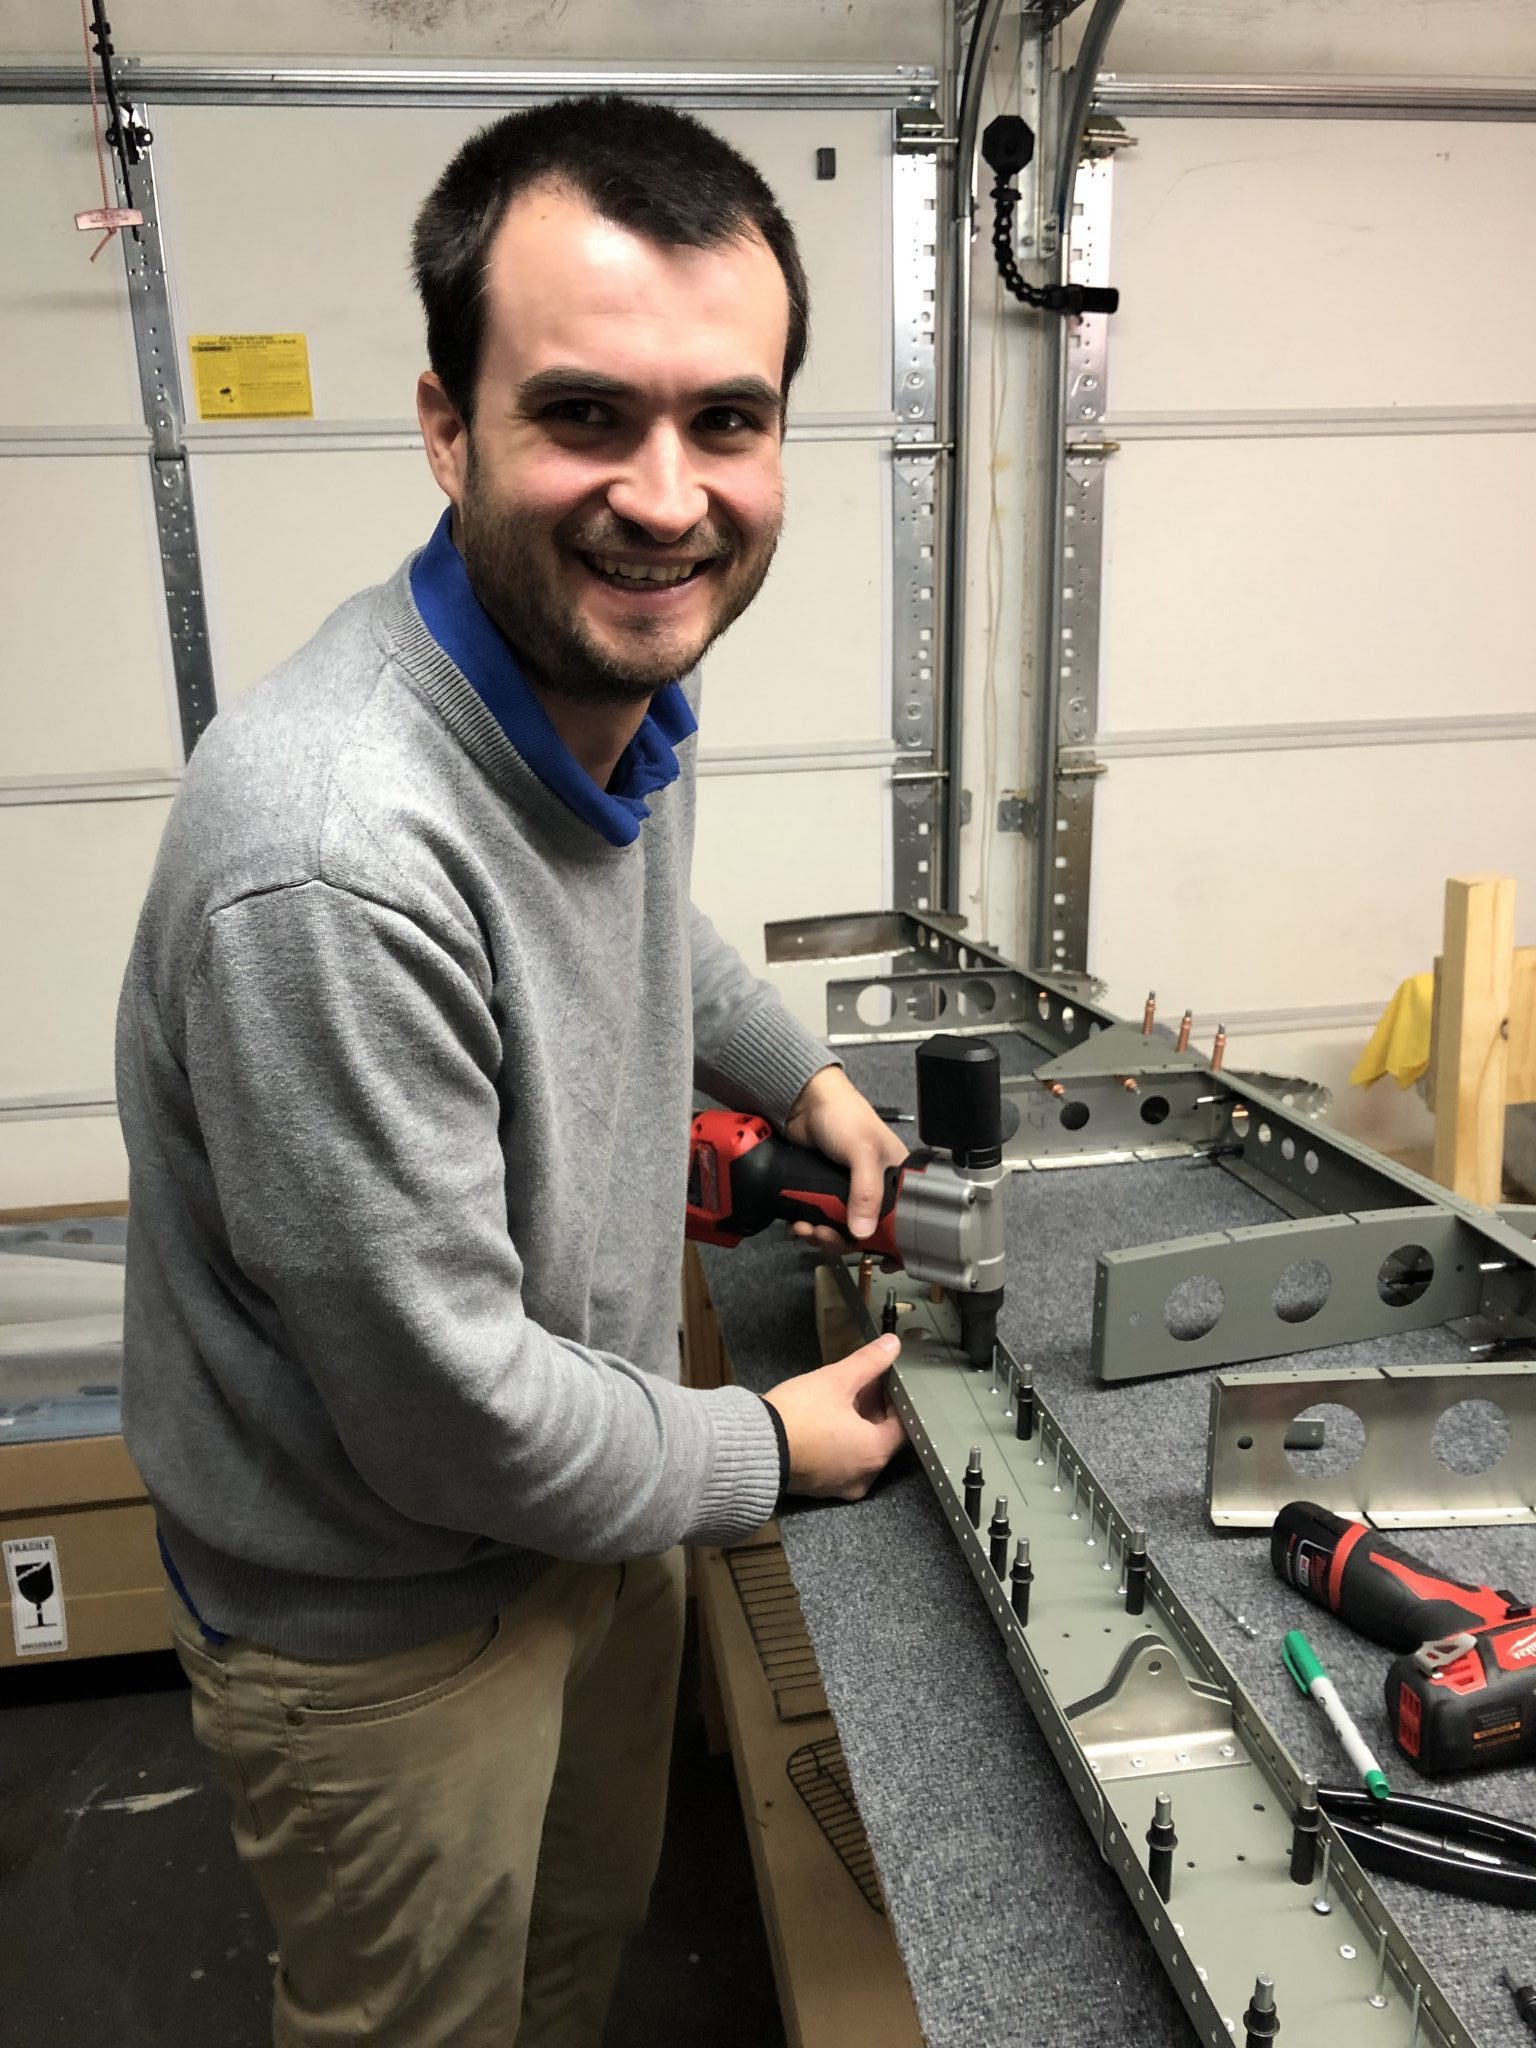
Since my kit was shipped out before the newer revision for the Empennage kit was finished, the printed copy only had the basic CAD drawings, but no instructions, so it’s a matter of combining the larger print outs with the instructions using my small laptop.
Also seen above is the Rivet Gun I’m using – it’s the Milwaukee M12 Rivet gun, which fits in nicely with all my other tools and allows me to build the airplane without the need for a noisy compressor.
After I put together everything with Clecos it was time to pull rivets.
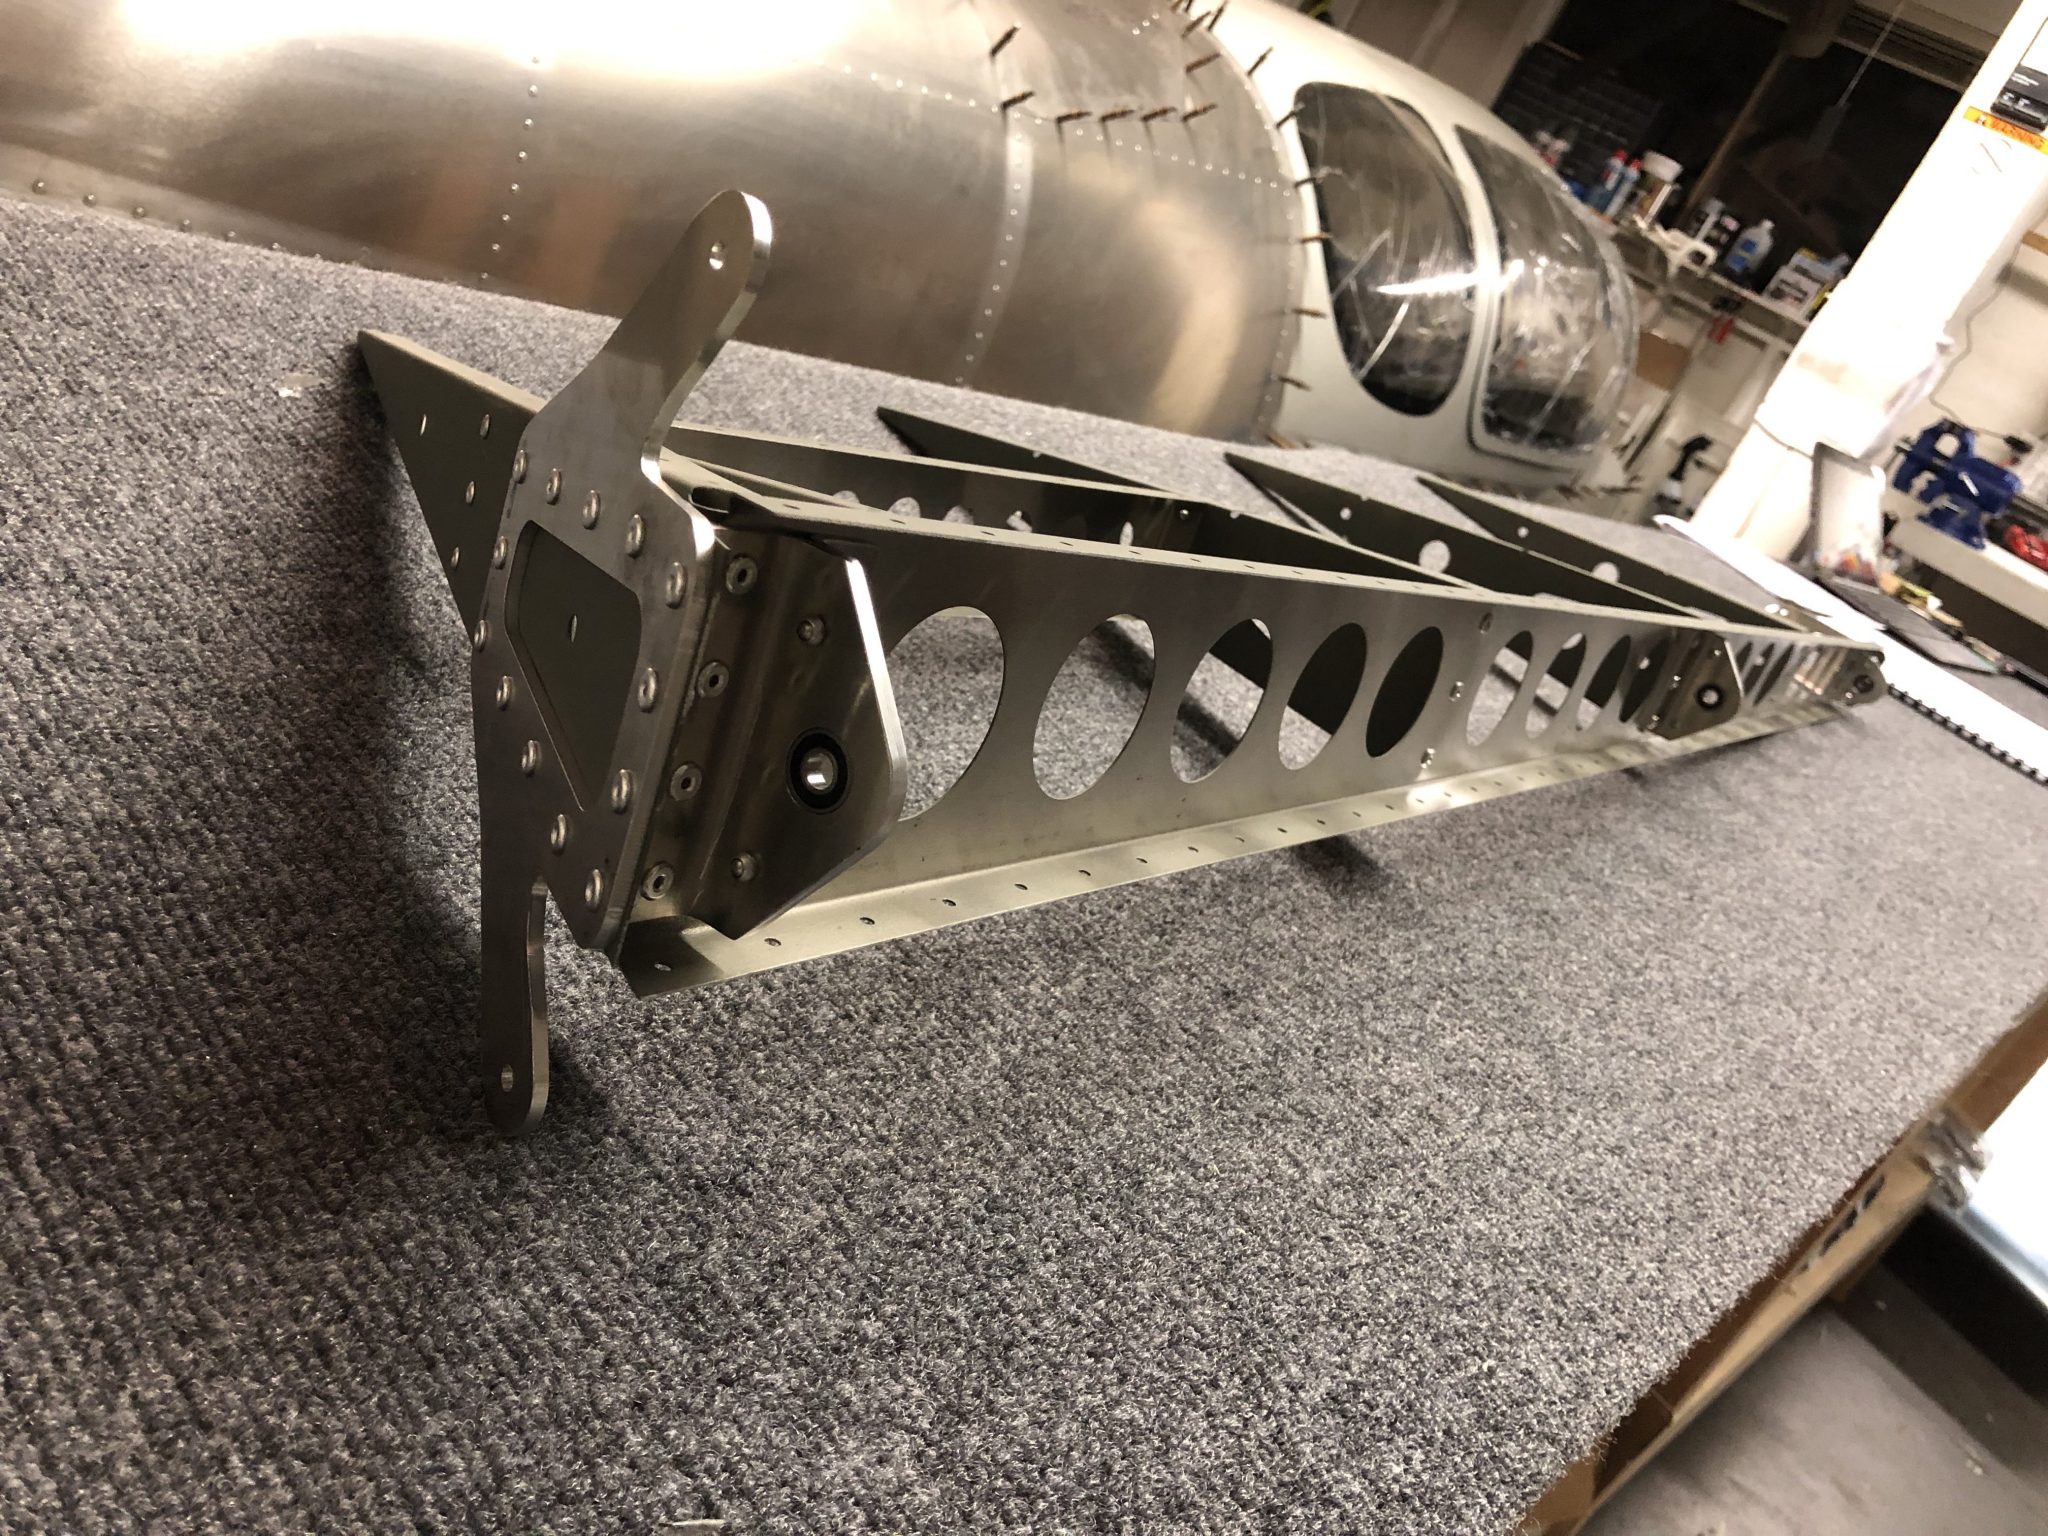
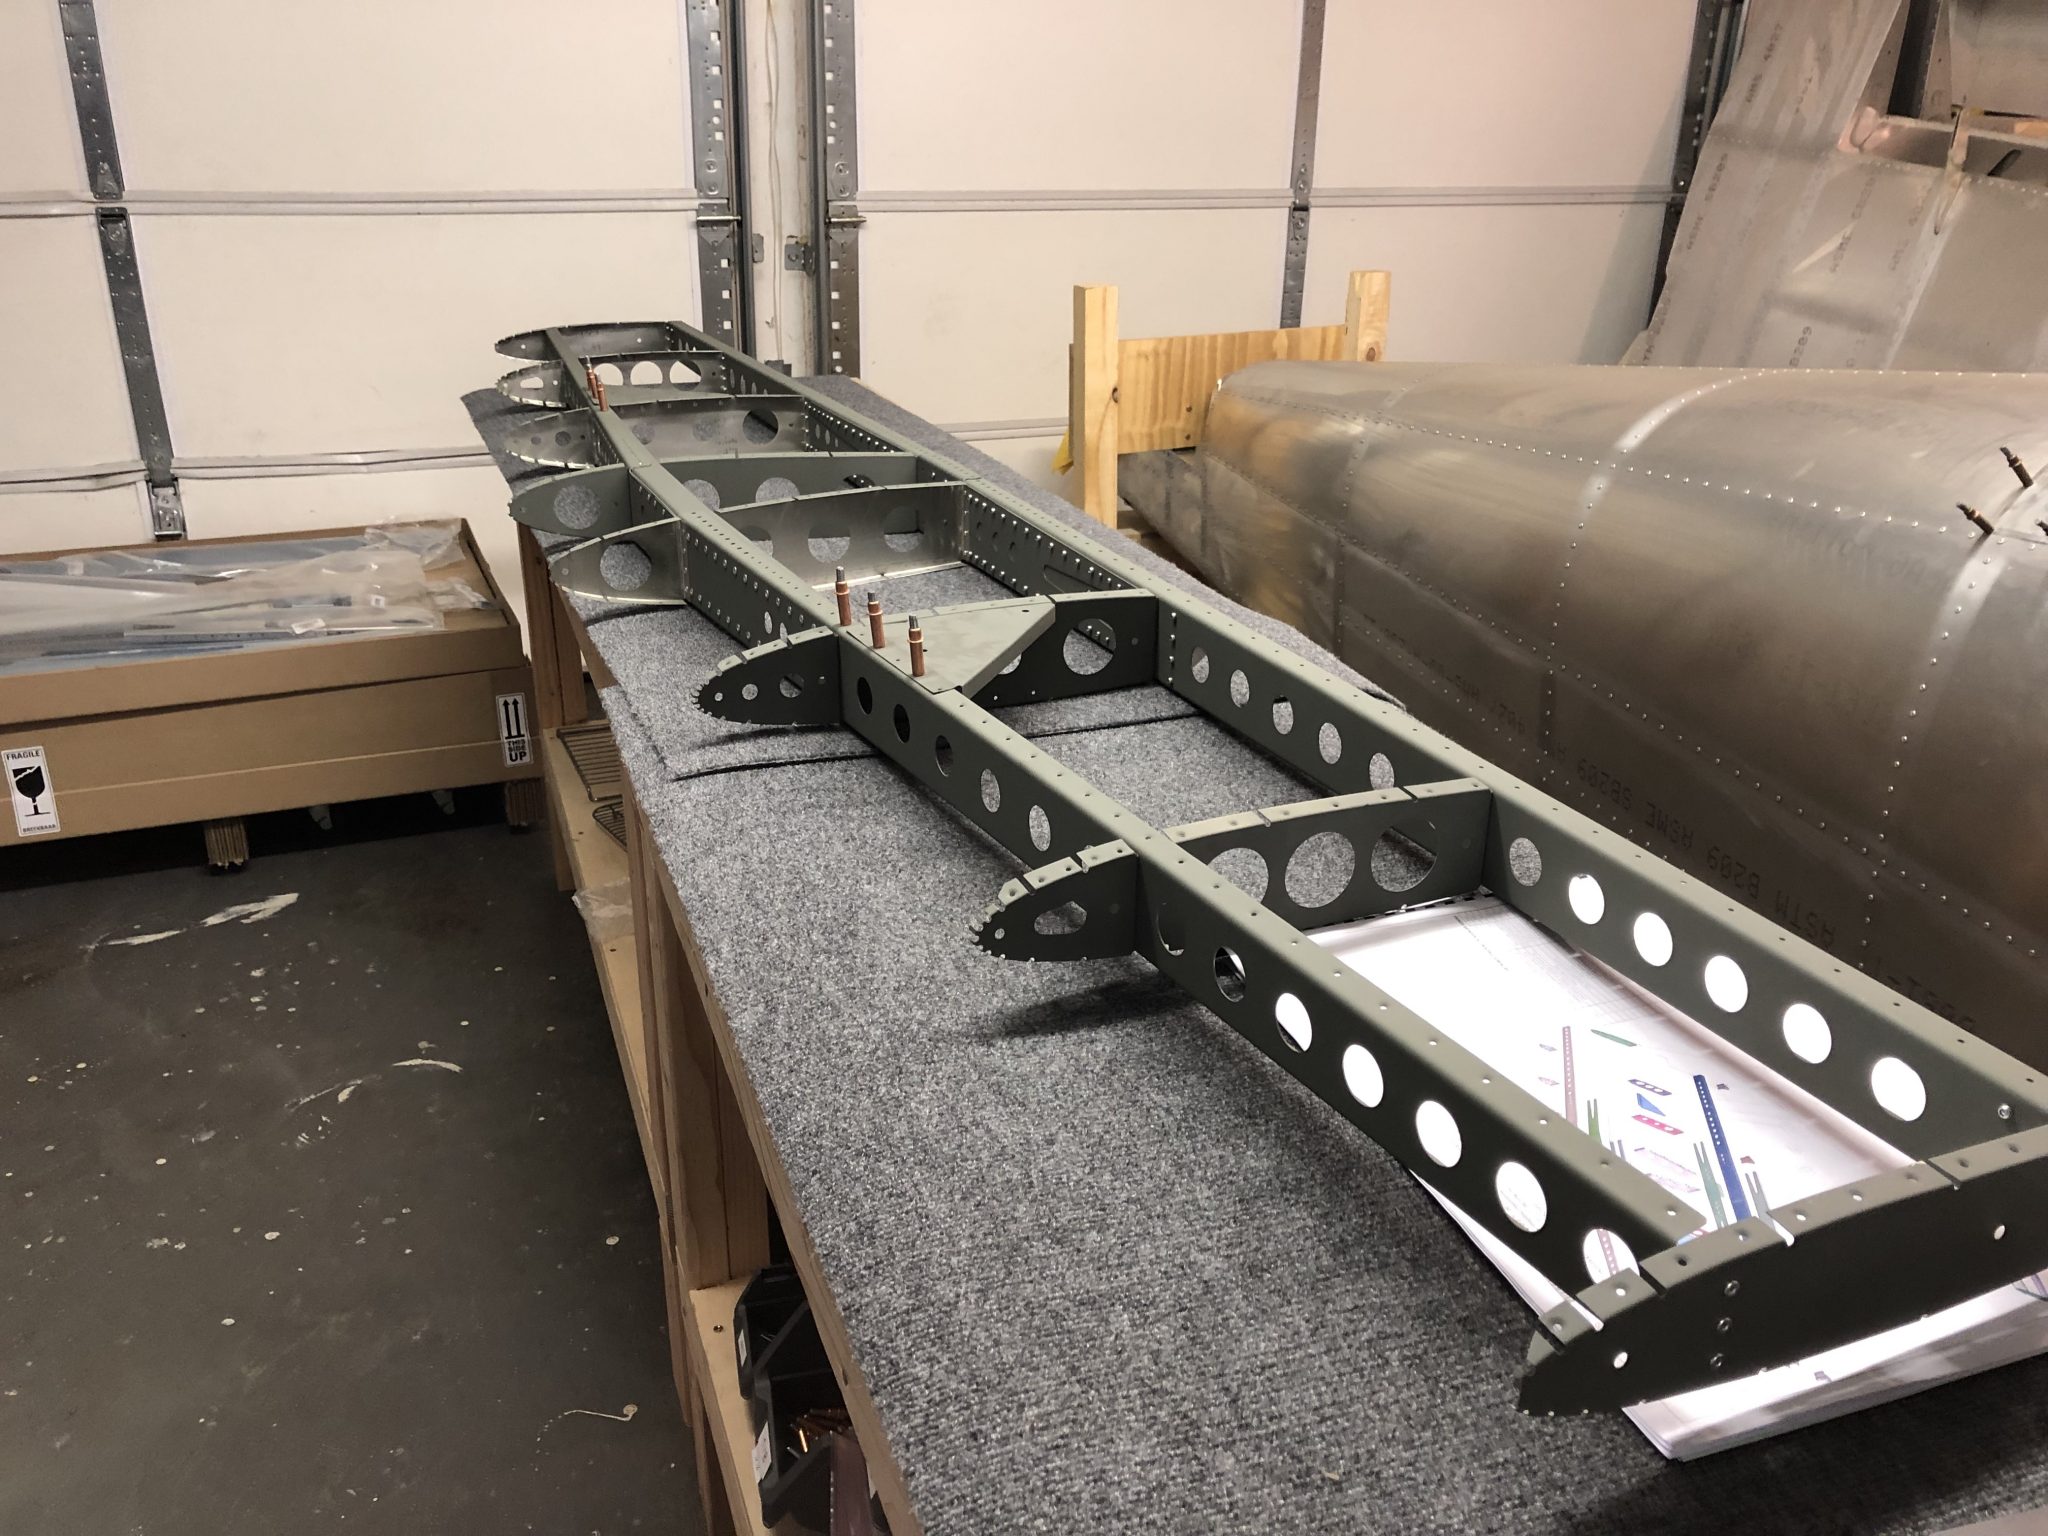
And here’s the riveted structure (minus the skin) of the Horizontal Stabilizer:
I’m also trying to record my progress with some timelapses, so here it goes:
While the wait for the arrival of my Sling TSi kit continues, I got to do some sheet metal practice attending the EAA SportairSheet Metal workshop recently.
It was a two day weekend workshop that was held at the Seattle Museum of Flight Restoration Center, teaching the basics of sheet metal work with all sorts of various techniques used when building a sheet metal airplane.
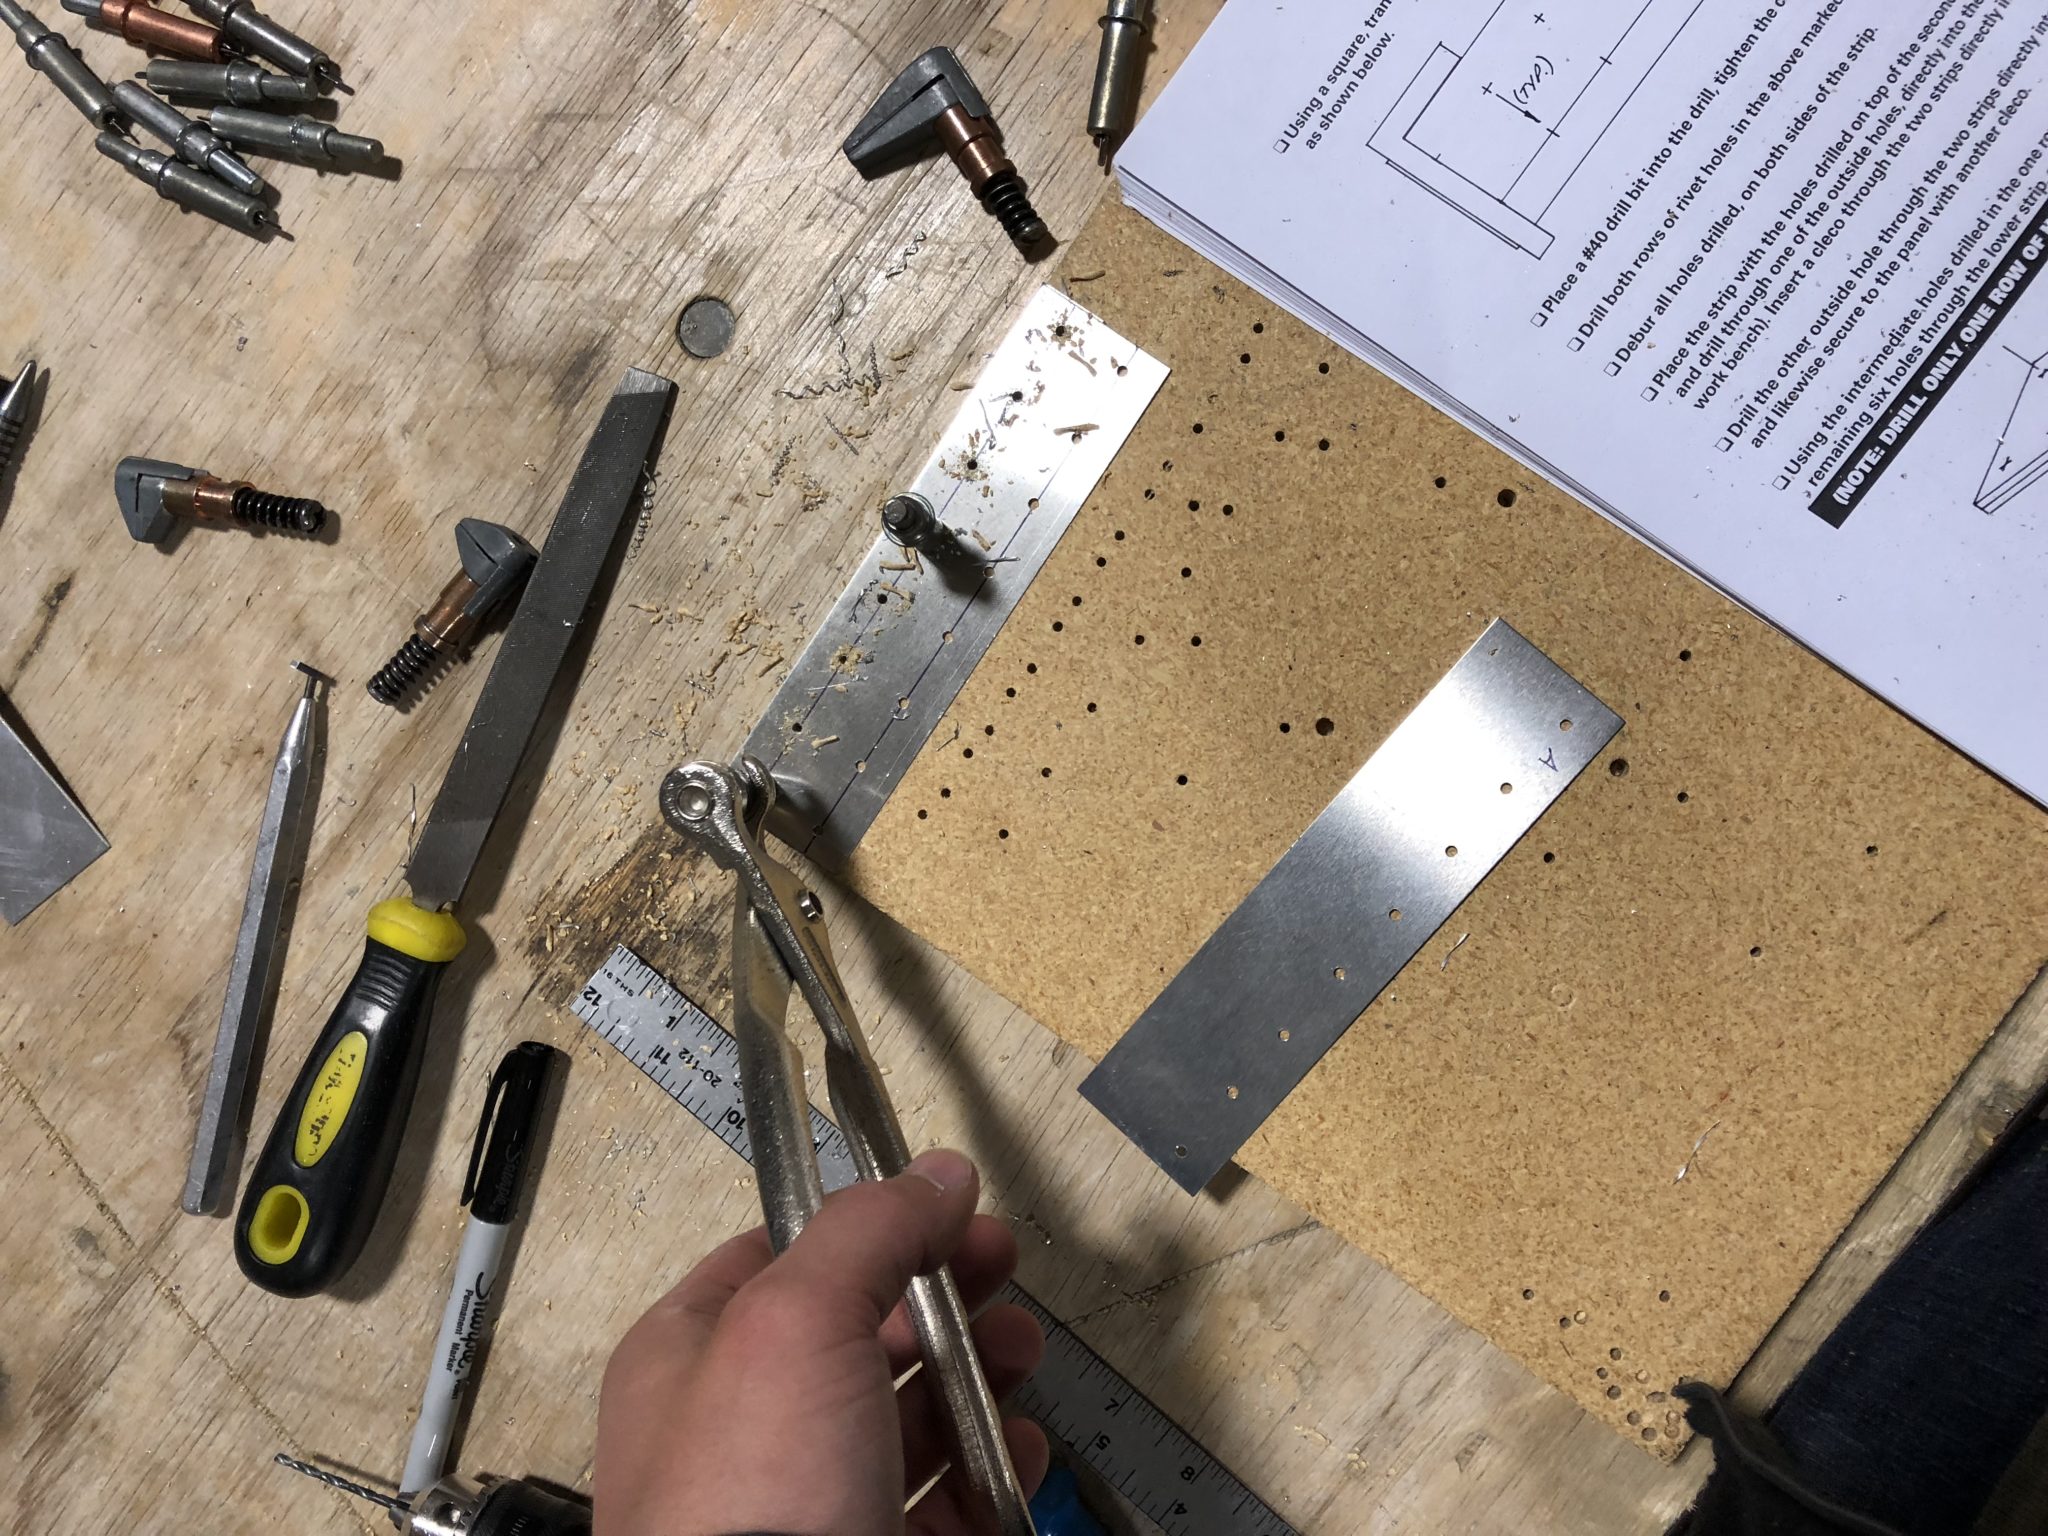
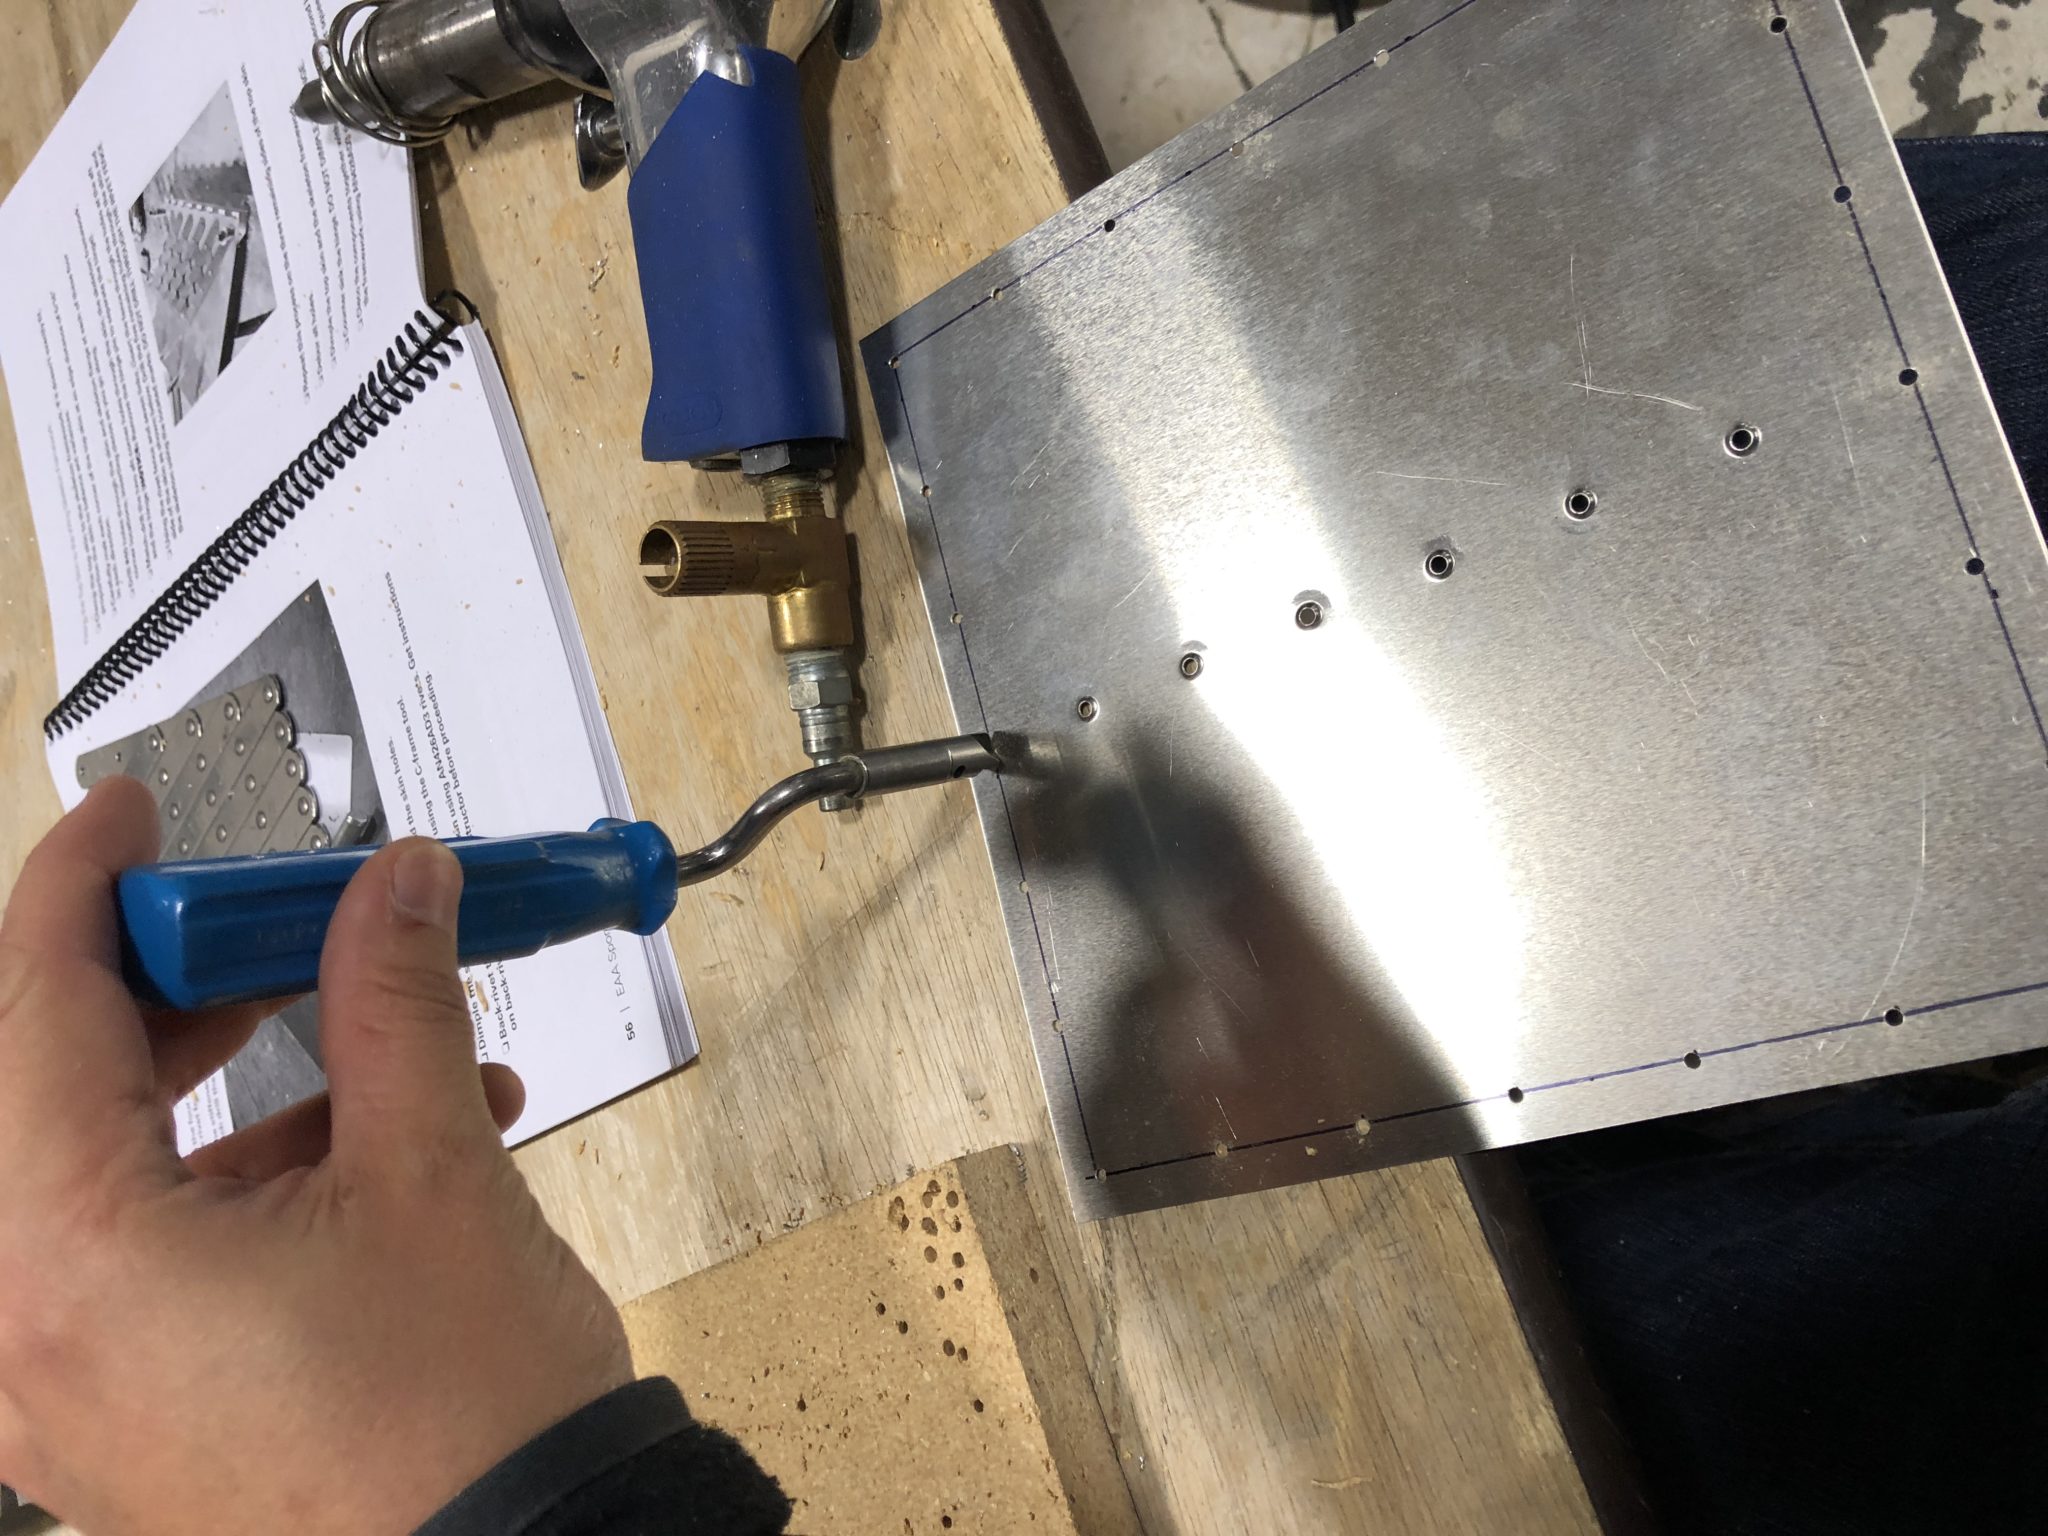
Over the course of the two days each participant made two practice pieces. The first one was to get a feel for the different techniques, from drilling, to deburring, to dimpling and countersinking. Here’s the first piece:
Drilling holes
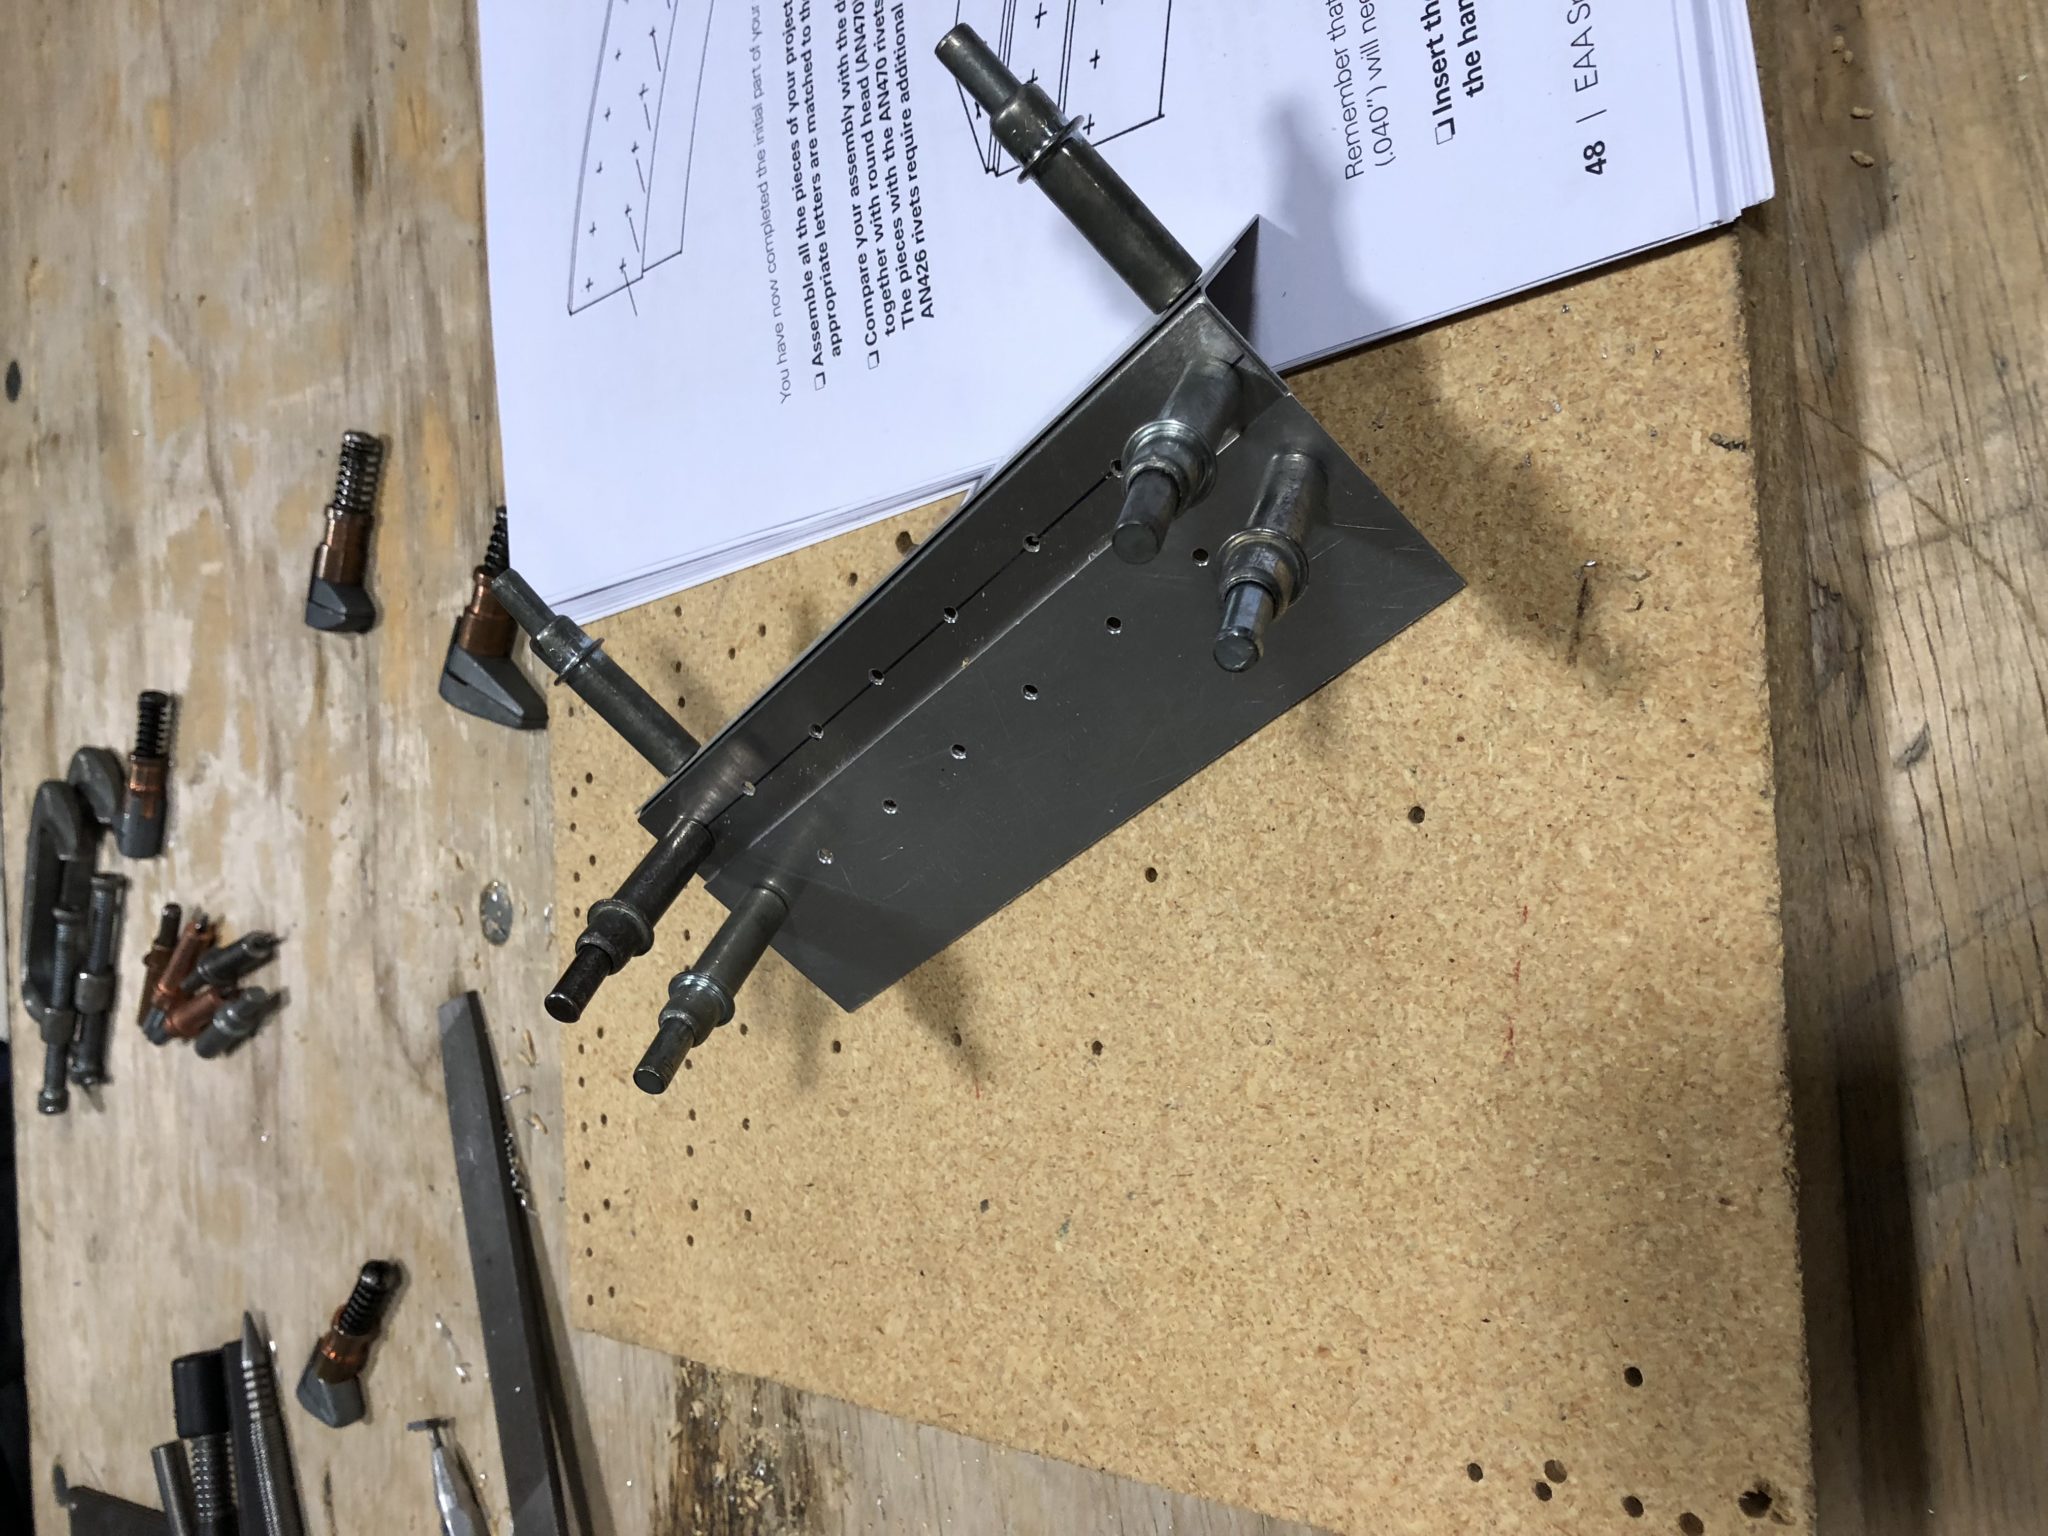
Test fitting 3 layers of sheet metal
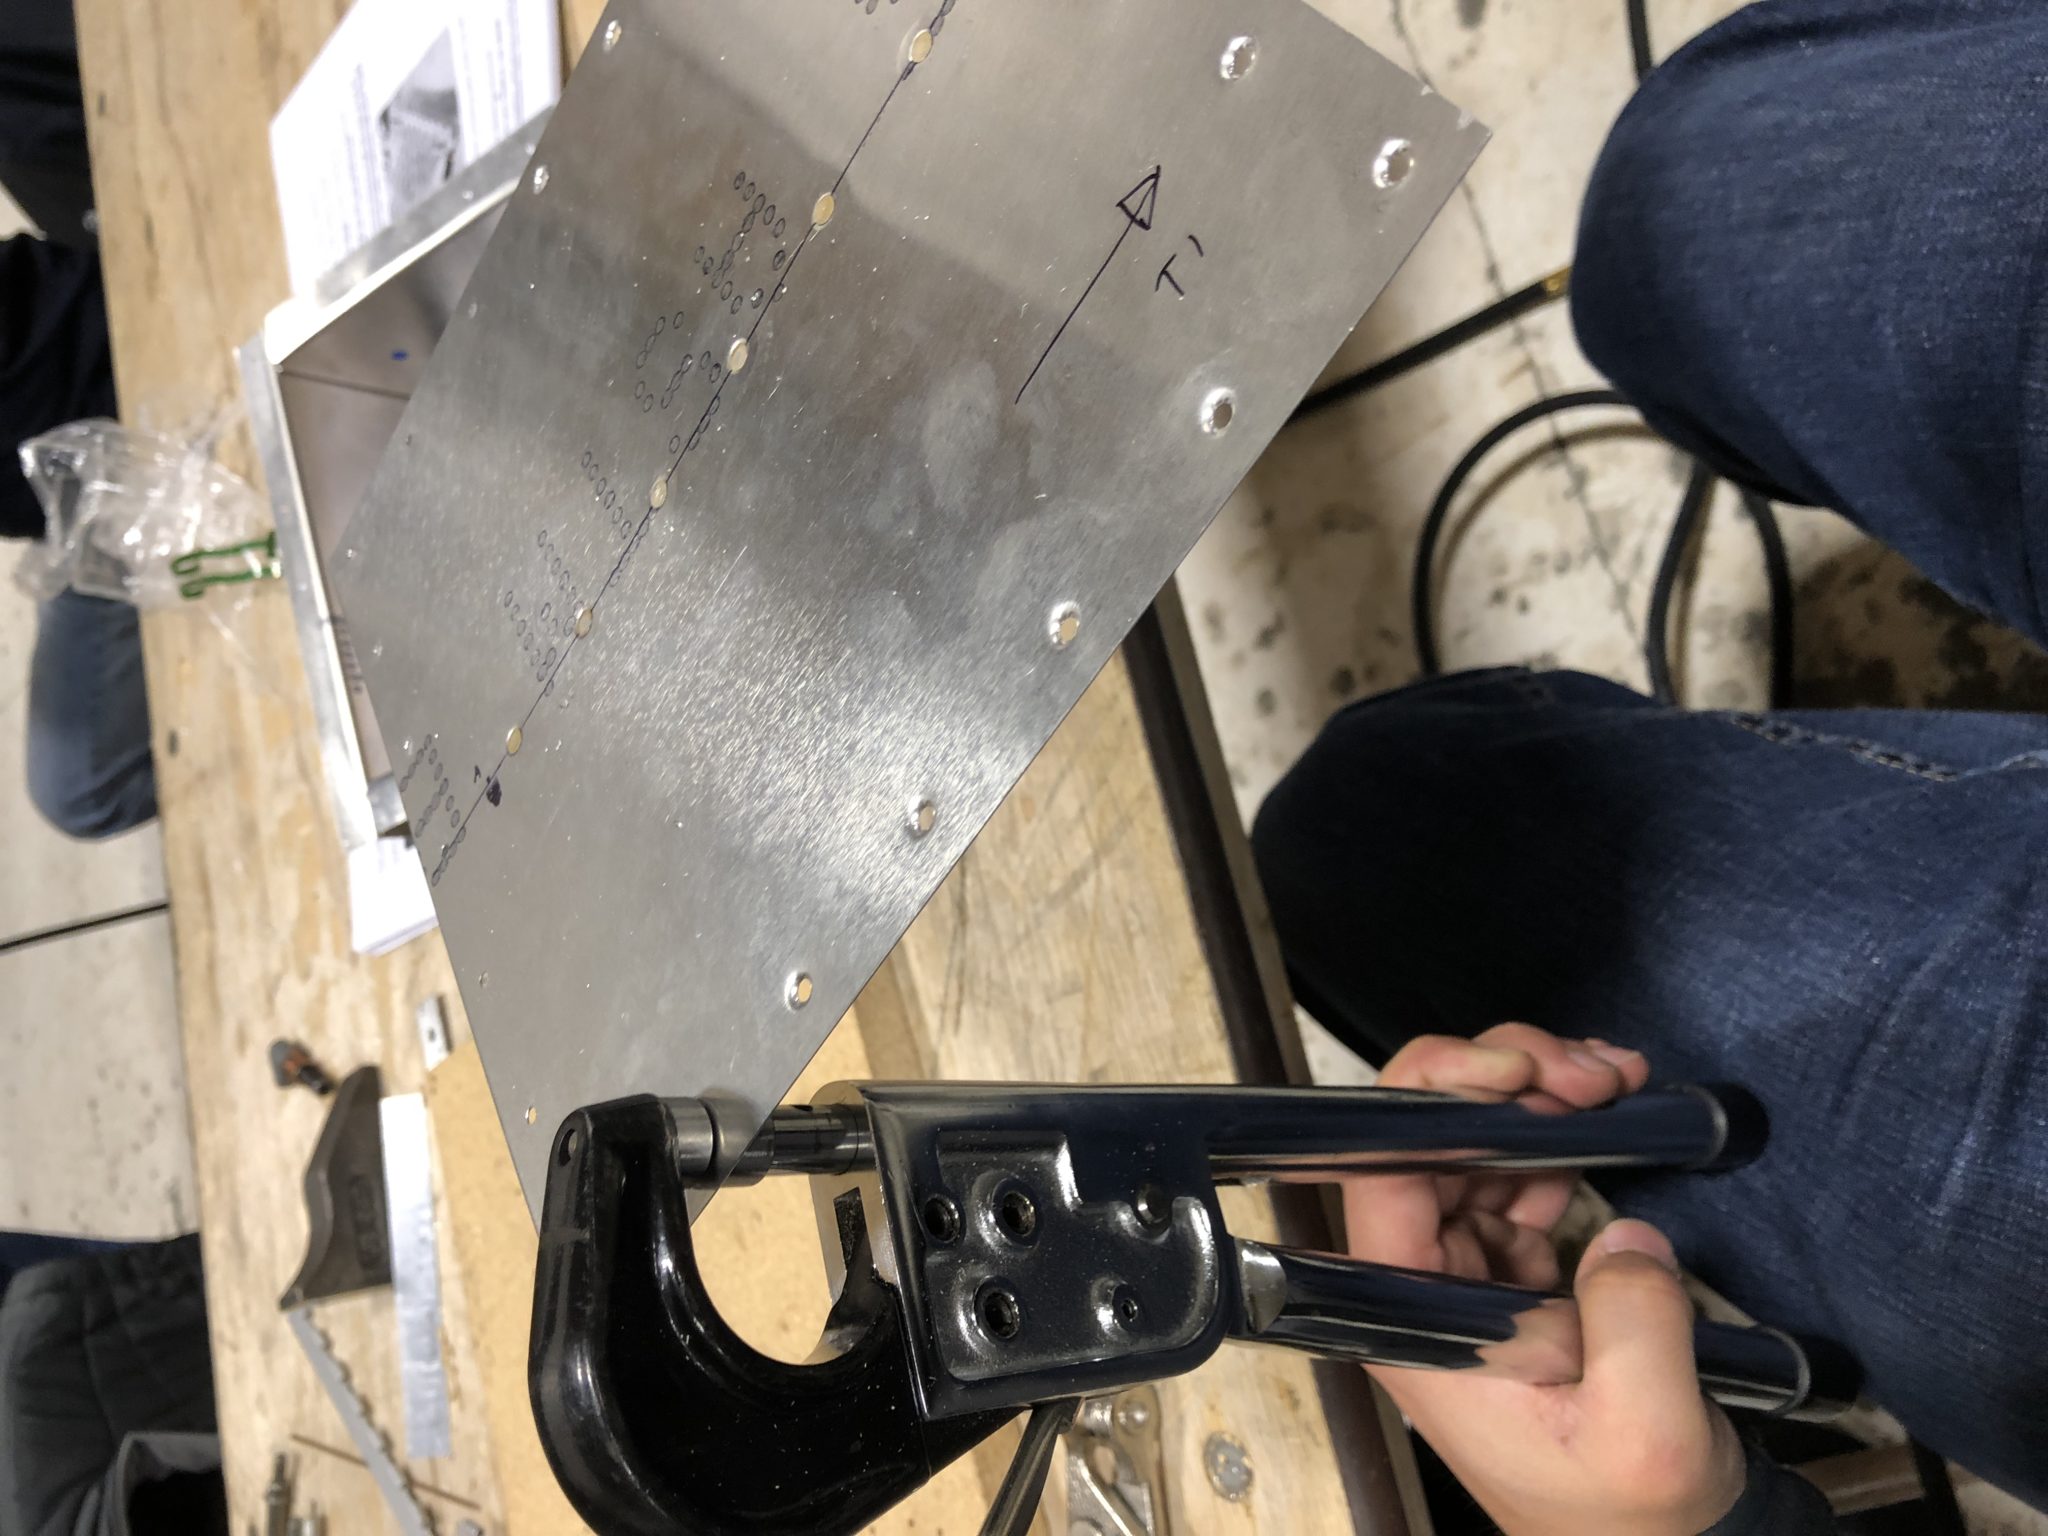
Countersinking and dimpling
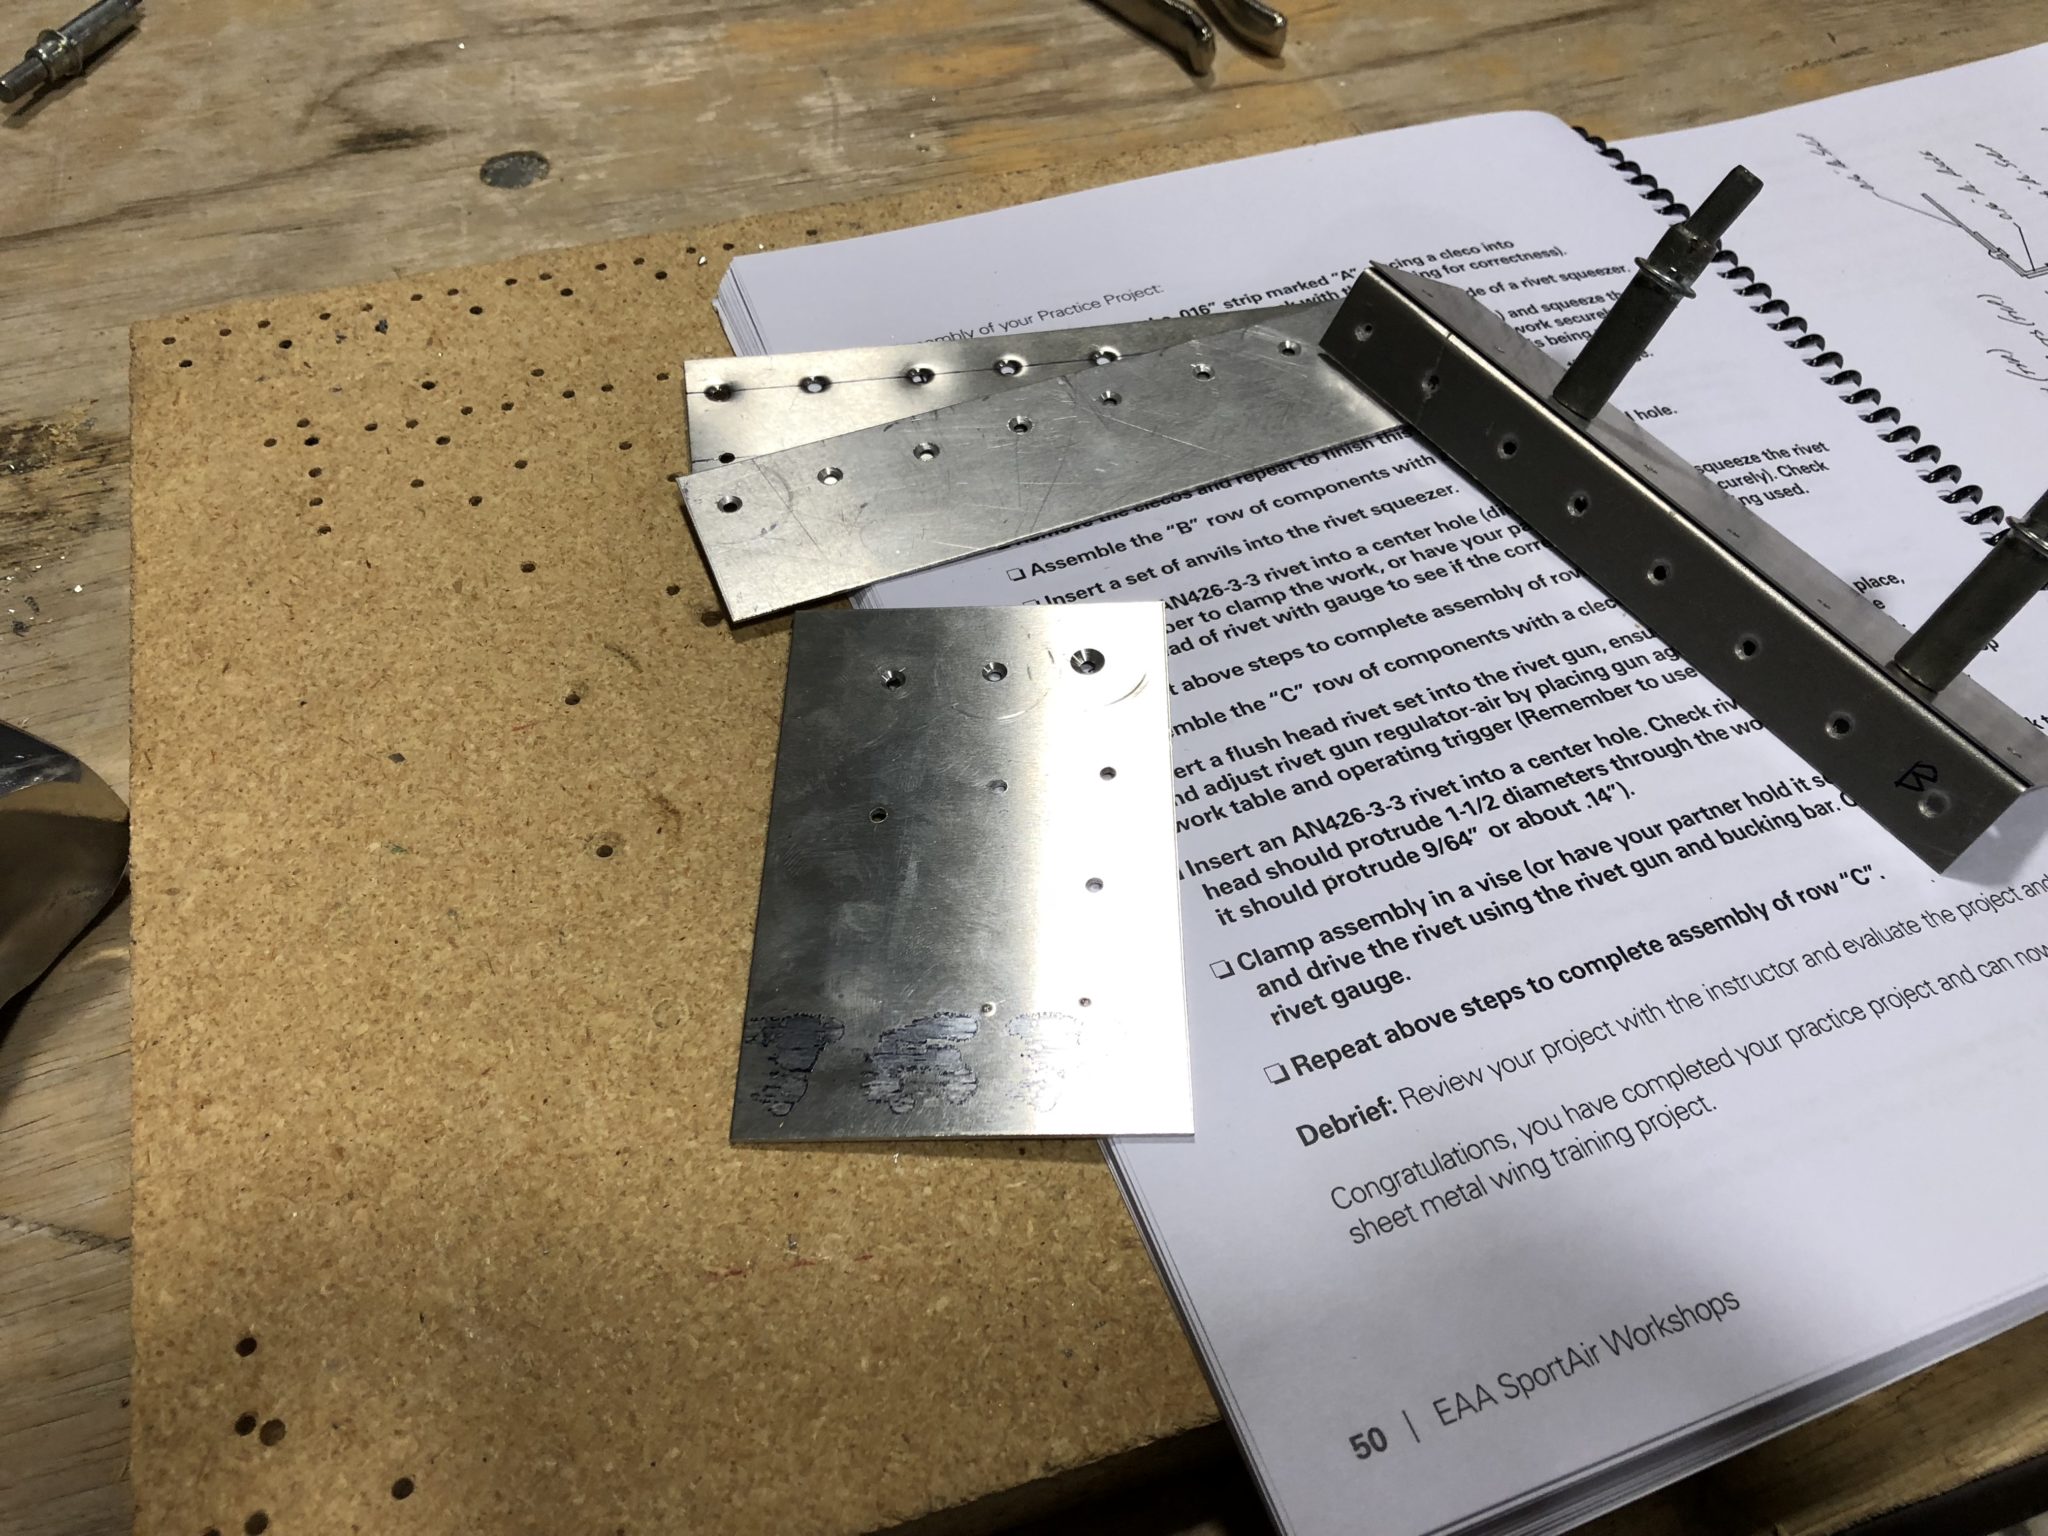
Dome riveting and dimpled flush rivets done
Drilling out rivets for practice
Managed to drill out a perfect donut
Flush back riveting done
Underside
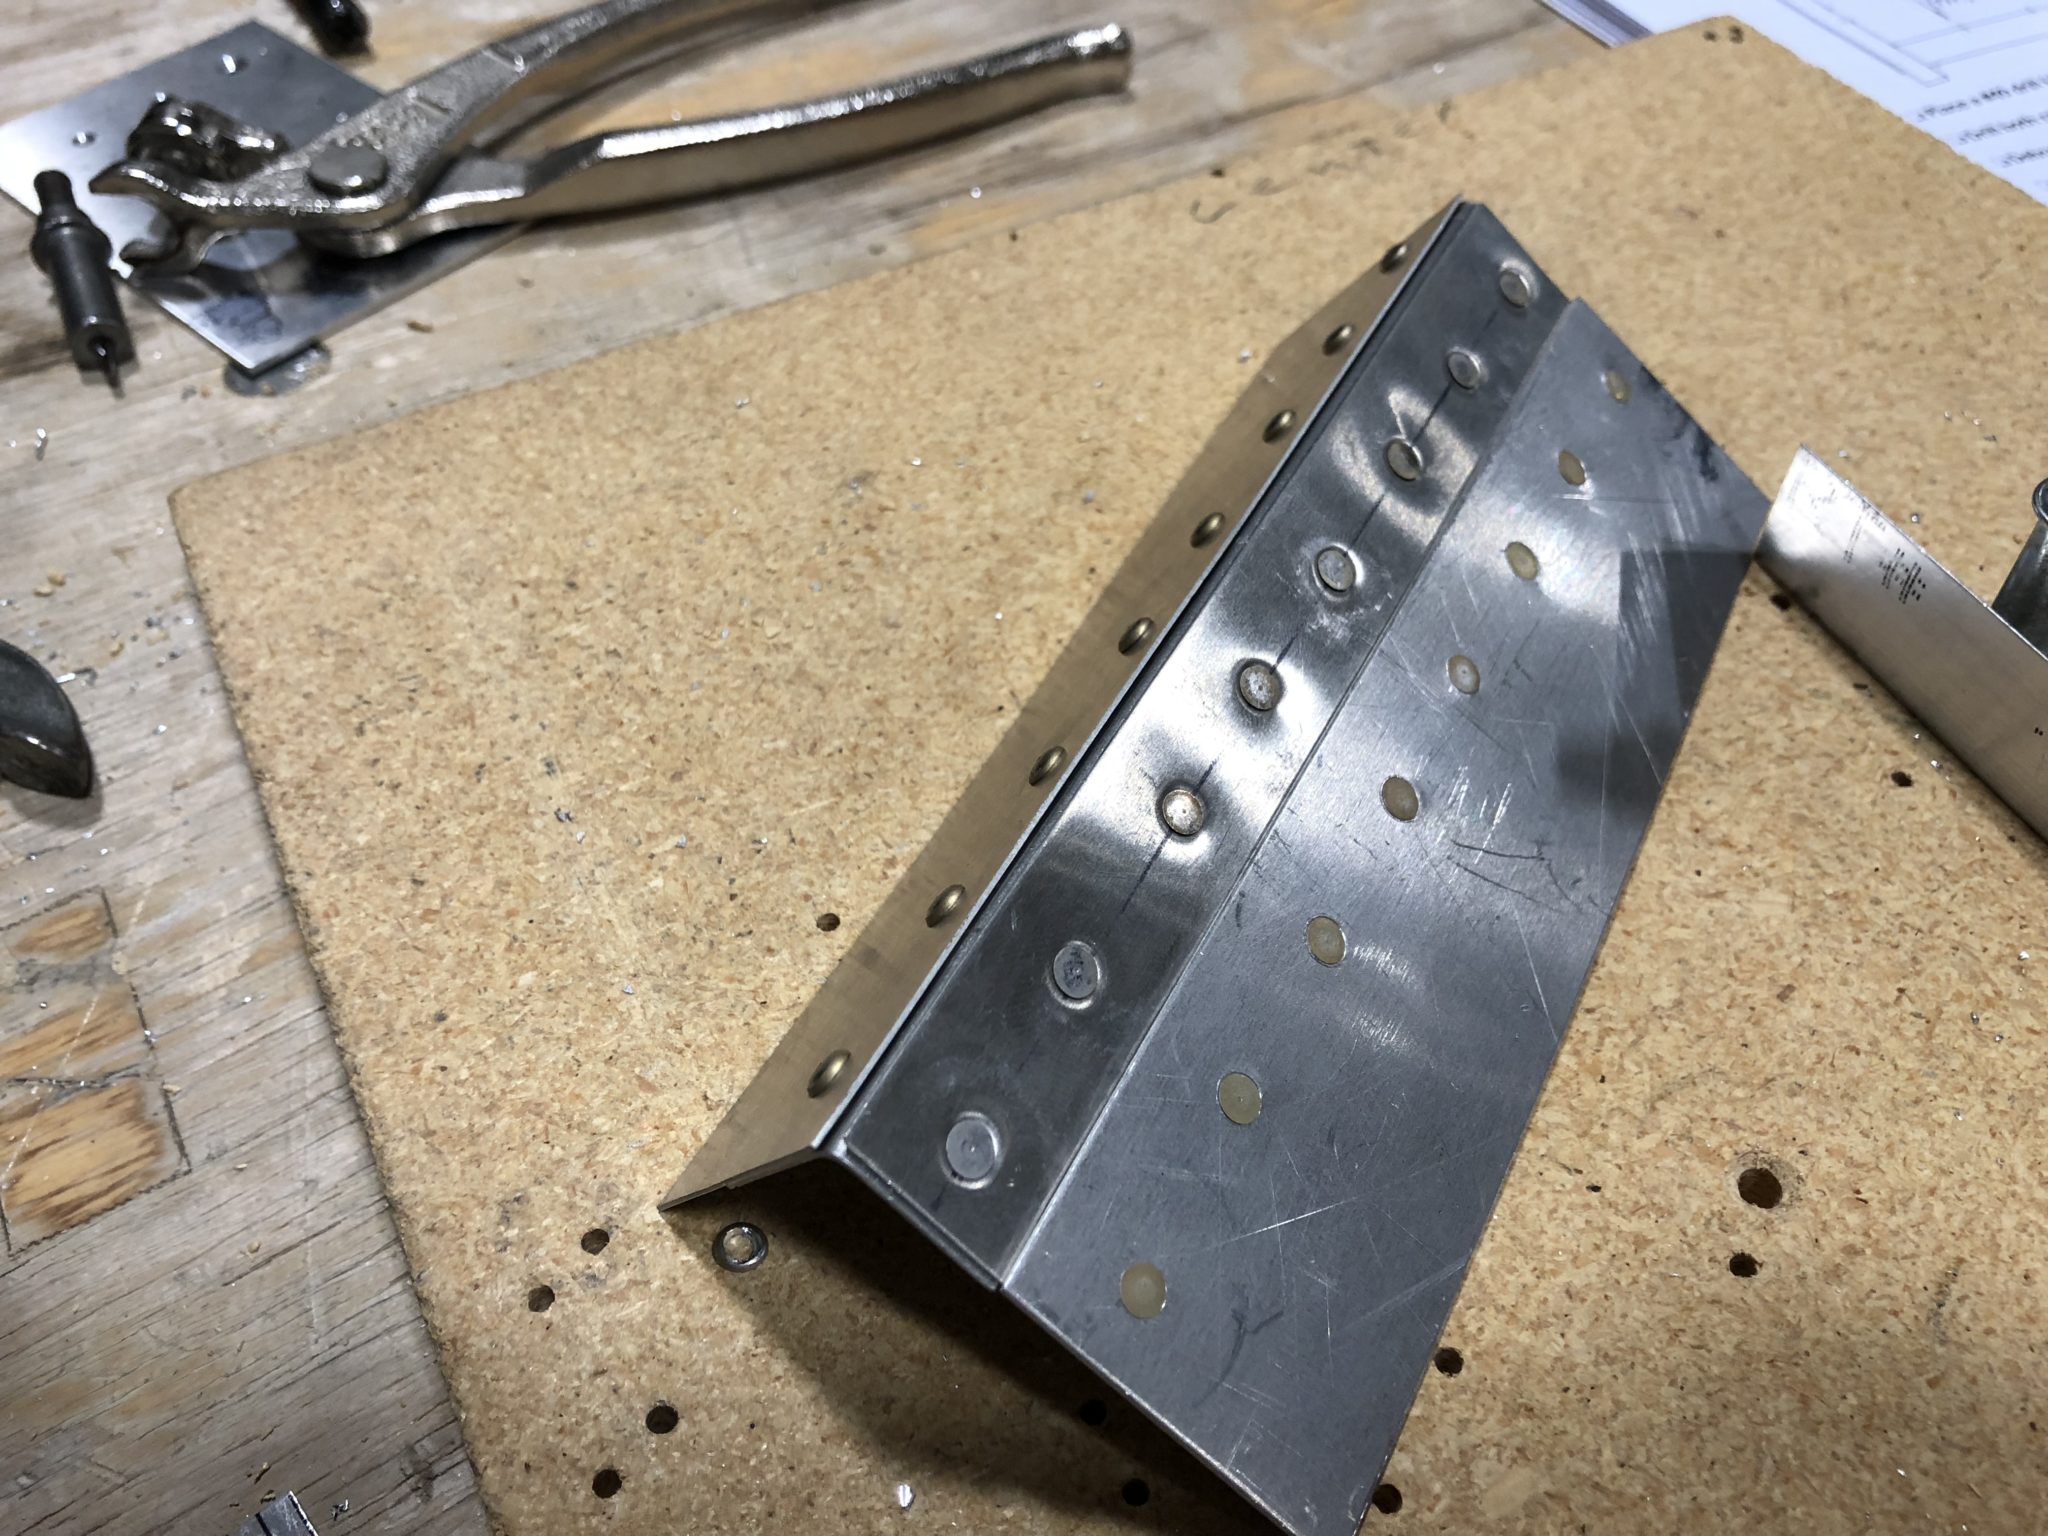
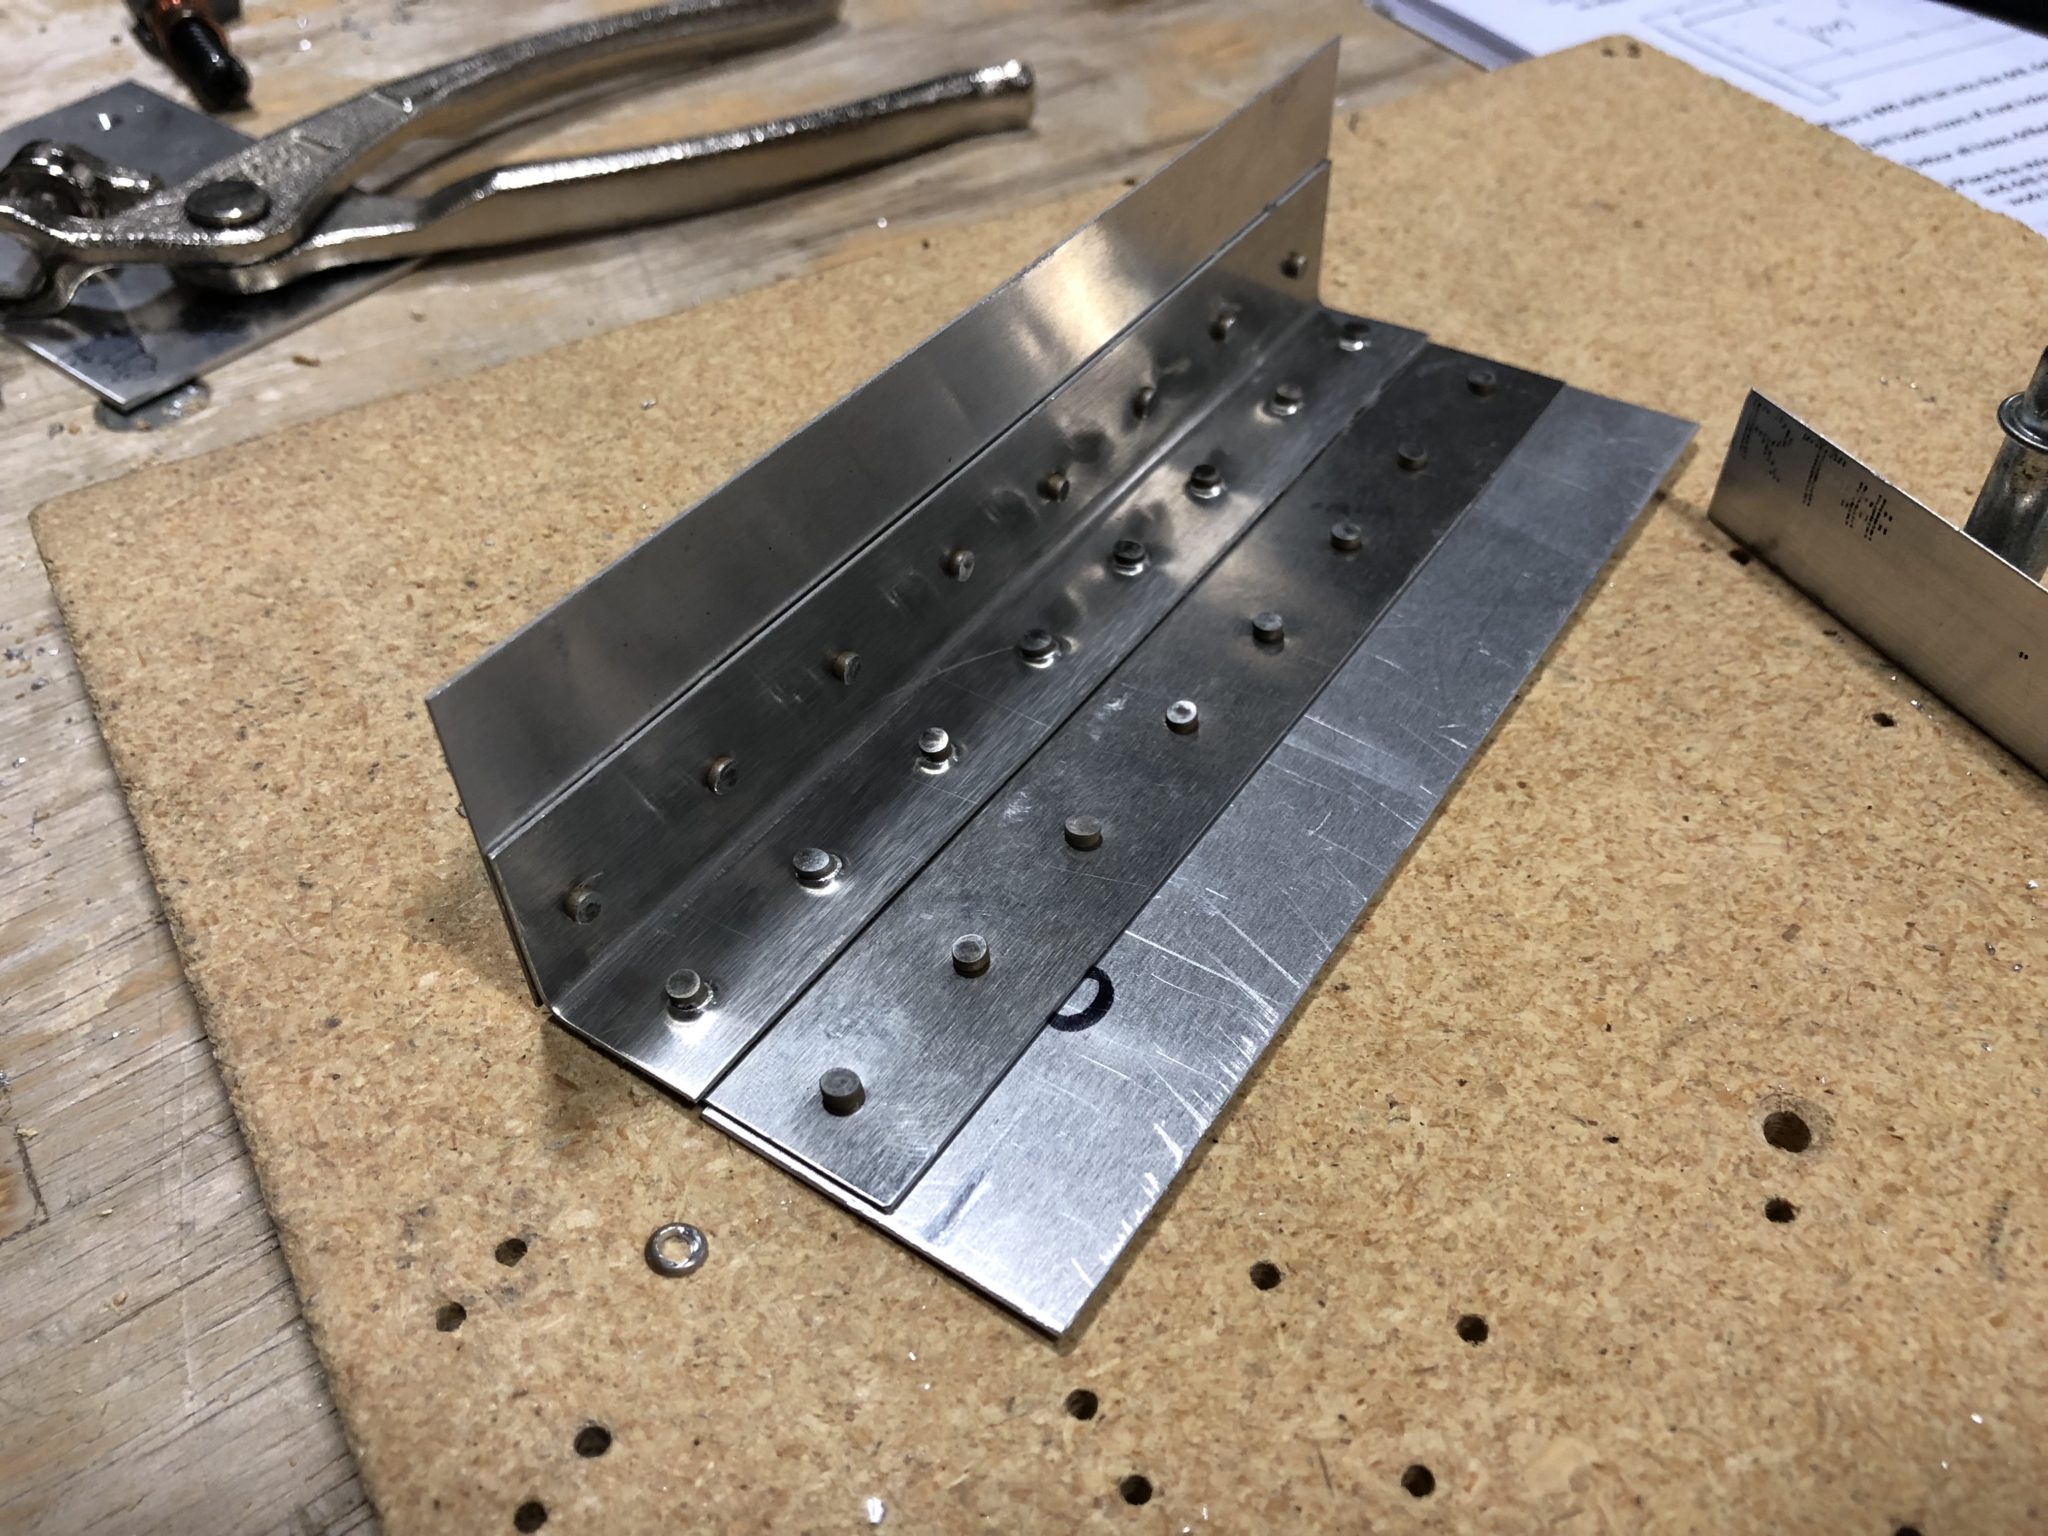
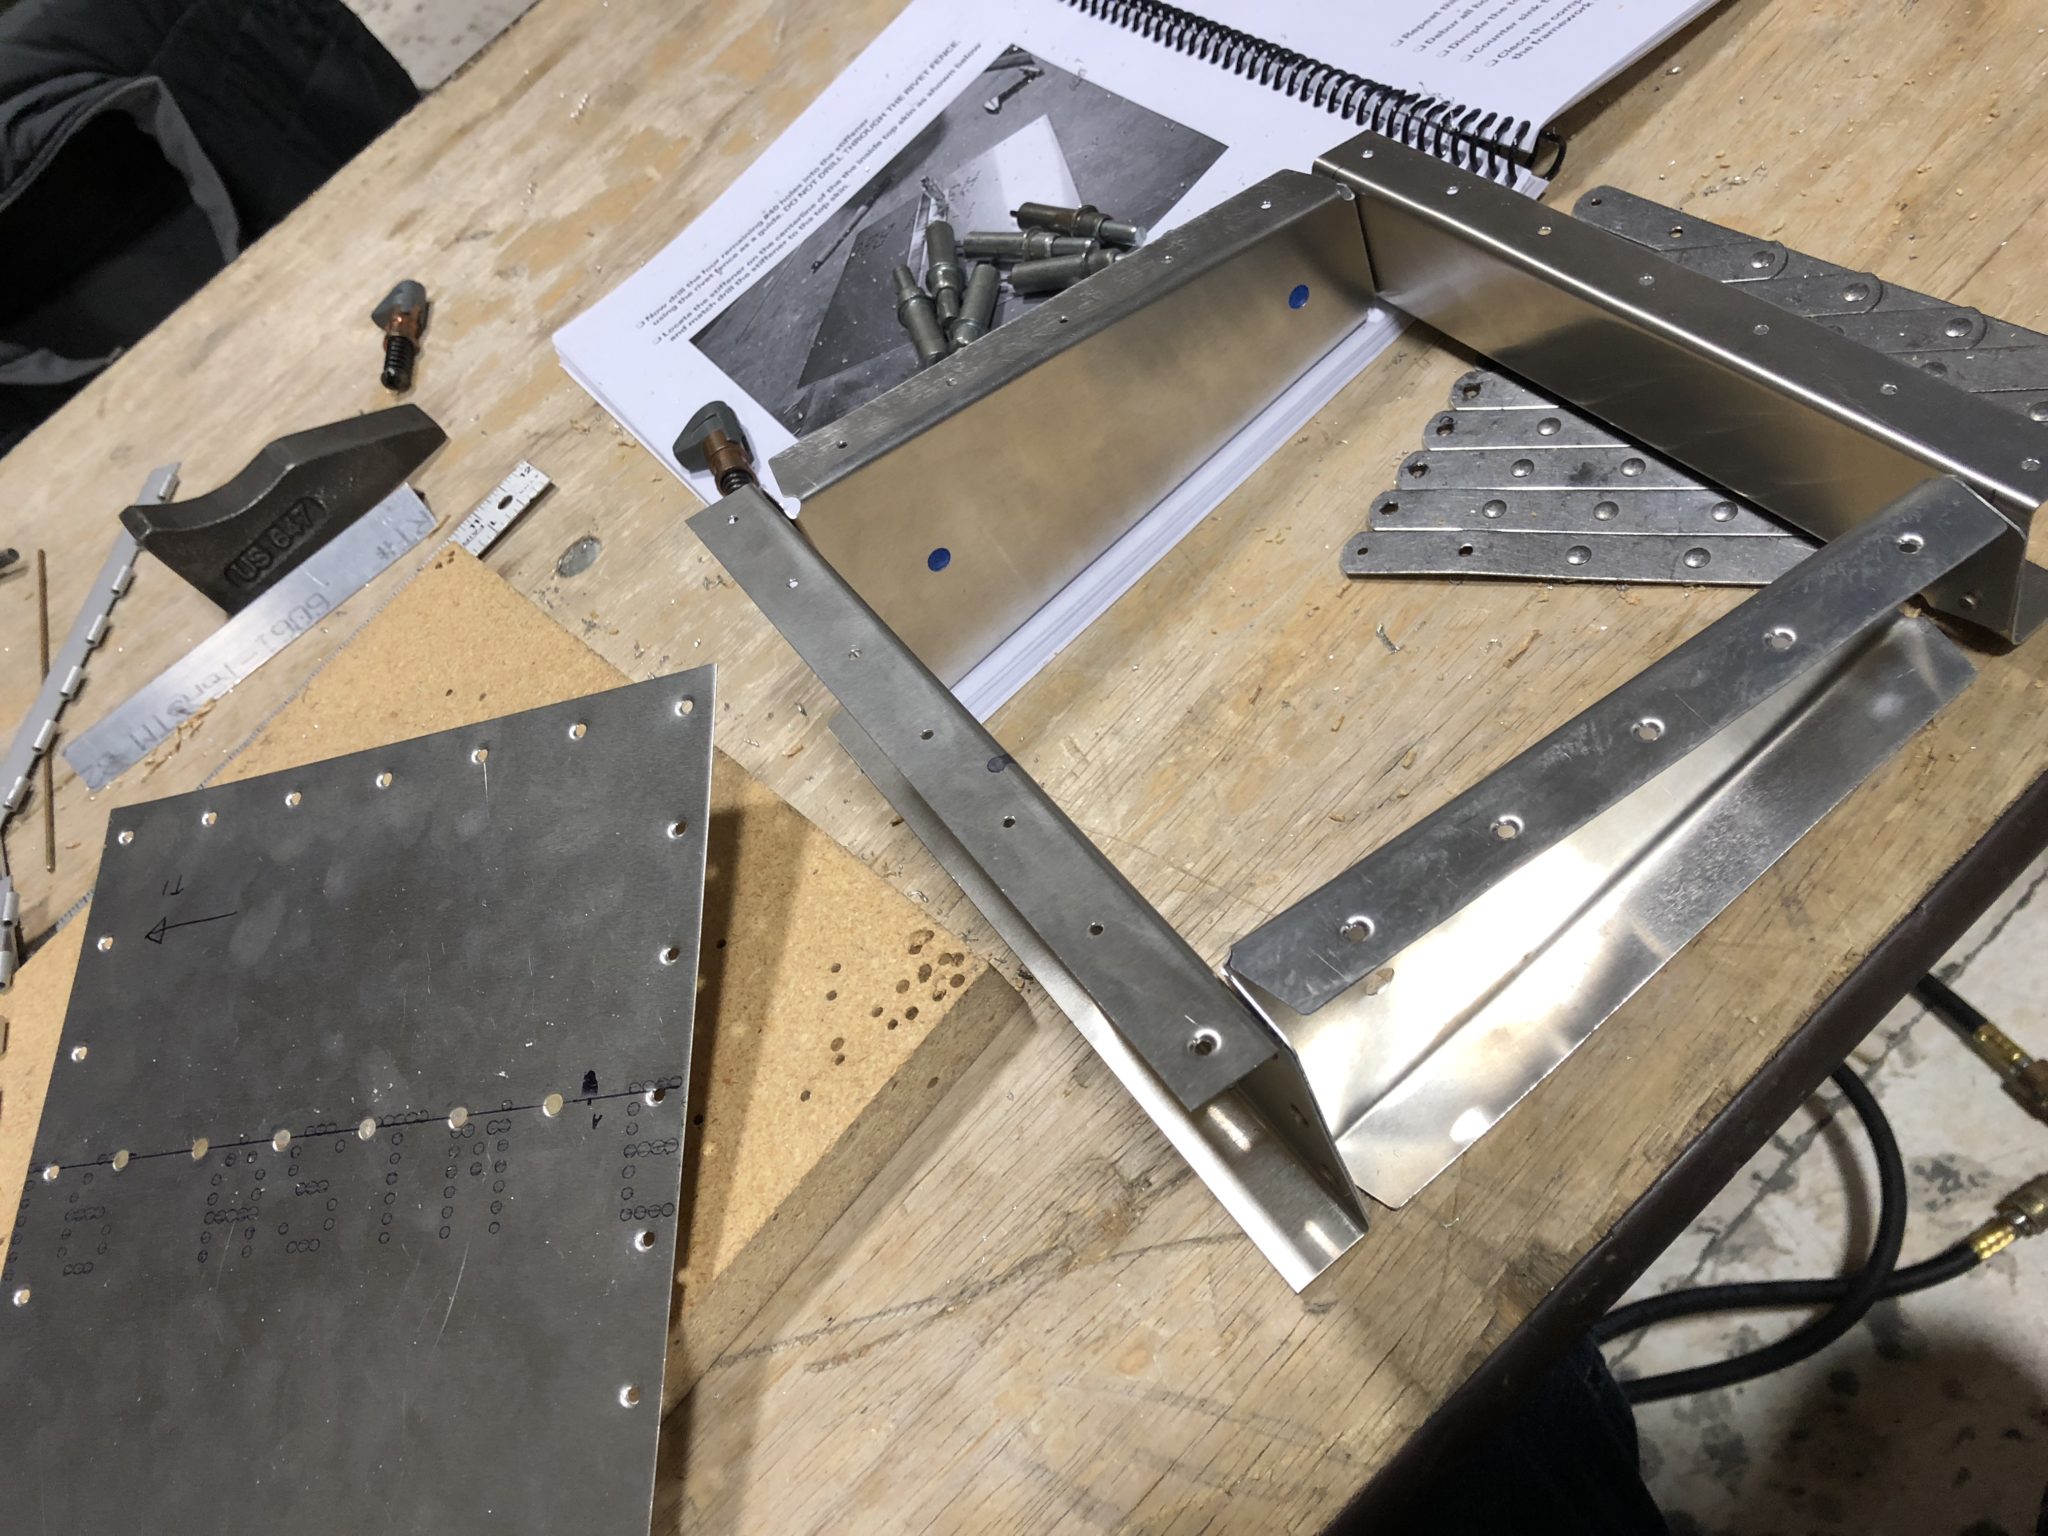
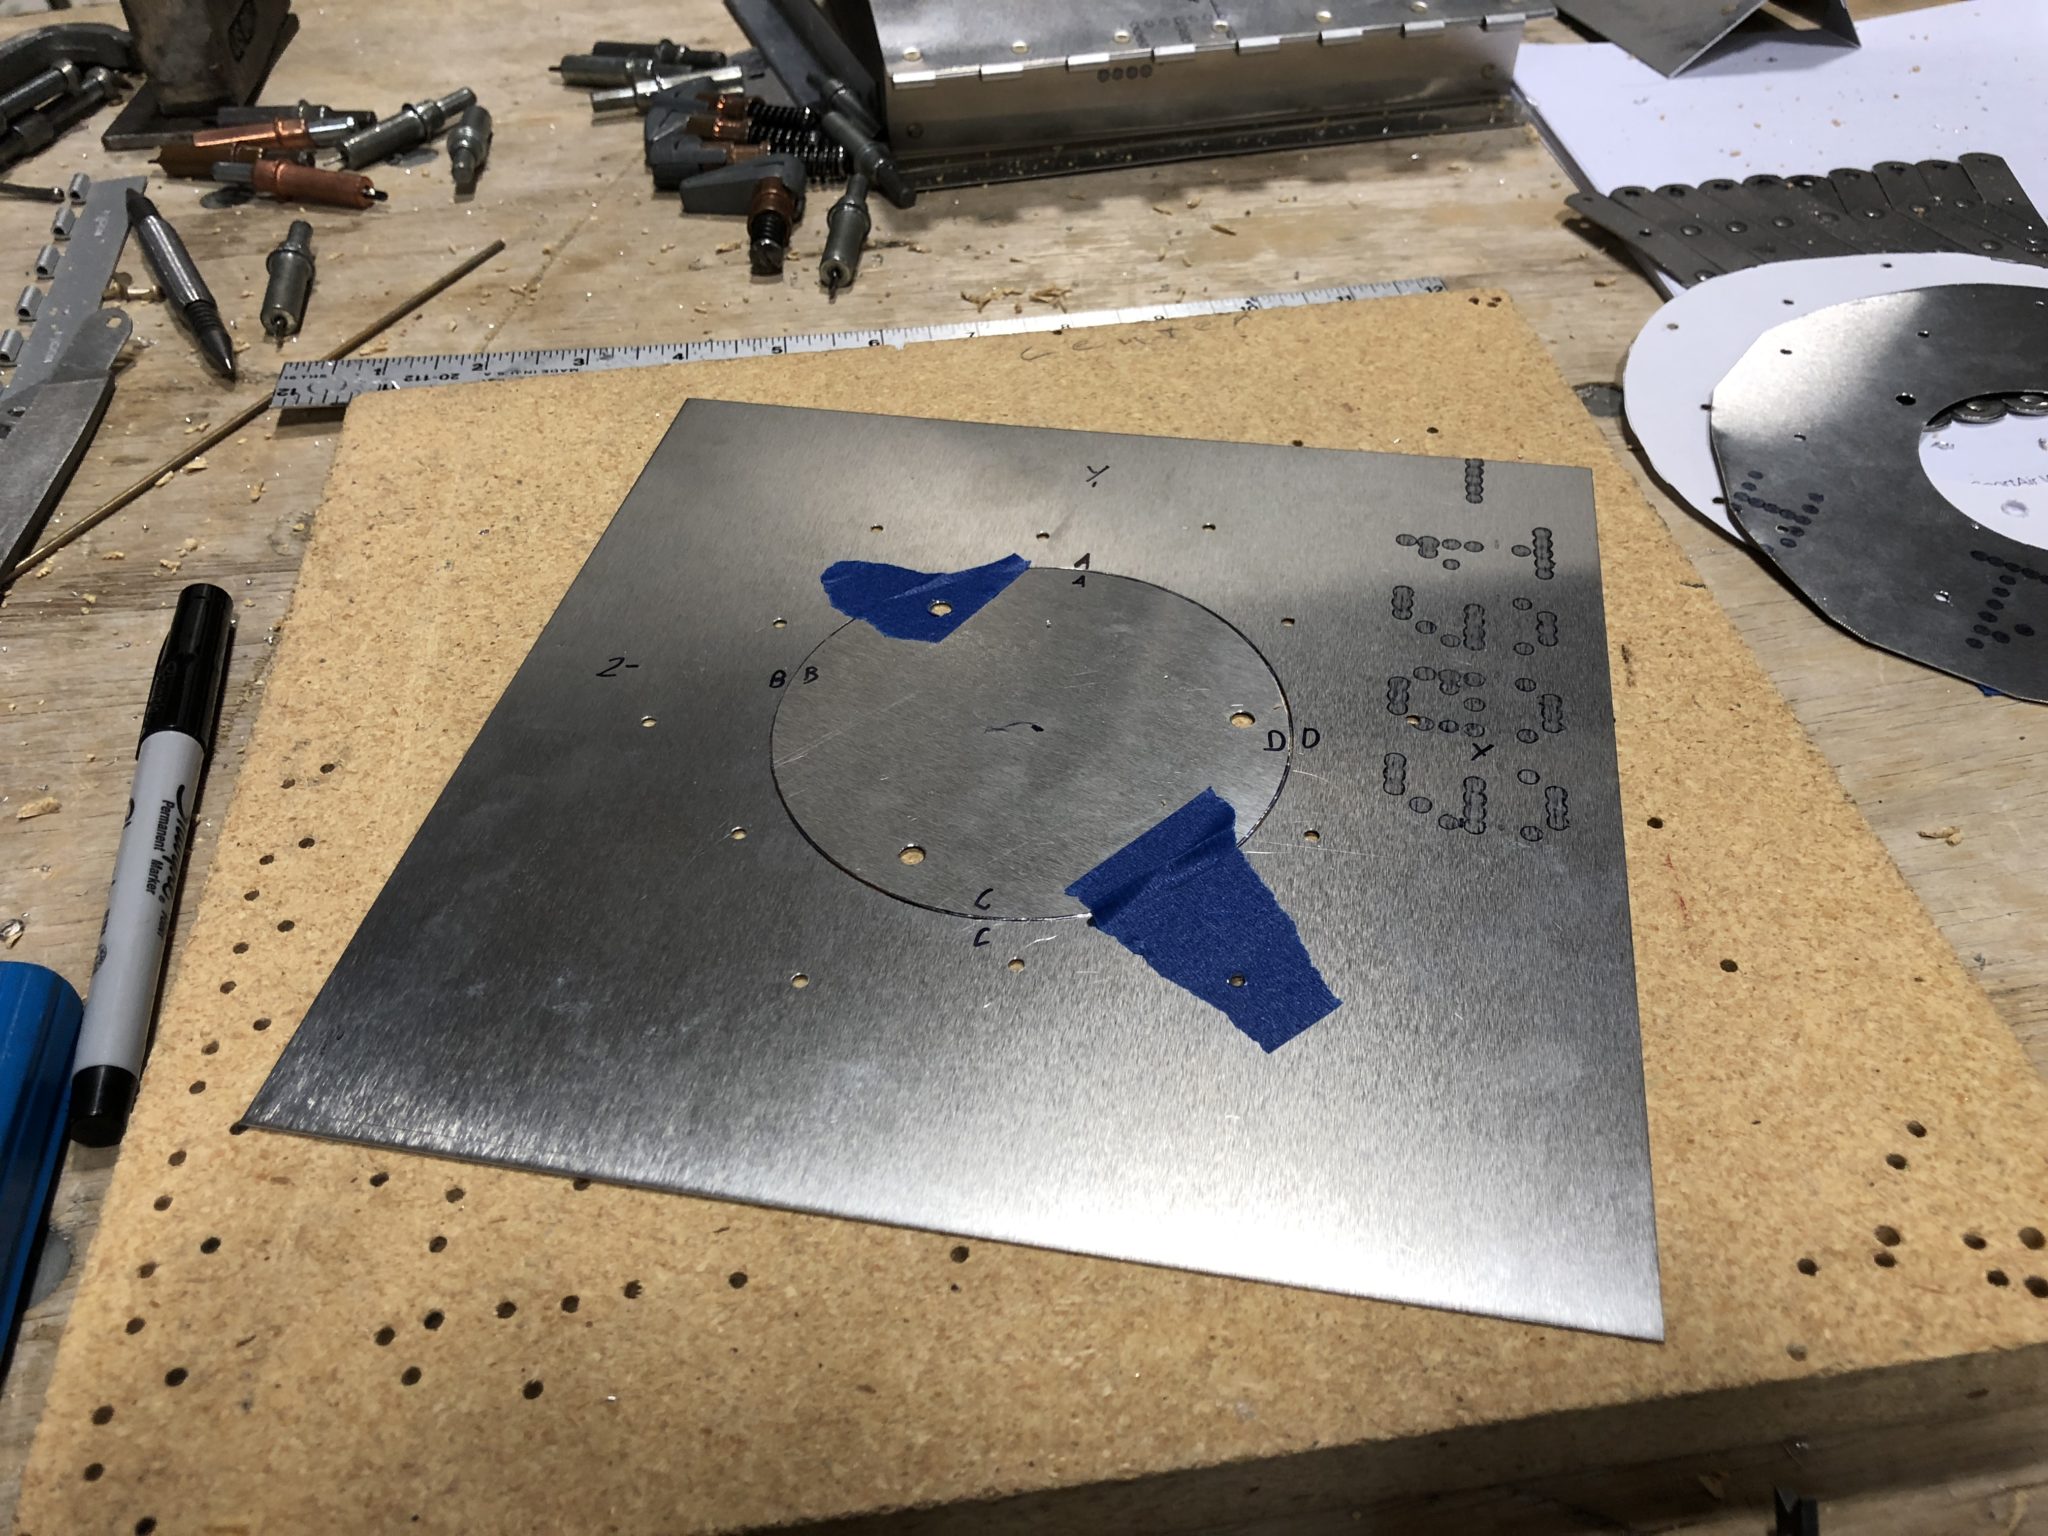
The second practice piece was a cross section of an elevator, where we had to bend rib pieces, practice more match drilling and dimpling and then fabricate a flush inspection plate held in place using nut plates. Here’s some images I took during the process:
Bending rib
Bent rib
Test fitting ribs
Drilling of structural parts done
Deburring the back plate
Dimpling back plate
Rib structure riveted
Dimpling rib structure
Dimpling hinge
Test fit of the bottom plate
Riveting work
Time to fabricate the inspection plate
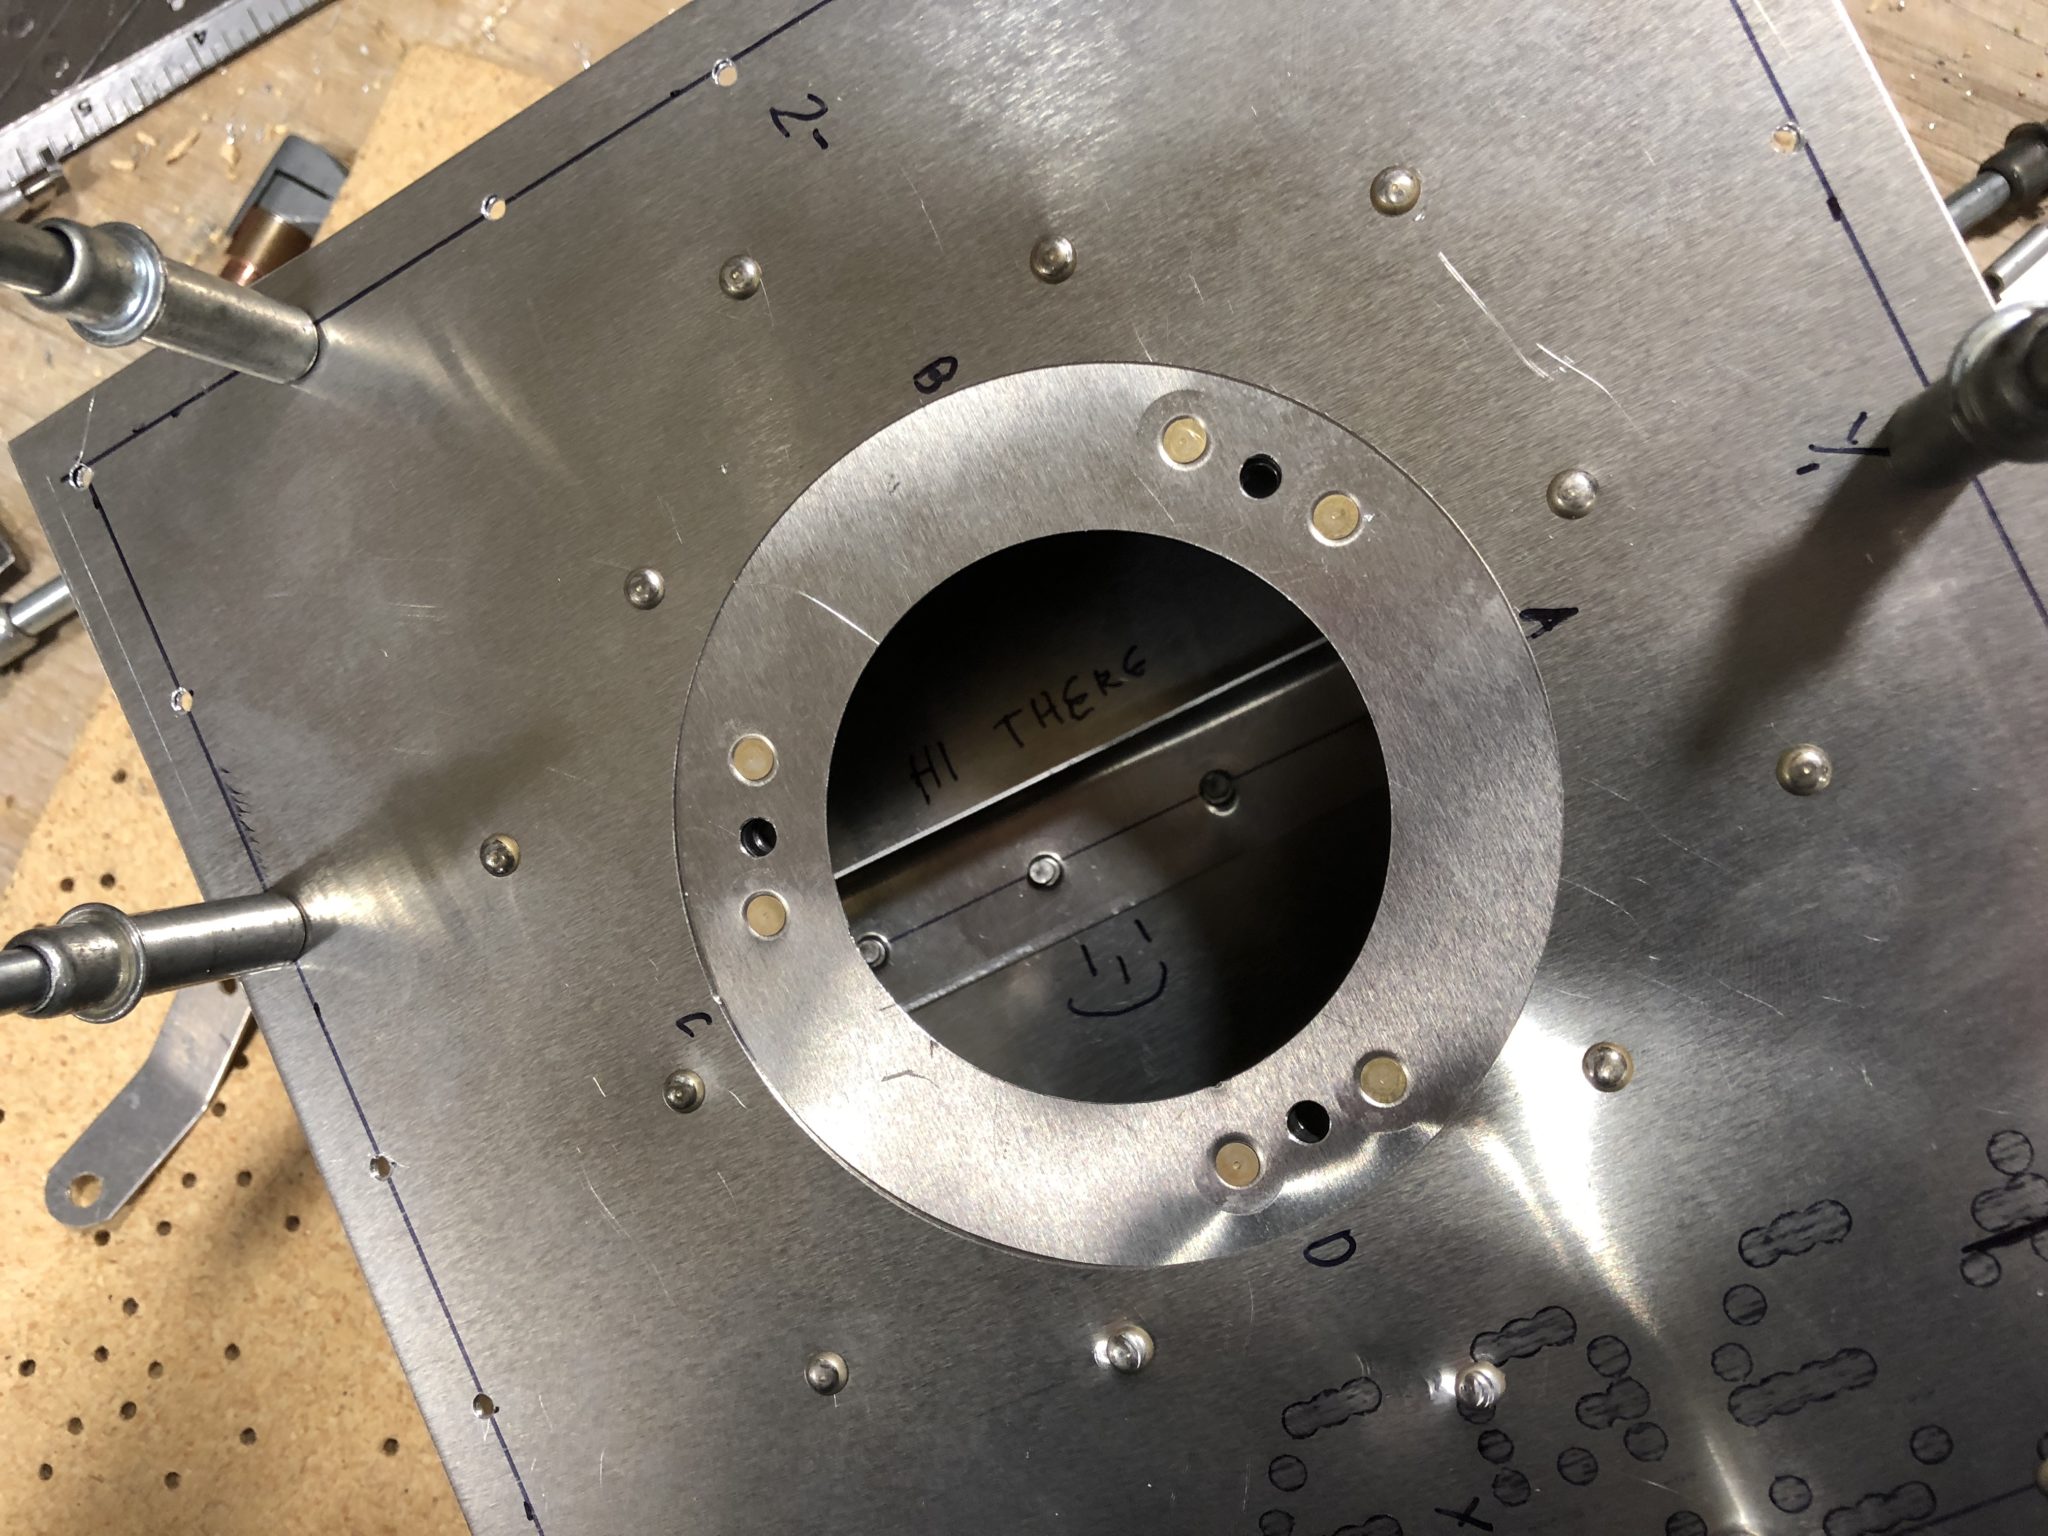
Cutting the inside that will hold the nutplates
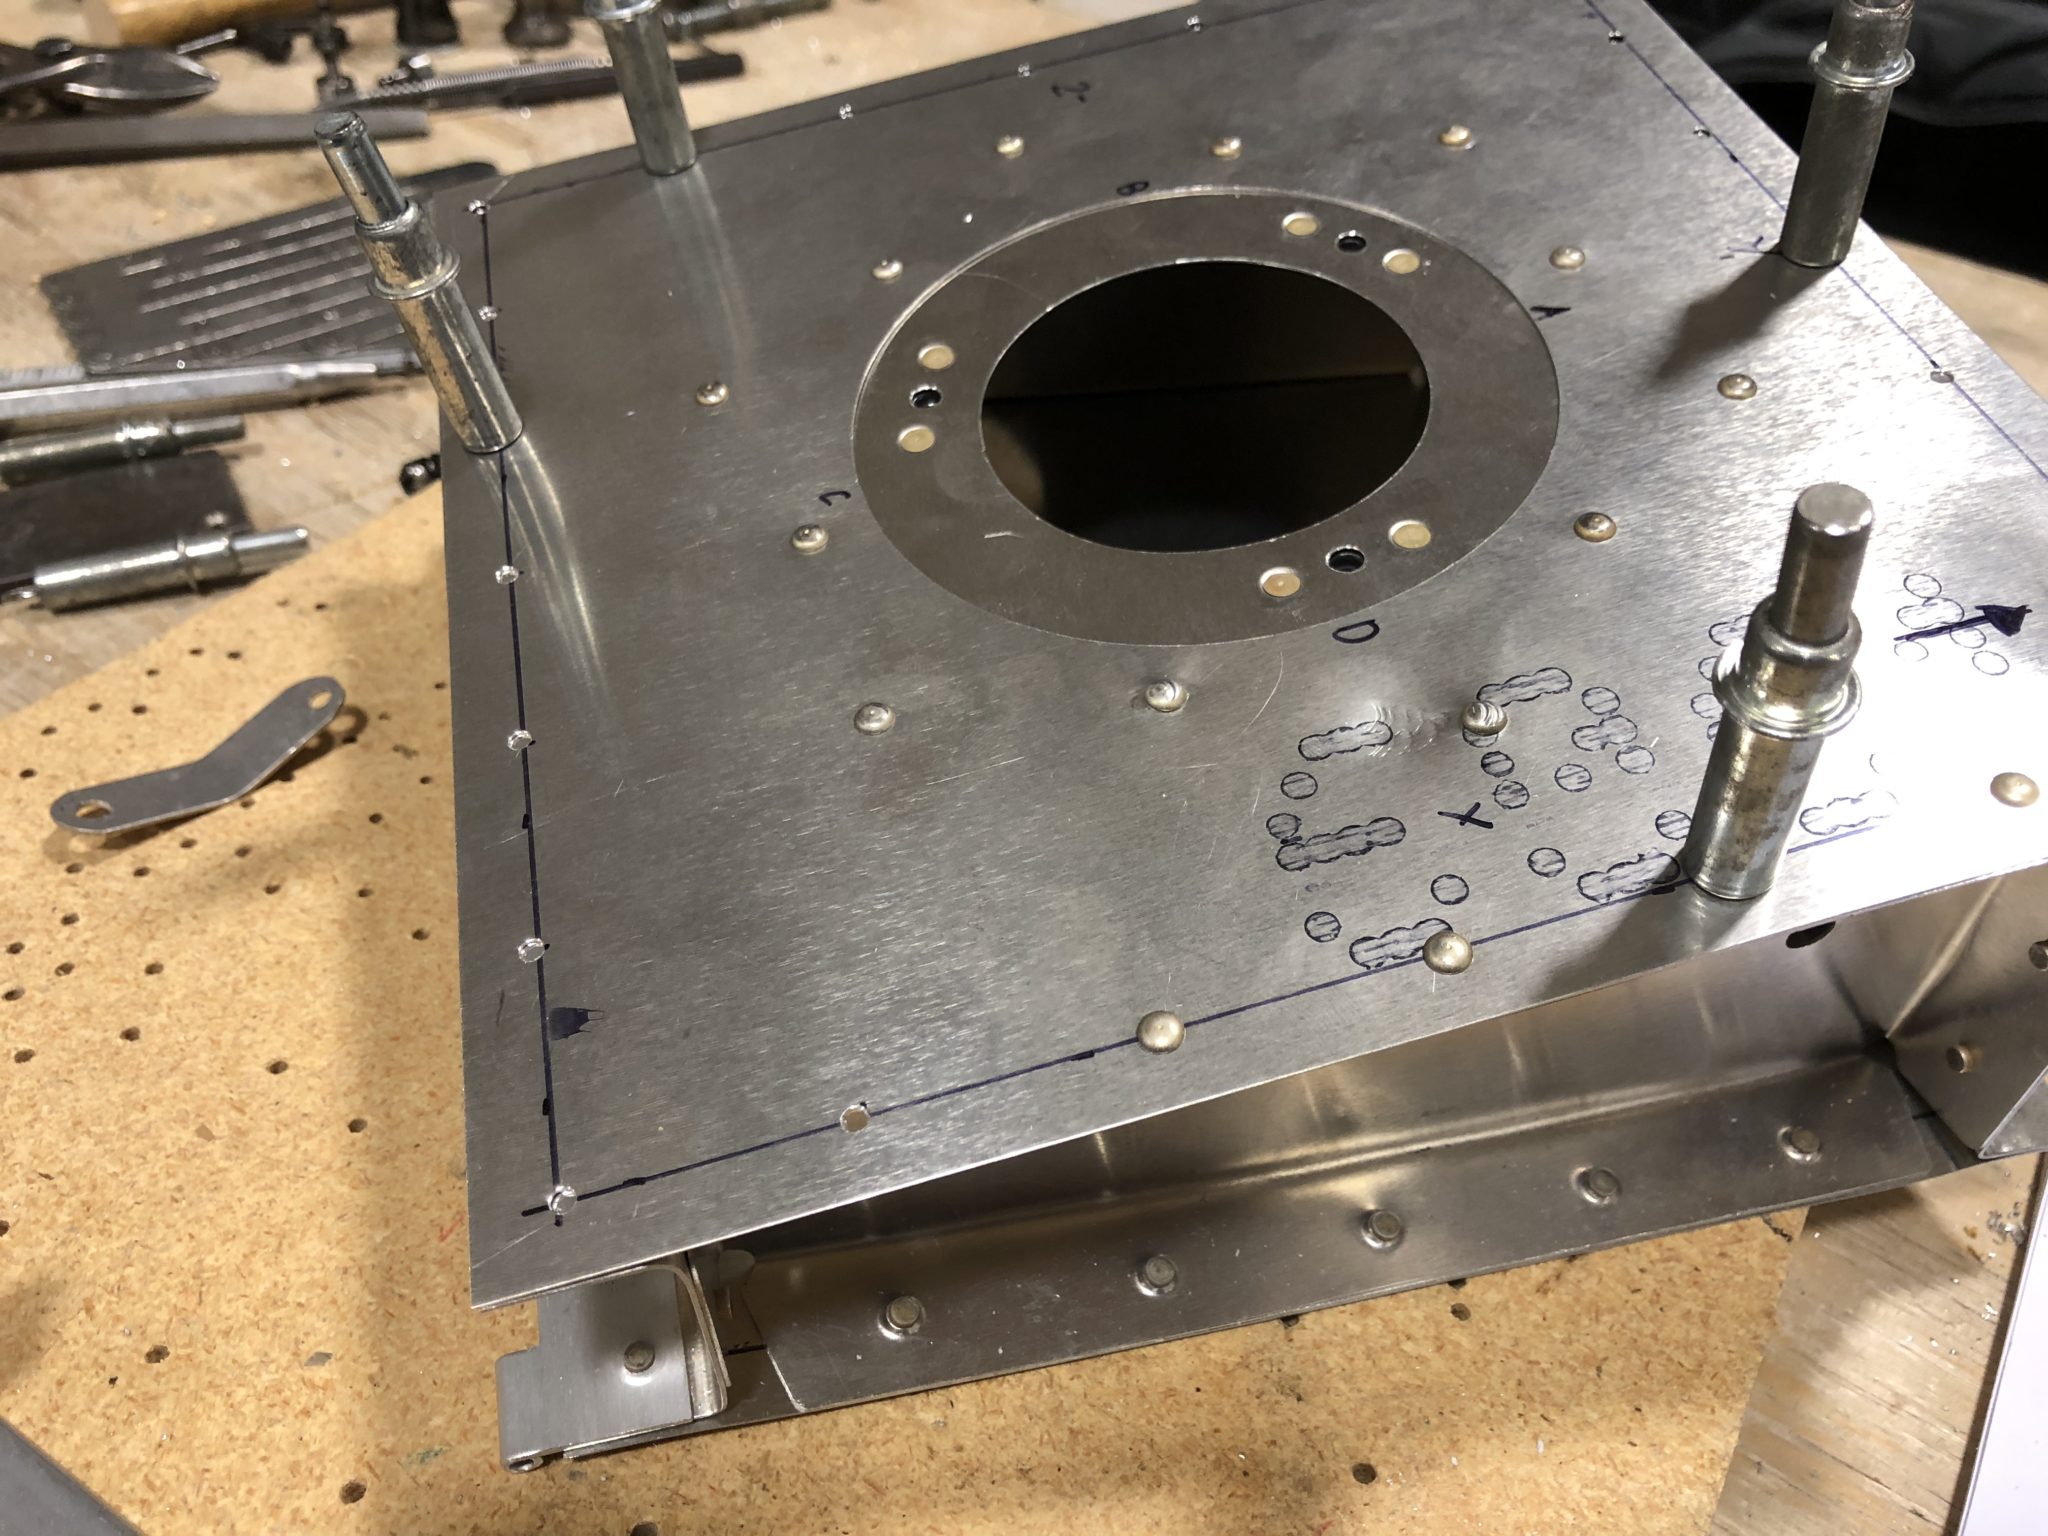
Time to assemble the pieces
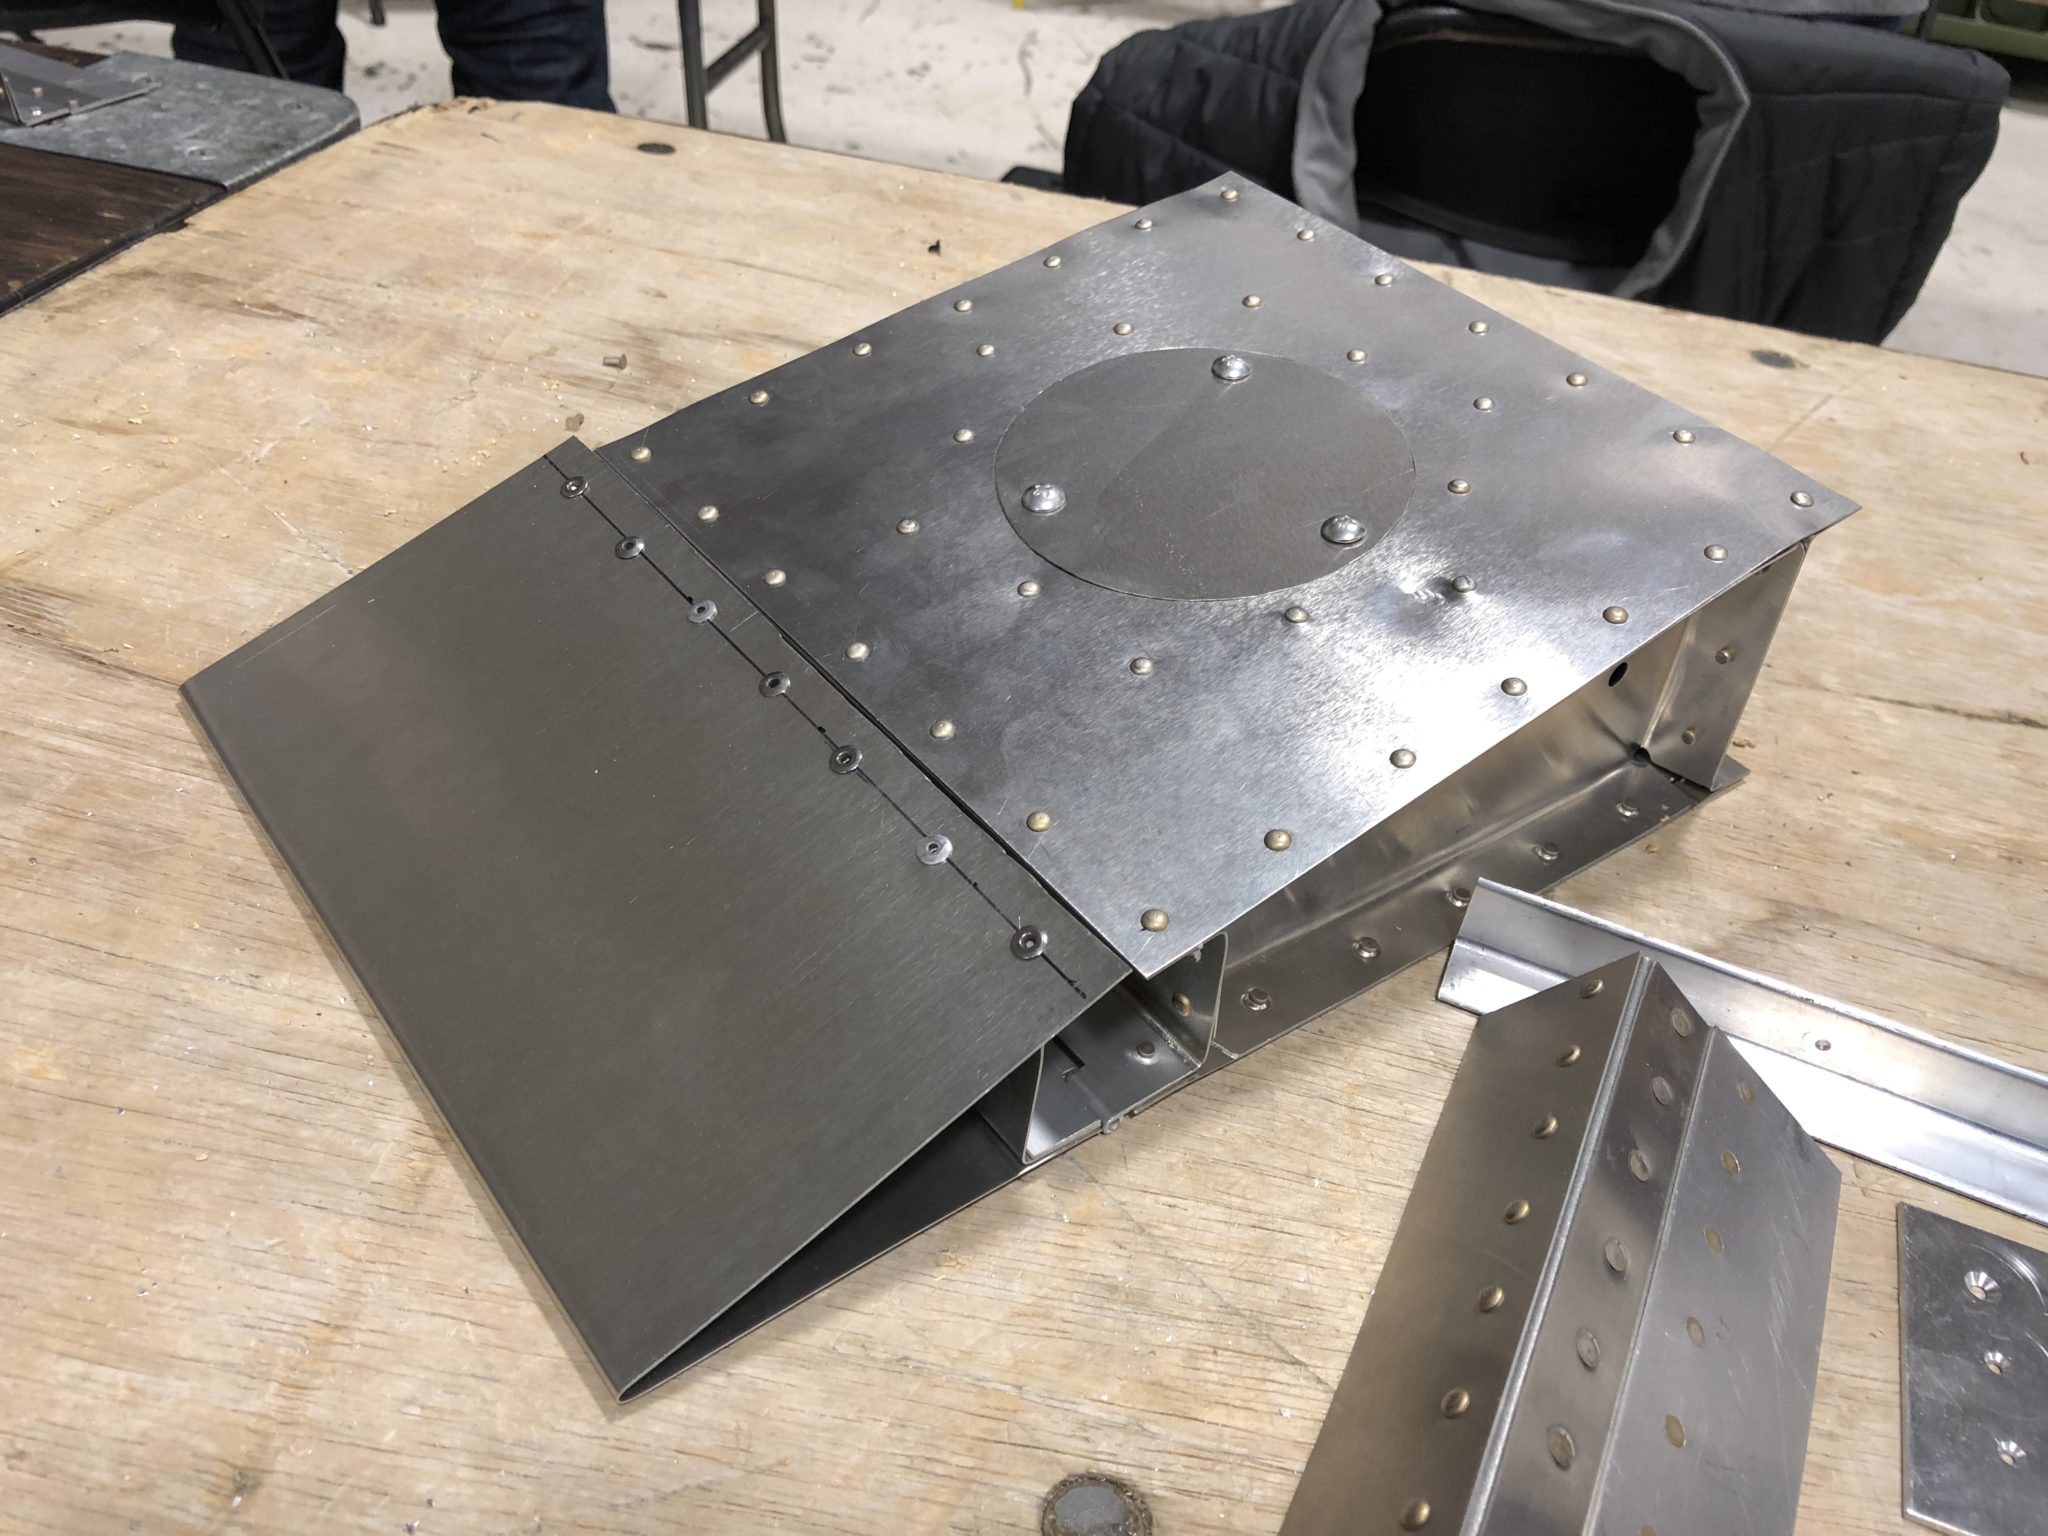
Nutplates attached and backing plate riveted
Final assembly
Trim tab attached
All in all, it was a great workshop, a lot of learning and building confidence in the skills required to build your own airplane. So if you’re toying with the idea of building your own airplane from sheet metal, but are unsure about the work involved, this workshop is a great entry point. While I likely won’t need to use some of the riveting techniques I learnt in the workshop, since the Sling assembly mainly uses pop rivets, it was still great to get a good understanding of the different techniques.
Here’s a final picture of all the practice of the workshop put together (with an airplane drawn as a bonus).
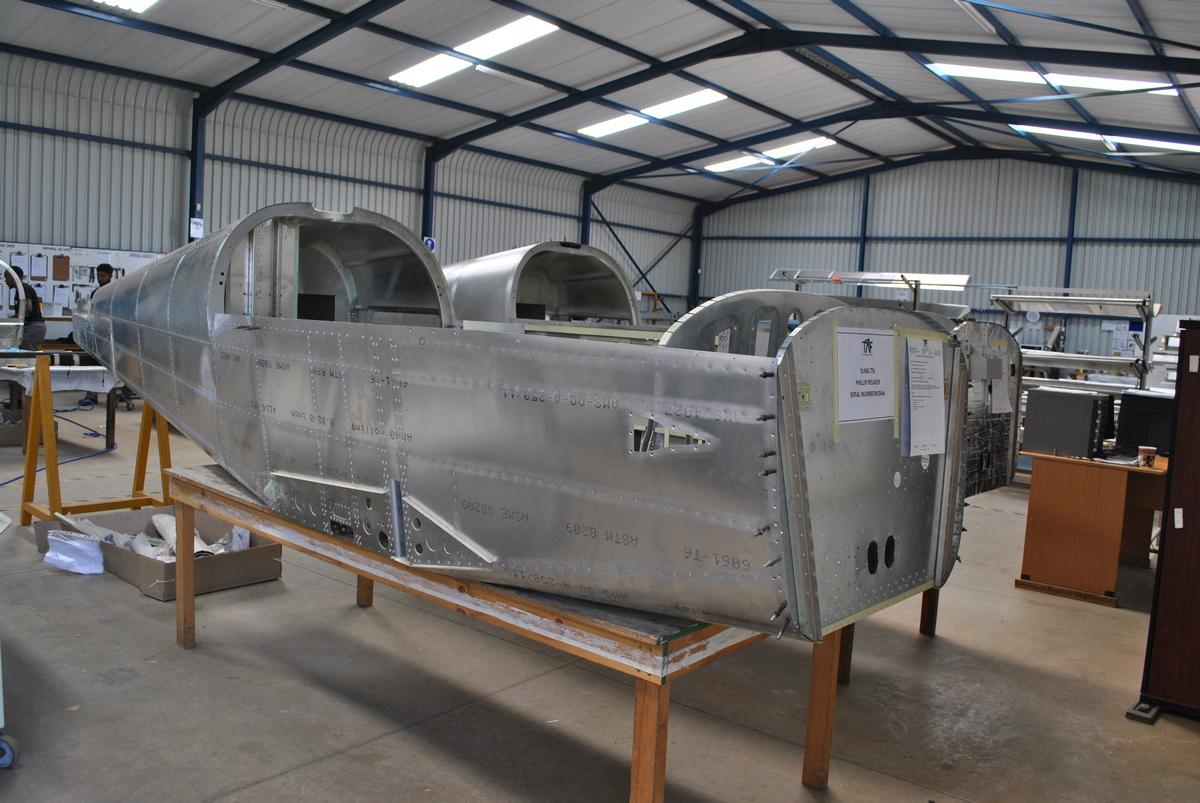
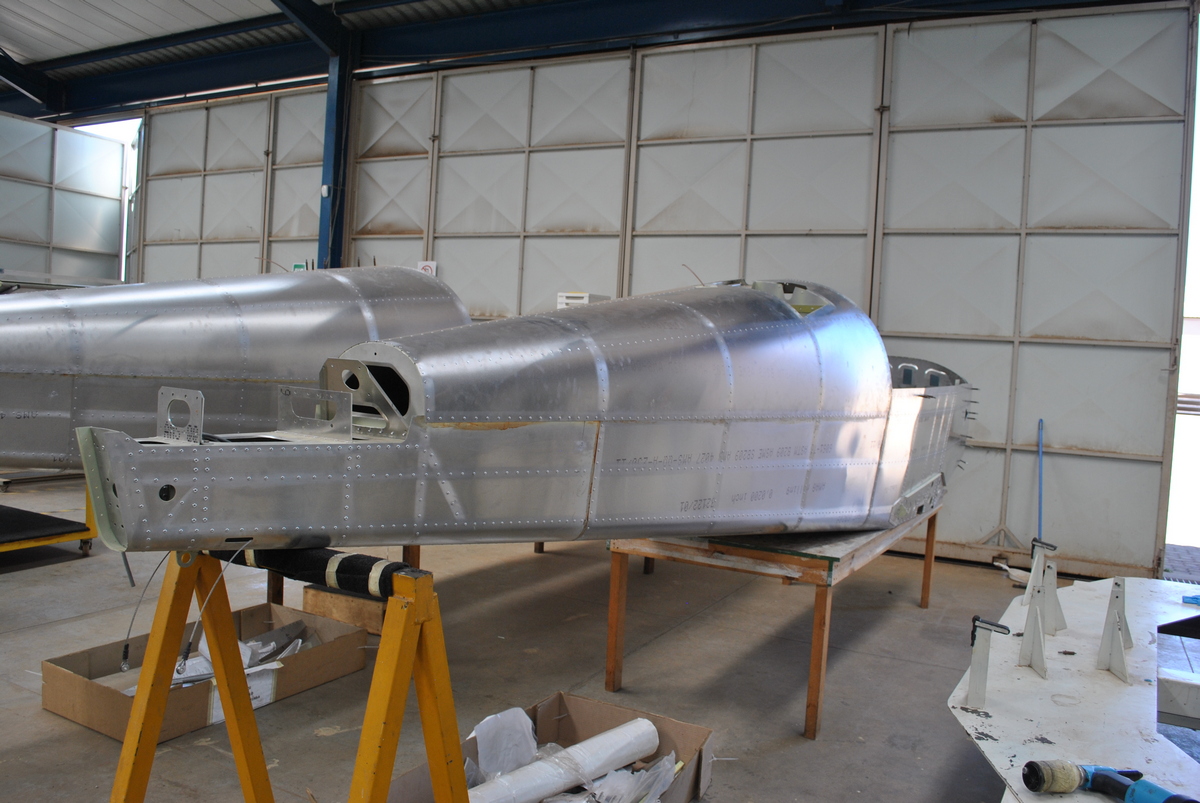
I got an exciting progress update from the factory today on the coming along of my Sling TSi Quickbuild kit down in The Airplane Factory in South Africa. The Fuselage is mostly assembled and here’s the pictures of it:
Fuselage - Right Front
Fuselage - Left Front
Fuselage - Right Rear
Fuselage - Left Rear
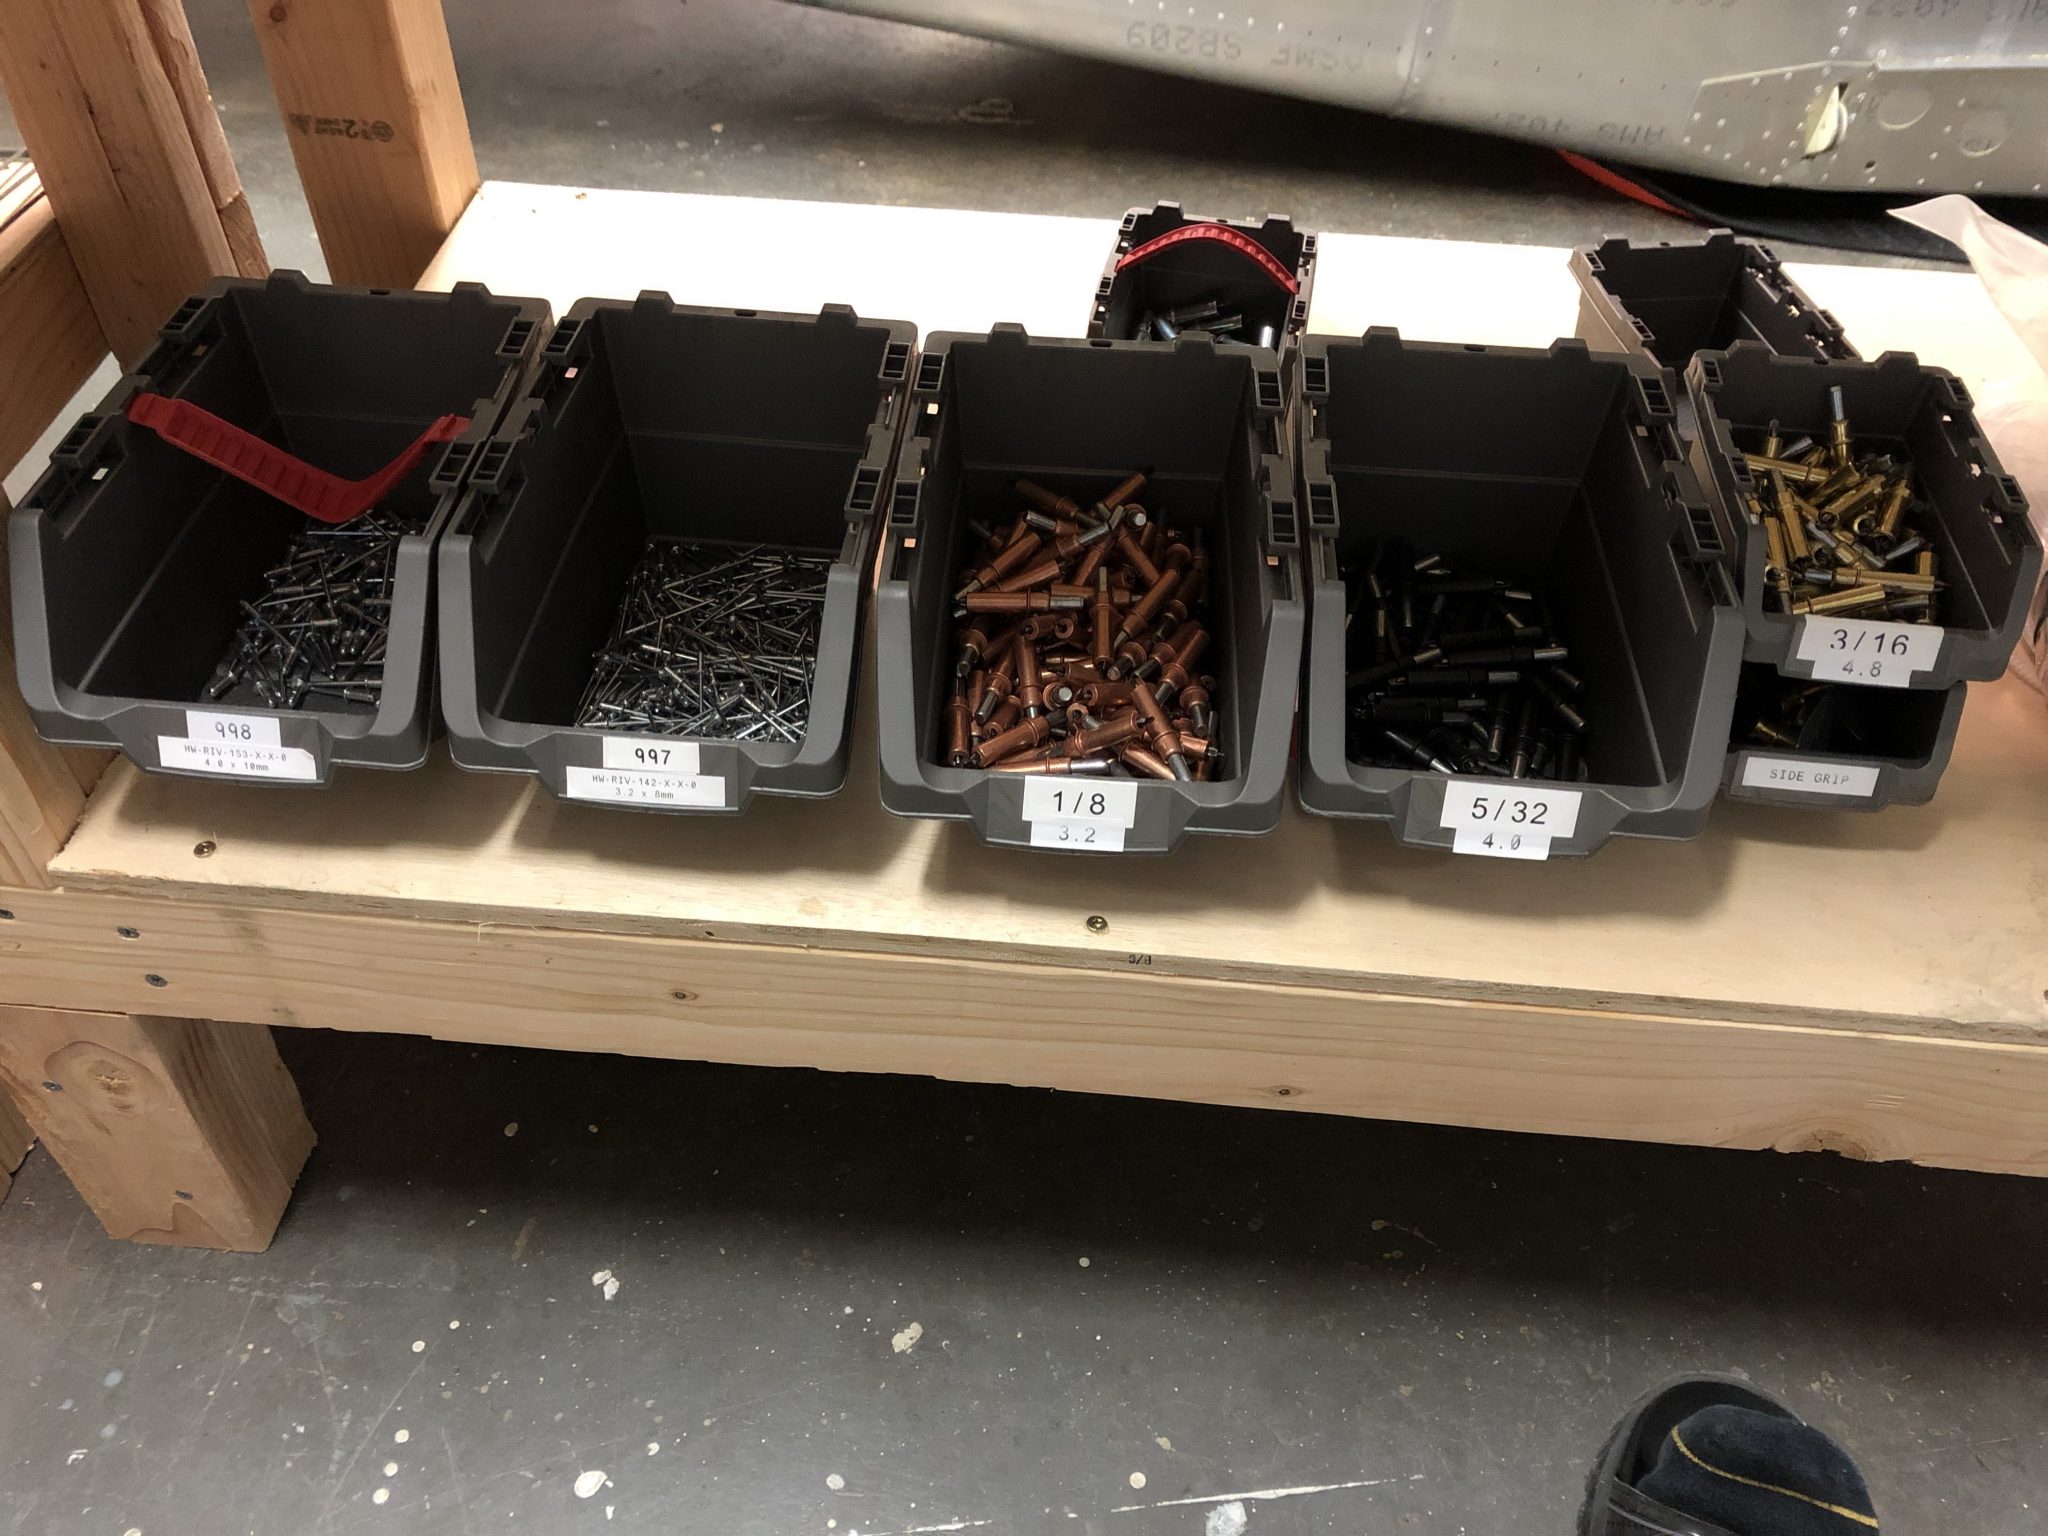
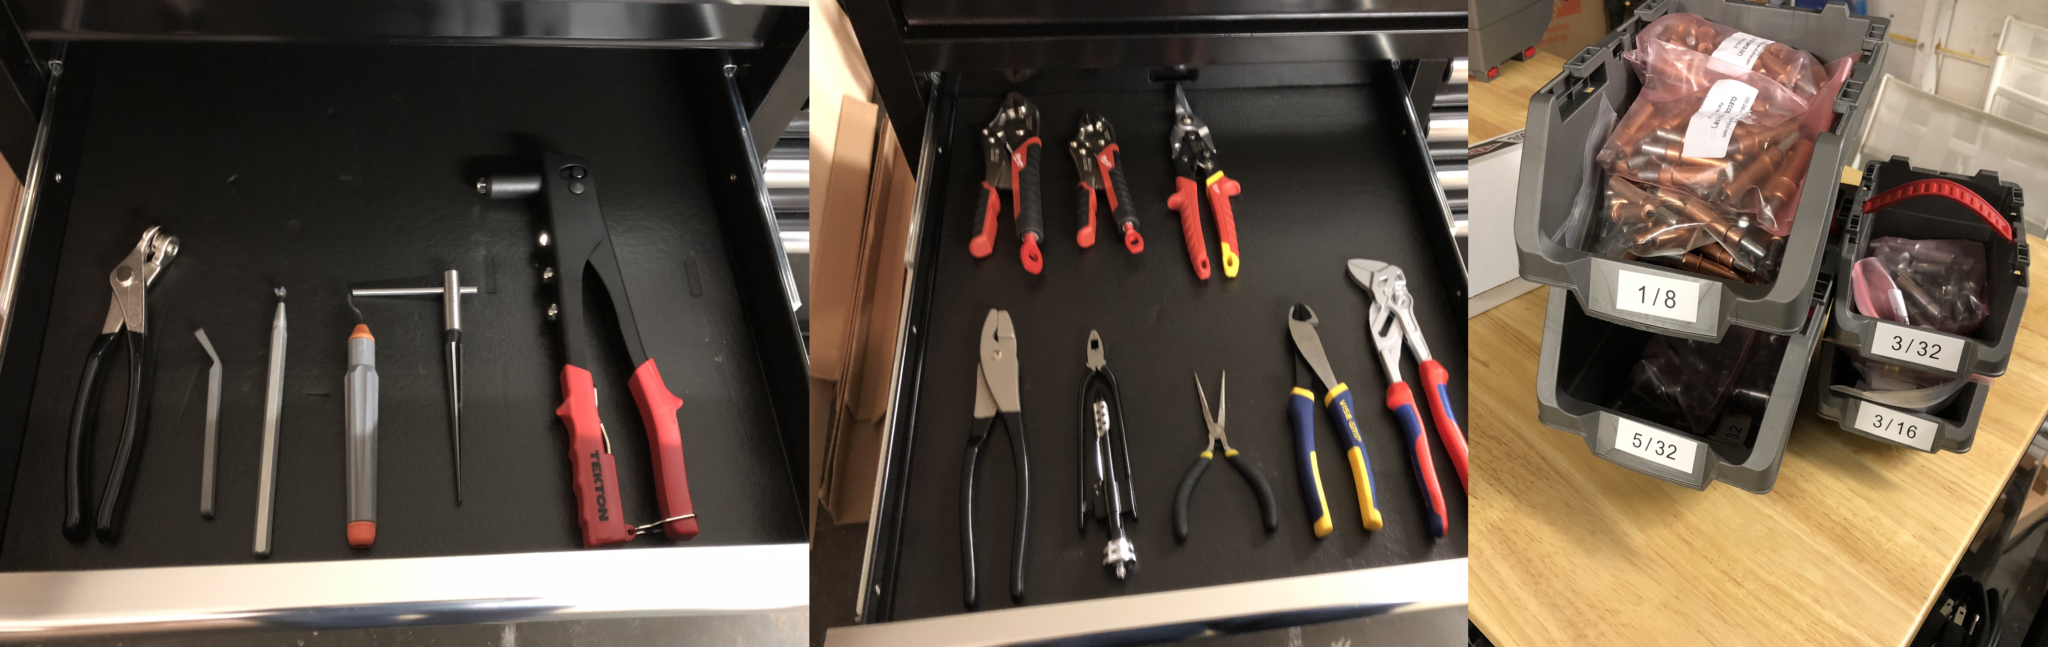
Aside from that, my tool collection is coming along nicely. I now have hundreds of clecos, various pliers, deburring tools, drill bits and countersinks. Just a few more tools to go from the list from TAF. The project may also have been my excuse to buy a label maker, I ended up with the Brady BMP 21, so now I get to print nice labels, I started with some boxes for the clecos as seen below.
I got an update from Barry at The Airplane Factory in Torrance that the expected ship date of my Sling TSi Quick build kit is November 19th from South Africa. That means that I should be able to expect arrival here around year end.
My father was visiting the past two weeks and helped me assemble the second workbench and getting a rolling toolbox so I can keep my garage organized with all the tools.
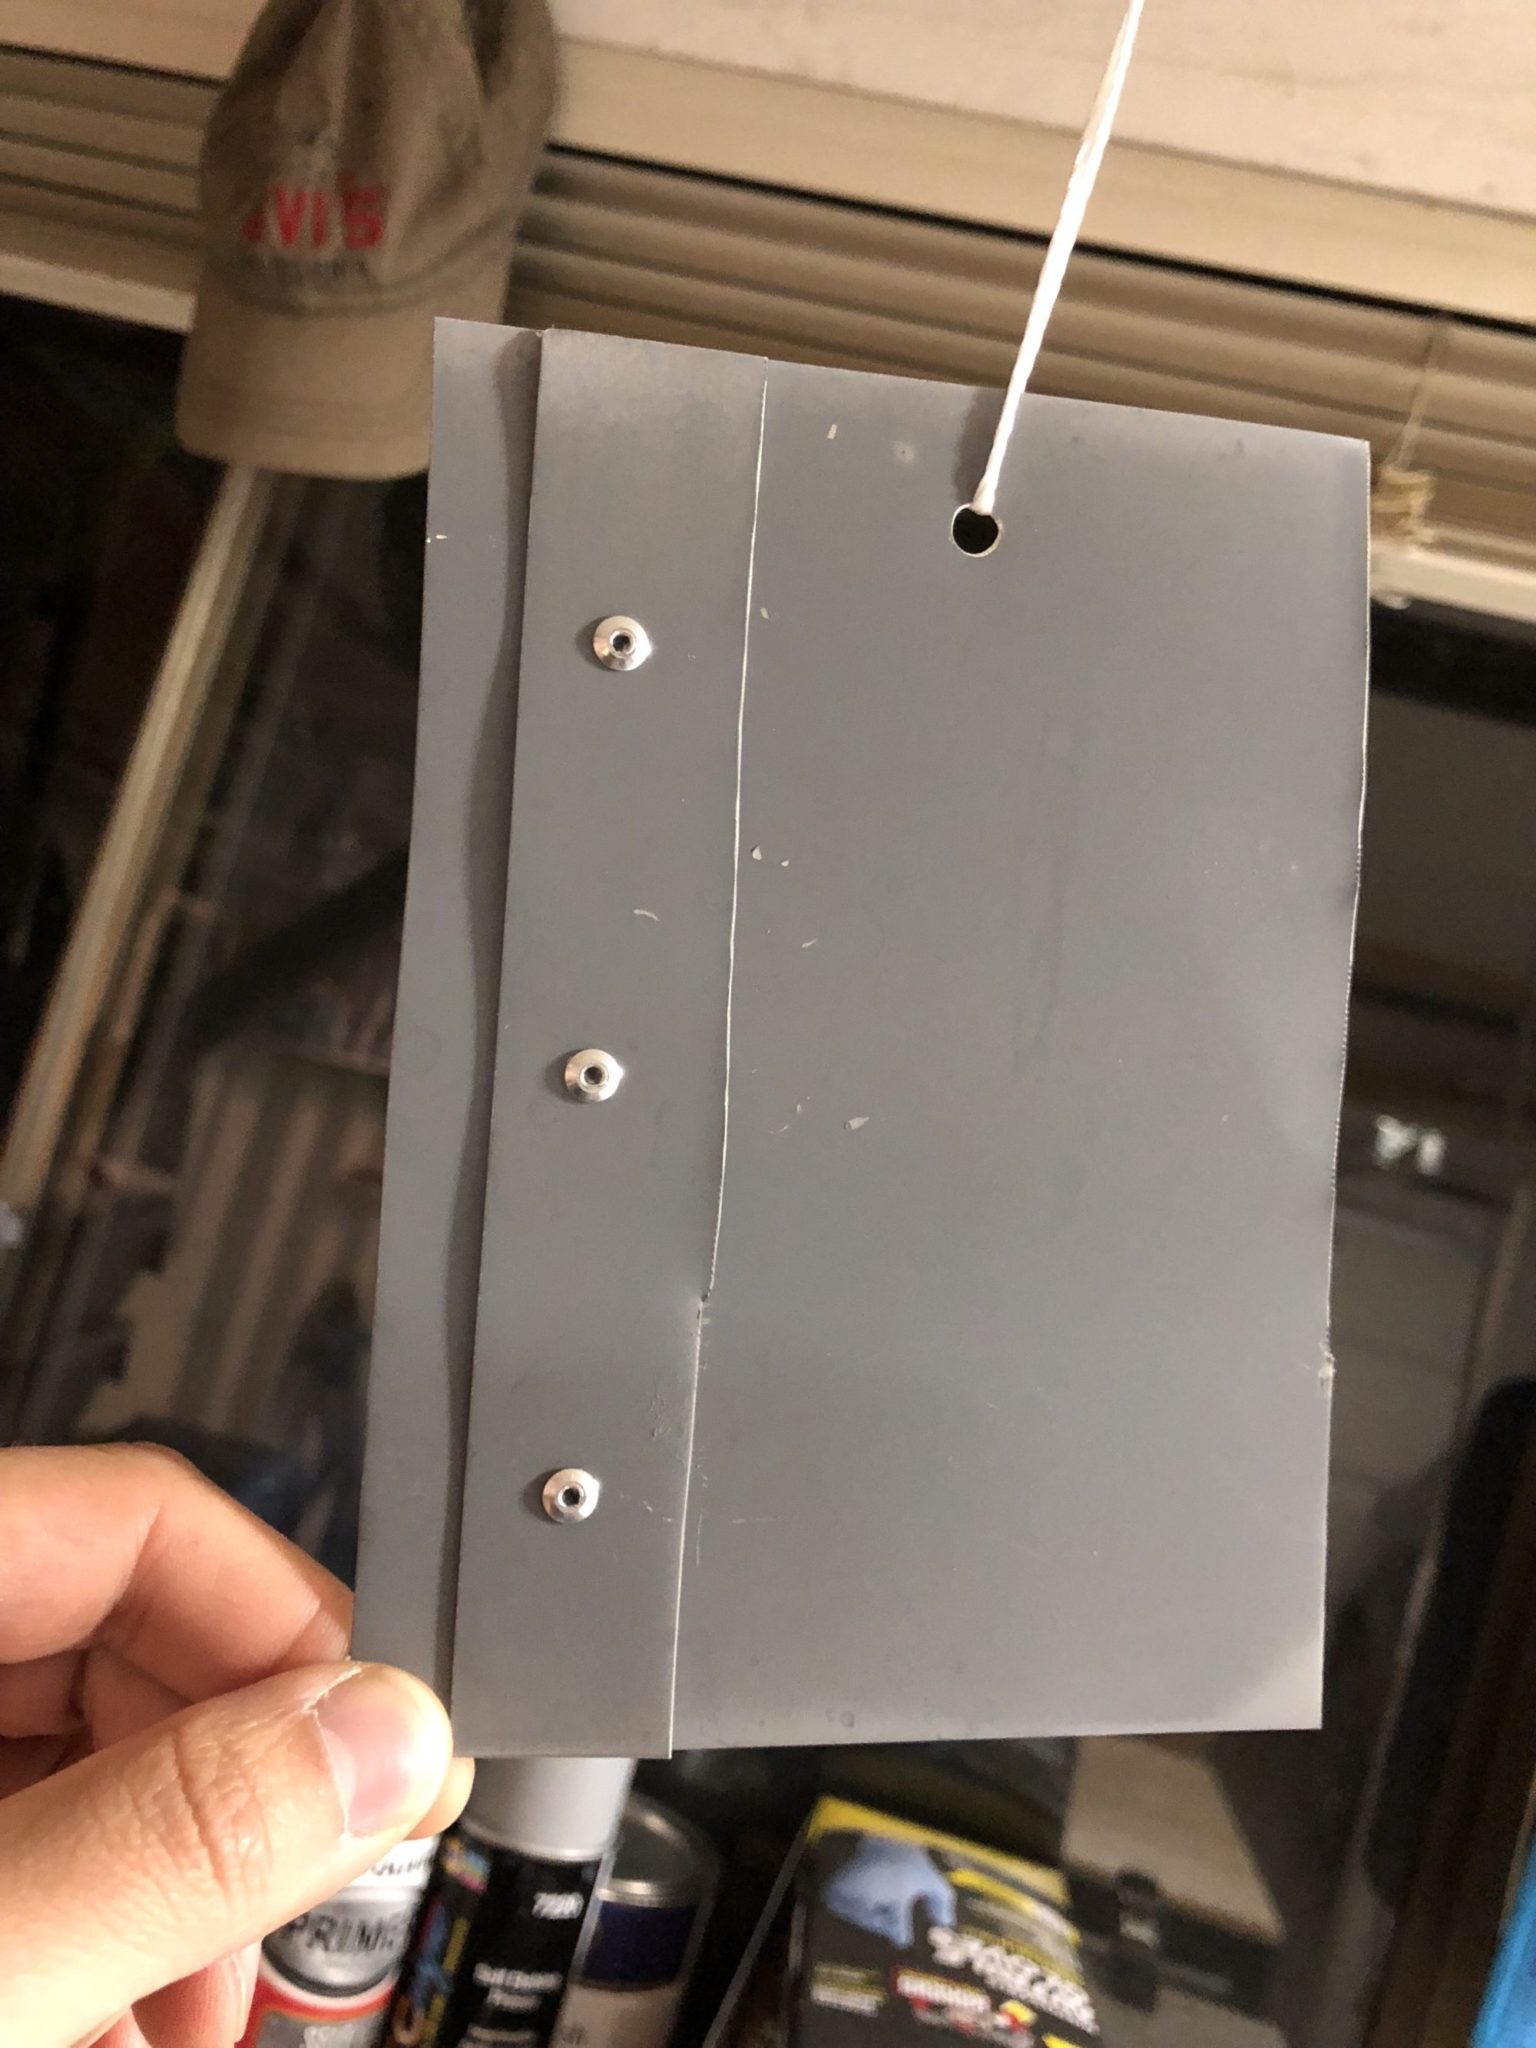
Aside from that I am eagerly reading blogs from fellow builders to ramp up on the process, watching instruction videos, buying more tools and researching various primers and have created a small test sheet with the NAPA 7220 Self-etching primer, which is now dangling in the garage.