Monthly Archives: July 2019

Elevator Trim tab & left fiberglass tip fitting

Hours: 4

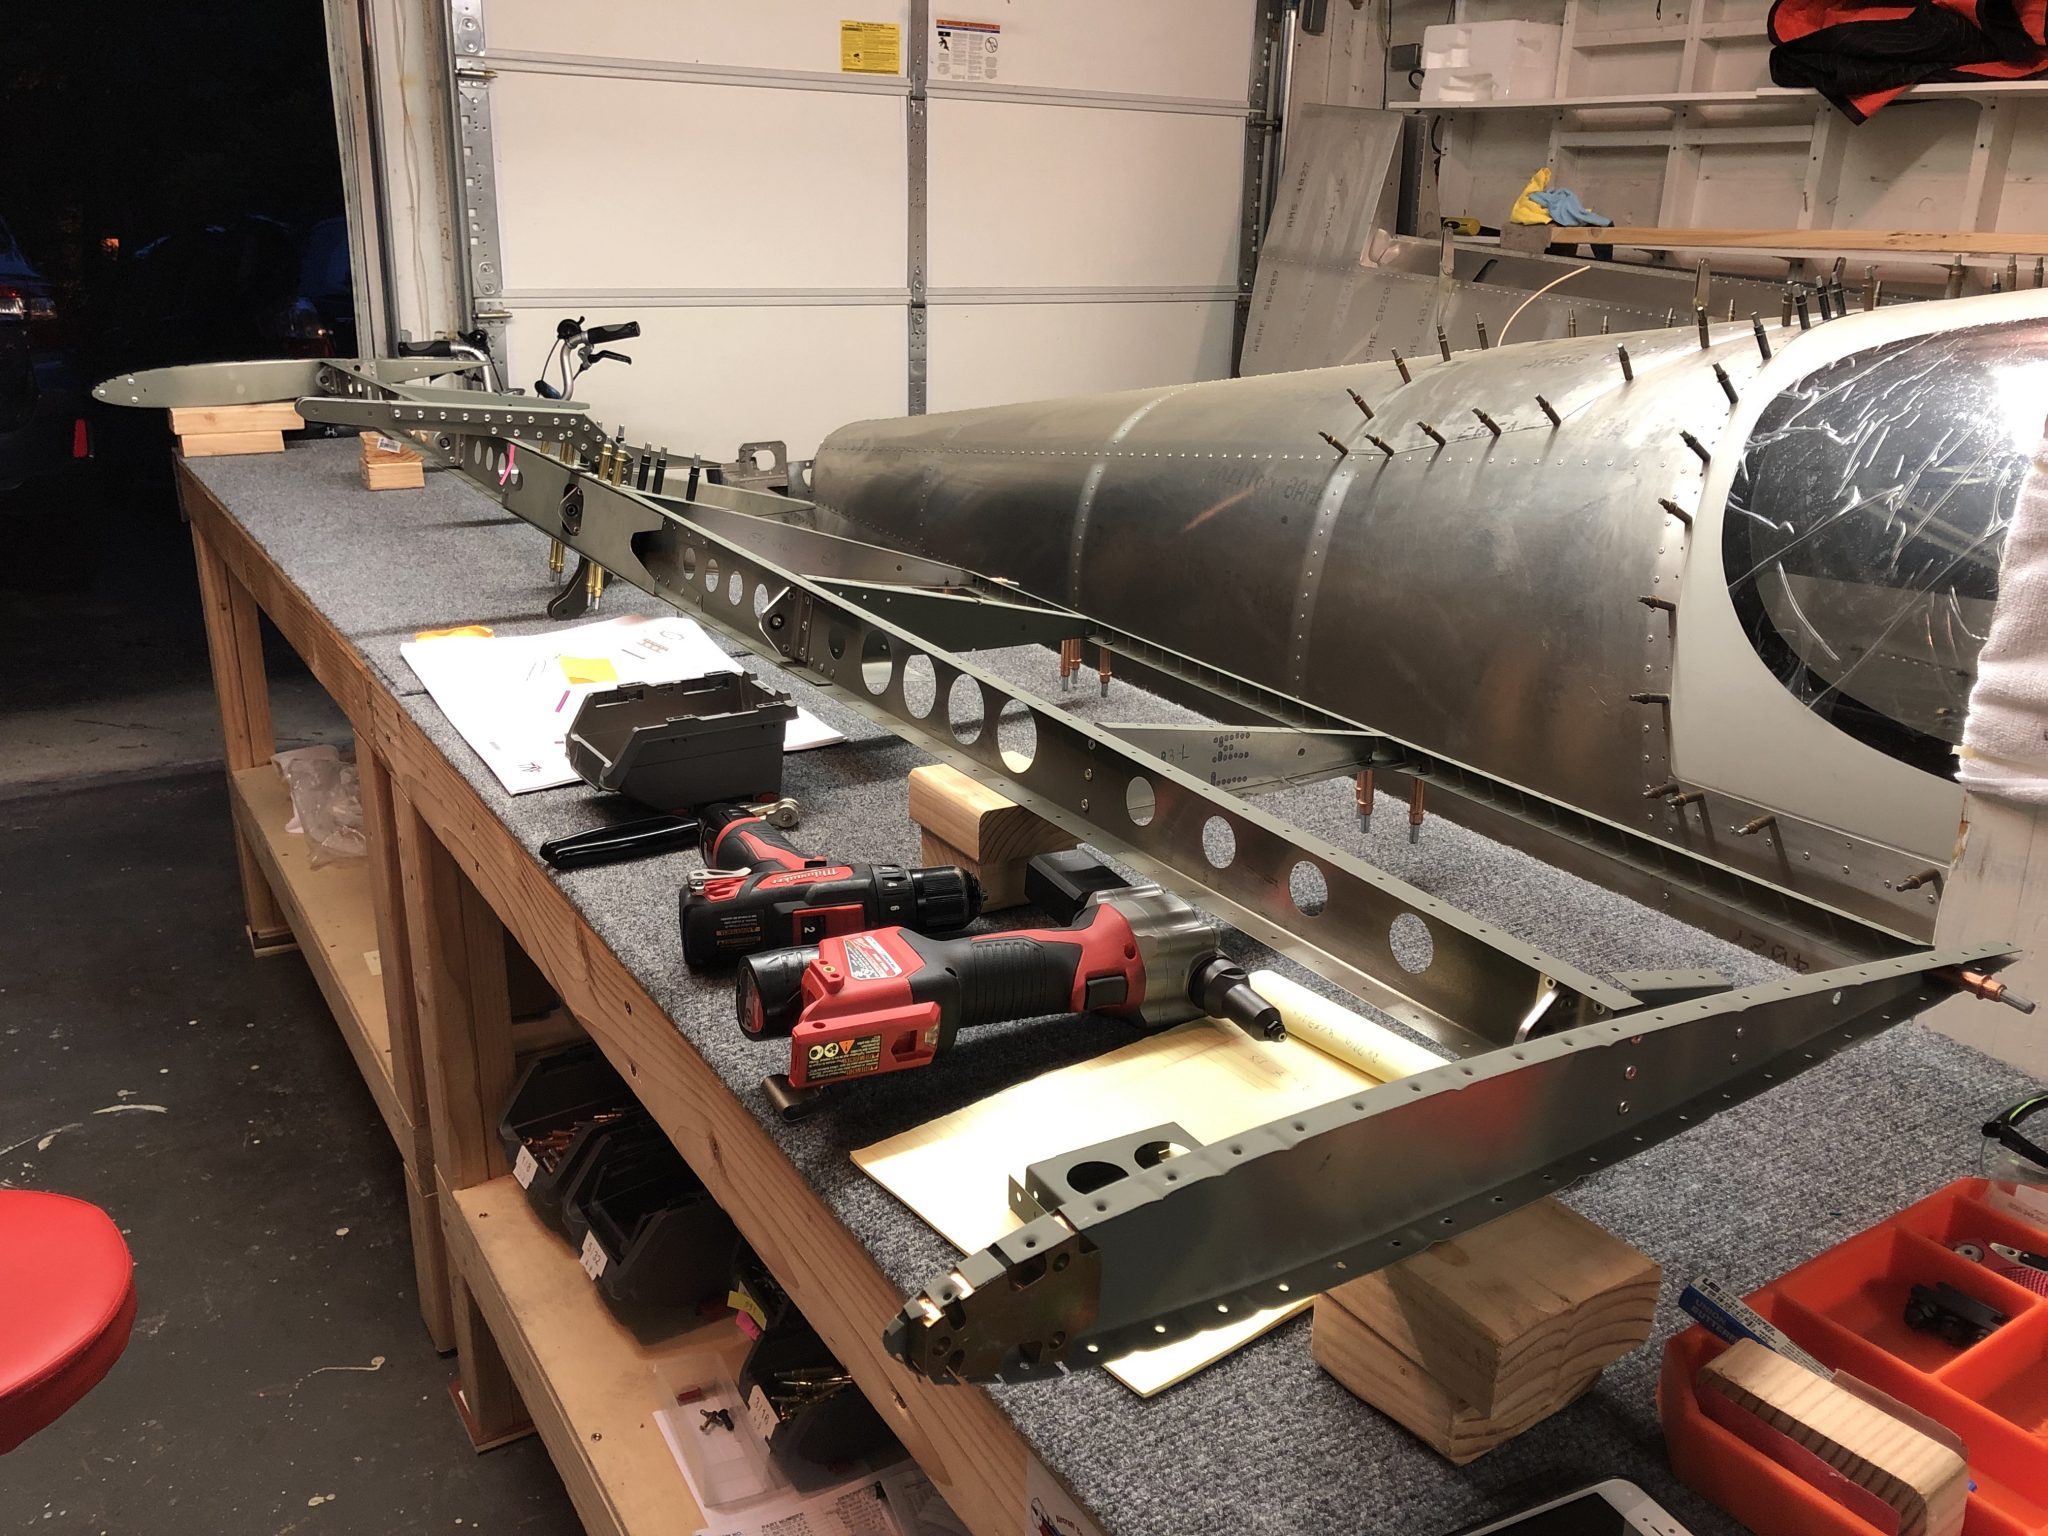
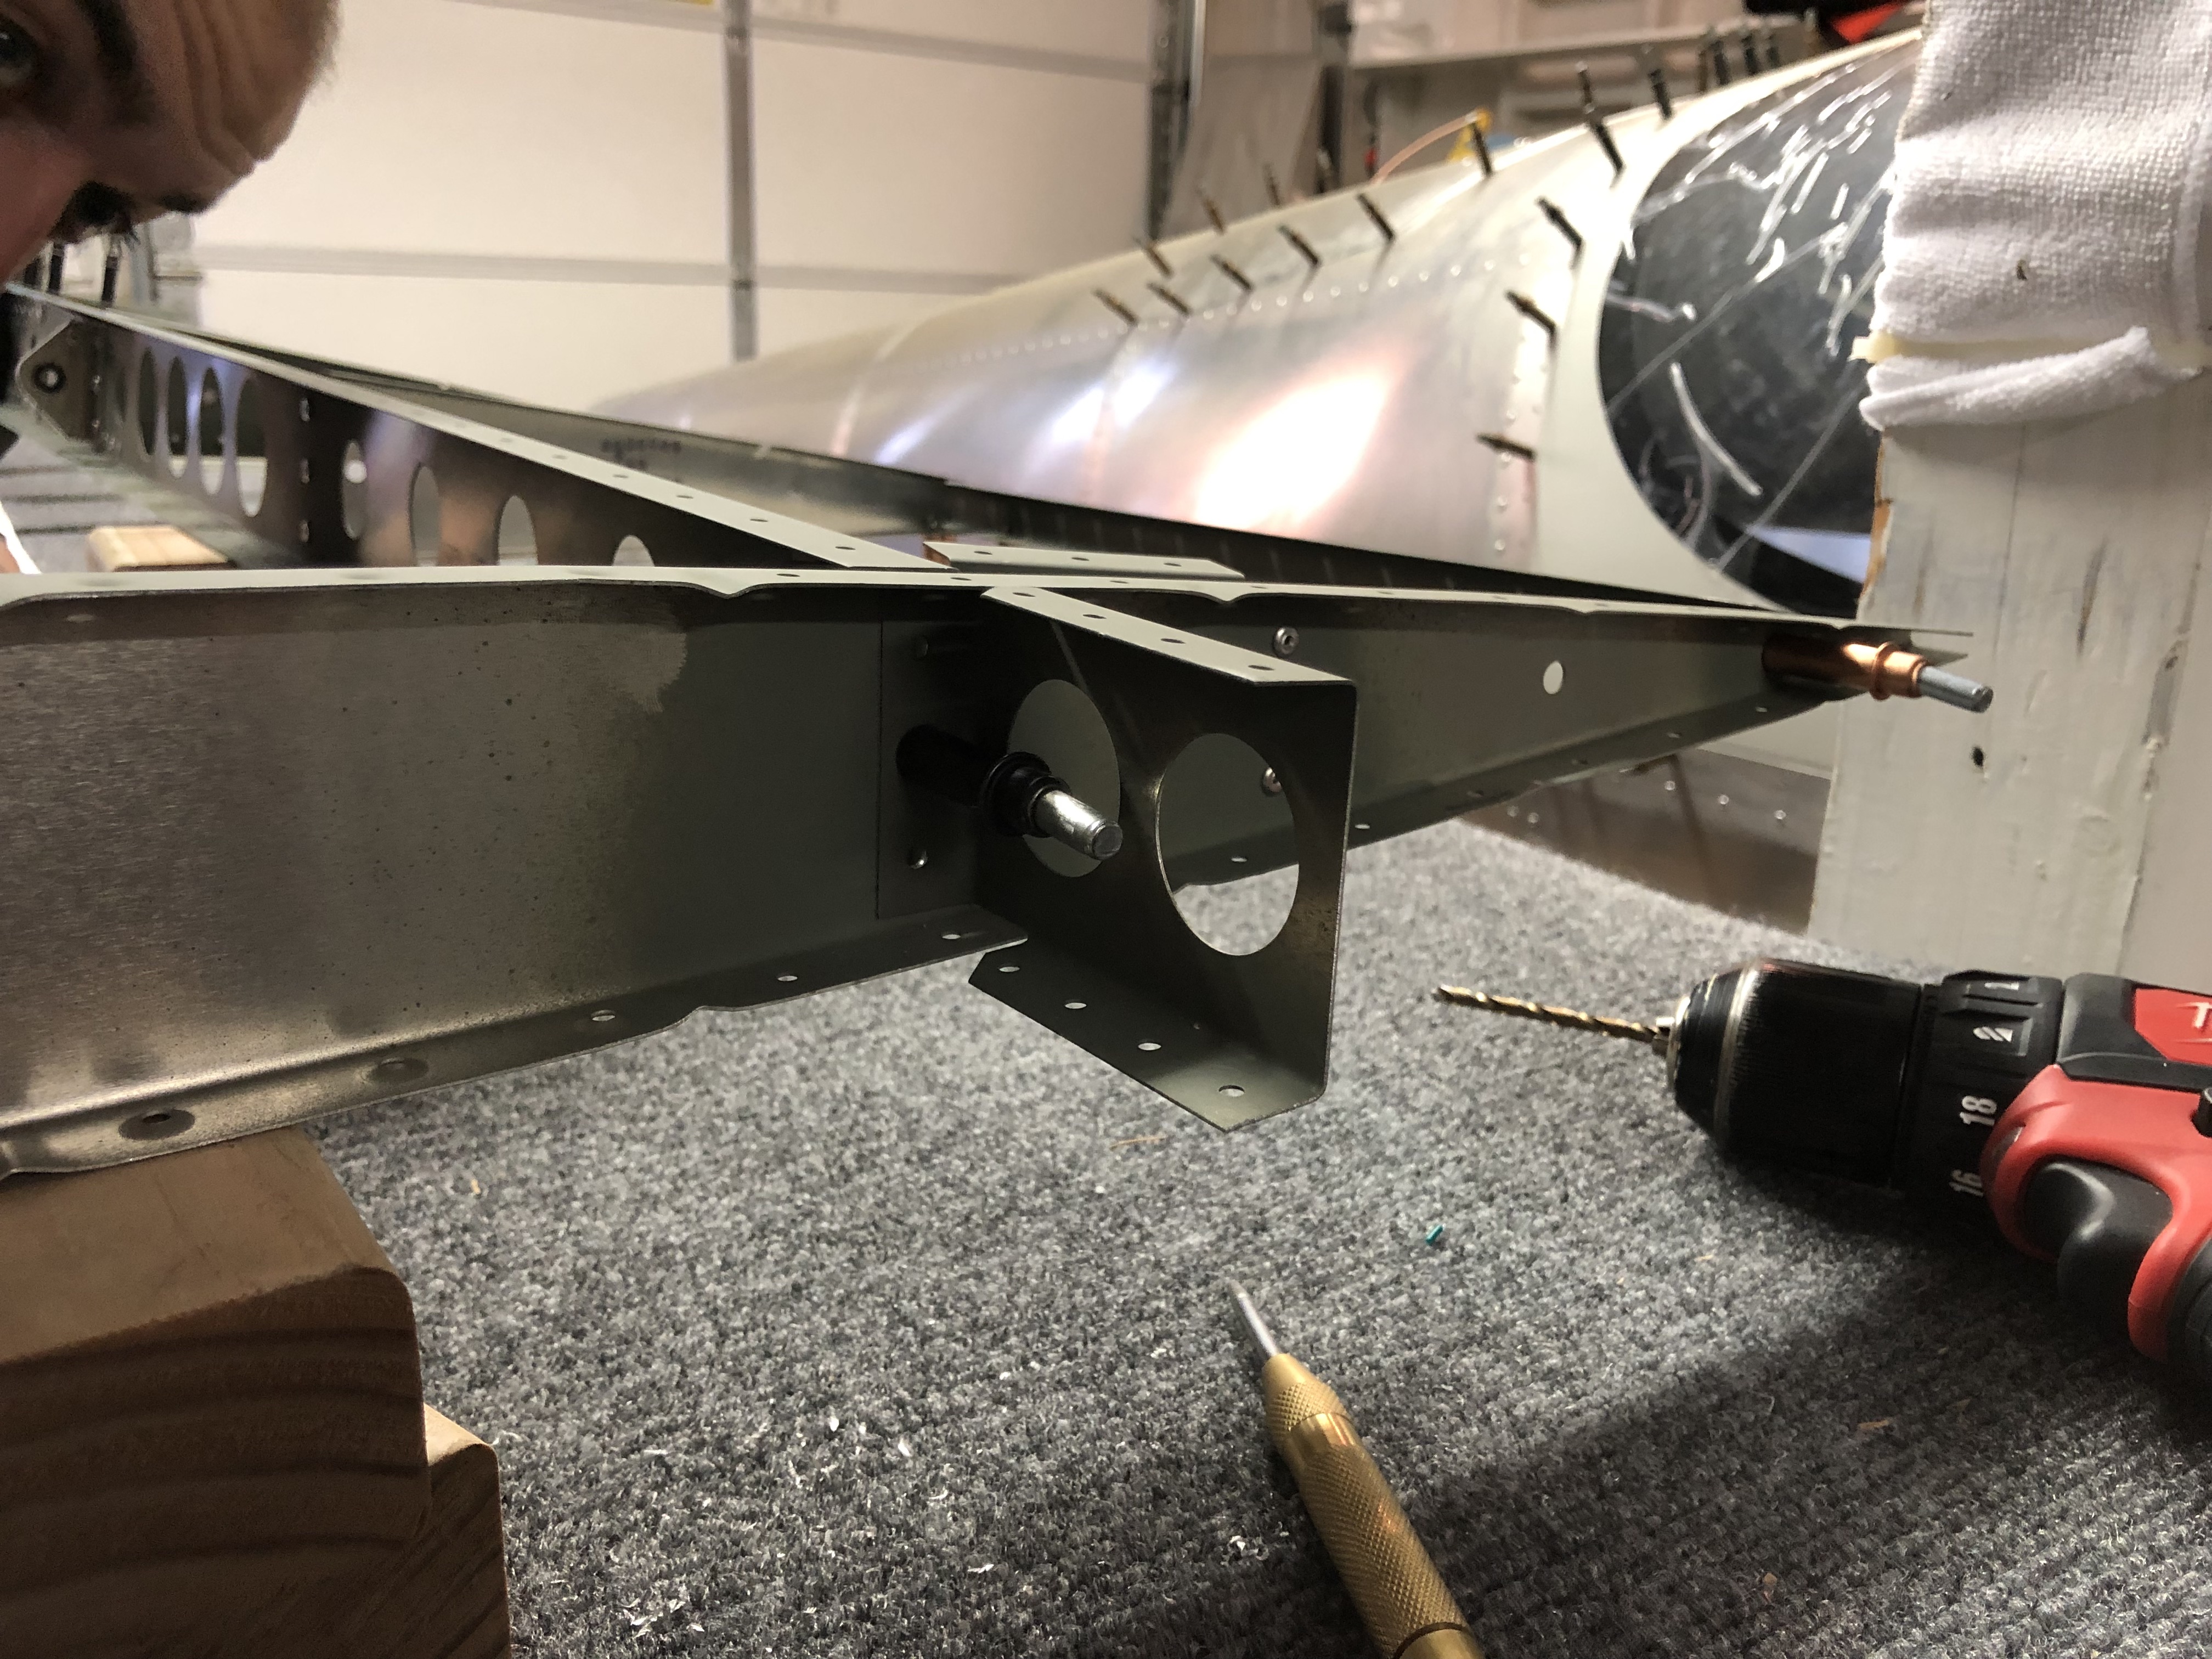
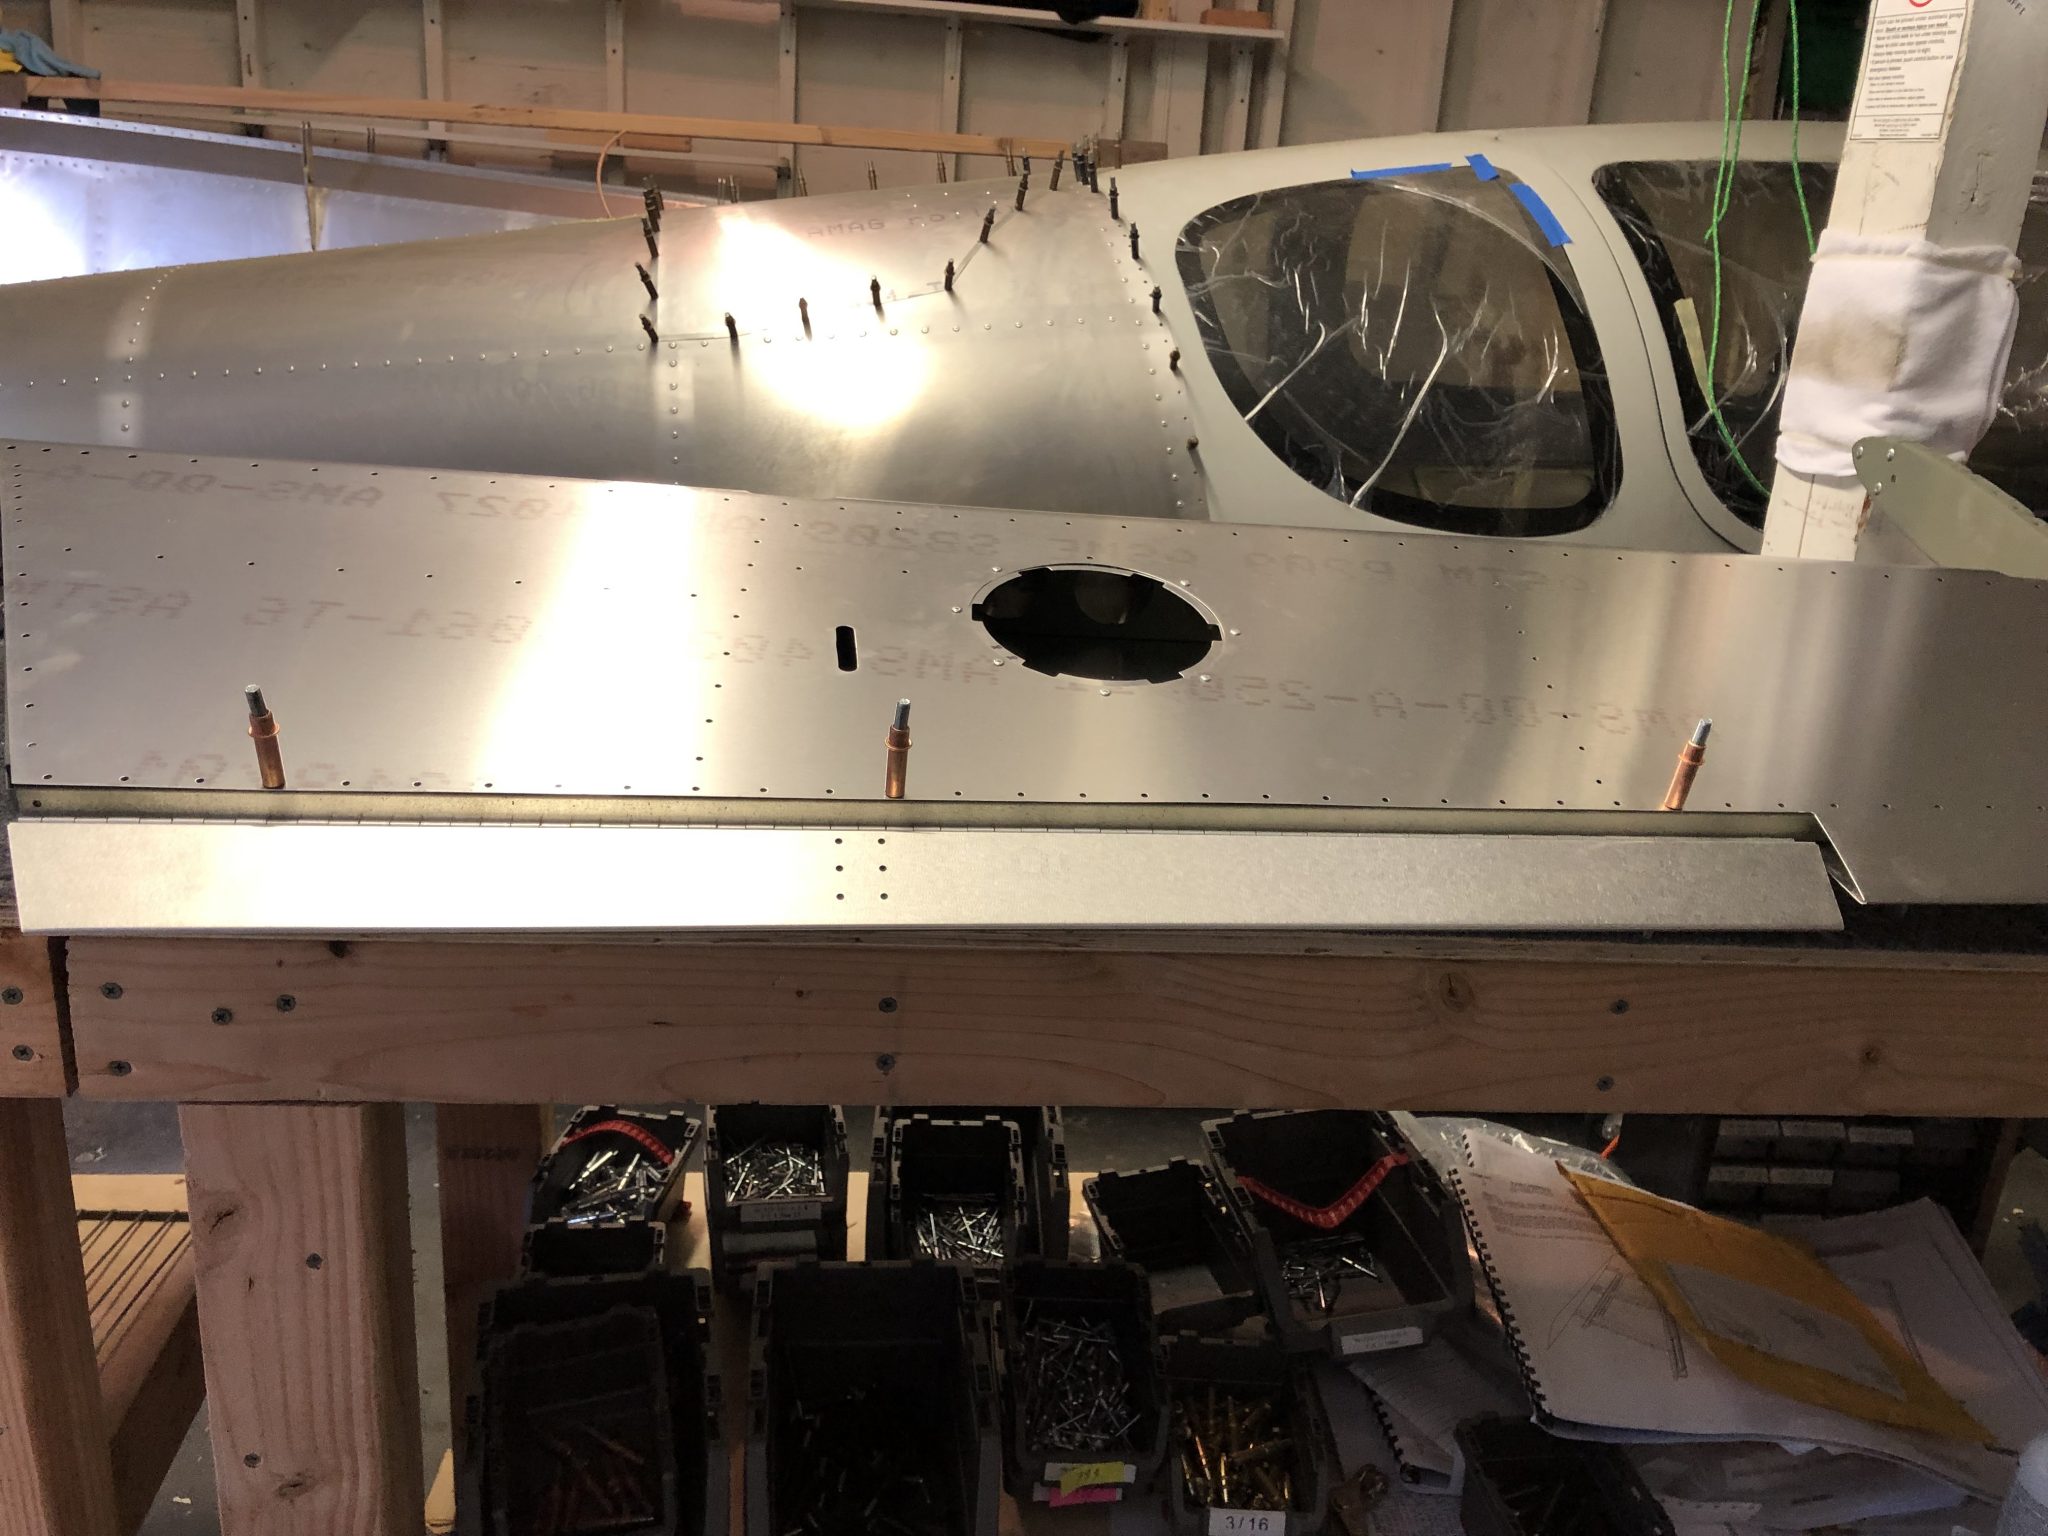
With the two main skins fitted onto the Elevator, I started looking at the trim tab and the side fiberglass tips.

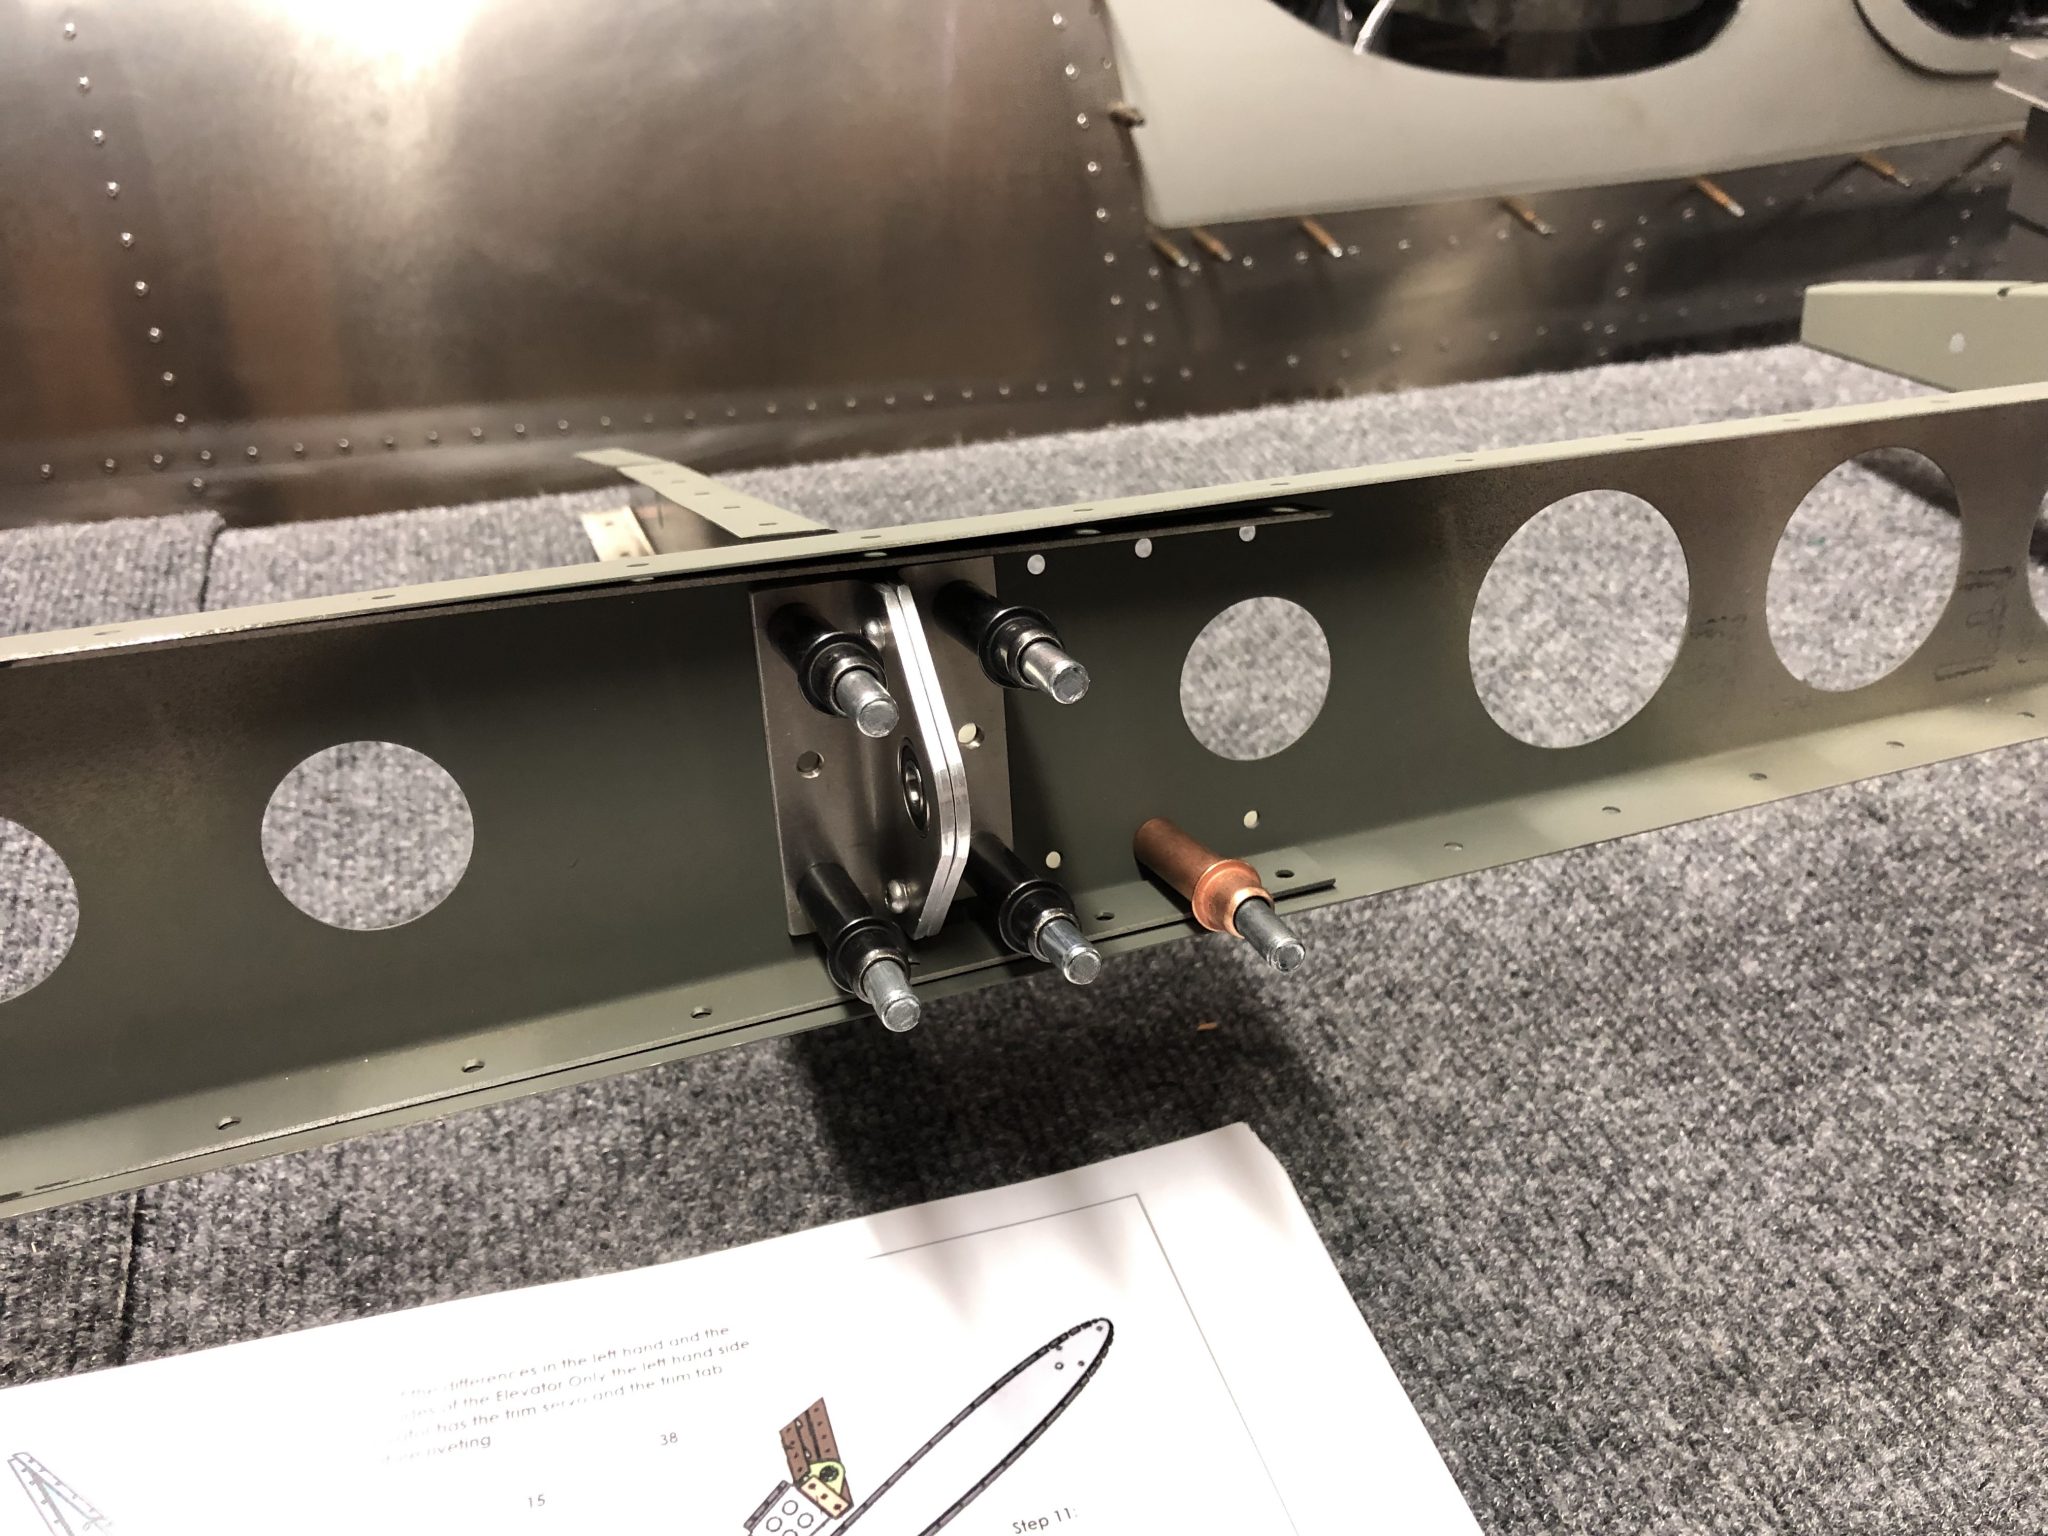
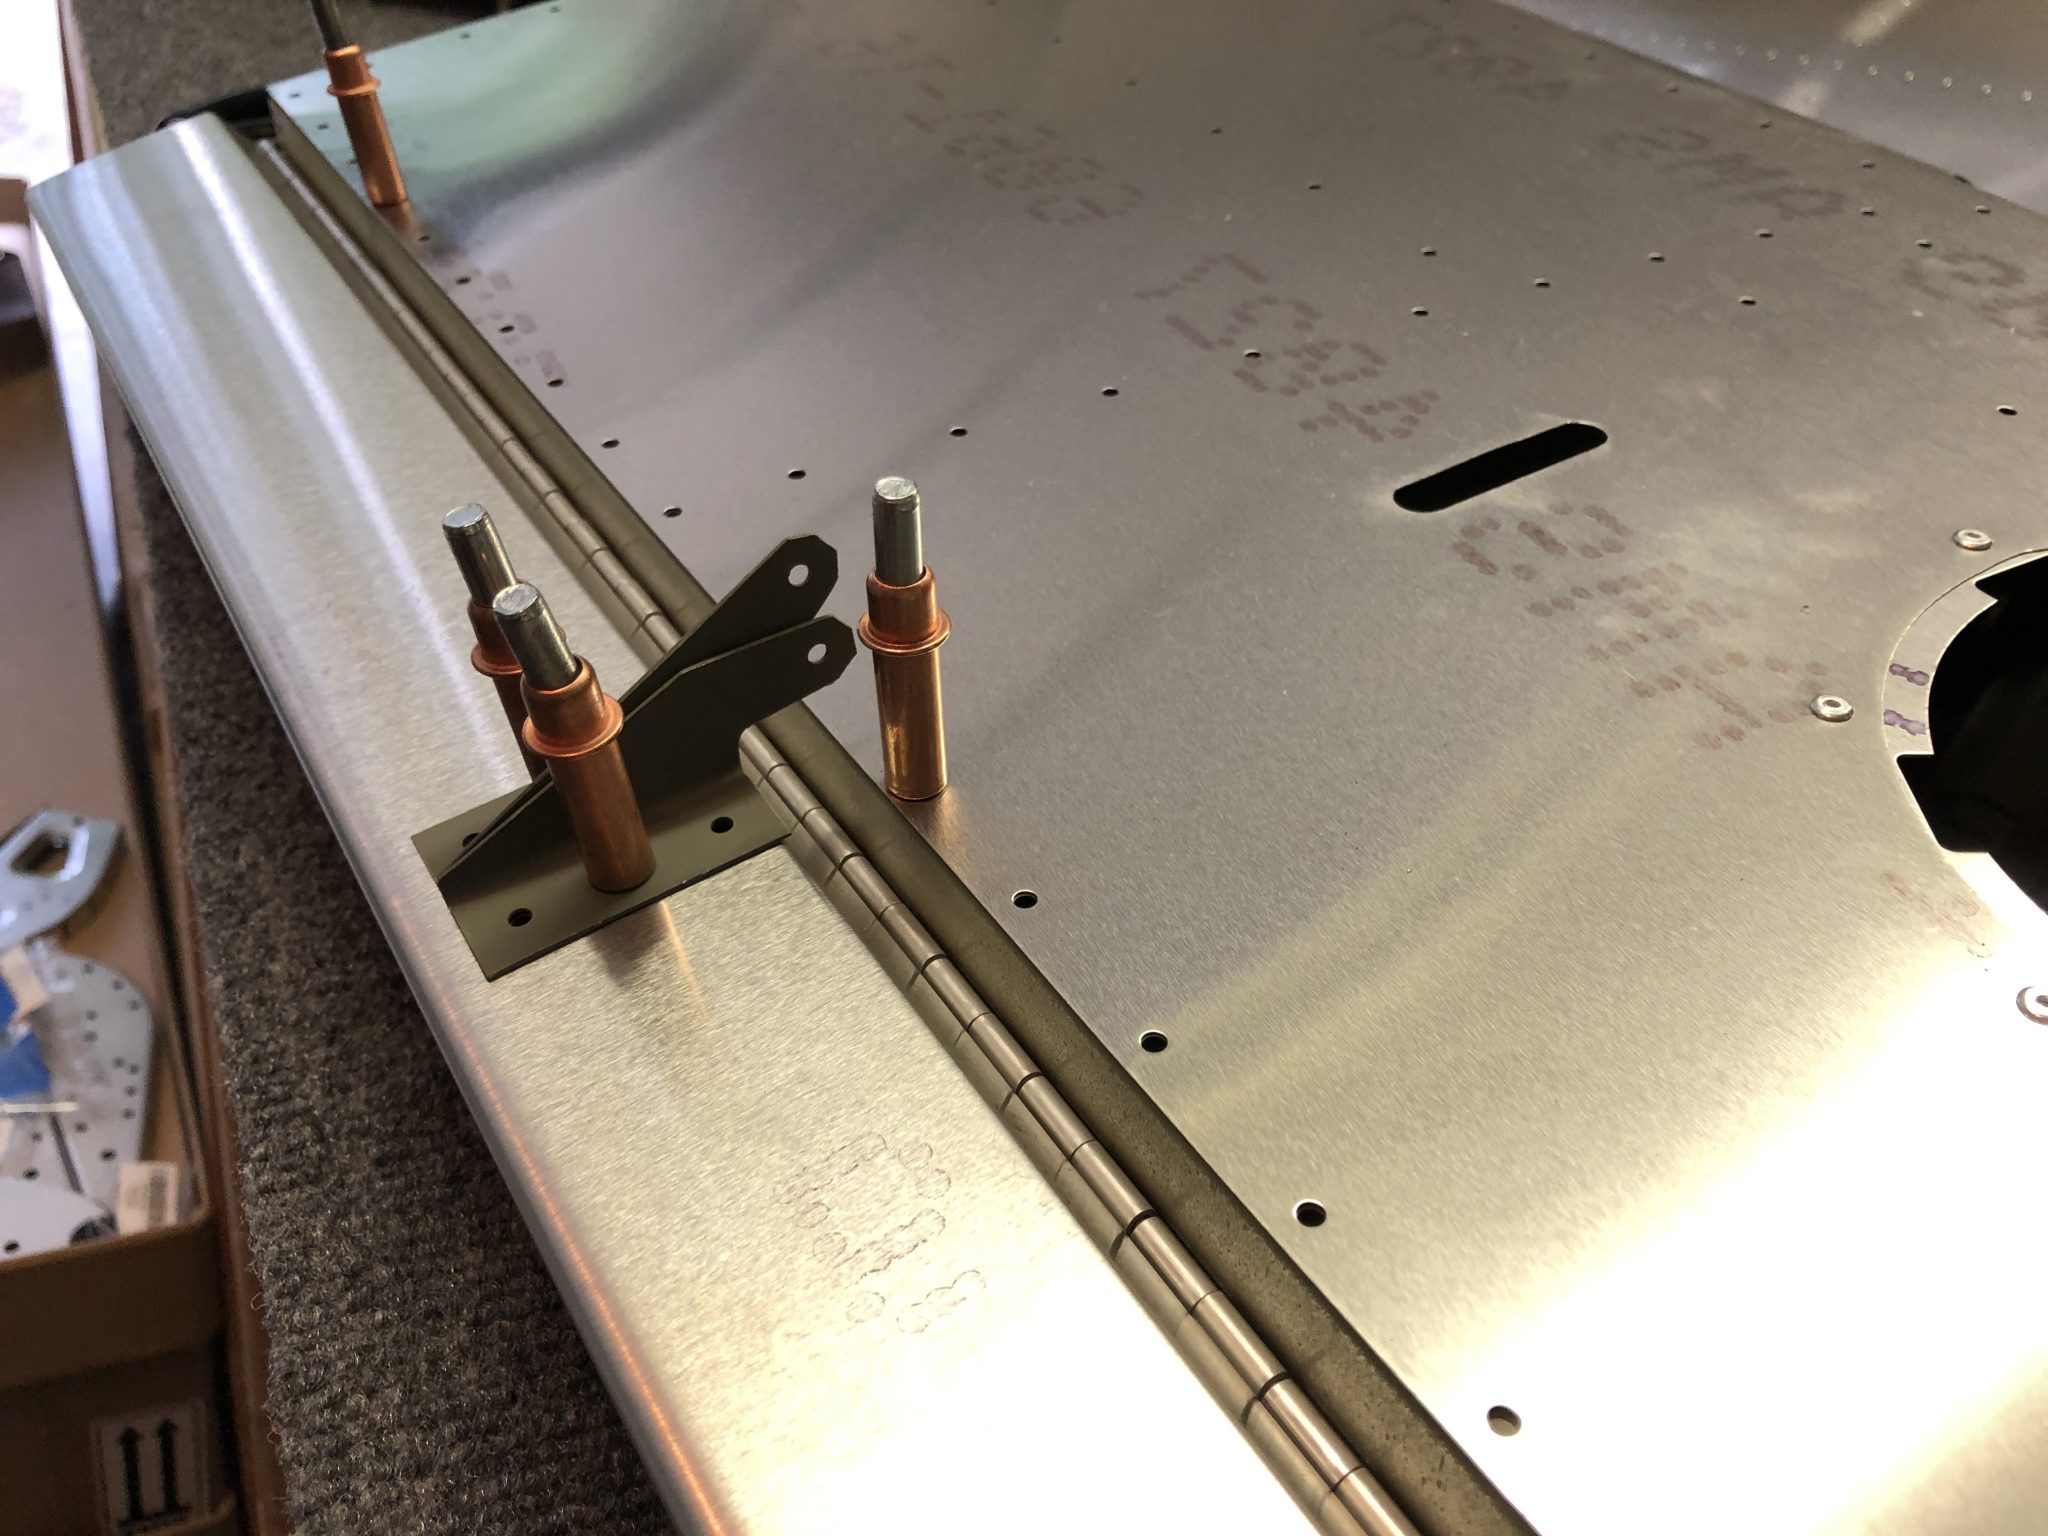
First I figured out the correct orientation of the hinge that connects the Elevator and the trim tab and the right orientation of the trim tab. I temporarily clecoed them together to check that the clearances are good and it moves all fine.
Elevator trim tab temporarily mounted

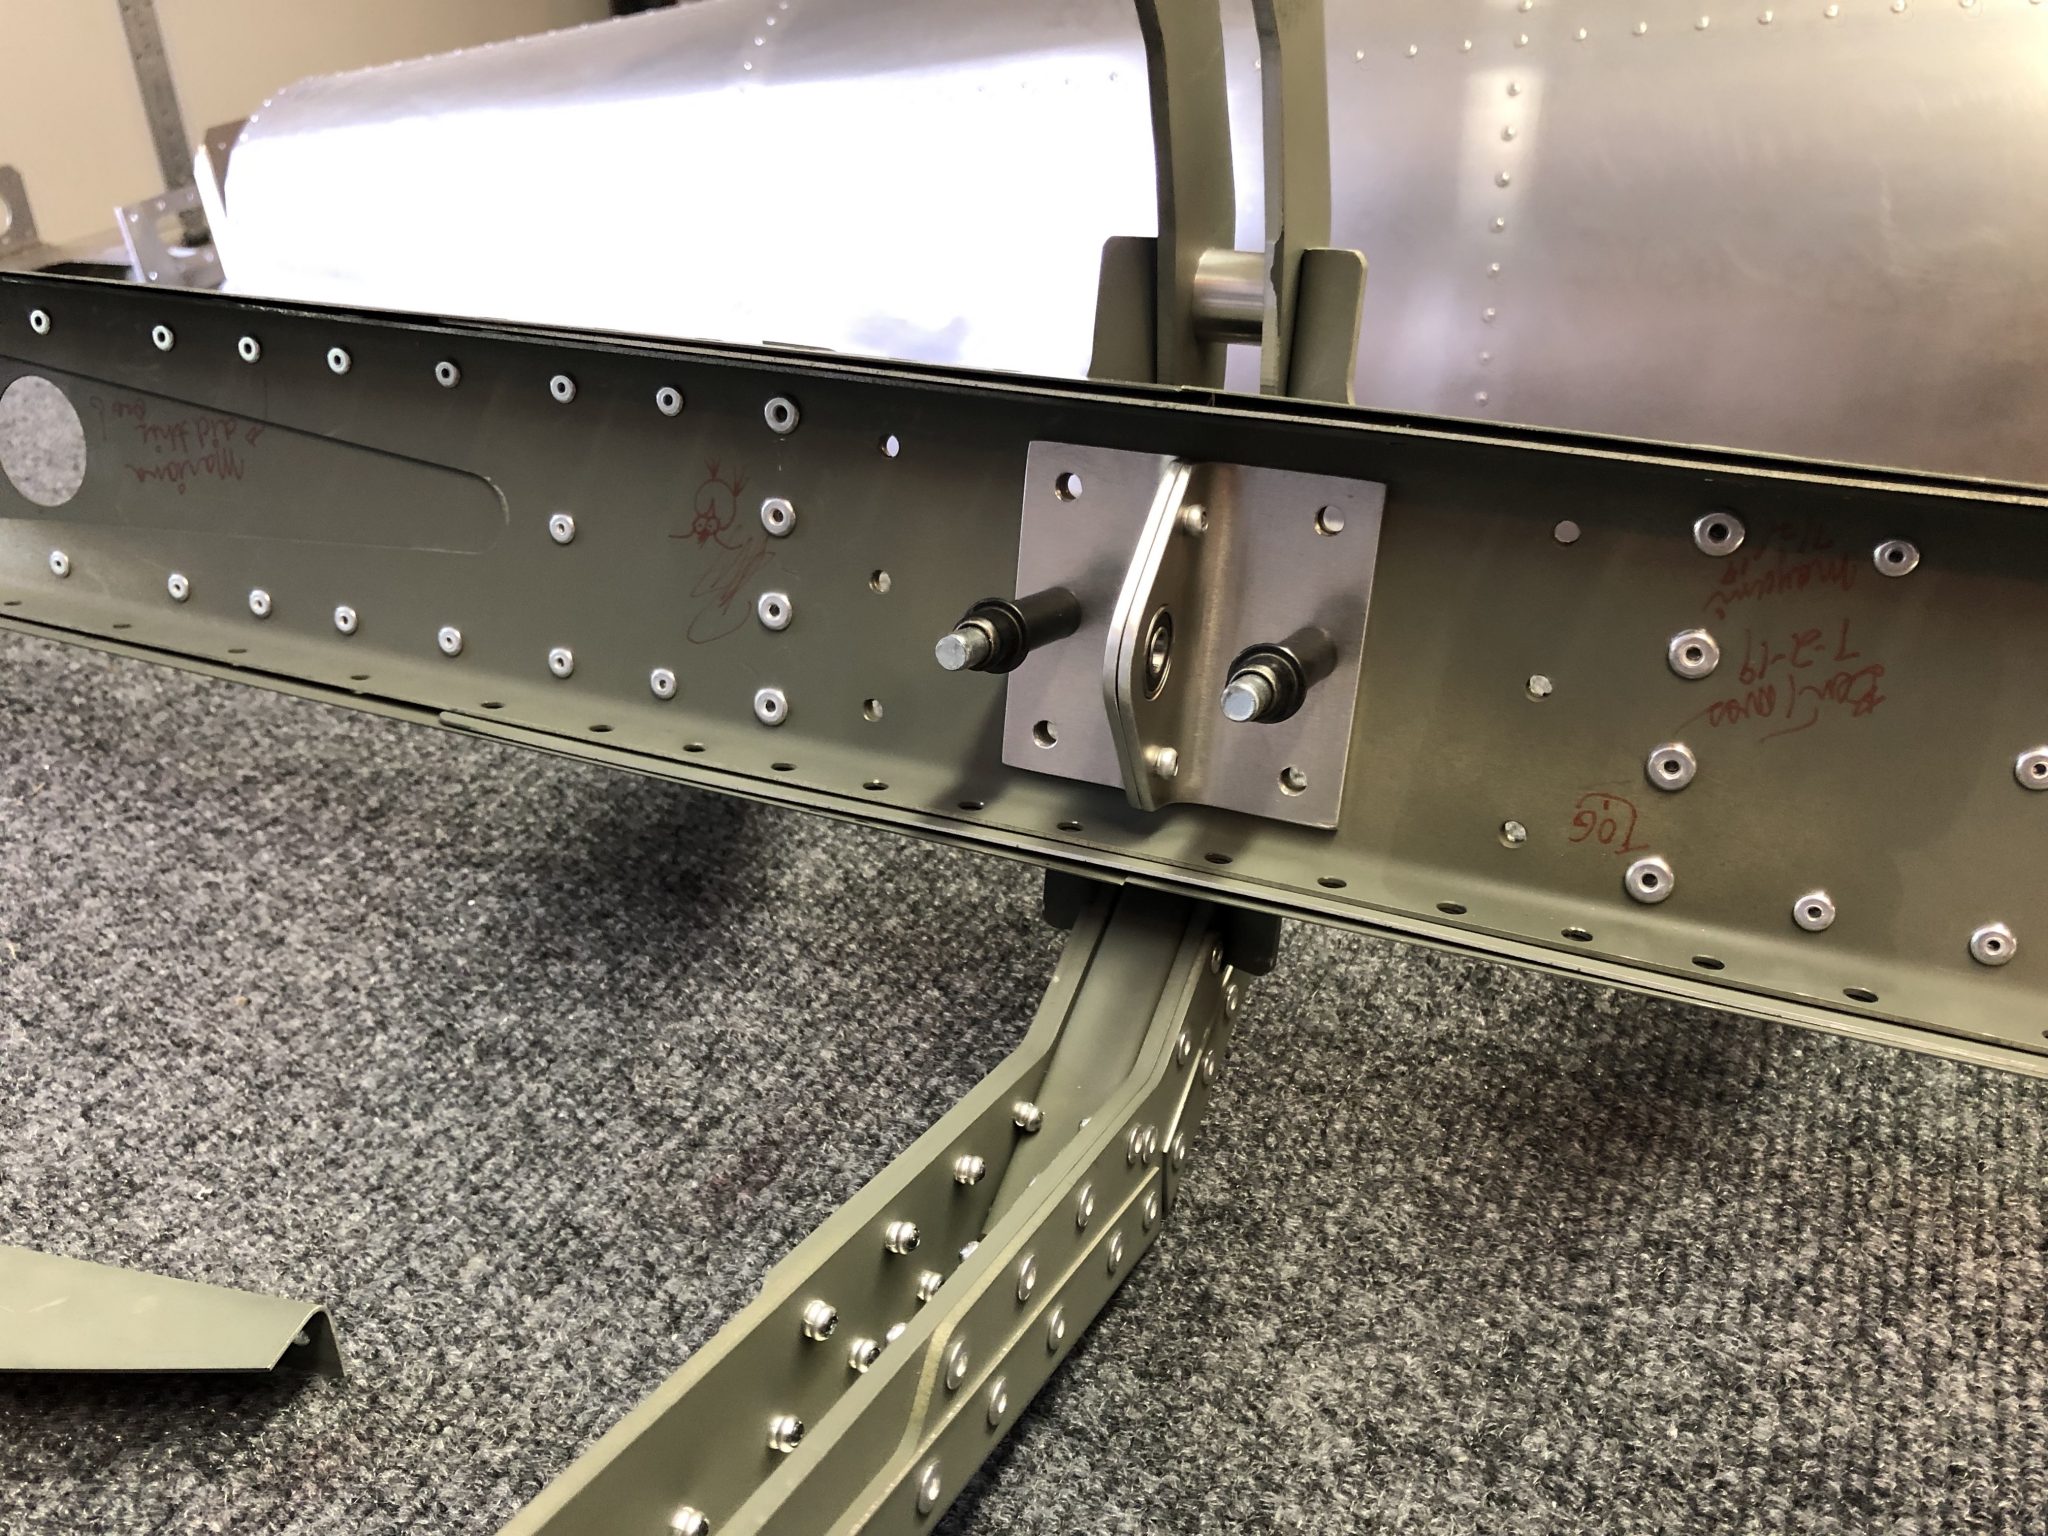
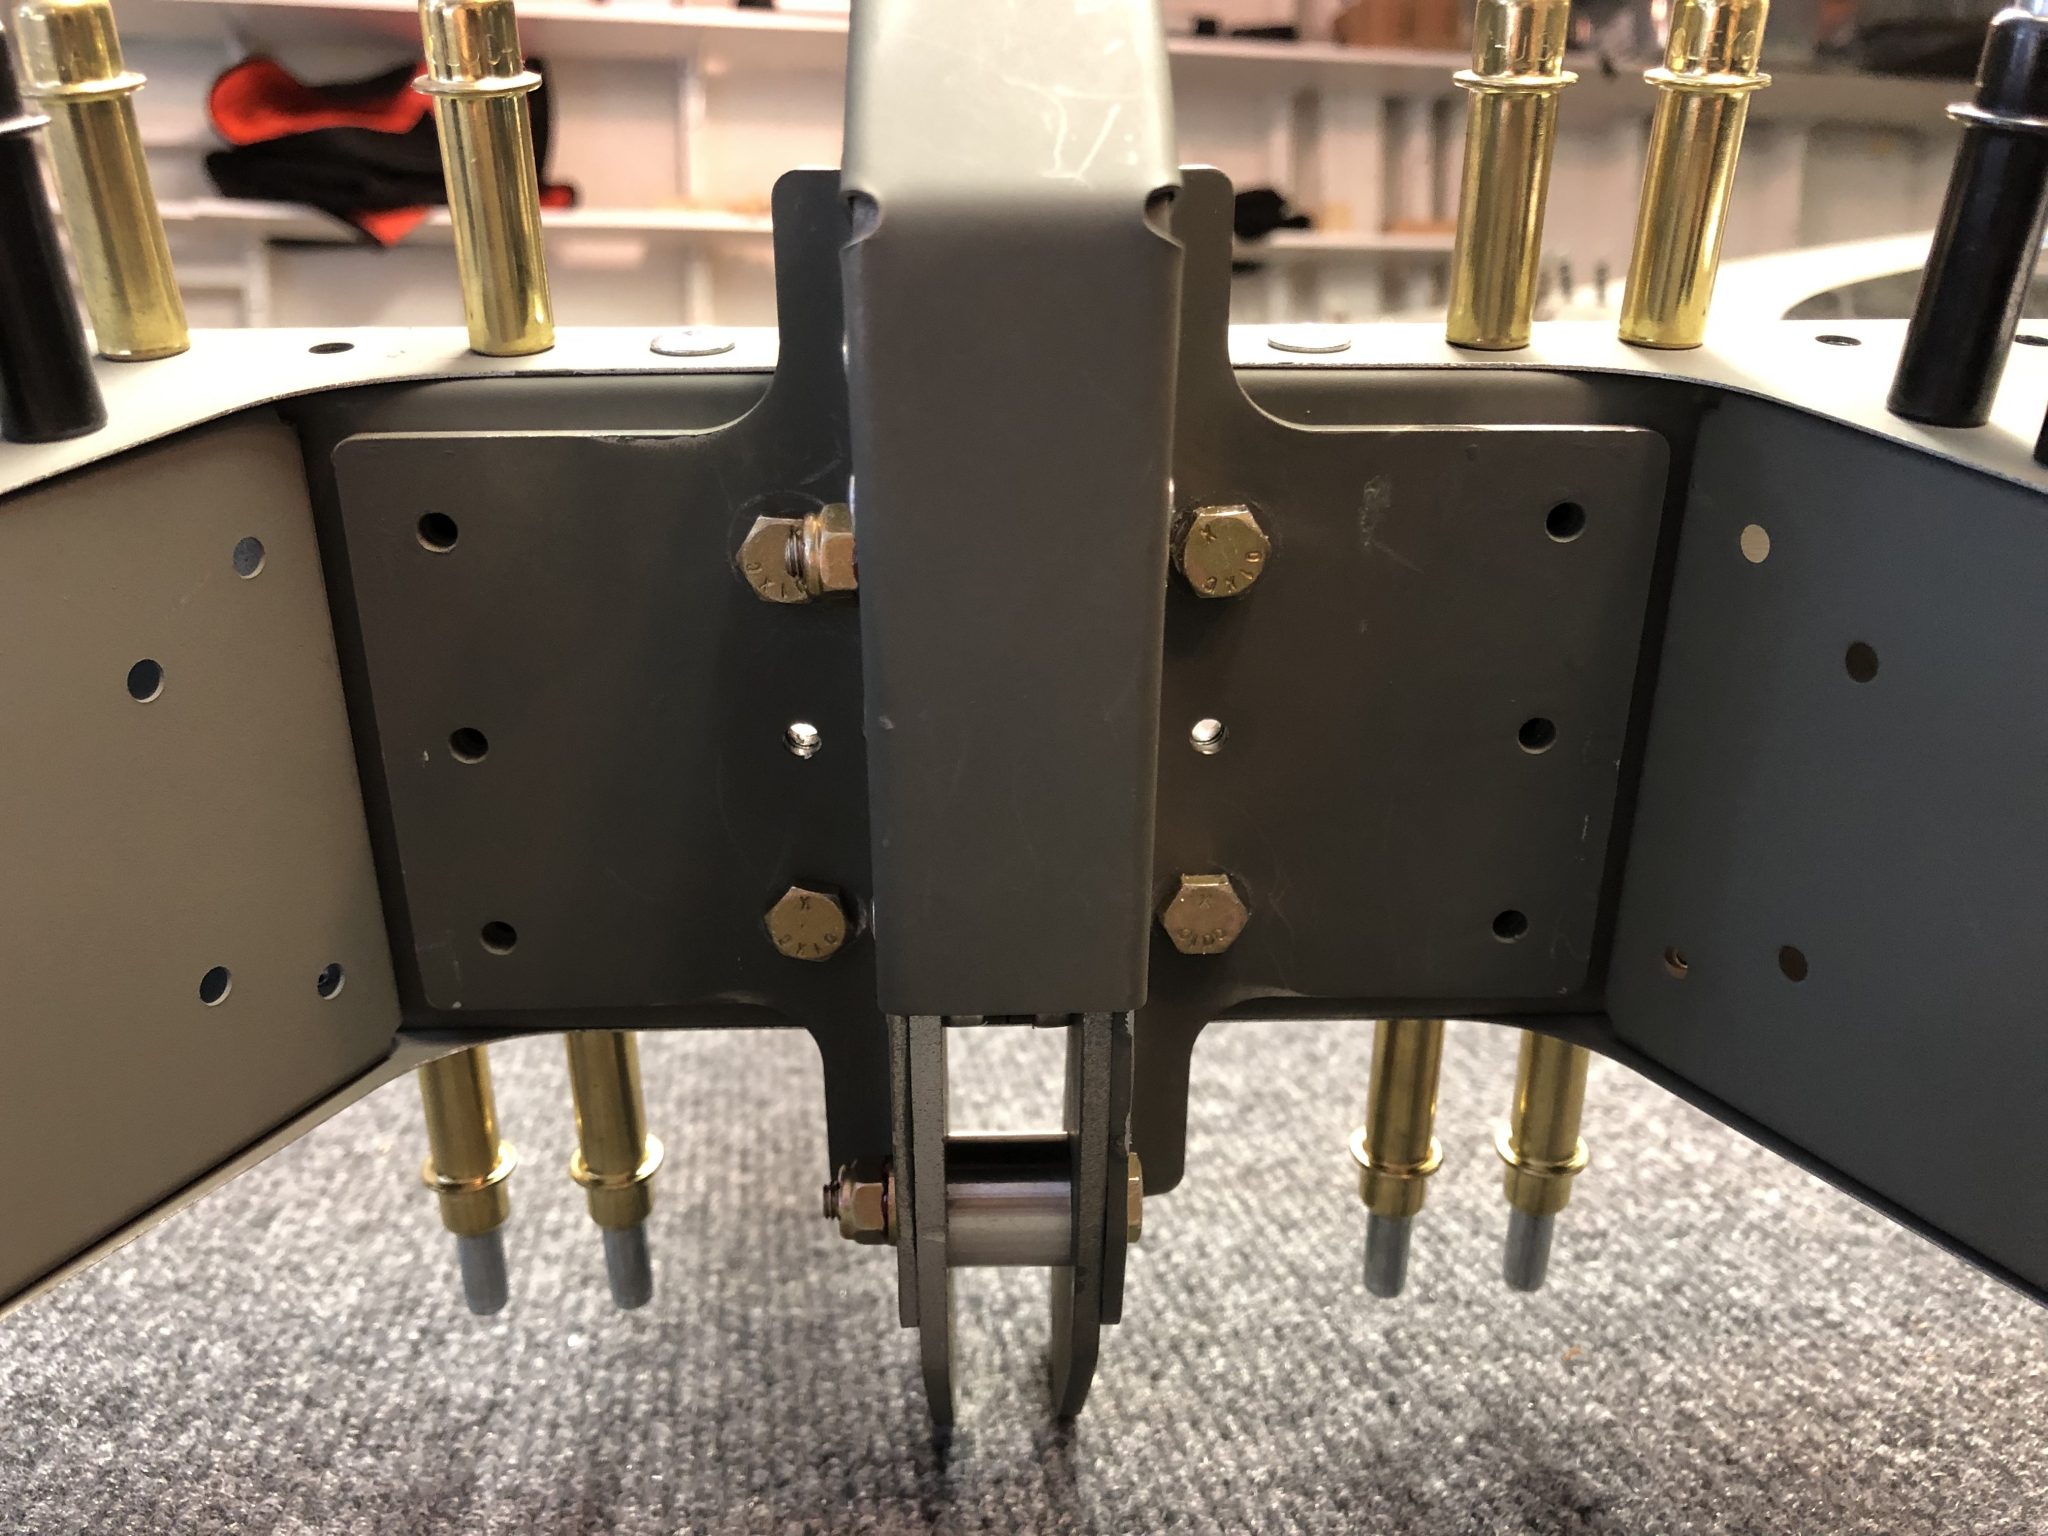
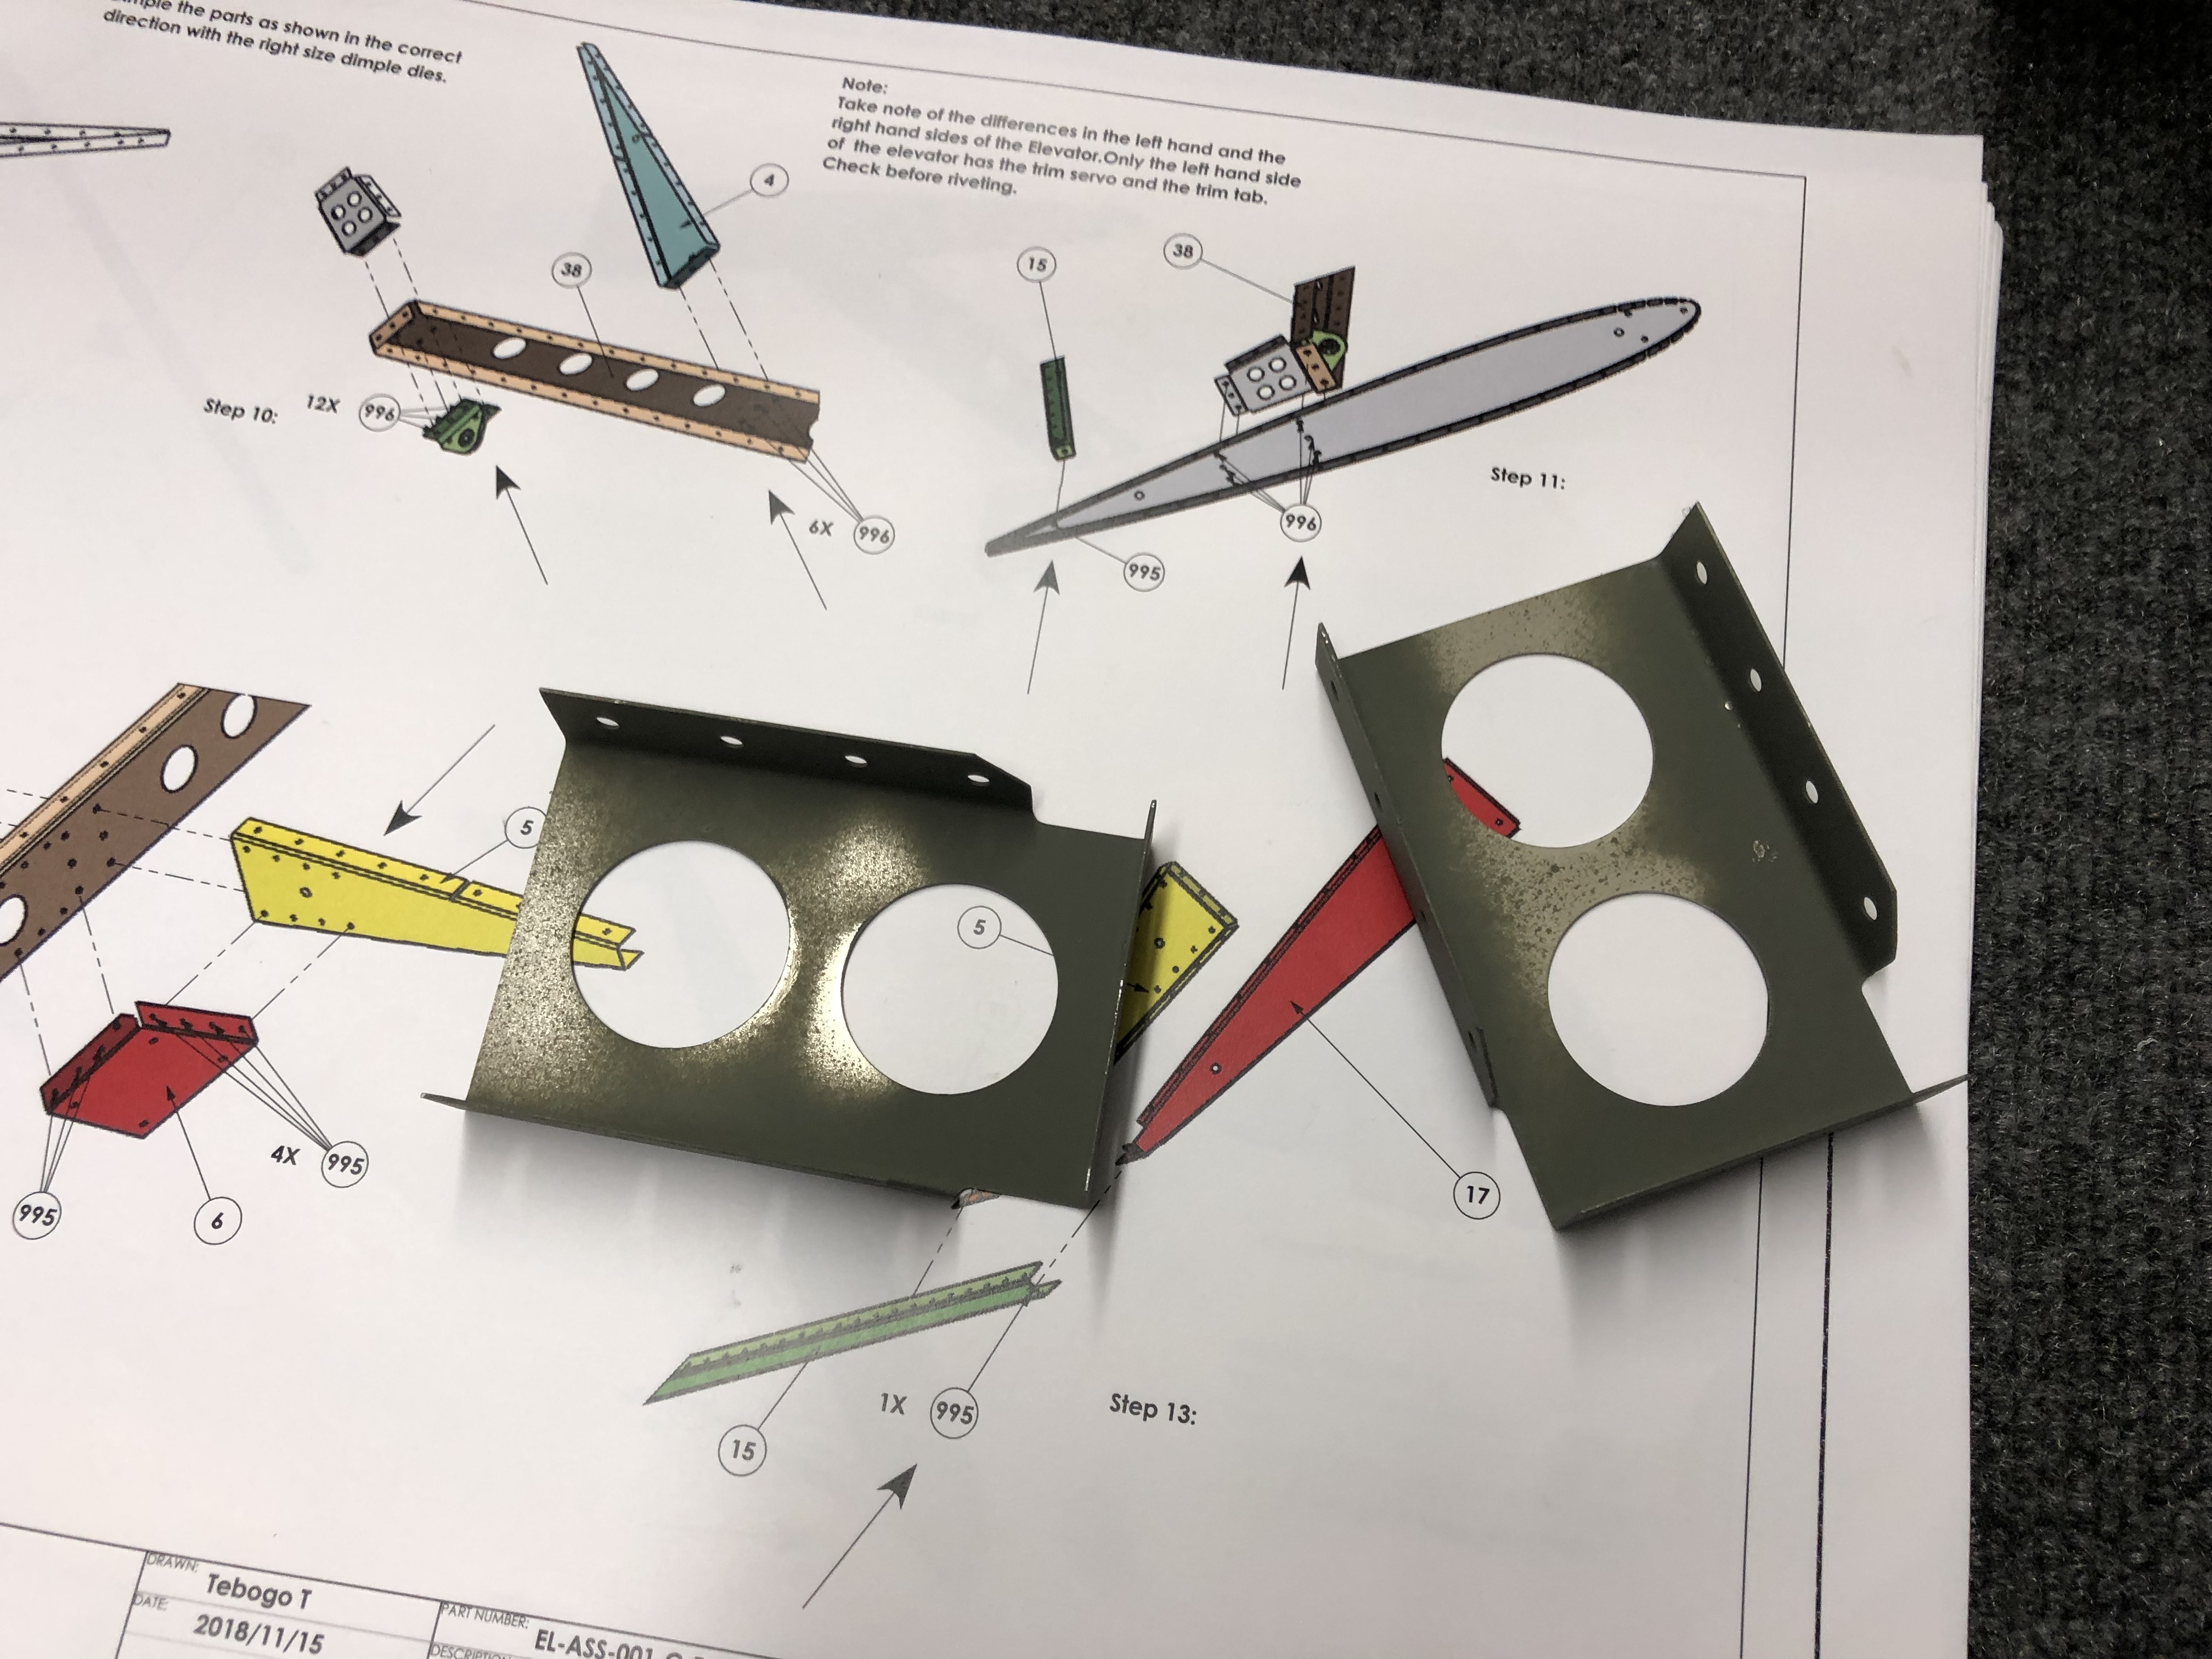
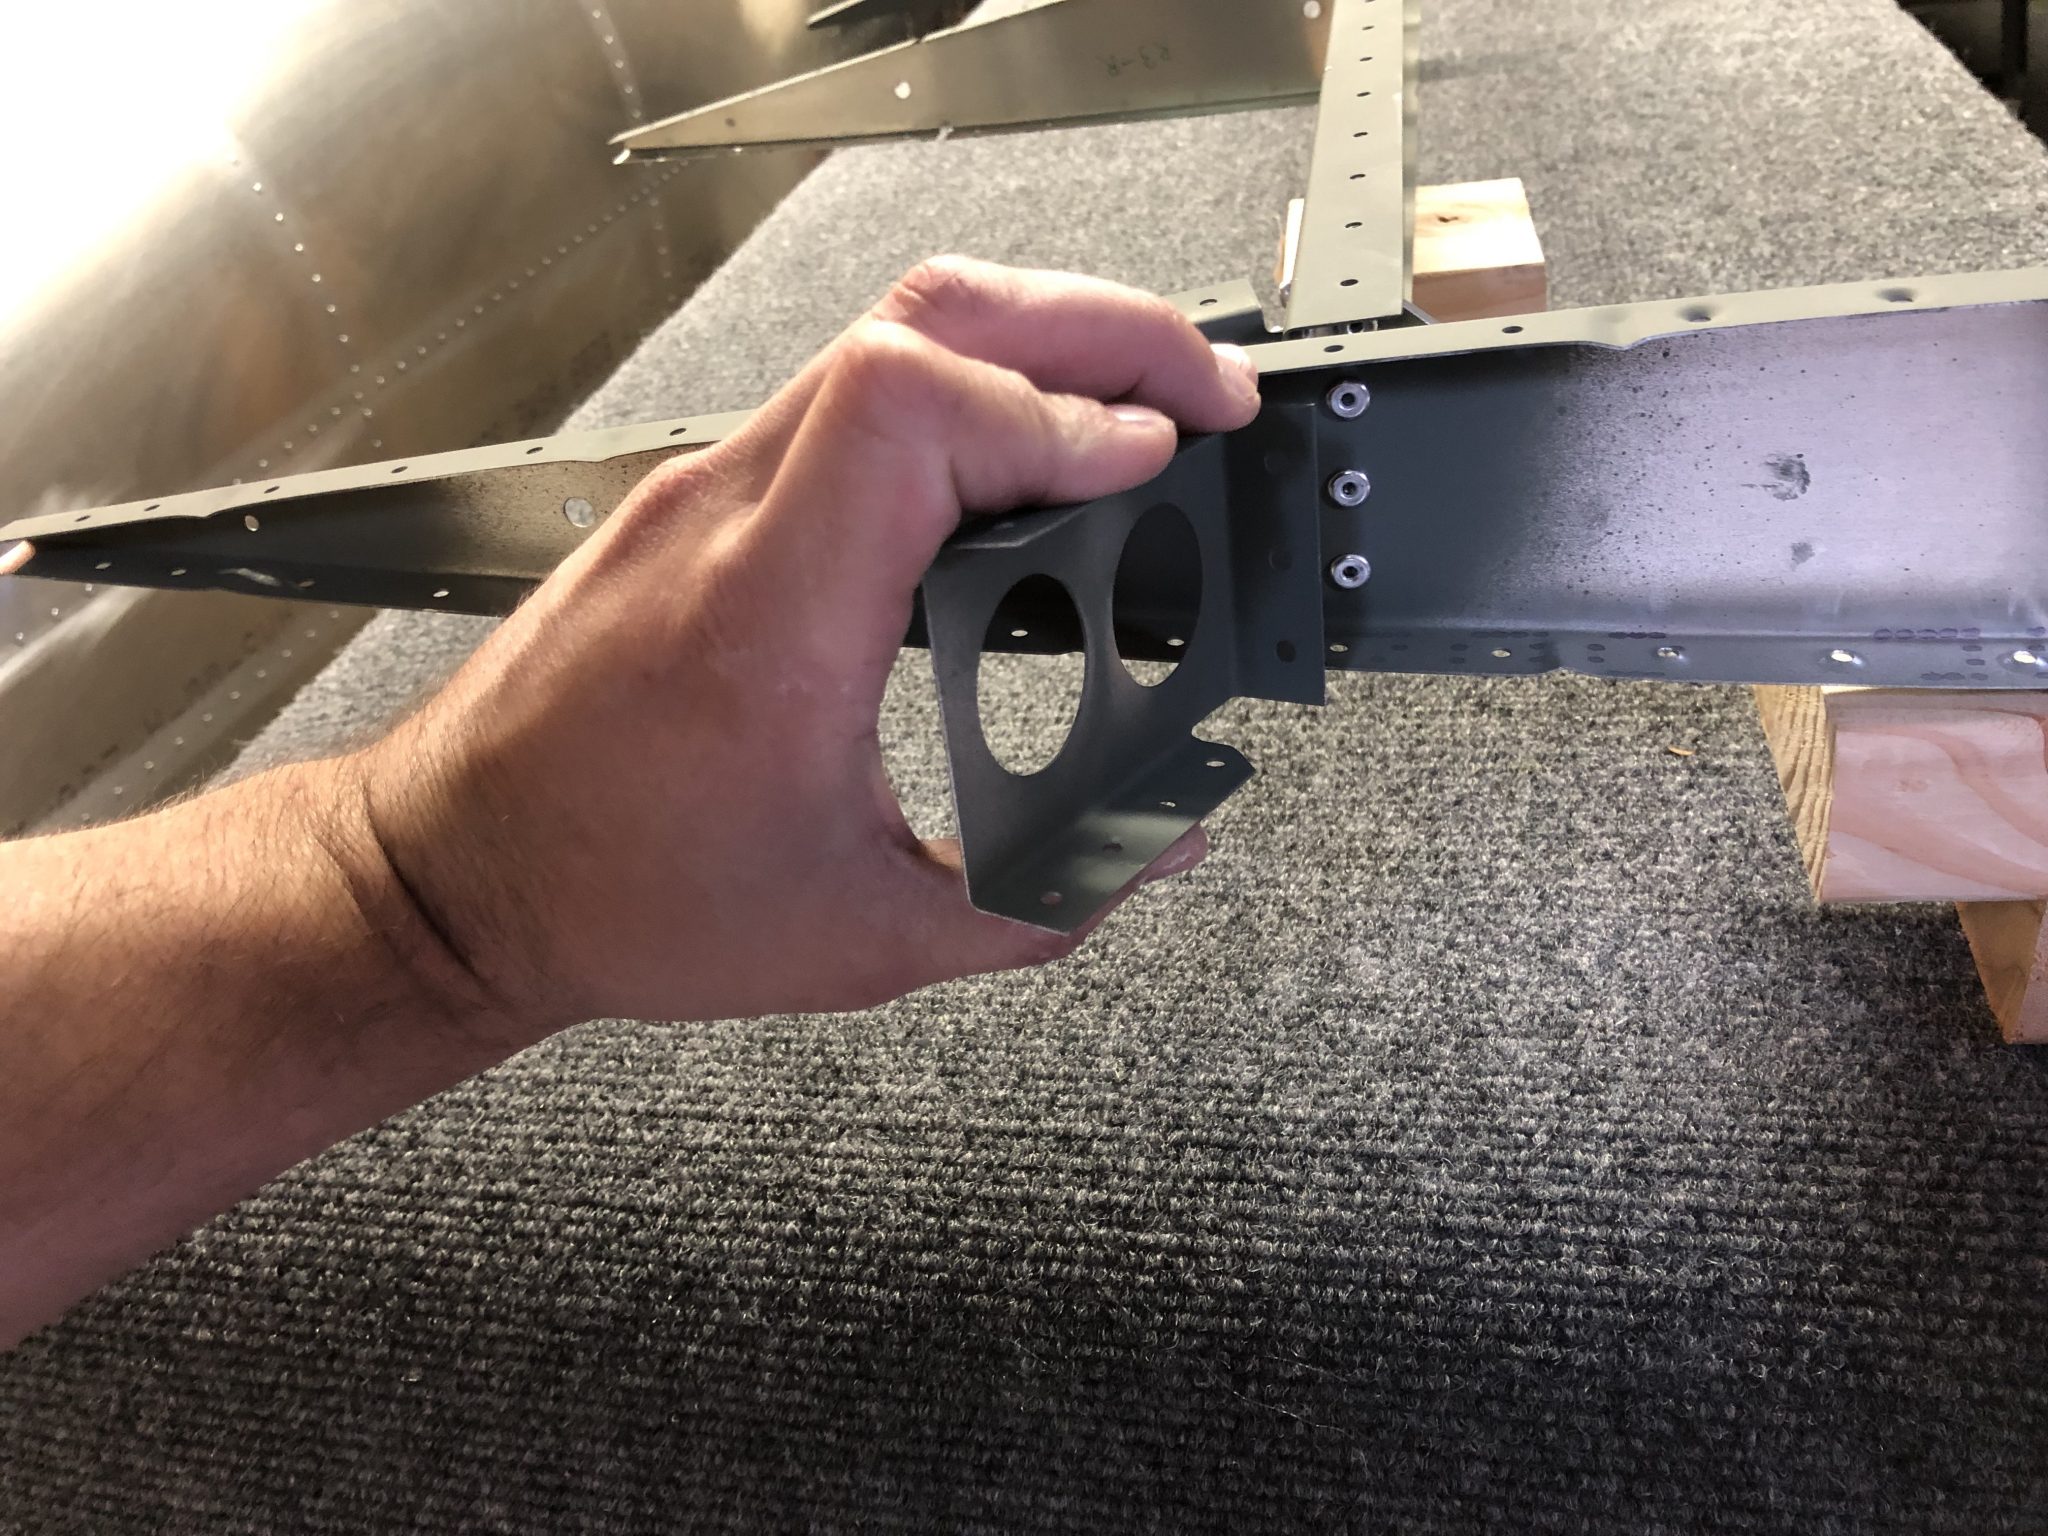
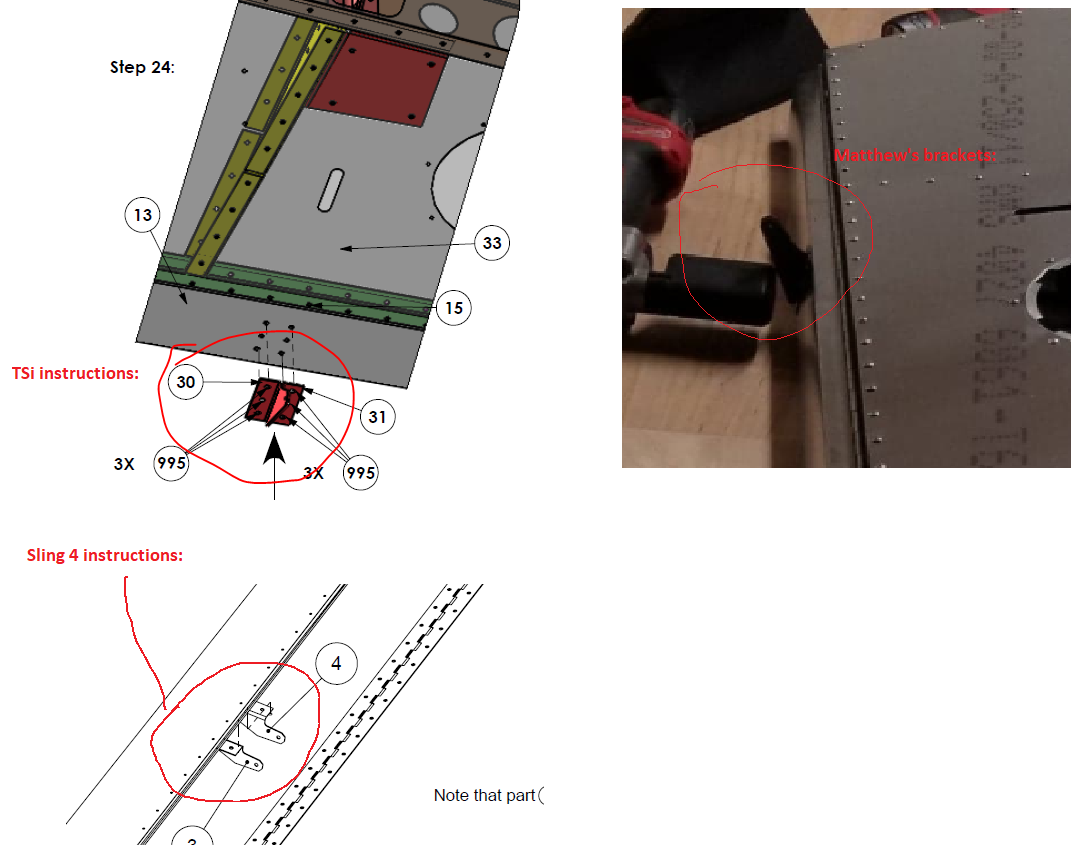
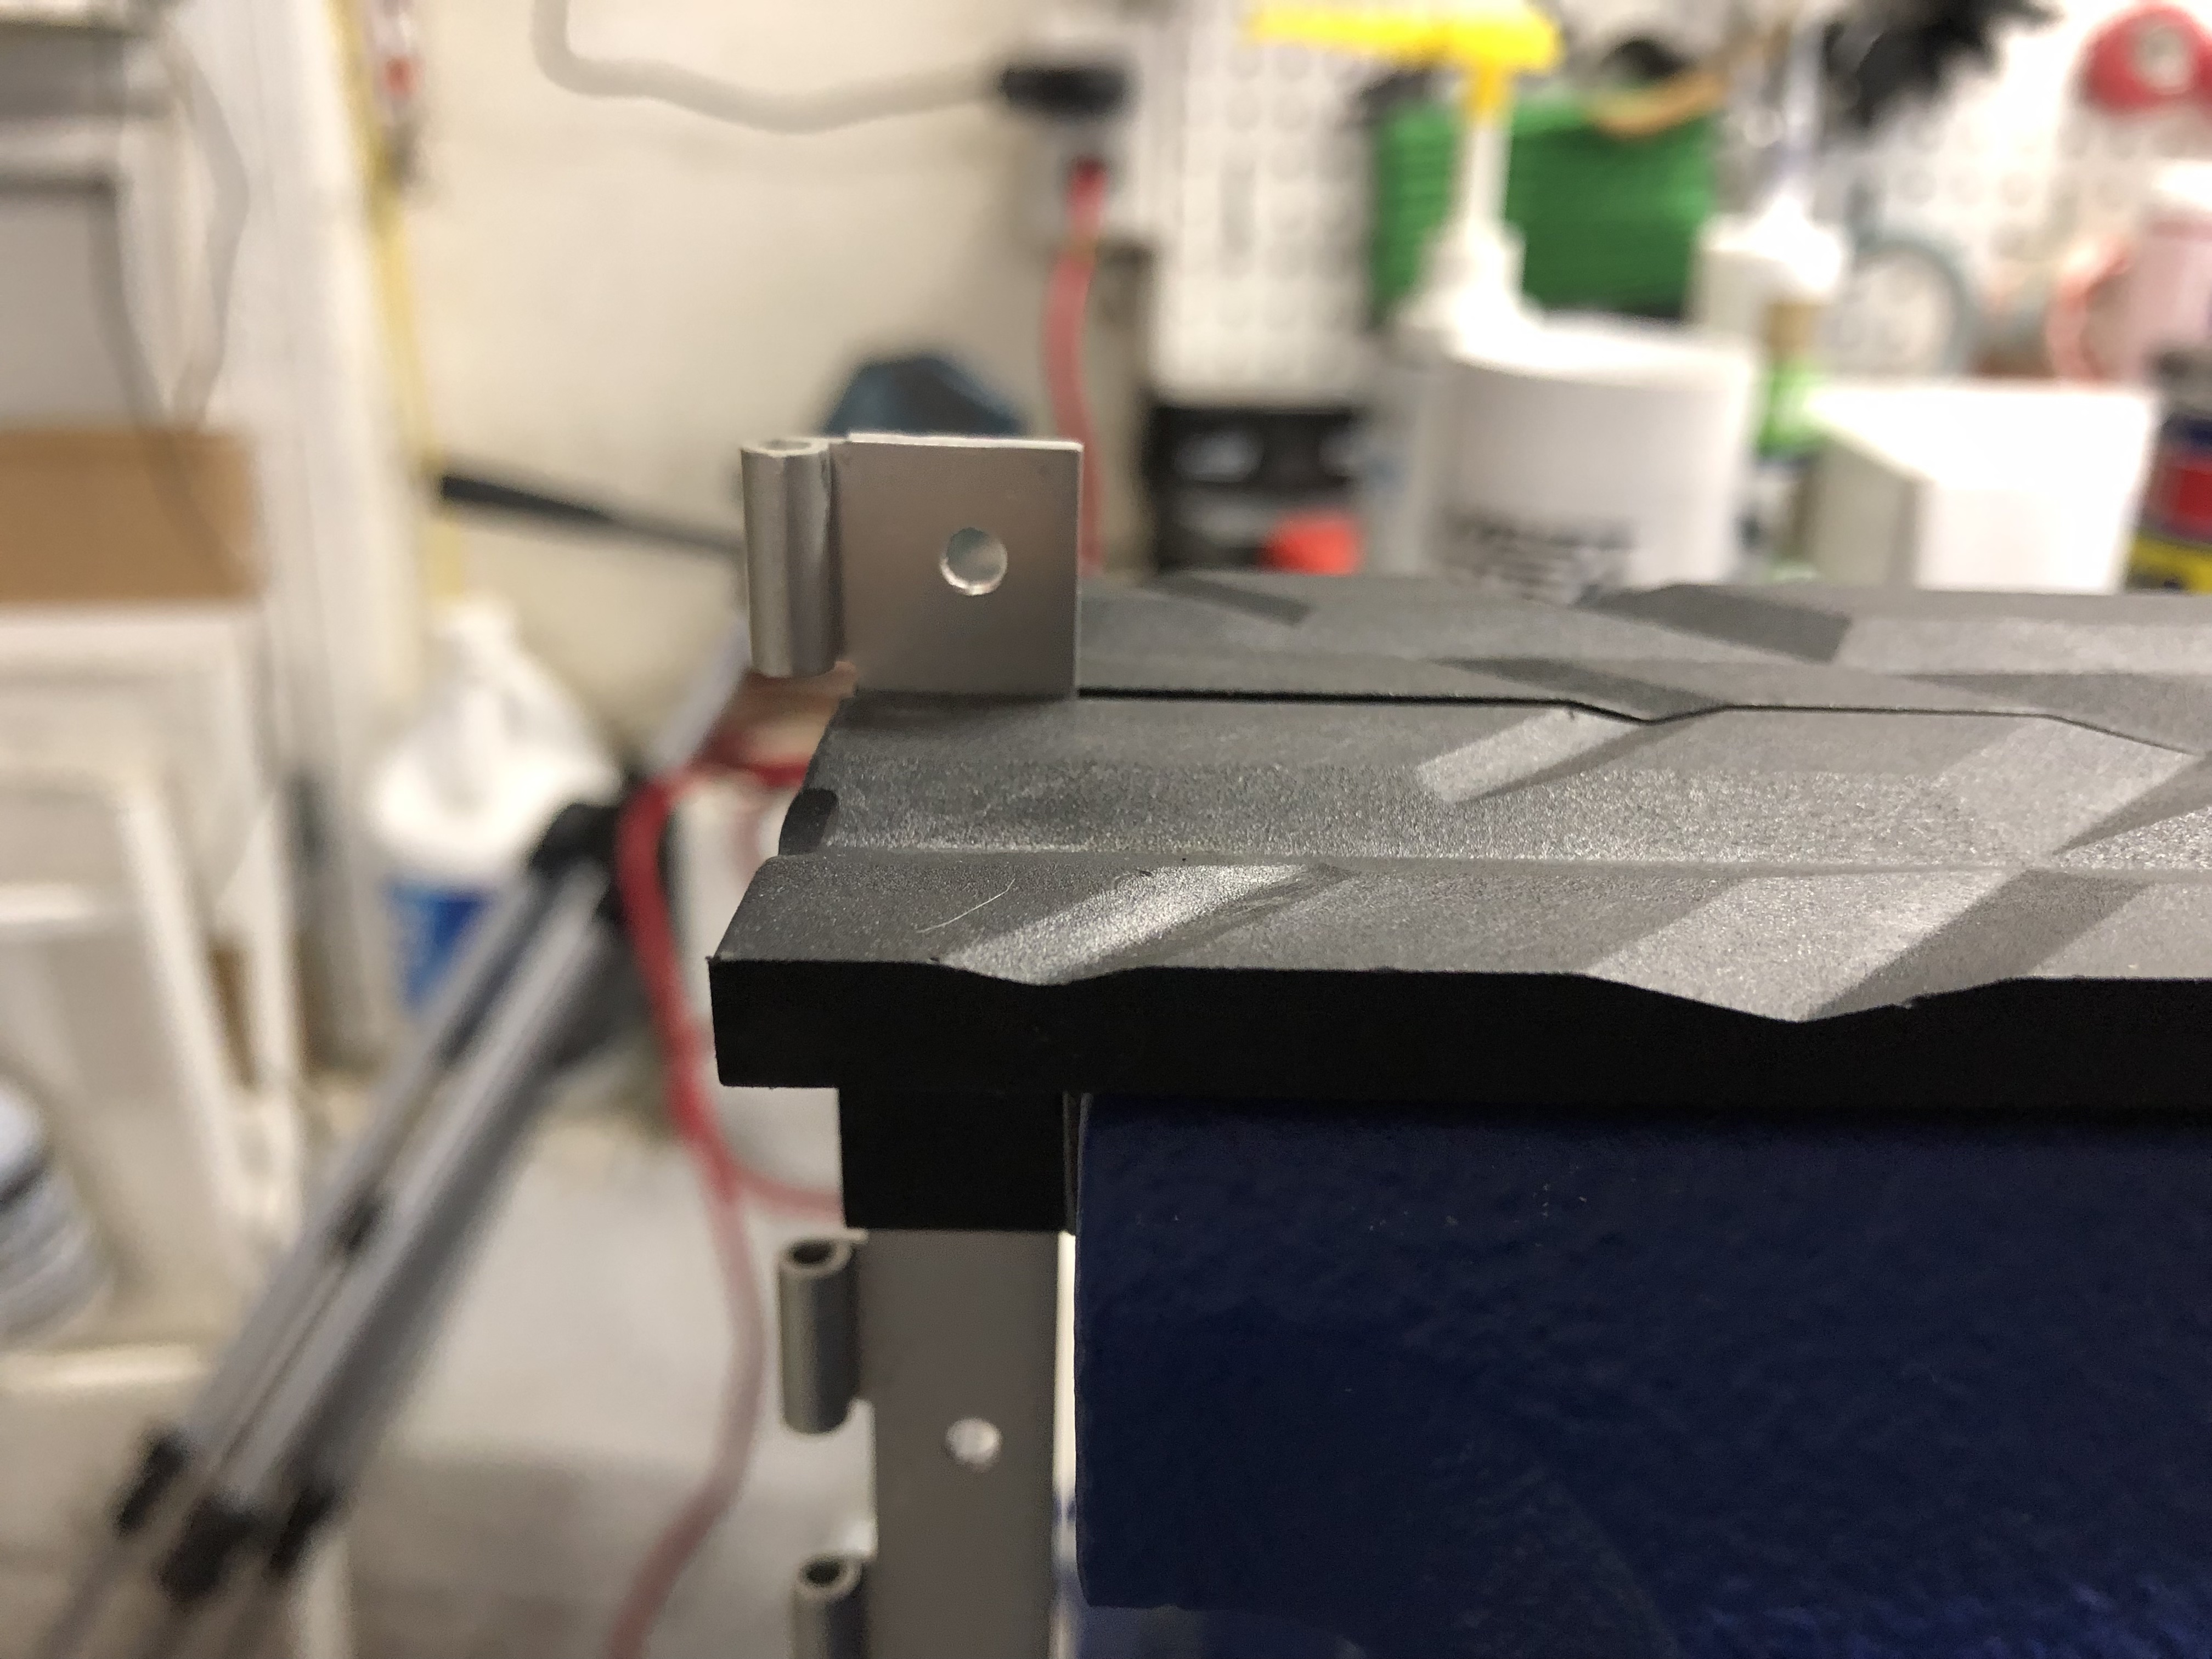
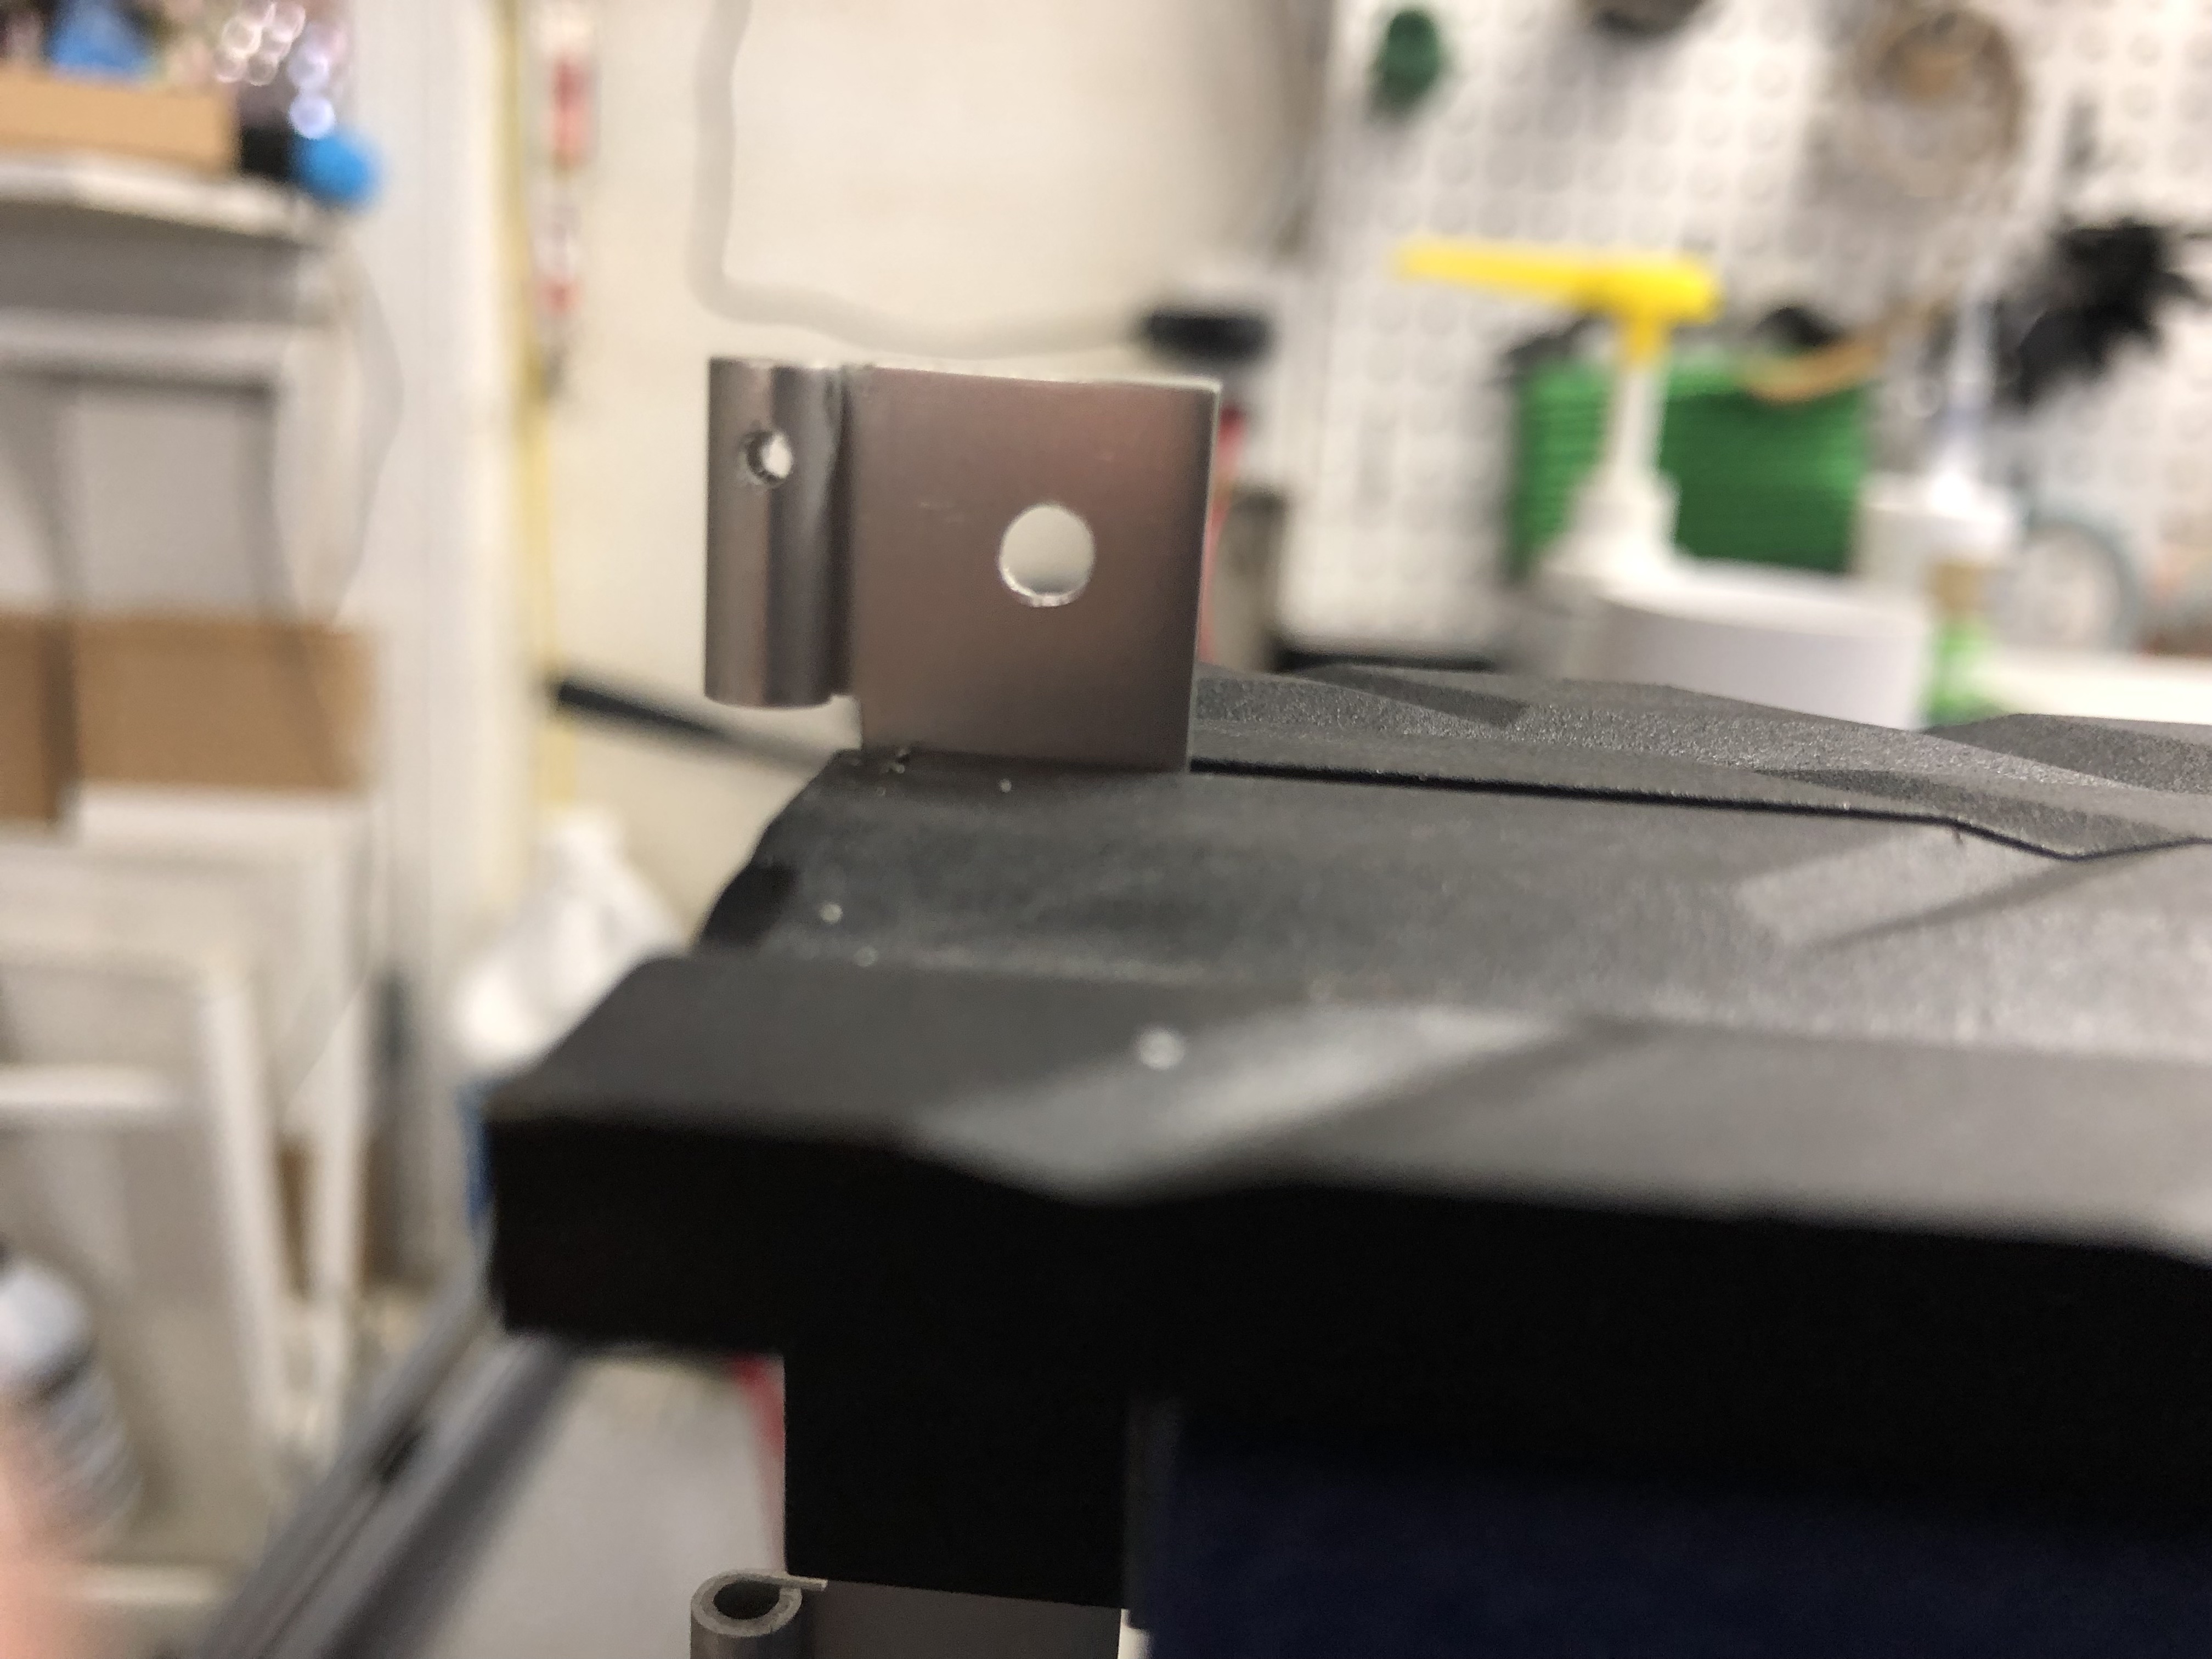
Then I was searching for the brackets that go on top of the trim tab and realized that I got two different looking brackets. Since this looked off to me, I tried to squint real hard at the instruction manual to figure out which bracket is the right one. I also checked the Sling 4 instructions and asked Matthew if he had a picture of his brackets and with that figured out that I must have received one TSi and one Sling 4 bracket, so I put in a note with the factory so I can get the right bracket for my TSi.
This looked off to me - I figured out it's one TSi and one Sling 4 Trim tab bracket
Investigative work to figure out which bracket belongs

Securing the trim tab piano hinge

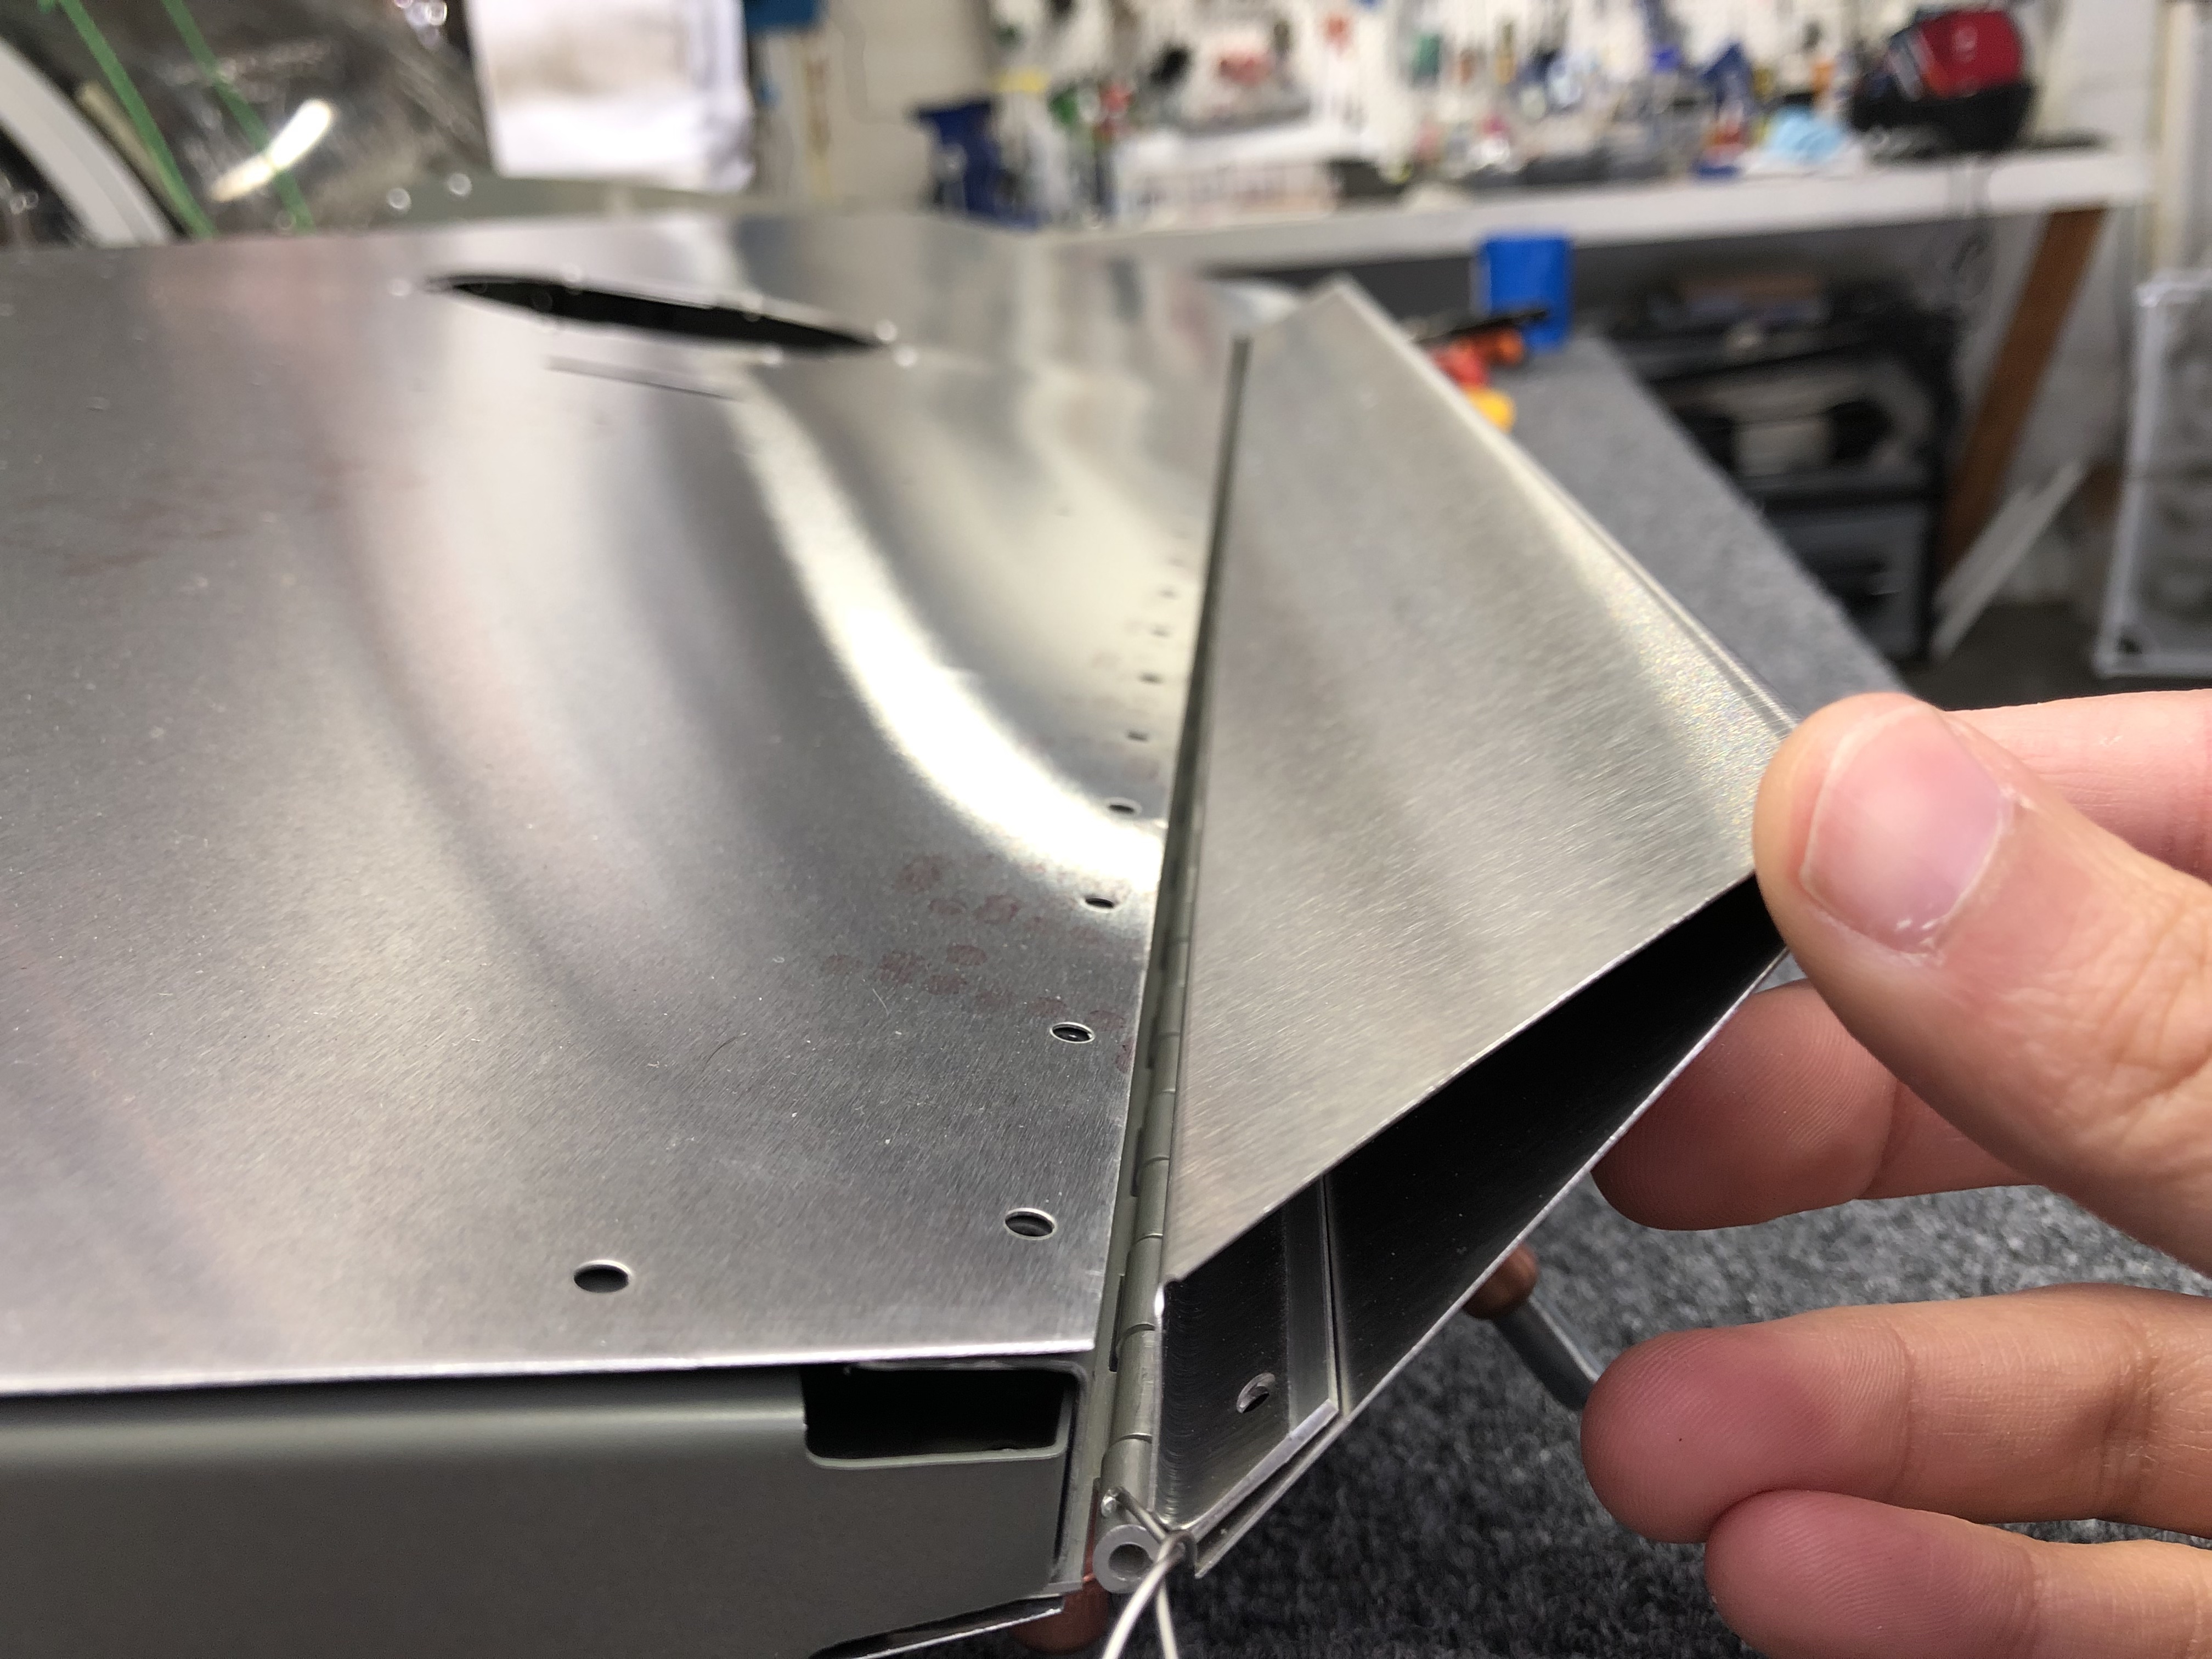
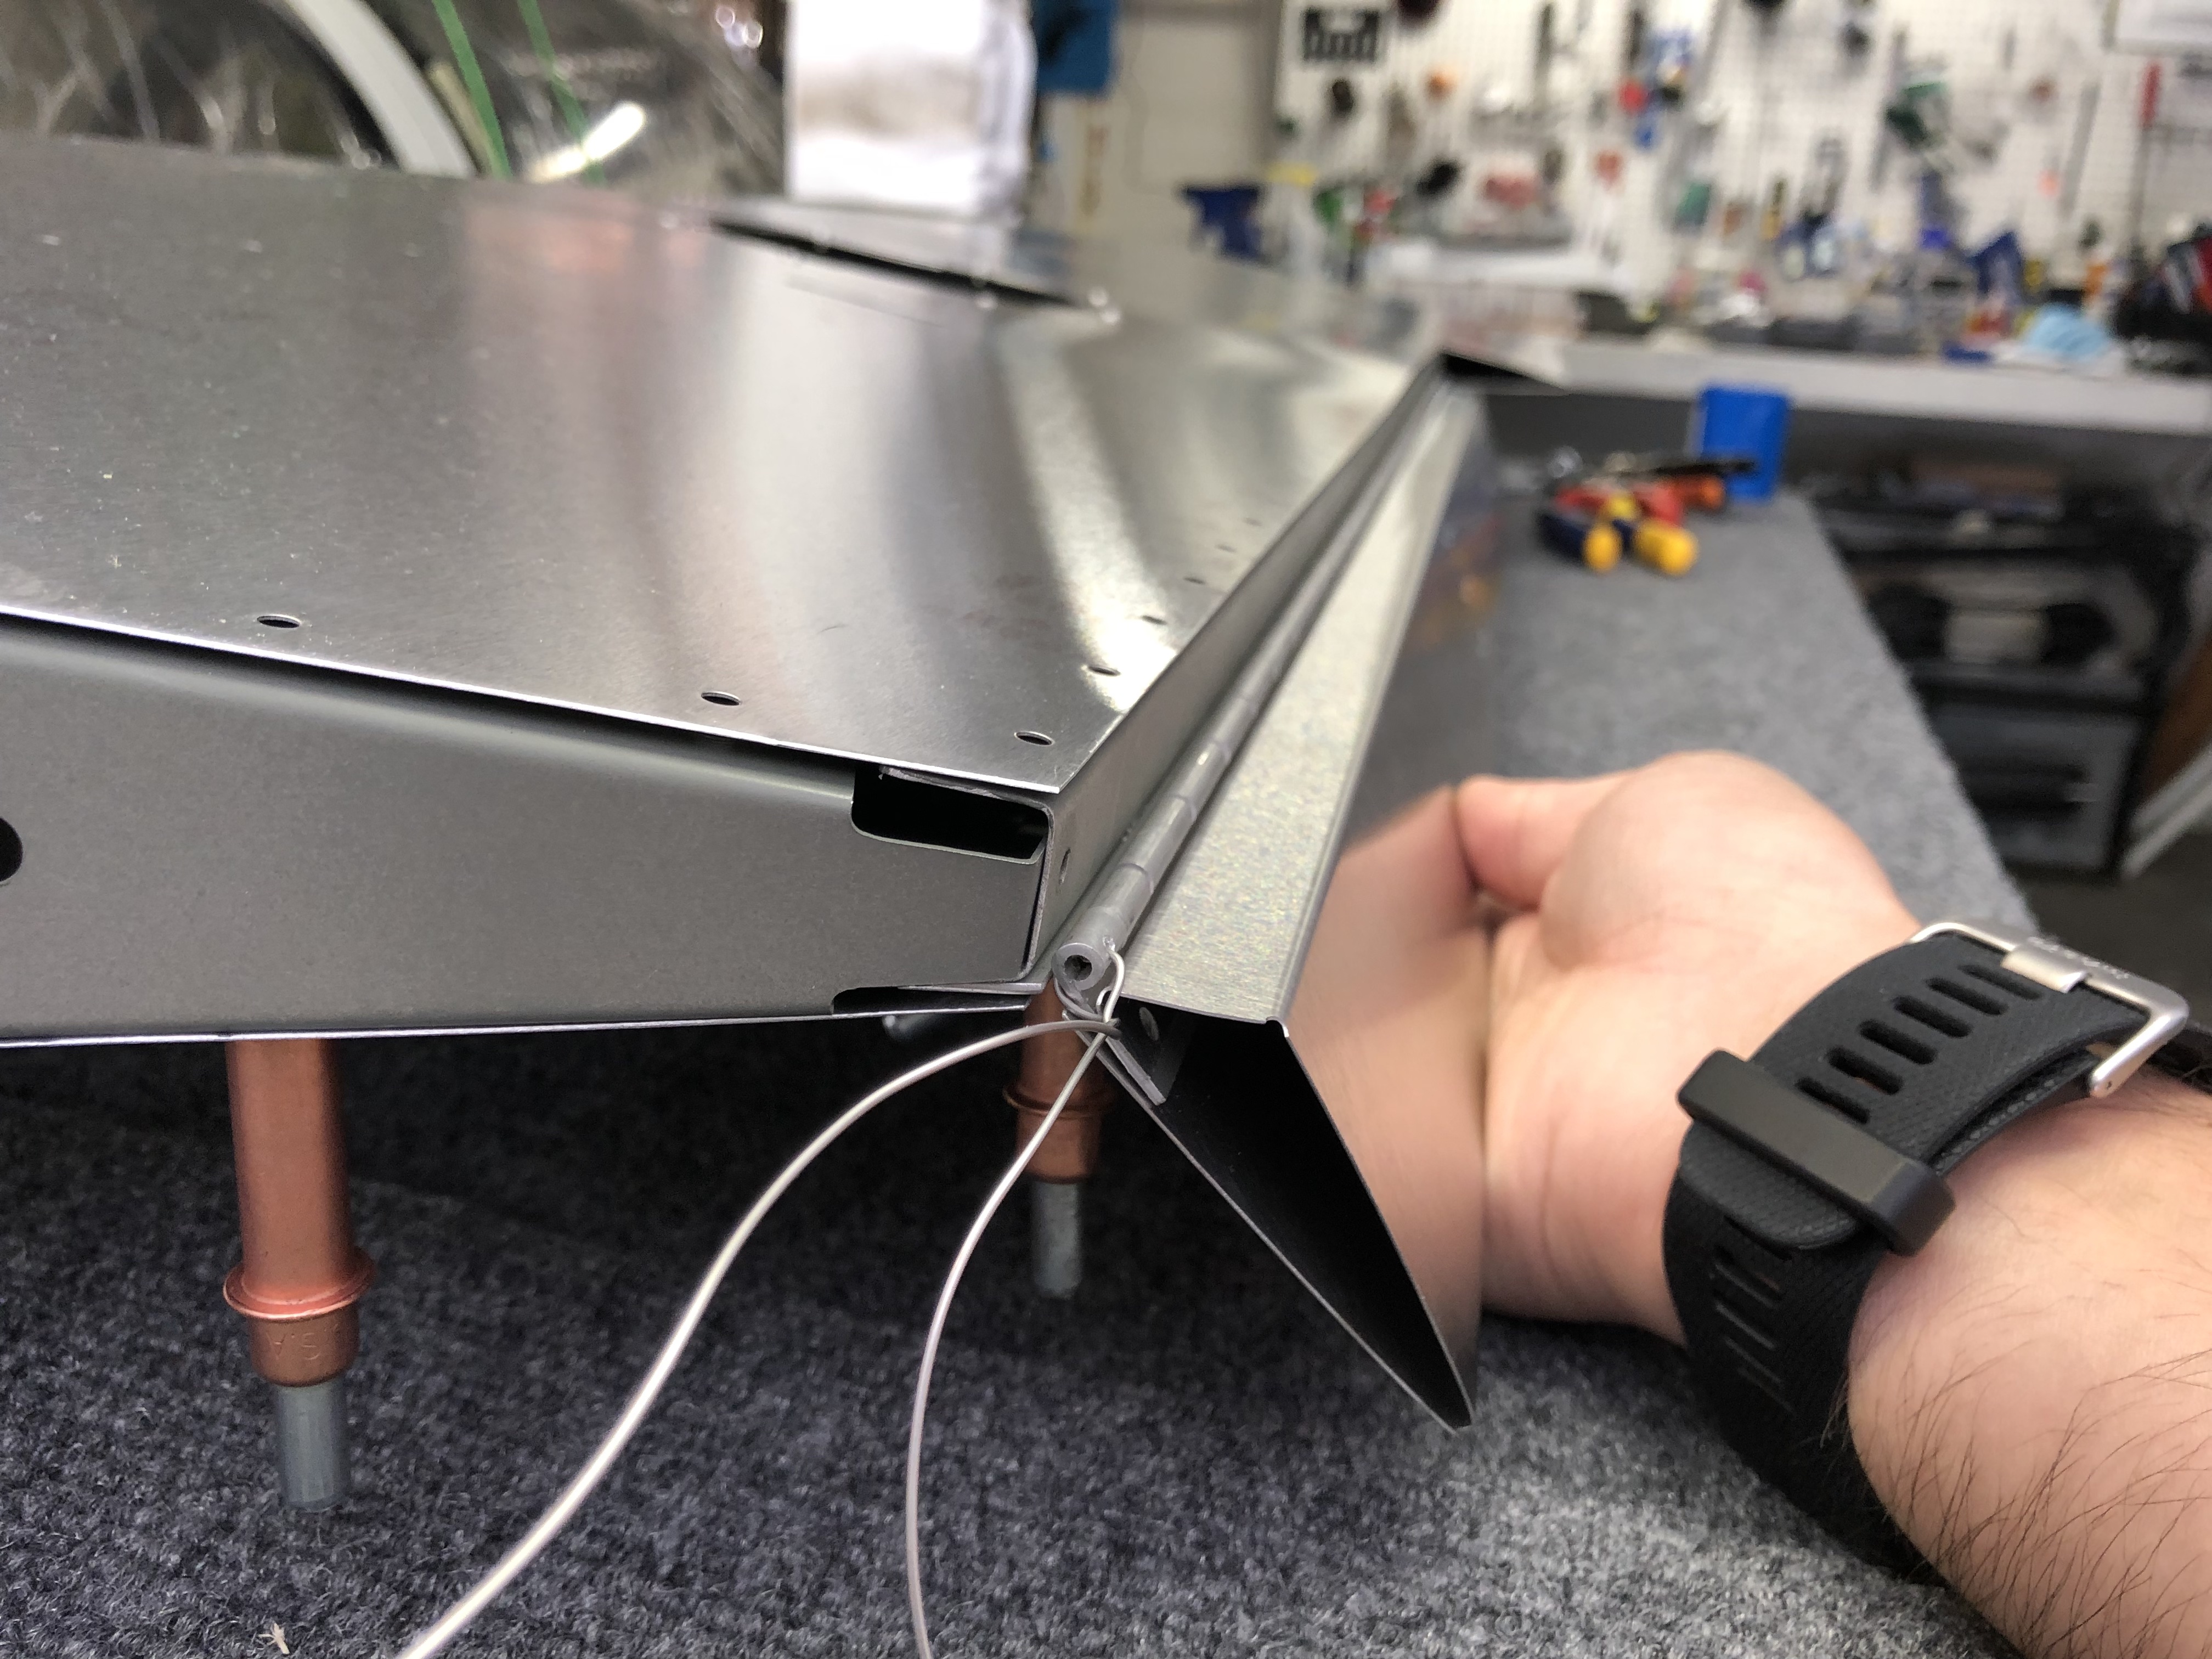
With that out of the way, I focused on thinking about securing the piano hinge that attaches the trim tab to the elevator. Since there is no natural stop for the pin that goes through the hinge on either side, it could happen that it becomes lose from vibration and thus could come out during flight, which would be bad. I research a bit on the topic and found this article from EAA on the use and installation of piano hinges.

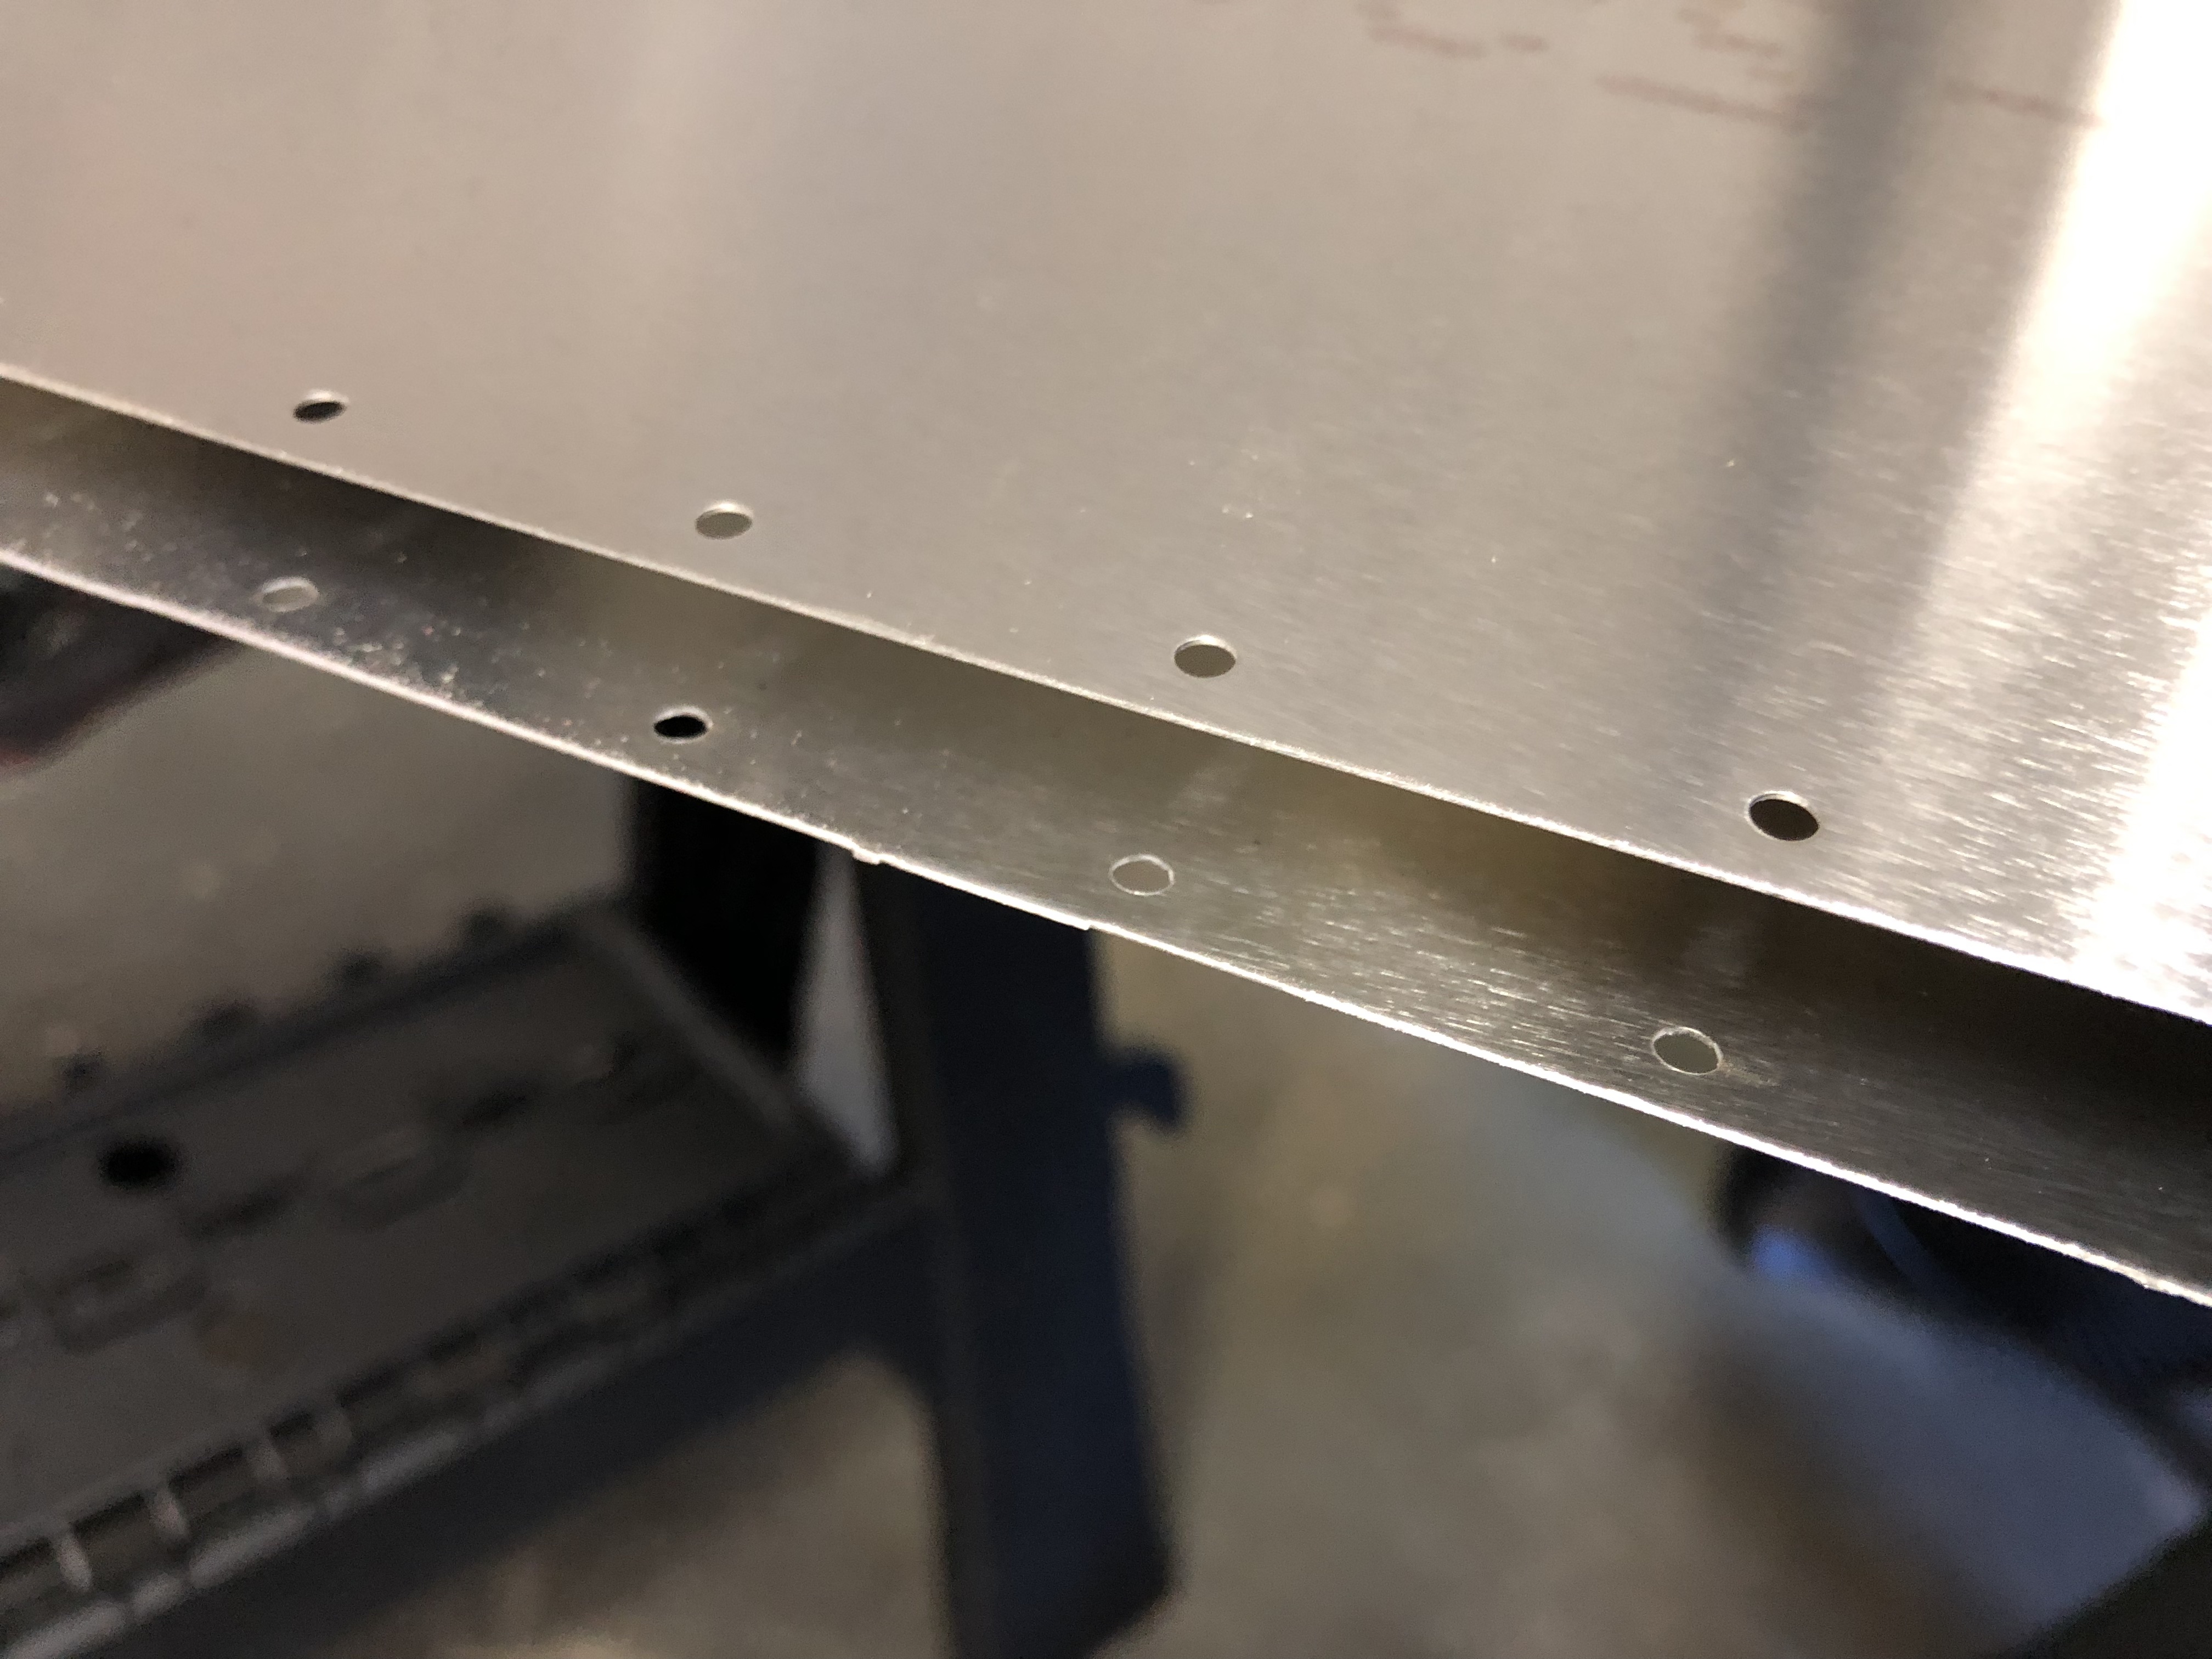
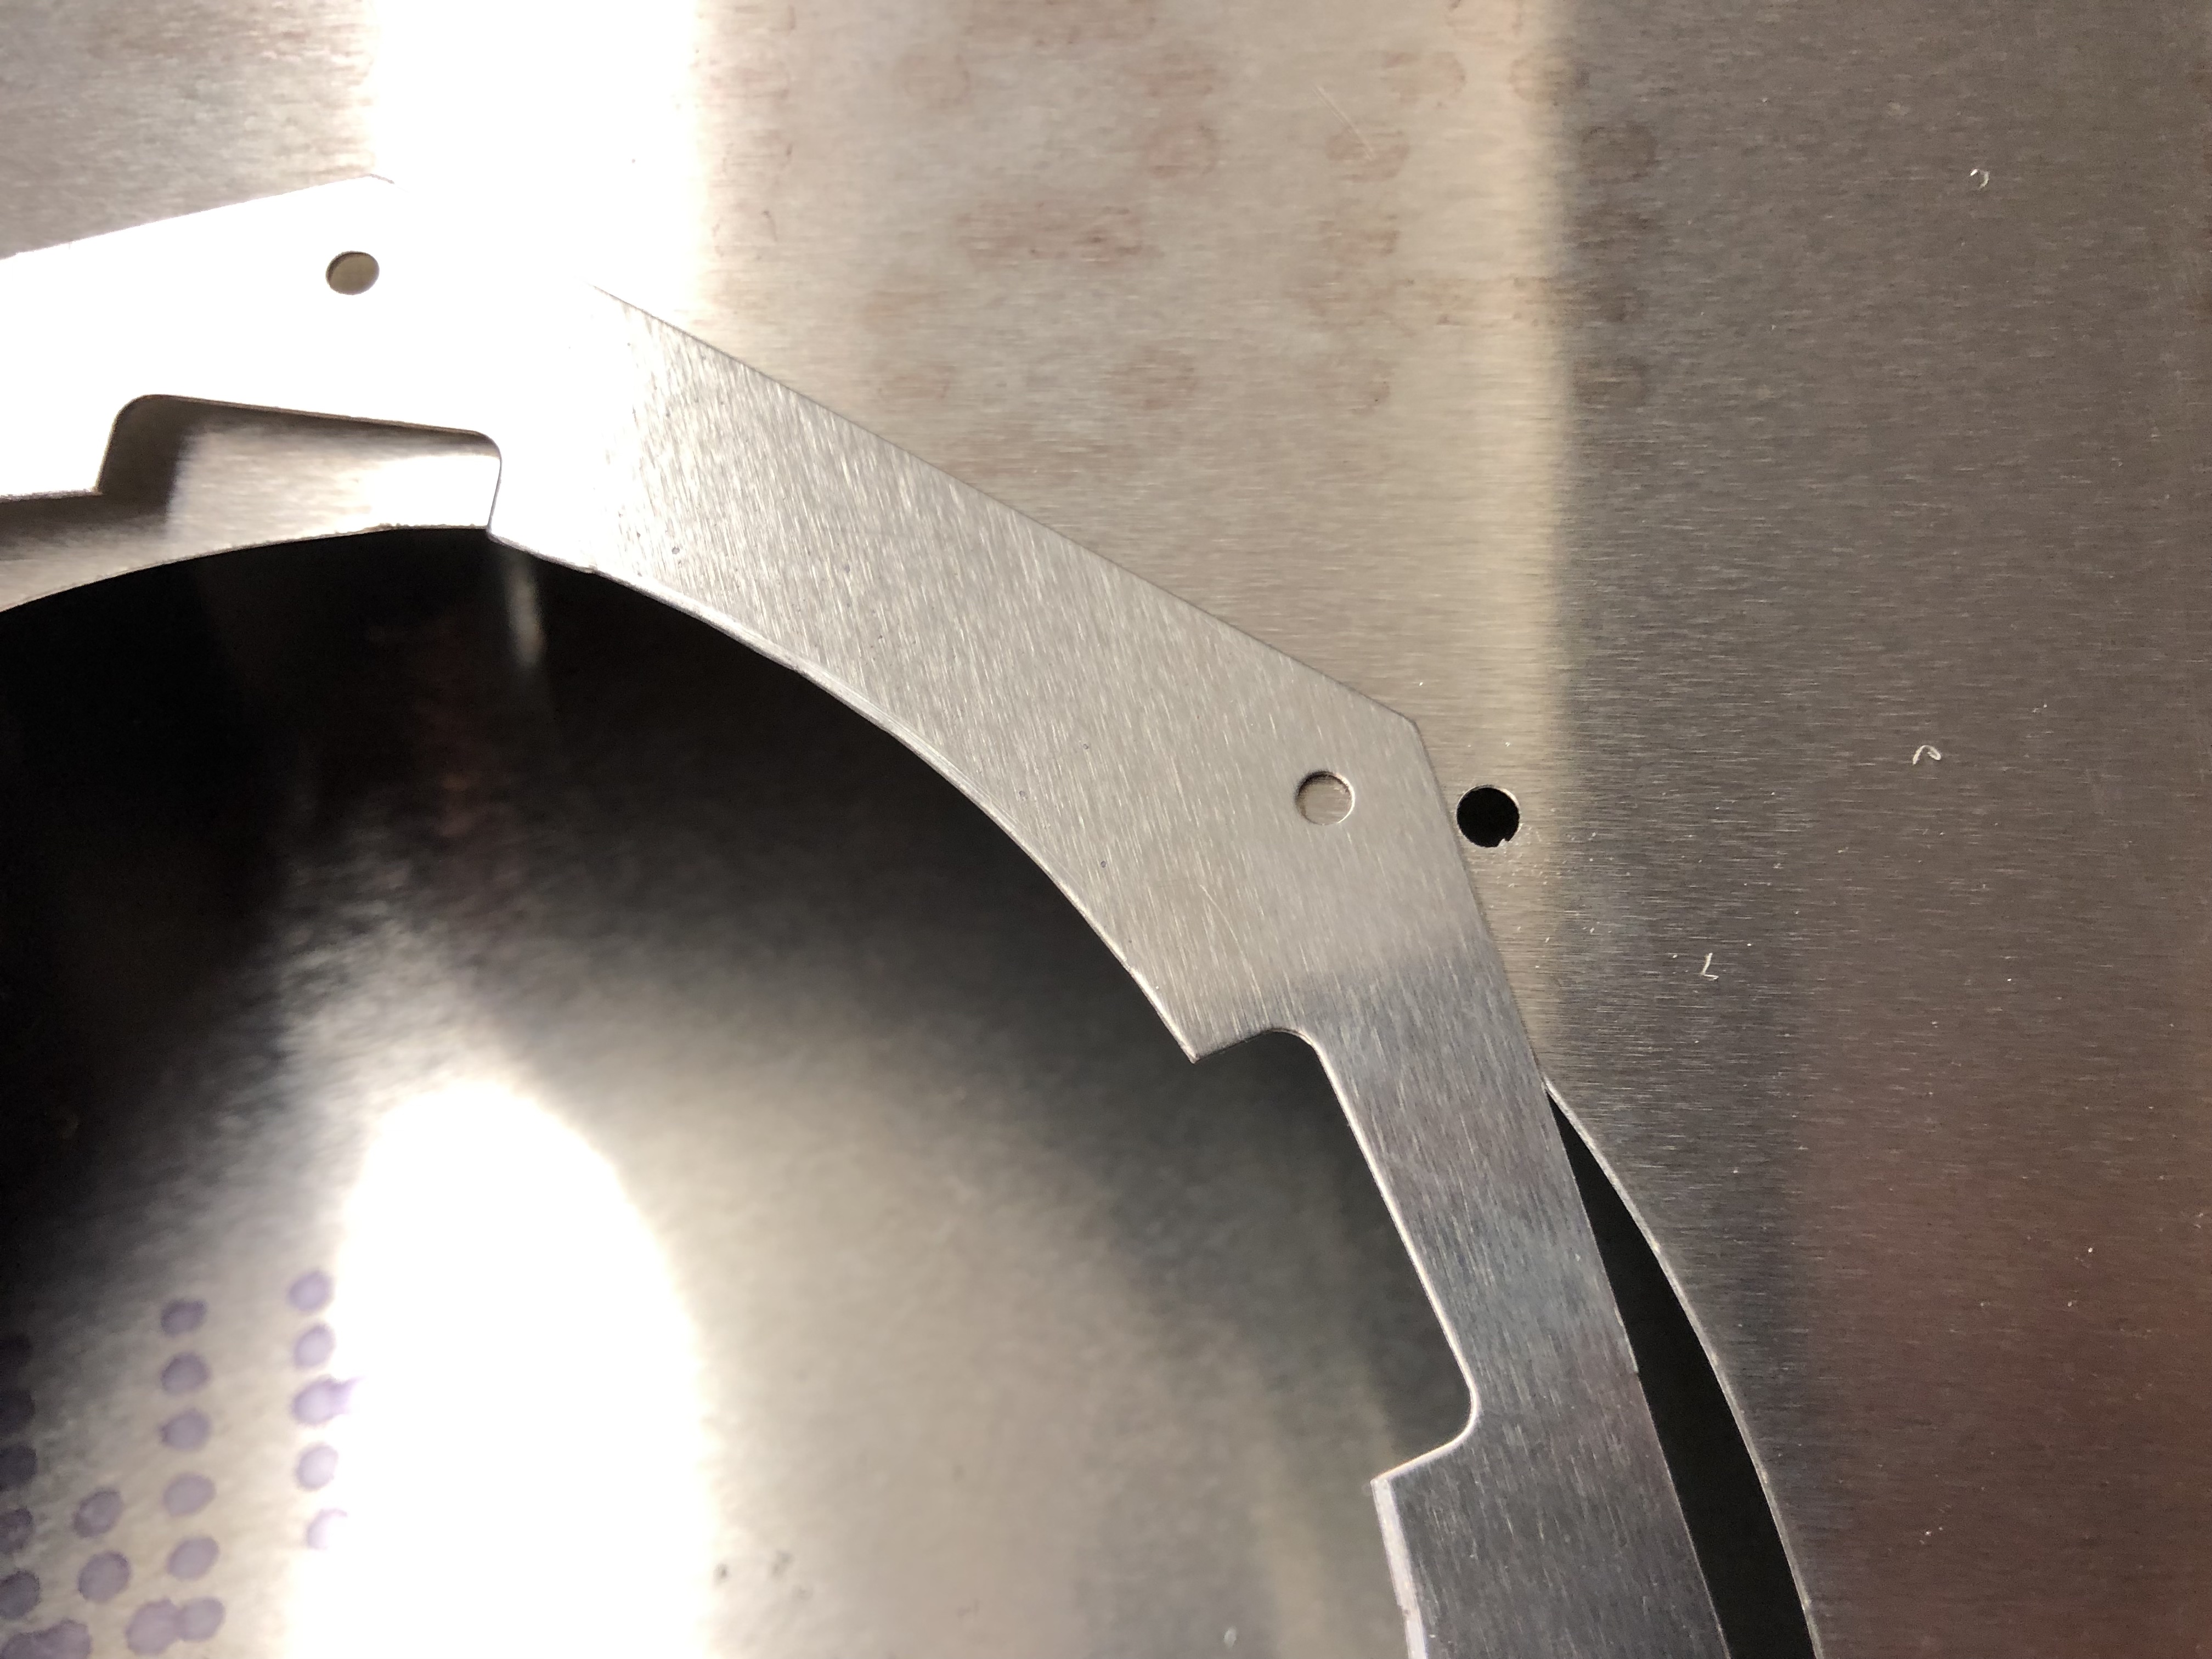
One of the ways to secure the hinge is to drill a small hole through the last part of the hinge and install a safety wire. My hinge was luckily cut in a way that makes this approach very easy to achieve. I got out a small drill bit, mounted the hinge in my bench vise and drilled a hole on each side so I could run a safety wire through it.
EAA diagram to safety the hinge Hinge mounted in my bench vise to drill the hole for the safety wire Hole drilled for the safety wire Safety wire in place to test free movement while connected to the Elevator

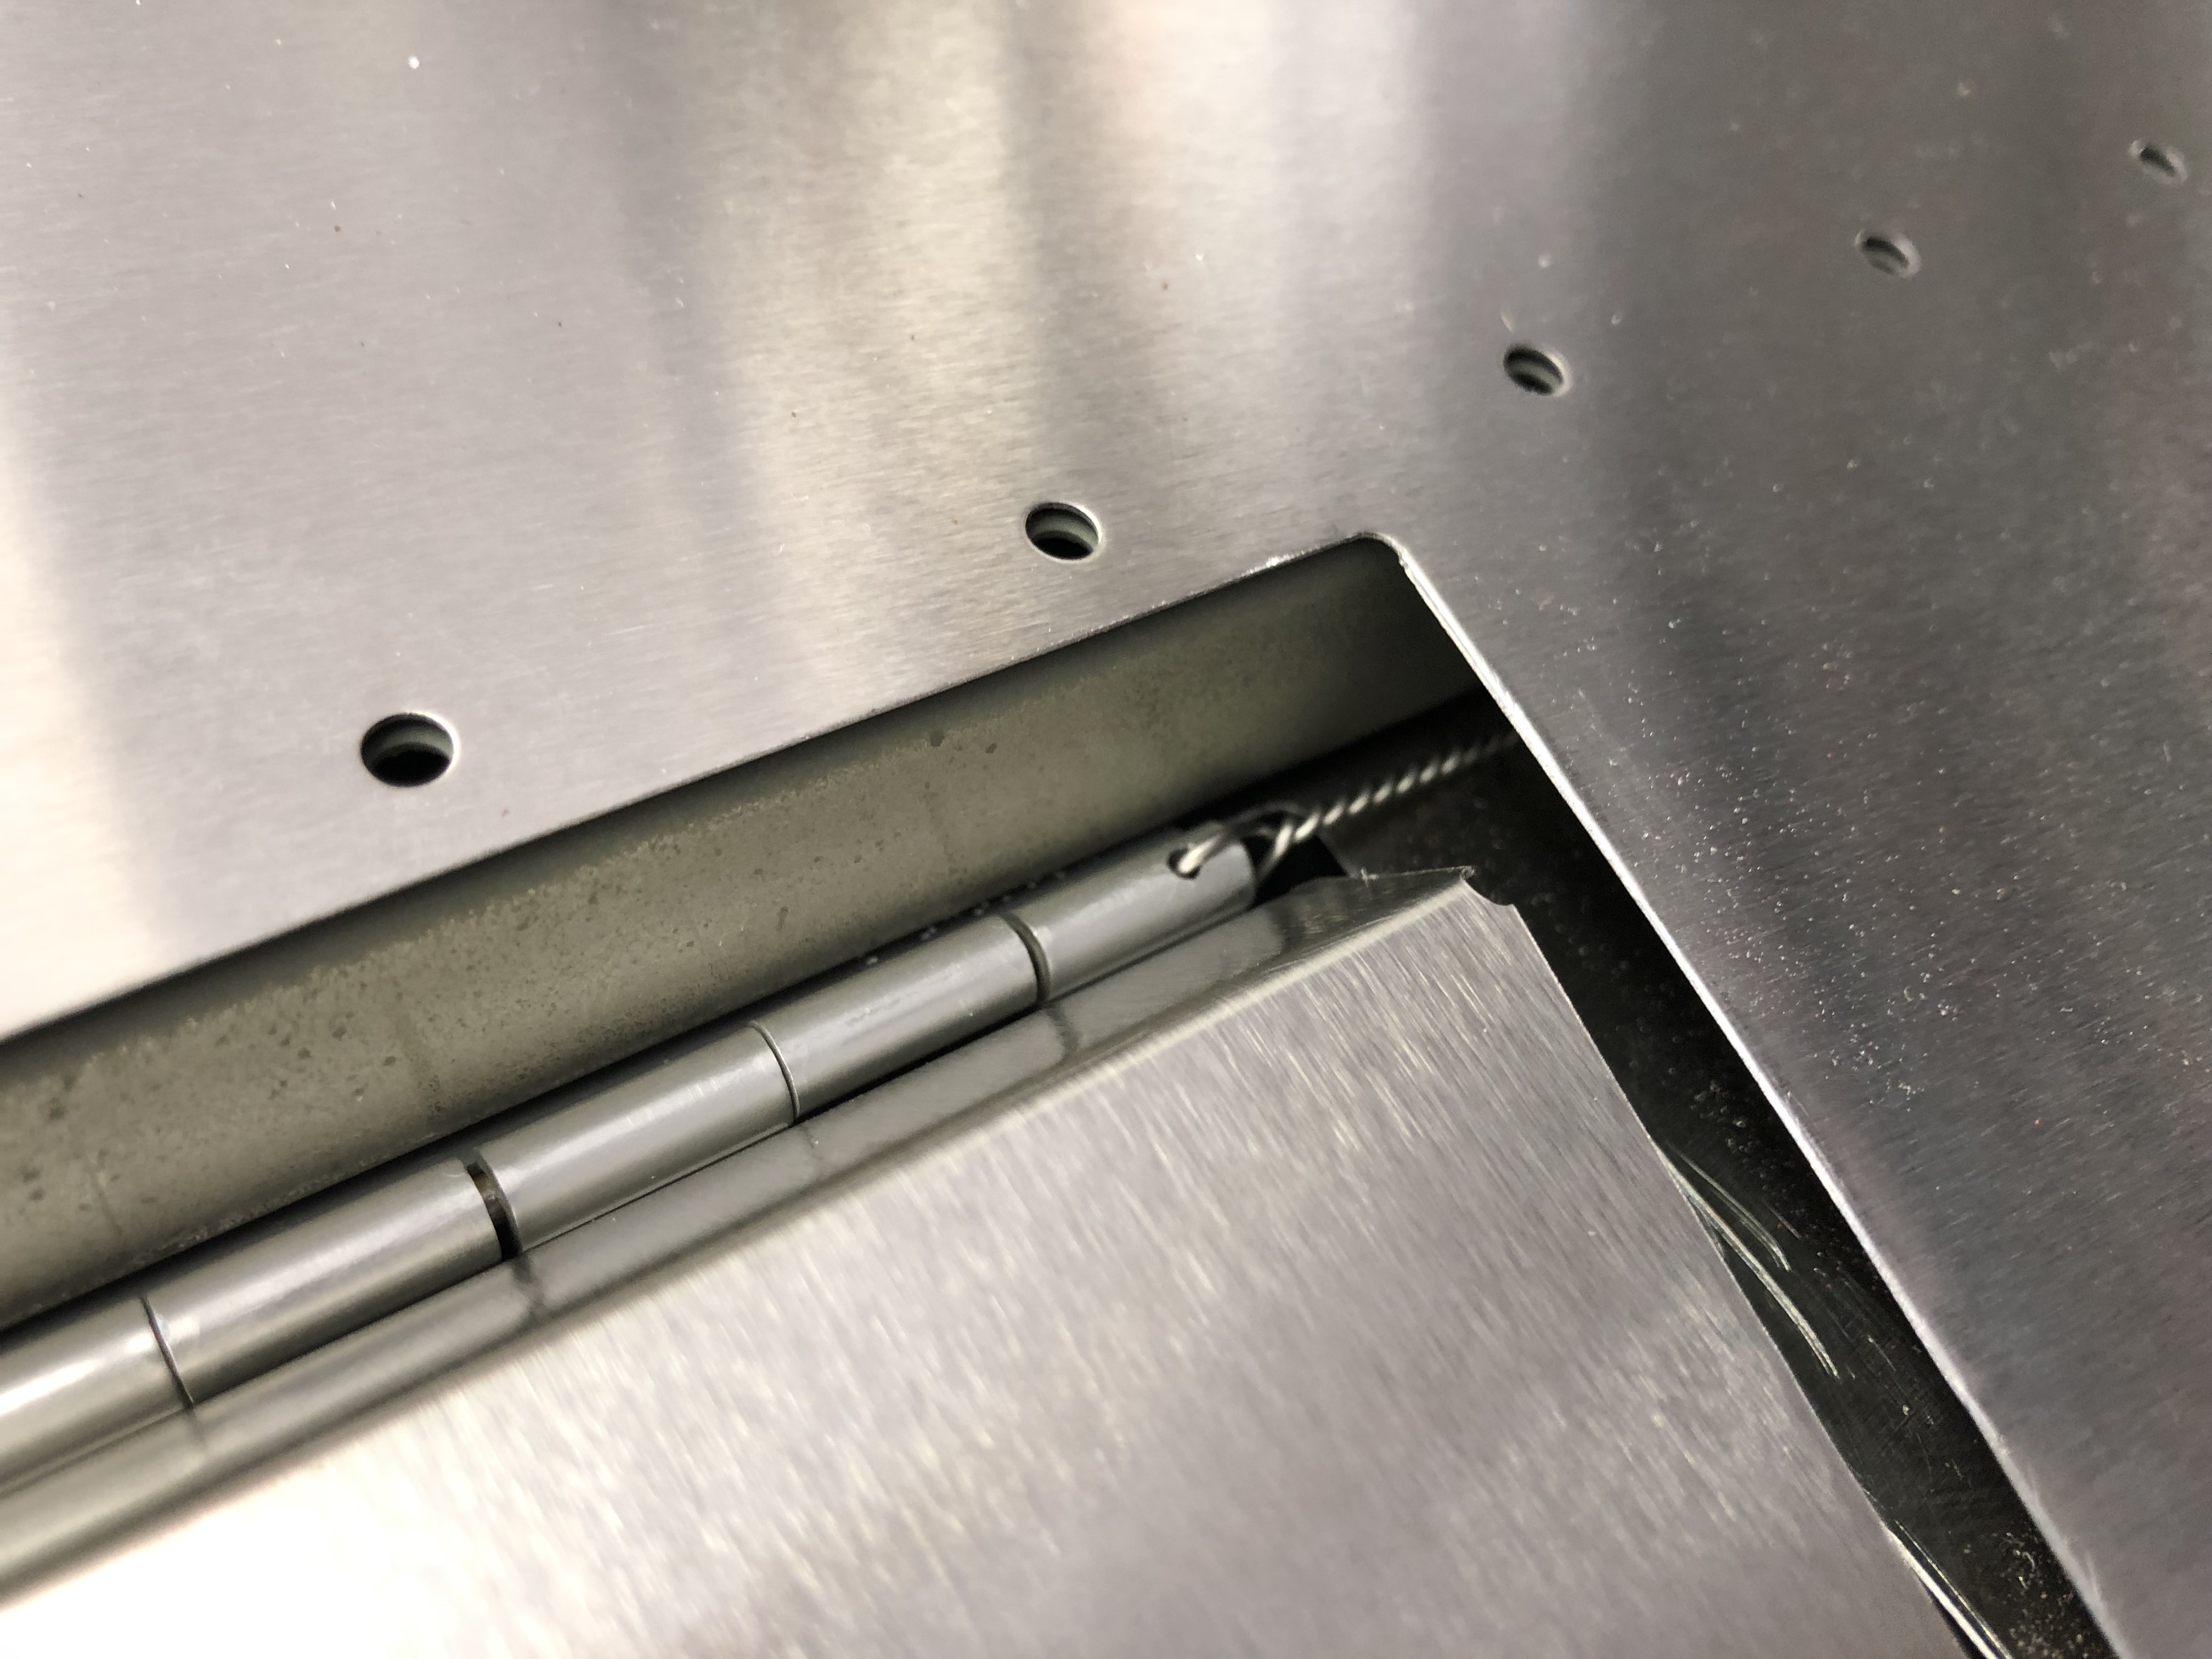
Using the safety wire approach makes it easy to still remove it in the future, but ensures that the pin stays securely in the hinge.
Testing free movement of the trim tab with the safety wire in place

Fitting the left side fiberglass tip

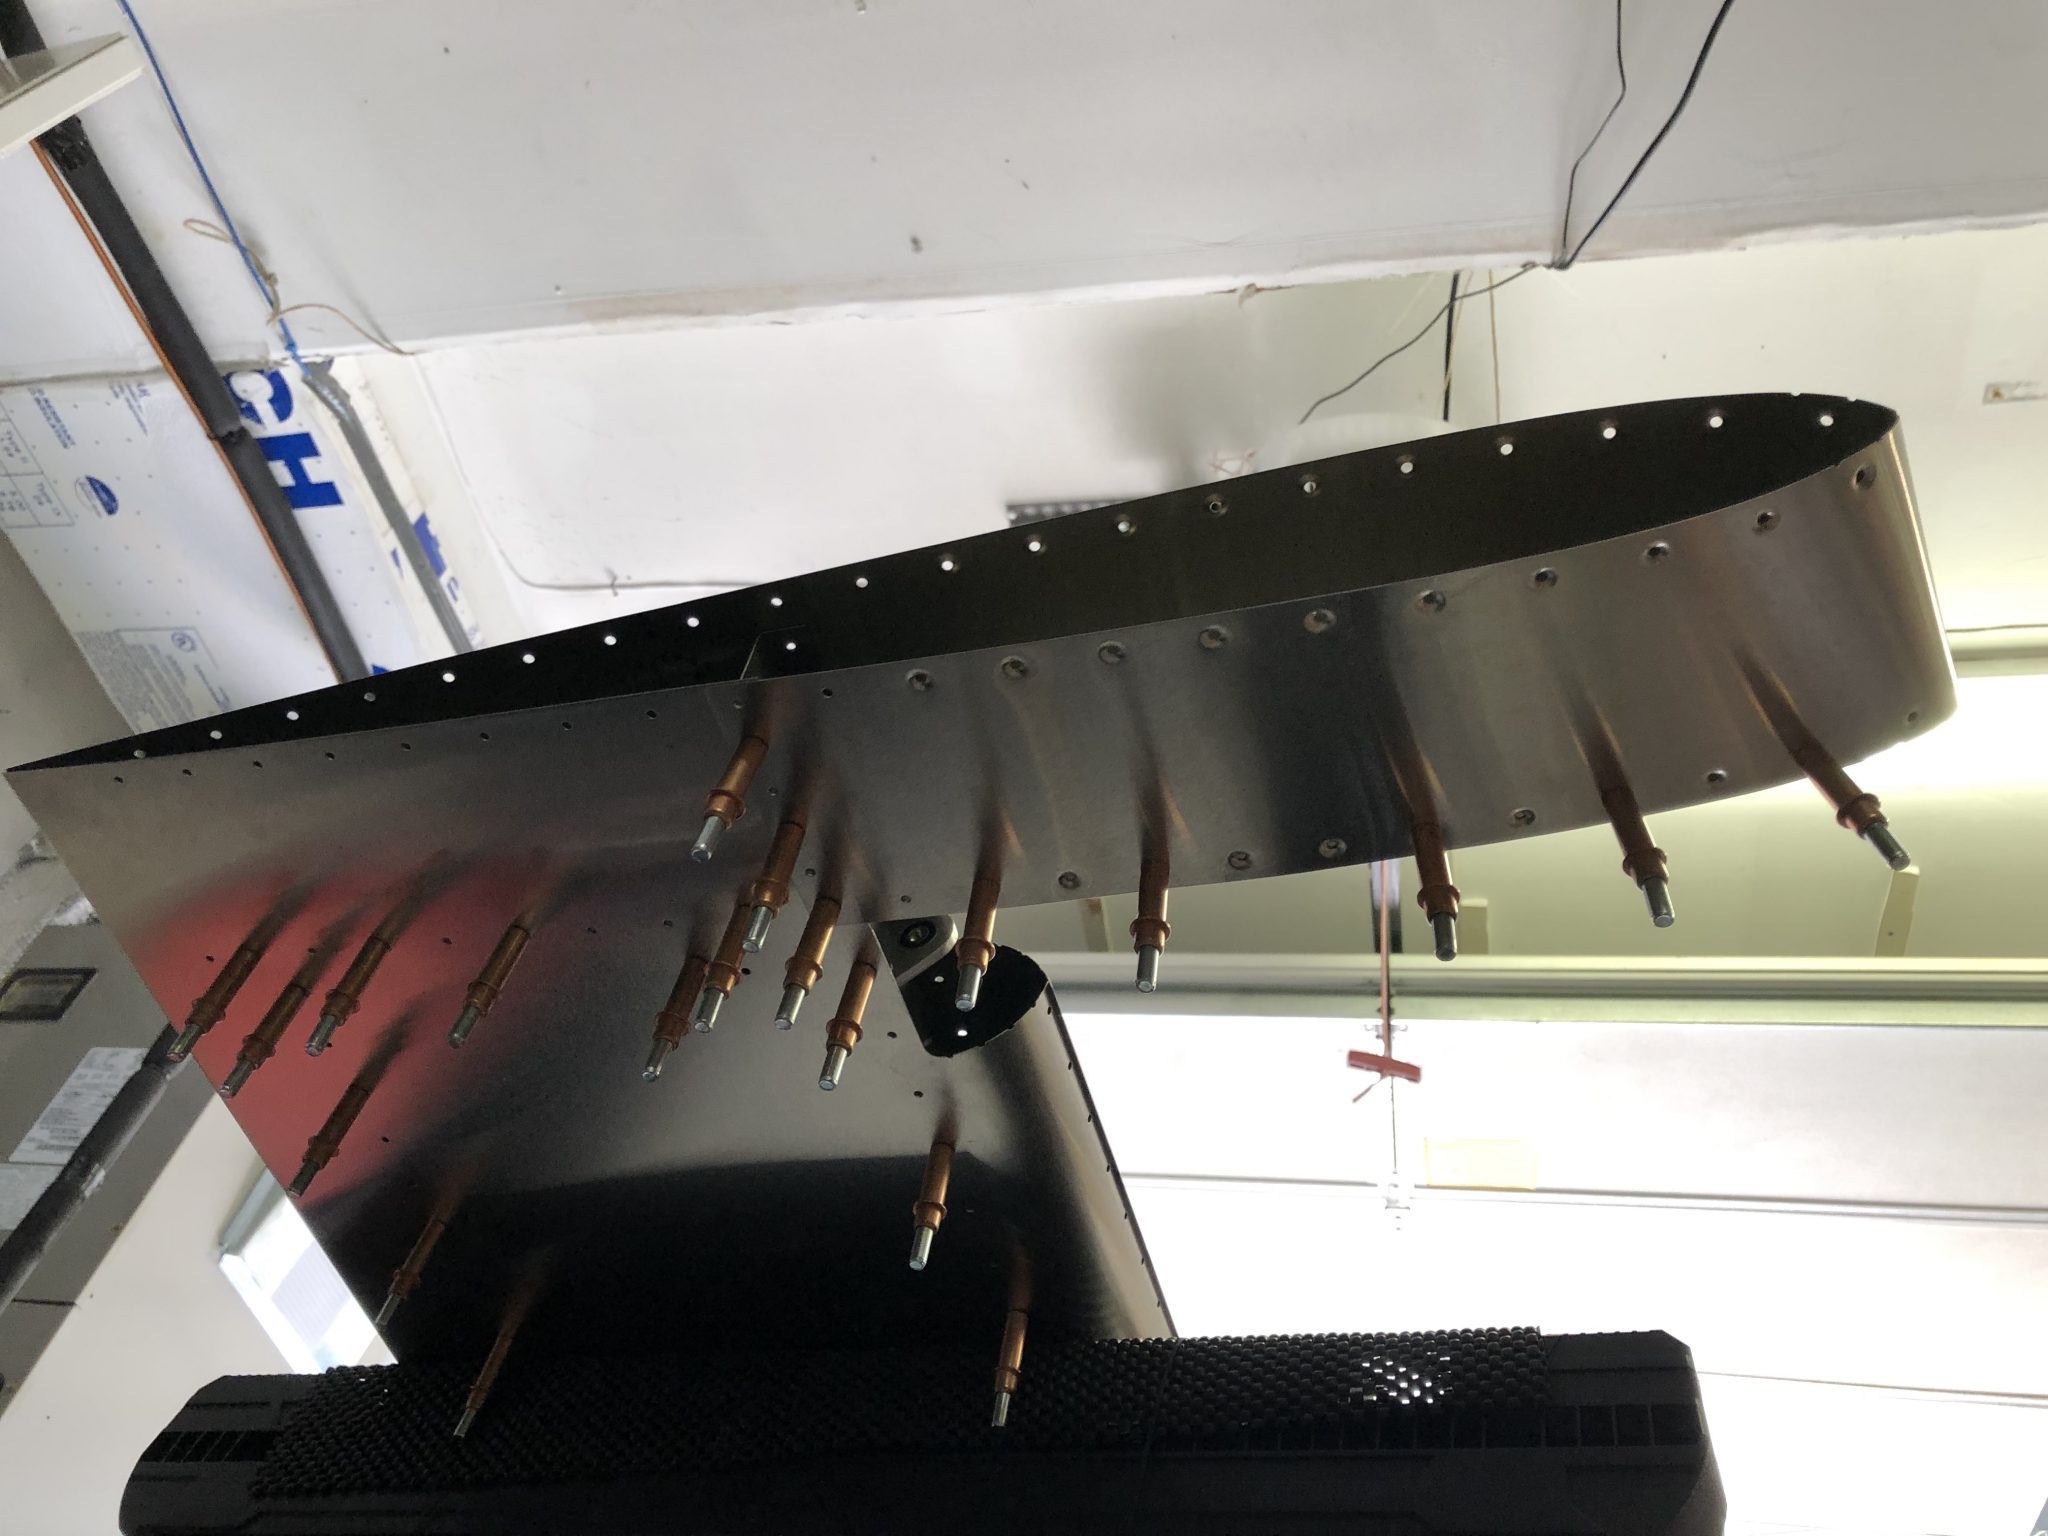
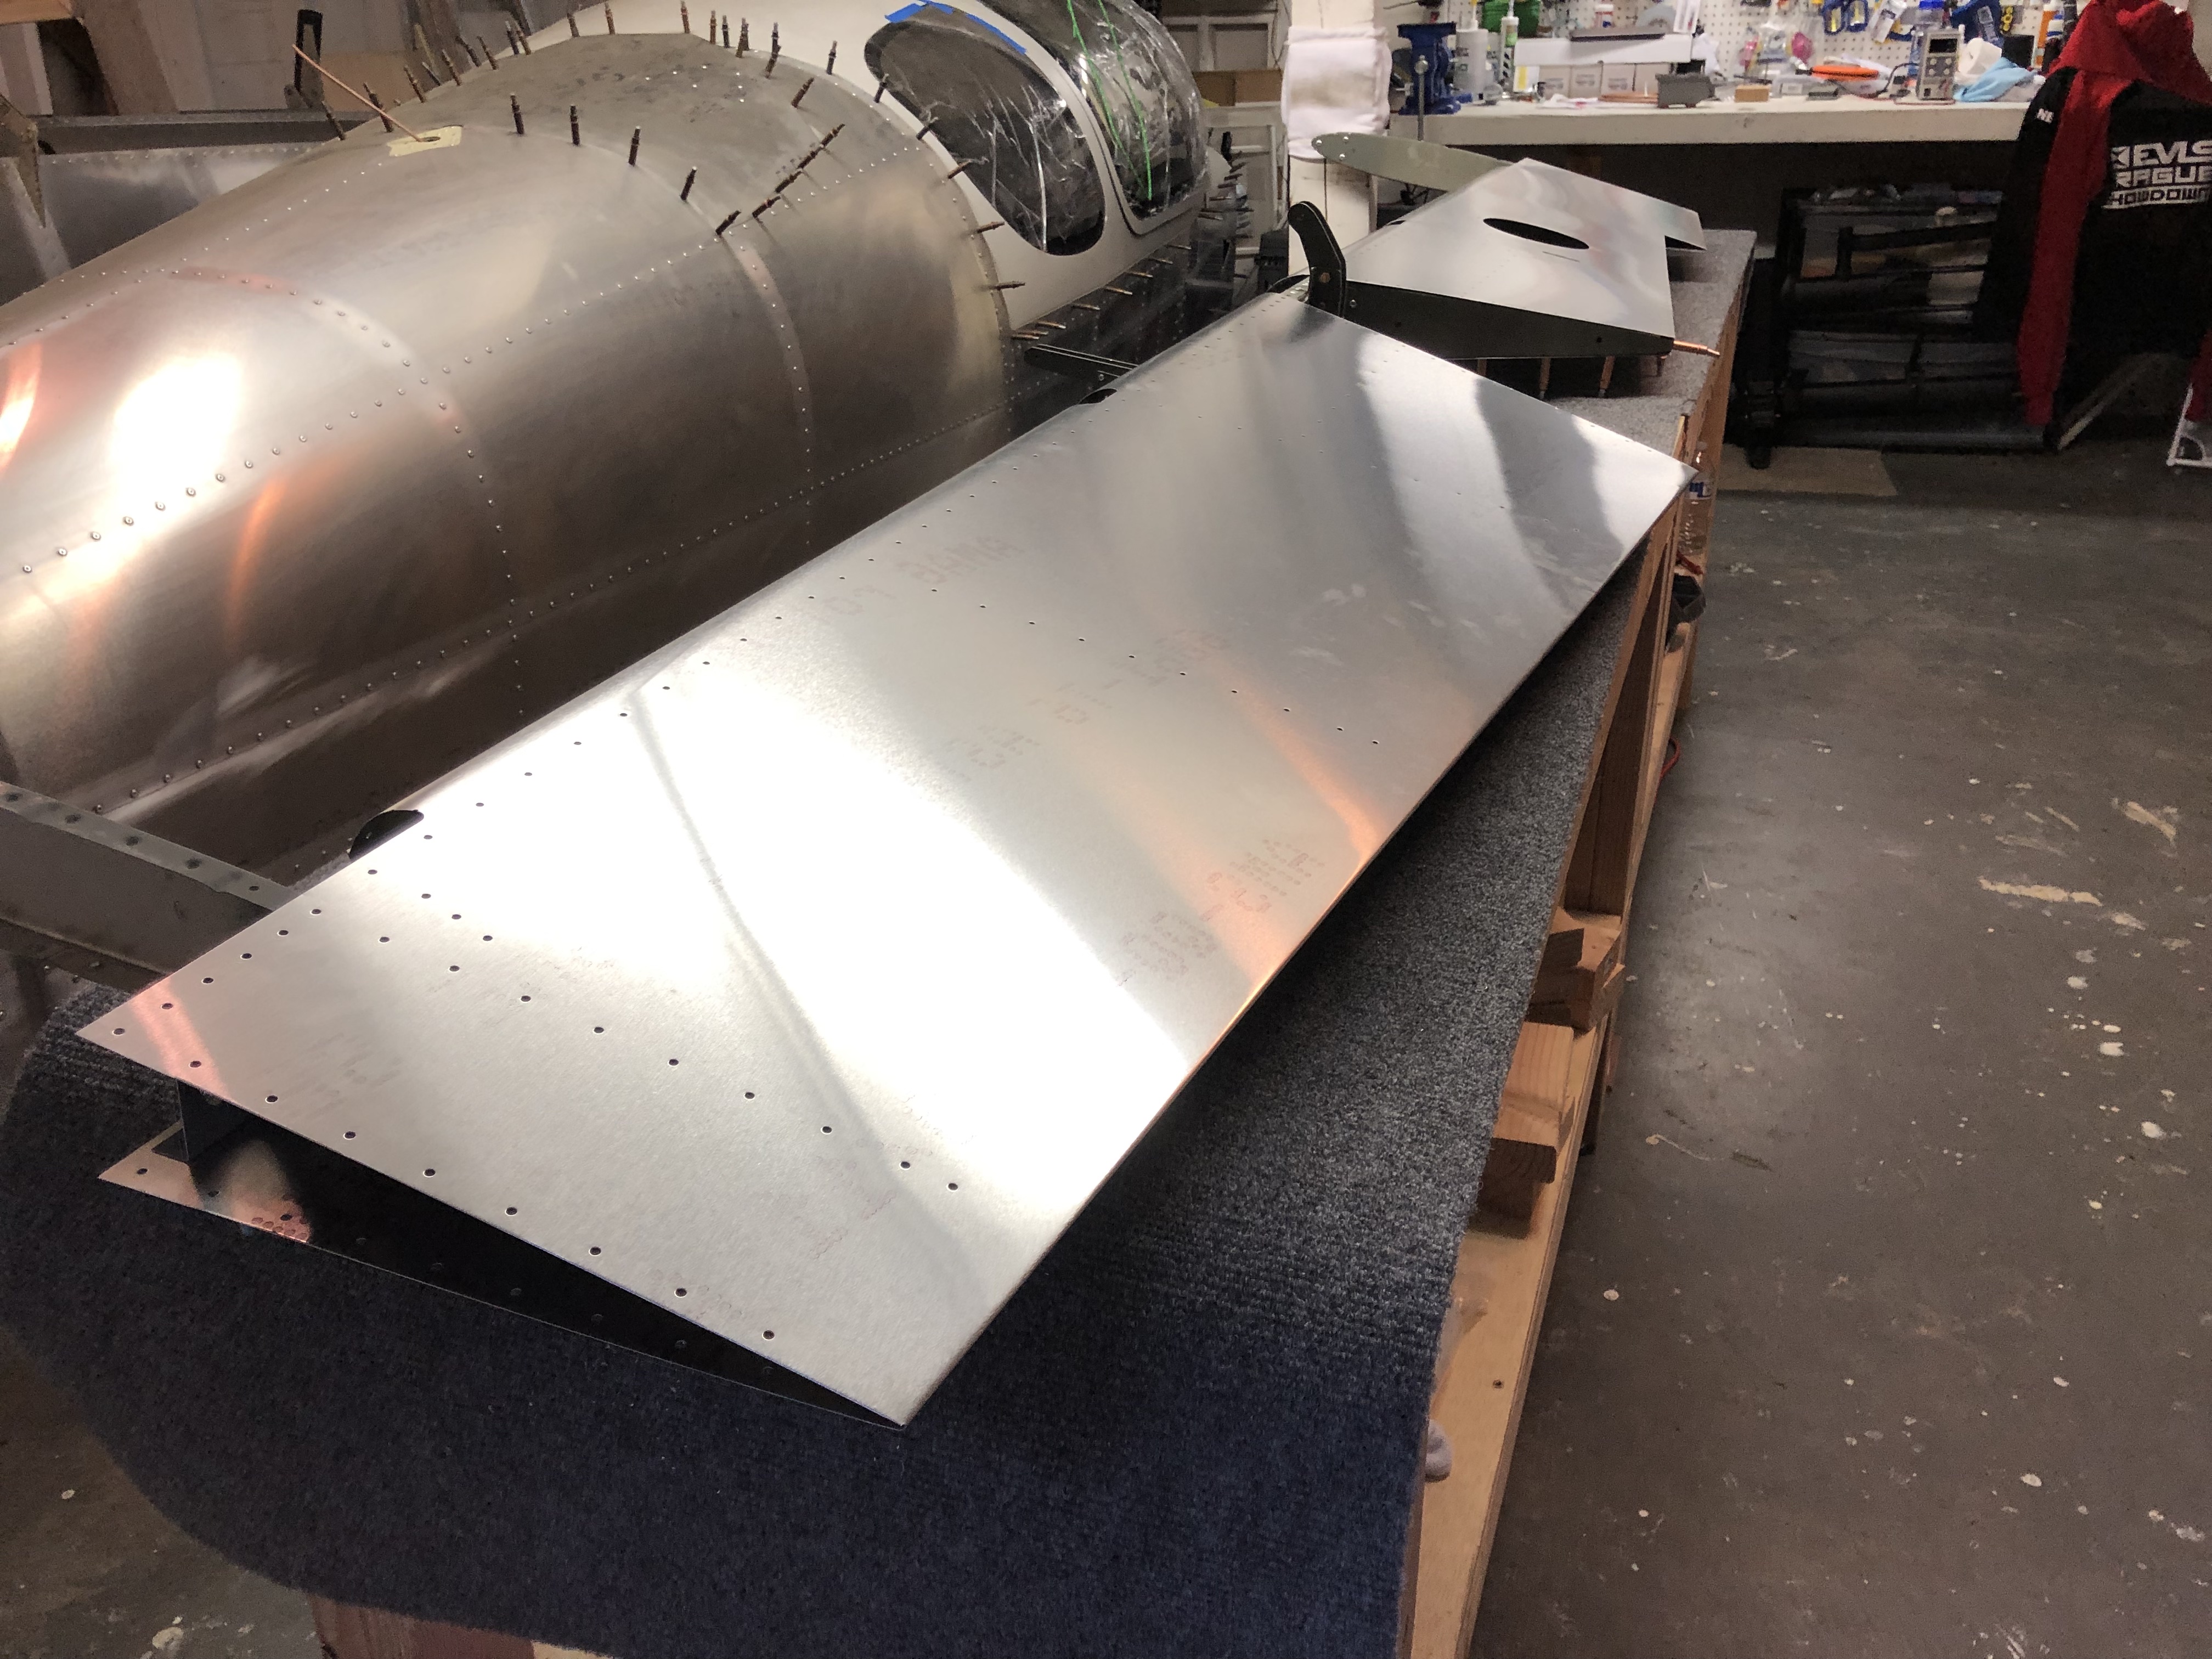
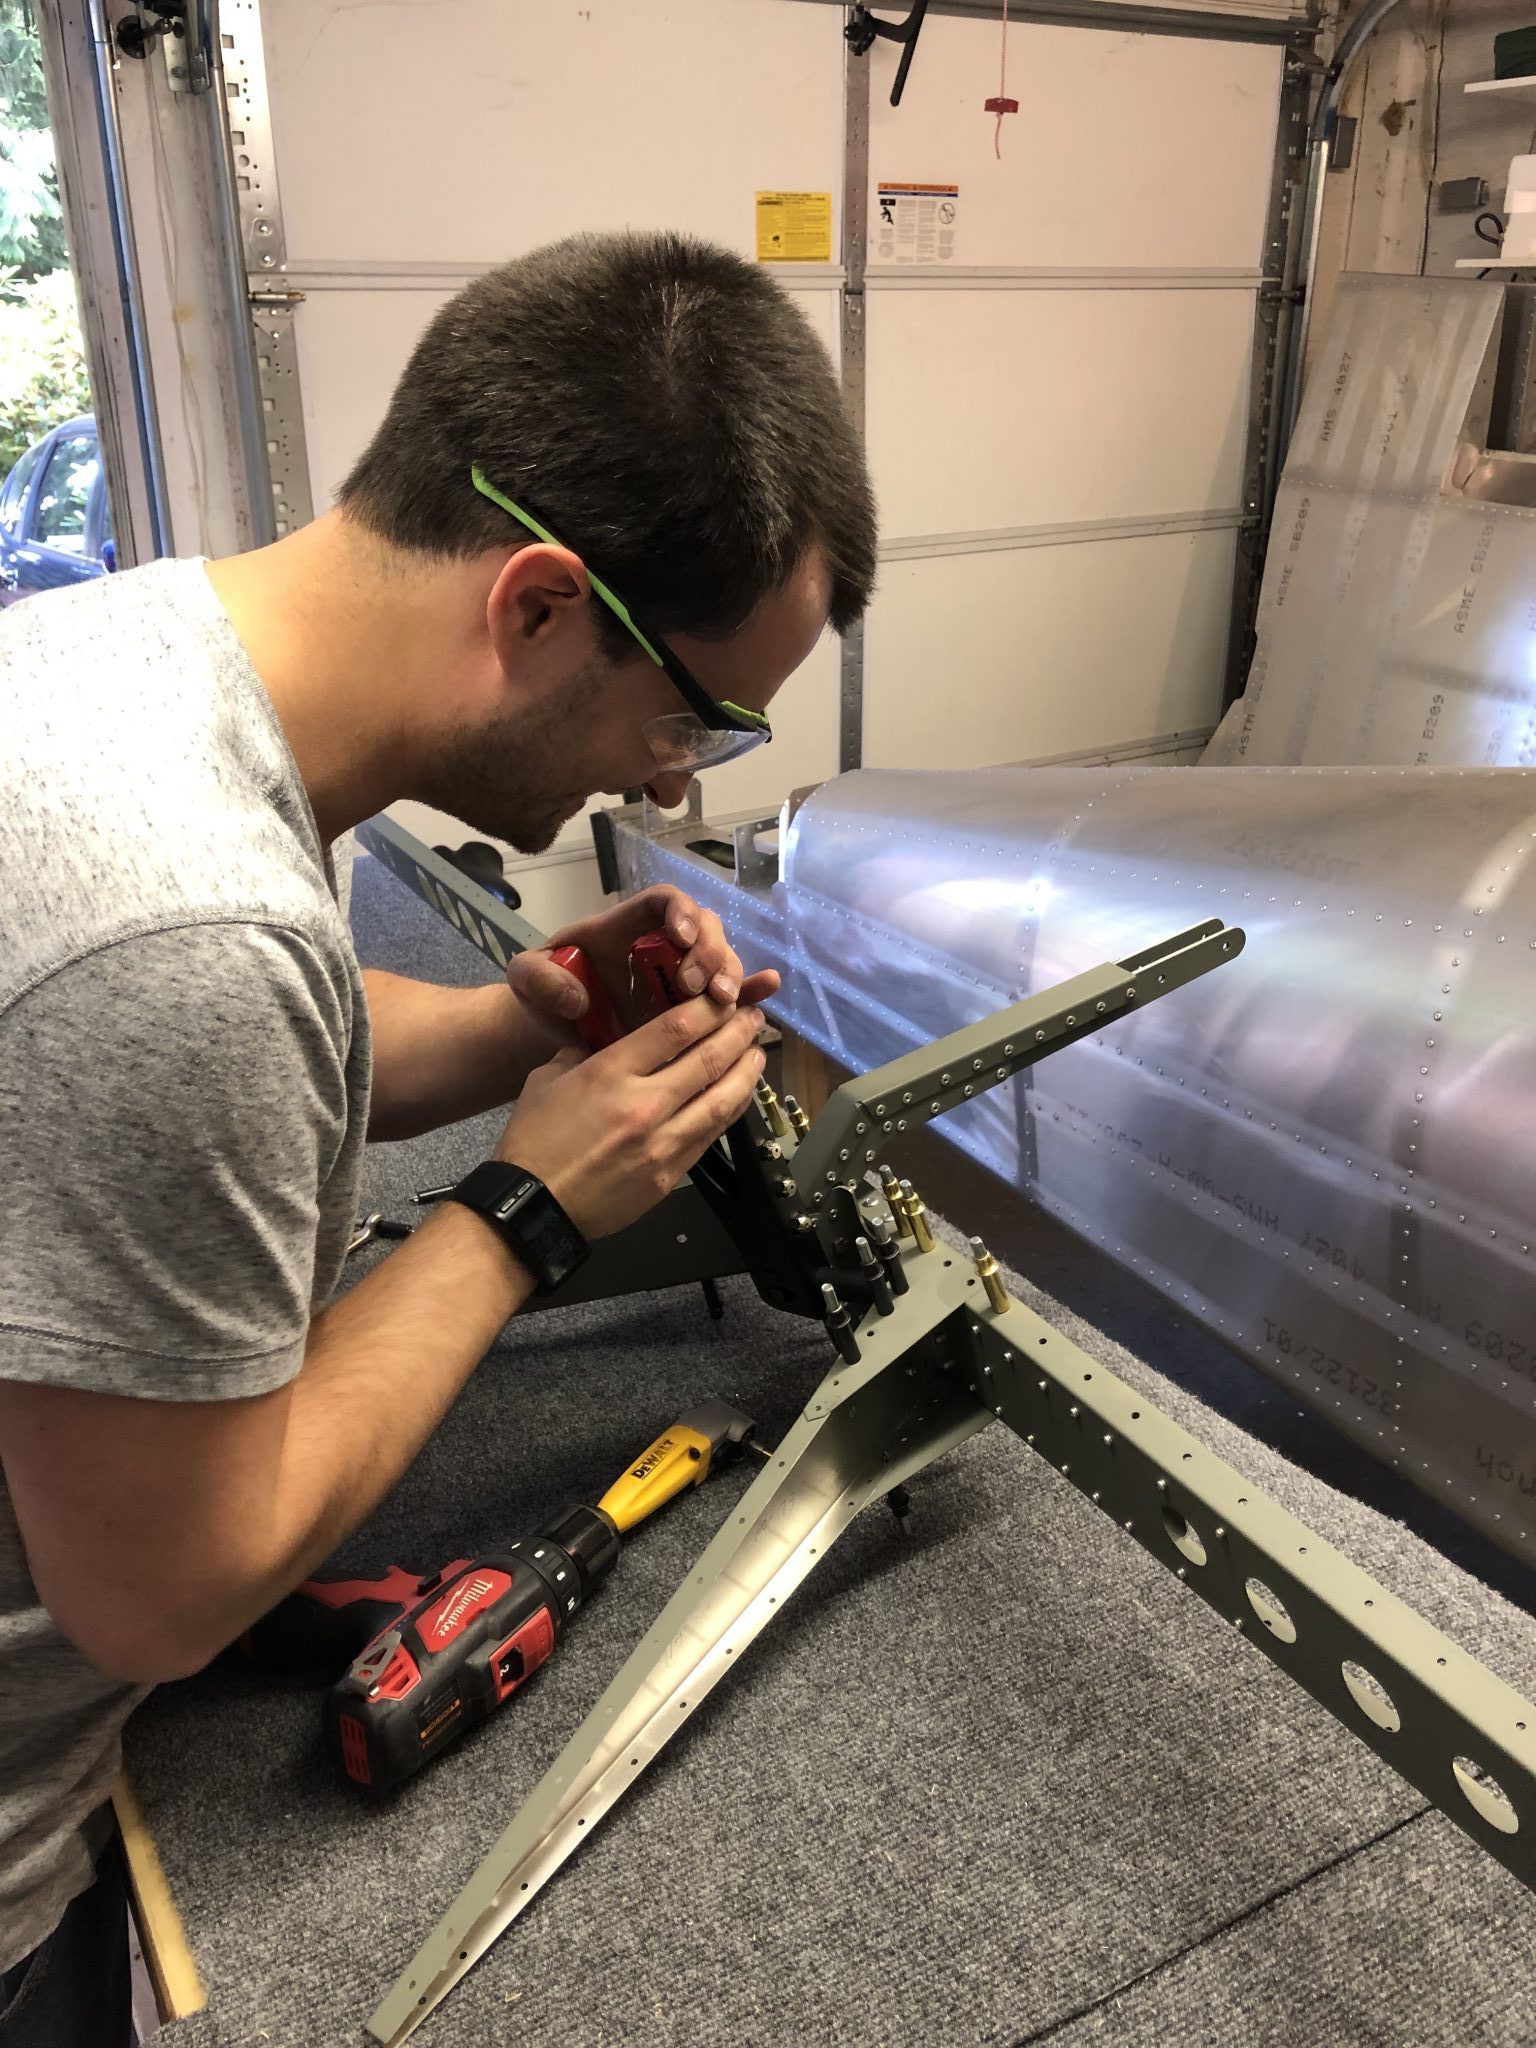
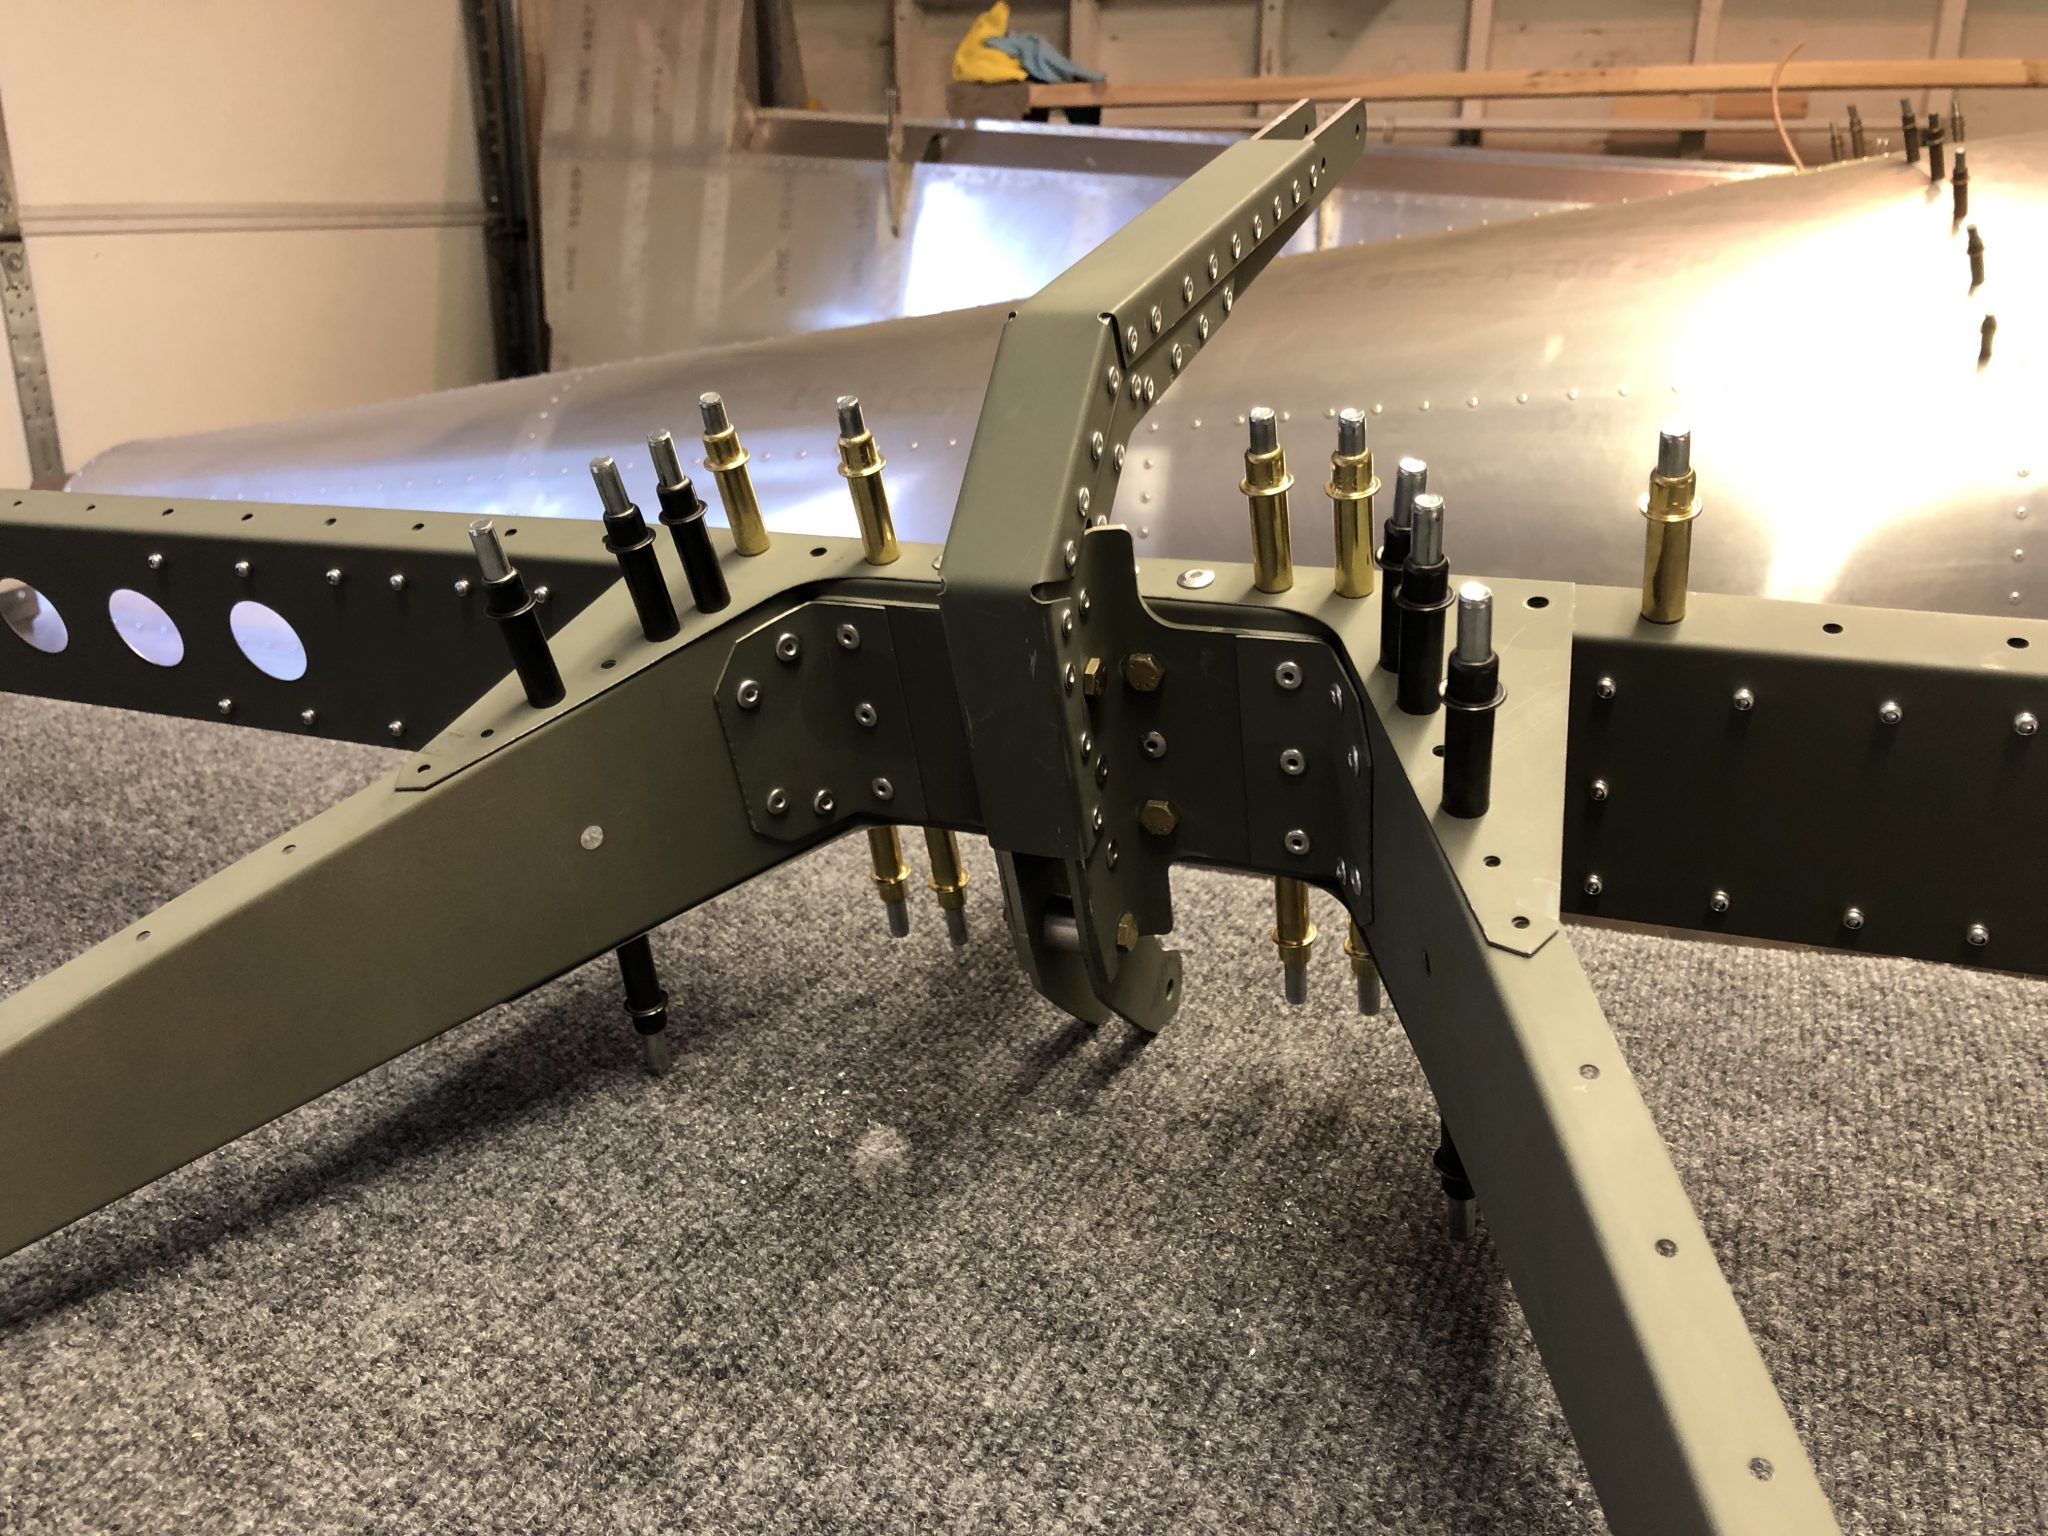
For the last part of the day, I started on fitting the last part of the skin and the fiberglass tips. Since this requires moving around the tip from both sides, I moved the Elevator over onto some saw horses so I could access the bottom more easily.

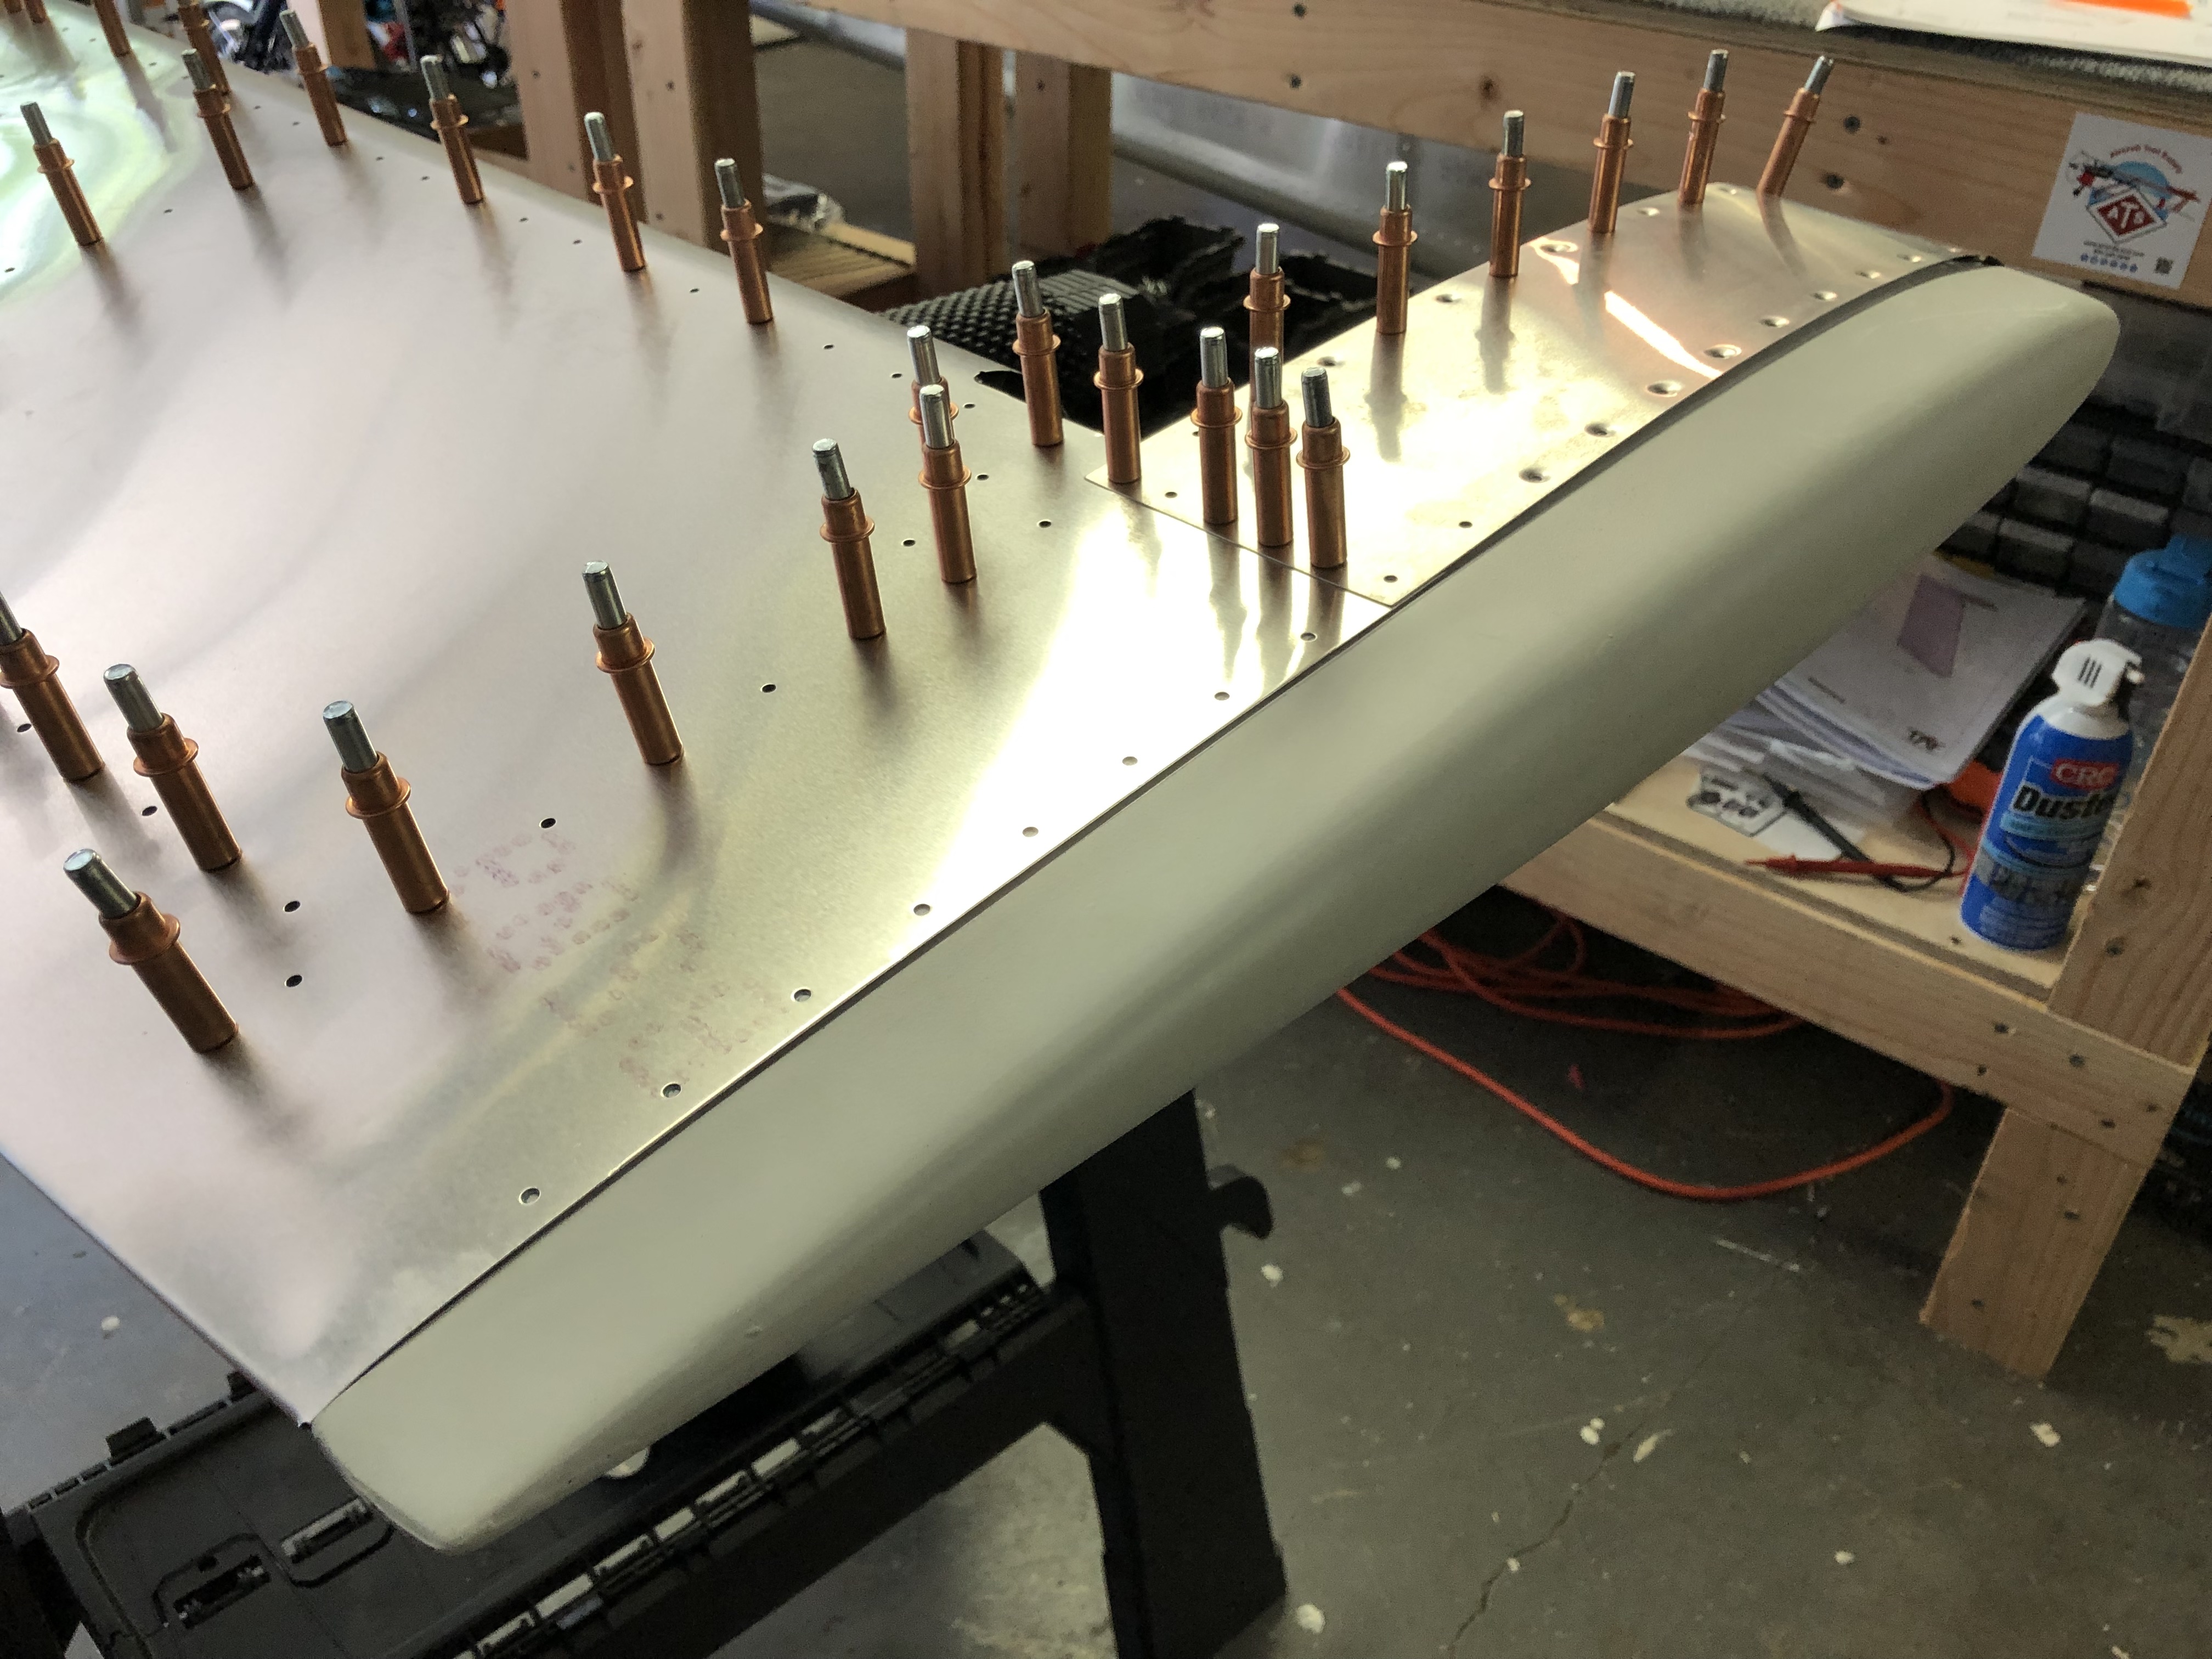
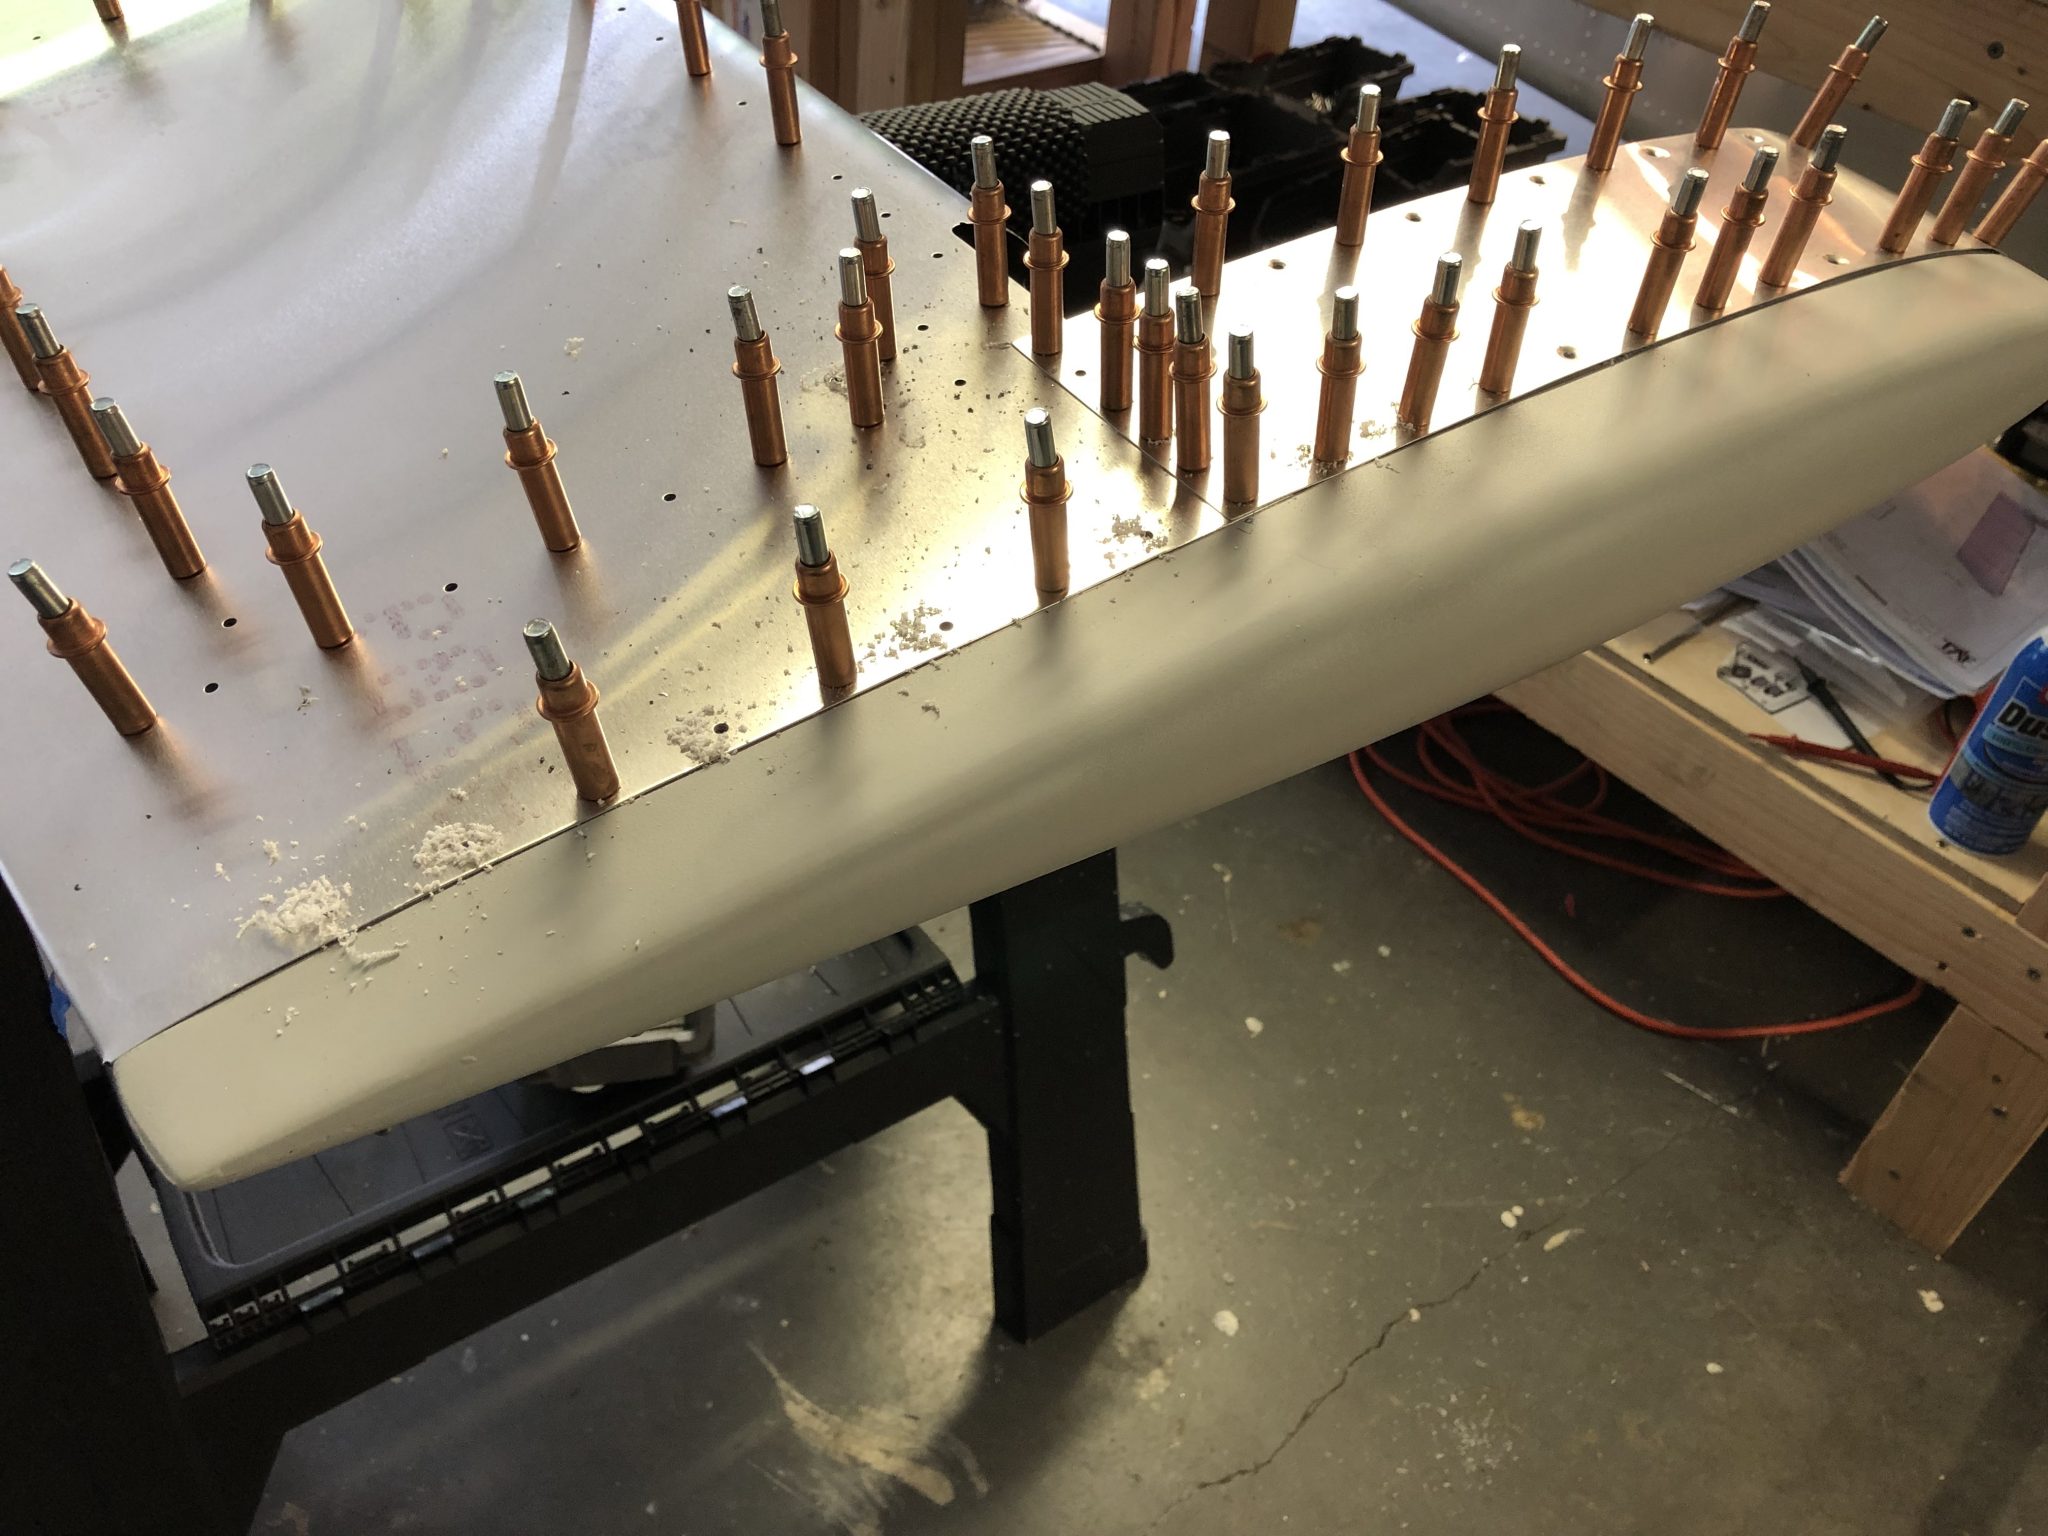
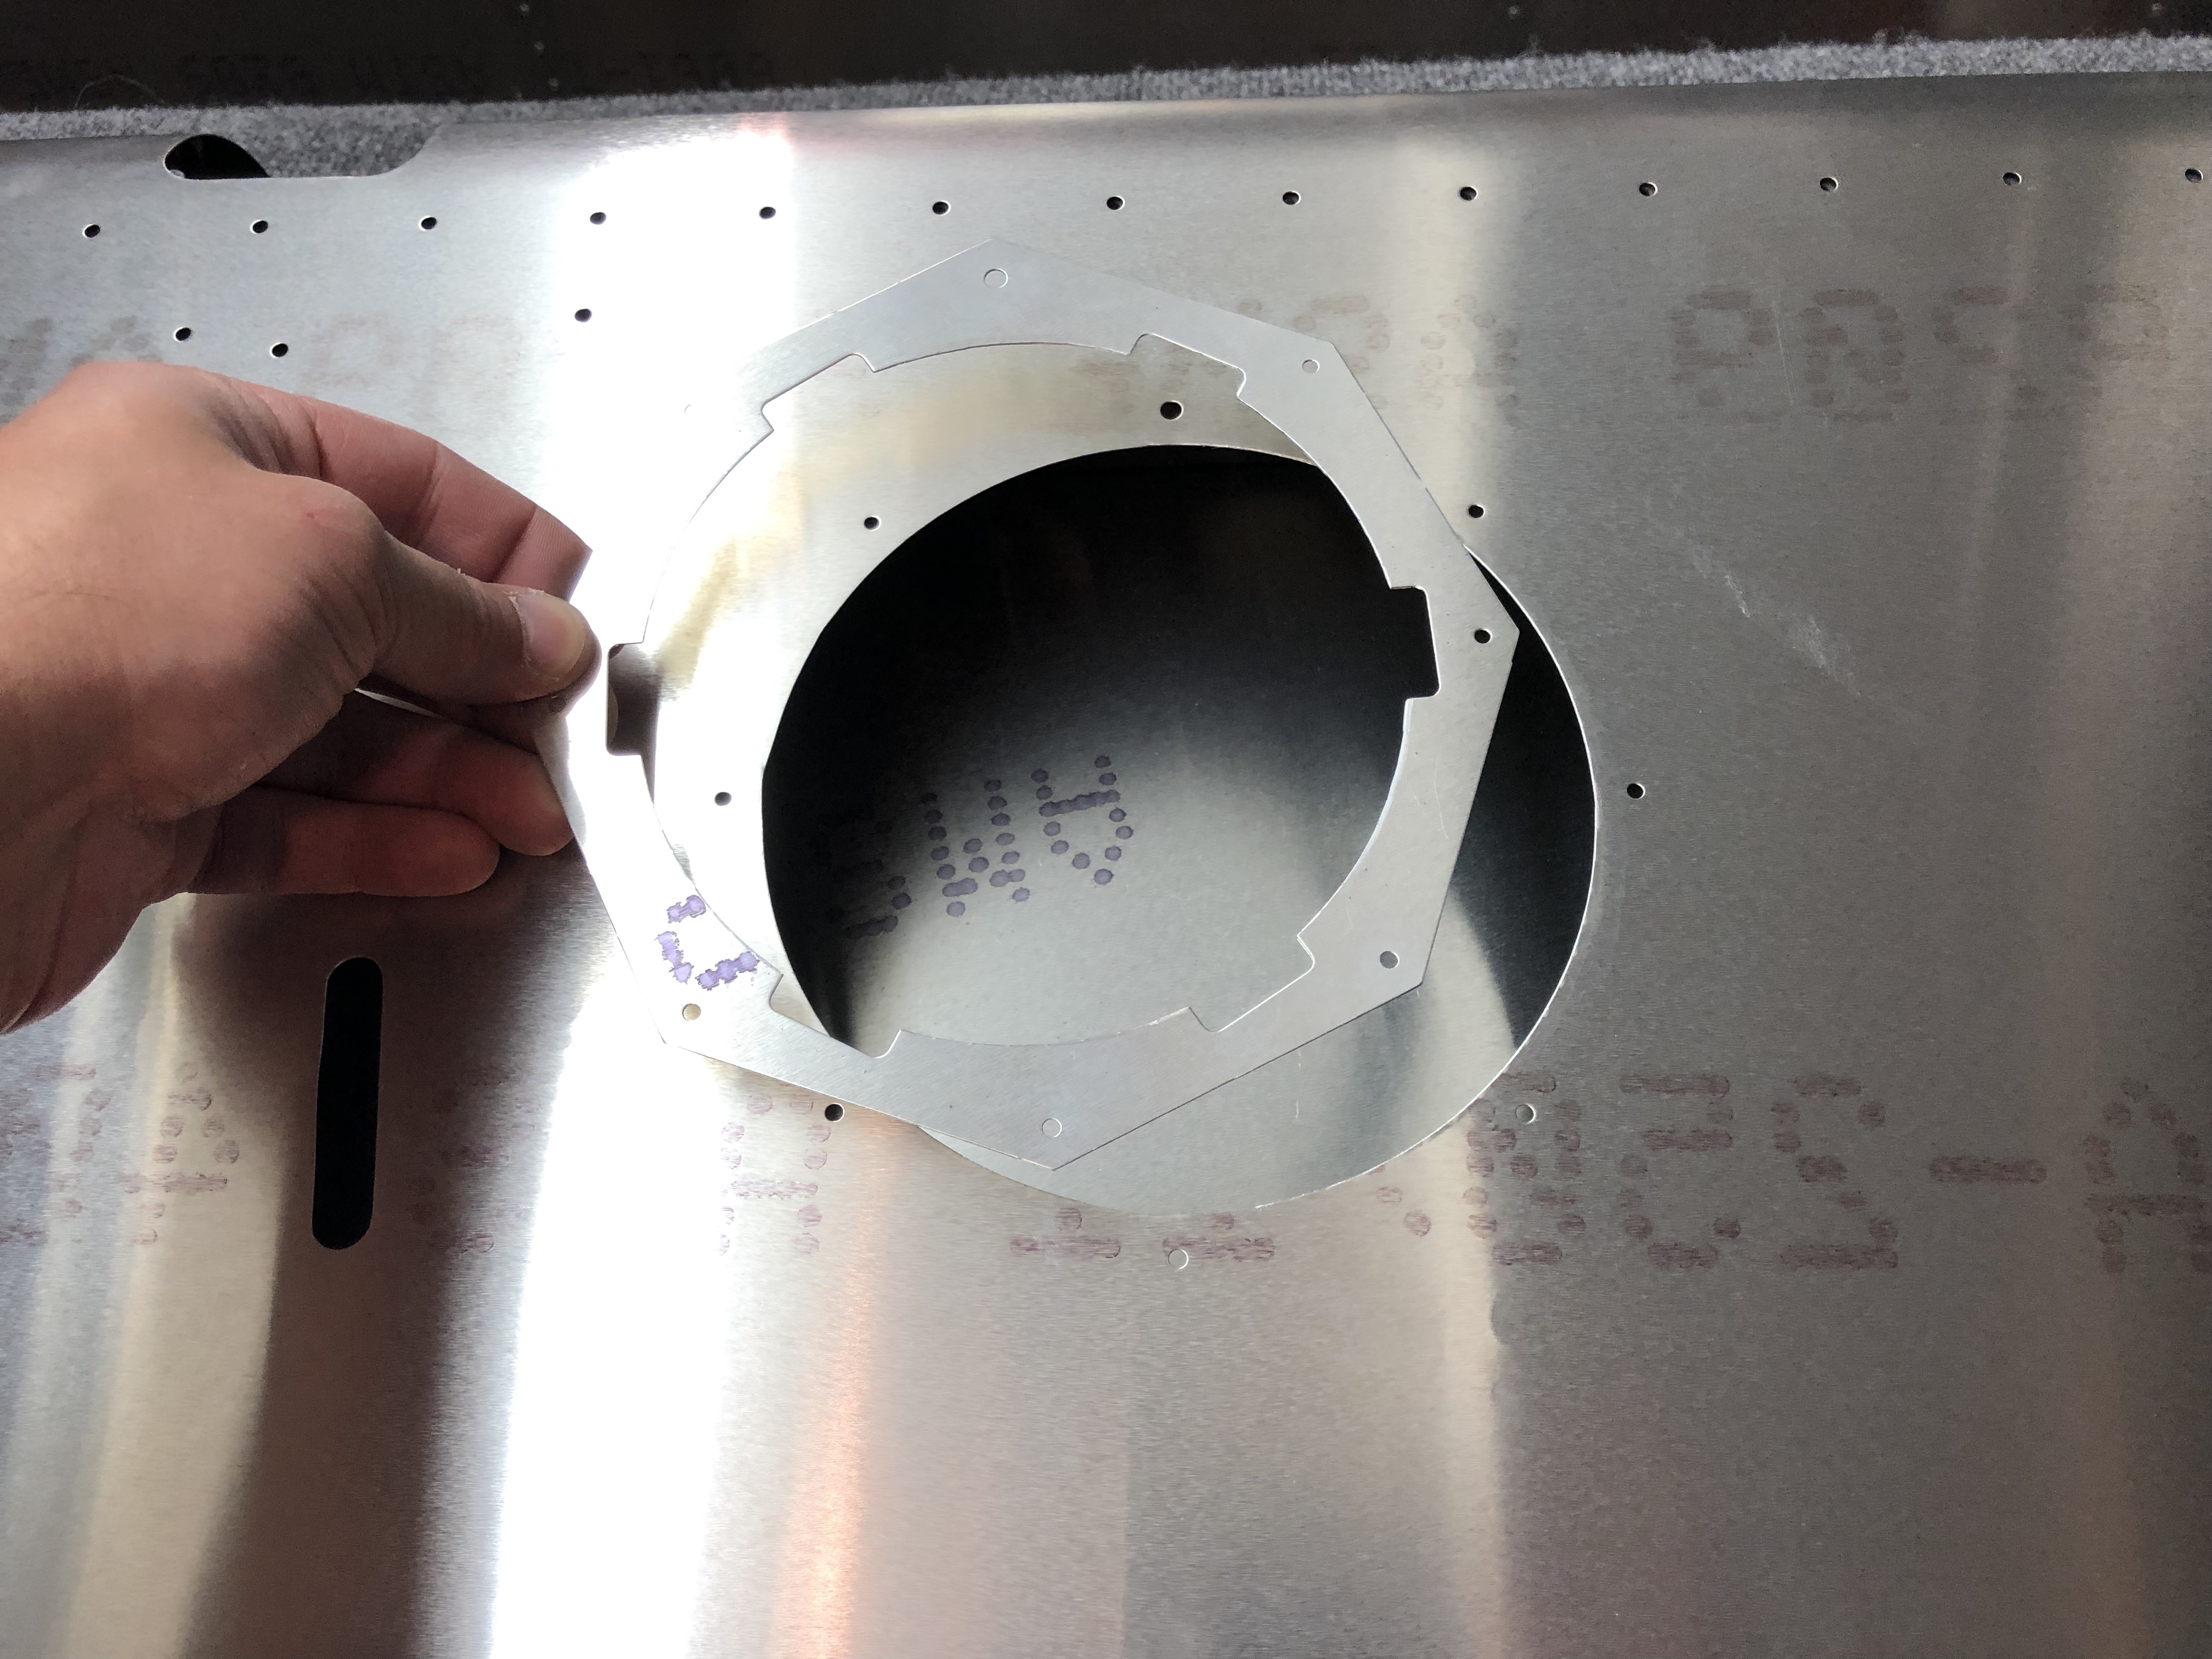
First I clecoed the top skin in place and then I slowly fitted the fiberglass tip in place. In order to get the fiberglass tip to fit, I had to file a tiny bit at the back, but it was much easier than the Rudder tip fitting.

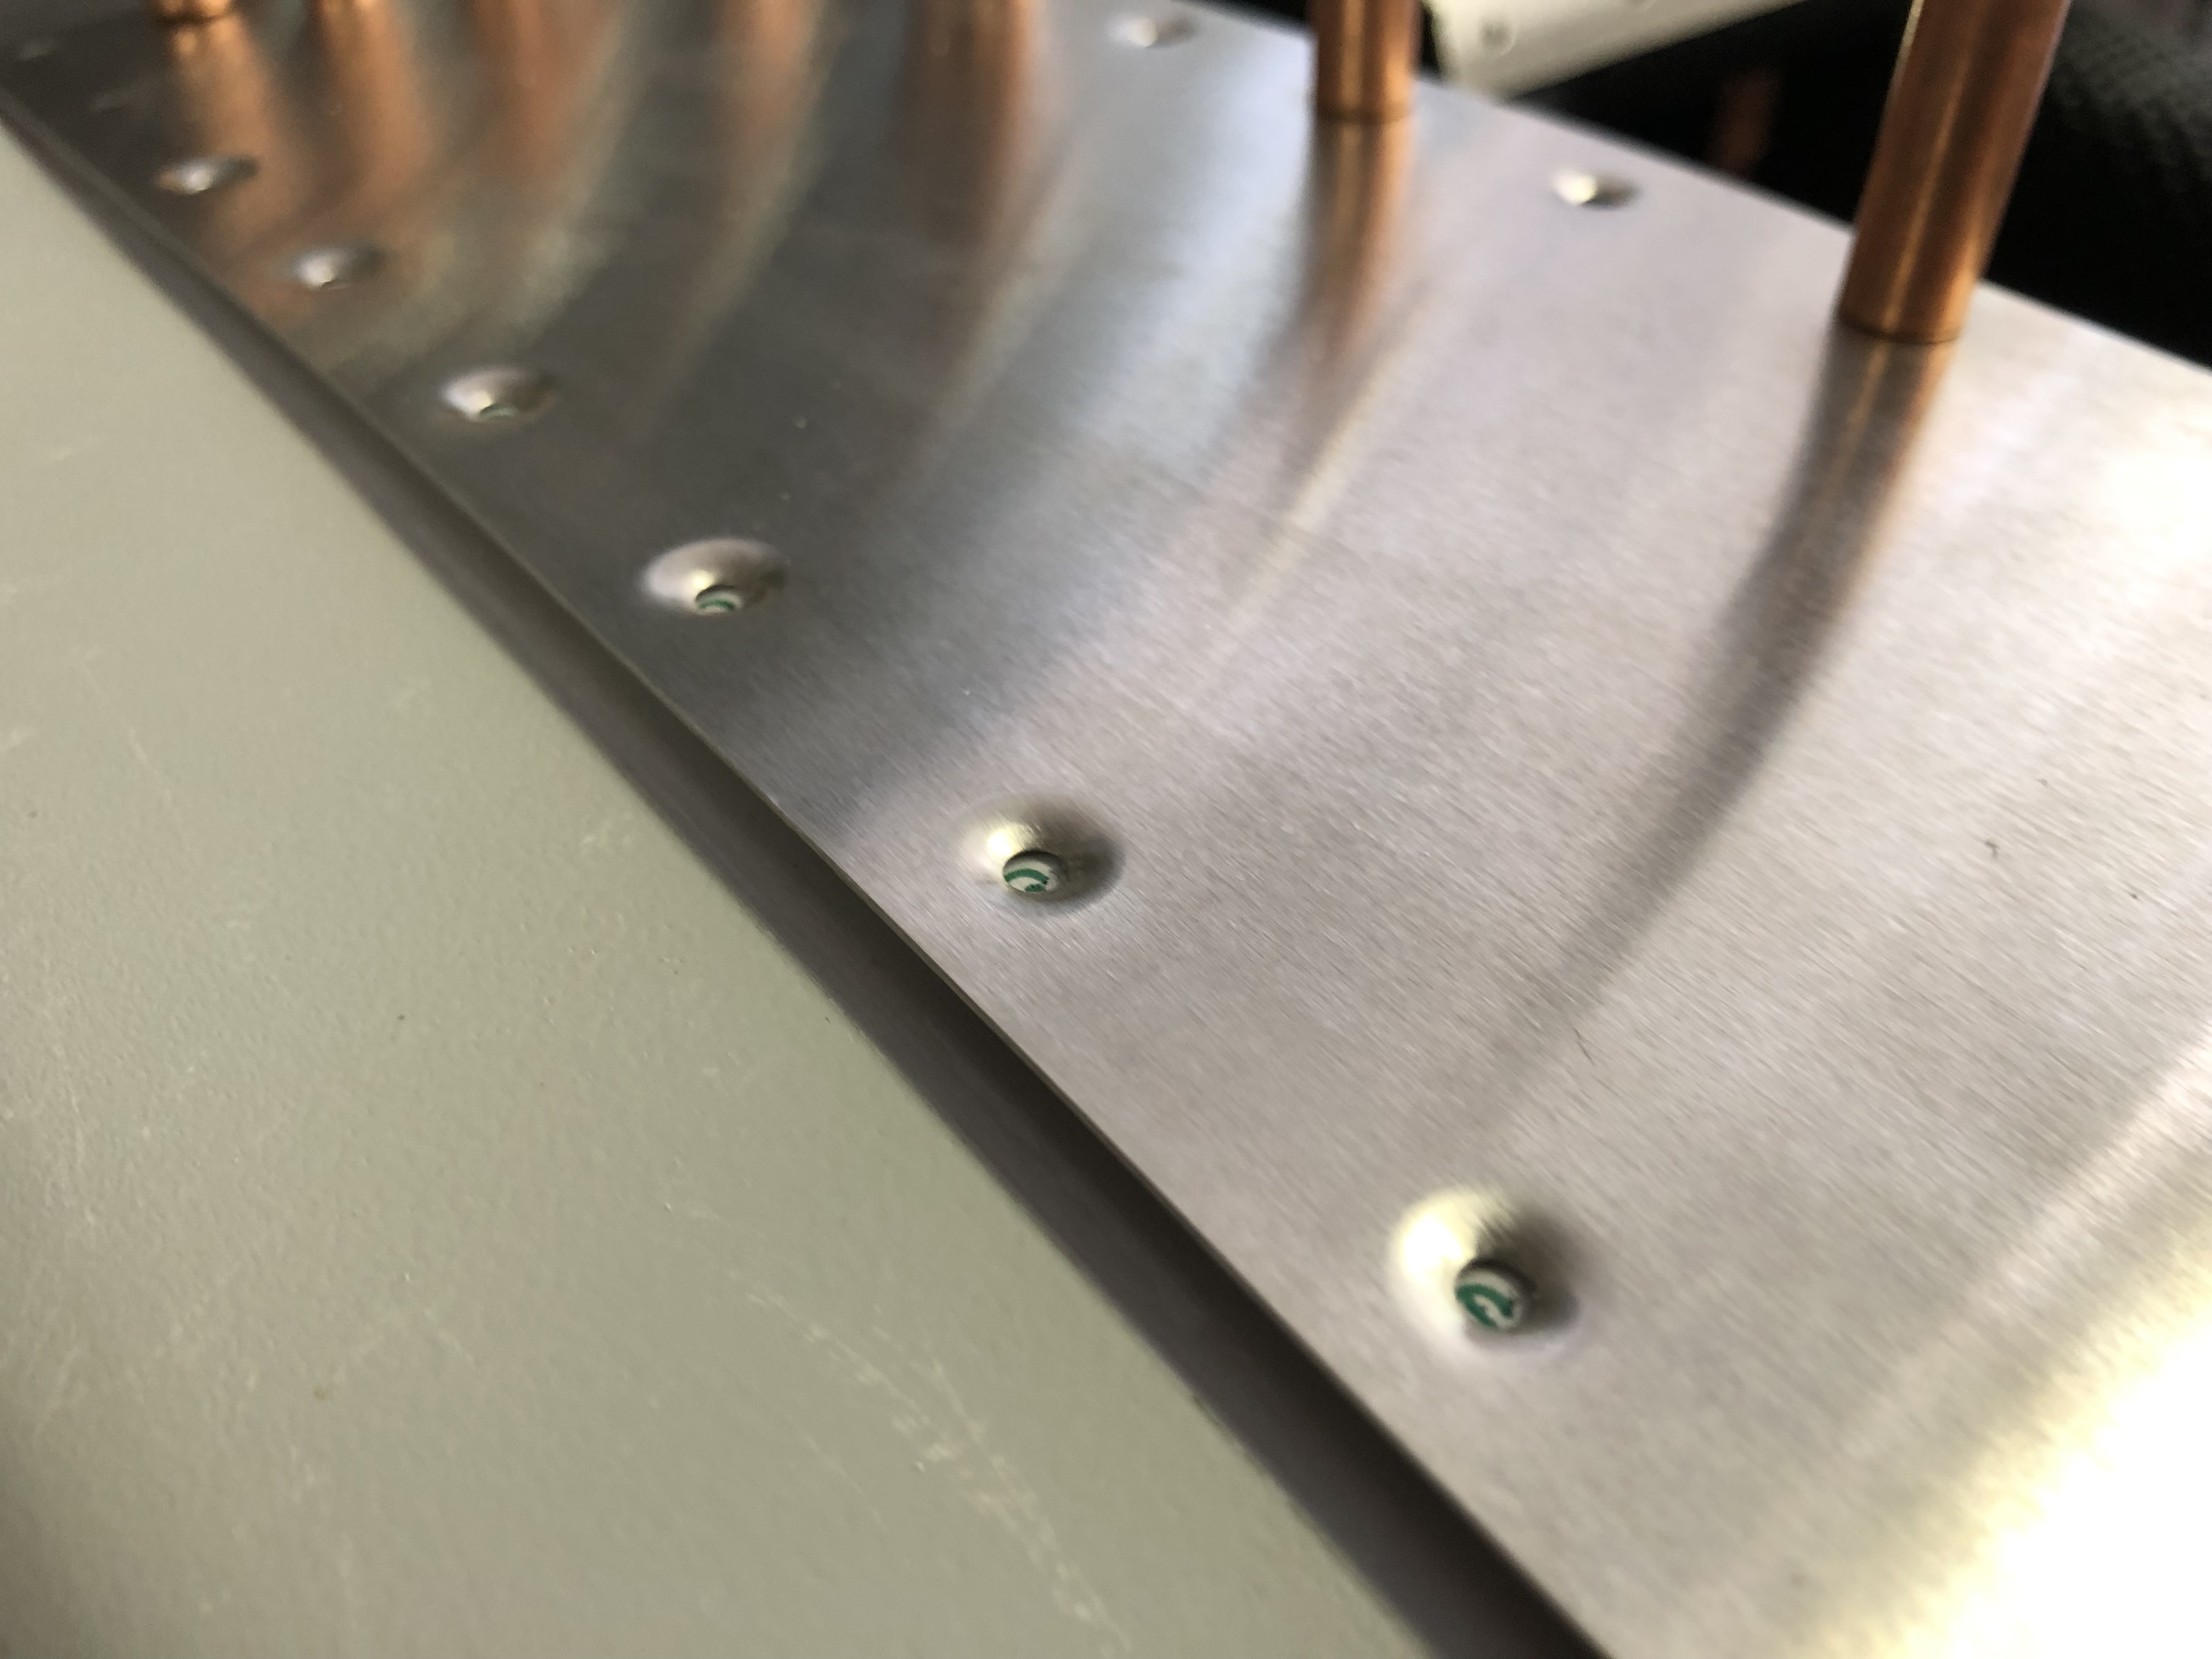
Once I had it in place, I started to hold everything tight together and started match-drilling holes into the fiberglass tip. I used liberal amounts of clecos to get a tight fit and everything looks good. Now I just need to repeat it on the other side.
Top skin clecoed in place Fiberglass tip fit in place and ready to match-drill Marking drill holes Fiberglass tip match-drilled

EAA Airventure Oshkosh 2019

I’m at EAA Airventure 2019 in Oshkosh for the week until Saturday.

Yesterday I had the chance to stop by the Sling booth and have a chat with Mike Blyth from The Airplane Factory.

I had a chat with Mike Blyth about the Sling

If you’re at Oshkosh and would like to meet up with me to chat about my build, feel free to contact me and I’ll also be at the Sling Ding Party on Thursday Evening at 5pm.

Stopped by the Sling Tent Hello from Oshkosh 2019

Elevator skin fitting

Hours: 3

First order of business for the Elevator skin was inspecting all edges and holes and there were a few edges that needed some deburring action.
Elevator skin edges needed some filing to remove the burrs

After deburring everything that needed attention, we wrapped the skins around the rib structure. Since the Elevator is a pretty big part, it was very helpful to have a second pair of hands for this.

The last thing I had to do before I can start on closing up the skin is to install the backing plate for the Trim motor inspection plate. The plans call for 1/8 rivets, but the holes were actually 3/32, so I had to first up-drill them. There’s also another small error in the plan, in that it says to rivet all 8 holes, but actually only 7 should be riveted, since the top hole is for the screw that holds the inspection plate in place.
Backing plate goes under the skin Holes are 3/32, so I needed to up-drill them to fit the 1/8 rivets Holes up-drilled and backing plate clecoed in place Quick test fit of the inspection plate

Elevator structure

Hours: 5.25

Time to finish off the Empennage and get the Elevator structure going. I received the replacement ribs that are bent just that little bit more in order to properly align with the reinforcement plates and skins and went to work to drill out the bad ribs and put in the replacements.

New ribs in place and a final picture of a few rivets that people that visited helped pull

After that, I went to work and torqued the bolts that connect the control rod and counterweight to the Elevator. There’s also a small support bracket that reinforces the center rib to spar attachment, which is a pretty tight fit, so I had to get out the manual hand riveter.
Torquing the AN bolts Bolts torqued and support plate riveted

My brother is currently visiting and is enjoying the riveting experience.
My brother enjoying the riveting experience

Once the center ribs were finished, we moved on to put the rest of the rib structure in place.Elevator rib structure finished Clecoing the ribs in place

After that I realized there’s a mistake in the plans as they instruct to rivet the edges that hold some of the side counterweights on, but there’s another small end rib that actually has to go on there as I found out after I checked the overall plan for the Elevator. Quickly drilled out the rivets and riveted on the part. A nice trick I learned from another builder for drilling out the rivets without damaging the holes they go through, is to only drill out the top of the rivet (the donut ring) and then use the center punch to push out the back of the rivet. This way you have less chance of enlarging the hole.
Error in the plan says to just rivet the endcap, but actually this part needs to be riveted onto the side End rib where it should go Holes drilled out and end rib ready to rivet

With the rib structure in place, time to work on fitting the skin.