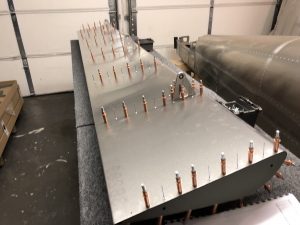
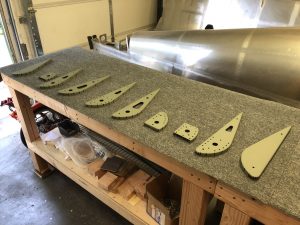
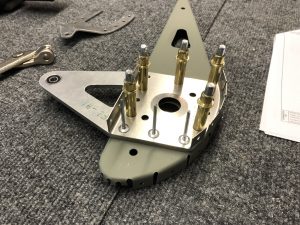
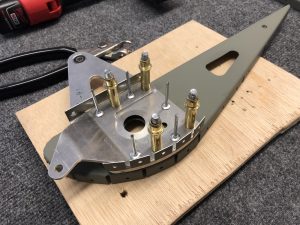
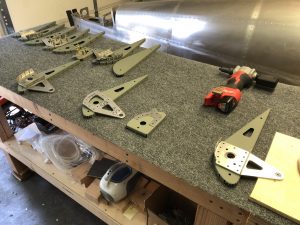
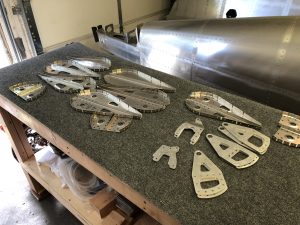
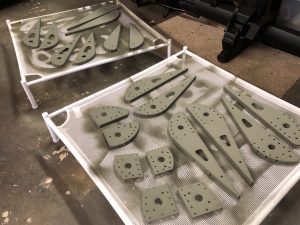
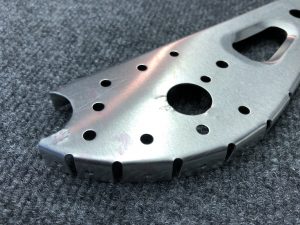
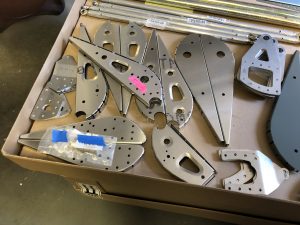
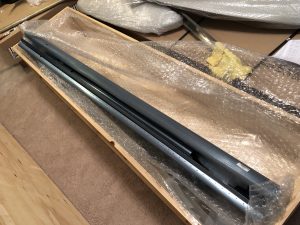
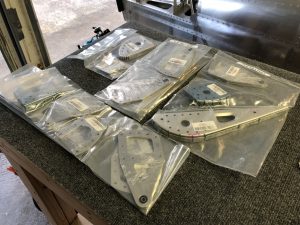
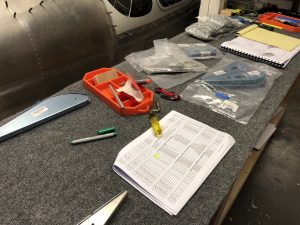
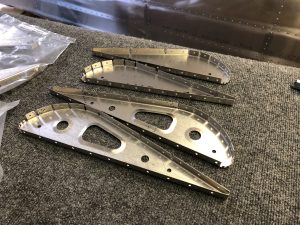
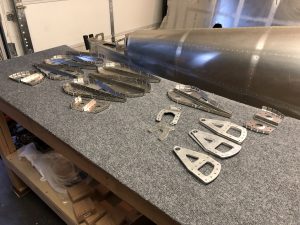
With the ribs for the Flaps out of the way, I am ready to finish the flaps. First order of business is to ensure that I have the ribs all in the right order.
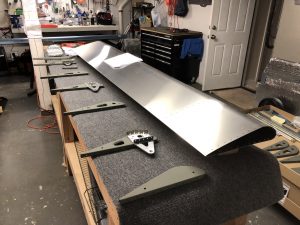
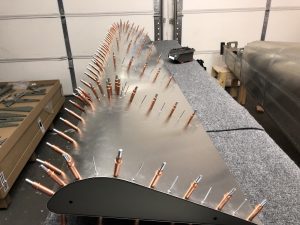
Once that was figured out, I first clecoed the ribs in place to the bottom of the skins and then closed up the skins and clecoed the top as well.
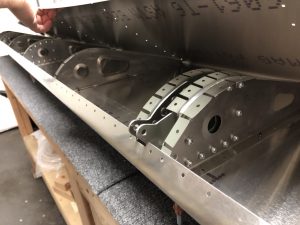
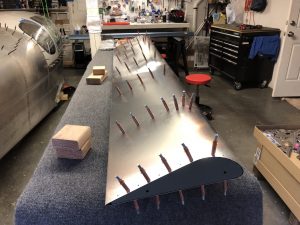
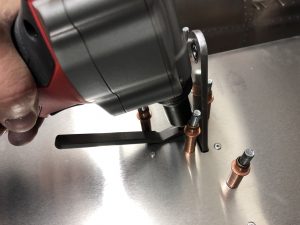
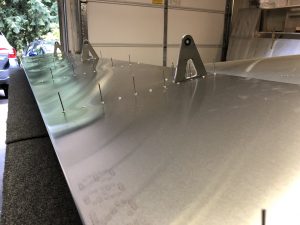
After checking that everything is aligning properly with the skins, I started riveting the skin. The top side is pretty straightforward. For the bottom side, there are a couple of tight spots next to the hinges, so the close quarter rivet wedge came in handy for a couple of the rivets.
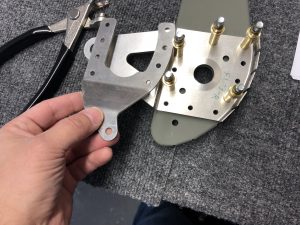
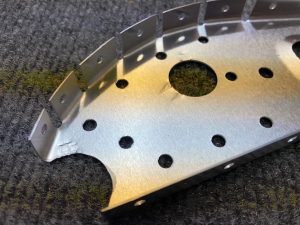
With the right side Flap finished and closed up, I then repeated it all for the left side Flap. There was also a couple of the edges where the hinges sit that needed a bit of deburring attention.
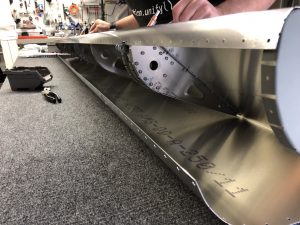
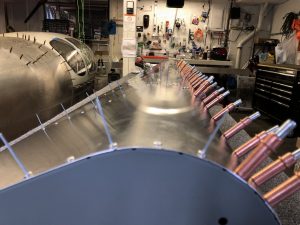
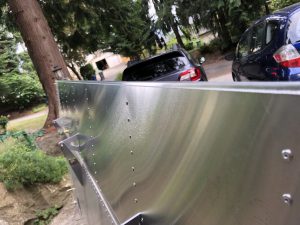
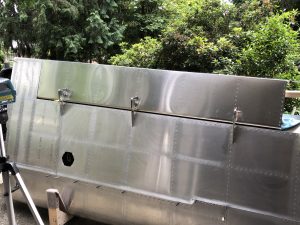
After I finished the top skins, I did one quick alignment test fit on the wings and everything looked good, so then I finished up both sides by riveting the front rivet lane that closes the skin against the other side.
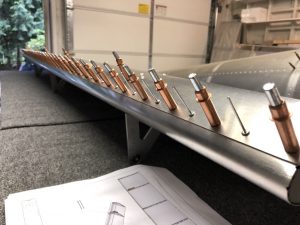
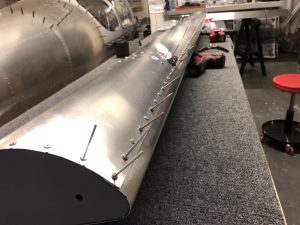
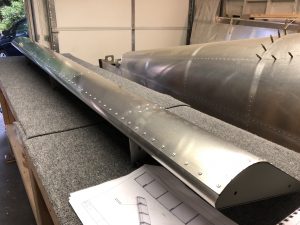
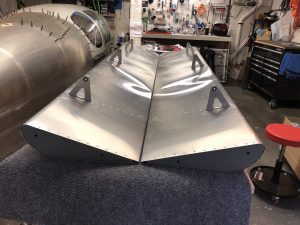
Final alignment check
Once I finished all the riveting, I did one final test fit onto the wings. I used a bit of mason string and my laser level and everything is looking good. Now onto finishing the Elevator.
