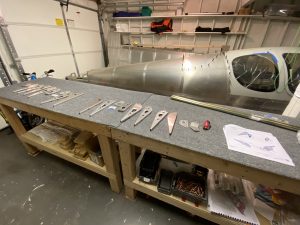
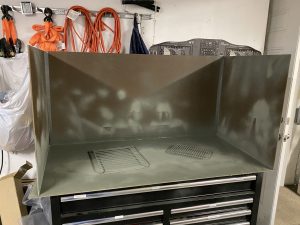
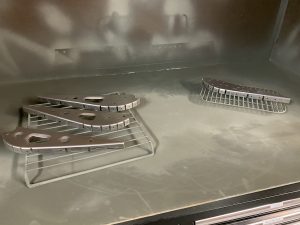
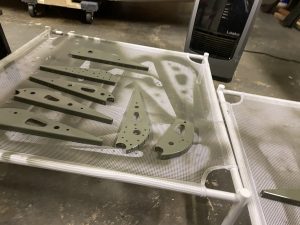
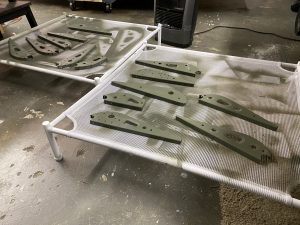
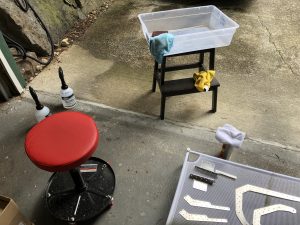
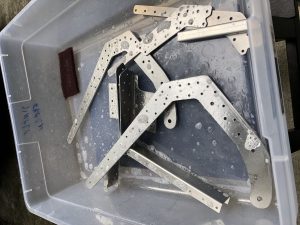
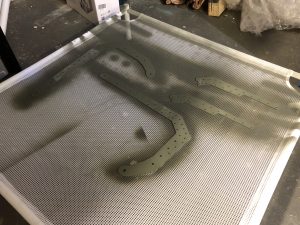
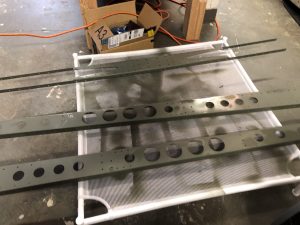
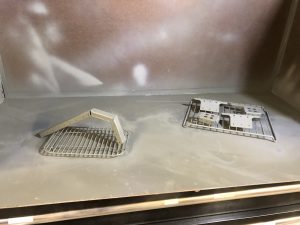
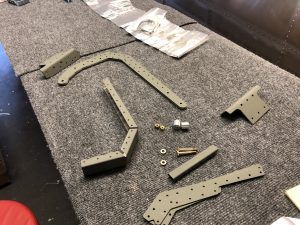
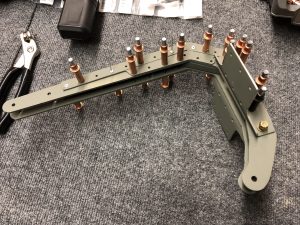
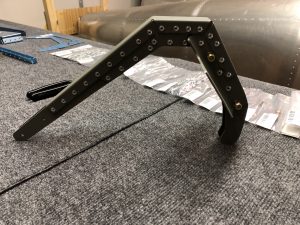
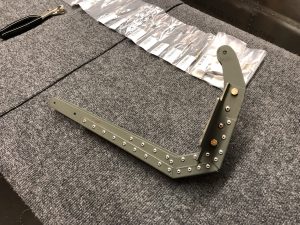
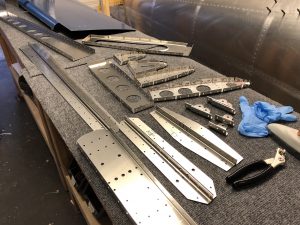
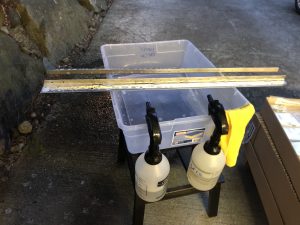
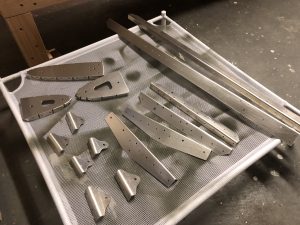
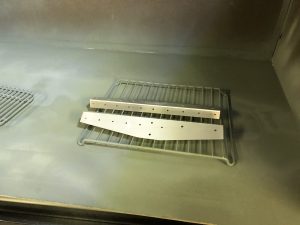
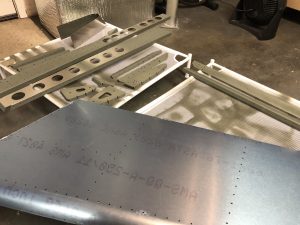
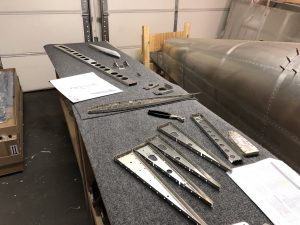
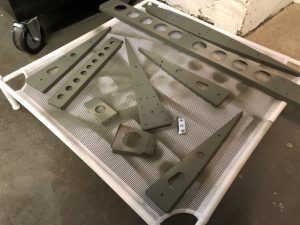
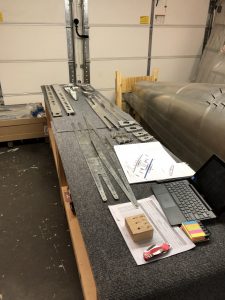
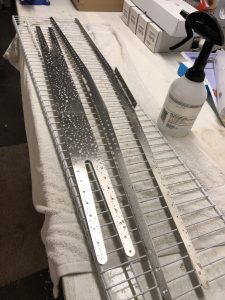
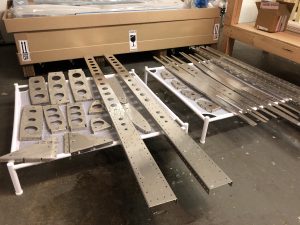
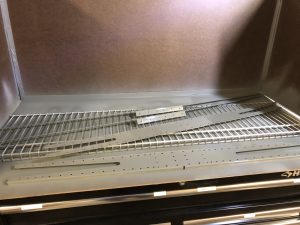
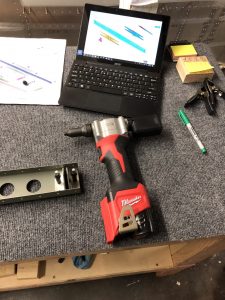
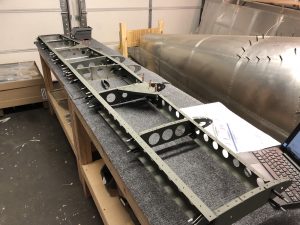
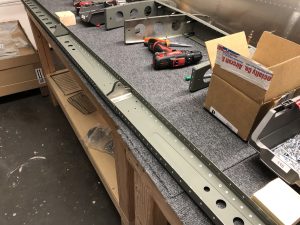
With the weather warming up, I got to spend some time sitting in a bit of sun with the garage door open and preparing, deburring, cleaning and then priming more parts of the Elevator.
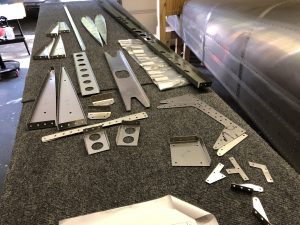
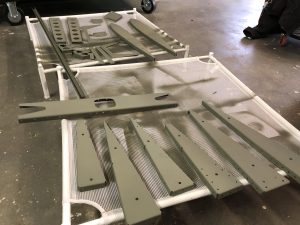
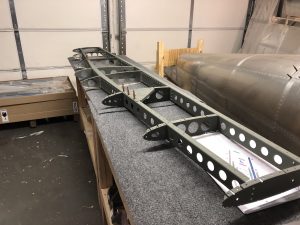
Assembling Elevator center spar
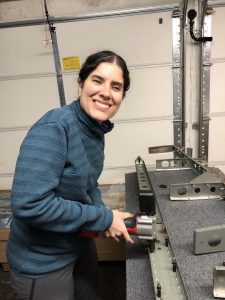
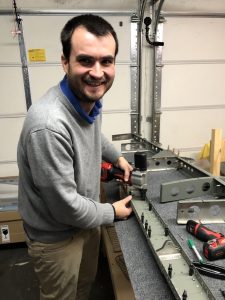
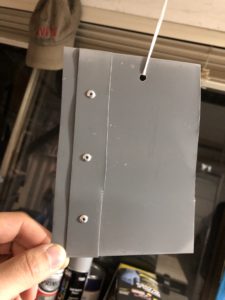
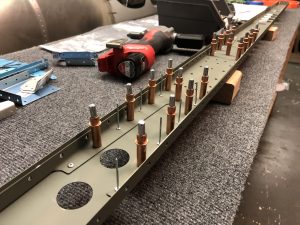
The first thing I put together was the Center Spar itself, which I had primed already together with the counterweight the other day. Setting everything up was pretty straight forward as usual and while I was working on it I had a visit from another builder of the EAA chapter I’m part of who actually happens to live very close by and is building an RV. And then another friend was visiting and I happened to have some rivets ready to be riveted, so I continue my new tradition to have guests pull a rivet on the plane and sign it.
Assembling the center structure to the spar
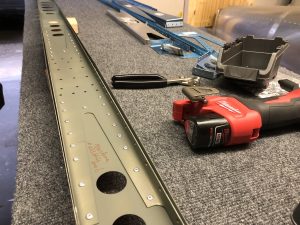
After the priming from yesterday had some time to dry and set, I went to work to put together the center rib assembly with the center spar. There are a lot of pieces that slot together in there, so it took some time to figure out what slots into which piece. for the center channel to go on:
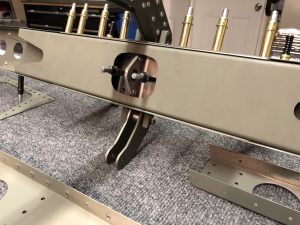
Unfortunately I encountered a problem with the alignment of the holes on the center Rib, both left and right, with the plate as seen below:
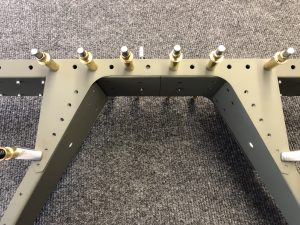
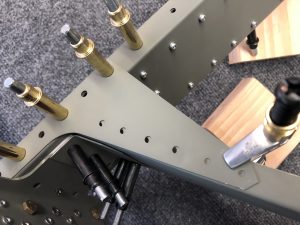
In trying to figure out which piece is wrong, I started putting together more of the structure temporarily with clecos and the strange thing is that the other holes on the ribs are aligned fine (the black clecos below), so then I thought that it must be the top center plate.
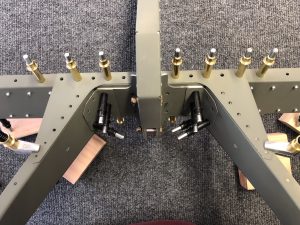
But then I took off the center plate to check its alignment with the outer skin and there the holes of the top center plate align correctly with the holes on the skin. So this in turn then lead me back to determining that the top (and bottom) holes on the Rib 1 must be the culprit.
It is very strange since the misalignment is pretty severe. It definitely doesn’t look like this could just be resolved by up-drilling the holes, so I sent a note to the factory to ask how to proceed. My guess is going to be that I need new center ribs.
